Is it even game day without an assortment of delicious Super Bowl party food? I think not. The food is just as important as the football game. Today, I am sharing over 60 of the best and most popular Super Bowl recipes from creamy dips, piping hot chicken wings, handheld appetizers, pizza, healthier snacks, and more. So no matter which team you are rooting for, you will score big when it comes to the food.

Super Bowl Dips
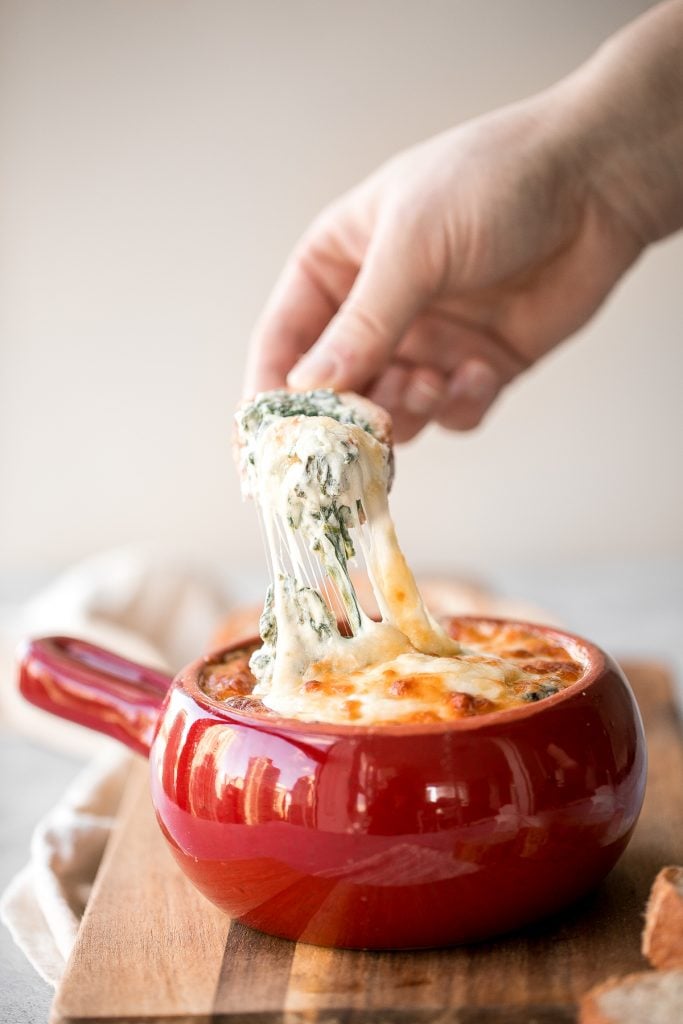
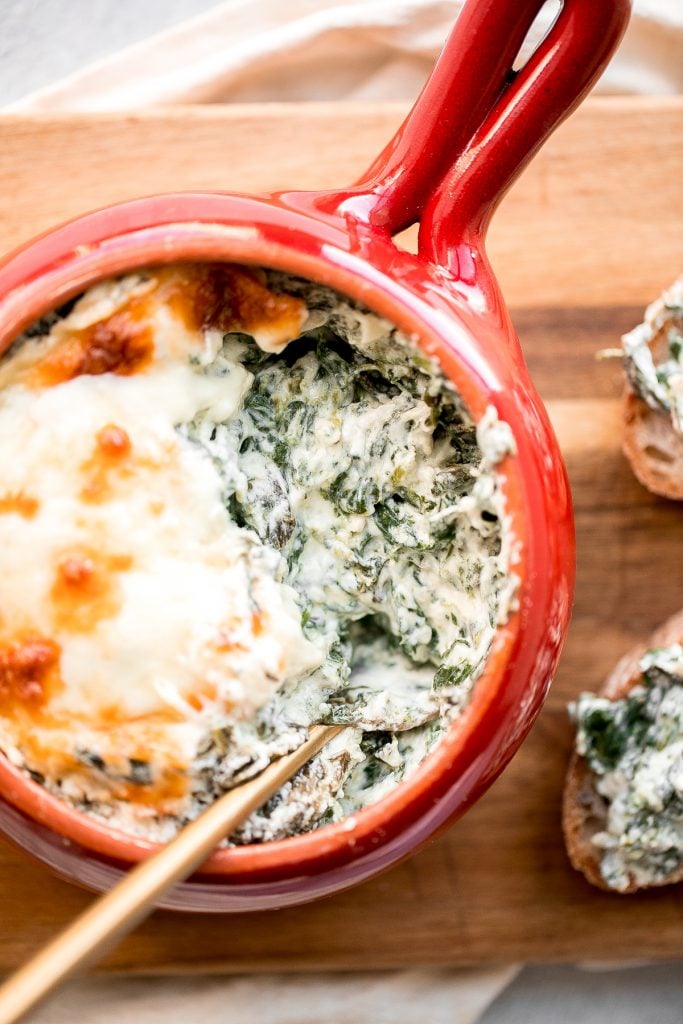
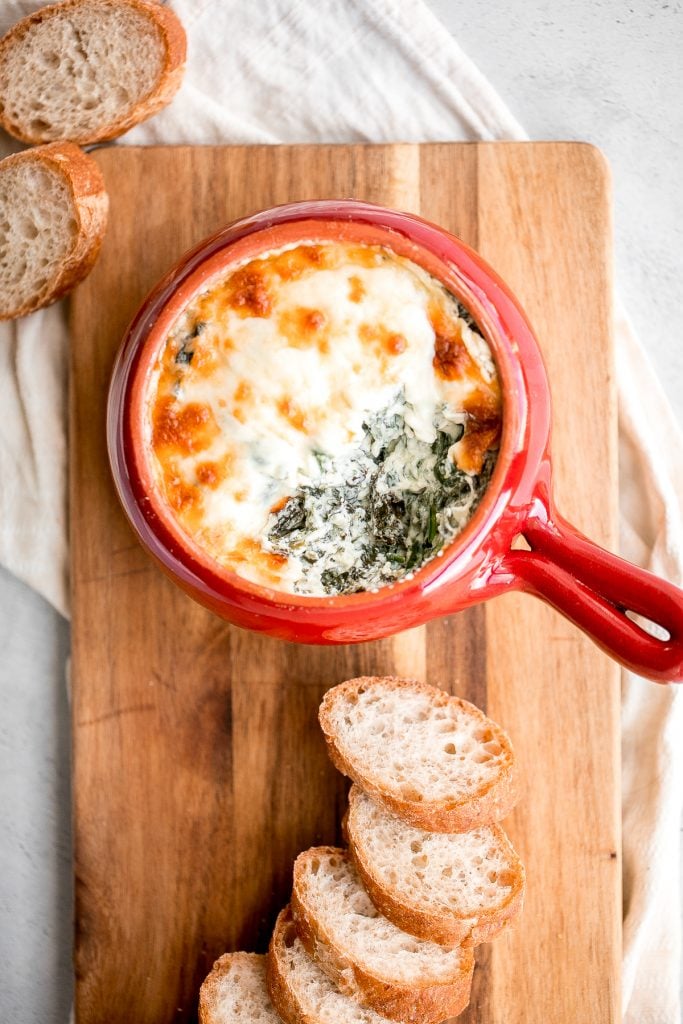
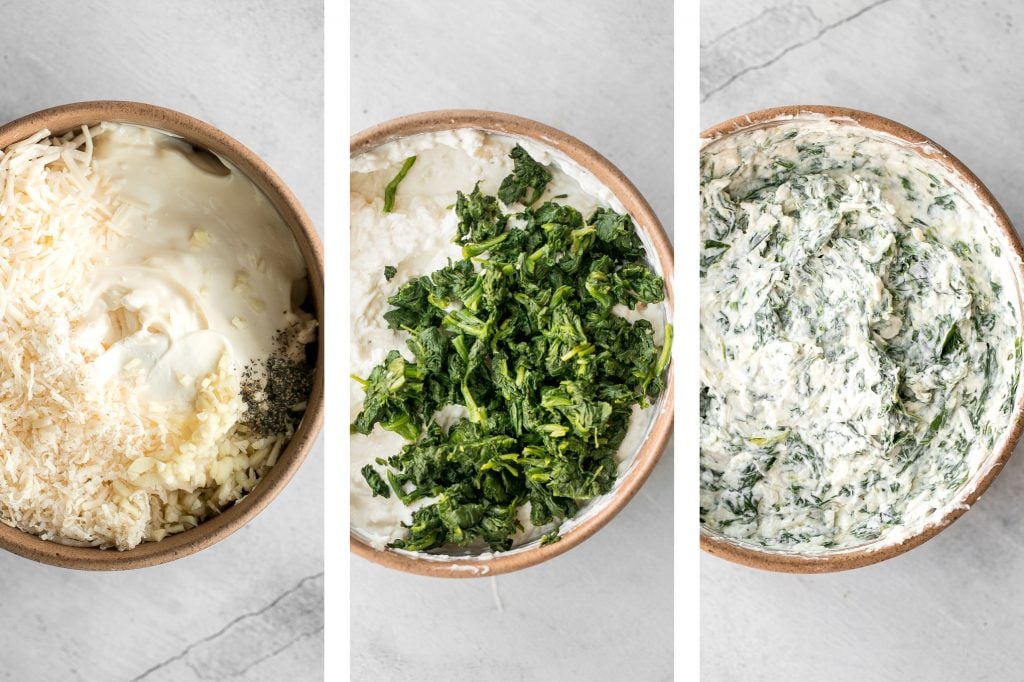
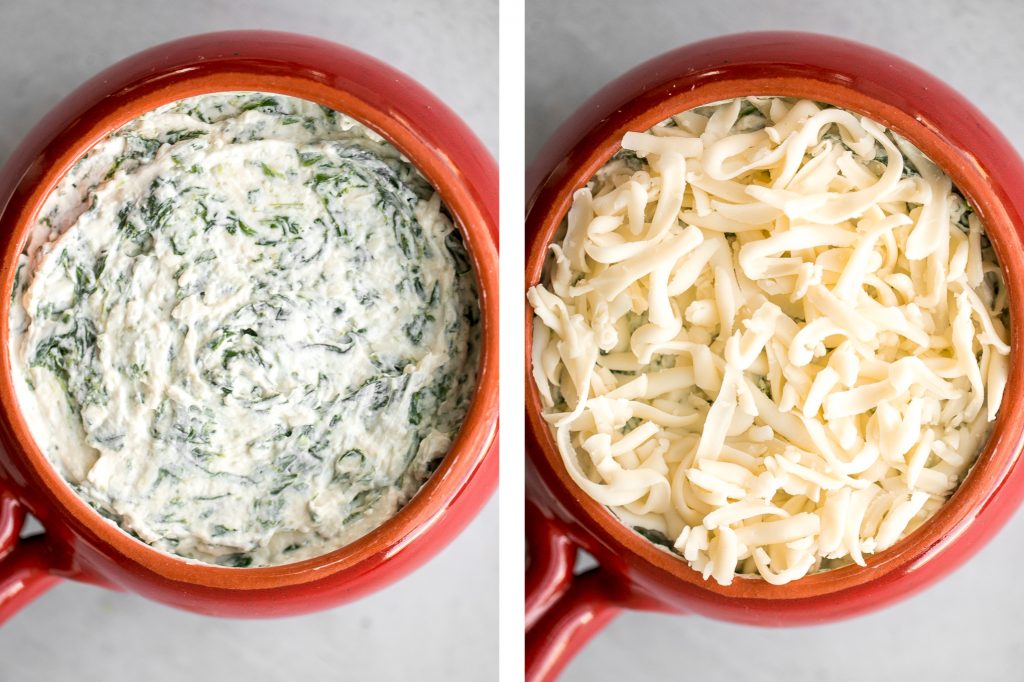
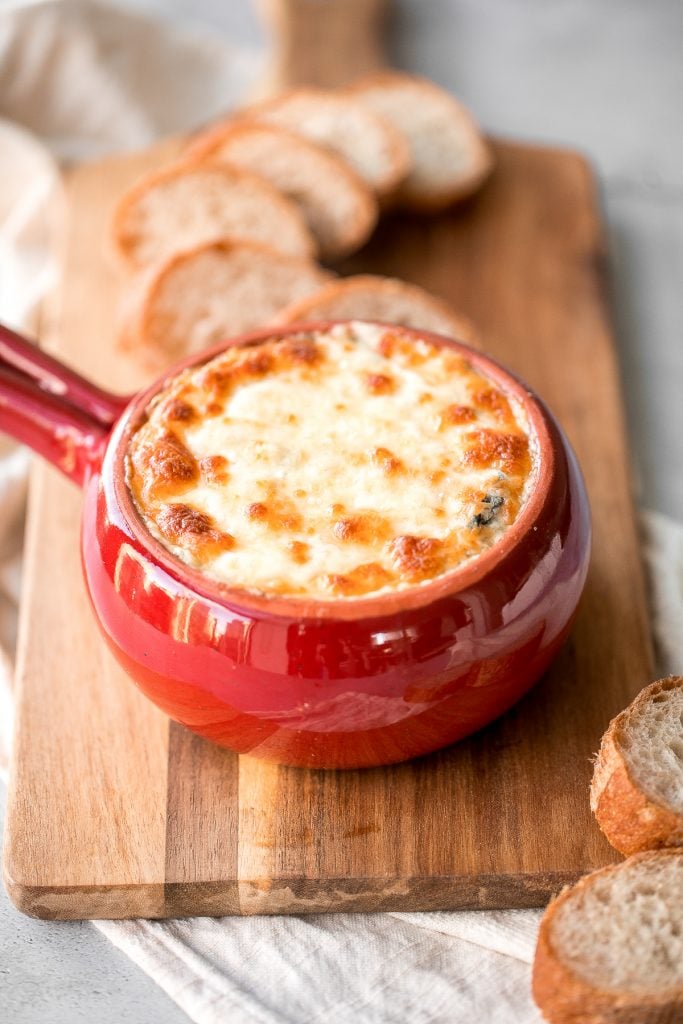
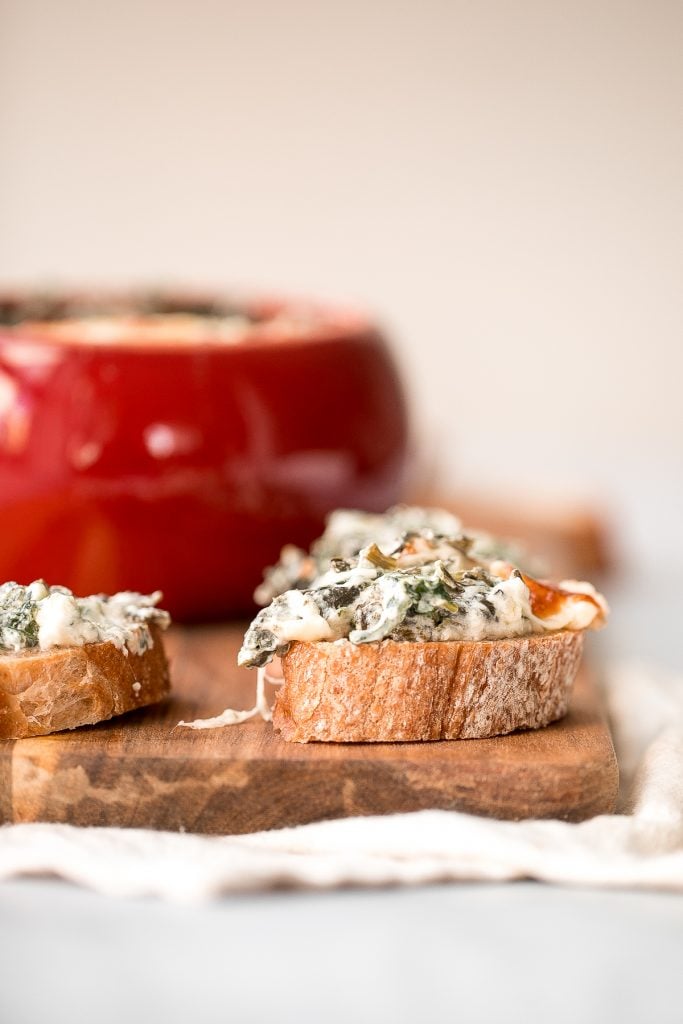
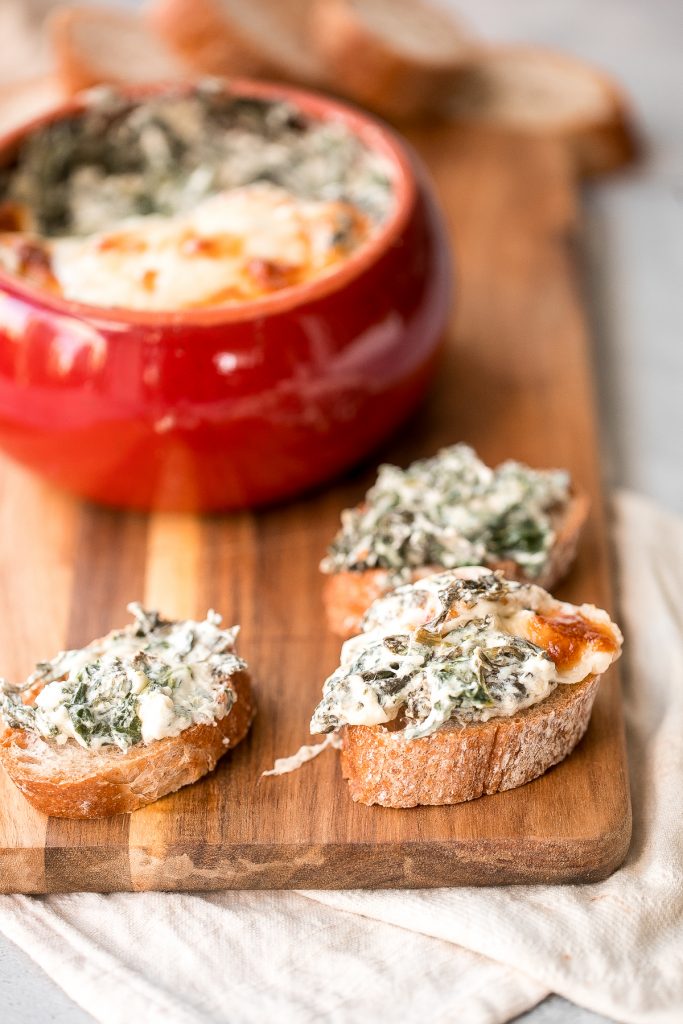
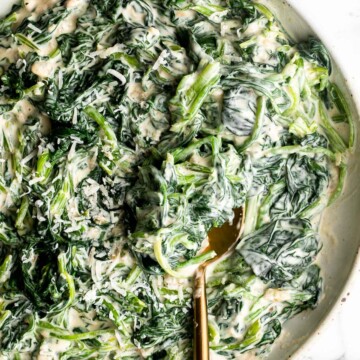
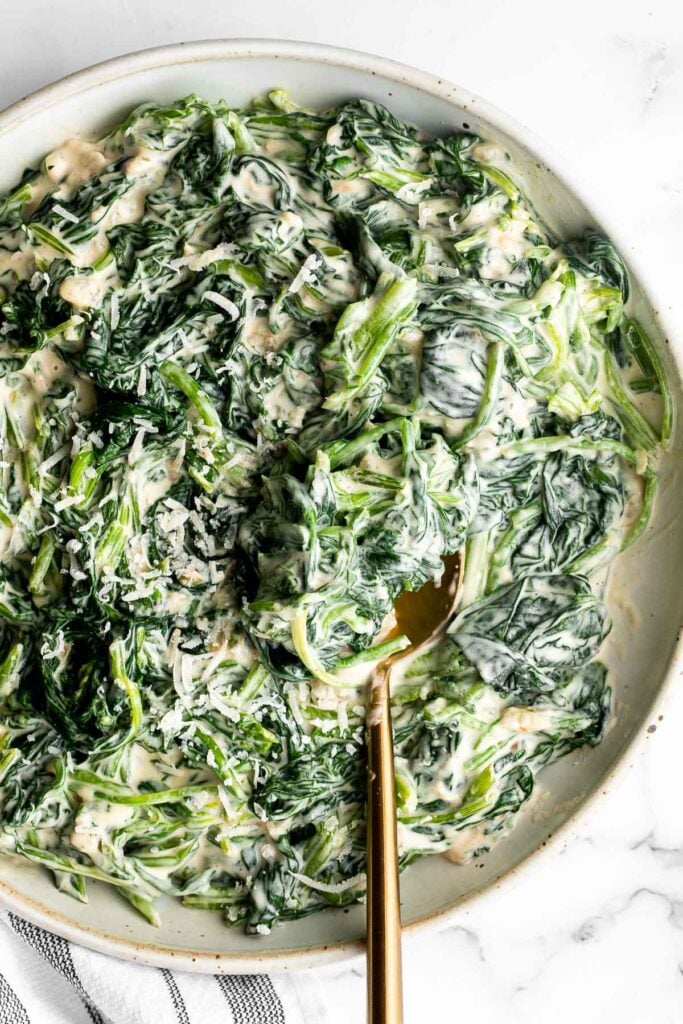
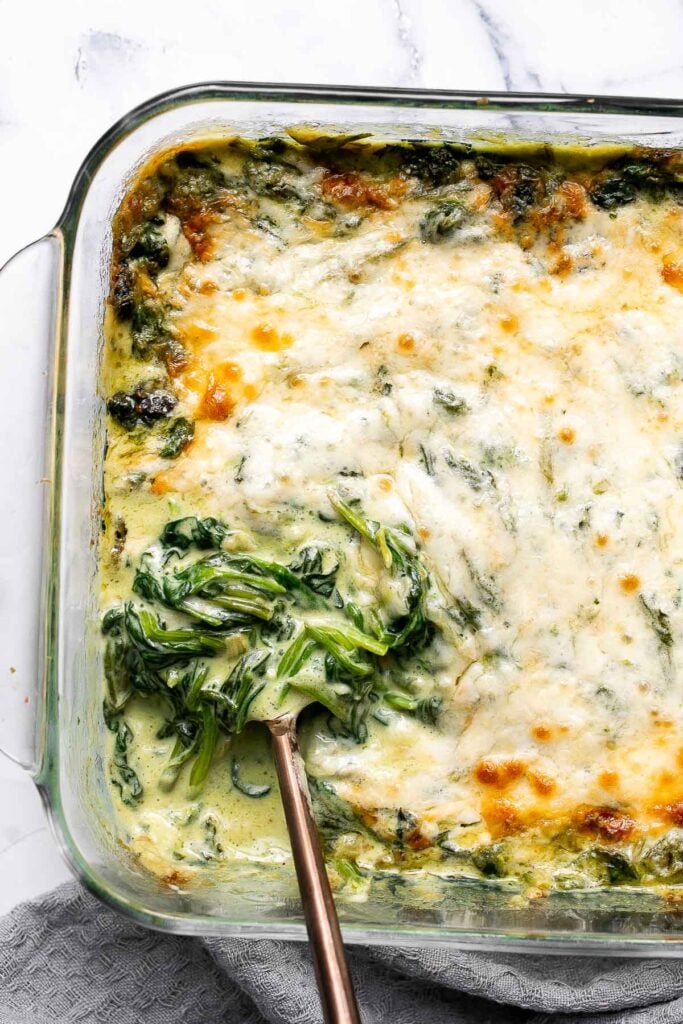
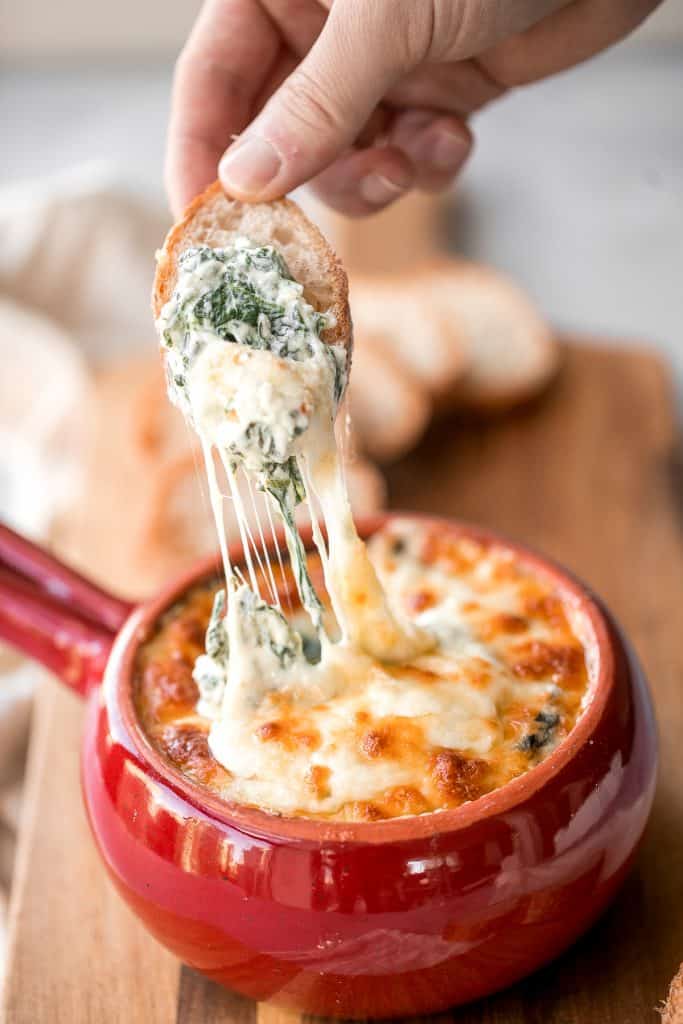
Warm, rich, creamy baked spinach dip is a delicious and easy appetizer that is baked until warm and melty. Easy to make ahead and a total crowd pleaser. It's one of my favourite Super Bowl recipes of all time.
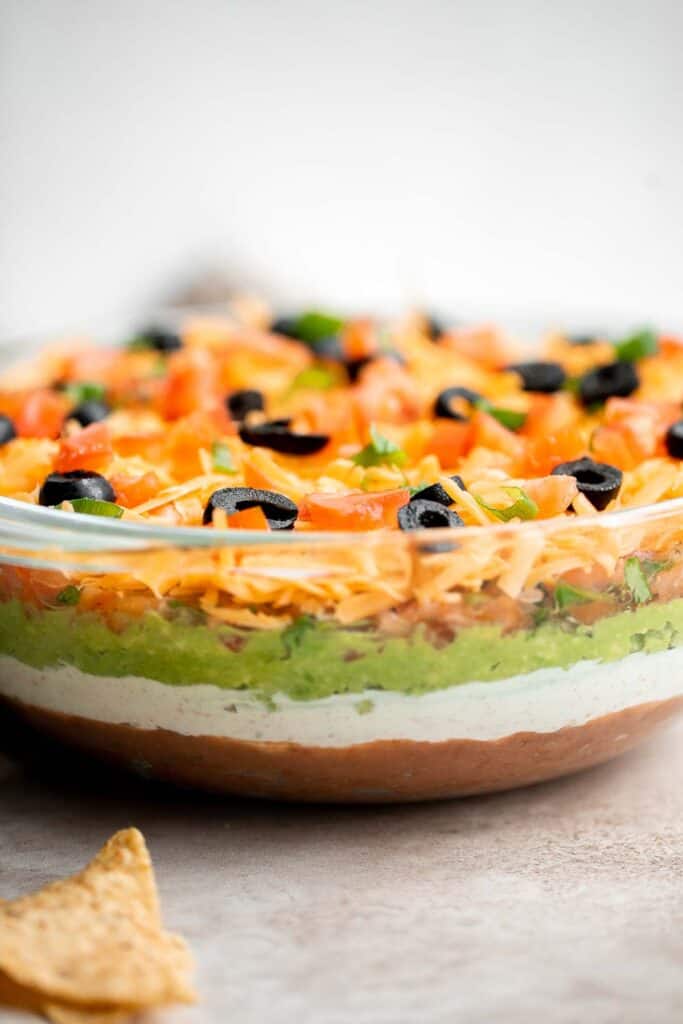
This easy and delicious 7 layer dip is the perfect dip to serve at your next party, made with layers of beans, guacamole, salsa, cheese, and more.
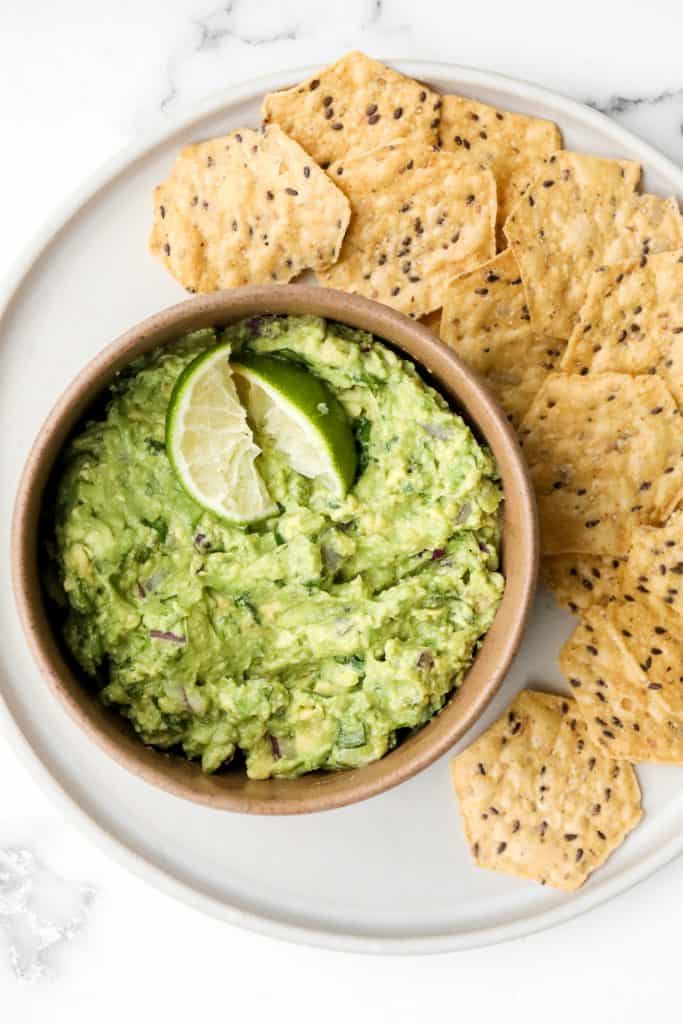
Incredibly tasty, this easy and basic guacamole takes less than 5 minutes to make. It is the perfect dip for a Mexican-inspired Super Bowl party.
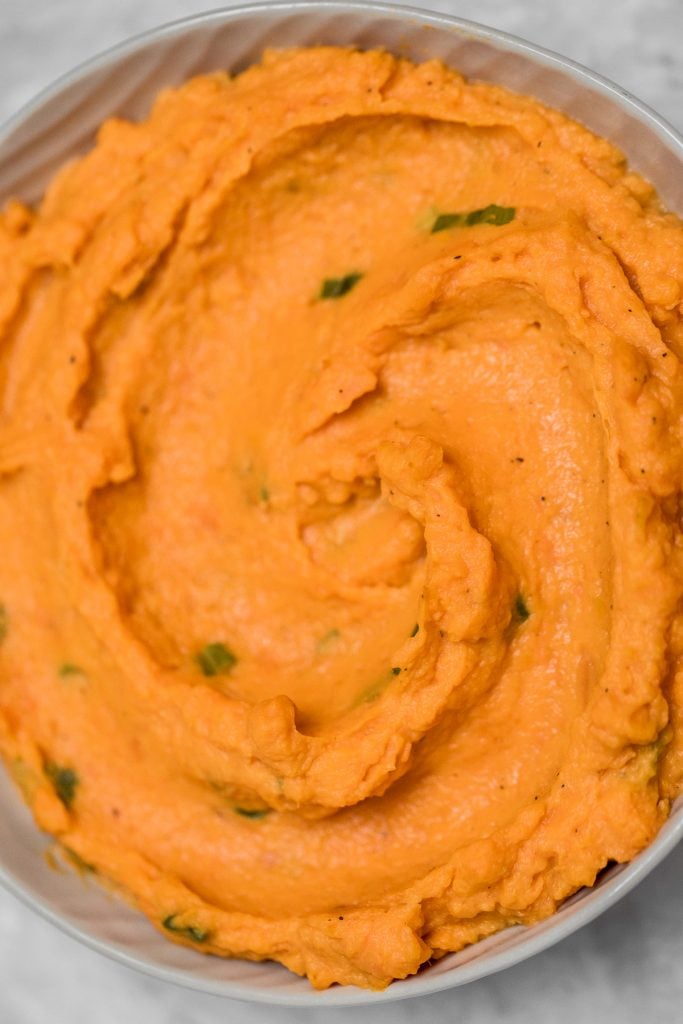
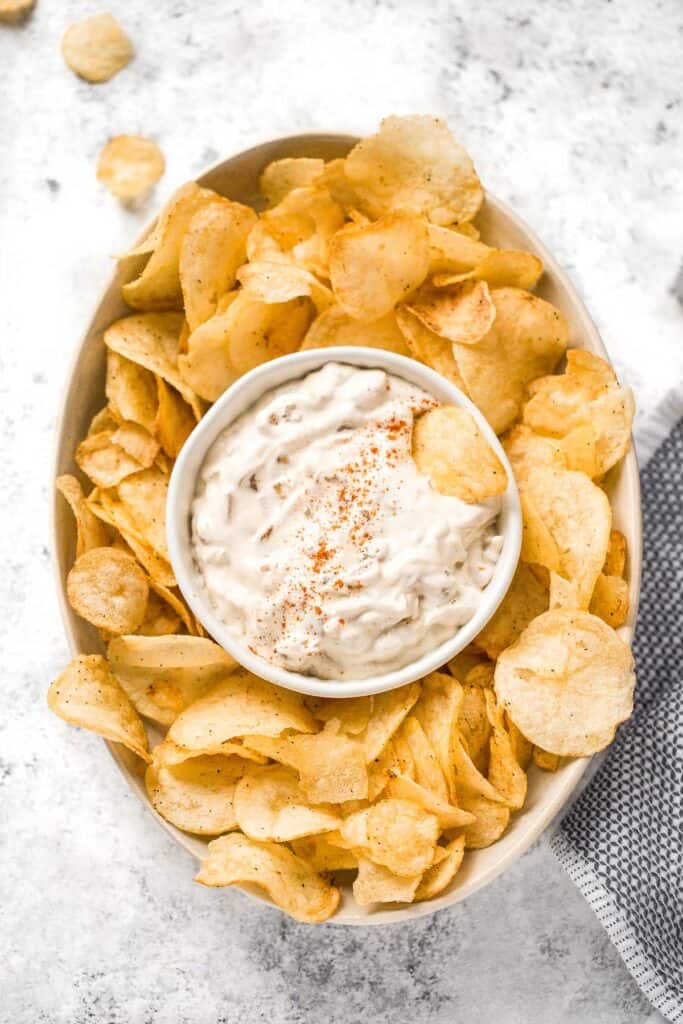
Caramelized onion dip is creamy, flavorful, and melt-in-your-mouth delicious. This easy appetizer is perfect for entertaining, on game day, or for a snack.
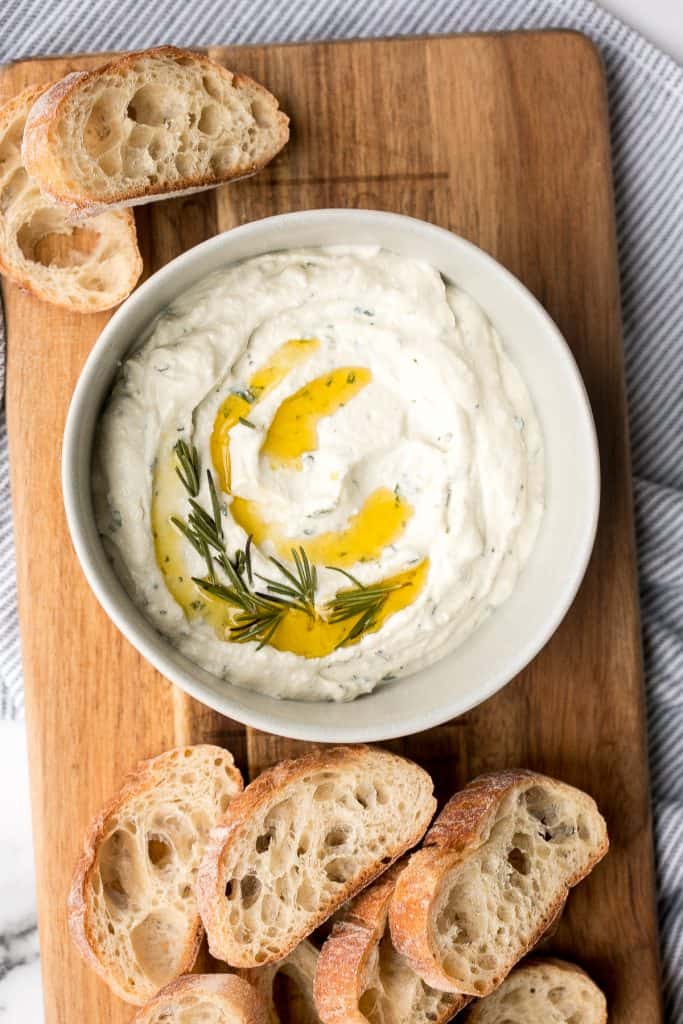
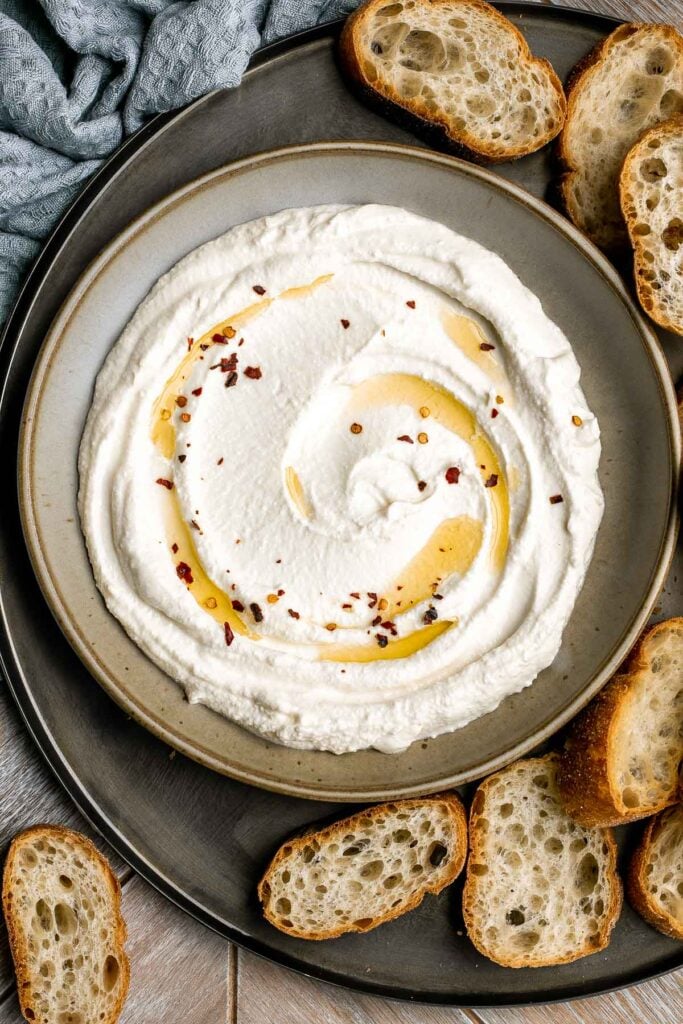
Light and airy, whipped ricotta dip is so easy to make in just 5 minutes with a few fresh ingredients including fresh herbs, olive oil, garlic, and honey.
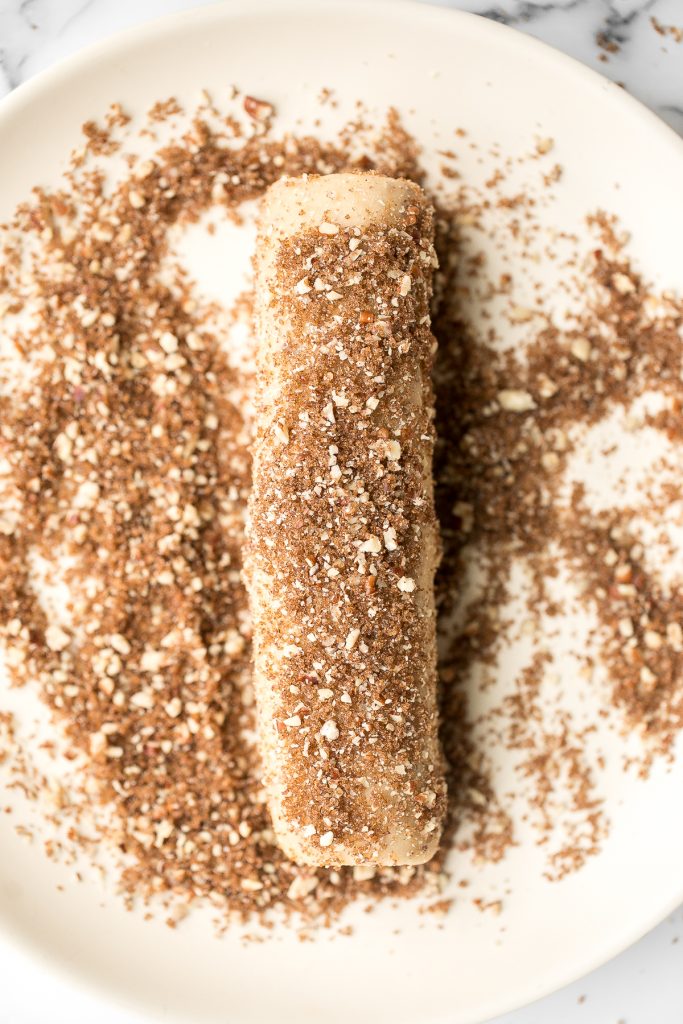
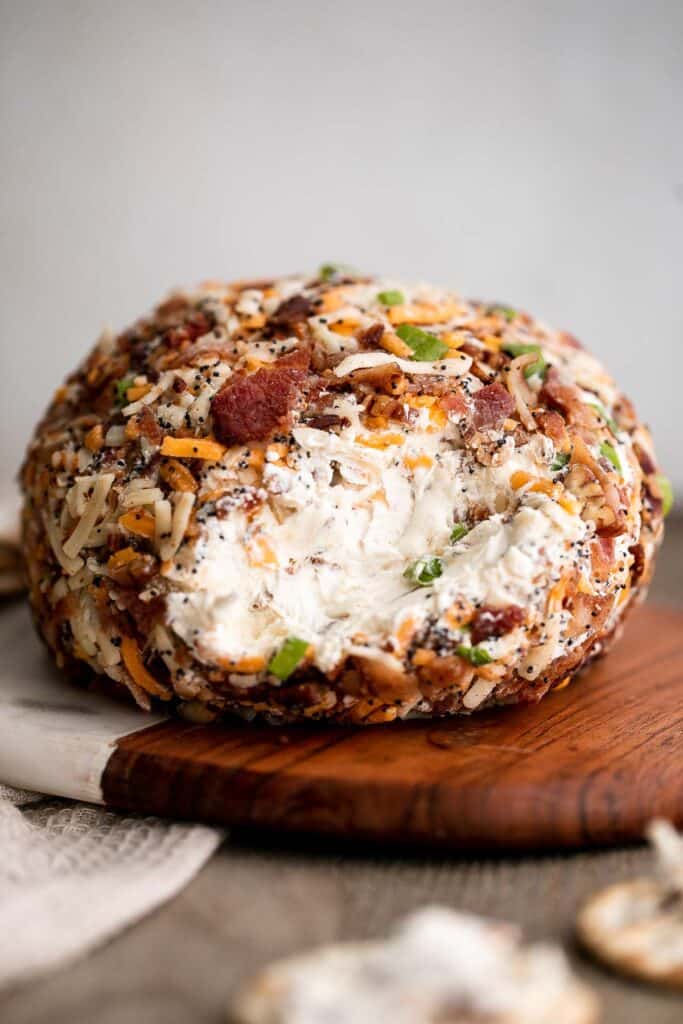
Bacon cheddar cheese ball is an easy to make appetizer and delicious showstopper at holiday parties or game day. It's creamy, cheesy, and nutty.
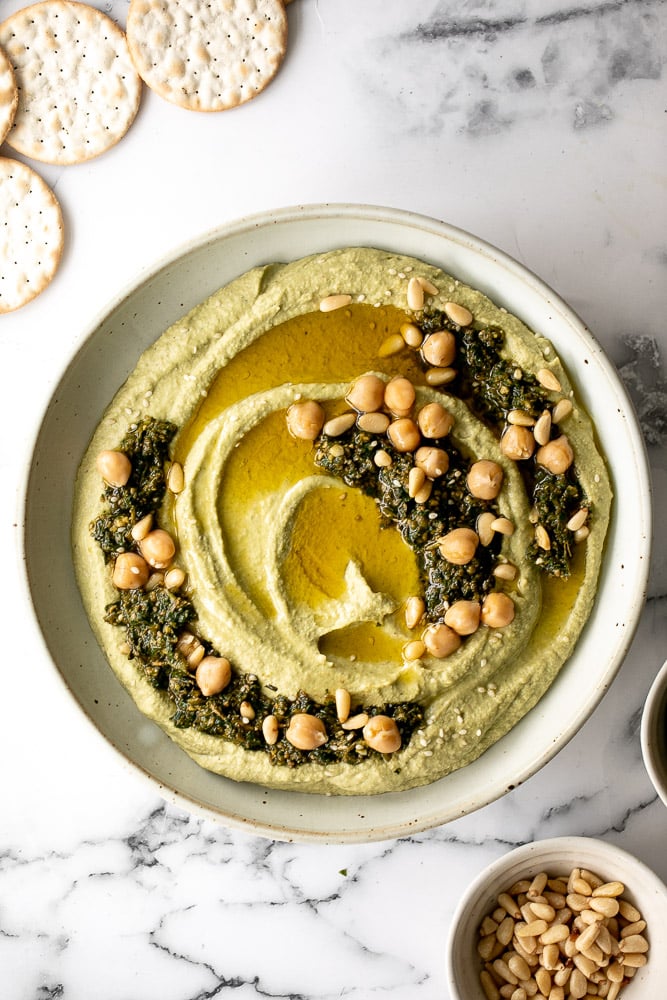
Smooth and creamy pesto hummus is a healthy, delicious and flavourful dip that is easy to make in just 5 minutes. It's vegan and gluten-free.
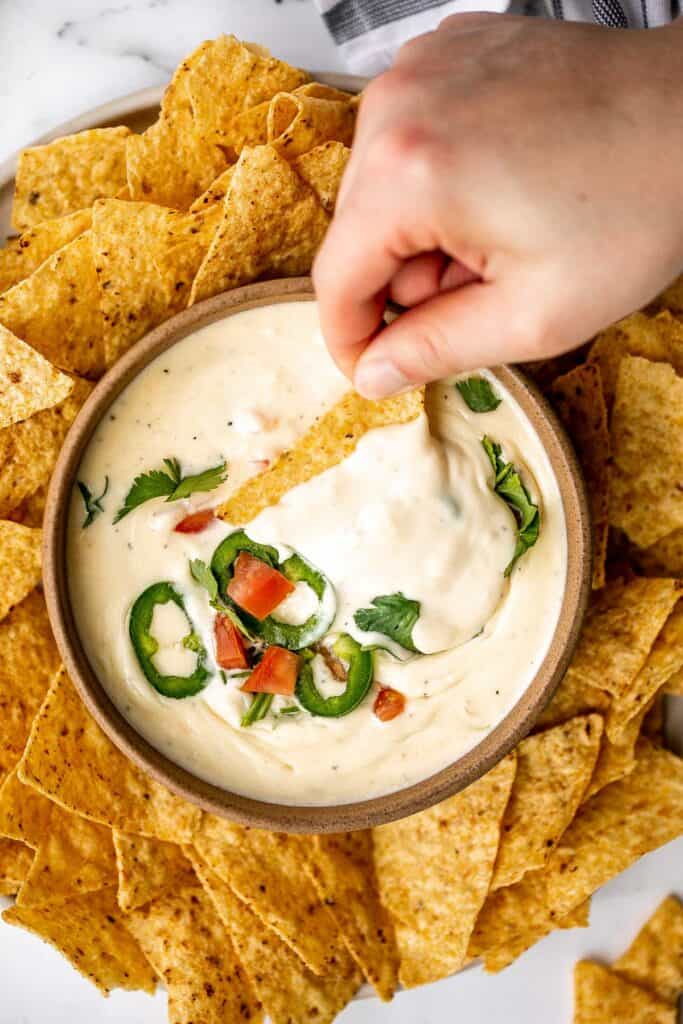
Homemade queso Mexican cheese dip is smooth, creamy, delicious, flavorful, and so easy to make. It's so much better than store-bought in every way.
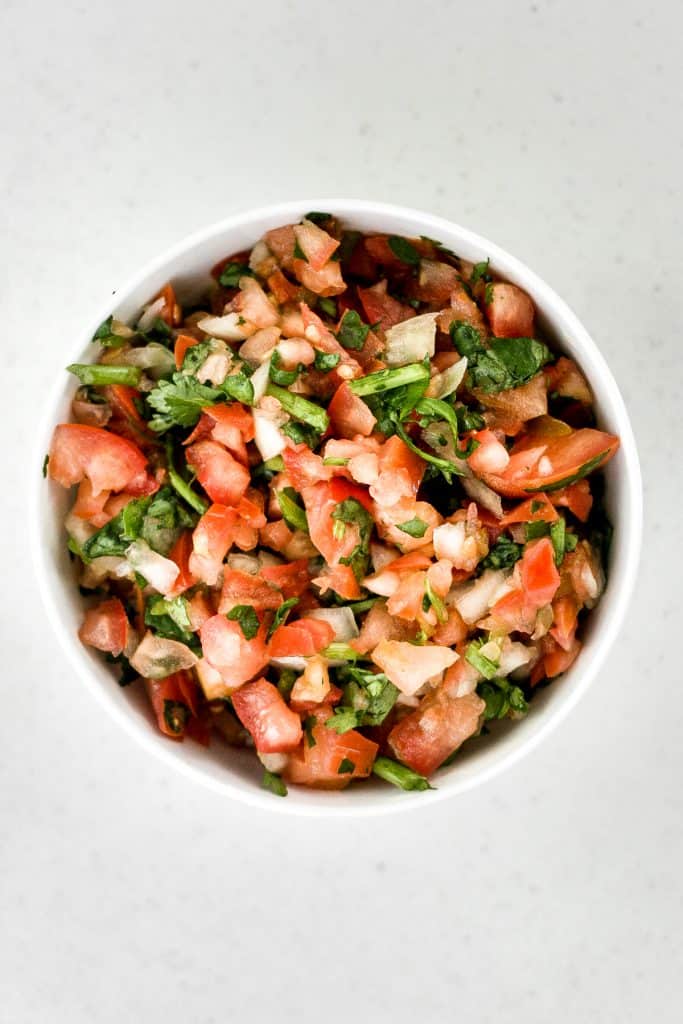
Easy 5-minute pico de gallo chunky salsa is packed with fresh tomatoes, onion, cilantro, and lime juice (and optional jalapeños for a spicy kick).
Whipped feta is light, airy, and fluffy. It's an easy yet impressive recipe that takes only 5 minutes to make in a blender with 3 simple ingredients.
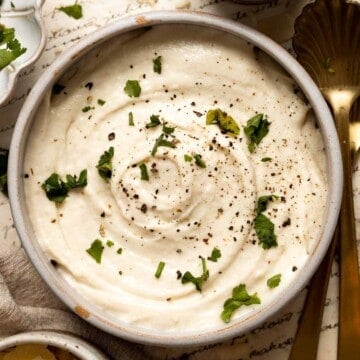
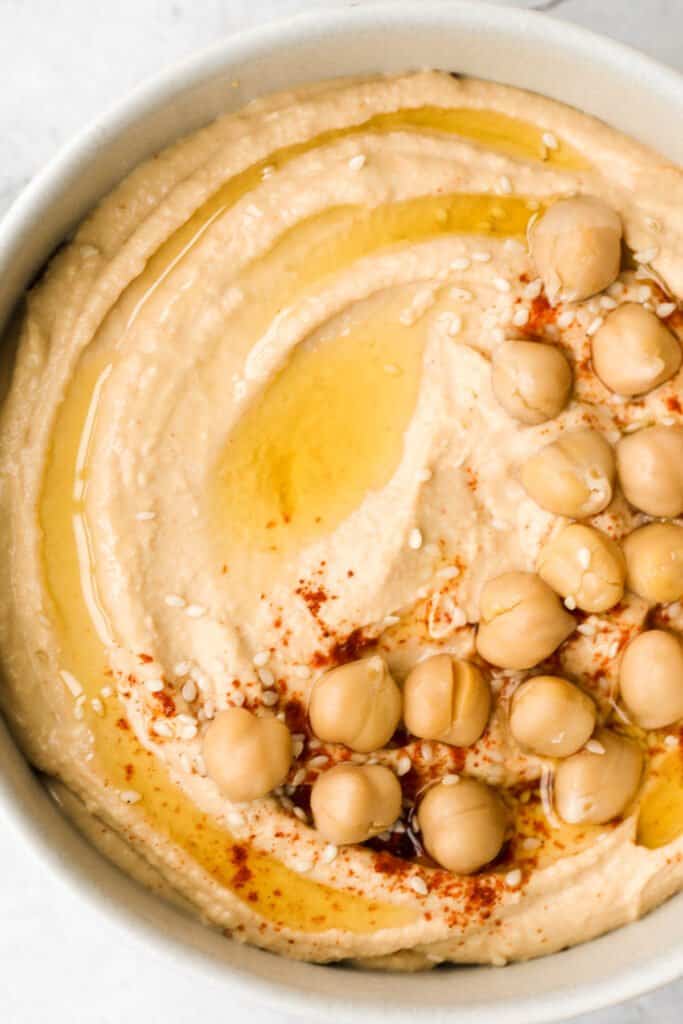
Whip up classic smooth and creamy hummus dip at home in just 5 minutes, by combining chickpeas, tahini, olive oil, lemon juice and garlic in the blender. Serve it with veggies or crackers, or use it in a vegan hummus wrap.
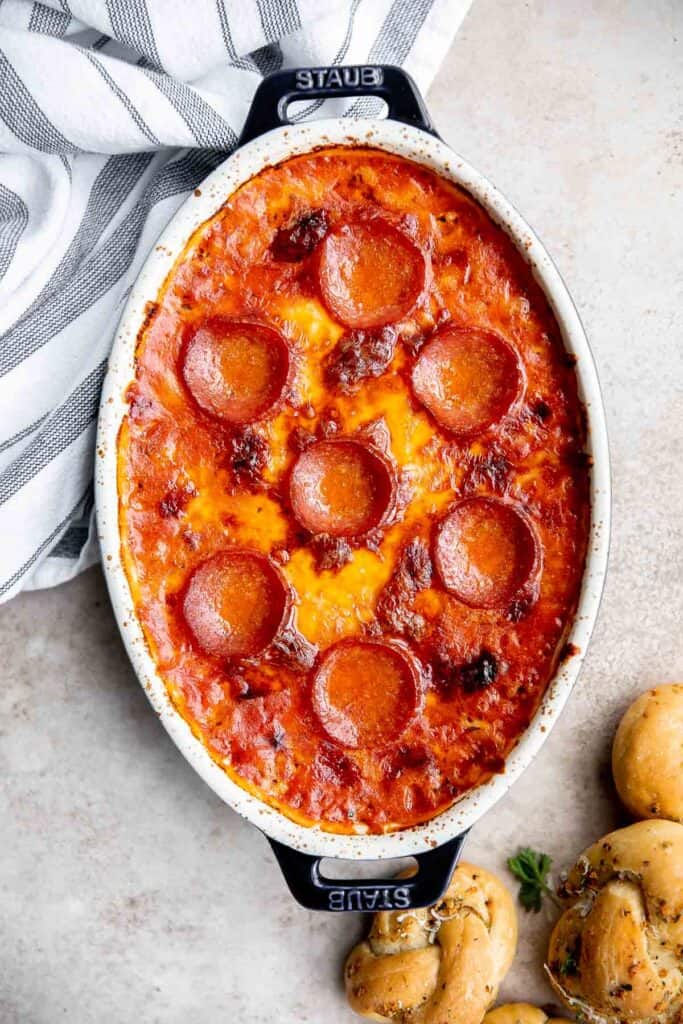
Pepperoni pizza dip is creamy, rich, comforting, and delicious. This appetizer is easy to make, easy to prepare ahead of time, and easy to eat.
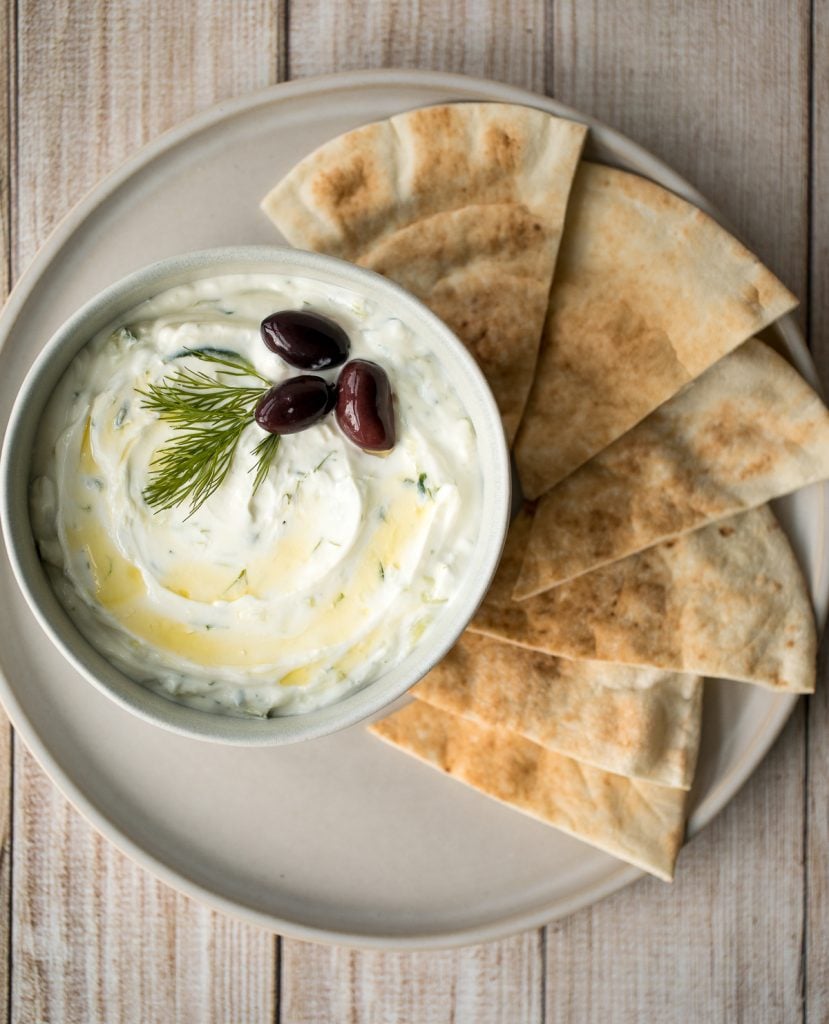
Easy Tzatziki Sauce (Cucumber Yogurt Dip)
Light and fresh, easy tzatziki sauce is a creamy yogurt cucumber dip packed with fresh cucumbers, garlic, dill, lemon juice and olive oil. So easy to make.
Quick and easy avocado hummus is creamy, smooth, healthy, and delicious. Loaded with chickpeas and avocado, it's the perfect blend of hummus and guacamole.

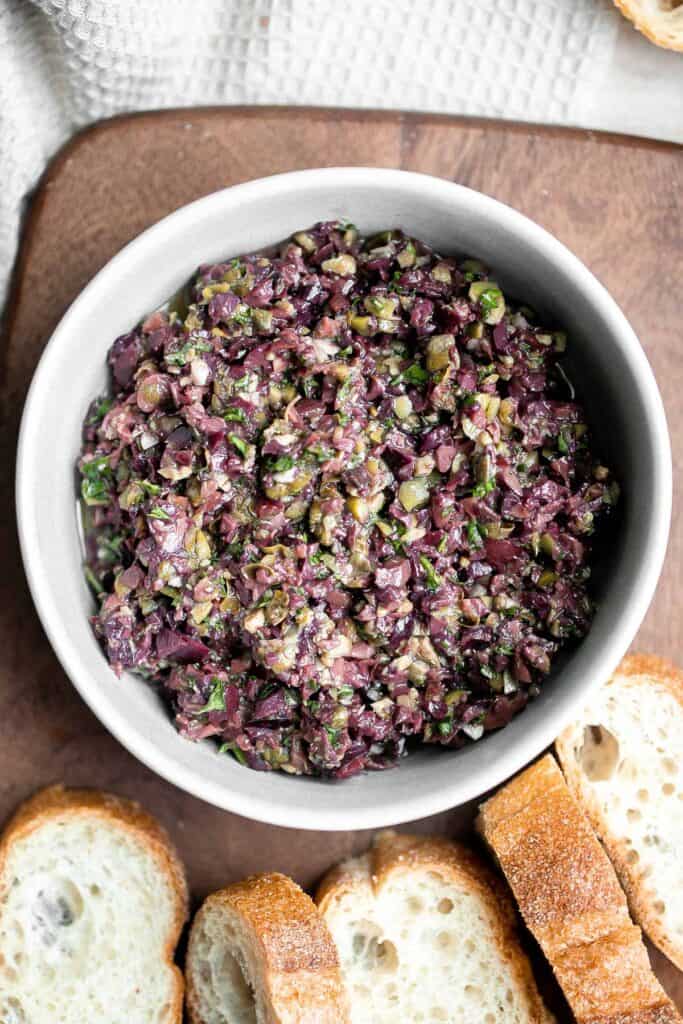
Olive tapenade is a delicious, flavorful, easy dip that comes together in minutes, made with the perfect combination of sharp, tangy, salty, and savory.
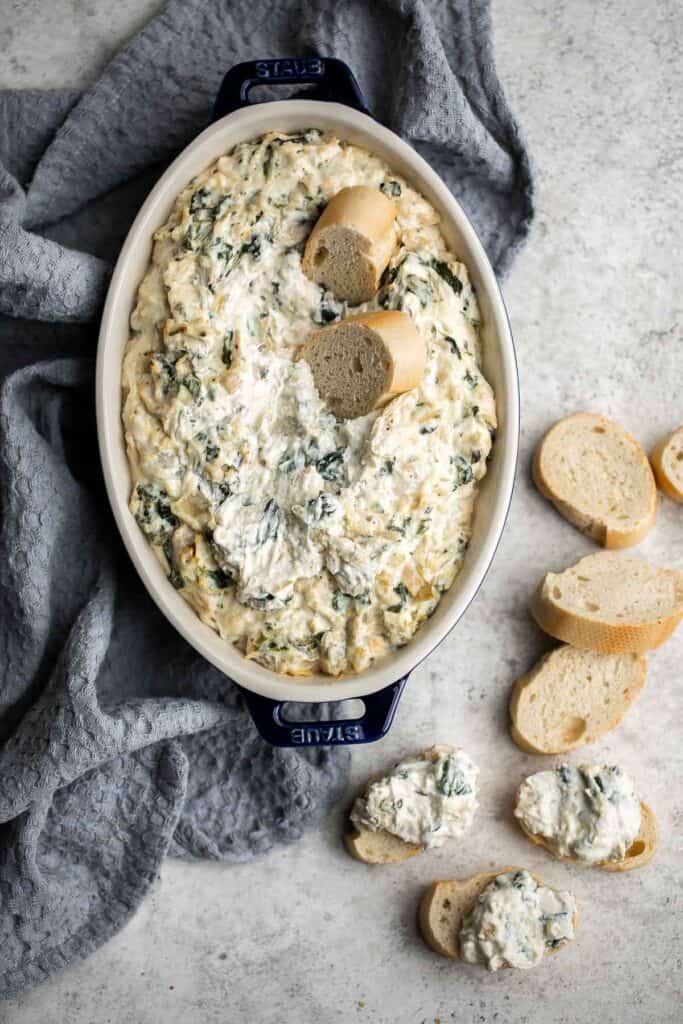
This baked spinach artichoke dip is quick, easy, creamy, flavorful, and delicious. This warm dip is baked in the oven and served with bread or crackers.
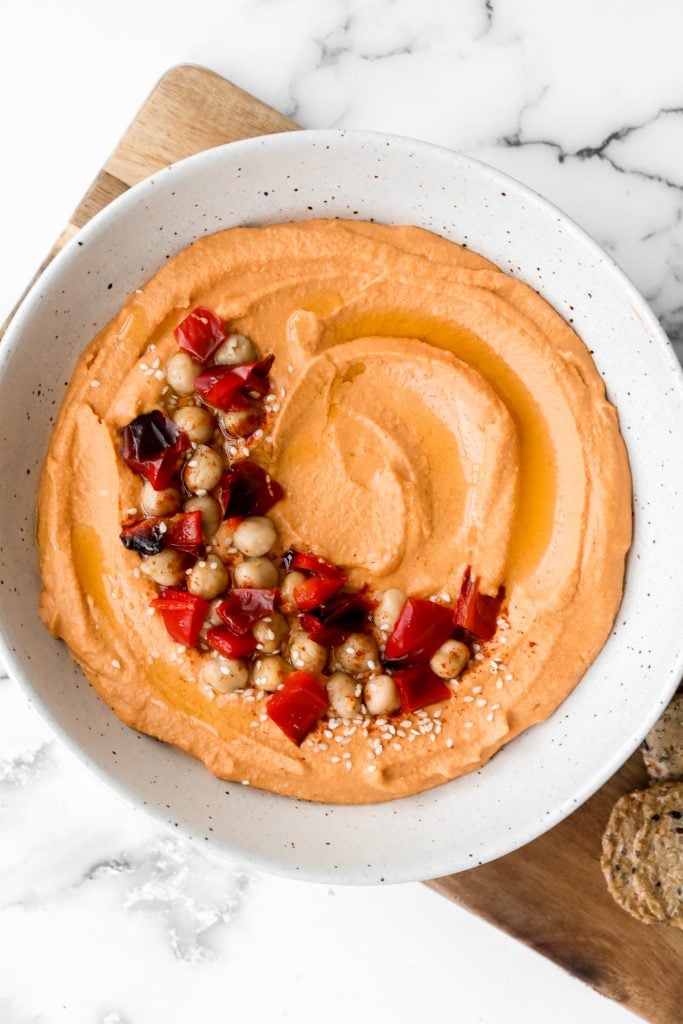
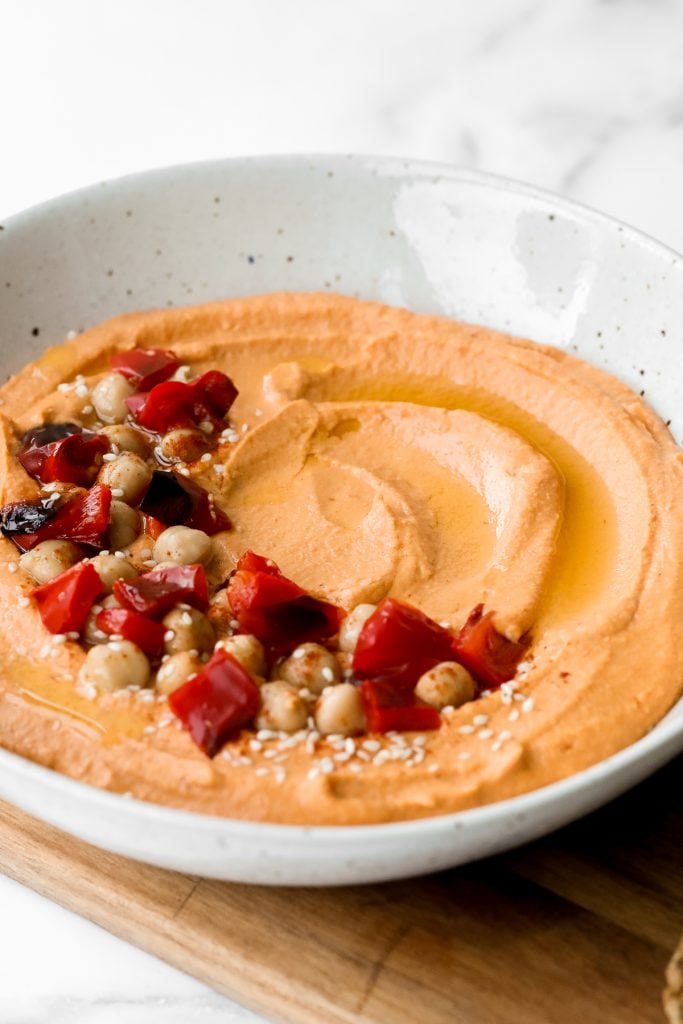
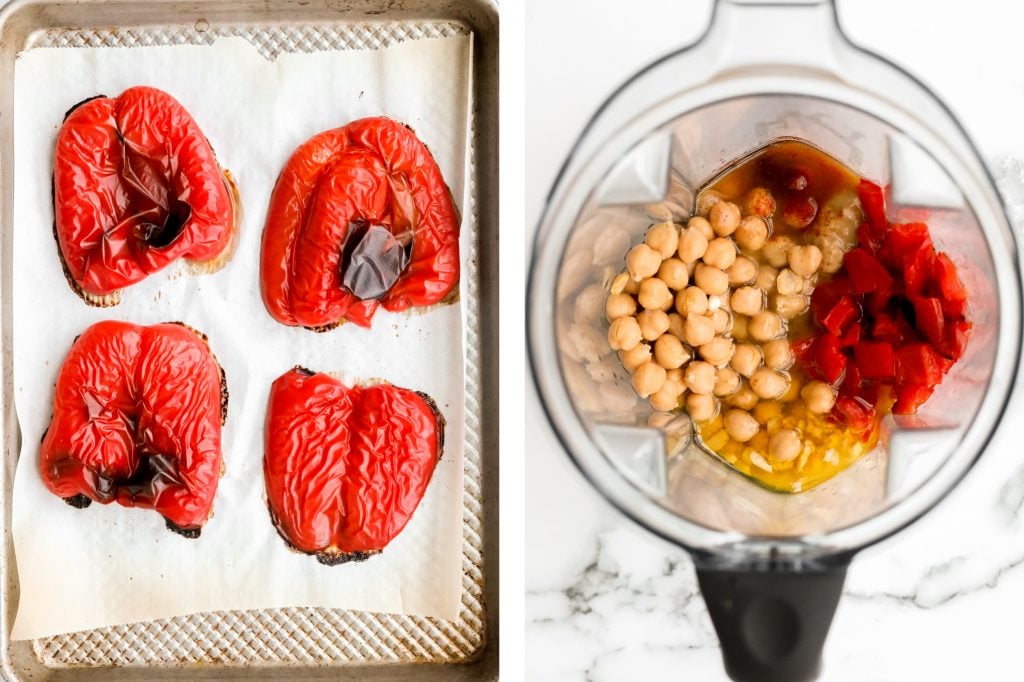
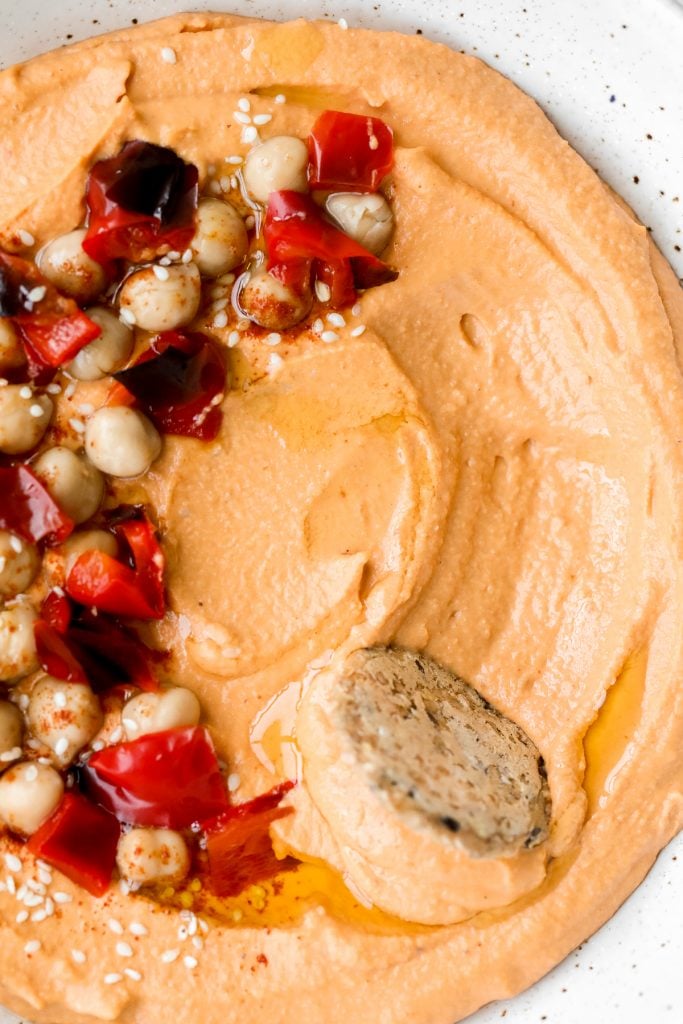
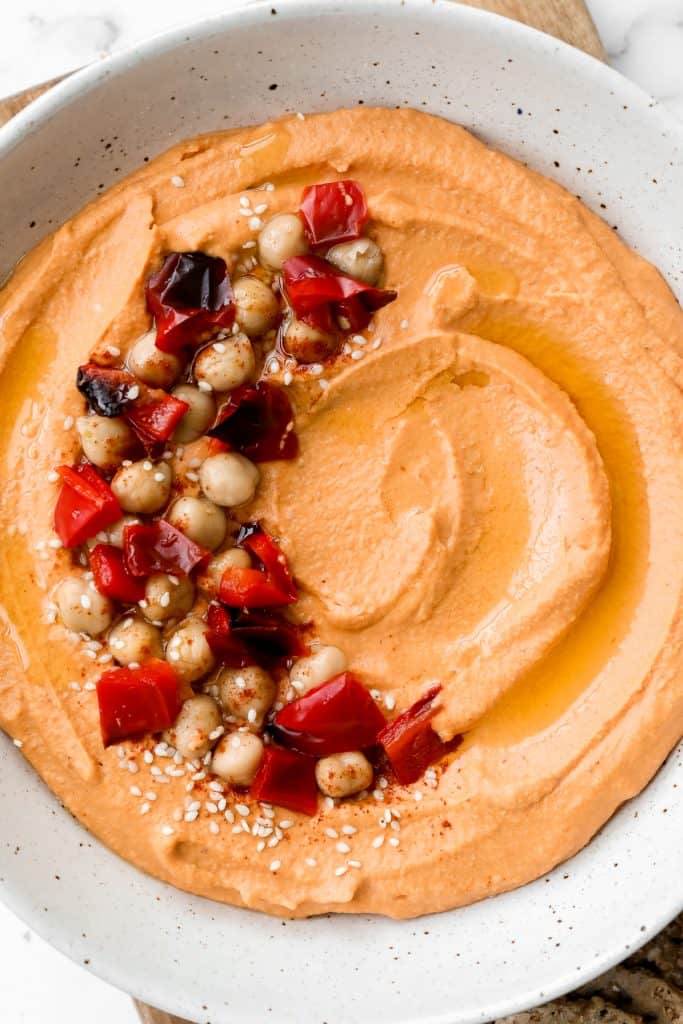
Smooth creamy roasted red pepper hummus is a delicious, flavourful, vegan + gluten-free dip. This healthy appetizer is easy to make with a few ingredients.
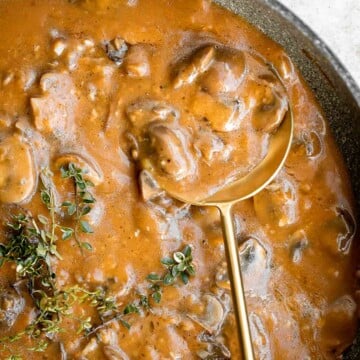
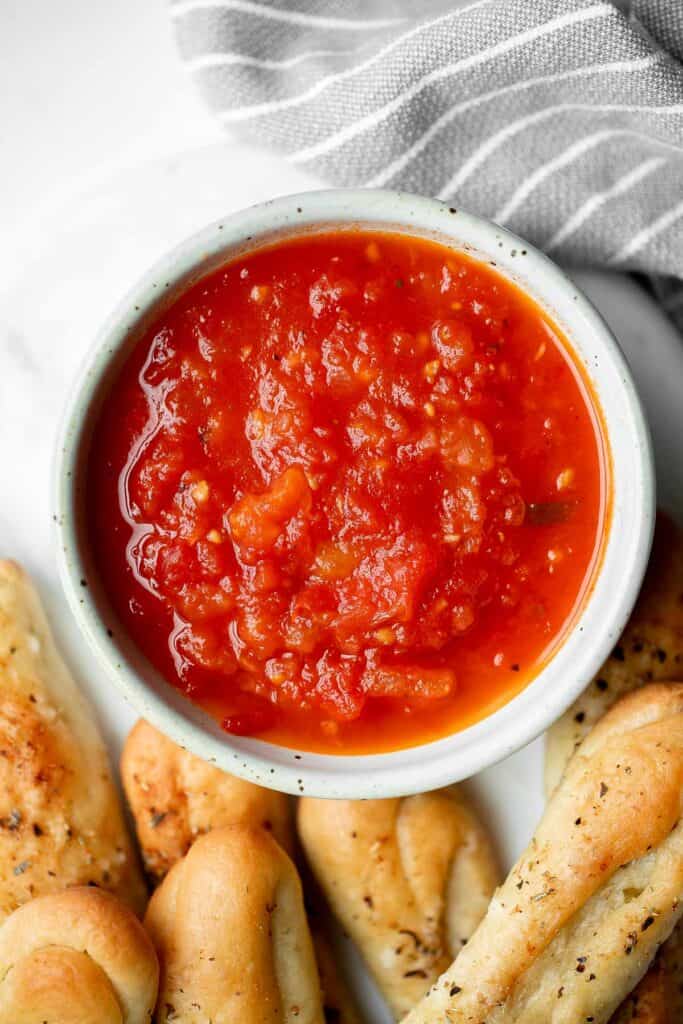
Marinara sauce is rich, vibrant, and loaded with flavor. It's easy to make with a few simple fresh ingredients. Serve as a dip or in pasta and pizza.
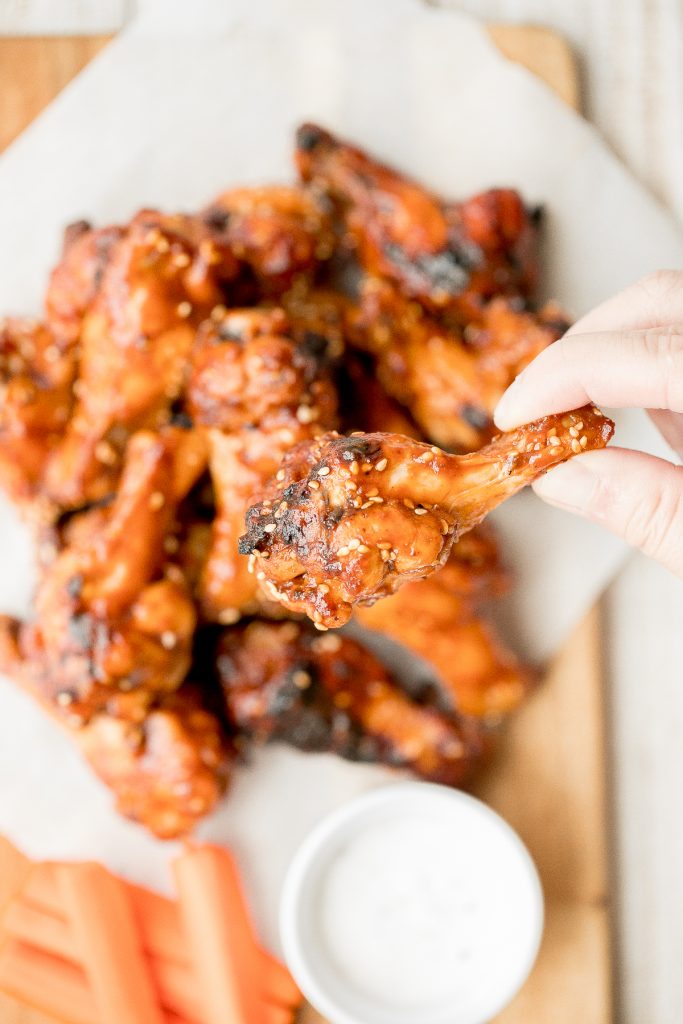
Chicken Wings
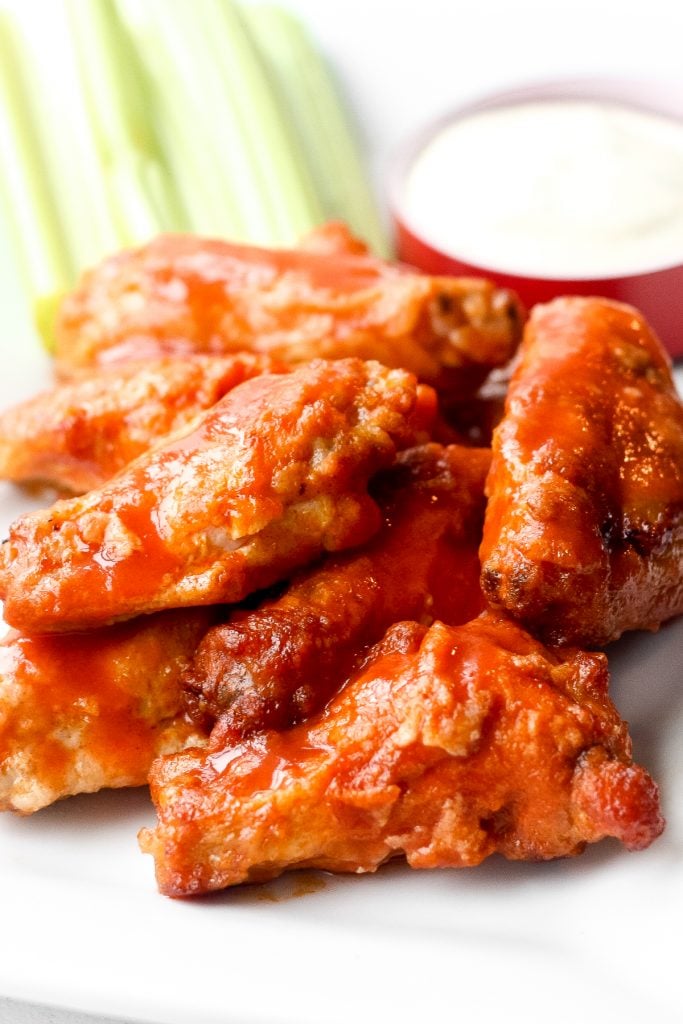
Is it even game day without game day buffalo hot wings? This classic appetizer is a total crowd pleaser and one of my most popular Super Bowl recipes.
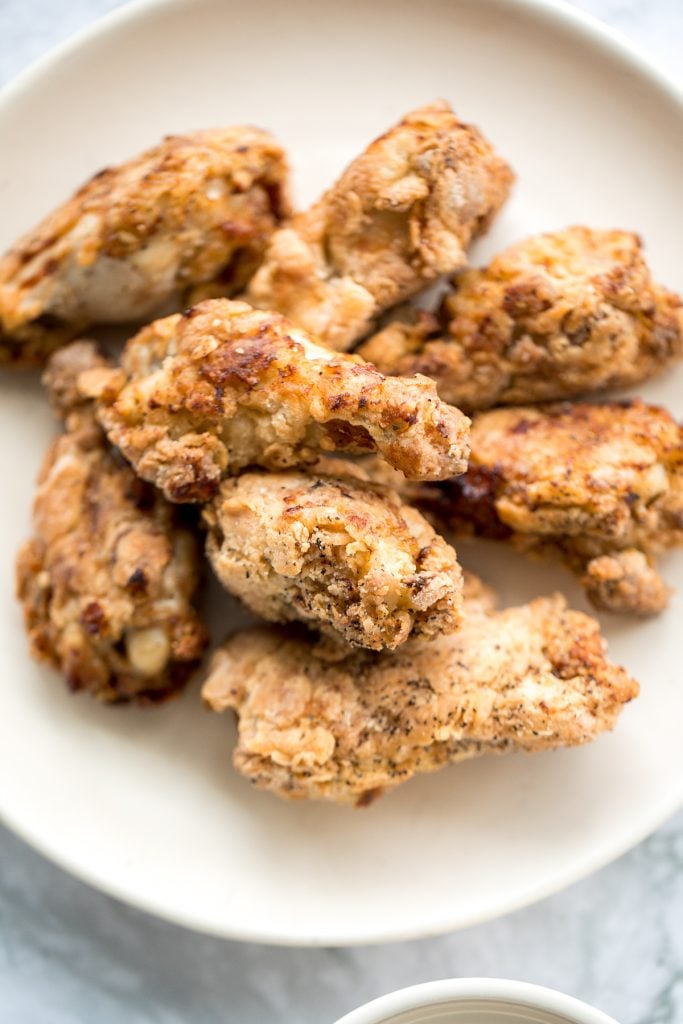
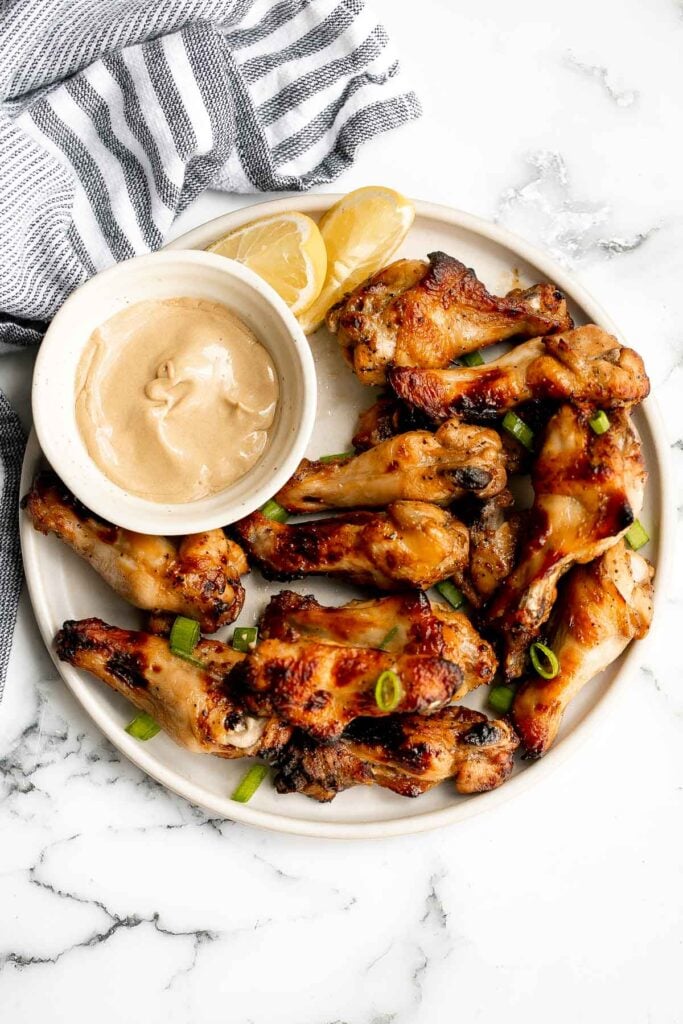
The Best Breaded Fried Chicken Wings (Air Fryer)
The BEST breaded fried chicken wings -- extra crispy and crunchy outside, tender and juicy inside. You can't even tell they're air fried, not deep-fried!
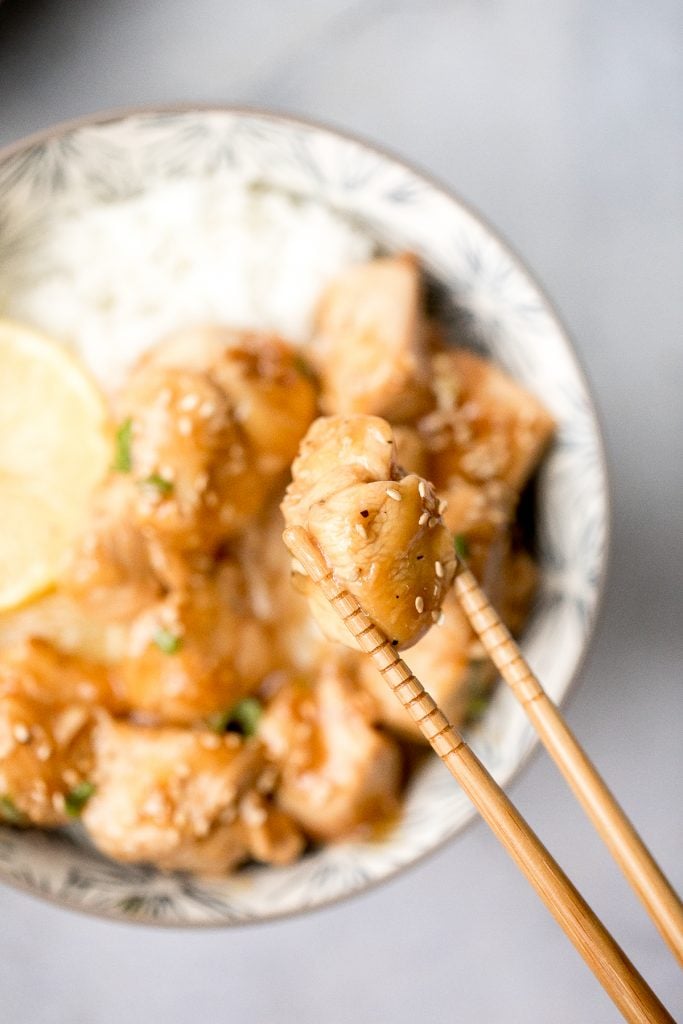
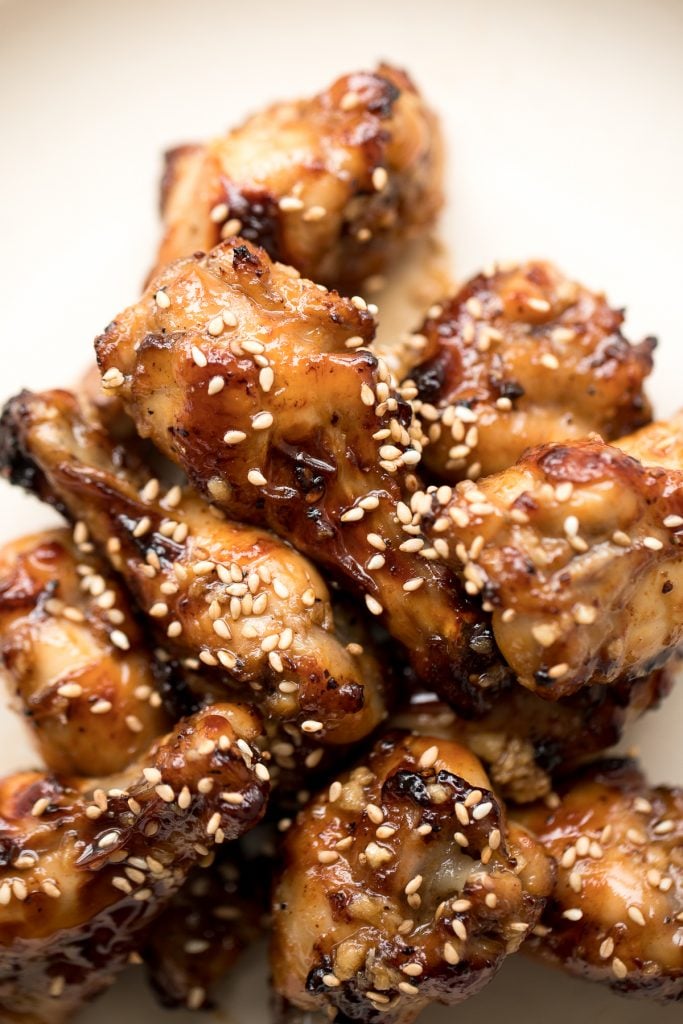
These sweet and sticky honey garlic chicken wings are baked or air fried until crispy and tossed in a honey garlic sauce. So crave-worthy and so easy to make.
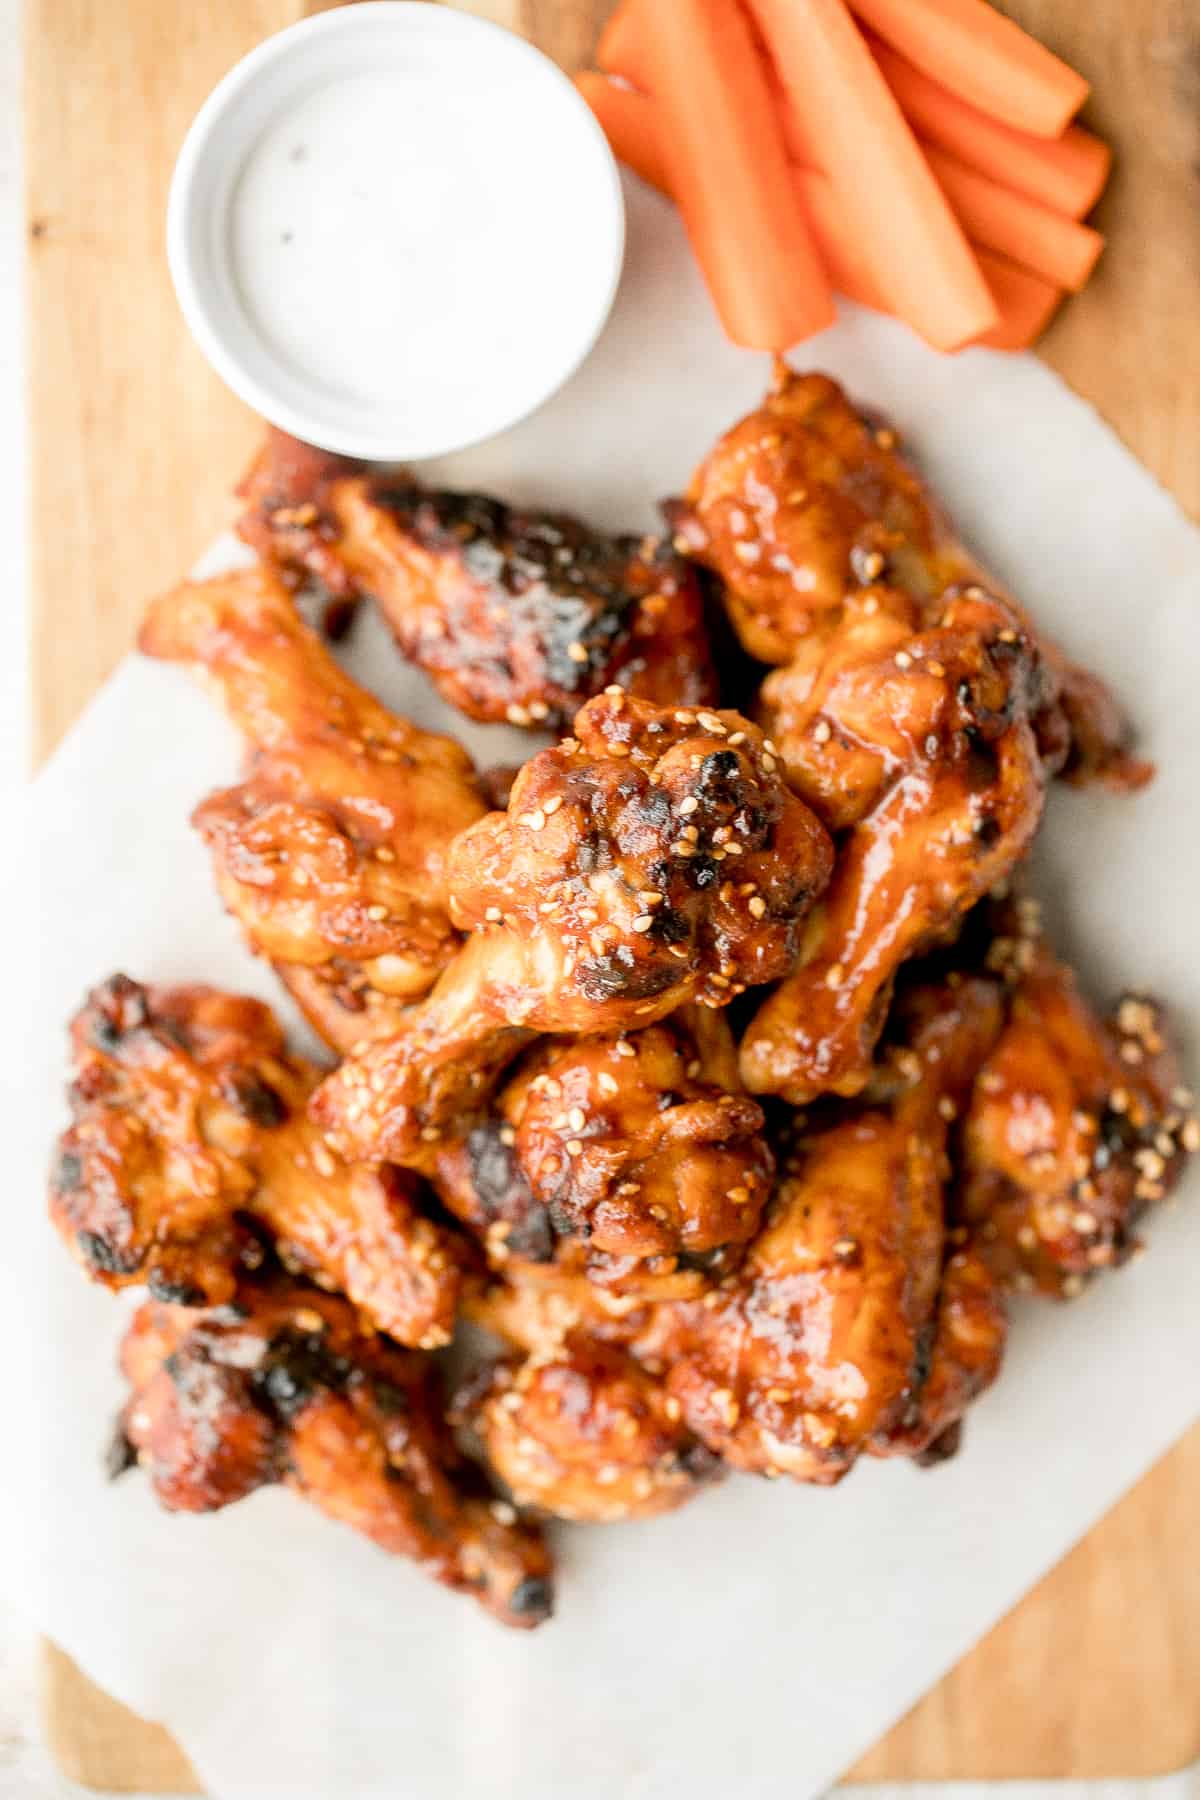
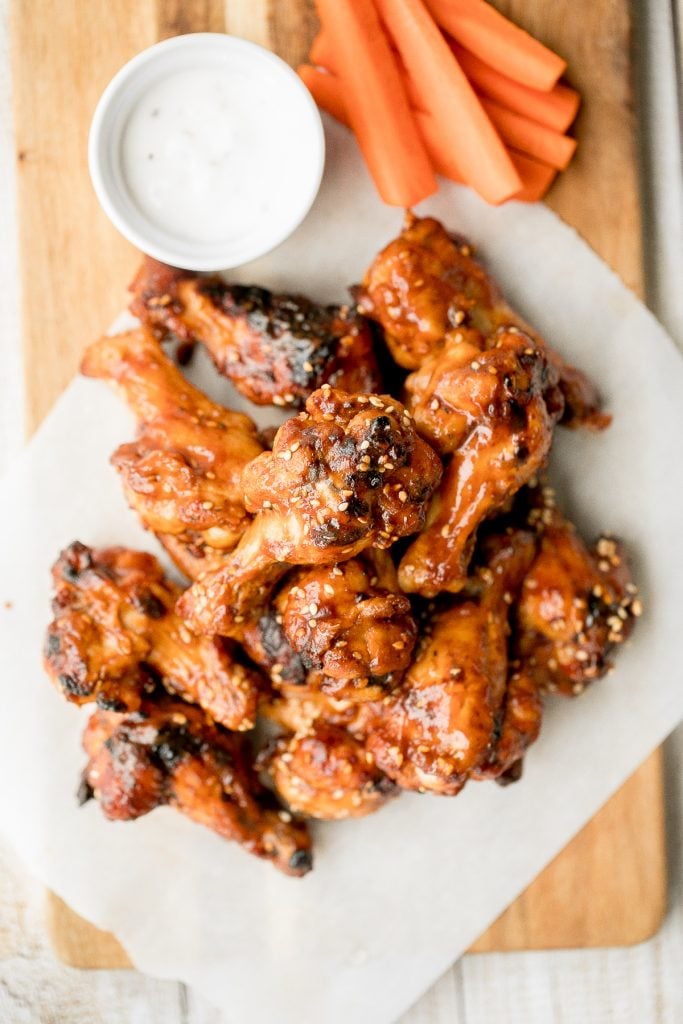
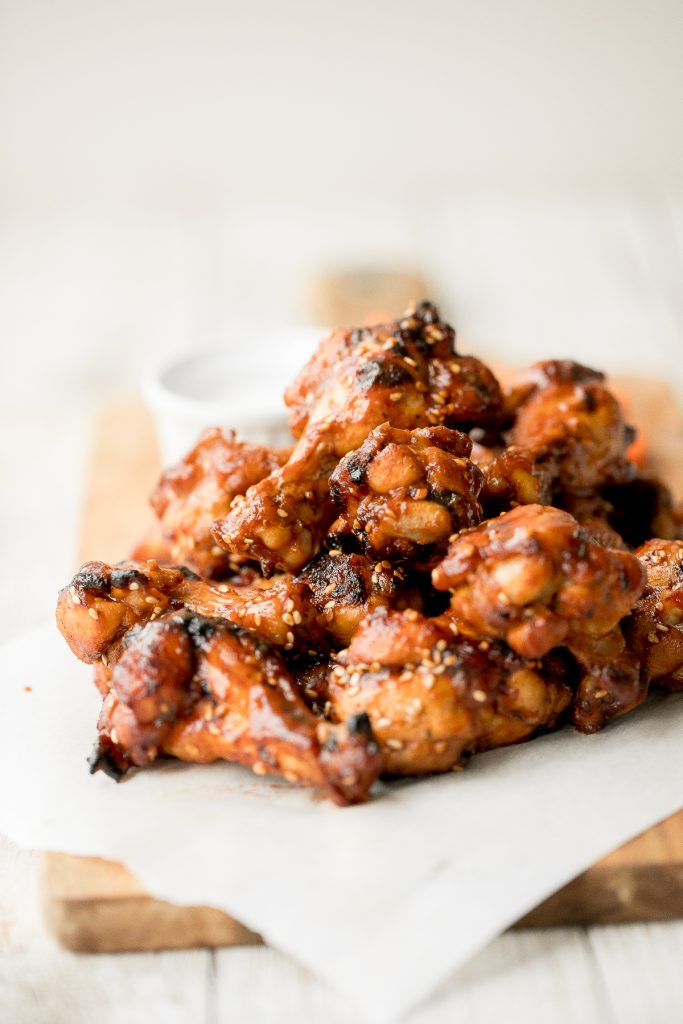
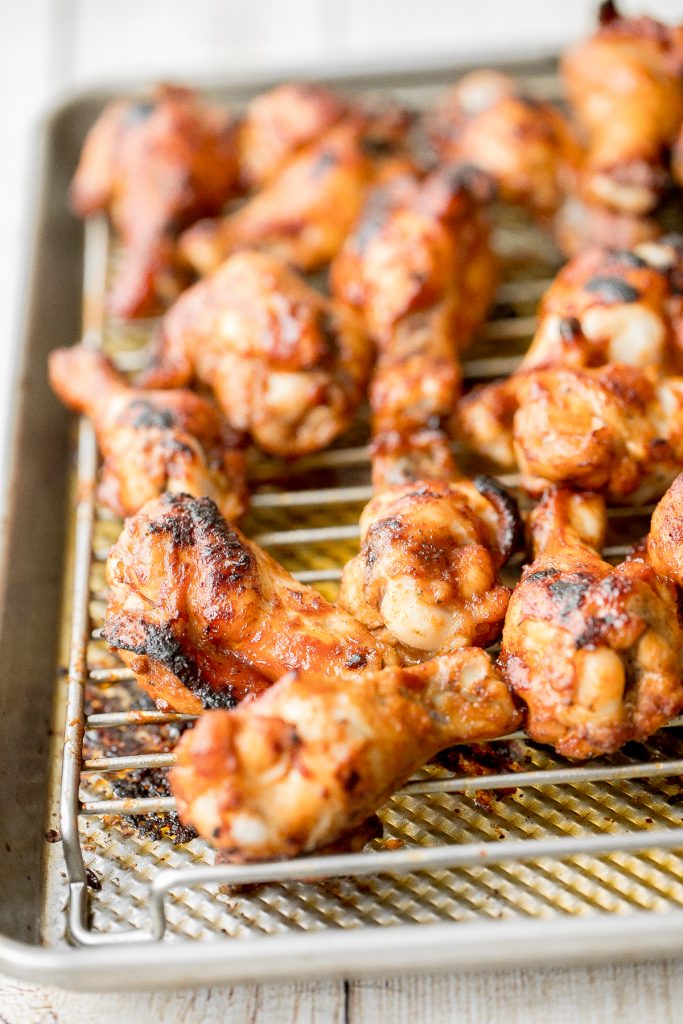
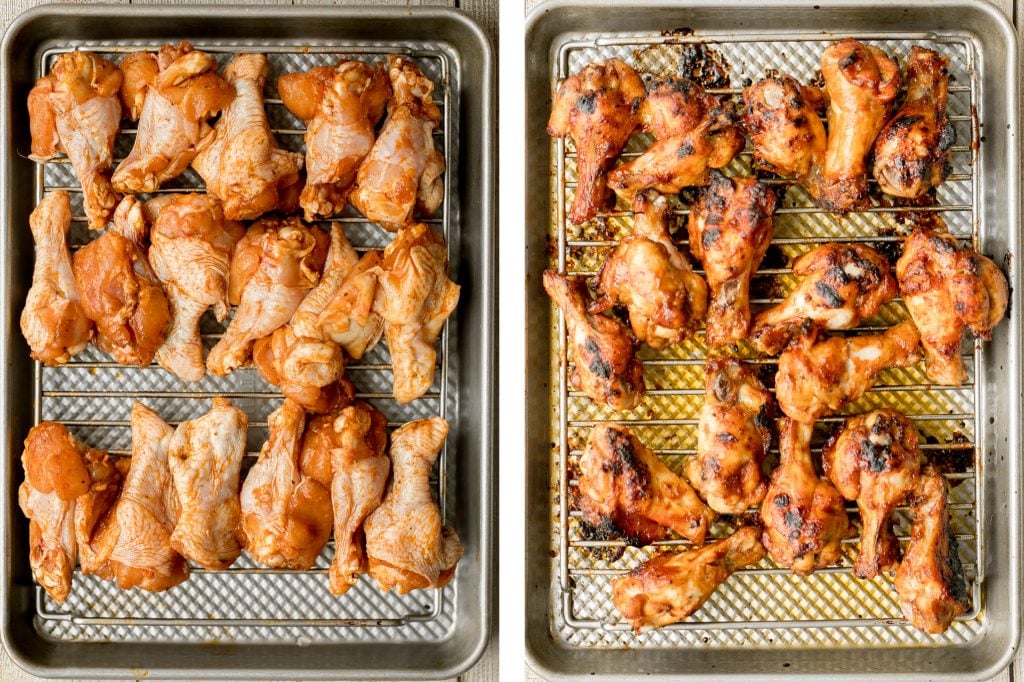
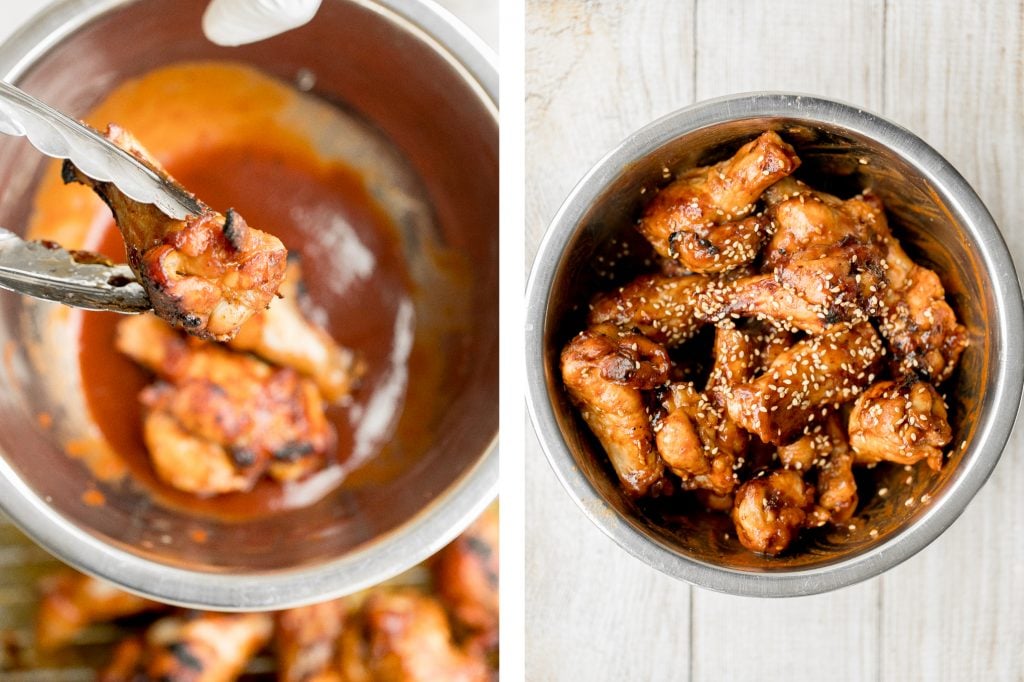
Sweet and sticky, baked BBQ chicken wings are perfectly crispy, so delicious, and smothered in barbecue sauce. They are the perfect game day appetizer.

Baked miso garlic chicken wings are crispy, delicious, and easy to make. They're marinated in a savoury Asian marinade, and cooked in the oven or air fryer.
Honey mustard chicken wings are crispy on the outside but juicy and tender inside. Baked in an air fryer or oven, they have the best texture and flavor.
Jamaican jerk chicken wings with delicious crispy skin and tender and juicy meat are loaded with flavor. They're easy to make on the oven, grill, air fryer.

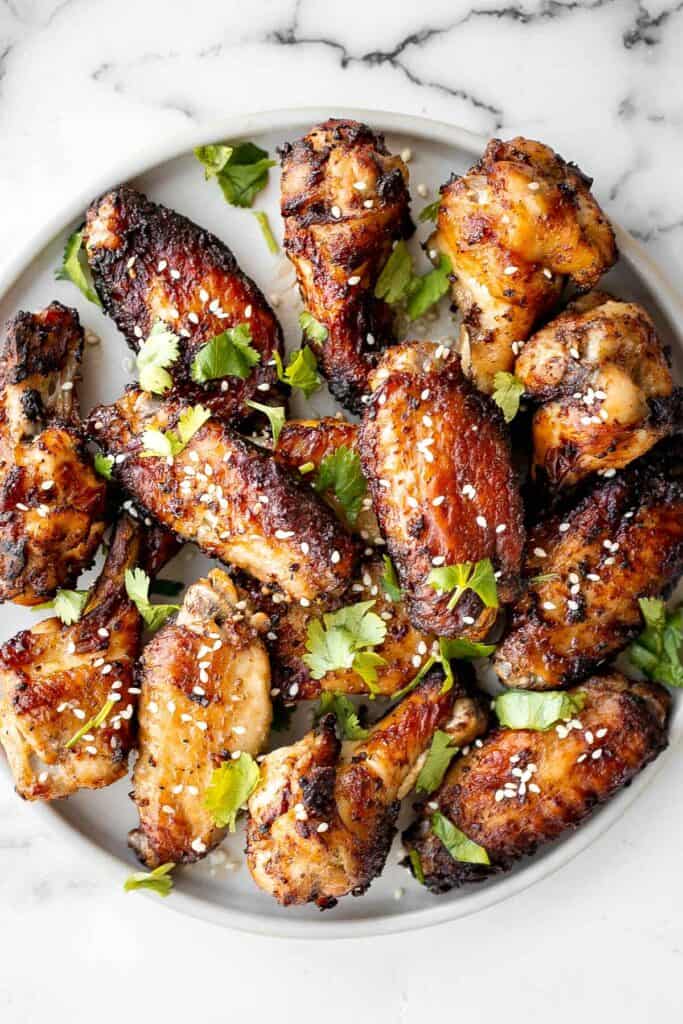
Crispy Baked Asian Chicken Wings
You will be amazed by how crispy these baked Asian chicken wings turn out! We add sriracha for heat, honey for sweetness, and ginger to balance the flavours.

Super Bowl Handheld Party Food
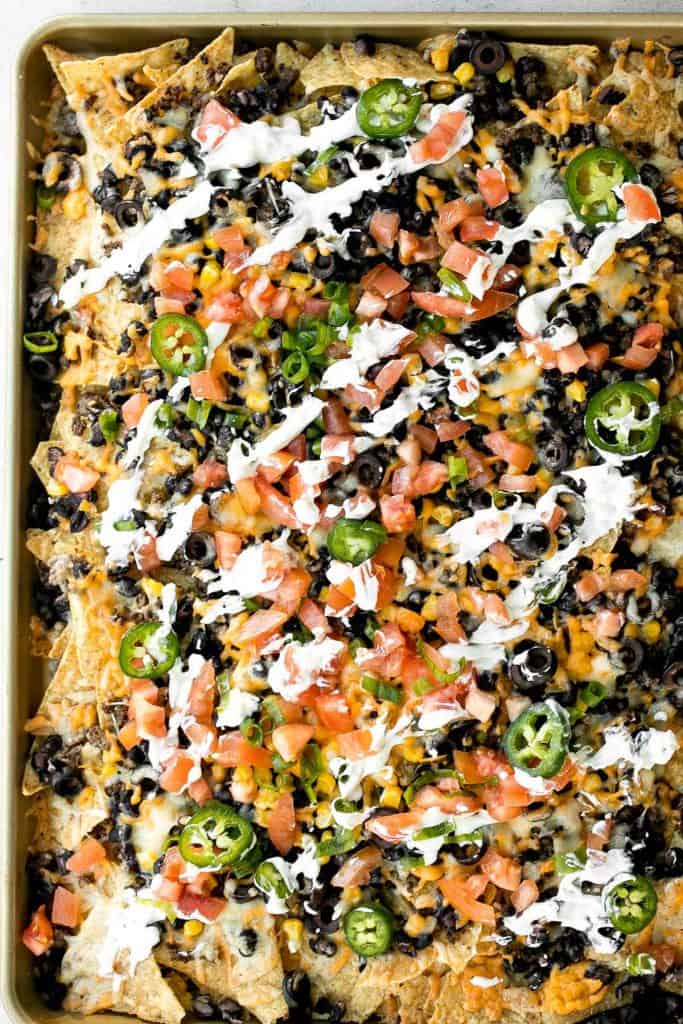
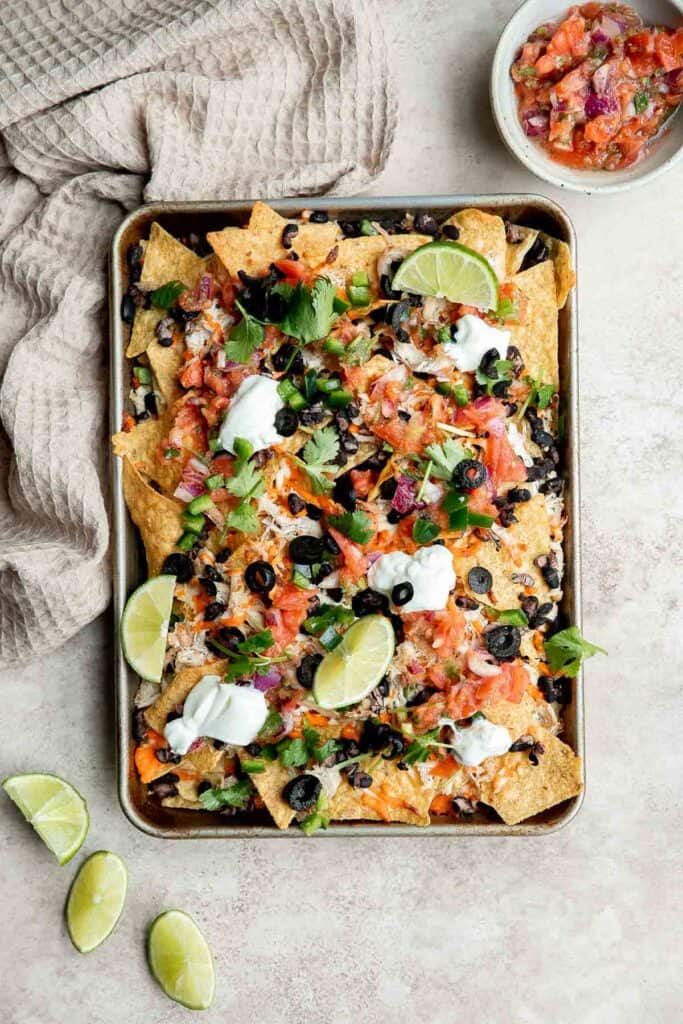
Oven-baked loaded sheet pan nachos are a crowd pleaser for an easy weeknight dinner or a crave-worthy appetizer to serve on game day. It's one of my favourite Super Bowl recipes of all time.
Pigs in a blanket from scratch are a delicious and easy appetizer or snack to make for your next party or gathering - juicy, cheesy, flaky, and buttery.

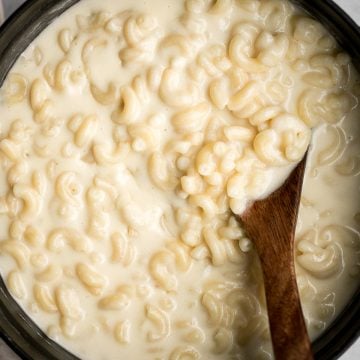
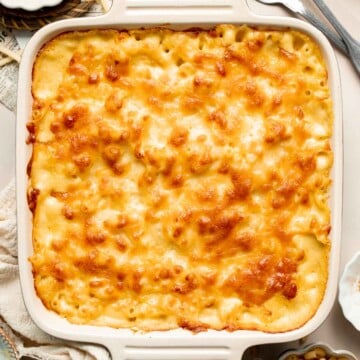
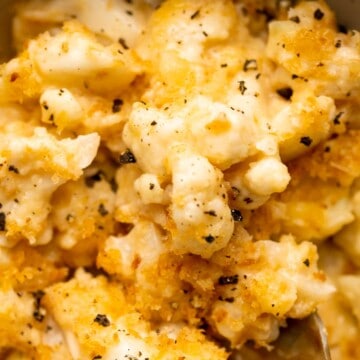
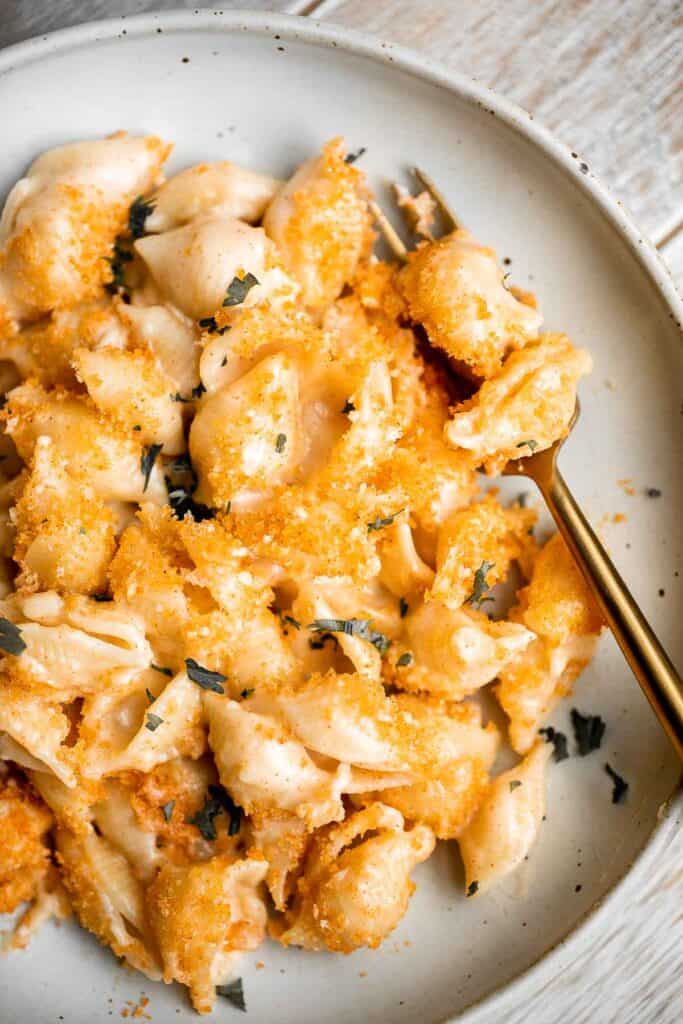
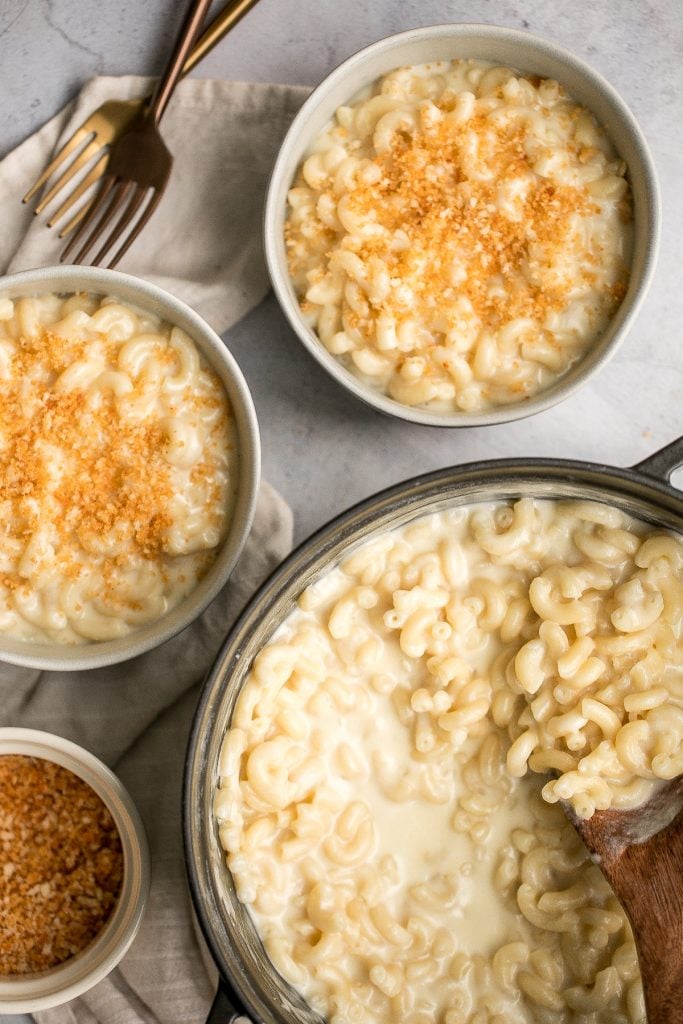
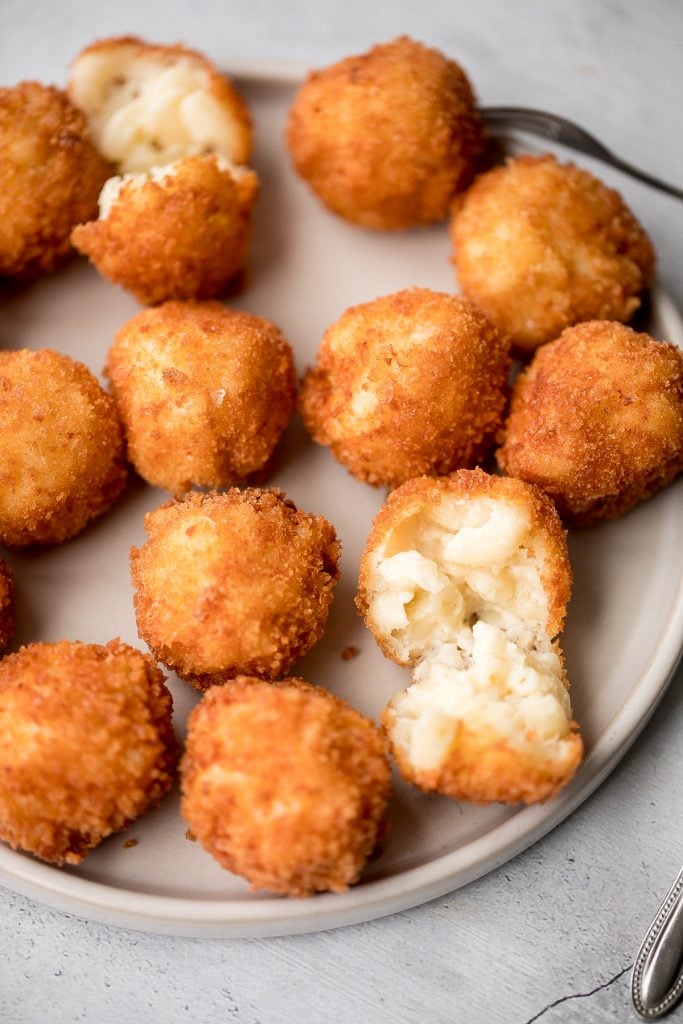
Fried mac and cheese balls are crispy on the outside, creamy and cheesy on the inside, and have the perfect crunch. Best way to use leftover mac and cheese. It's one of the newest additions to my collection of Super Bowl recipes.
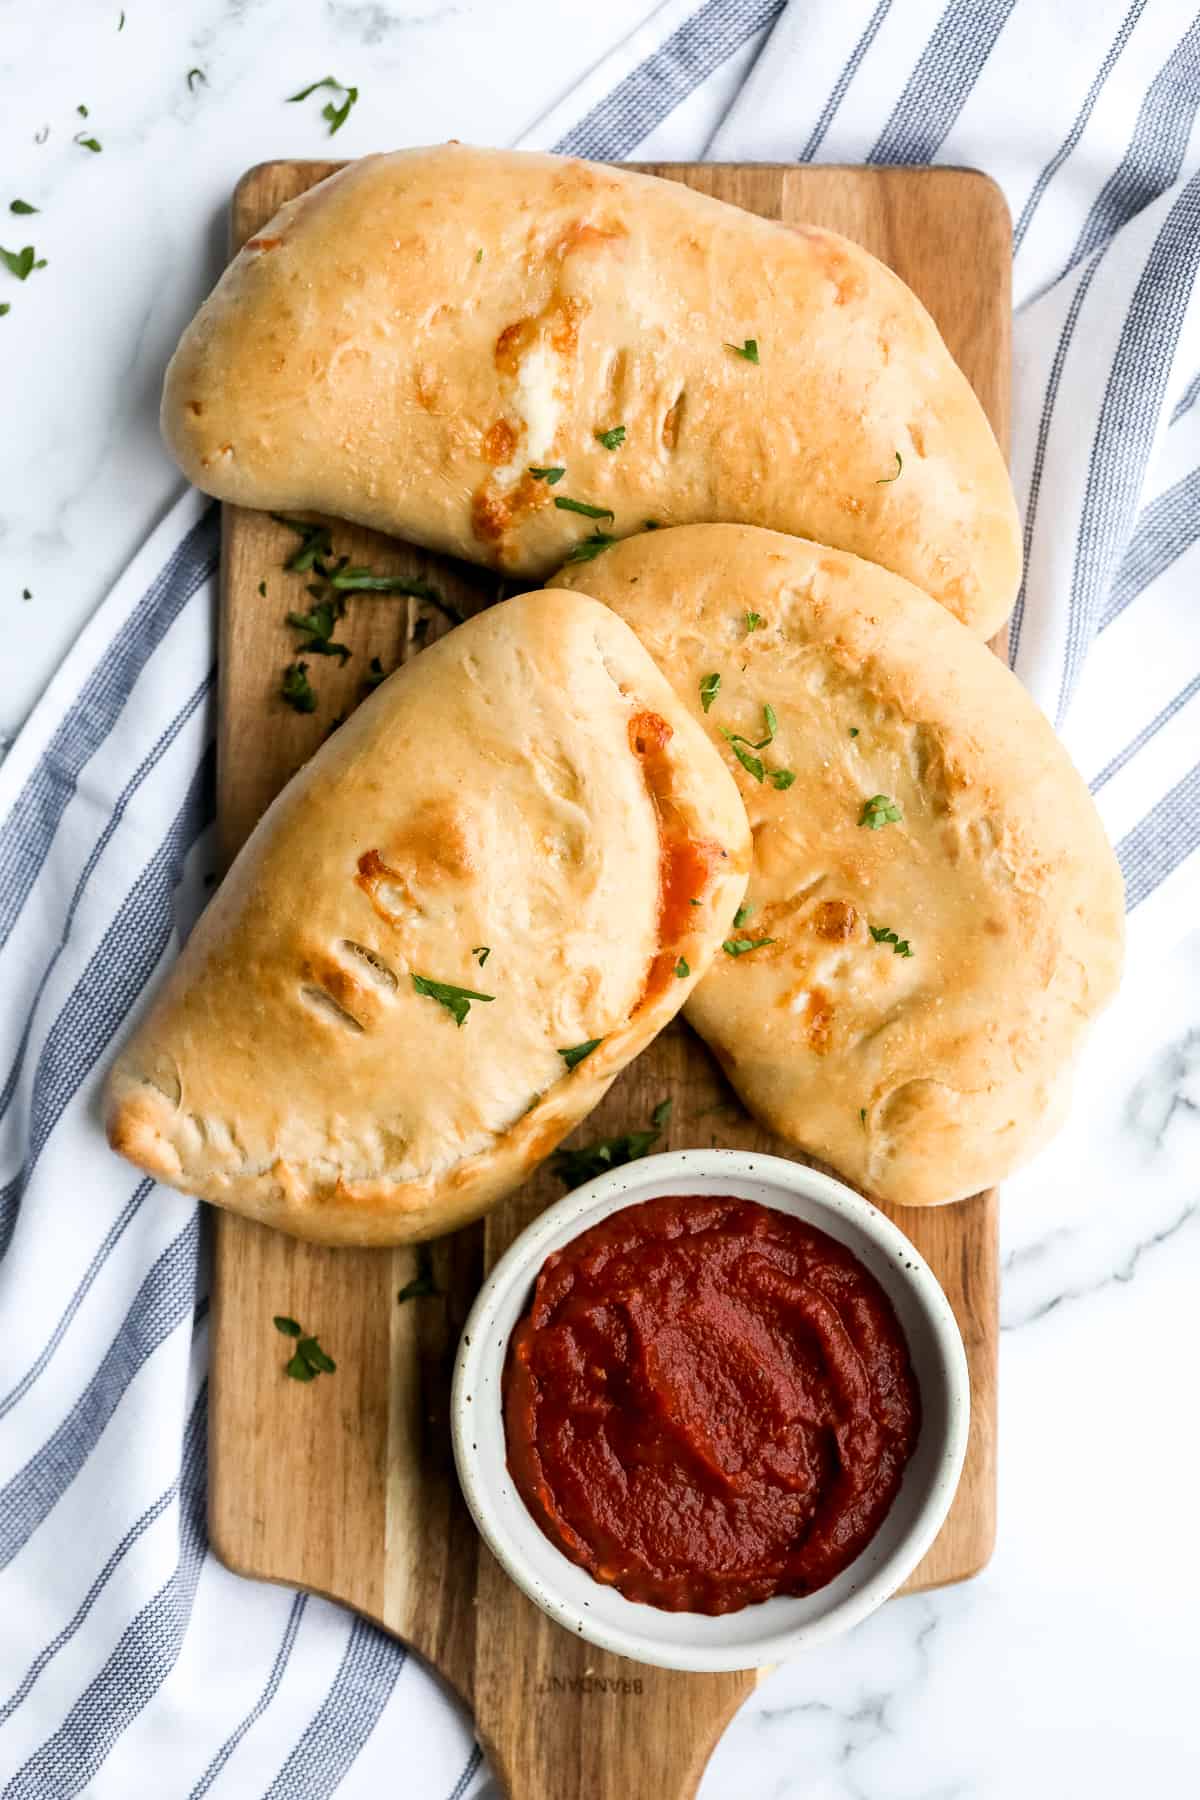
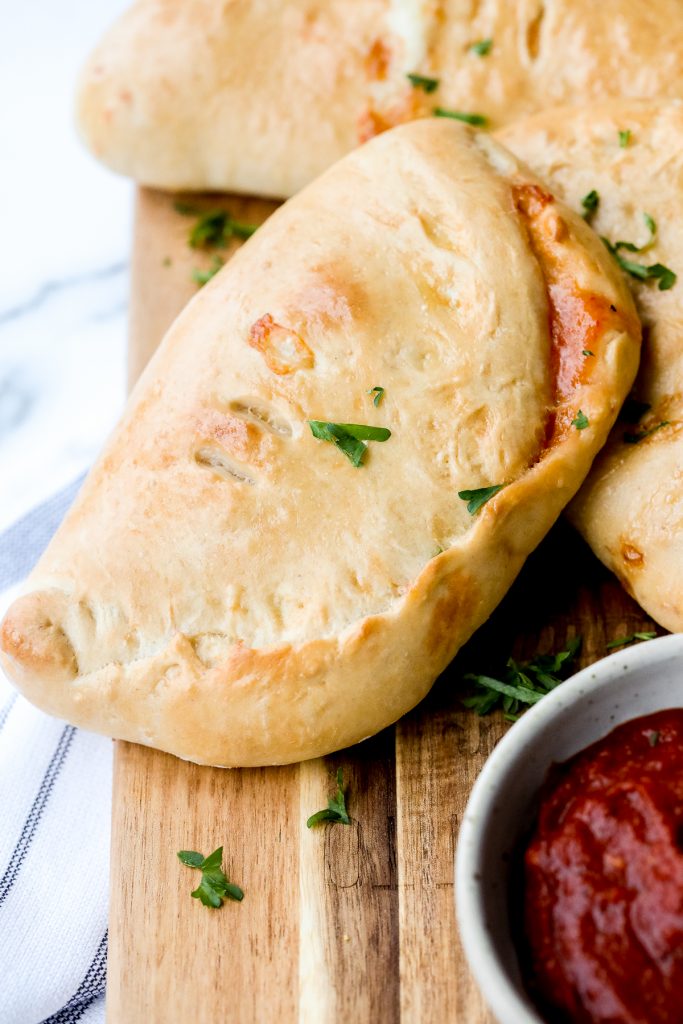
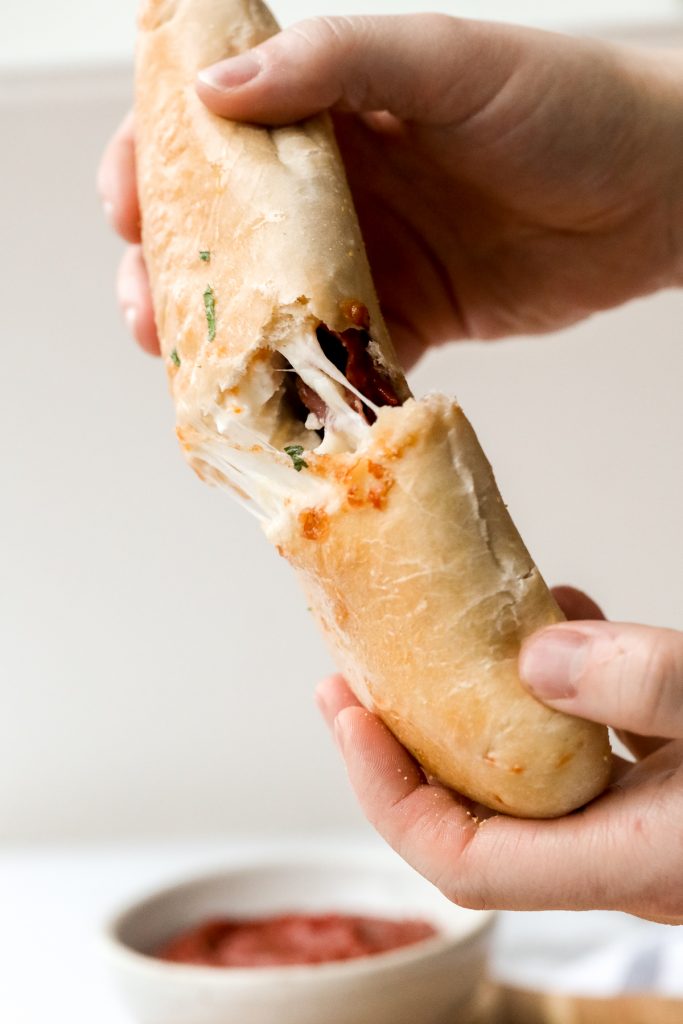
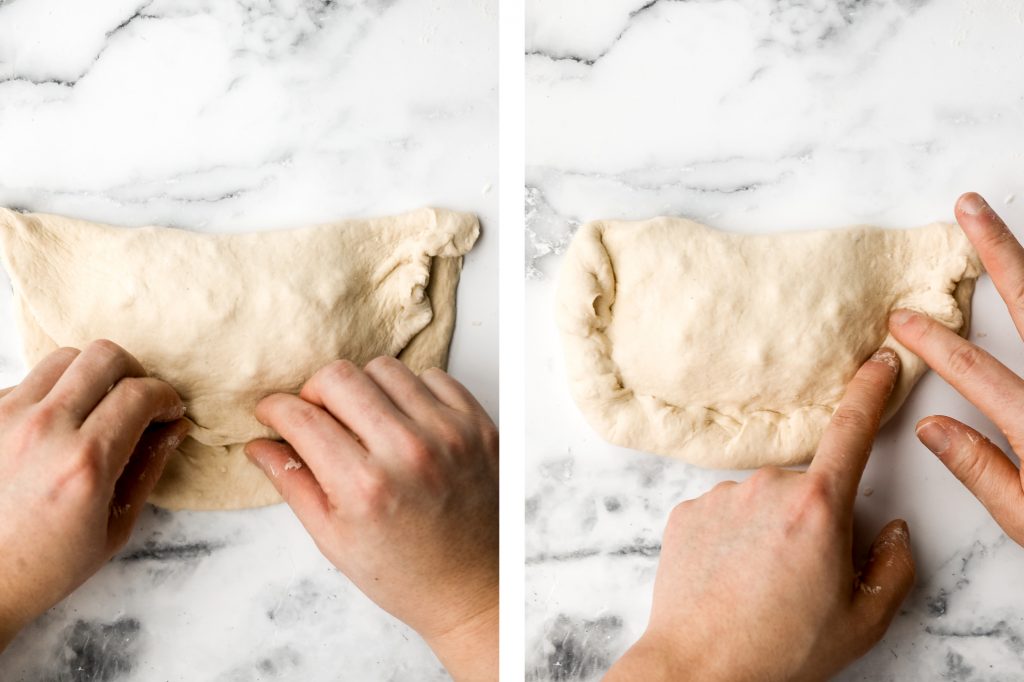
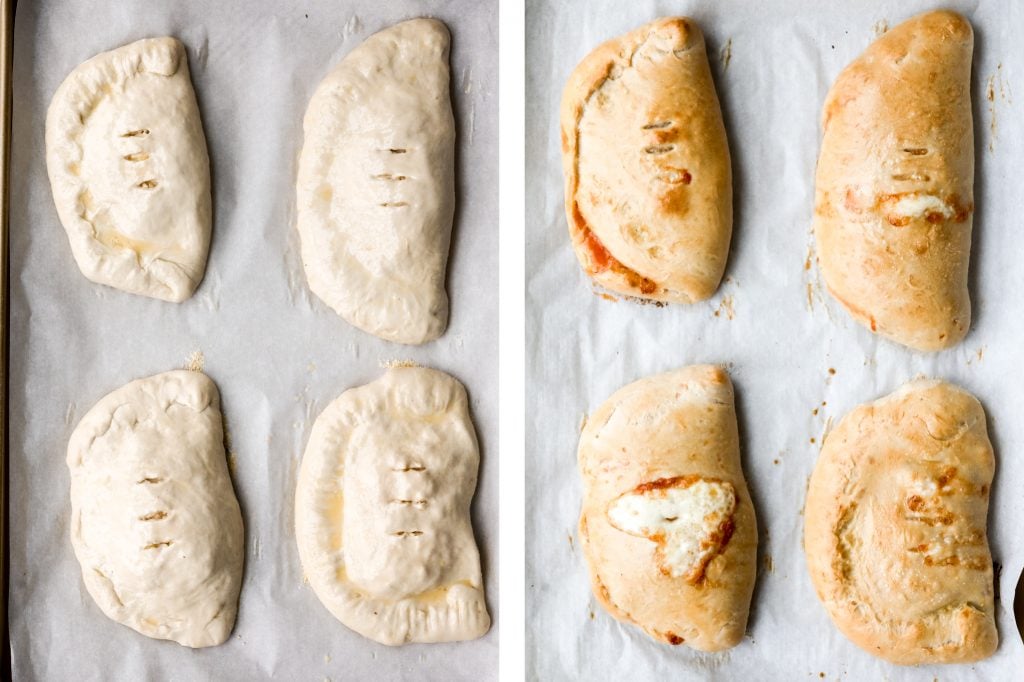
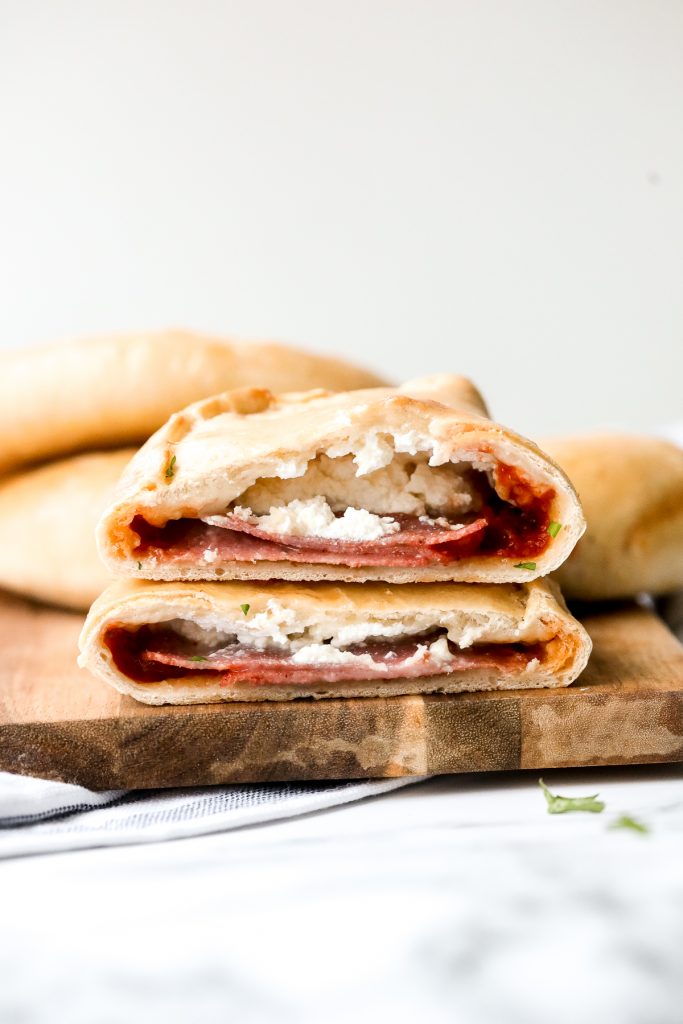
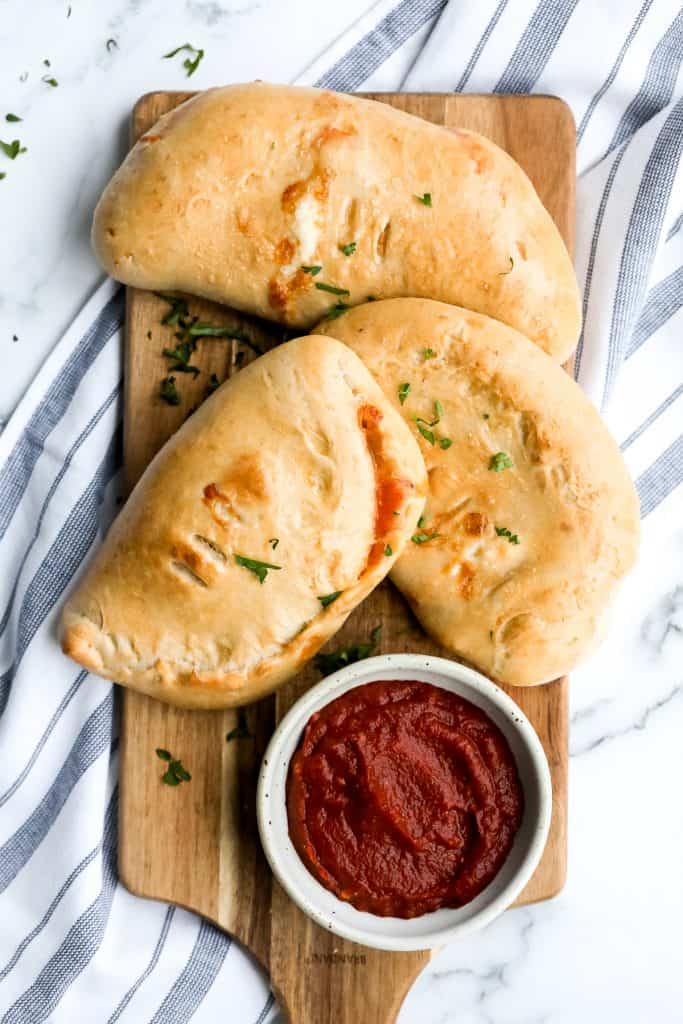
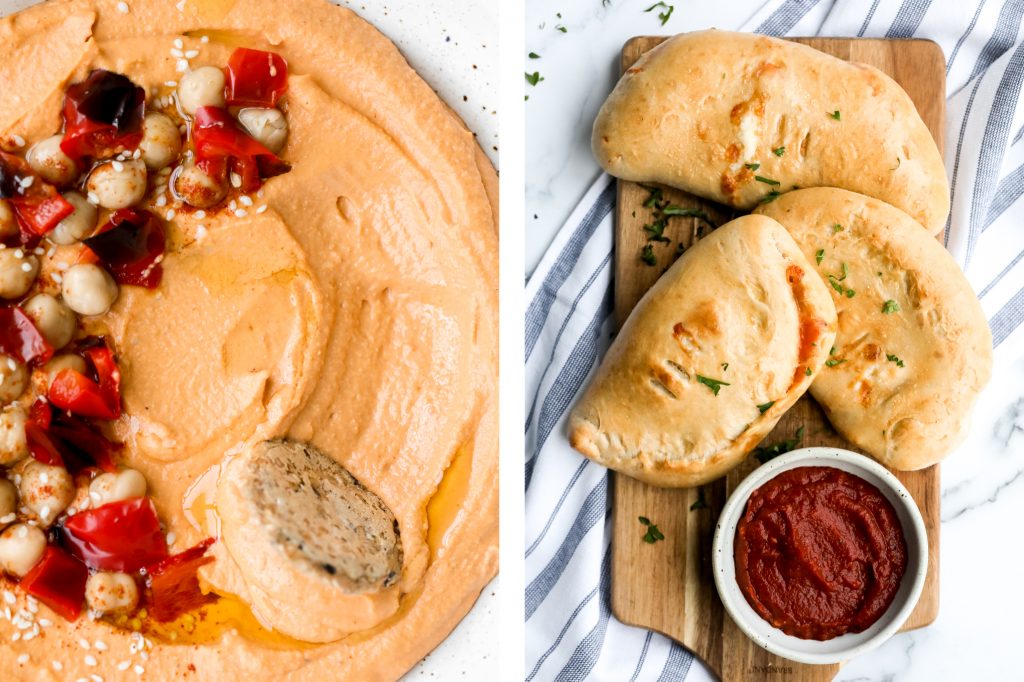
Homemade calzones are delicious little pizza pockets filled with cheese and toppings and baked until golden. This Italian favourite is easy to make at home.
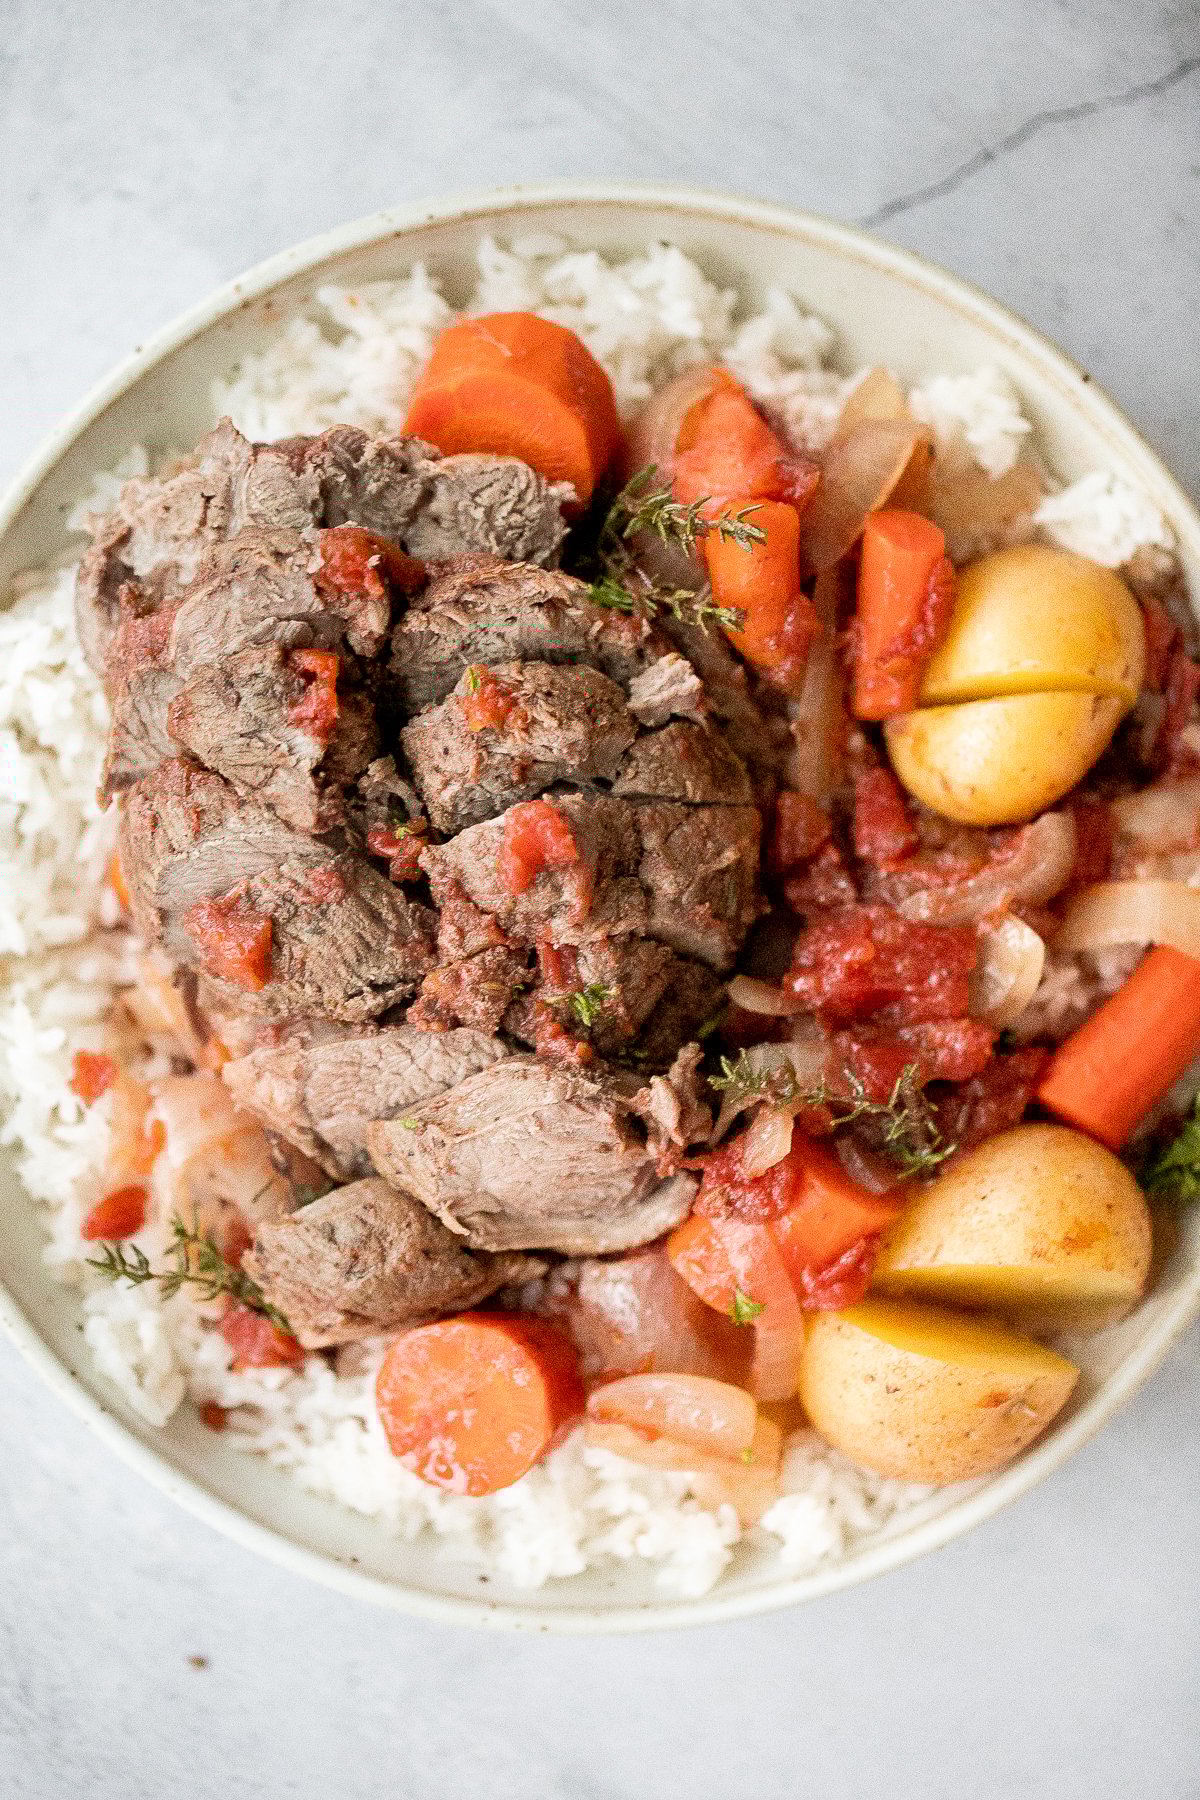
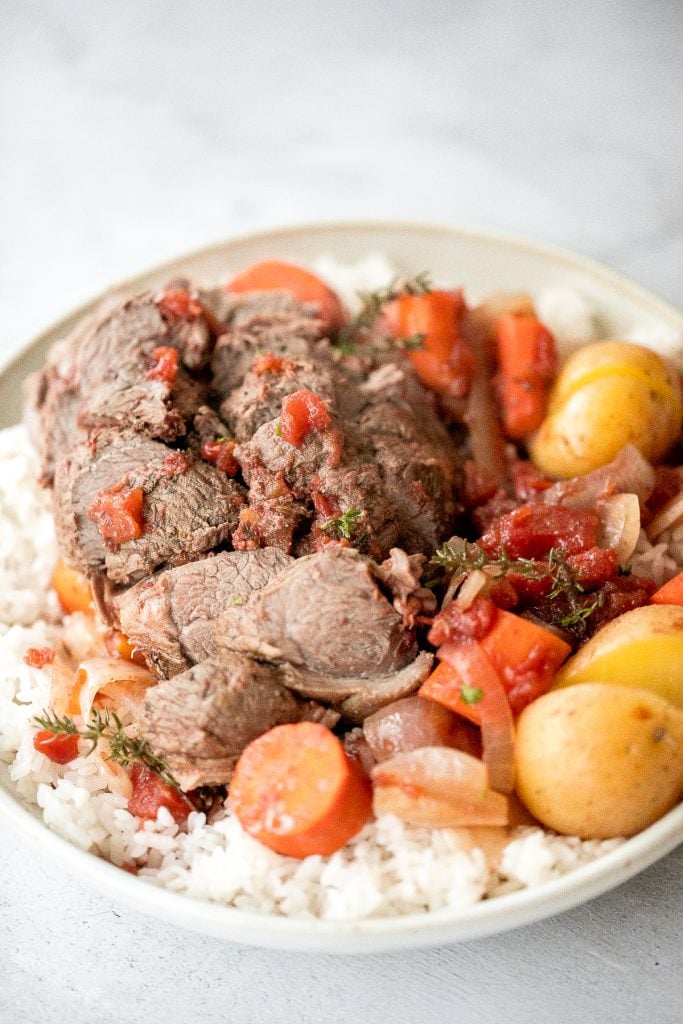
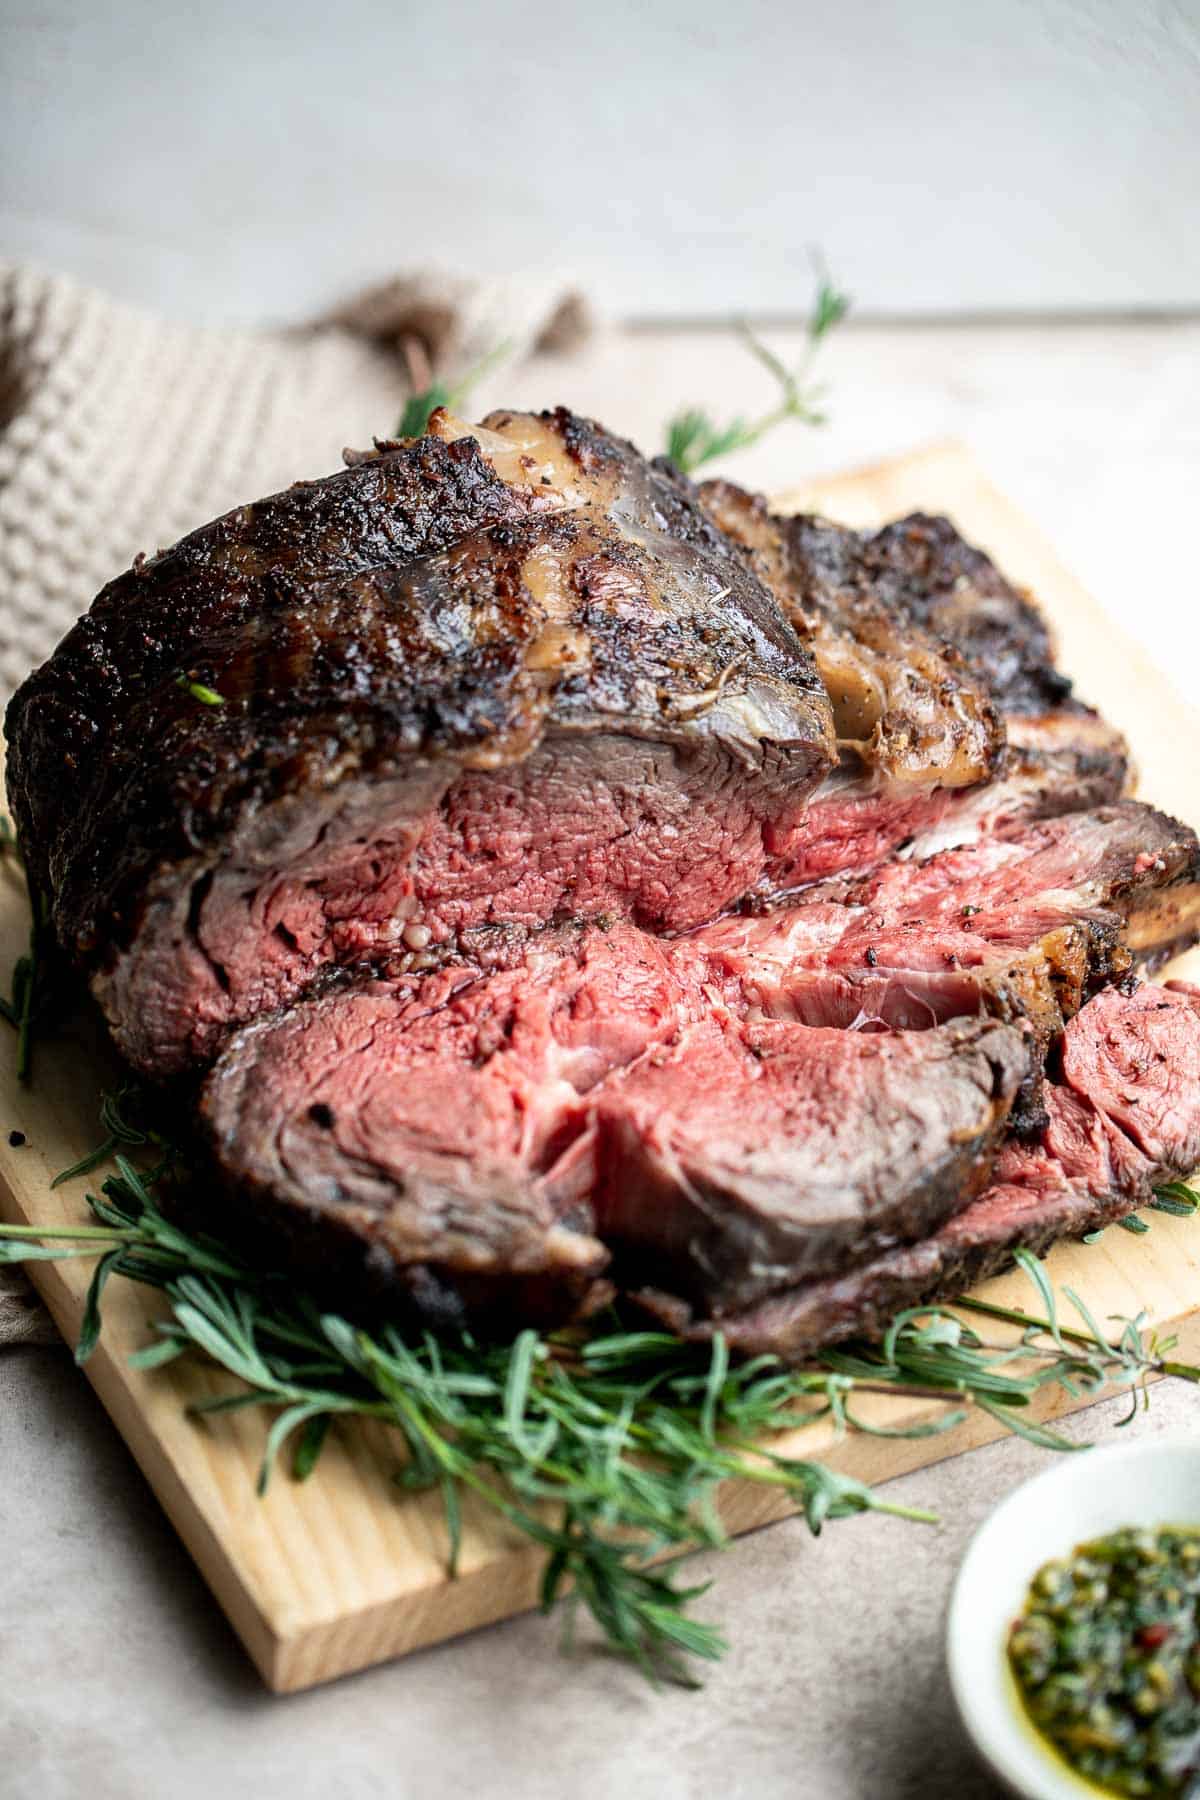
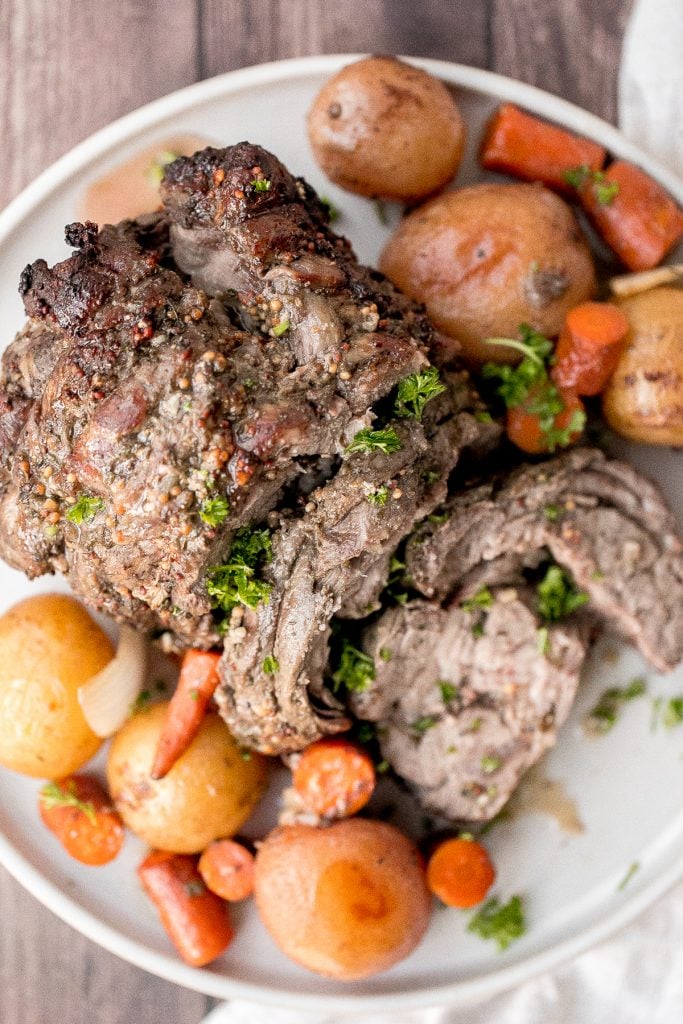
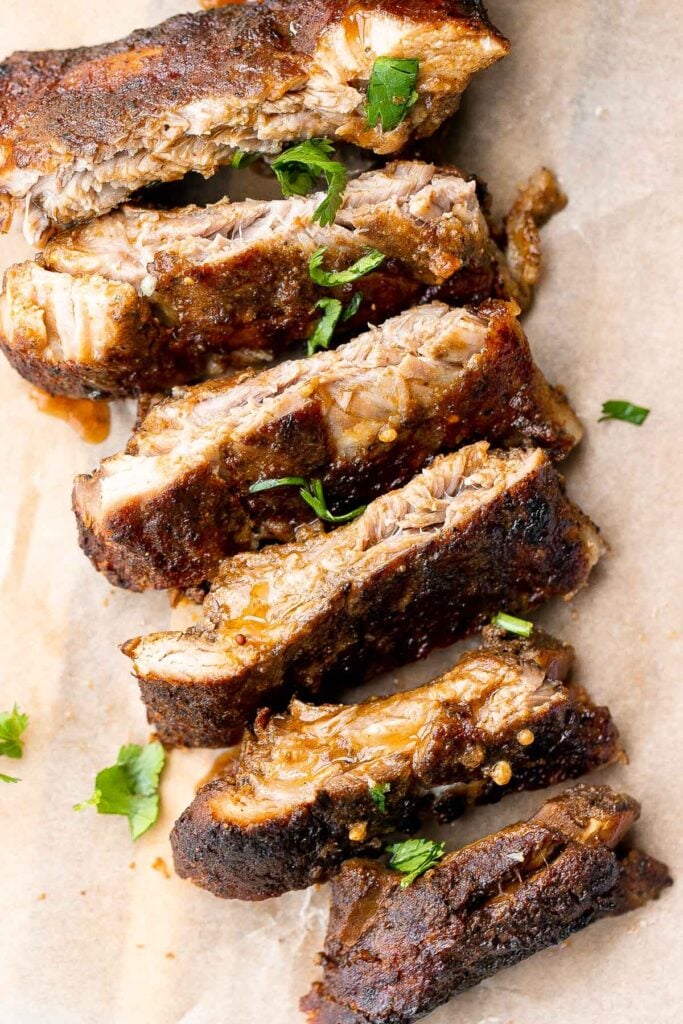
Slow cooker BBQ ribs are juicy, saucy, and tender -- the meat literally falls right off the bone. Add this easy recipe to your list of crockpot recipes.
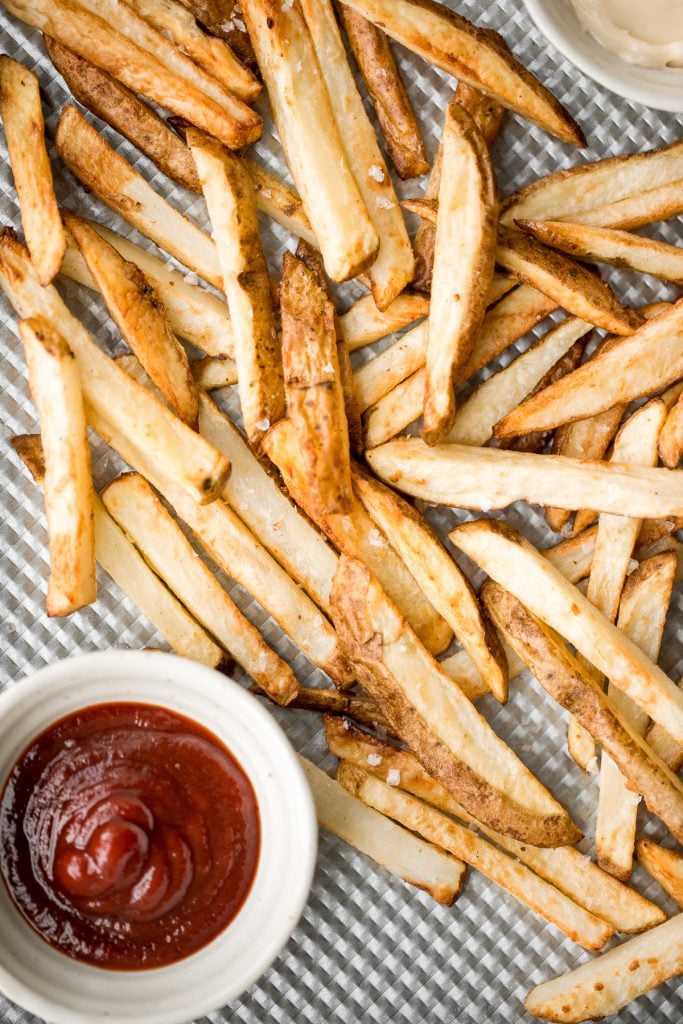
Super crispy air fryer french fries are tender and fluffy on the inside and crunchy on the outside. Make this healthier french fry in just 12 minutes!
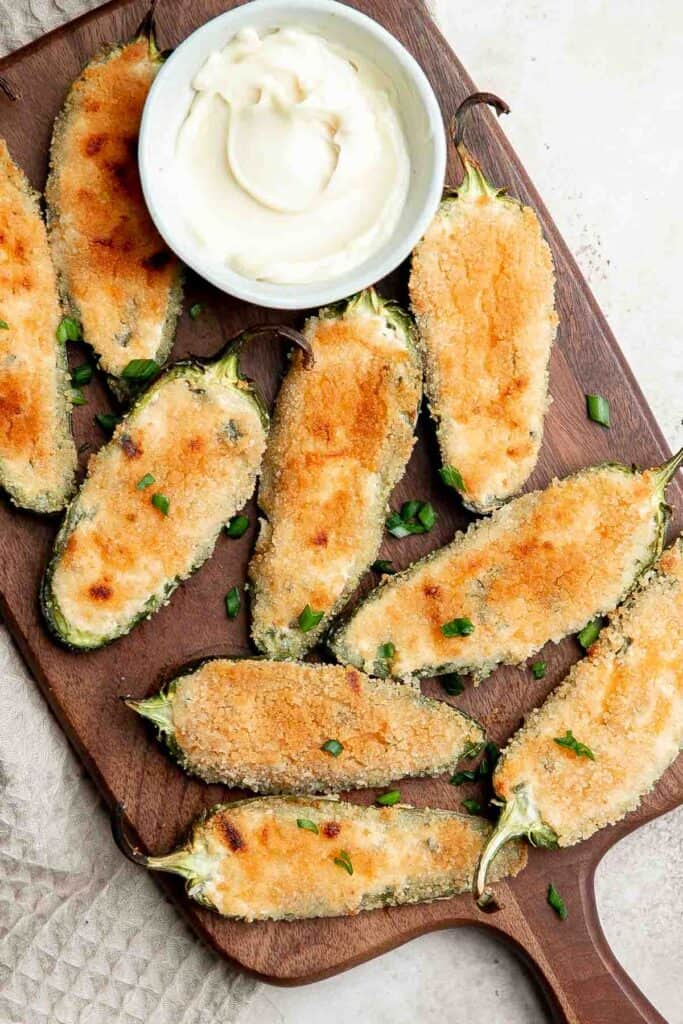
Jalapeño poppers are the perfect appetizer - spicy, crispy, cheesy, and creamy, toasted to golden brown perfection. Plus easy to make ahead and freeze well.
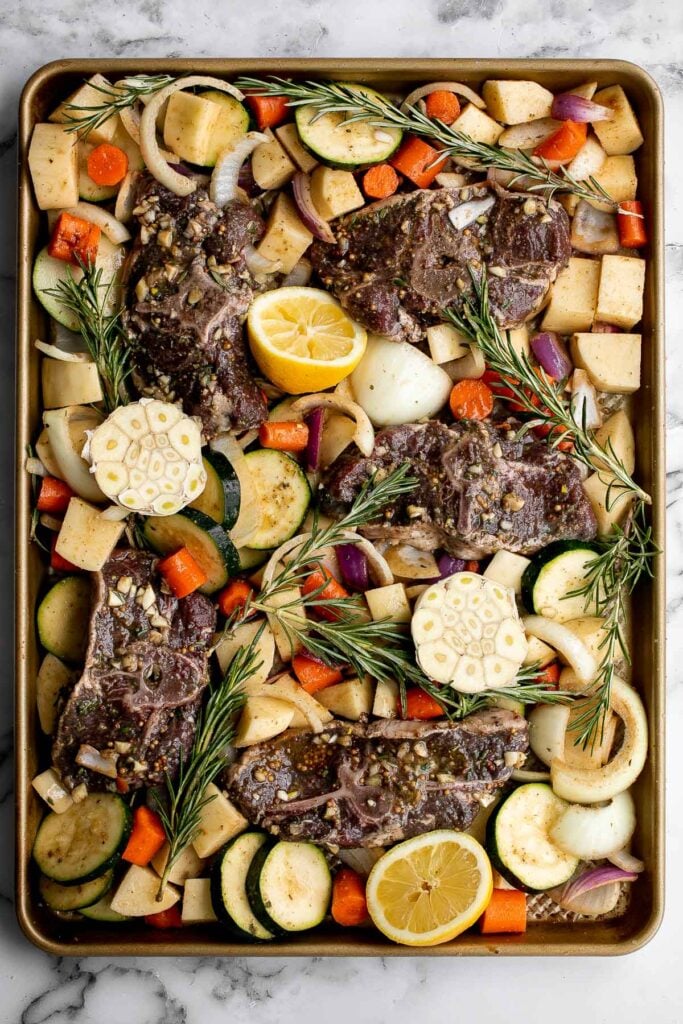
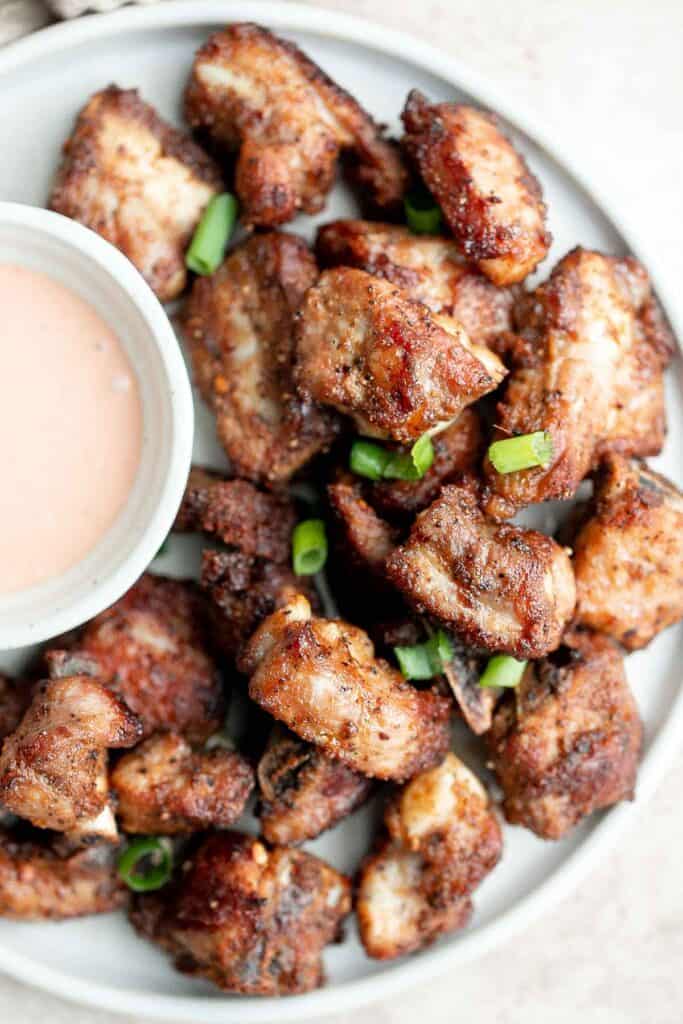
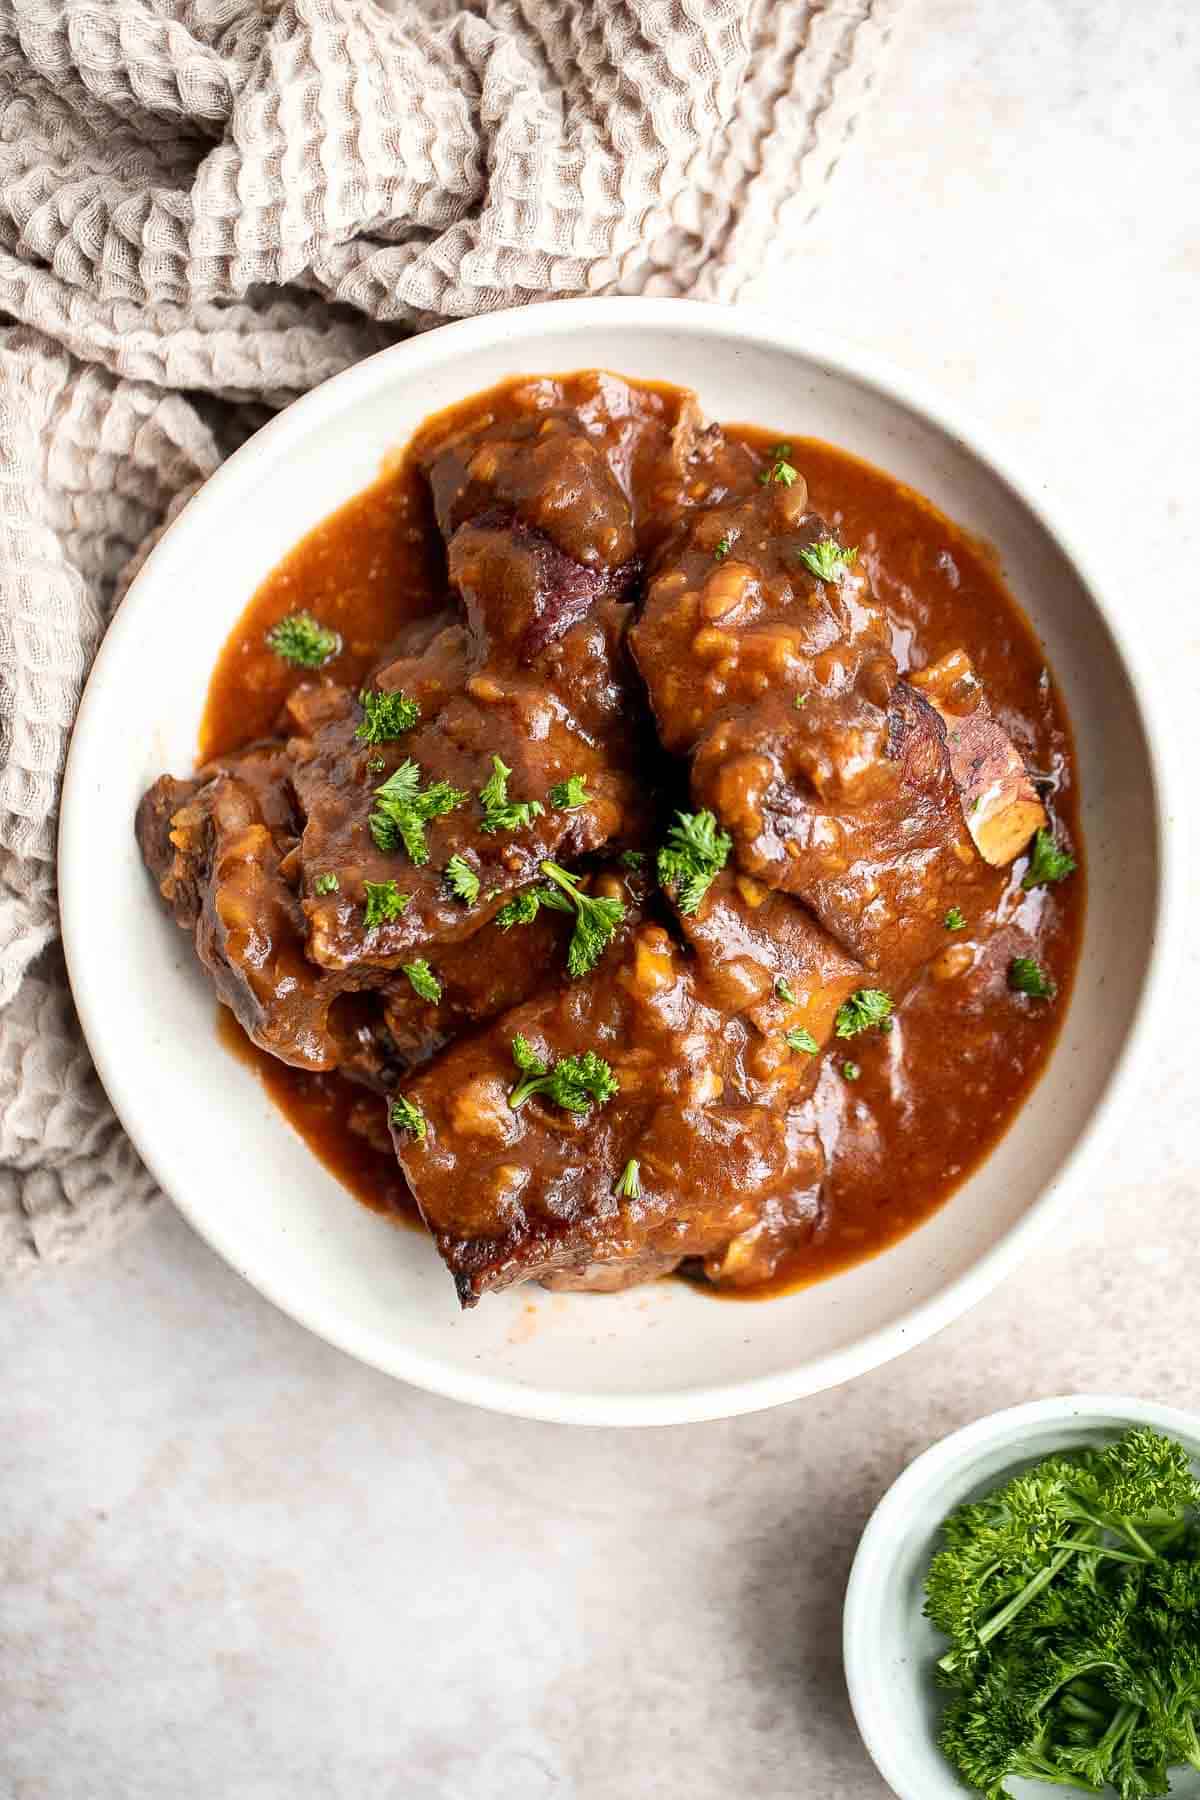
Air fryer short ribs are crispy, flavorful, and delicious. The easy marinade ensures they're tender and juicy inside, while the air fryer makes them crispy.
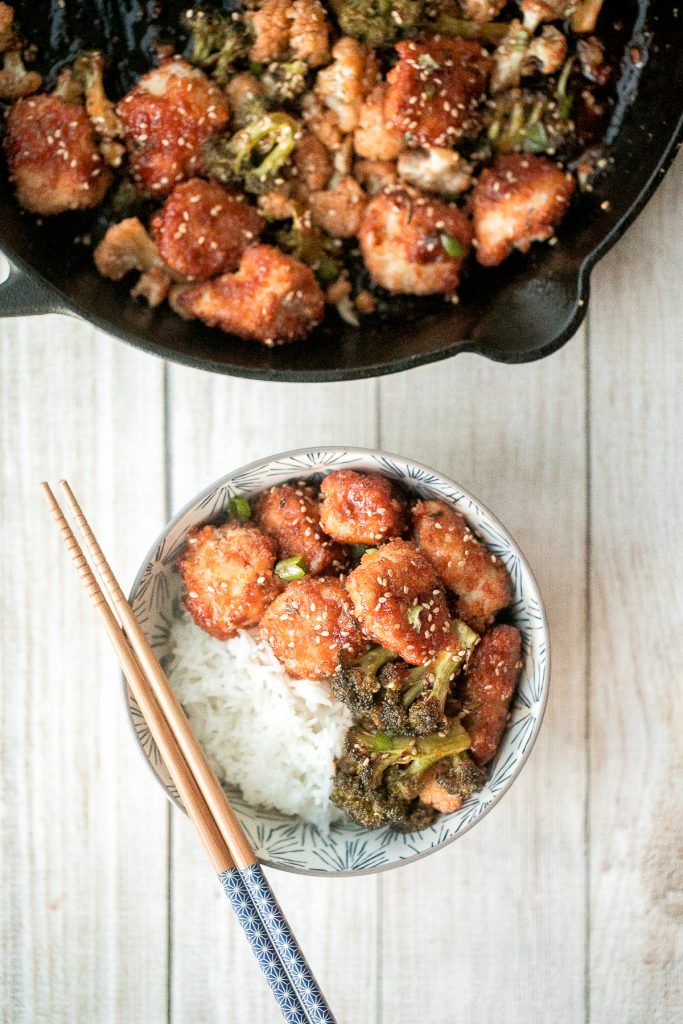
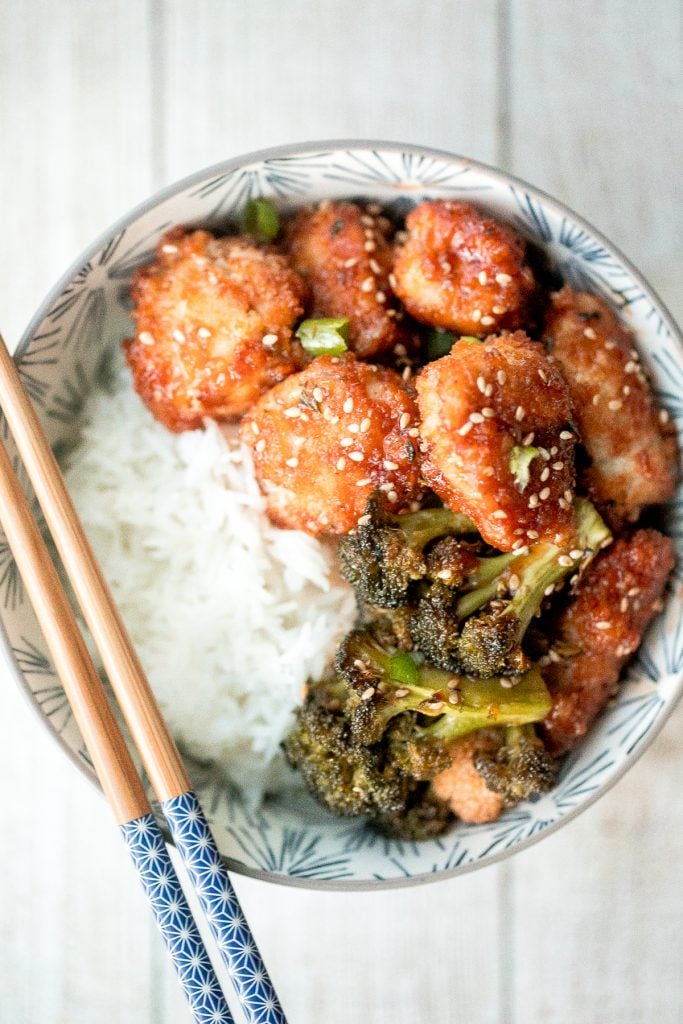
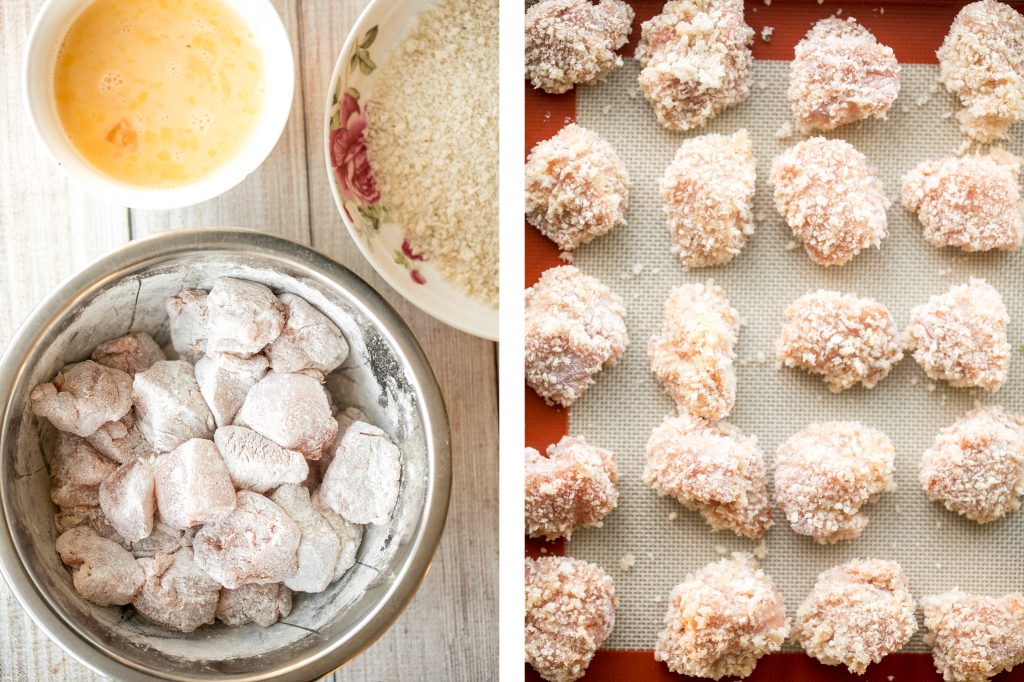
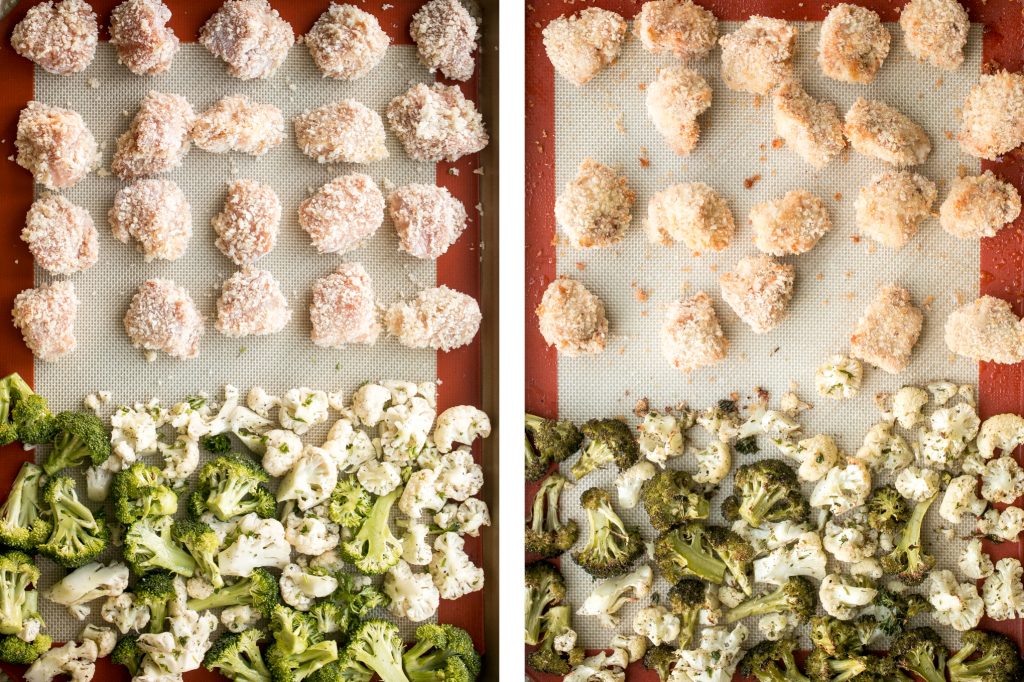
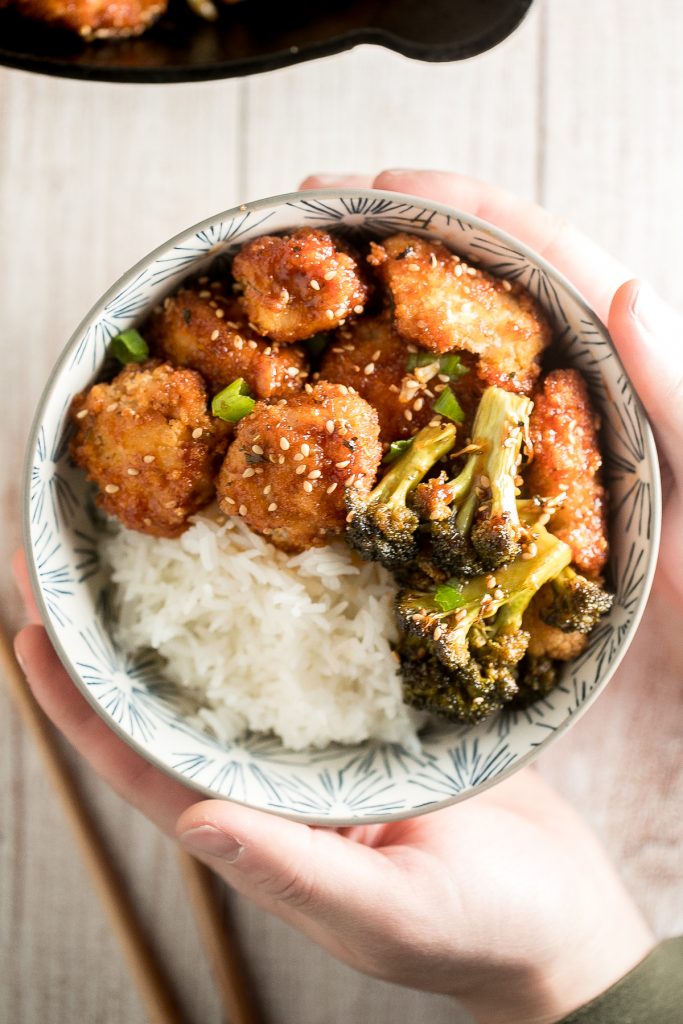
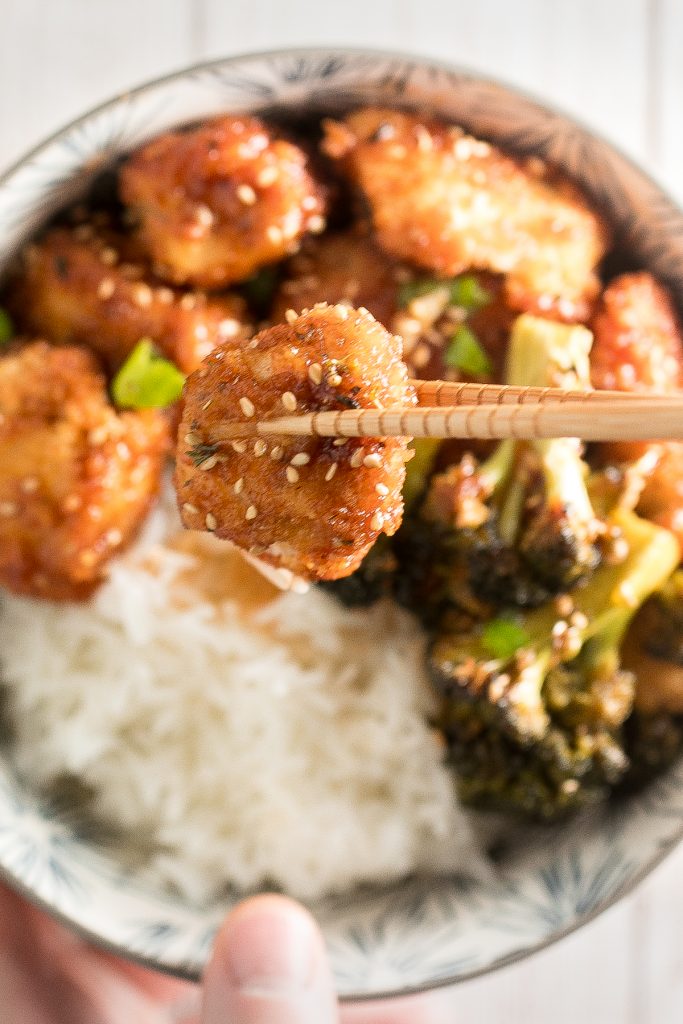
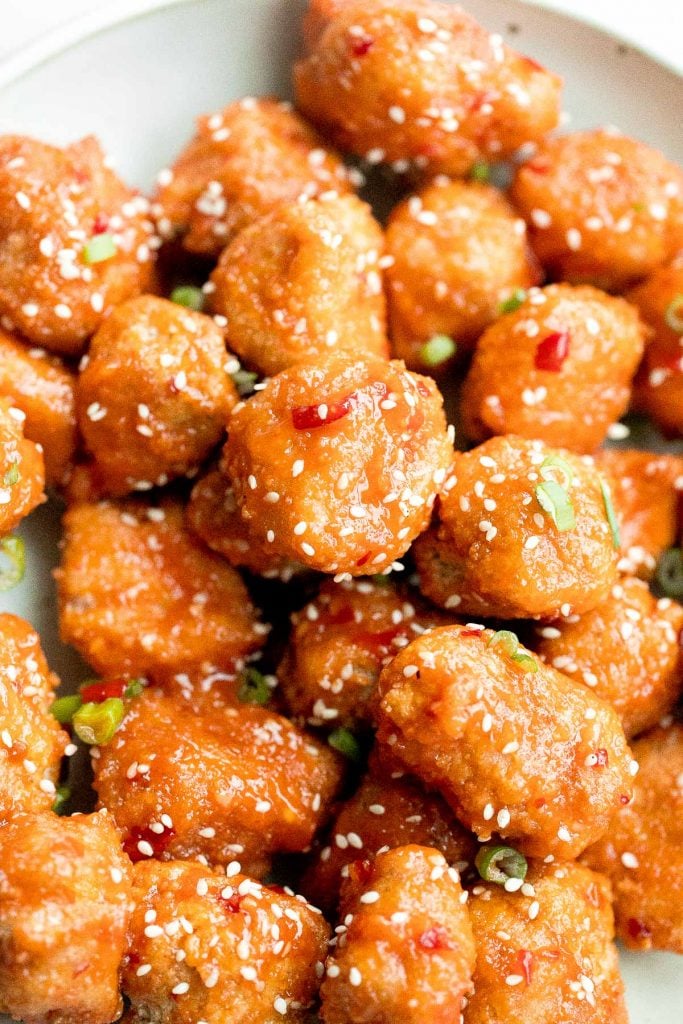
Sticky crispy baked sweet chili chicken bites is better than takeout and so easy to make healthier at home. An easy dinner or game day appy.
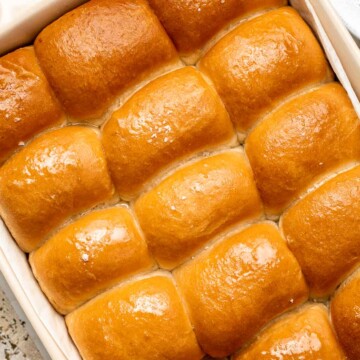
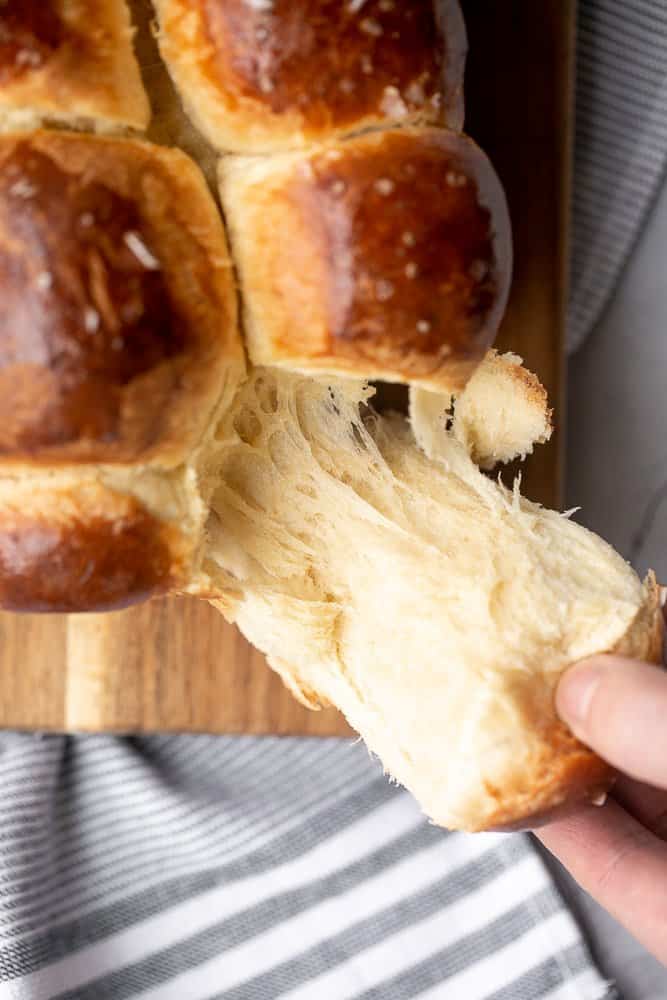
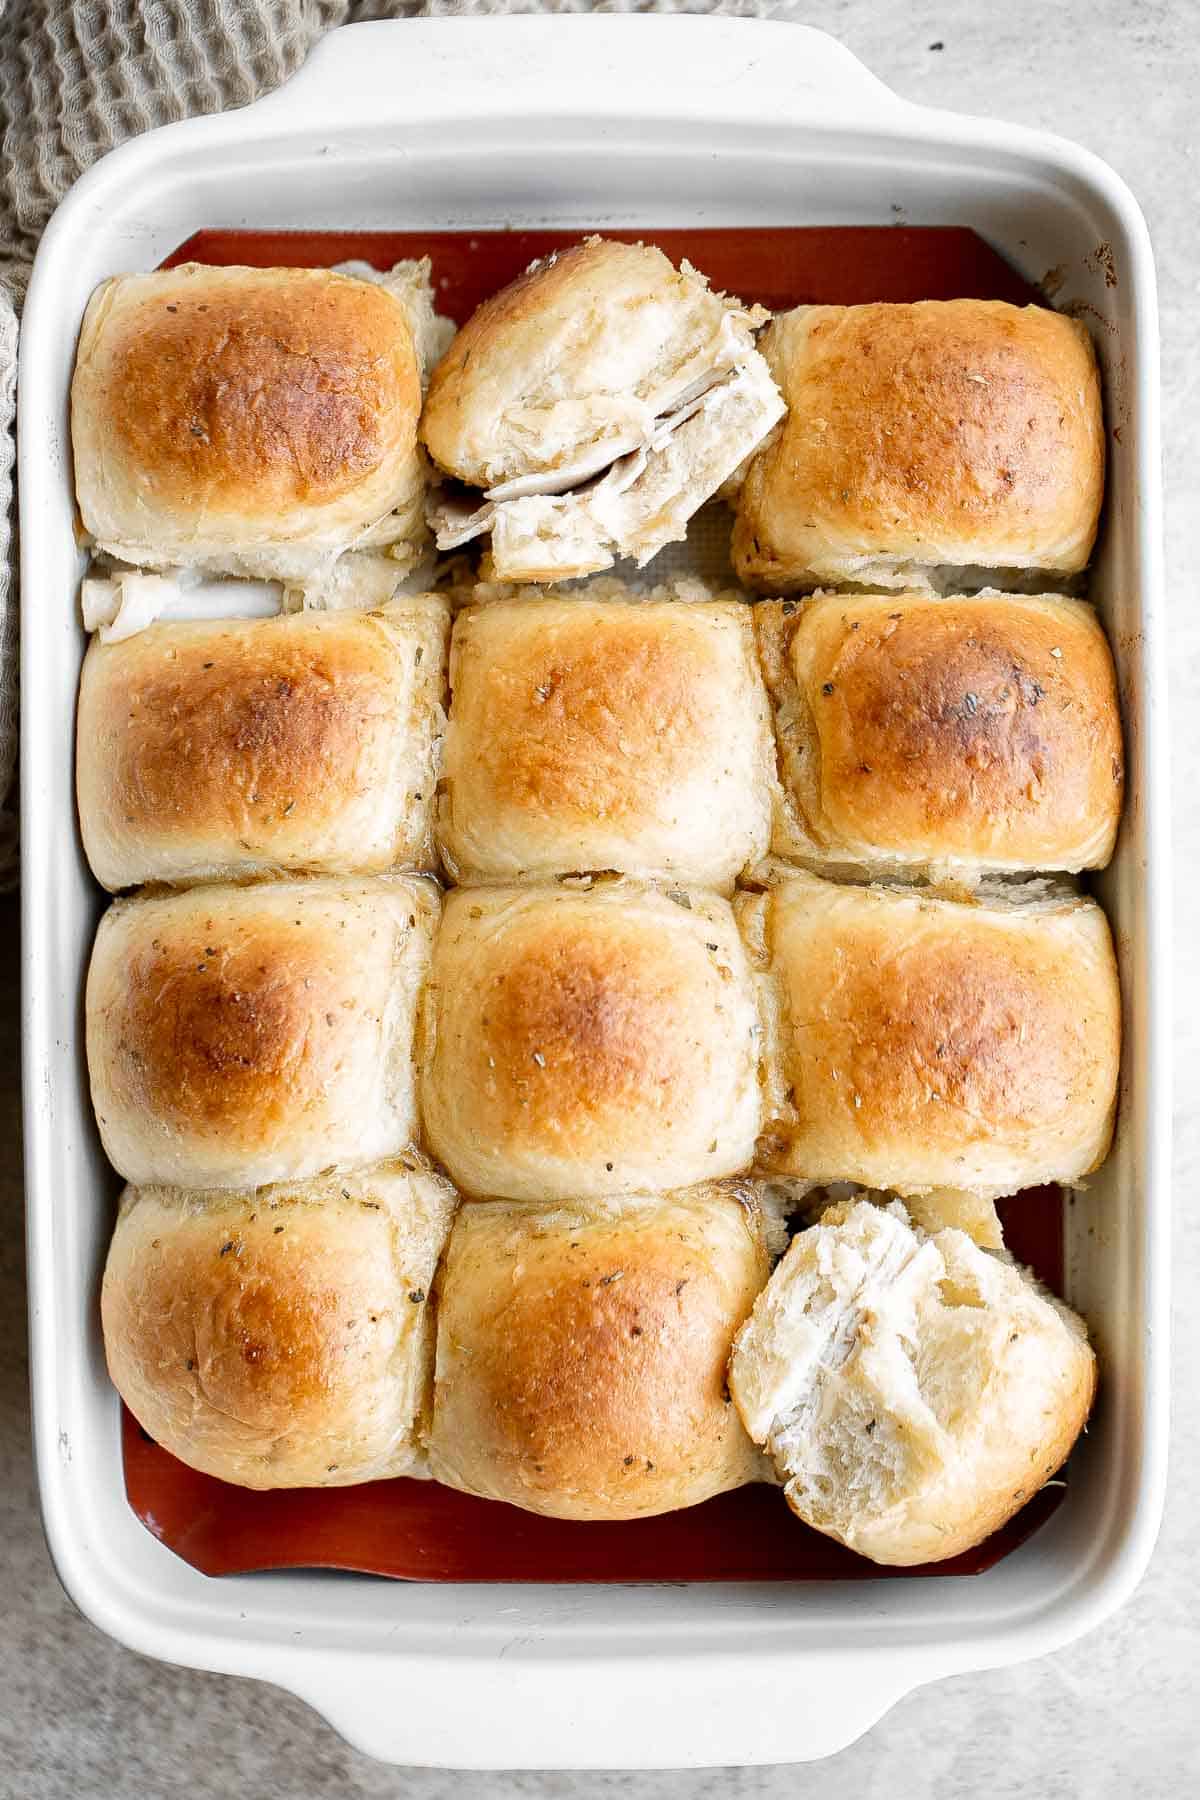
Turkey and Cheese Sliders are quick and easy, made with deli meat and Swiss cheese filled inside soft Hawaiian dinner rolls topped with a buttery sauce.
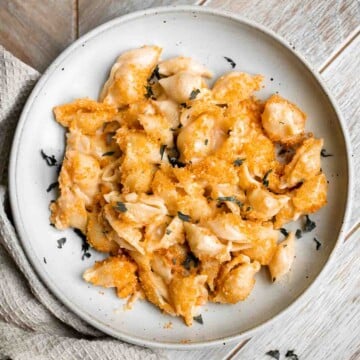
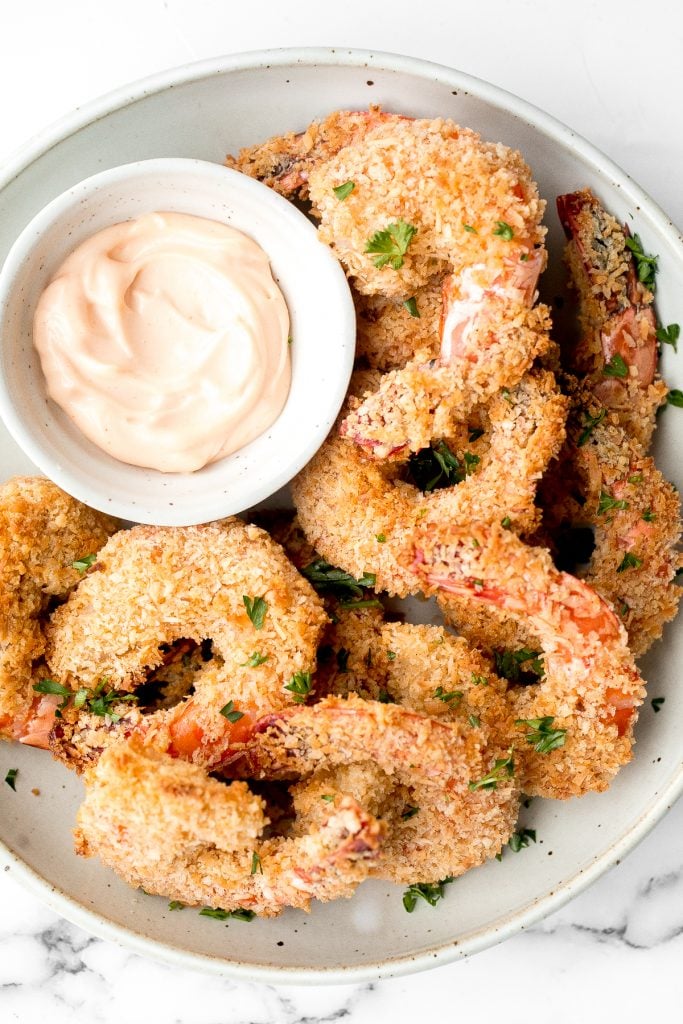
Crispy baked coconut shrimp is a delicious appetizer that is easy to make in 30 minutes. They are more flavourful, tastier and healthier than takeout.
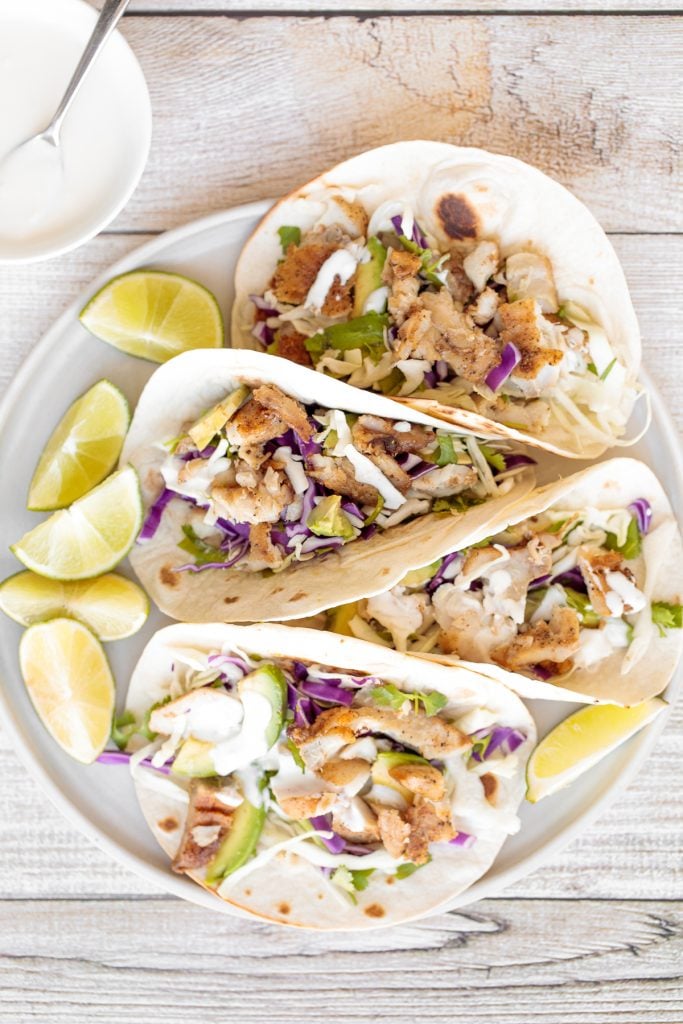
Flavourful, easy fish tacos with lime crema is made with seasoned white fish, cabbage slaw, and lime sauce. It takes less than 25 minutes to prep and serve.
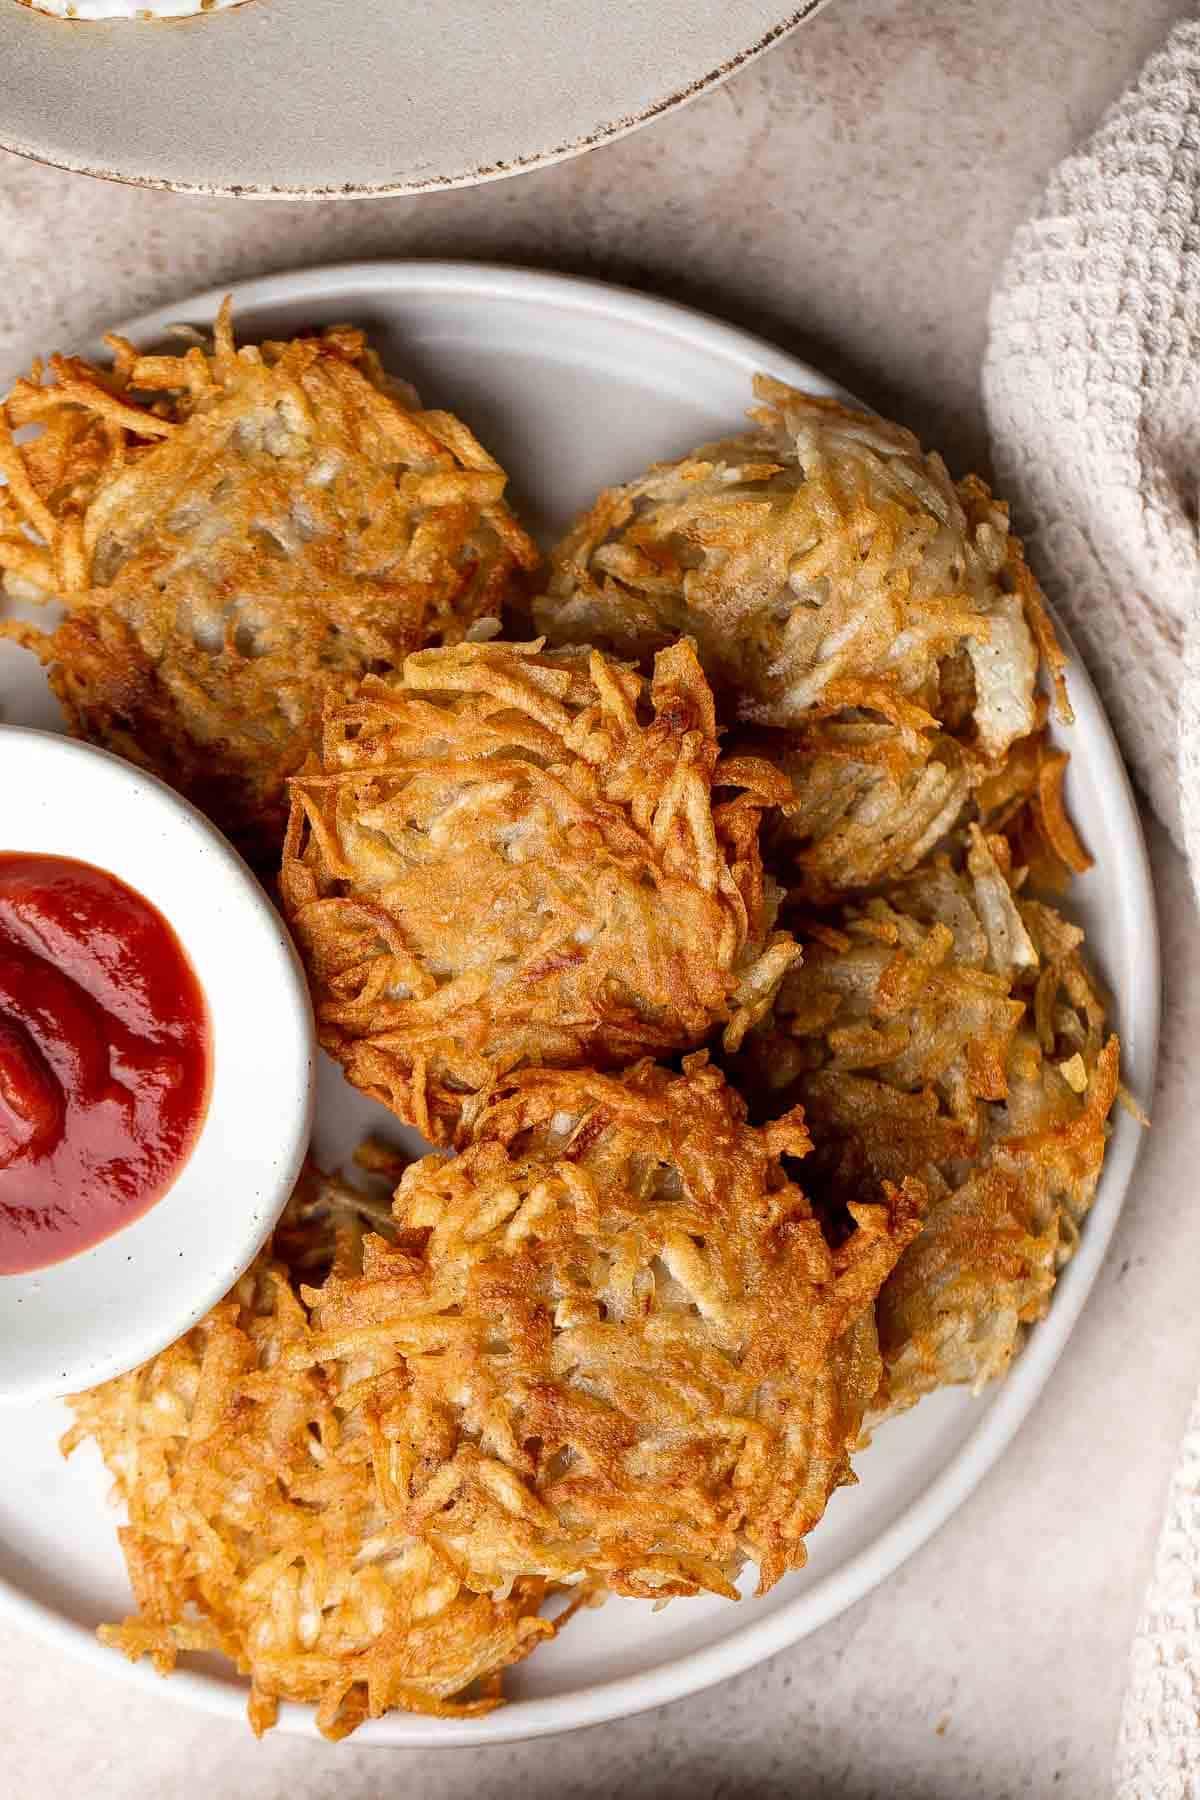
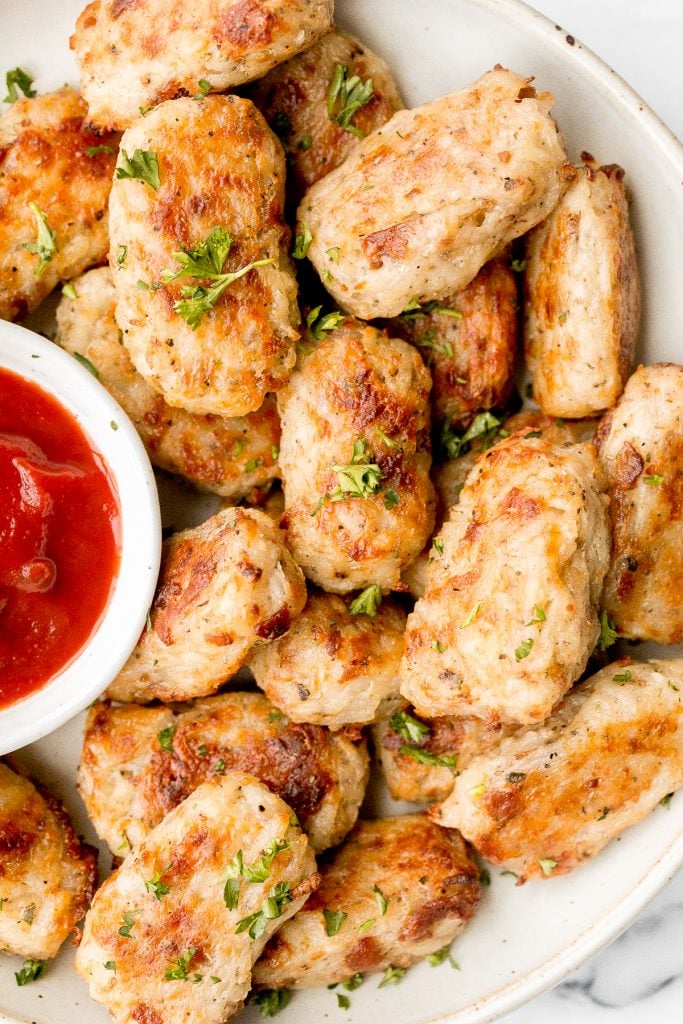
Homemade Tater Tots with Bacon
Homemade tater tots with bacon are golden and crispy on the outside, yet soft and tender inside. They're packed with flavour and a total family favourite.
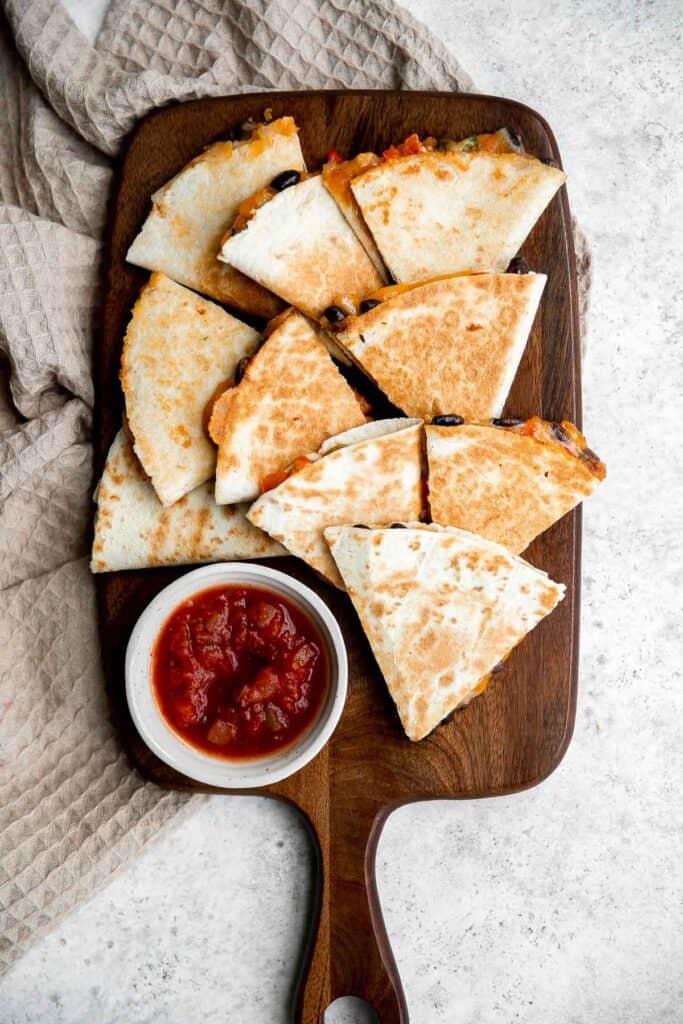
Baked Chicken Quesadillas are cheesy, crispy, flavorful, and delicious. This family-friendly recipe is quick and easy to make in just 30 minutes!

Crispy Fried Vegetarian Spring Rolls
Better than takeout, light and crispy fried vegetarian spring rolls are packed with a tender mushroom and cabbage vegetarian filling in a crunchy skin.

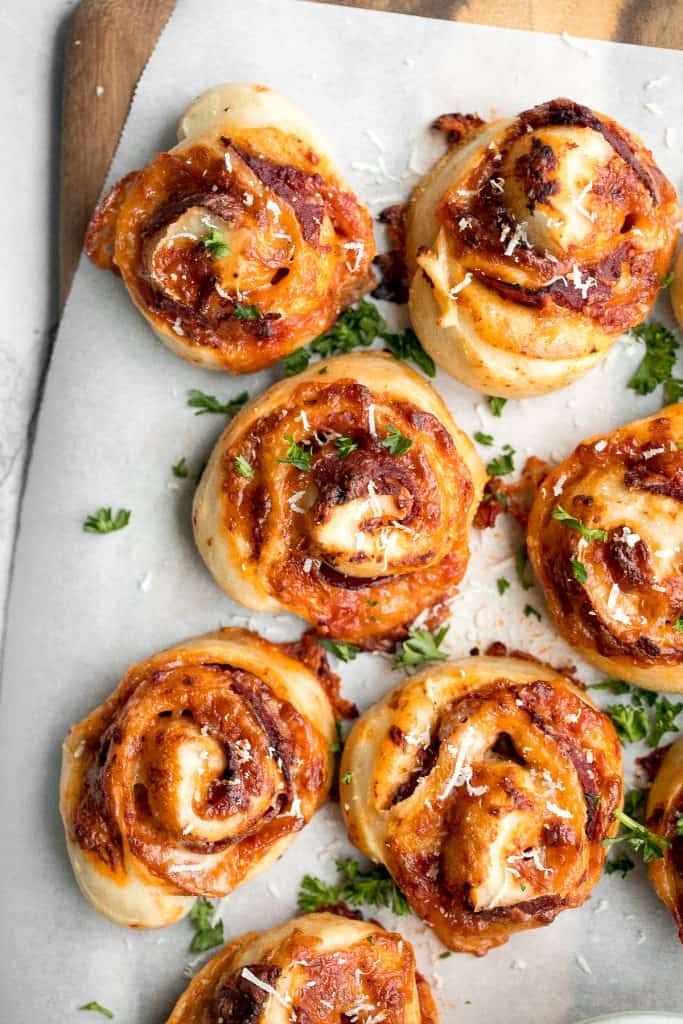
Easy pepperoni pizza rolls are crispy on the bottom, tender and chewy inside, packed with pepperoni and cheese, and baked until bubbly.
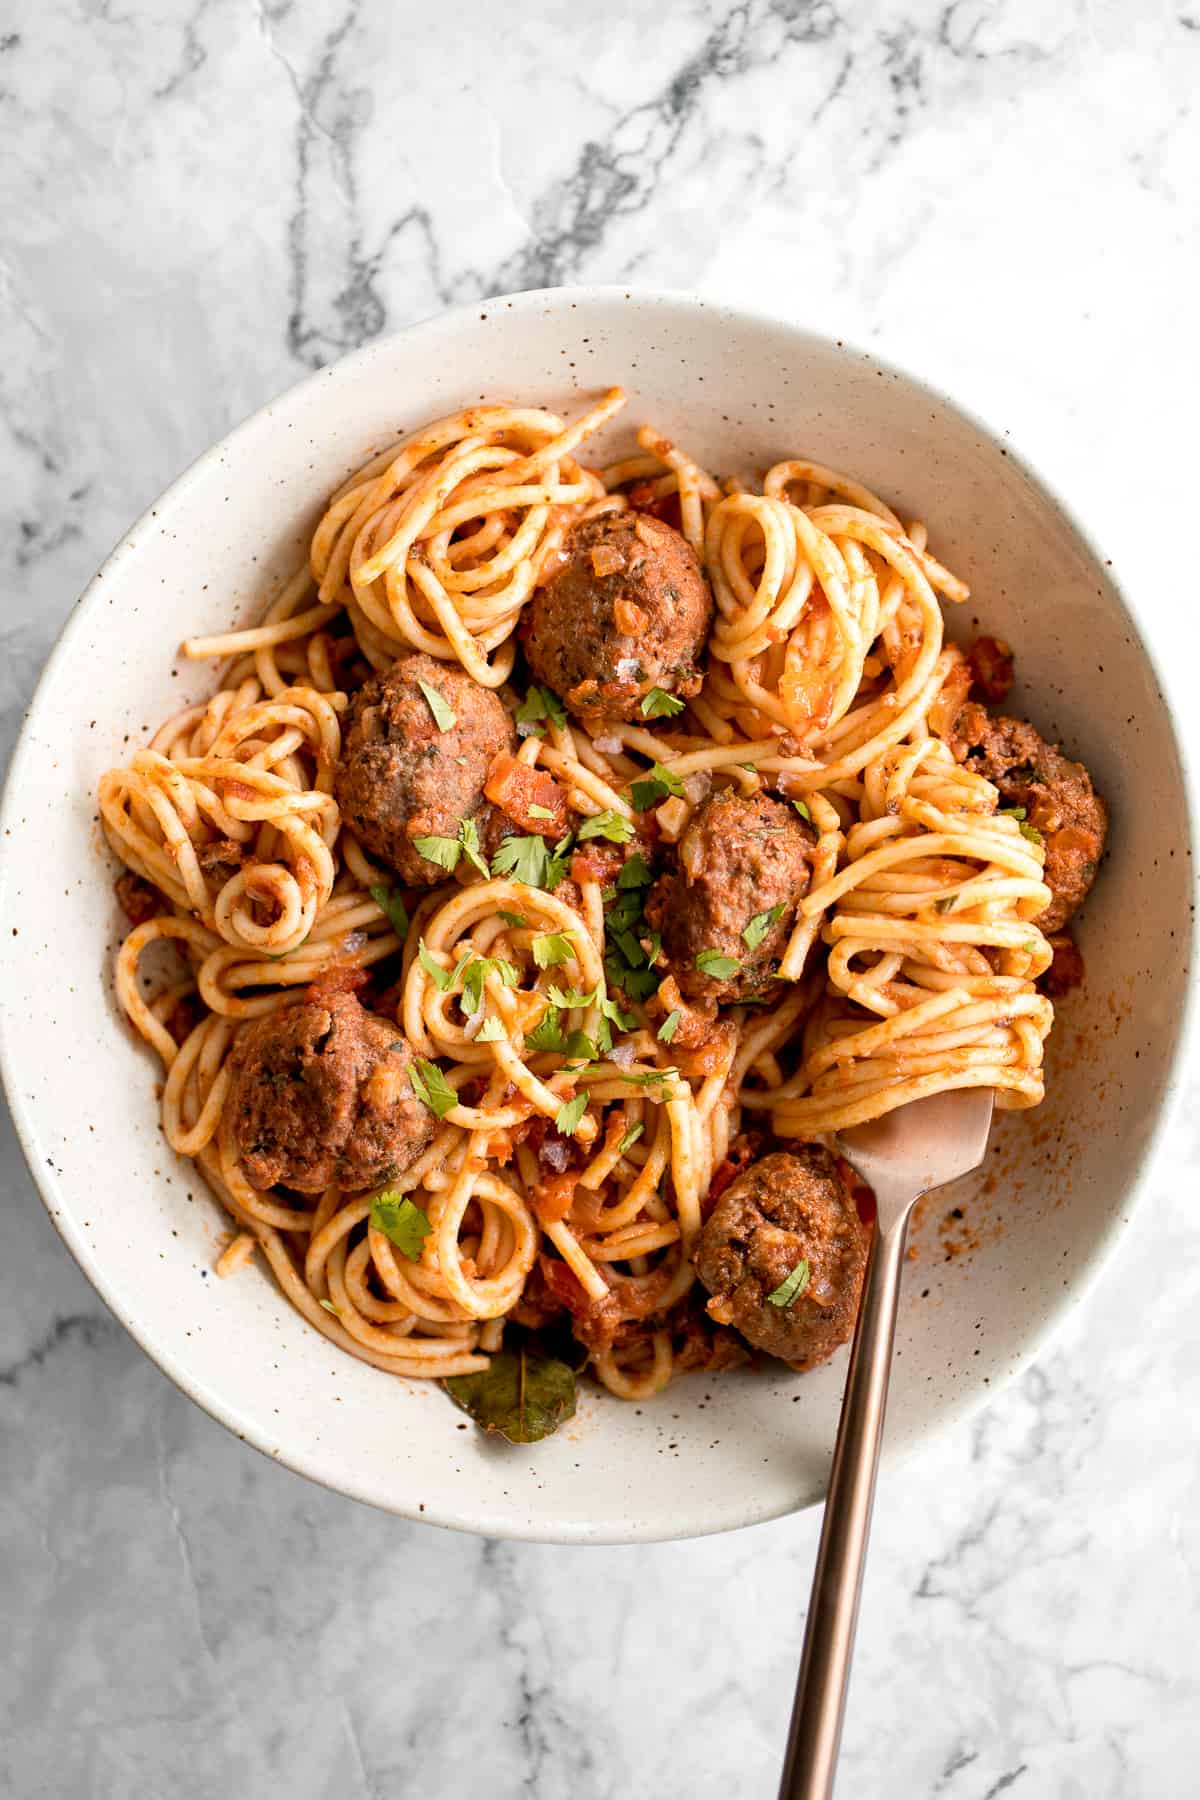
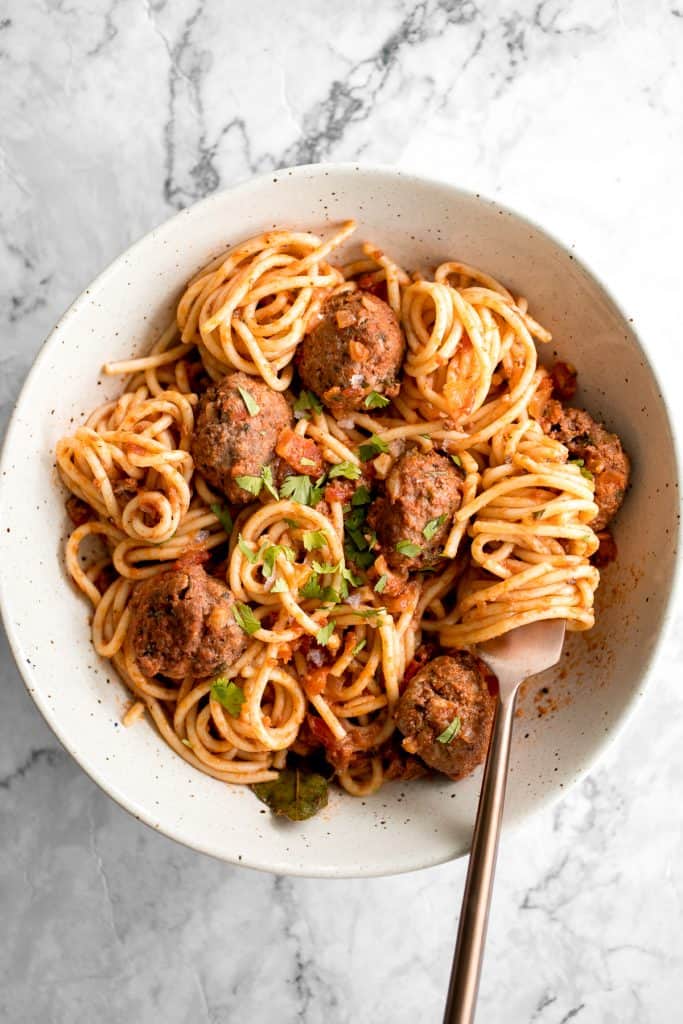
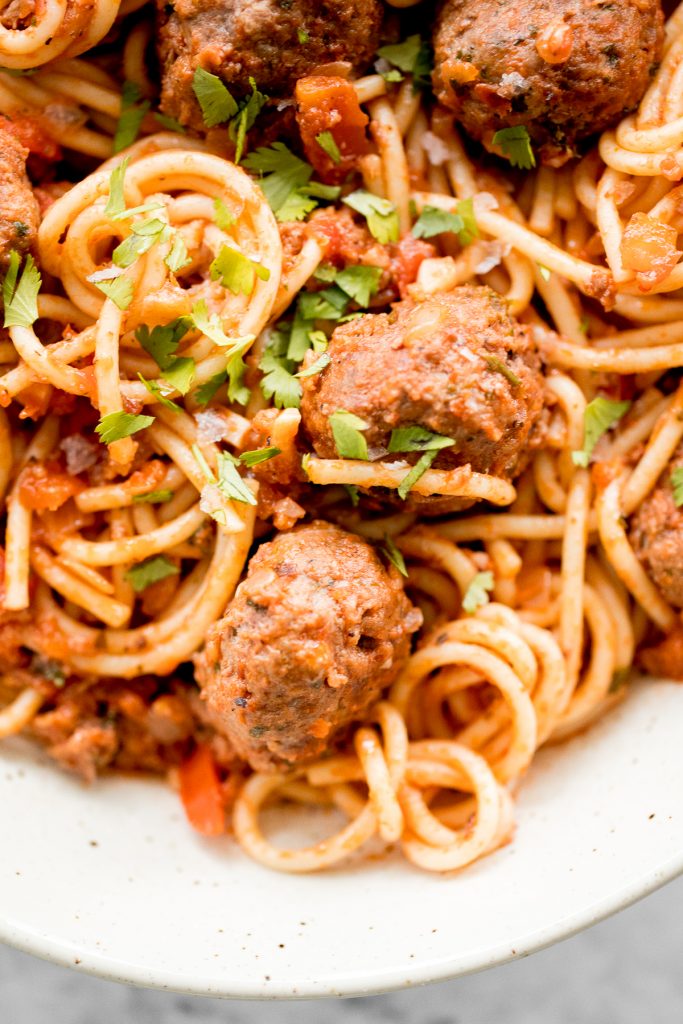
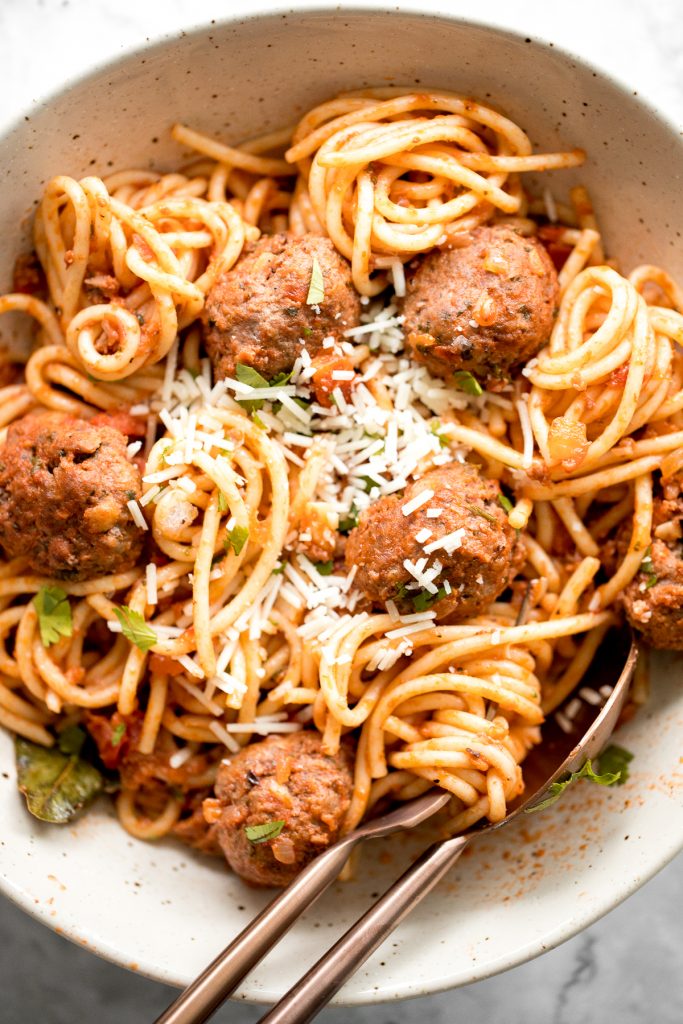
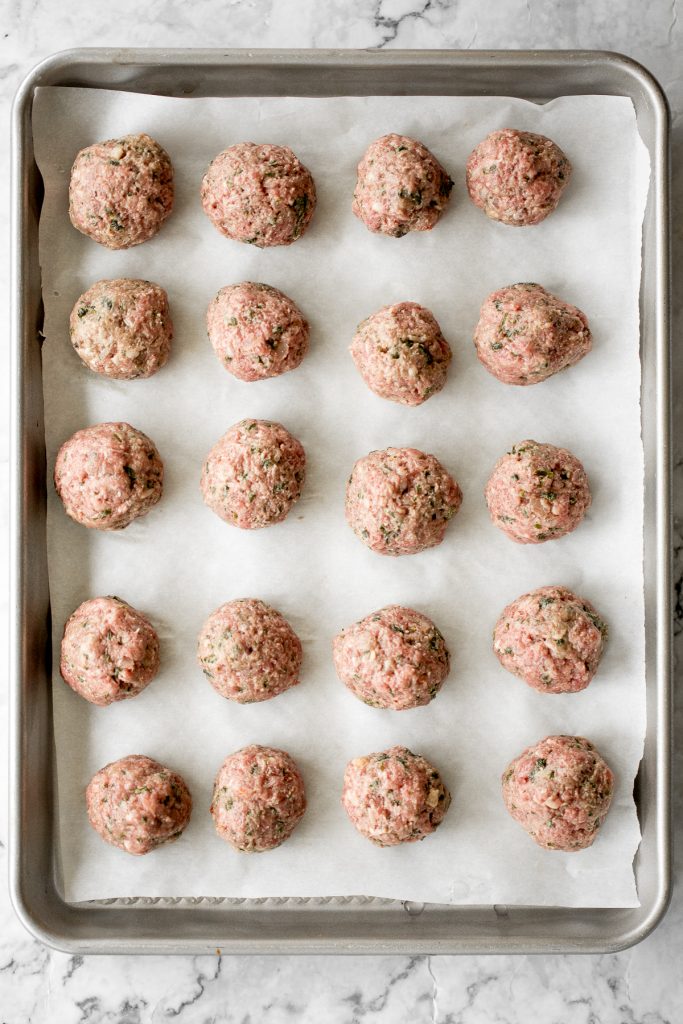
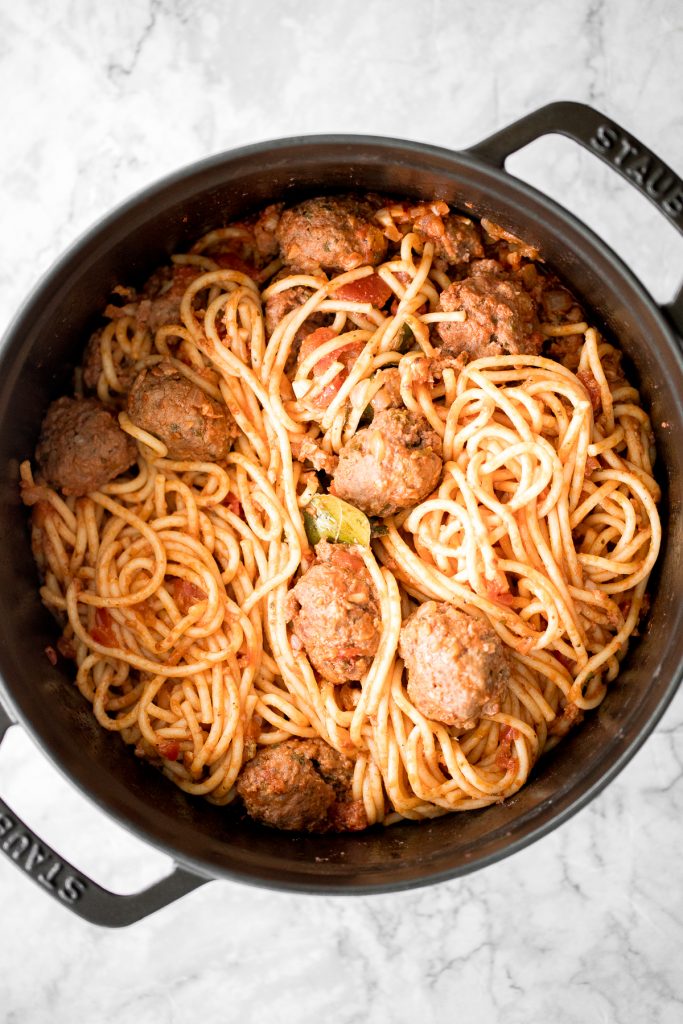
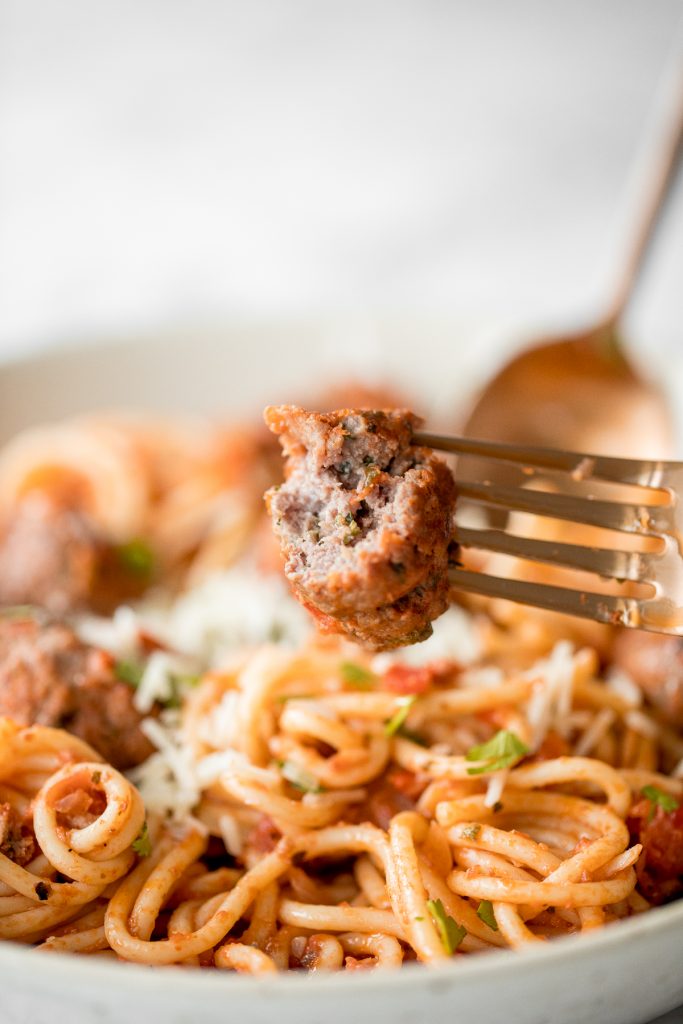
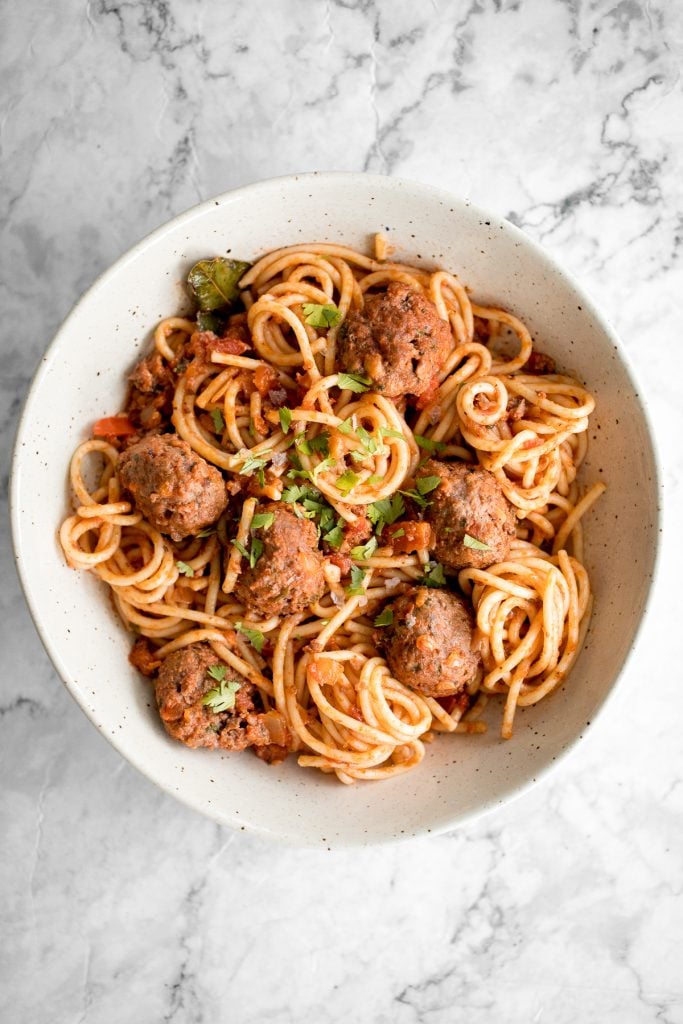
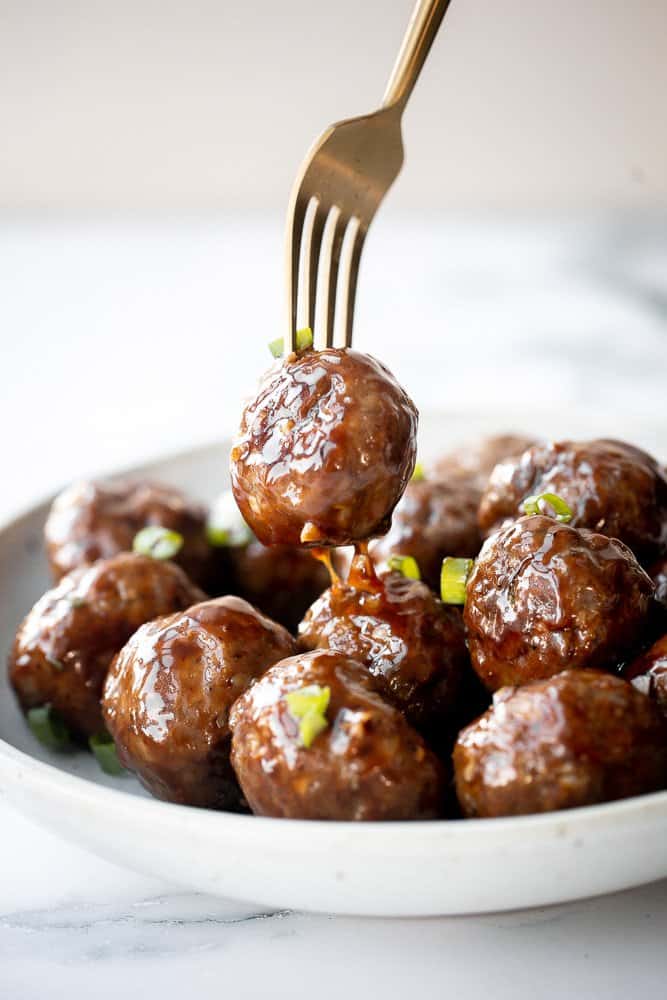
Sticky honey garlic meatballs are a delicious and flavourful 30-minute meal to add to your weekly dinner rotation. A total crowd pleaser.
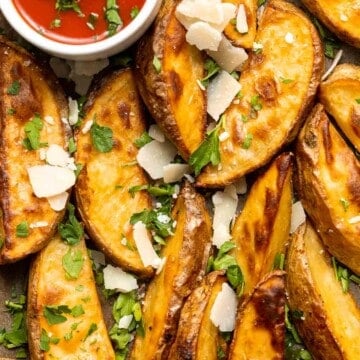
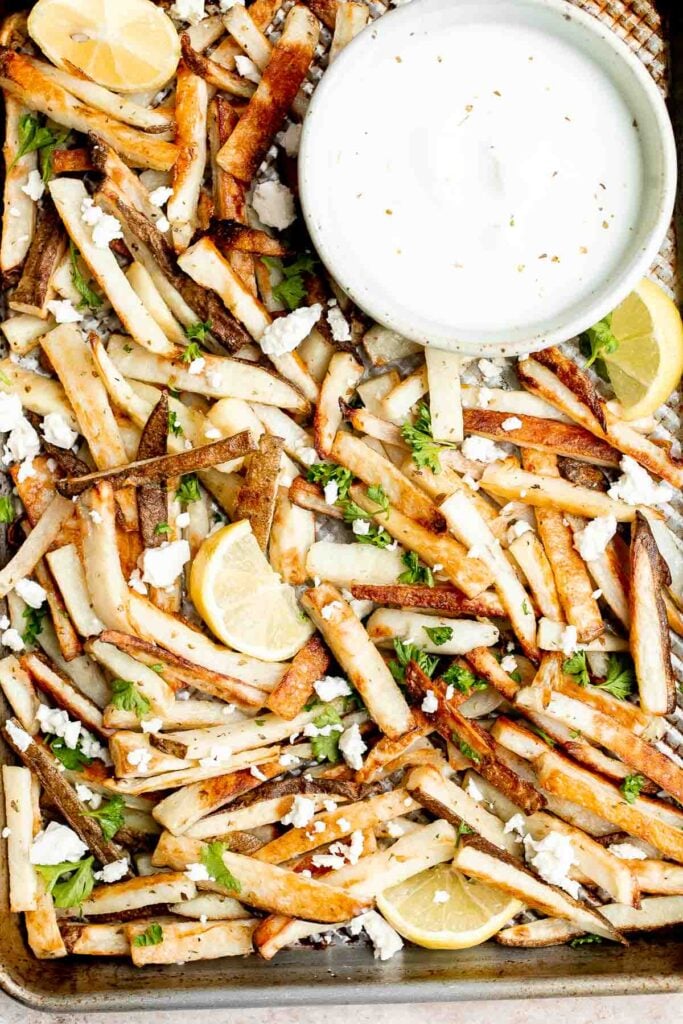
Homemade Greek fries bring a Mediterranean twist on a classic side dish, crispy fries are topped with crumbled feta cheese, fresh parsley, and lime juice.
Crunchy, cheesy, and paired with an awesome dipping sauce, these baked mozzarella sticks are just as amazing as what you would find in a restaurant.

Bacon Wrapped Jalapeño Poppers
Bacon wrapped jalapeño poppers are crispy on the outside, creamy and cheesy inside, spicy, and wrapped in bacon. Easy to make in the air fryer or oven.

Vegetarian quesadillas are quick and easy, completely customizable, loaded with veggies and beans. Serve this kid-friendly Mexican meal for lunch or dinner.
Chicken nachos are an easy to make when you're craving something filling, crunchy, cheesy, and satisfying. Perfect game day appetizer or late-night snack.
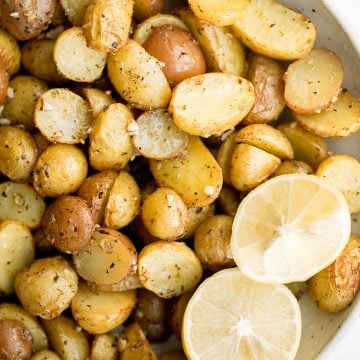
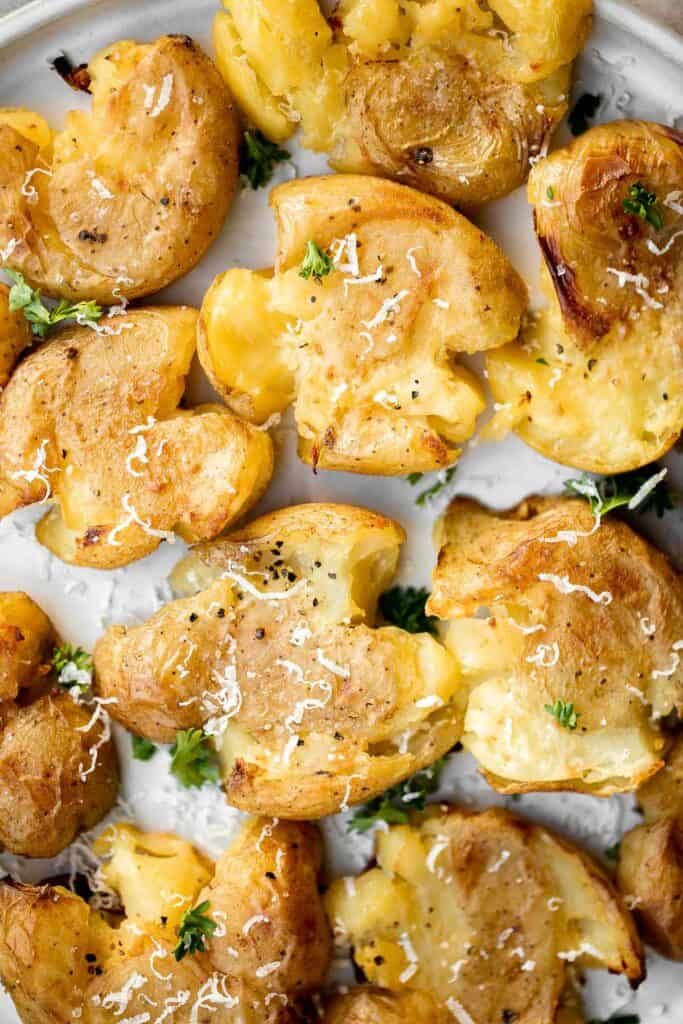
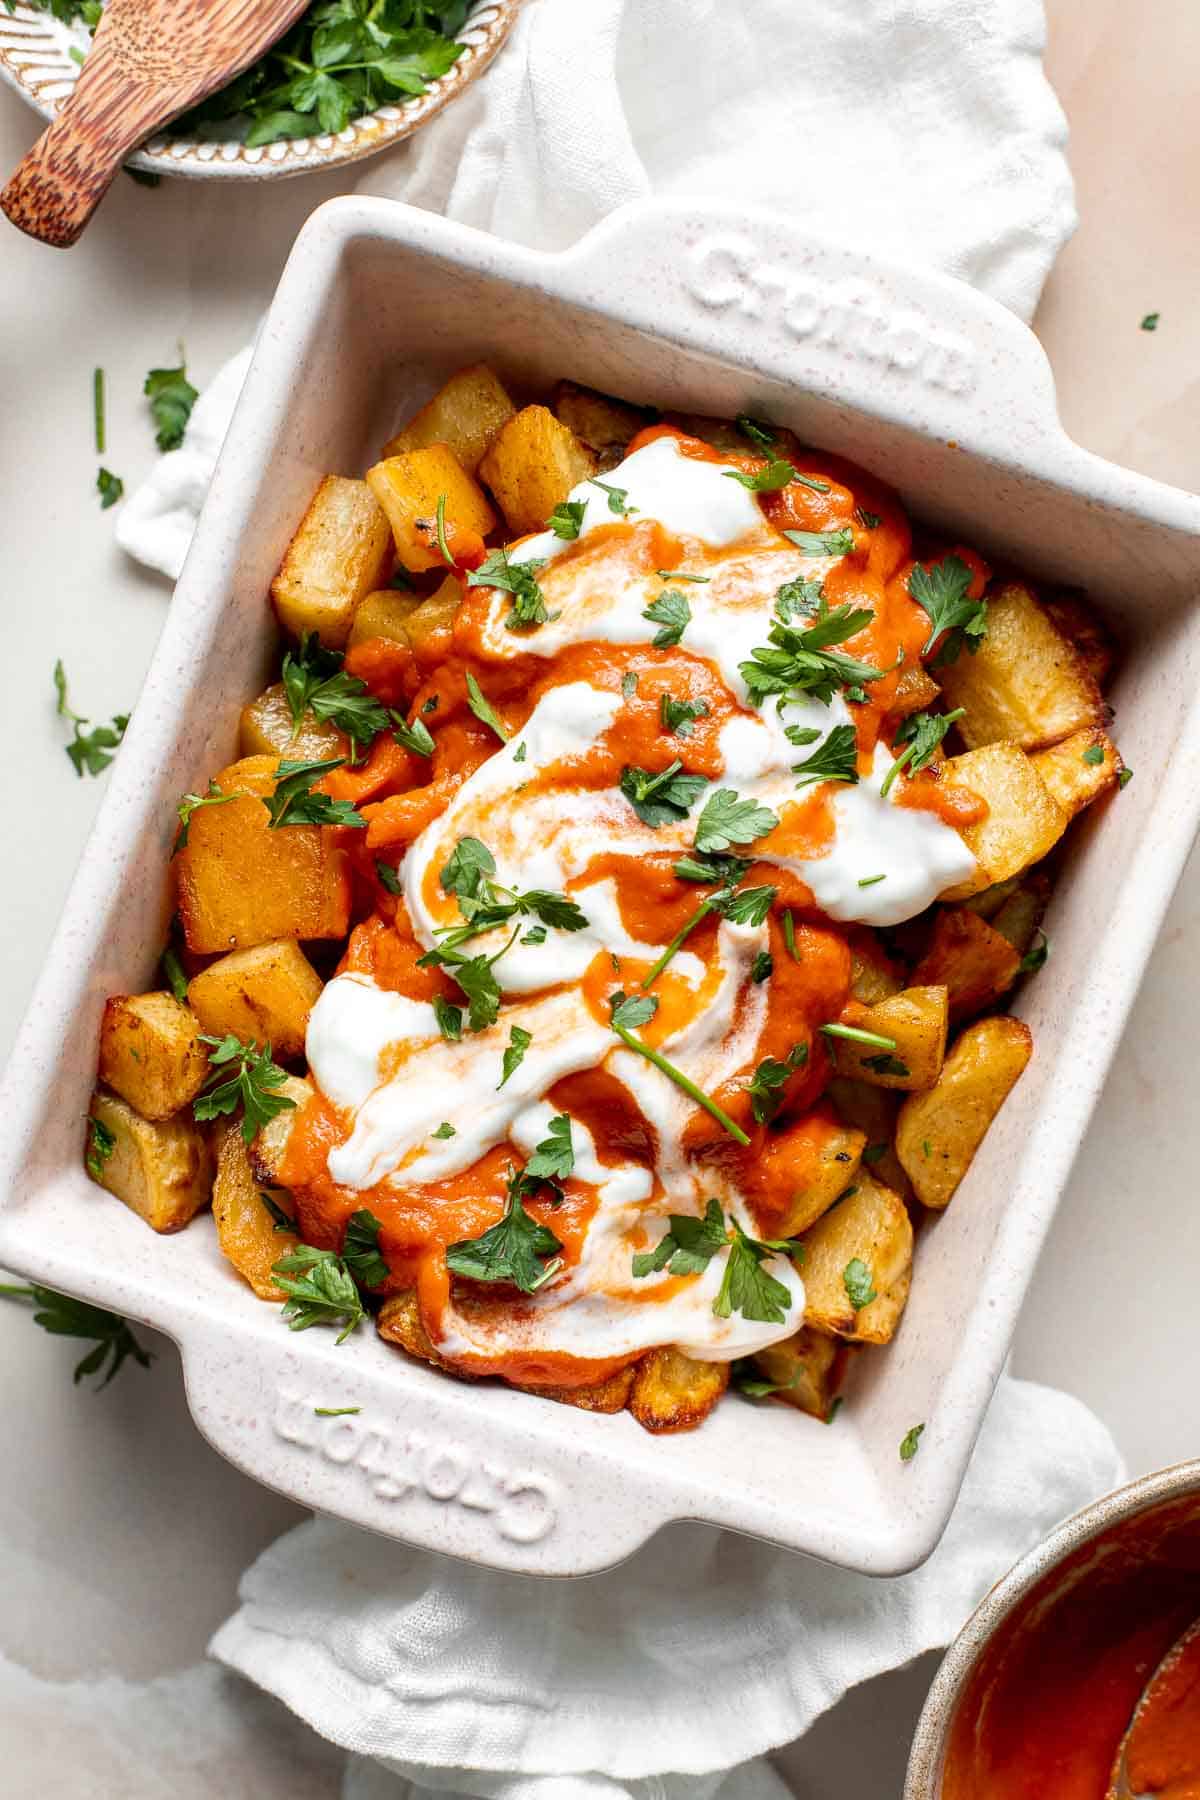
Skip the tapas bar and make Patatas Bravas at home with crispy, roasted potatoes smothered in a homemade sweet and spicy tomato sauce and garlic aioli.
Instant Pot Short Ribs are rich, tender, and delicious. These short ribs fall-off-the-bone after being braised in a red wine broth in the pressure cooker.
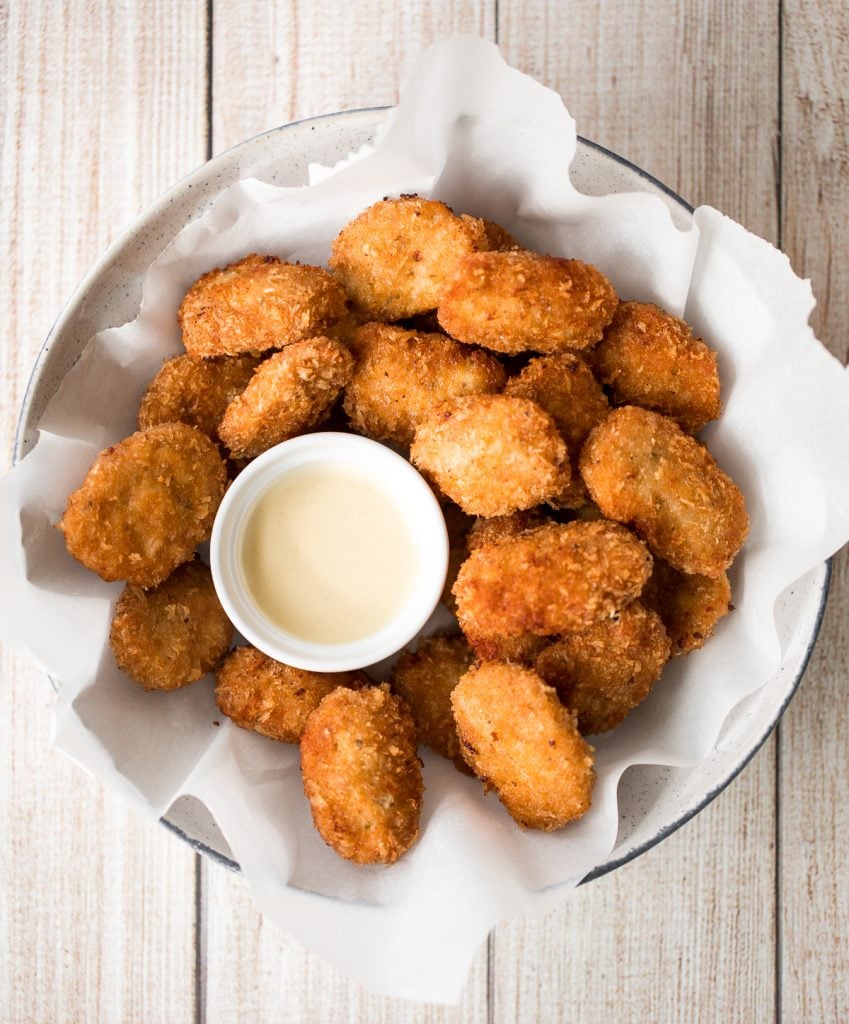
Easy homemade chicken nuggets with chicken breast are golden and crisp on the outside and juicy and tender inside. They're freezer-friendly so make extra.
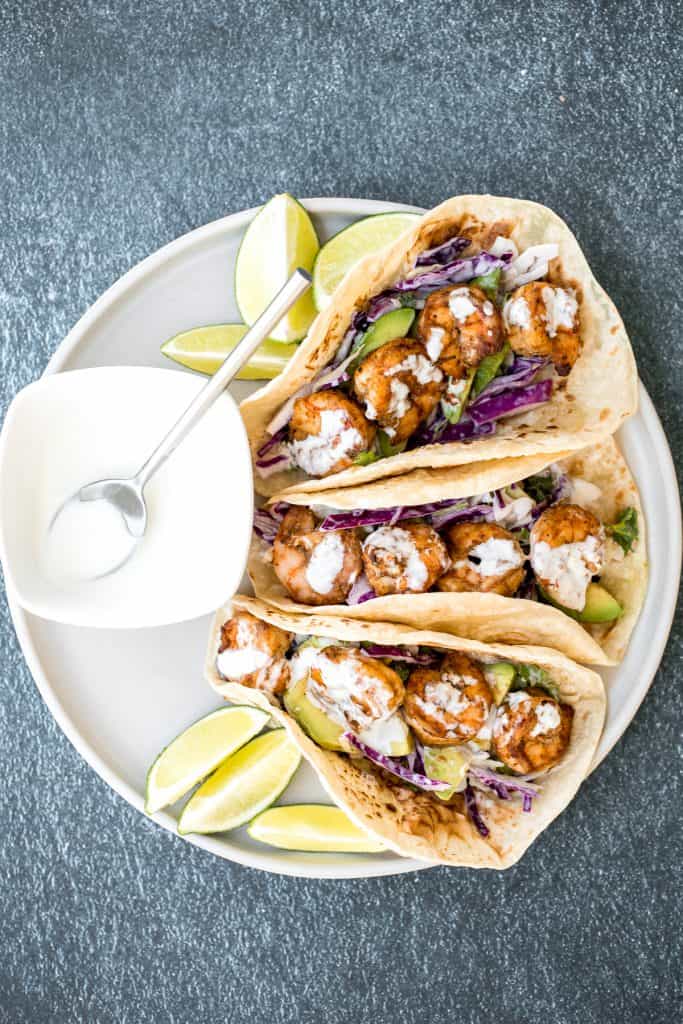
Shrimp Tacos with Lime Crema Slaw
Quick and easy shrimp tacos with lime crema slaw are ready in less than 30 minutes and are packed with flavourful crispy shrimp and creamy cabbage slaw.
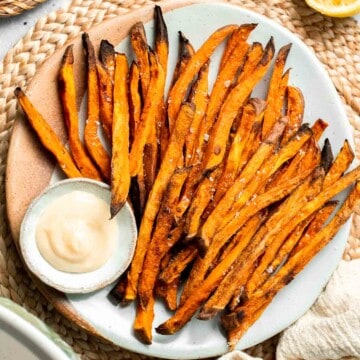
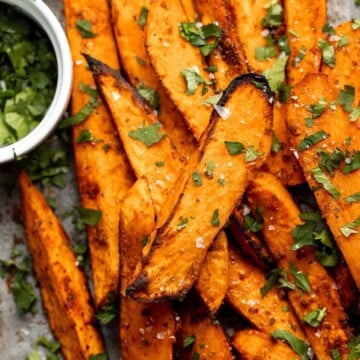
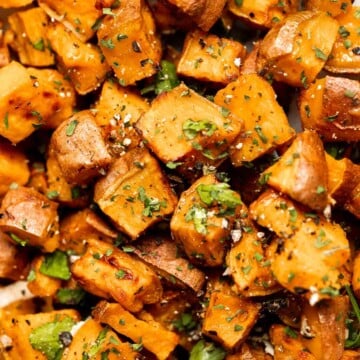
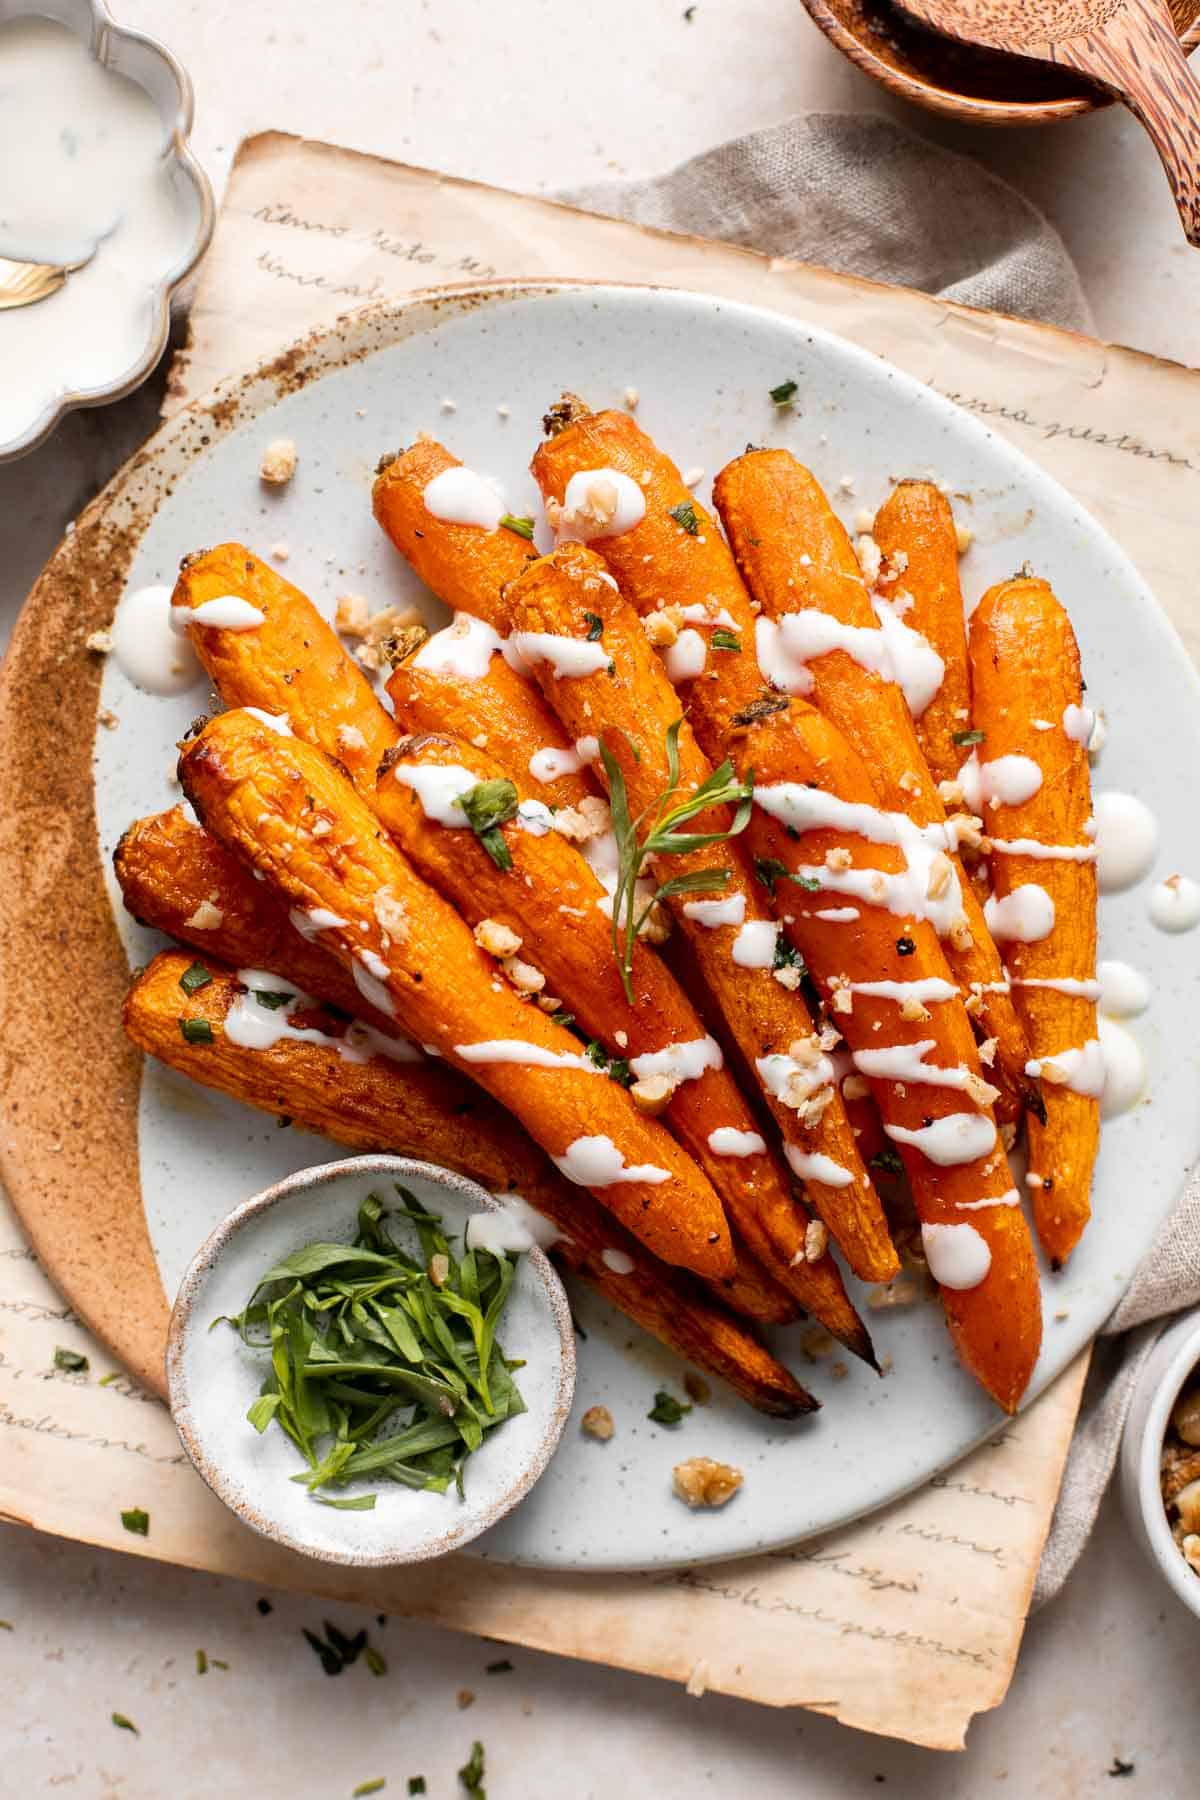
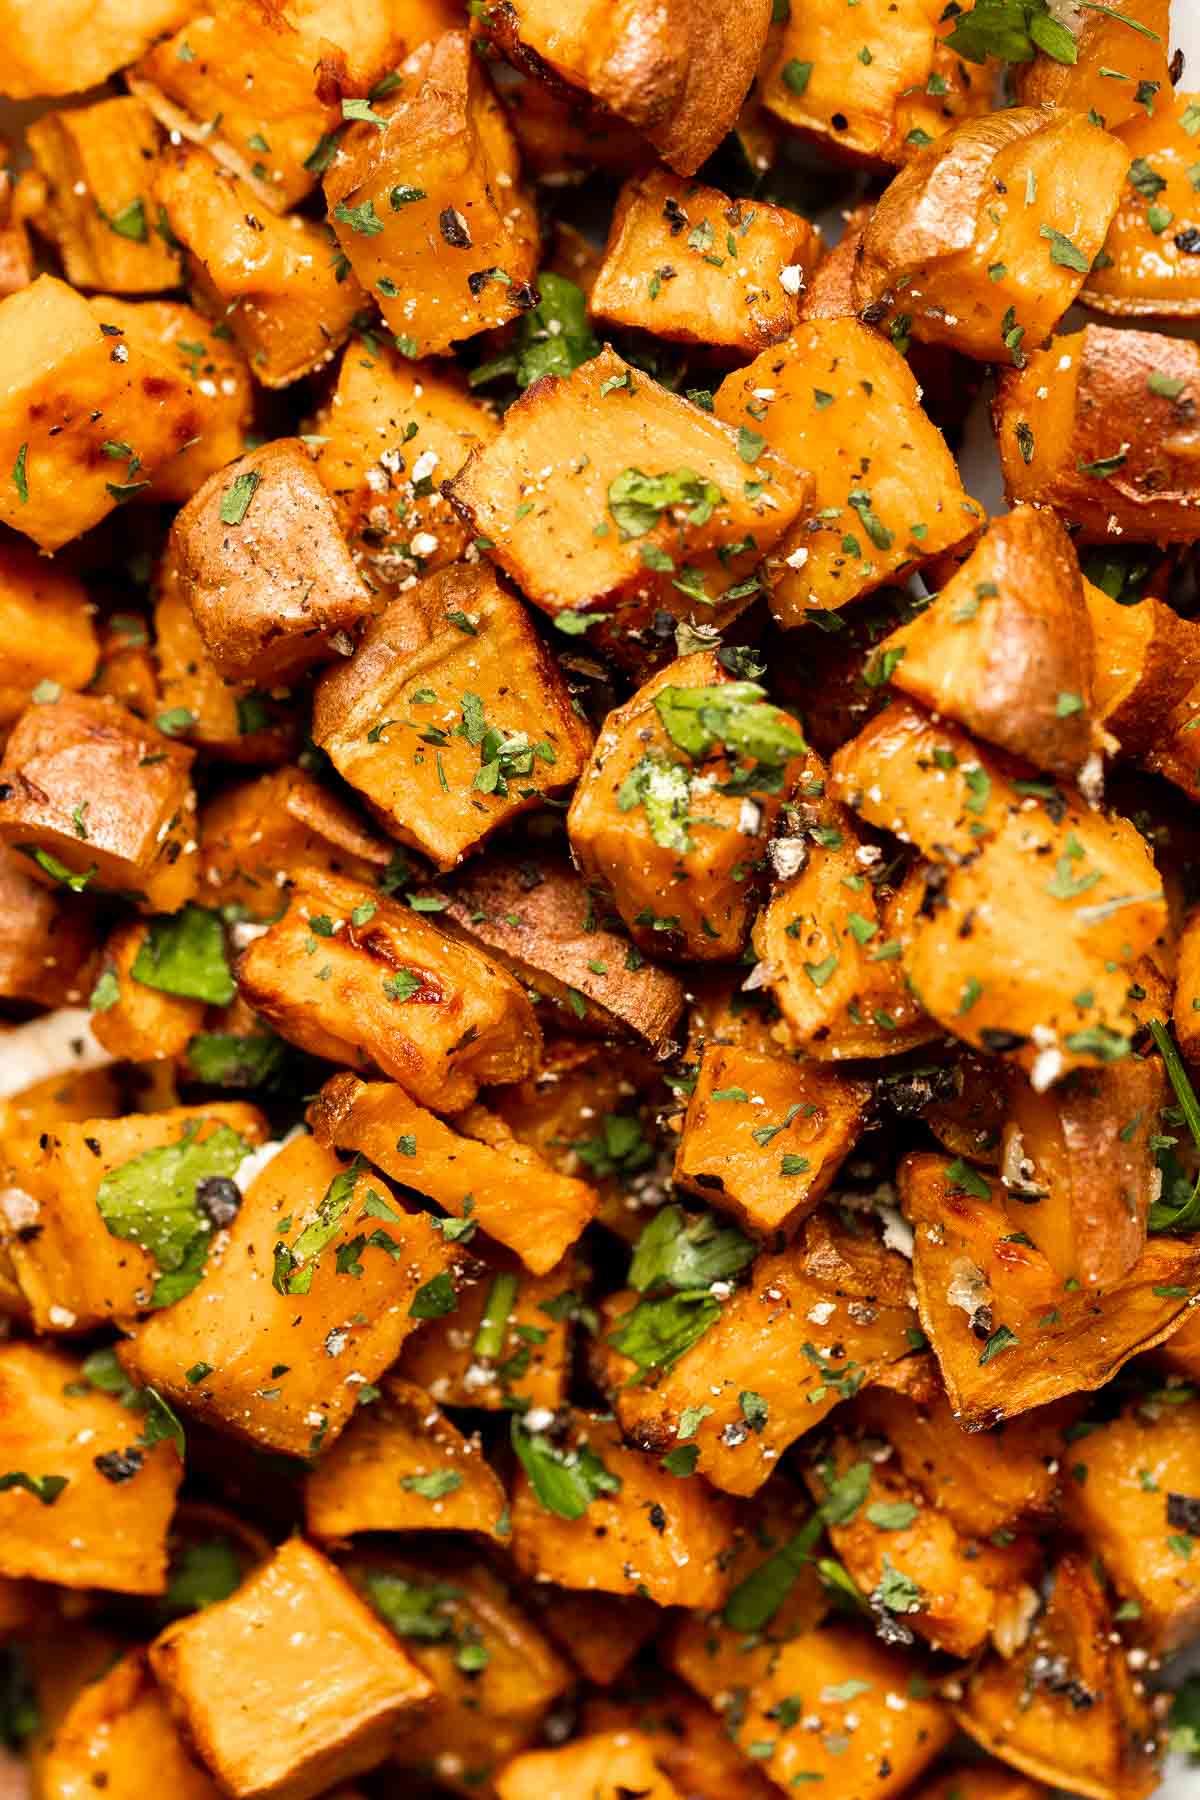
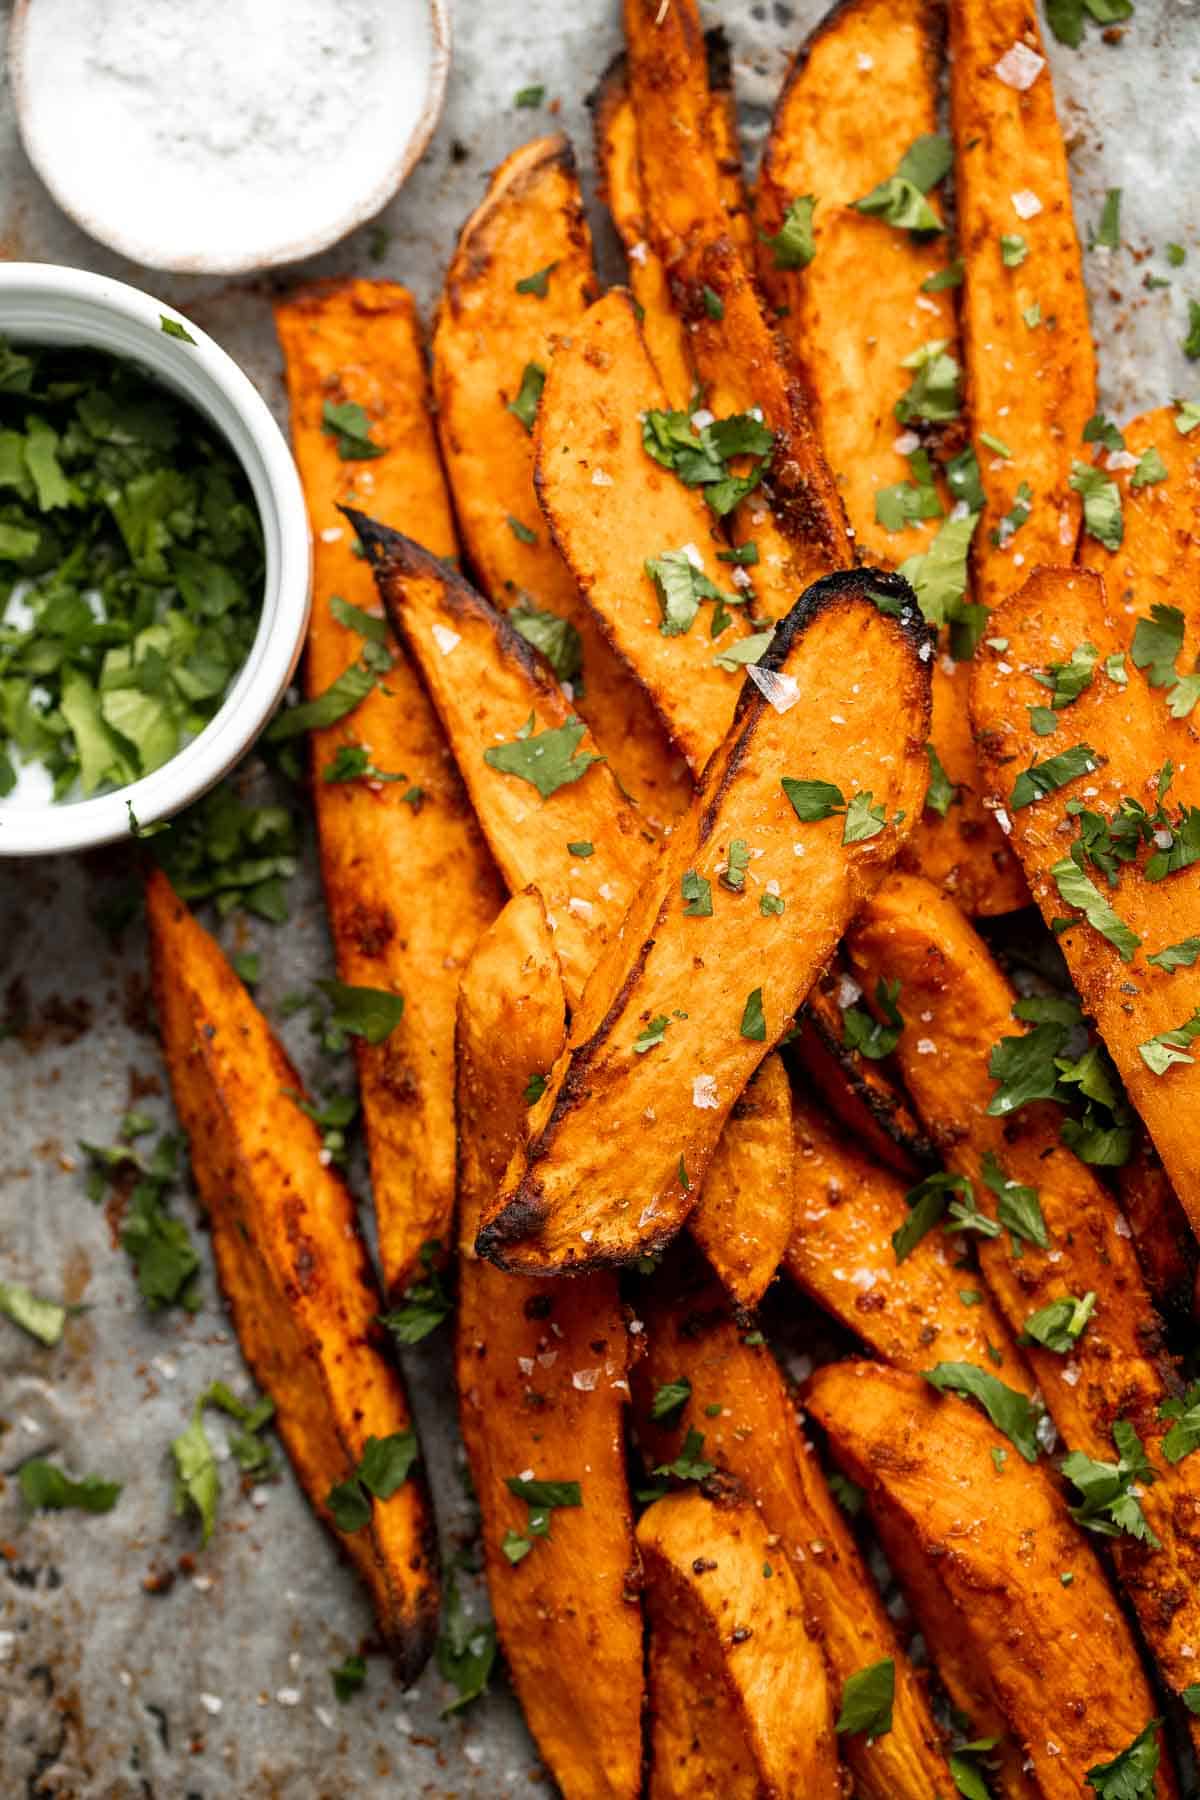
Baked Sweet Potato Wedges are crispy, delicious, flavorful. Serve as an appetizer or side dish. They are salty, savory, and sweet, with a hint of spice.
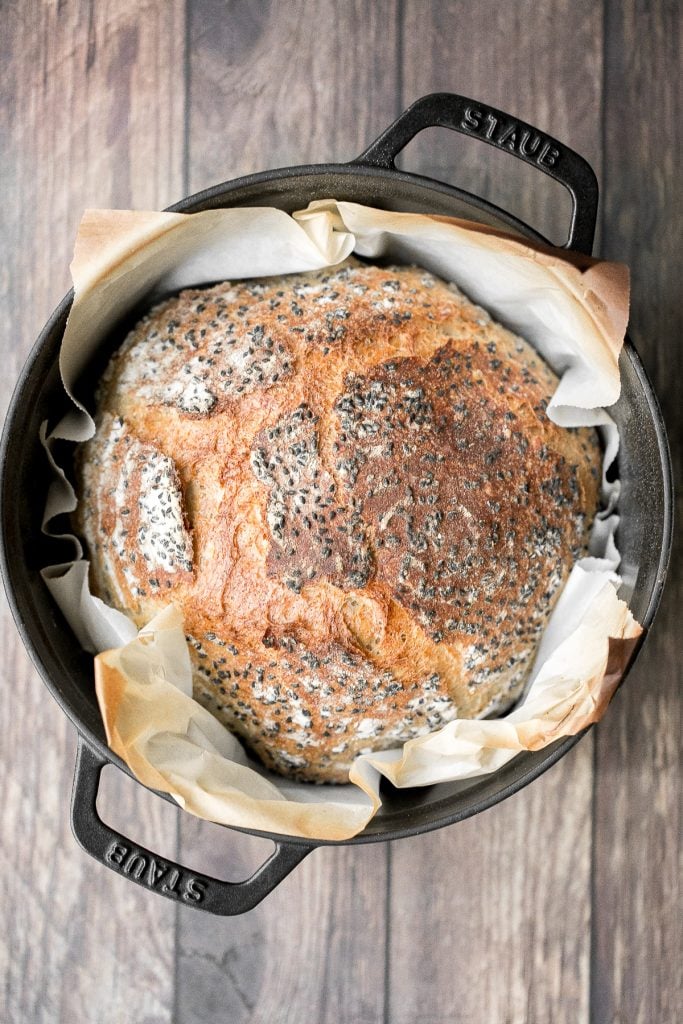
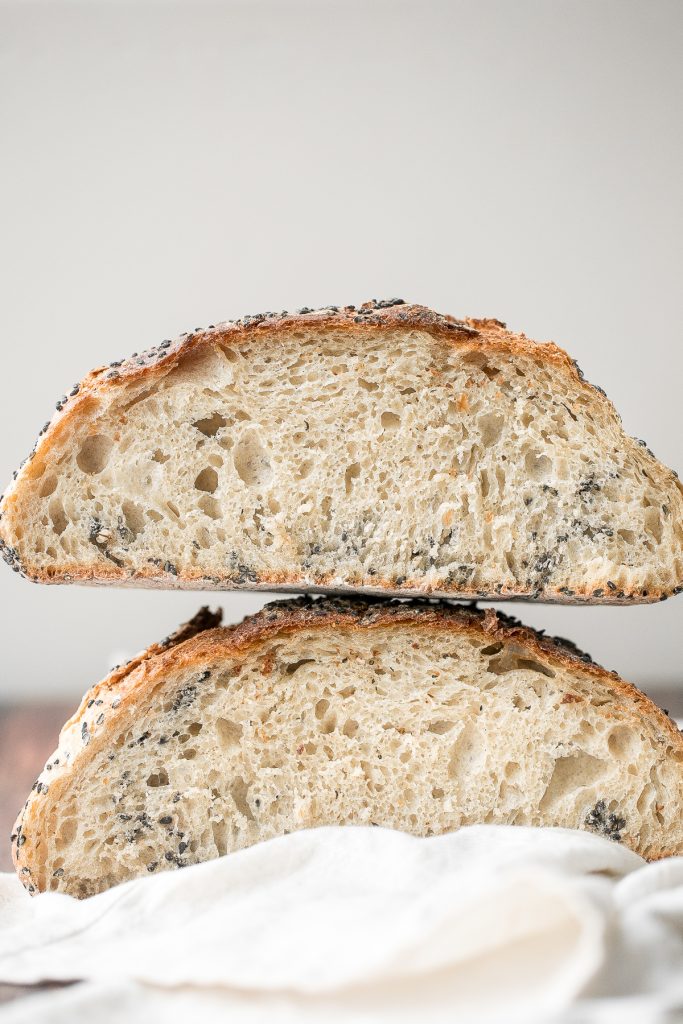
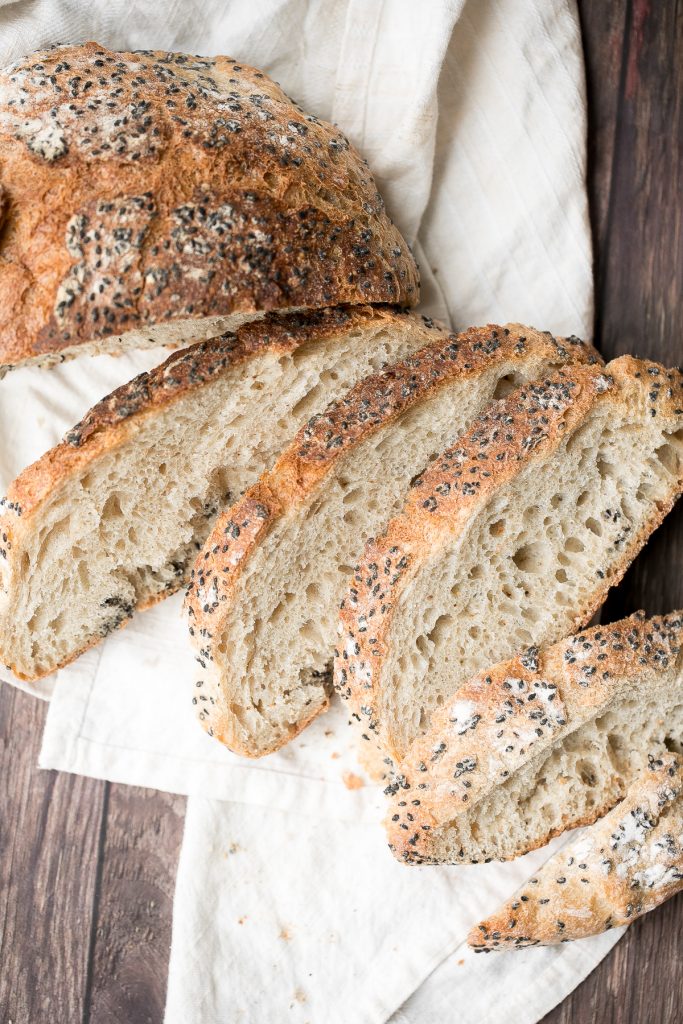
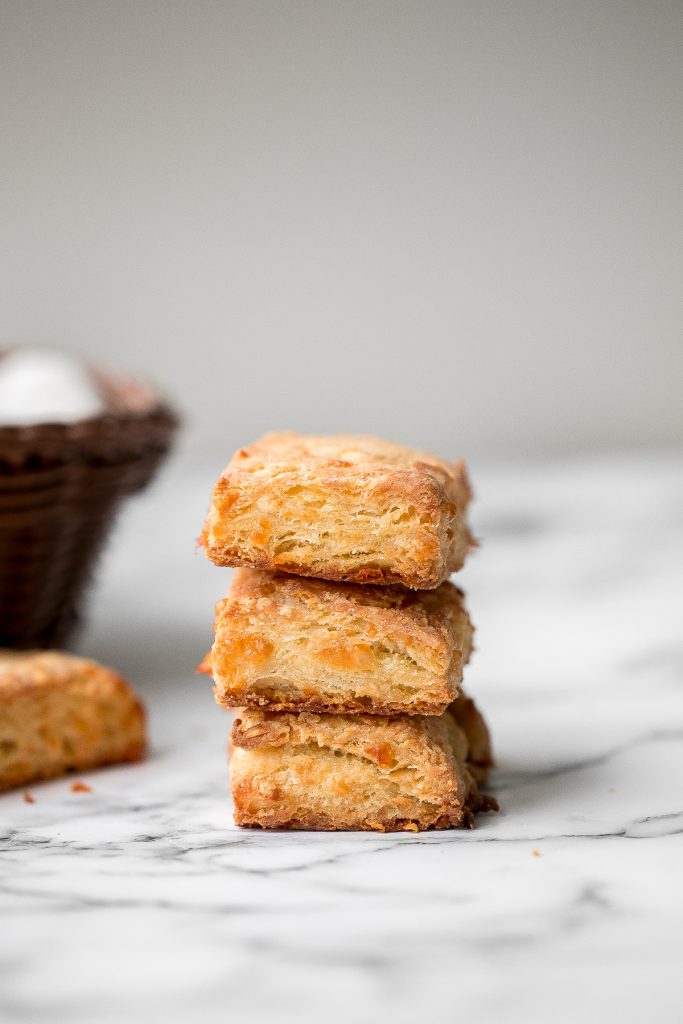
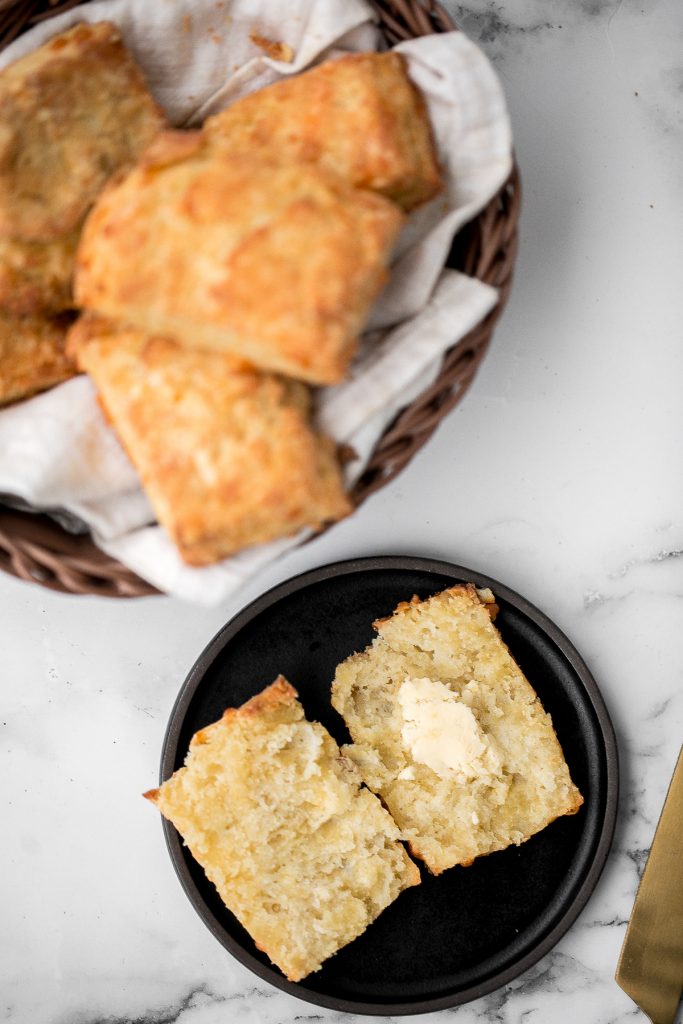
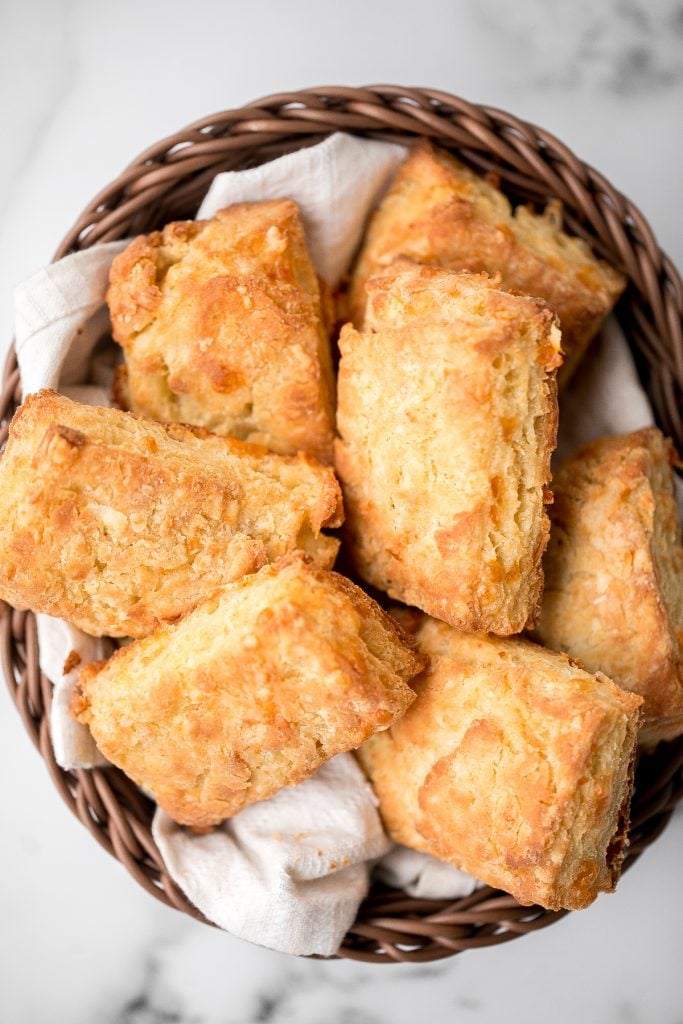
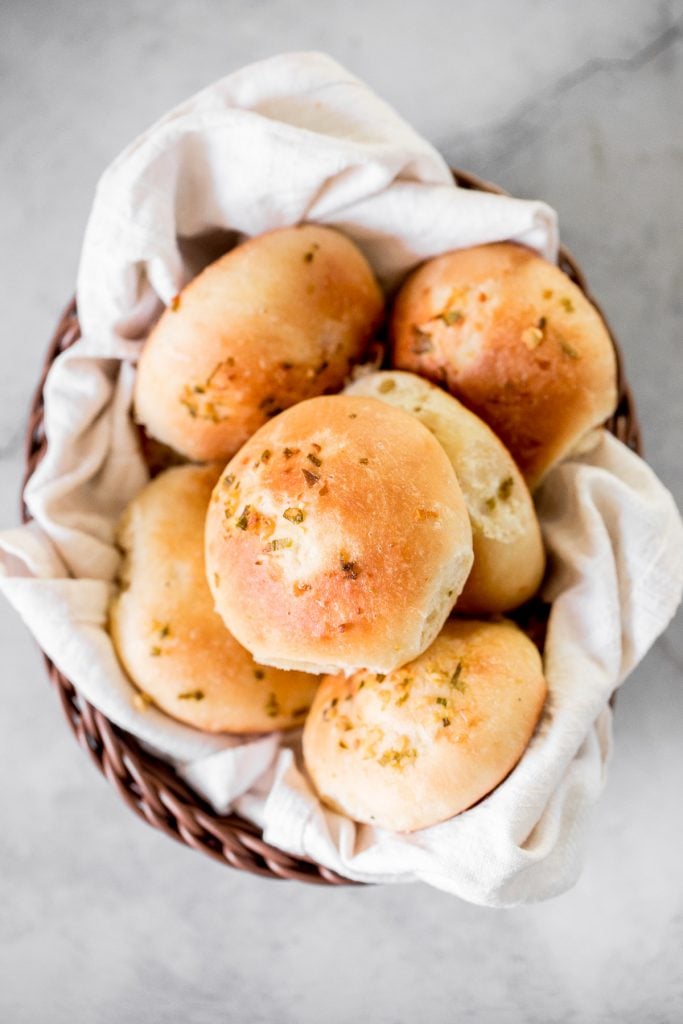
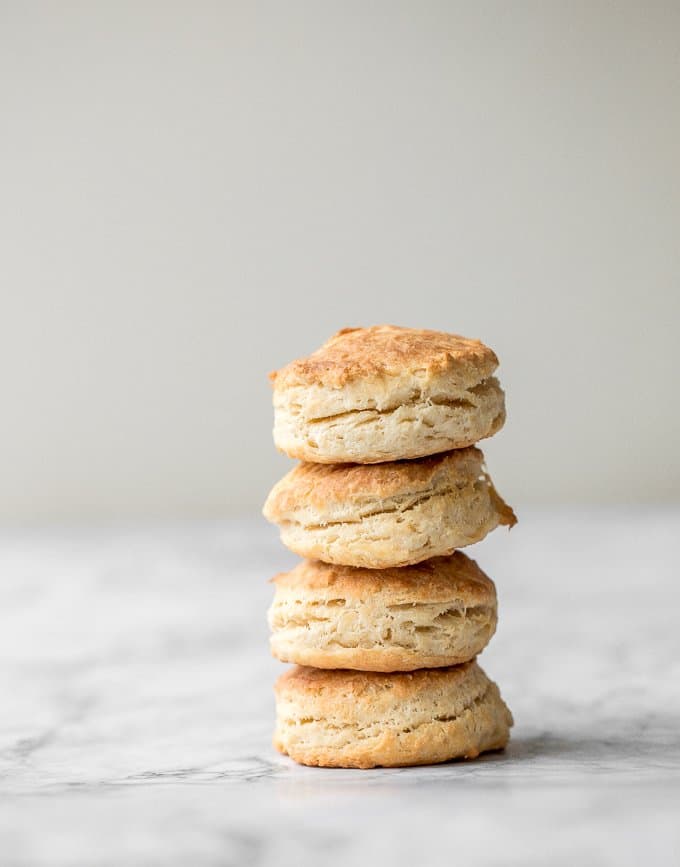
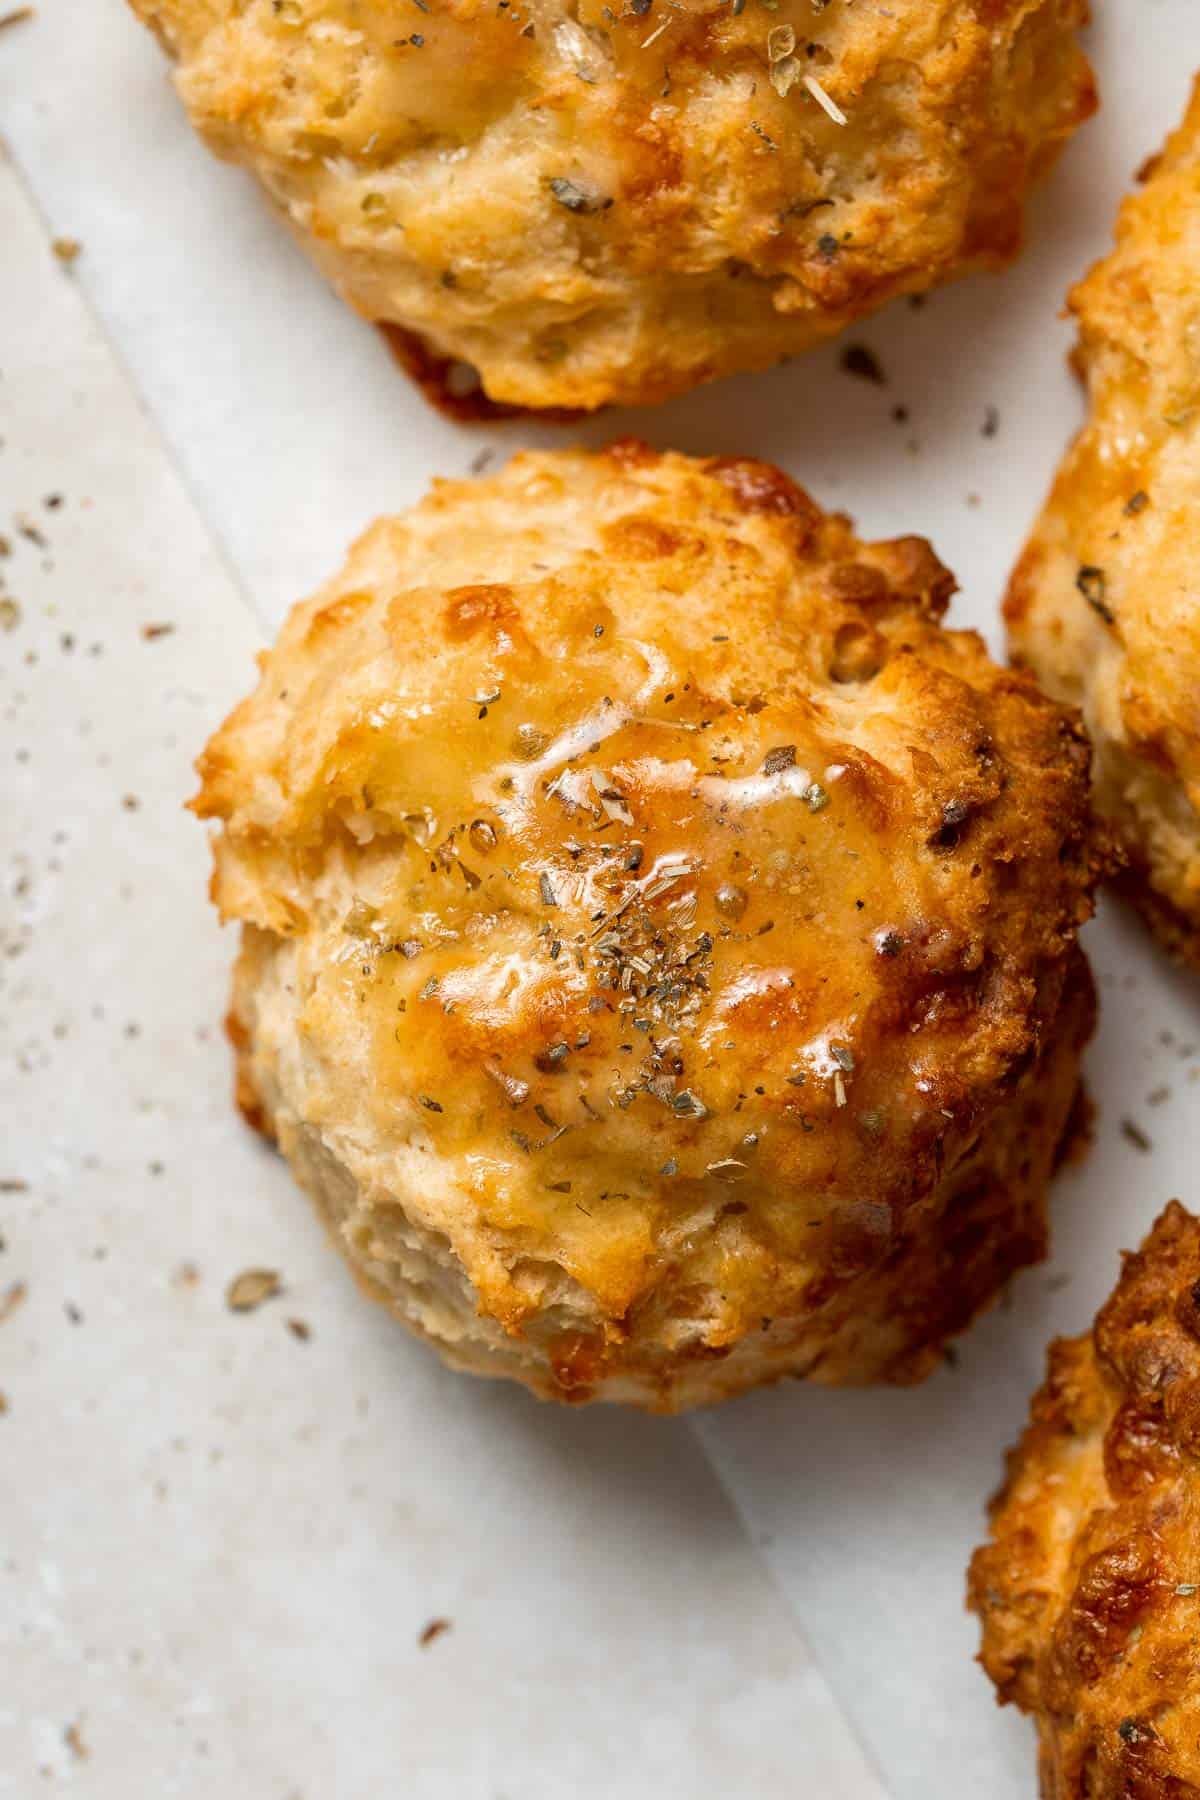
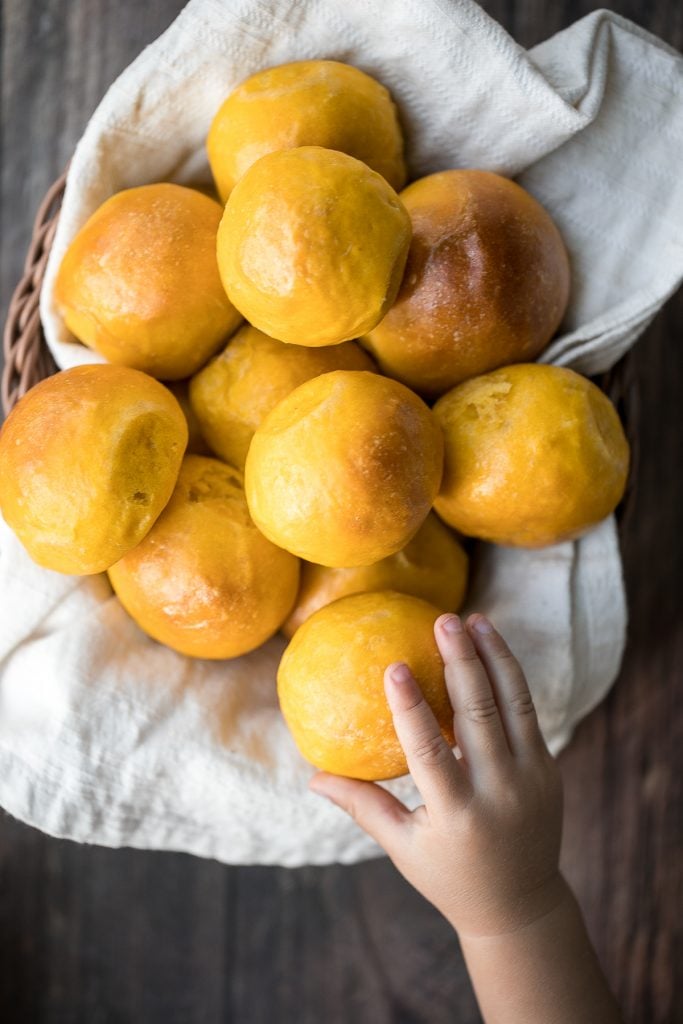
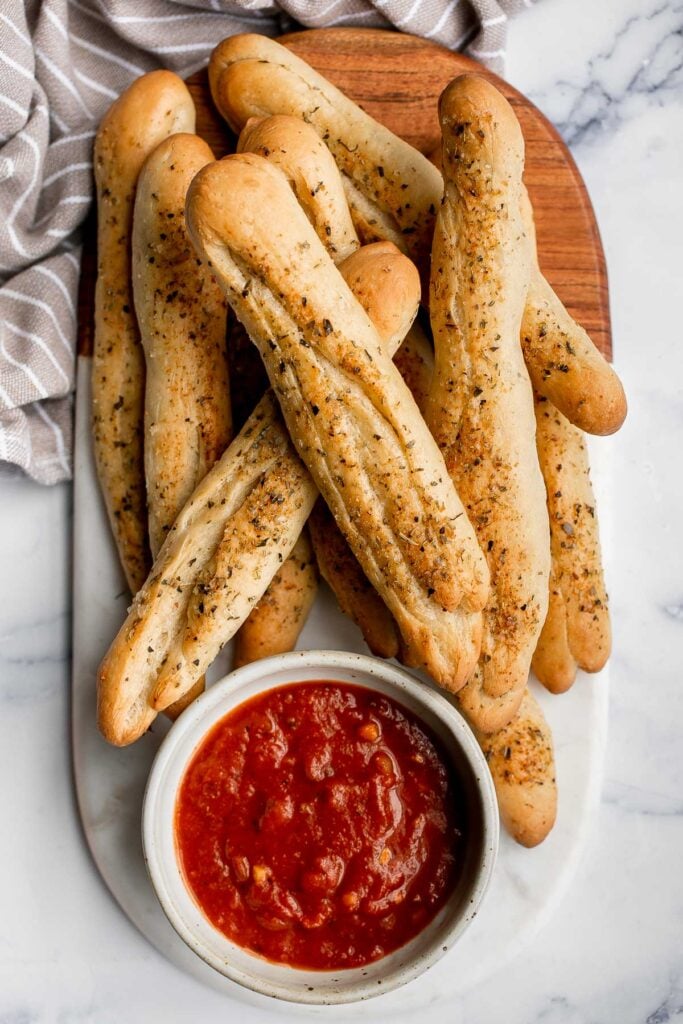
Soft garlic breadsticks are fluffy, airy, buttery, and delicious. They're an easy recipe that is perfect for beginners at baking bread.
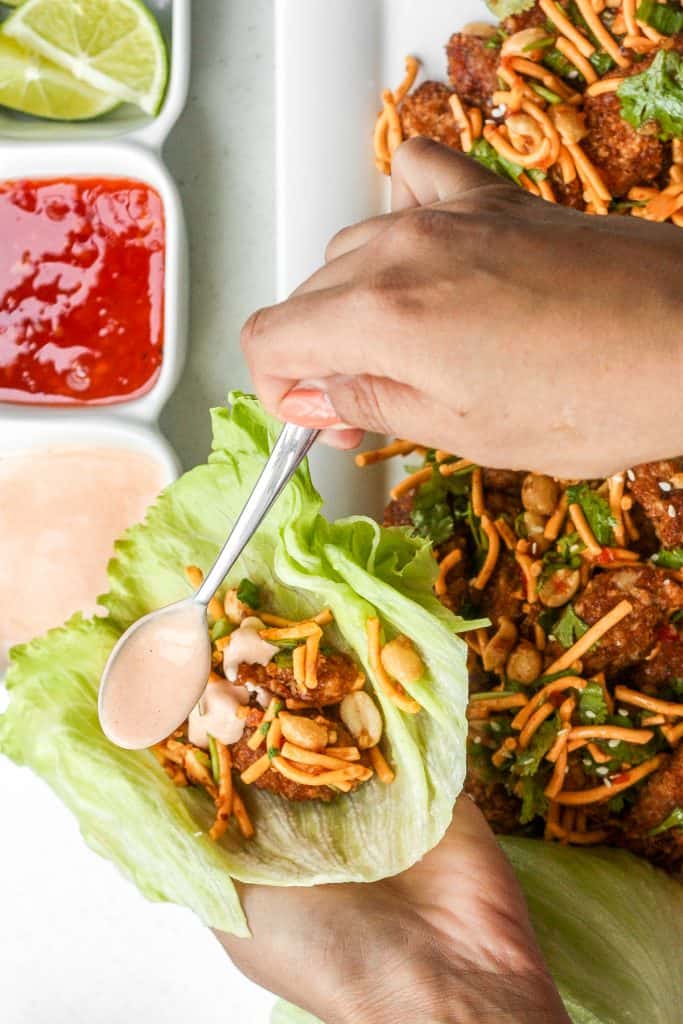
Szechuan Chicken Lettuce Wraps with Spicy Mayo
Spice it up and make copycat Szechuan chicken lettuce wraps with spicy mayo from the comfort of your own home with this easy to follow recipe. Plus, it is healthier than the original.
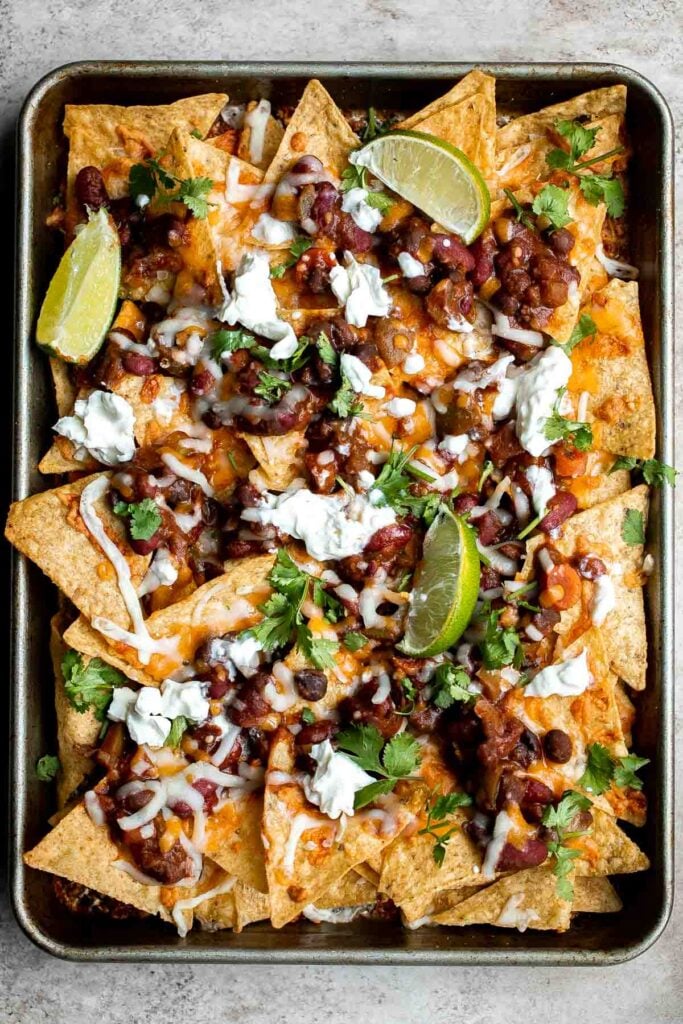
Homemade chili nachos are crispy, cheesy, delicious, and flavorful. This modern twist on a Mexican classic are the best way to use up any leftover chili.
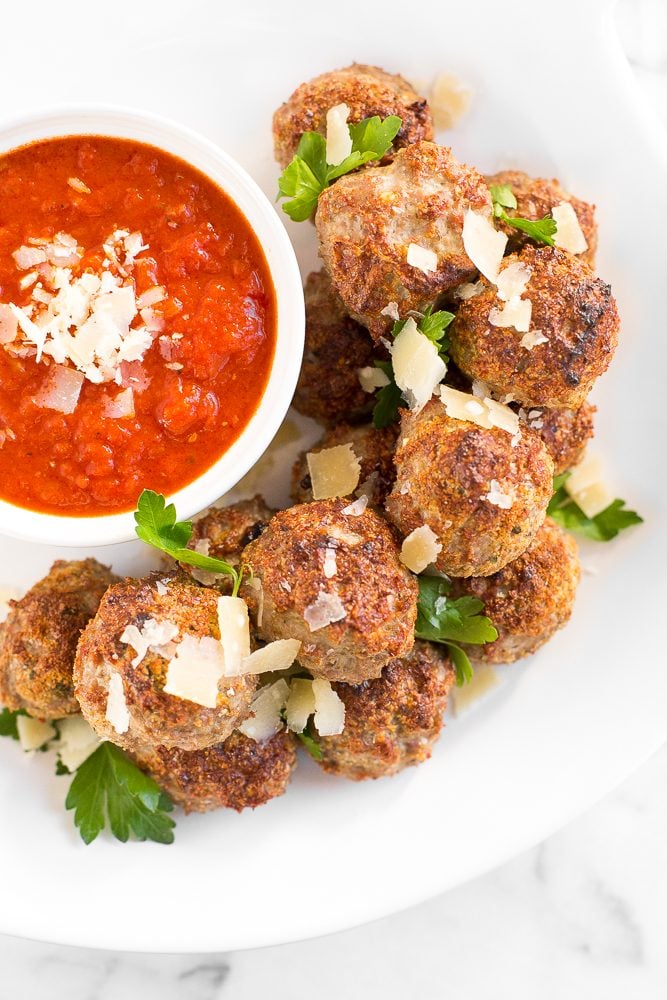
When it comes to menu planning, baked turkey meatballs reign supreme. Say hello to your meal ready in under 20 minutes from prep to table. For a vegetarian option, try quinoa, cauliflower and chickpea vegetarian meatballs.
Juicy long strips of chicken shaped perfectly for dipping and coated with a flawless crispy and crunchy exterior, baked crispy chicken strips are a pleaser.

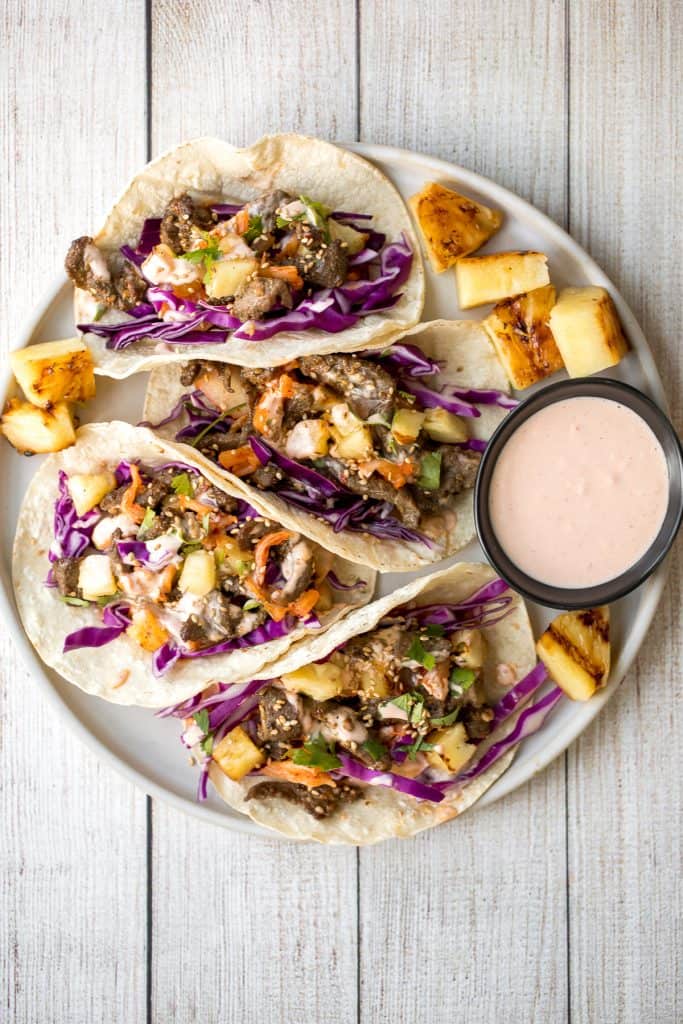
Fusion-style Korean beef steak tacos are made with tender, flavour-packed slices of beef and topped with caramelized pineapple, kimchi, and spicy mayo.
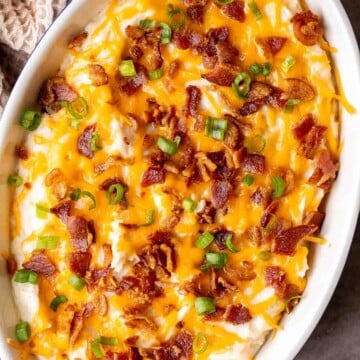
BBQ Chicken Stuffed Baked Potatoes
Try this gorgeous combination of BBQ chicken, scallions, cilantro and gruyere for an explosion of flavour in loaded BBQ chicken stuffed baked potatoes.

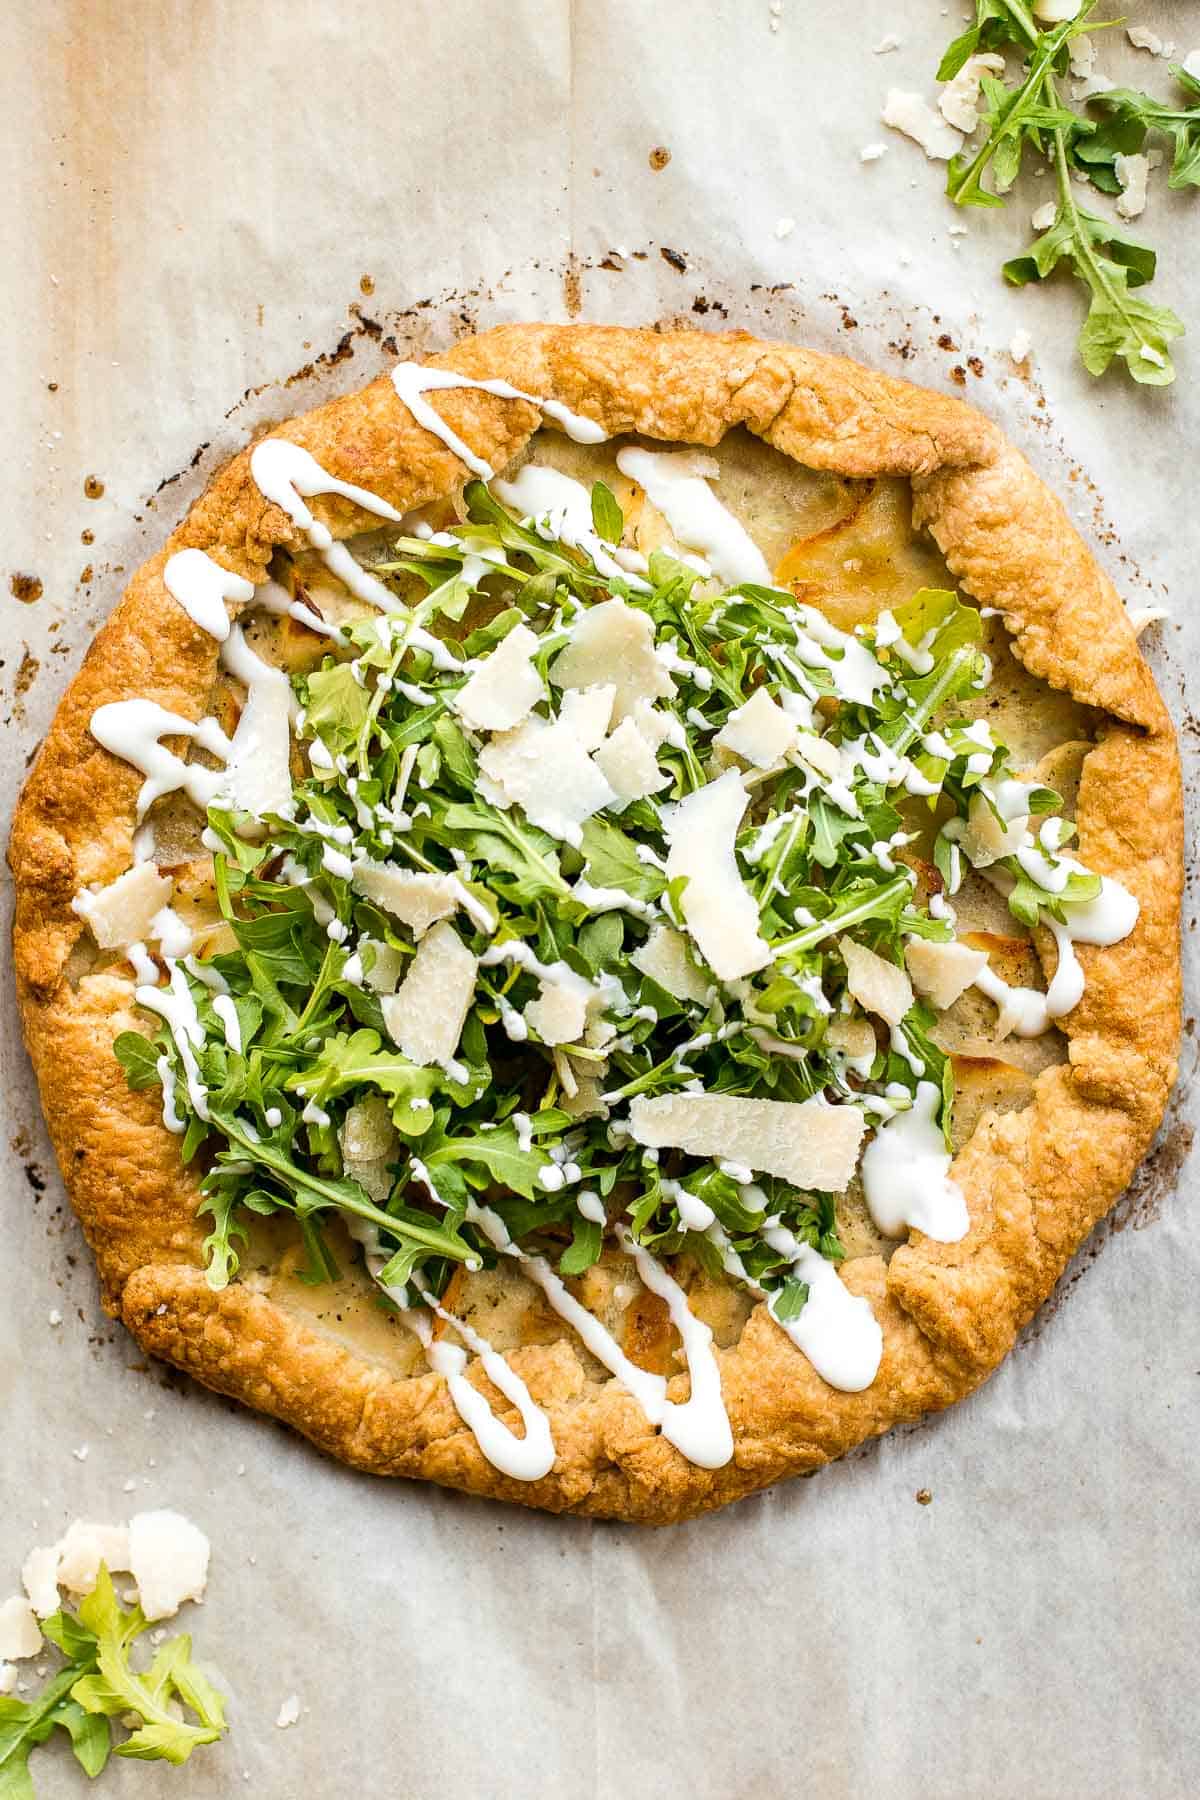
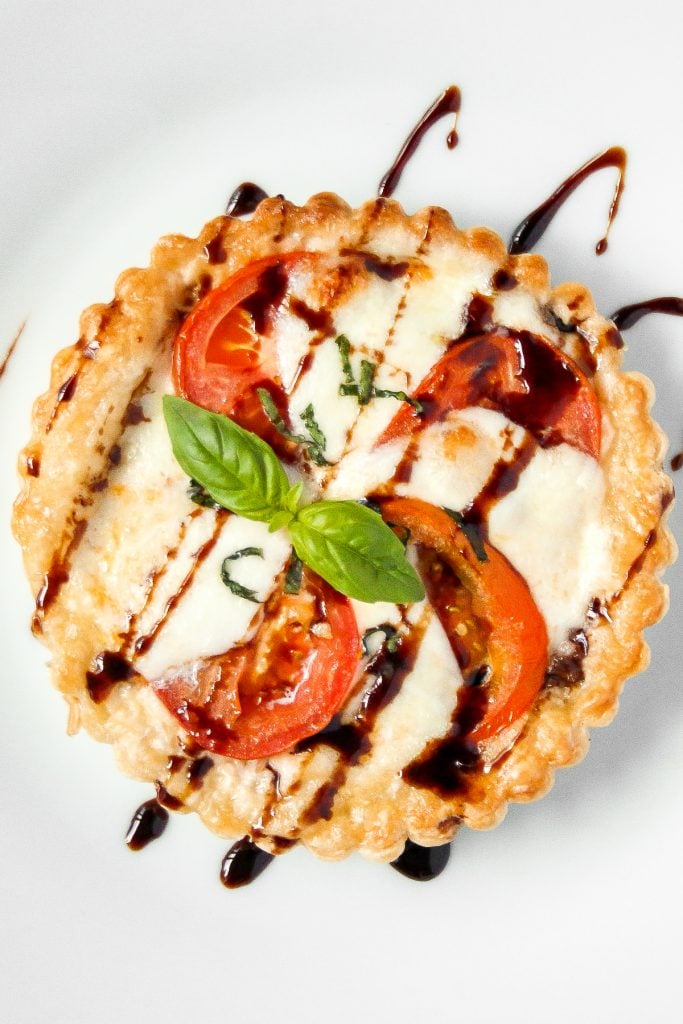
Looking for the perfect appetizer or light lunch? Try a tomato and mozzarella tart topped with basil and a drizzle of pomegranate molasses.
Pizza and Flatbread
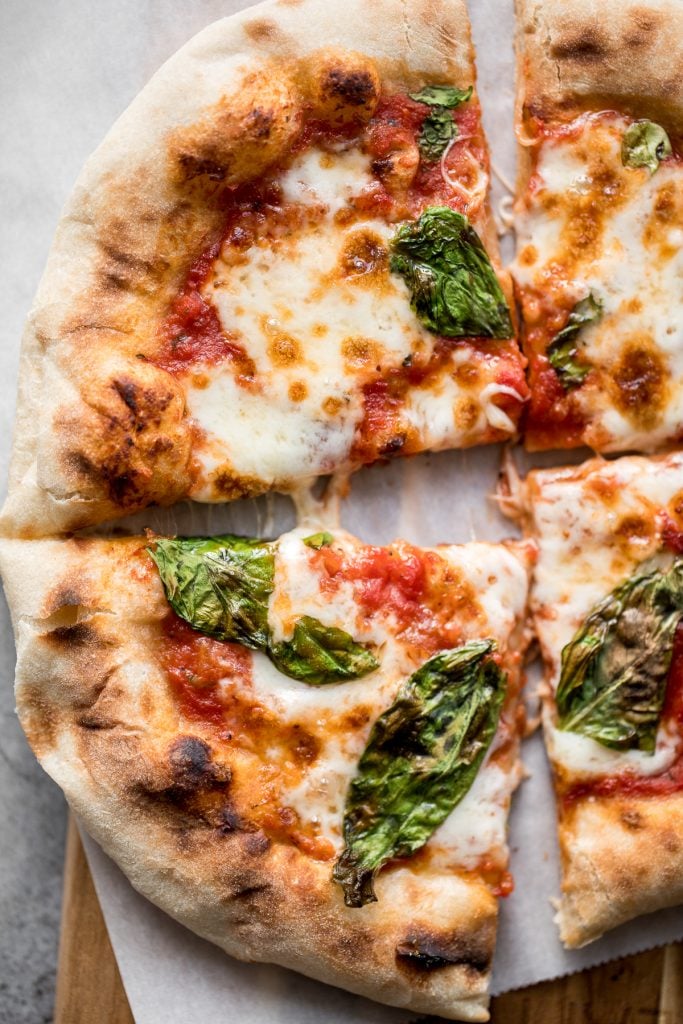
Skillet Neapolitan Margherita Pizza
Quick and easy skillet Neapolitan margherita pizza has an iconic thin and soft crust with a perfectly crisp exterior, and simple and fresh toppings.
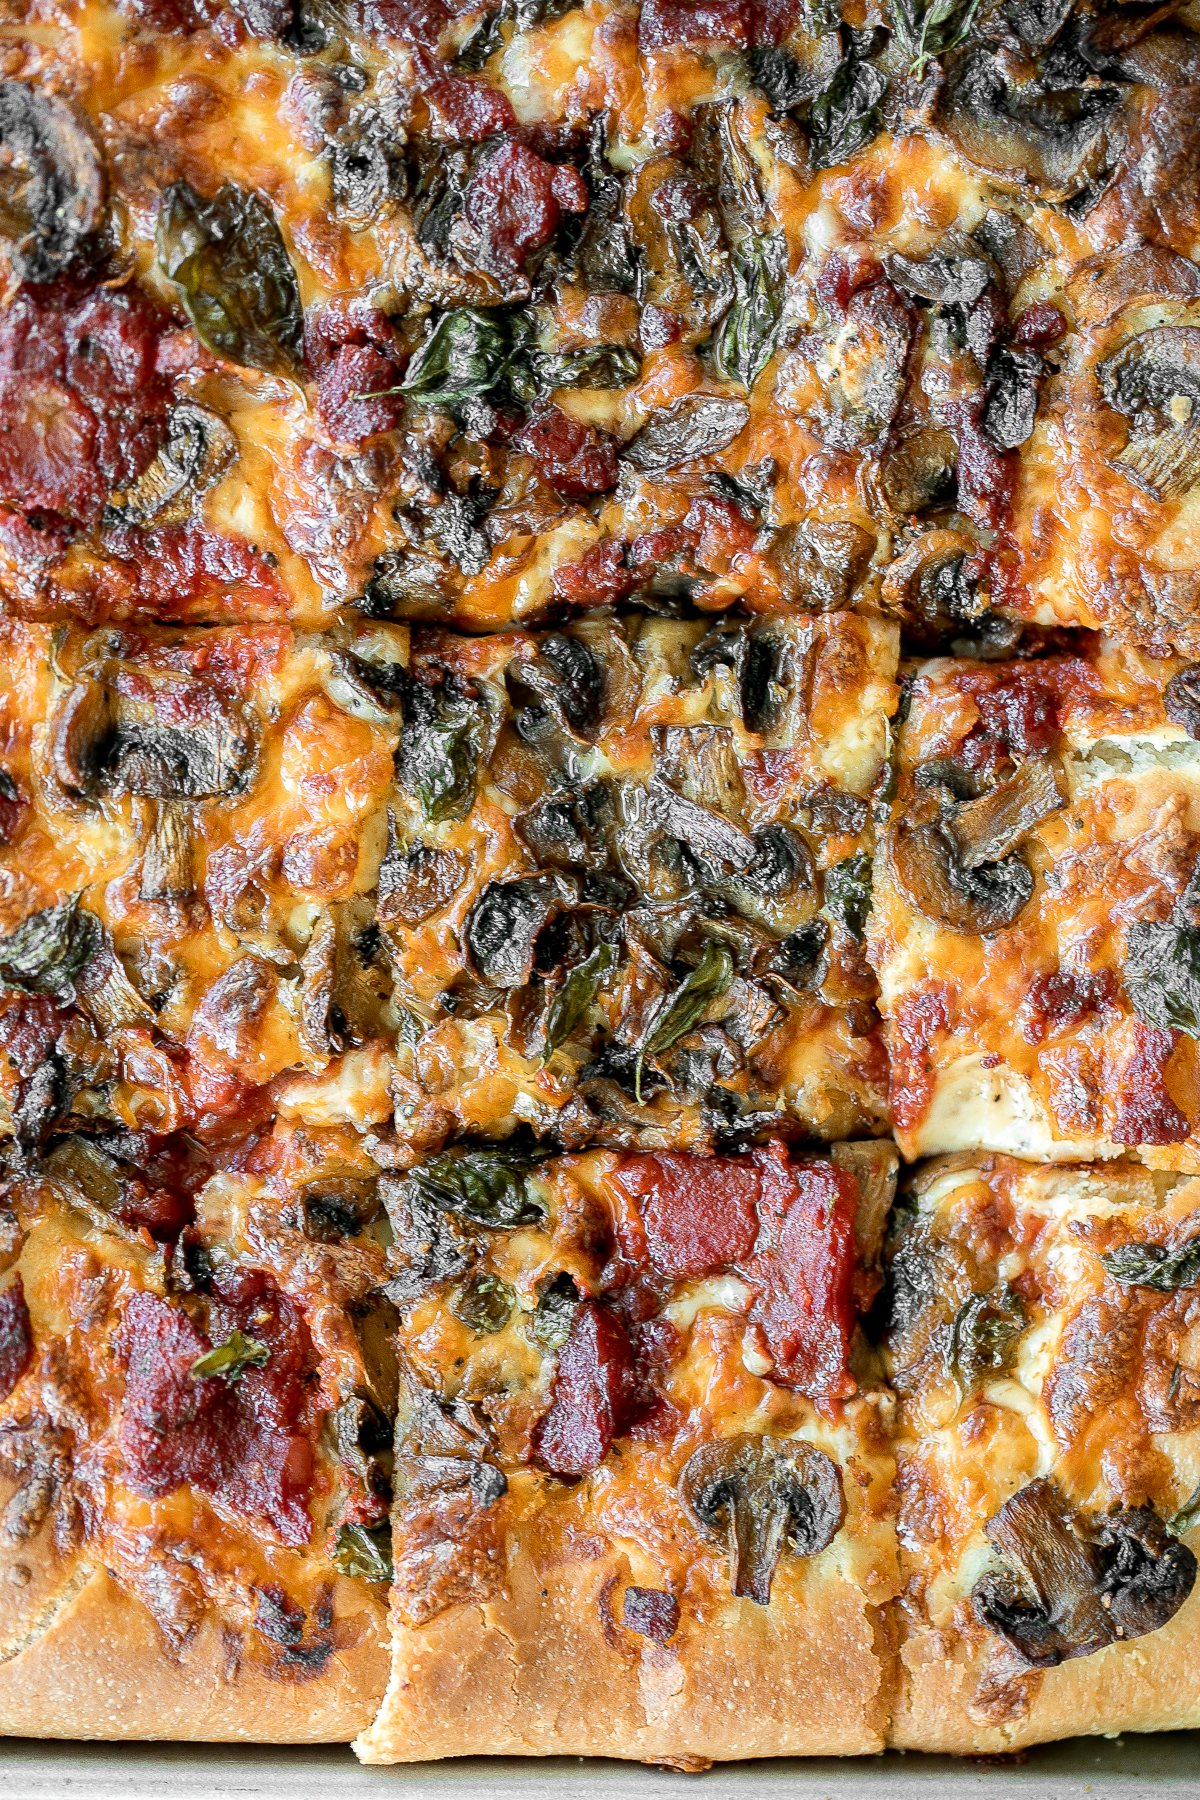
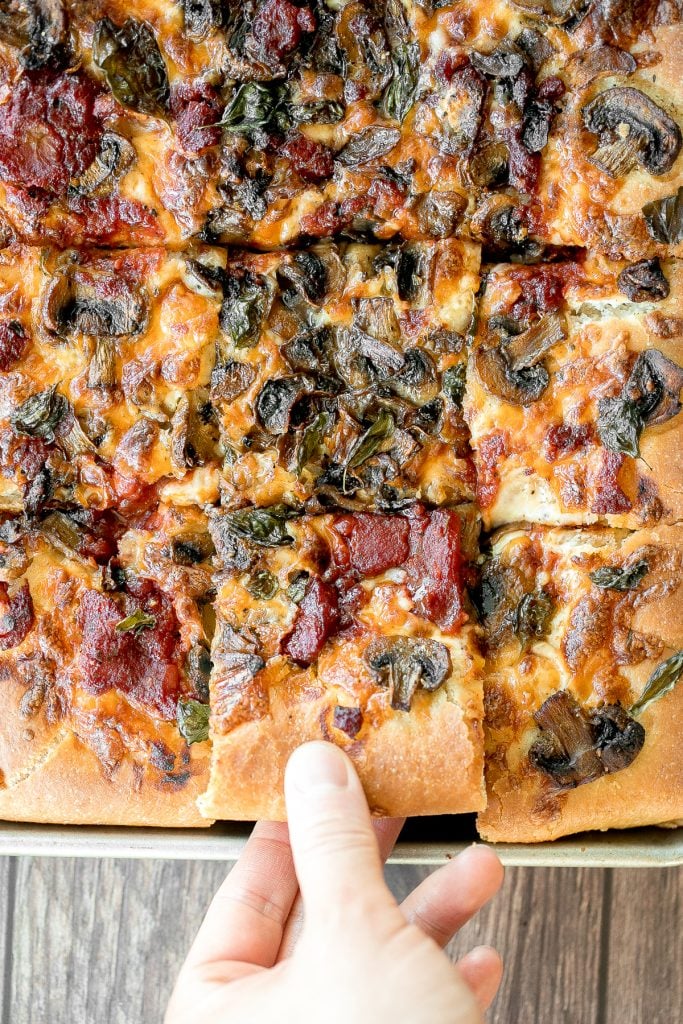
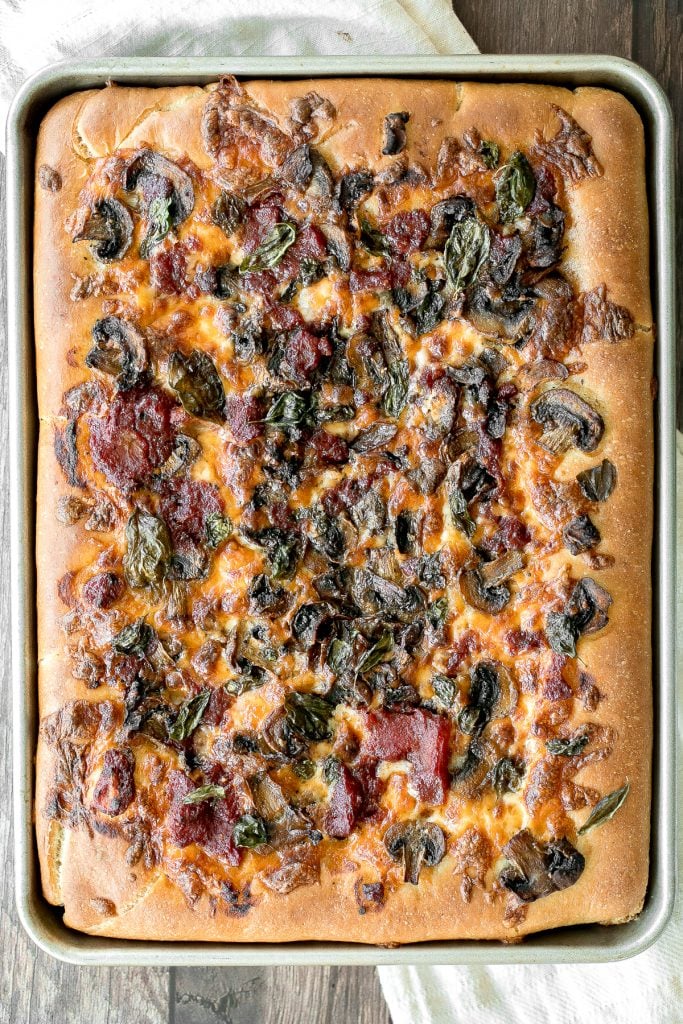
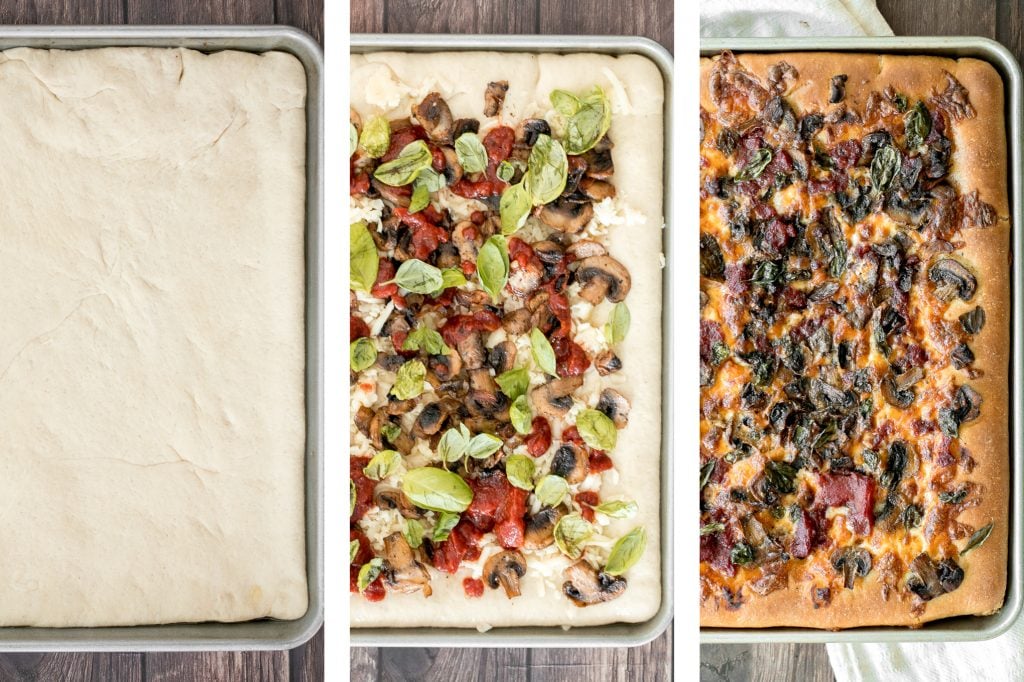
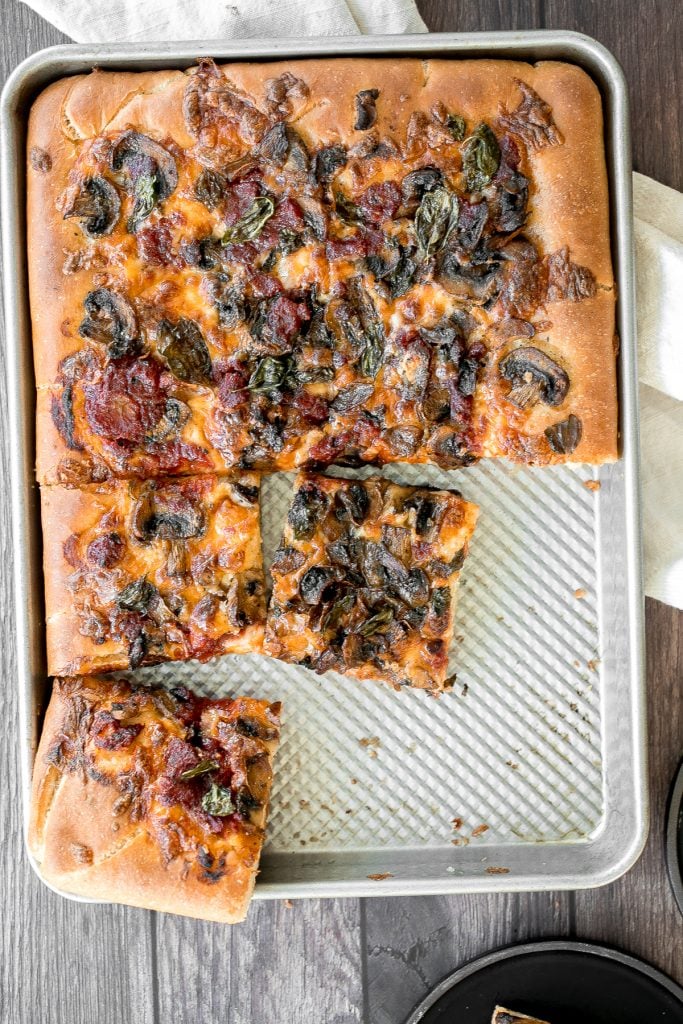
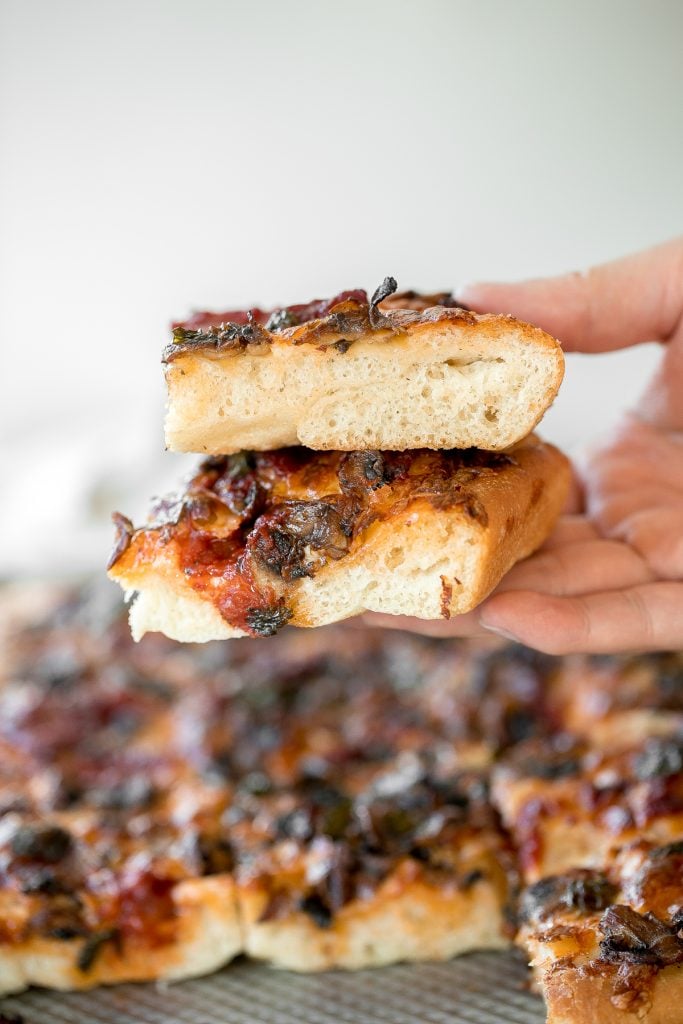
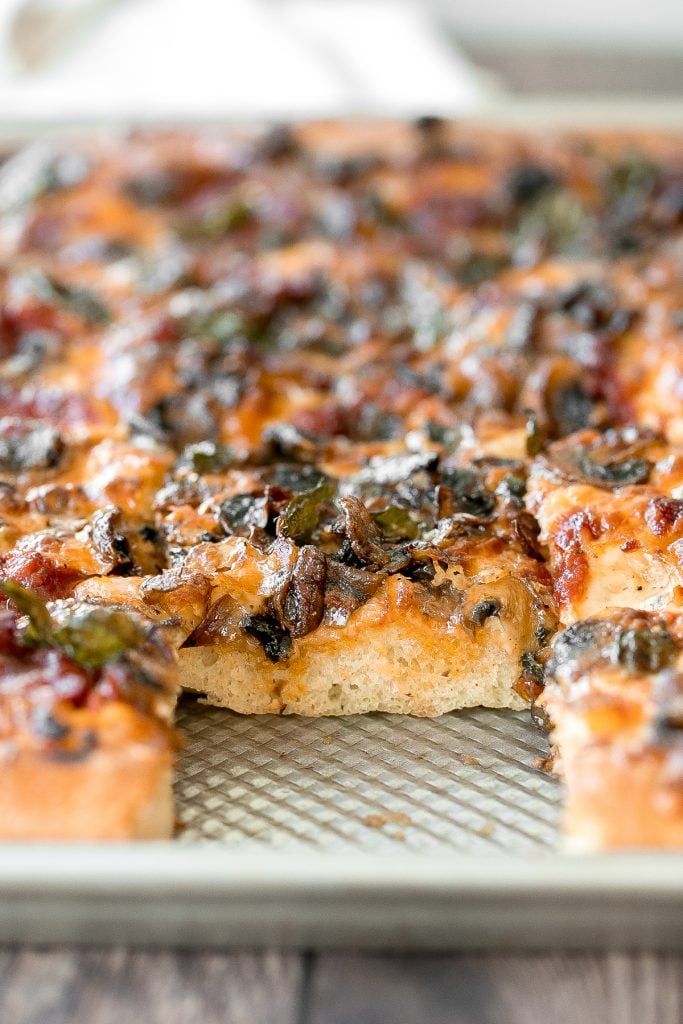
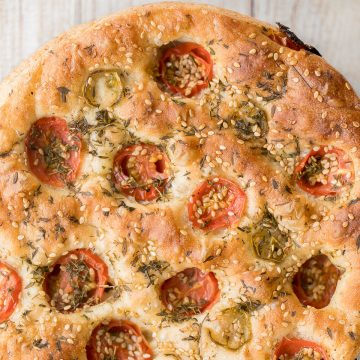
Garlic Mushroom Focaccia Pizza
Sheet pan garlic mushroom focaccia pizza with a thick pillowy and crispy crust is topped with sautéed garlic mushrooms, melty mozzarella and lots of basil.

Salami and Mushroom Skillet Pizza
Easy salami and mushroom skillet pizza with a crispy pizza crust, mushrooms, salami, and fresh mozzarella is ready on the skillet in about 10 minutes.

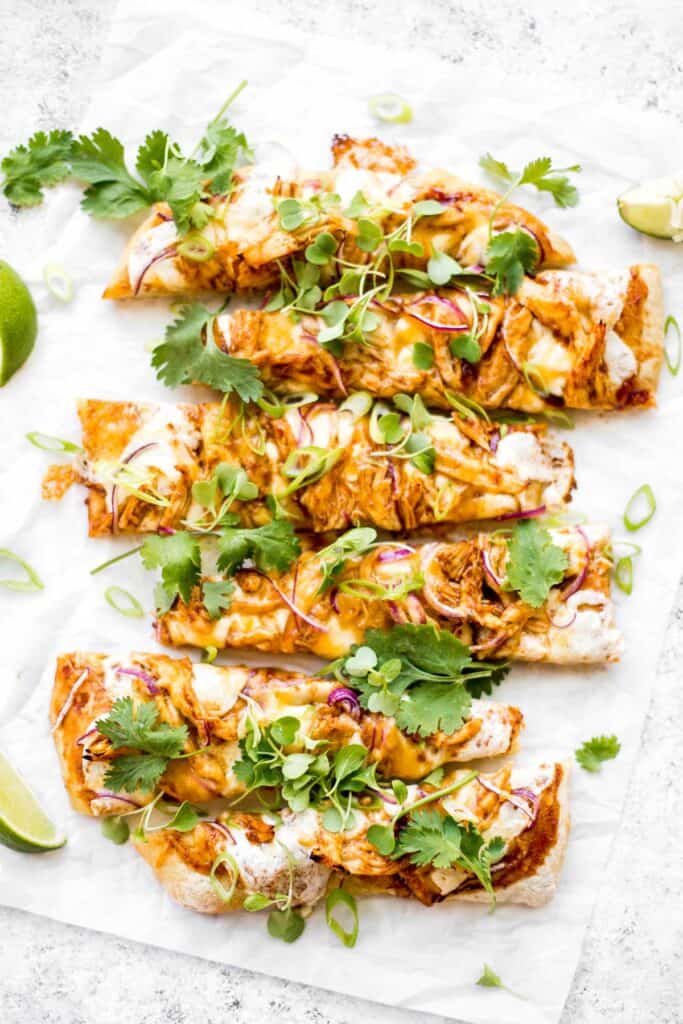
Forget delivery and make sweet, tangy, and smoky BBQ chicken pizza from the comfort of your own home in under 30 minutes. The easiest weeknight dinner.
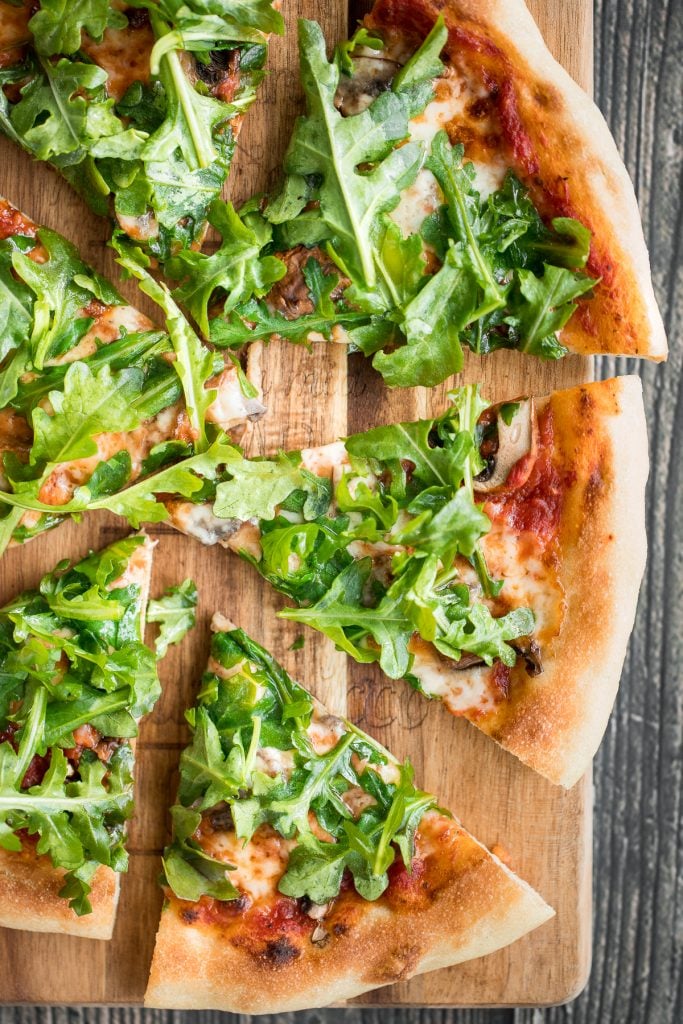
Mushroom and Arugula Skillet Pizza
Easy and delicious homemade mushroom and arugula skillet pizza with a perfectly crispy pizza crust is topped with mushrooms, arugula, and mozzarella cheese.
Quick, easy, delicious and saucy leftover butter chicken pizza with an ultra crispy pizza crust is made entirely in a cast-iron skillet in just 10 minutes.

Mushroom and Spinach Flatbread
Mushroom and spinach flatbread is heaven on a place. It is ready in under 30 minutes, making it a life-saver game day meal or weeknight dinner!

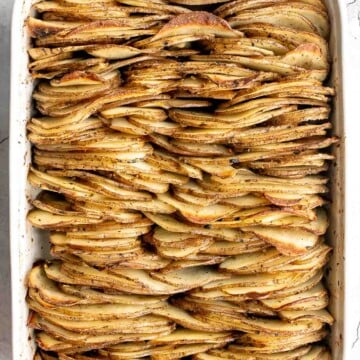
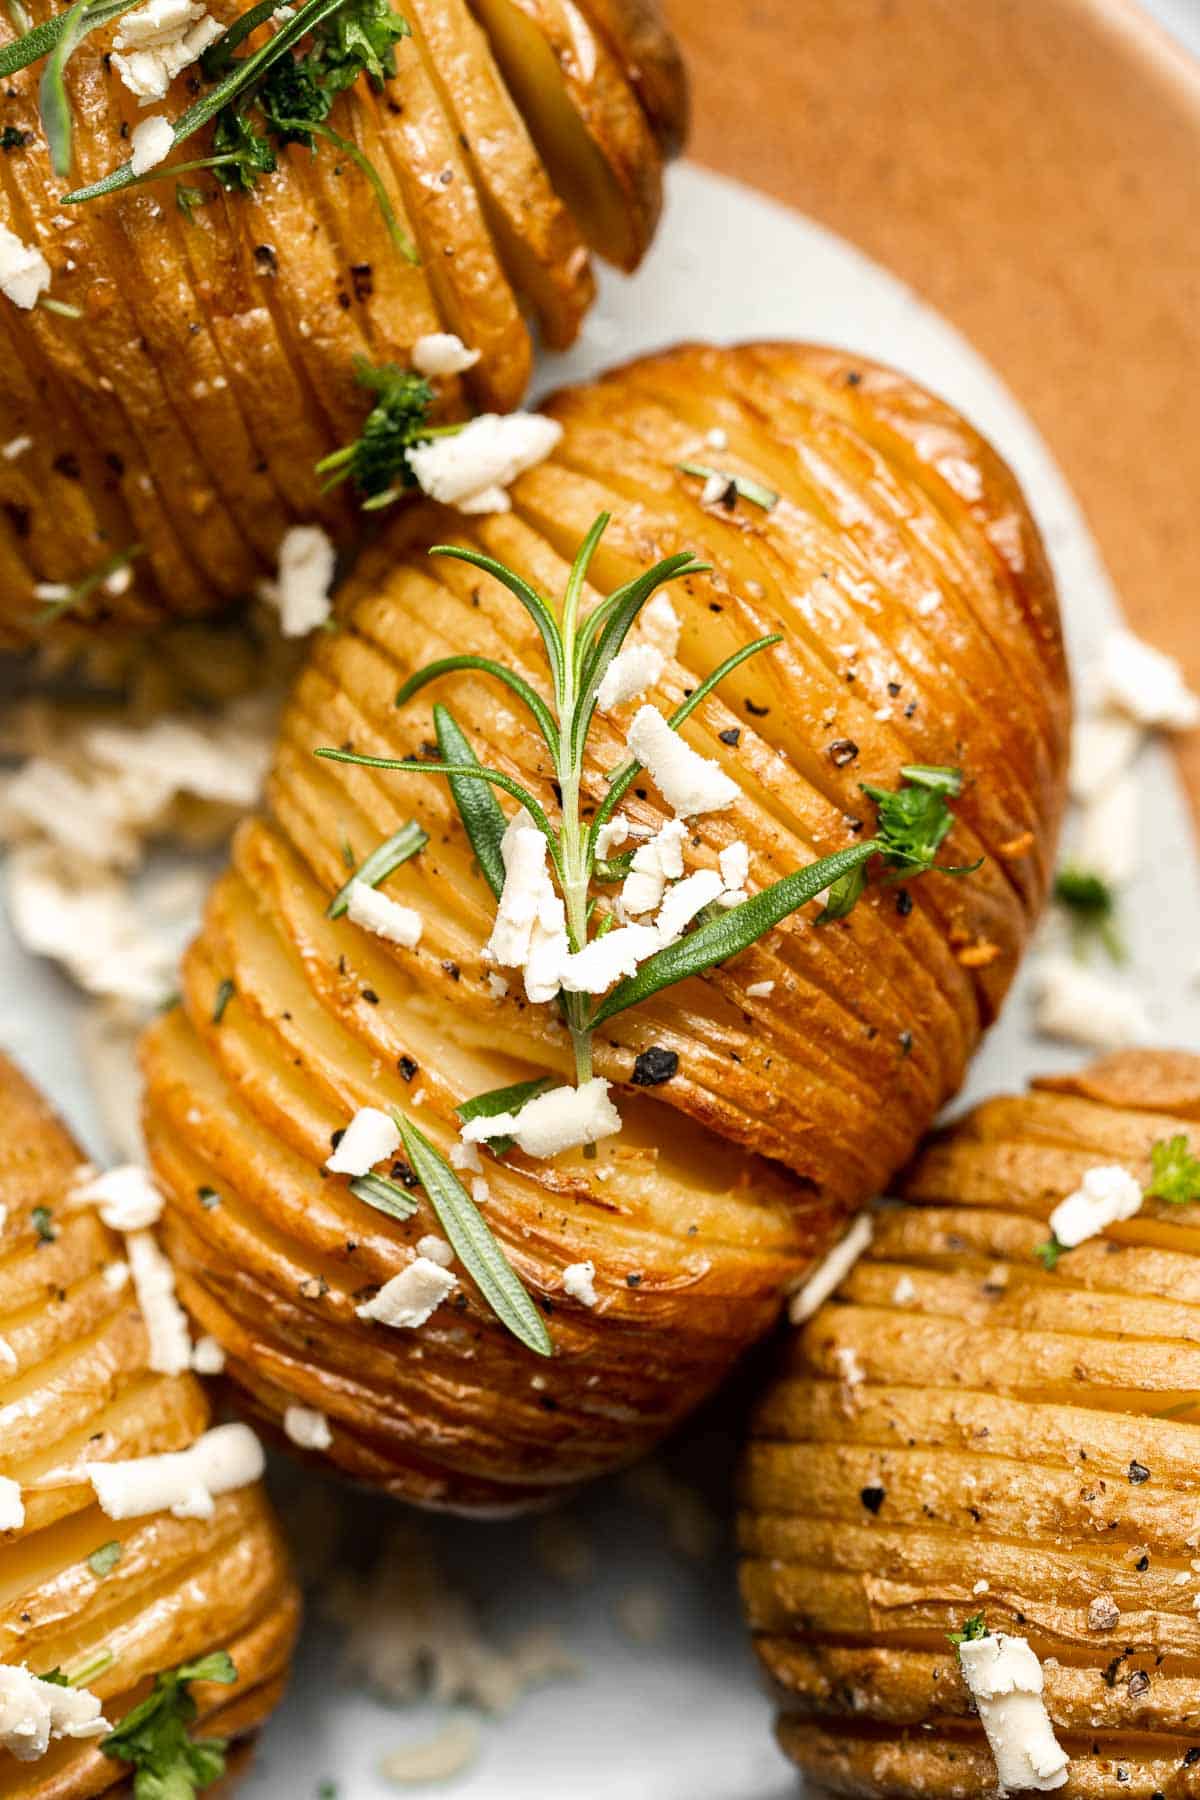
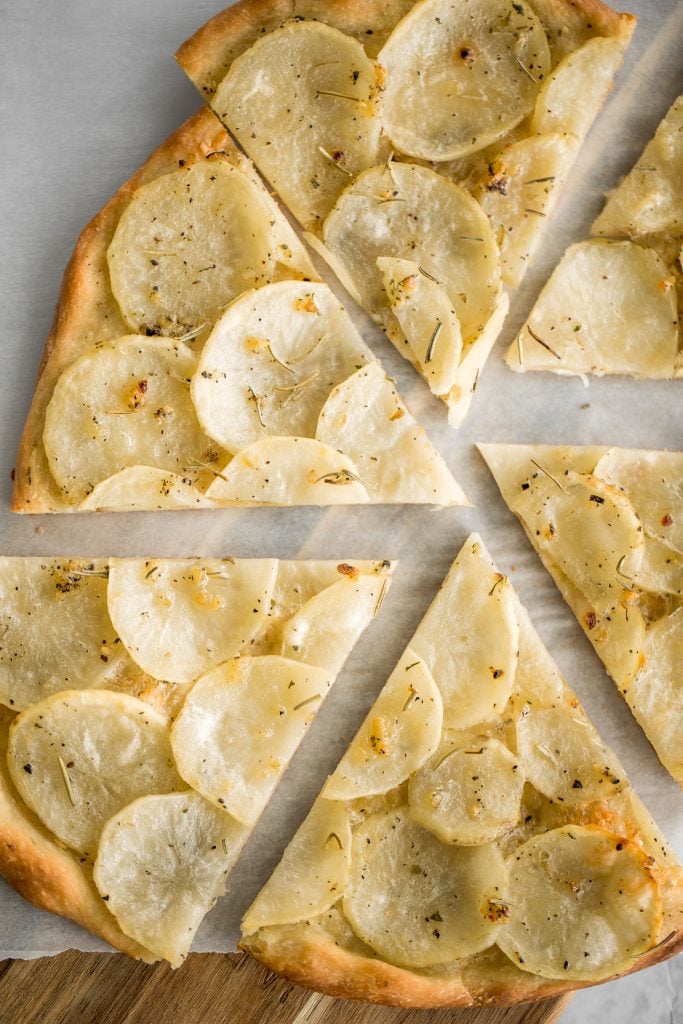
Classic Roman Herbed Potato Pizza
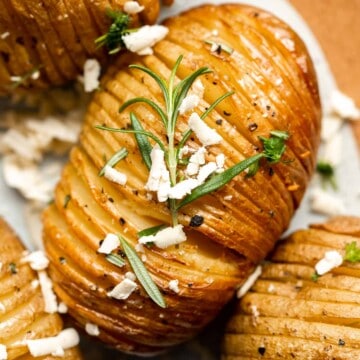
Easy and simple yet flavourful classic Roman herbed potato pizza has a crispy thin crust with layers of tender potato tossed in olive oil and herbs.
Healthier Super Bowl Snacks
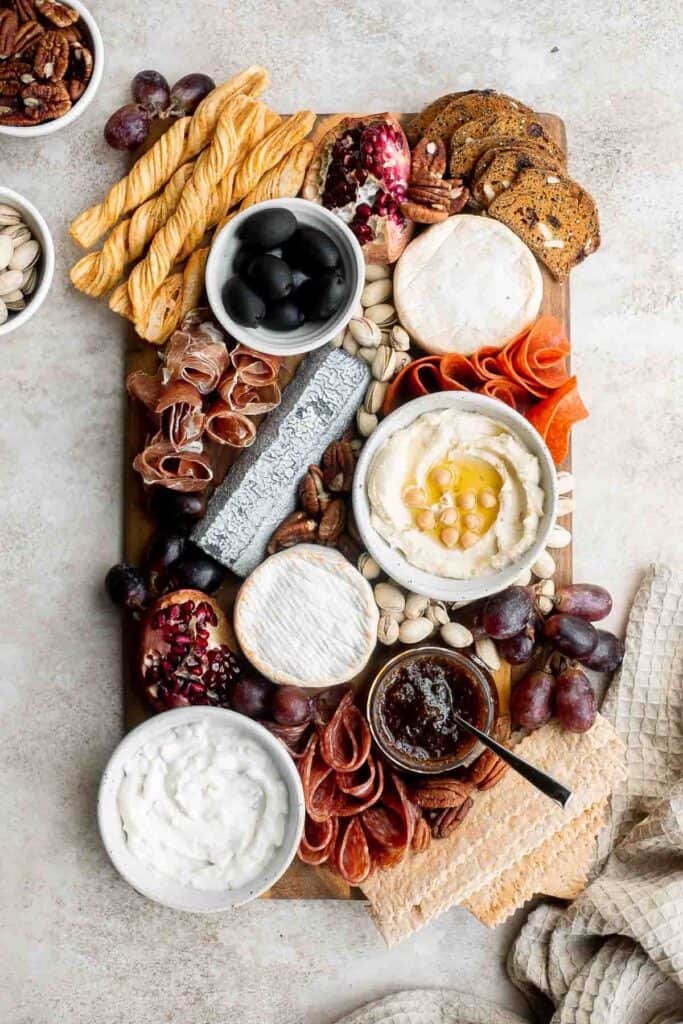
This easy charcuterie board is the perfect appetizer to impress with minimal effort- made with cheese, cured meats, crackers, dips, olives, fruit, and nuts.
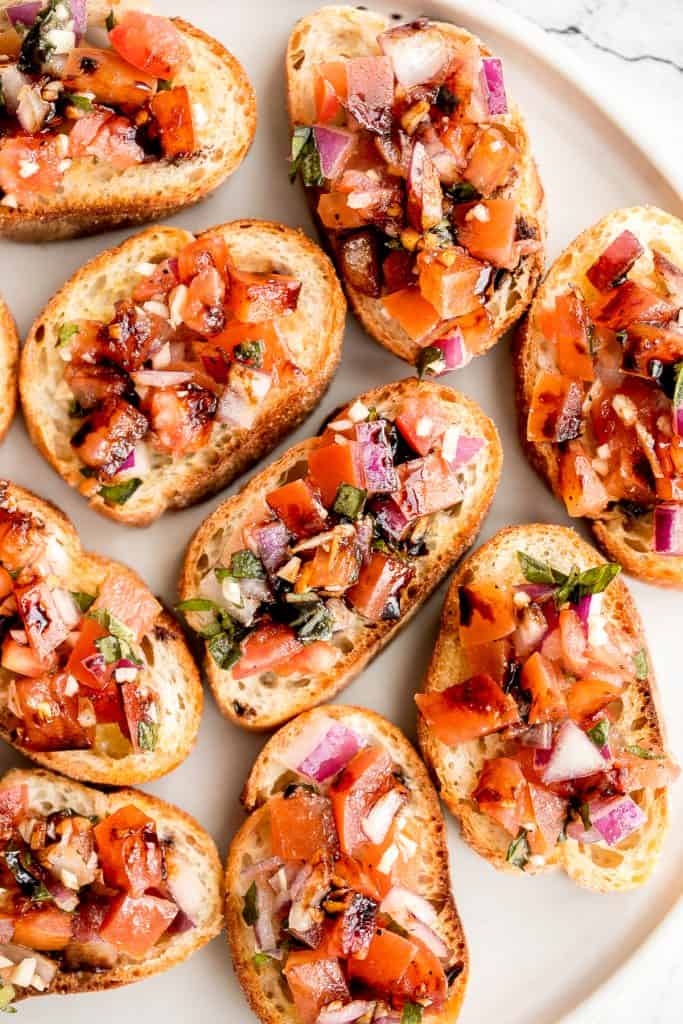
Easy Tomato Bruschetta with Balsamic Glaze
Tomato bruschetta with balsamic glaze is an easy Italian appetizer topped with tomatoes, onions, garlic, basil and olive oil. Delicious, fresh and simple. The perfect light Super Bowl recipe.
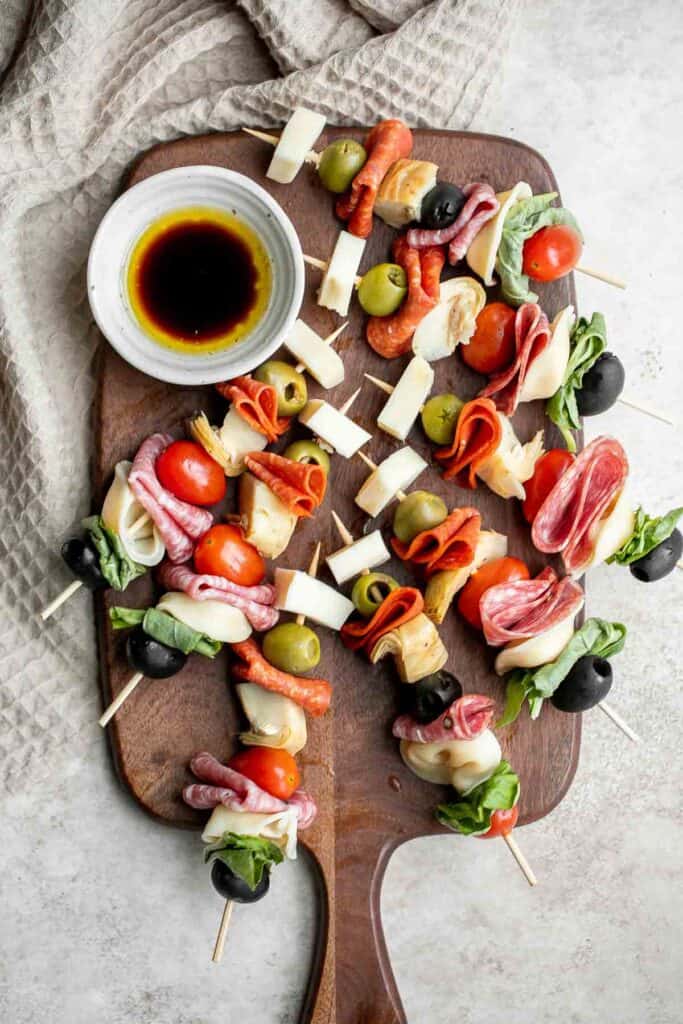
Antipasto skewers with tortellini are a quick, easy, and delicious appetizer with the best parts of a traditional antipasto platter but easier to eat.
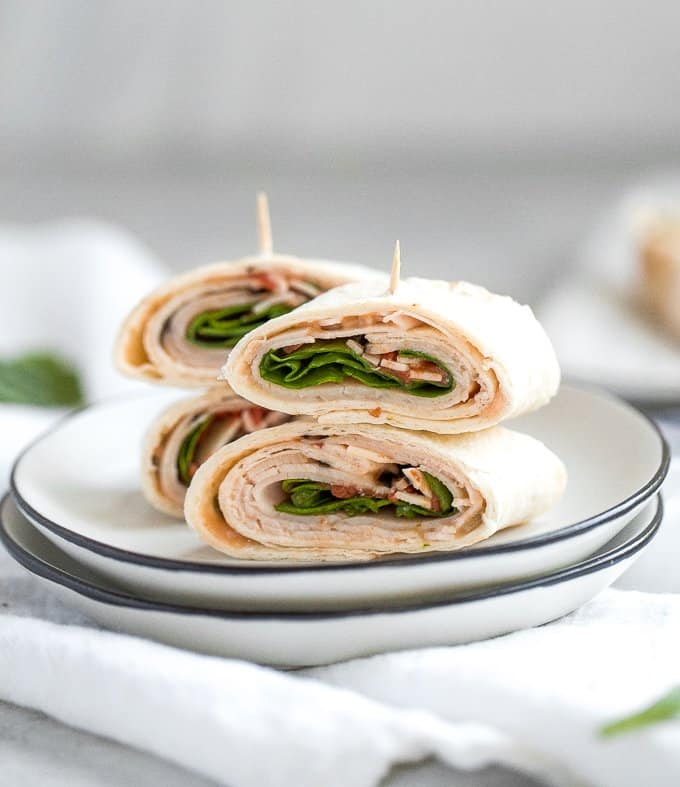
Turkey pinwheels are bite-sized finger food perfection and will make back-to-school lunch planning for the kids a total breeze. They are fully customizable and you can wrap them up in a tortilla or in pita bread.
Whipped ricotta crostini is a fancy easy appetizer to make in just minutes or prepare in advance and assemble before serving. A total crowd pleaser.

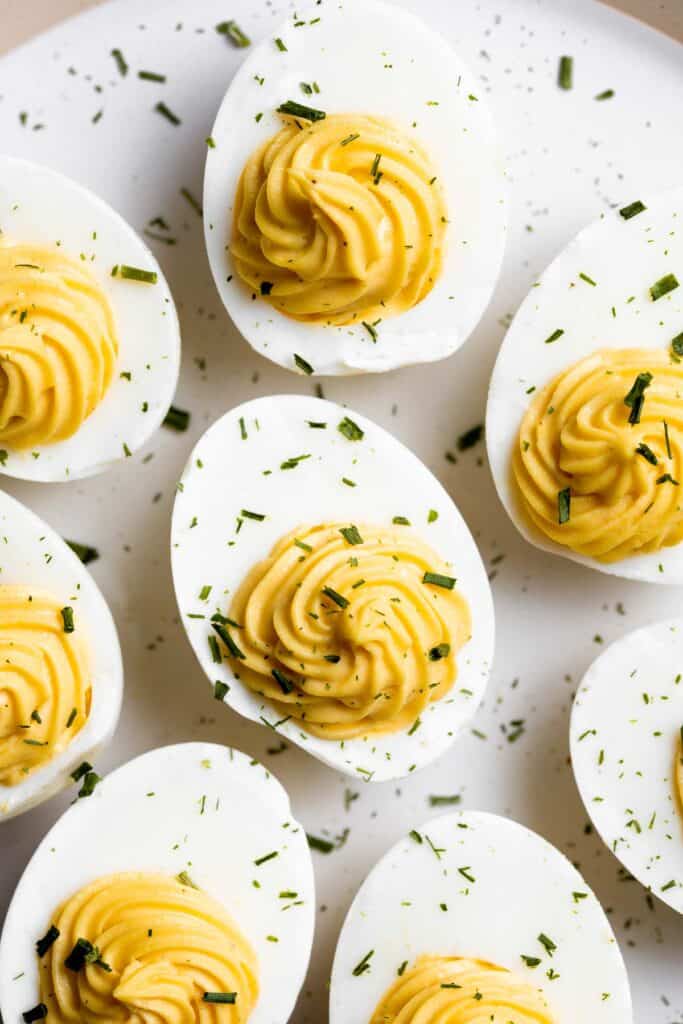
Classic deviled eggs are a simple, easy, and healthy appetizer to make when you need something quick for brunch, picnics, barbecues, potlucks, or Easter.
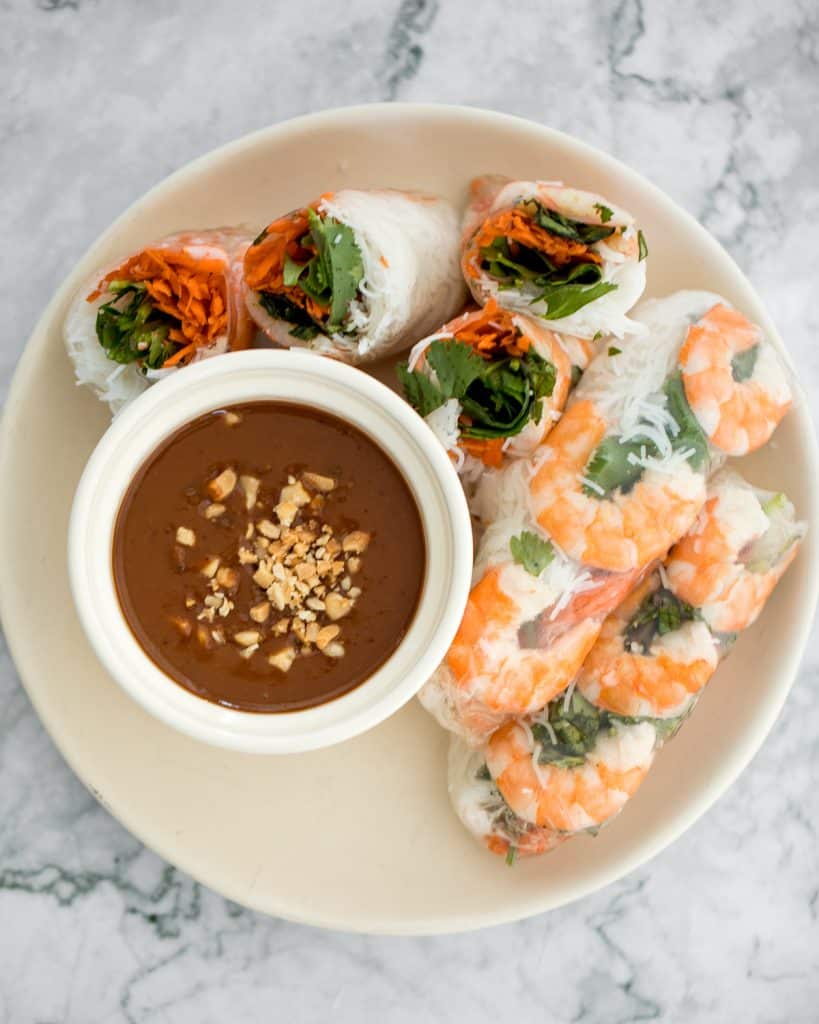
Vietnamese Salad Rolls with Peanut Dipping Sauce
Fresh, light and healthy Vietnamese salad rolls are packed with vermicelli noodles, shrimp, fresh vegetables and herbs and dipped in homemade peanut sauce.
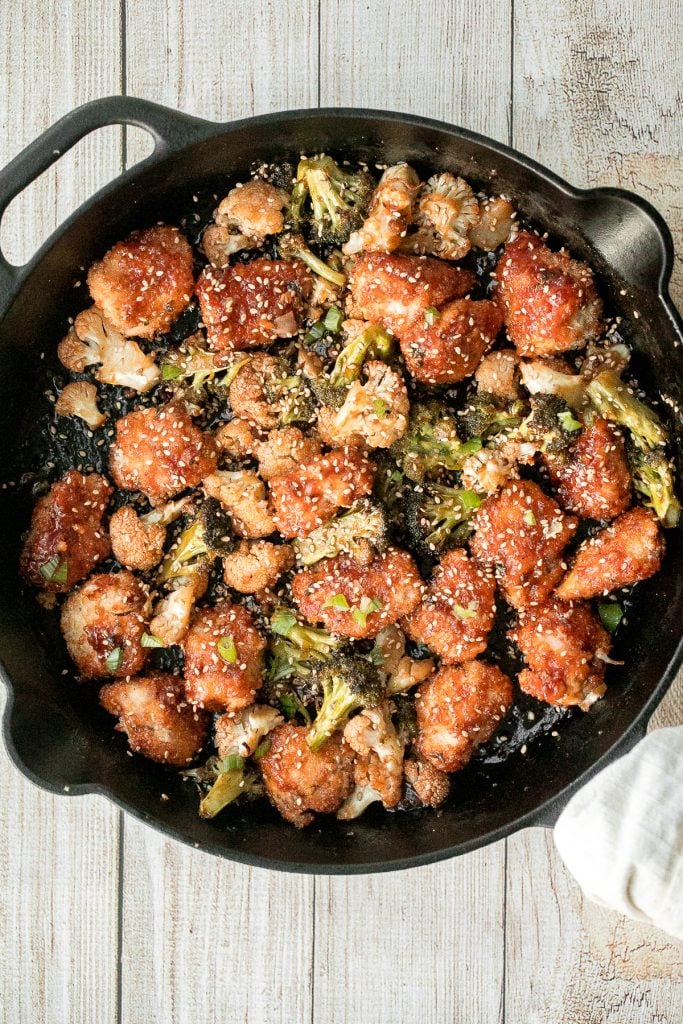
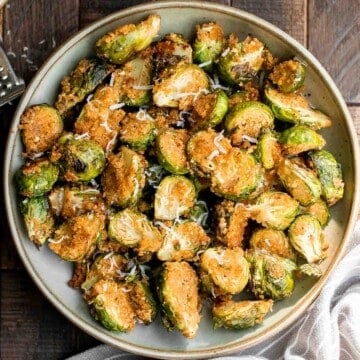
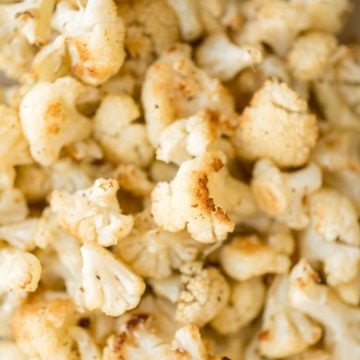
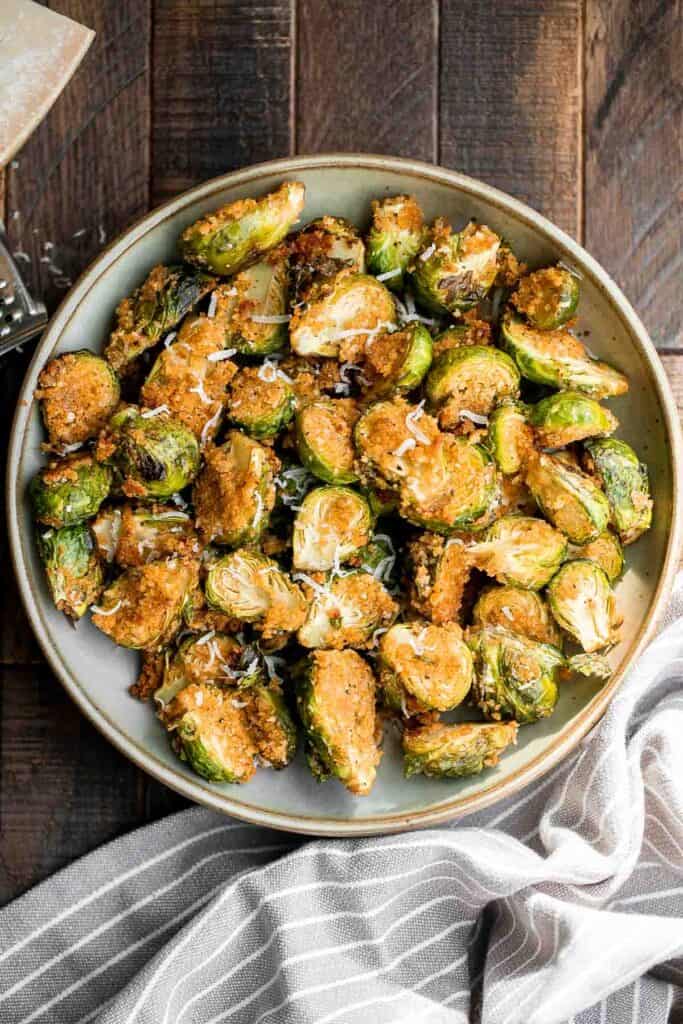
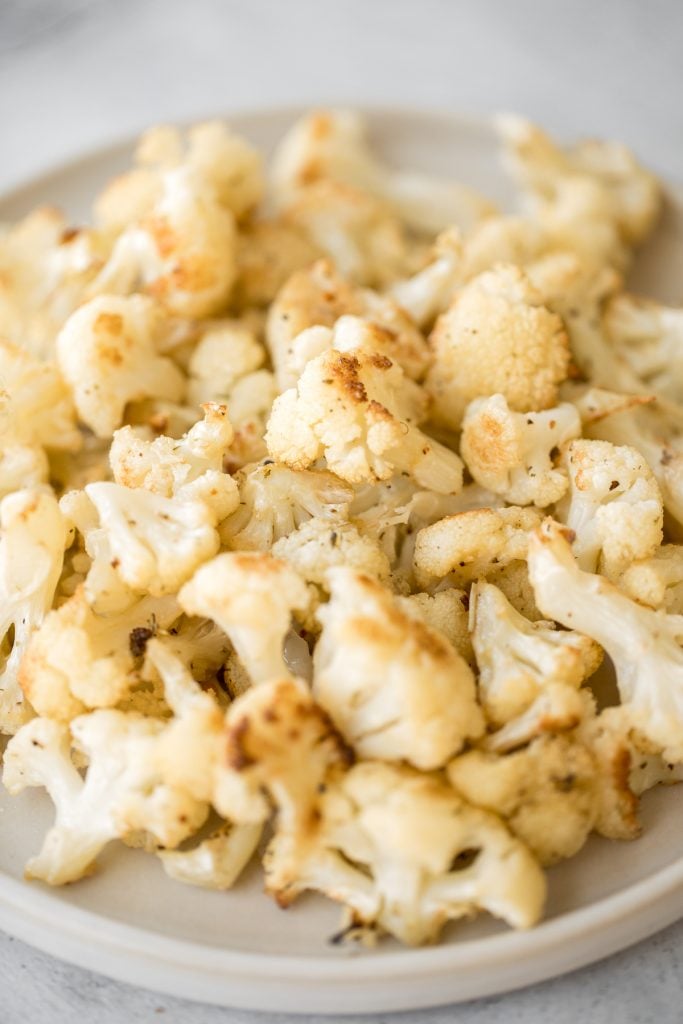
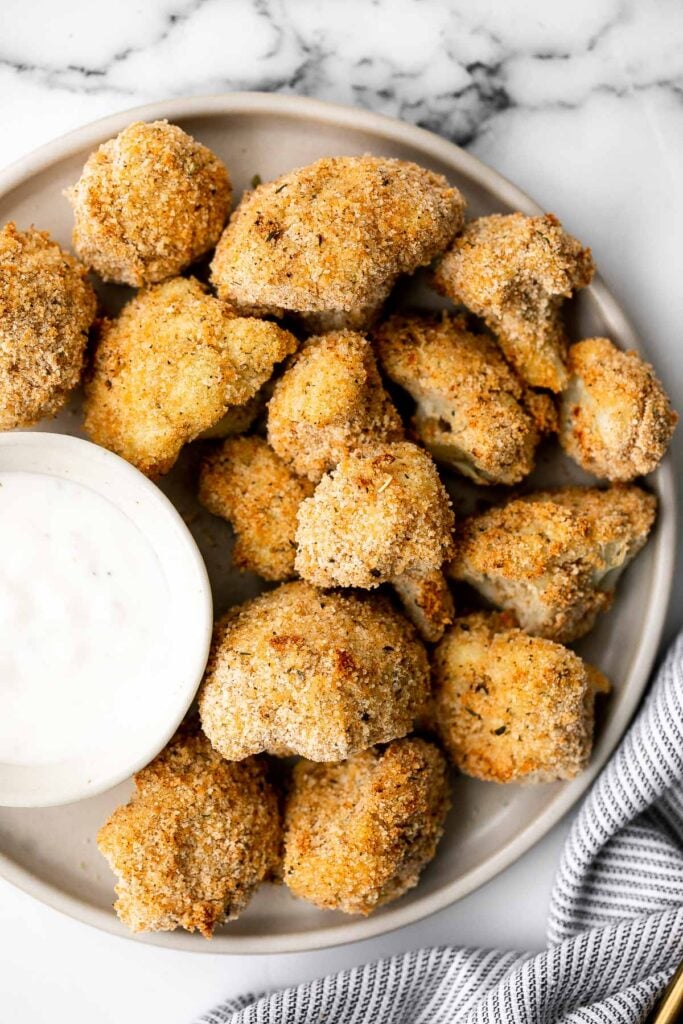
Healthy baked cauliflower nuggets are a vegetarian alternative to chicken nuggets. With parmesan panko breading, these bites are baked until crispy.
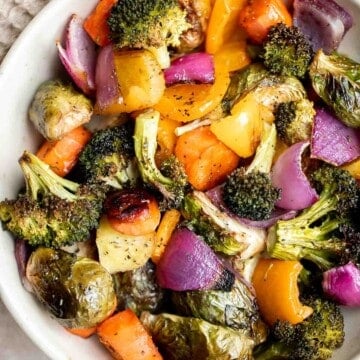
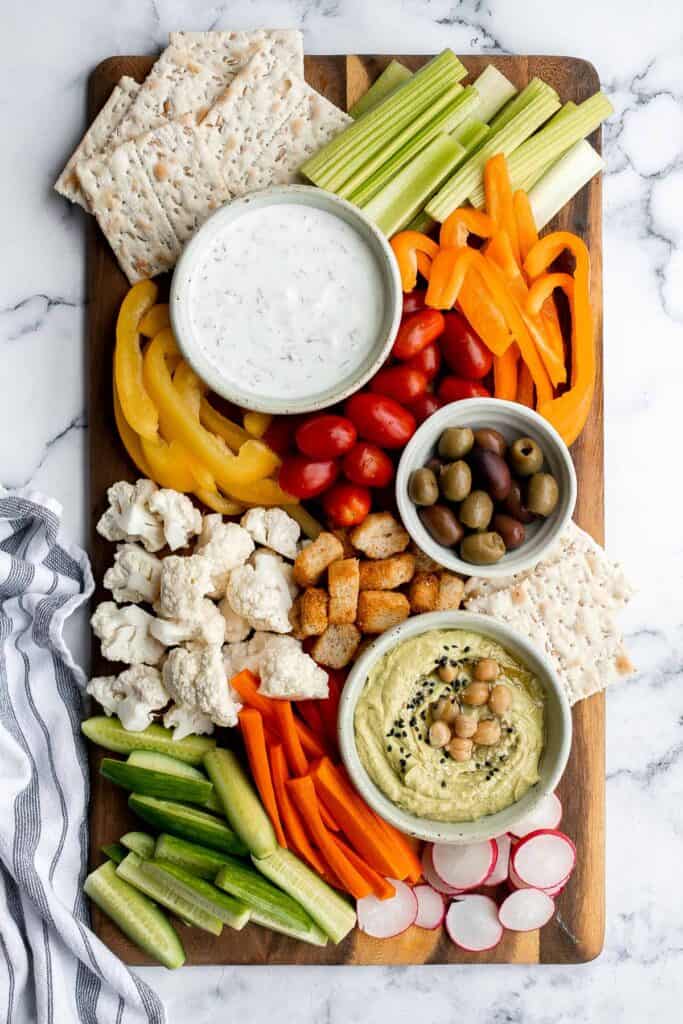
This homemade veggie tray is a quick easy healthy snack or appetizer to make for your next party, with a variety of colorful vegetables and delicious dips.
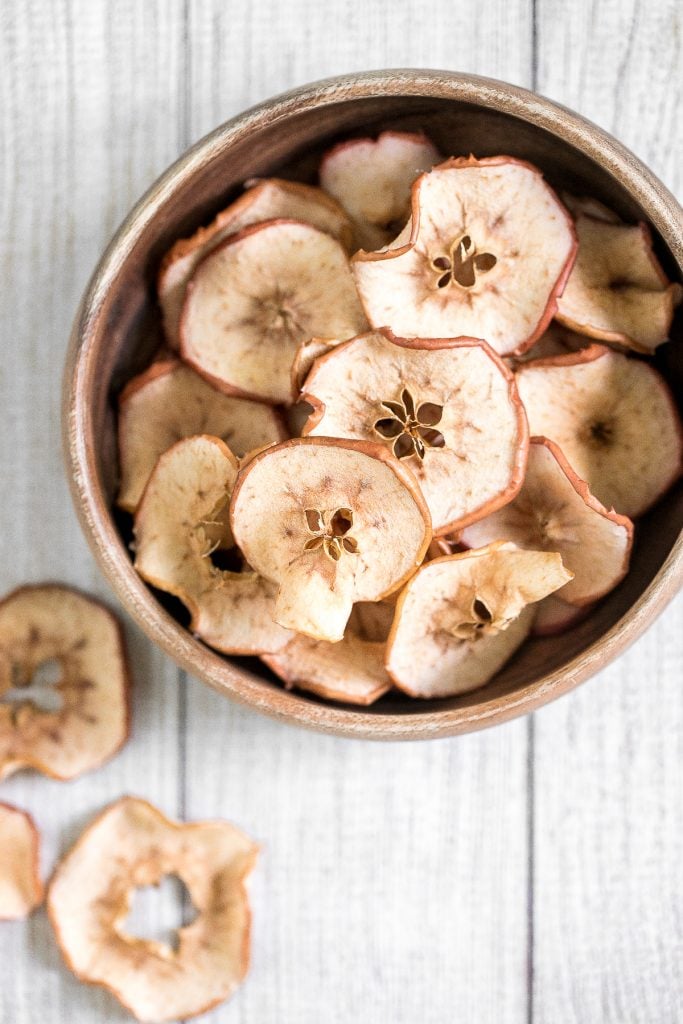
One-ingredient homemade baked apple chips are healthy, light, crispy and crave-worthy. Plus, unlike most store-bought chips, these contain no added sugar.
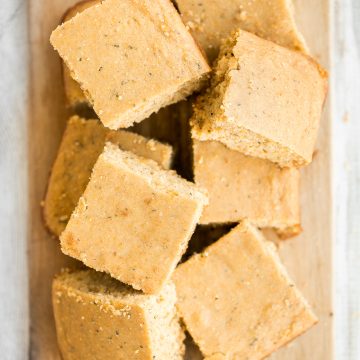
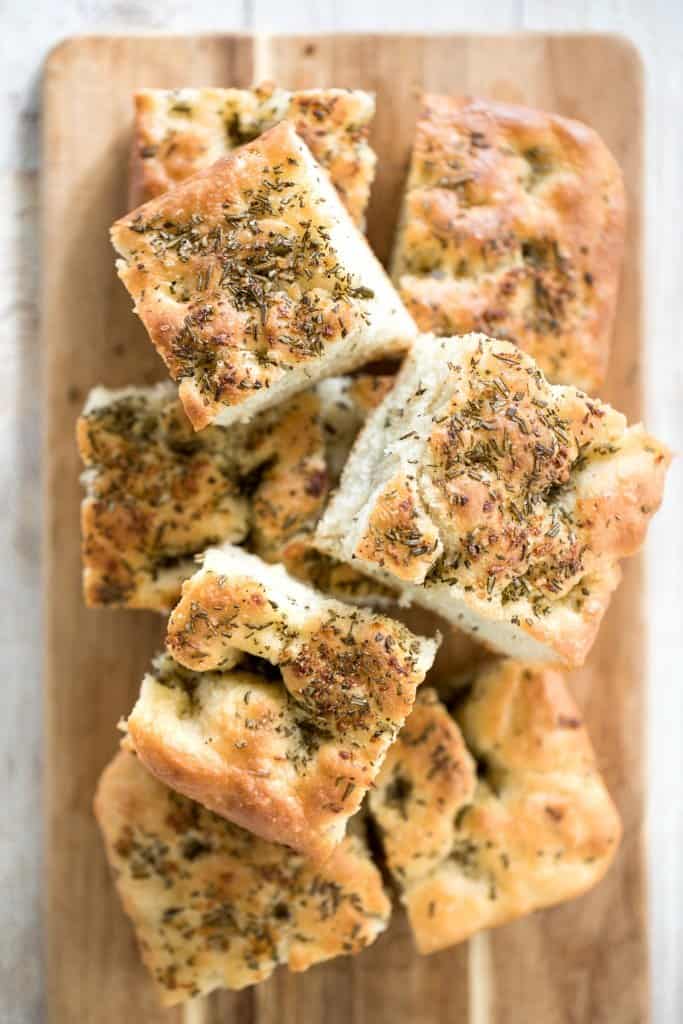
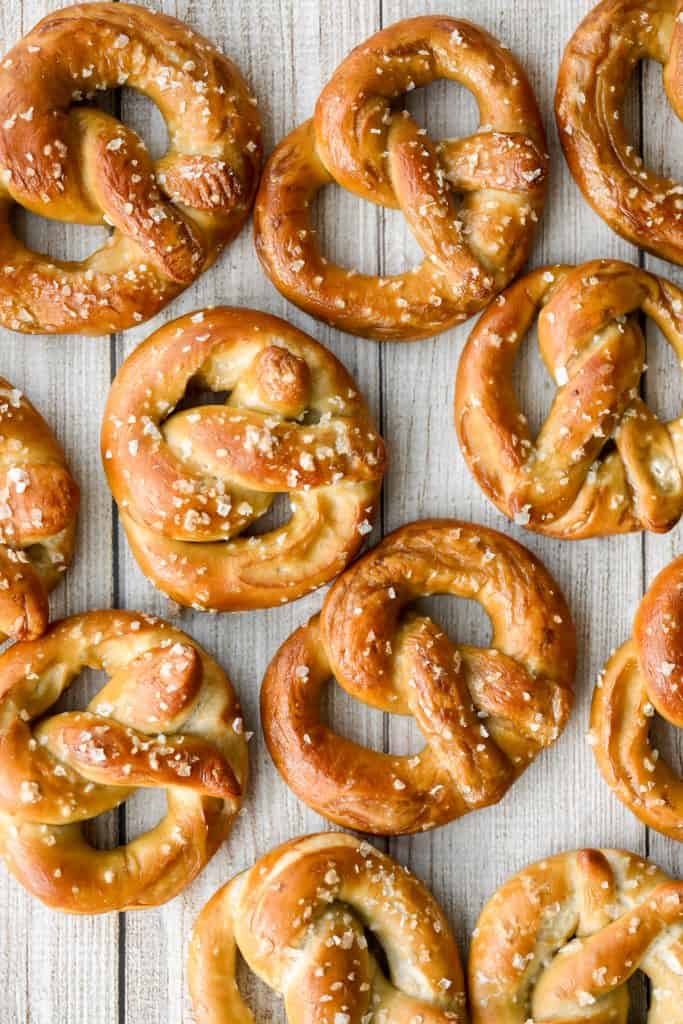
The best quick and easy salted soft pretzels are buttery, salty, and so delicious. They are golden brown and chewy on the outside, yet warm and soft inside.
The best egg salad sandwich is a quick and easy picnic classic loaded with perfect hard-boiled eggs, mayonnaise, a touch of dijon mustard and green onions.

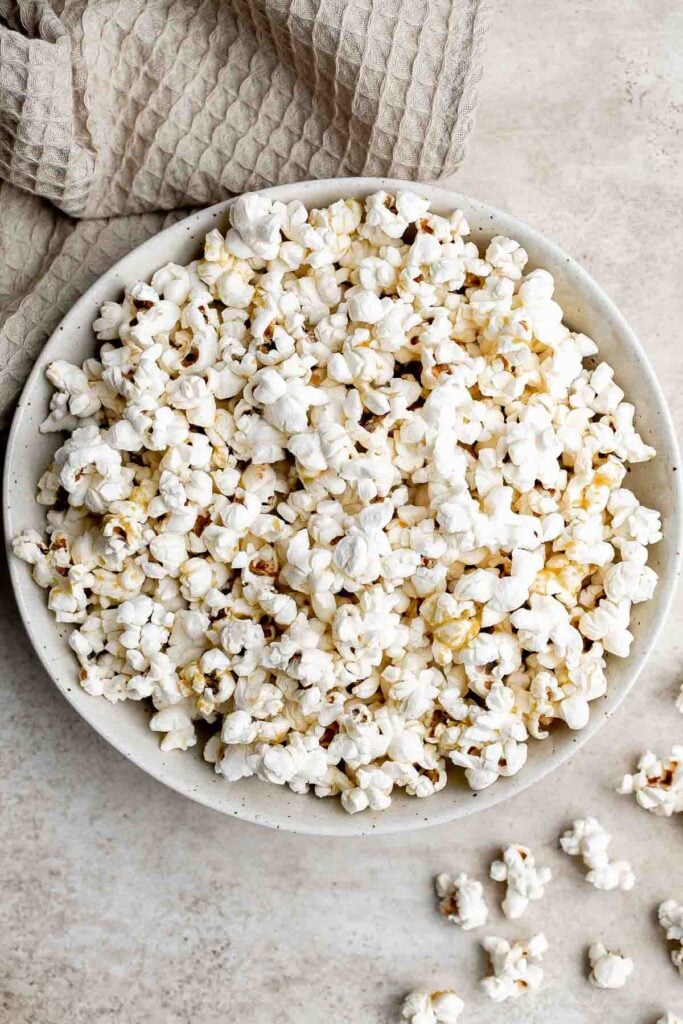
Homemade popcorn from scratch is quick and easy to make, a delicious and healthy snack, and is completely customizable with your favorite seasonings.
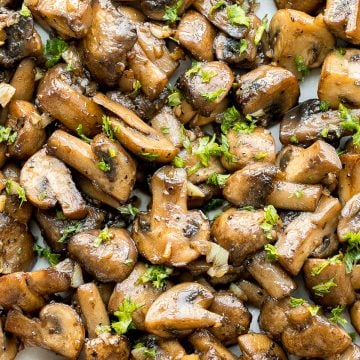
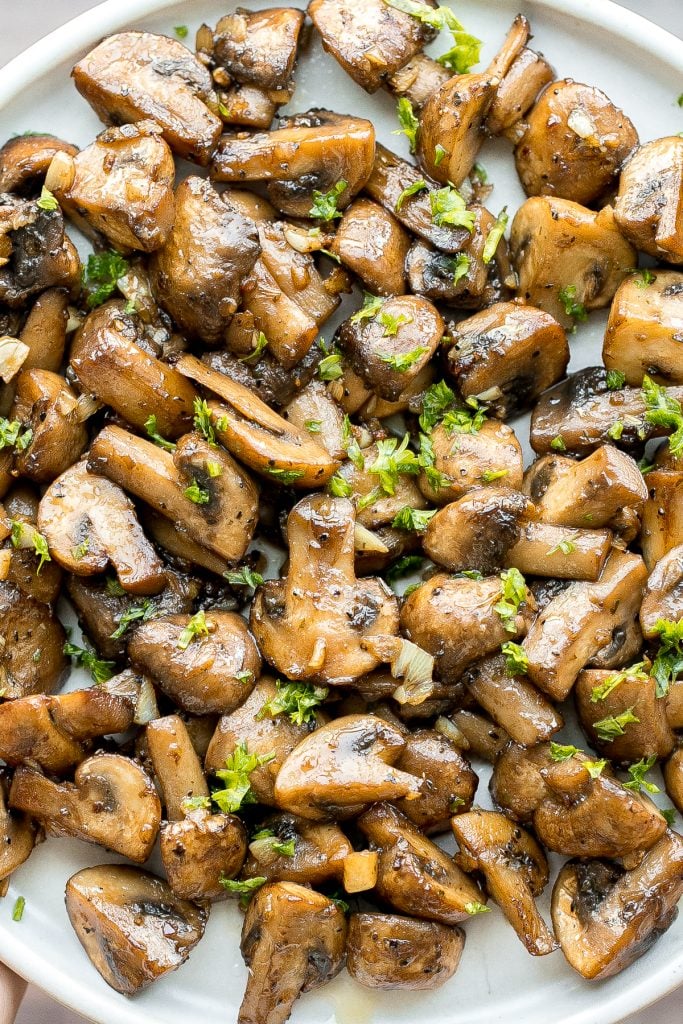
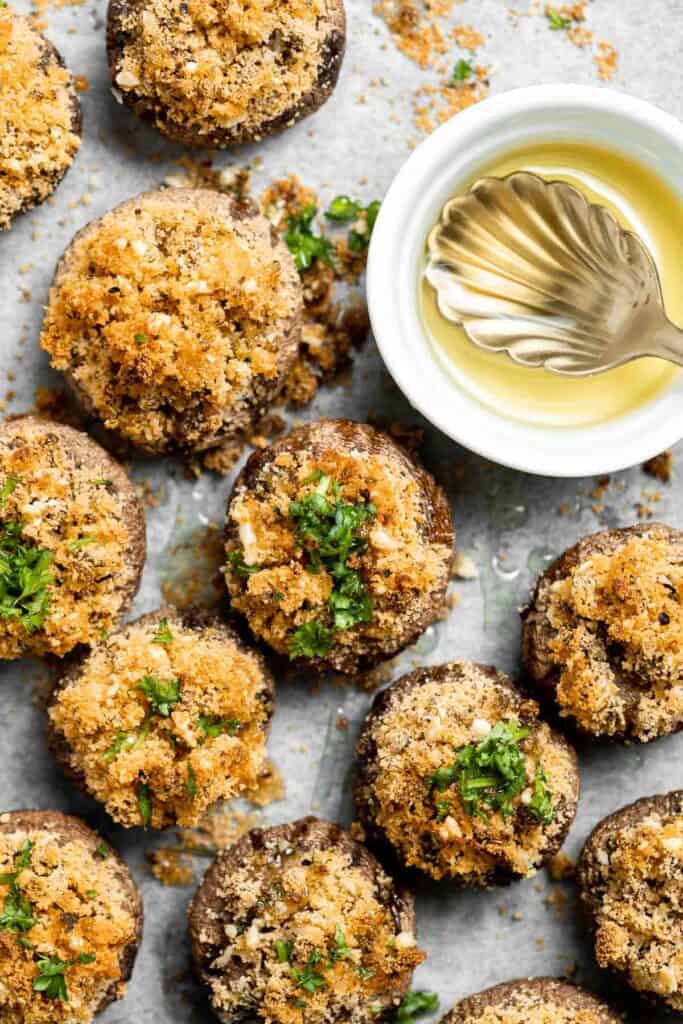
Vegetarian stuffed mushrooms are a delicious, flavorful, healthy, and nutritious appetizer. Plus, quick and easy to make in under 30 minutes including prep!
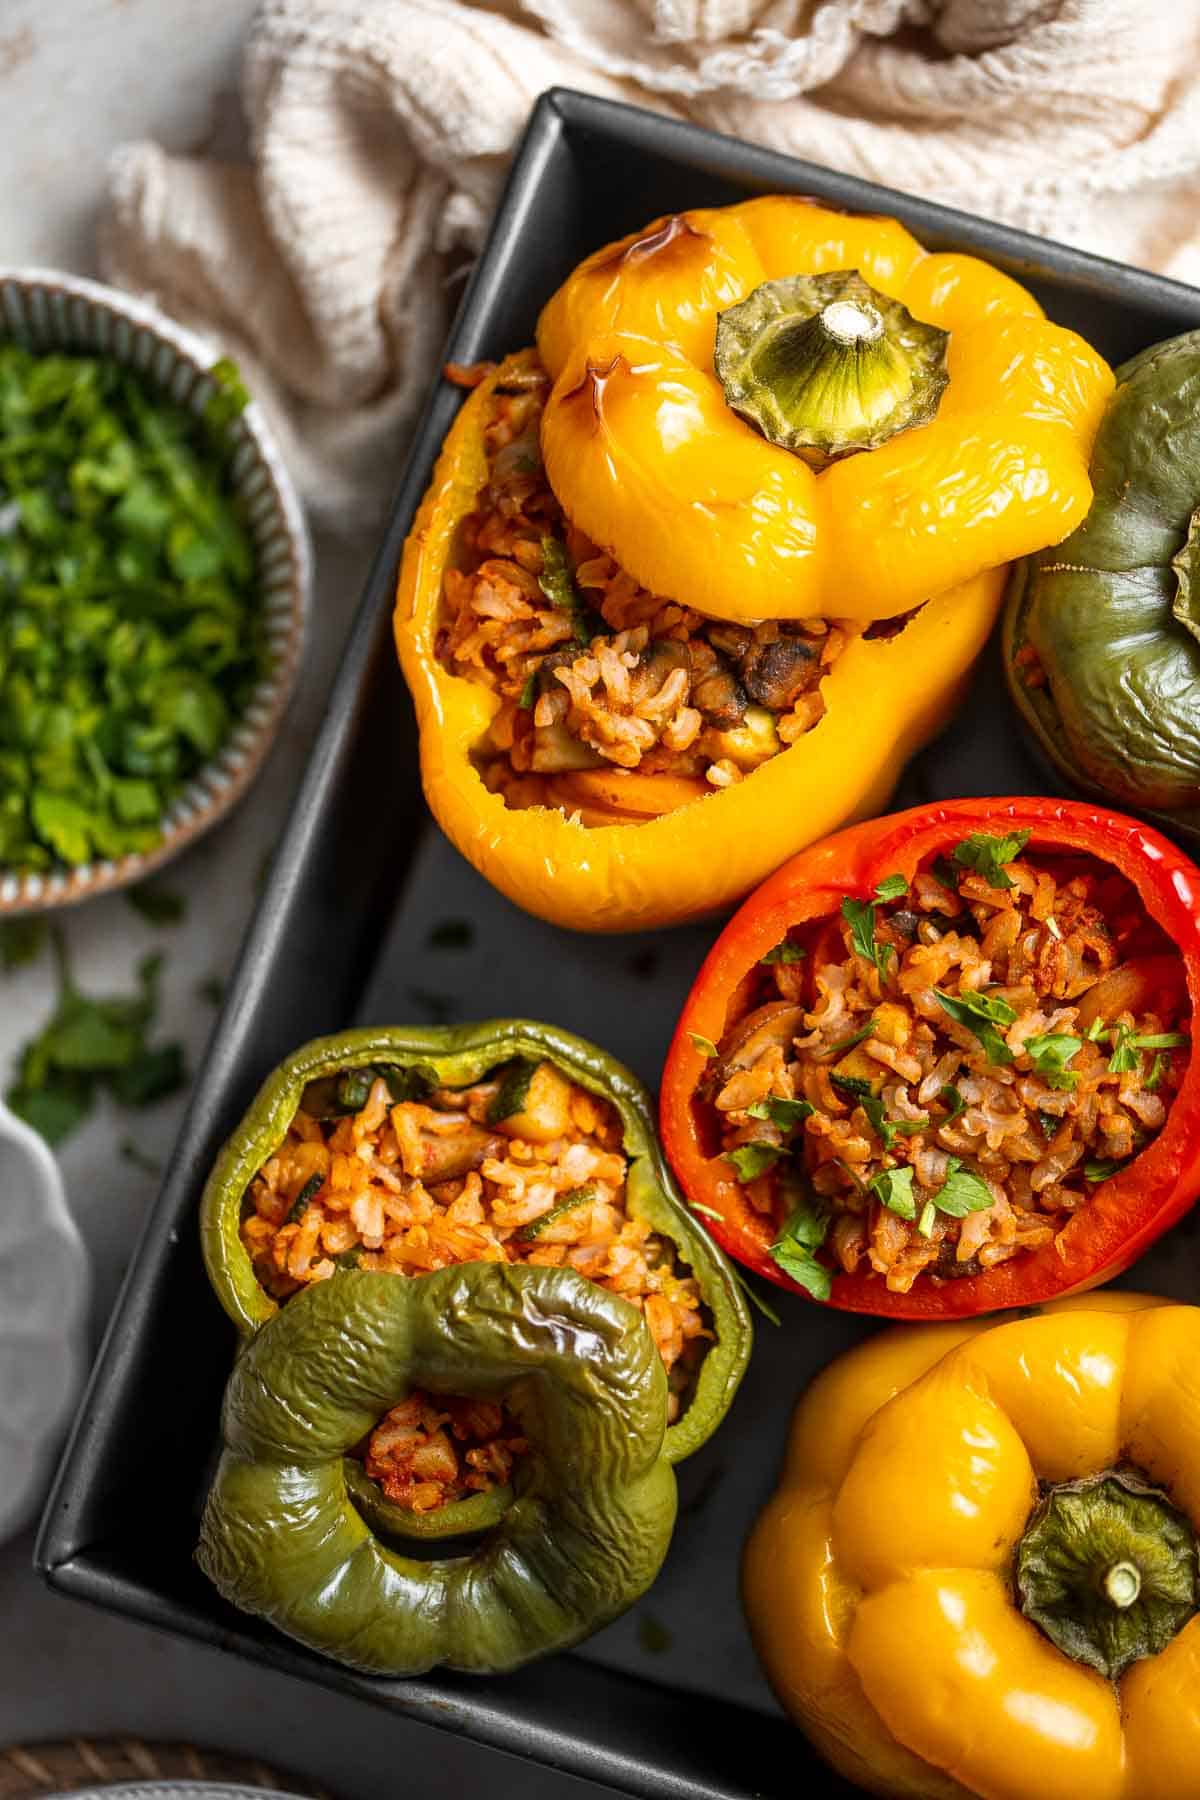
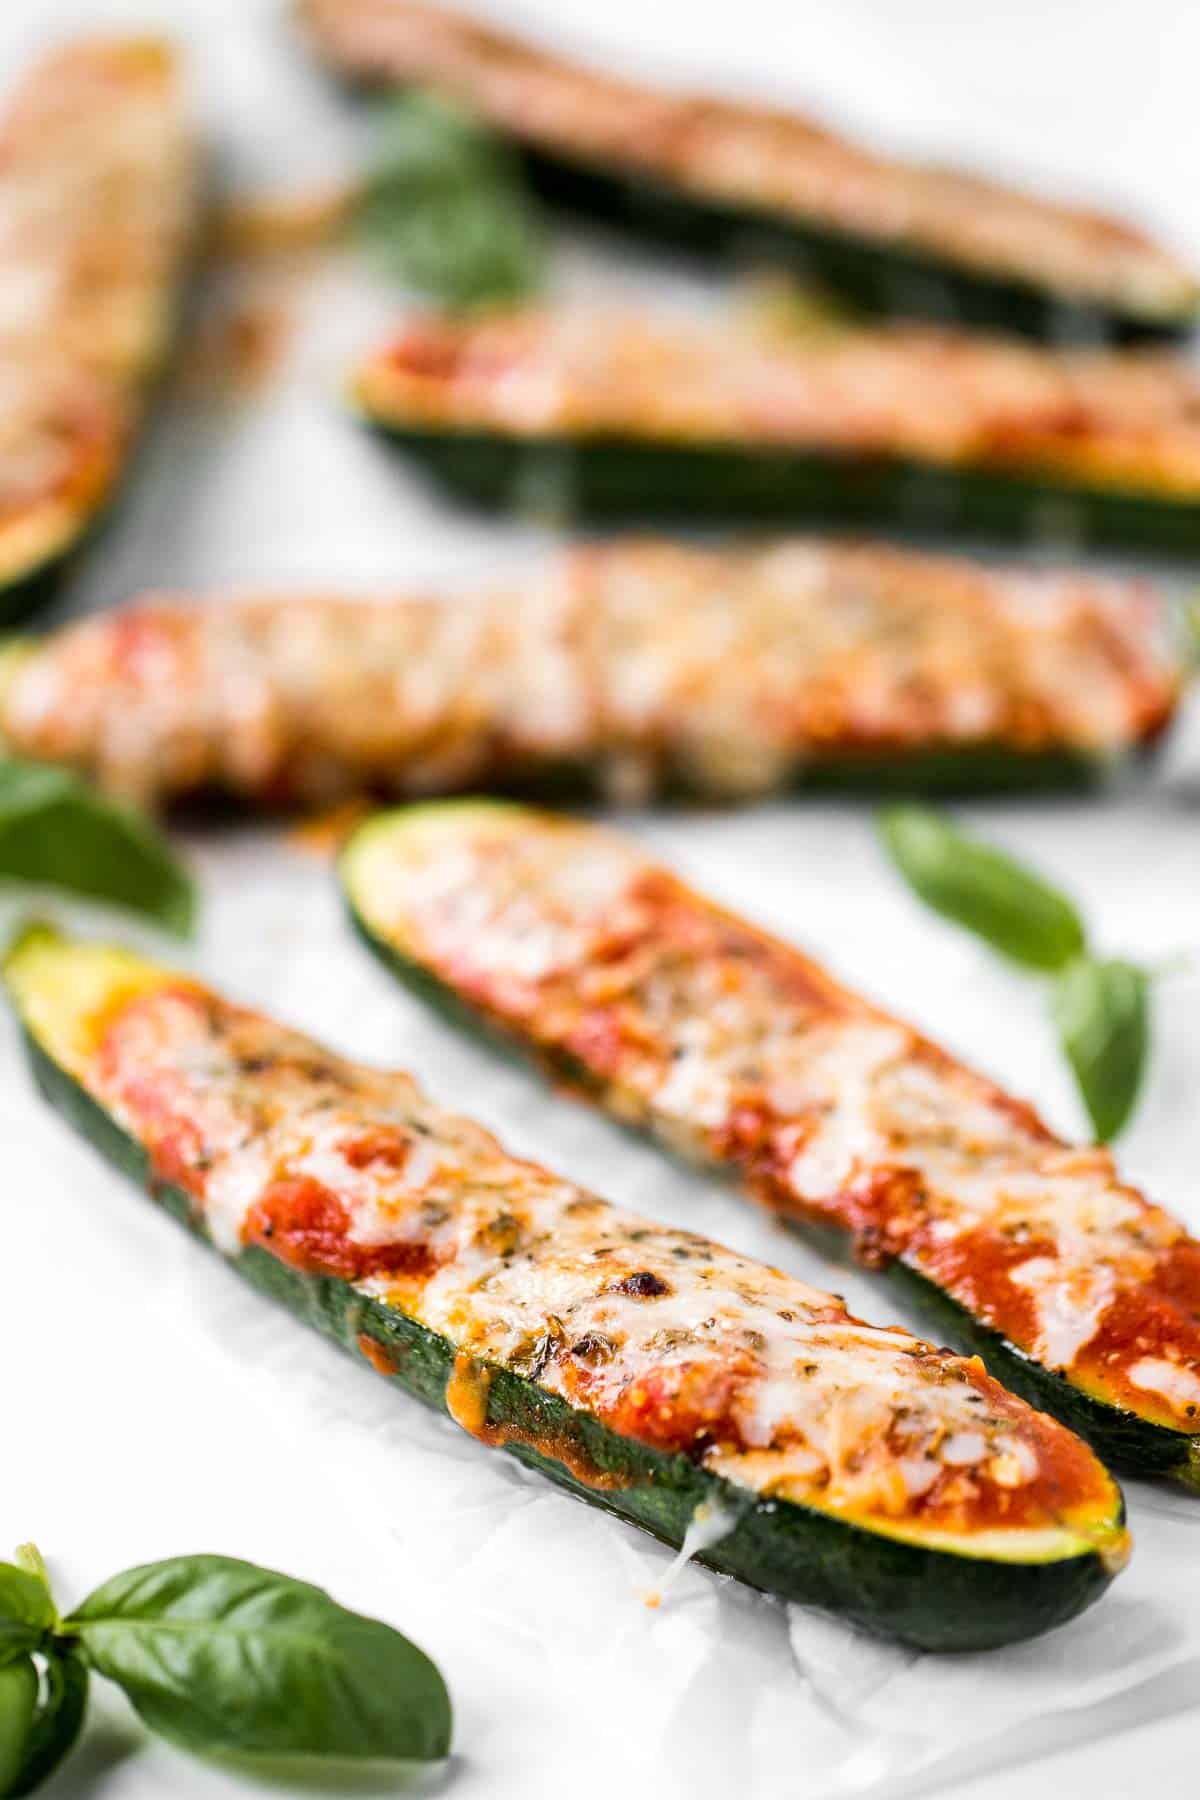
Baked Zucchini Boats with Marinara and Cheese
Baked zucchini with marinara and melted cheese is so quick and easy to make. It's vegetarian, gluten free, and packed with flavour. It's basically pizza but on a zucchini.
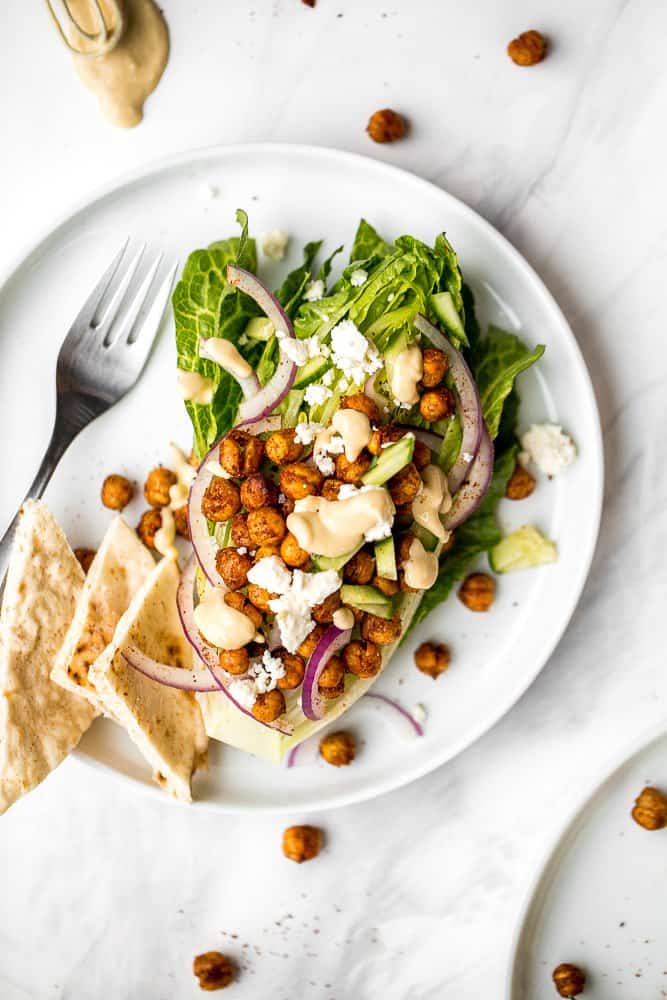
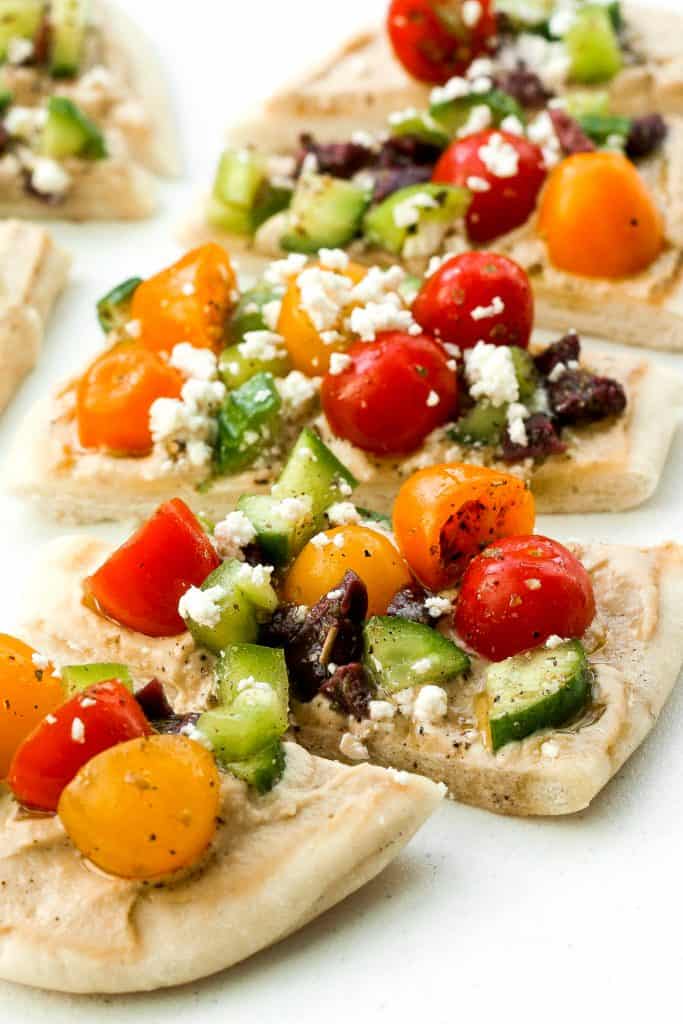
This bright and colourful Greek salad hummus flatbread is perfect as an appetizer or a healthy lunch or snack.
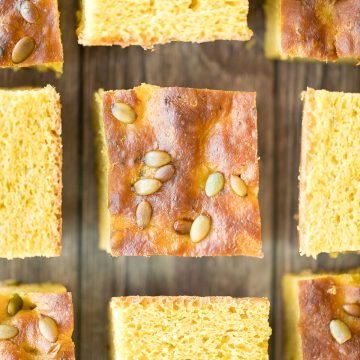
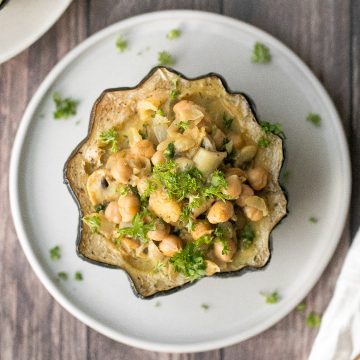
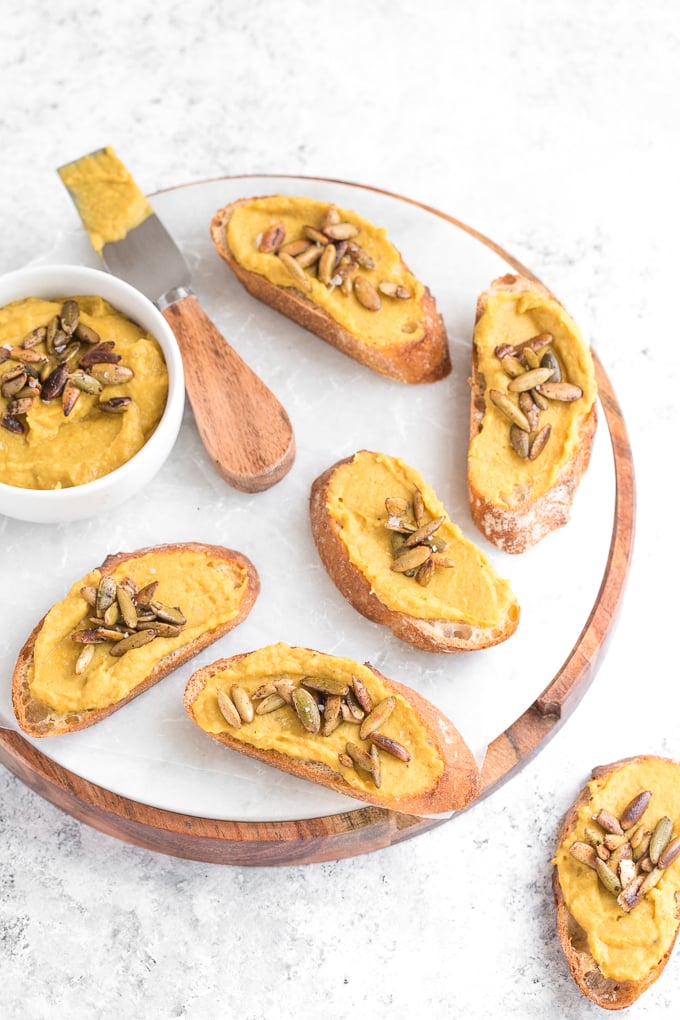
Curried White Bean Crostini with Toasted Pepitas
Curried white bean crostini with toasted pepitas is the perfect, sophisticated holiday appetizer that is ready to serve in under 15 minutes.
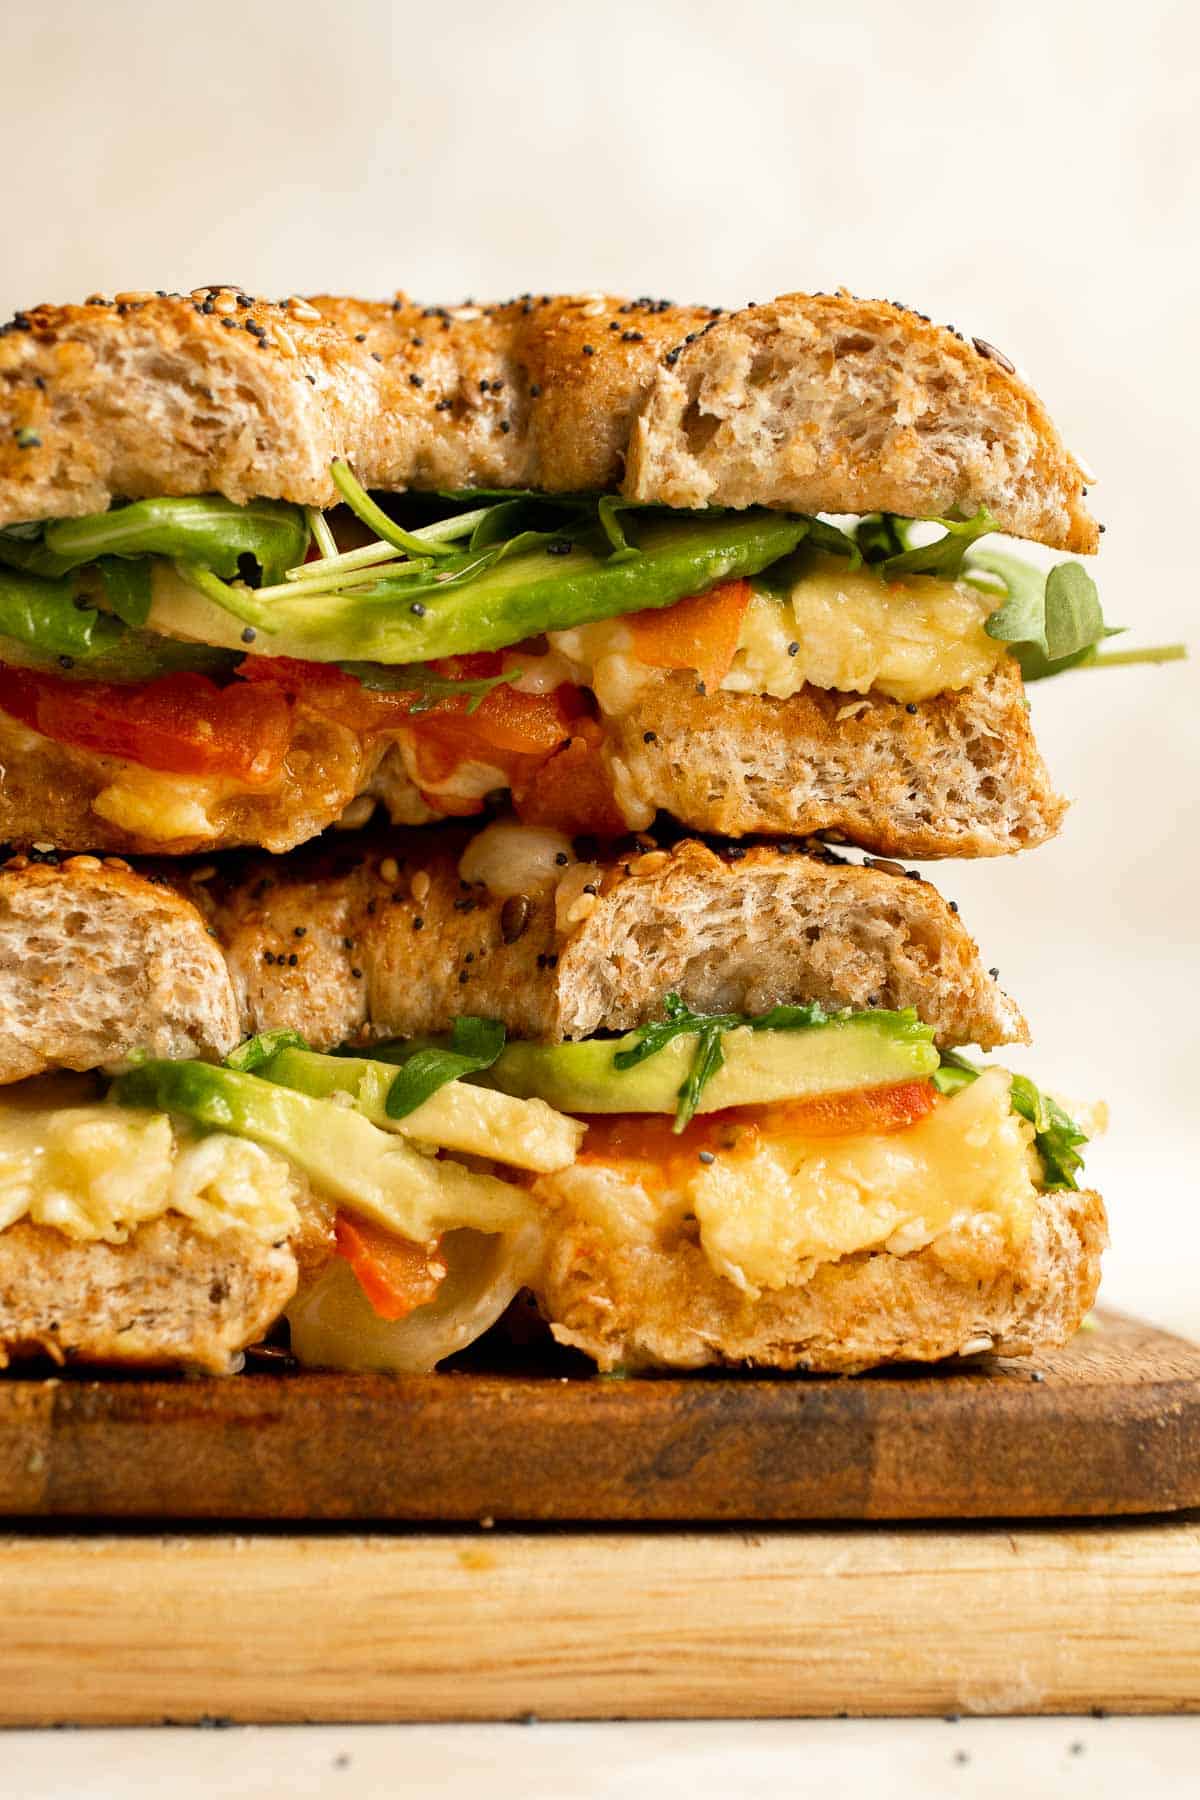
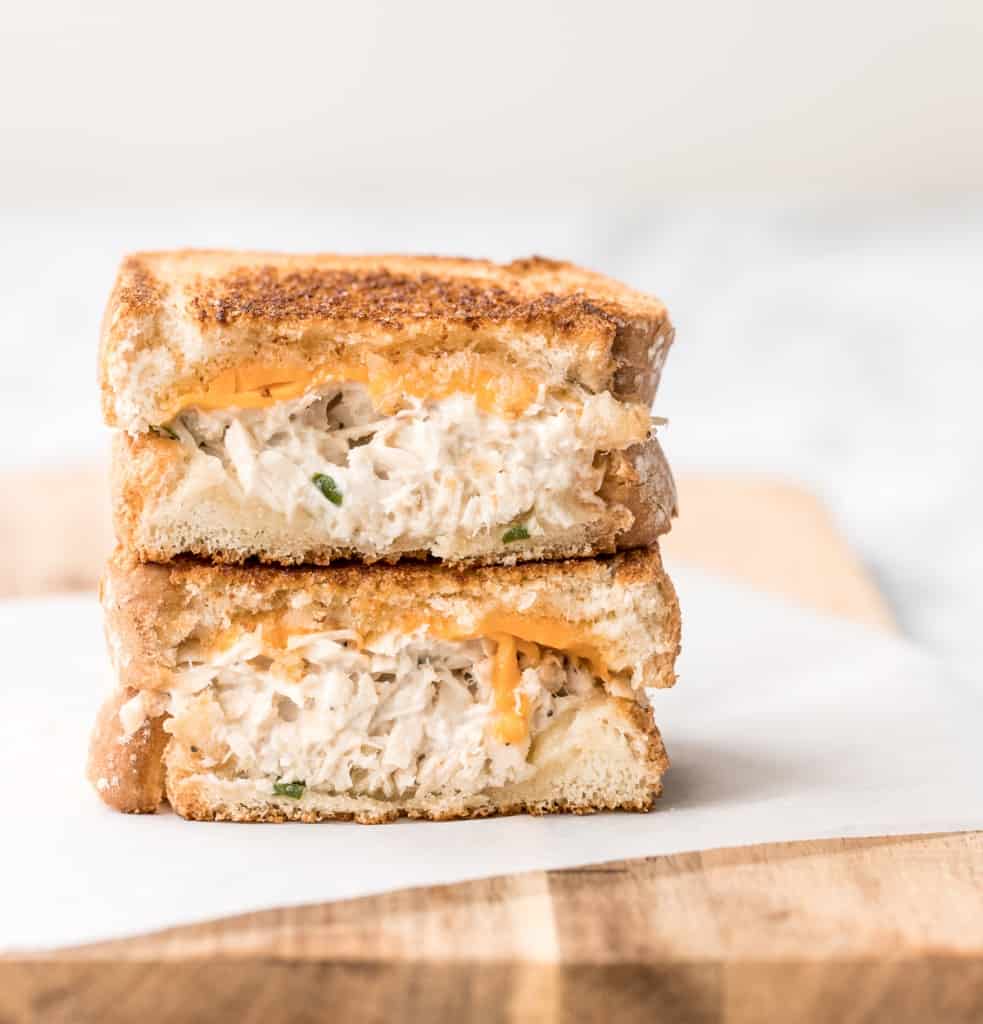
Tuna Melt Grilled Cheese Sandwich
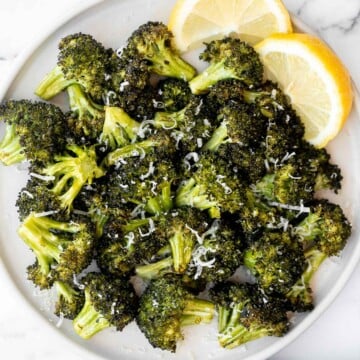
Get your hands on pantry staple canned tuna and make a delicious, crunchy tuna melt grilled cheese sandwich in less than 10 minutes! It's so tasty and easy! For another grilled cheese option, try a roasted broccoli grilled cheese sandwich.
Super Bowl Party Tips
- Plan your menu ahead of time. You can prepare many of these appetizers and party food ahead of time. Some can stored in an airtight container for a few days at room temperature or in the refrigerator, and some can even be frozen, according to recipe directions.
- Prep your ingredients as much as possible. Once you have decided on the snacks you are going to serve, prepare as much as you can in advance, whether that is chopping ingredients or prepping the dish and storing in the refrigerator until ready for the oven. Any little bit that you can prepare in advance will make things much less stressful when you just want to kick up your feet and enjoy the game.
- Set the table the night before. Take out the special party serving dishes, festive napkins and whatever else you need to set up your snack table the night before. It's one less thing to worry about on Super Bowl Sunday.
Did You Make Any of These Super Bowl Recipes?
Please leave a comment and rating below, and let me know what you thought of this round up of Super Bowl recipes. Be sure to snap a picture and tag me on Instagram @aheadofthyme or share it on the Pinterest pin so that I can follow along.
HUNGRY FOR MORE? Don't forget to sign up for my email newsletter so that you don't miss any recipes. You can also follow along on Instagram and Pinterest for more recipe updates.