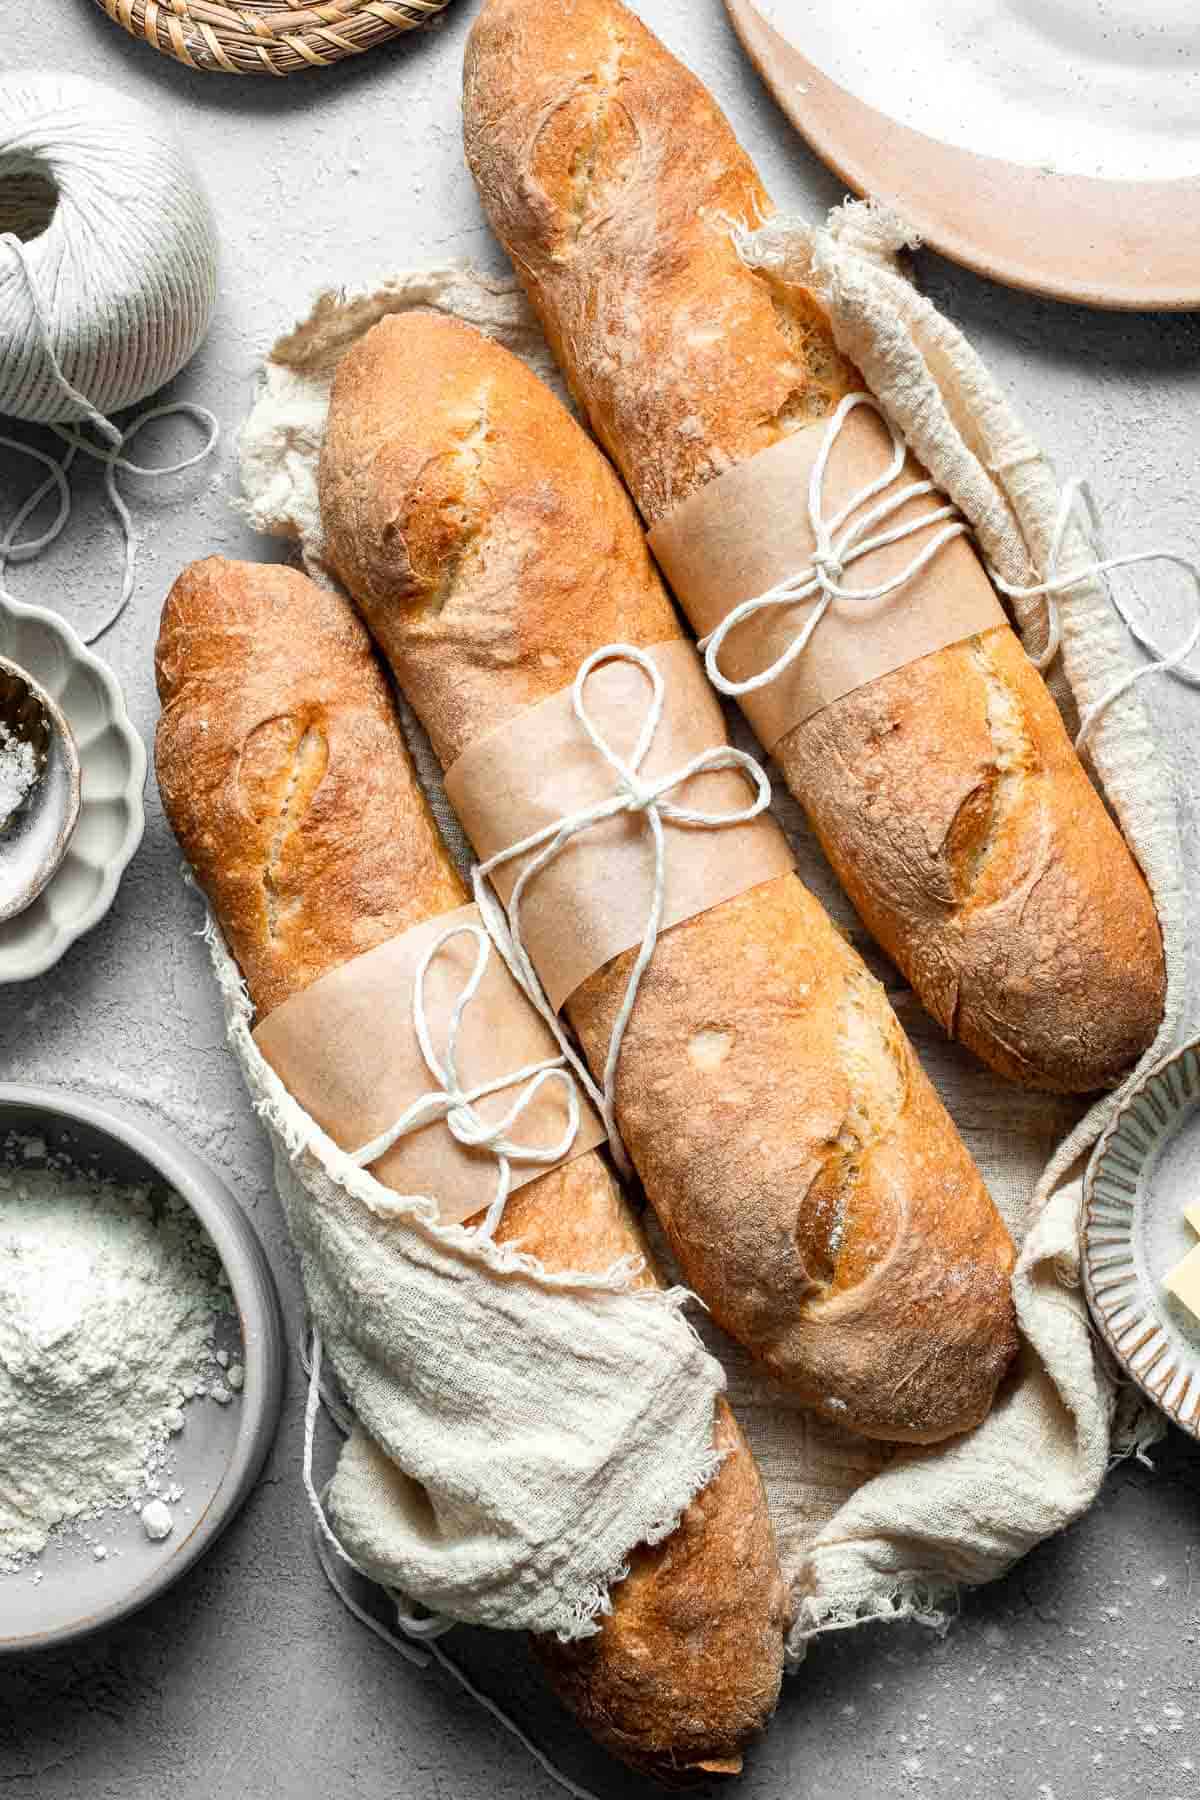
There's nothing better than freshly baked garlic breadsticks. They're buttery, salty, and delicious, and pair oh so perfectly with pasta, soups, and salads. Baking bread can be a complicated art, but these Italian breadsticks are a good introduction to making bread. With a basic dough, two easy rises to make your soft breadsticks fluffy and airy, and a buttery topping seasoned to perfection, you (and everyone else!) will be so happy you made these.
Why You'll Love Garlic Breadsticks
- They're quick to prep. Although this recipe takes about 2 ½ hours from start to finish, almost 2 hours of that time is spent allowing your dough to rise. So, it's not a huge time commitment to prep these Italian breadsticks for dinner. Just plan ahead!
- They're easy to make. When it comes to baking bread, there's a lot that can go wrong. But luckily, this is a beginner recipe that all levels can make successfully. If you follow this recipe from start to finish, you can feel confident in your bread making skills.
- Good for any skill level. Italian breadsticks are great for beginners and experienced bakers alike! This fast and easy recipe calls for minimal ingredients, and it's straightforward.
- They are delicious! Covered in butter, garlic, salt, and an Italian seasoning blend, these Italian breadsticks do not lack flavor. They're basically like garlic bread but with more crusty edges.
Ingredients and Substitutions
To make homemade garlic Italian breadsticks, you will need this following ingredients (full quantities in the recipe card below):
- water
- active dry yeast or instant yeast
- sugar or honey
- all-purpose flour
- salt
- olive oil
- toppings - butter, garlic powder, salt flakes, and Italian seasoning.
You will also need measuring cups and spoons or a kitchen scale, mixing bowls, and a large half sheet baking pan.
How to Make the Best Garlic Breadsticks
- Prepare the dough. In a small mixing bowl, add yeast and sugar in water and stir well until dissolved. Sugar and water activates yeast in a few minutes and the mixture should start to bubble and develop a yeasty aroma. In a large mixing bowl, add flour and salt. Pour in the wet yeast mixture and olive oil and mix with a silicone spatula until fully combined, scraping down the sides of the bowl (there should be no dry flour particles visible).
- Knead the dough. Knead the dough on a clean surface for 5-10 minutes until it turns into a smooth dough ball. You can also mix the dough in a stand mixer on medium speed for about 5 minutes.
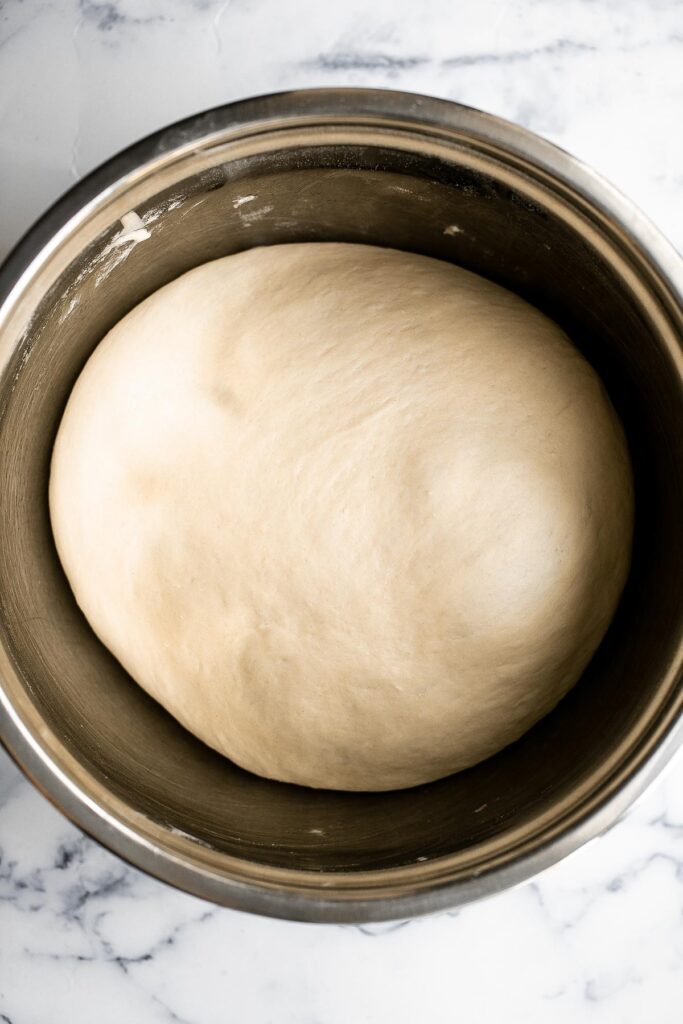
- Let the dough rise (first rise). Transfer the dough ball back into the bowl and cover with plastic cling wrap. Let it rise at room temperature for 1 hour until doubled in size.
How to Shape Breadsticks
- Flatten the dough into an approximately 9x12-inch rectangle.
- Use a bench scraper or pizza cutter to divide it into 12 equal pieces.
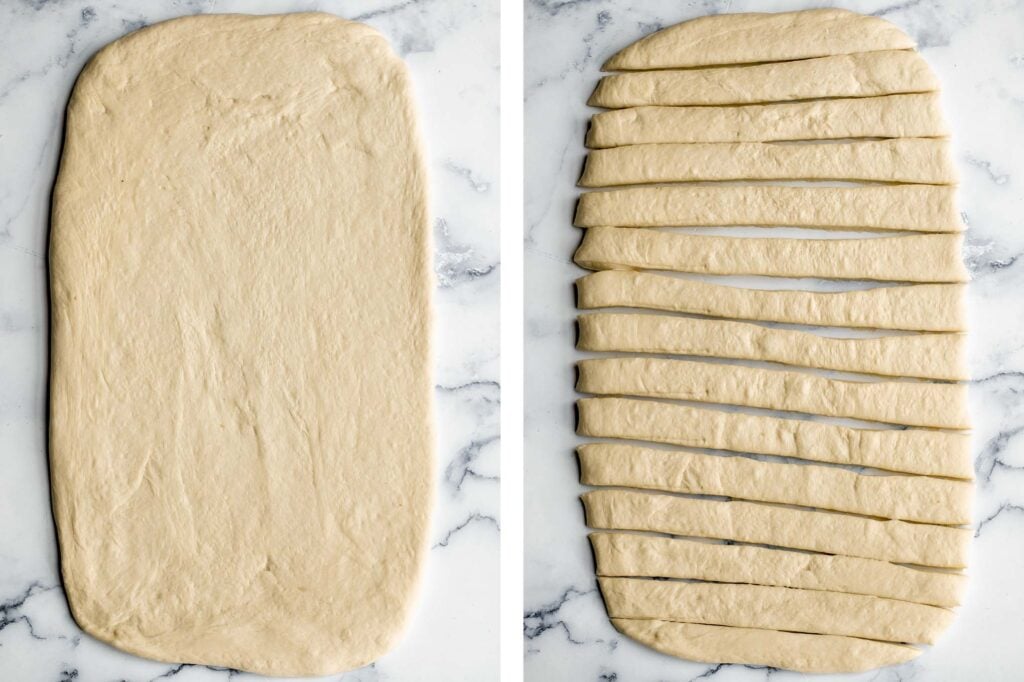
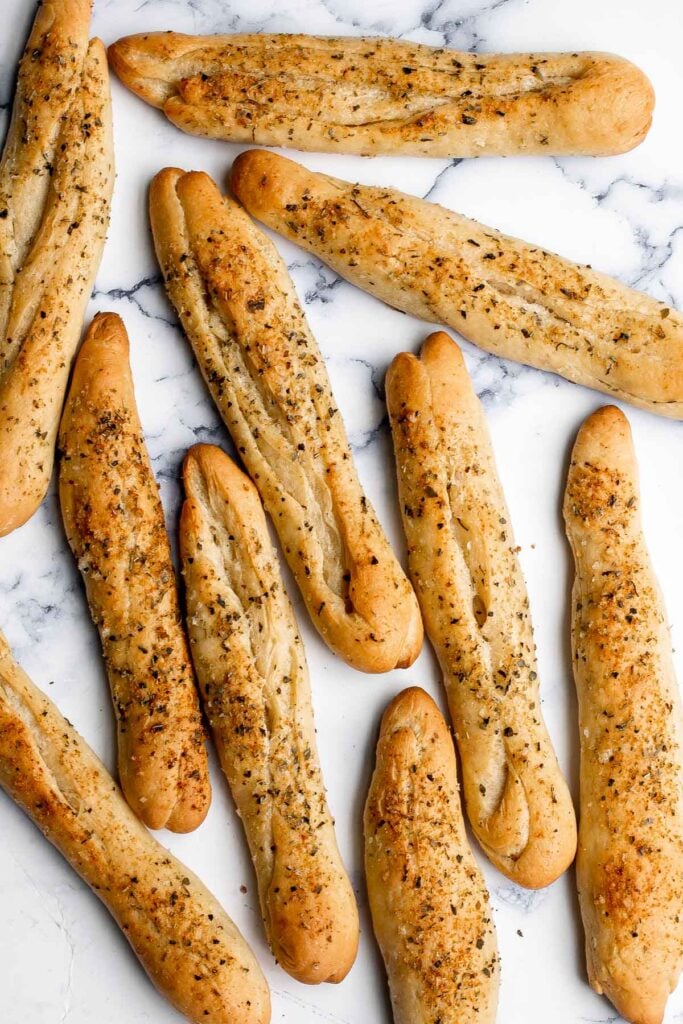
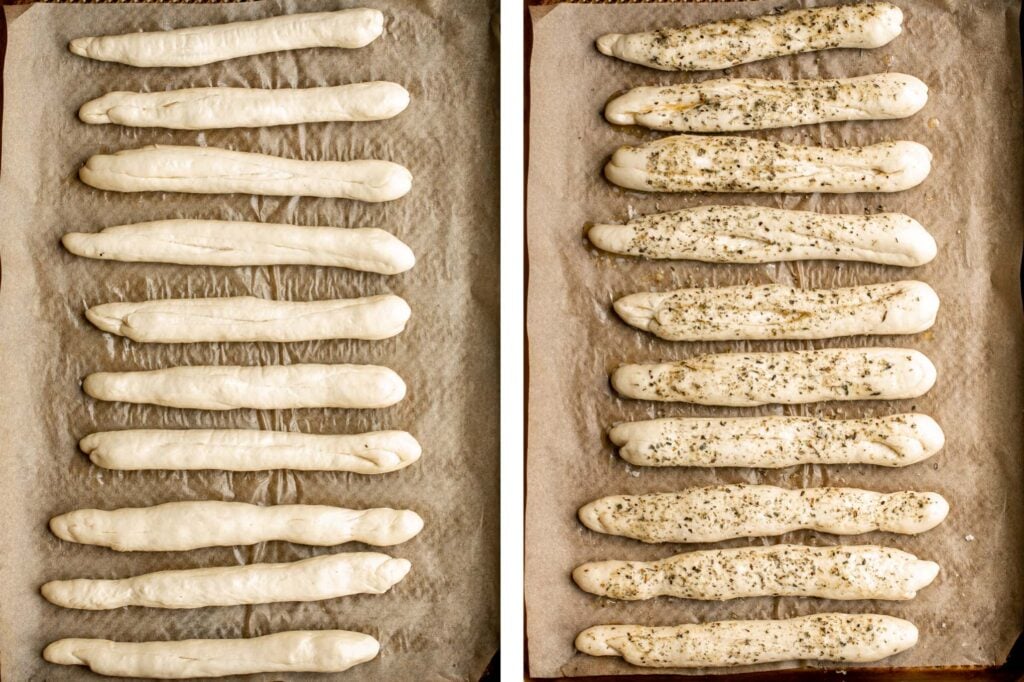
- Gently roll each piece into a 9-inch rope and arrange on a parchment-lined half sheet baking pan, evenly spaced 1-inch apart.
- Cover the baking sheet loosely with plastic cling wrap and let the dough rise until almost doubled in size, about 45 minutes depending on the room temperature.
- In a small mixing bowl, stir together melted butter, garlic powder, salt flakes, and Italian seasoning, Use a silicone brush to gently brush the mixture evenly over each breadstick.
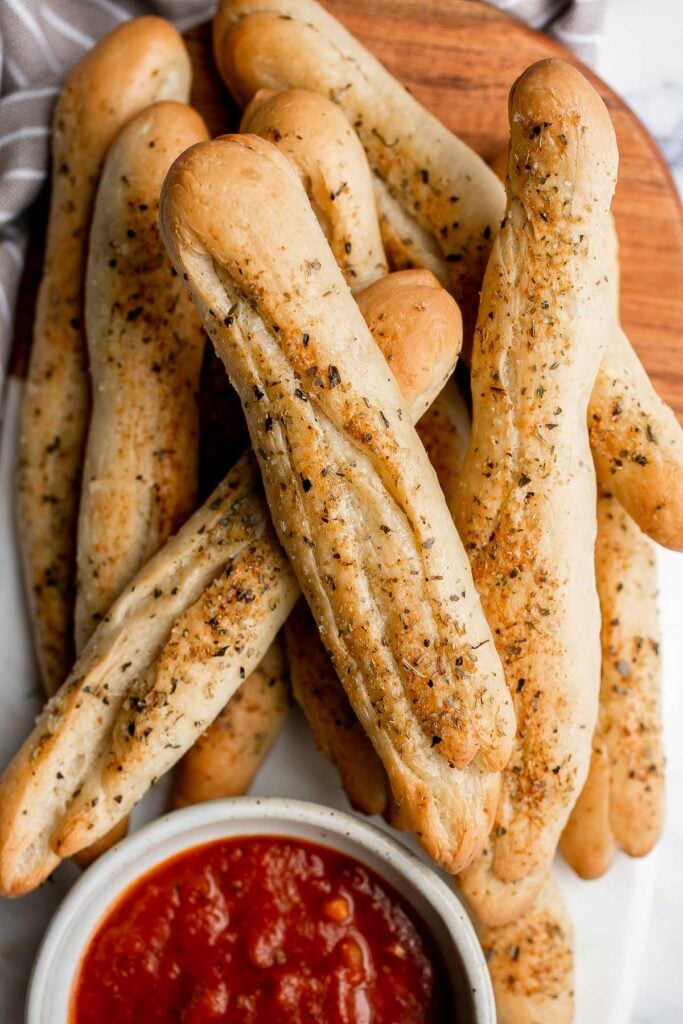
Bake in a 400F preheated oven for 15-20 minutes until golden brown. If you like your breadsticks extra crispy, bake for another 5-10 minutes. Let the breadsticks cool for 10 minutes before serving.
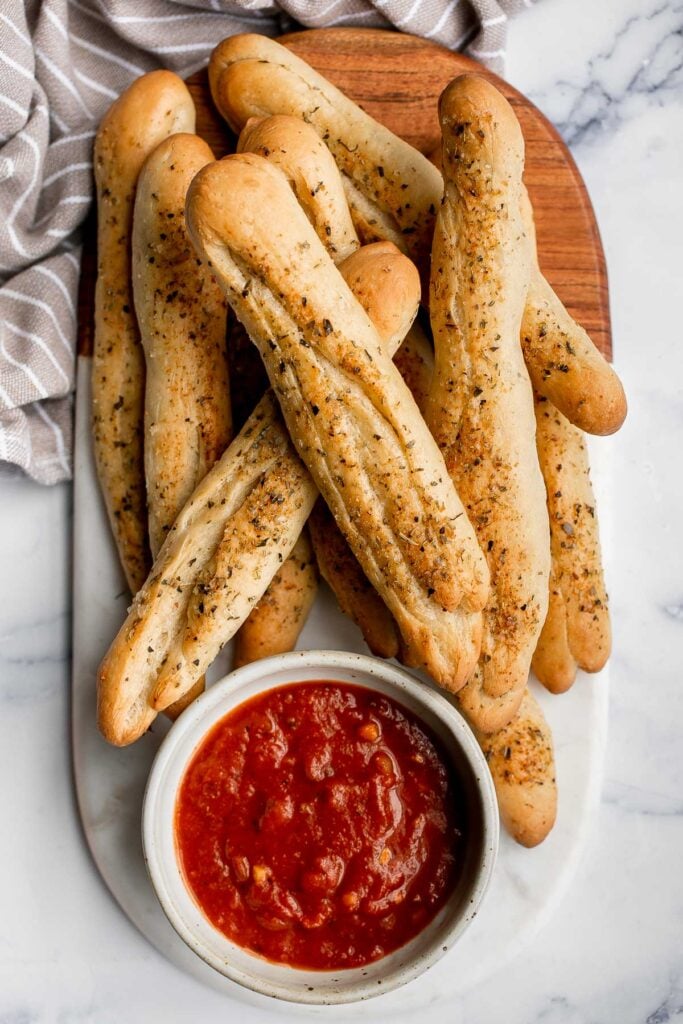
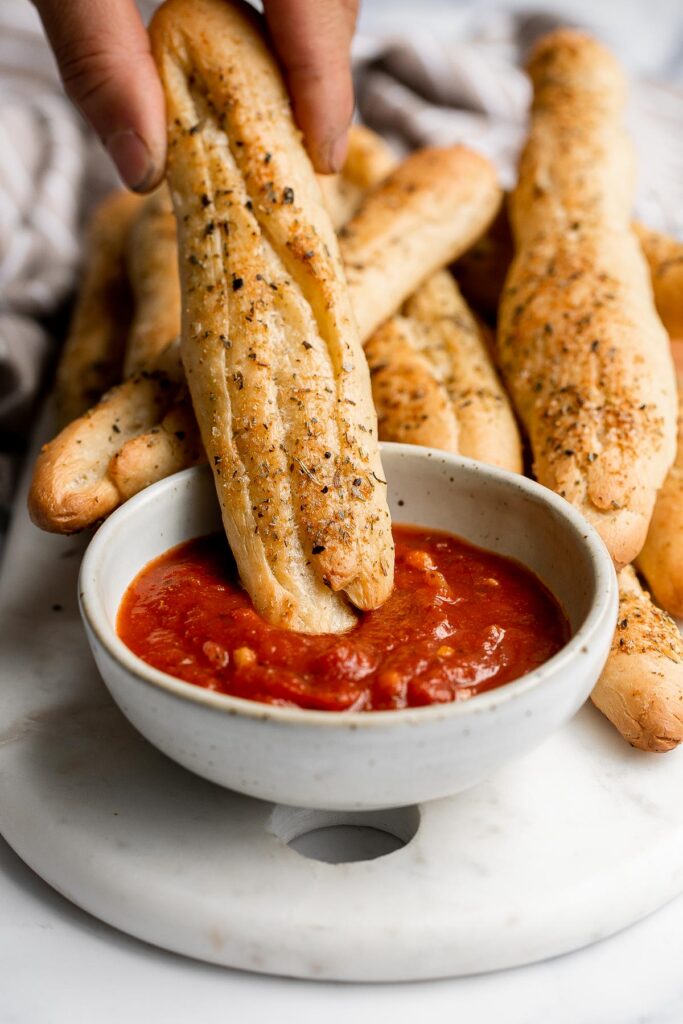
Serve on its own, with marinara sauce for dipping or with a bowl of soup.
Storing Instructions
- How to store: Leftover garlic breadsticks are best kept at room temperature for up to a day. If stored for longer, put them in the refrigerator. Either way, make sure they're well-wrapped in an airtight container, bag, or plastic cling wrap wrap to prevent staleness.
- How to reheat: You can serve Italian breadsticks warm or at room temperature. I like leftover breadsticks much better when reheated. Wrap them in aluminum foil and heat in a preheated 350F oven for 10-15 minutes.
- Freezing breadsticks: After they cool, wrap each breadstick individually in plastic cling wrap and store in the freezer. They will keep in the freezer for up to 3 months, but they won't be as tender after thawing. You can reheat them to get a better texture.
More Bread Recipes
- 50 Best Bread Recipes
- Cheesy Garlic Dinner Rolls
- Pull Apart Garlic Bread
- Small Batch Ciabatta Rolls
- No Knead Sesame Bread
- Brioche Bread
Tried this recipe?
I'd love to hear what you think! Leave a comment and rating below to share your feedback. Your reviews help others discover this recipe and help me keep creating more free recipes for you. Snap a photo and tag me on social media @aheadofthyme too.
Recipe

Garlic Breadsticks
- Total Time: 2 hours 15 minutes
- Yield: 12 breadsticks 1x
- Diet: Vegetarian
Description
Soft garlic breadsticks are fluffy, airy, buttery, and delicious. They're an easy recipe that is perfect for beginners at baking bread.
Ingredients
- 240 grams water (1 cup), lukewarm
- 6 grams active dry yeast or instant yeast (2 teaspoons)
- 4 grams sugar or honey (1 teaspoon)
- 375 grams all-purpose flour (3 cups)
- 6 grams salt (1 teaspoon)
- 40 grams olive oil (3 tablespoons)
For the topping:
- 2-3 tablespoons butter, melted
- ½ teaspoon garlic powder
- 1 teaspoon salt flakes
- 1 teaspoon Italian seasoning
Instructions
Prepare the dough (first rise):
- In a small mixing bowl, add yeast and sugar in water and stir well until dissolved. Sugar and water activates yeast in a few minutes and the mixture should start to bubble and develop a yeasty aroma.
- In a large mixing bowl, add flour and salt. Pour in the wet yeast mixture and olive oil and mix with a silicone spatula until fully combined, scraping down the sides of the bowl (there should be no dry flour particles visible).
- Knead the dough on a clean surface for 5-10 minutes until it turns into a smooth dough ball. You can also mix the dough in a stand mixer on medium speed for about 5 minutes.
- Transfer the dough ball back into the bowl and cover with plastic cling wrap. Let it rise at room temperature for 1 hour until doubled in size.
Shape the dough:
- Flatten the dough into an approximately 9x12-inch rectangle. Use a bench scraper or pizza cutter to divide it into 12 equal pieces.
- Gently roll each piece into a 9-inch rope and arrange on a parchment-lined half sheet baking pan, evenly spaced 1-inch apart.
- Cover the baking sheet loosely with plastic cling wrap and let the dough rise until almost doubled in size, about 45 minutes depending on the room temperature.
Bake the breadsticks:
- Preheat oven to 400 F.
- In a small mixing bowl, stir together melted butter, garlic powder, salt flakes, and Italian seasoning, Use a silicone brush to gently brush the mixture evenly over each breadstick.
- Bake for 15-20 minutes until golden brown. If you like your breadsticks extra crispy, bake for another 5-10 minutes.
- Let the breadsticks cool for 10 minutes before serving. Serve on its own, with marinara sauce for dipping, or with a bowl of soup.
Notes
How to store: Leftover garlic breadsticks are best kept at room temperature for up to a day. If stored for longer, put them in the refrigerator. Either way, make sure they're well-wrapped in an airtight container, bag, or plastic cling wrap wrap to prevent staleness.
How to reheat: You can serve Italian breadsticks warm or at room temperature. I like leftover breadsticks much better when reheated. Wrap them in aluminum foil and heat in a preheated 350F oven for 10-15 minutes.
Freezing breadsticks: After they cool, wrap each breadstick individually in plastic cling wrap and store in the freezer. They will keep in the freezer for up to 3 months, but they won't be as tender after thawing. You can reheat them to get a better texture.
- Prep Time: 15 minutes
- Rise Time: 1 hour 45 minutes
- Cook Time: 15 minutes
- Category: Bread
- Method: Oven
- Cuisine: Italian


Emily says
Amazing, easy to follow and great for beginners
Lila says
I tripled this recipe and made it all as one pull apart loaf, and it was absolutely incredible! Easy and delicious, 100% recommend.