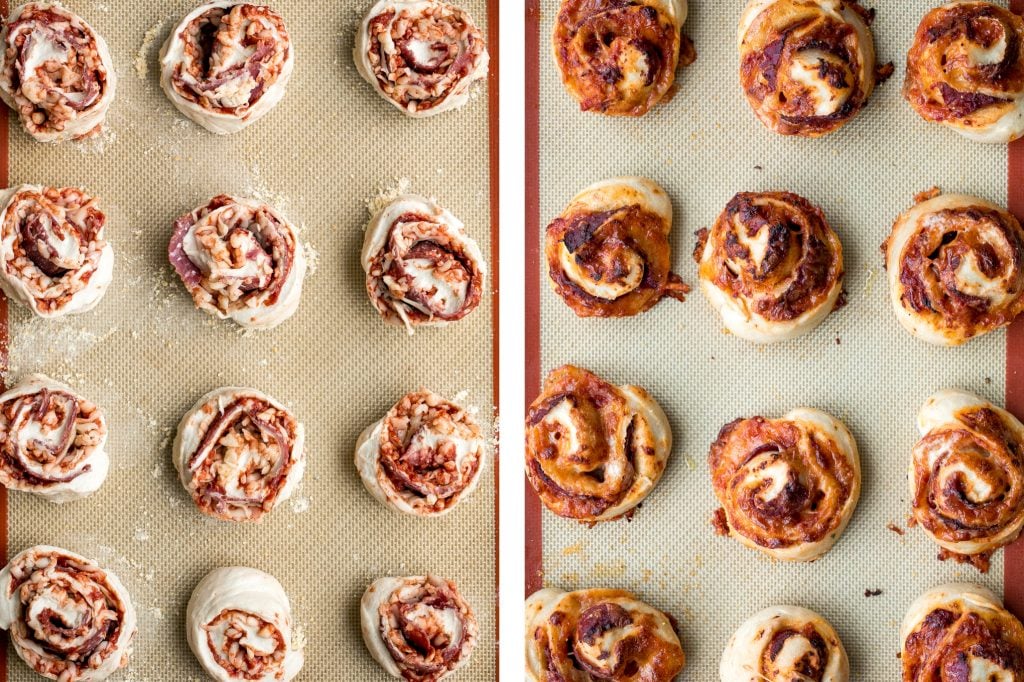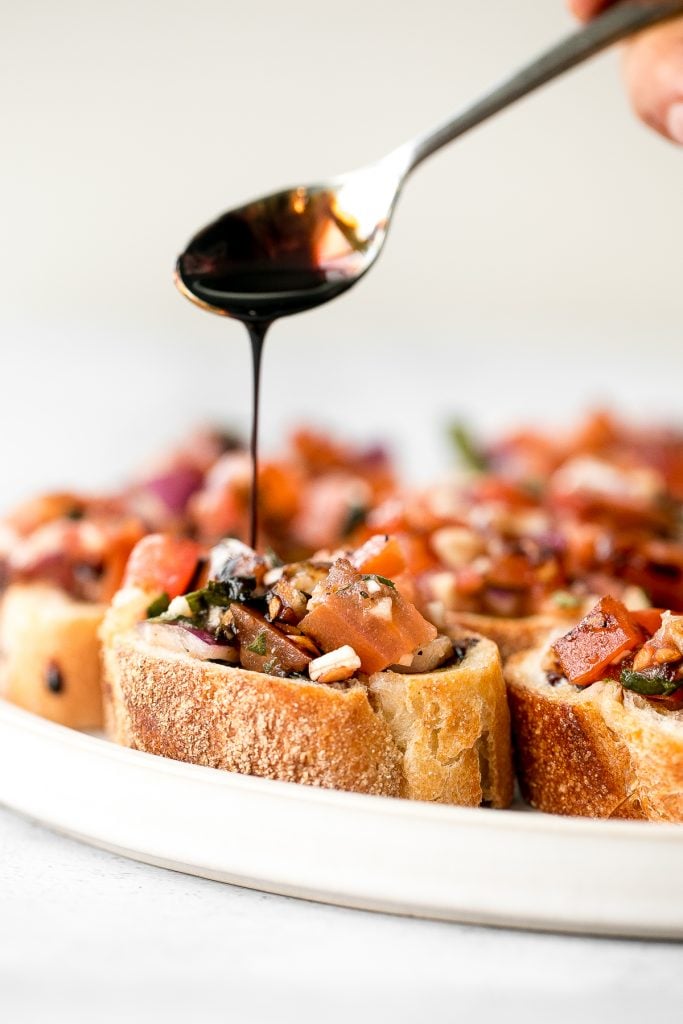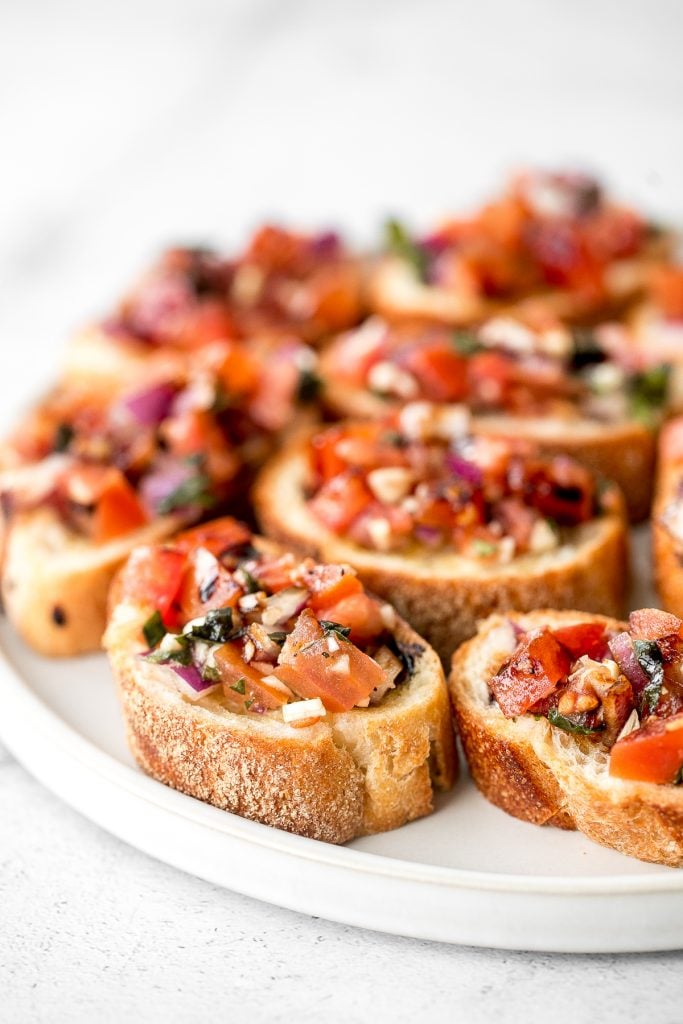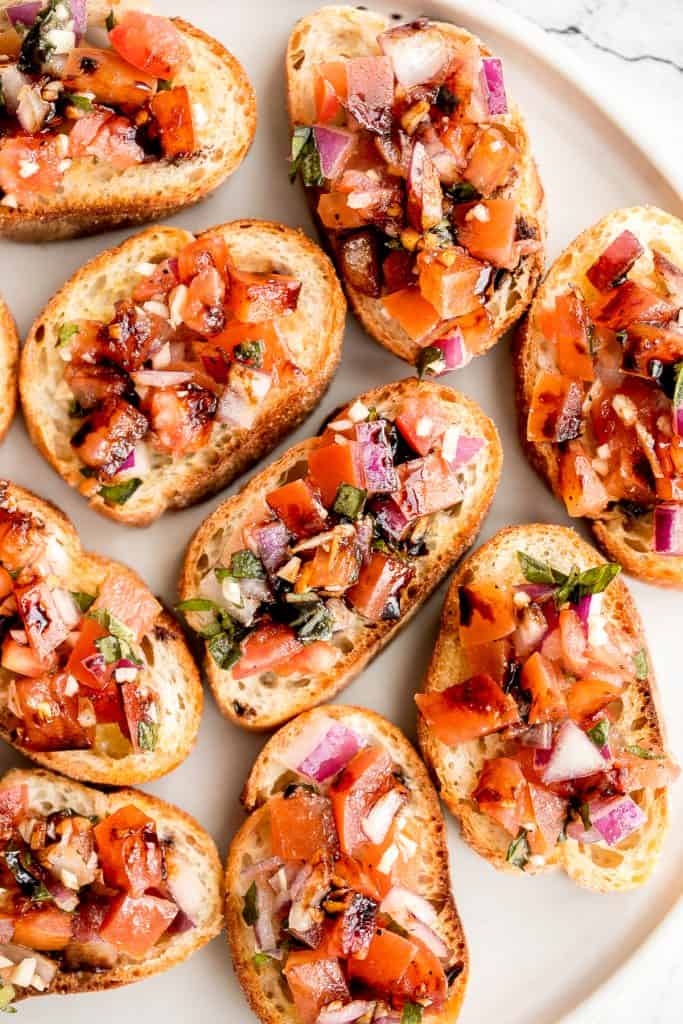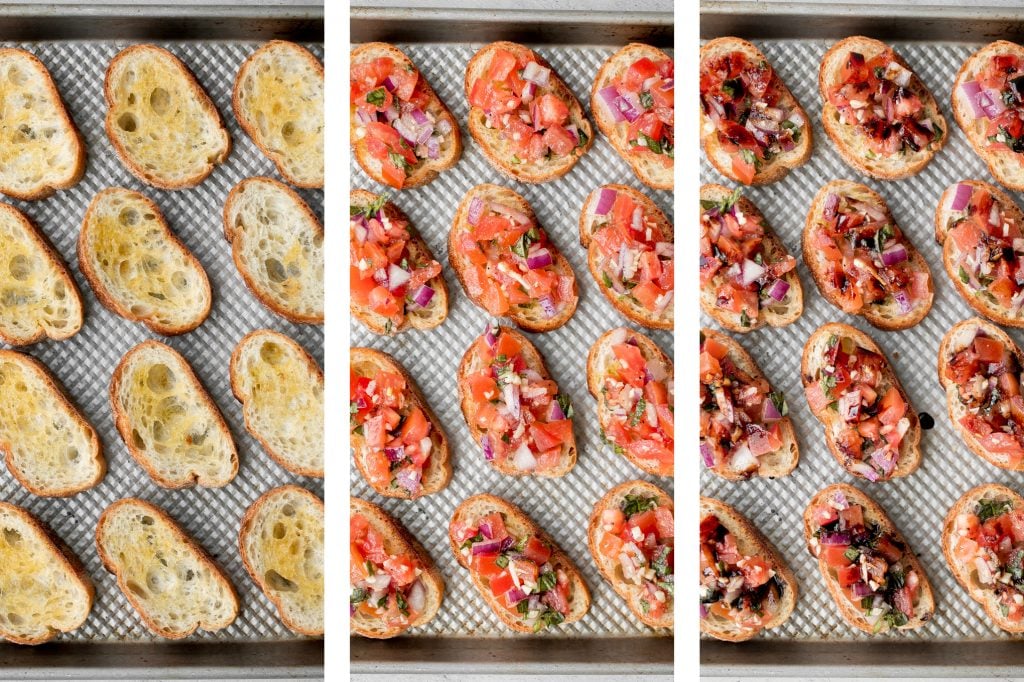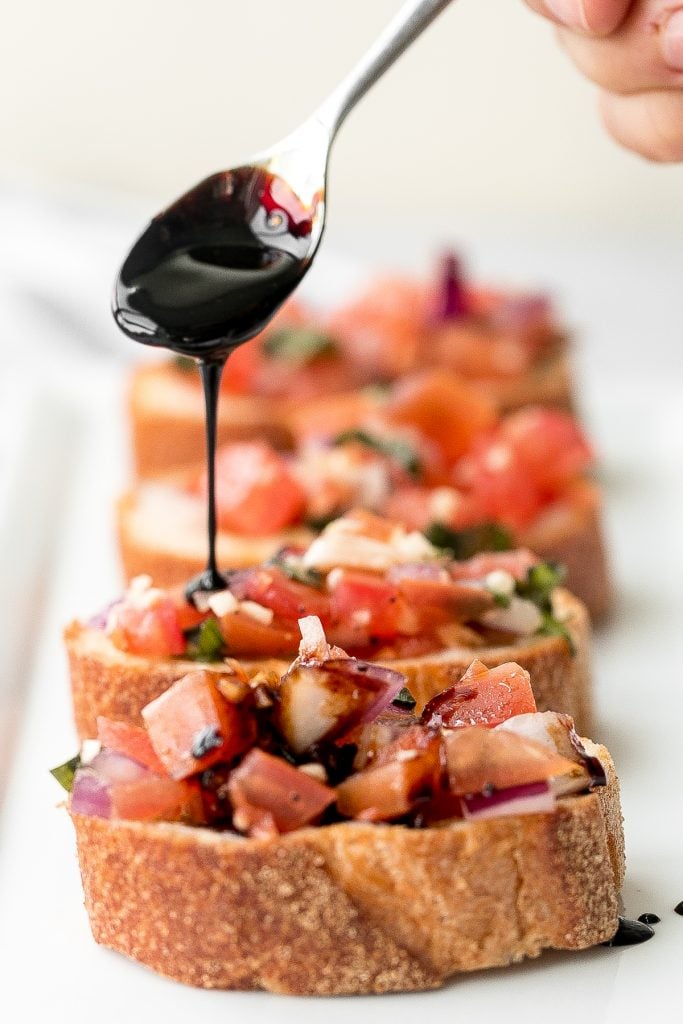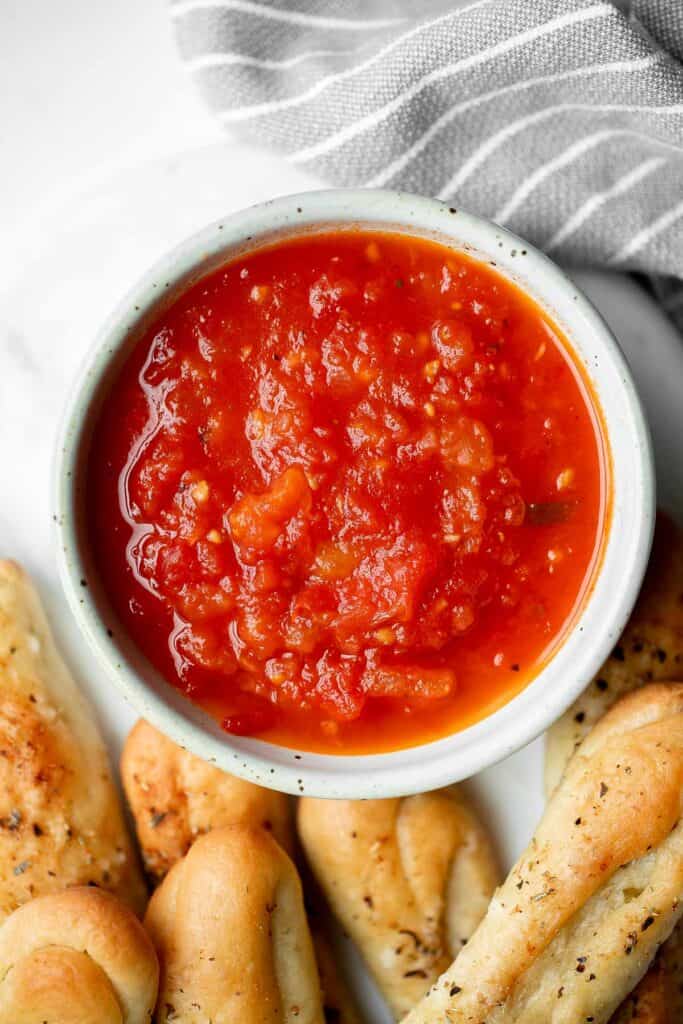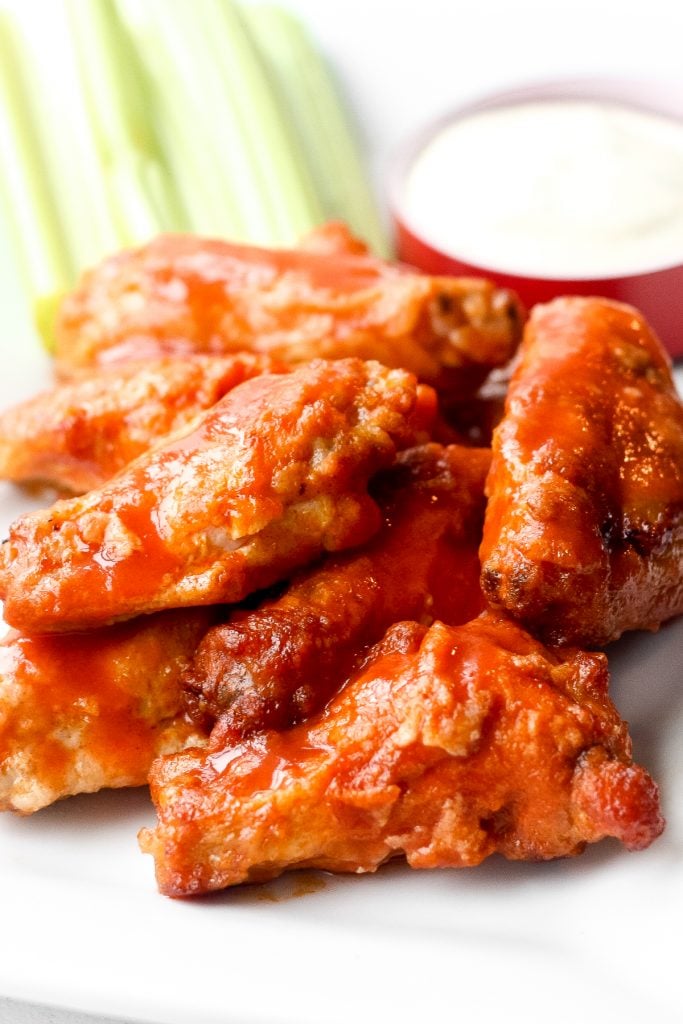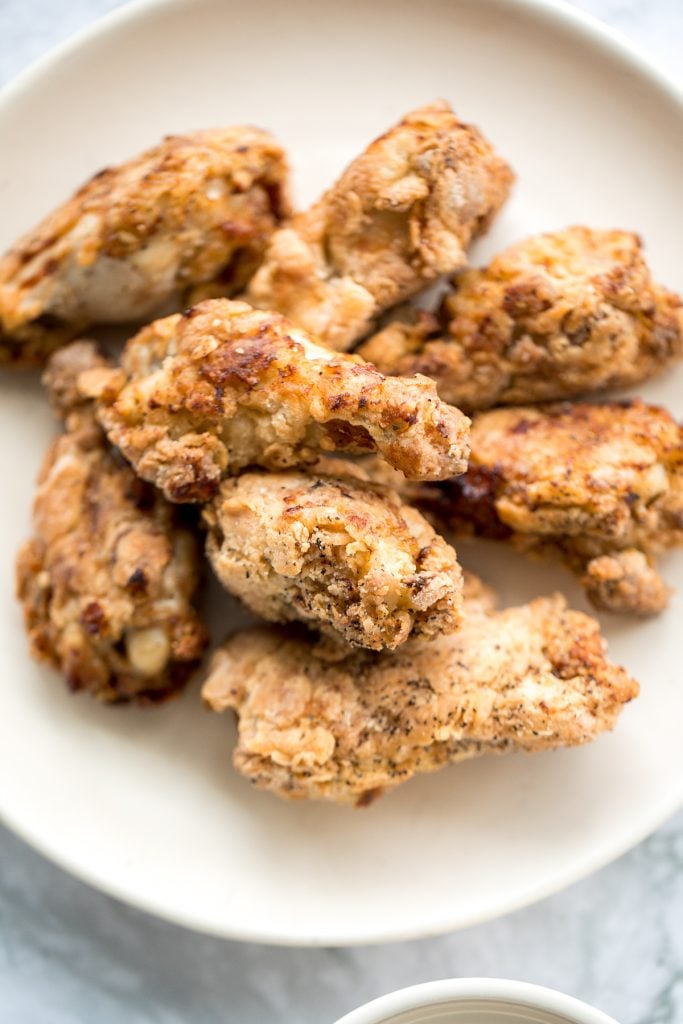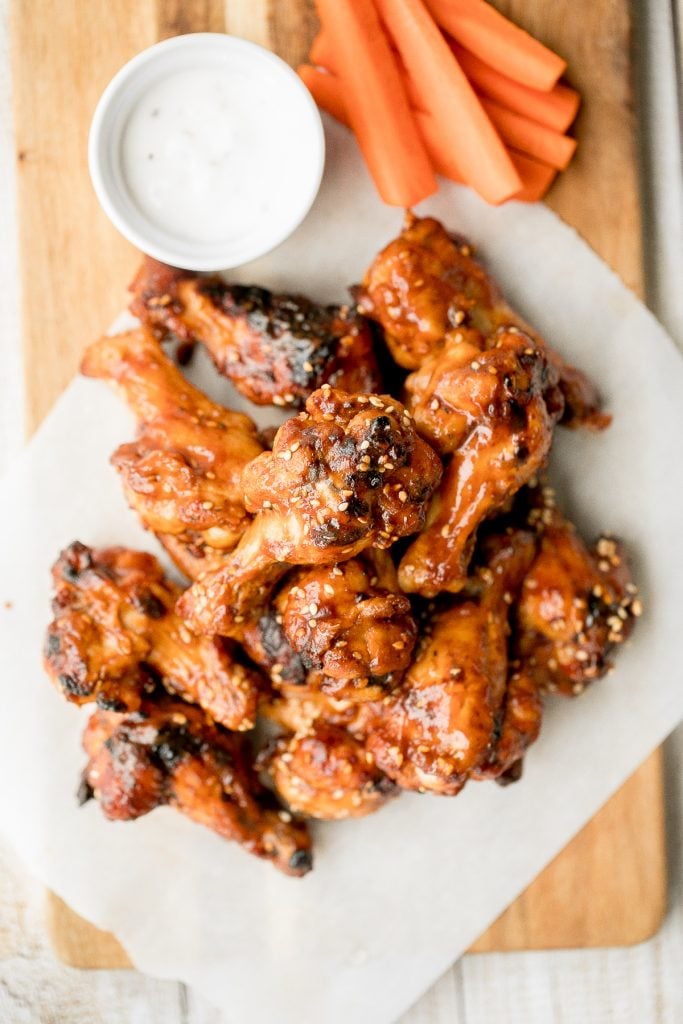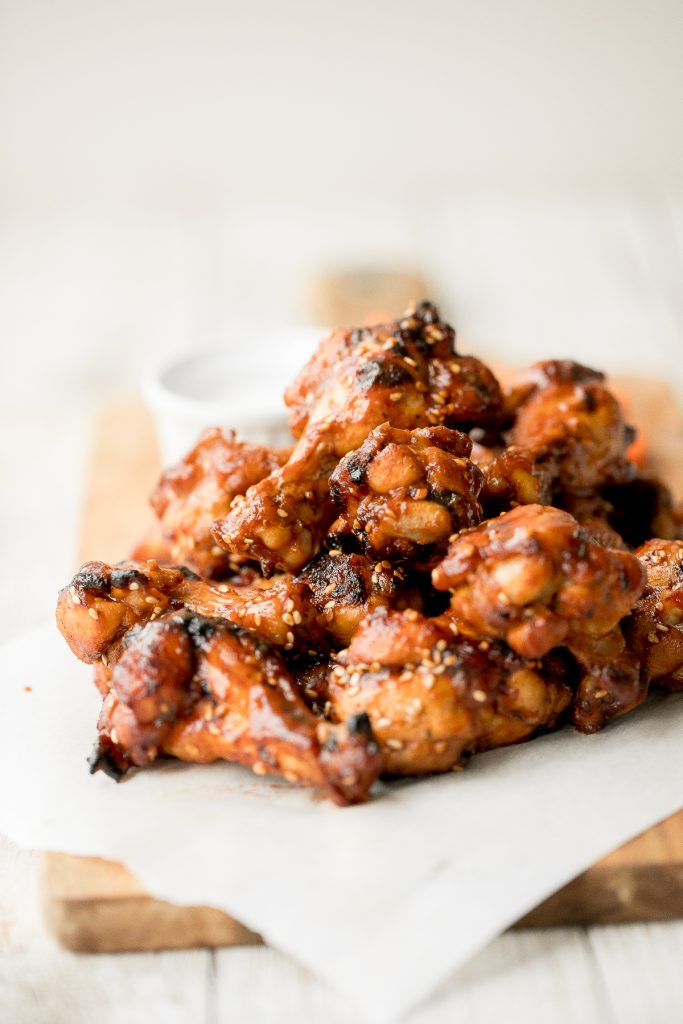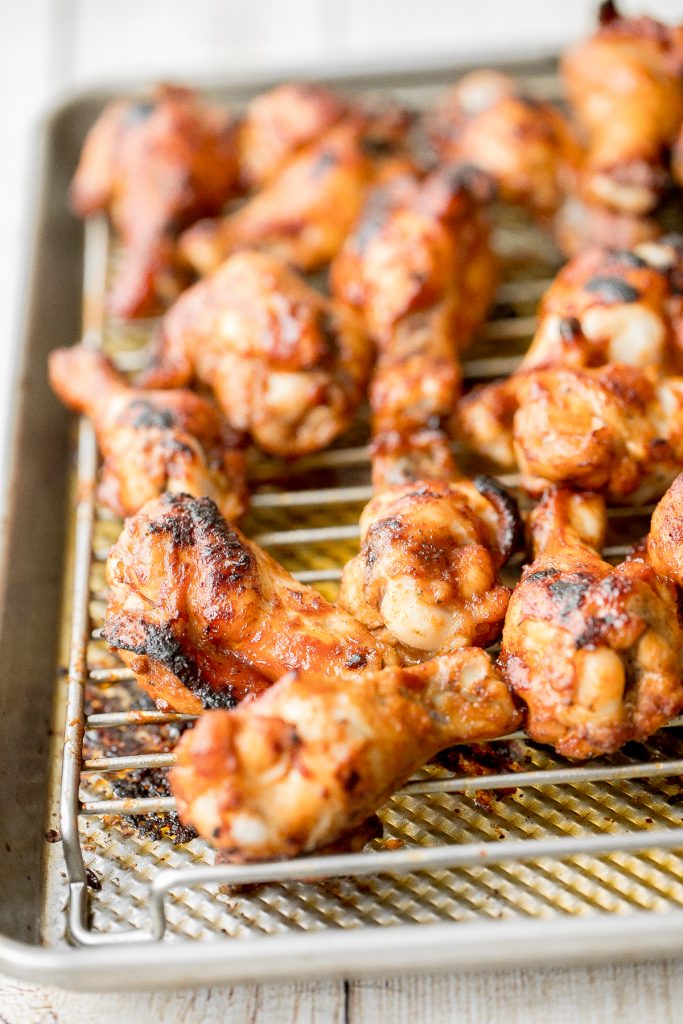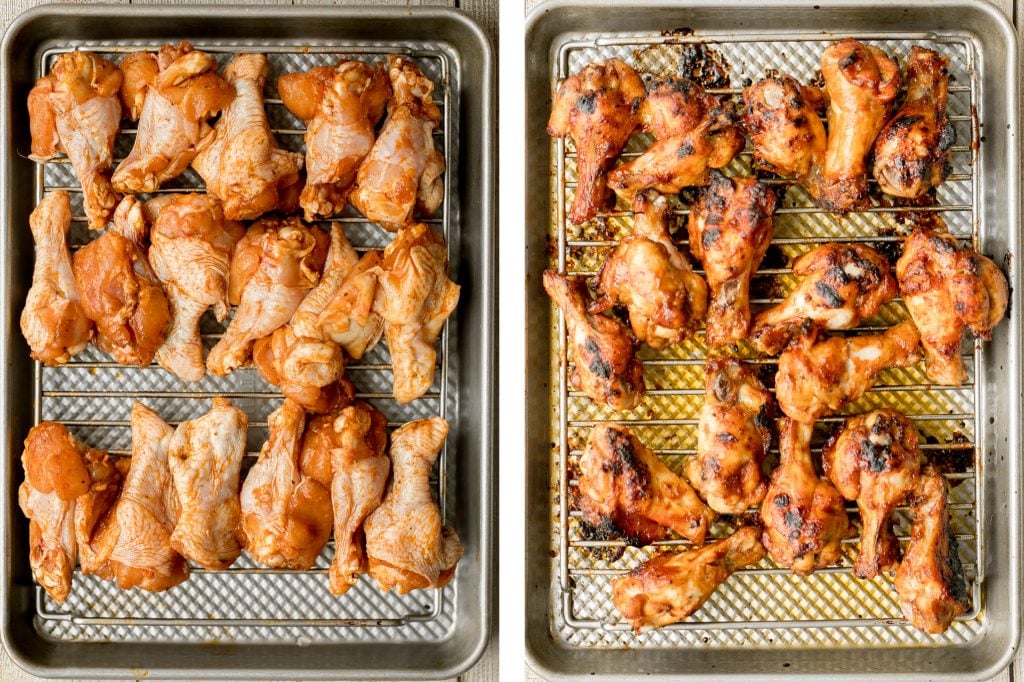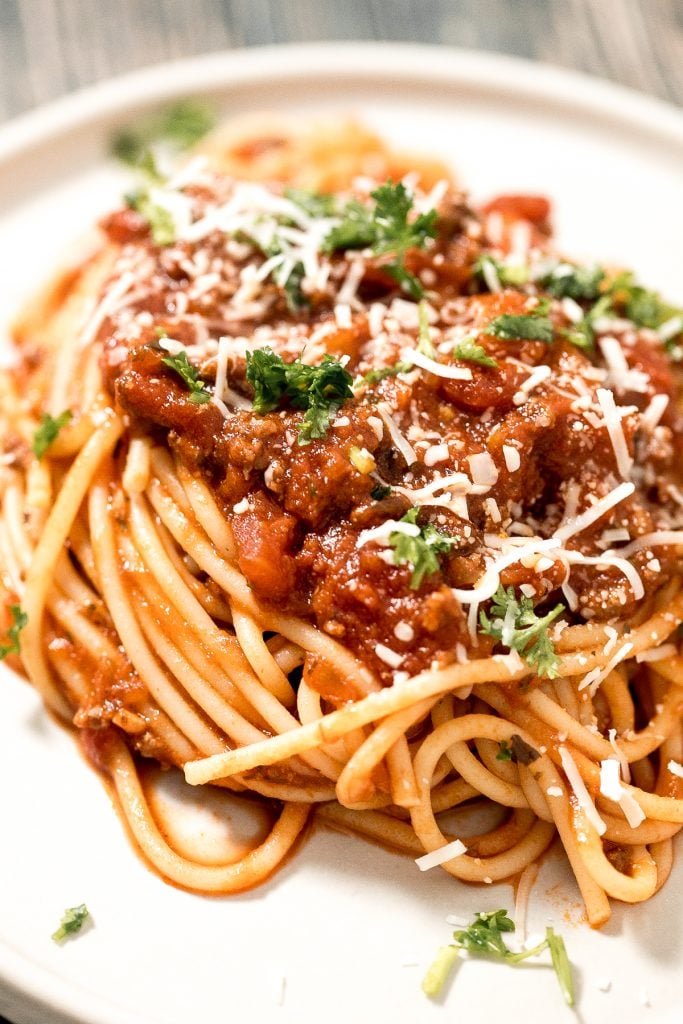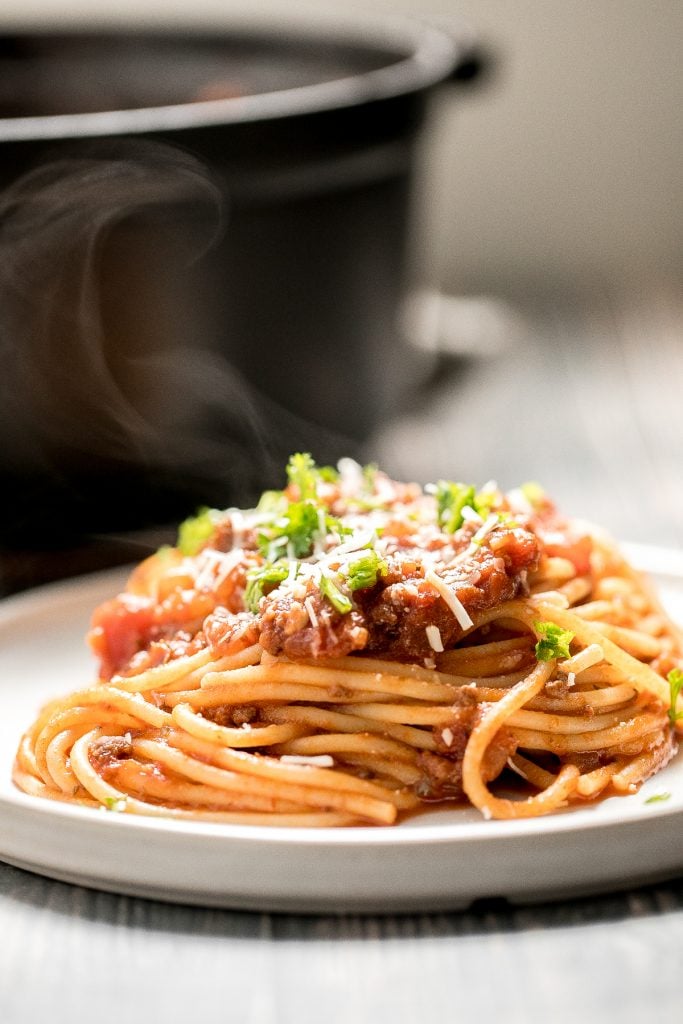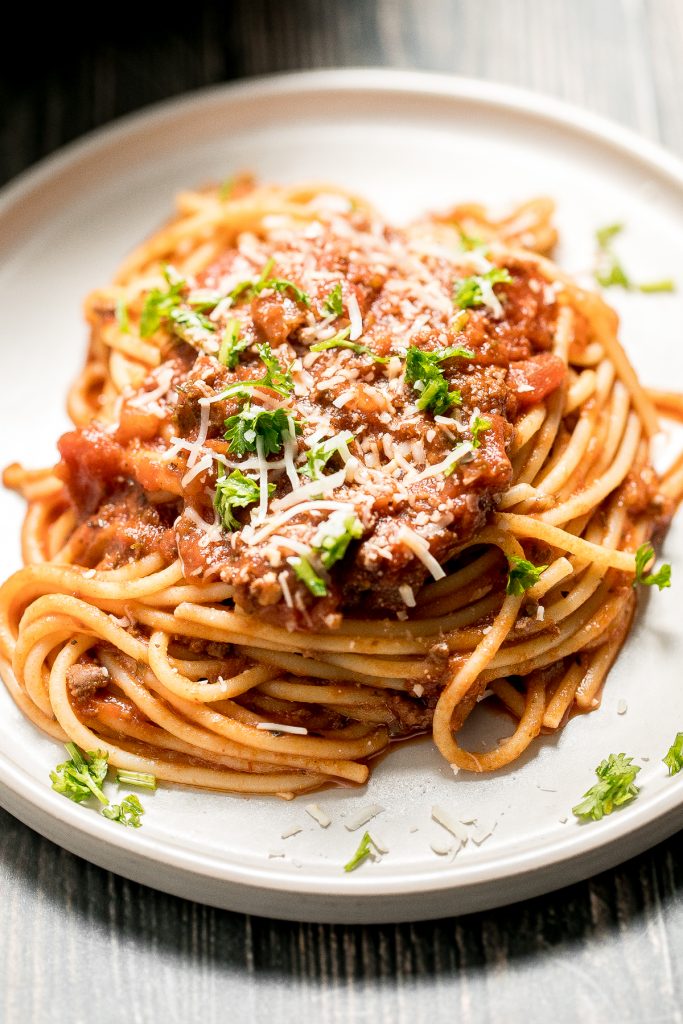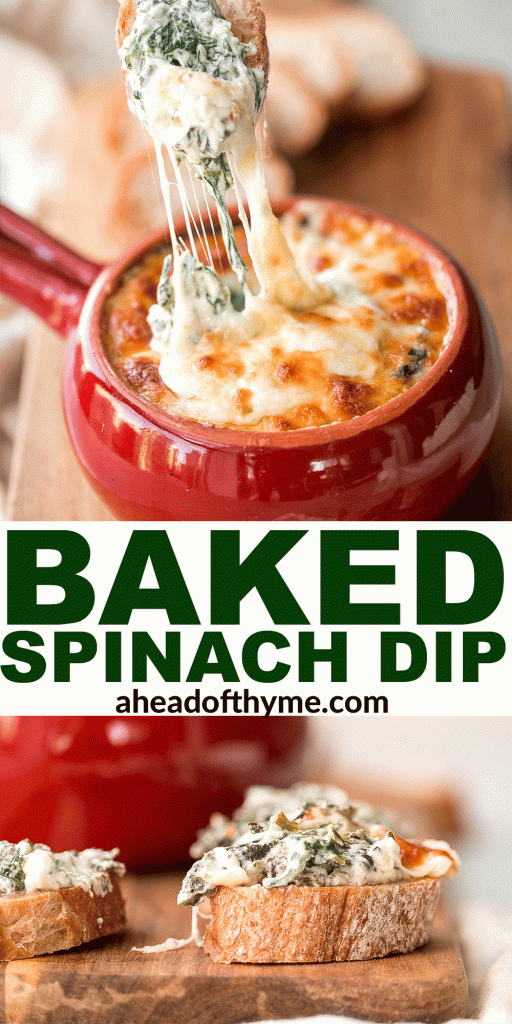
Let's be real, Chinese New Year (or lunar new year) is all about the food. We have rounded up our 50 best and most popular Chinese New Year recipes from main course dishes, noodles and rice, side dishes and dim sum, and everything in between. So if you're wondering what to make for Chinese New Year, then you have come to the right place! You will find some classics as well as some new favourites to try this year.
What is Chinese New Year?
Chinese New Year falls on the Lunar New Year and is the celebration of the new year in accordance with the traditional lunar calendar. It is the biggest holiday in China with celebrations lasting for weeks. Some of the traditions that fall during the new year are enjoying delicious food with family and friends, gifting red pockets (money in red paper envelopes), and lighting firecrackers. The Lunar New Year is celebrated in many other Asian countries as well.
Chinese New Year Main Course Recipes
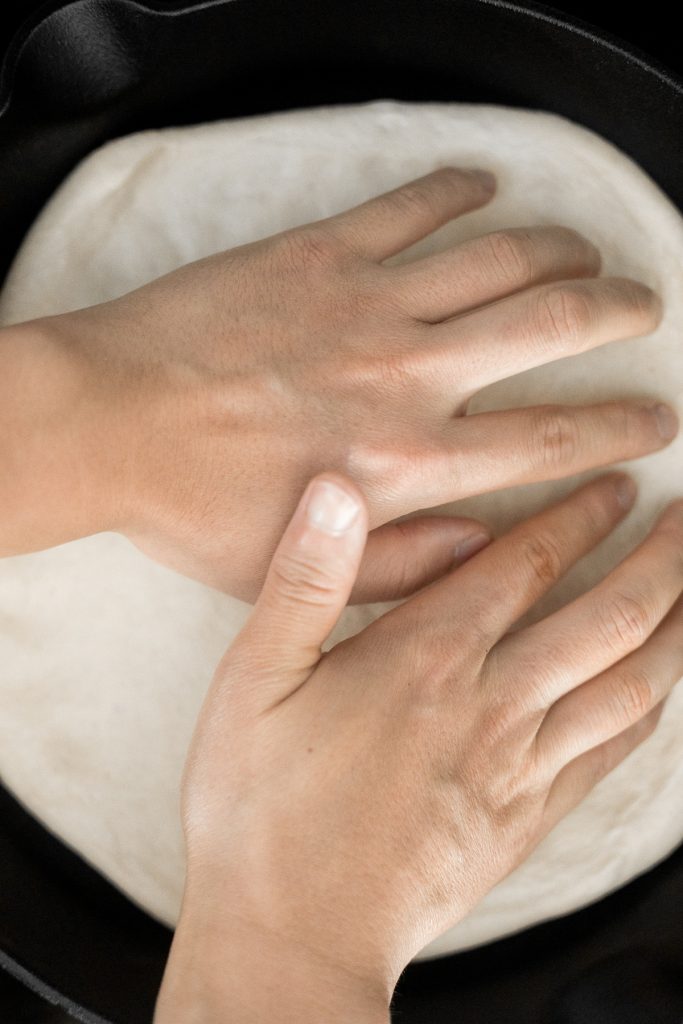
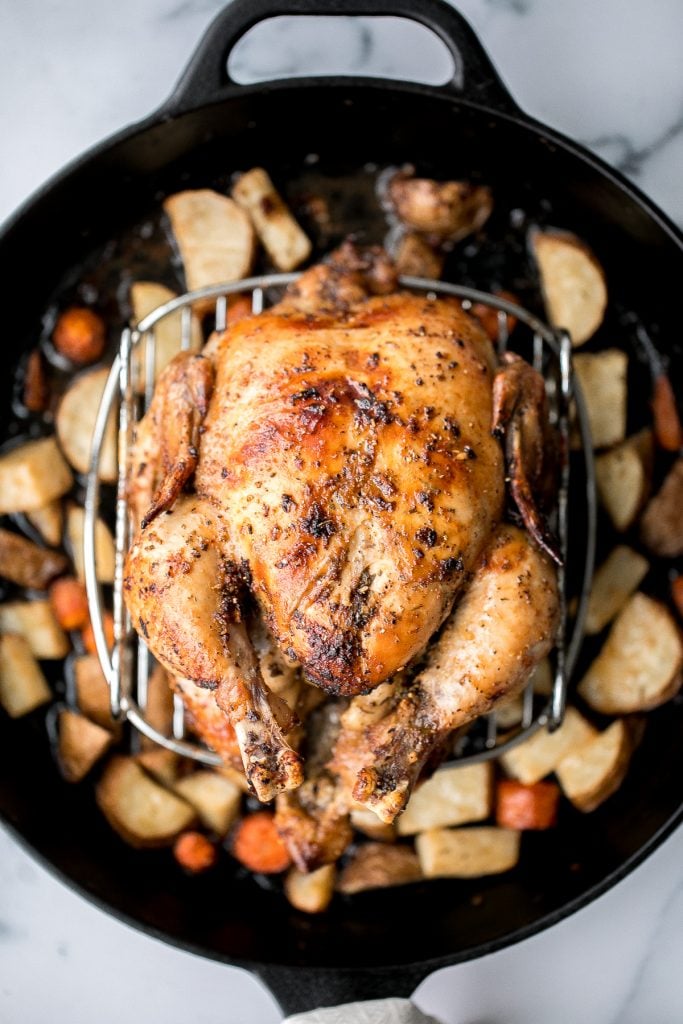
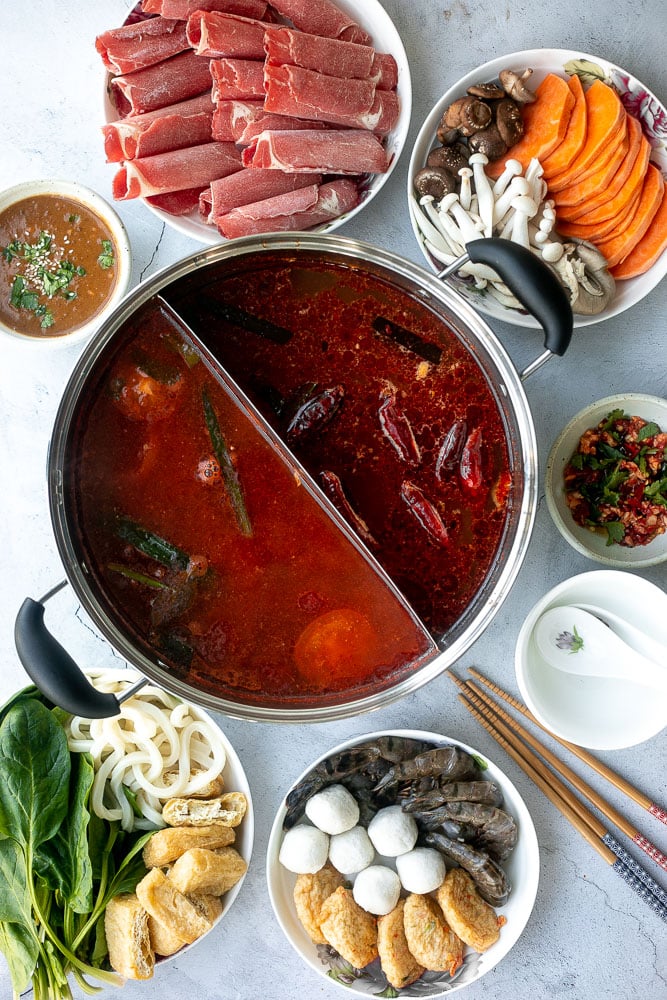
Chinese hot pot at home is a warm, comforting social meal to enjoy with family or a small group of friends for Chinese New Year. It's delicious, easy to prepare, and customizable.
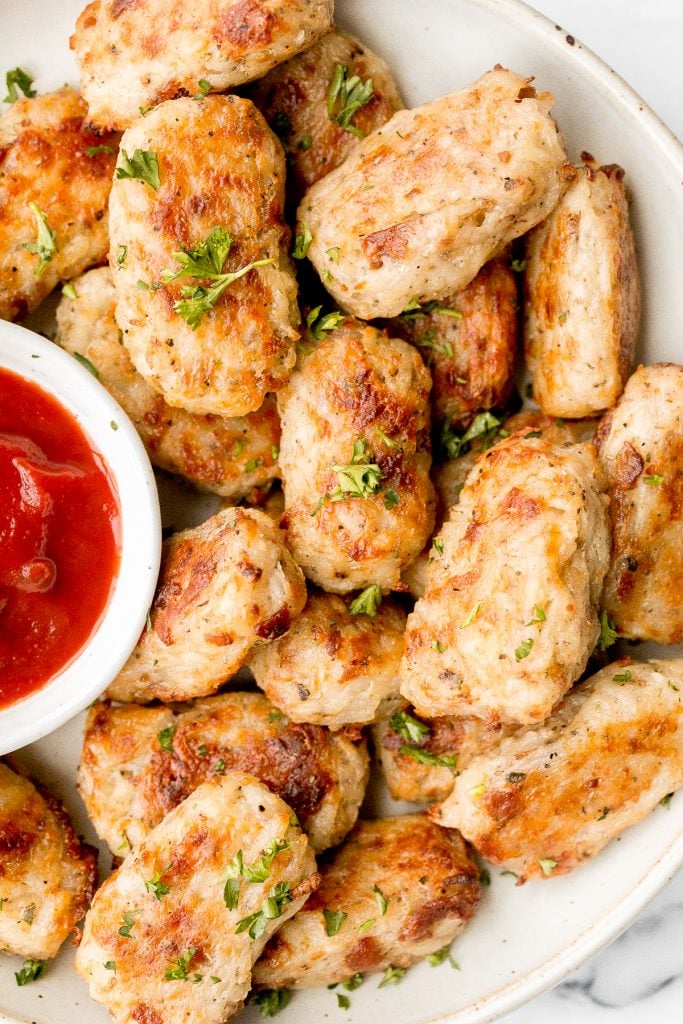
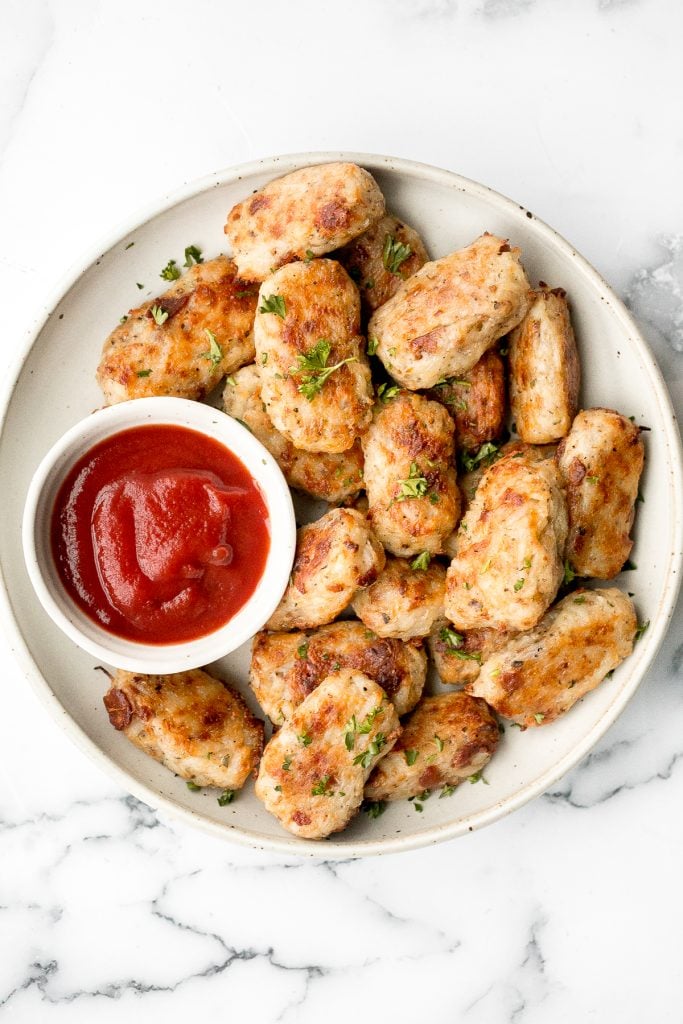
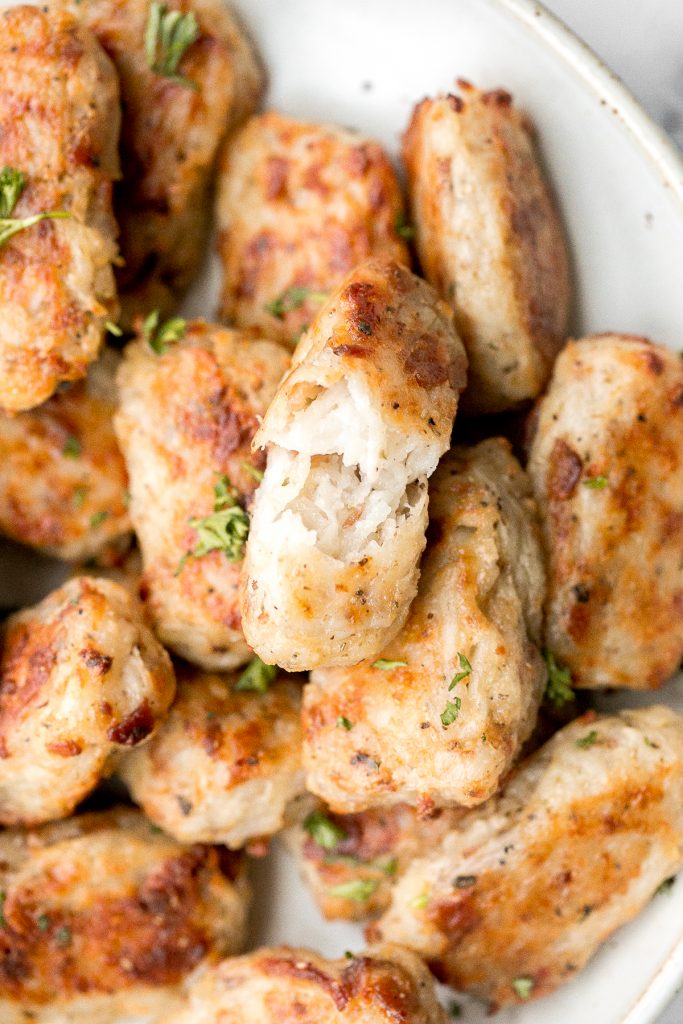
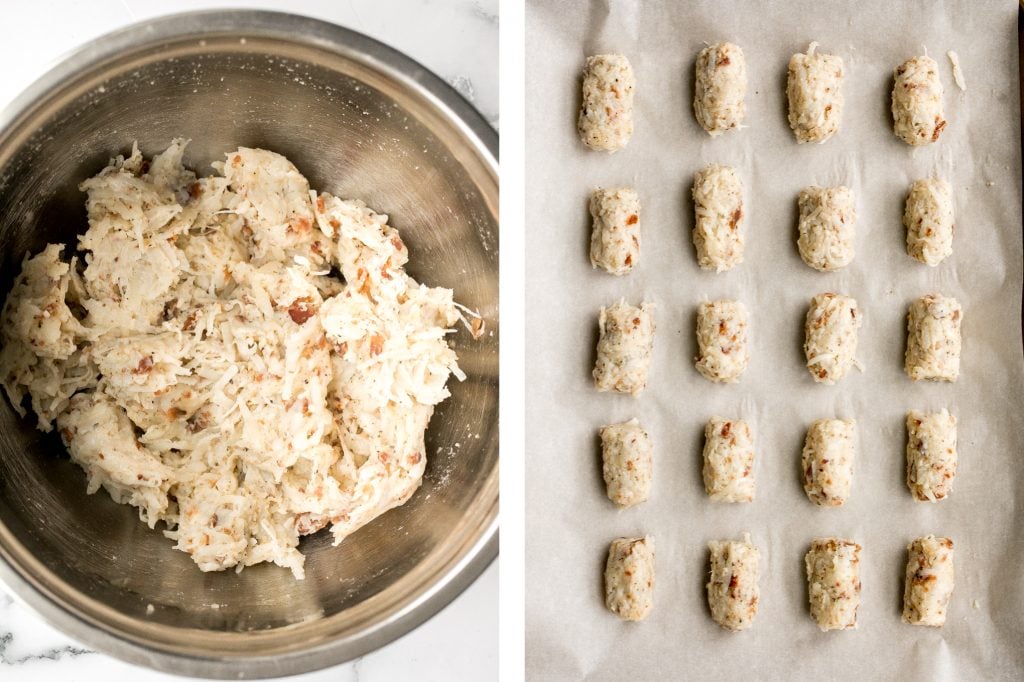
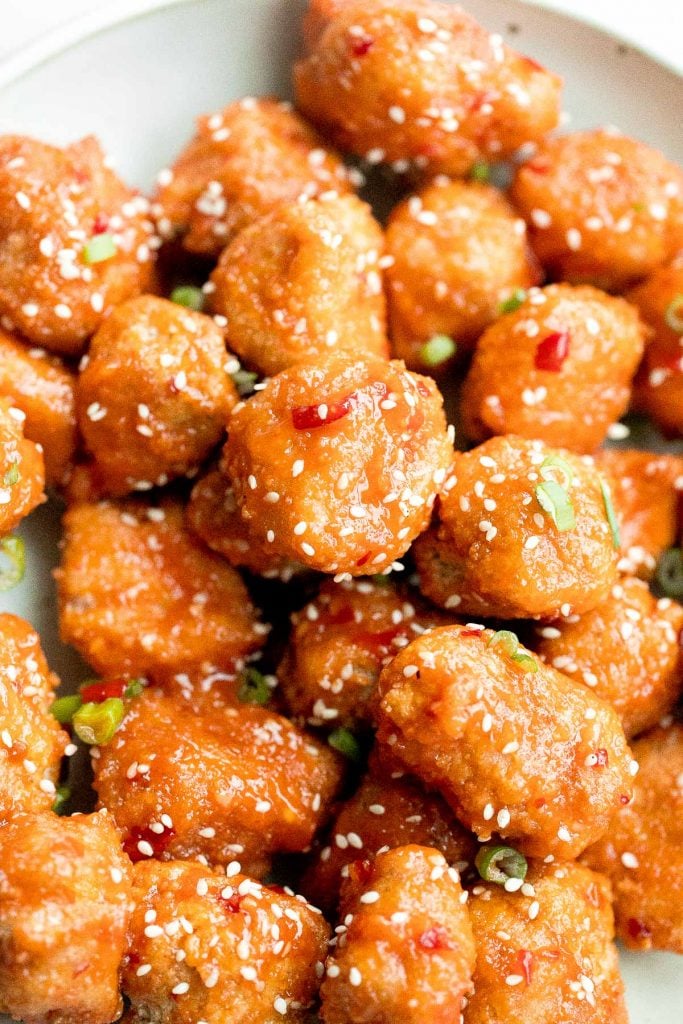
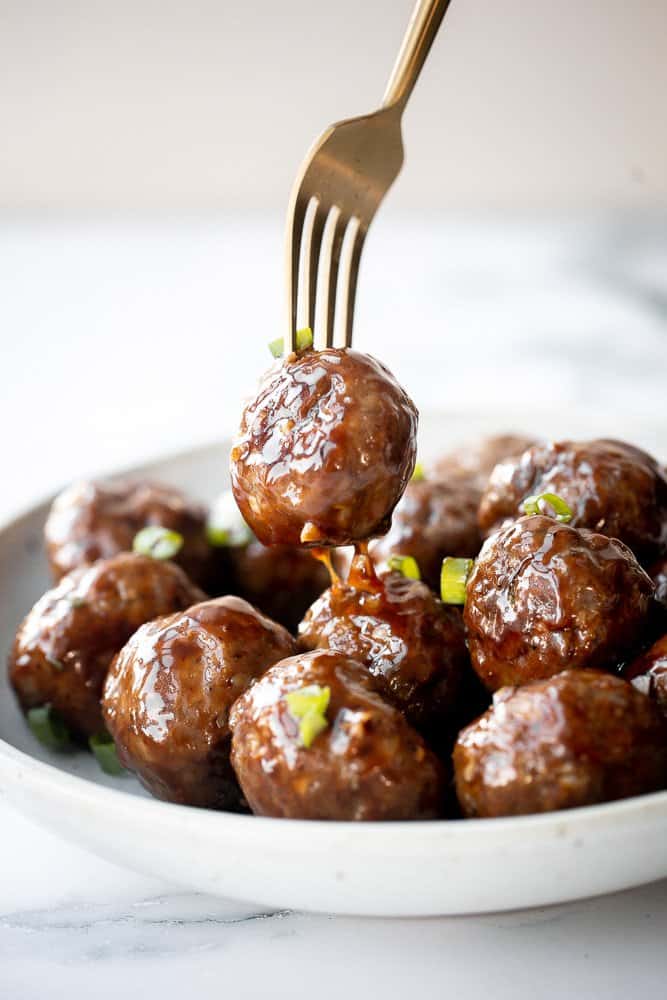
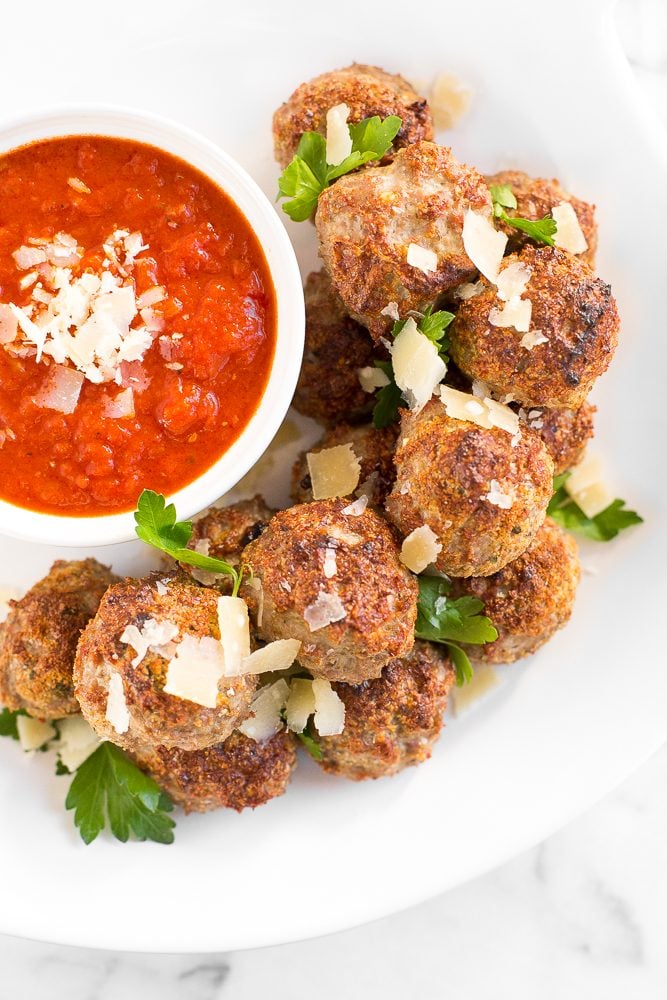
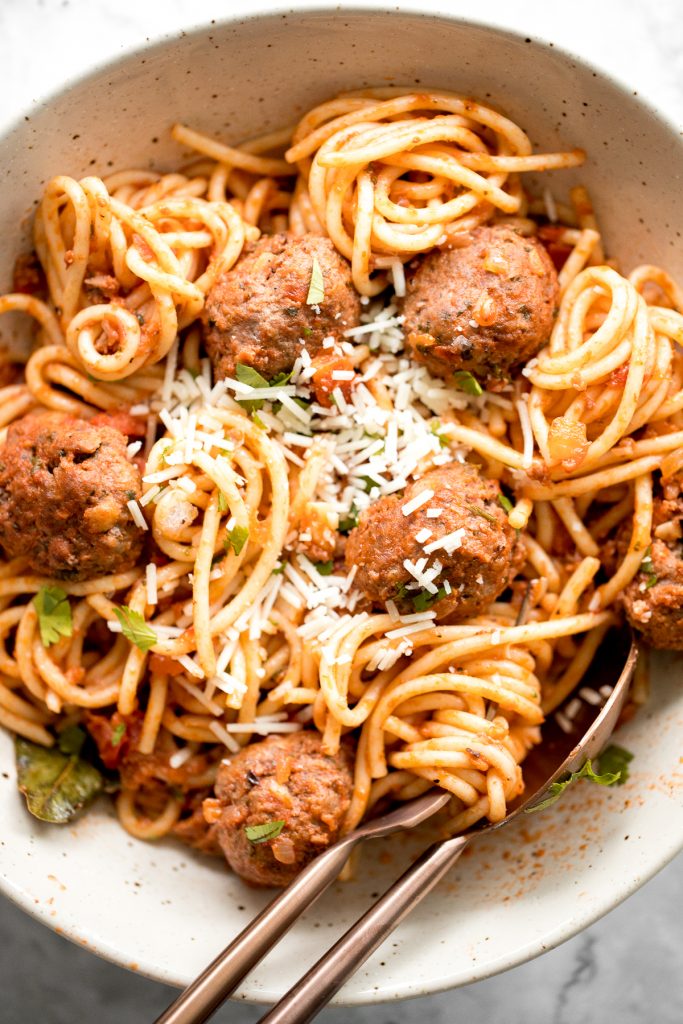
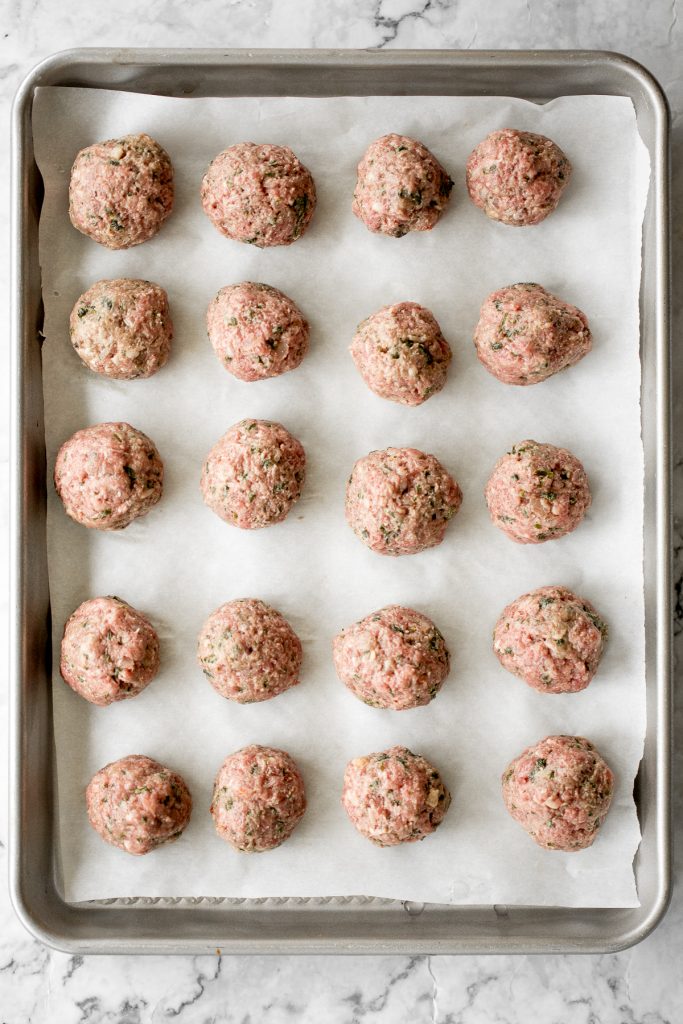
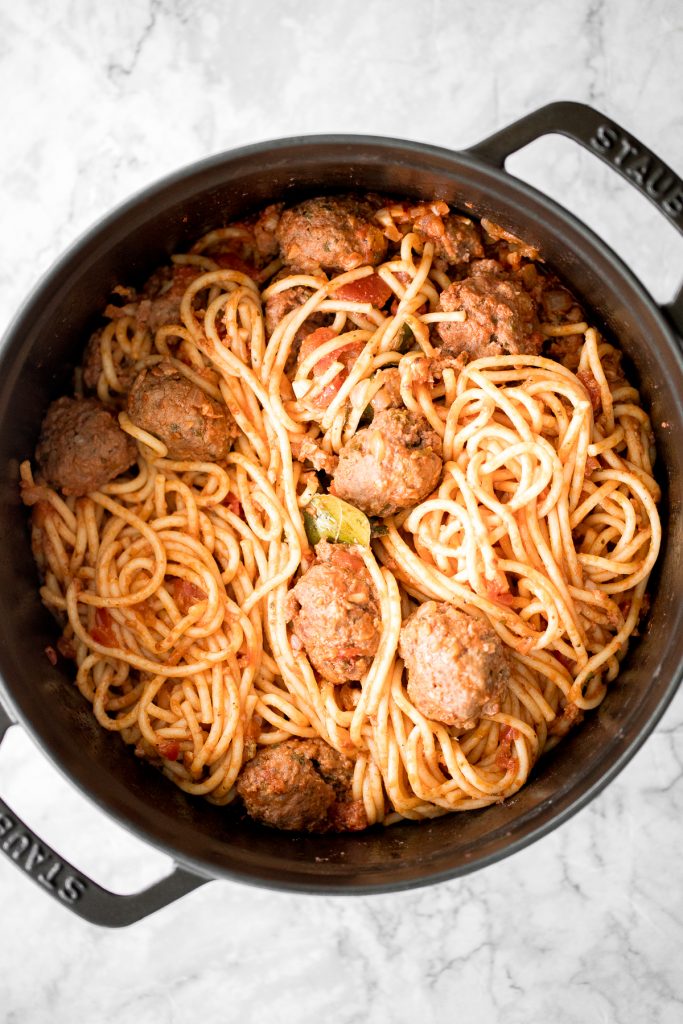
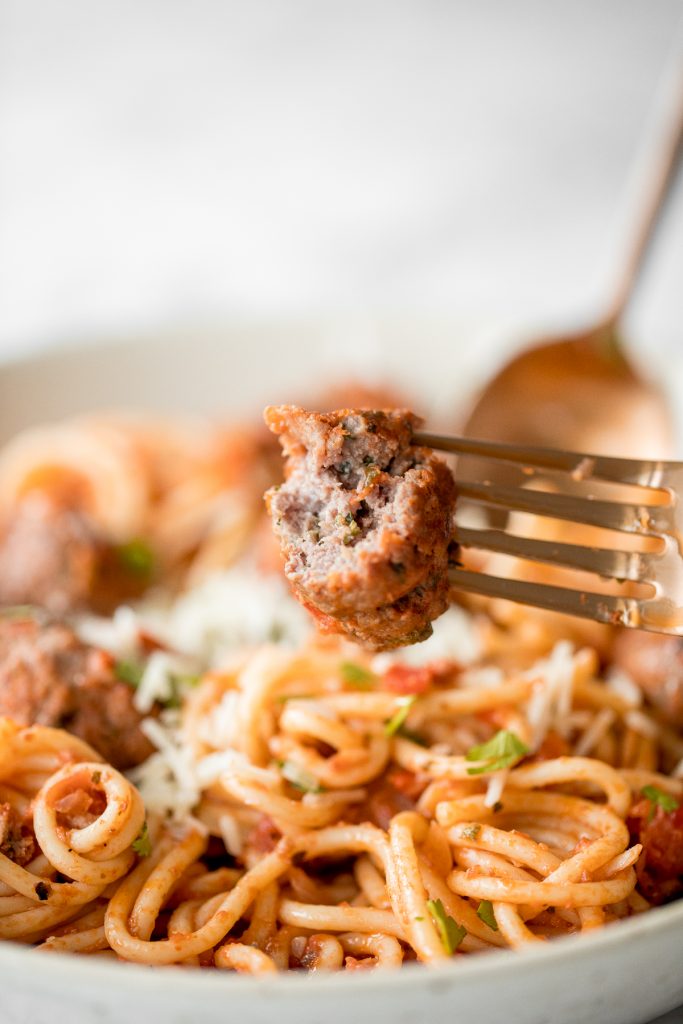
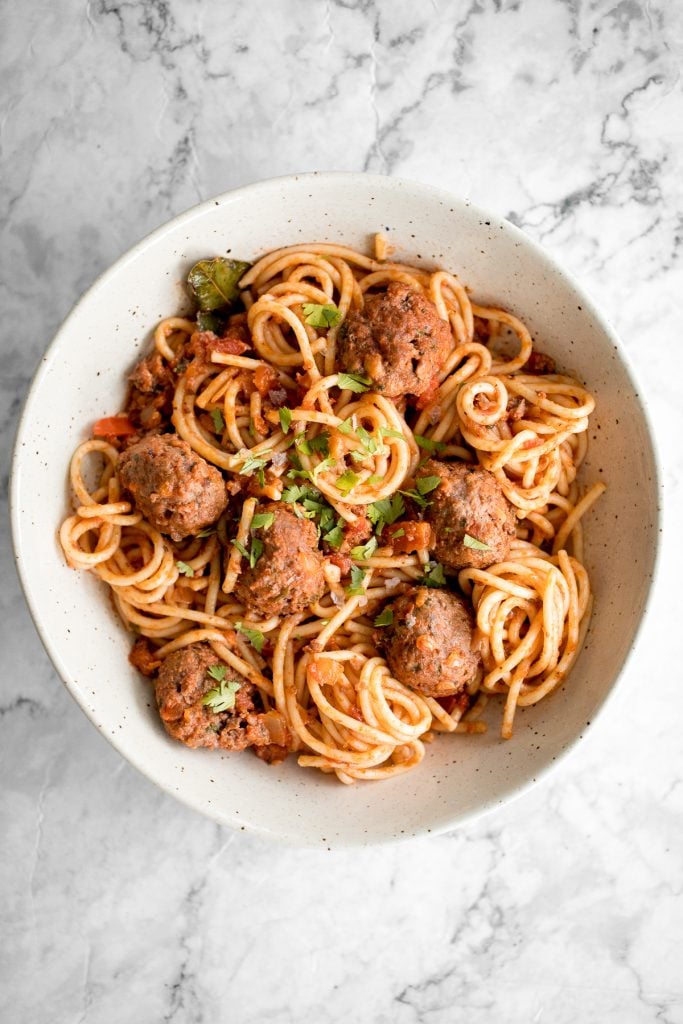
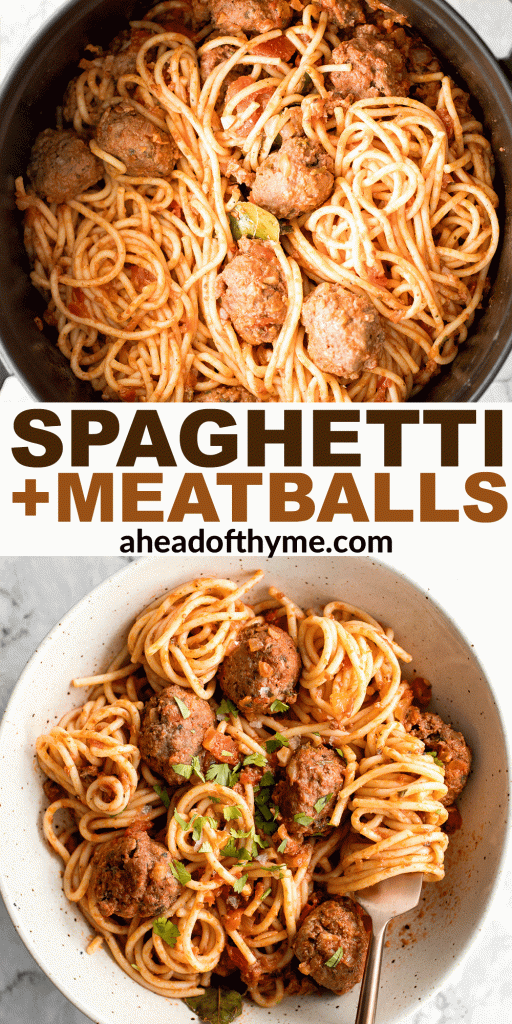
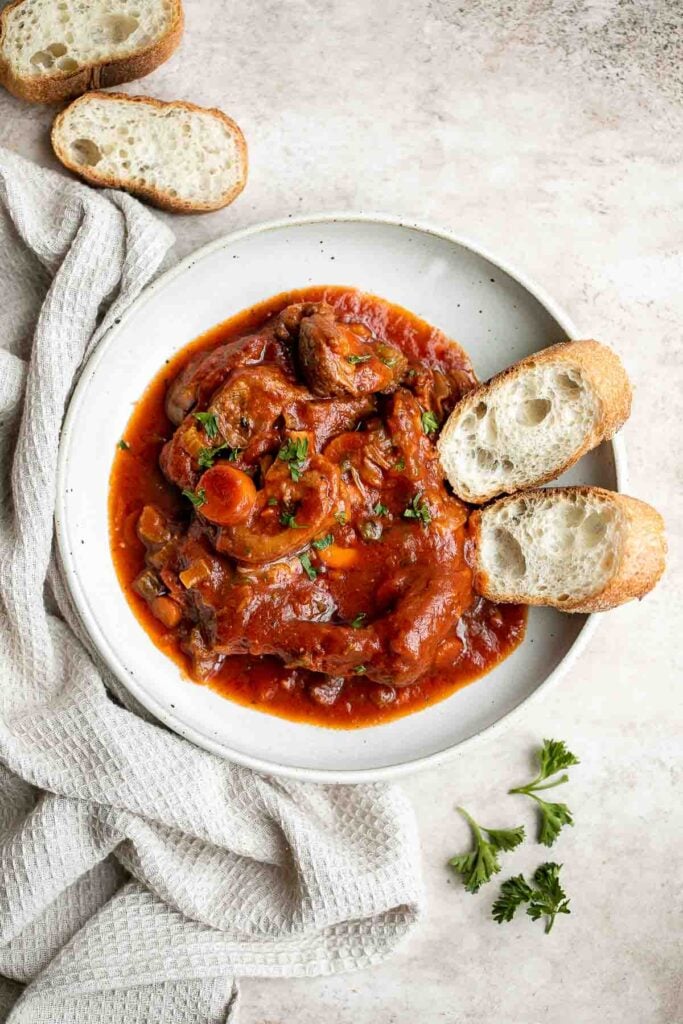
Lion's Head Chinese Meatballs are tender and juicy homemade pork meatballs packed with Asian seasonings and tossed in a sweet and sticky sauce.

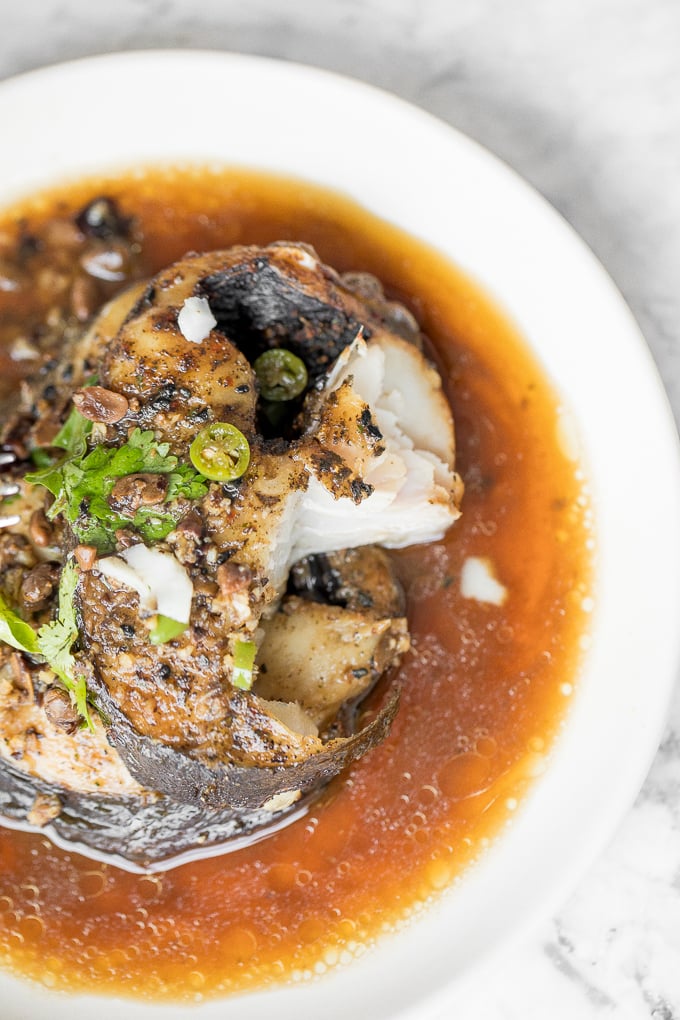
Black Cod with Black Bean Sauce
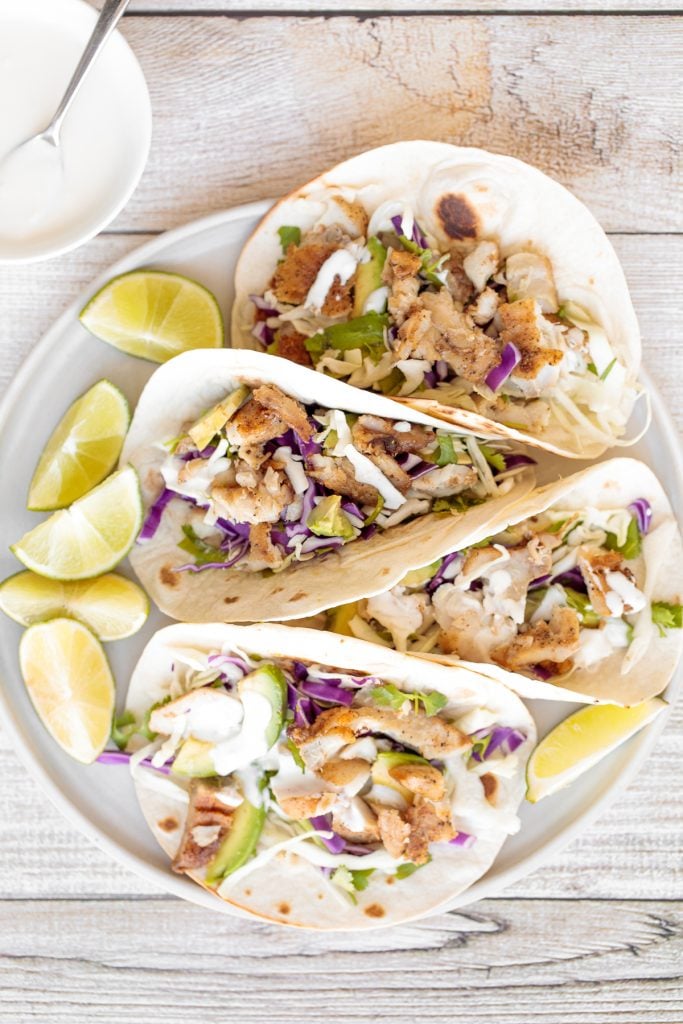
Flaky, oily, and tender air fryer cod with black bean sauce is bursting with flavour and takes less than 20 minutes to make. The perfect Chinese New Year dinner.
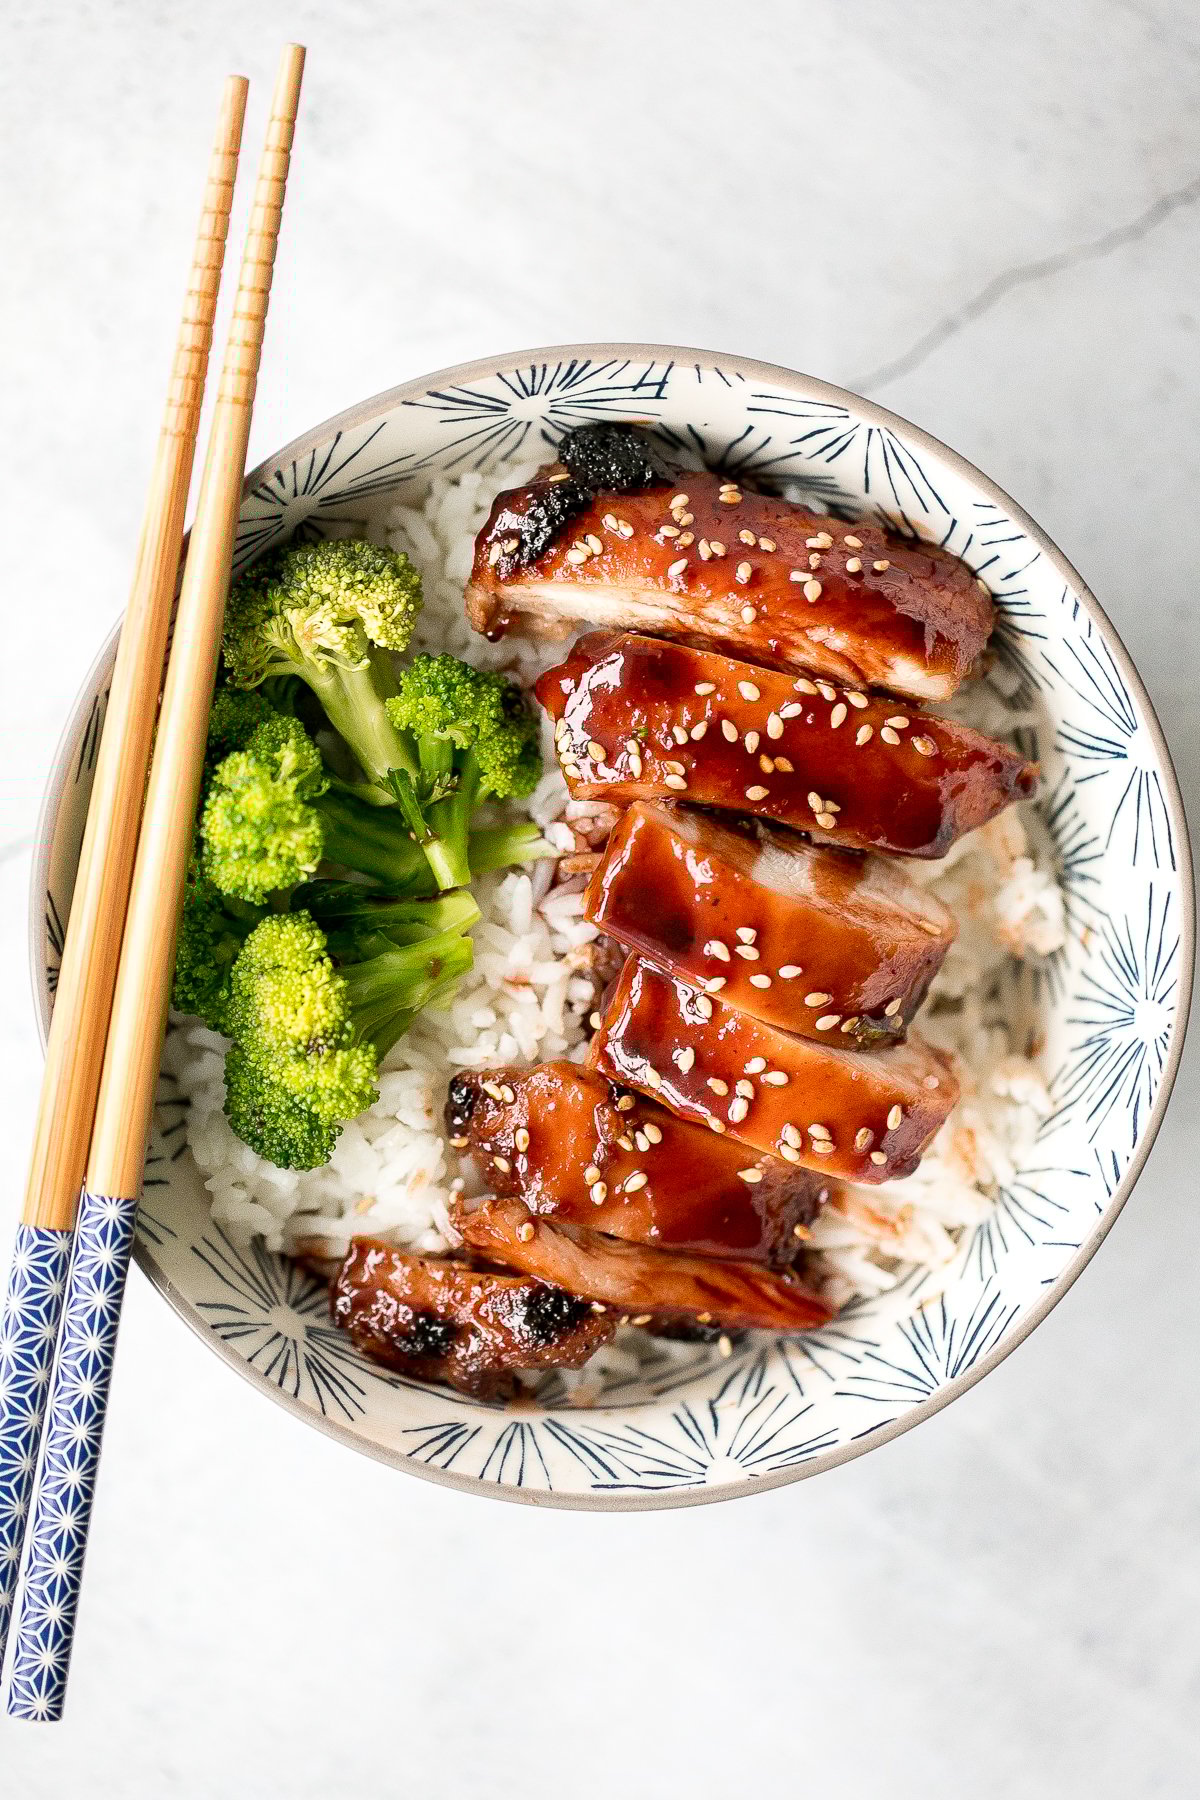
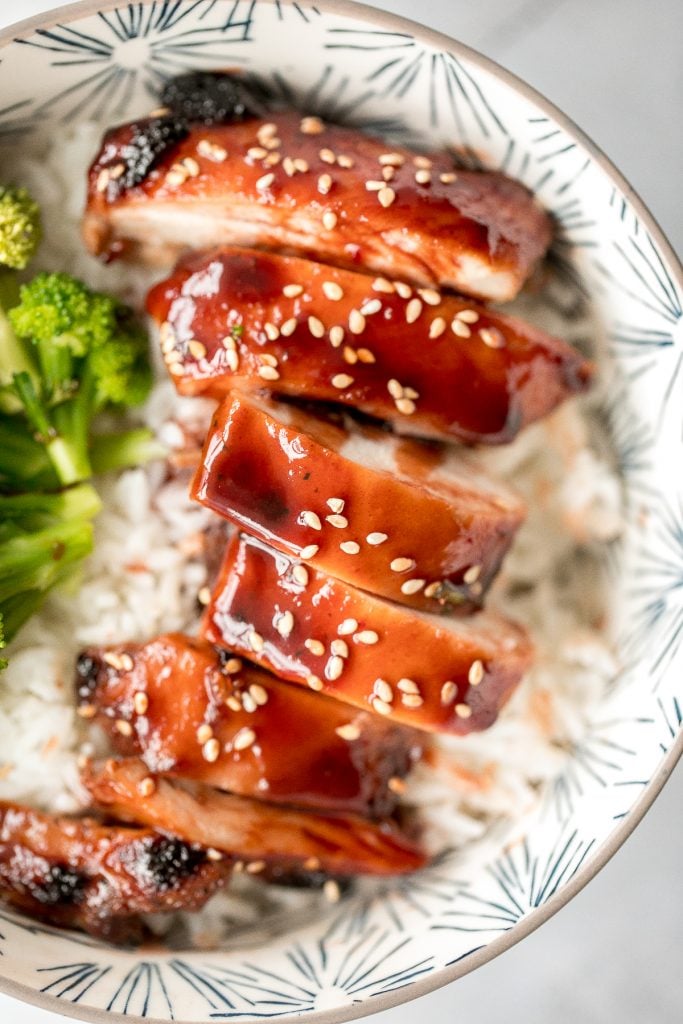
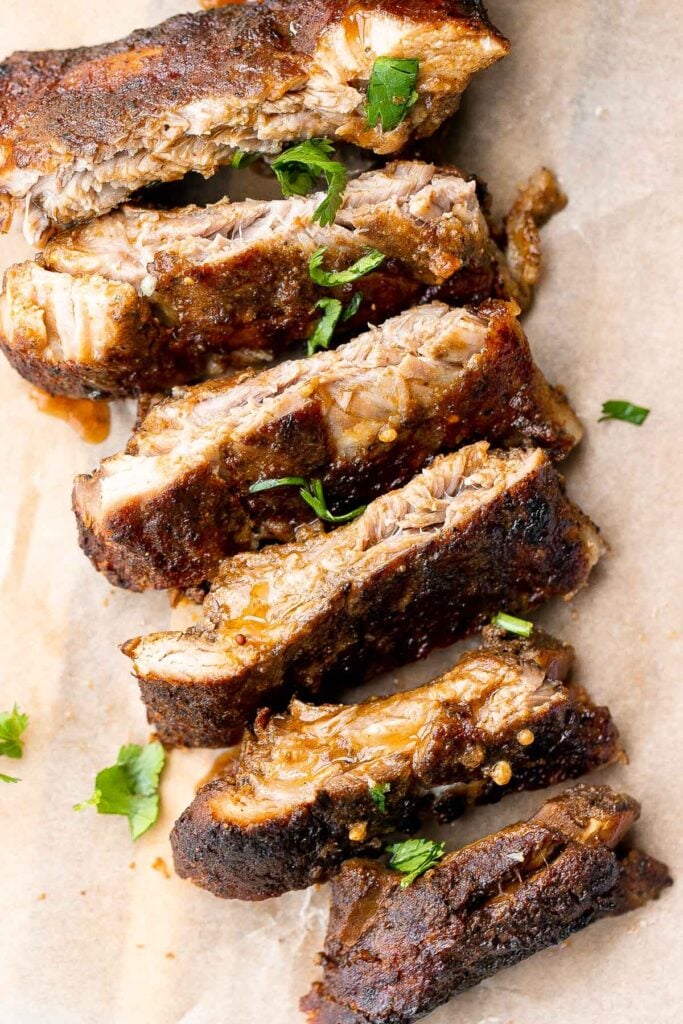
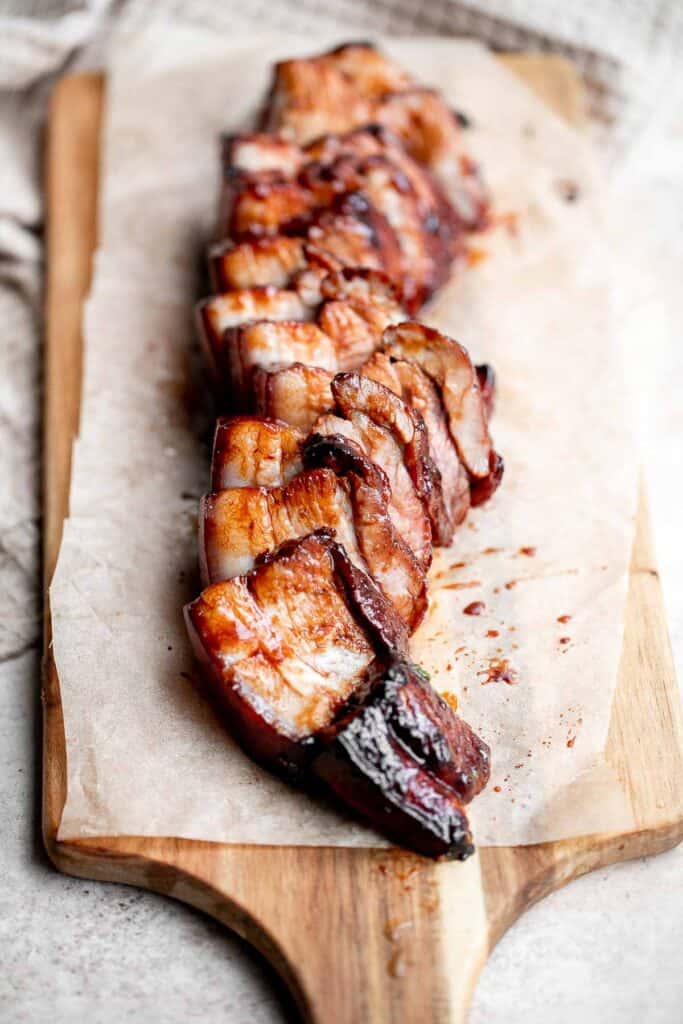
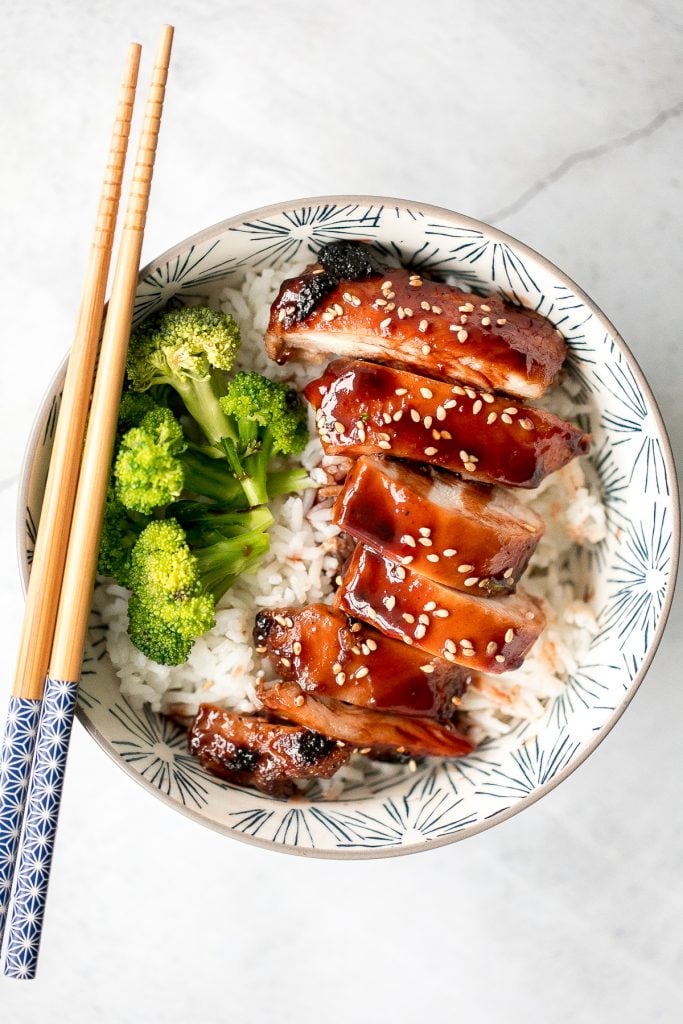
Char siu (Chinese BBQ pork) is a delicious, flavorful, traditional roasted pork dinner slathered in a distinct sticky, sweet, savory barbecue sauce glaze. A classic Lunar New Year dish.
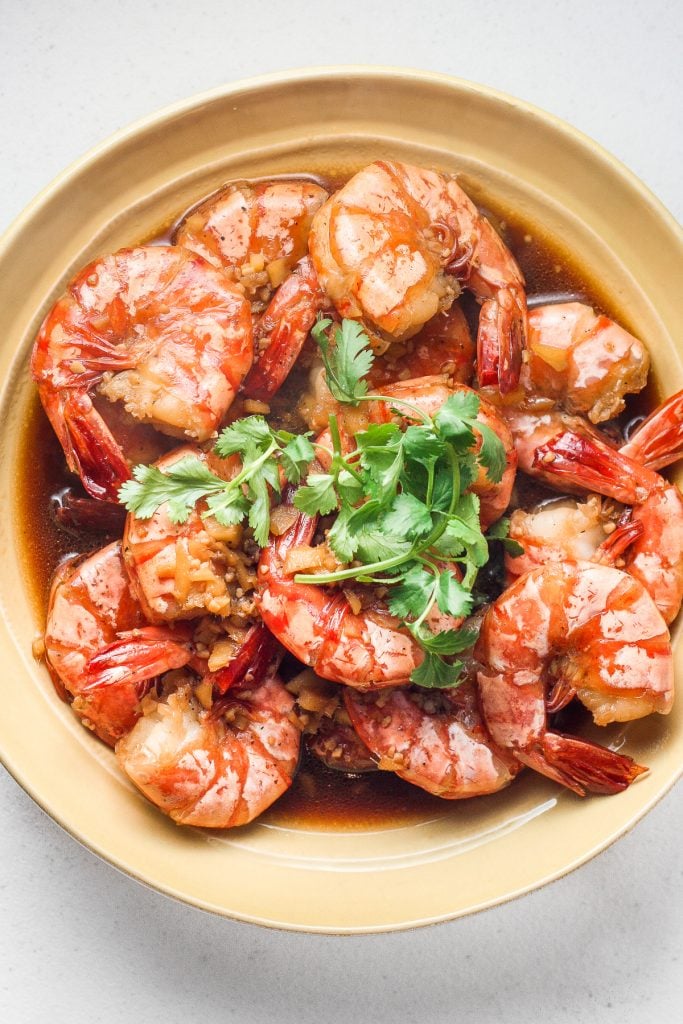
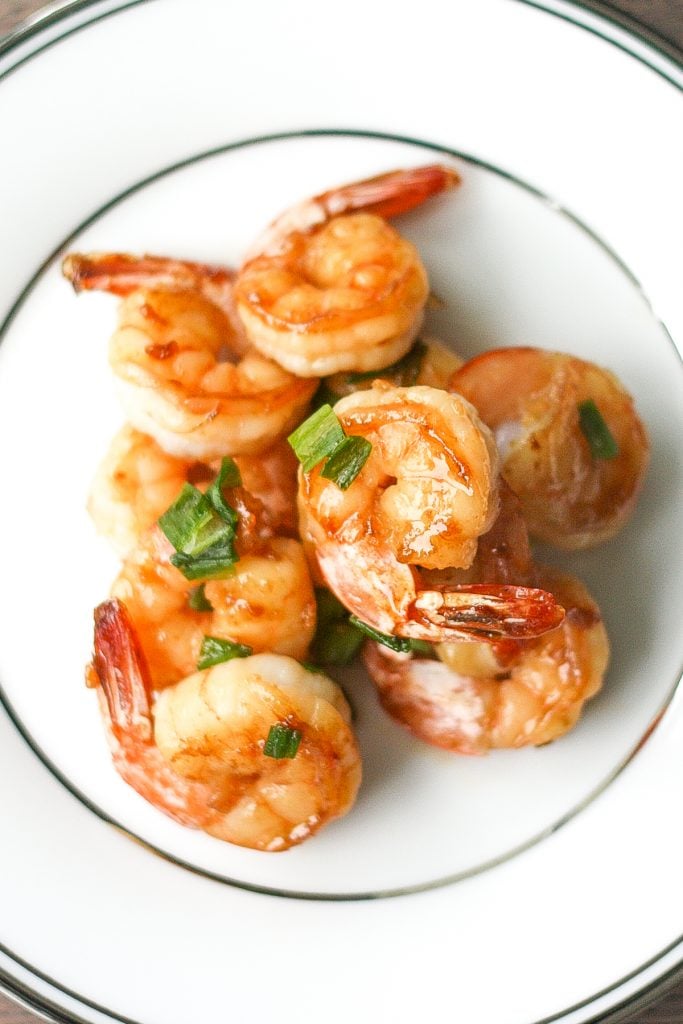
Tigers Prawns in Garlic Ginger Soy Sauce
10-minute tiger prawns in garlic ginger soy sauce is juicy, tender and immersed in incredible Asian flavours. It's the perfect weeknight meal.
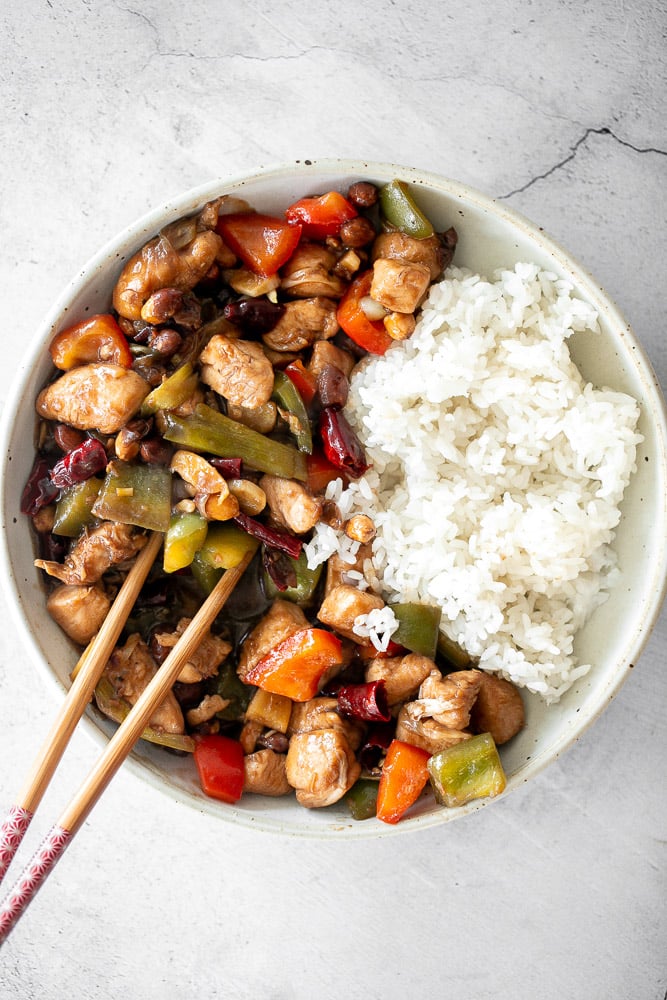
Kung Pao chicken is a Chinese chicken dish that is stir-fried with crisp vegetables and tossed in a delicious Asian sauce packed with flavour.
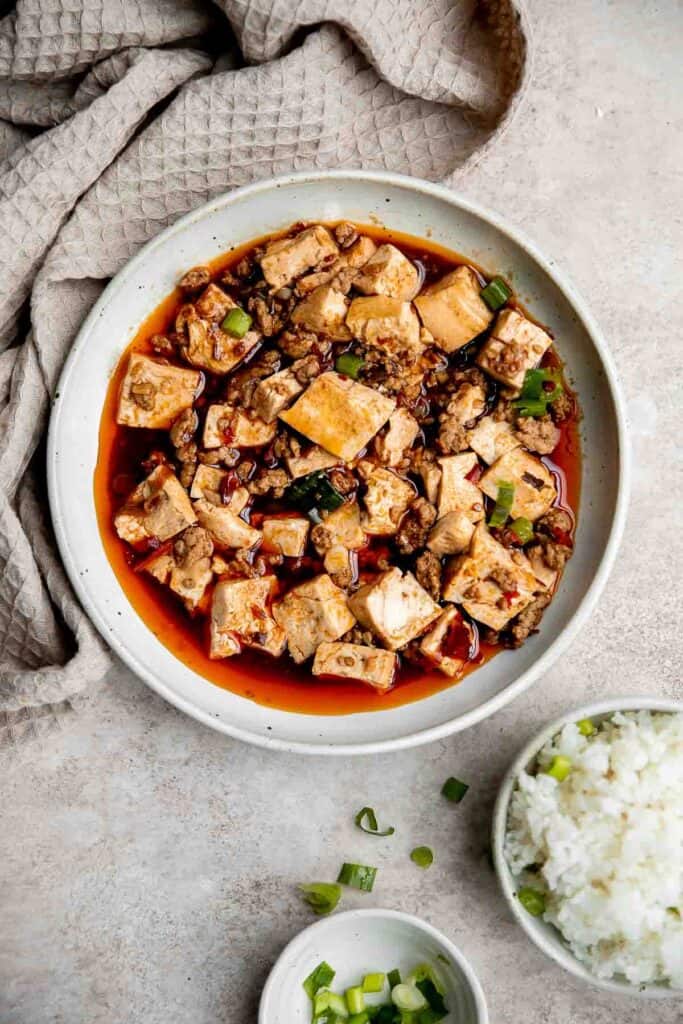
Mapo tofu is quick, easy, delicious, flavorful, spicy, and numbing that is ready in just 20 minutes. Serve it with steamed rice on busy weeknights.
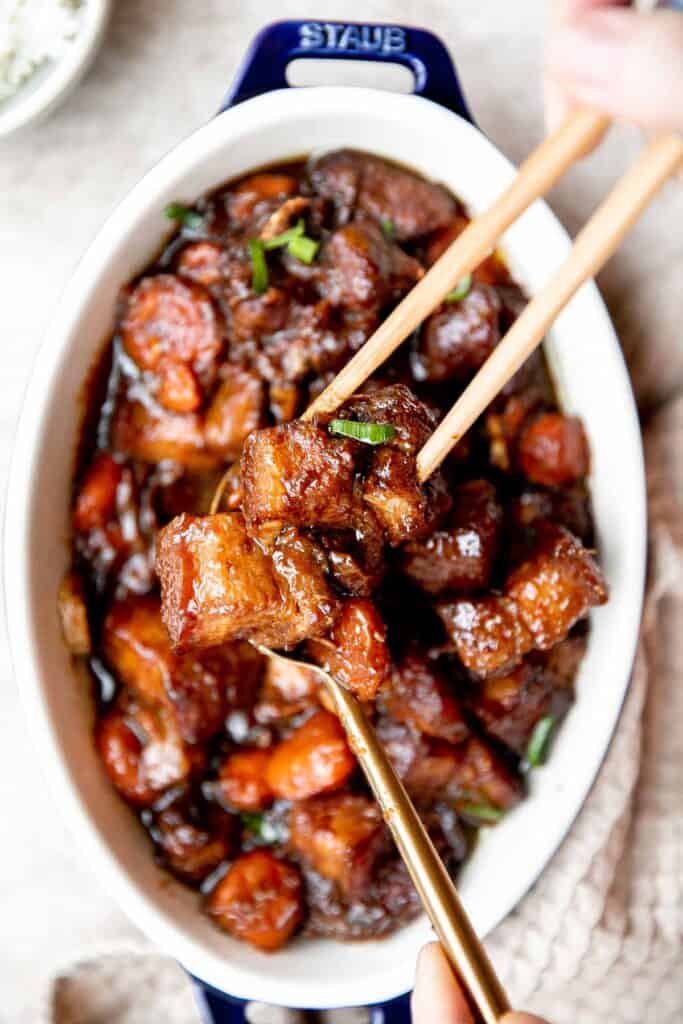
Instant Pot Chinese Braised Pork
Instant Pot Chinese Braised Pork (Hong Shao Rou) is tender, juicy, flavorful, and easy to make in a pressure cooker. Try this Shanghai dinner at home today!
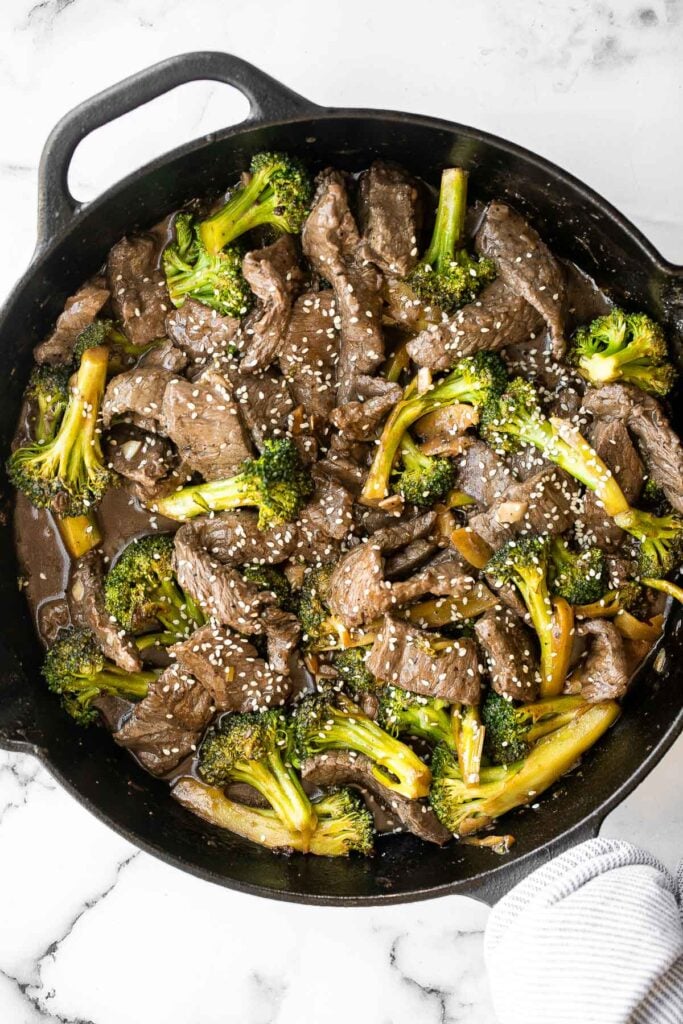
Beef and broccoli stir fry is a classic Chinese-American dish that is delicious, savory, hearty, and saucy. Better than takeout and ready in 25 minutes.
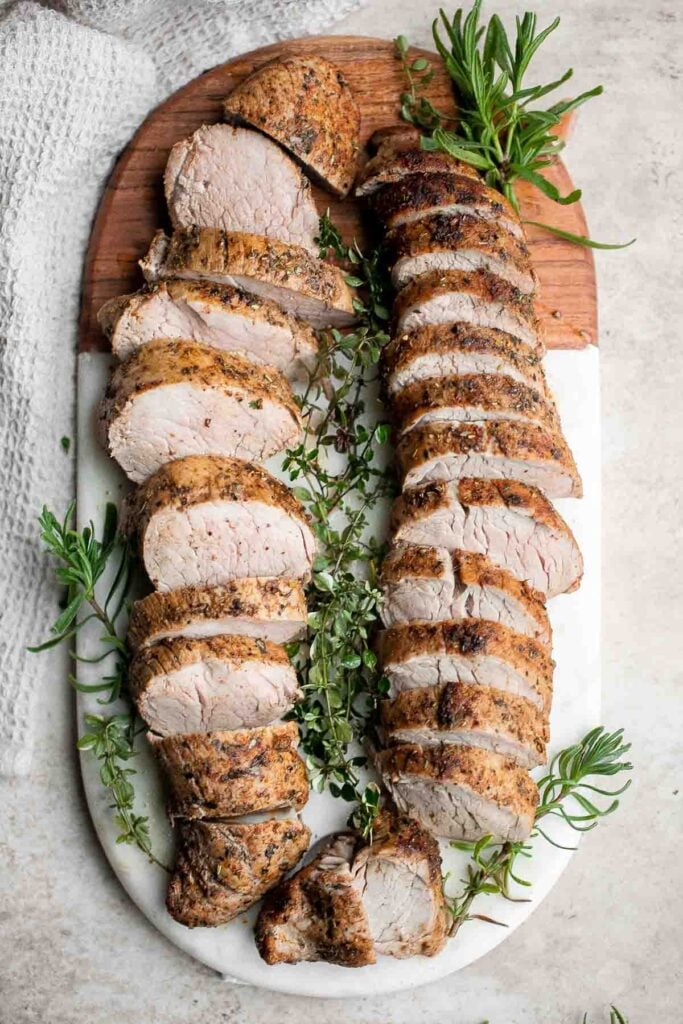
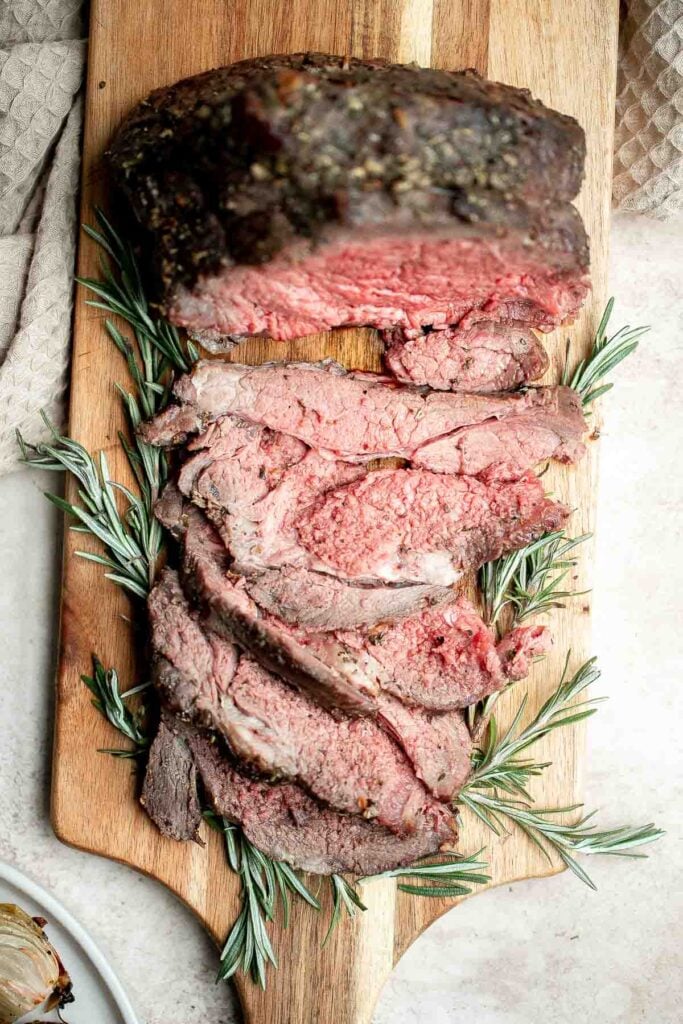
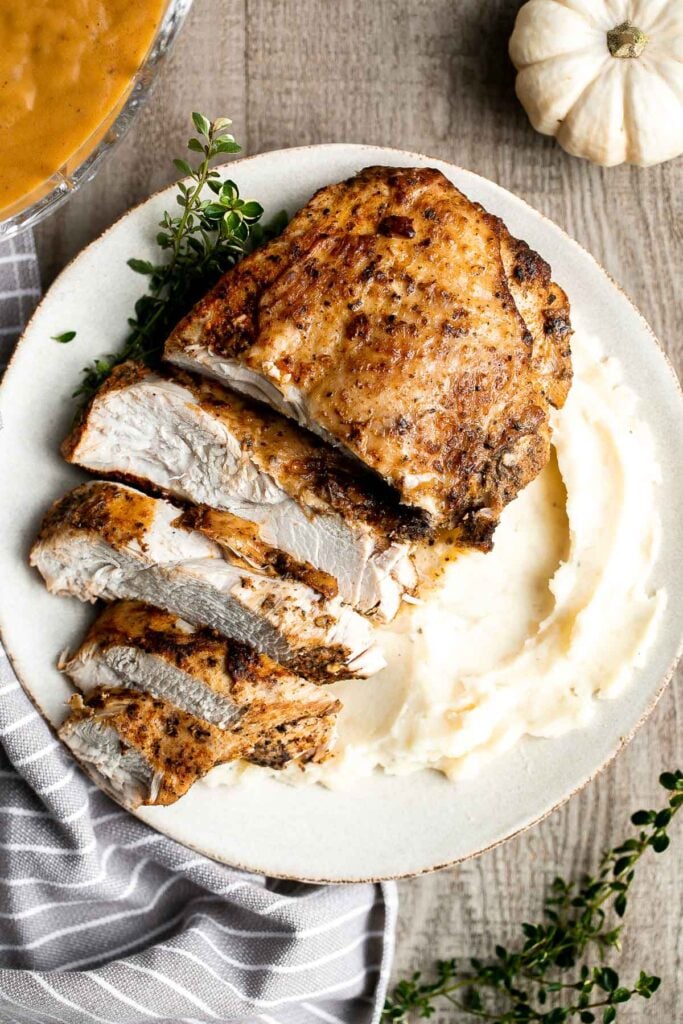
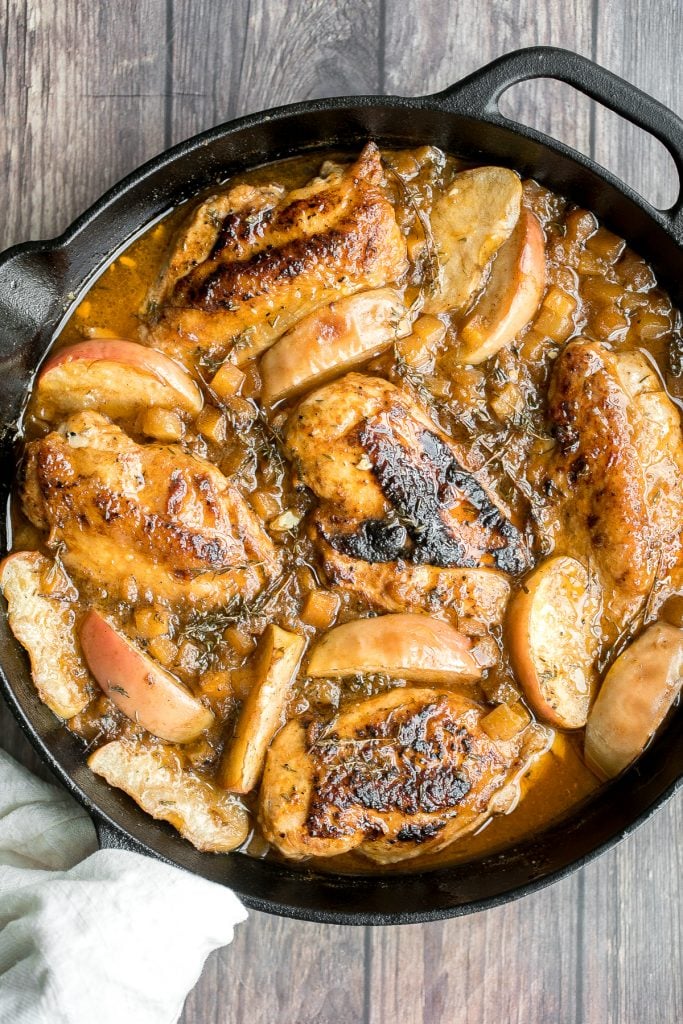
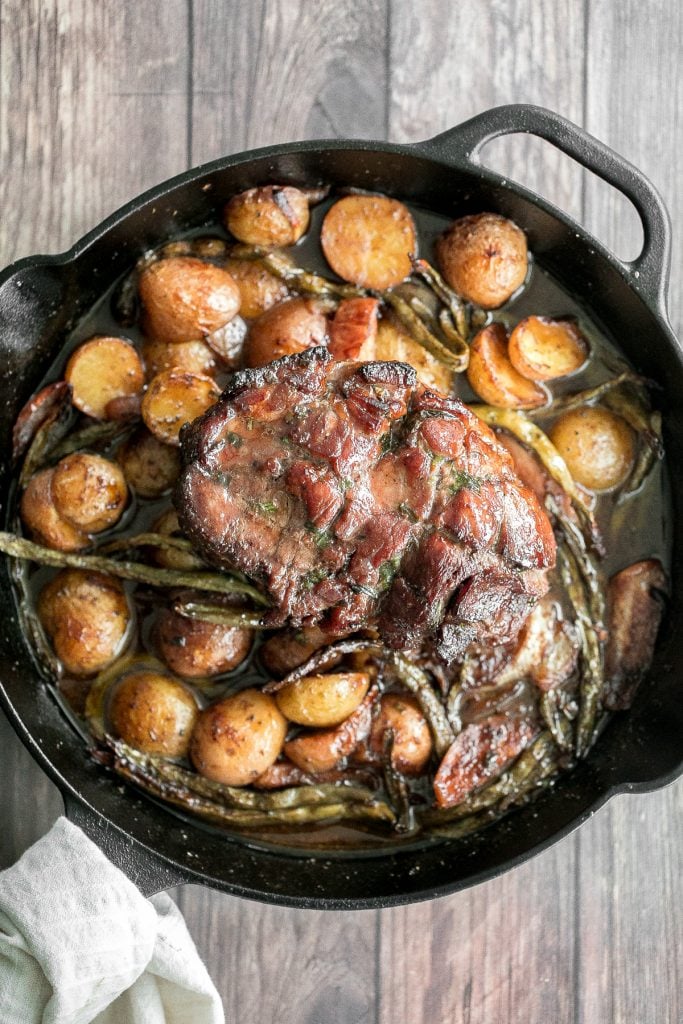
Easy one pan honey glazed roast pork is moist, tender, and juicy, coated with an irresistible honey glaze and packed with potatoes, green beans and apples.
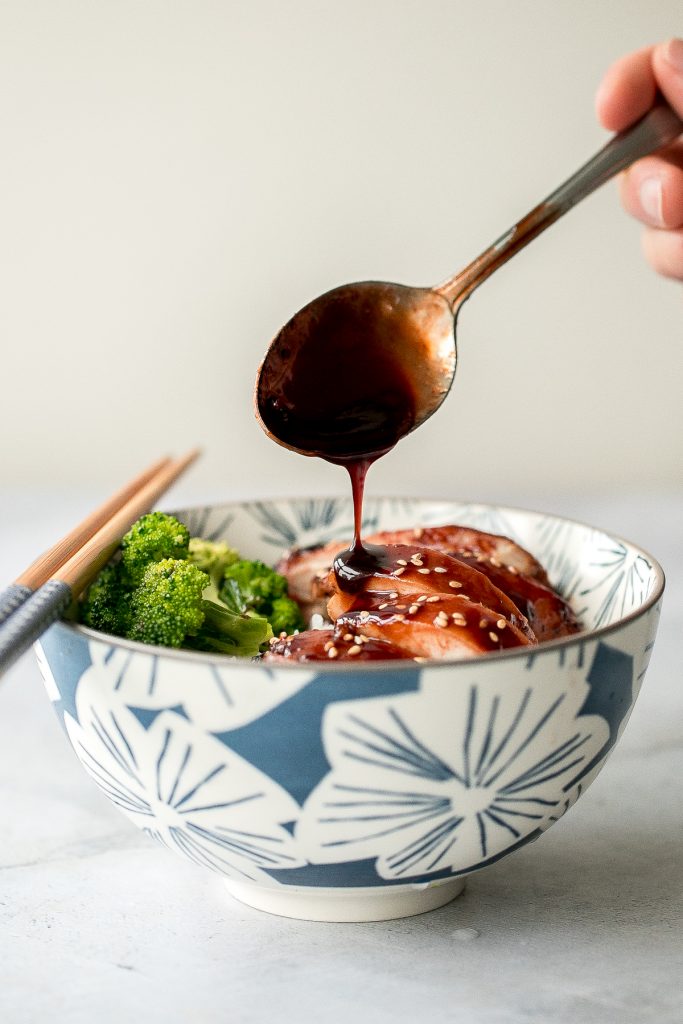
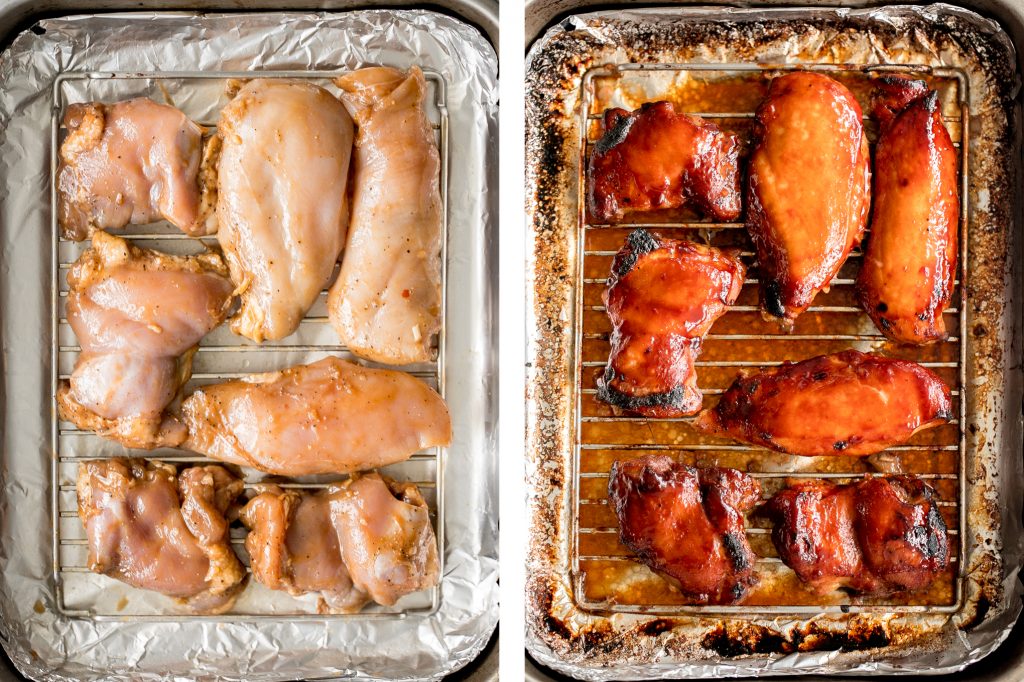
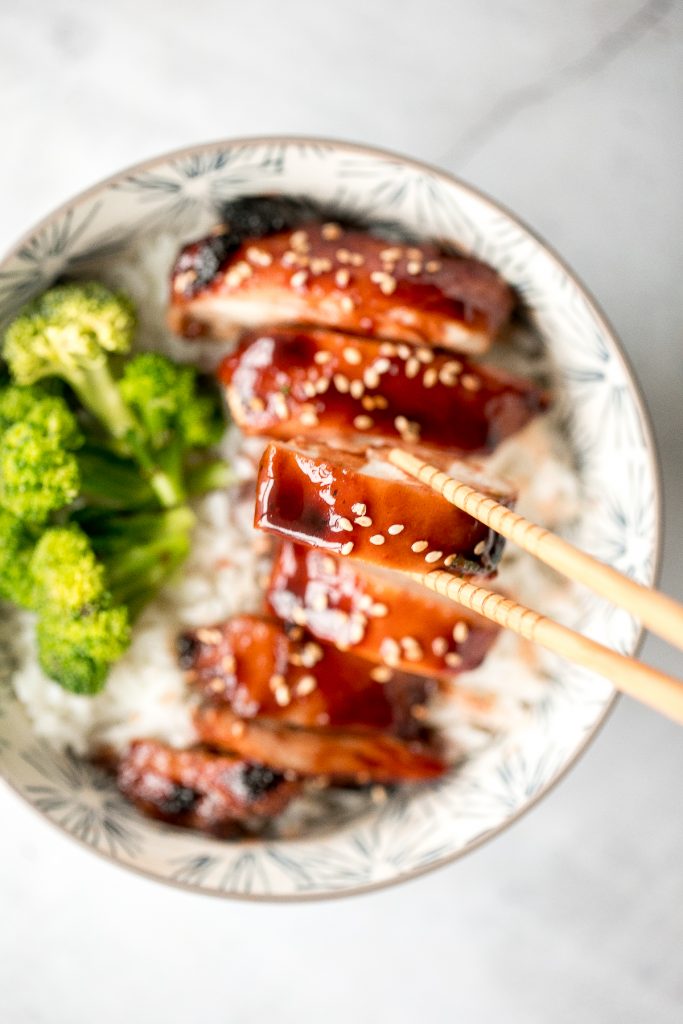
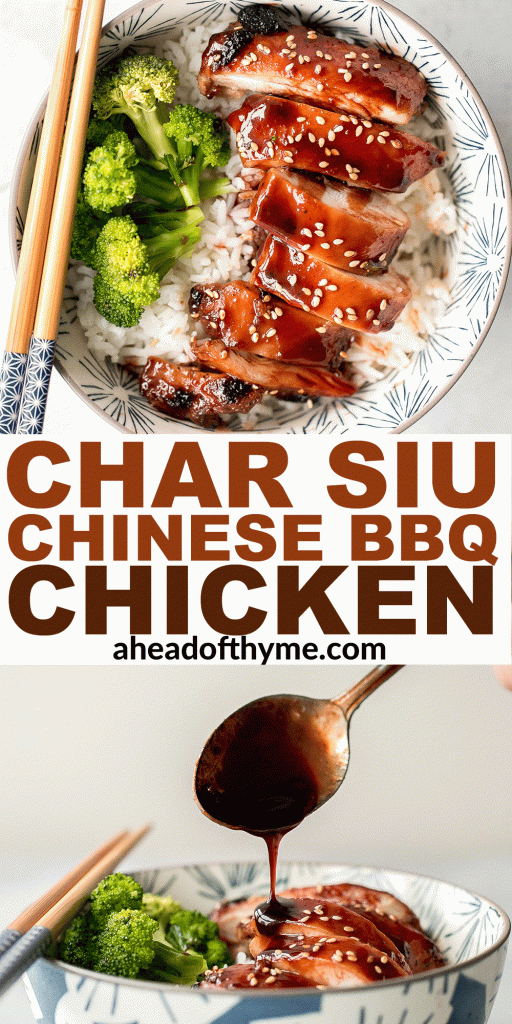
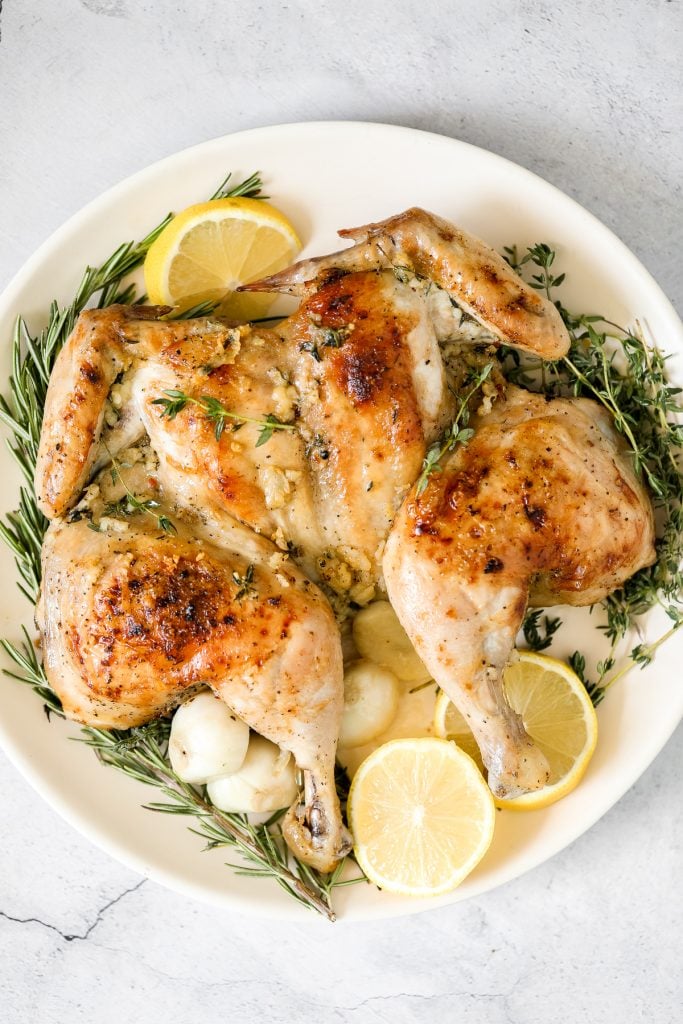
Char Siu (Chinese BBQ) Chicken
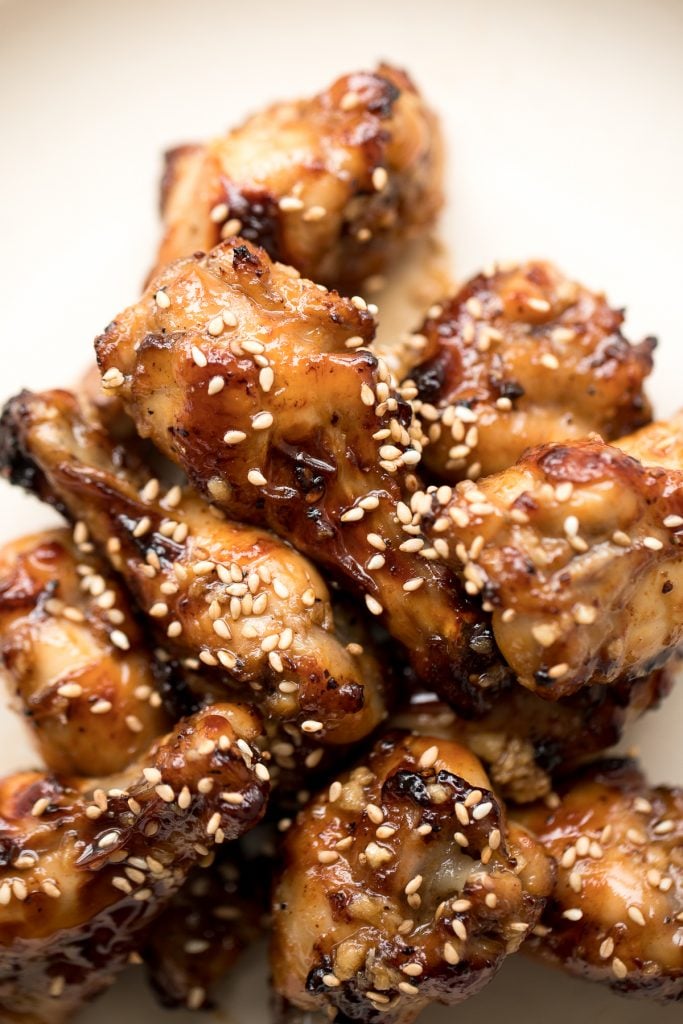
Sweet sticky and savoury Char Siu (Chinese BBQ) chicken is a delicious dinner packed with classic Asian flavours with incredible flavour. One of my favourite Chinese New Year recipes.
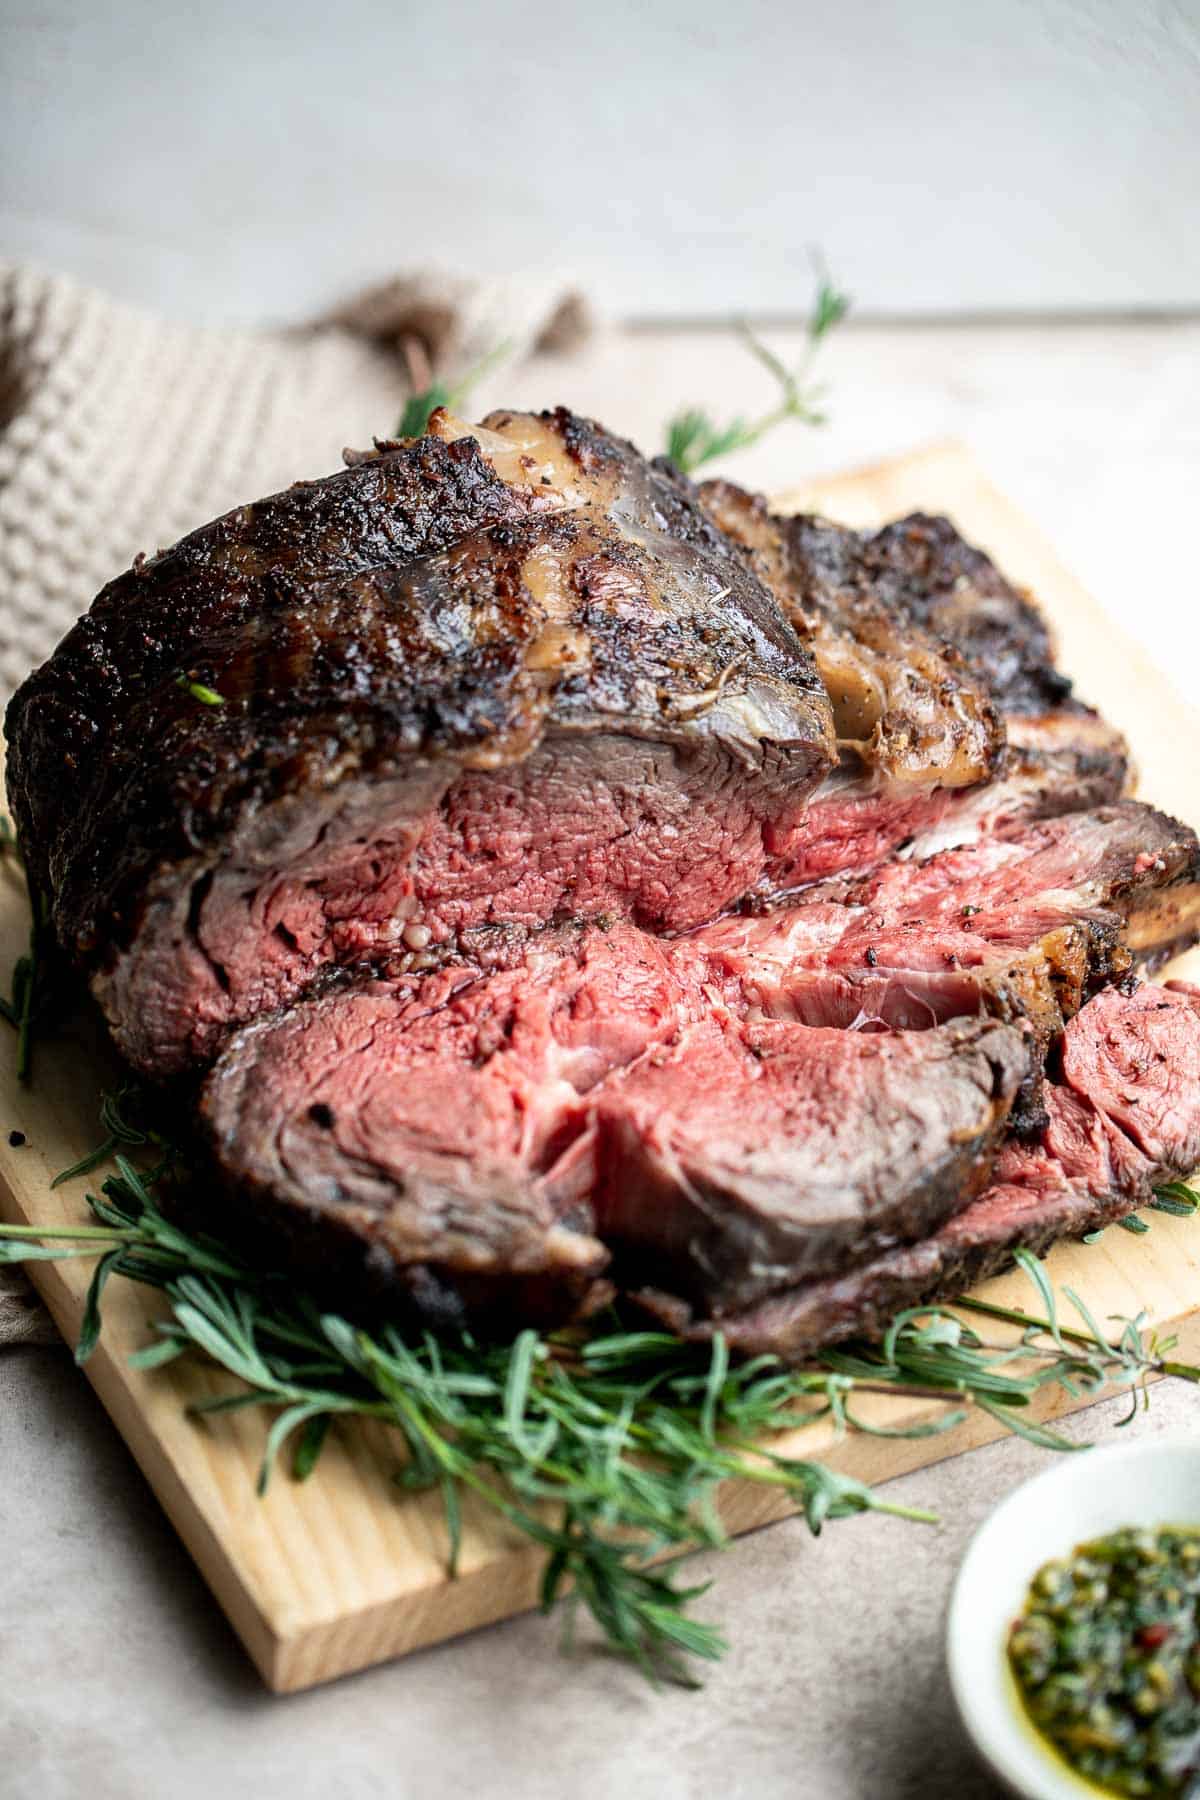
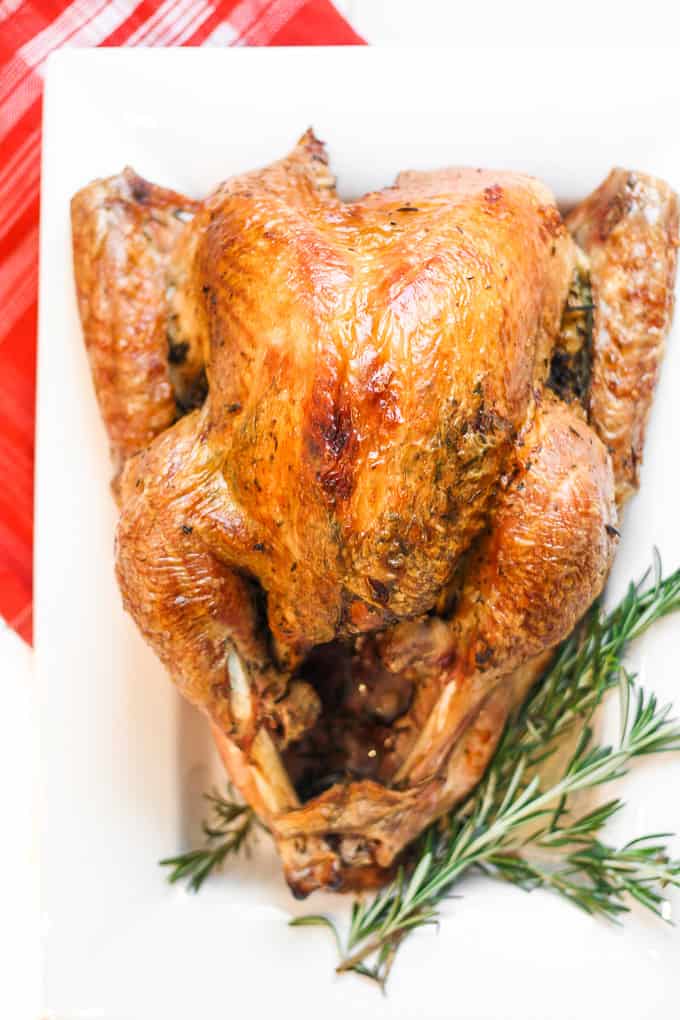
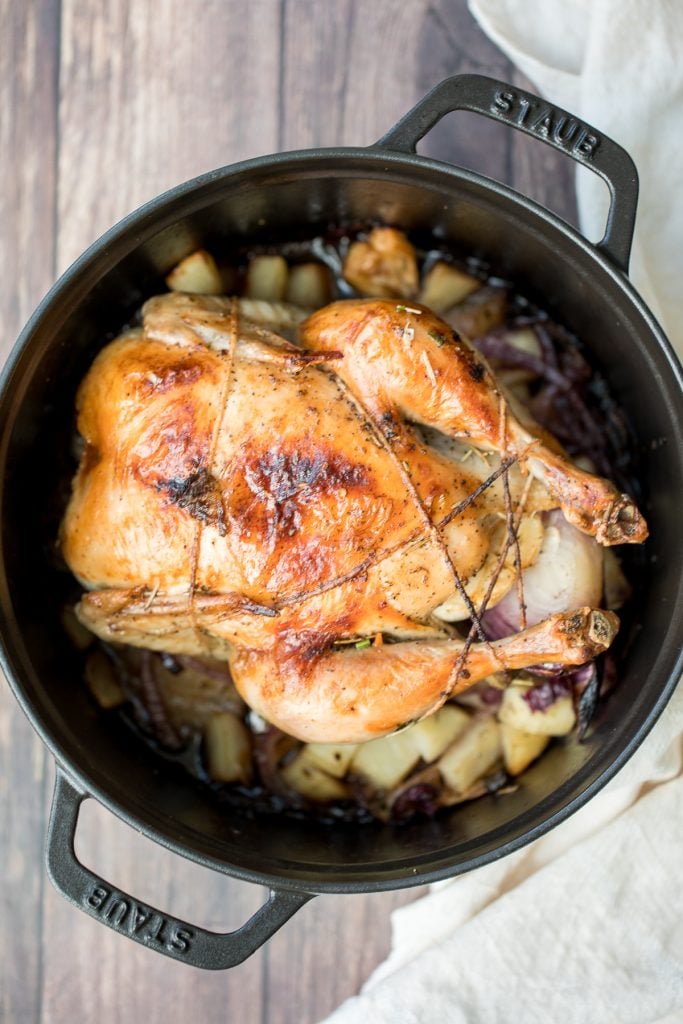
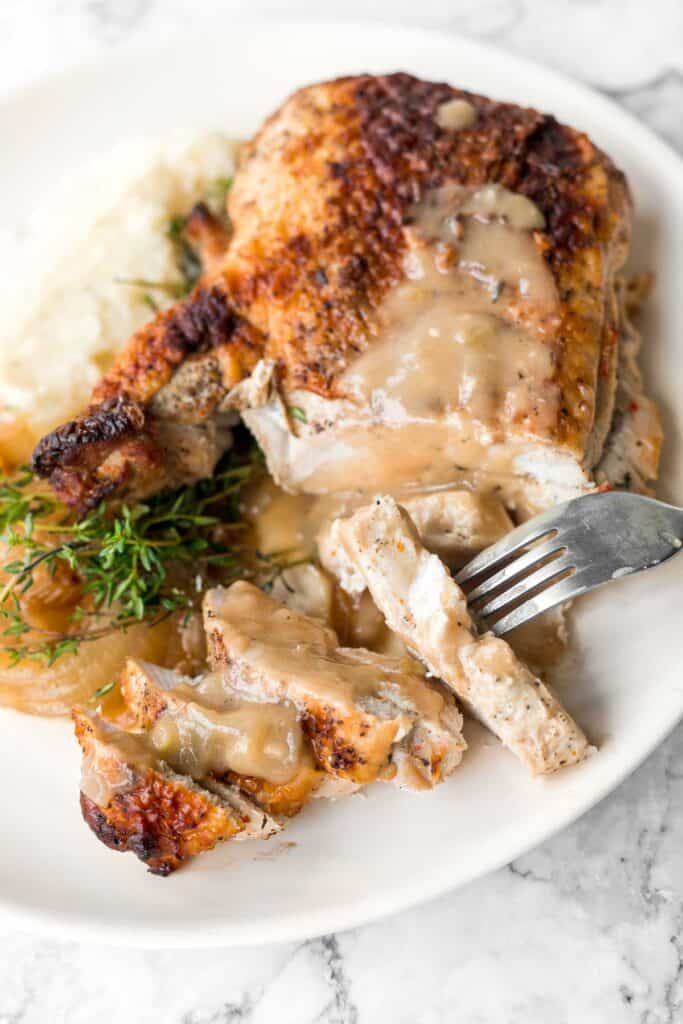
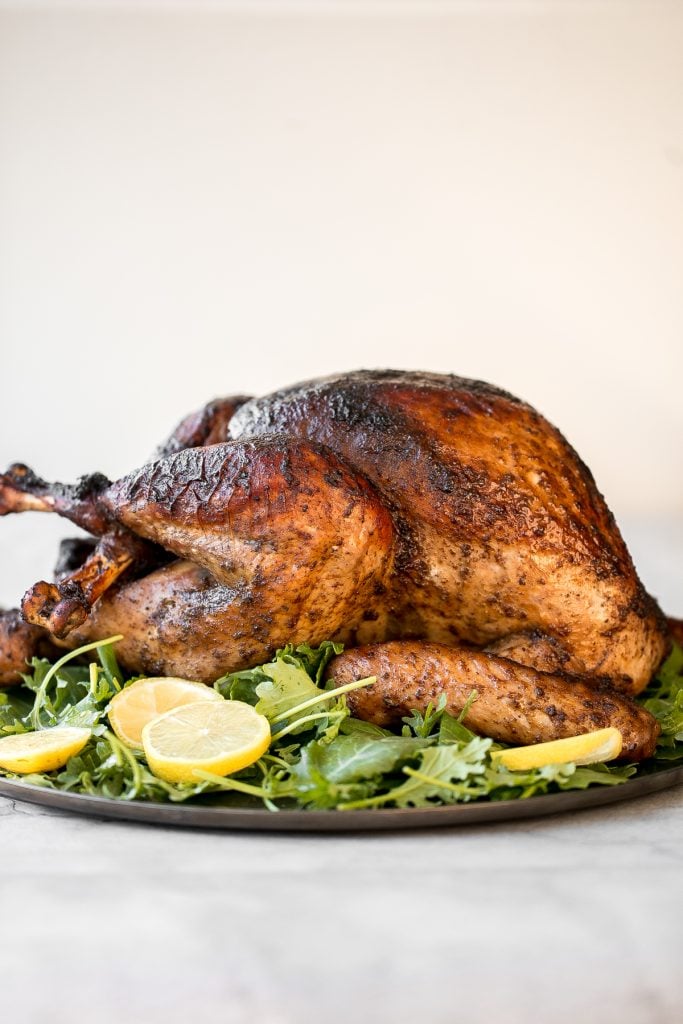
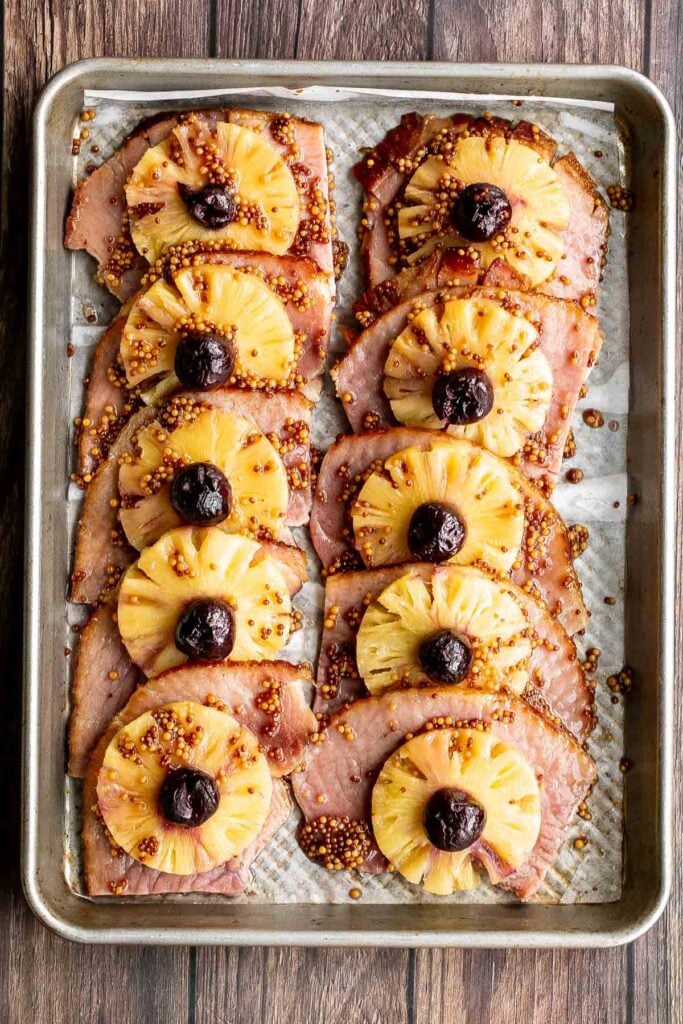
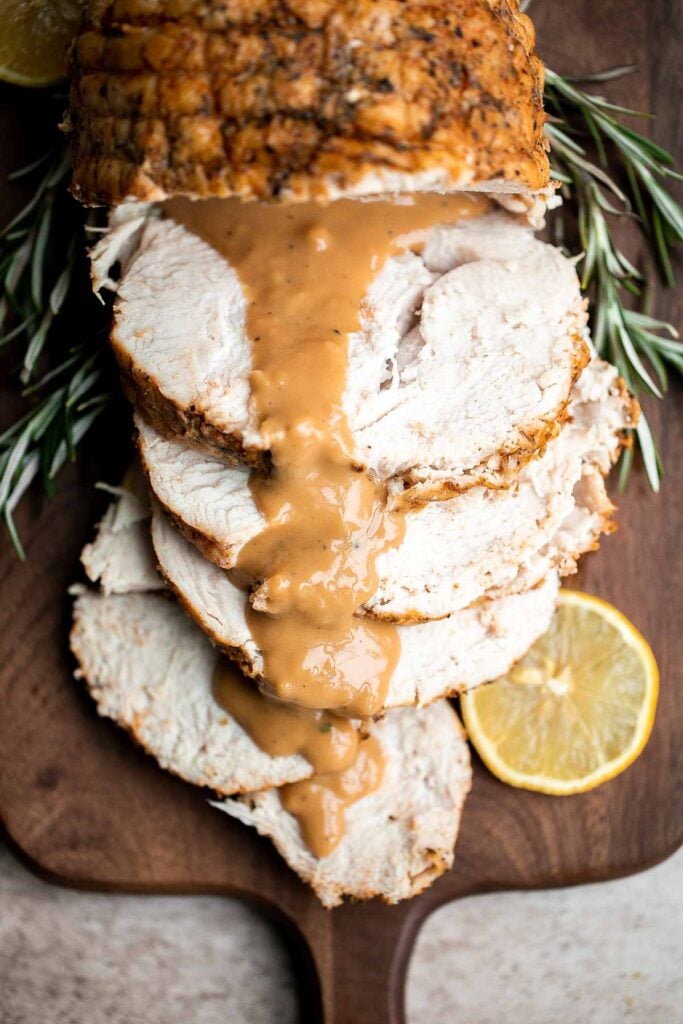
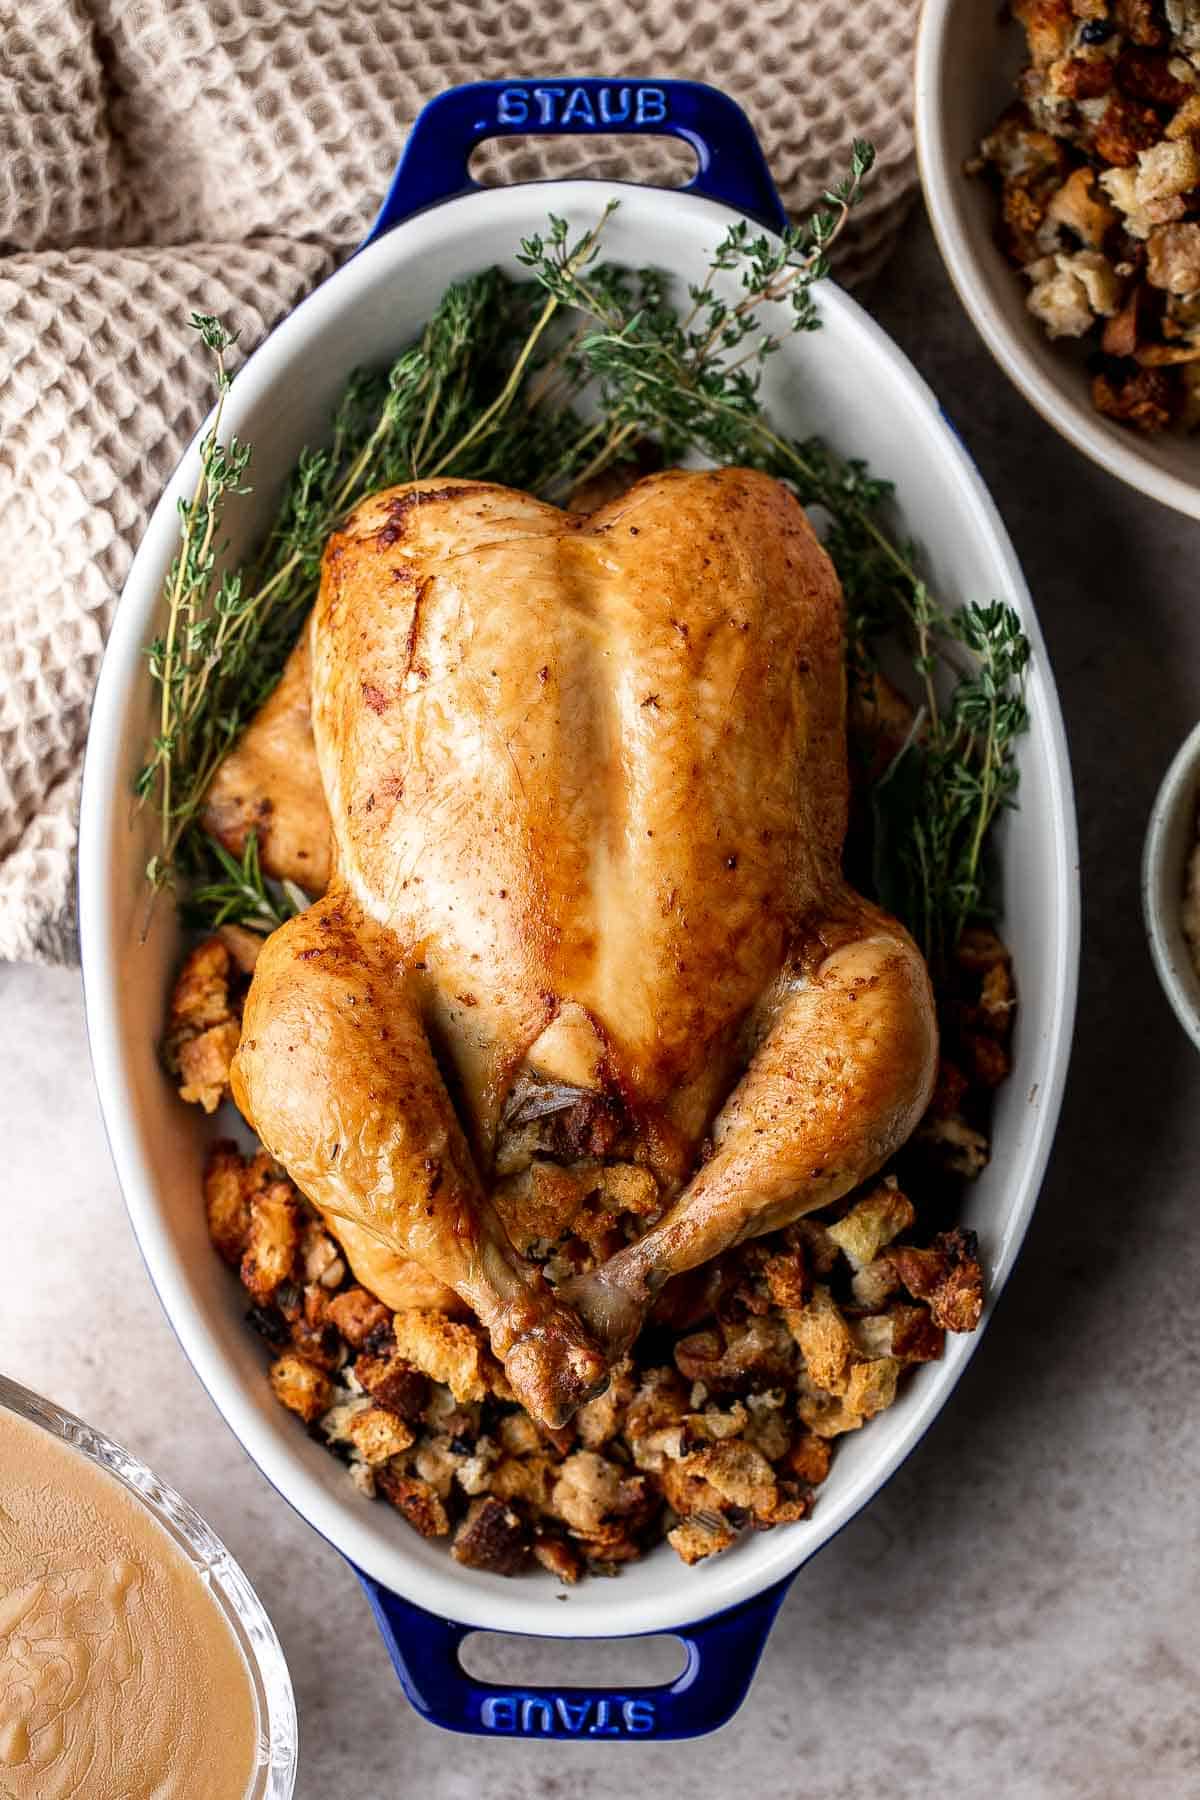
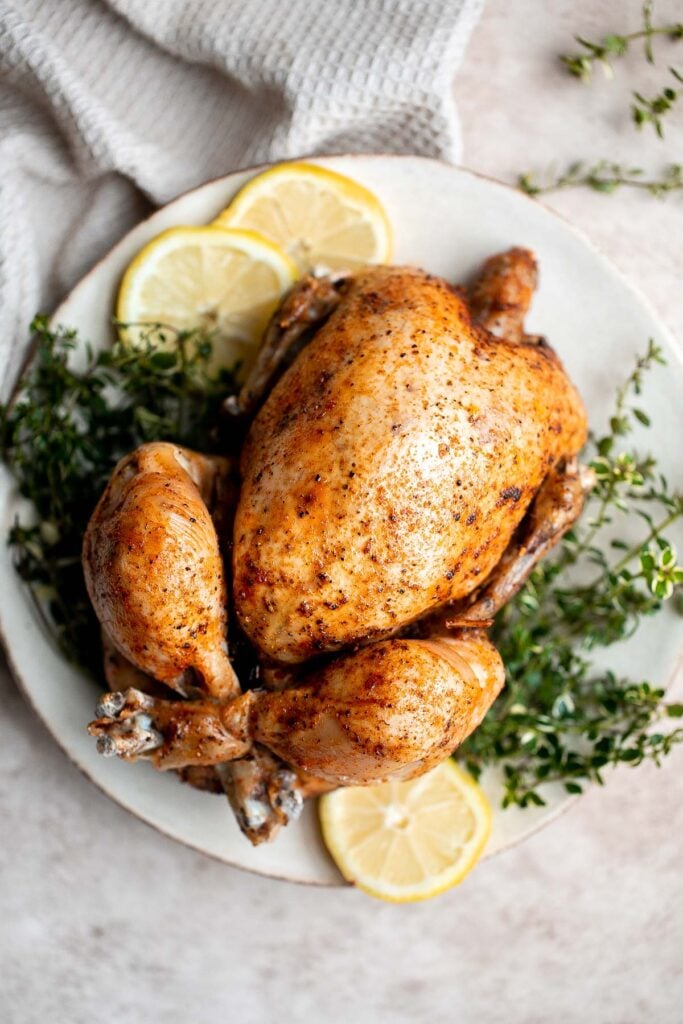
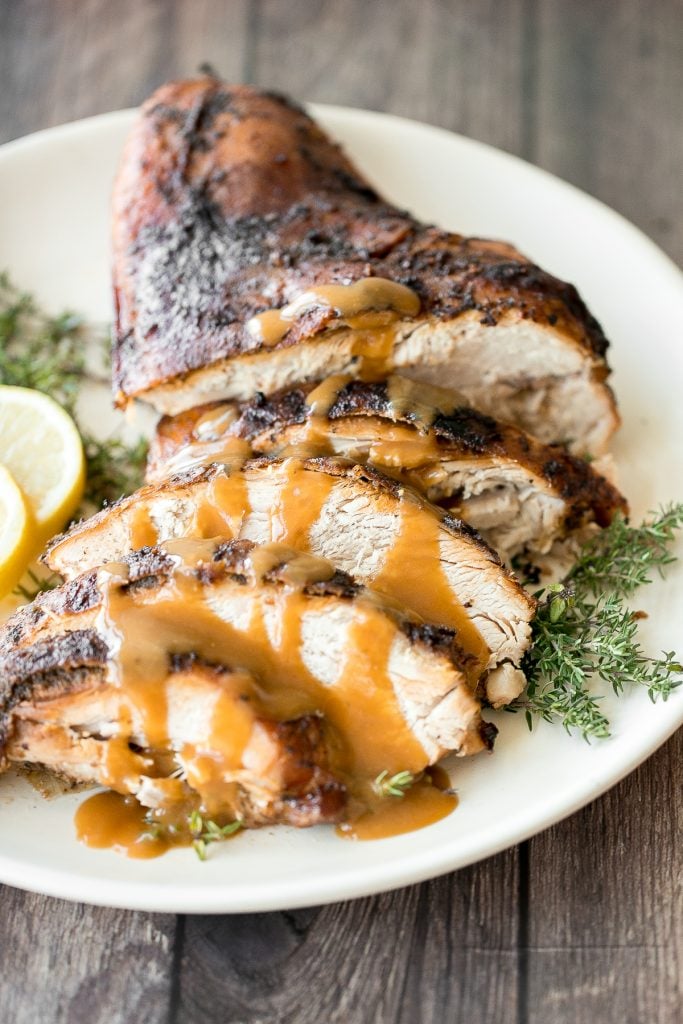
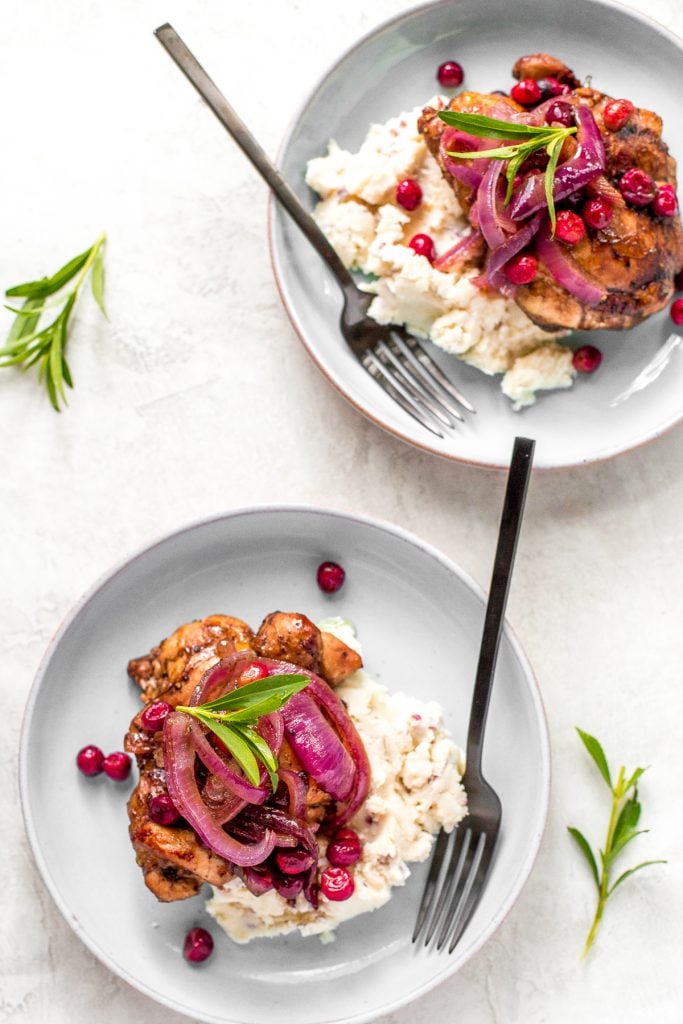
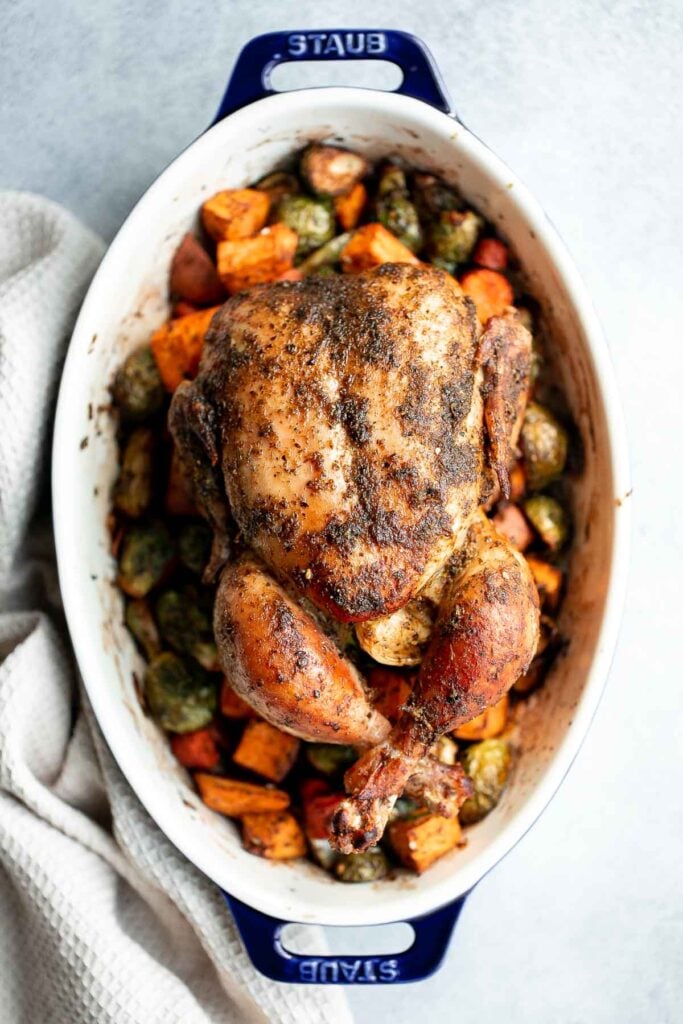
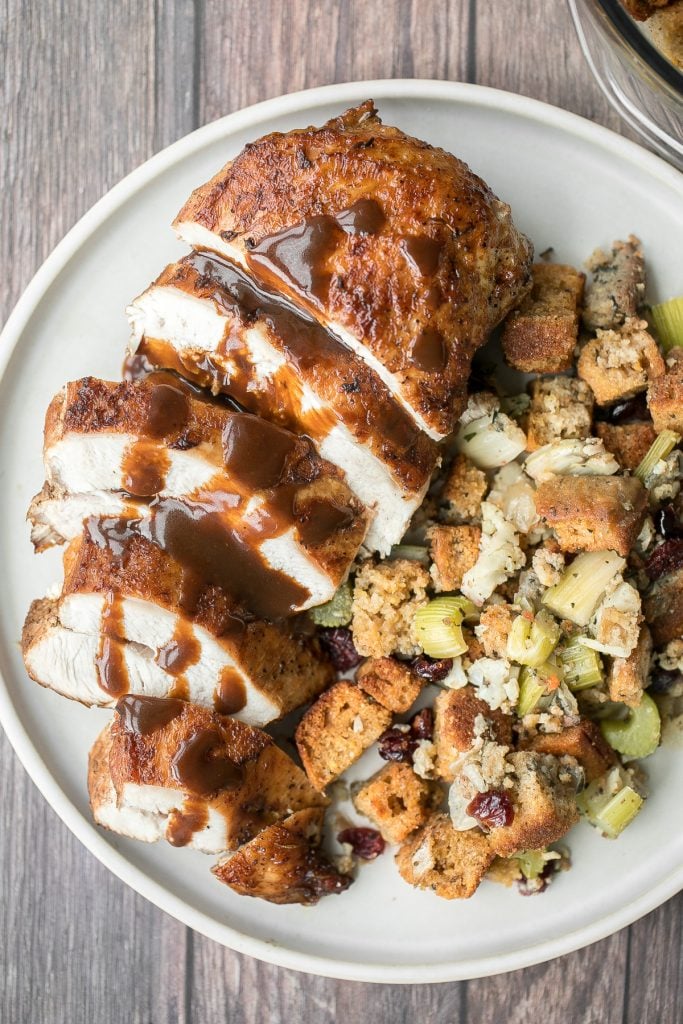
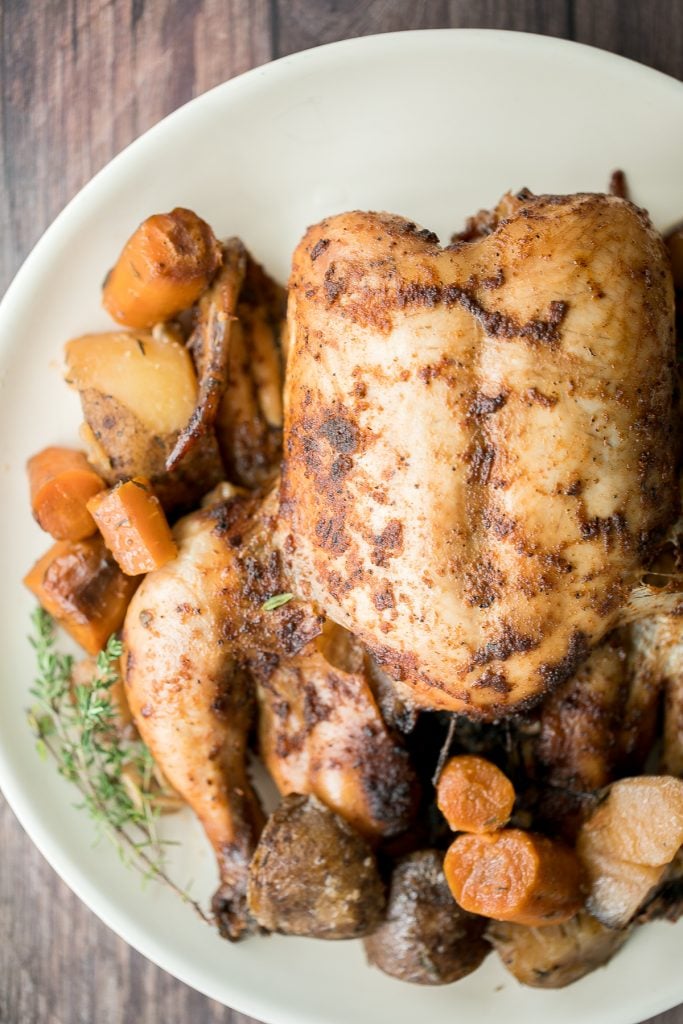
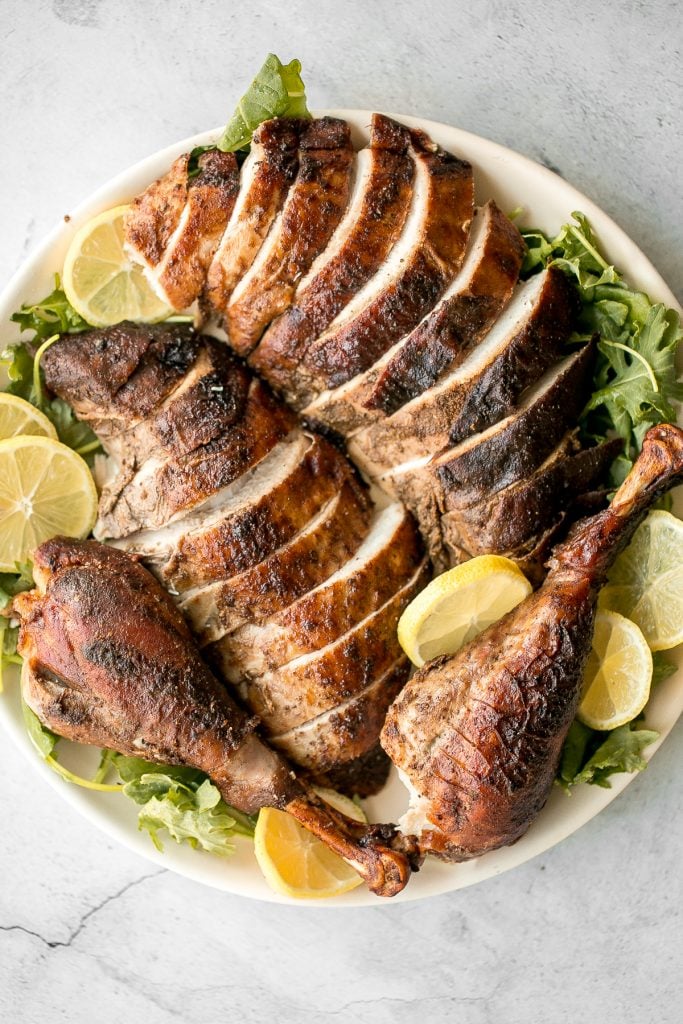
Asian five-spice roast turkey is tender and juicy, marinated with a delicious flavourful Asian rub and has a crispy brown skin. The perfect holiday dinner to include in your list of Chinese New Year recipes.
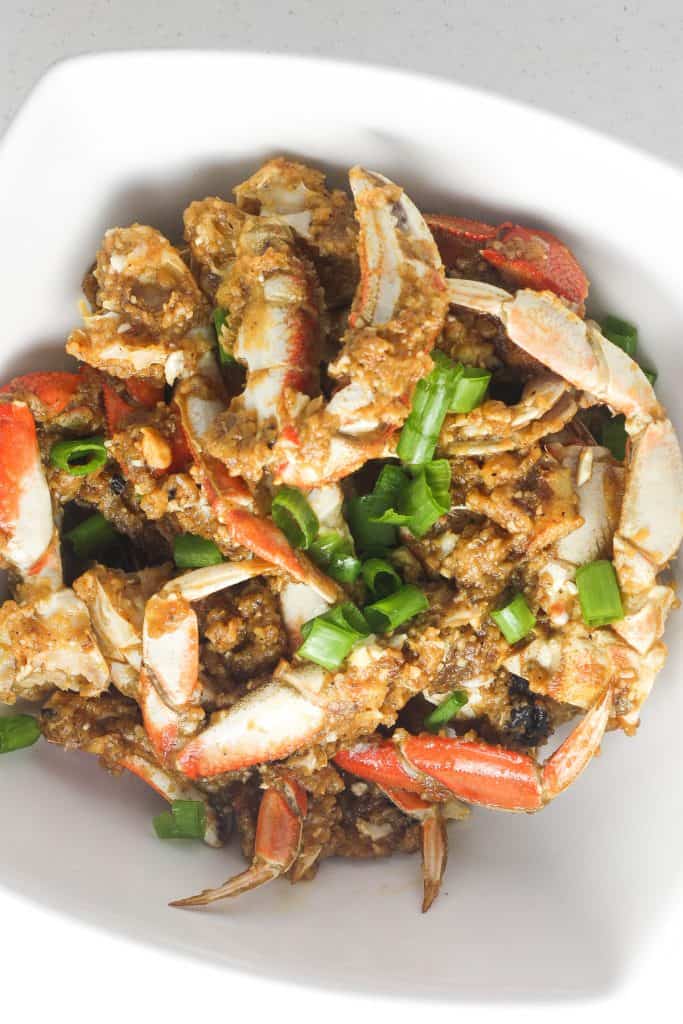
Ginger and Scallion Dungeness Crab
Ginger and scallion Dungeness crab is the ultimate Asian seafood experience stir-fried to perfection and coated with intense flavours.
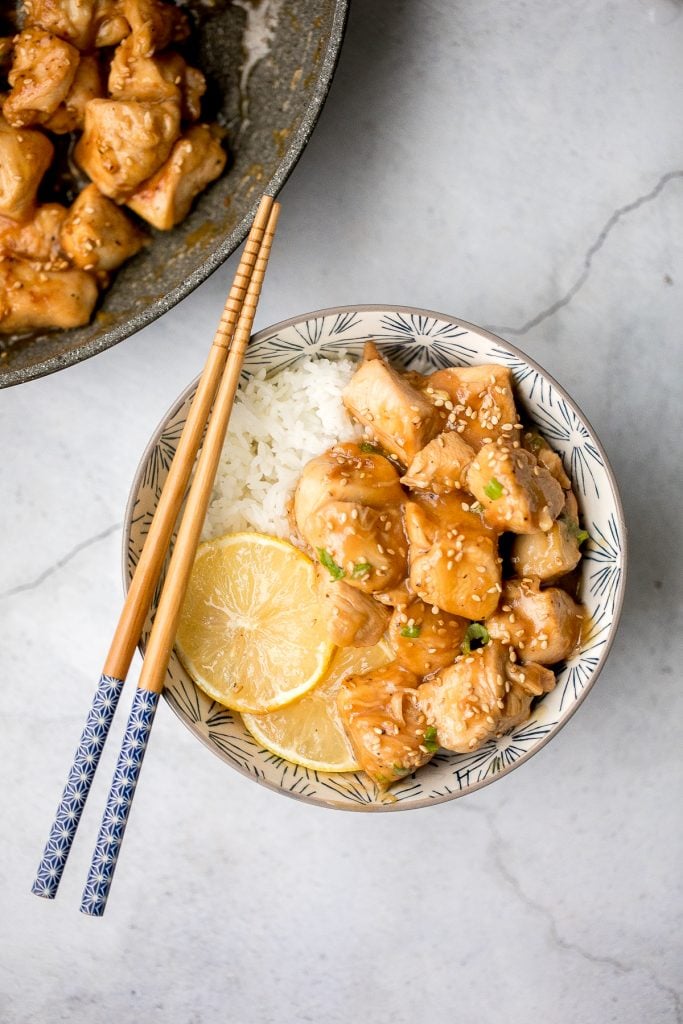
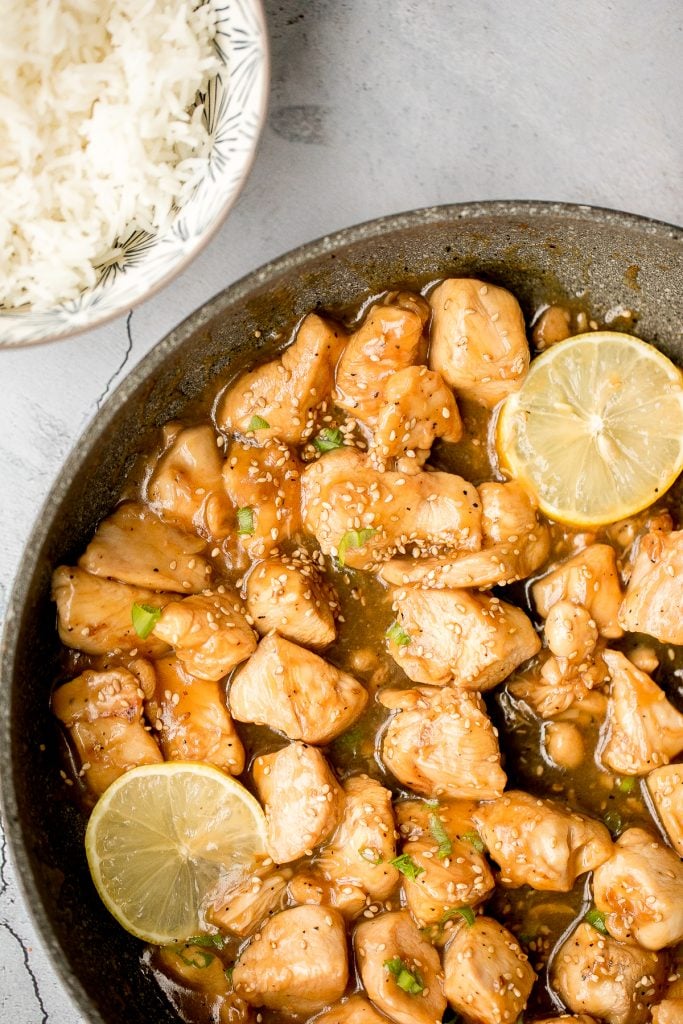
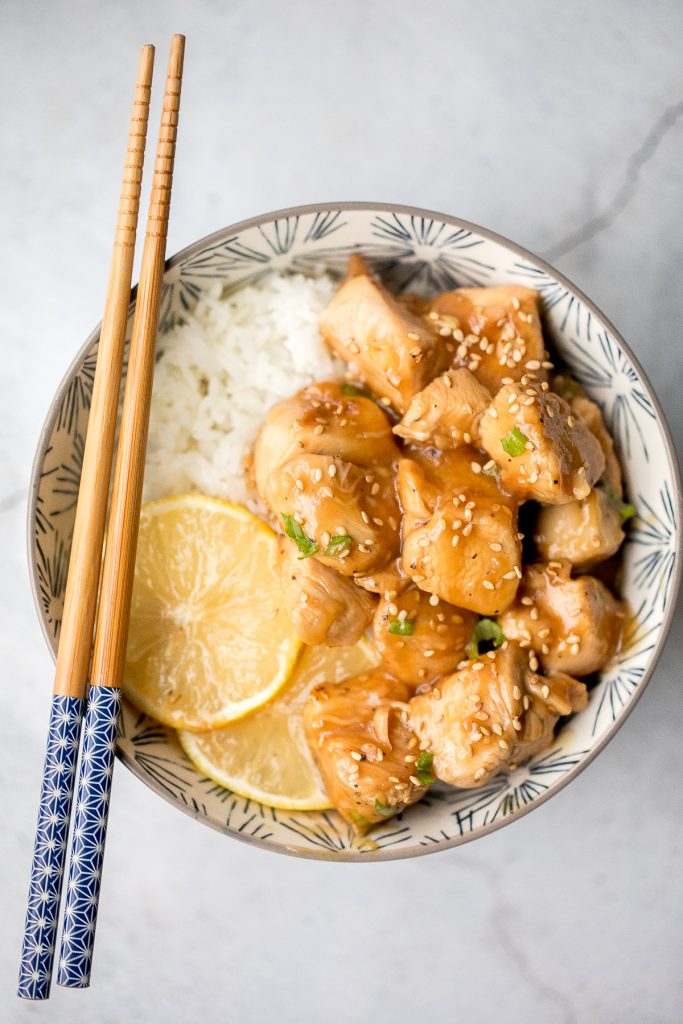
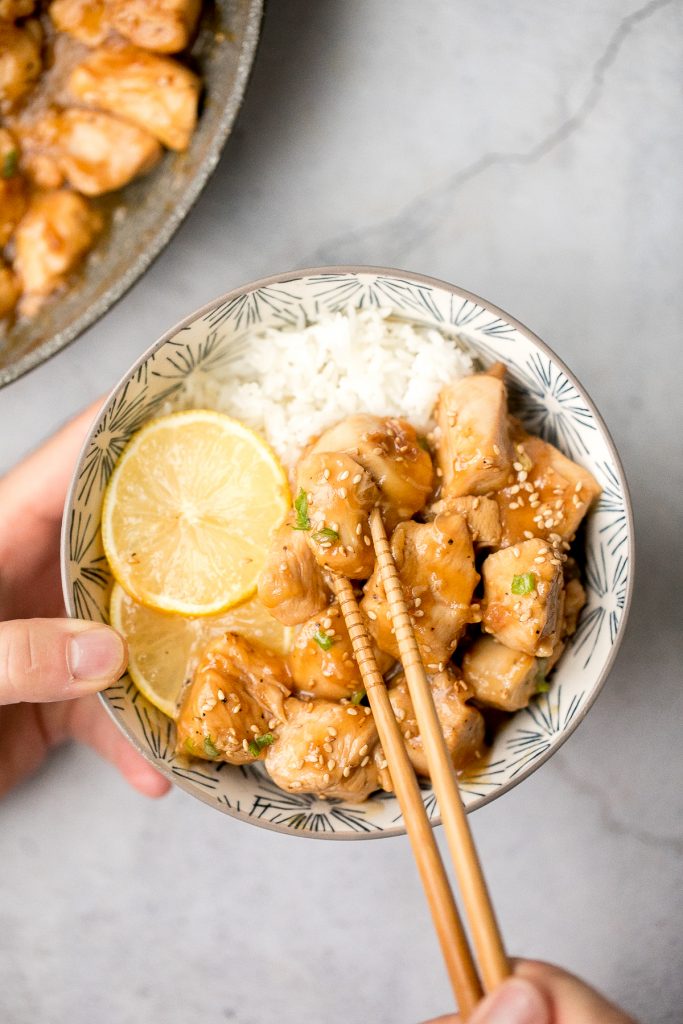
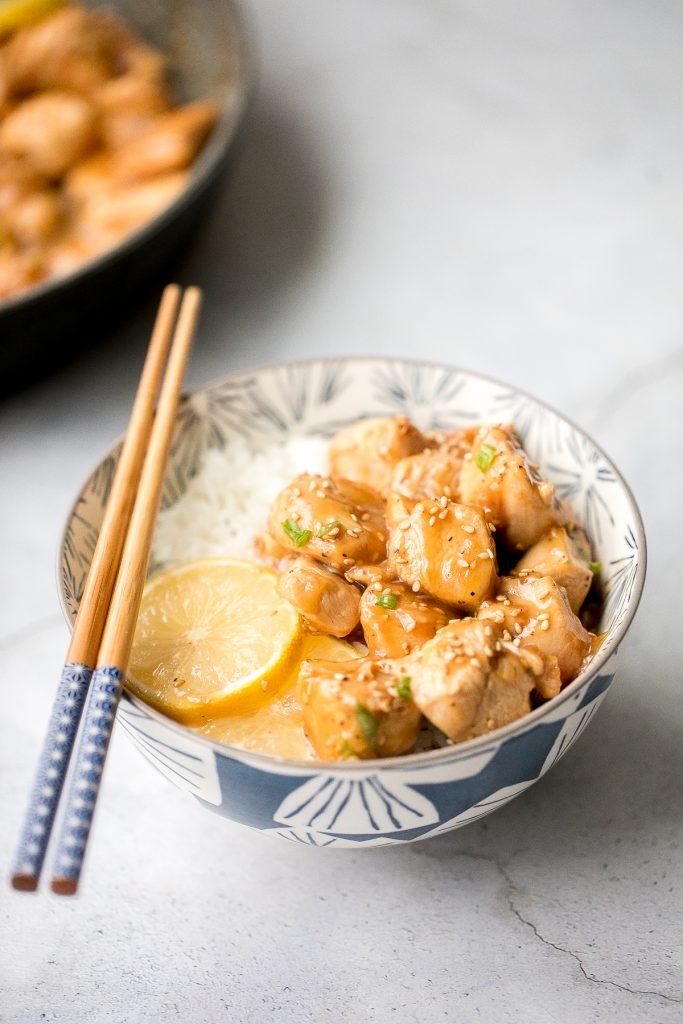
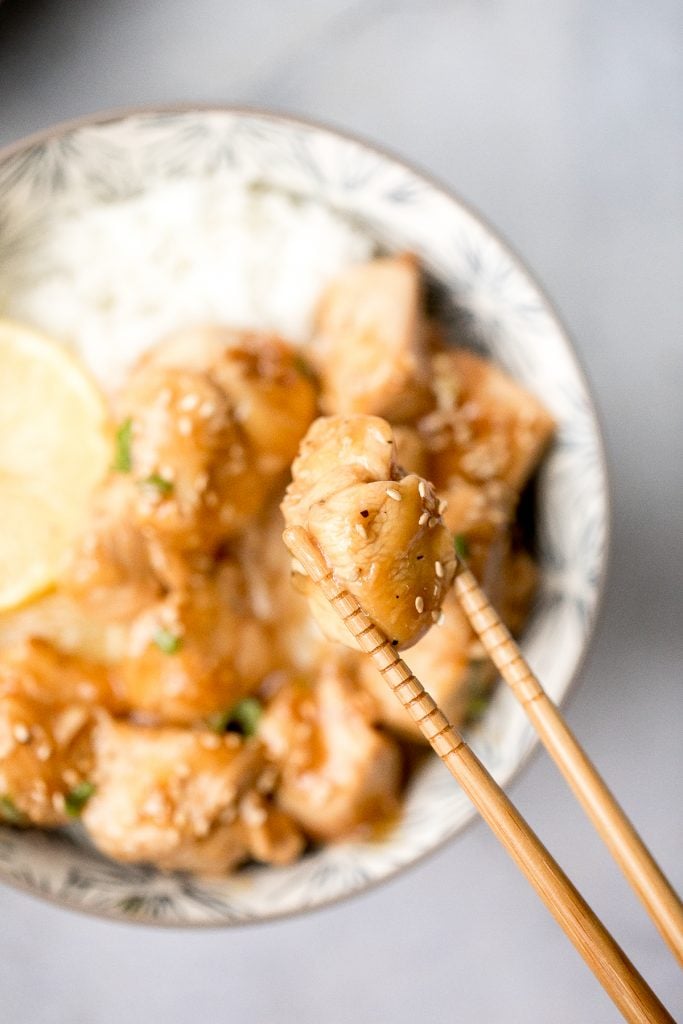
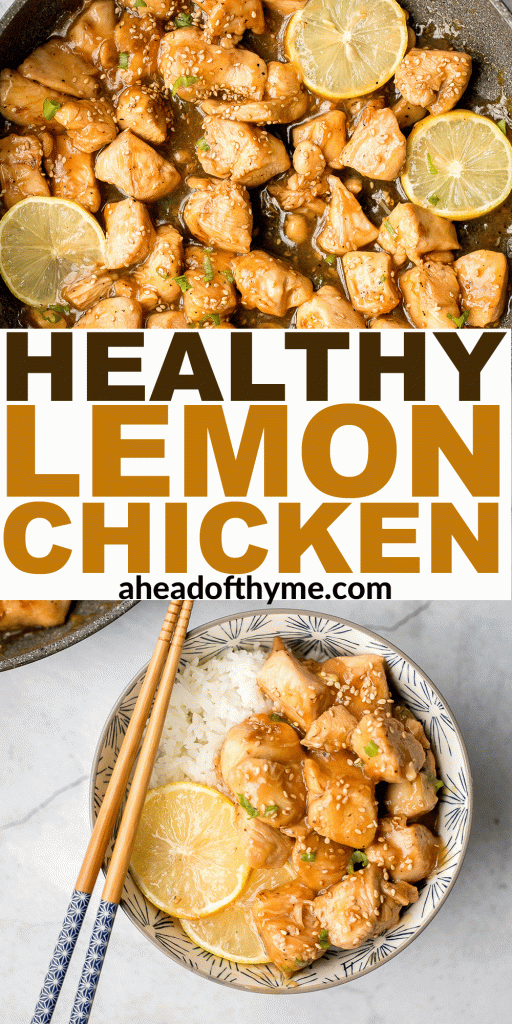
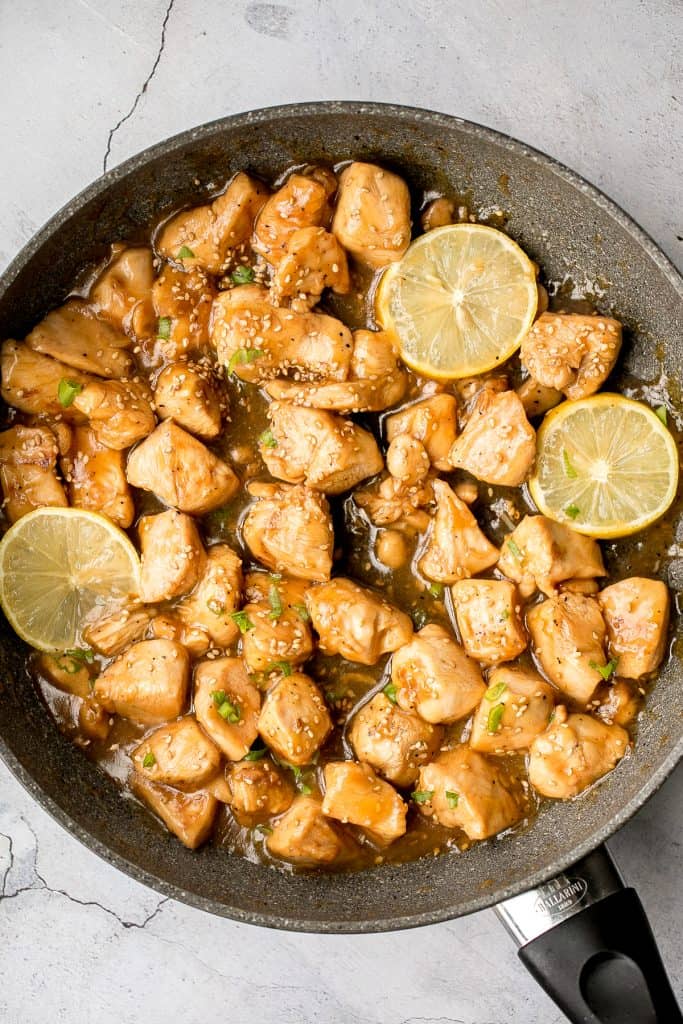
Better than takeout, healthy lemon chicken is a delicious, sticky chicken stir fry coated in a flavourful, sweet and tangy sauce. The best weeknight dinner.
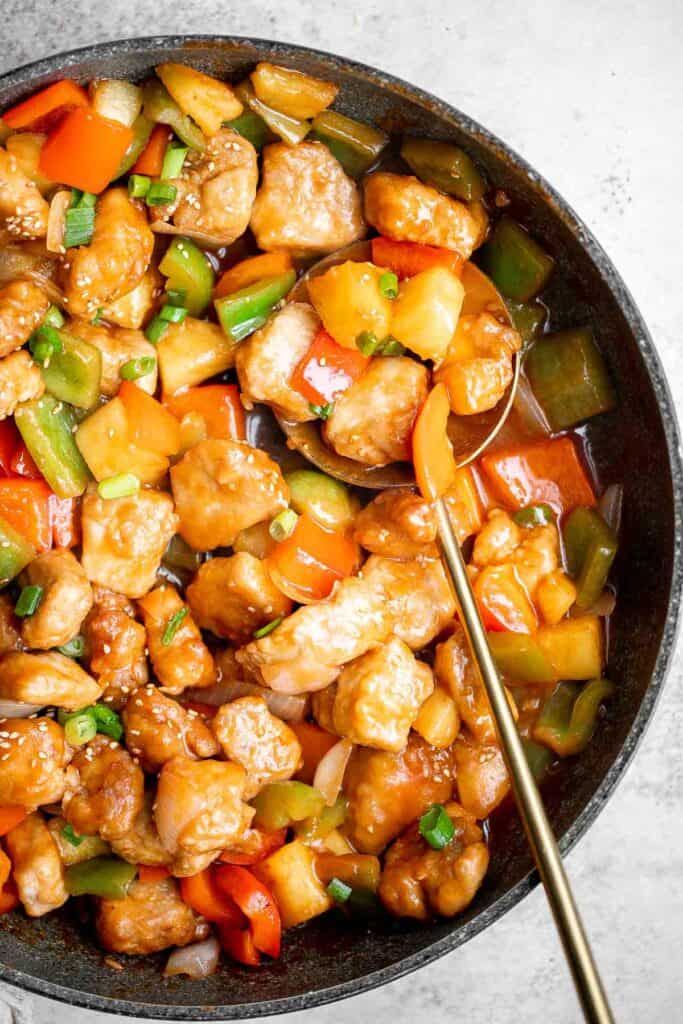
Sweet and sour pork is a delicious, quick and easy Chinese stir fry that takes just 30 minutes to make. Serve this homemade takeout over steamed rice.
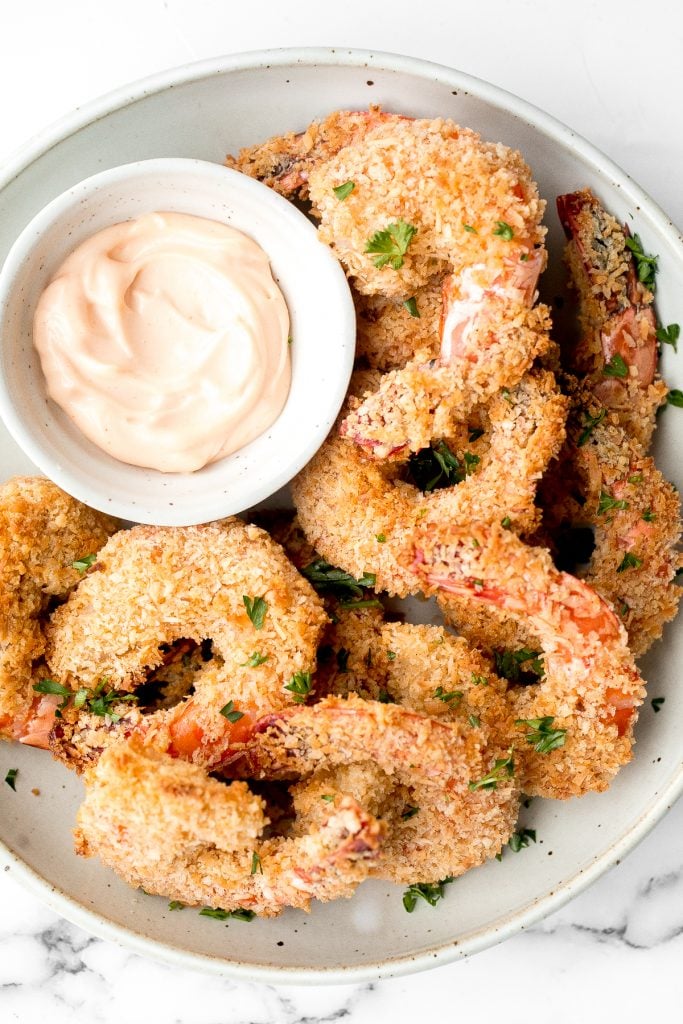
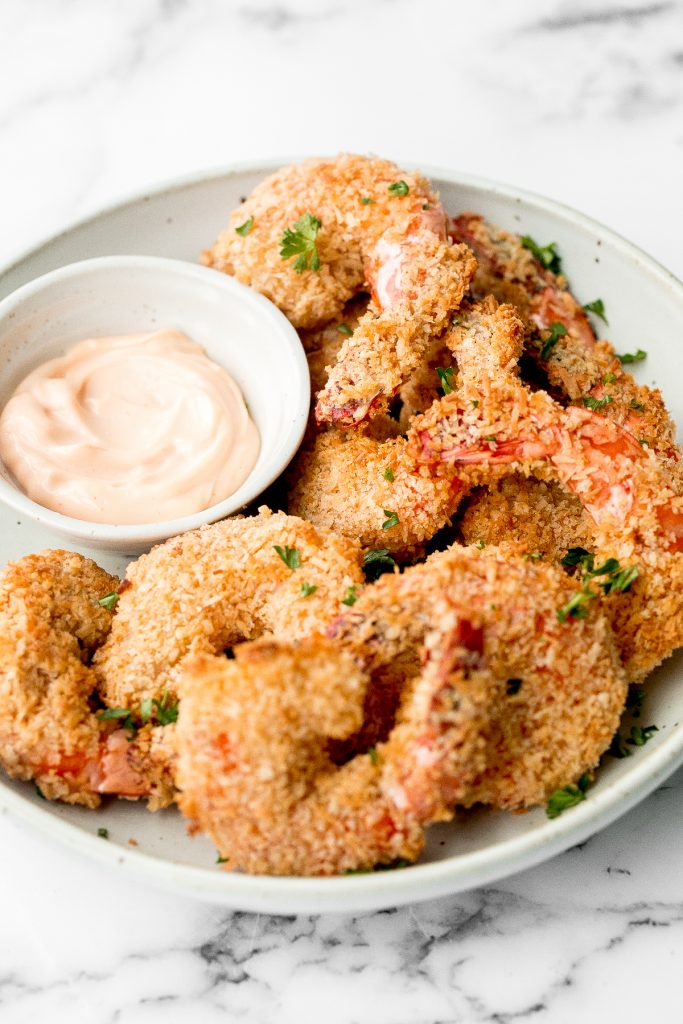
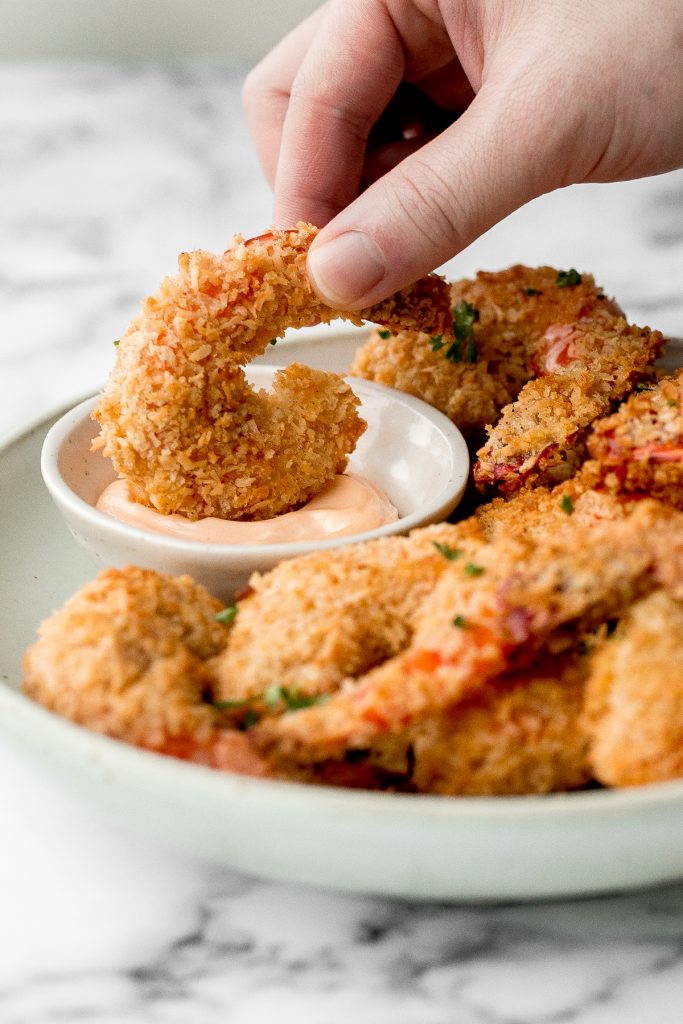
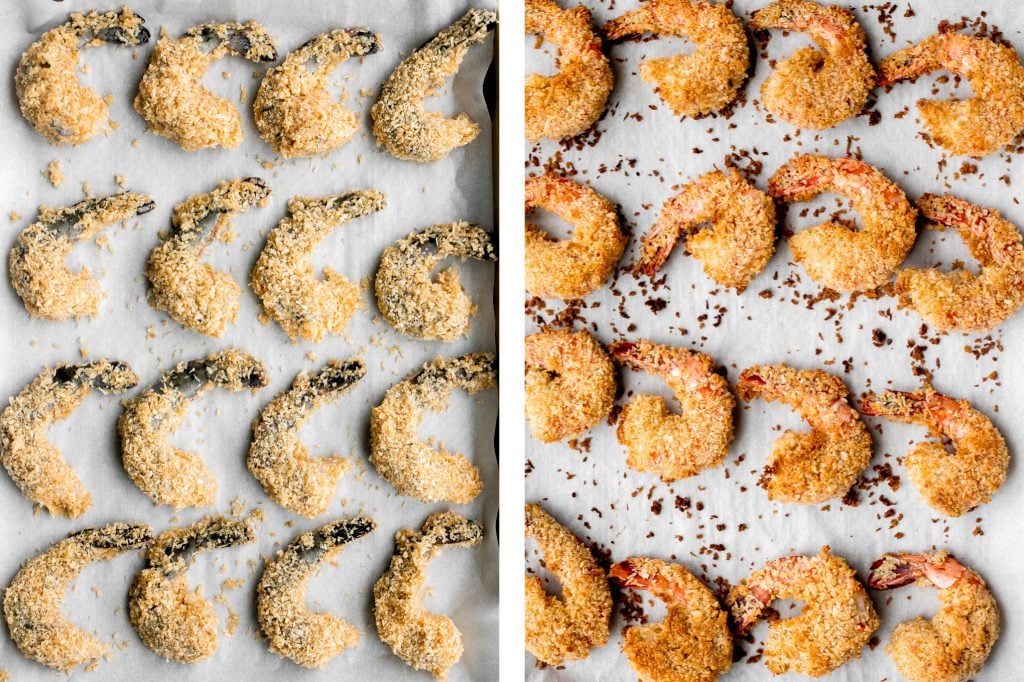
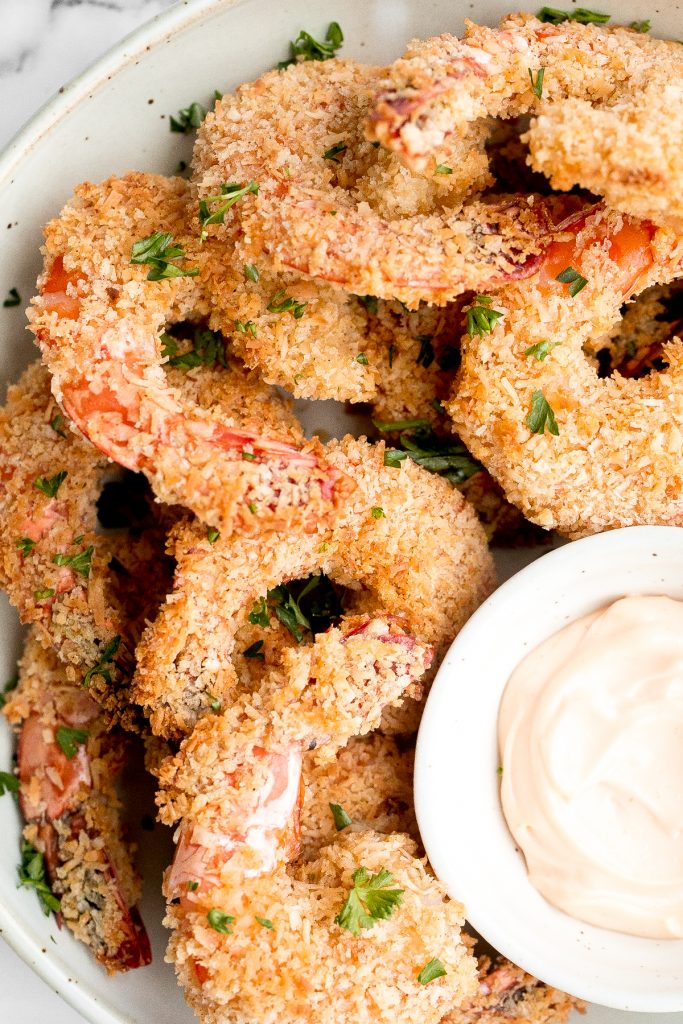
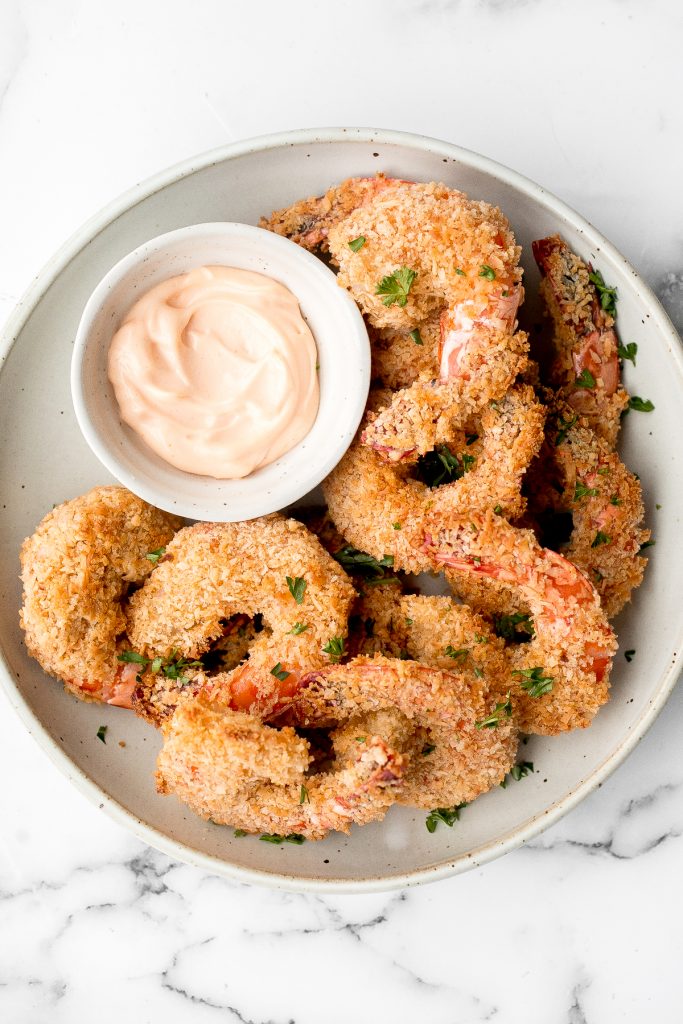
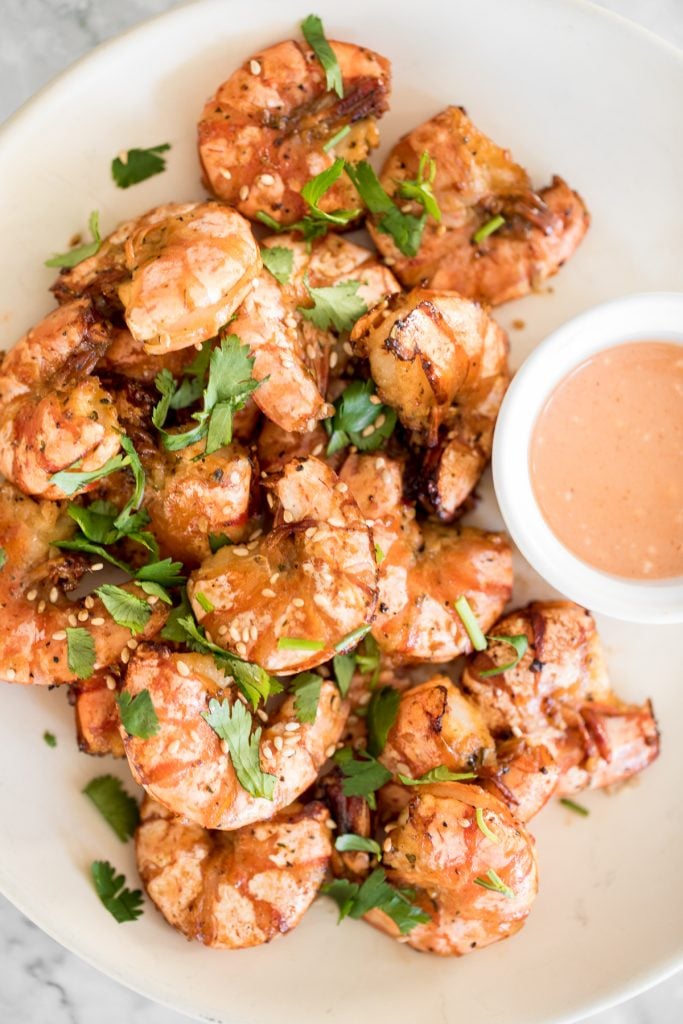
10-minute air fryer jumbo shrimp is juicy and tender on the inside, and crispy on the outside. It's so flavourful and garlicky with Asian seasonings.
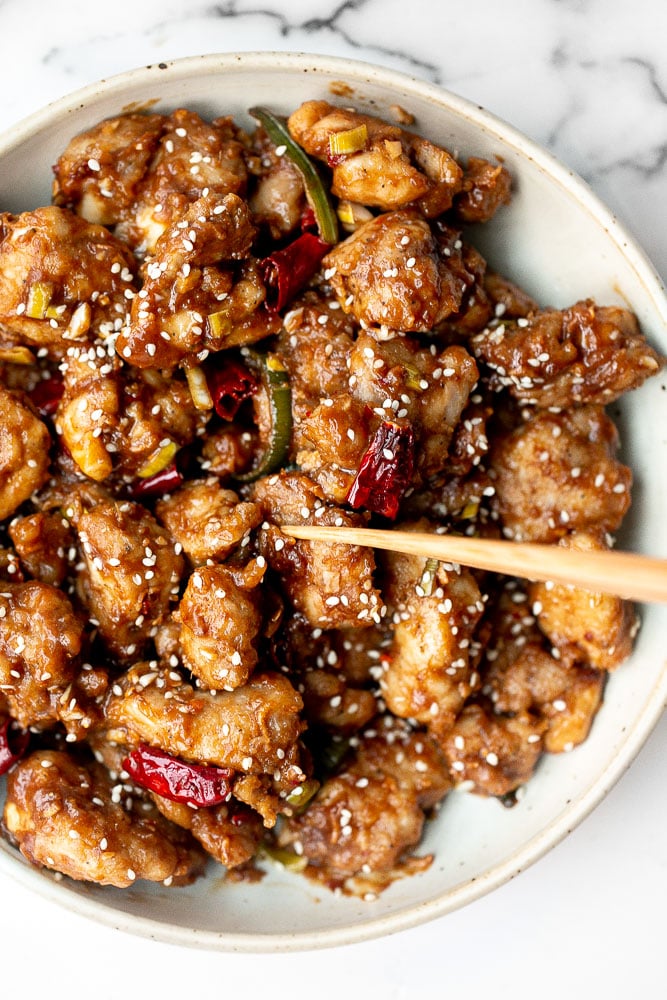
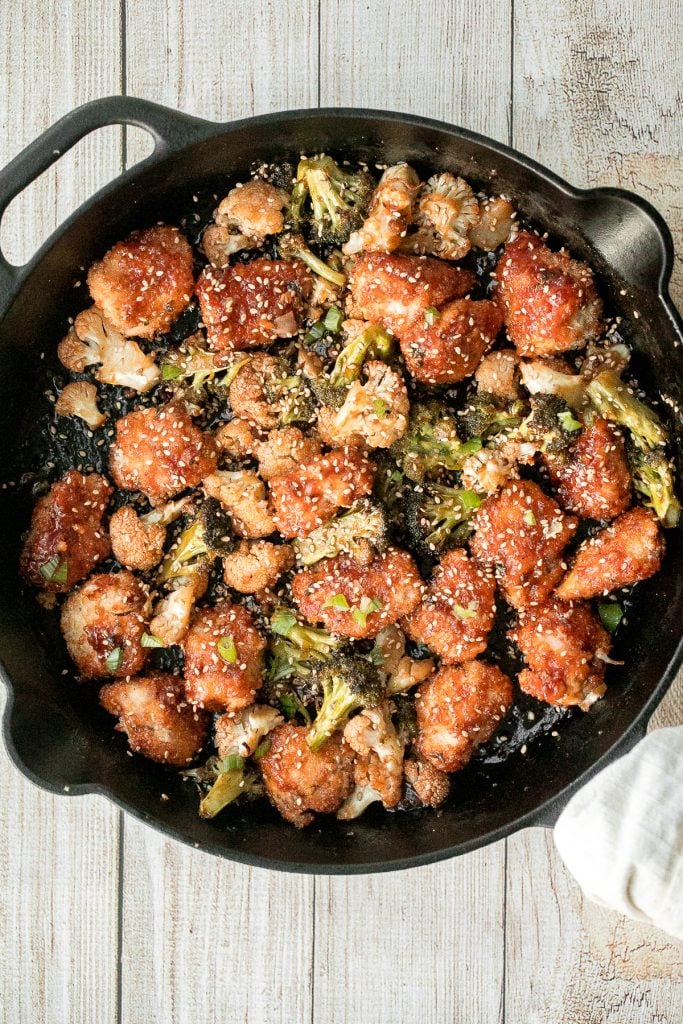
Baked General Tso's Chicken is a saucy, savoury, sweet, spicy Chinese-American takeout favourite made healthier with baked chicken, not fried.
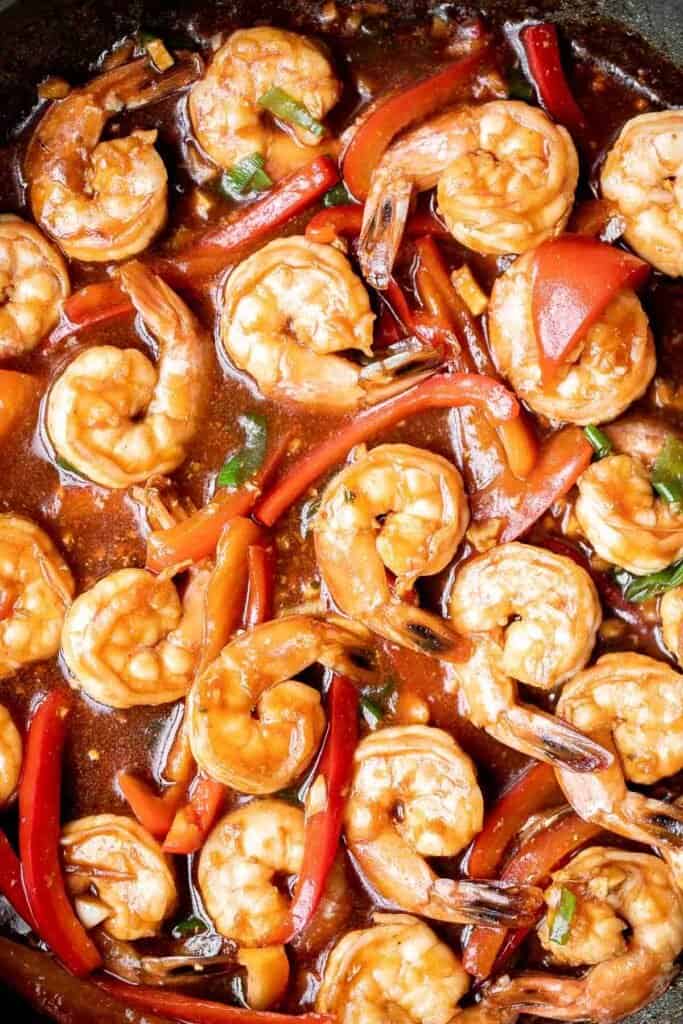
Better than takeout garlic shrimp stir fry is saucy, sticky, flavorful, and delicious. It's quick and easy to make in 15 minutes and great for meal prep.
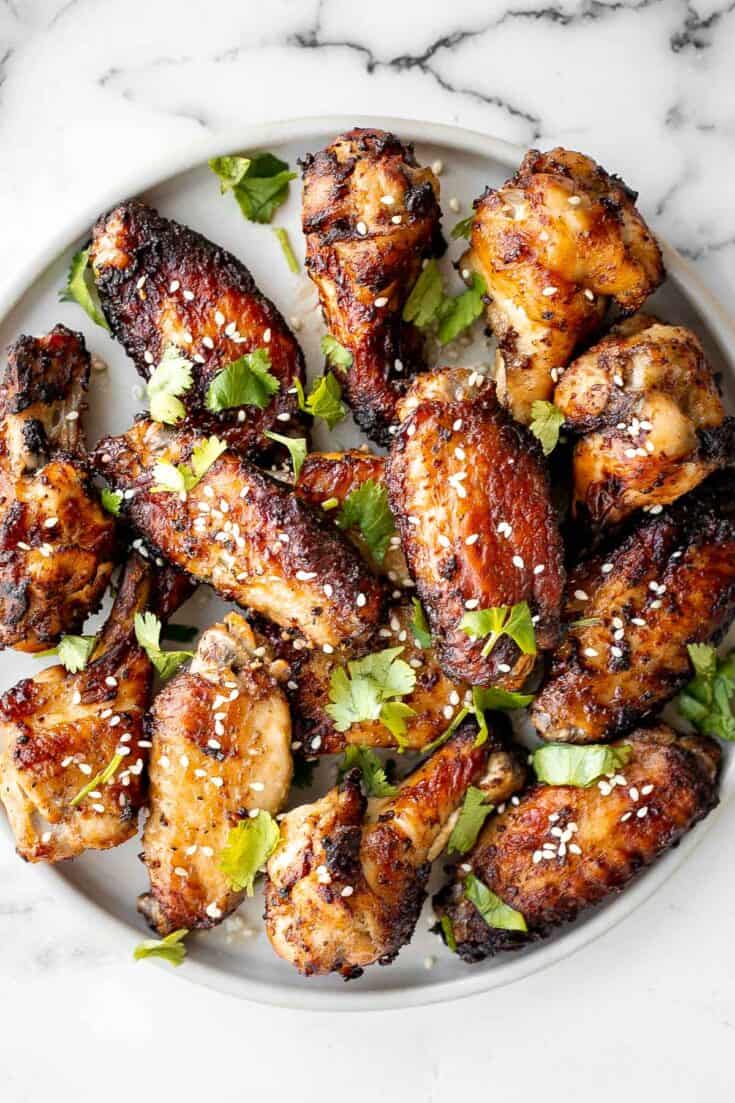
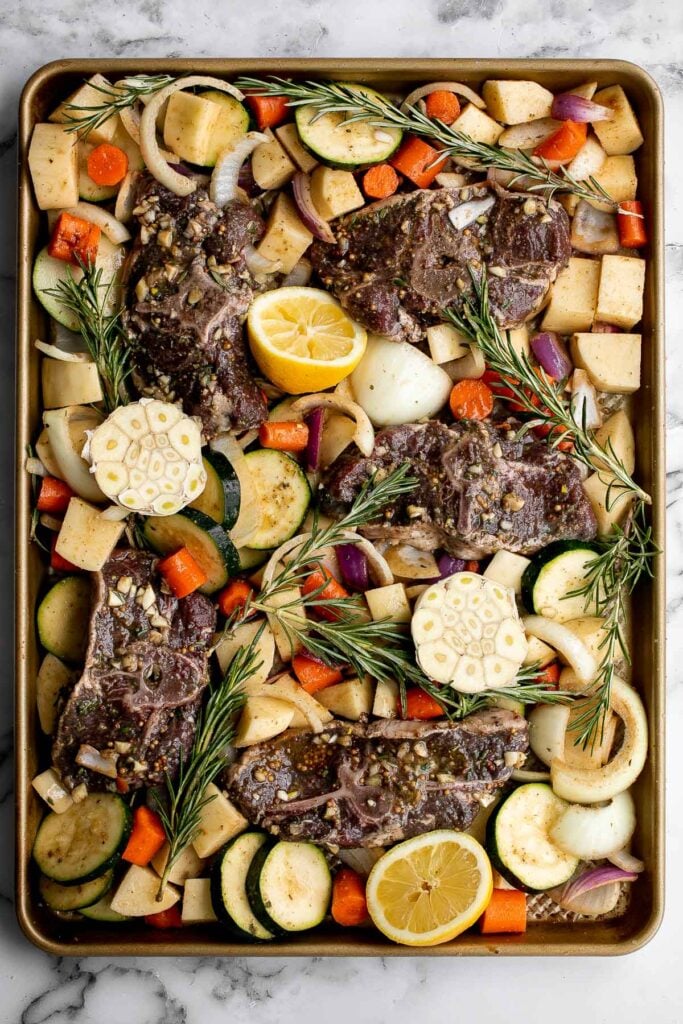
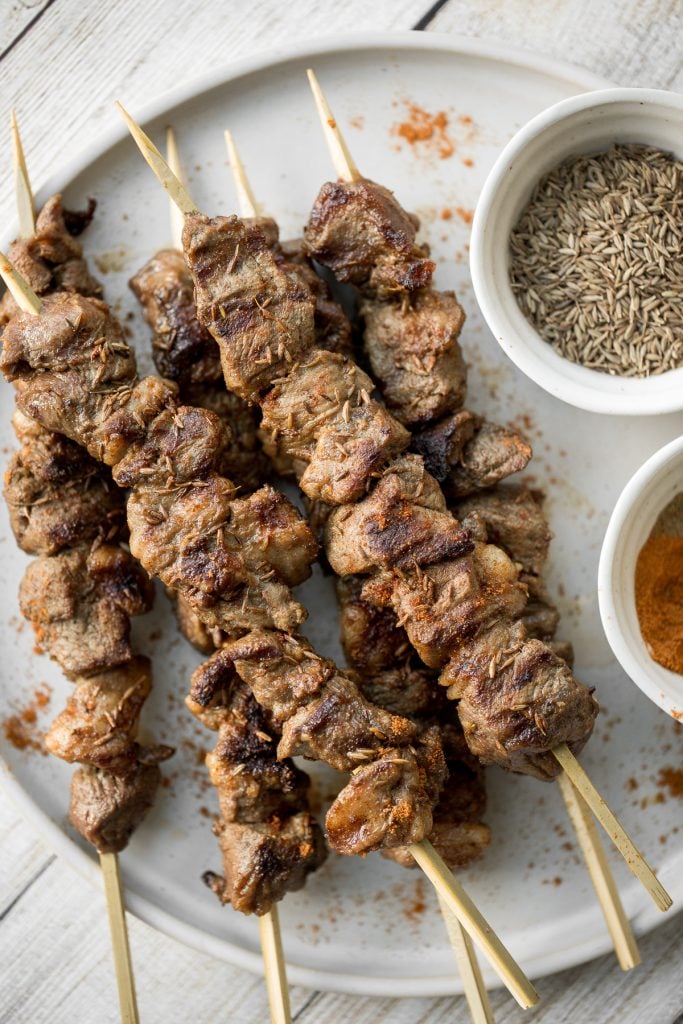
Juicy and tender, Xinjiang spicy cumin lamb skewers with a bold cumin and cayenne marinade, are so flavourful and easy to make on the grill or air fryer.
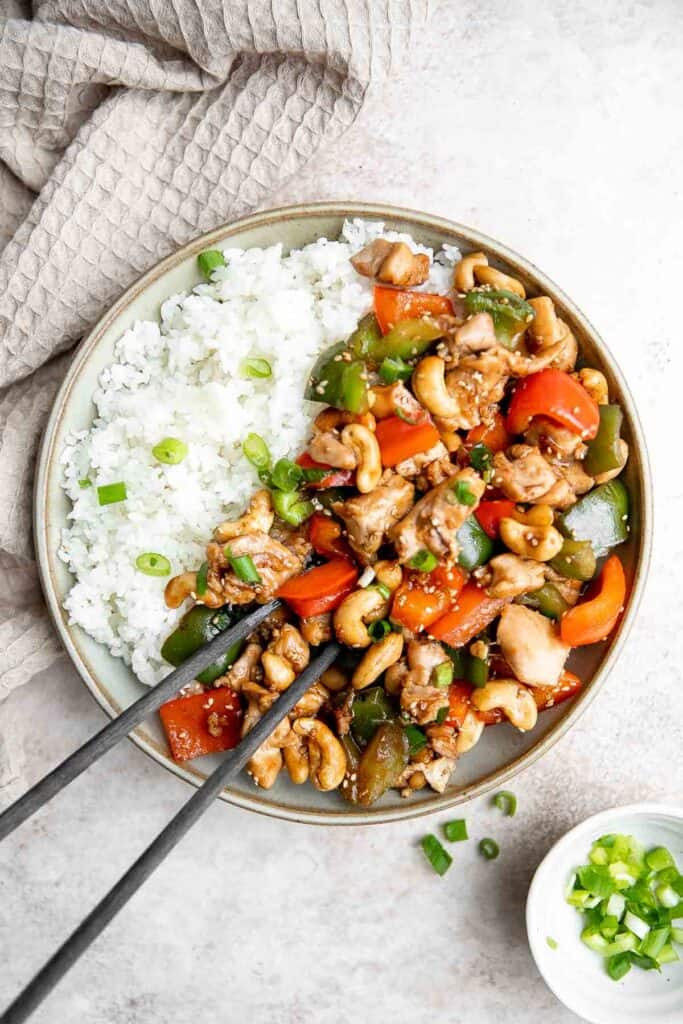
Cashew chicken is a quick and easy chicken stir fry ready in under 30 minutes. It's flavorful, delicious, and so much better and faster than takeout.
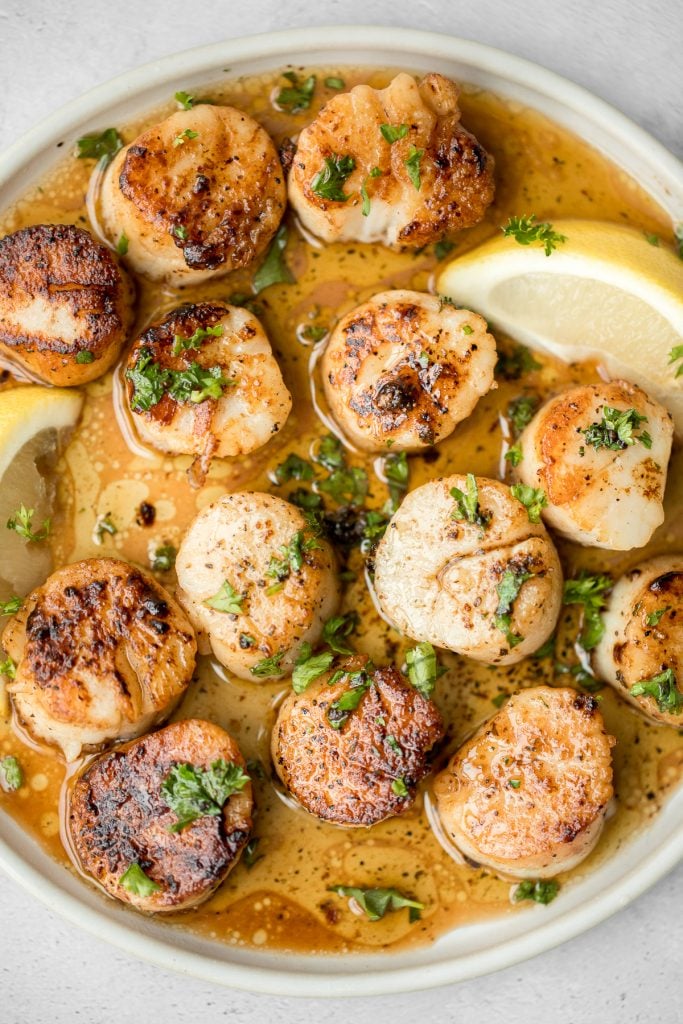
Garlicky, buttery, and perfectly seared scallops take less than 10 minutes to prep and cook. It's the easiest fancy, restaurant-grade meal to make at home.
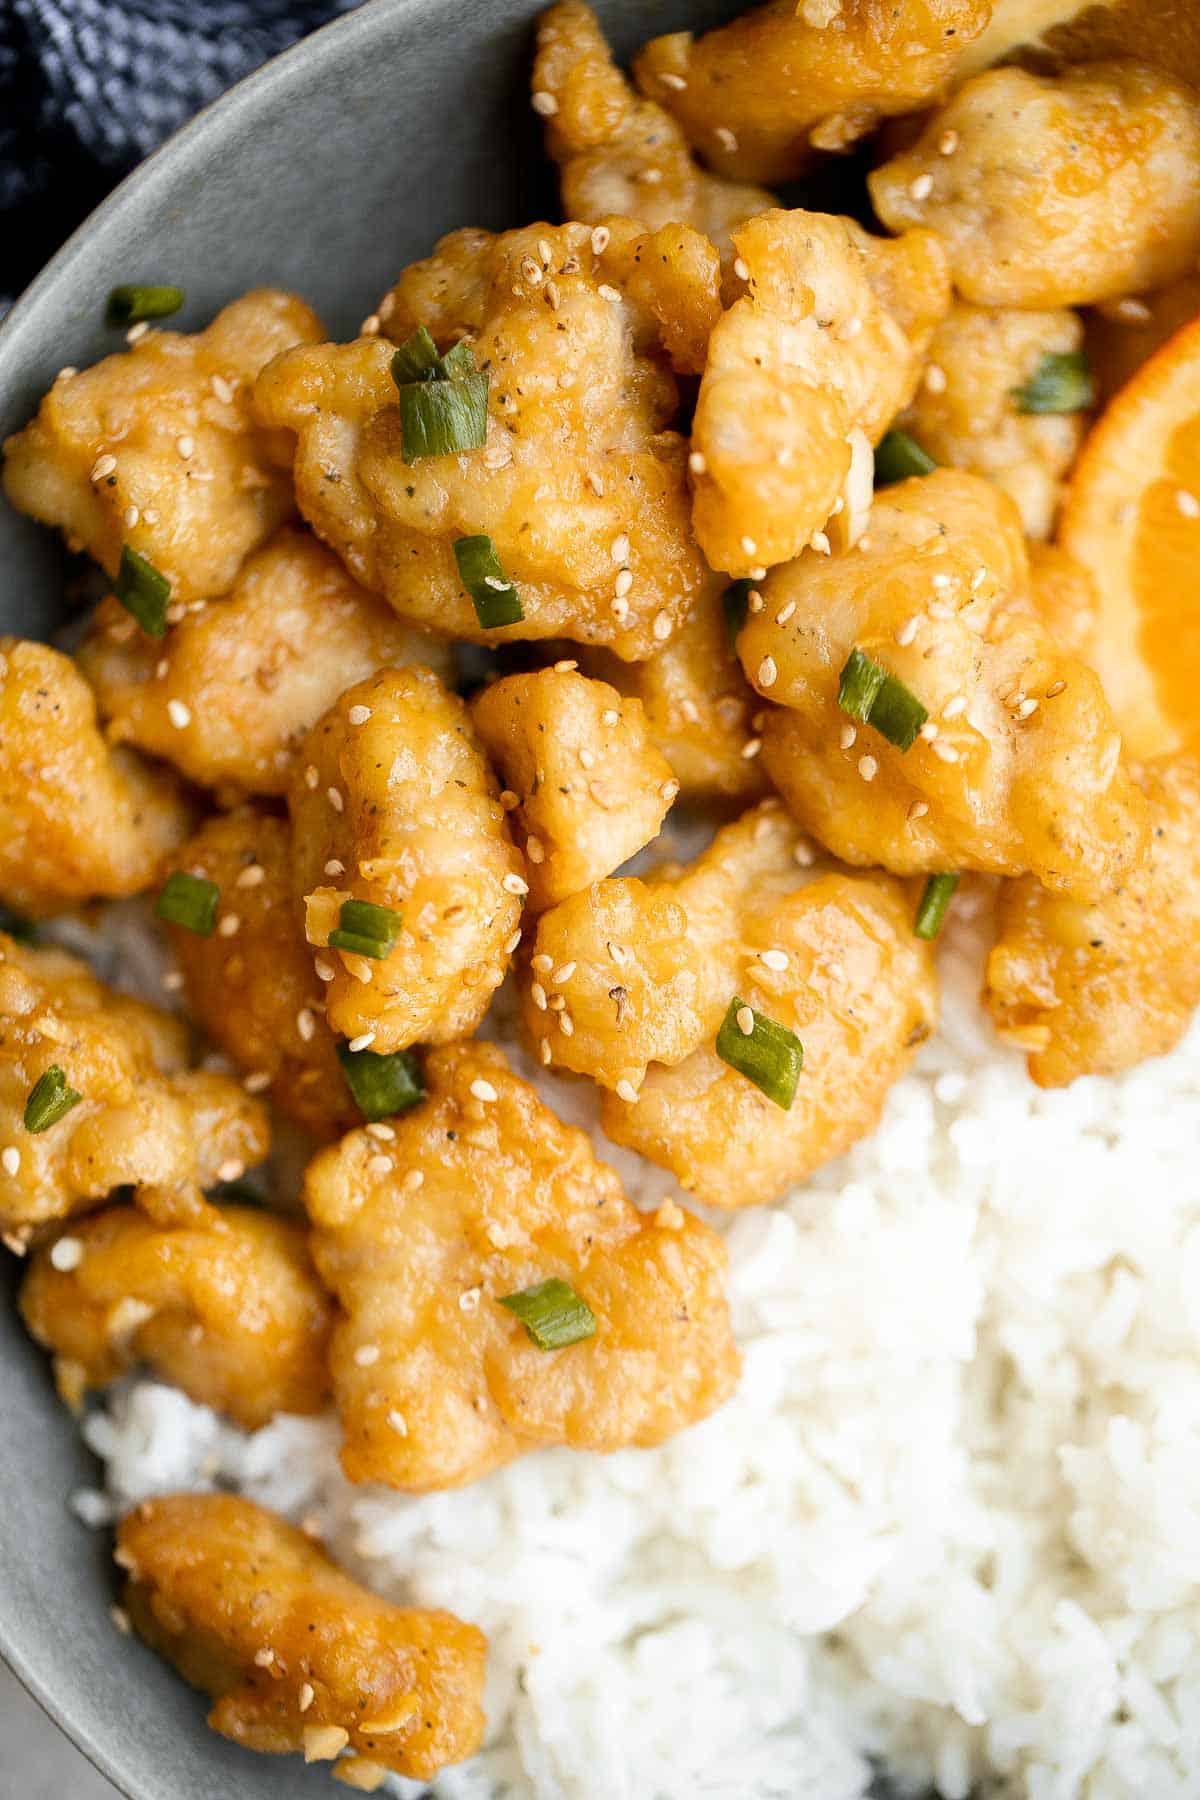
Chinese Takeout Orange Chicken is a quick, easy, delicious meal ready in 30 minutes. It's healthier than takeout - can be pan-fried, air fried, or baked.
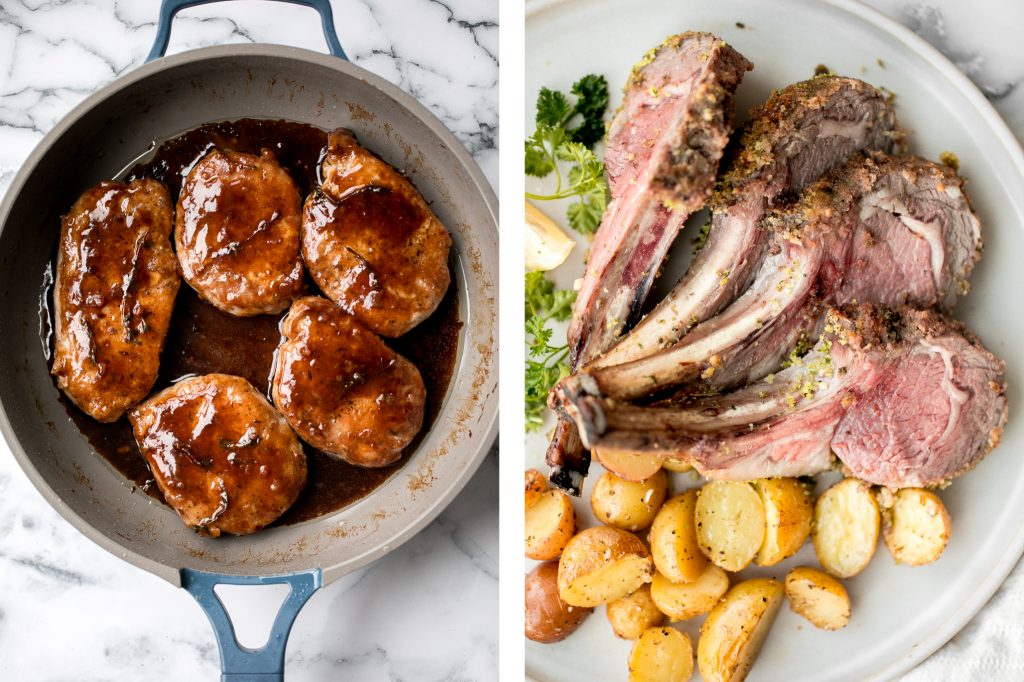
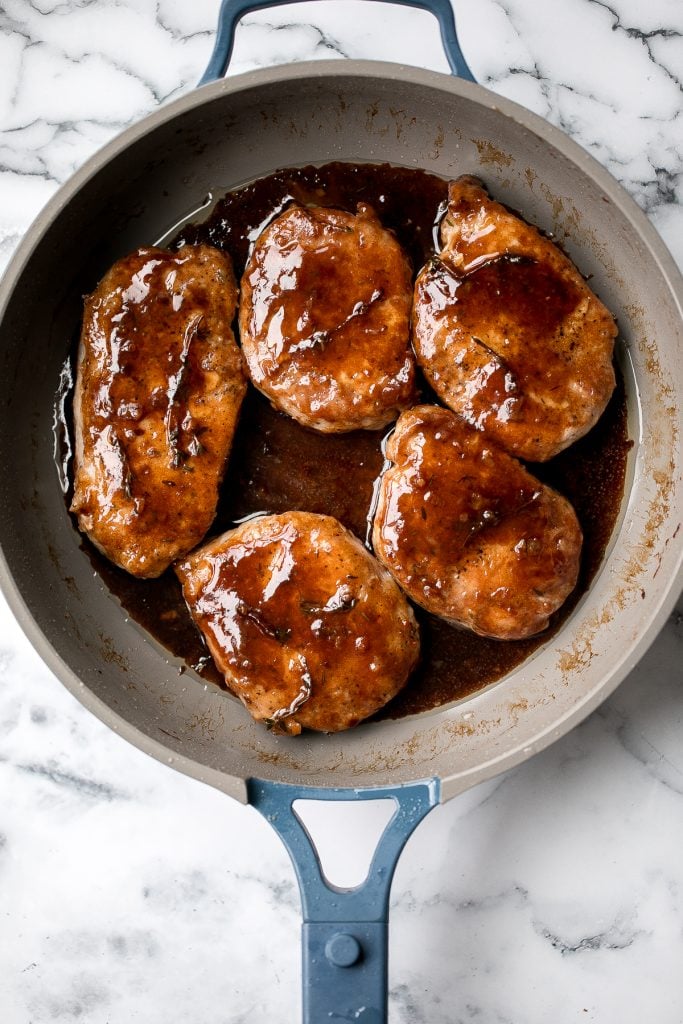
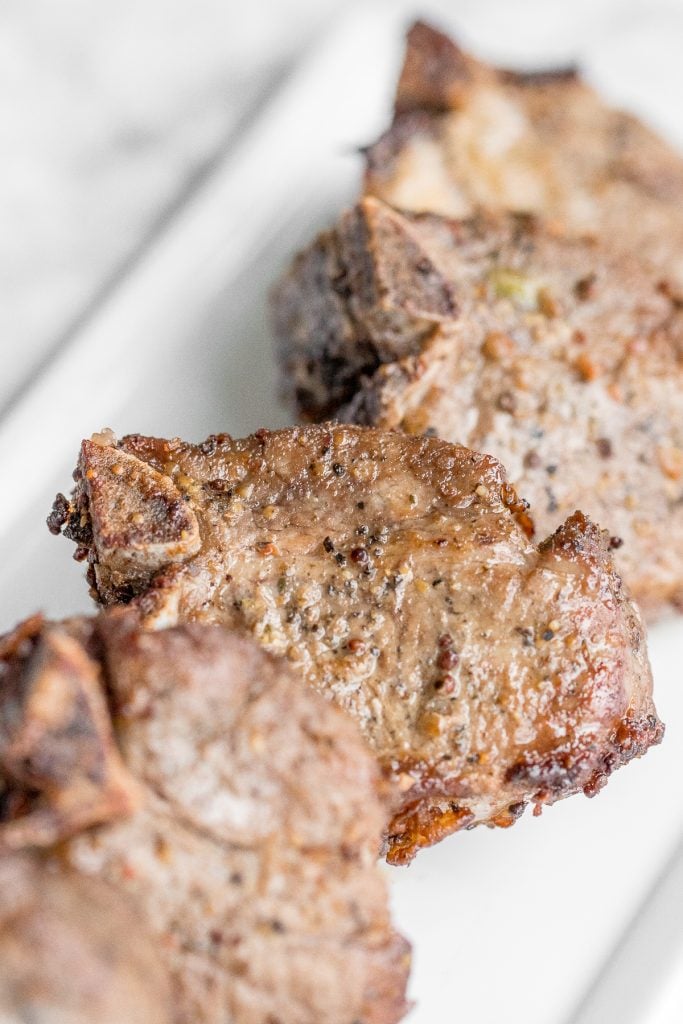
Glazed Honey Balsamic Pork Chops
Quick and easy, glazed honey balsamic pork chops are tender and juicy, seared in thyme and coated with a honey balsamic sauce. Make it in under 30 minutes.
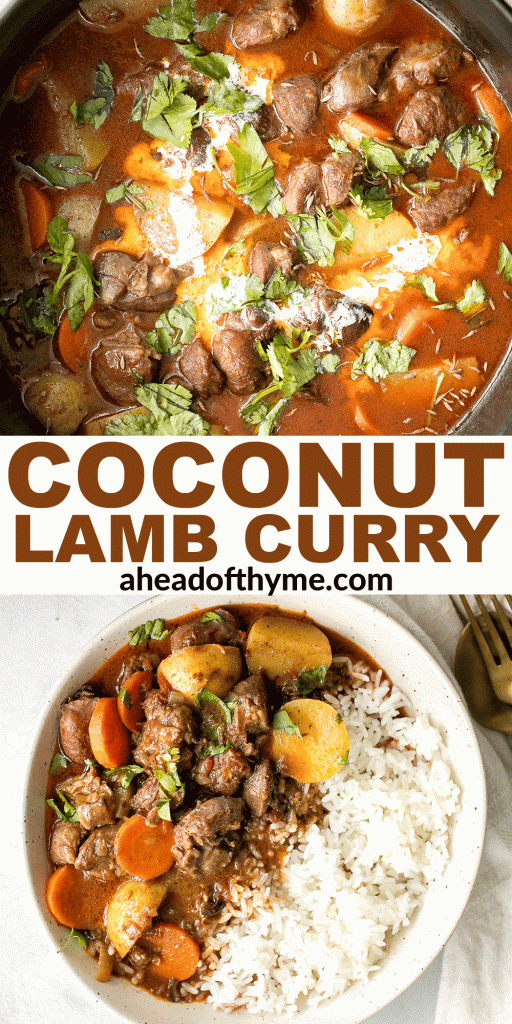
Hearty coconut lamb curry is an easy one pot meal that is packed with flavour. Make it on the stovetop or in the slow cooker and freeze leftovers for later.
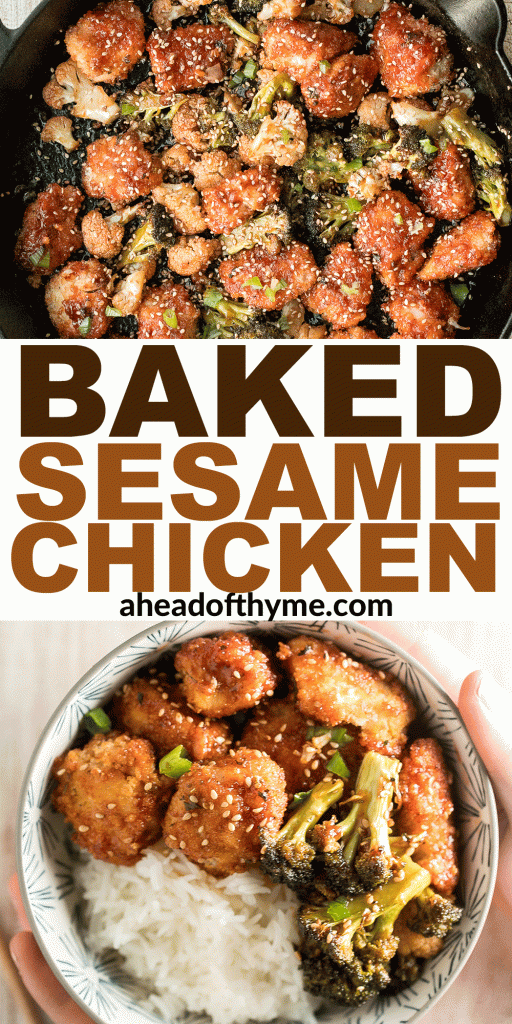
Better than takeout, baked sesame chicken with vegetables is delicious, flavourful, sticky and saucy. This healthier Chinese dish is quick and easy to make.
Juicy, tender, and delicious 18-minute air fryer lamb chops is marinated in a dijon sauce and will change the way you cook lamb forever.
Flame-kissed, sticky and saucy, grilled orange chicken skewers with a rich, citrus-based marinade are delicious, juicy and so tender. Best weeknight dinner.

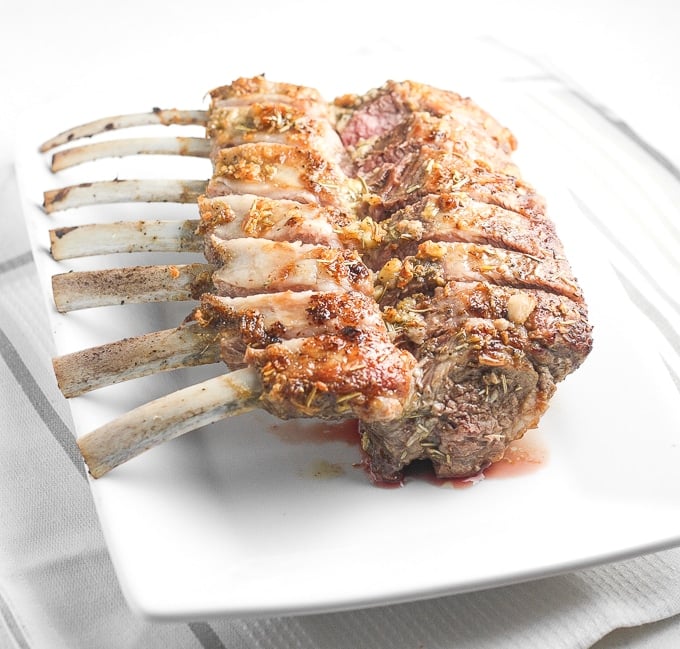
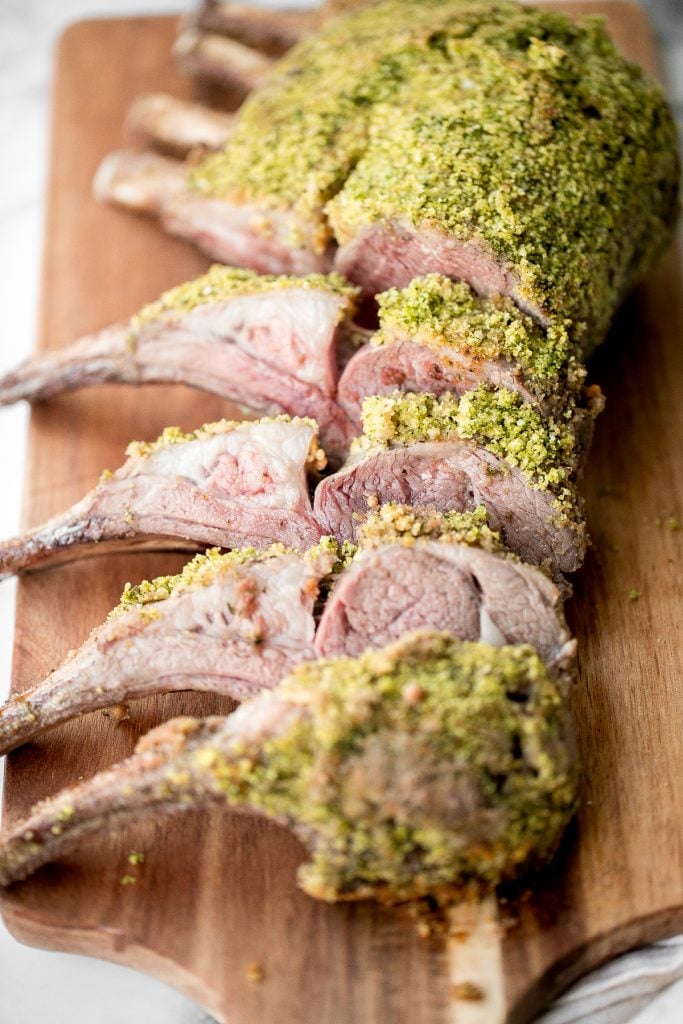
This delicious garlic and herb-crusted rack of lamb is tender, juicy, and flavourful. It is surprisingly quick and easy to make at home in about 30 minutes.
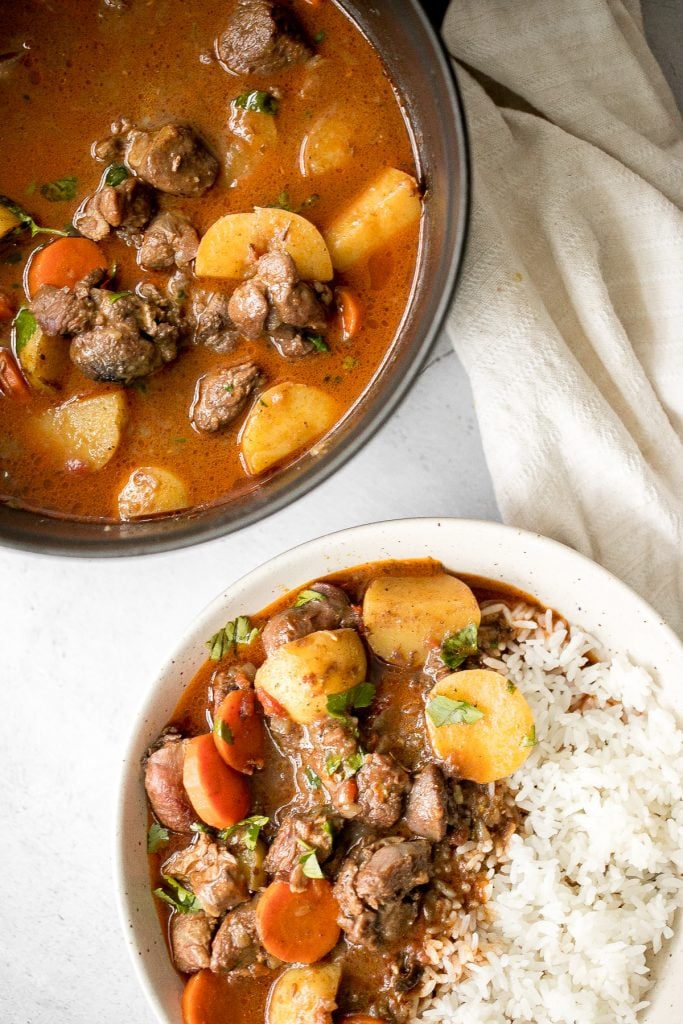
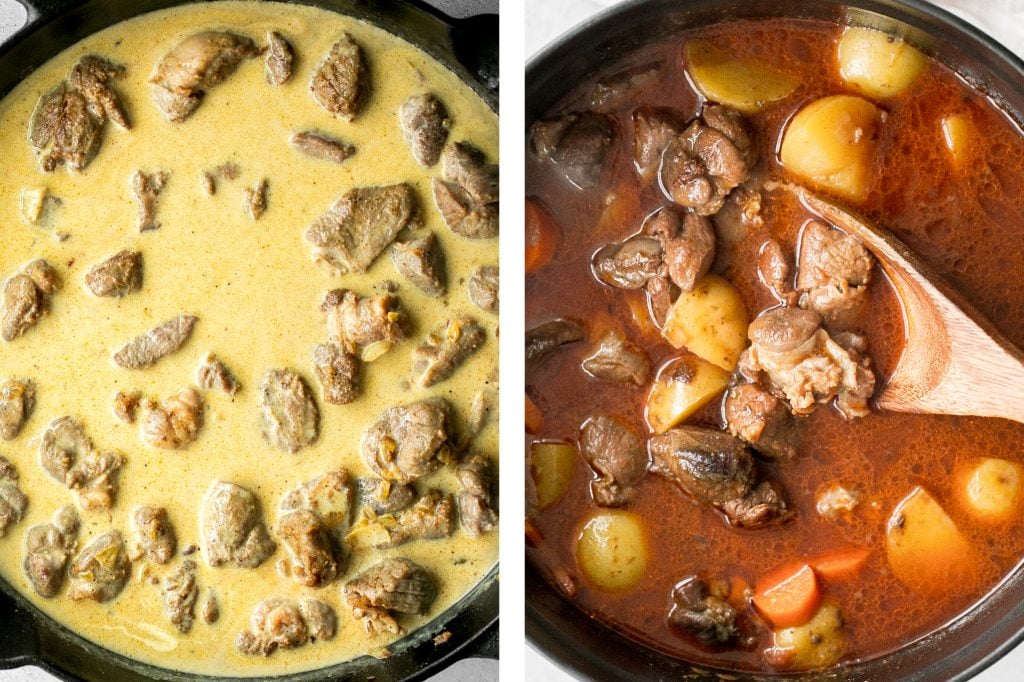
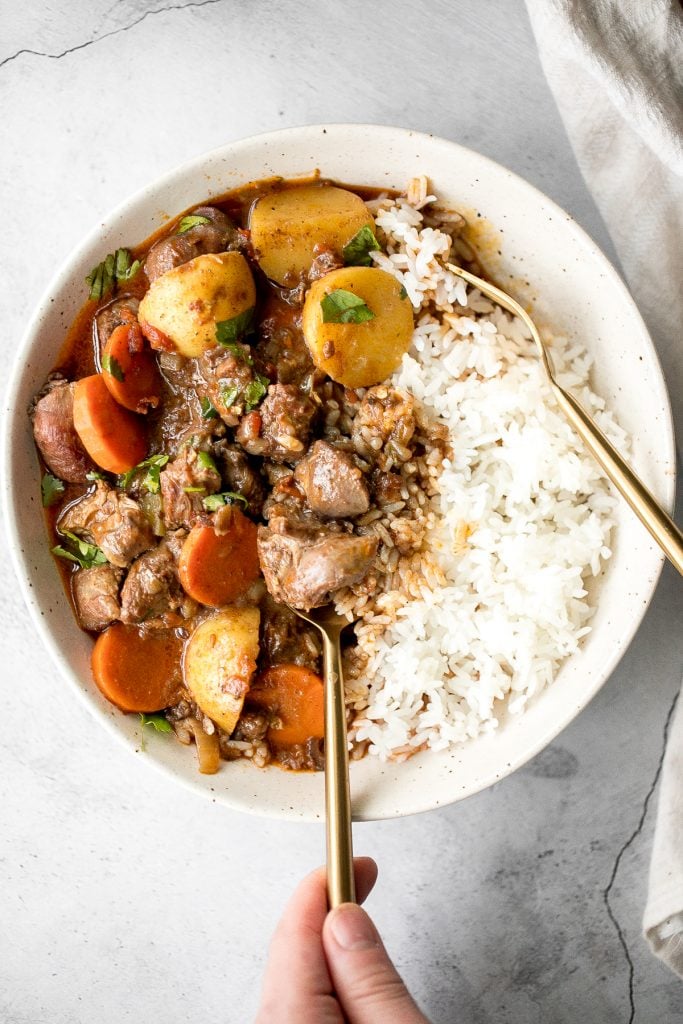
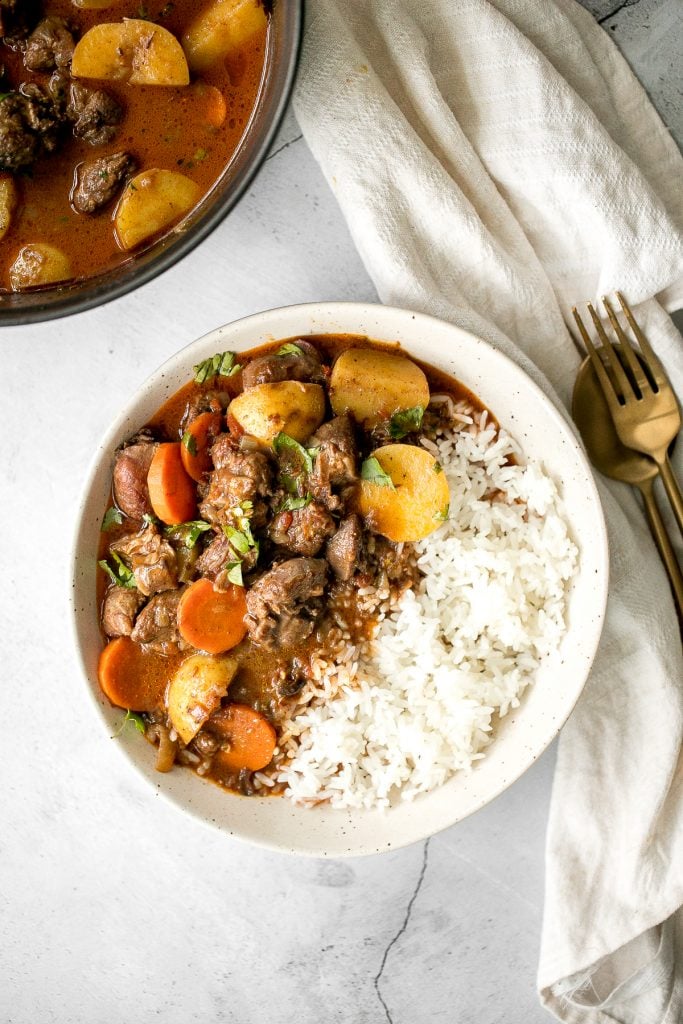
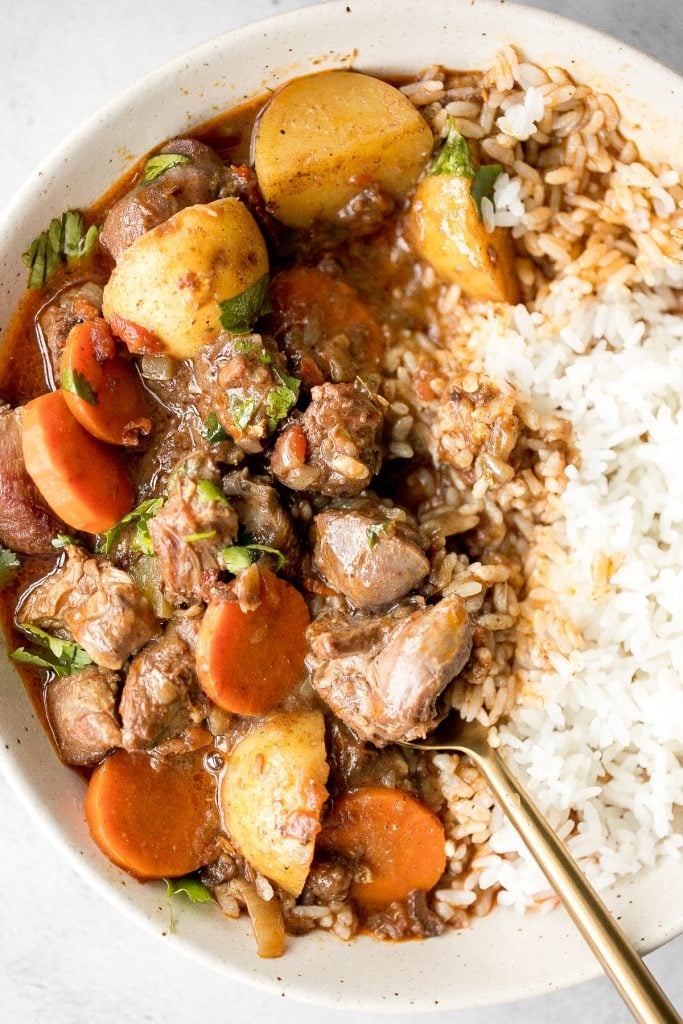
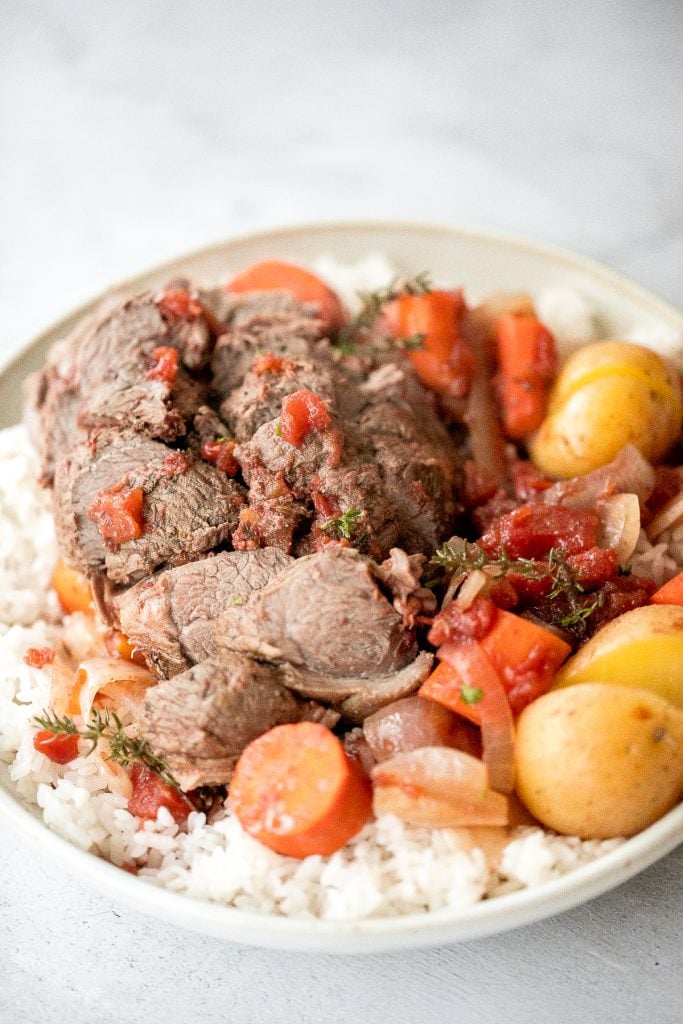
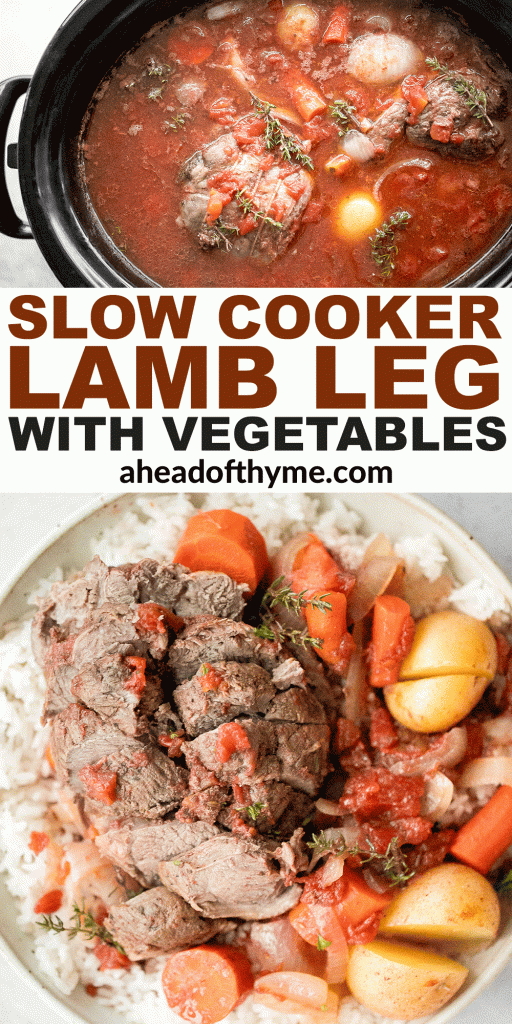
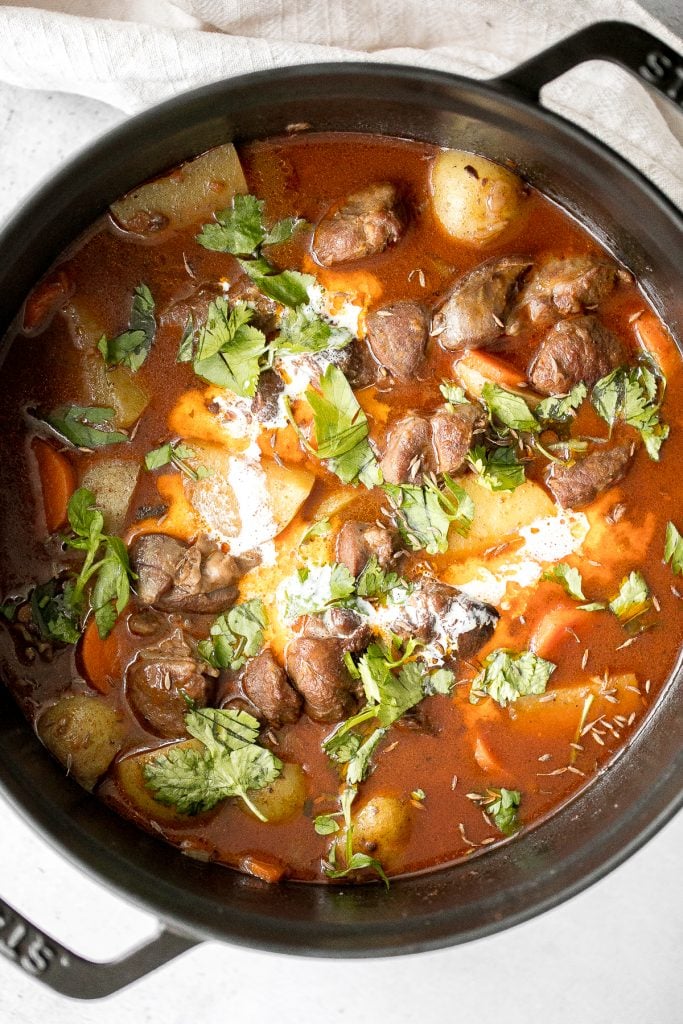
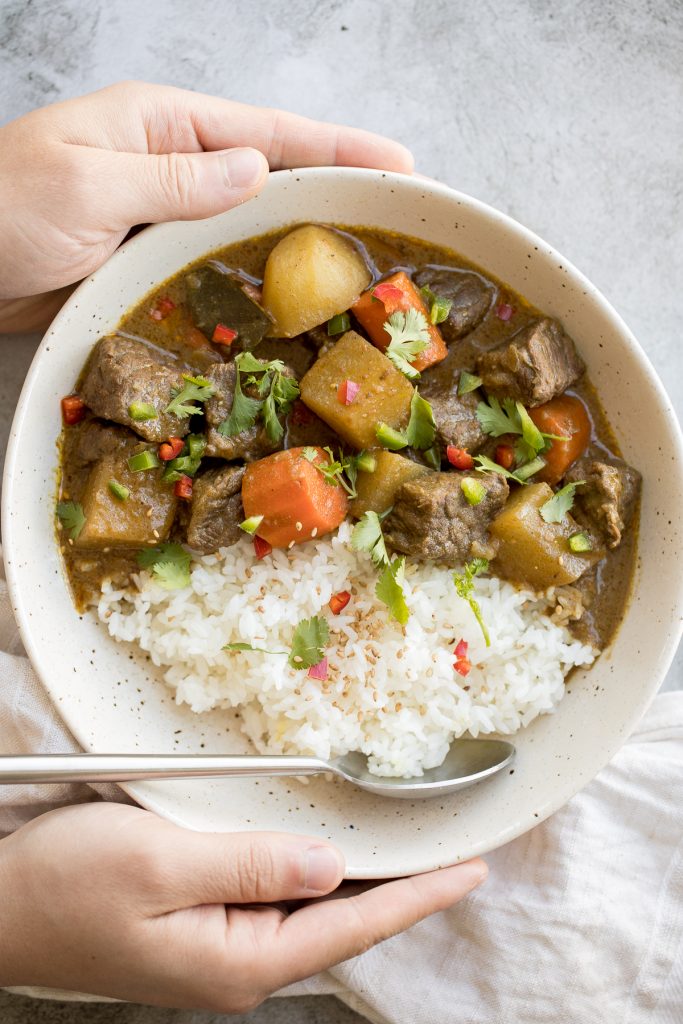
Warm and cozy, easy one pot coconut curry beef stew is hearty yet creamy, packed with tender beef chunks, potatoes and carrots, and creamy coconut milk.
Pan-fried Garlic Prawns with Soy Sauce
Quick and easy, pan-fried garlic prawns with soy sauce, garlic, and green onions is a simple but flavourful Chinese stir-fry made in under 15 minutes.
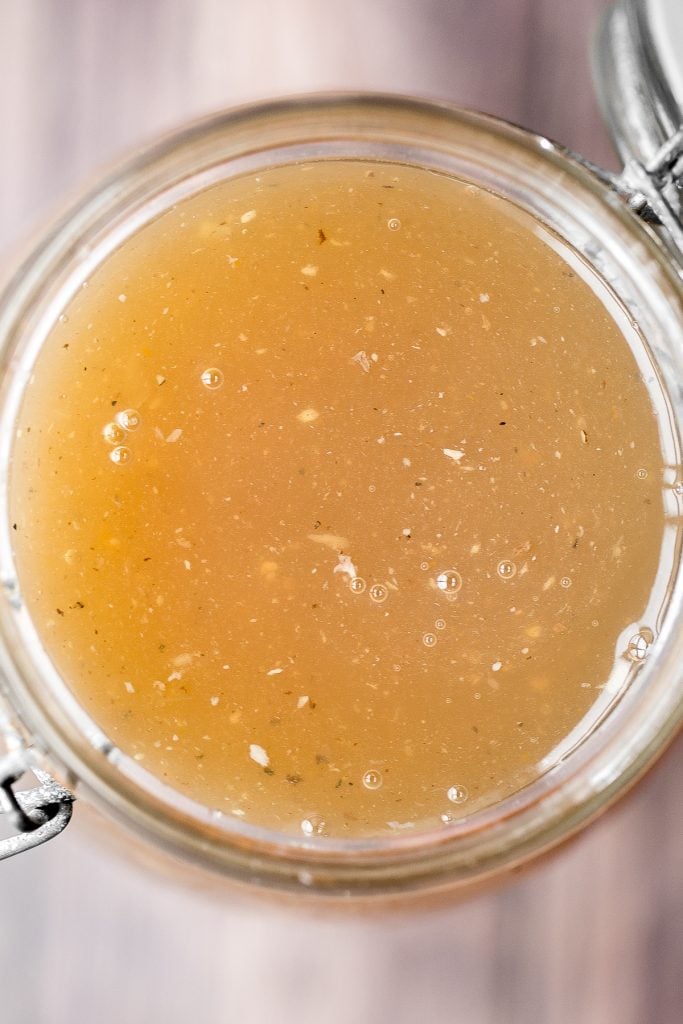
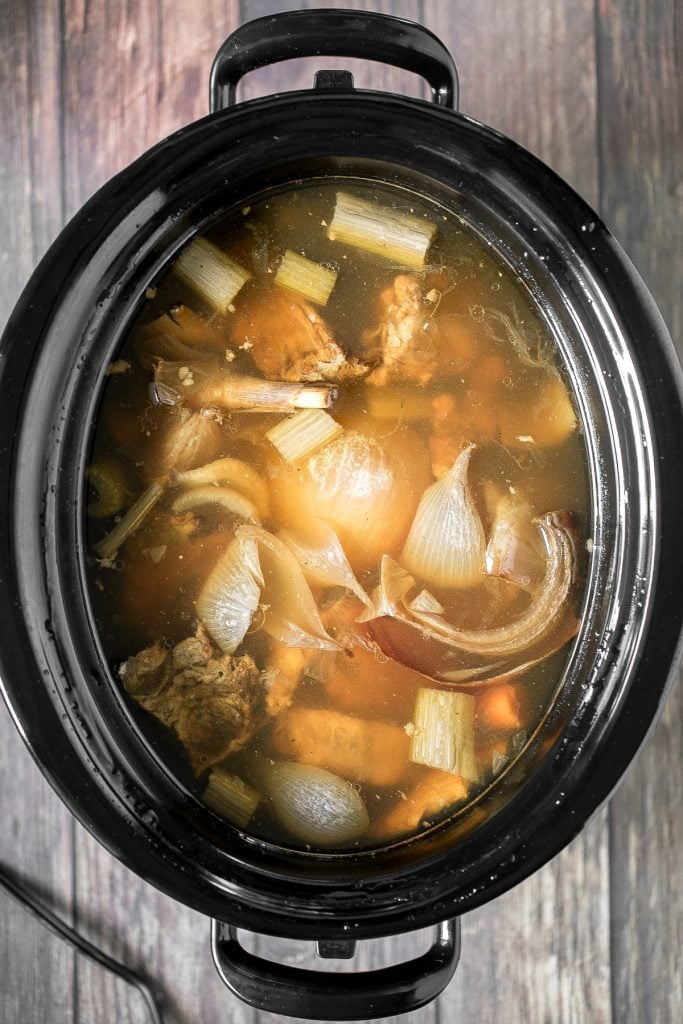
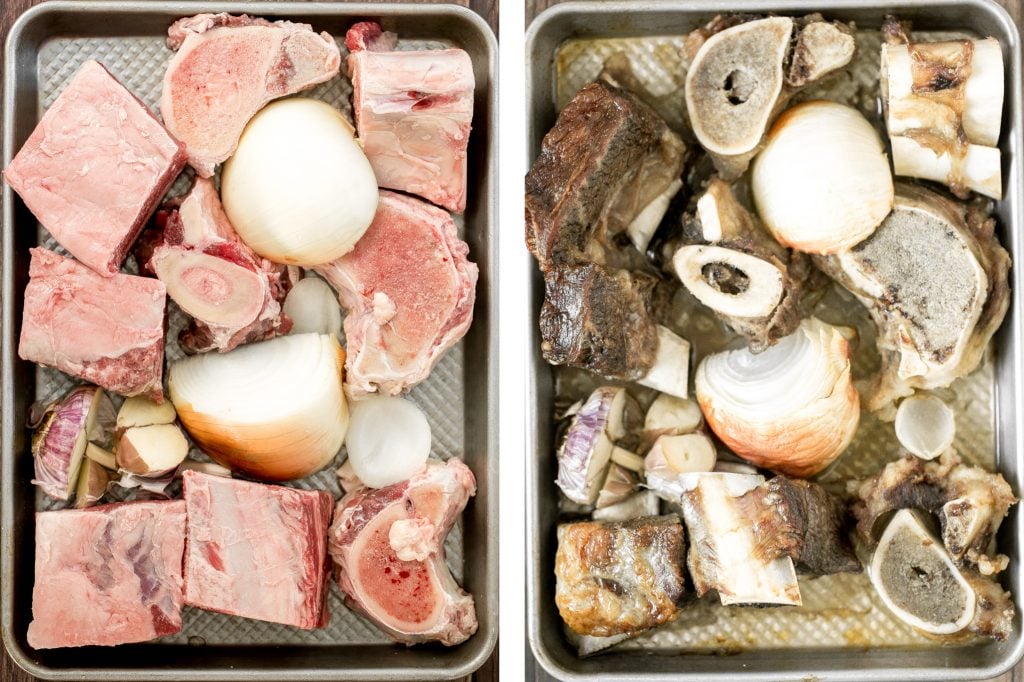
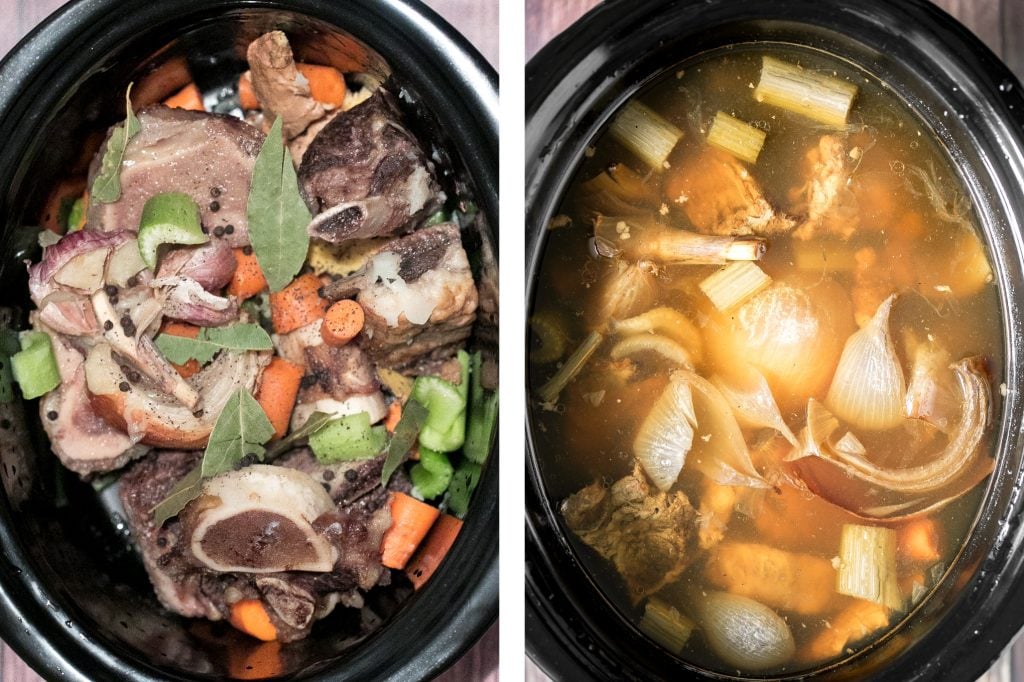
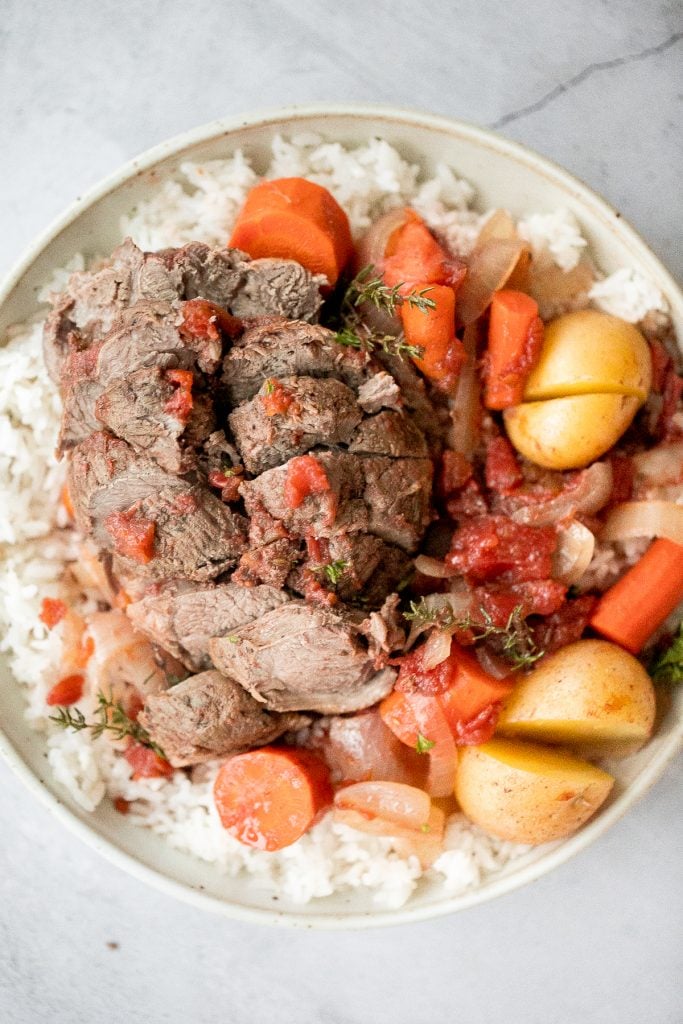
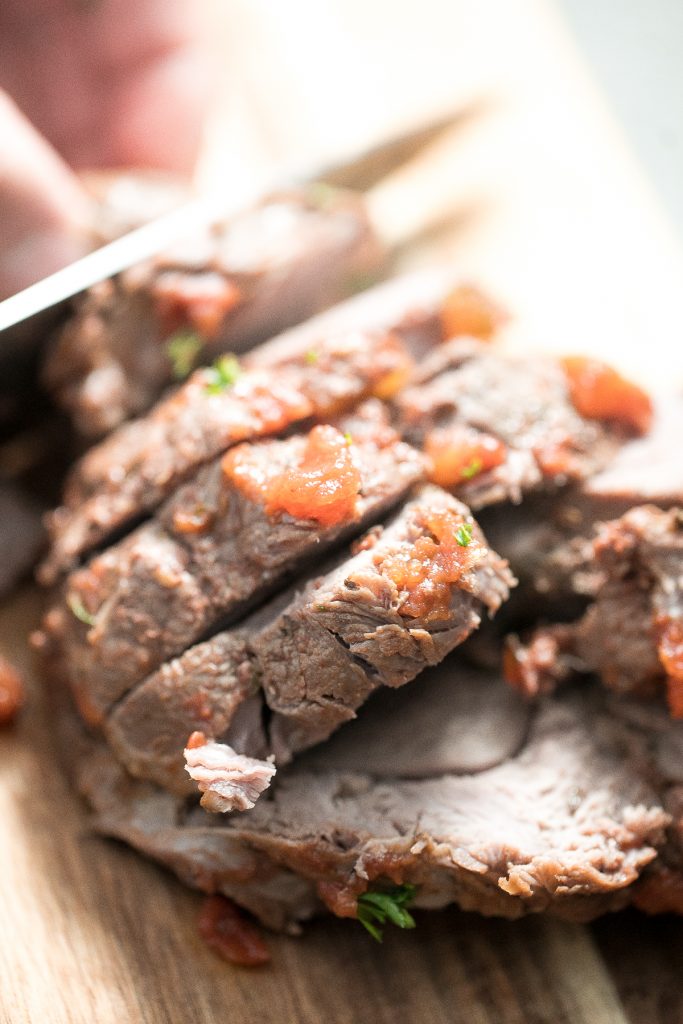
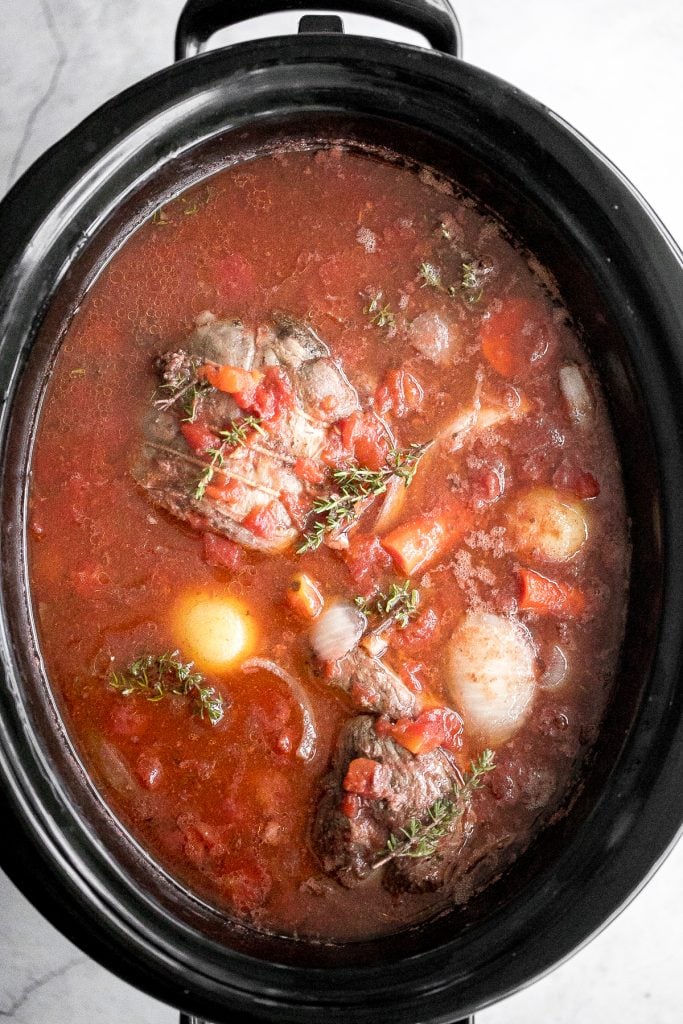
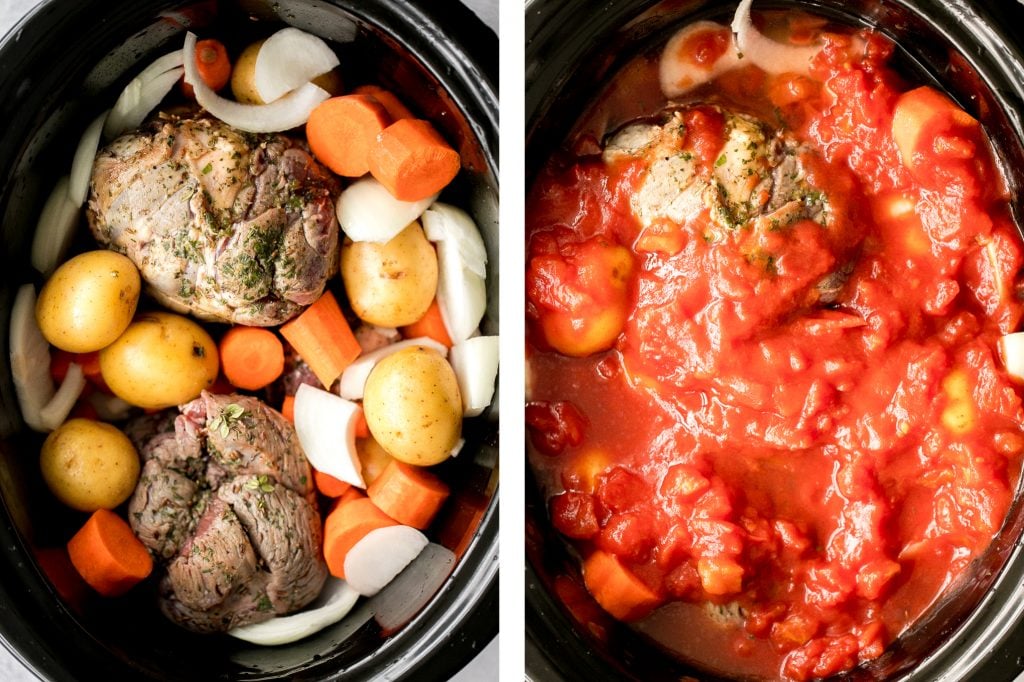
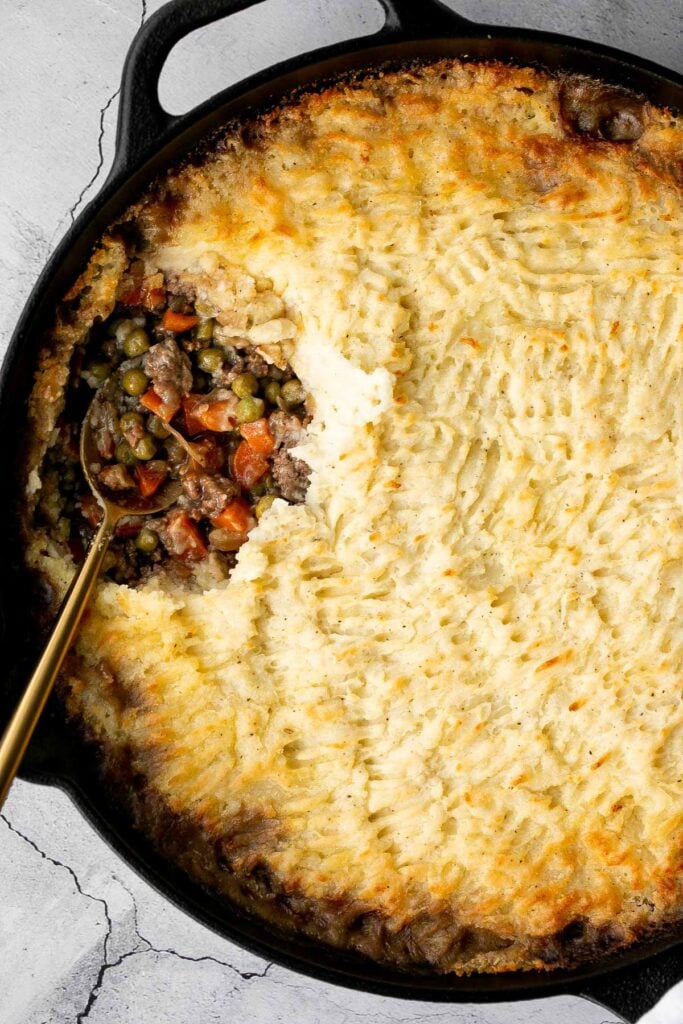
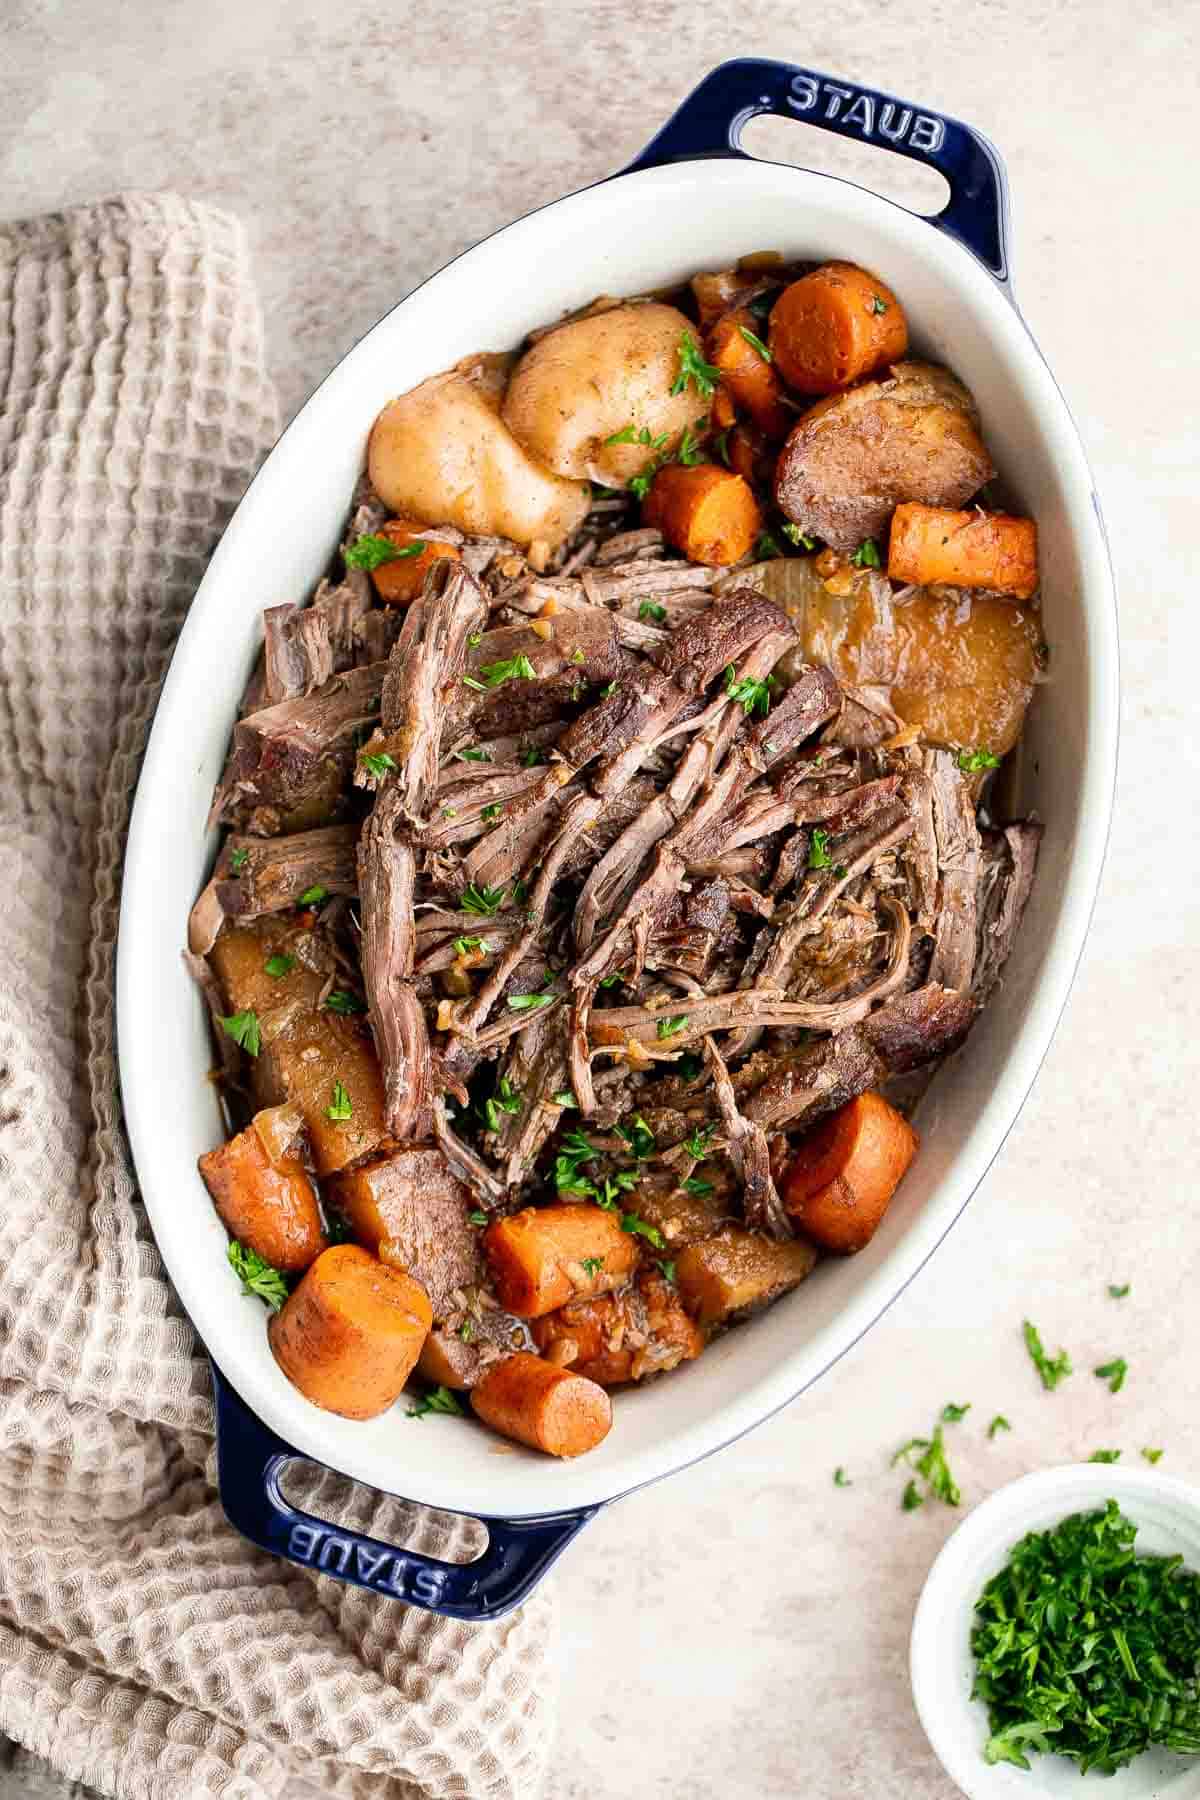
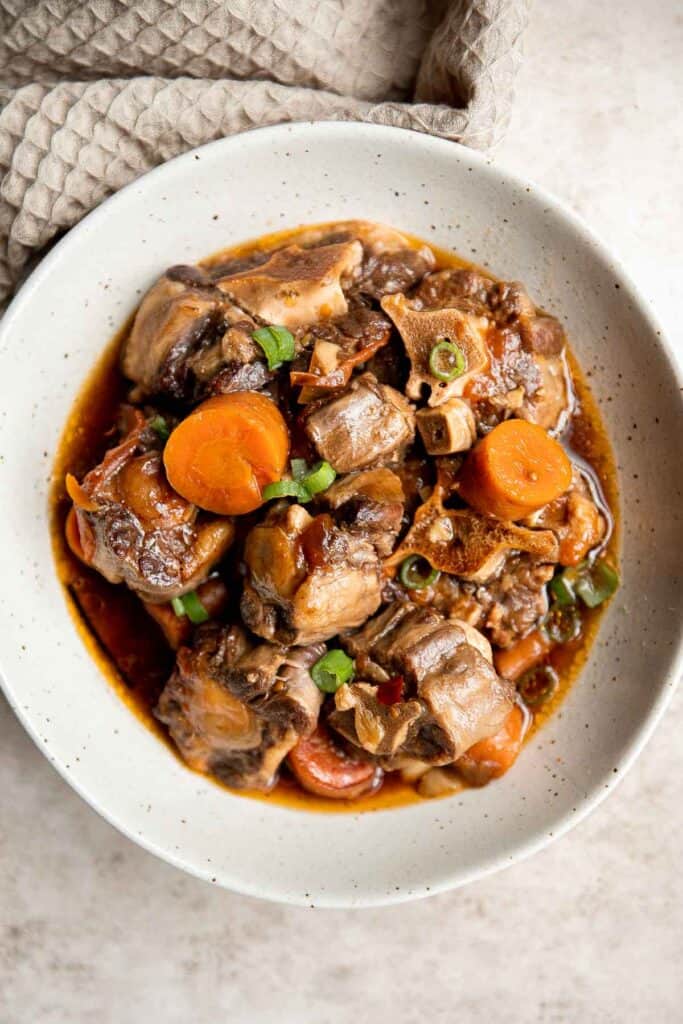
Instant Pot Oxtail Stew is filling, nourishing, flavorful, and satisfying. This Asian stew is easy to make in the pressure cooker and is freezer-friendly.
Noodles and Rice Recipes
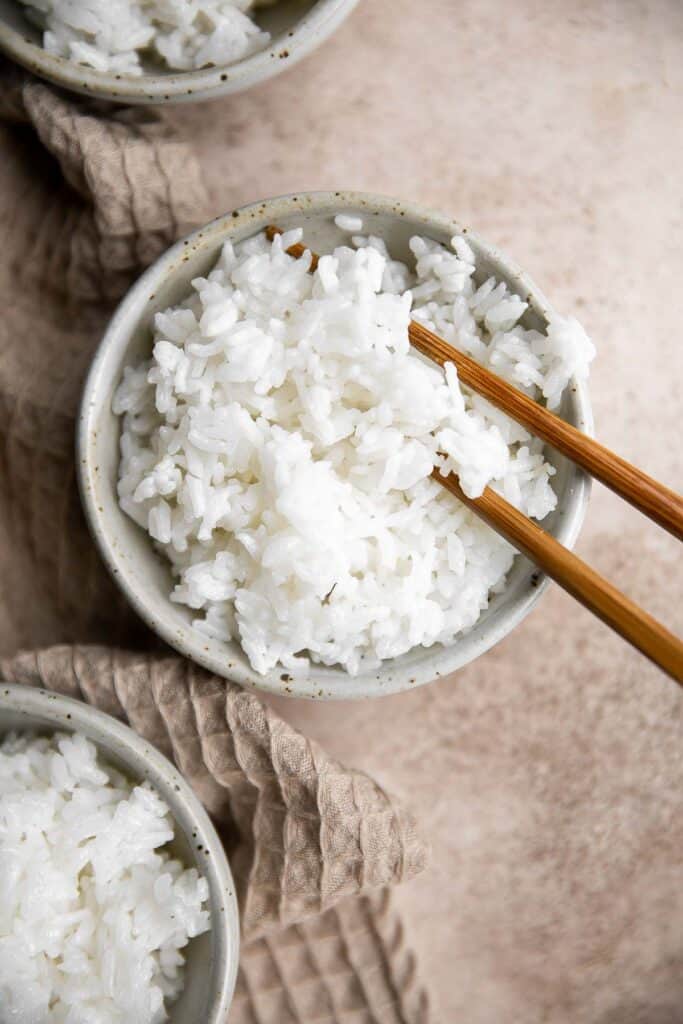
Learn how to make steamed rice that's perfectly cooked, fluffy and delicious in 30 minutes. Cook white rice on the stove, rice cooker, or instant pot.
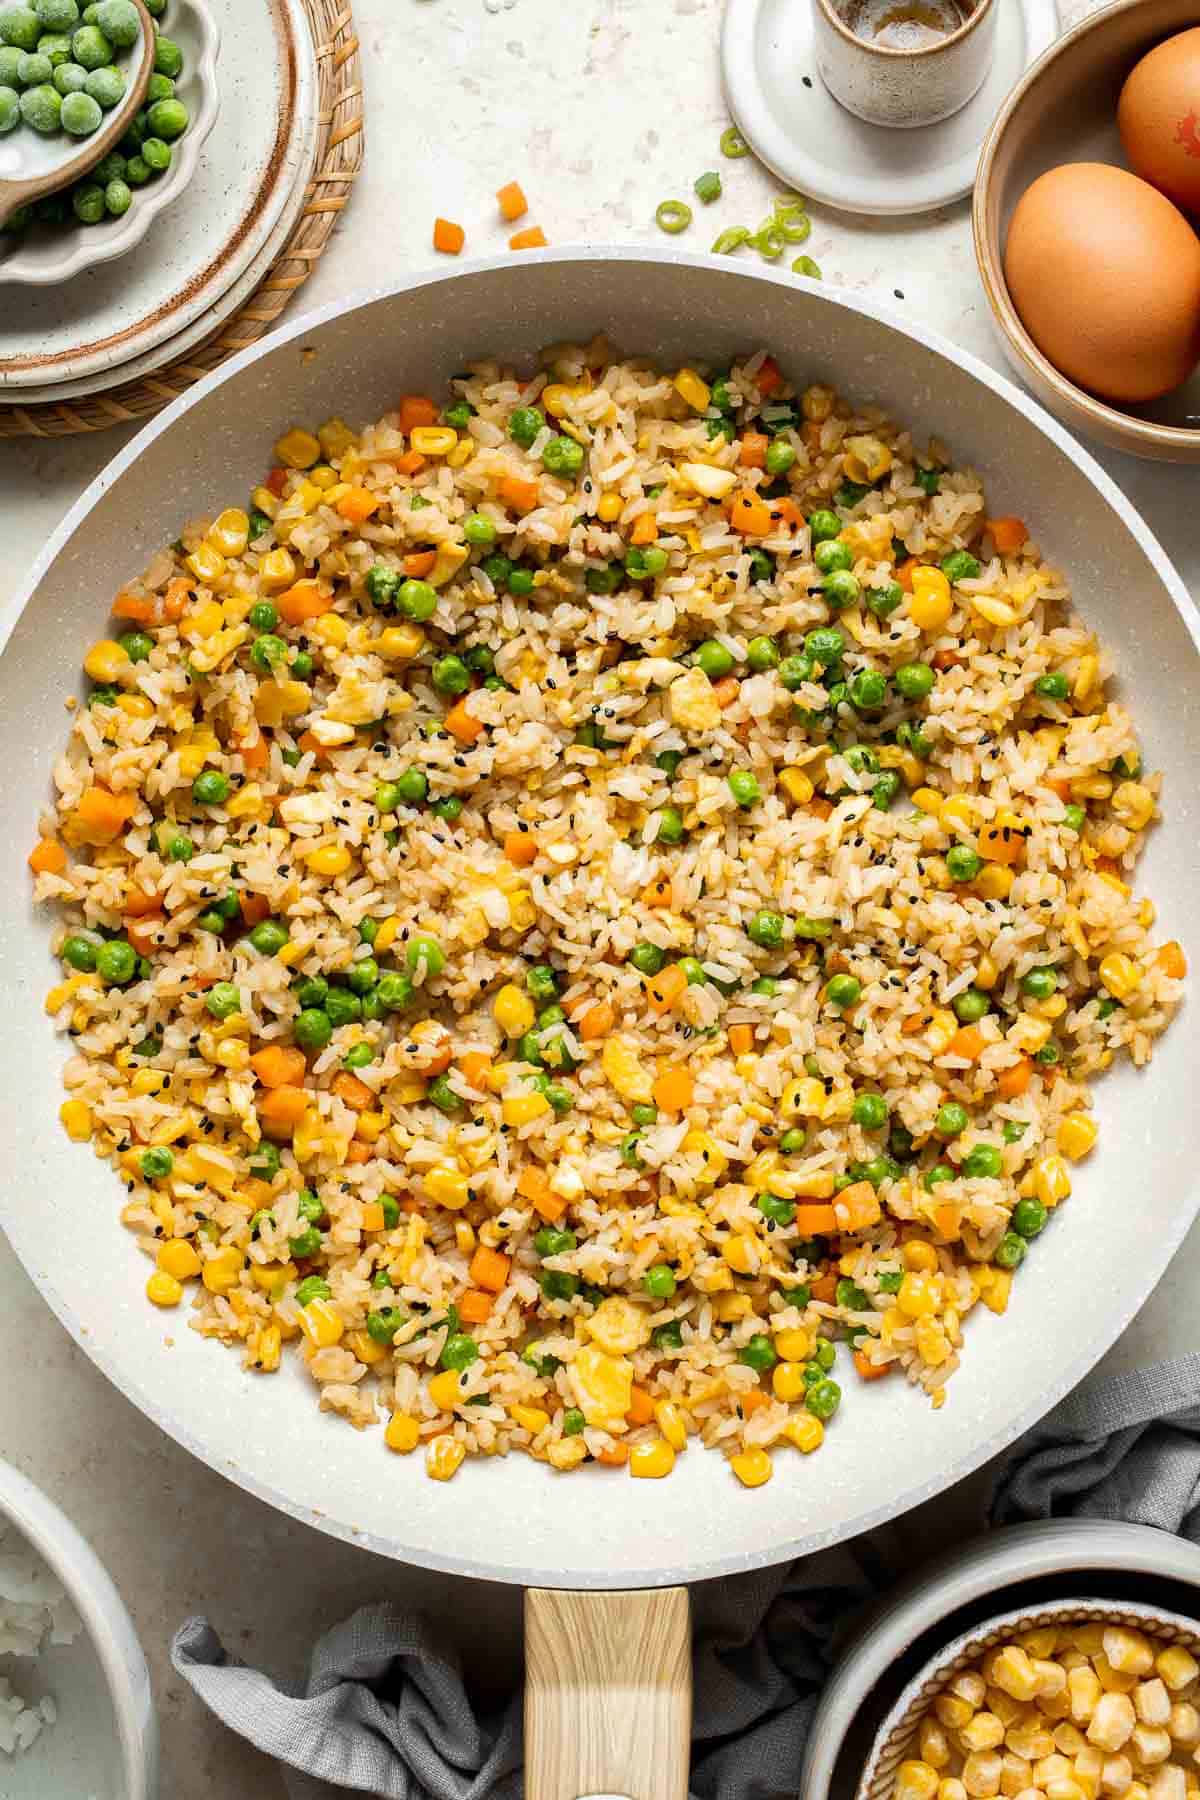
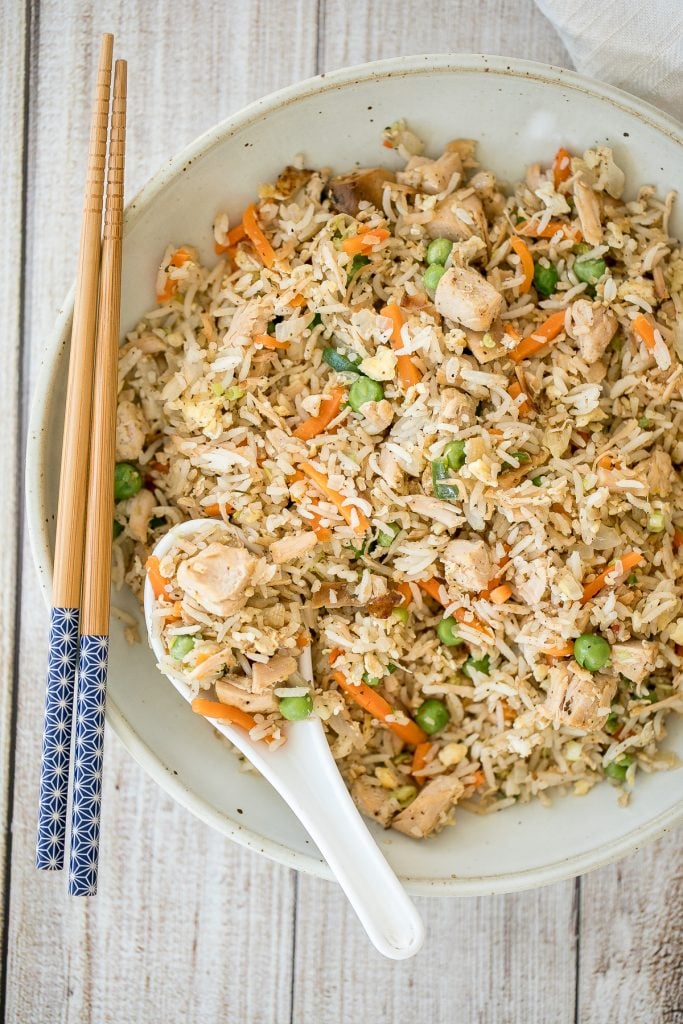
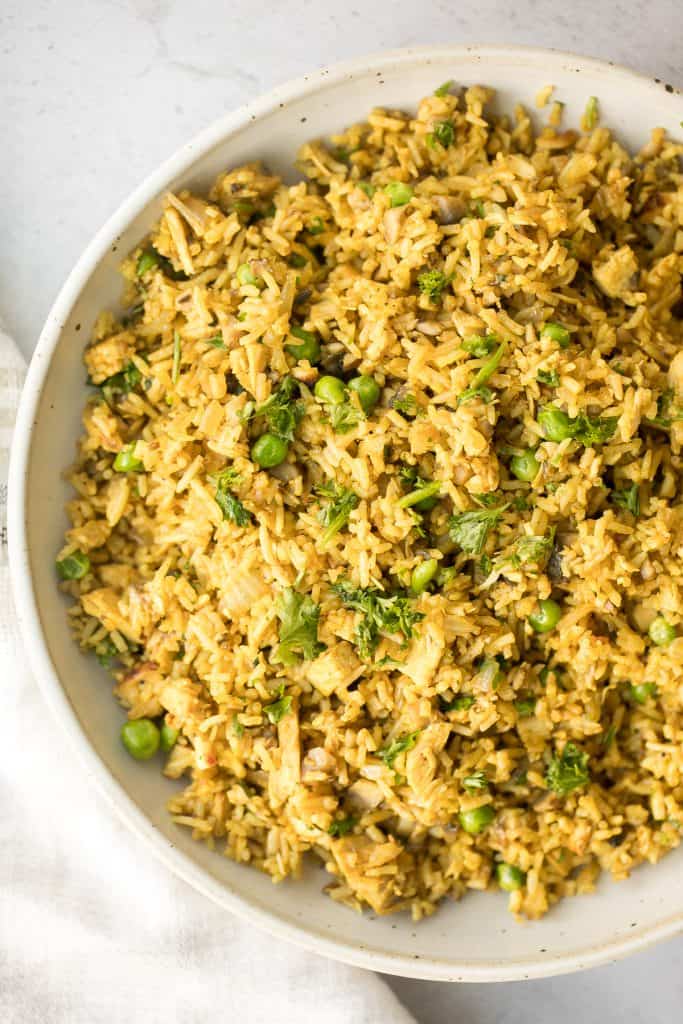
Say goodbye to takeout and make flavourful, Chinese restaurant-style vegetarian fried rice at home in 10 minutes, with fully customizable ingredients.
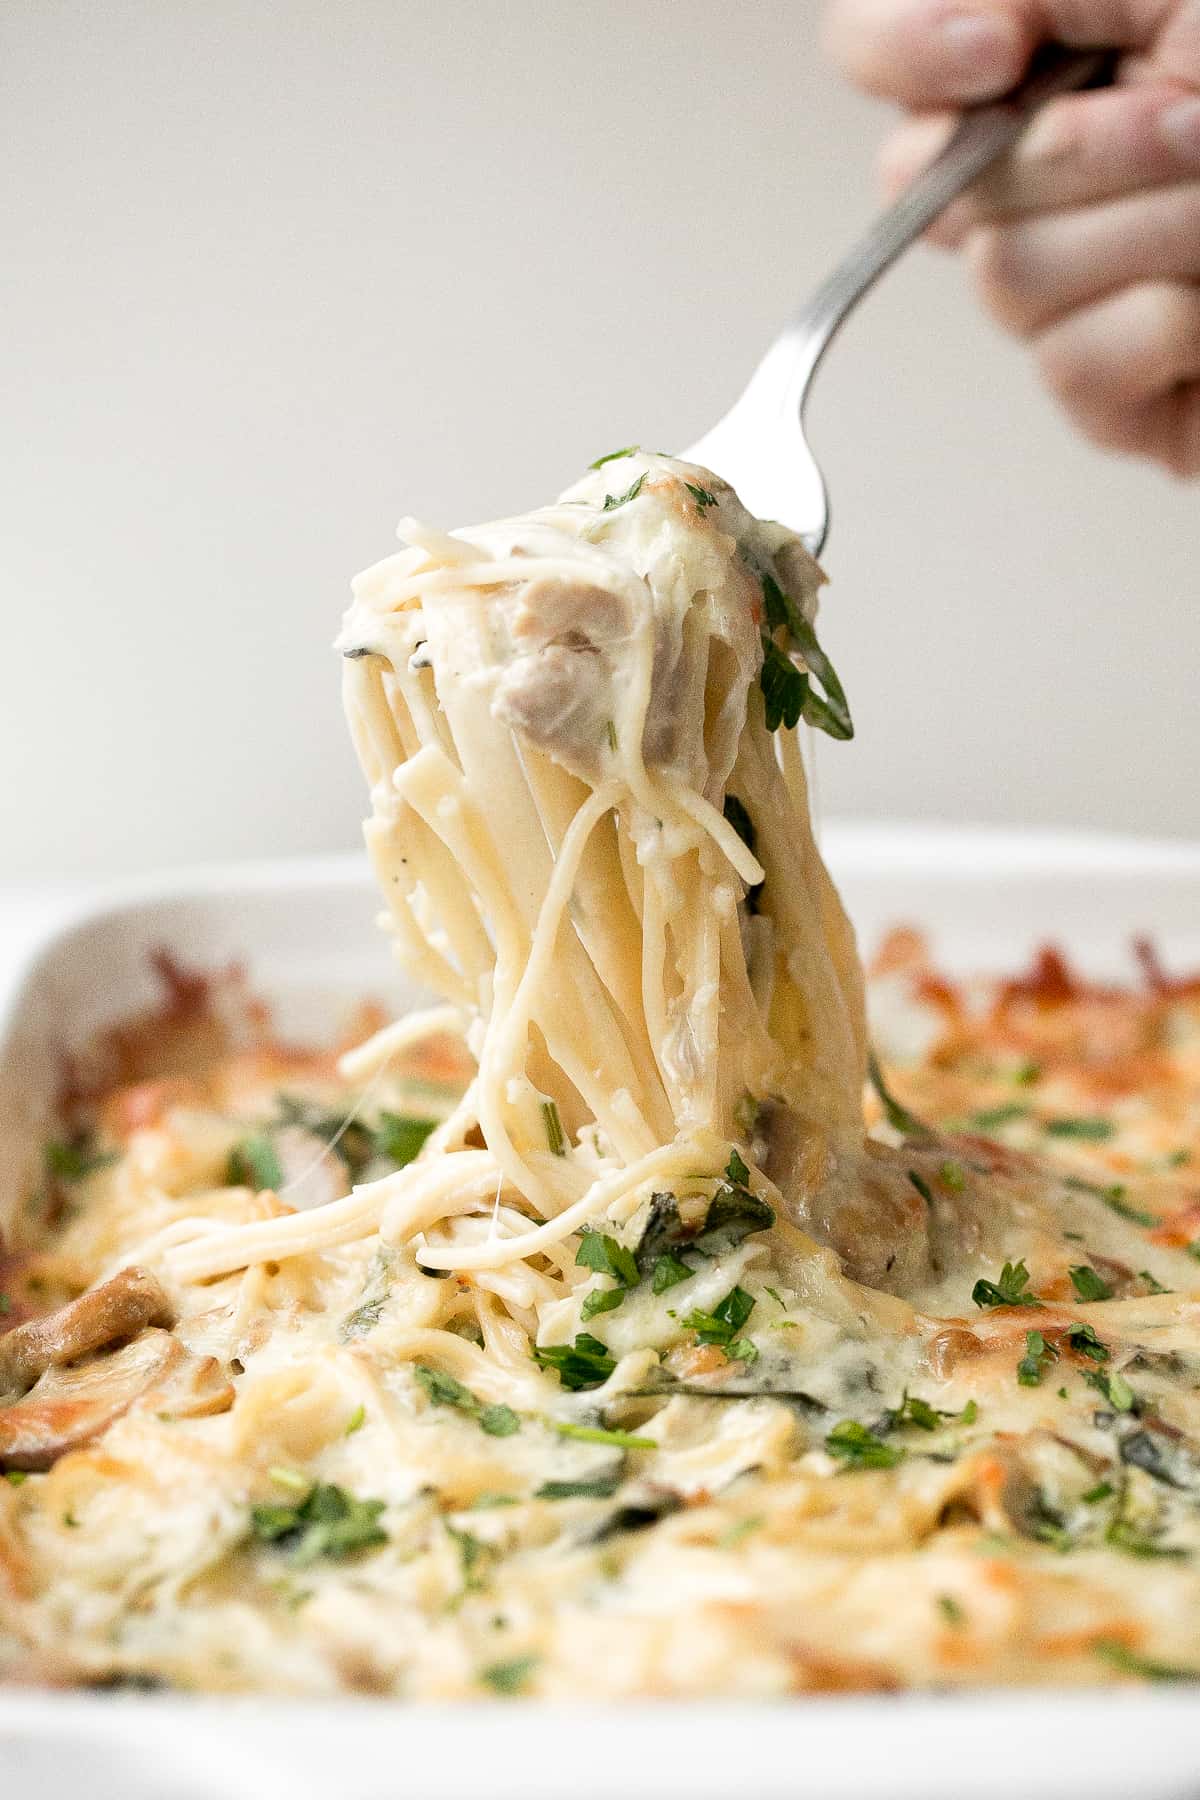
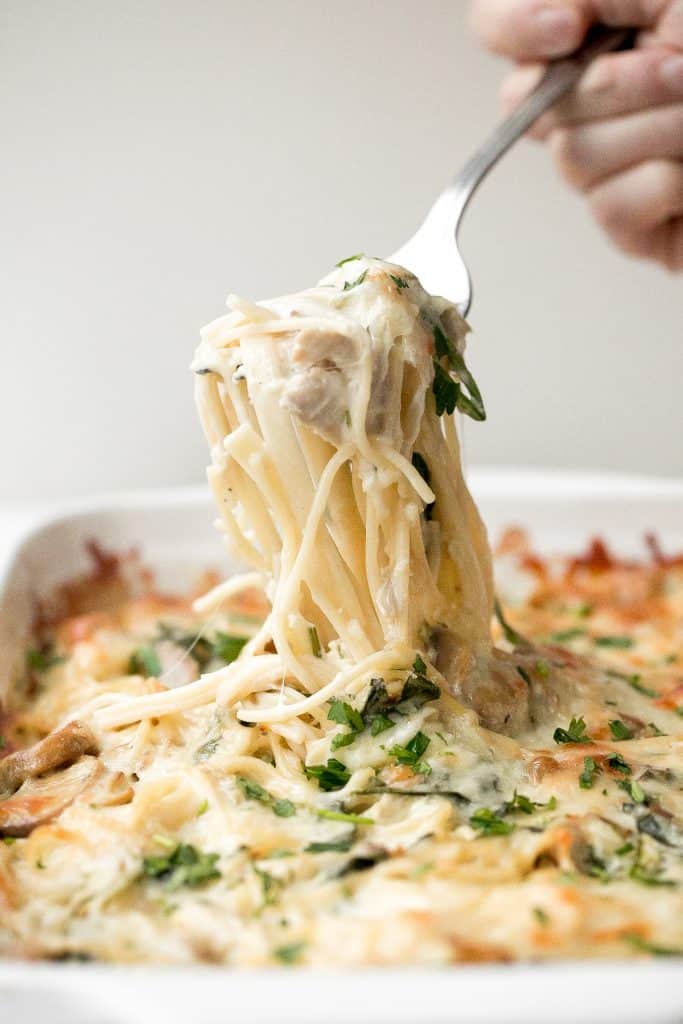
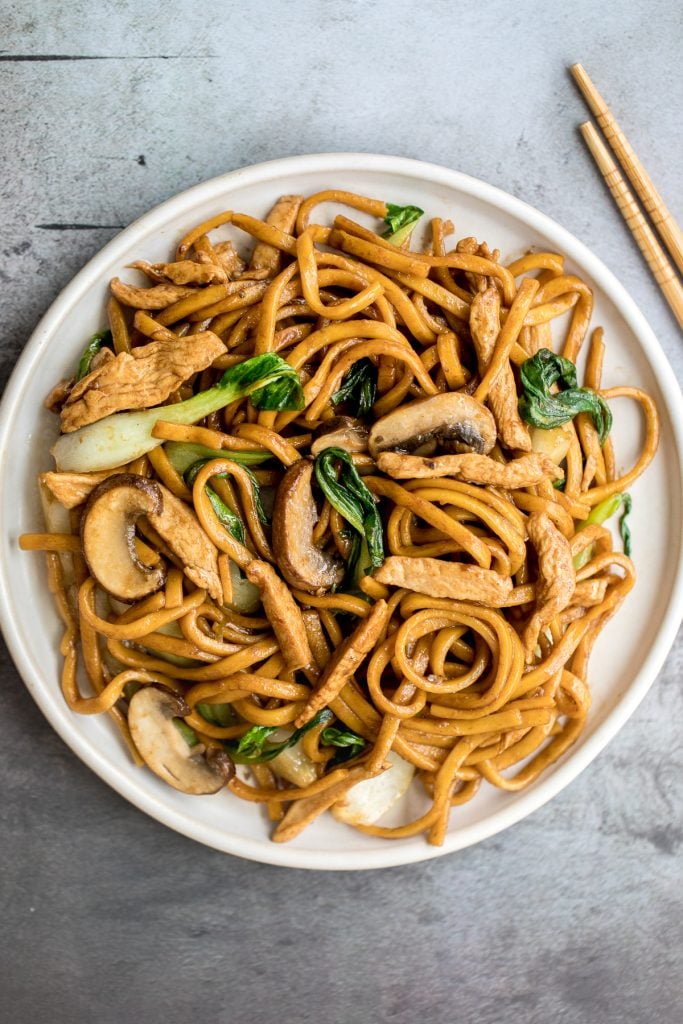
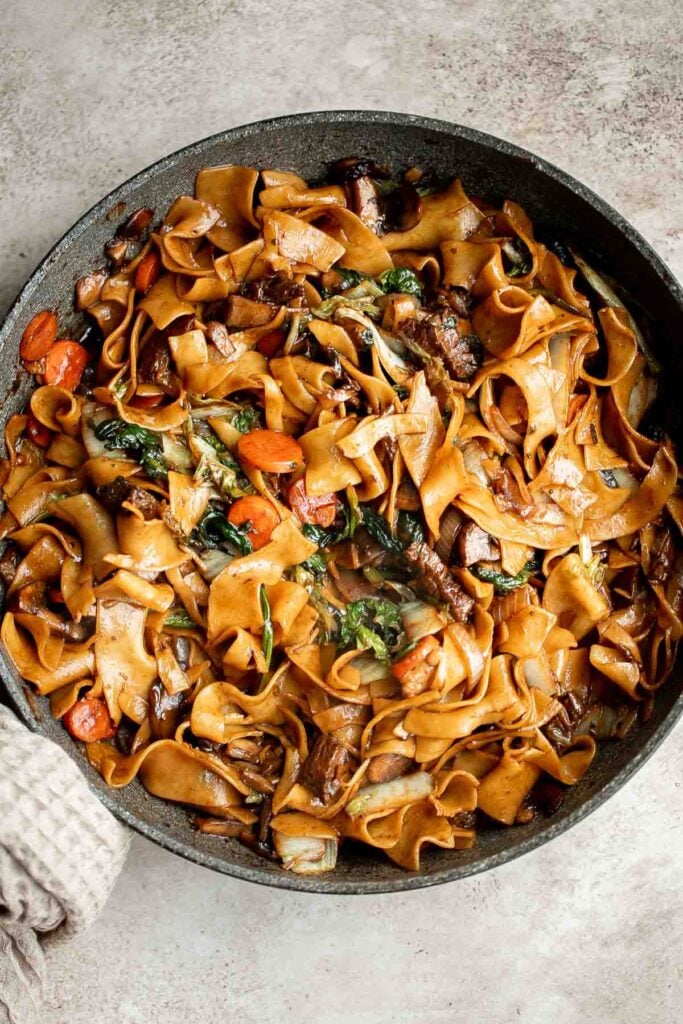
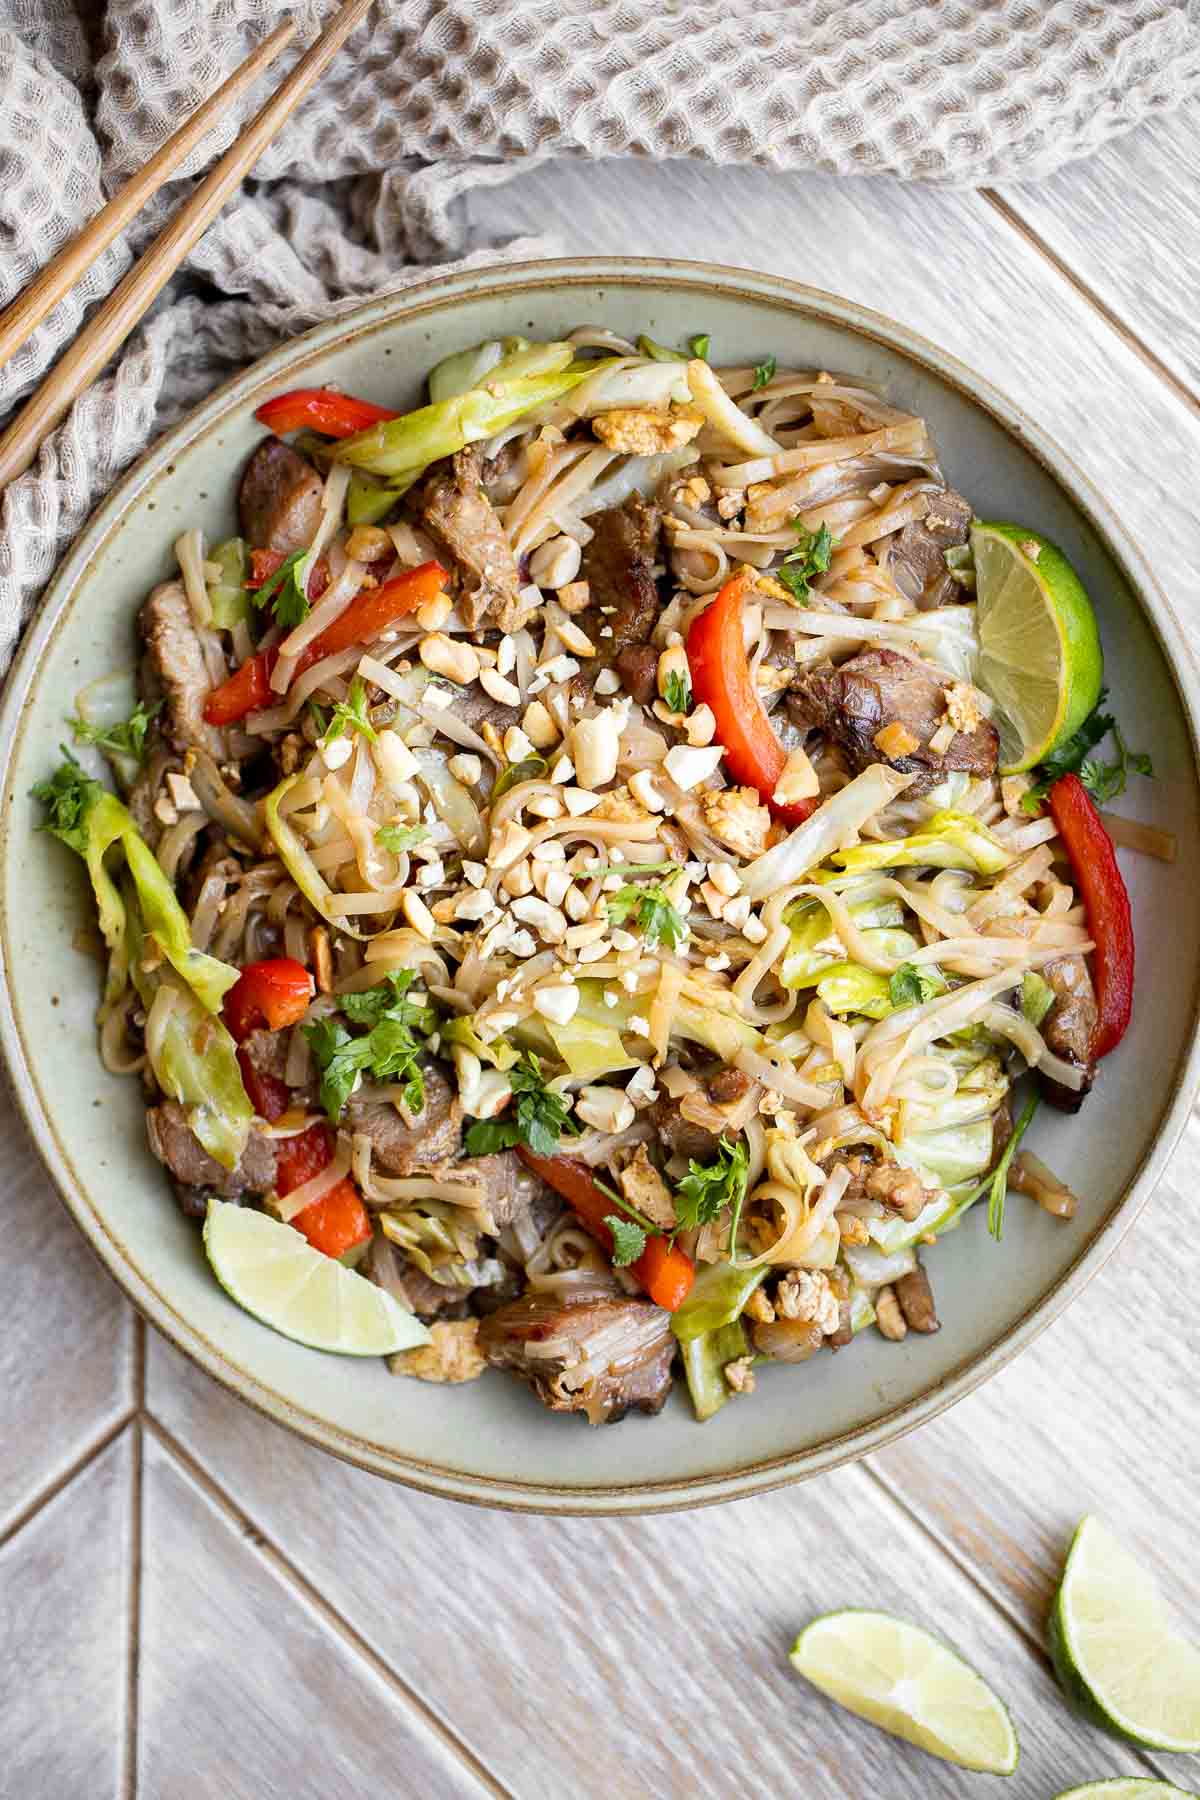
Better than take-out, flavourful and authentic Shanghai fried noodles with chicken, mushrooms, and bok choy is made in just 10 minutes - the easiest dinner!
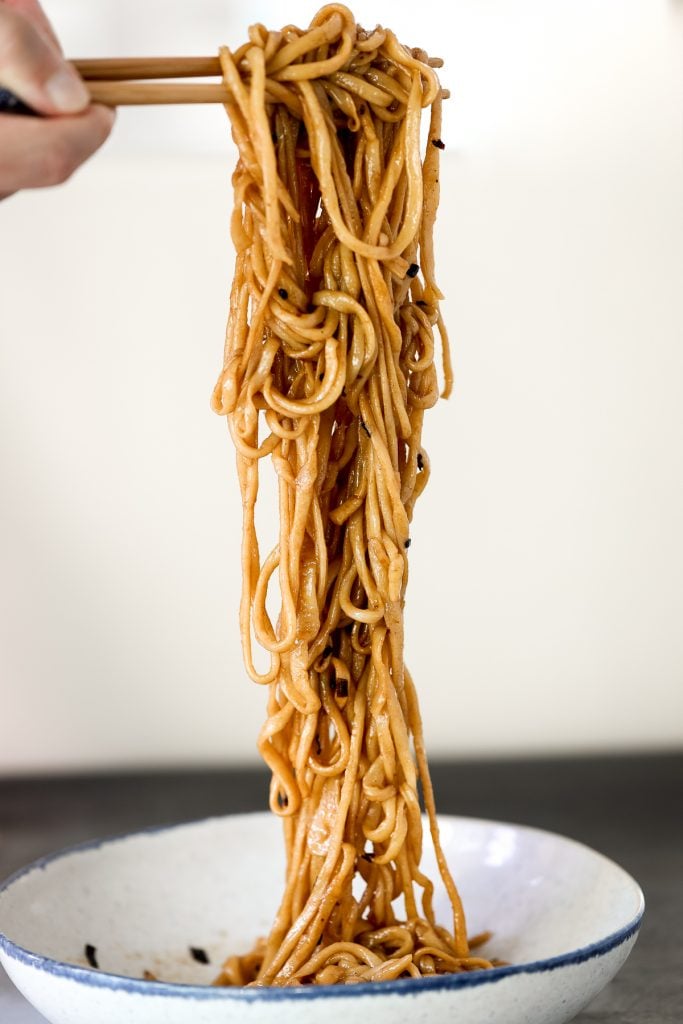
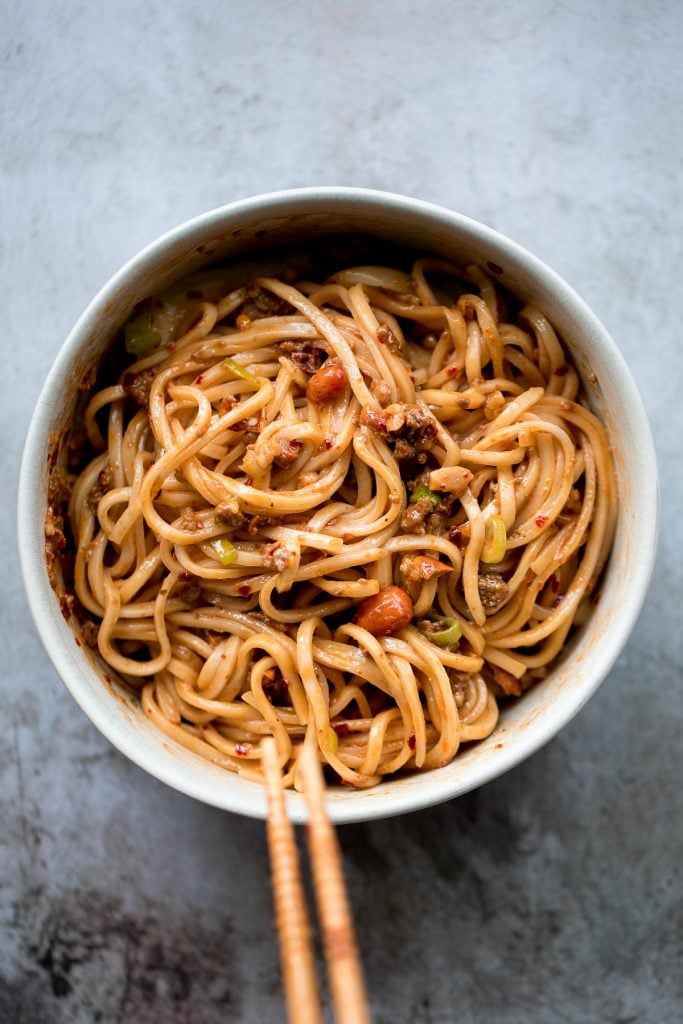
Toss thin wheat noodles in a spicy chili oil sauce and top with seasoned ground beef to make numbing, spicy Sichuan Dan Dan noodles in under 15 minutes.
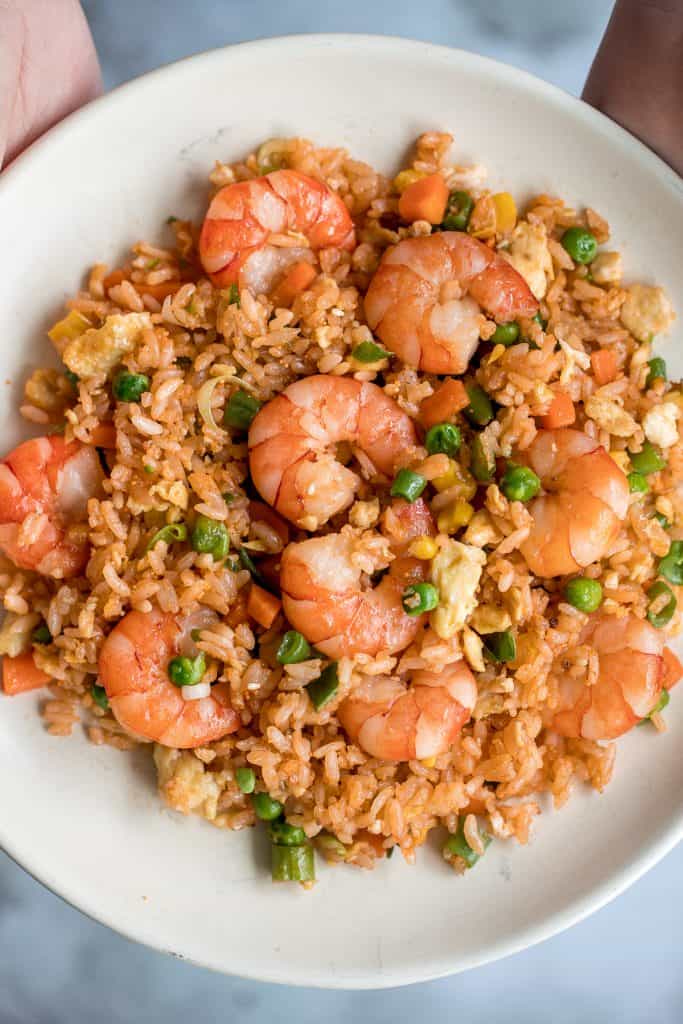
Quick and easy, one-pan, 10-minute seafood fried rice with tiger prawns is so much healthier, tastier and better than takeout. It's the easiest weeknight meal.
This beef noodle stir fry is the 20-minute dinner that you have been looking for - quick and easy, delicious and flavorful, and so much better than takeout.
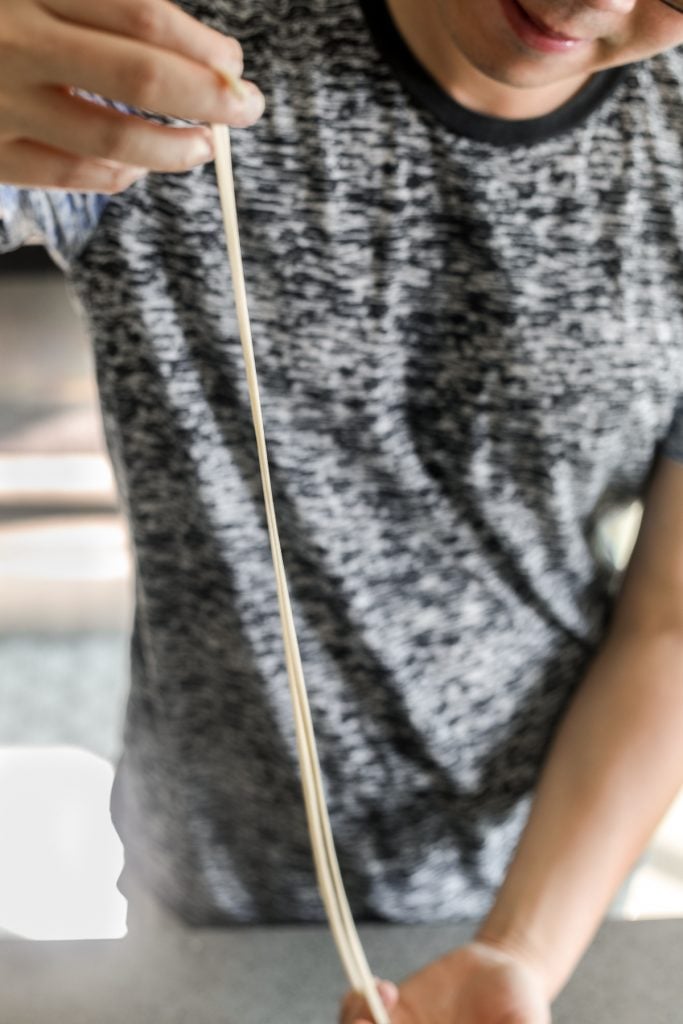
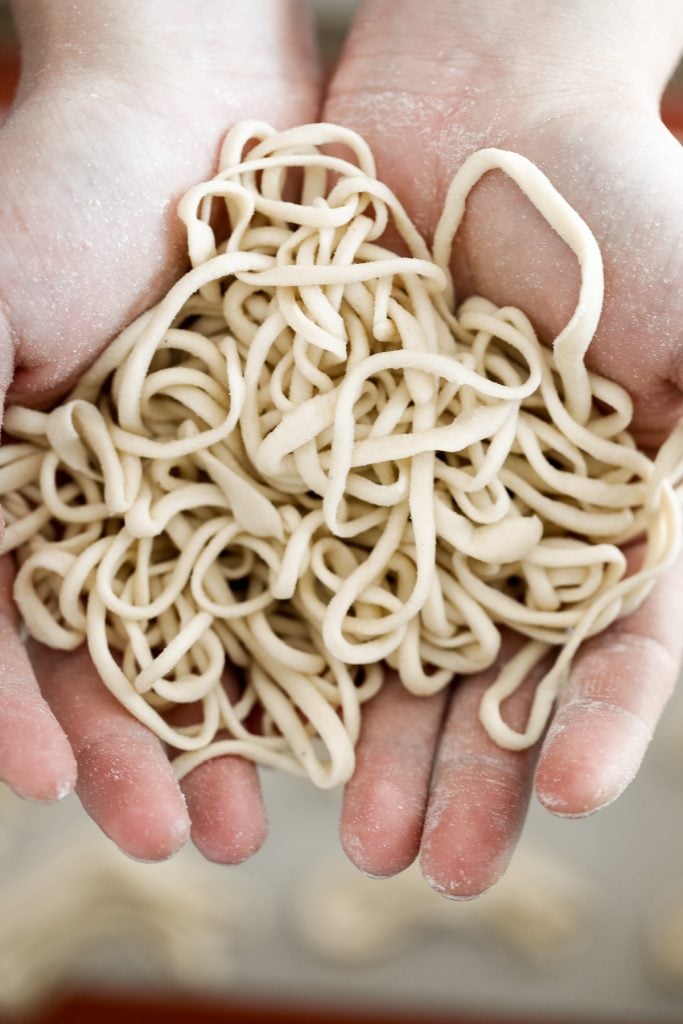
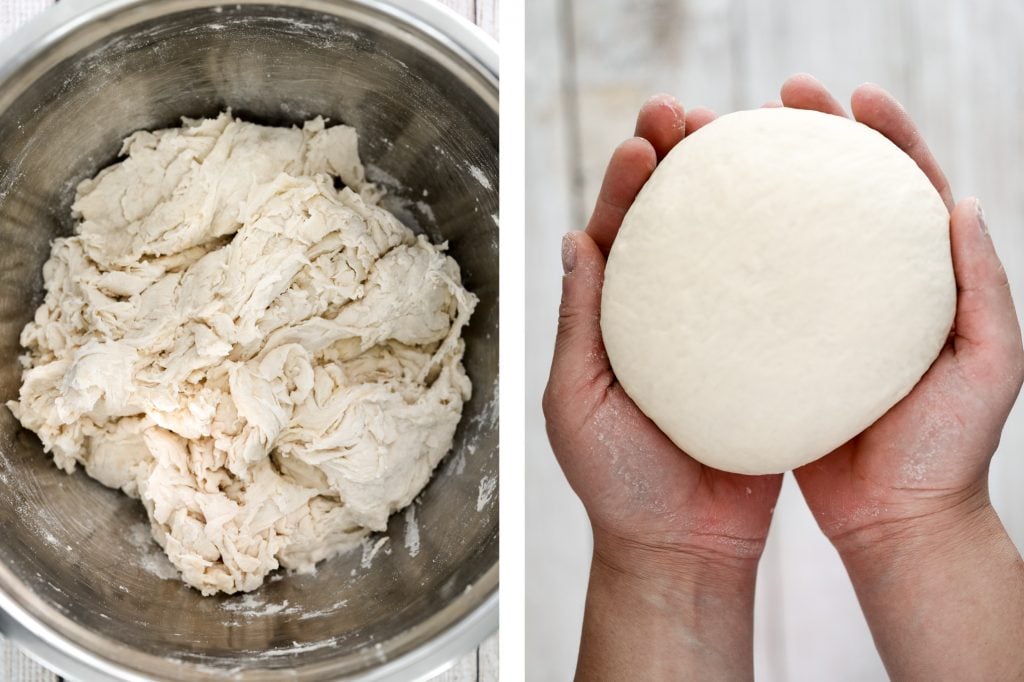
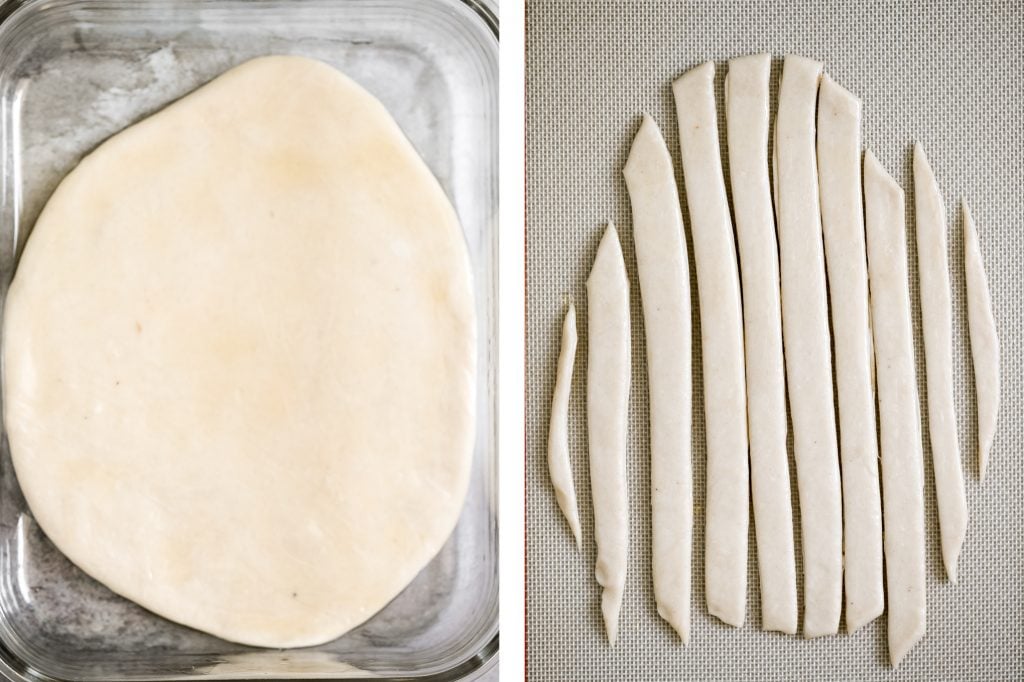
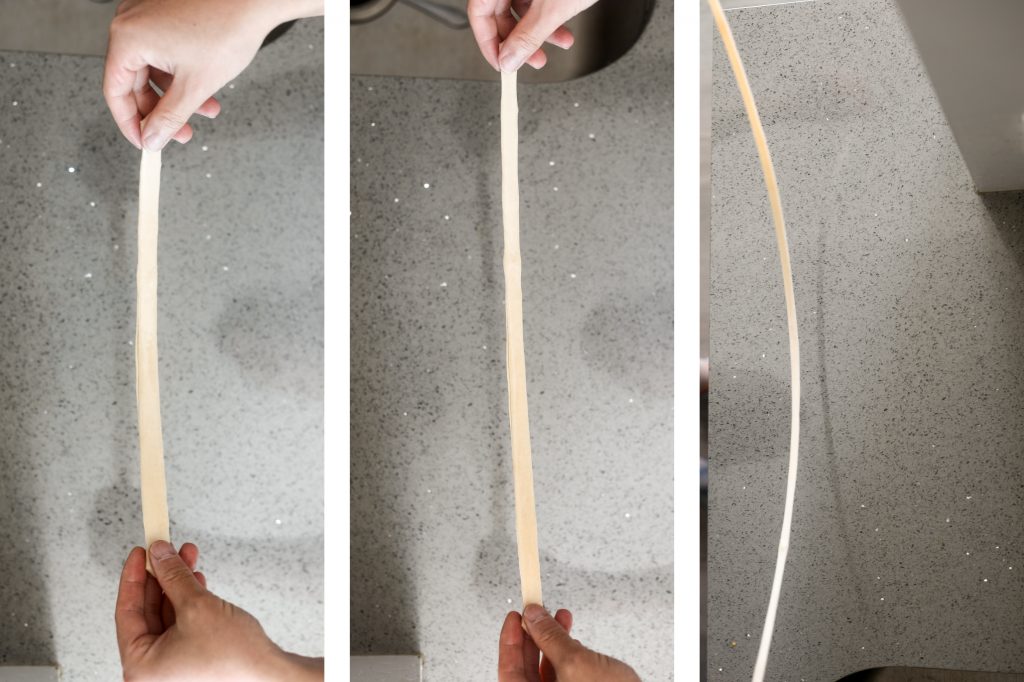
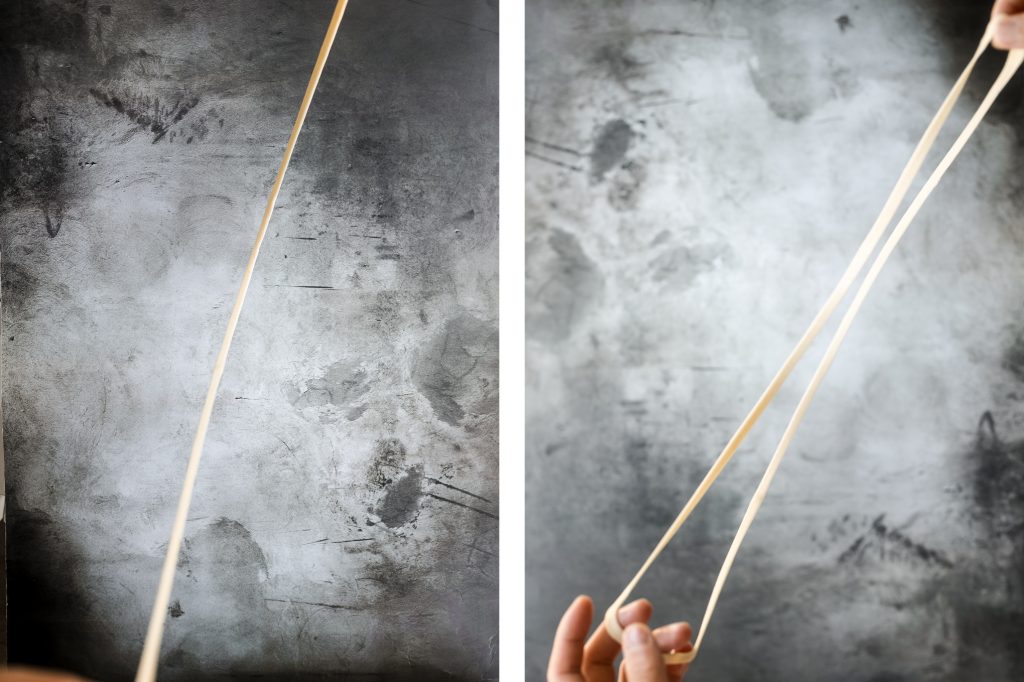
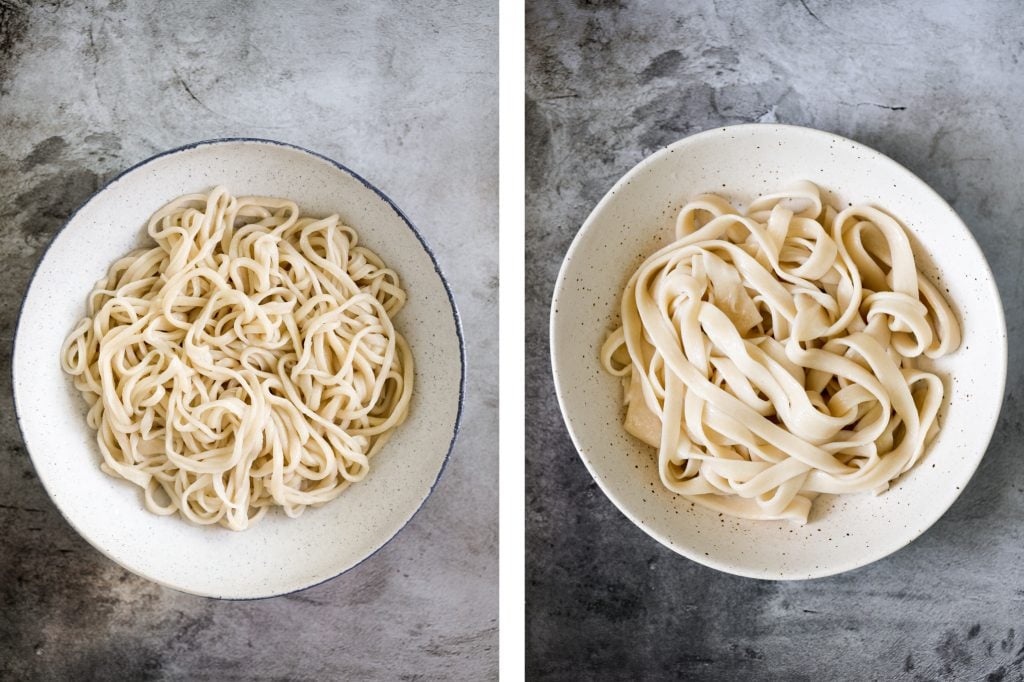
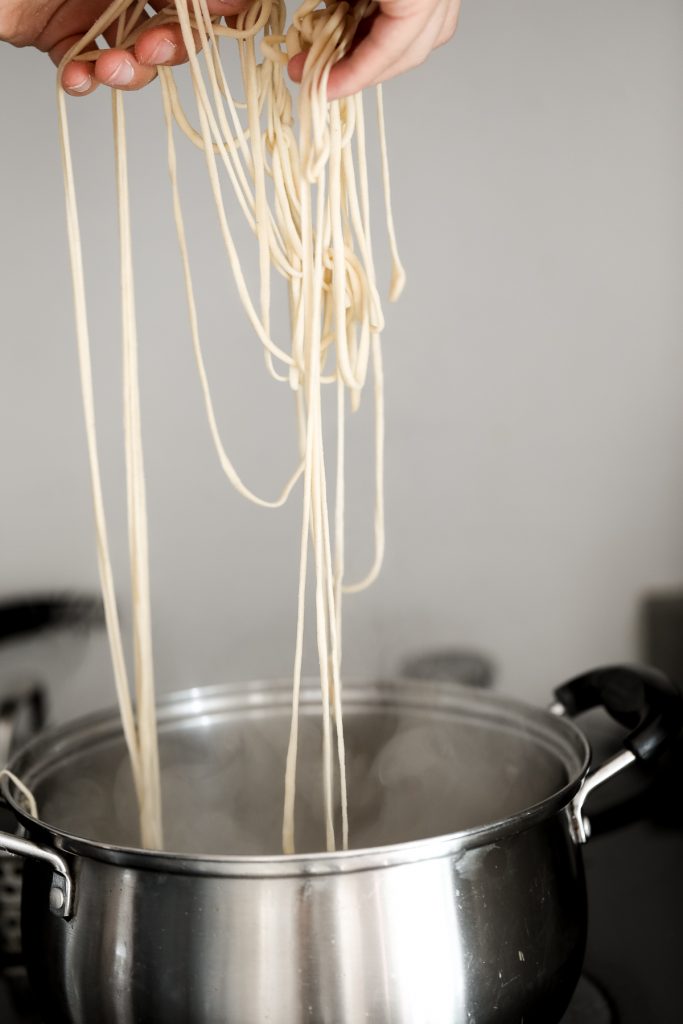
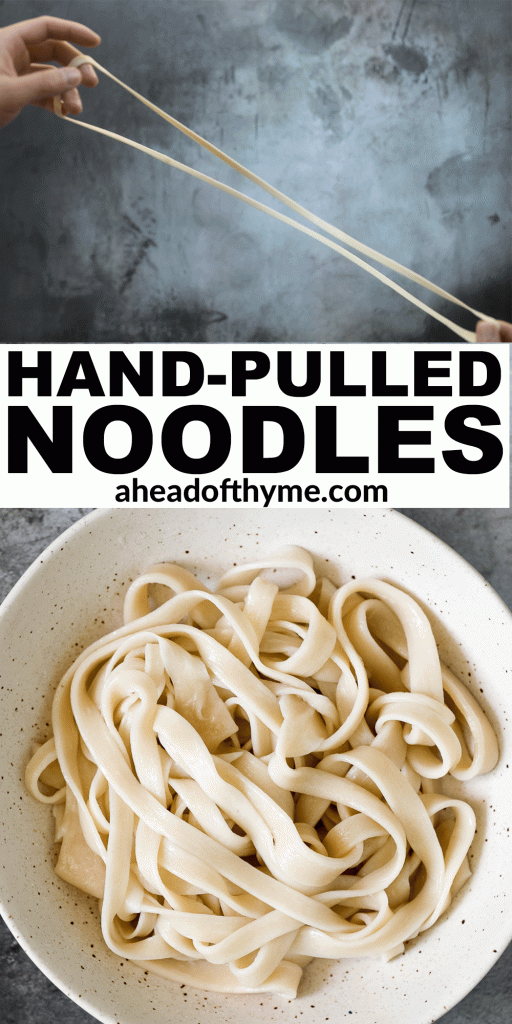
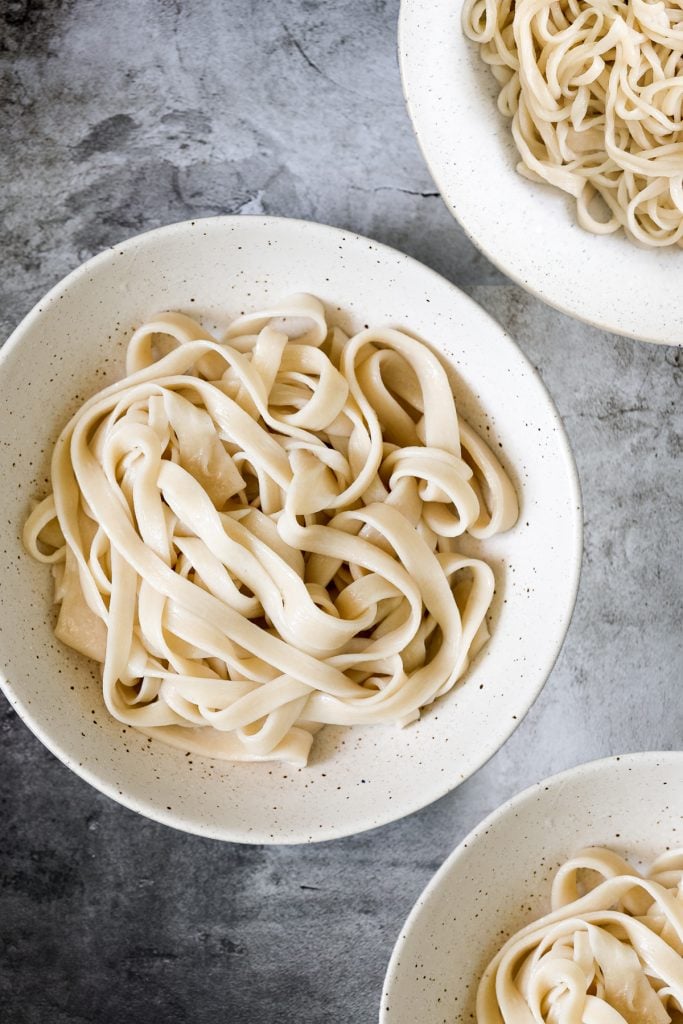
Hand-pulled noodles (la mian 拉面) are springy, chewy and delicious traditional homemade noodles that are rolled and stretched into long strips.
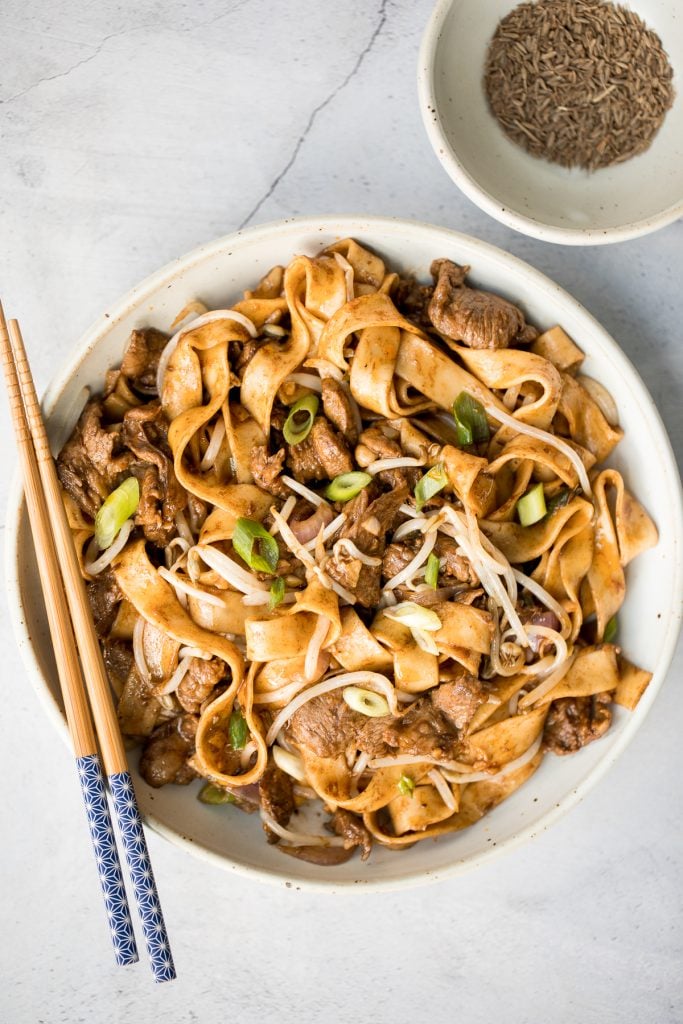
Better than takeout, flavourful stir-fried spicy cumin lamb noodles is packed with marinated lamb, noodles, and crisp bean sprouts. Make it in 15 minutes.
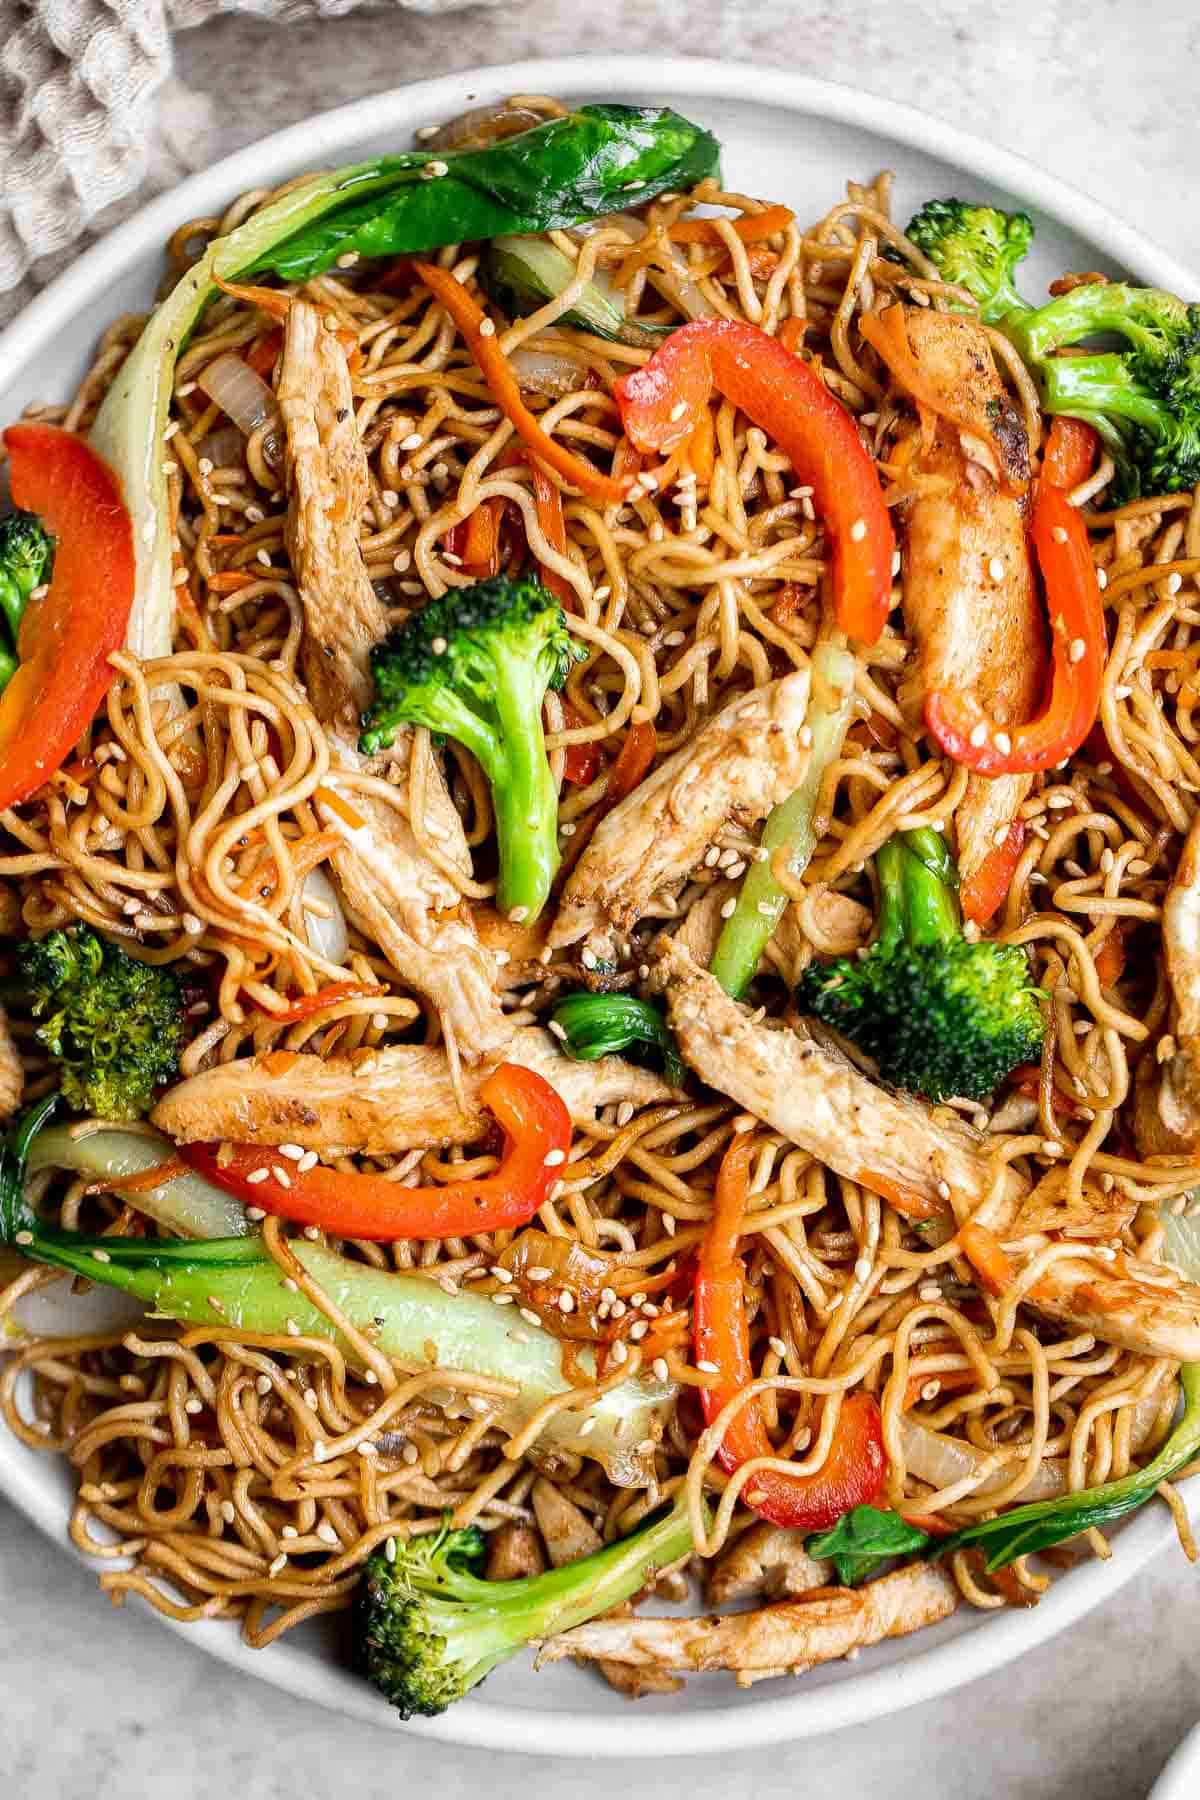
Chicken Chow Mein is a classic Chinese noodle dish that is quick and easy to make at home in 20 minutes - faster, healthier, and better than takeout.
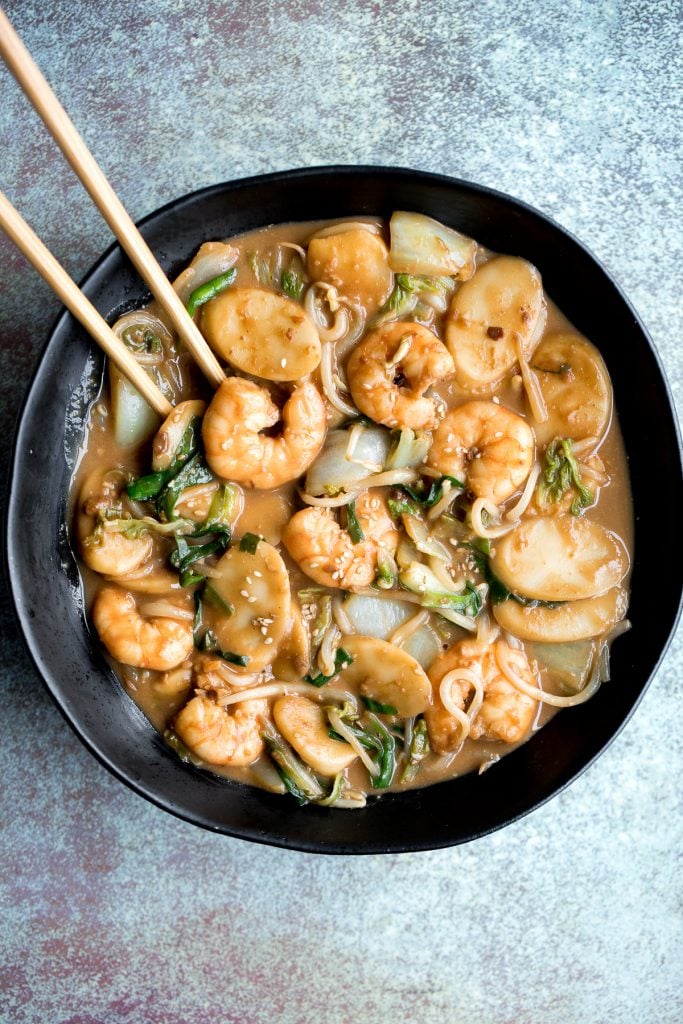
Stir-Fried Rice Cakes with Shrimp
Better than takeout, stir-fried rice cakes with shrimp, bok choy, and bean sprouts in a delicious peanut butter sauce is a quick 10-minute one pan meal.
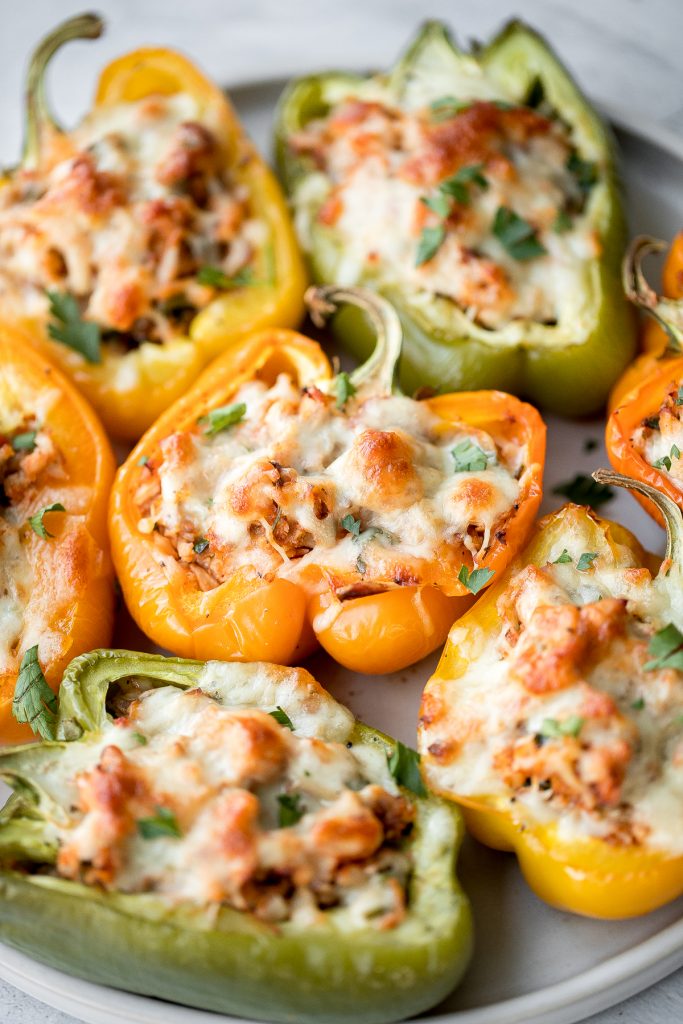
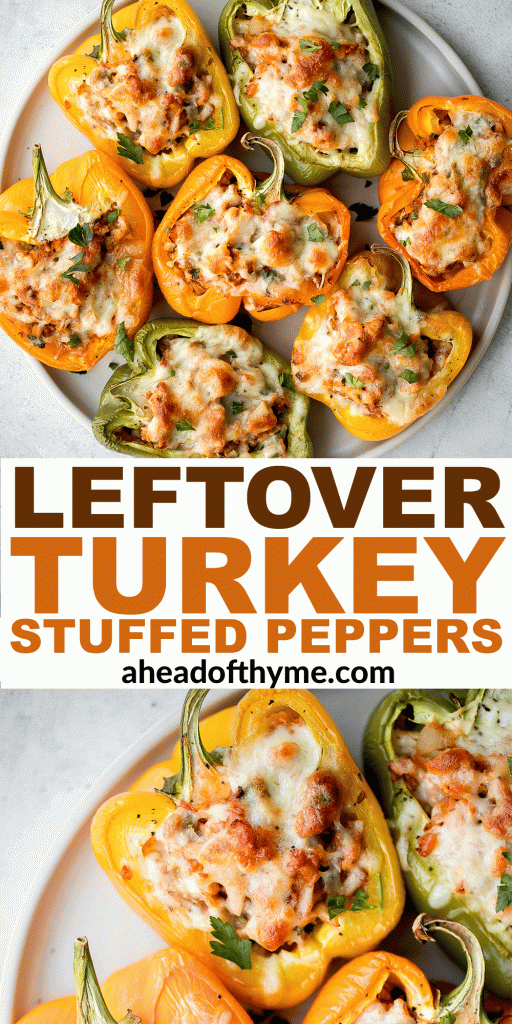
Leftover turkey fried rice with turkey, fluffy rice, scrambled eggs, vegetables, and classic Asian seasonings is a one skillet meal made in just 10 minutes.
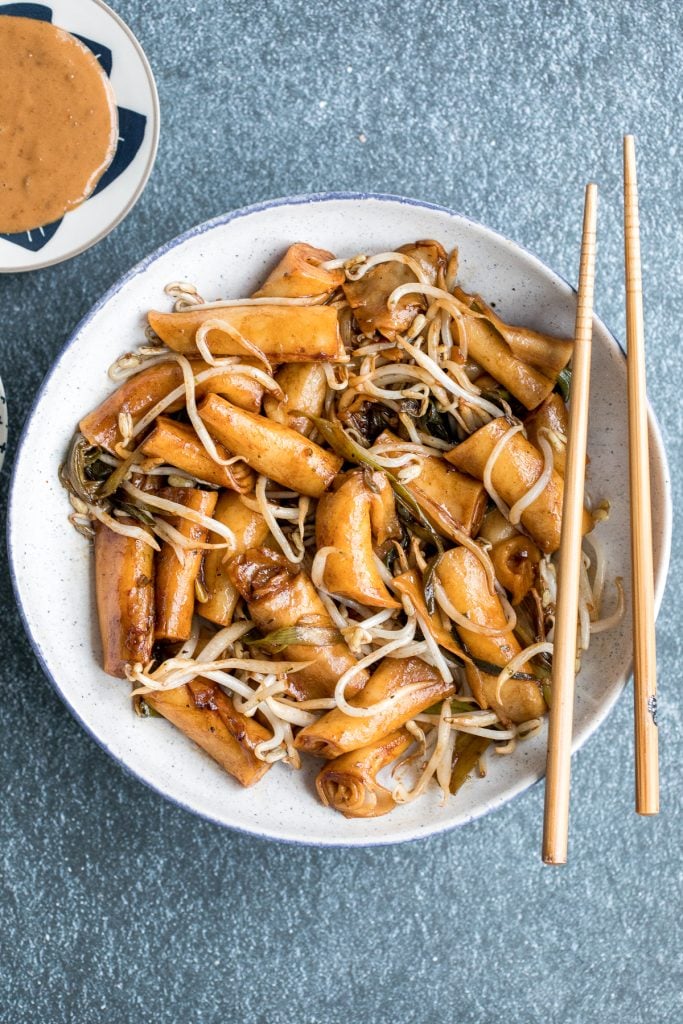
Stir-fried Rice Noodle Rolls with Peanut Butter Sauce
Better than takeout, quick and easy one pan stir-fried rice noodle rolls with peanut butter sauce is the best weeknight stir fry, ready in under 10 minutes.
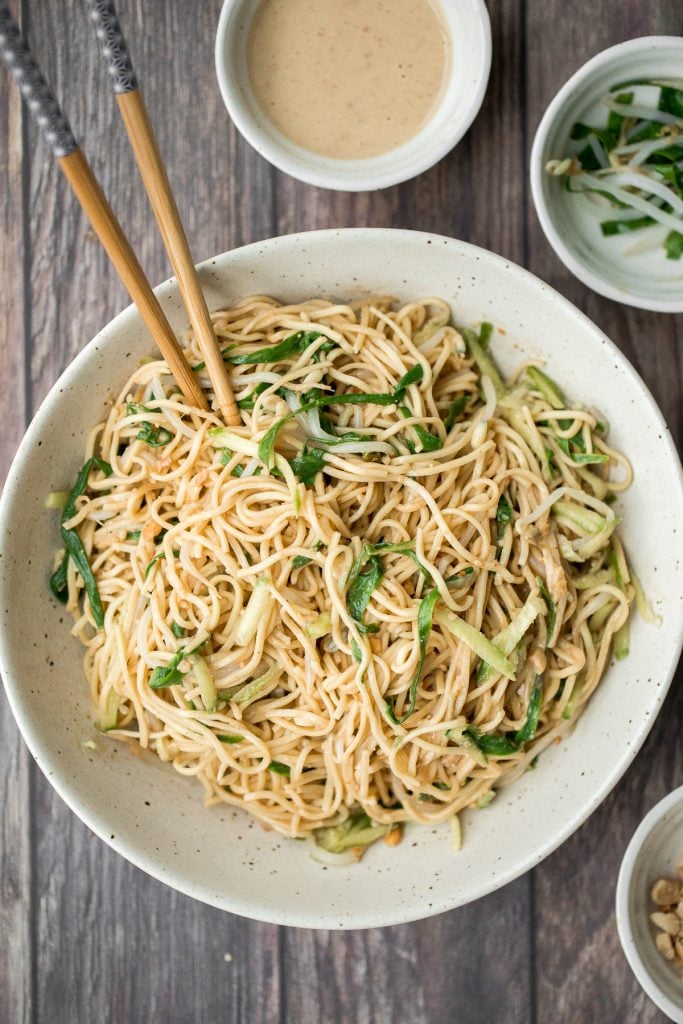
Cold Noodles with Peanut Butter Sauce
Easy vegan Shanghai style cold noodles tossed in peanut butter sauce with fresh vegetables and Asian seasonings, are flavourful and ready in 10 minutes.
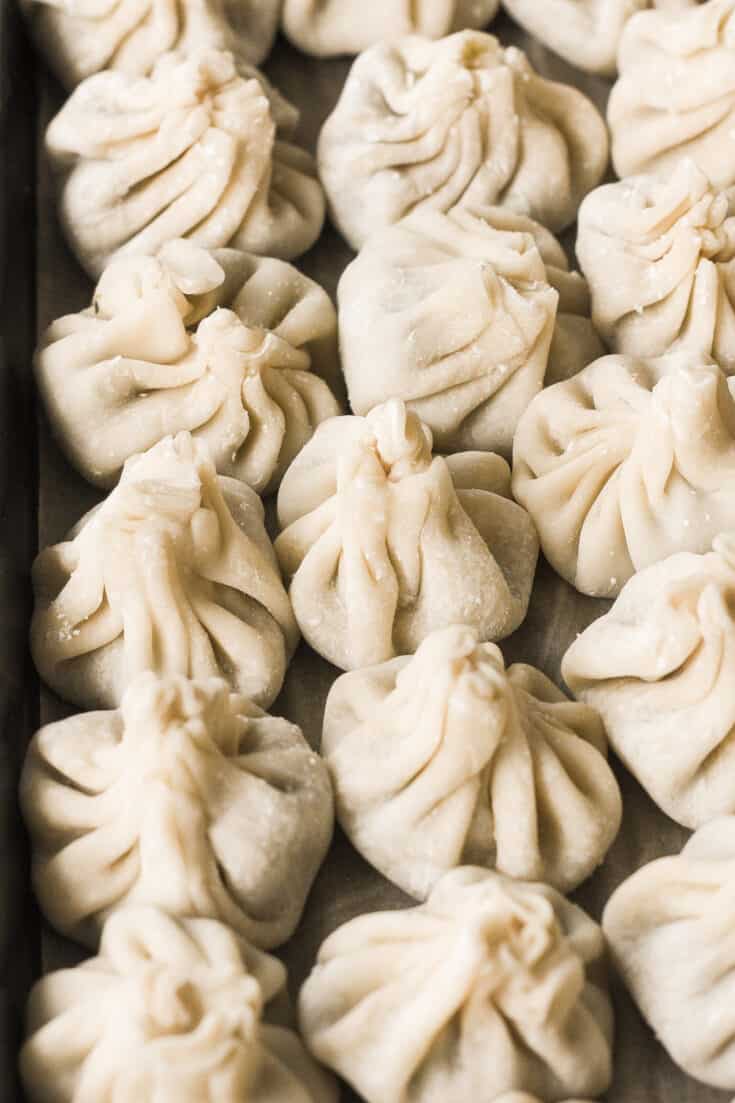
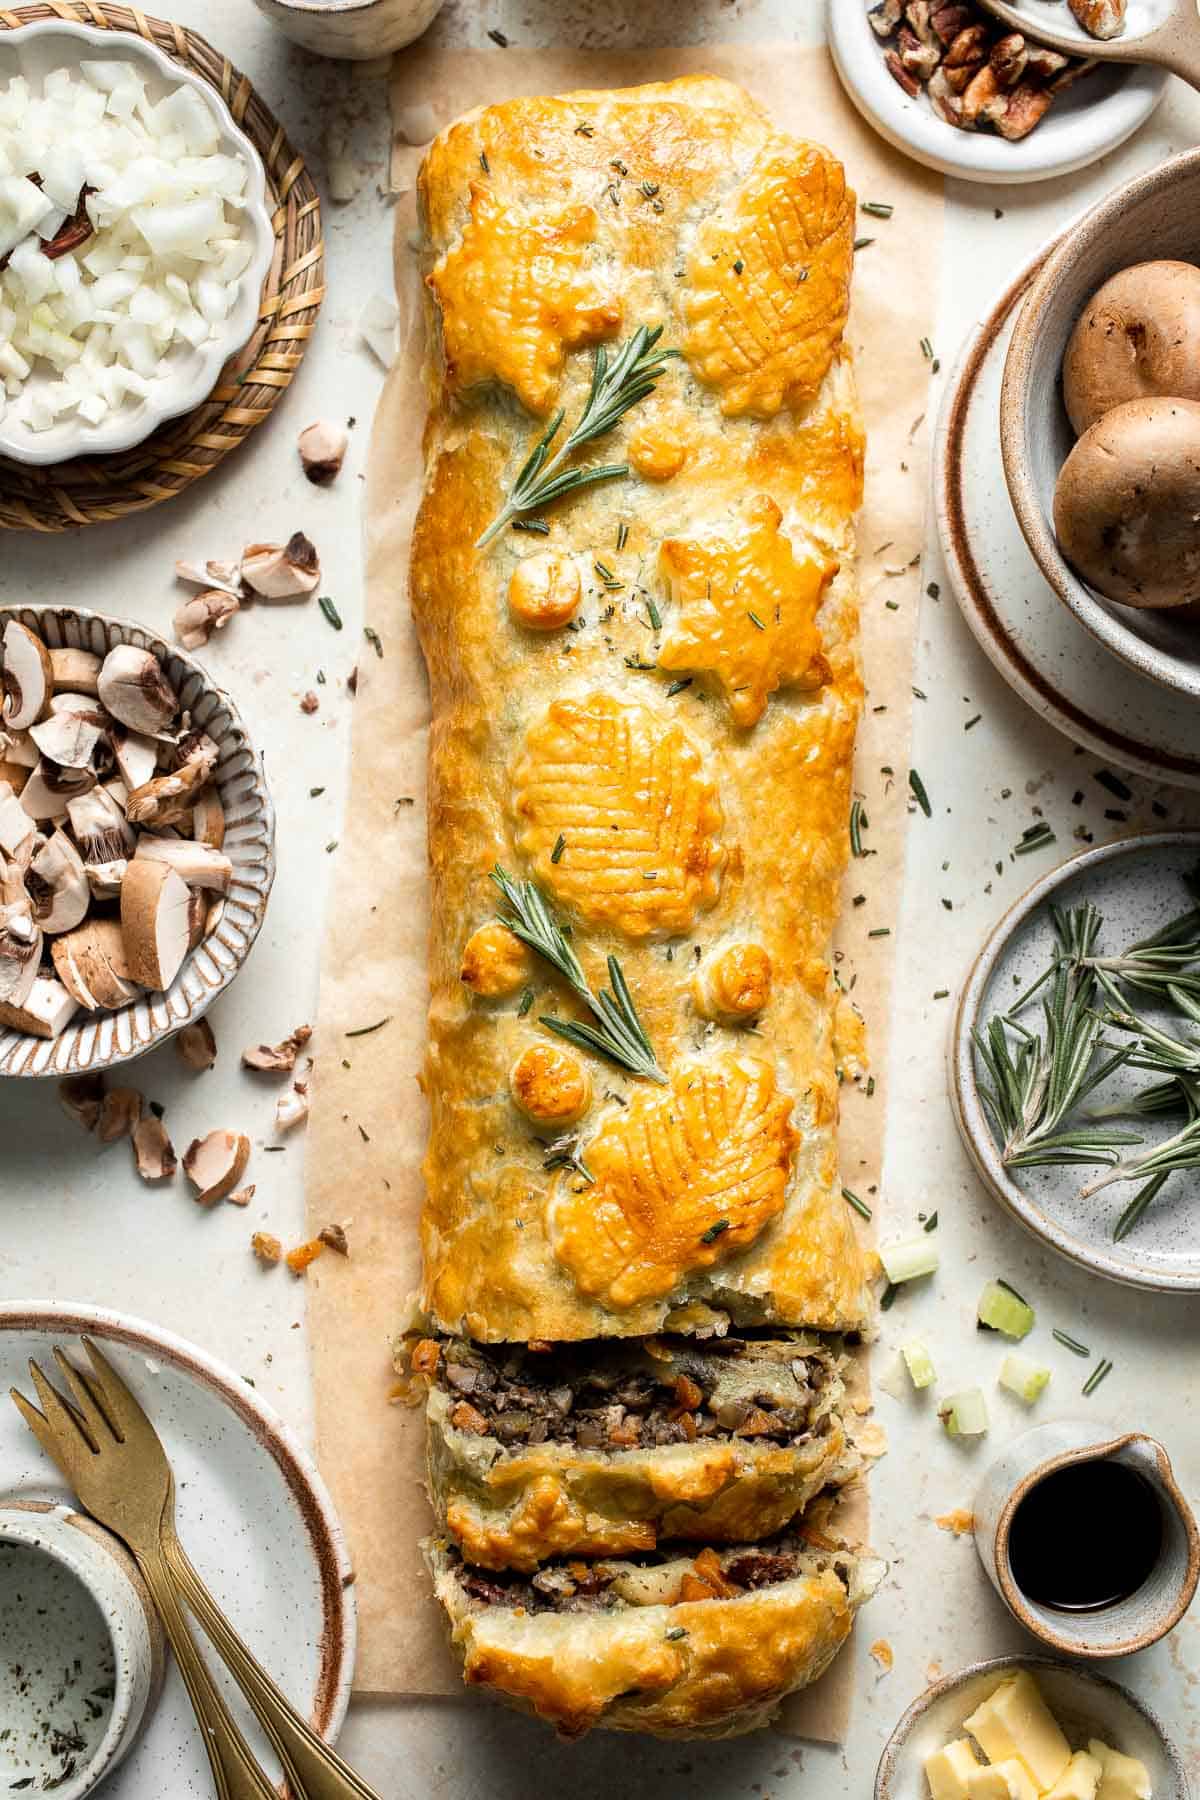
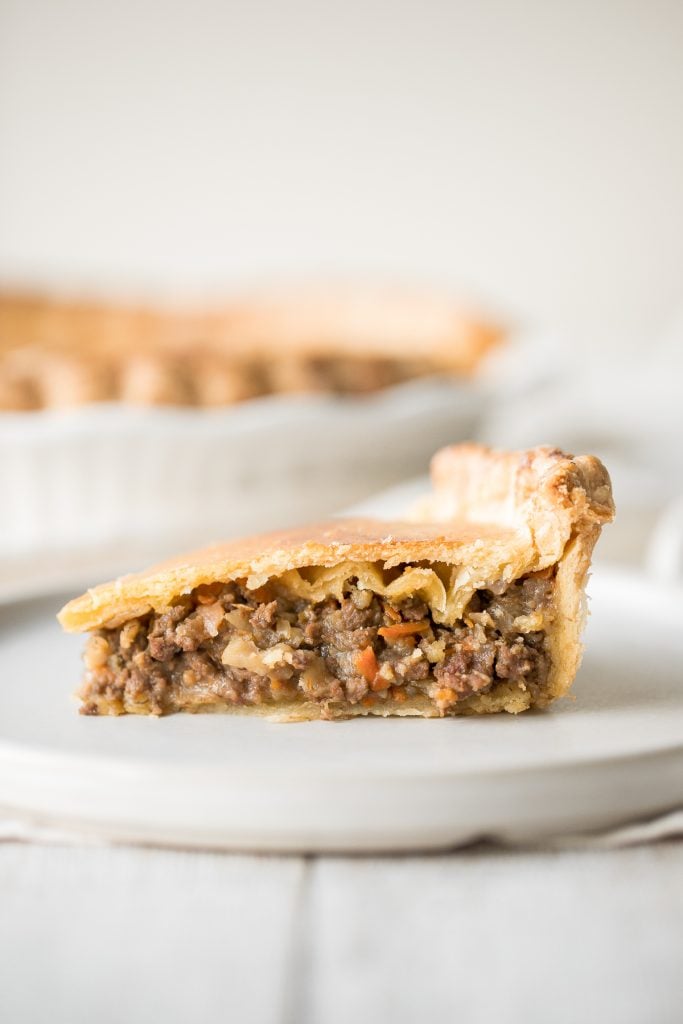
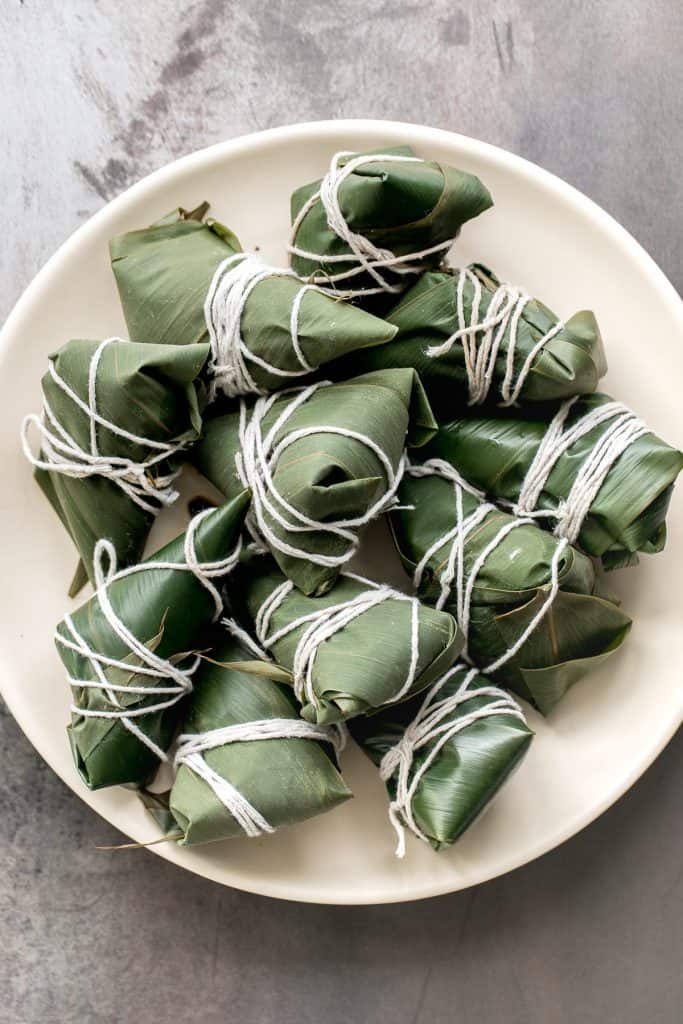
Zongzi Chinese tamales (粽子) or sticky rice dumplings are stuffed with sticky rice, pork belly, and shiitake mushrooms, wrapped inside reed or bamboo leaves.
Pork Noodles is a quick and easy stir fry ready in just 20 minutes (including prep!). It's filling, delicious, flavorful, and better than takeout.
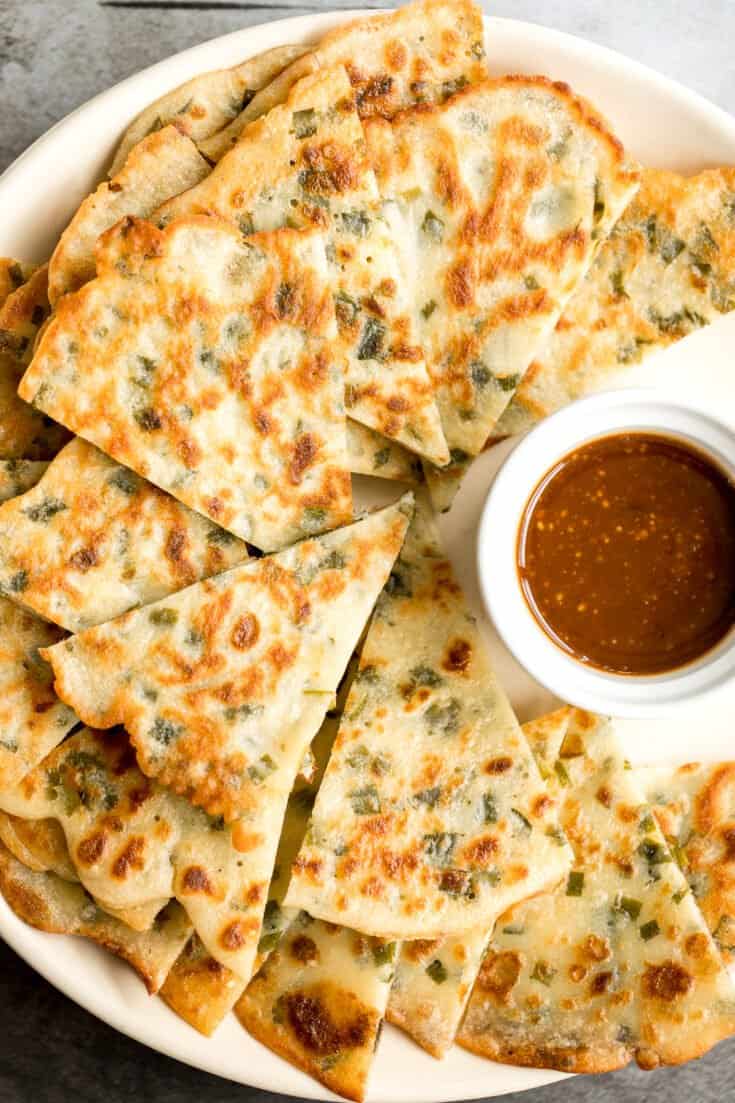
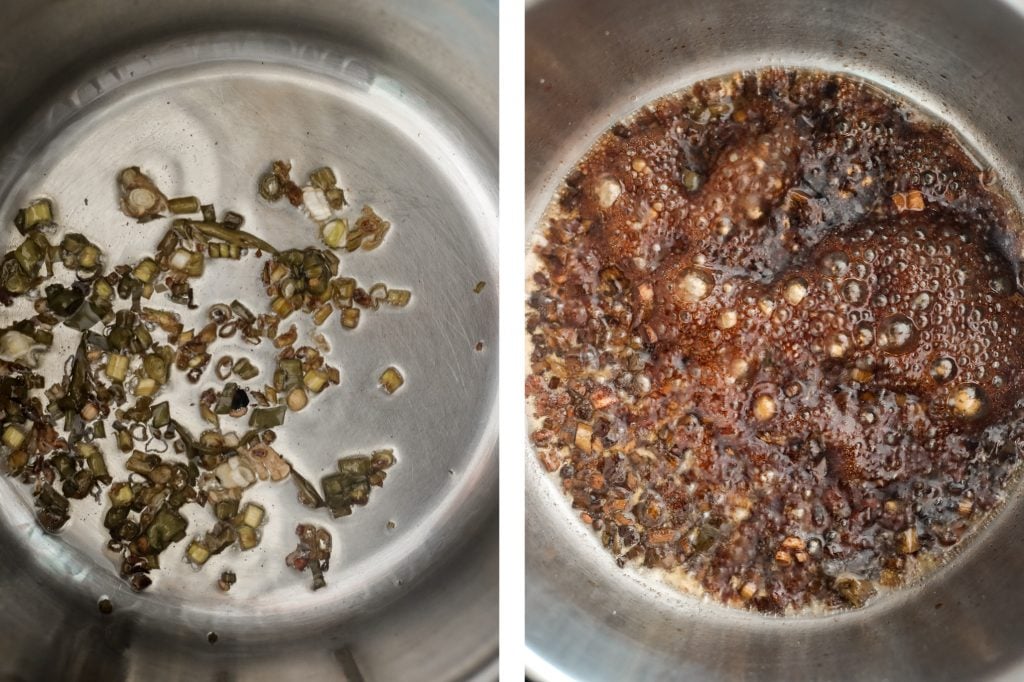
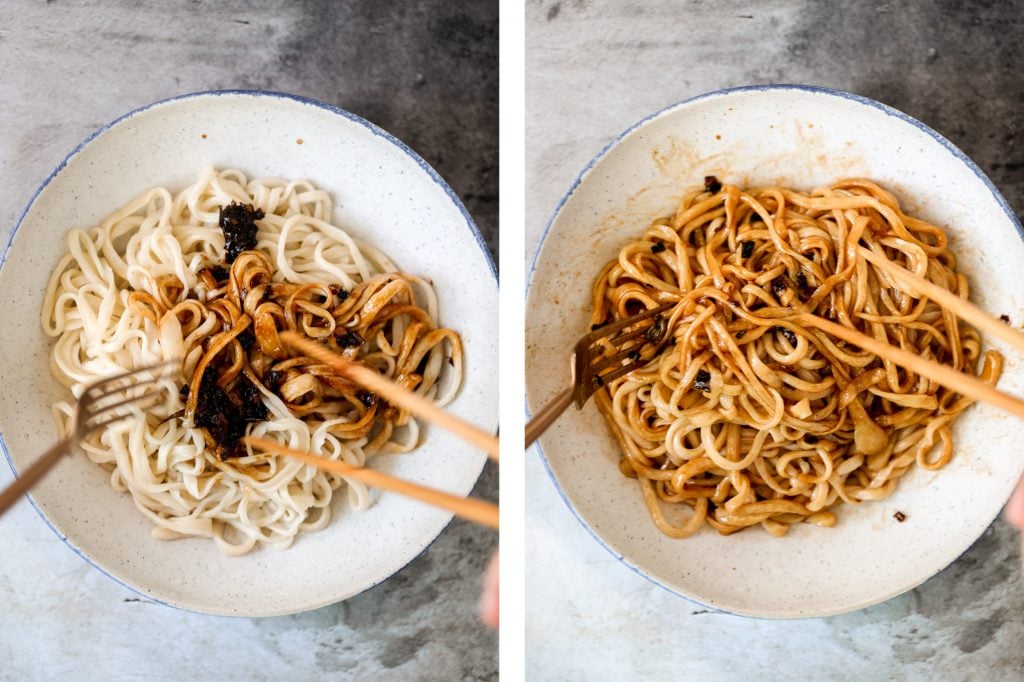
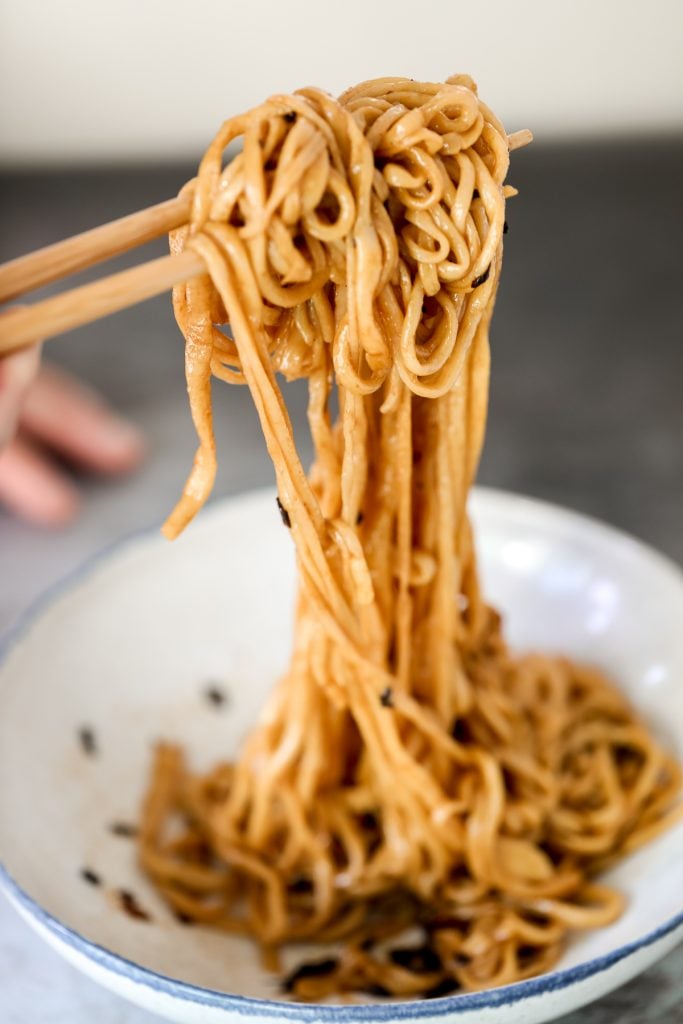
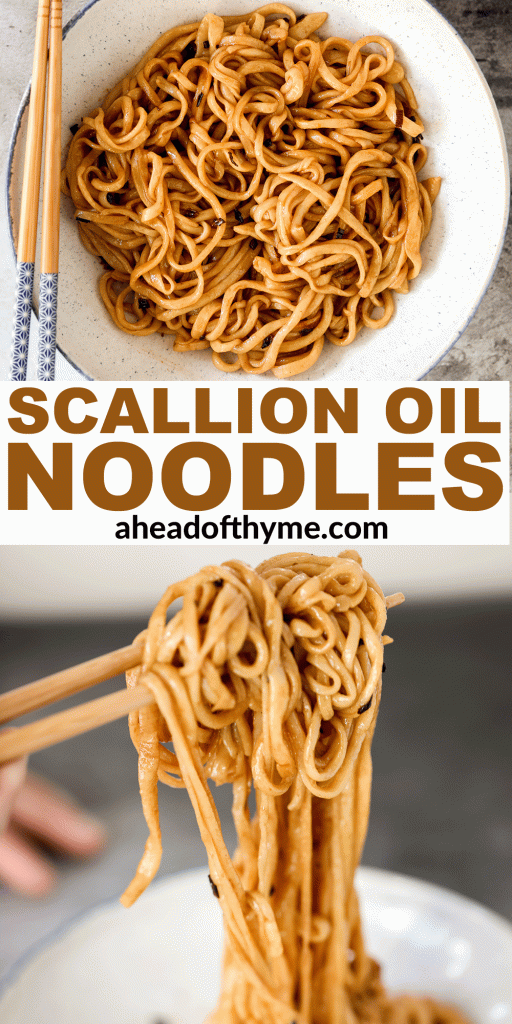
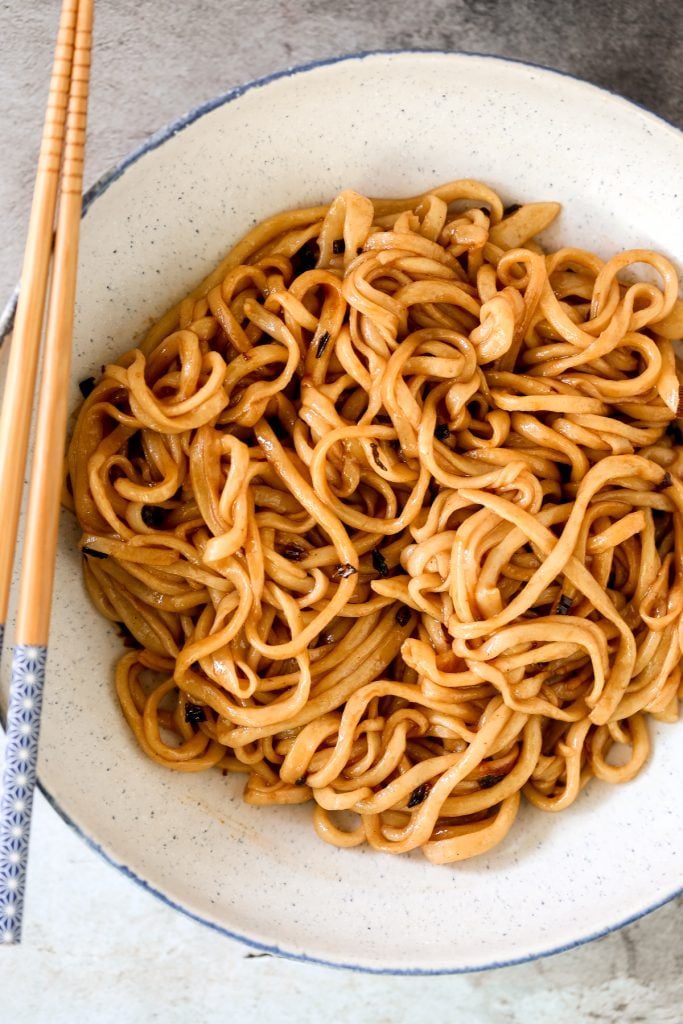
Shanghai scallion oil noodles (葱油拌面) is a flavourful, simple noodle dish that is easy to make homemade with 6 ingredients in under 10 minutes.
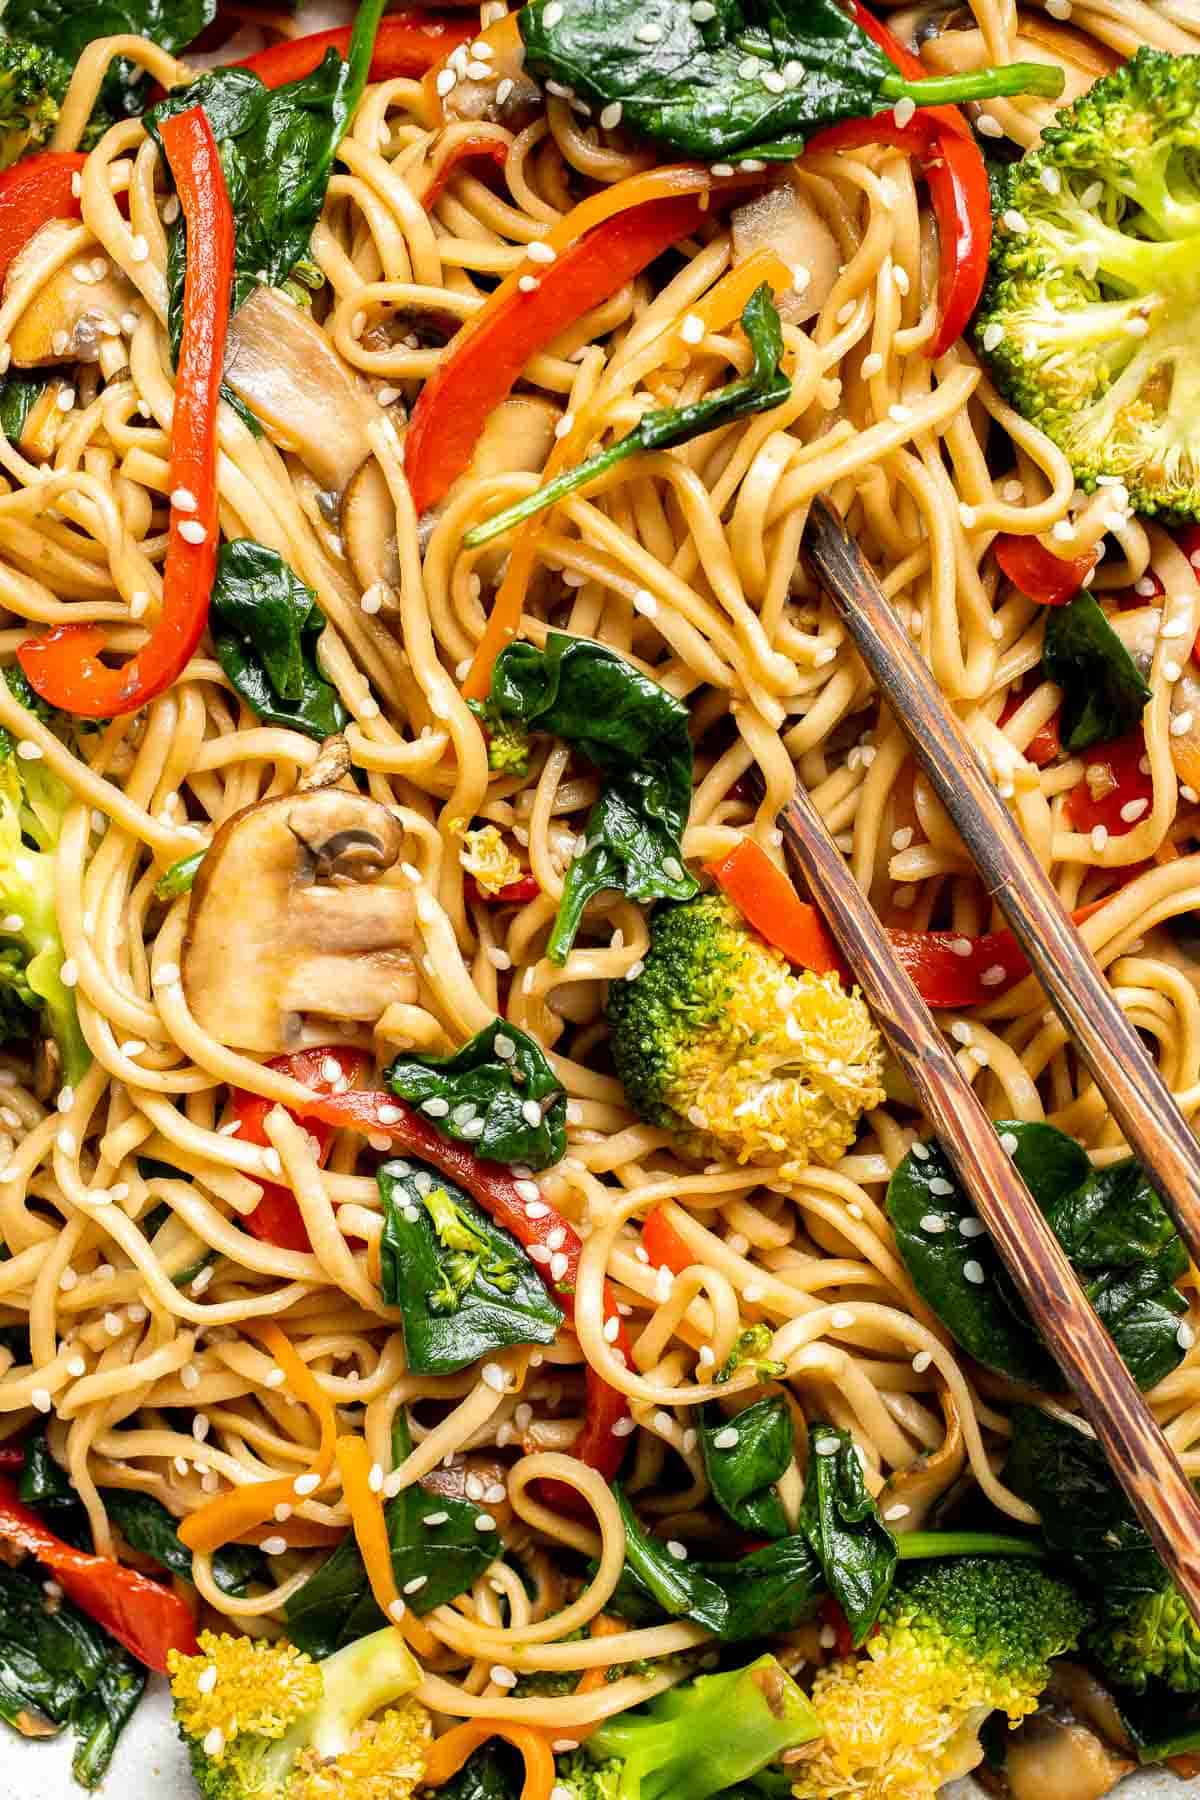
Say goodbye to takeout and make easy Lo Mein Noodles at home, packed with fresh veggies and healthy ingredients, in less than 15 minutes!
Flavourful curry chicken fried rice with chicken, mushrooms, peas, rice, and curry flavours is so easy to make in less than 10 minutes on busy weeknights.
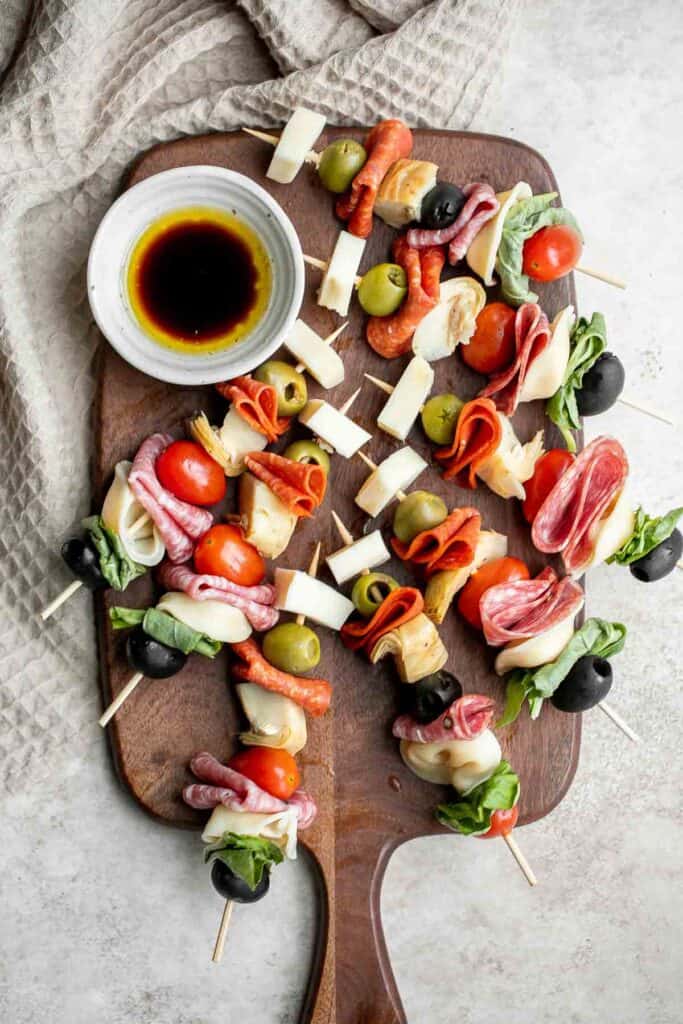
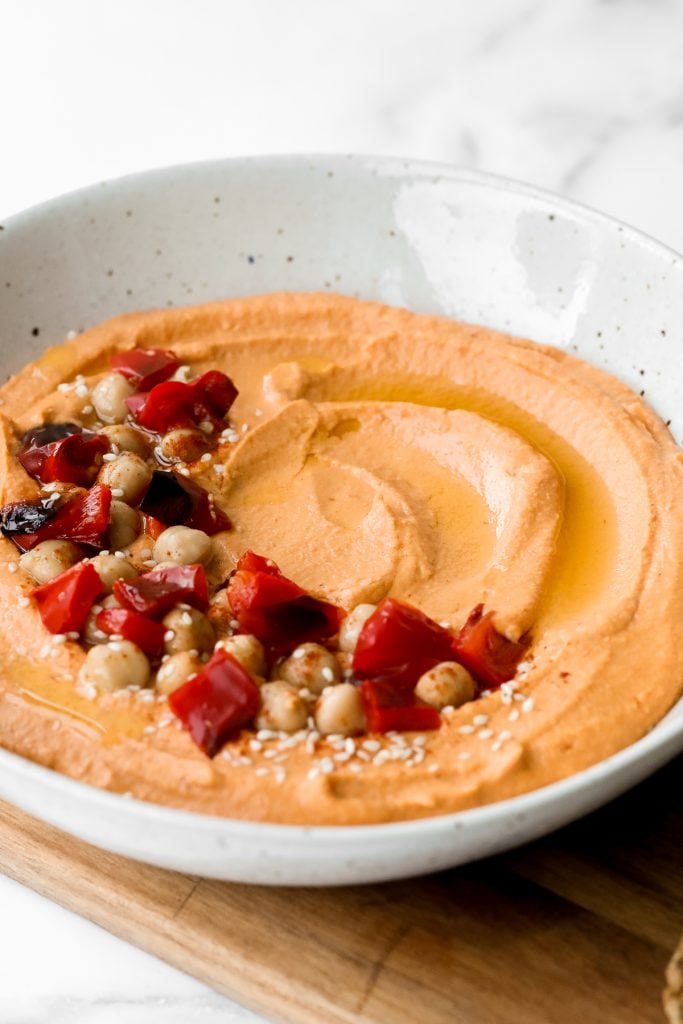
Chinese Side Dishes and Appetizers
Roasted Garlic Green Beans (Air Fryer or Oven)
Quick easy roasted garlic green beans are tangy, sour, savoury, and sweet, with a tender and crunchy texture. Make them in the oven or air fryer in minutes.

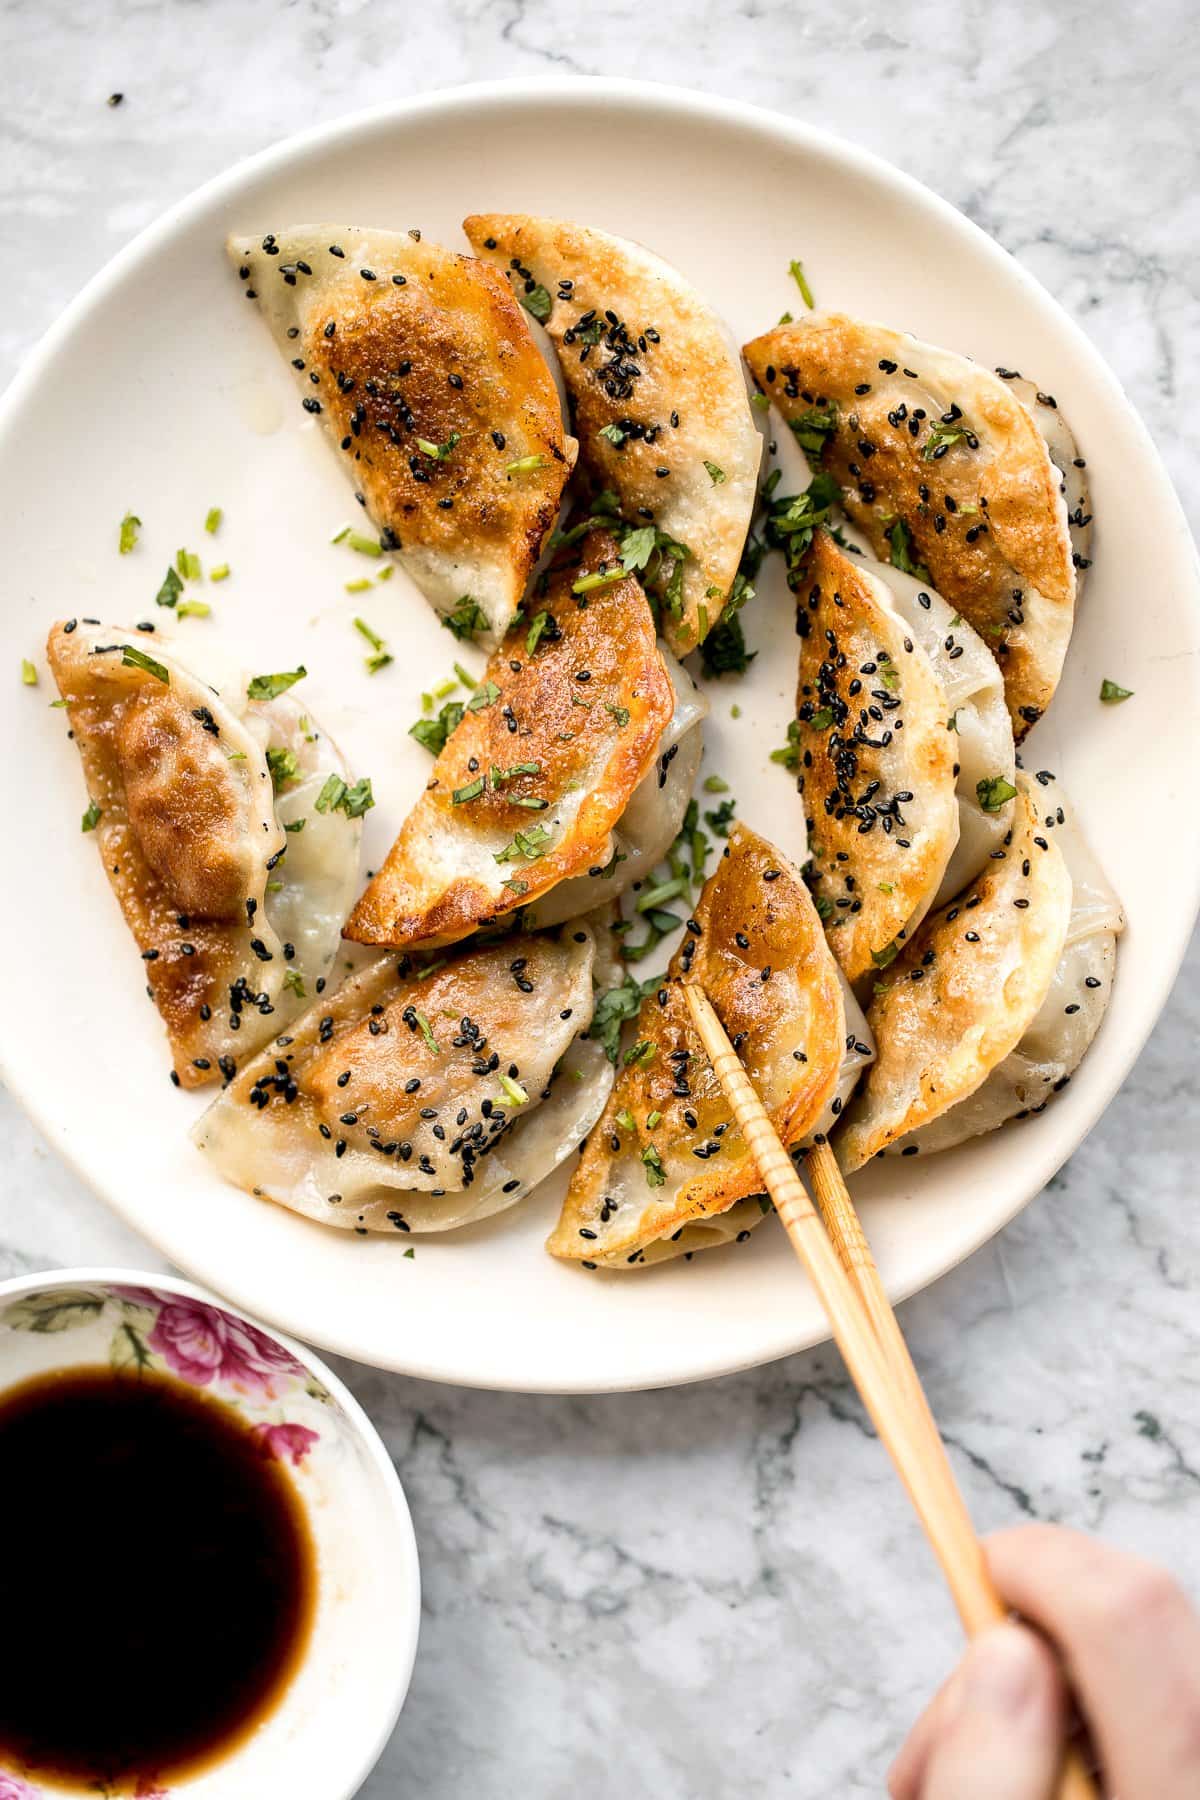
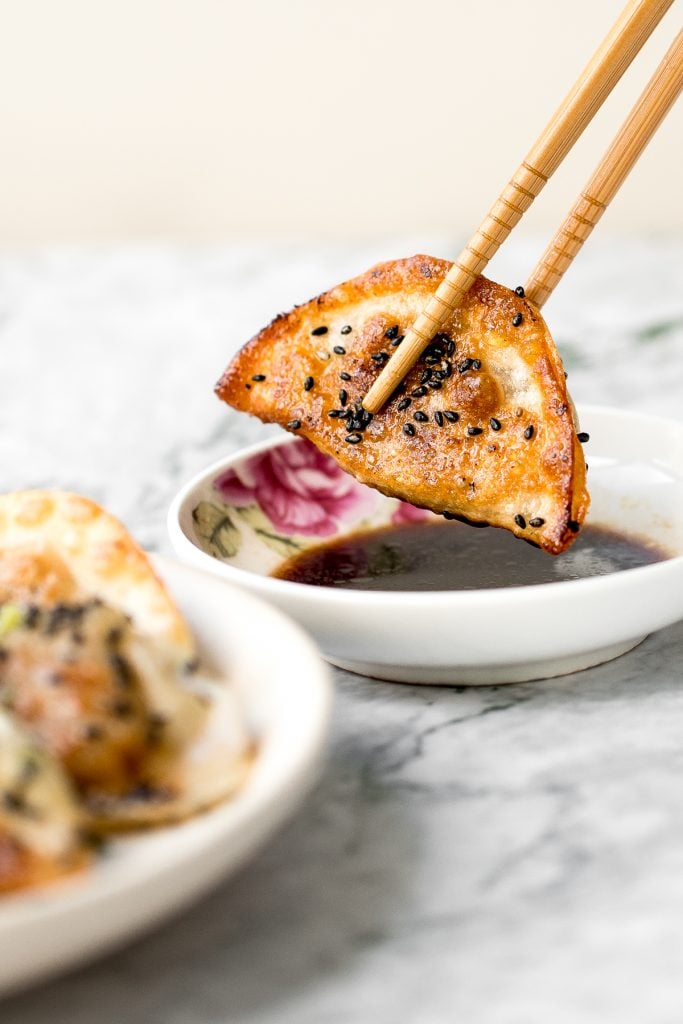
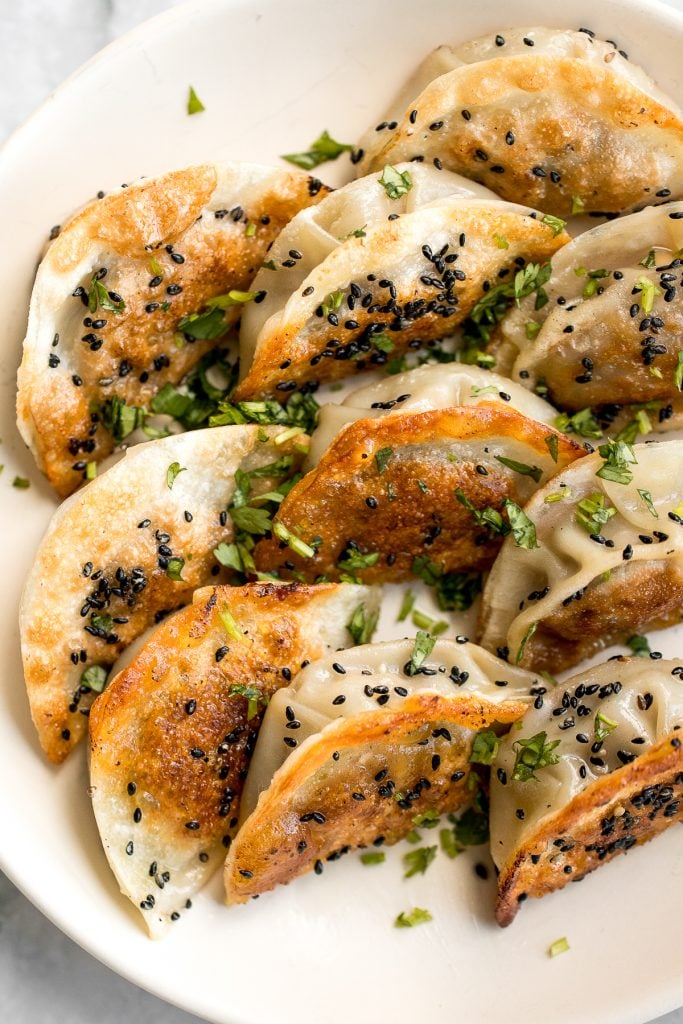
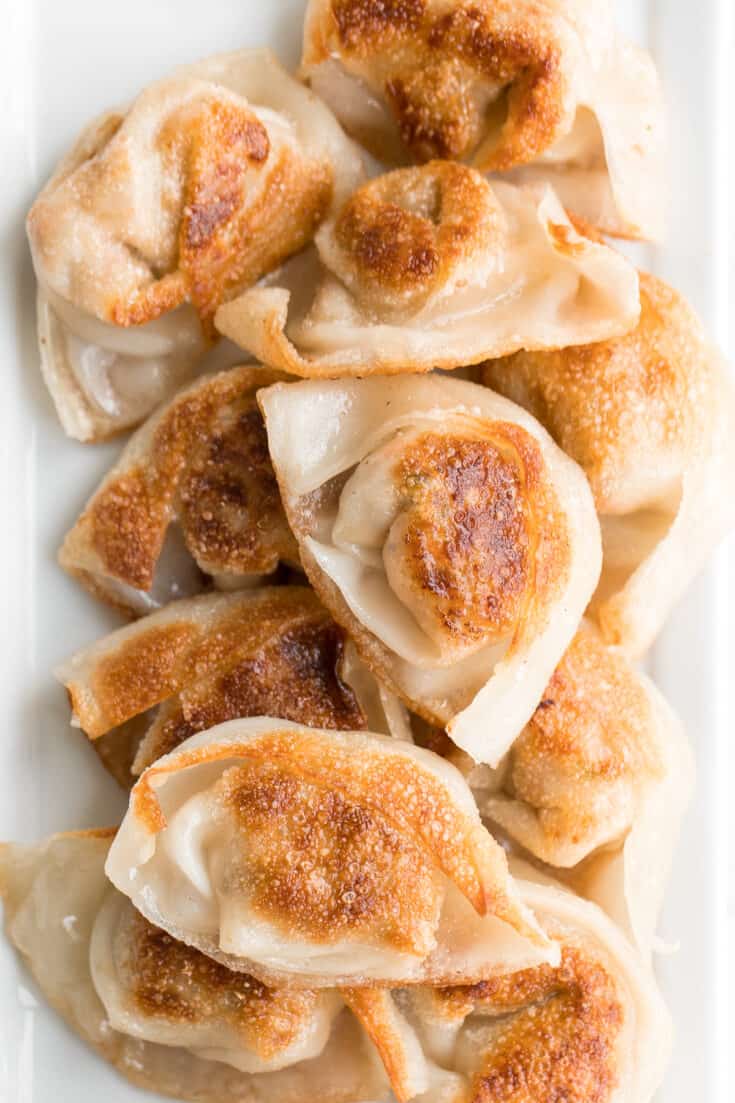
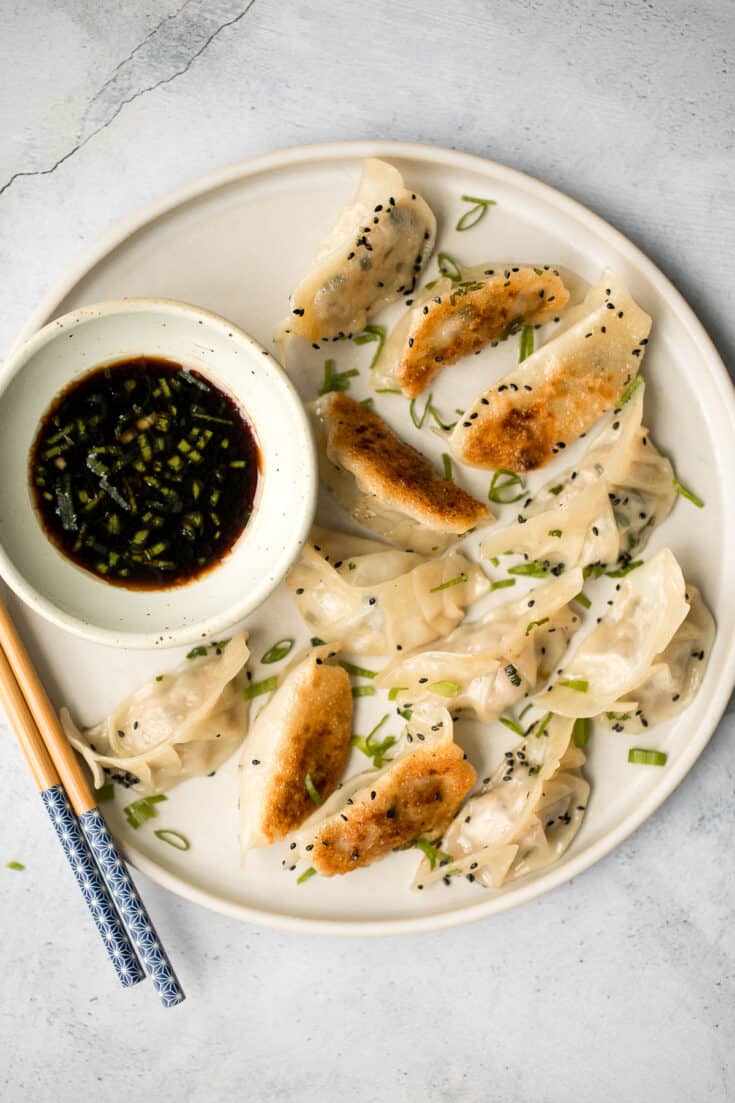
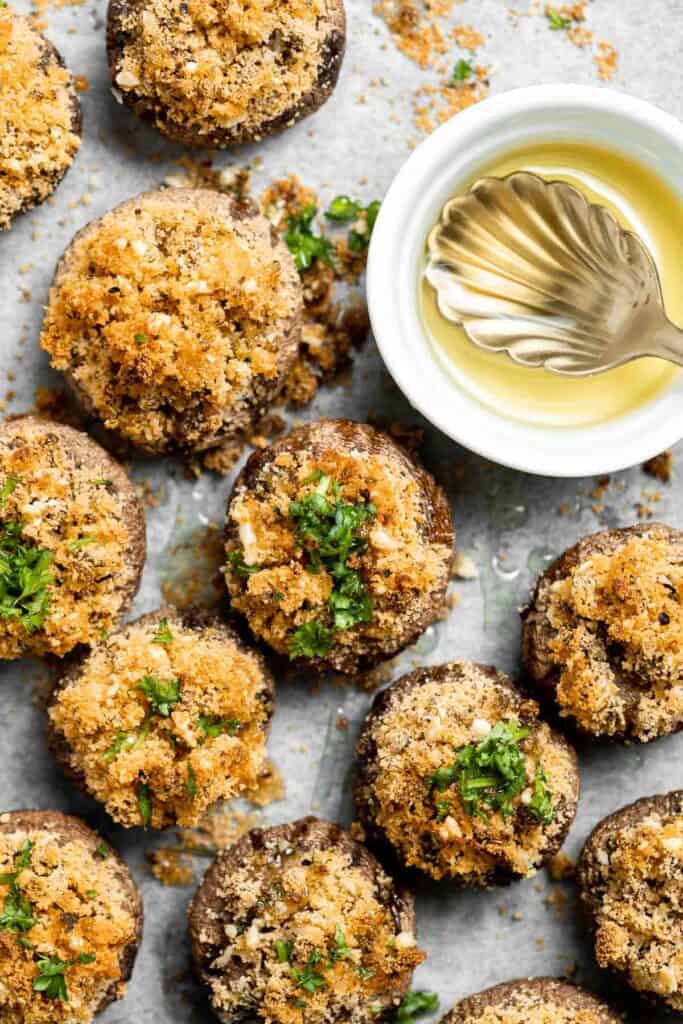
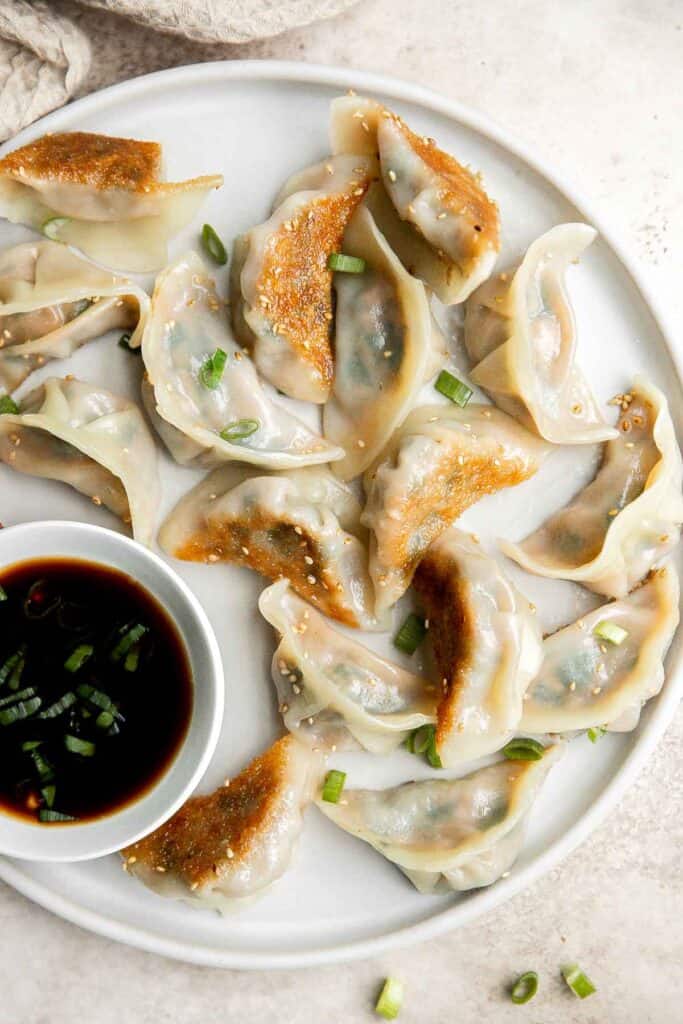
Homemade pork dumplings are quick and easy to make, with perfect crispy bottoms and a tender, juicy pork filling inside. Easy to meal prep and freeze well.
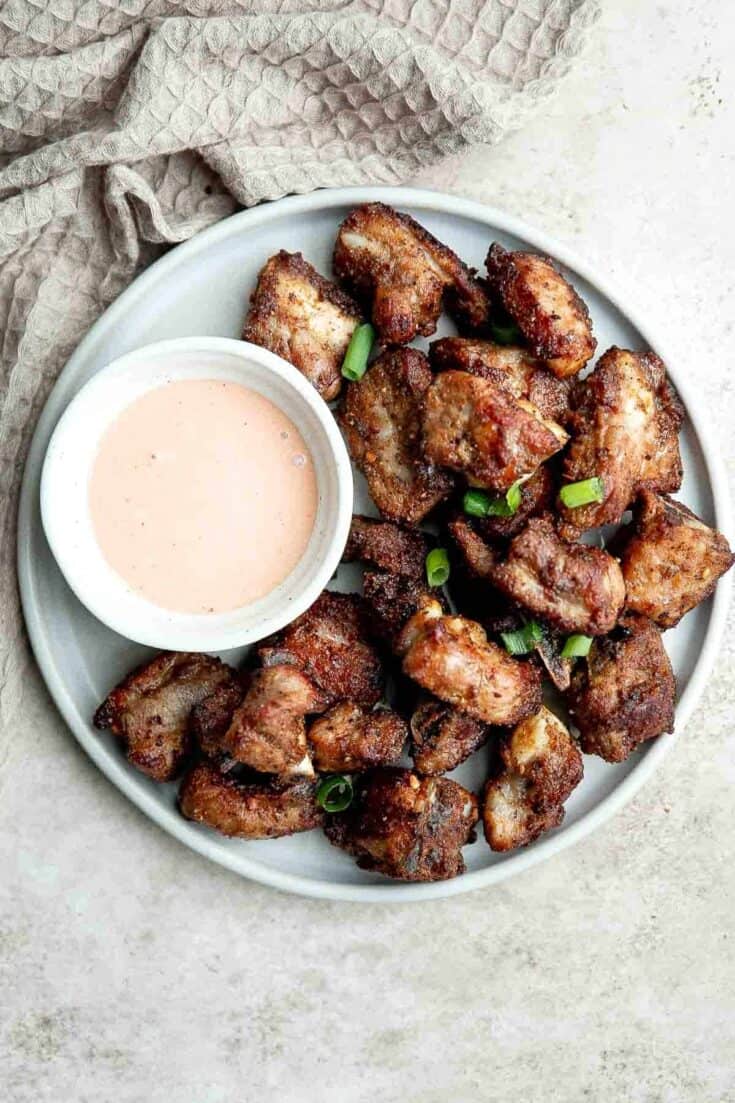
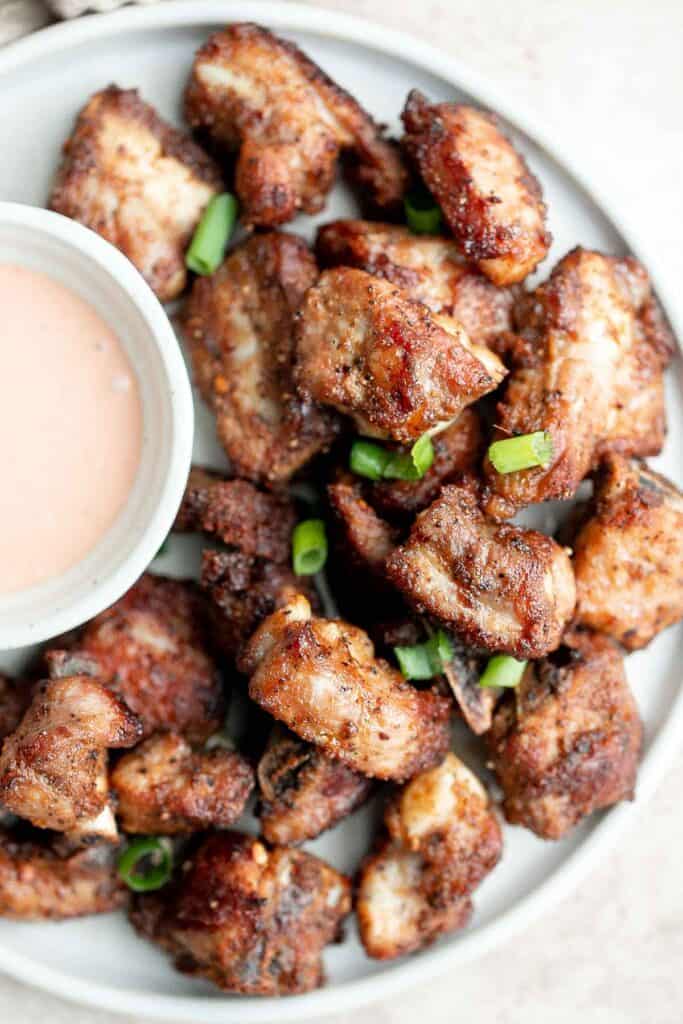
Air fryer short ribs are crispy, flavorful, and delicious. The easy marinade ensures they're tender and juicy inside, while the air fryer makes them crispy.
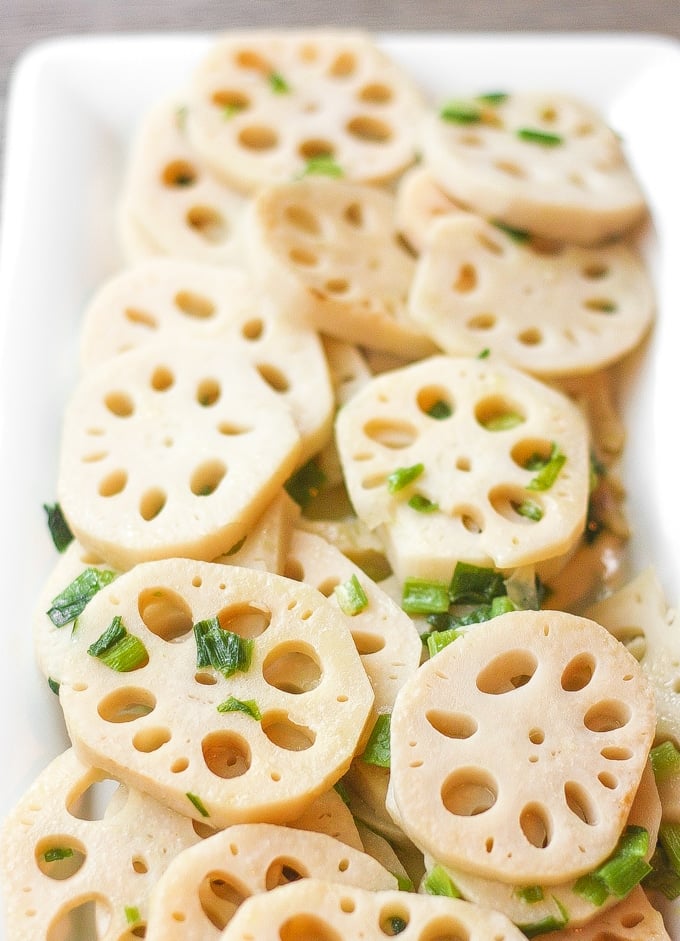
Stir-fried Lotus Root with Green Onions
Stir-fried lotus root is a classic Chinese stir fry dish that makes for an excellent vegan side dish at your dinner table.
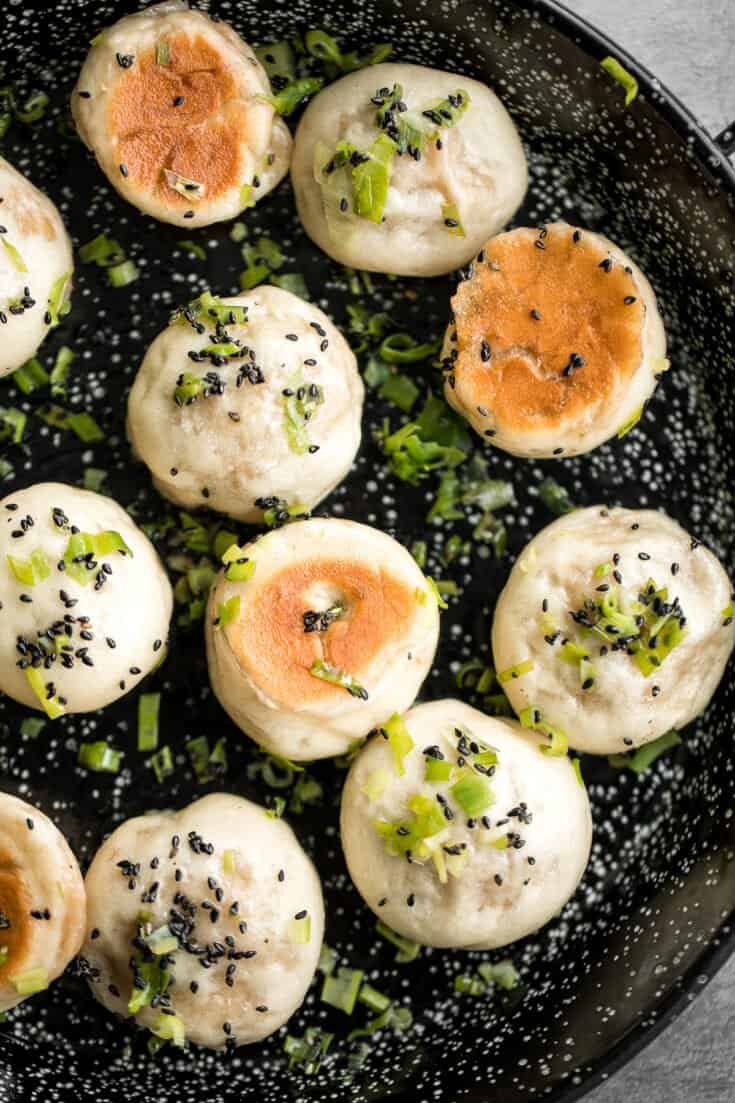
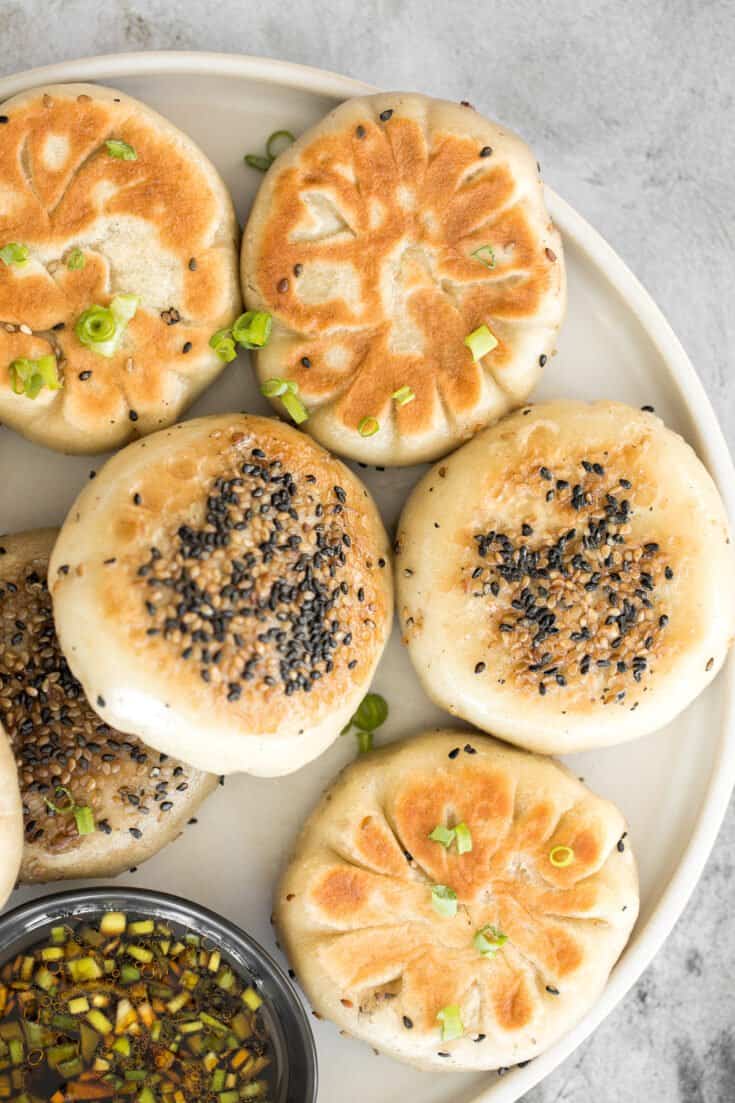
Crispy Bottom Shanghai Pan-Fried Pork Buns
Crispy bottom Shanghai pan-fried pork buns are crunchy on the bottom and fluffy and airy inside with a juicy and flavourful pork and spring onions filling. They are one of the most popular dim sum recipes in Shanghai.

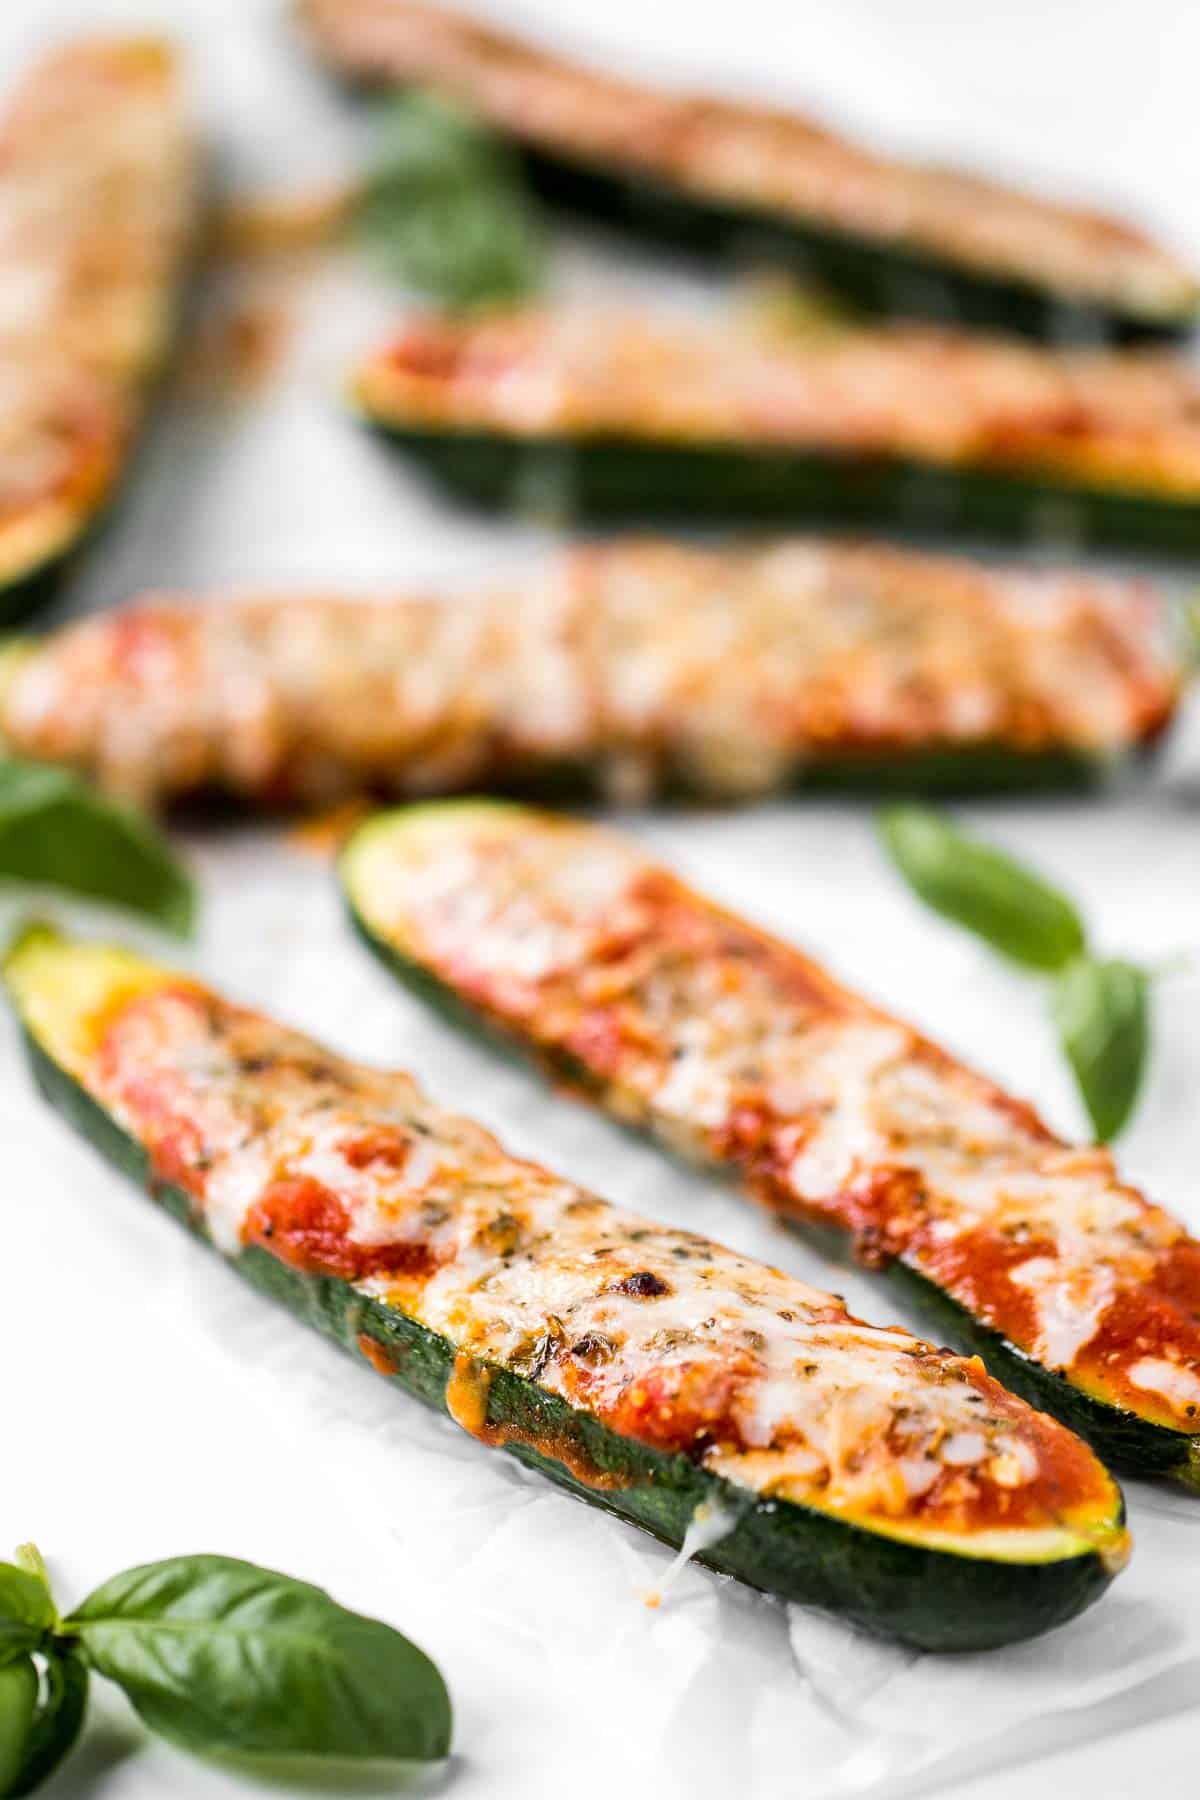
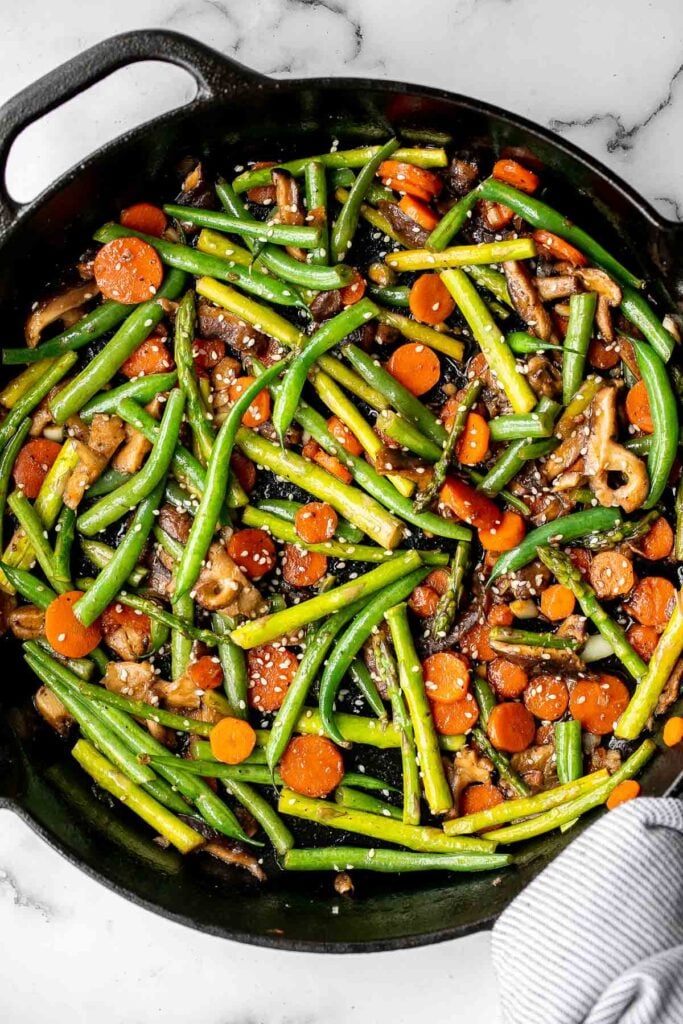
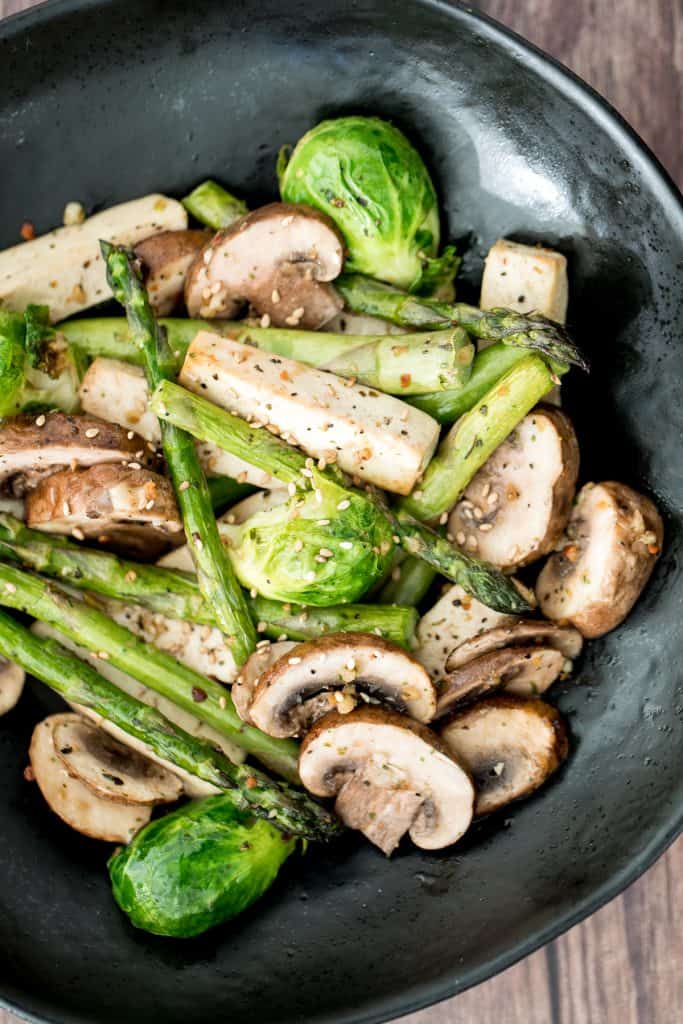
Quick and easy spring vegetable stir fry is made with delicious seasonal vegetables, packed with savoury and salty flavour, and takes 10 minutes to cook.
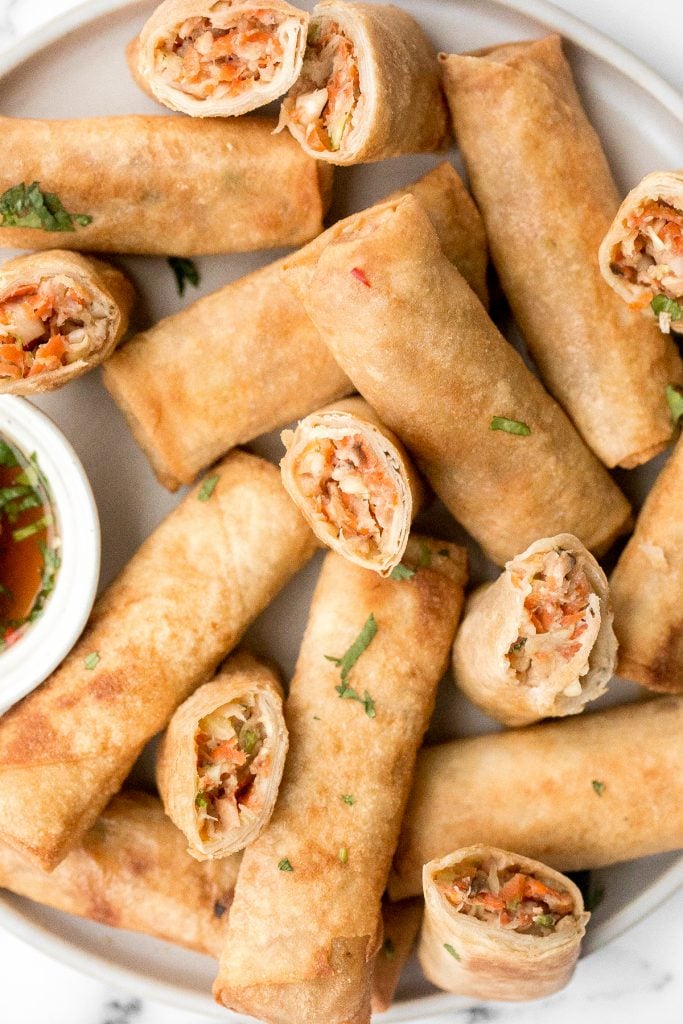
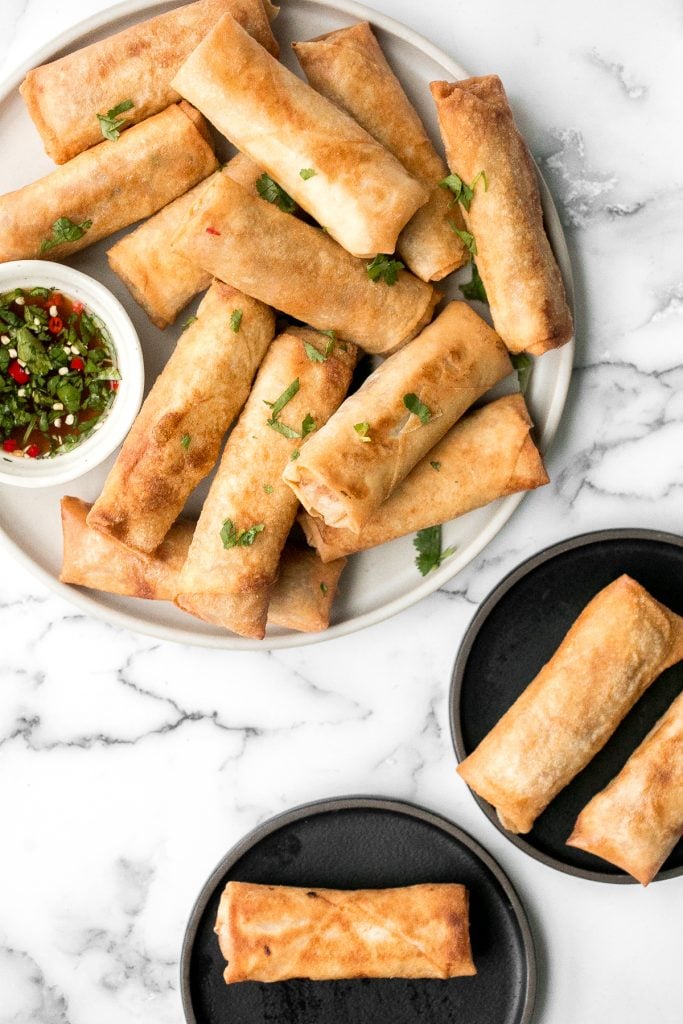
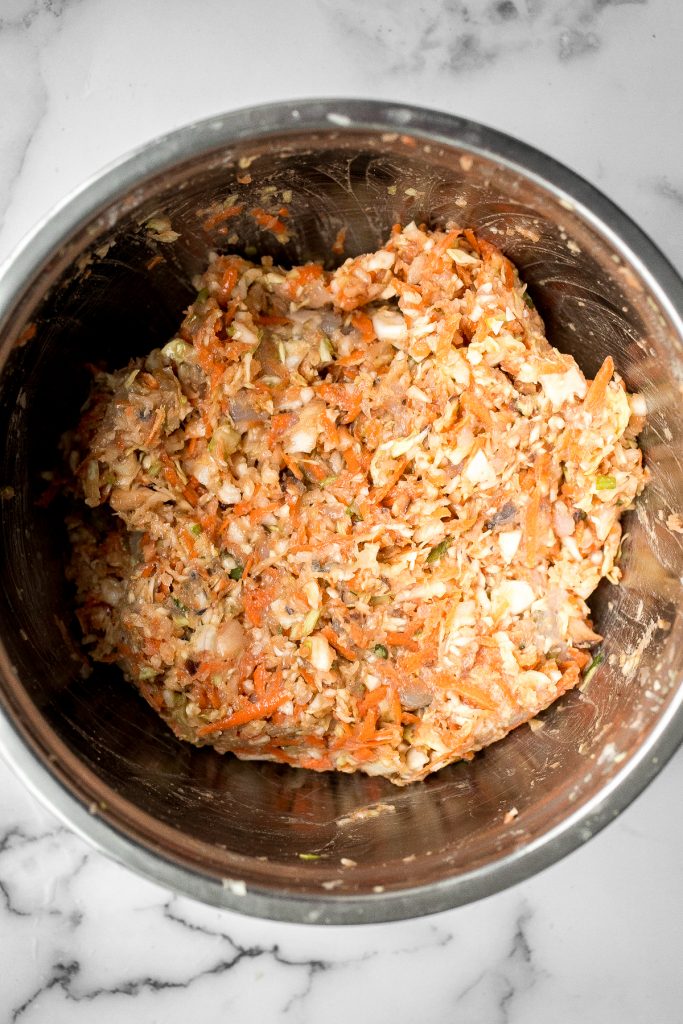
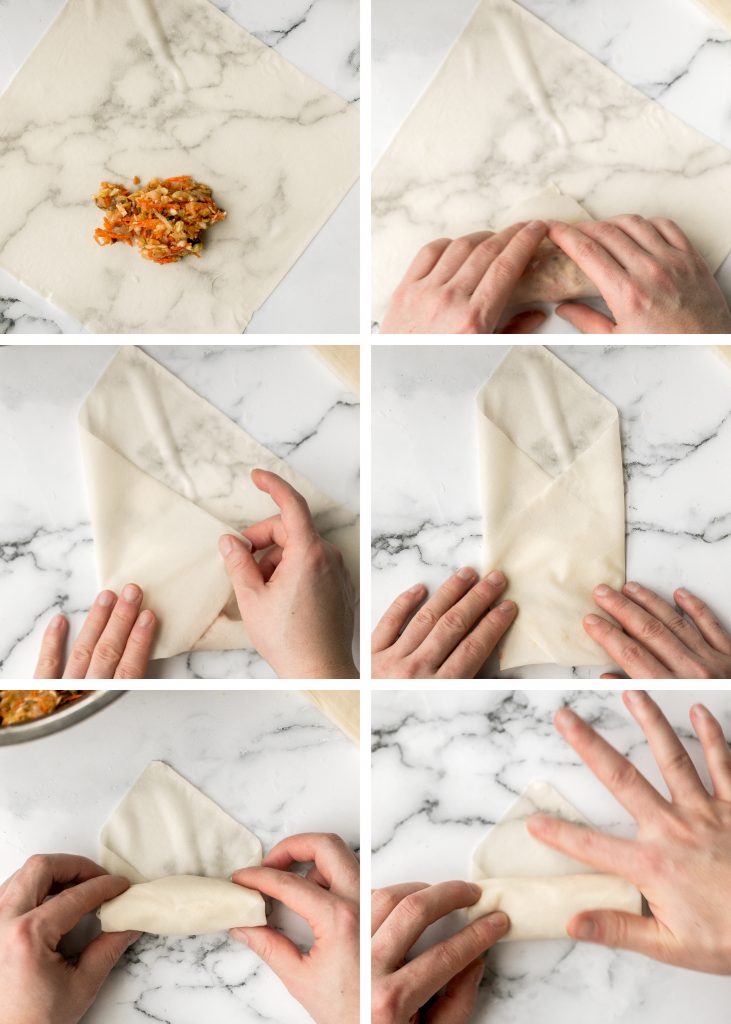
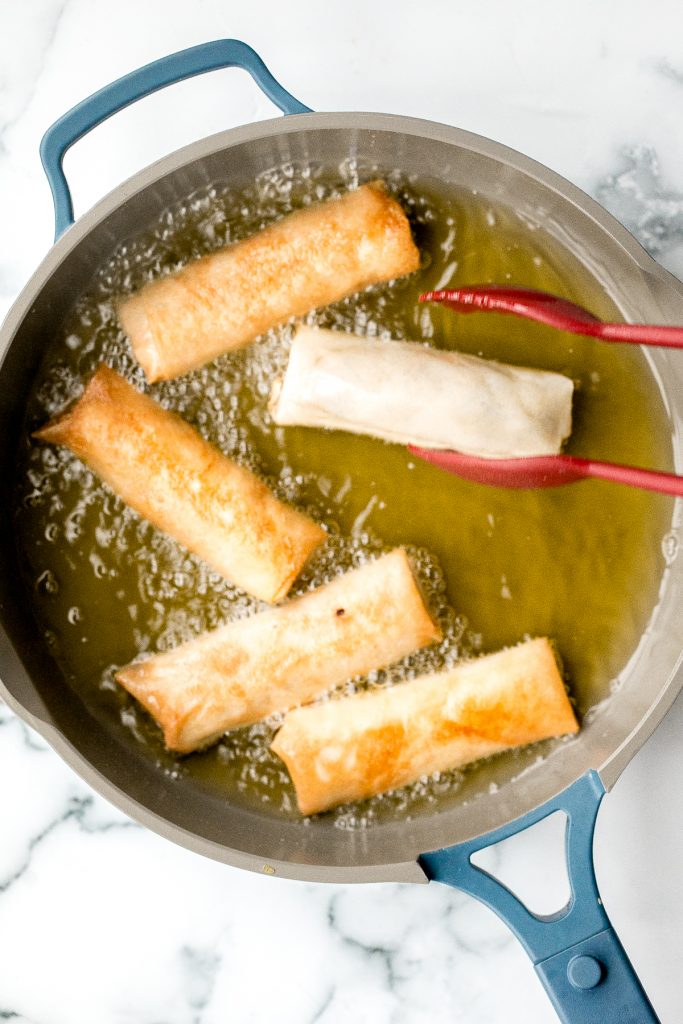
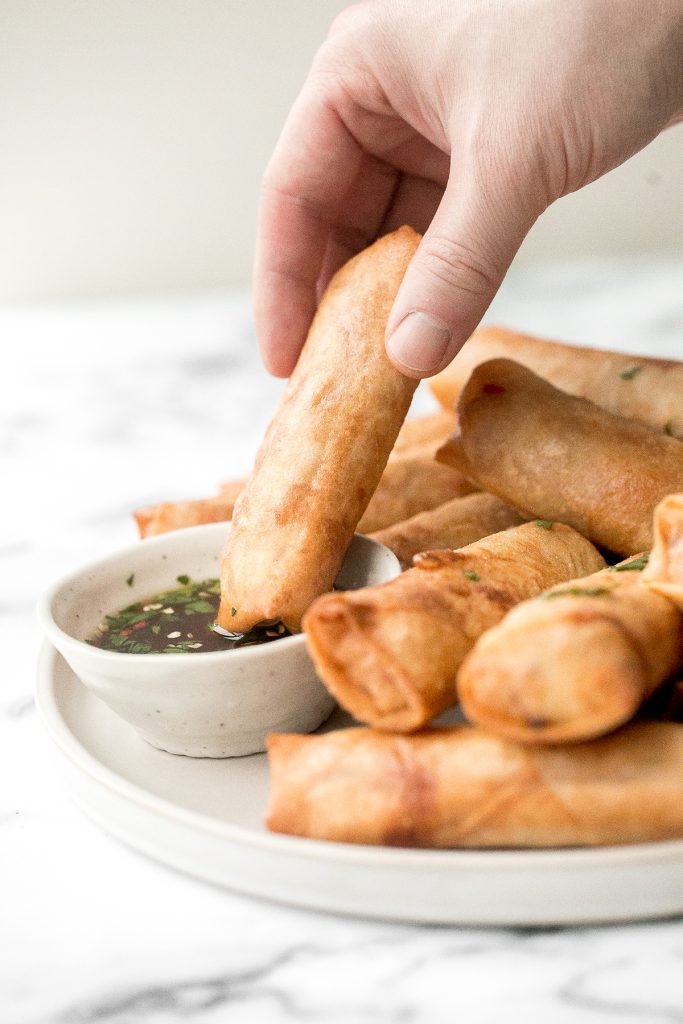
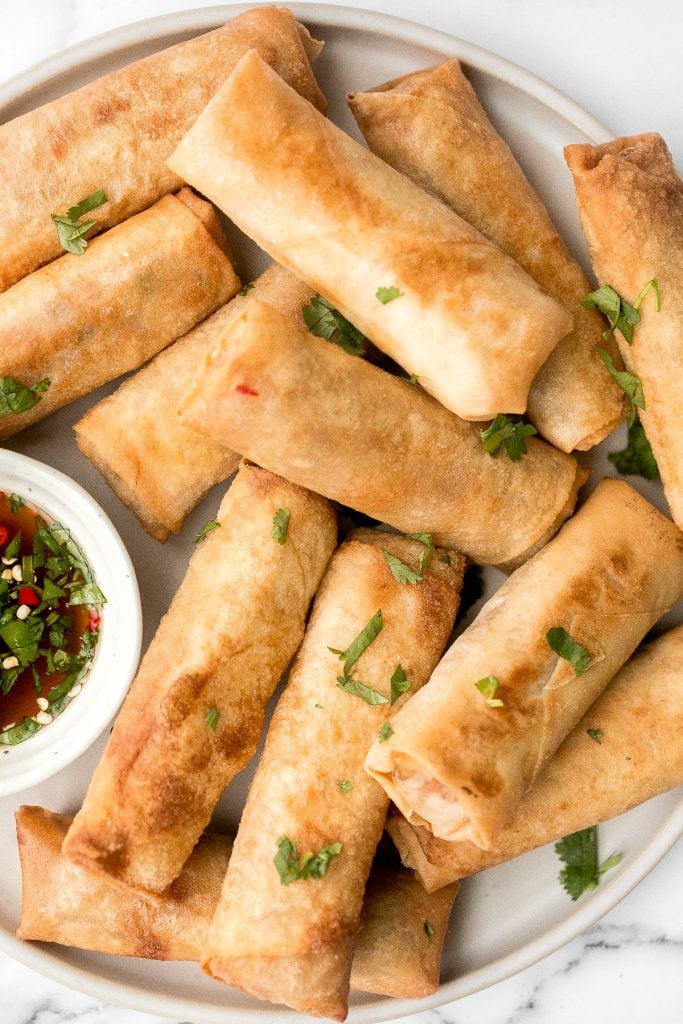
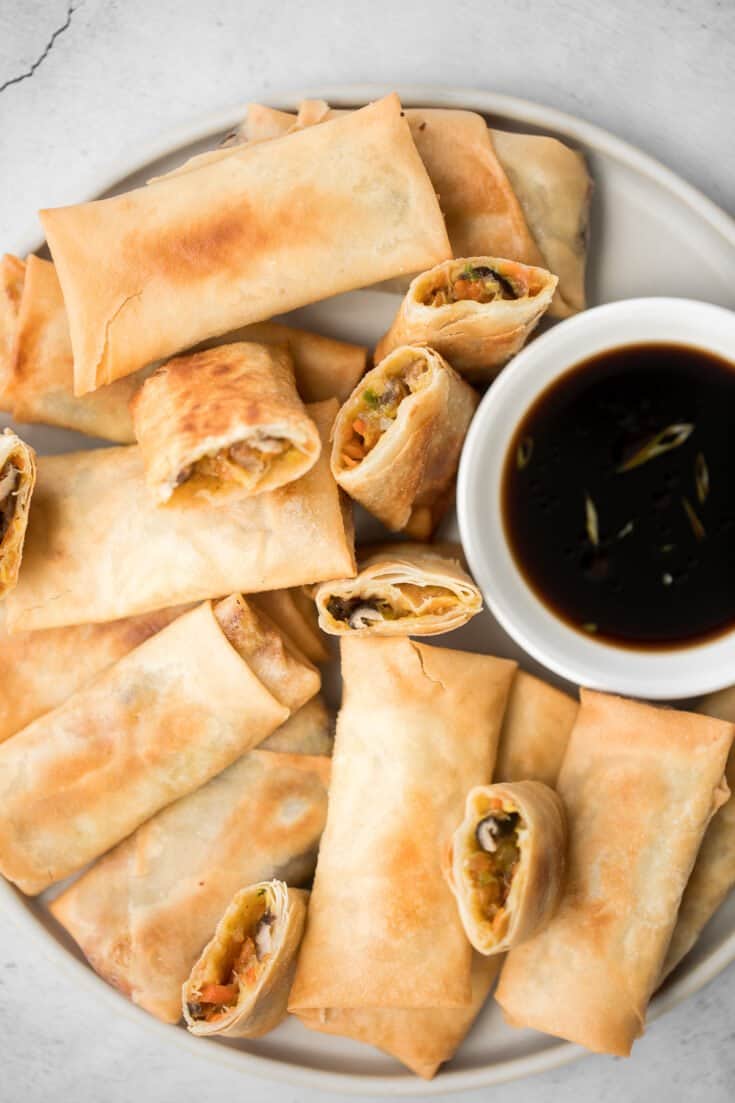
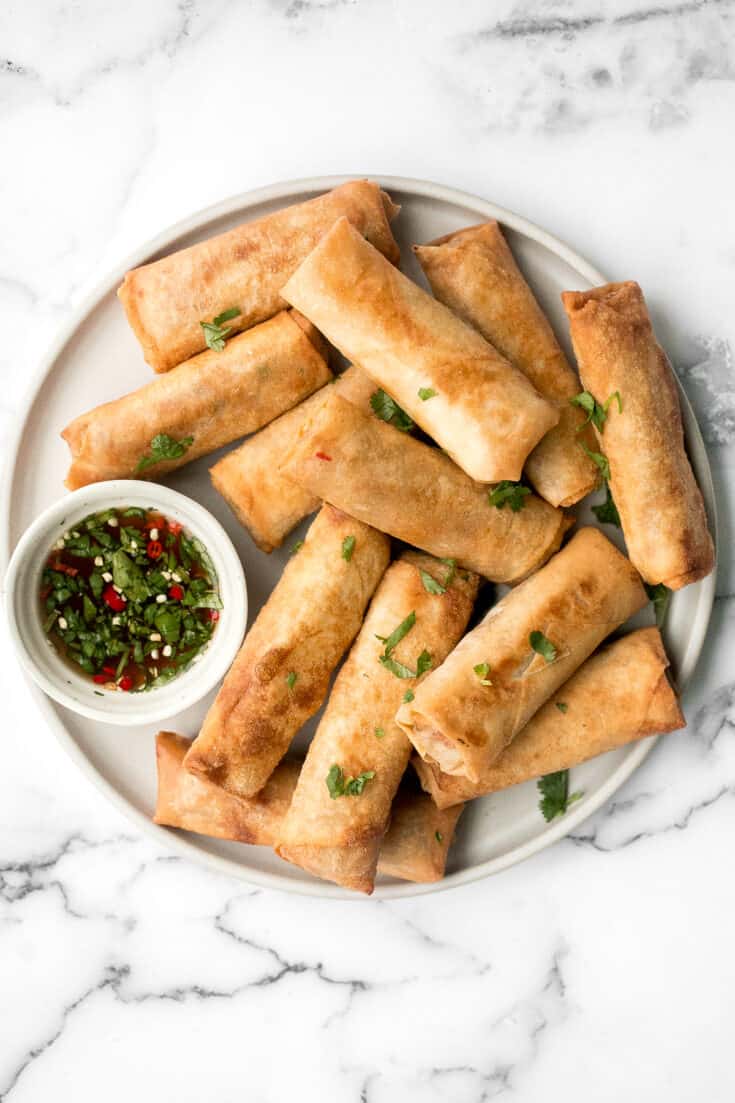
Crispy Fried Vegetarian Spring Rolls
Better than takeout, light and crispy fried vegetarian spring rolls are packed with a tender mushroom and cabbage vegetarian filling in a crunchy skin.

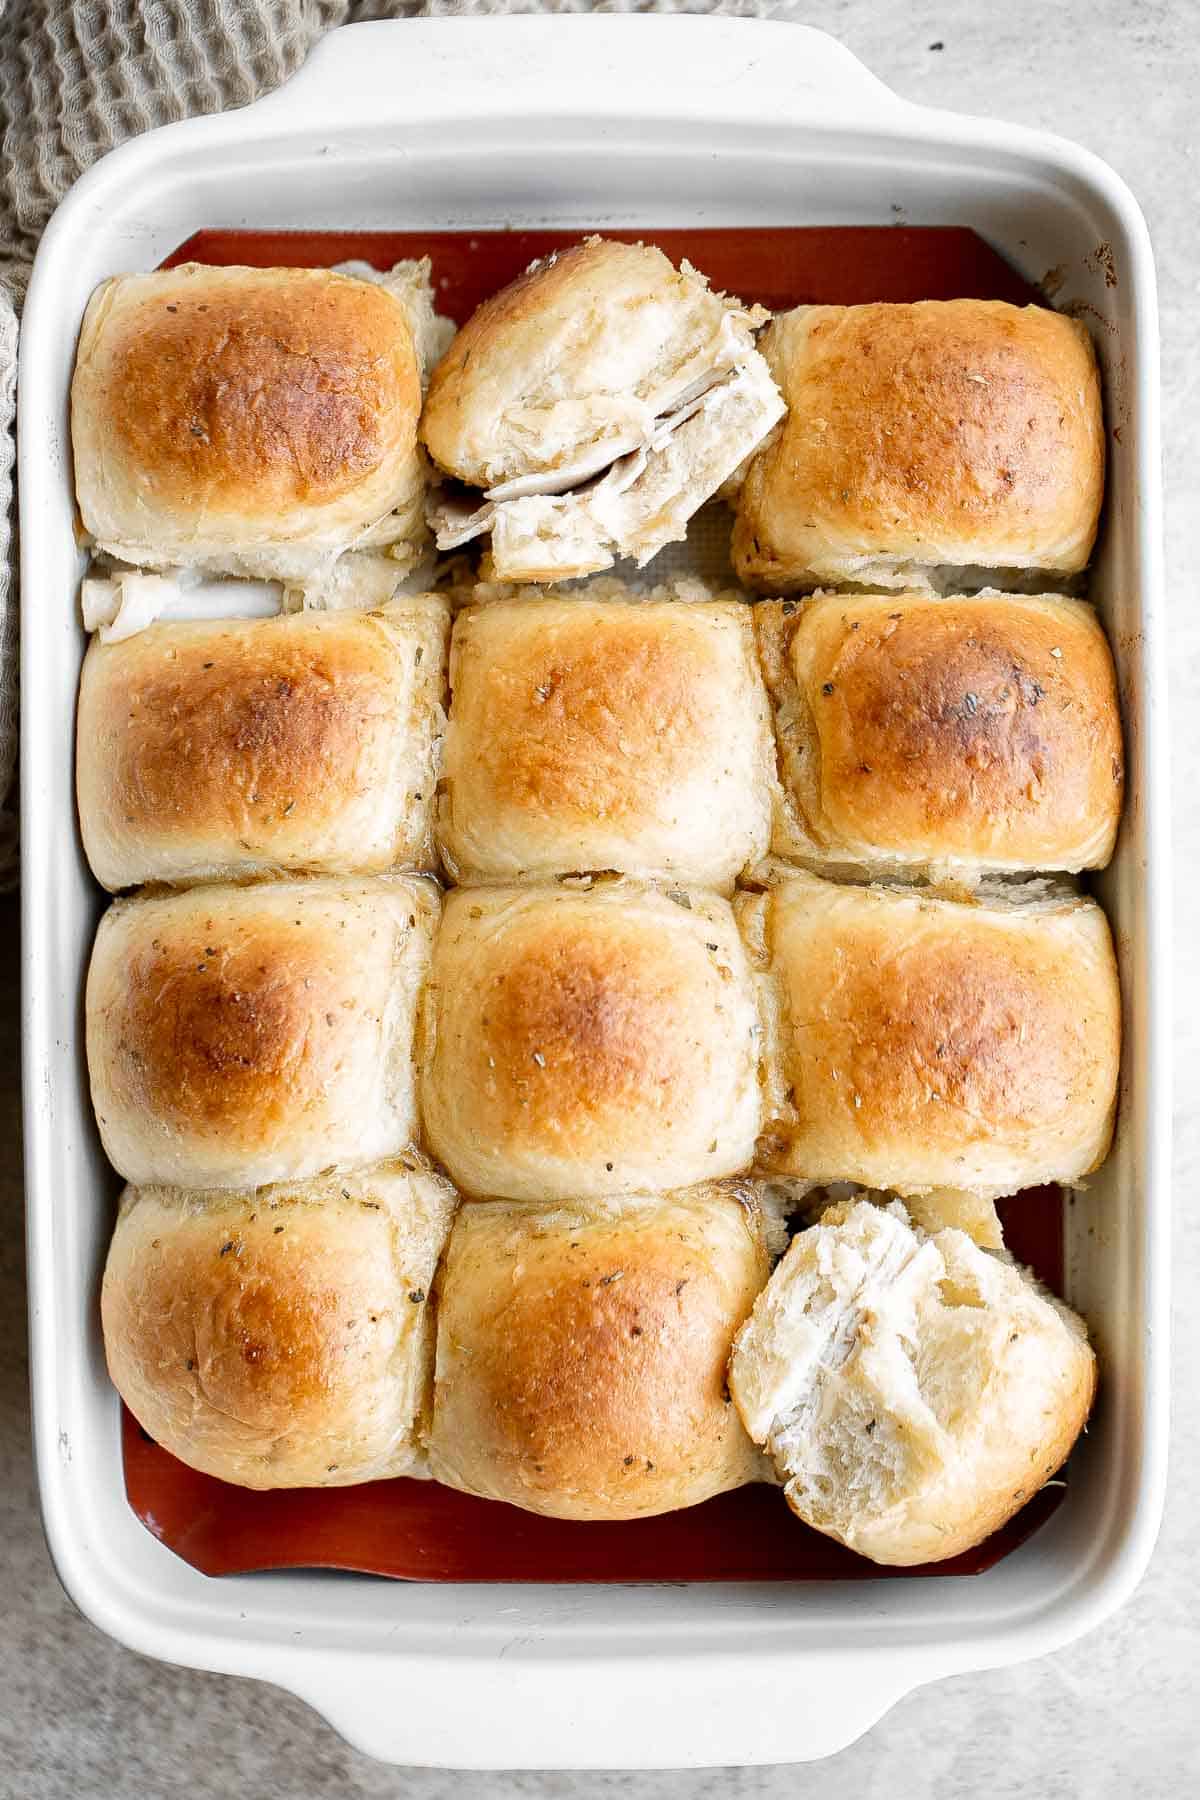
Shanghai Style Vegetarian Steamed Buns
Homemade Shanghai style vegetarian steamed buns is spongy with a juicy, flavourful bok choy and mushroom filling inside bursting with Asian flavours.

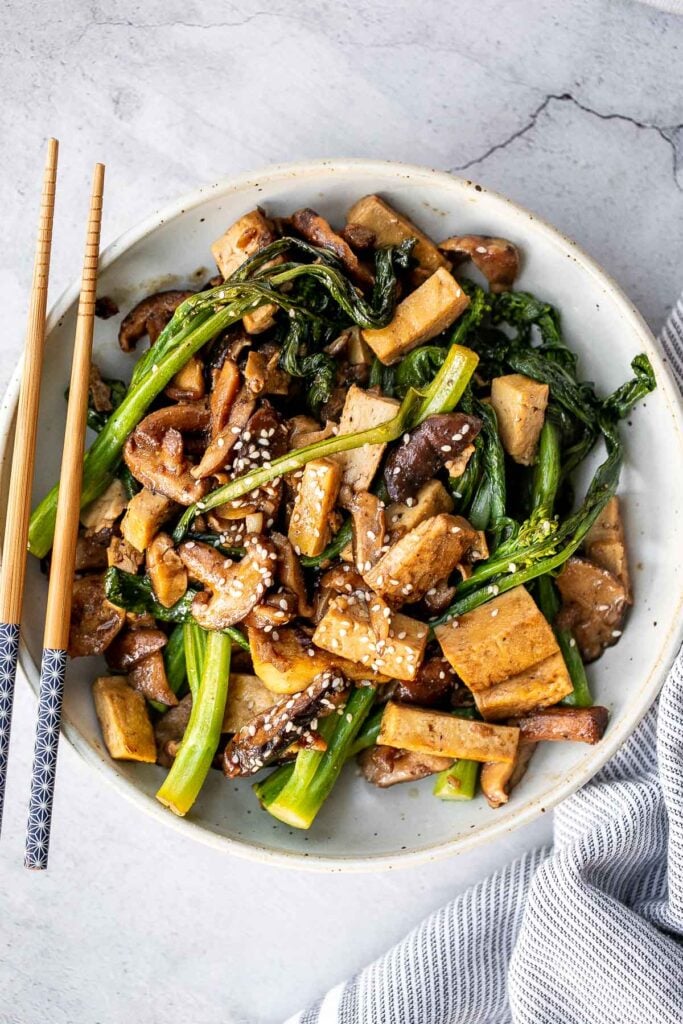
Quick, easy, and simple, vegan tofu and mushroom stir fry is a delicious meal that is ready in under 15 minutes. Serve it over a bowl of steamed rice.
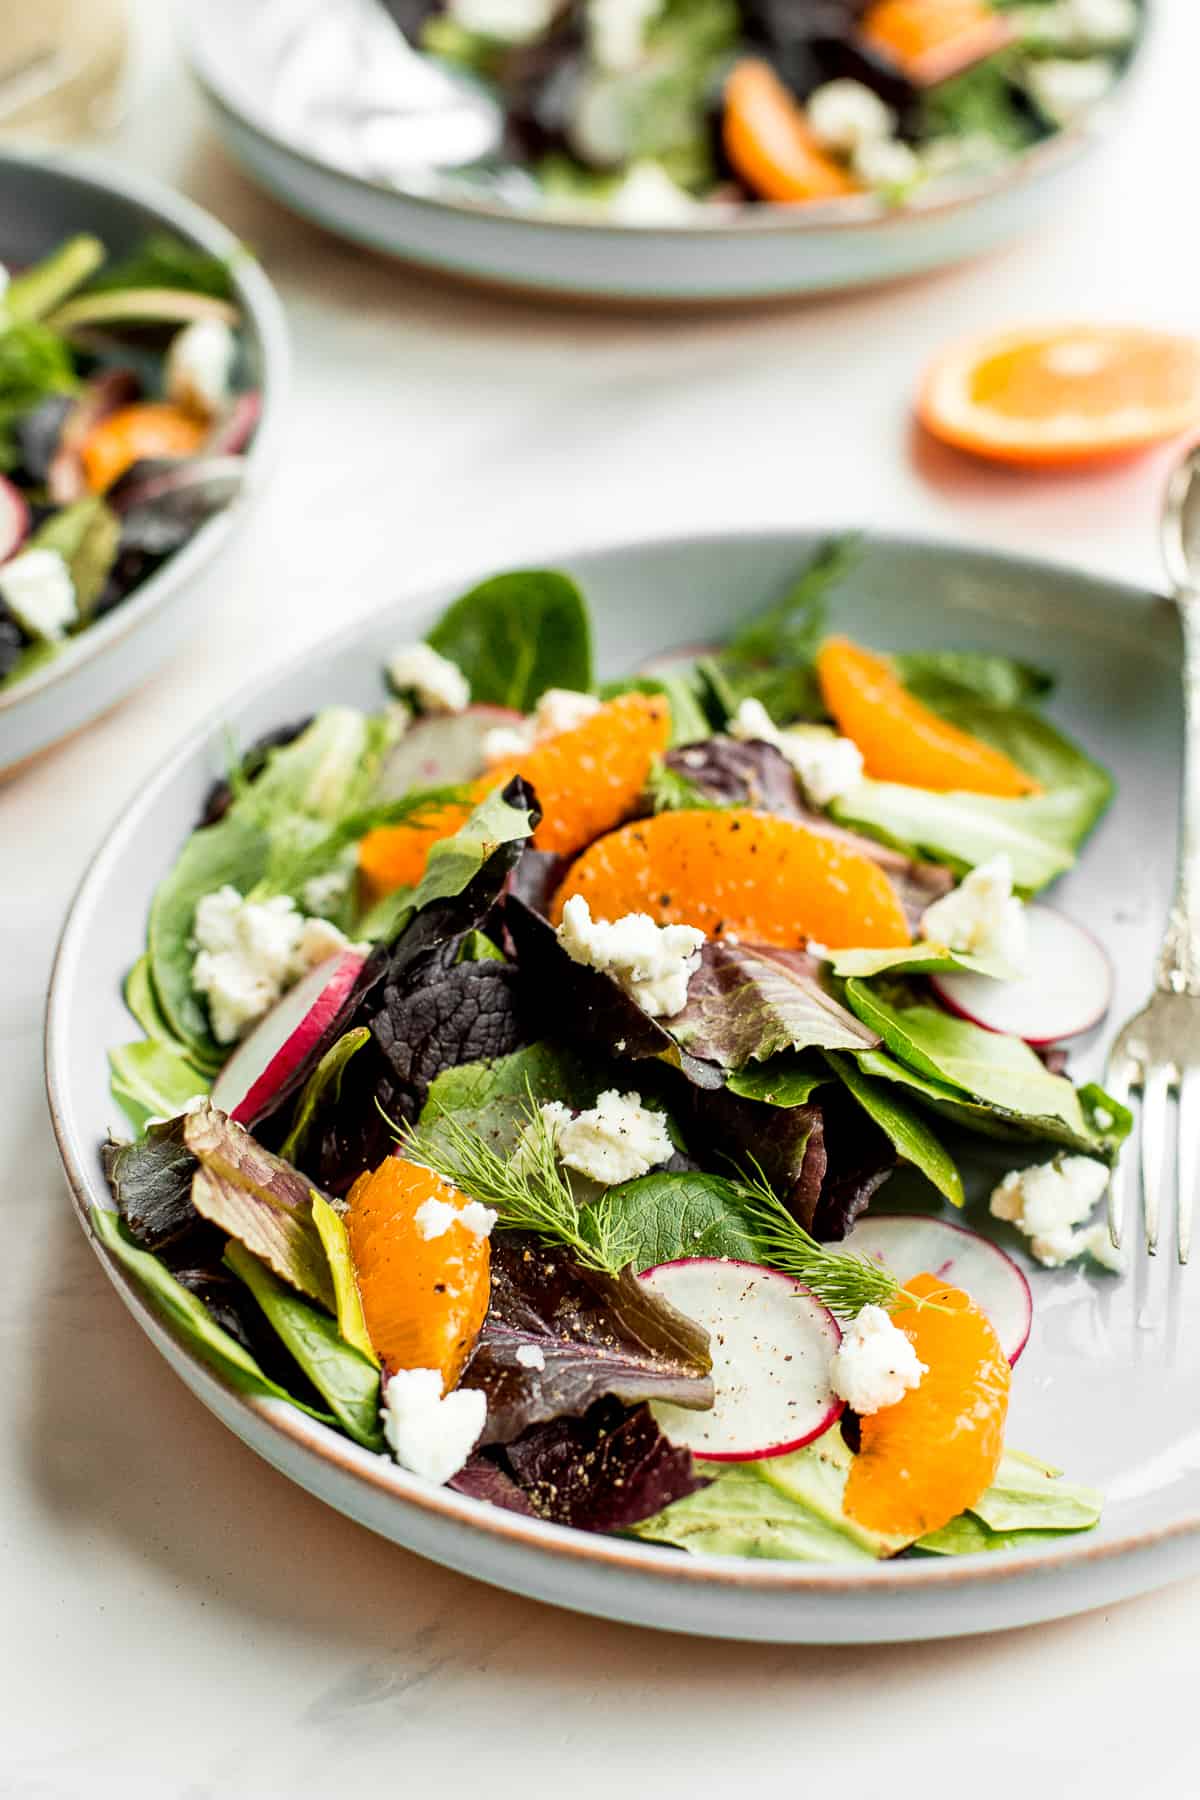
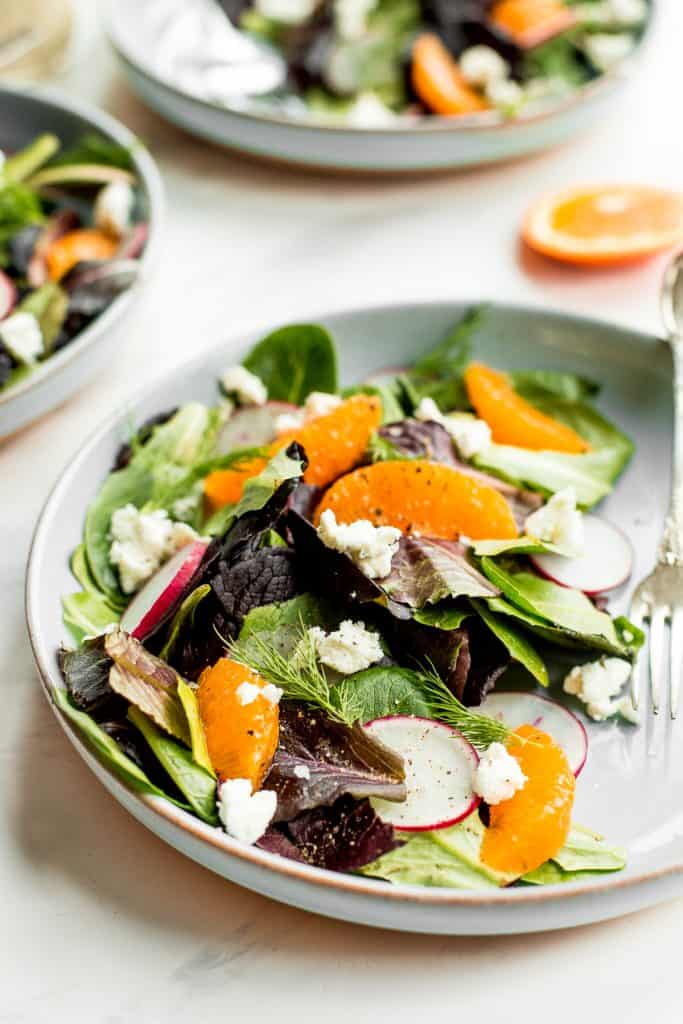
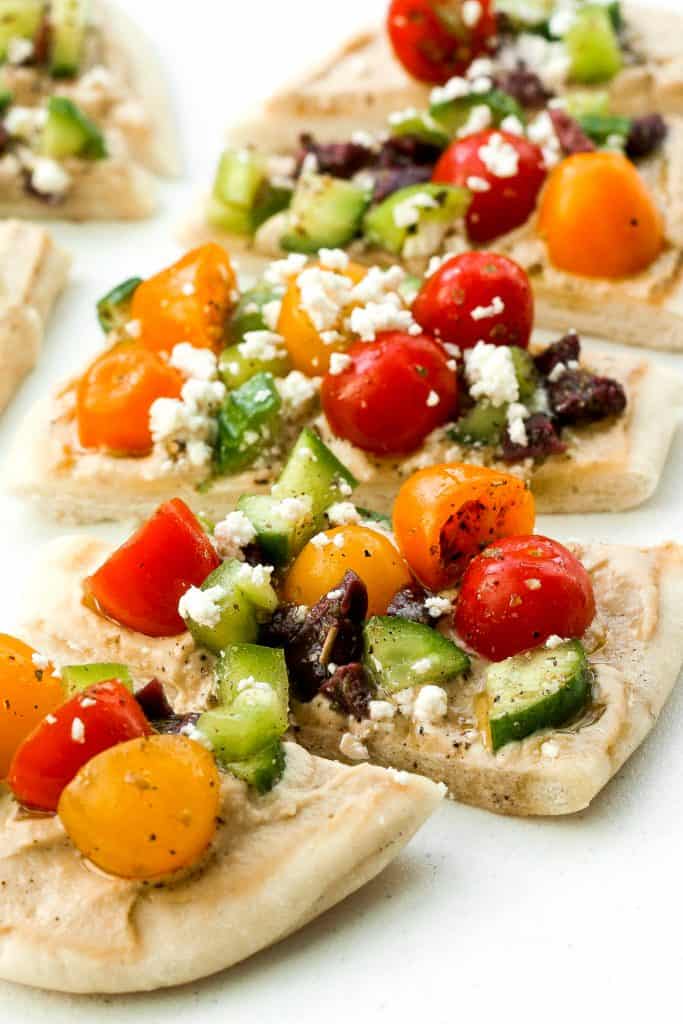
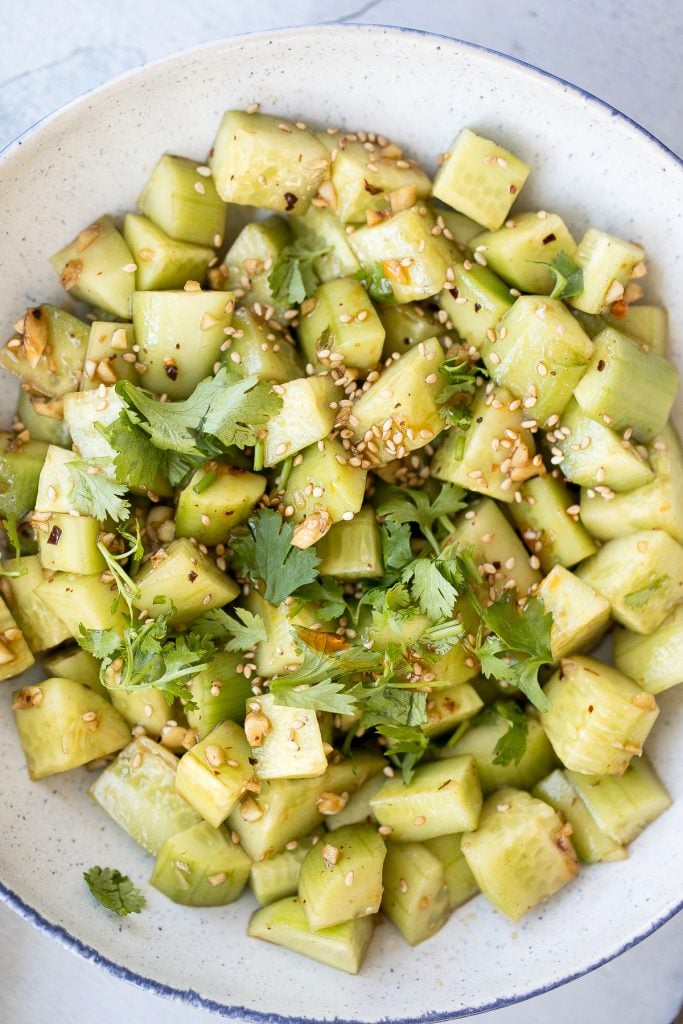
Light, refreshing and crisp Chinese garlic cucumber salad is a quick and easy, simple salad tossed in an Asian dressing and packed with a ton of flavour.
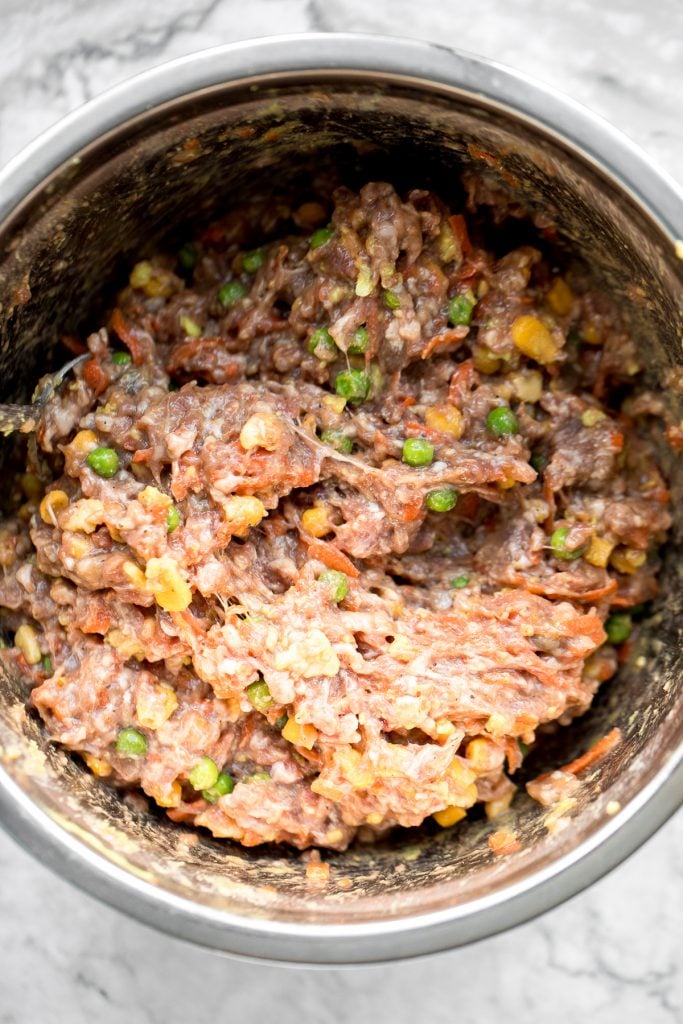
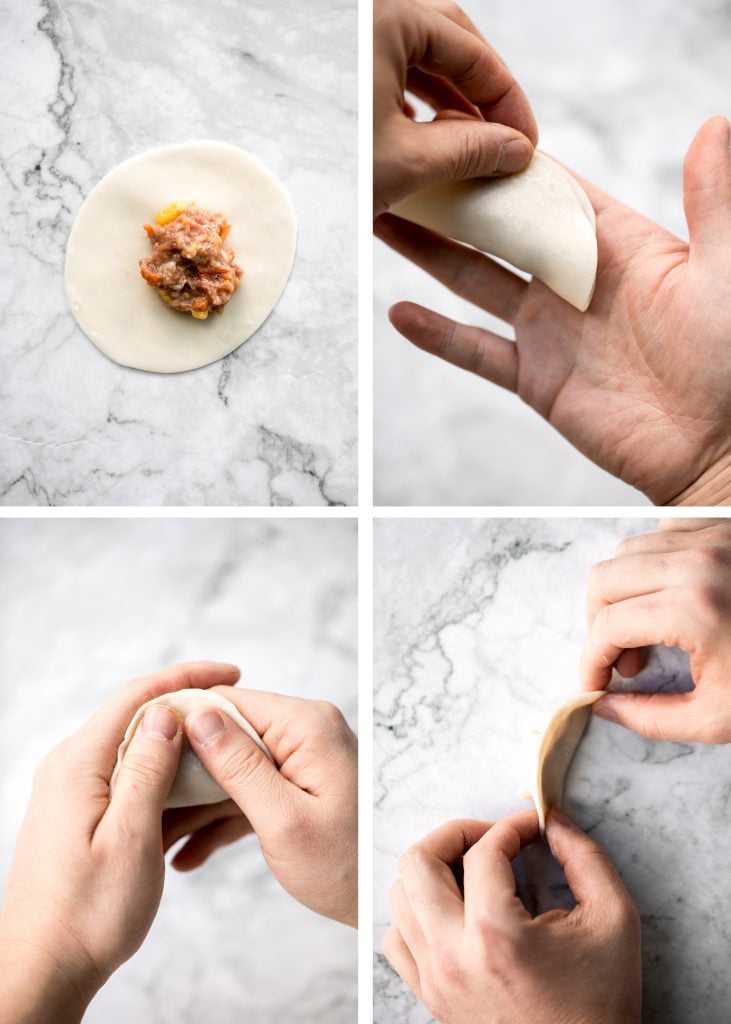
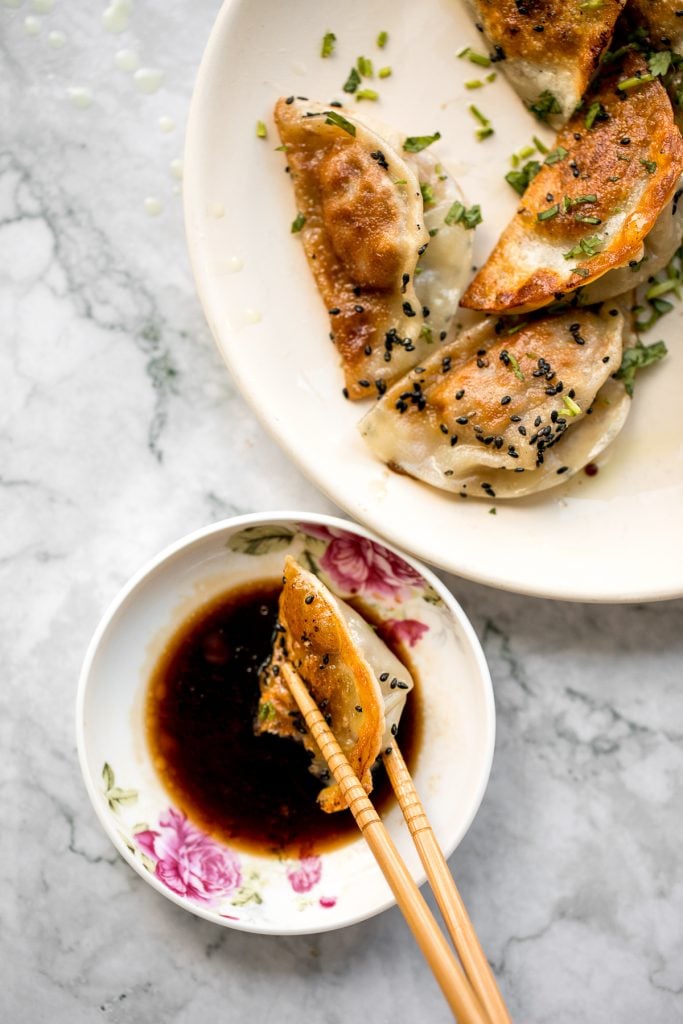
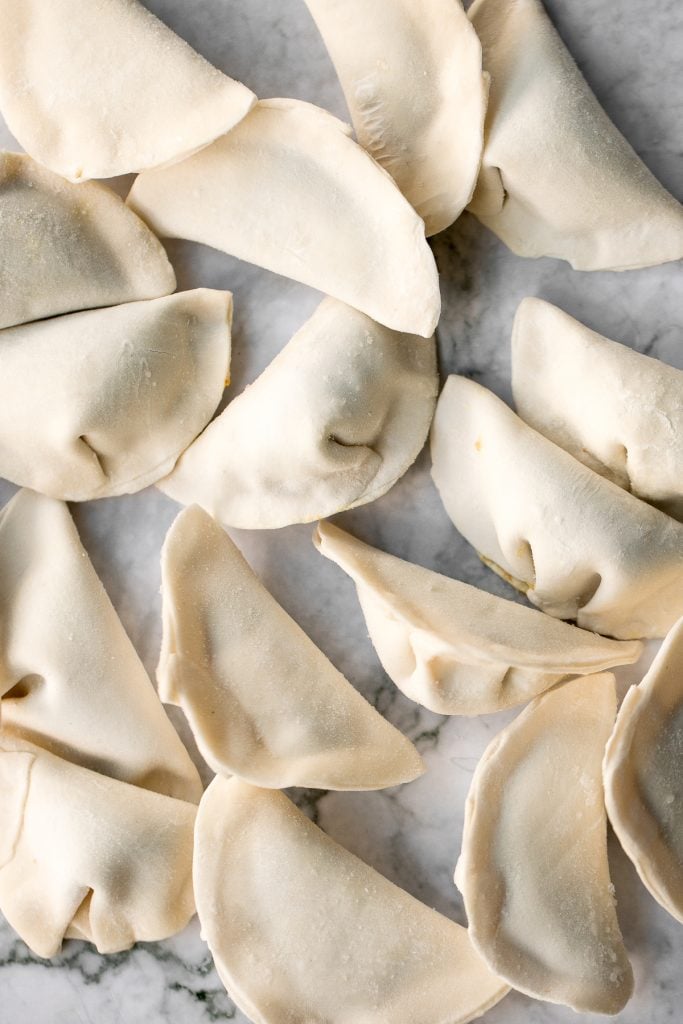
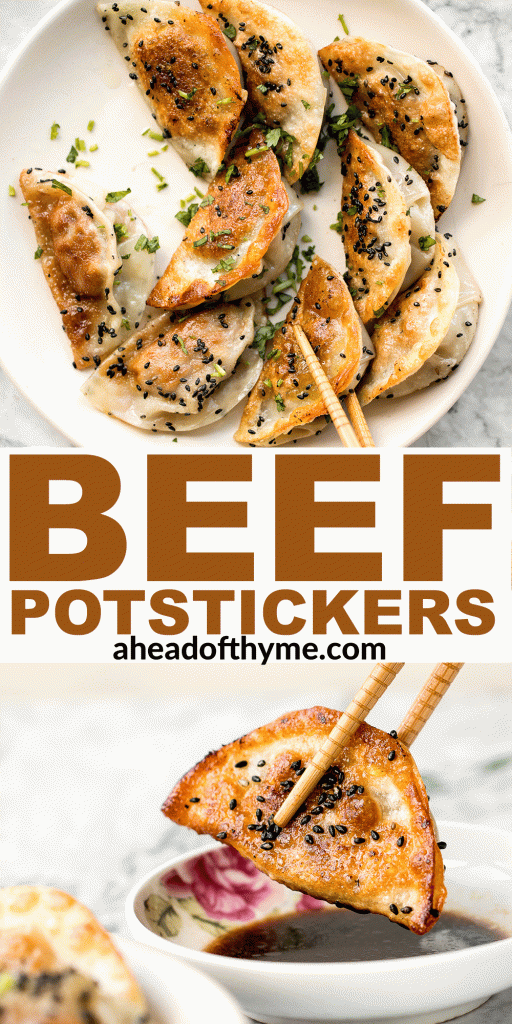
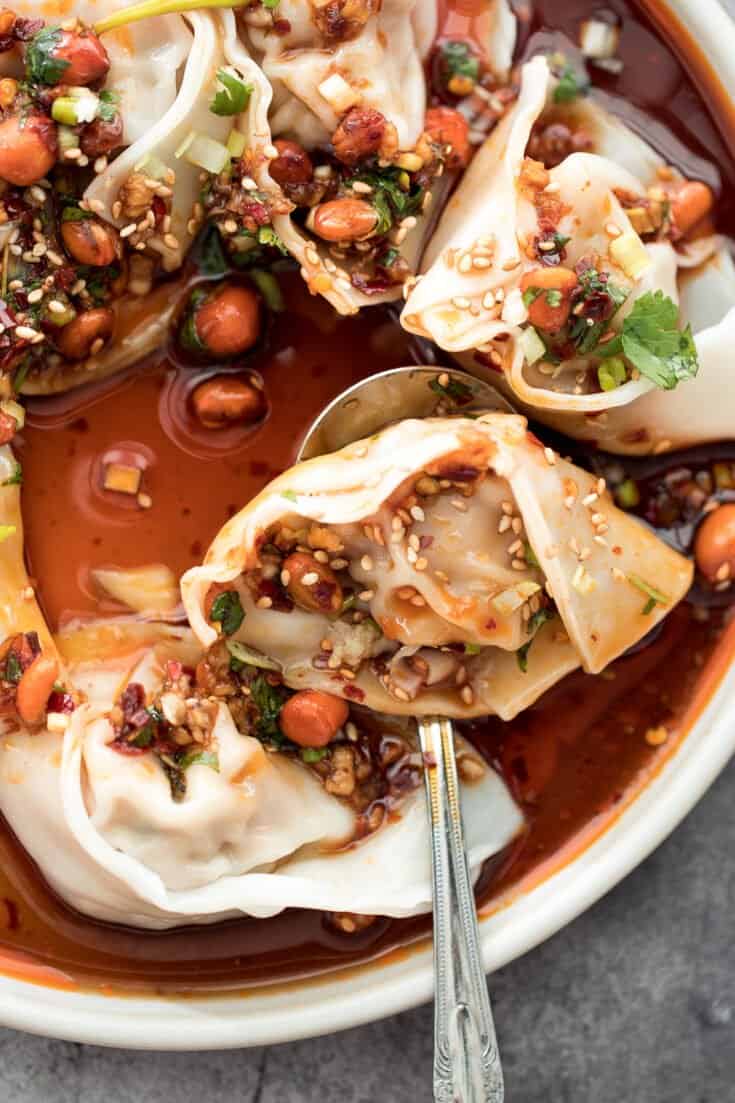
Homemade Chinese beef potstickers (dumplings) are crispy on the outside and tender and juicy inside packed with a delicious beef filling.

Air Fryer Vegetable "Stir-Fry" with Tofu
Simple air fryer spring vegetable "stir-fry" with tofu is the ultimate easy dinner ready in less than 10 minutes. It's healthy, vegan and gluten-free.
Crispy Bottom Pan-Fried Vegetable Buns (No Yeast)
Crispy bottom pan-fried fried vegetable buns (no yeast) are crunchy outside yet tender inside with a mushroom, carrot and vermicelli vegetarian filling.

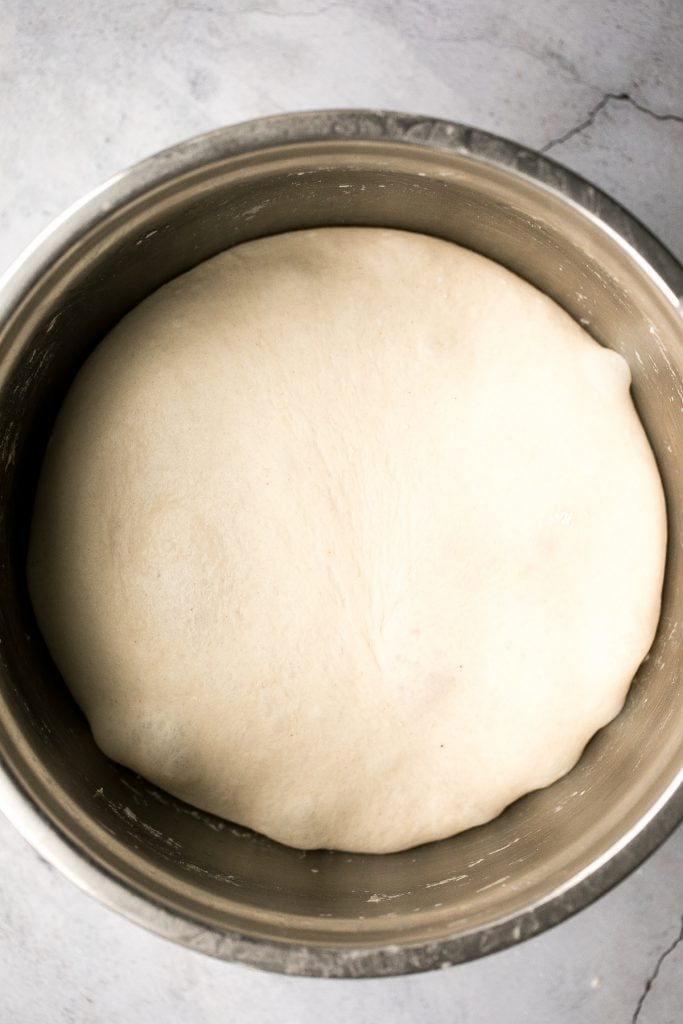
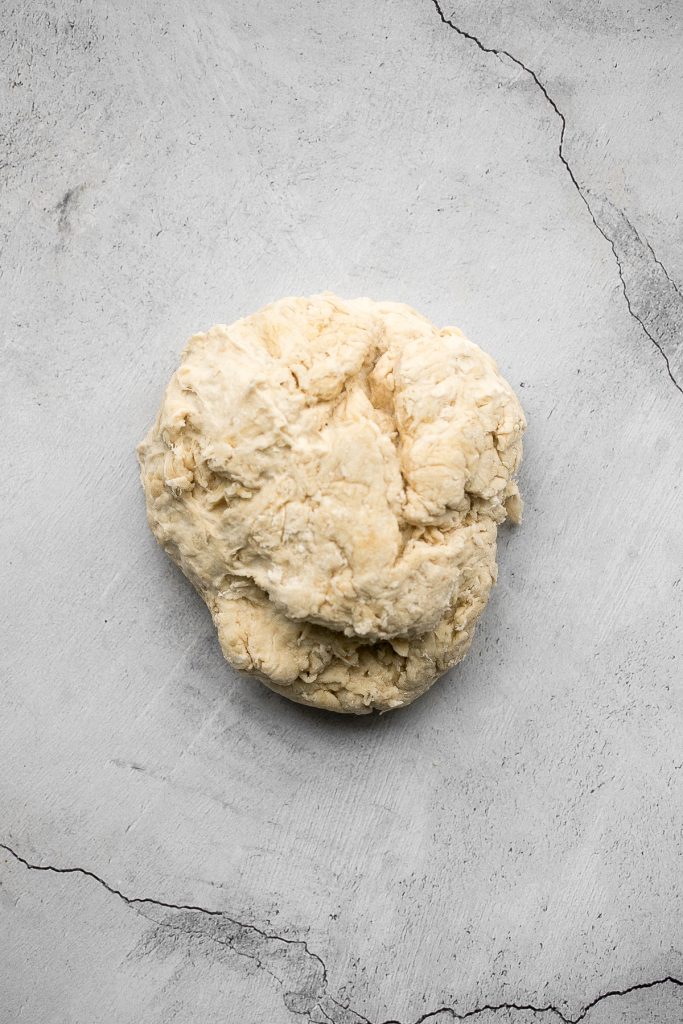
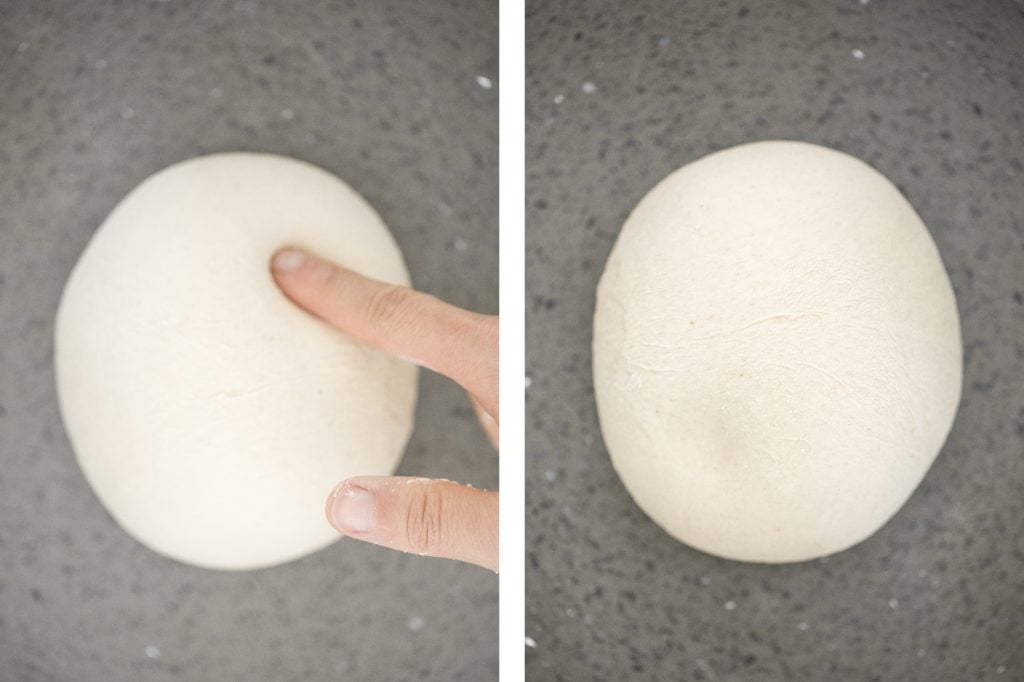
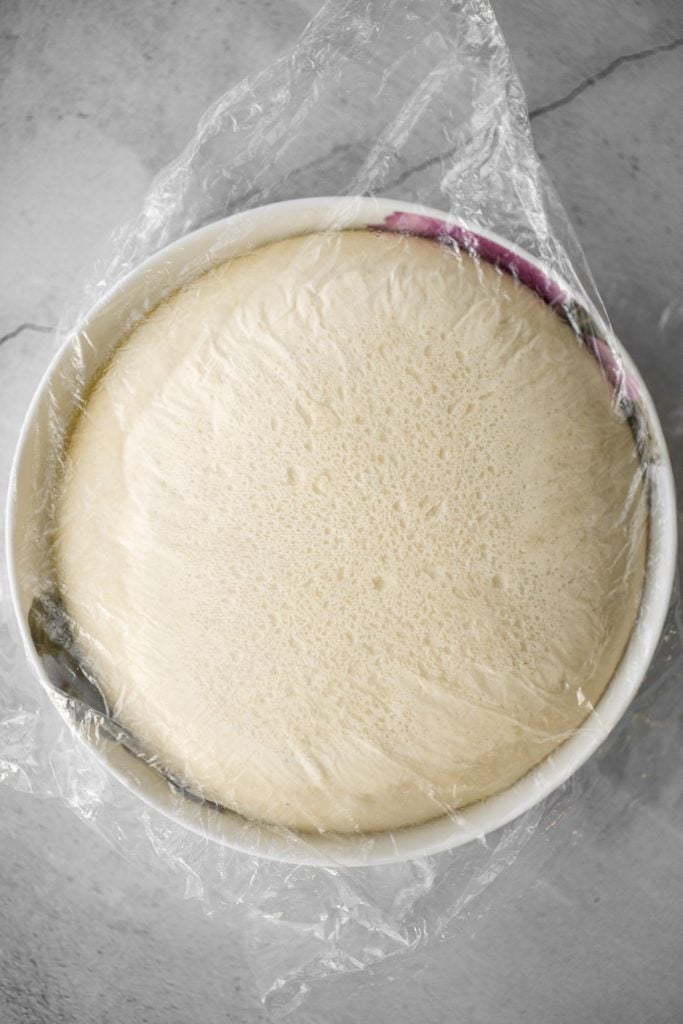
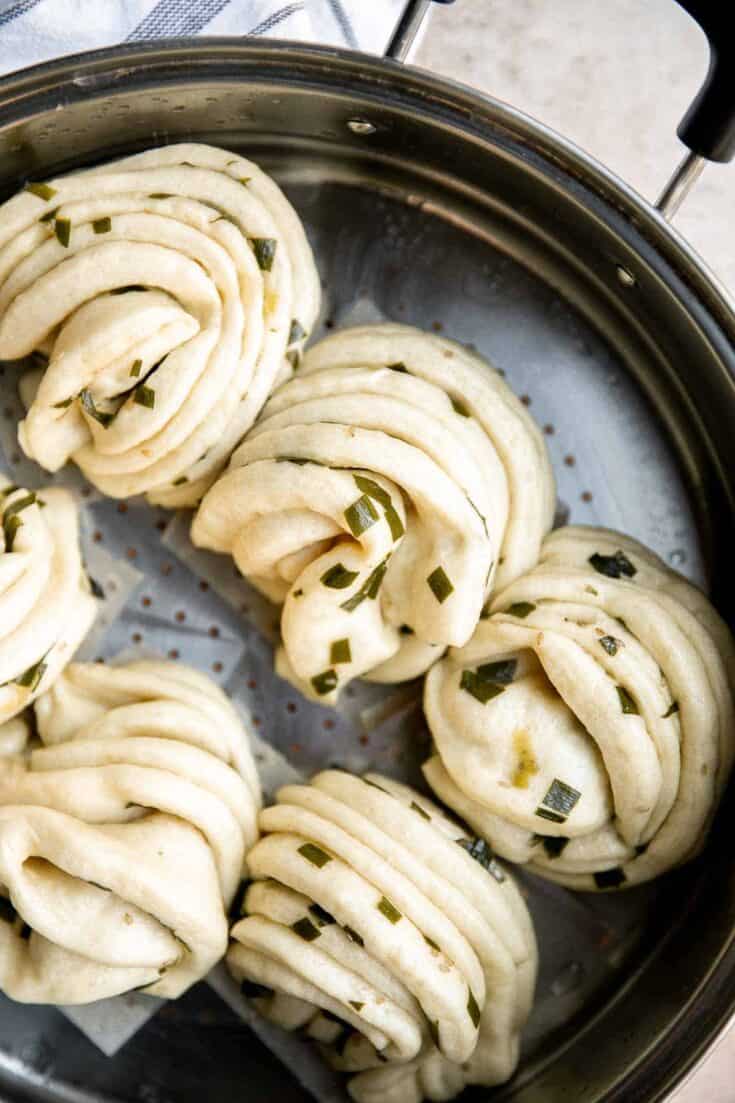
Steamed scallion buns (hua juan 花卷) are delicious flower rolls made of a light and fluffy dough layered with green onions that is twisted and steamed.

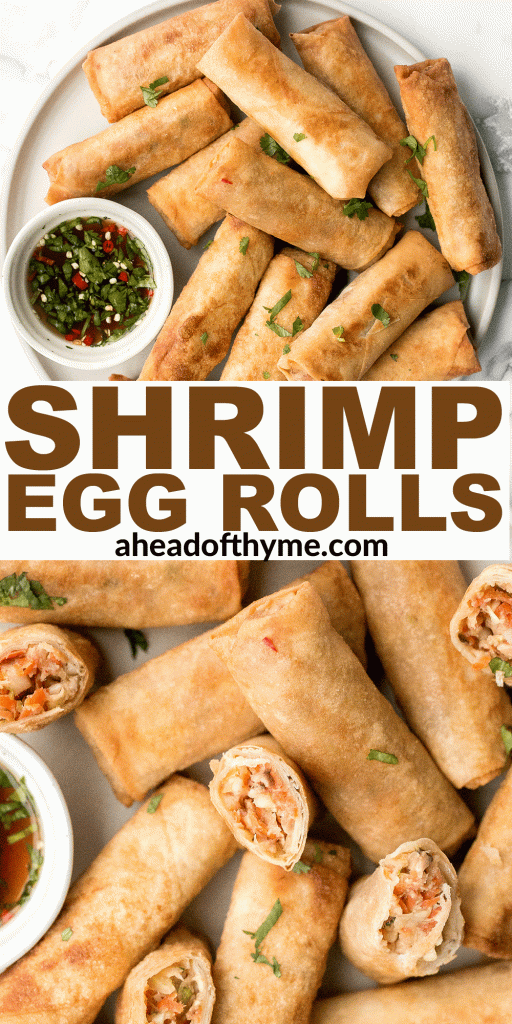
Better than takeout, shrimp egg rolls are a delicious, flavourful and easy appetizer to make. They can be deep fried, baked or air fried.

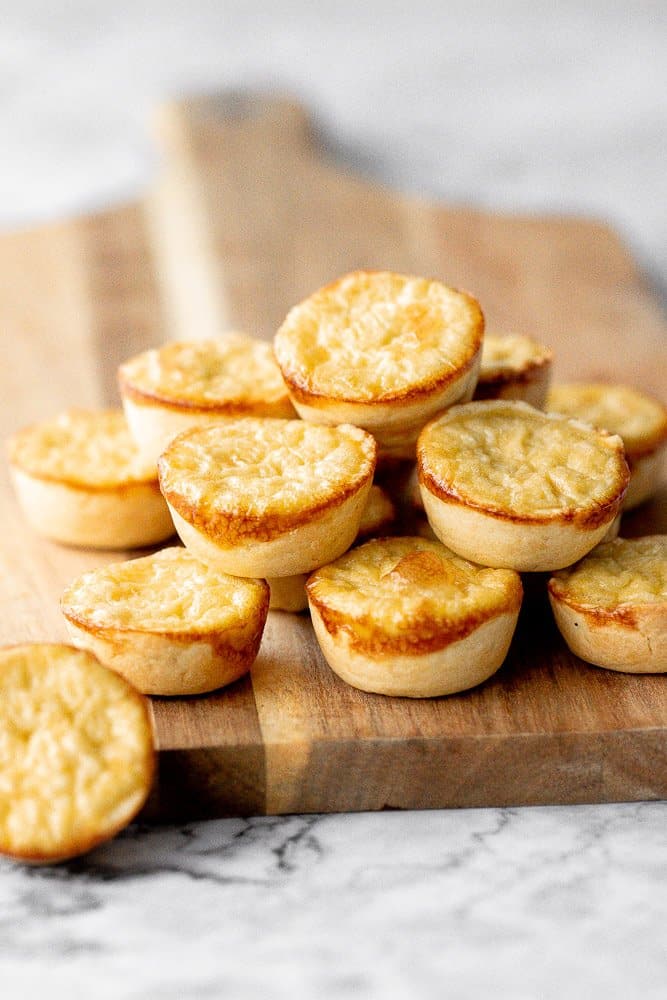
Mini egg tarts with a flaky buttery crust and silky smooth rich egg custard filling are a delicious Hong Kong pastry served as dessert with dim sum.
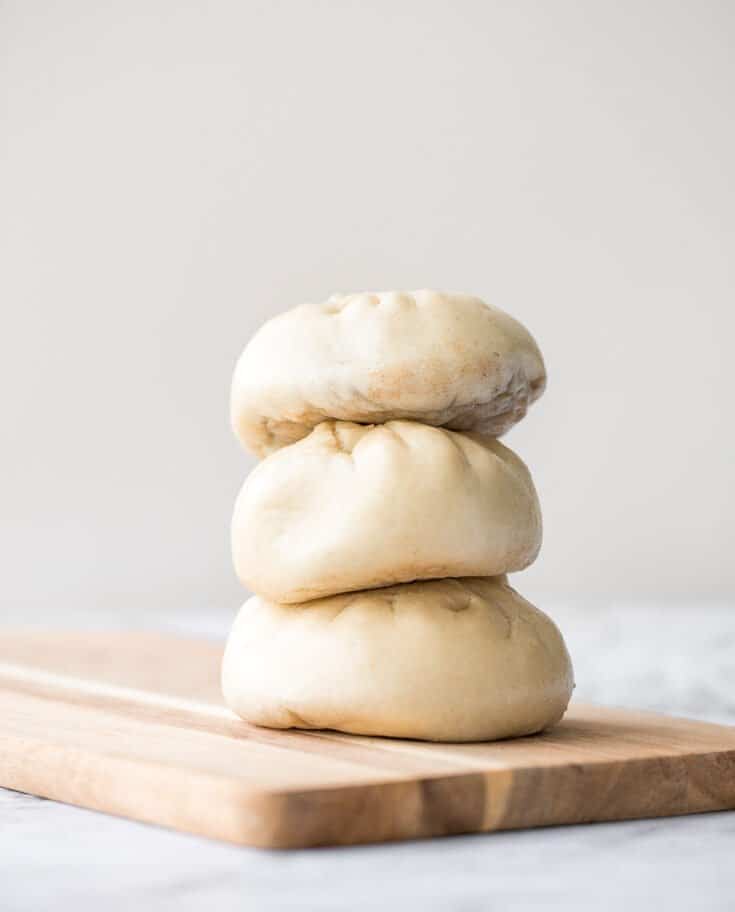
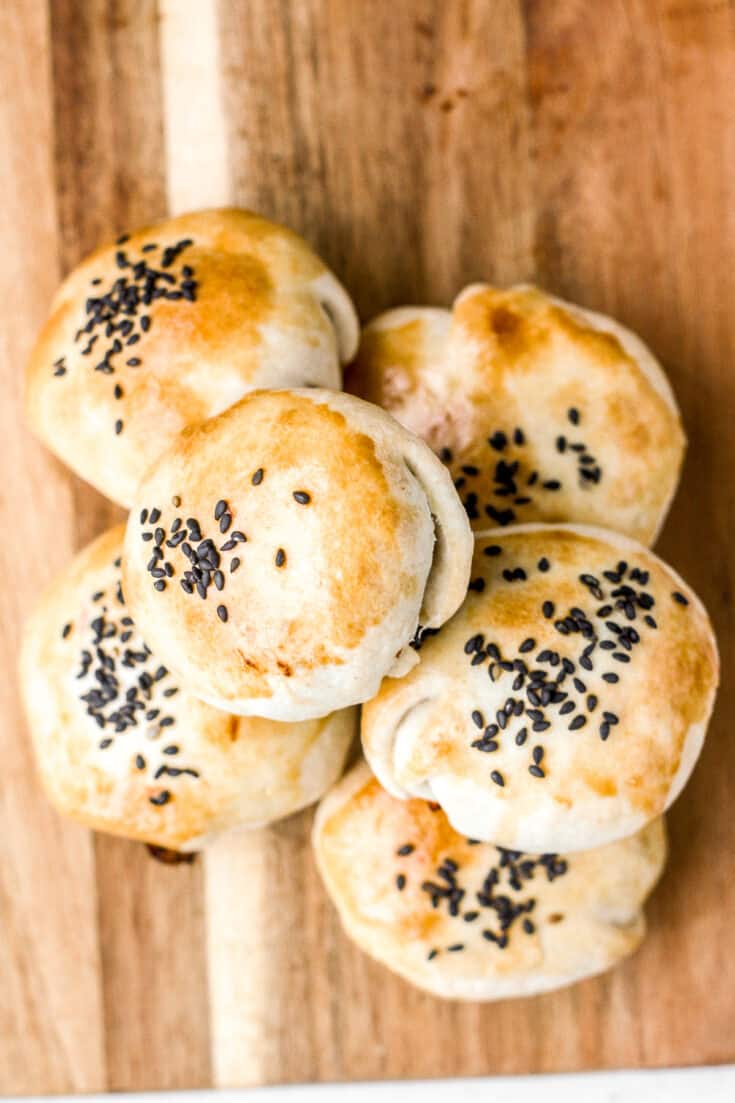
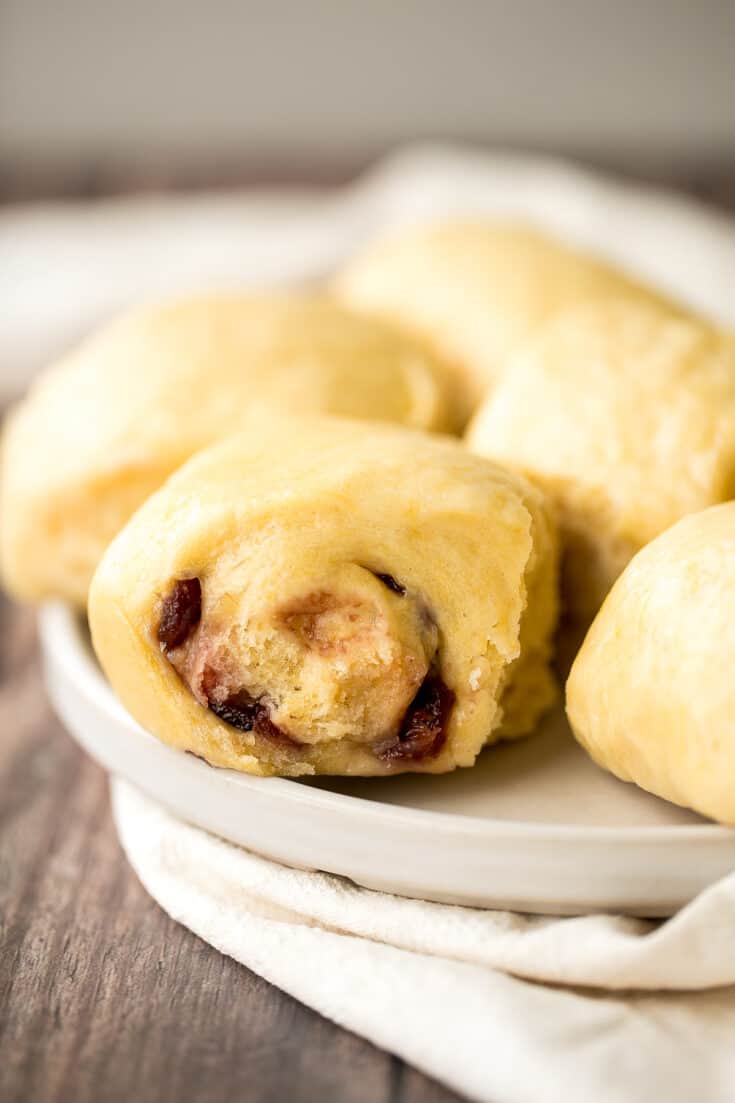
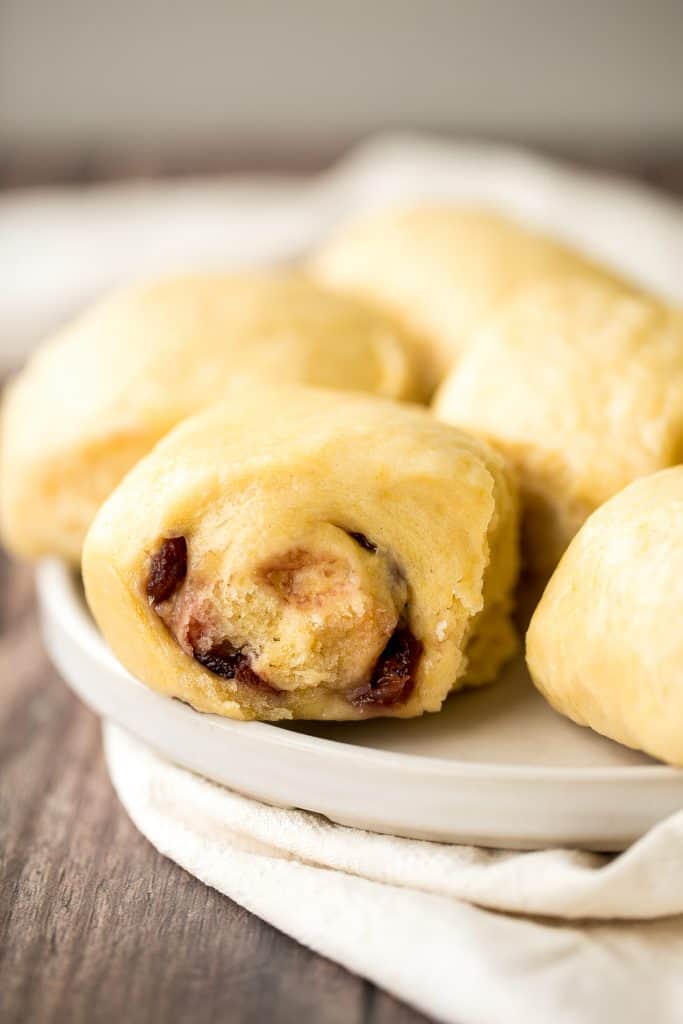
Cranberry Pumpkin Steamed Buns
Cranberry pumpkin steamed buns (baozi) are light, spongy, and fluffy Chinese buns packed with colourful cranberries and pumpkin puree for the best flavour.
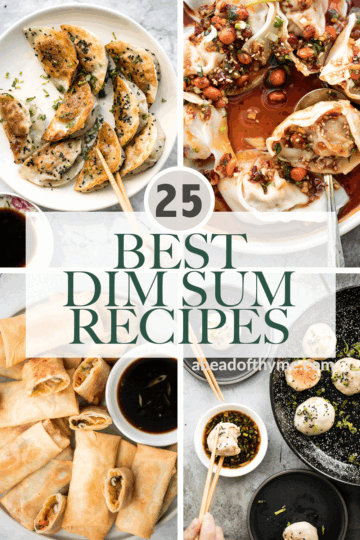
For more dim sum recipes, browse our top 25 best dim sum recipes.
Chinese New Year Dinner Tips
- Plan your menu ahead of time. You can prepare some of these Chinese New Year recipes in advance. Some can stored in an airtight container for a few days in the refrigerator, and some can even be frozen, according to recipe directions.
- Prep your ingredients as much as possible. Once you have decided on the dishes to serve, prepare as much as you can in advance, whether that is chopping ingredients or prepping the dish and storing in the refrigerator until ready for the oven. Any little bit that you can prepare in advance will make things much less stressful on the day.
- Set the table the night before. Take out the fancy dinnerware, flatware, glasses, placemats, and napkins and set the table the night before. It's one less thing to worry about on Chinese New Year.
Did You Make Any of These Popular Chinese New Year Recipes?
Please leave a comment and rating below, and let me know what you thought of this round up of Chinese new year recipes. Be sure to snap a picture and tag me on Instagram @aheadofthyme or share it on the Pinterest pin so that I can follow along.
HUNGRY FOR MORE? Don't forget to sign up for my email newsletter so that you don't miss any recipes. You can also follow along on Instagram and Pinterest for more recipe updates.