
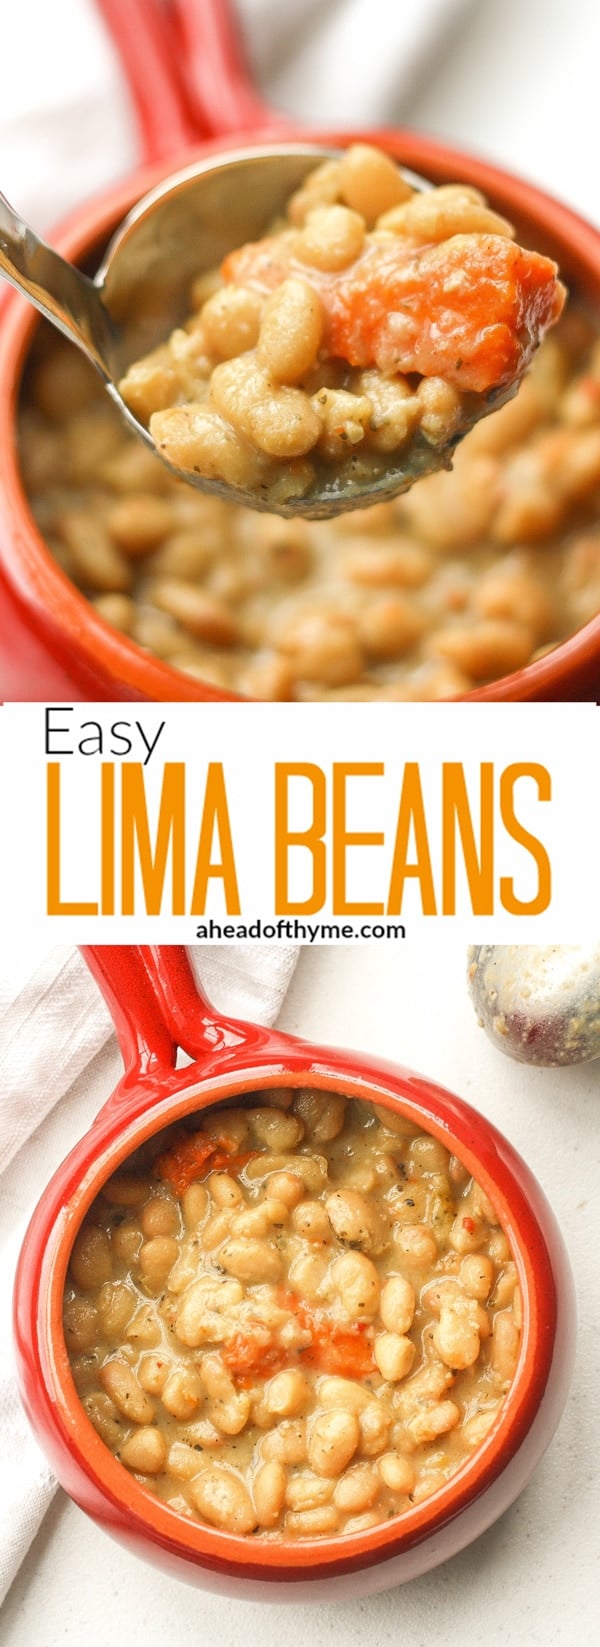
Let's talk about lima beans. The first time I tried them, I was about 12 years old, at a friend's house and I hated them. They were boring and bland. So one day, when my mom randomly made them, I was quite hesitant to eat it. But, I succumbed to the pressure and tried these beans once again. I was pleasantly surprised. Lima beans can actually be tasty and full of flavour!
Health Benefits of Lima Beans
If you don't normally eat these beans, or have never tried them, I don't know what you are waiting for! Lima beans are packed with protein and a wide array vitamins and minerals. They are particularly a good source of copper, manganese, folate, iron and cholesterol-lowering fiber.
They also provide numerous health benefits including:
- promoting heart health,
- producing energy, and
- stabilizing blood sugar levels.
Plus, they are readily available in your local grocery store. So no excuses! You can find them dried, canned or frozen. This recipe uses dried lima beans, since it is the only type that I have tried to make so far.
How to Prepare Dry Lima Beans for Cooking
To prepare the lima beans for cooking, you will need to do the following:
- pick them over to remove any small stones or debris that may be hiding in your beans.
- pre soak the beans for at least 8 hours or overnight. This will help the beans cook faster, and remove some of the gassiness from the beans.
How to Cook Lima Beans
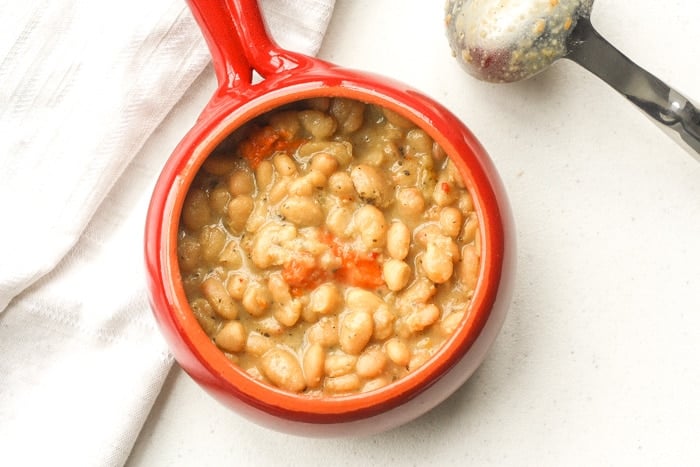
So what is the secret to make them tasty? There really is no secret at all. There's no complicated way to cook them, nor is there a rare, secret ingredient. In fact, all it takes is a few basic ingredients to bring these beans to life: onions, garlic, turmeric, italian seasoning blend (which consists mainly of basil, oregano, rosemary, and thyme), salt and pepper. Yup, that is ALL!
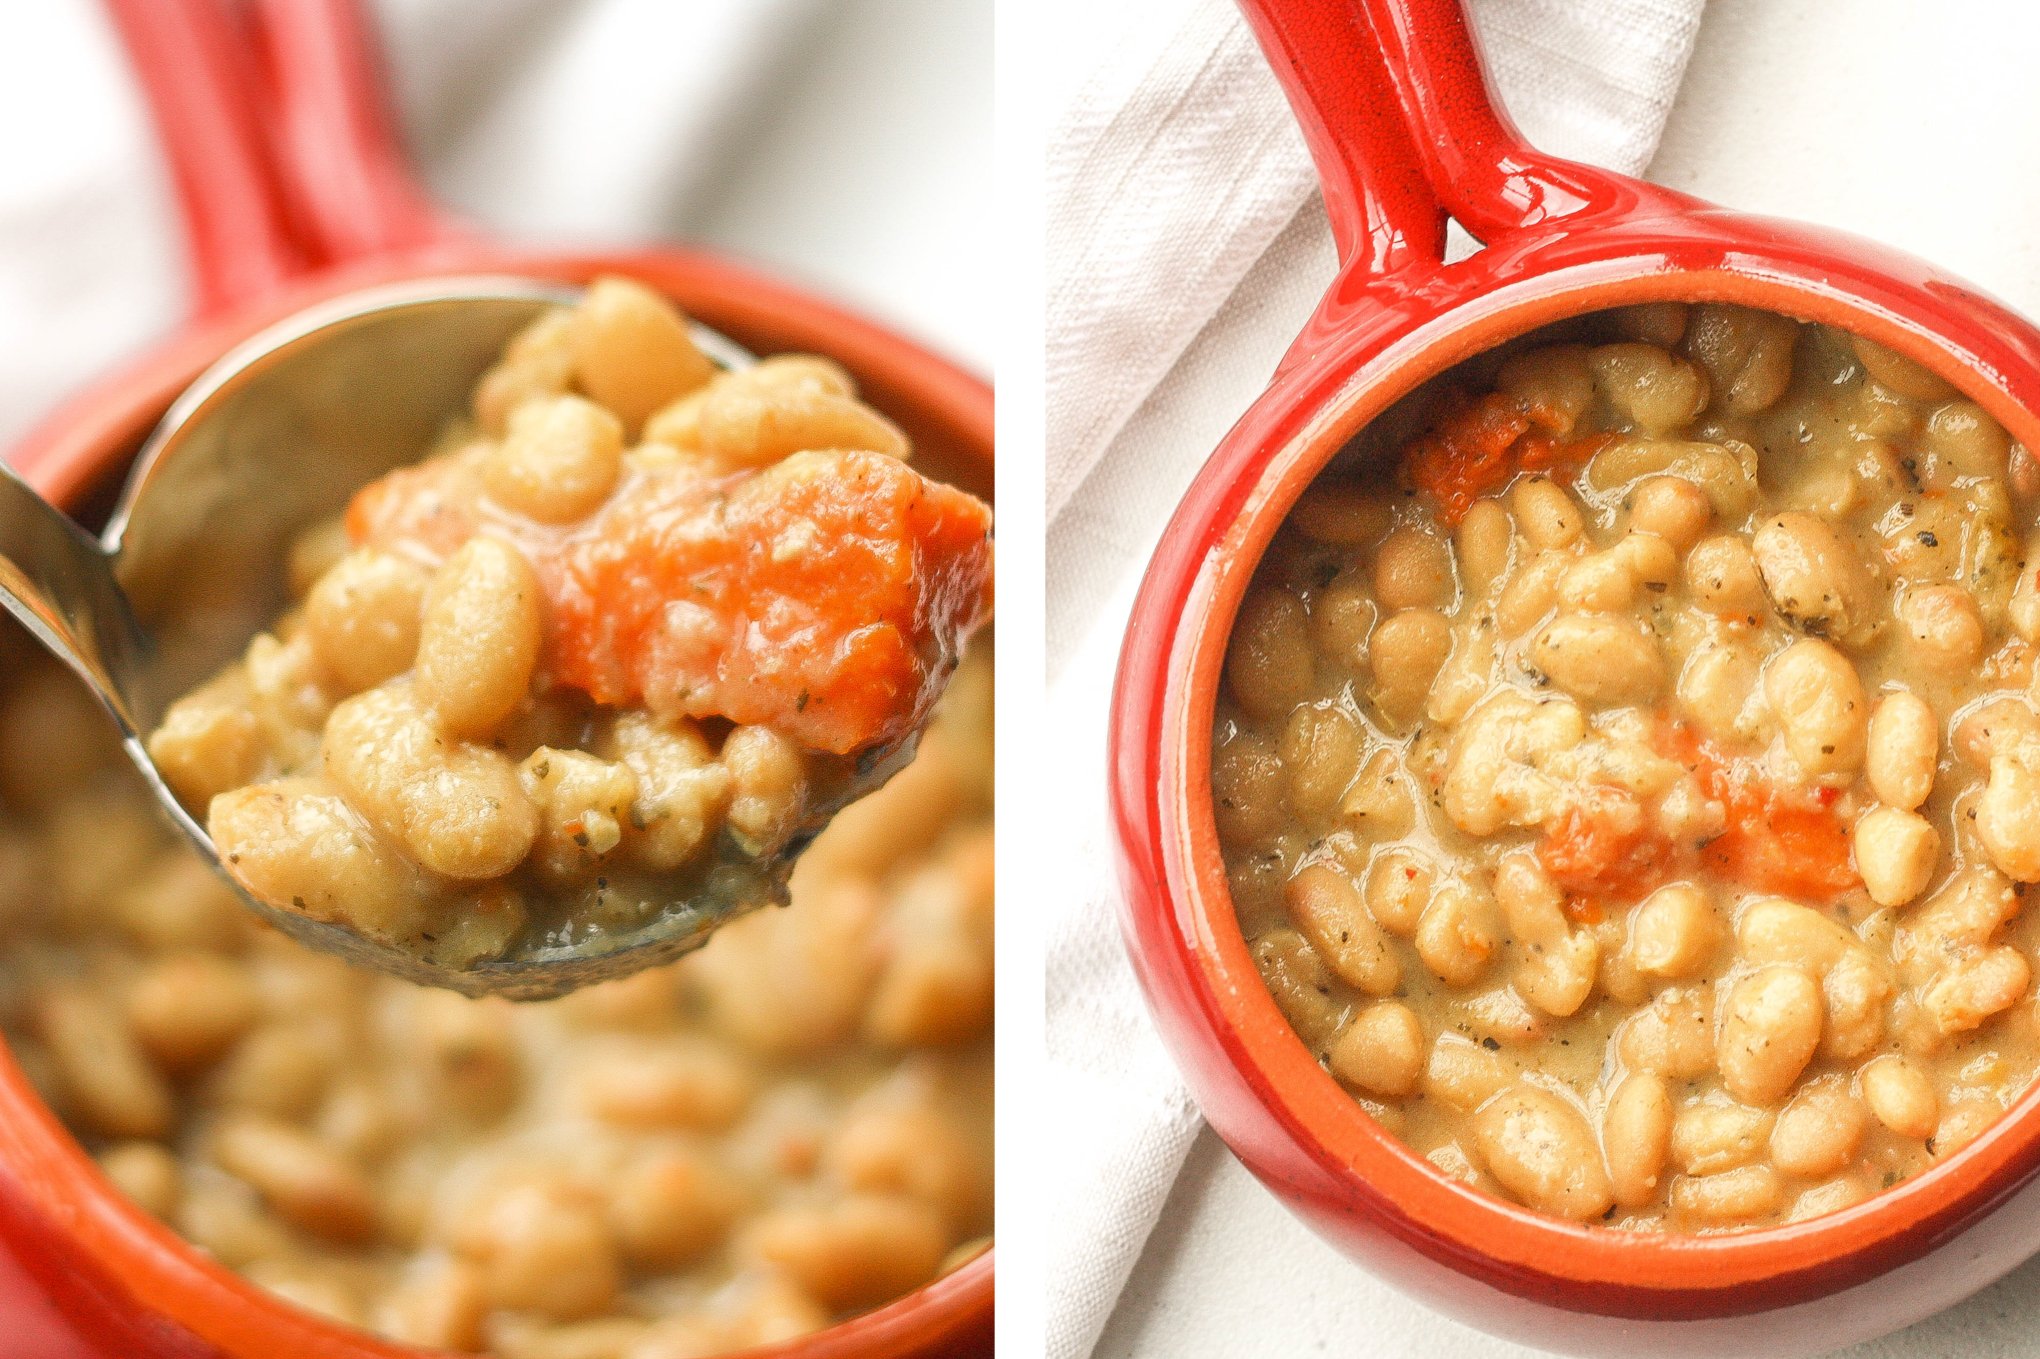
The key is that once everything has cooked in the saucepan, turn off the heat and set it aside (still covered) for at least 20 minutes. This is crucial! It enables the flavours from this combination of ingredients to really settle into the sauce to create the flavourful creaminess and richness that is so apparent in this dish. That's right, the creamy texture comes from the beans, not from any dairy. This dish is completely 100% vegan!
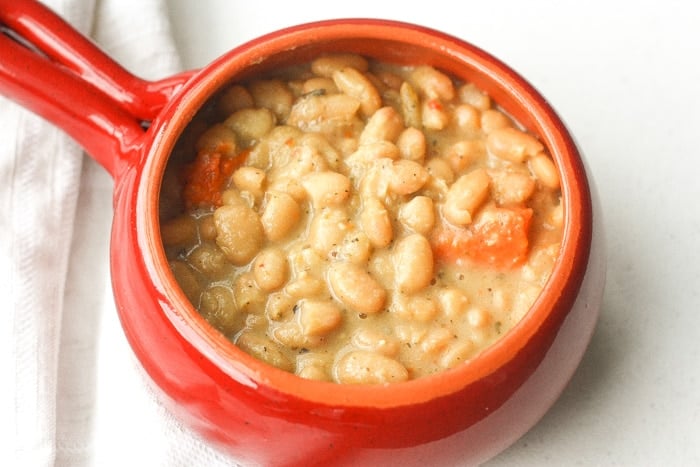
You can even create a more substantive dish by adding other hearty vegetables. Both carrots and potatoes taste incredible in this dish, hence why I added the carrots (which are optional). Adding corn or sweet potatoes will also result in a great stew. Experiment a little and see what works for you! 🙂
Serve hot or, once ready to serve, simply reheat the beans on the stove. Give them a taste and add more salt, pepper or italian seasoning as required. I love to keep this meal gluten-free and vegan by serving over a warm plate of Basmati rice. If you are not on a strict diet, you can also serve this with a dinner roll or homemade biscuit.
How to Store Cooked Lima Beans
If you realize that you have made too big of a batch, no need to panic! This recipe makes excellent leftovers! I personally think they taste even better the next day. They also freeze very well. So well, that I usually double this recipe just to freeze the rest. It makes my life so much easier on a weekday when I am super tired and do not feel like cooking! I just take one of these out in the morning and it is thawed out by the time I get home. I only need to reheat and possibly add more salt or seasoning.
More Bean Recipes
- How to Cook Dried Beans
- One Pot Red Kidney Beans
- 20-Minute One Pot Lentils
- Coconut Curry Lentil Soup
- Warm Lentil Salad with Butternut Squash
Tried this recipe?
I'd love to hear what you think! Leave a comment and rating below to share your feedback. Your reviews help others discover this recipe and help me keep creating more free recipes for you. Snap a photo and tag me on social media @aheadofthyme too.
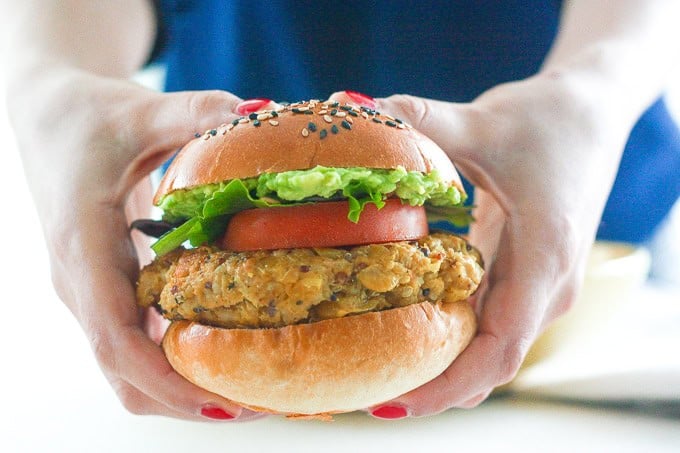
How to Use Leftover Lima Beans
A great way to use any leftovers is in a Homemade Veggie Burger with Lima Beans. So delicious and flavourful.
Thai Red Curry Mussels
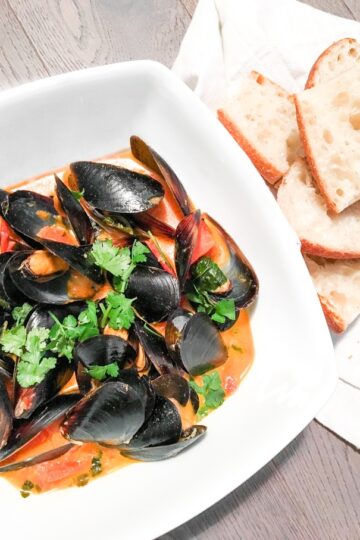
I am not a big shellfish person but mussels are my one exception. I love them in tomato sauce. I love them in a coconut curry sauce. The list goes on and on. Thai. Red. Curry. Mussels. This really doesn't need an explanation. It trumps my list of ways to cook mussels. And don't get me started on the thai red curry sauce. It is the best part of this recipe. Soak up some french bread in that? Yes, please!
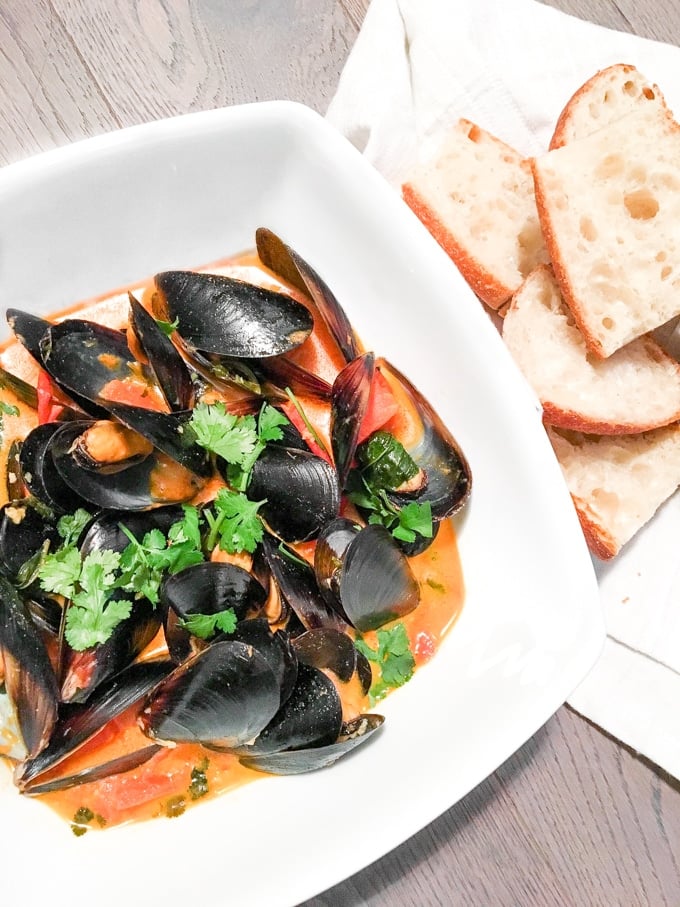
Mussels are normally considered an appetizer and they look pretty impressive at a dinner party. But, in my household, we don't care about food classifications. We eat this stuff as our main course. I mean, why not? It's quick, it's easy and it's filling! The only part of this that might slow you down is the prep. It takes a while to scrub and debeard the mussels, one by one. [Read more...]
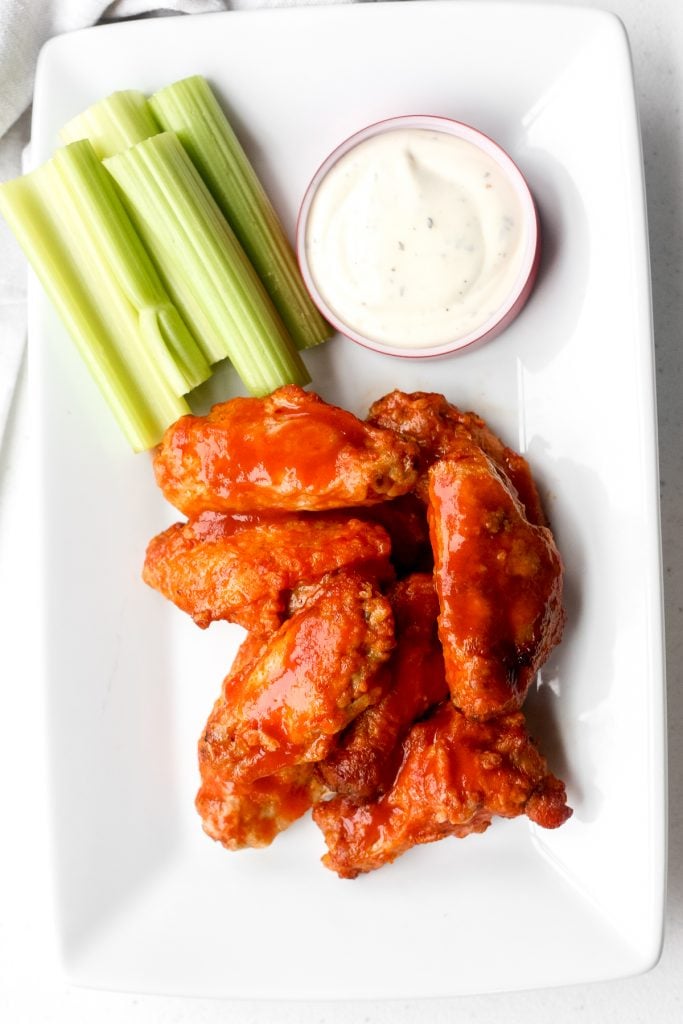
Game Day Buffalo Hot Wings

Last Sunday was tough for us. The Patriots lost the Conference Championships and their chance to play at the Super Bowl next week. What eased the pain was that at least my appetizer game was on point with these spicy and hot game day buffalo hot wings. They will make a perfect and necessary part of your Super Bowl party next weekend!

These wings taste just like restaurant wings without the hefty $10 price tag for 1 pound of wings. The only difference is that they are baked rather than deep-fried. Yet, they are just as crispy. In my eyes that is a bonus because that means these are healthier!
The challenge with making your own wings is knowing how to prepare them. When you buy wings in the store, they may not be conveniently separated for you into wingettes and drumettes. Rather, you get a mass consisting of the two connected together at a joint and with an additional appendage attached to the other side of the wing called the tip. Using a knife or kitchen shears, you will need to cut off the tip and discard it. Then, cut the wing at the joint to separate the wingette portion from the drumette.
Once the chicken wings have been separated, the rest is easy. You don't need to marinate the wings or do anything really. Just wash and pat them dry and line them up on a foiled pan. You don't even need to season the wings with salt or pepper because it will get all it's flavour from the hot sauce mixture. So, just place your tray in the oven and let the wings bake until they reach a crispy goodness. If you are like me and like a little charring and burnt edges, then use your broiler to bake these instead. Turn the broiler to high and bake the wings on the top rack. Broil for only 20 minutes, flipping at the 10 minute mark.
While your wings are baking, prepare the hot sauce mixture. This really only consists of melted butter, hot sauce and a pinch of salt. My favourite hot sauce to use for buffalo wings is Frank's RedHot Original Hot Sauce. It is spicy yet manageable. Once the wings are baked, toss them in this mixture and serve with a side of blue cheese dressing and celery sticks. If you don't like blue cheese dressing, use ranch instead.

Looking for more game day appetizers?
Check out my roundup: 60 Easy Super Bowl Appetizers.

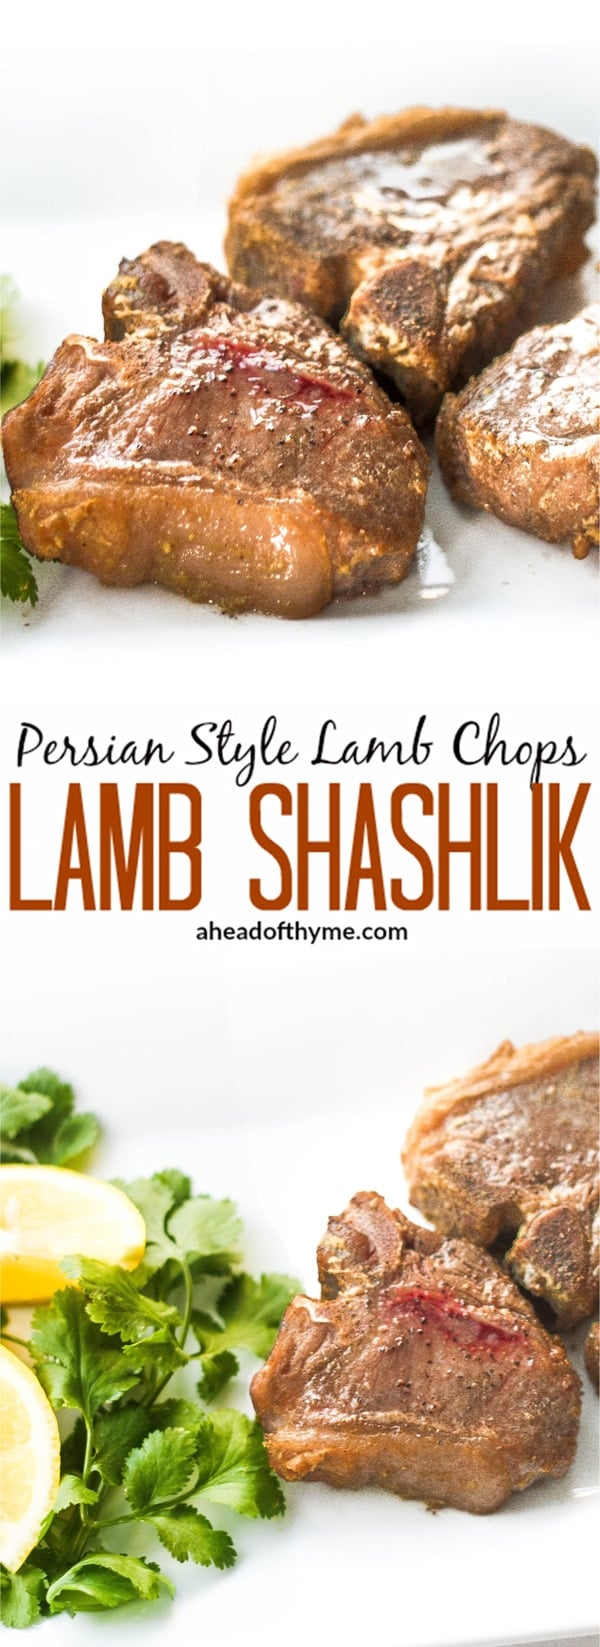
Persian Style Lamb Chops (Lamb Shashlik)

I have noticed a lot of searches on the blog for Persian recipes so today we are taking it back to the roots! Lamb shashlik is my husband's favourite Persian dish and I can definitely see why. It's a Persian style lamb chops dish that is juicy, tender and bursting with flavour. It may become your new favourite as well! Not to boast or anything, but he even says that it tastes better than when we order it at the restaurant. Not that he is biased or anything… hehe 😉
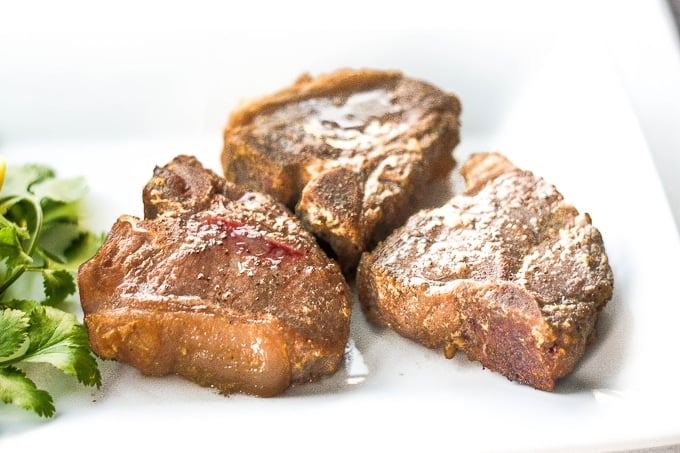
Lamb shashlik is a quick and easy way to prepare lamb chops. It takes less than 20 minutes to get the perfect medium/rare to medium lamb chop. Of course, if you prefer your meat to be well-done, you just need to adjust the cooking time. Or alternatively, if you prefer a solid medium-rare, lower the cooking time by a few minutes. This may become your new favourite way to make lamb chops!
What gives this that decadent Persian/Middle Eastern taste is the marinade. We love yogurt. We douse it on just about anything. We even dilute it with water, add salt and drink it. So, naturally, we marinade our meat in a yogurt mixture. This mixture also contains lemon, garlic, onions and saffron. I personally don’t like chunks of onion stuck on my meat when I cook it and that is why I choose to put the marinade through the food processor before I use it. But if you don’t mind, then just chop up the onions and garlic more finely and you are good to go.
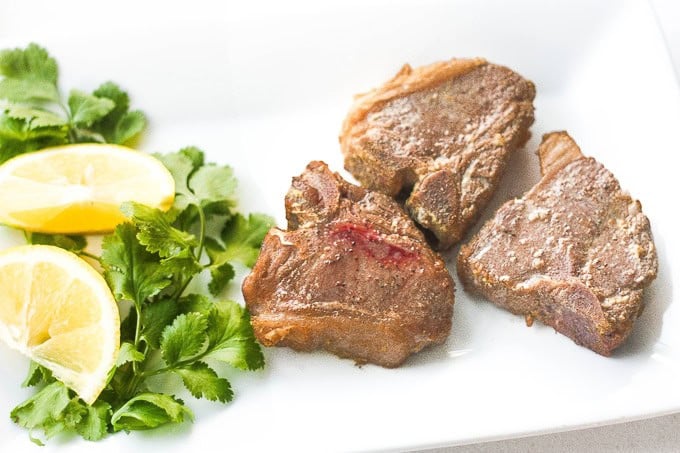
Although this dish is quick and easy to make, you have to prepare ahead of thyme time to ensure your lamb is fully marinated and has soaked up all that yummy flavor. I would recommend 1-2 hours in the fridge. If you don’t have time to wait for the lamb to marinate, then do it the night before!
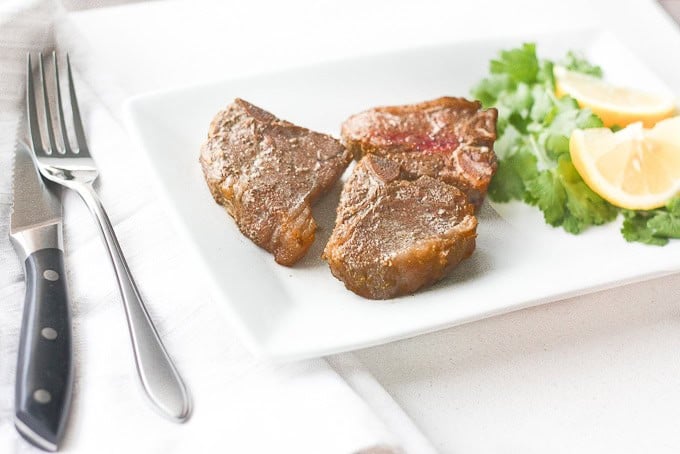
Once marinated and all ready to cook, leave the lamb out for about 15 minutes at room temperature. Traditionally, lamb shashlik is skewered and prepared on a barbeque grill, but considering the fact that is it January… the middle of WINTER, let’s use the oven! 🙂 The method that I use is to skillet-fry the lamb chops for a few minutes on each side first. This will “sear” the lamb, giving it those beautiful burnt marks. Then roast them in the oven for about 10 minutes.
This lamb dish is traditionally served with a side of Basmati rice. For a low-carb option, serve with a mixed greens salad with feta cheese.
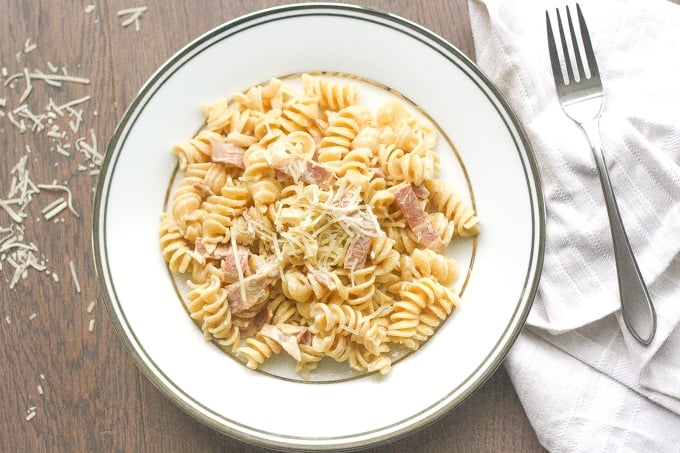
Creamy Pasta with Turkey Bacon

It's winter. It's cold. I've had a stressful week. What am I craving? A warm plate of smooth and creamy pasta with turkey bacon, obviously!
I have been so stressed this entire week with planning a retirement party for our office manager. Initially, I offered to help and somehow I found myself in charge of a large bulk of the event. Why is there always miscommunication and misunderstandings in these types of situations? The person whom I thought was taking on the decorating job was in fact not. And when did I find out? Wednesday at 4 pm. Yup, the afternoon before the party. So, a colleague and I scrambled around the morning of to set up and decorate at literally the very last minute. The whole process kind of reminded me of wedding planning. It was the type of stress that I was glad to never have to experience again! But, in the end everything came together and it was all worth it. It was so great to be able to show our manager how much we have appreciated her and to see her enjoy her special day. I am not going to lie, though, thank goodness that it's over! And thank you for listening to my rant! 🙂
Now let me sit down and enjoy my plate of pasta, please!
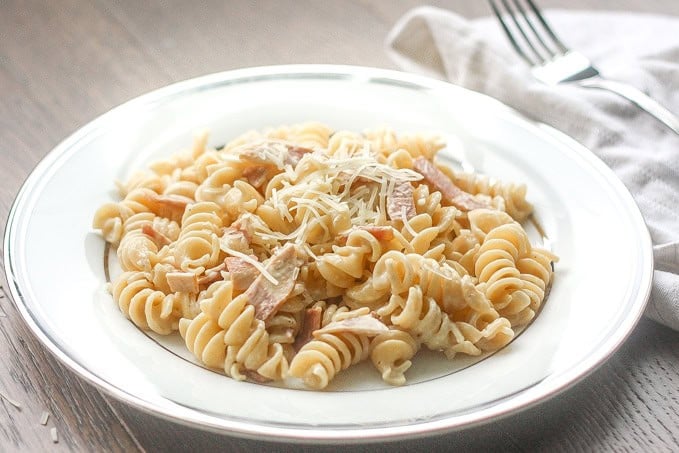
Mmm, mmmm, mmmm! This delicious, warm, smooth and creamy pasta is loaded with cheese and turkey bacon to yield the ultimate comfort food. I think I deserve it! This pasta kind of tastes a little bit like a carbonara pasta but without the egg. Not too bad, my friend, not too bad. I initially had fettuccine alfredo in mind, but didn't have fettuccine pasta. I had a box of rotini pasta instead. Exploring my fridge for anything else that I could add, I noticed my turkey bacon was expiring in a couple of days. So, *light bulb moment* I decided to throw that in there. Best decision ever.
Tip: This pasta heats very well the next day and is one of those foods that the leftovers give the fresh stuff some major competition. So if you don't finish it all in one go, pack it up for lunch tomorrow.
Bon appétit!


Stir-fried Lotus Root with Green Onions

I had never tried or heard of this vegetable until I met my husband, who is of Chinese descent. He grew up eating this quite regularly. The stir-fried lotus root with green onions is a classic Chinese stir-fry vegan dish that will make an excellent addition to your dinner table.

The lotus root vegetable is starchy vegetable similar to a potatoes. It is very popular in China and other Asian countries but is still not that popular in the West. I cannot find this vegetable at any of the big chain grocery stores. The only place that I have been able to pick up some is at a Chinese supermarket.
This vegetable has a wide range of health benefits. The Chinese believe that it is of high medicinal value. It is high in fibre, vitamins and minerals. 100 grams of this bad boy contains 73% of your daily vitamin C requirement! The lotus root aids in stimulating blood circulation, promotes mental clarity and mood, regulates blood pressure, aids in digestion and promotes heart health.
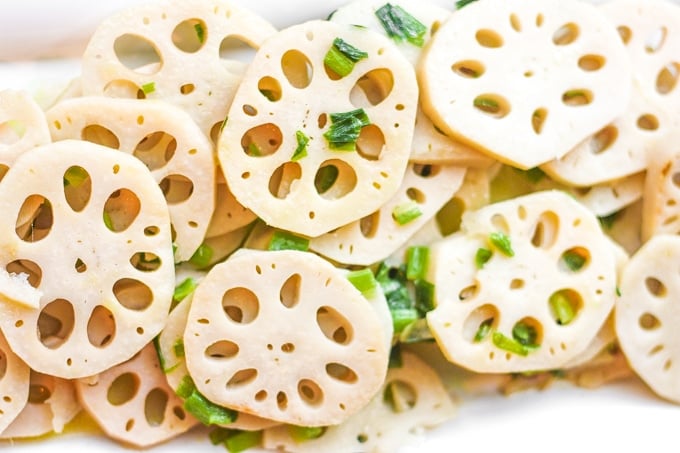
To prepare this vegetable for a stir-fry, you need to peel it like a potato using a potato peeler. Then rinse under cold water and into thin slices, about ⅛ " thick. Raw lotus roots will start to change colour and darken very quickly. To prevent this natural process, put the slices in water with a splash of vinegar or peel and prepare the vegetable just before you are about to fry it.


Thai Coconut Red Curry with Prawns
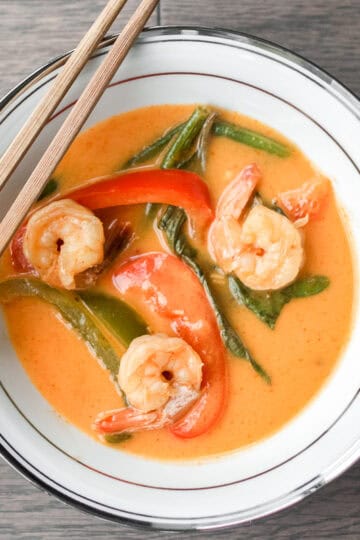
One of my favourite dishes when I go to a Thai restaurant is the Thai coconut red curry. That was before I started to make my own at home. Homemade Thai coconut red curry with prawns is easy, quick and full of so much flavour! It is way better than take out, and takes just 15 minutes to cook, and 10 minutes of prep time. Weeknight dinners have never been so easy.
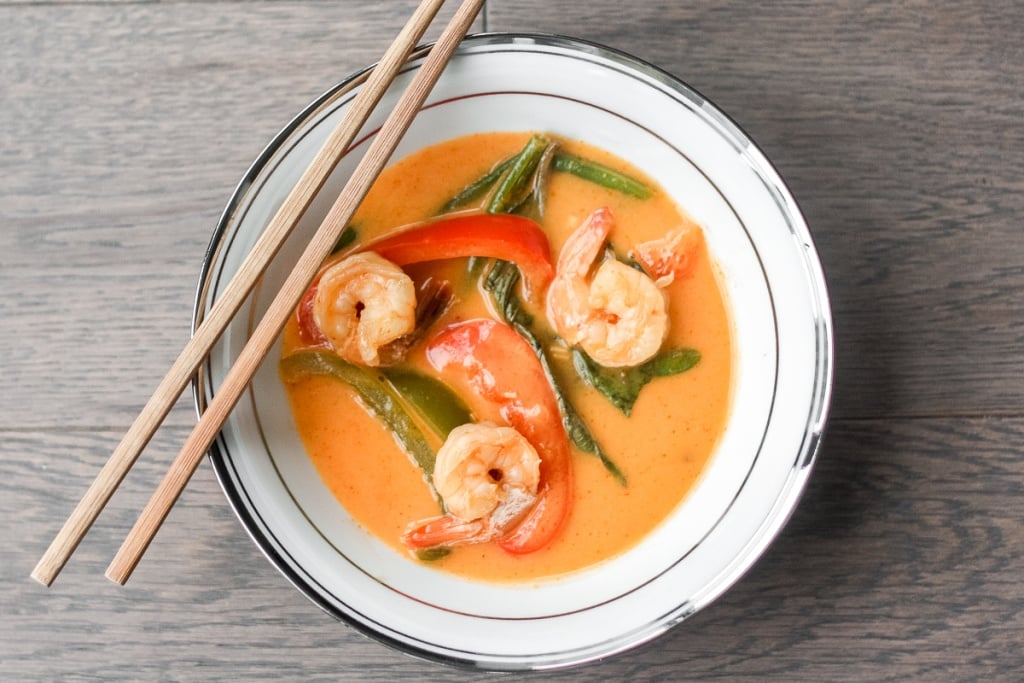
The flavour in homemade Thai curry is unmatched. From the second that red curry paste starts sizzling in your wok, the aromas are absolutely incredible. You know it is going to be a good meal when your mouth starts salivating as soon as you start... true story.
Ingredients in Thai Coconut Red Curry
- vegetable oil
- prawns - 12-15 prawns, peeled and deveined.
- Thai red curry paste - the base flavour in this dish.
- coconut milk - I used regular coconut milk, but you can use lite too.
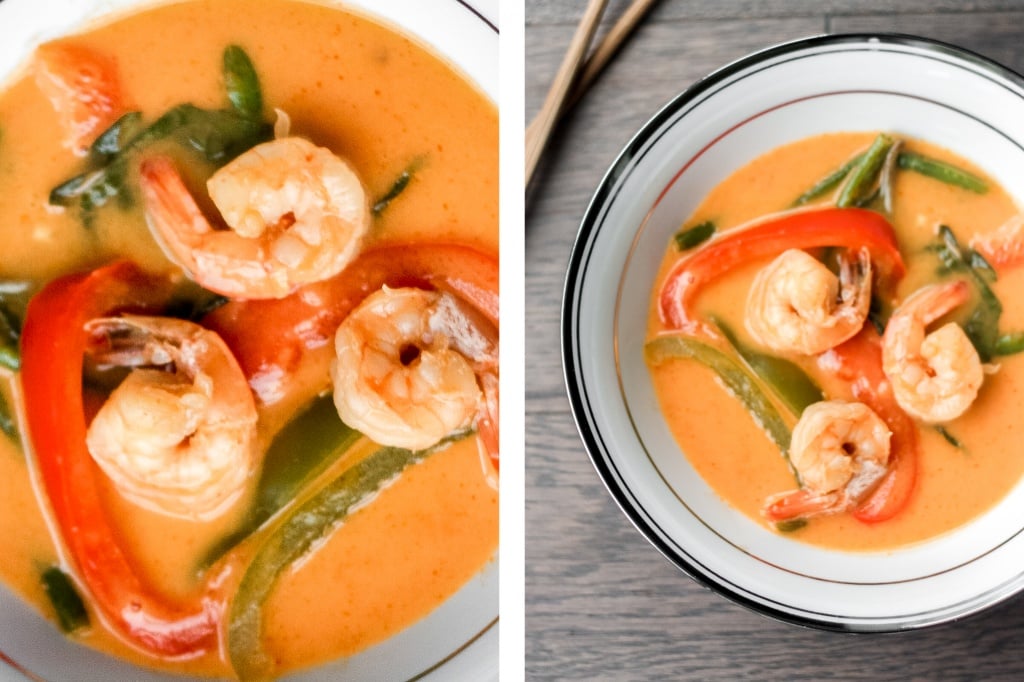
- vegetables - snap peas (or green beans), red bell pepper, green bell pepper
- seasonings - brown sugar, Thai fish sauce, fresh lime juice
- herbs - dried lemongrass, fresh basil leaves
How to Make Thai Coconut Red Curry with Prawns
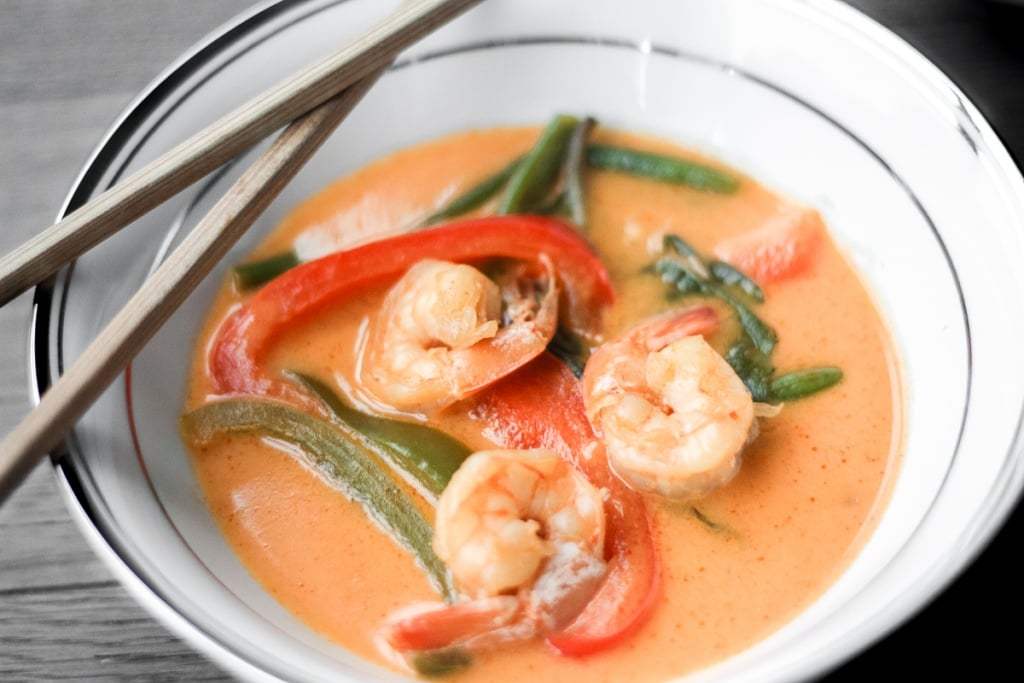
- Prepare the red curry base. Heat vegetable oil in a large pan or wok on medium heat. Add the red curry paste and cook for 30 seconds. Stir in coconut milk, lemongrass and brown sugar. Stir to combine. Cover and cook for 5 minutes.
- Add prawns and vegetables. Add prawns, snap peas, and bell peppers. Cook uncovered for 4-5 minutes until prawns are cooked.
- Add more flavour. Take the wok off heat and add the fish sauce, lime juice and basil leaves. Let it rest for 5 minutes and serve with rice or noodles.
Tips for Making Thai Red Curry
- Have your ingredients prepared. This dish takes just 15 minutes to cook, so things move quickly. It's nice that there isn't too much prep involved either. The only prep you will need to do is deveining the prawns and slicing up a few vegetables. For the seasoning, I just jeep my measuring spoons close by and measure as I go along.
- Substitute the protein: This recipe is so delicious and full of flavour. But if you are not a big seafood fan, you can easily substitute the shrimp for chicken or tofu. If cooking with chicken, simmer the chicken for 5 minutes before you add in the bell peppers and snap peas, and then simmer together for another 4-5 minutes, until the chicken is fully cooked.
- Start preparing your side dishes. If you are serving this with some rice, prepare the rice first, since it will take more time. If serving with noodles, you can start preparing them while the curry is simmering so that it will be done around the same time. This will maximize the use of your time and you can coordinate in this way to ensure that your entire meal is ready at the same time and nothing goes cold.
- Get the consistency you want. If the sauce is too thick, easily thin it out with some water.
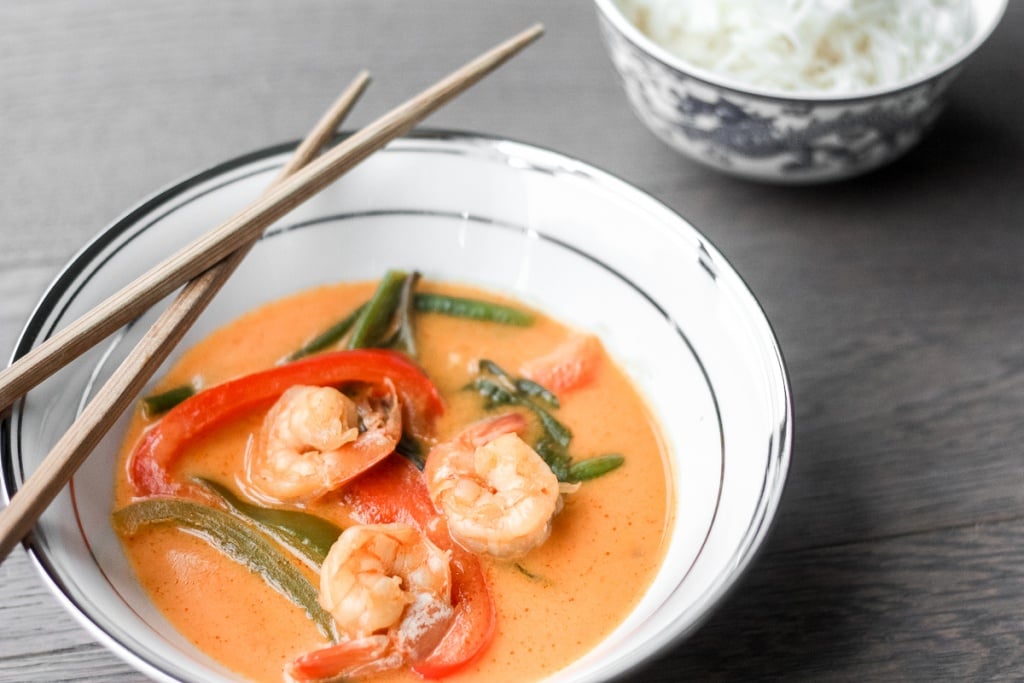
How to Serve Thai Coconut Red Curry with Prawns
Thai coconut red curry with prawns pairs so unbelievably well with coconut rice, and it really enhances the coconut flavours in this dish. It also goes really well served over noodles.
More Thai Dishes
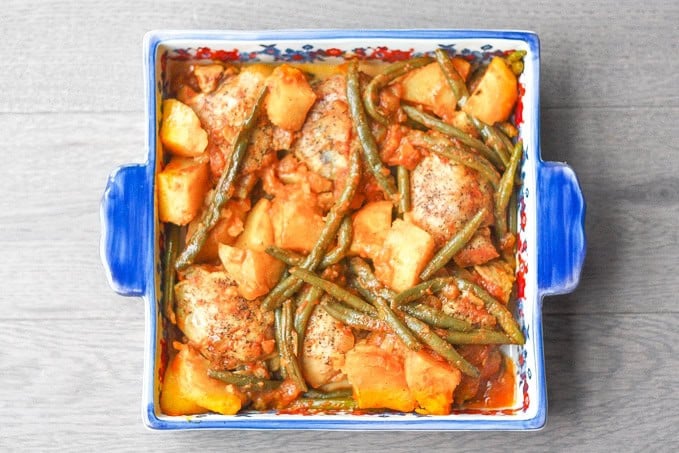
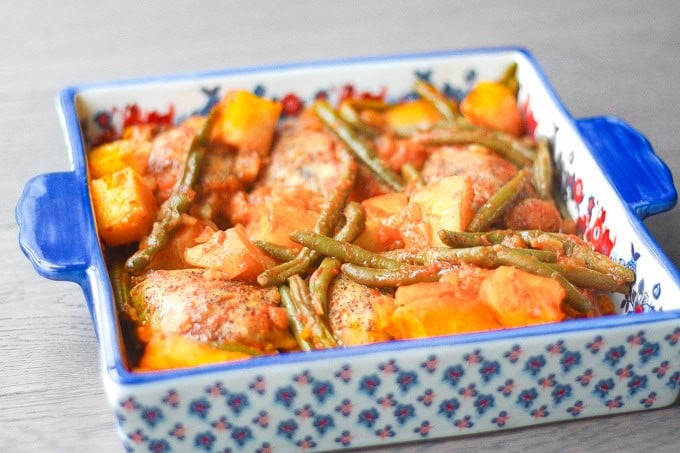
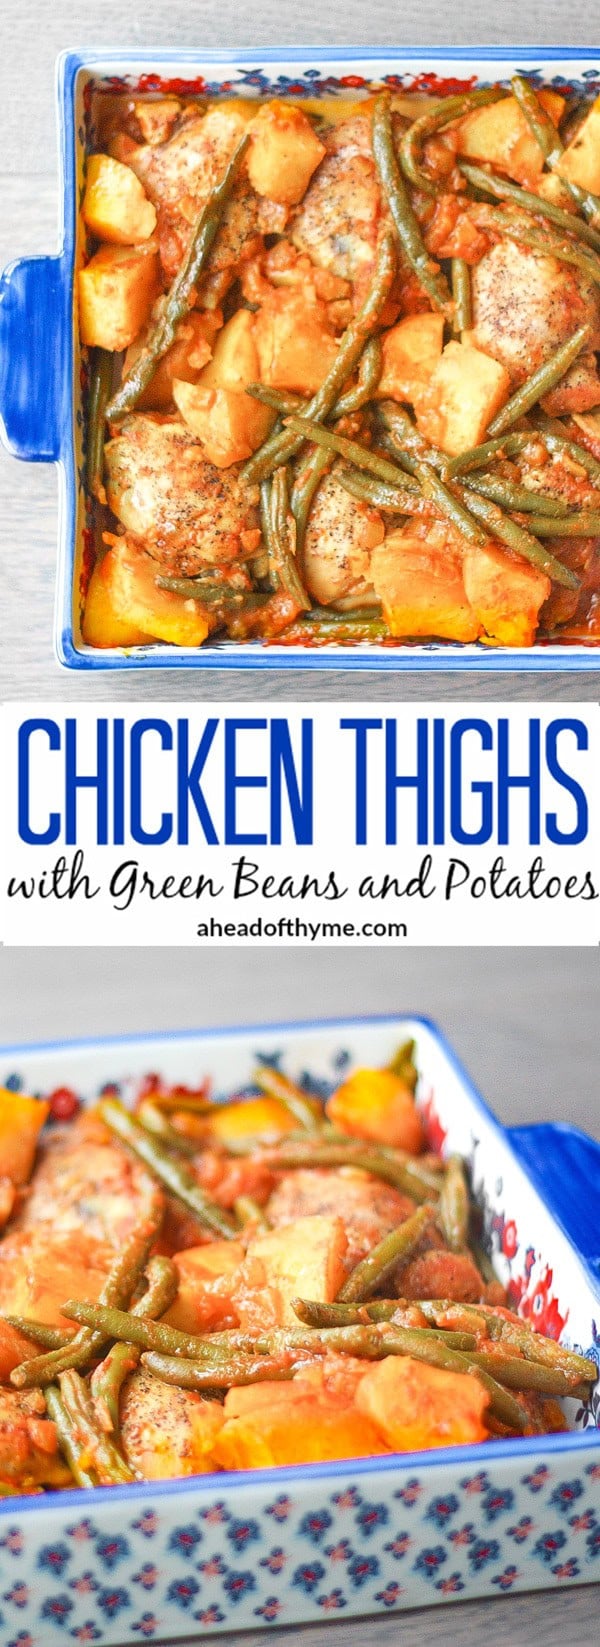
Chicken Thighs with Green Beans and Potatoes in Tomato Sauce
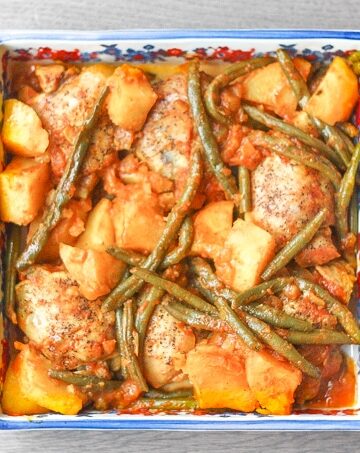
I am not a big meat-eater but when I do incorporate meat into my diet, my favourite is chicken. This dish, in particular, is one I have been cooking for years. Chicken thighs with green beans and potatoes is a dish that my mother taught me to make. But whenever my mother shares a recipe with me it goes something like this: "Fry an onion or two, add some turmeric, add half a can of tomato paste, keep adding water so it doesn't dry out and add salt and pepper." "How much salt and pepper, mom?" "Just keep adding enough until it tastes good."Umm? (scratches head). Her instructions are self-explanatory to an extent but it did take me a few tries to get the measurements right.
The prep time for this recipe does not take too long, I would say about 30 minutes total to prepare the chicken and to make the sauce. But because the chicken takes about an hour and a half to cook, you need to start making this meal ahead of thyme time. I get home from my day job at 5 pm on weeknights; so for me, this is a meal I prefer to cook on the weekends. I could make this on a weeknight, but then I won't be eating dinner until 7 pm and I just simply can't wait that long!
I made this meal last night and because it is only my husband and I in my household, there were lots of leftovers for me to take to for lunch today! SCORE! My favourite side to go with this dish is white rice (which I also made sure to make extra so that I would have leftovers of both). I am eating this right now while using my lunch break to publish this post 🙂
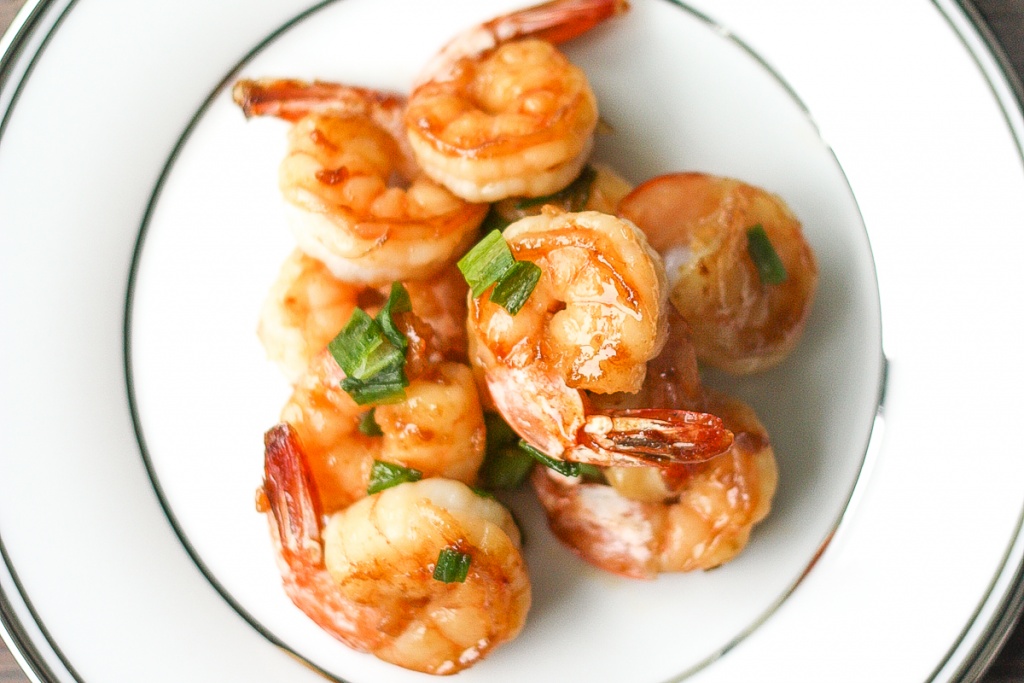
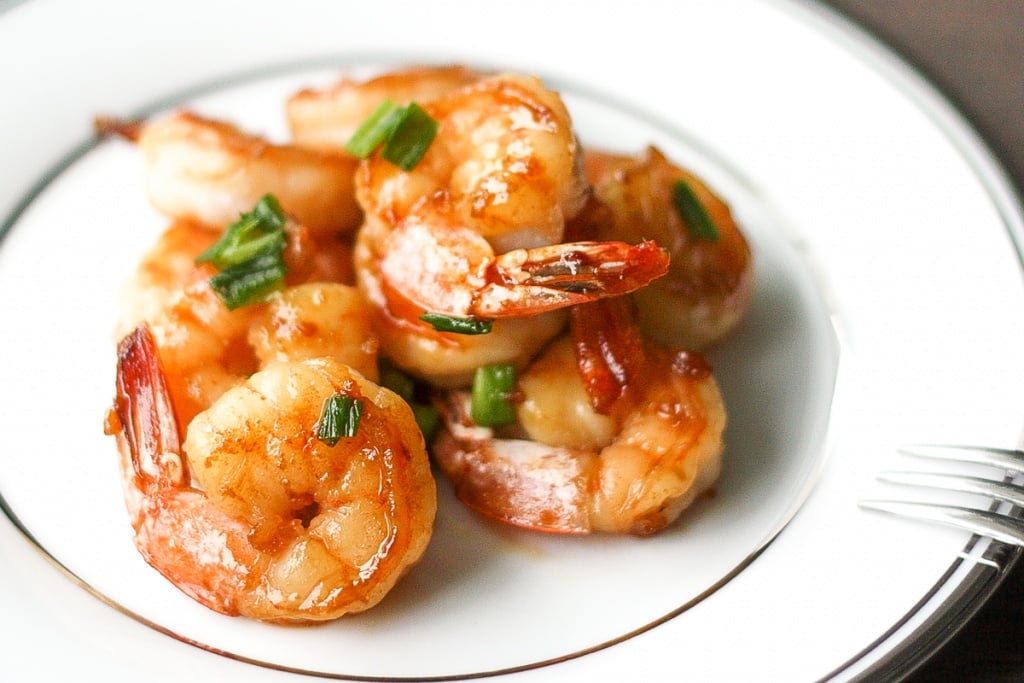
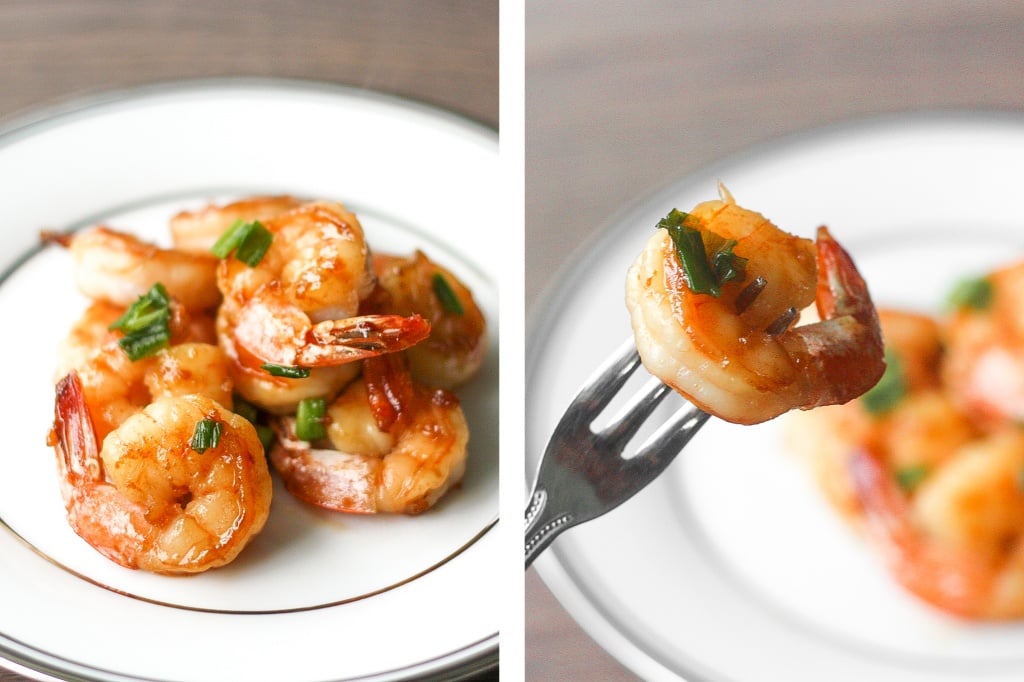
Pan-fried Garlic Prawns with Soy Sauce
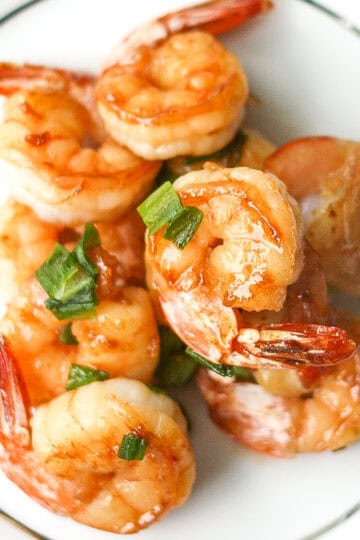
Say hello to your new favourite weeknight meal. Quick and easy, pan-fried garlic prawns with soy sauce, garlic, and green onions is a simple Chinese stir-fry dinner bursting with so much flavour that can be served, from prep to table, in under 15 minutes. Mind blown.
It takes about 5 minutes to prep and less than 10 minutes to cook. No joke. In 10 minutes, you can make an impressive, mouth-watering, flavourful seafood meal for yourself, or your family and friends.
Ingredients in Garlic Soy Sauce Prawns
- vegetable oil - essential for stir-frying.
- prawns - 10 prawns, peeled and deveined. This is a small batch meal perfect for one person.
- sauce - made with soy sauce, Chinese cooking wine, brown sugar
- garlic - adds flavour.
- water - keeps the sauce from drying out during the cooking process.
- green onions - added at the end for flavour.
How to Make Pan-Fried Garlic Prawns with Soy Sauce
- Make the sauce. In a small bowl, combine soy sauce, cooking wine and brown sugar. Stir and set aside.
- Stir-fry. Heat oil in a frying pan. Add garlic and sauté over medium heat until it starts to brown. Add prawns and sauce (from step 1). Stir for 1 minute. Fry for 3-4 minutes on each side. When you are flipping the prawns halfway, add the water.
- Serve. Add green onions and serve.
How to Serve Soy Sauce Garlic Prawns
This is a small batch recipe perfect for one or two people (10 prawns). You can easily double or triple the recipe to serve a crowd. I love to serve these prawns on their own as an appetizer or as full-on meal over some coconut rice, fried rice or noodles. They are also really good with mashed potatoes.
More Prawn Recipes
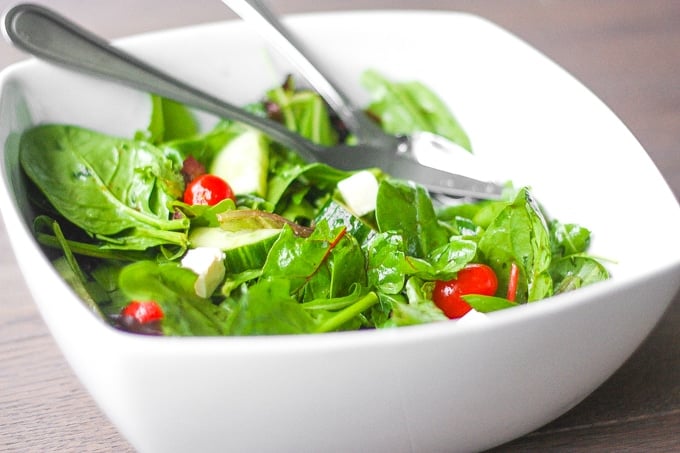
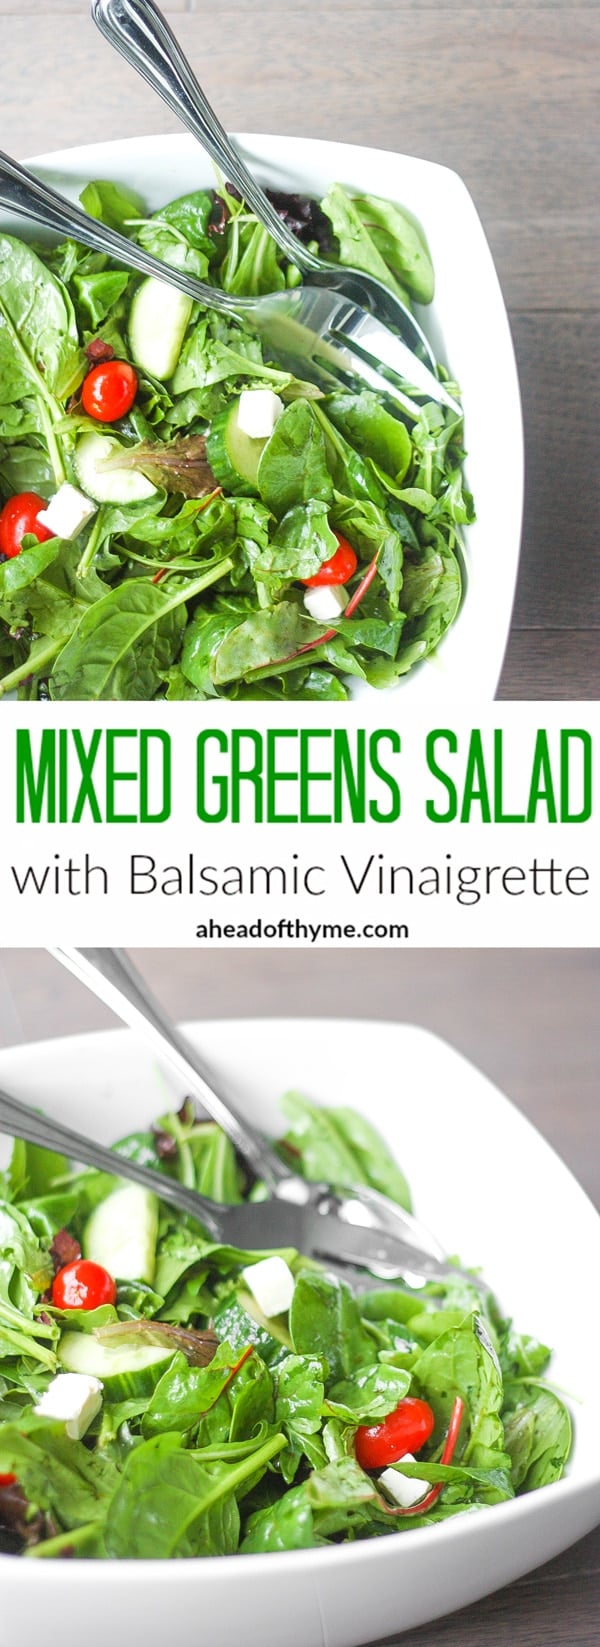
Mixed Greens Salad with Balsamic Vinaigrette

This is my FIRST BLOG POST!!! And naturally, I am going to blog about what I made for lunch today 🙂 = mixed greens salad with balsamic vinaigrette.

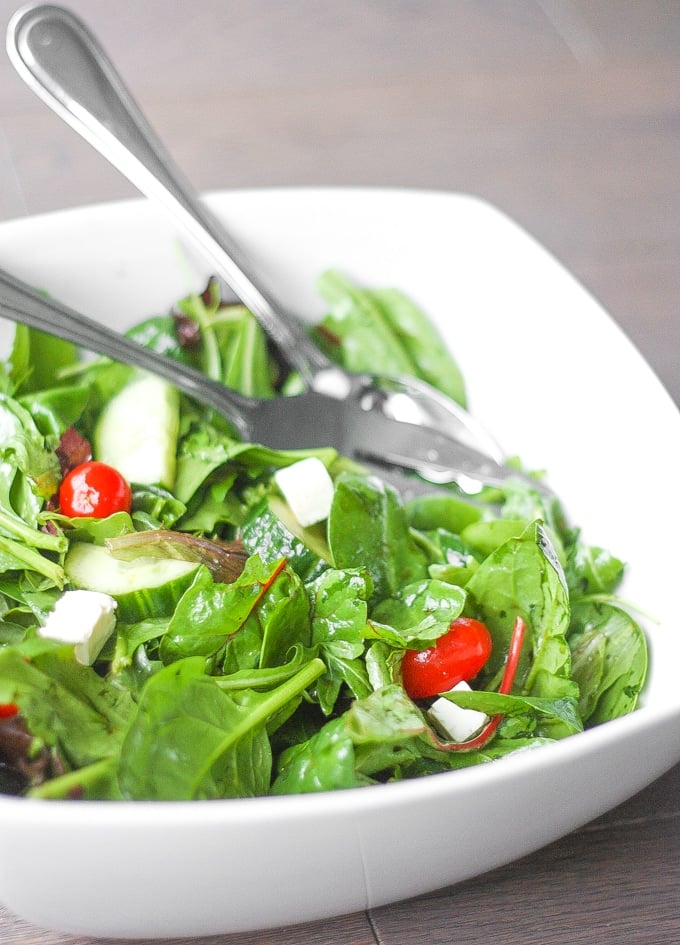
When I want to make a quick and easy salad, this is my go-to recipe. A big bowl of this stuff fills me up at lunch. You can also serve it as a side dish with your dinner. This salad is versatile. Add your favourite fruits and veggies. I only added tomatoes, but it tastes great with sliced cucumbers, olives and even strawberries. For extra protein, I highly suggest slicing some juicy, baked chicken breast with Greek souvlaki marinade on top.
Balsamic Vinaigrette
To go along with my go-to salad, I've also made my go-to dressing. Balsamic vinaigrette is my dressing of choice with this salad. Making your own dressings enables you to know exactly what ingredients you are putting in. It eliminates all the sugars and preservatives found in many store-bought dressings. Plus, when you are in control, you can keep the calories low. I am an easy on the dressing type of girl, so if you like more dressing, I would suggest that you double the ingredients for a larger output.
You can also top this salad with your favourite nuts or seeds. I normally garish this salad with toasted pumpkin seeds and cranberries, but I didn't have any on hand 🙁
- « Previous Page
- 1
- …
- 39
- 40
- 41