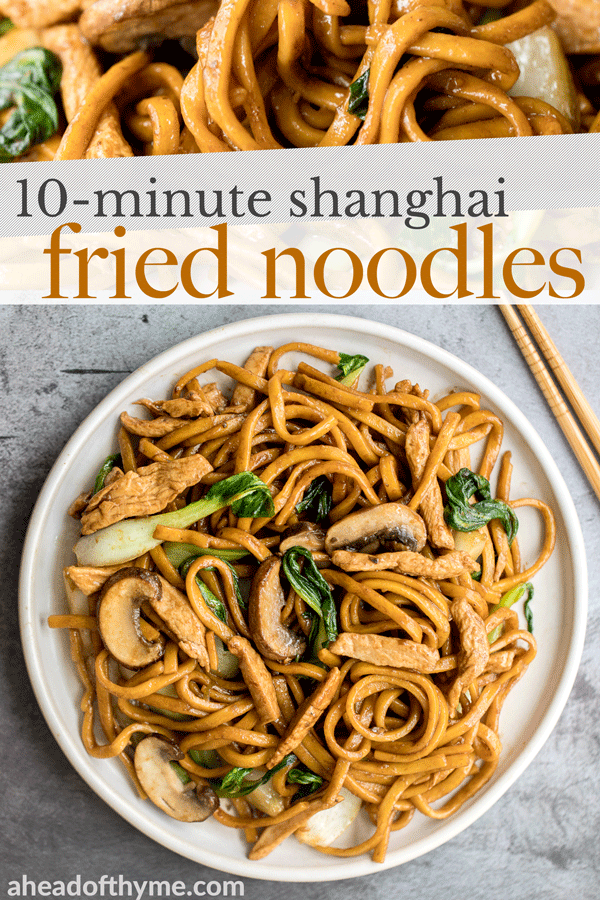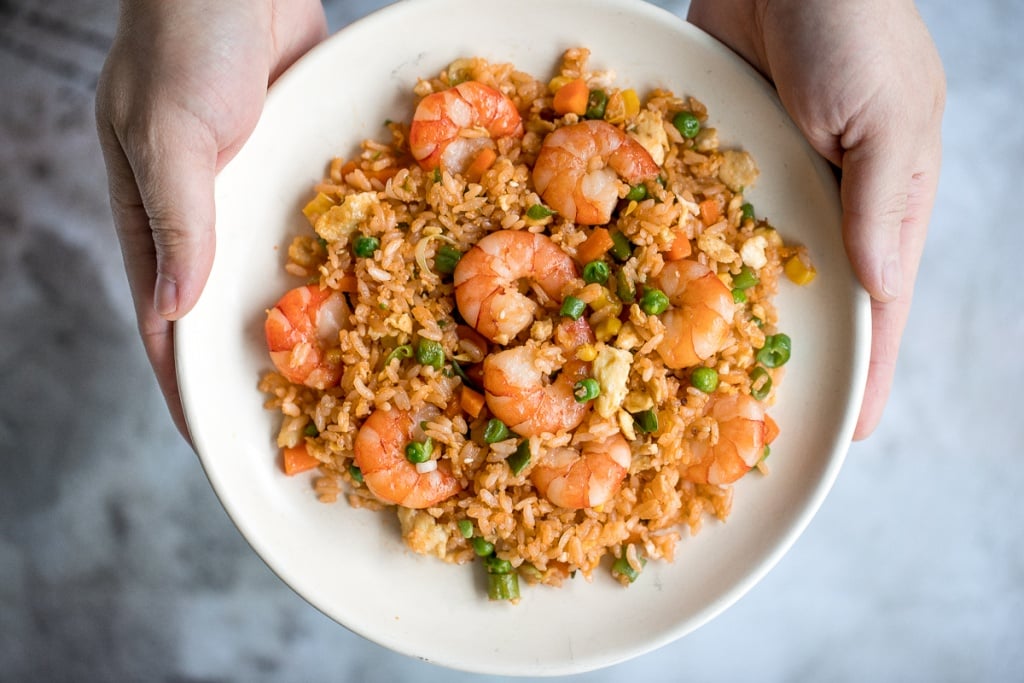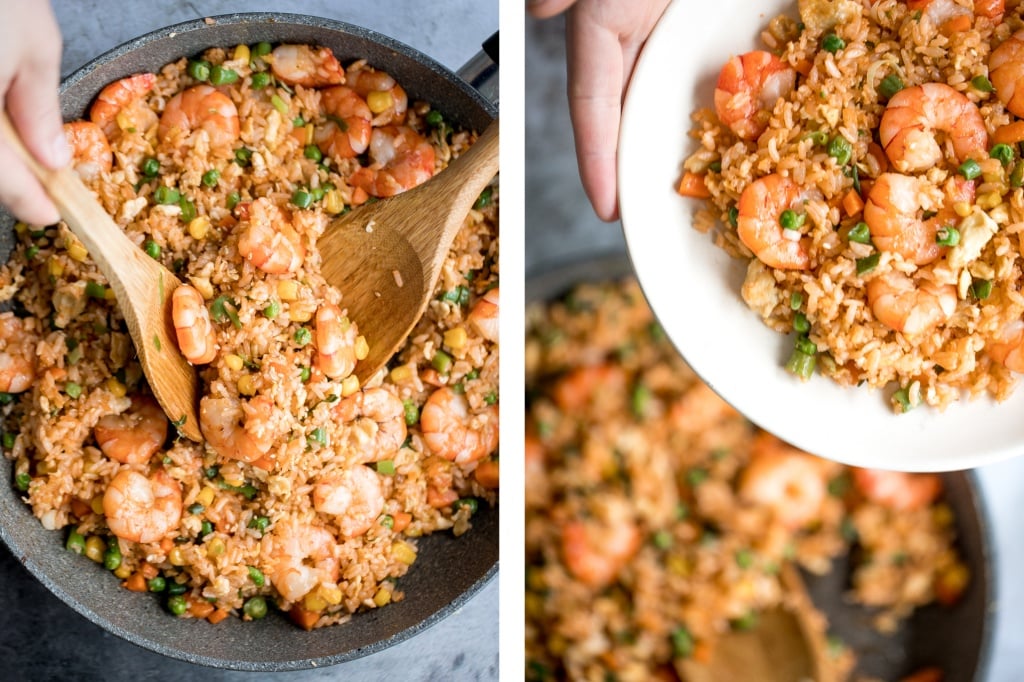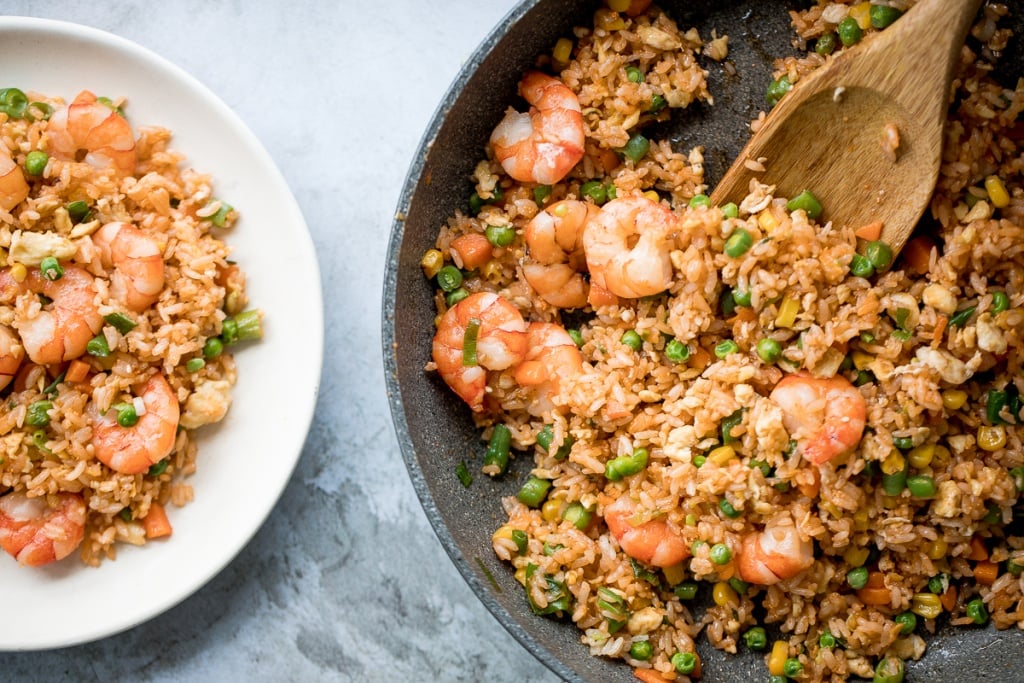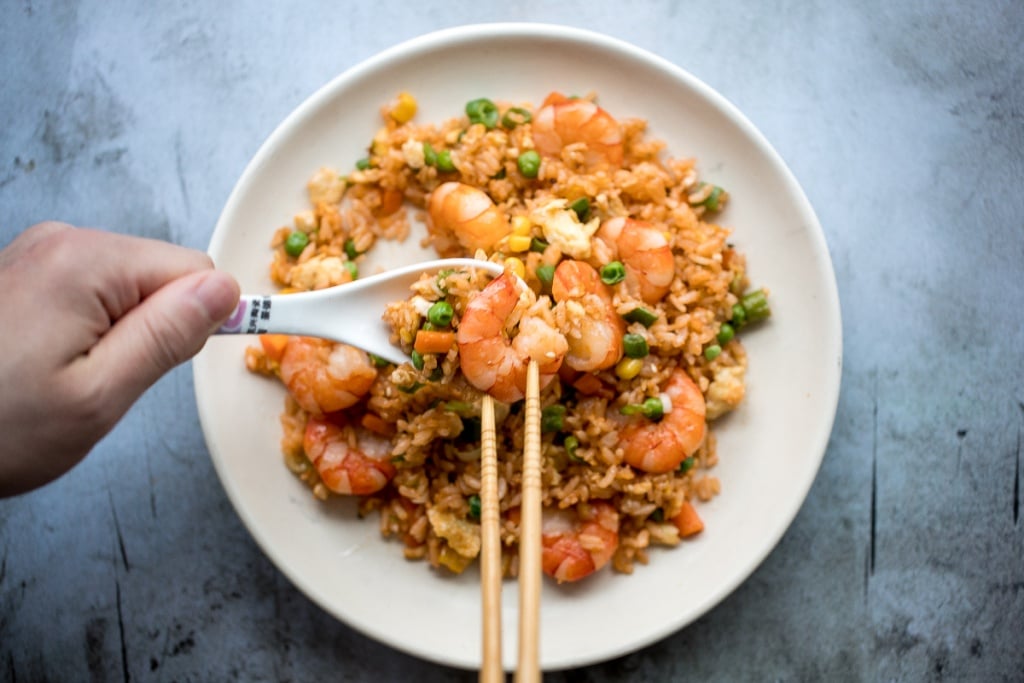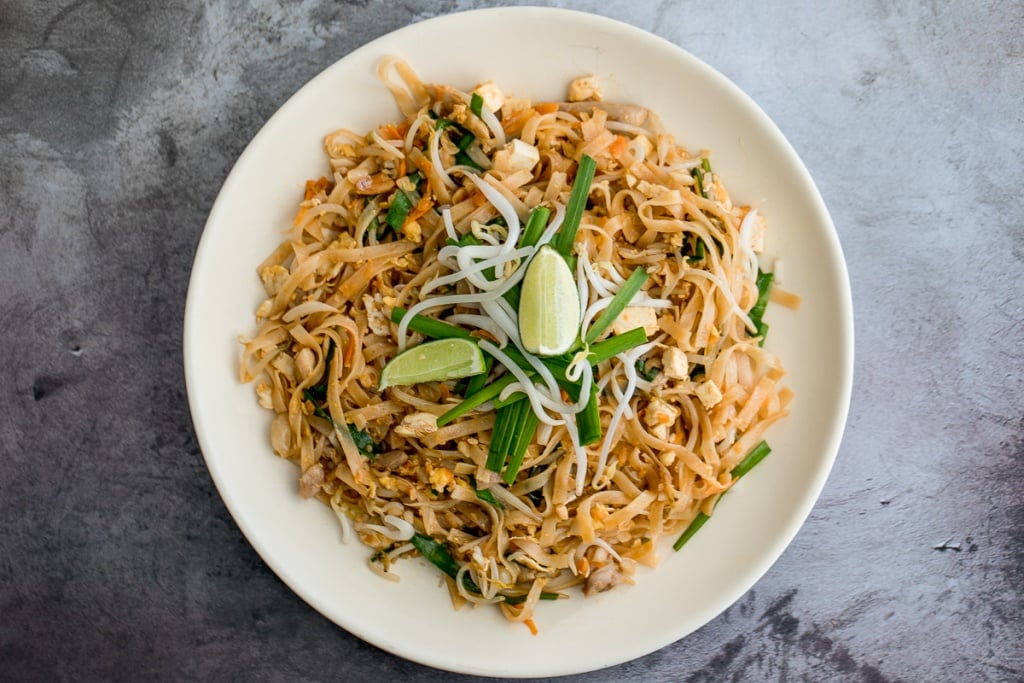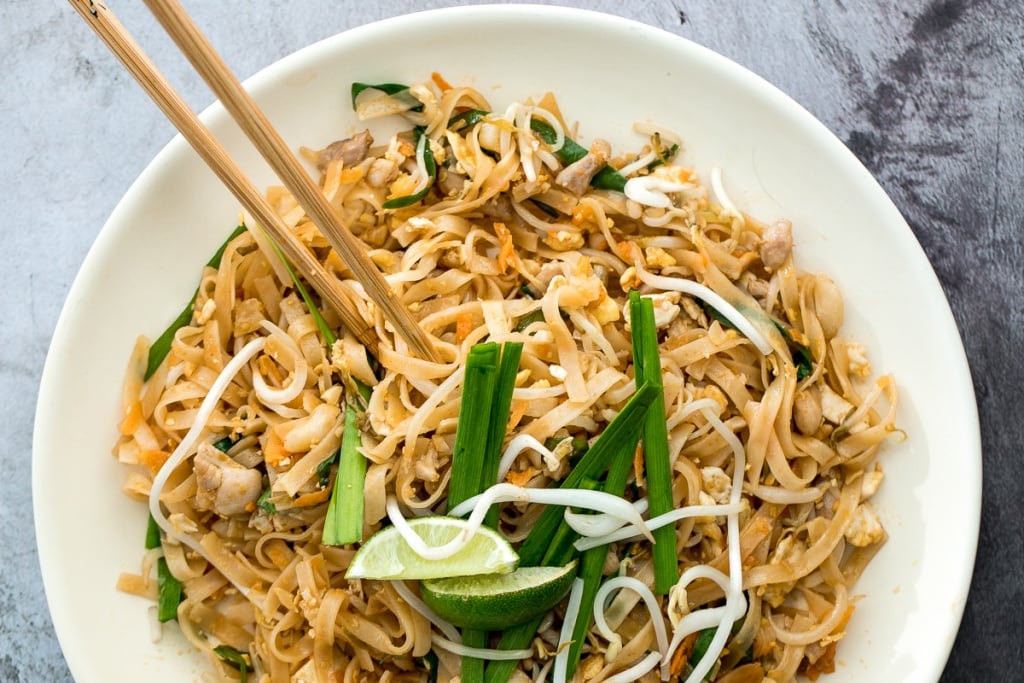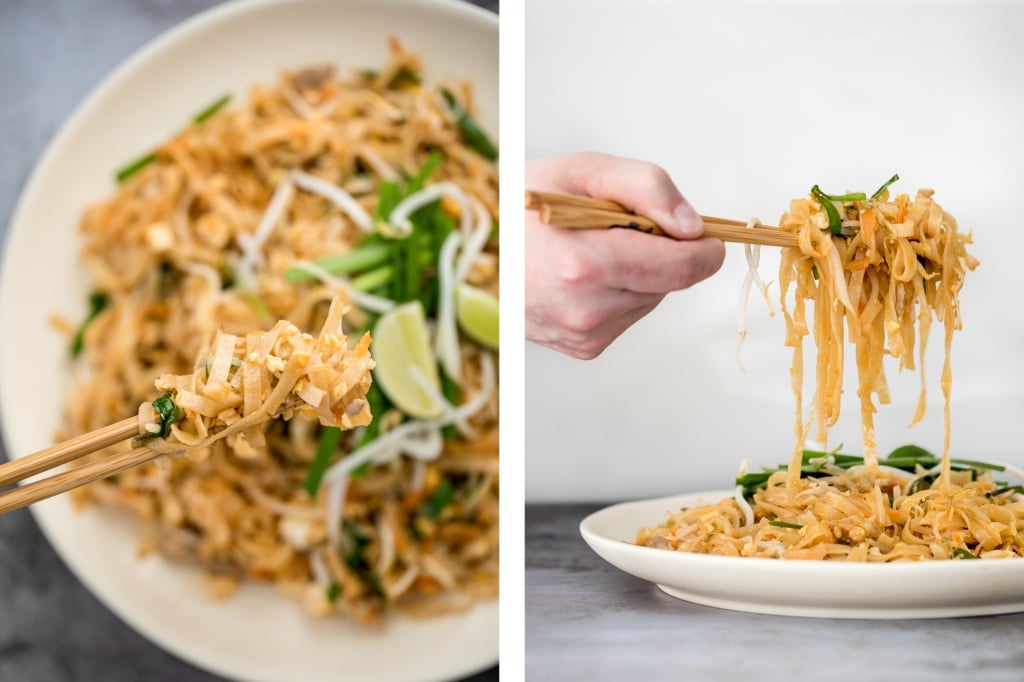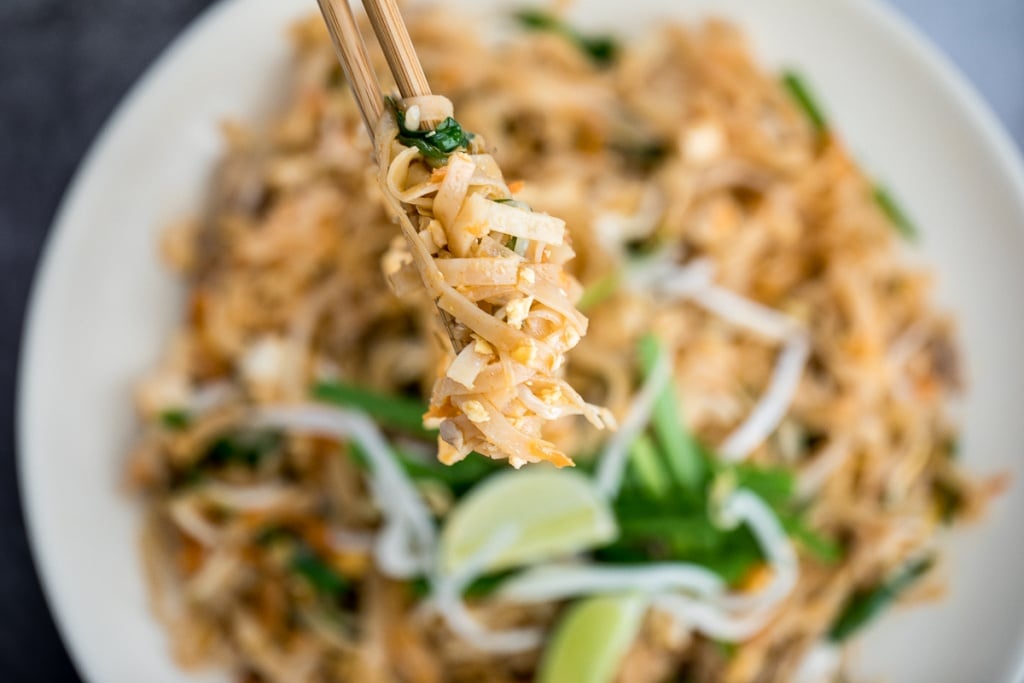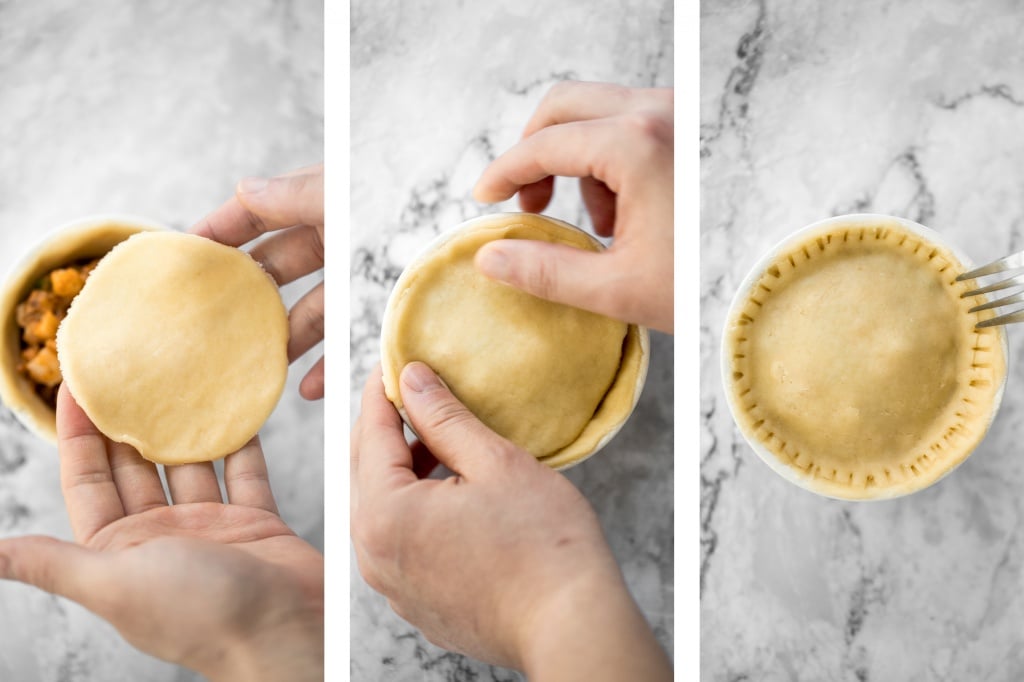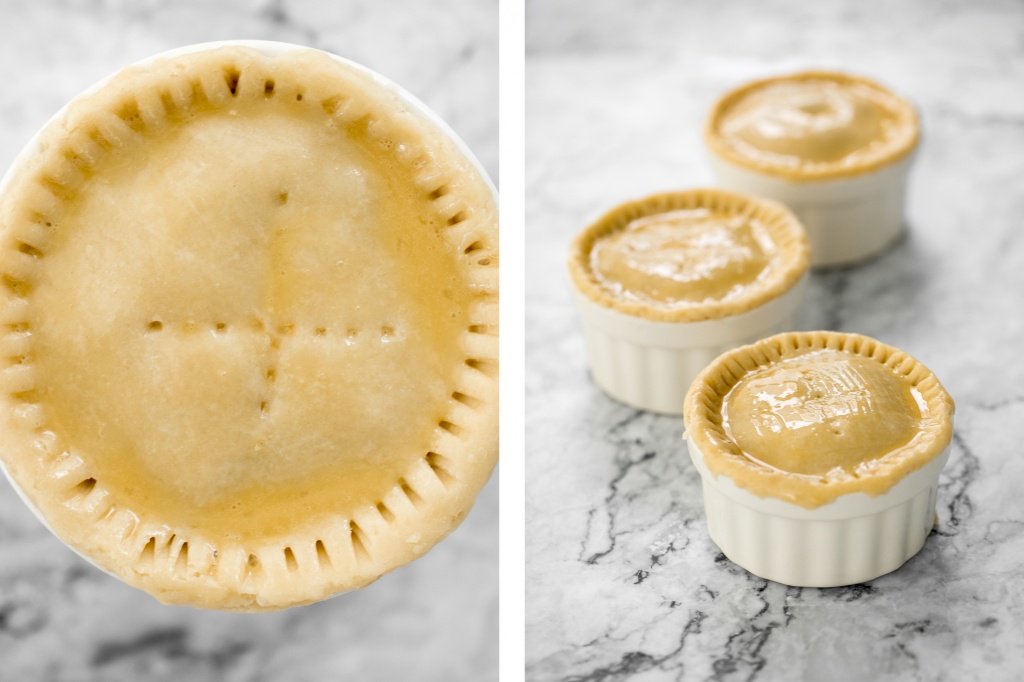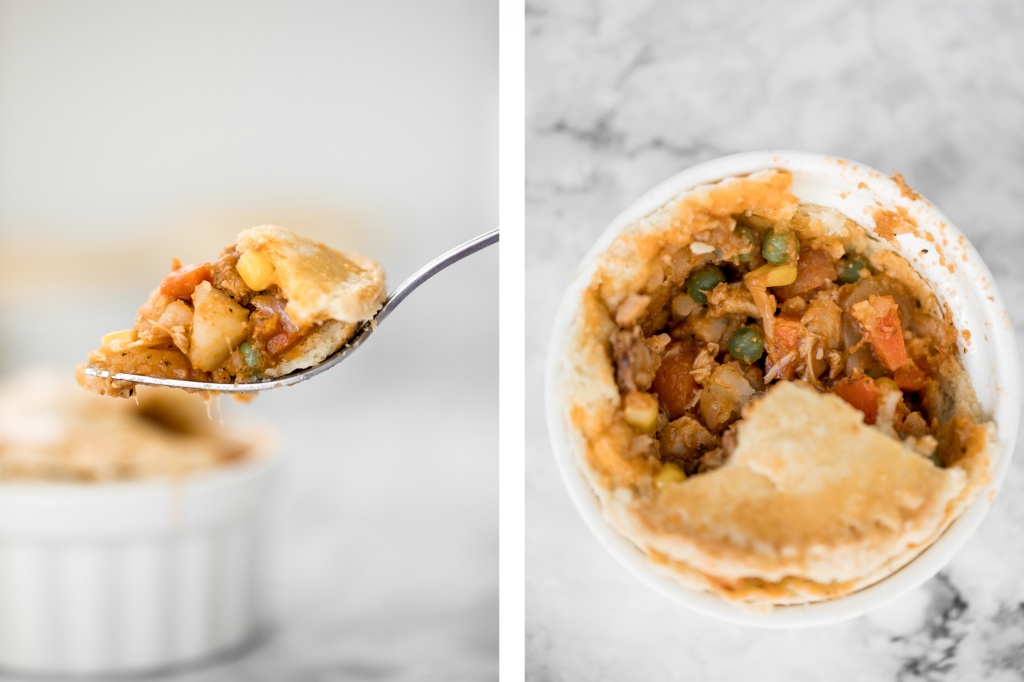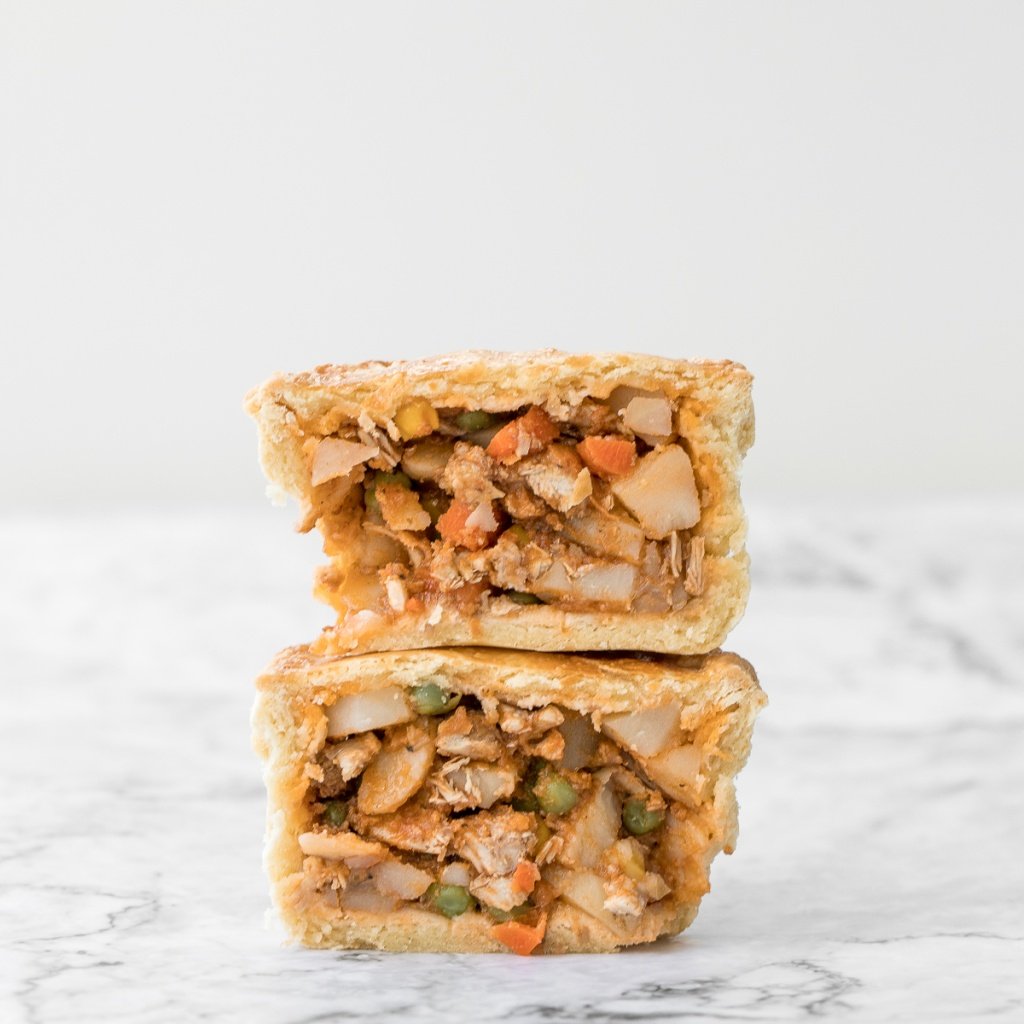

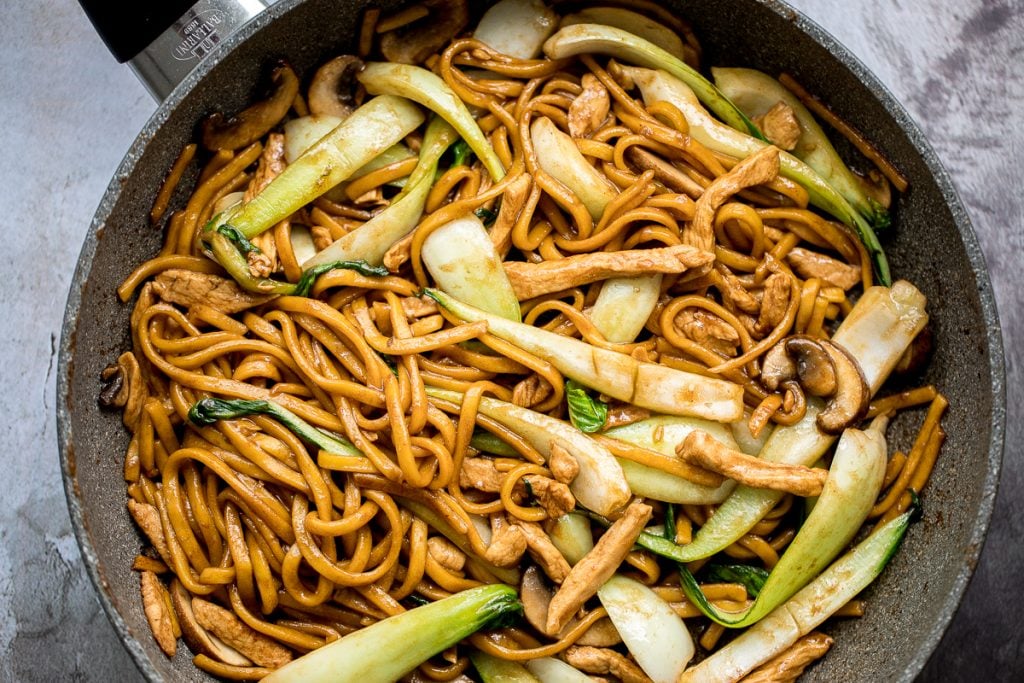
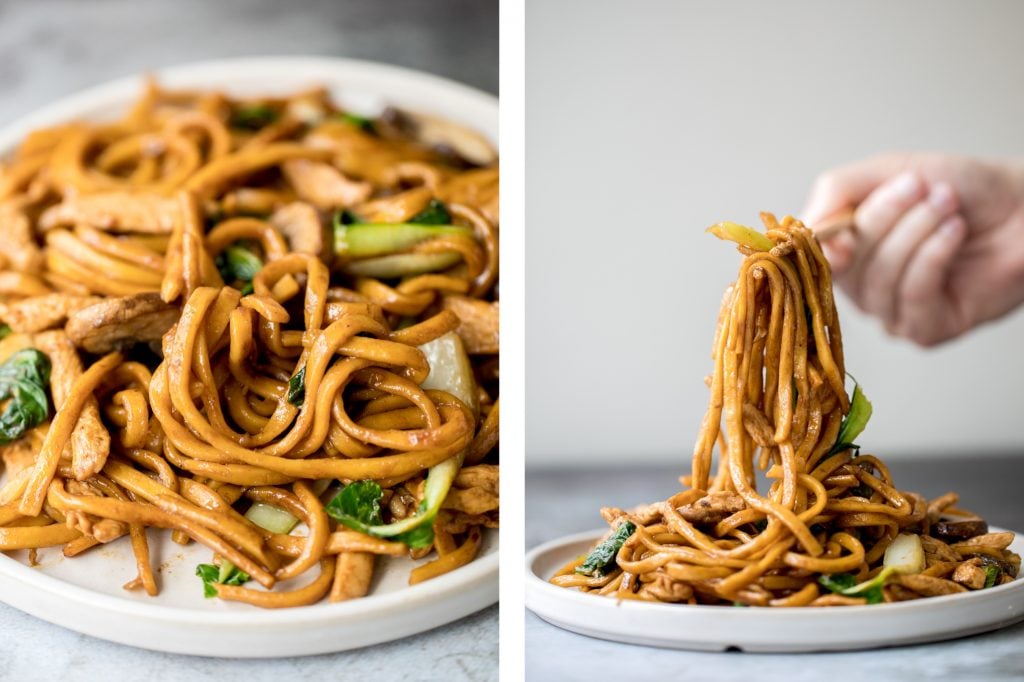
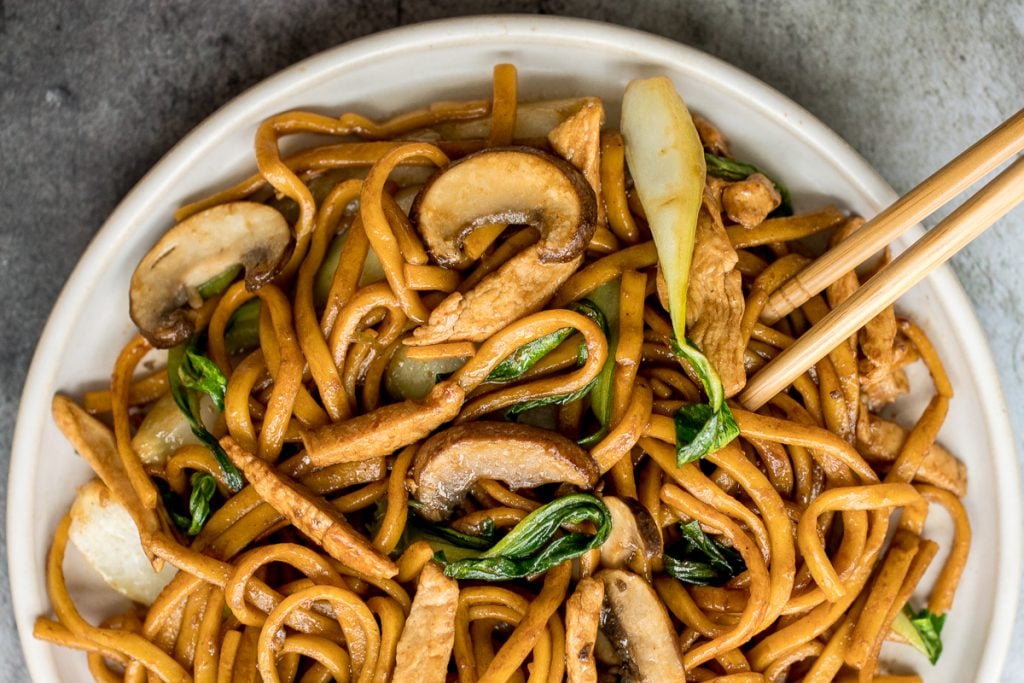
Better than take-out, flavourful and authentic Shanghai fried noodles with chicken, mushrooms, and bok choy is made in under 15 minutes. It takes 5 minutes prep and 10 minutes to cook. It is literally the easiest dinner any night of the week!
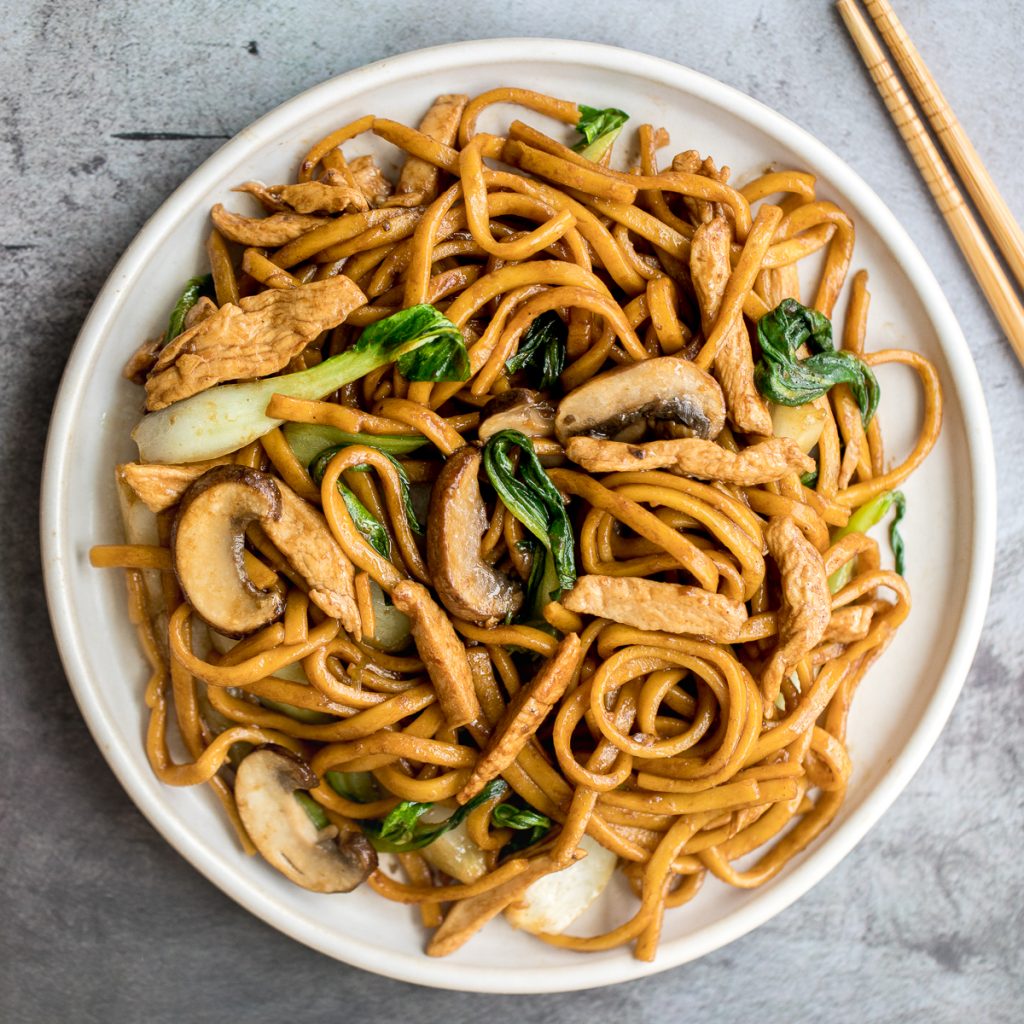
I have been obsessed with noodles pretty much my whole life. But growing up, it was all about the classic chow mein for me. So my hubby, Danny, who is from Shanghai, introduced me to the delicious Shanghai fried noodles. He has been perfecting this recipe over the years and now you can have restaurant-style fried noodles at home. It takes just like the ones I order at my favourite Chinese restaurant, if not better. Try it and you will agree. I mean, we can all find 10 minutes to spare, right?
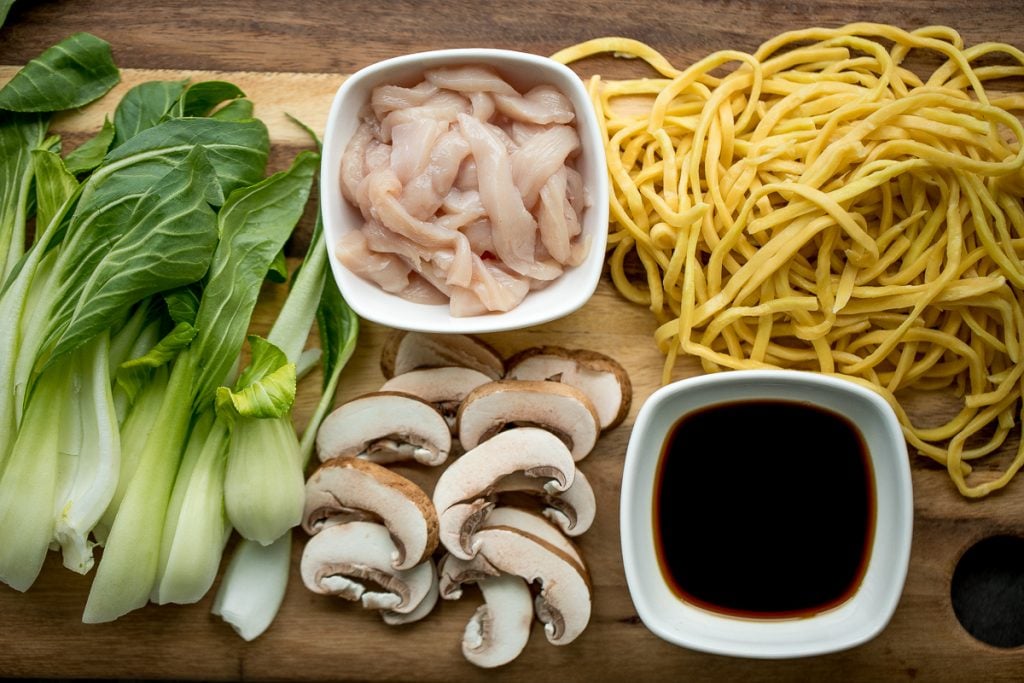
Ingredients in Shanghai Style Fried Noodles
- vegetable oil - essential for any stir-fry.
- chicken breast - can substitute for pork or shrimp, or leave it out completely and make this a vegan dish.
- Chinese cooking wine - for flavour.
- Shanghai chao mian noodles - these are thick, round soft noodles. Thick soft noodles are preferred but you can substitute with a thin soft noodle as well.
- vegetables - I used brown mushrooms and bok choy, which is a very good combination in this dish. You can also use other kinds of vegetables such as cabbage, shredded carrots and/or enoki mushrooms.
- soy sauce - for flavour.
- dark soy sauce - for flavour and colour. Shanghai-style fried noodles are known for their signature dark colour. You can substitute for regular soy sauce, but the colour will not be as dark.
- white pepper powder - for flavour. The combination of white pepper powder and soy sauce is the foundation of Shanghai fried noodles.
- brown sugar - for flavour.
- sesame oil - for flavour.
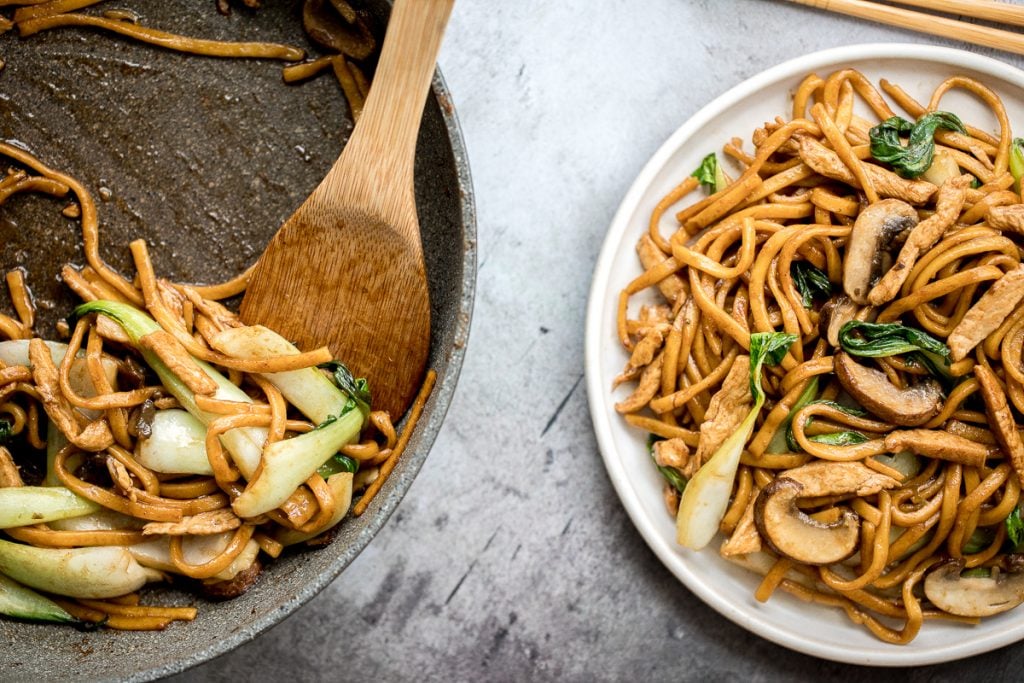
How to Make Authentic Shanghai Fried Noodles
- Cook chicken. Heat oil in large pan over high heat. Add chicken and cook for 2-3 minutes, until it starts to change colour. Then, add cooking wine and turn heat down to medium-low.
- Cook the noodles and mushrooms. Add noodles, mushrooms and sesame oil and stir-fry together, until mushroom is soft and translucent.
- Season. Add soy sauce, dark soy sauce, brown sugar, and white pepper. Stir for 1 minute.
- Add bok choy. Add bok choy and turn the heat up to medium. Cook until bok choy gets medium soft, about 1-2 minutes.
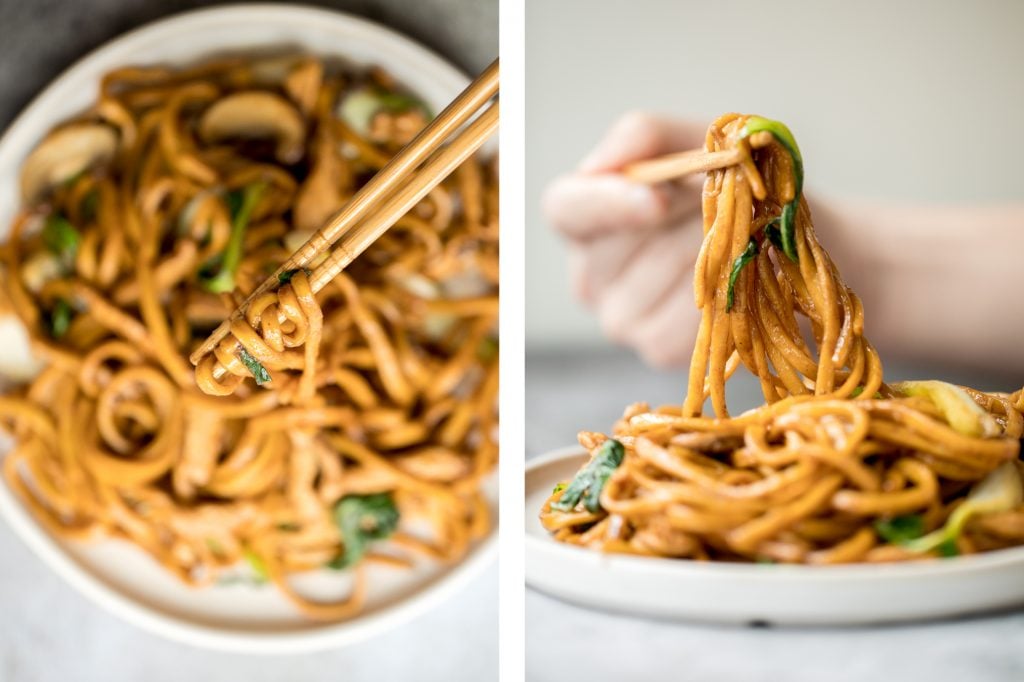
Video on How to Make Shanghai Fried Noodles
Tips for Making the Best Noodles
- Prep your ingredients. Have all your ingredients prepped and ready before you begin. Once you start to stir-fry, things move along very quickly. Having your ingredients ready and within hands reach will ensure things go smoothly.
- Continuously stir. You will need to continuously stir throughout the cooking process to ensure even distribution of heat across the dish, and even cooking. If you are new to stir-frying noodles, I would recommend turning down the heat while cooking, as things move fast.
- Do not overcook the greens. Add the bok choy to the stir fry at the very end for just 1-2 minutes until medium soft. The bok choy will continue to cook once removed from heat due to the residual heat of the noodles. Overcooking the bok coy will cause them to get too wilted and soggy with a bitter taste.
- Serve hot. Fried noodles tastes best served hot. Once the noodles start going cold, they will start to stick together and get stiff.
More Easy Noodle Recipes to Try
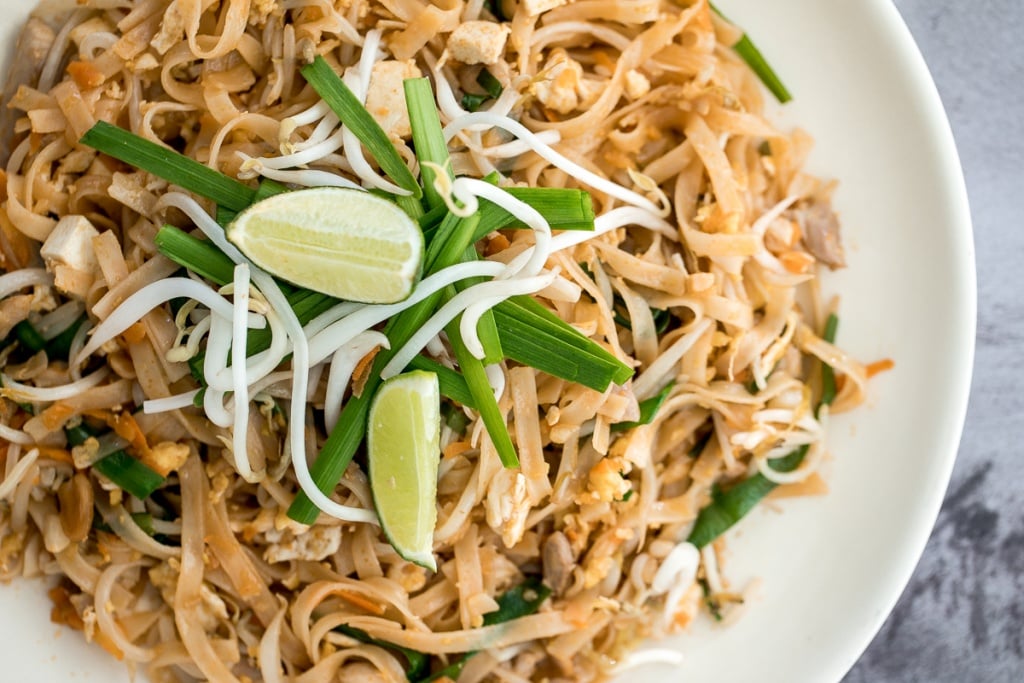
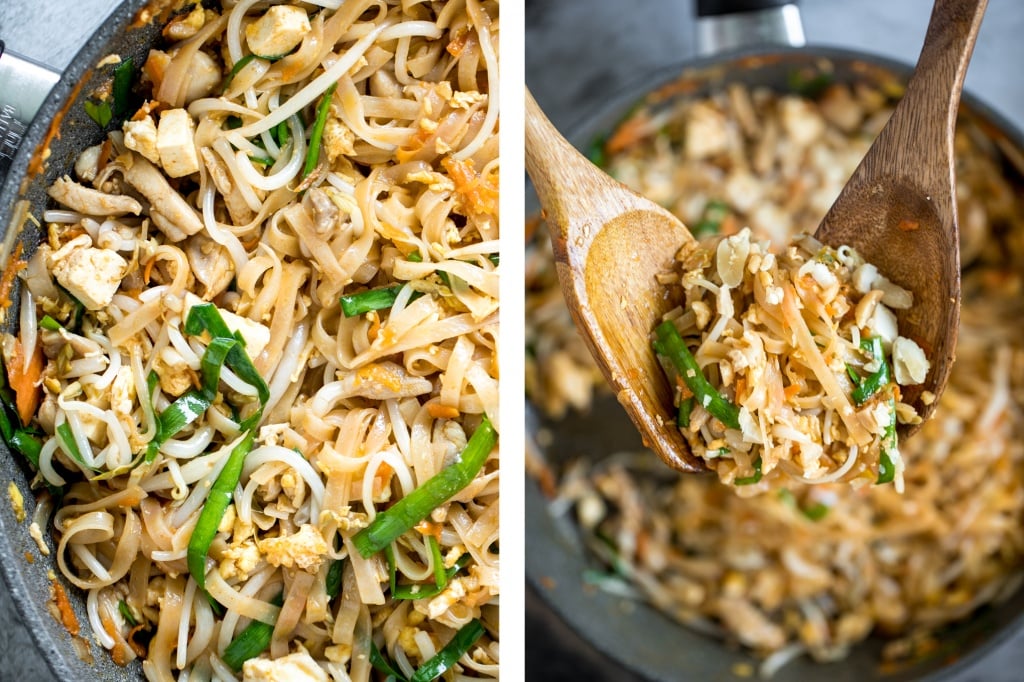
- 10-Minute Chicken Pad Thai
- Easy 15-Minute Lo Mein
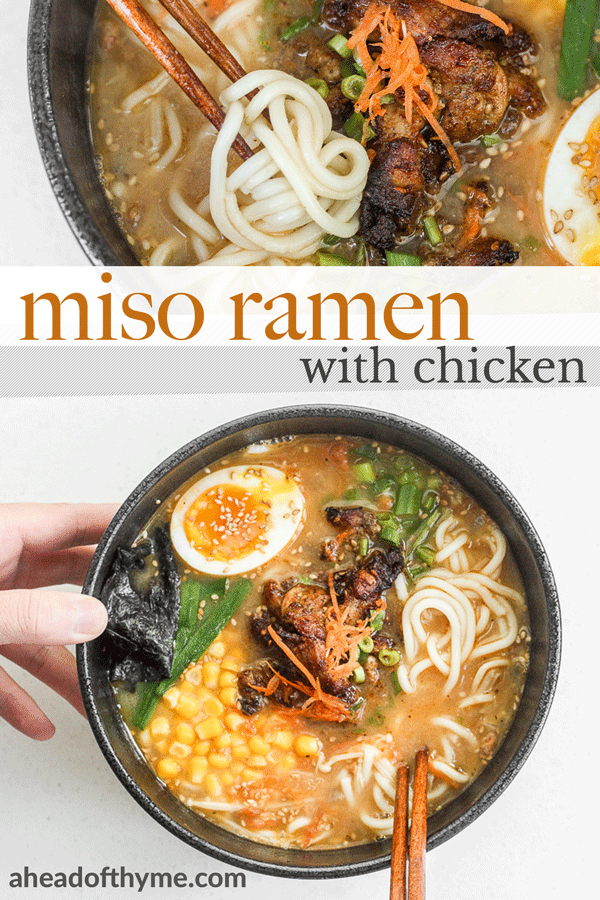
- Healthy Miso Ramen with Chicken
- Thai Red Curry Noodle Soup
- Quick and Easy Vegetarian Ramen
Tried this recipe?
I'd love to hear what you think! Leave a comment and rating below to share your feedback. Your reviews help others discover this recipe and help me keep creating more free recipes for you. Snap a photo and tag me on social media @aheadofthyme too.
This post was original published in January 2016. It has been completely updated with new photos and a video.