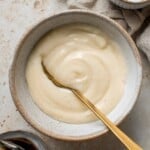
Homemade vanilla pudding is a rich, decadent, and creamy no bake dessert that you can make easily at home with 7 simple pantry staple ingredients and some patience letting it set.
So say good-bye to boxed pudding mixes or store-bought pudding cups because making vanilla pudding from scratch is better (no artificial flavors or filler ingredients here!) and tastes better too!
Why You'll Love Homemade Vanilla Pudding
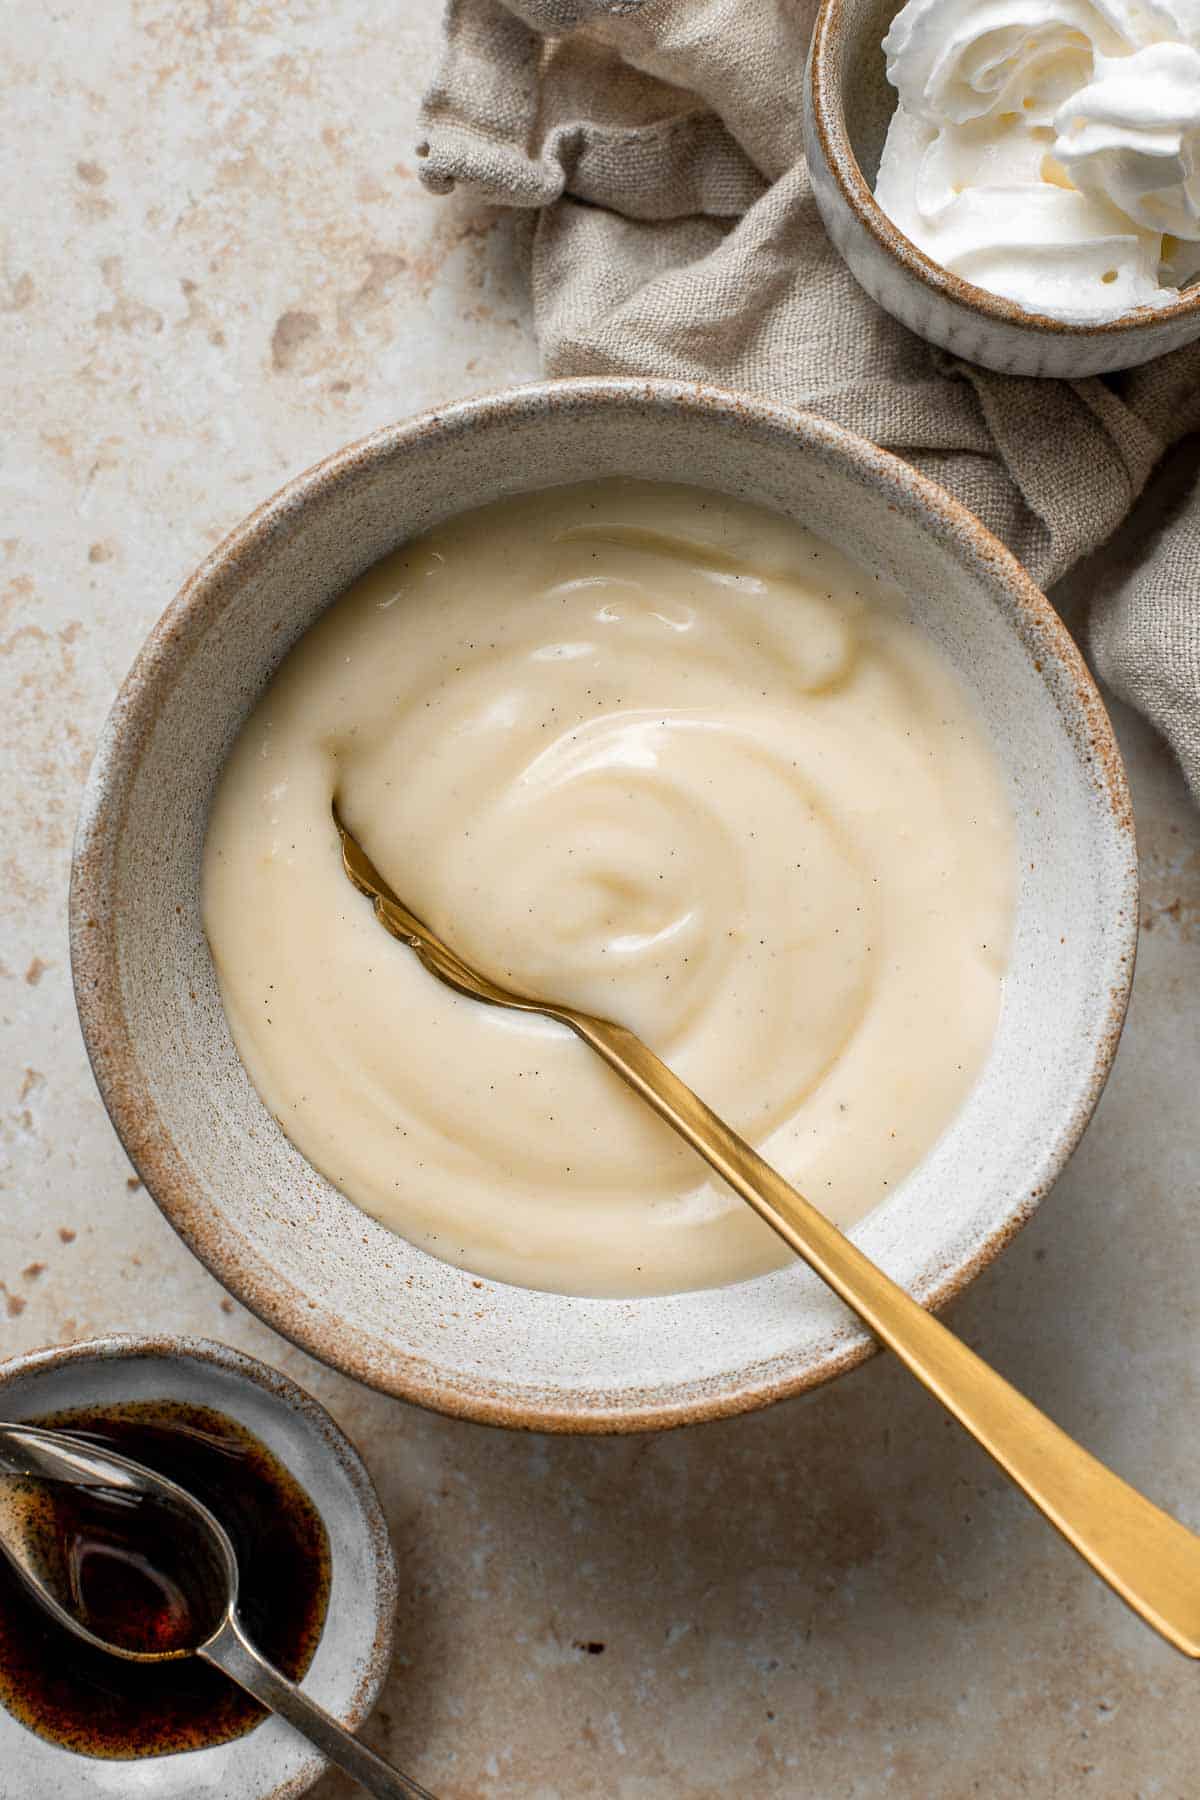
- It's a creamy, indulgent dessert. This delicious homemade vanilla pudding is made rich by using whole milk and adding egg yolks and butter. You don't want to skip out on any of these ingredients because they're what make this vanilla pudding so decadent!
- It's easy to make homemade pudding (and better than store-bought!). To be fair, this vanilla pudding isn't as easy as making pudding from a store-bought pudding mix packet - but it's pretty close! Simply combine the ingredients over the stovetop, then cool before letting the pudding set in the fridge. Plus, with homemade you know exactly what ingredients are going in there.
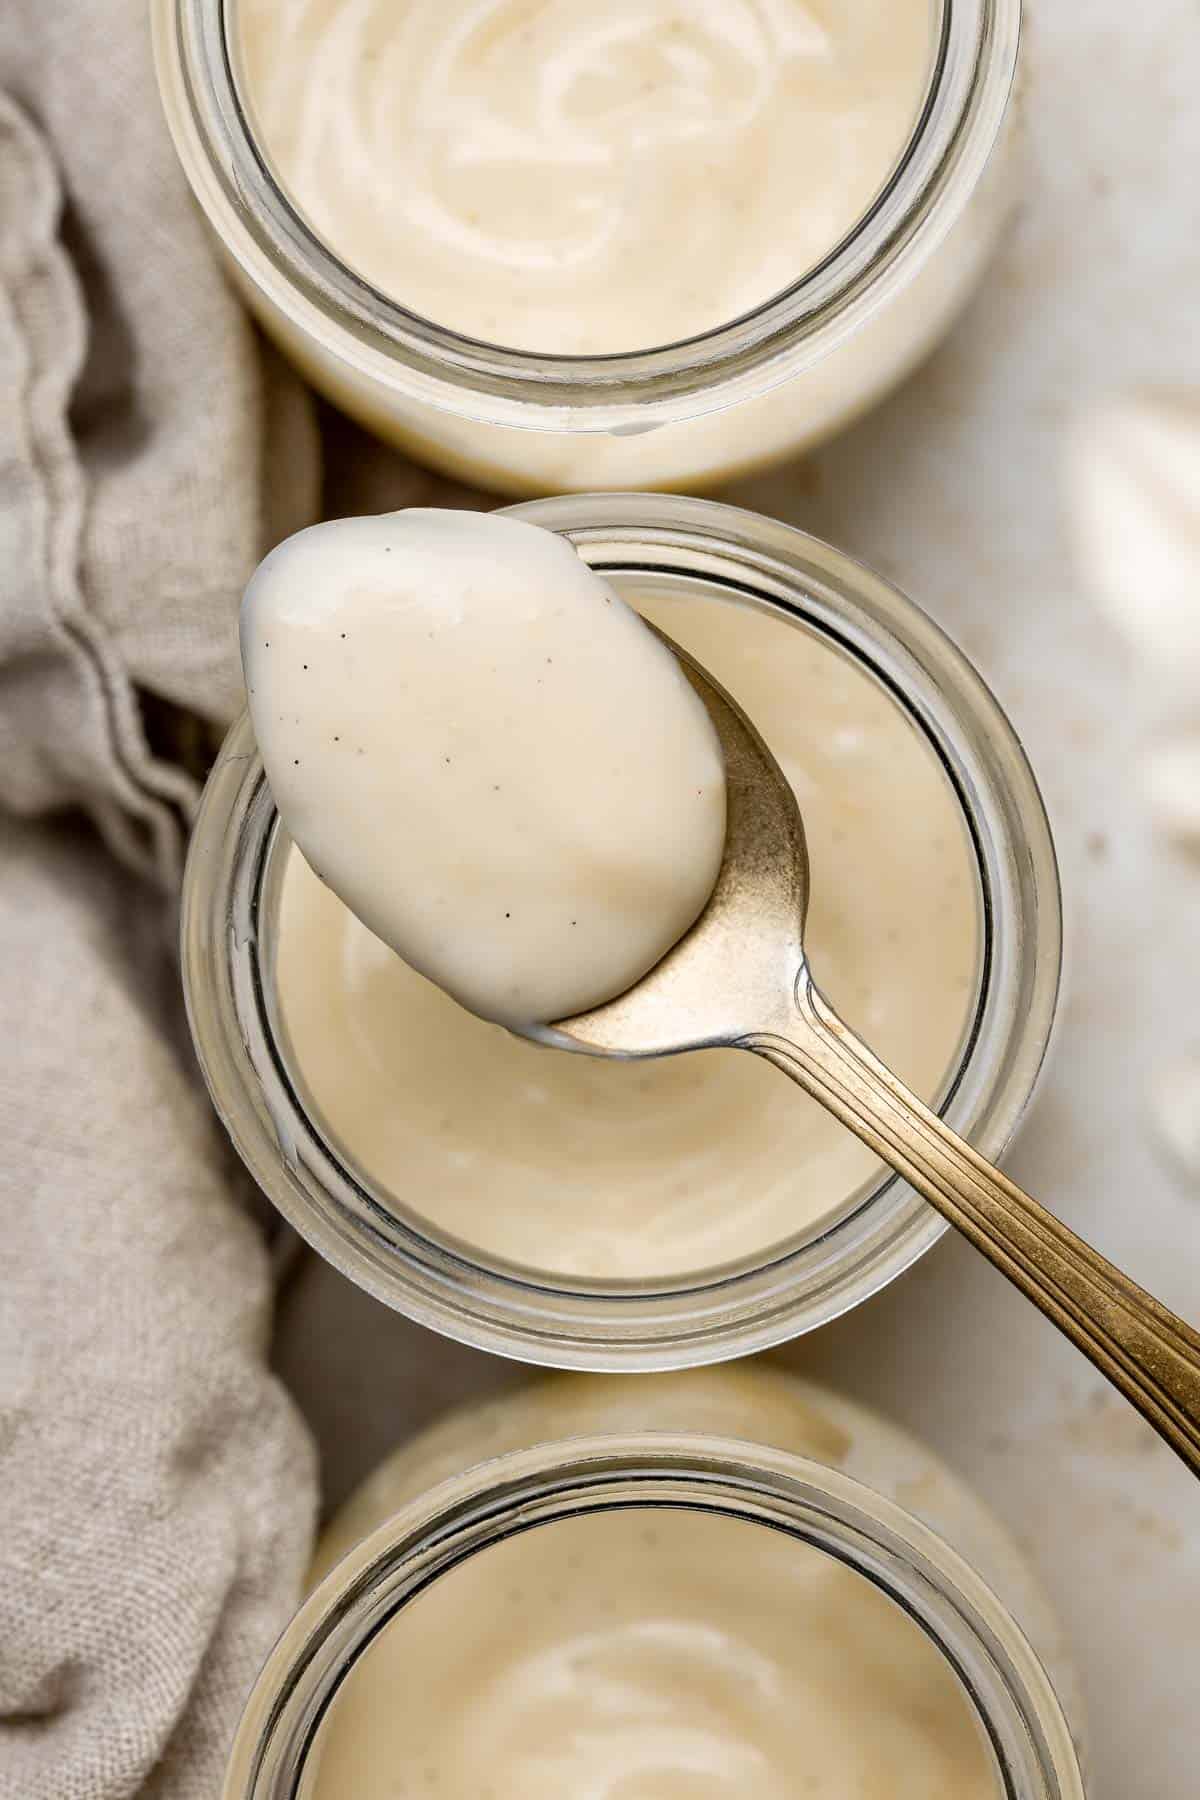
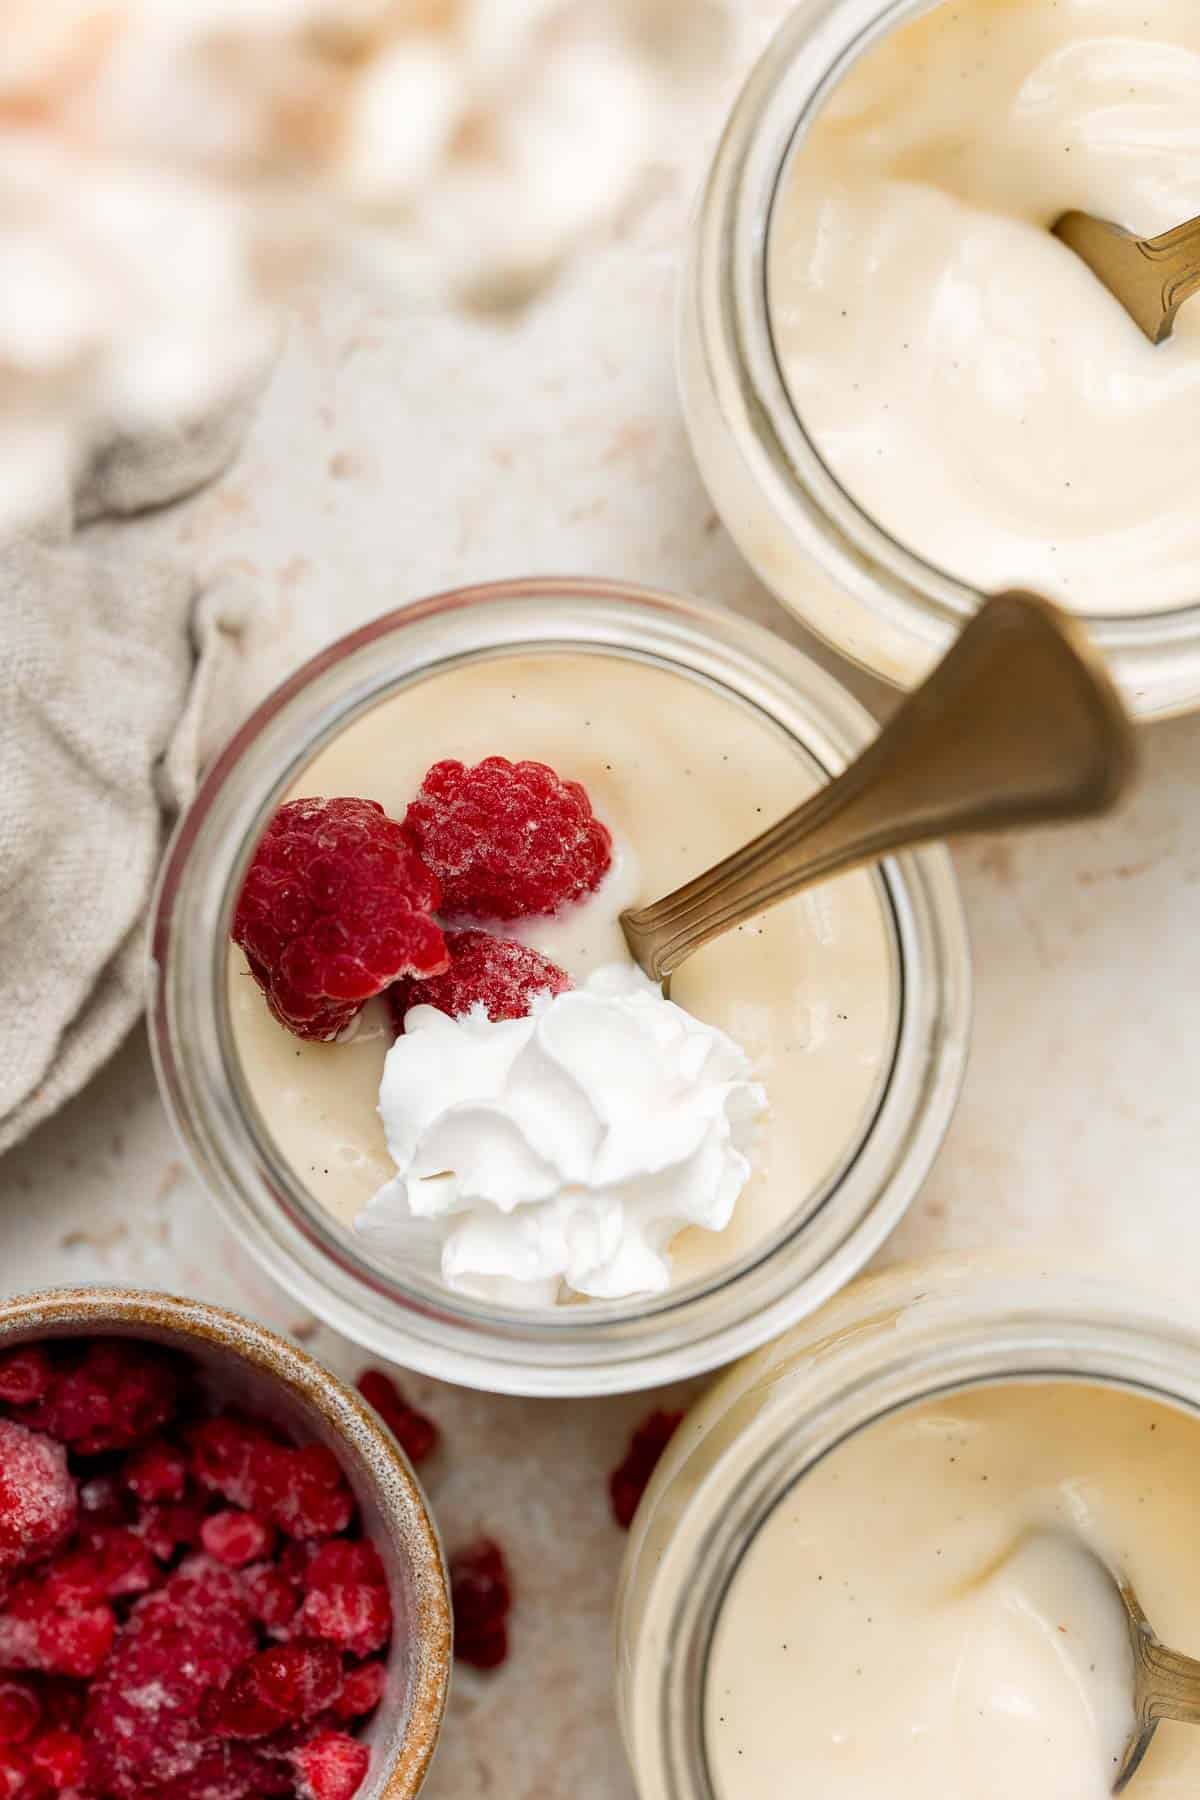
- It's perfect to serve a crowd - both adults and kids. I love making vanilla pudding for celebrations because it's a real crowd-pleaser. Instead of chilling the pudding in a large bowl, I portion it into ceramic ramekins or small dessert glasses. Then, I cover each individual portion and store in the fridge. When it's time to serve, I remove the plastic wrap and top it with whipped cream.
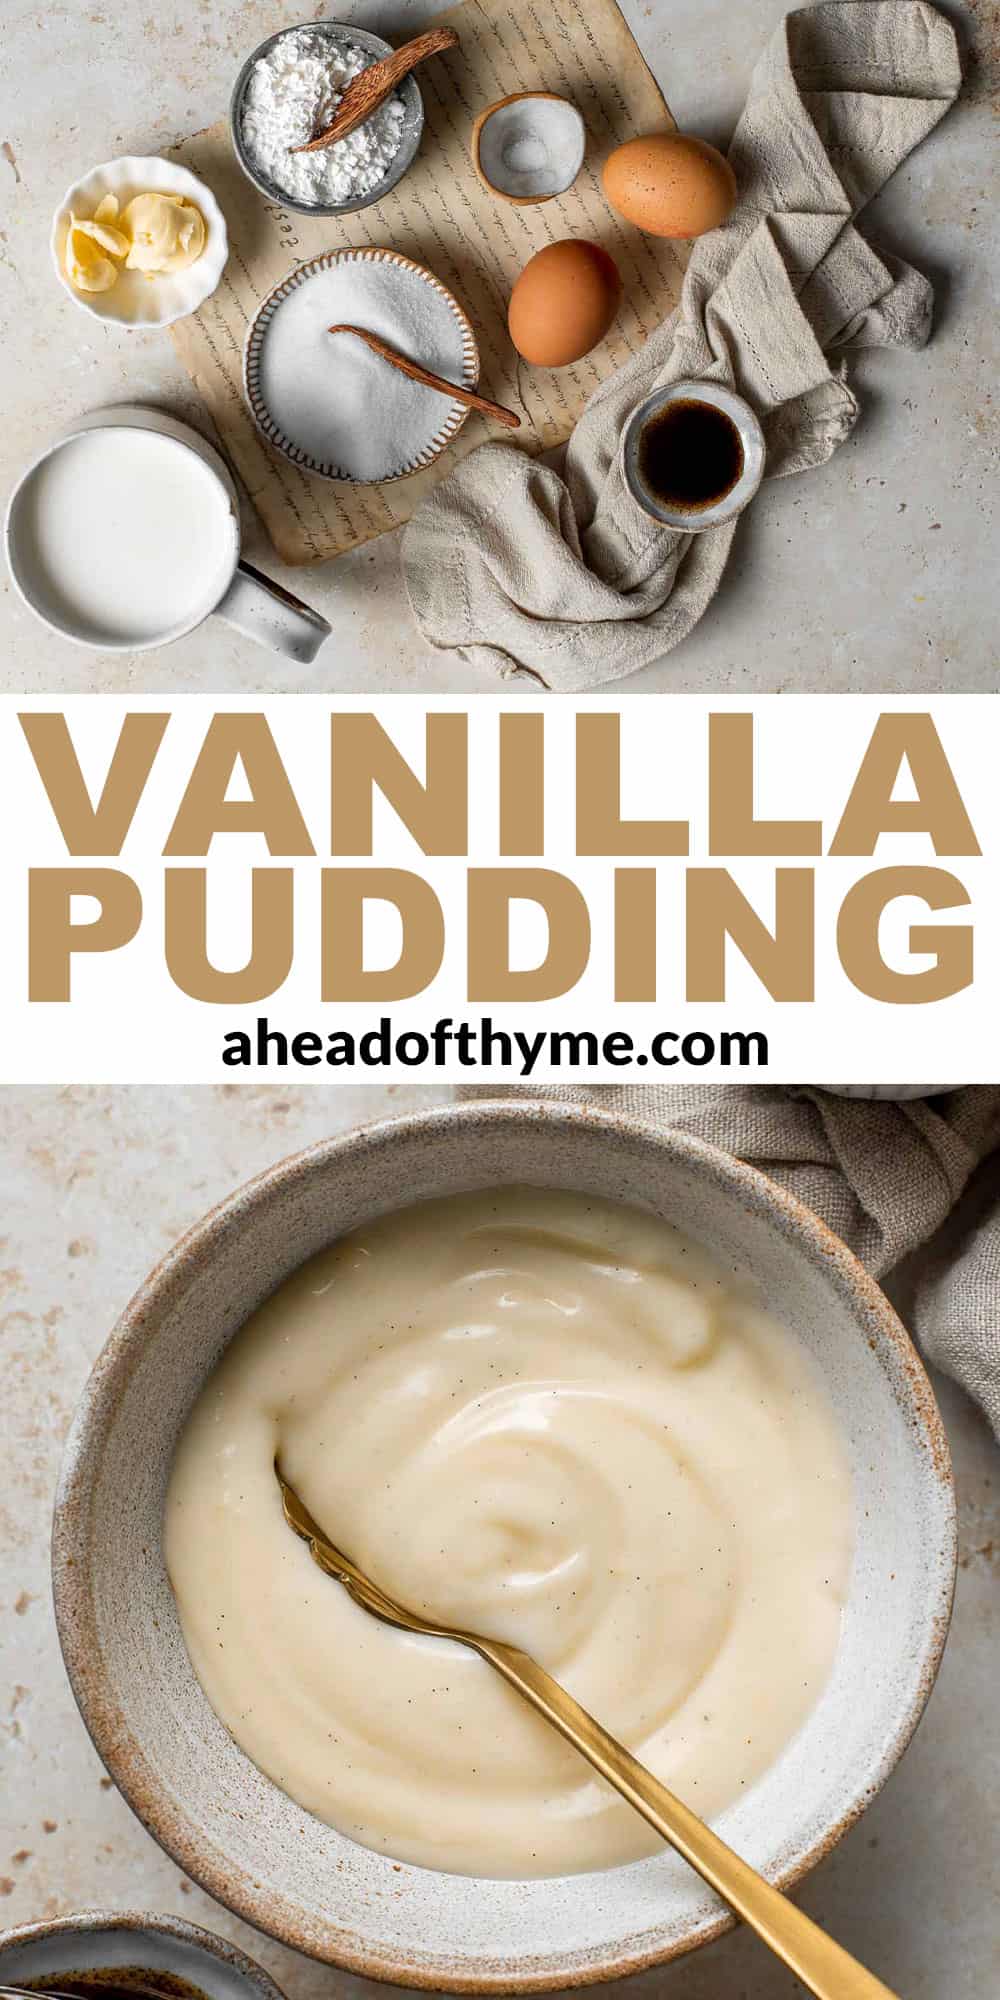
Ingredients and Substitutions
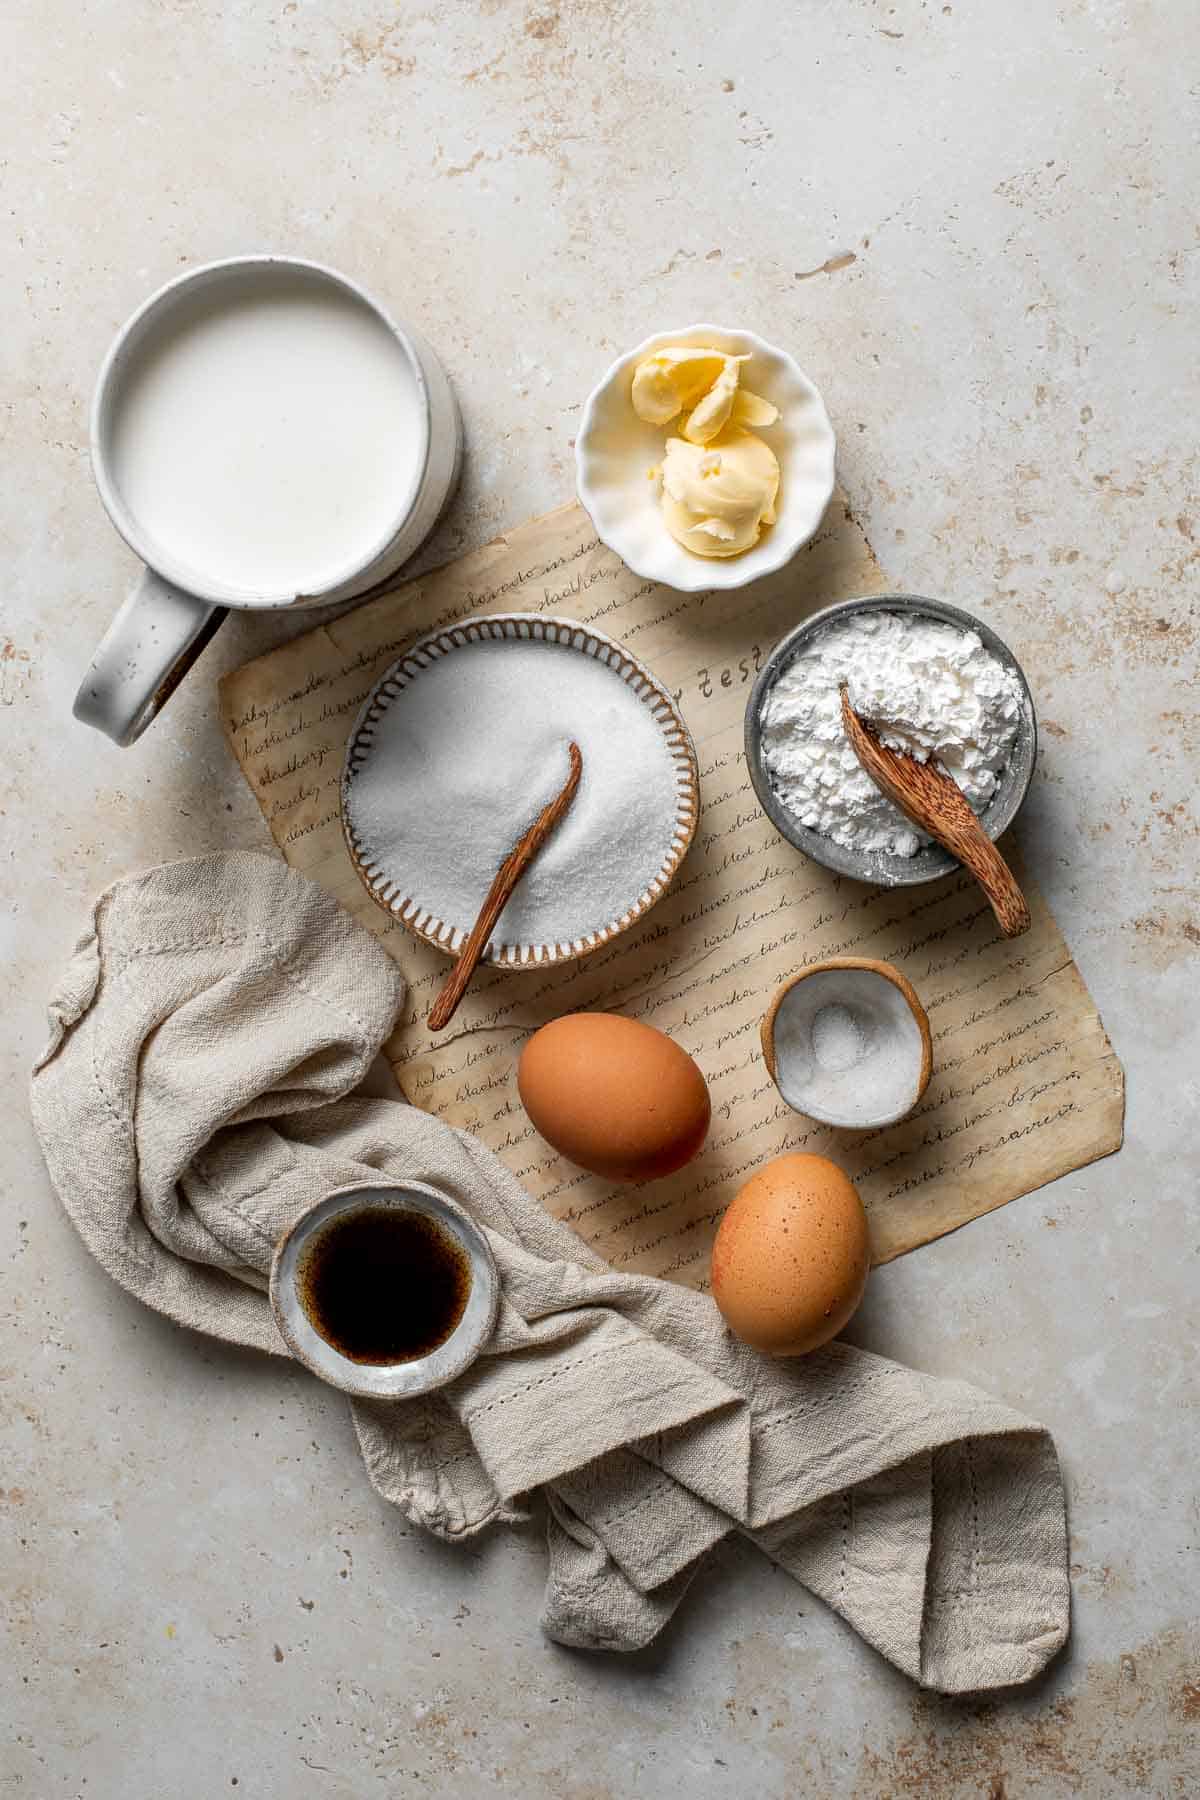
To make this delicious Vanilla Pudding, you will need the following ingredients (full quantities in the recipe card below):
- sugar
- cornstarch - this is what thickens up the pudding.
- salt
- egg yolks
- whole milk
- butter
- vanilla extract
- ice cubes - for chilling the pudding in a water bath.
You will also need measuring cups and spoons, saucepan, and mixing bowls.
How to Make the Best Vanilla Pudding from Scratch
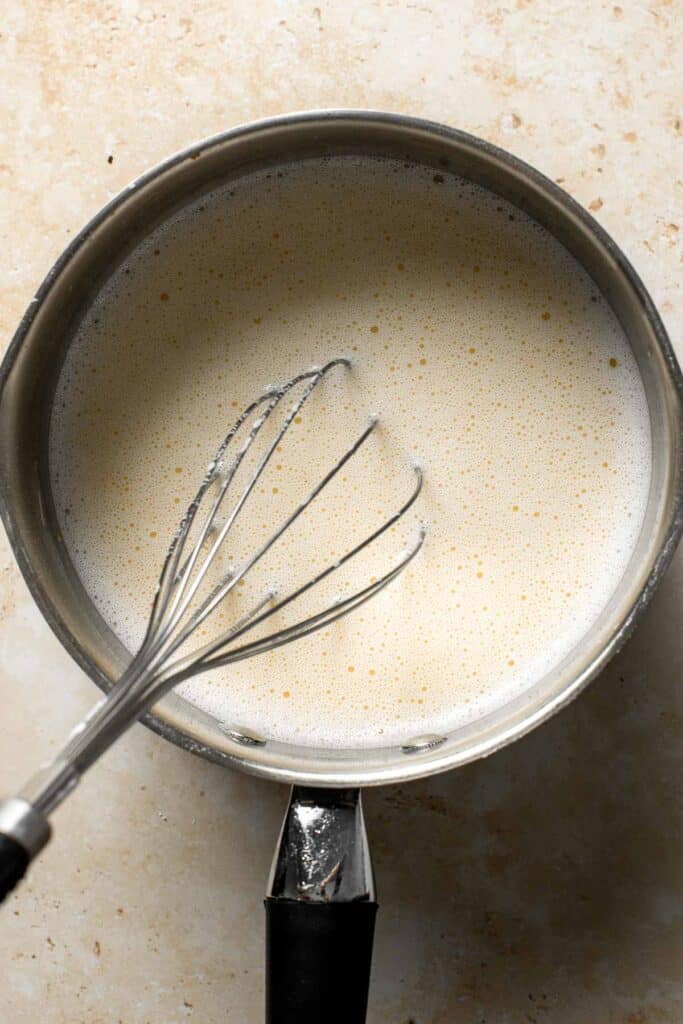
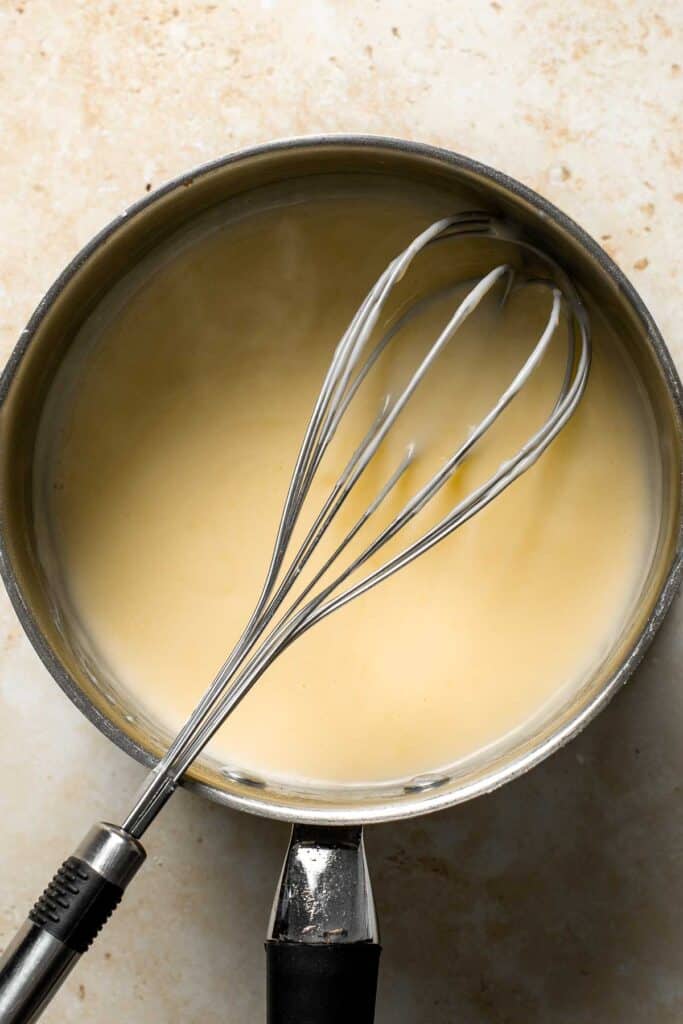
- Combine ingredients and cook. In a medium saucepan, whisk together sugar, cornstarch, salt, and egg yolks until well blended. Whisk in the milk and heat over medium heat, stirring often, about 5-8 minutes.
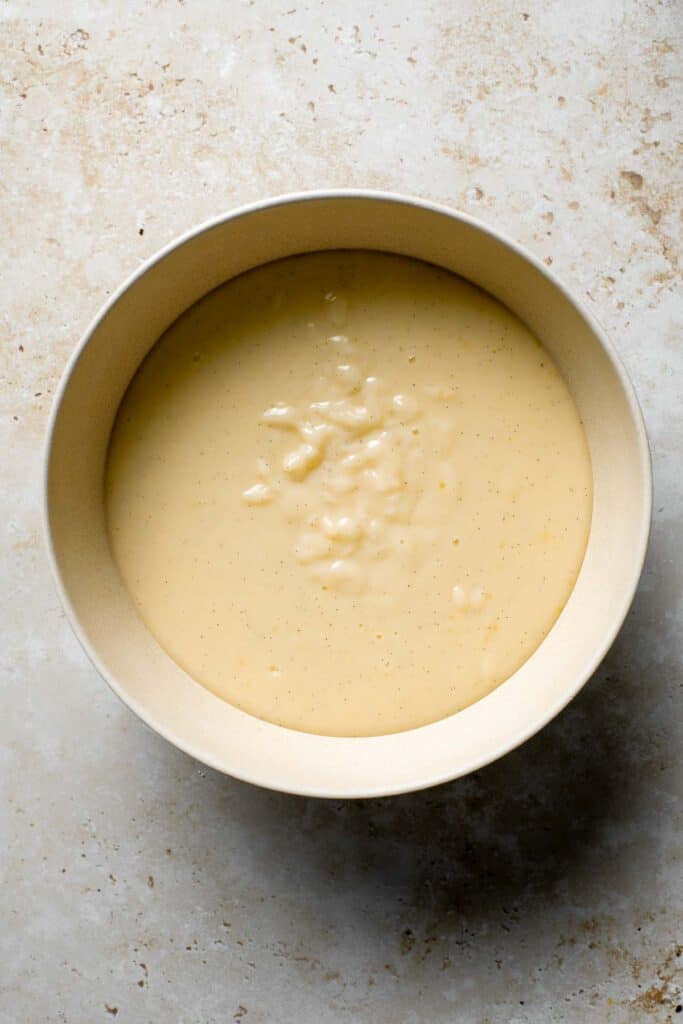
- Lower heat. Once the mixture starts to bubble, turn the heat down to low and continue cooking until thickened, whisking often, about 1-2 minutes more. Note that pudding will be pourable but will continue to thicken more as it cools. Remove from heat and immediately whisk in the butter and vanilla, stirring until smooth.

- Remove lumps. If you notice any lumps, pass the pudding through a fine-mesh sieve over a large heatproof bowl to remove any lumps. Skip this if you don't notice any lumps.
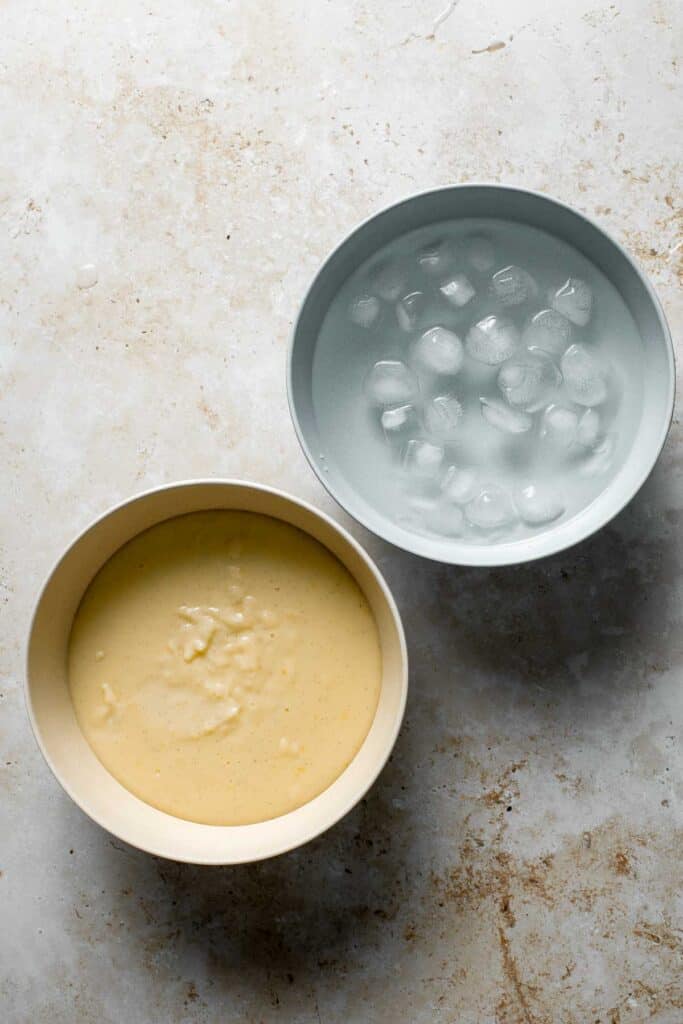
- Chill. Prepare a large bowl with some water and ice to make an ice bath. Place the saucepan directly into the ice bath, stirring occasionally, until the pudding reaches room temperature, about 30 minutes. Cover and refrigerate until the pudding has chilled through completely, at least 4 hours (up to 2 days).
How to Serve
This homemade vanilla pudding tastes amazing on its own, but that doesn't mean you can't give it a special twist. You can make this pudding recipe even more decadent by adding:
- whipped cream and raspberries (or other fruit)
- chocolate or caramel sauce
- graham cracker crumbs
- oreo cookie crumbs
- bananas and vanilla wafers (to make Banana Pudding!)
Recipe Tips and Tricks
- How to prevent lumps: To avoid lumping, ensure that your egg yolks and dry ingredients are blended well before adding any milk. Then, add the milk slowly, making sure to fully incorporate it before adding more milk. This method can help you avoid lumps and skip step four!
- How to store pudding: Homemade pudding will last for up to one week days when stored in an airtight container in the fridge. Try to avoid leaving your pudding out at room temperature for more than 1-2 hours.
- How to freeze pudding: You can freeze homemade pudding in a freezer bag or airtight container for up to 3 months in the freezer. The consistency will turn into a rich and creamy ice cream. You can enjoy it frozen or allow it to thaw overnight in the refrigerator before serving.
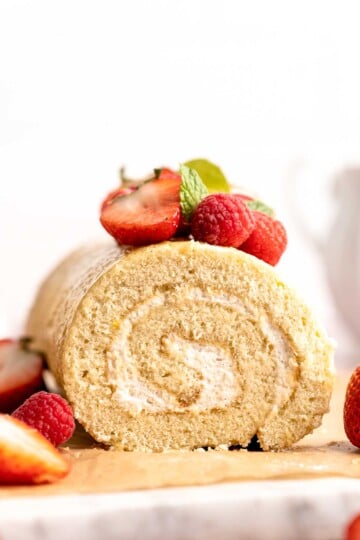
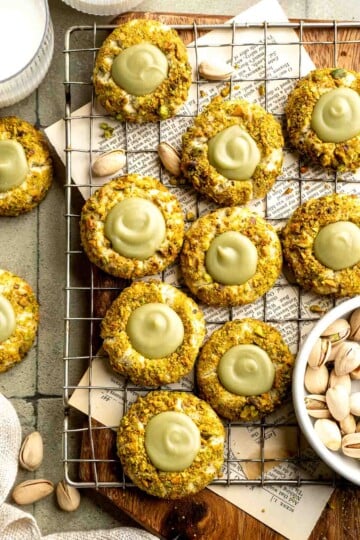
More No Bake Dessert Recipes
- Banana Pudding
- Nutella Mousse
- Mango Sago
- No Bake Blackberry Cheesecake
- Strawberry Frozen Yogurt
- Peanut Butter Eggs
Tried this recipe?
I'd love to hear what you think! Leave a comment and rating below to share your feedback. Your reviews help others discover this recipe and help me keep creating more free recipes for you. Snap a photo and tag me on social media @aheadofthyme too.
Recipe
Vanilla Pudding
- Total Time: 4 hours 45 minutes
- Yield: 4 (½ cup) servings 1x
- Diet: Vegetarian
Description
Homemade vanilla pudding is a creamy no bake dessert that you can make with 7 simple ingredients. So much better than boxed pudding mixes or pudding cups.
Ingredients
- ½ cup granulated sugar
- 3 tablespoons cornstarch
- ¼ teaspoon salt
- 2 large egg yolks, beaten
- 2 cups whole milk
- 1 and ½ tablespoons butter, unsalted
- 2 teaspoons vanilla extract
- ice cubes (for water bath)
Instructions
- In a medium saucepan, whisk together sugar, cornstarch, salt, and egg yolks until well blended. Whisk in the milk and heat over medium heat, stirring often, about 5-8 minutes.
- Once the mixture starts to bubble, turn the heat down to low and continue cooking until thickened, whisking often, about 1-2 minutes more. Note that pudding will be pourable but will continue to thicken more as it cools.
- Remove from heat and immediately whisk in the butter and vanilla, stirring until smooth.
- If you notice any lumps, pass the pudding through a fine-mesh sieve over a large heatproof bowl to remove any lumps. Skip this if you don't notice any lumps.
- Prepare a large bowl with some water and ice to make an ice bath. Place the saucepan directly into the ice bath, stirring occasionally, until the pudding reaches room temperature, about 30 minutes.
- Cover and refrigerate until the pudding has chilled through completely, at least 4 hours (up to 2 days).
Notes
How to prevent lumps: To avoid lumping, ensure that your egg yolks and dry ingredients are blended well before adding any milk. Then, add the milk slowly, making sure to fully incorporate it before adding more milk. This method can help you avoid lumps and skip step four!
How to store pudding: Homemade pudding will last for up to one week days when stored in an airtight container in the fridge. Try to avoid leaving your pudding out at room temperature for more than 1-2 hours.
How to freeze pudding: You can freeze homemade pudding in a freezer bag or airtight container for up to 3 months in the freezer. The consistency will turn into a rich and creamy ice cream. You can enjoy it frozen or allow it to thaw overnight in the refrigerator before serving.
- Prep Time: 5 minutes
- Chill Time: 4 hours 30 minutes
- Cook Time: 10 minutes
- Category: Dessert
- Method: Stovetop
- Cuisine: American
Comments
No Comments