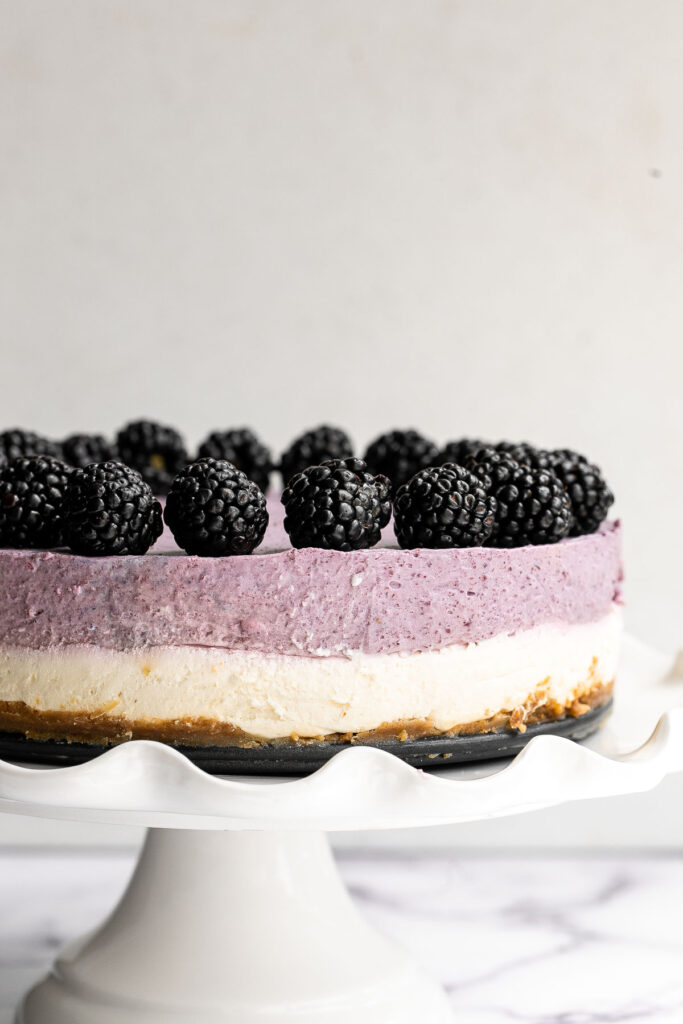
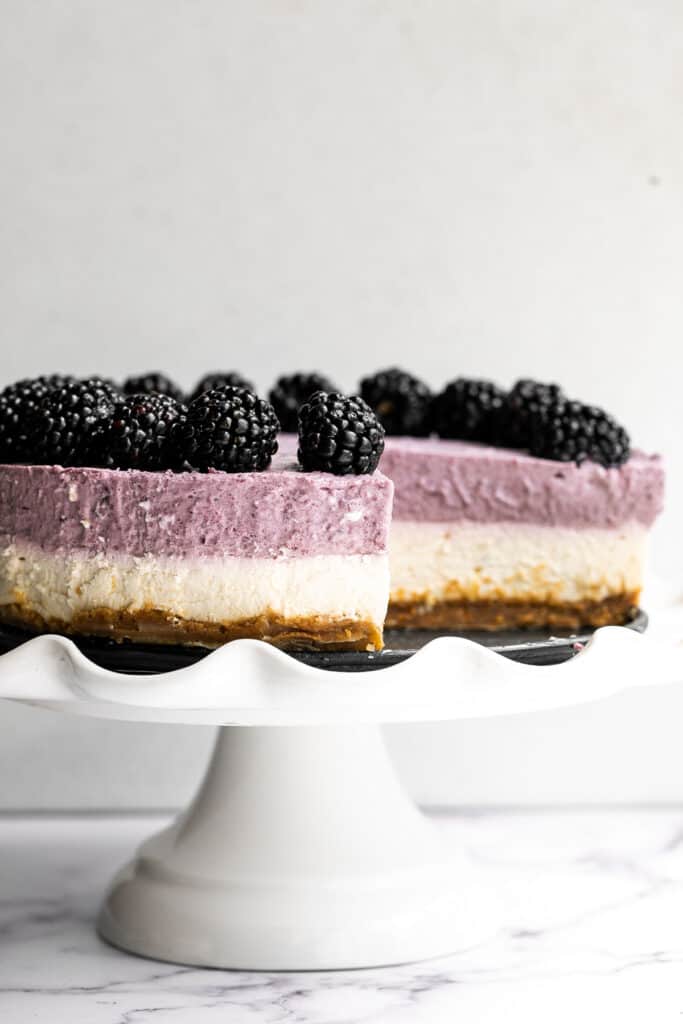
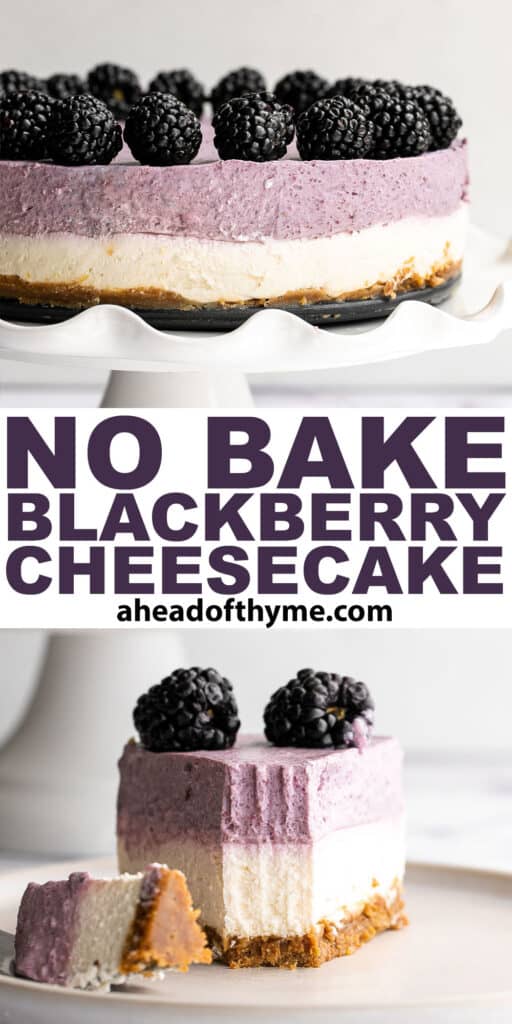
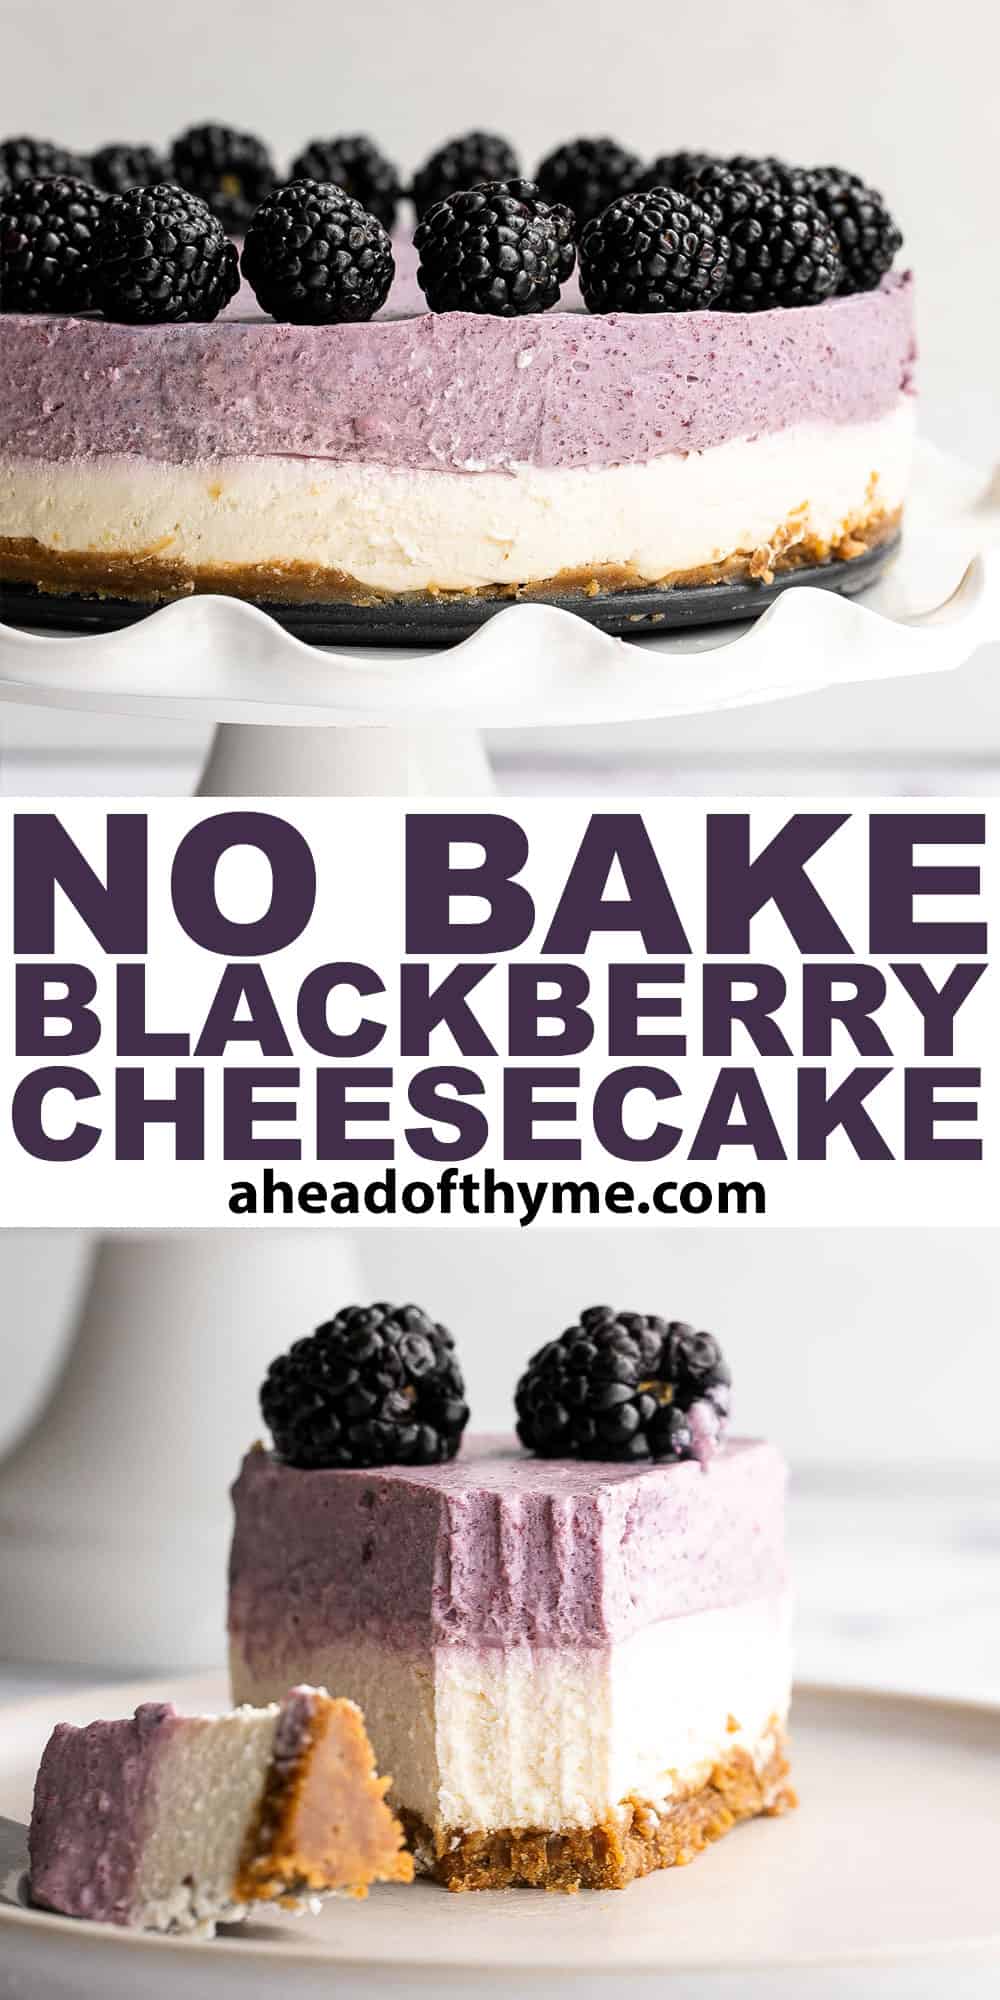
No bake blackberry cheesecake is light, smooth, creamy, and so delicious. Encased in a buttery graham cracker crust, this no bake dessert contains a layer of cheesecake with hints of vanilla and lemon, and a top layer of fluffy blackberry mousse. It's easy to whip up, assemble, and left in the refrigerator to set (no baking required!). This crowd-pleasing treat is the perfect make ahead dessert that is sure to impress.
Why You'll Love No Bake Blackberry Cheesecake
- The easiest crust. One of the great things about cheesecake is that unlike Pie Crust, cheesecake crust is so easy to make. All you need is to mix butter and crushed graham crackers together and press it into the pan. So easy and so delicious.
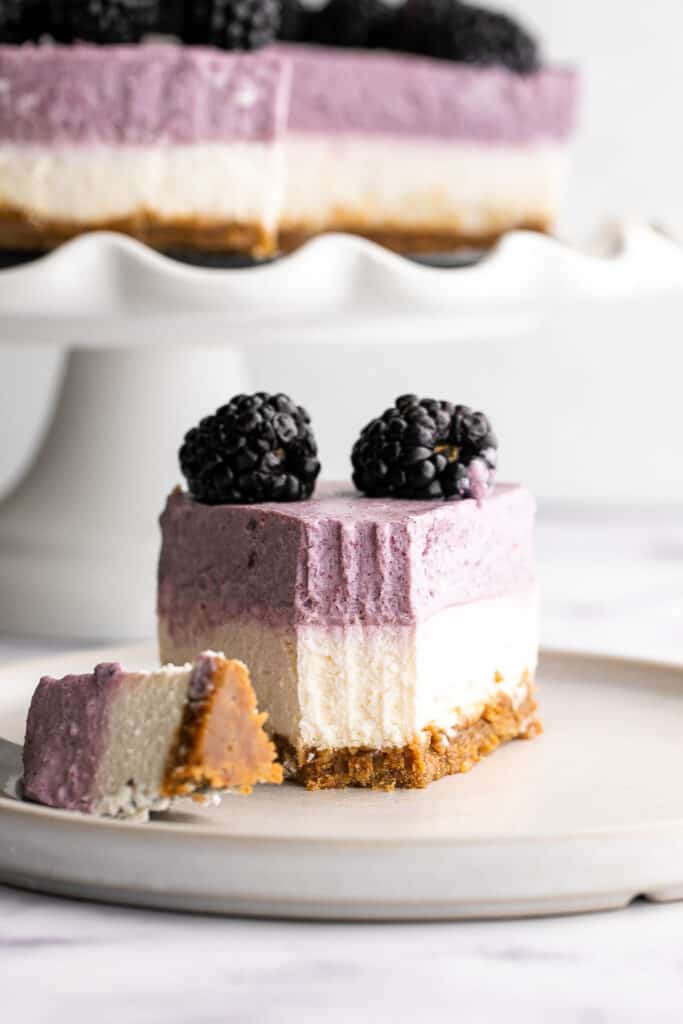
- Two delicious and mouthwatering layers. With one layer of vanilla cheesecake and top layer of blackberry mousse, this blackberry cheesecake has a layer for everyone. It's sweet, tart, creamy, and smooth. The best no bake dessert ever.
- Lasts for days and is freezer-friendly. The best thing about this cheesecake? It lasts close to a week in the refrigerator and months longer in the freezer. So whether you are making this to feed a crowd or just one, there is no waste here. Leftovers store well.
Ingredients and Equipment
To make this delicious and pretty no bake blackberry cheesecake, you will need the following ingredients (full quantities in recipe card below):
- Graham-style cracker crumbs - you can also substitute with actual graham crackers. You will just need to crush them into crumbs using a food processor. For another crust option, try digestive biscuits.
- butter
- heavy cream
- cream cheese
- icing sugar - The icing sugar adds a really smooth clean texture, but you can substitute with granulated sugar if you don't have any on hand.
- lemon - adds a little brightness to the cheesecake.
- vanilla extract - adds a hint of flavor.
- gelatin powder + water - I use unflavored Knox gelatin
- blackberries - you can easily turn this into any flavour no bake cheesecake by using different berries or a mixture of berries. Try this recipe with strawberries, raspberries, blueberries or peaches.
You will also need measuring cups and spoons, mixing bowls, a hand mixer or stand mixer, and a round 8-inch springform pan.
How to Make the Best No Bake Blackberry Cheesecake
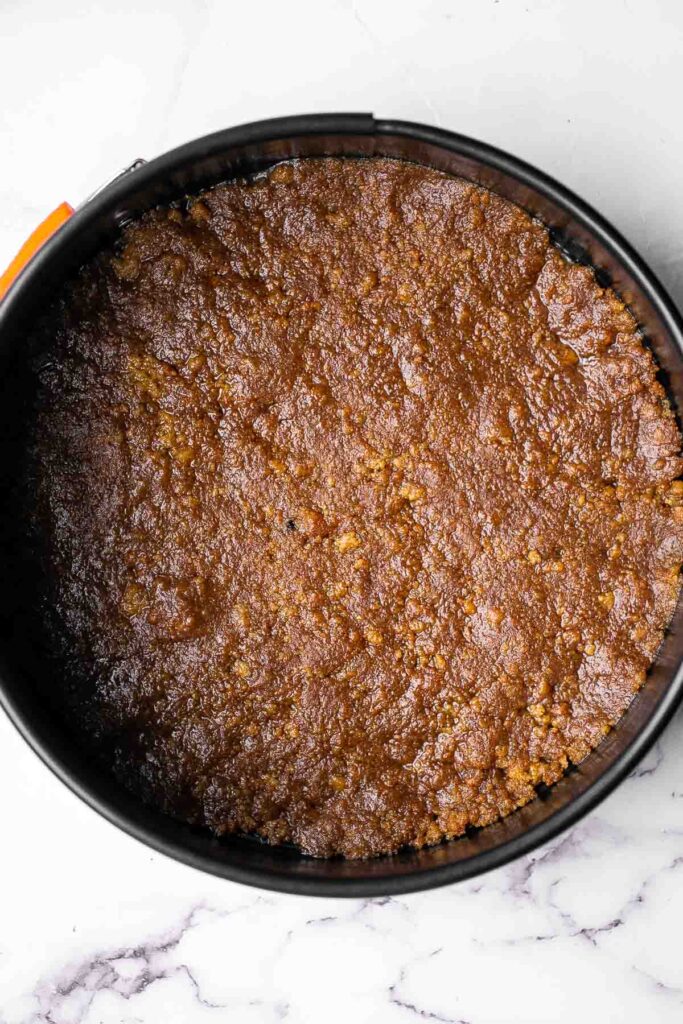
- Make the crust. In a large bowl, stir together graham cracker crumbs and melted butter until well mixed. If you are using whole graham crackers, simply add the crackers into a food processor and process until fine crumbs form. Press the crumb mixture firmly into a parchment lined 8-inch springform pan and freeze for at least 15 minutes, allowing the crust to set before filling.
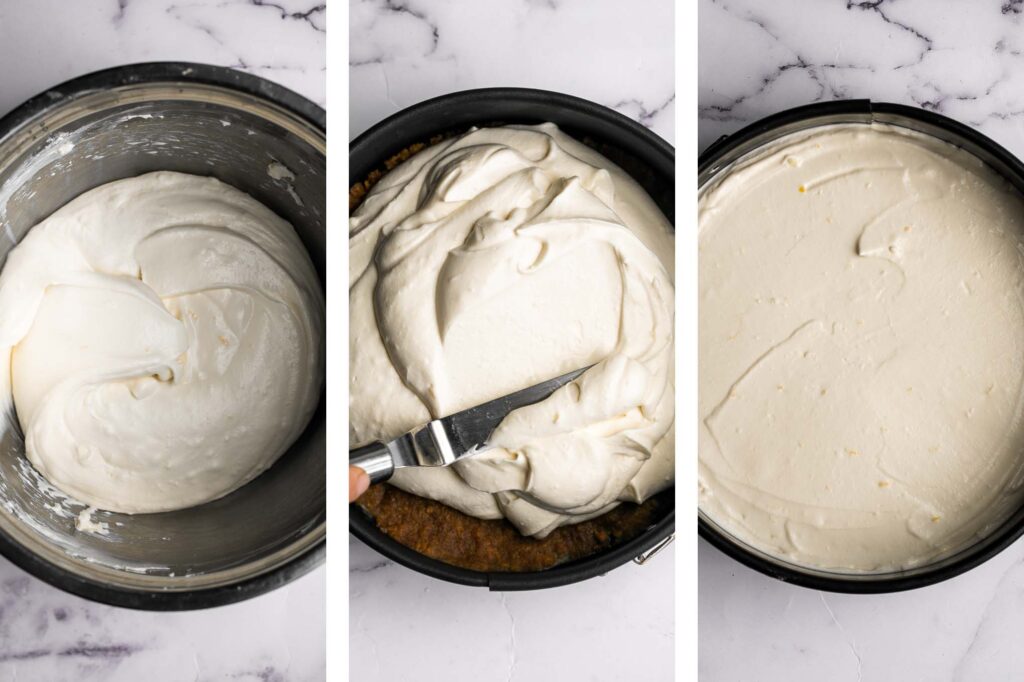
- Make the cheesecake filling. In a large mixing bowl, add heavy cream and whip with a stand mixer or hand mixer until stiff peaks form, about 3-4 minutes. Set aside. In a medium mixing bowl, use the mixer to combine cream cheese, sugar, lemon juice, lemon zest, and vanilla extract until evenly combined.
- Add gelatin. In a small mixing bowl, add ¼ cup of water and 1 pack (15 ml) gelatin powder on top and let it sit for 3-4 minutes (or according to package instructions). Then, microwave on high for 15 seconds or warm up the jar in a hot water bath for 1 minute and stir well until gelatin is completely dissolved. Add the dissolved gelatin and half of the whipped cream to the cream cheese mixture and stir until well combined.
- Add cheesecake filling. Pour the filling into the cooled crust and smooth out the surface using a small icing spatula. Refrigerate for at least 1 hour to set or freeze for at least 15 minutes.
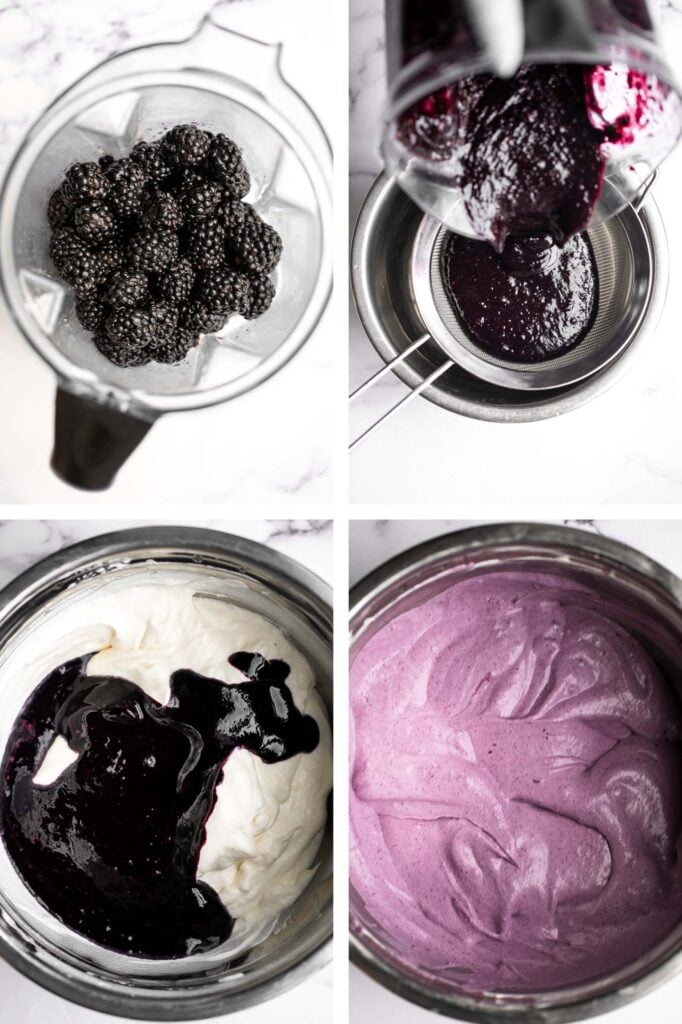
- Make the blackberry mousse layer. Add 1 cup blackberries in a blender and blend until smooth, about 1 minute. If you prefer a smoother filling, strain the blackberry puree through a mesh sieve and discard the seeds. Dissolve the second pack of gelatin powder in the remaining ¼ cup water (using the same method as above). Add the dissolved gelatin and blackberry puree into the remaining whipped cream and mix with a hand mixer or spatula until evenly combined.
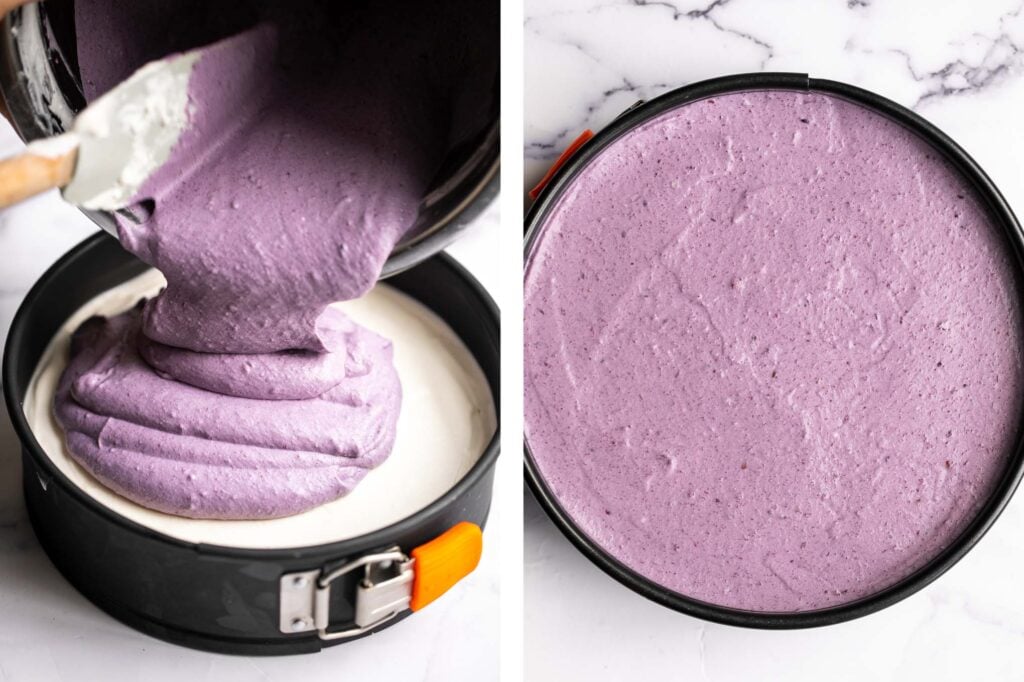
- Chill the cheesecake. Pour the blackberry mousse filling over the cooled cheesecake filling and smooth out the surface using a small icing spatula. Refrigerate for at least 6-8 hours or overnight to set completely. The longer the better it will set.
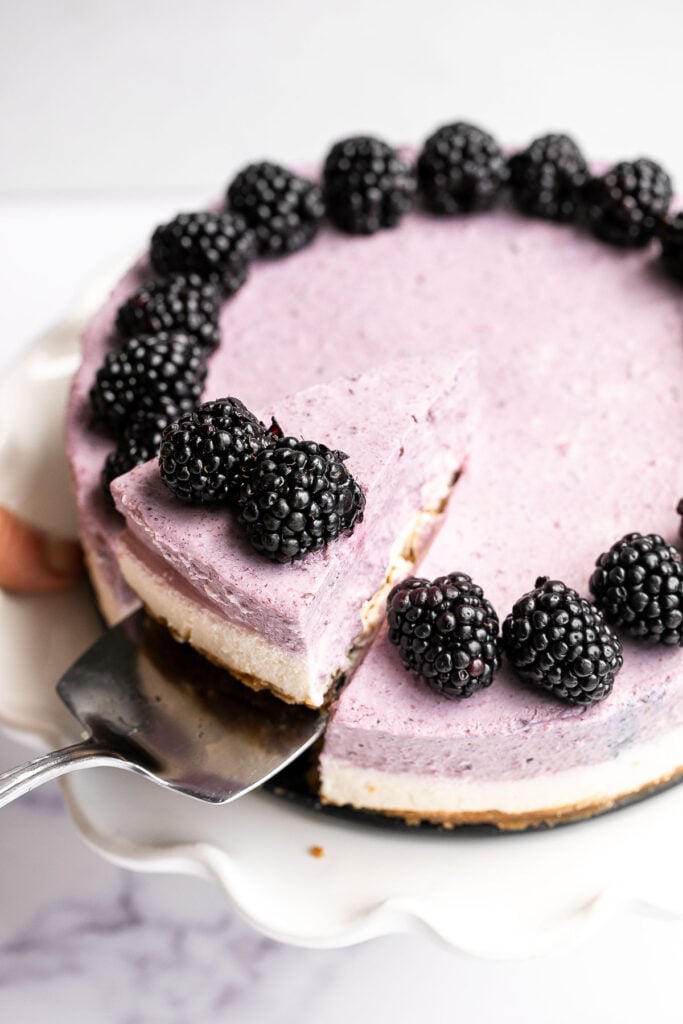
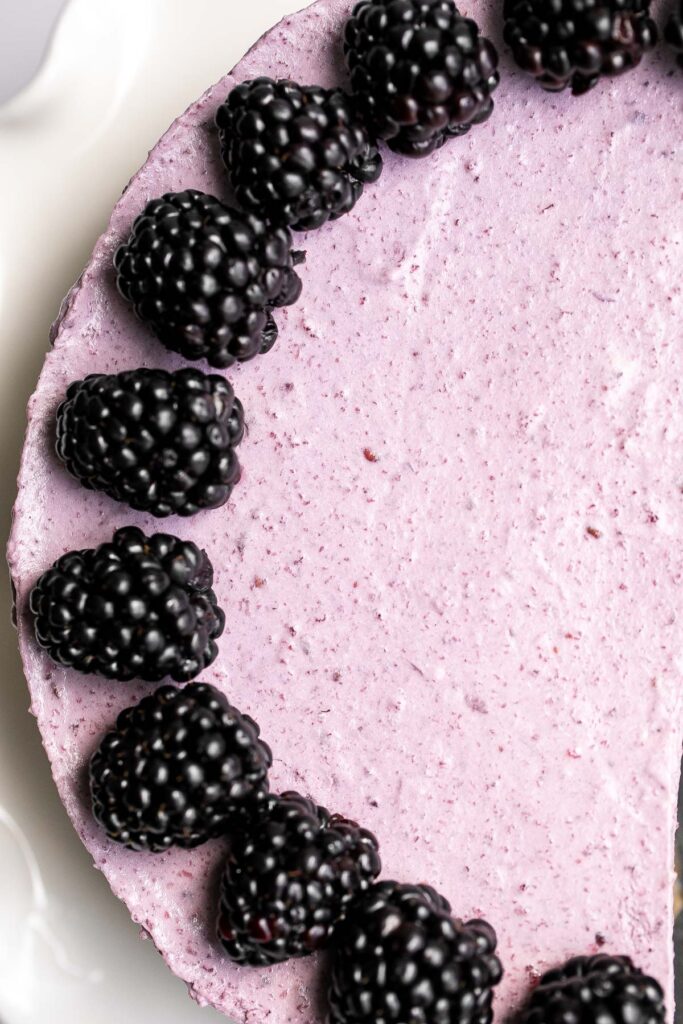
- Garnish and serve. Garnish with the remaining ½ cup blackberries on top and serve. You can also top with some whipped cream.
Recipe Tips and Tricks
- Give the cheesecake enough time to set: This no bake blueberry cheesecake recipe is easy to make and assemble, but it does take time. Don't rush, especially when waiting to let the cheesecake set. If you cut into the cheesecake when it's not fully set, it won't keep its shape.
- How to make it gluten-free: To make this no bake cheesecake gluten-free, all you need to do is substitute your favorite gluten-free cookie in place of graham crackers.
- How to store: No bake cheesecake should not be left out at room temperature for more than 2 hours. To store, cover the cheesecake or transfer to an airtight container and store in the refrigerator for up 4-5 days.
- How to freeze: Once set, wrap the entire cheesecake tightly in a few layers of aluminum foil or plastic cling wrap and transfer to a freezer bag and seal the bag. Store it upright in the freezer for up to 3 months.
More Cheesecake Recipes
- Creamy Mango Cheesecake
- No Crust Burnt Basque Cheesecake
- Classic New York Cheesecake
- Caramel Apple Fall Cheesecake
- Caramel Pecan Pie Cheesecake Bars
- Caramel Cheesecake Brownies
Tried this recipe?
I'd love to hear what you think! Leave a comment and rating below to share your feedback. Your reviews help others discover this recipe and help me keep creating more free recipes for you. Snap a photo and tag me on social media @aheadofthyme too.
Recipe
No Bake Blackberry Cheesecake
- Total Time: 6 hours 30 minutes
- Yield: 12 servings 1x
Description
No bake blackberry cheesecake is light, smooth, creamy, and delicious, with a buttery graham cracker crust, cheesecake layer, and blackberry mousse on top.
Ingredients
For the cheesecake crust:
- 2 cups Graham-style cracker crumbs (about 10 oz.)
- ½ cup butter, melted (100 grams)
For the cheesecake filling:
- 2 cups heavy cream
- 2 (8 oz.) blocks cream cheese, at room temperature
- ⅓ cup icing sugar
- 1 lemon, zested and juiced
- 1 teaspoon vanilla extract
- 2 (15 ml) packs gelatin powder, divided
- ½ cup water, divided
- 1 + ½ cups blackberries, divided
Instructions
Make the Crust:
- In a large bowl, stir together graham cracker crumbs and melted butter until well mixed. If you are using whole graham crackers, simply add the crackers into a food processor and process until fine crumbs form.
- Press the crumb mixture firmly into a parchment lined 8-inch springform pan and freeze for at least 15 minutes, allowing the crust to set before filling.
Make the Cheesecake Filling:
- In a large mixing bowl, add heavy cream and whip with a stand mixer or hand mixer until stiff peaks form, about 3-4 minutes. Set aside.
- In a medium mixing bowl, use the mixer to combine cream cheese, sugar, lemon juice, lemon zest, and vanilla extract until evenly combined.
- In a small mixing bowl, add ¼ cup of water and 1 pack (15 ml) gelatin powder on top and let it sit for 3-4 minutes (or according to package instructions). Then, microwave on high for 15 seconds or warm up the jar in a hot water bath for 1 minute and stir well until gelatin is completely dissolved
- Add the dissolved gelatin and half of the whipped cream to the cream cheese mixture and stir until well combined. Pour the filling into the cooled crust and smooth out the surface using a small icing spatula. Refrigerate for at least 1 hour to set or freeze for at least 15 minutes.
Make the Blackberry Mousse Layer:
- Add 1 cup blackberries in a blender and blend until smooth, about 1 minute. If you prefer a smoother filling, strain the blackberry puree through a mesh sieve and discard the seeds.
- Dissolve the second pack of gelatin powder in the remaining ¼ cup water (using the same method as above).
- Add the dissolved gelatin and blackberry puree into the remaining whipped cream and mix with a hand mixer or spatula until evenly combined.
- Pour the blackberry mousse filling over the cooled cheesecake filling and smooth out the surface using a small icing spatula. Refrigerate for at least 6-8 hours or overnight to set completely. The longer the better it will set.
- Garnish with the remaining ½ cup blackberries on top and serve.
Notes
Give the cheesecake enough time to set: This no bake blueberry cheesecake recipe is easy to make and assemble, but it does take time. Don't rush, especially when waiting to let the cheesecake set. If you cut into the cheesecake when it's not fully set, it won't keep its shape.
How to make it gluten-free: To make this no bake cheesecake gluten-free, all you need to do is substitute your favorite gluten-free cookie in place of graham crackers.
How to store: No bake cheesecake should not be left out at room temperature for more than 2 hours. To store, cover the cheesecake or transfer to an airtight container and store in the refrigerator for up 4-5 days.
How to freeze: Once set, wrap the entire cheesecake tightly in a few layers of aluminum foil or plastic cling wrap and transfer to a freezer bag and seal the bag. Store it upright in the freezer for up to 3 months.
- Prep Time: 30 minutes
- Chill Time: 6 hours
- Category: Cake
- Method: No Bake
- Cuisine: American
ssandoval says
Beautiful, however, definitely not sweet enough. I added approx 1 cup of powdered sugar to each layer and then made a sweet compote to put on the plate when I served it so it could be sweeter if someone wanted.
Heather R says
A lot of fun to make!! Mine turned out beautifully and I held back a tiny bit of blackberry purée so I could swirl it around with a toothpick. My only complaint is (for an American) it wasn’t sweet enough. But that might not be an issue for other people and it didn’t stop me from eating it. 😉
Amber says
This is one of my go to deserts, and friends have started requesting it! I too find that it needs a bit of sugar added to each layer, otherwise, it is a perfect summertime desert recipe.