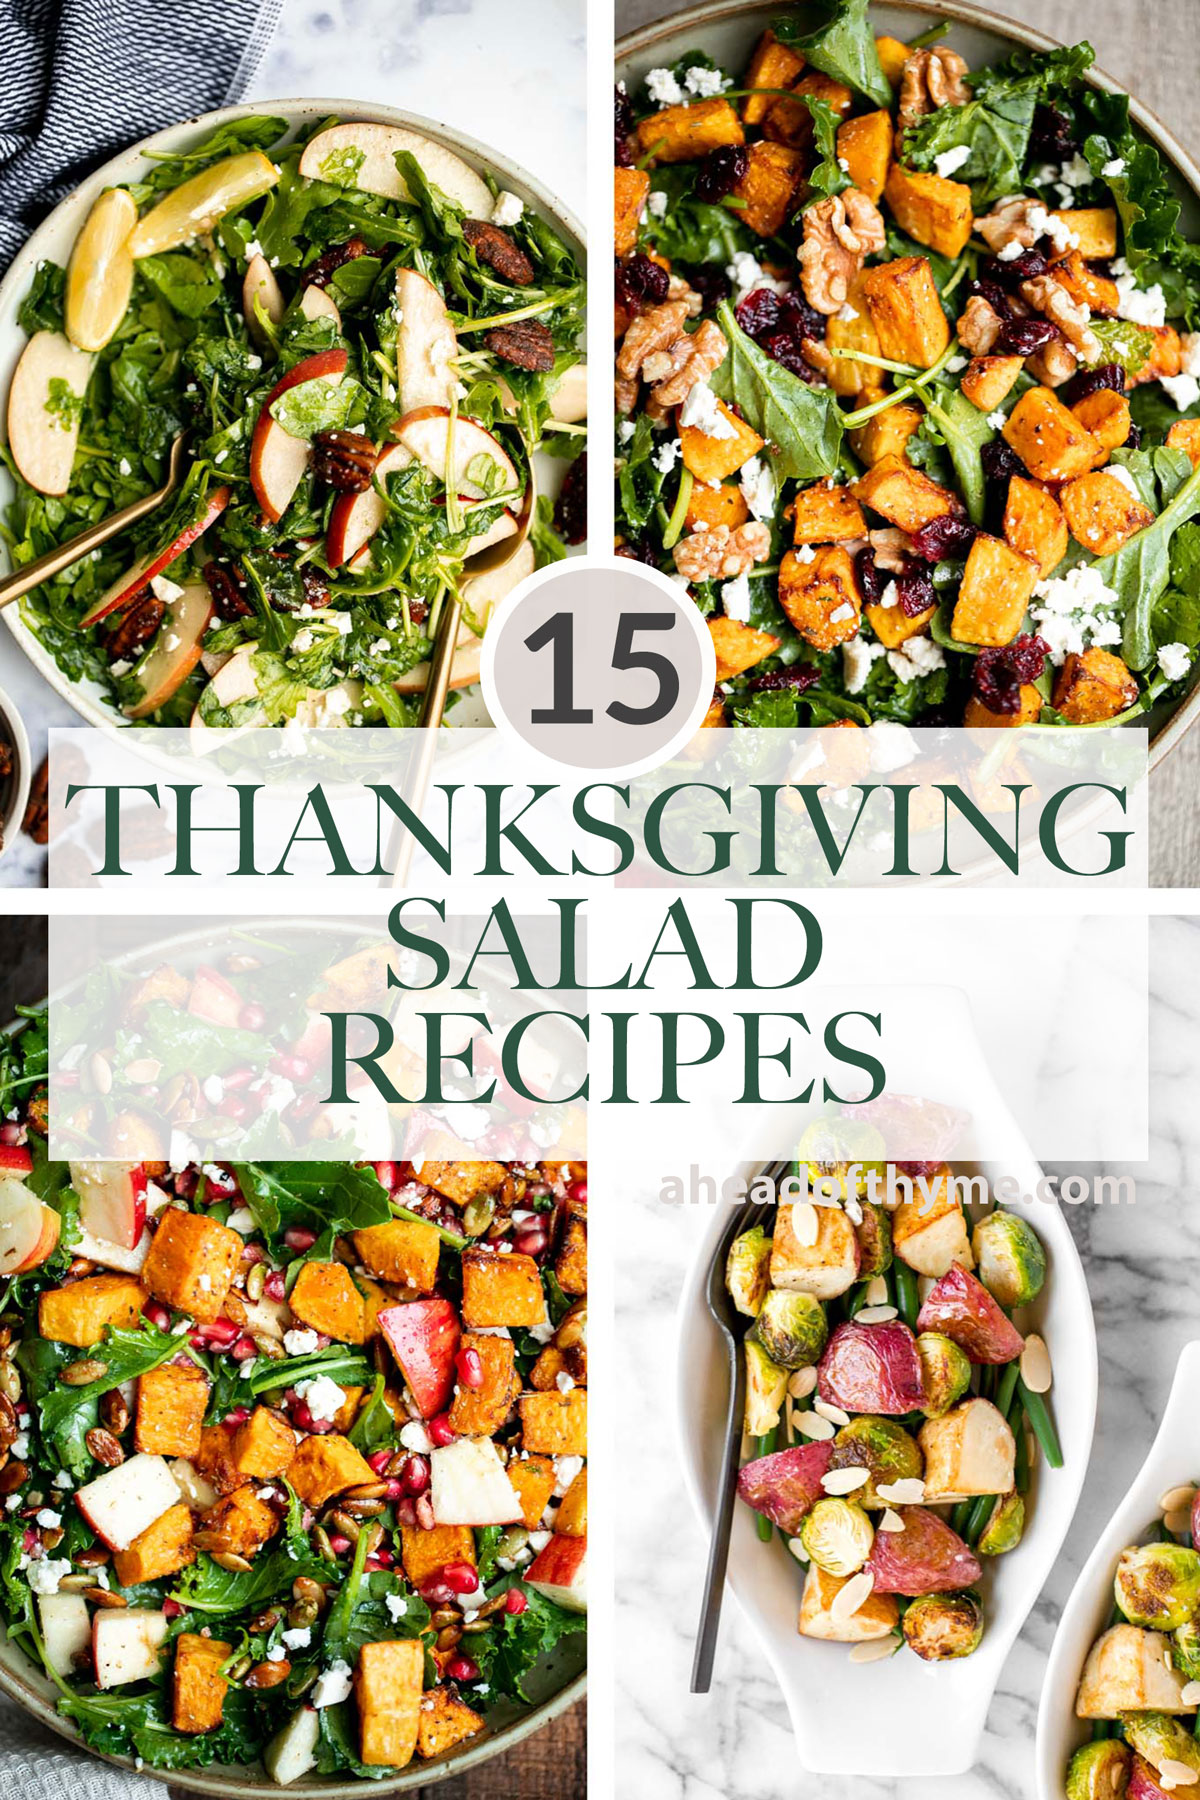
When it comes to epic Thanksgiving dinners, it's all about balance. You have your heavy and filling main dish and an assortment of comforting side dishes, so you need a healthy light salad to balance it all out, right? So if you are wondering what easy Thanksgiving salad to add to your holiday dinner table that takes just minutes to throw together, then you are in the right please. We are sharing over 15 of our most popular and best Thanksgiving salad recipes including butternut squash salads, seasonal apple salads, warm salads with roasted vegetables, everything kale, and more!

Best Thanksgiving Salads
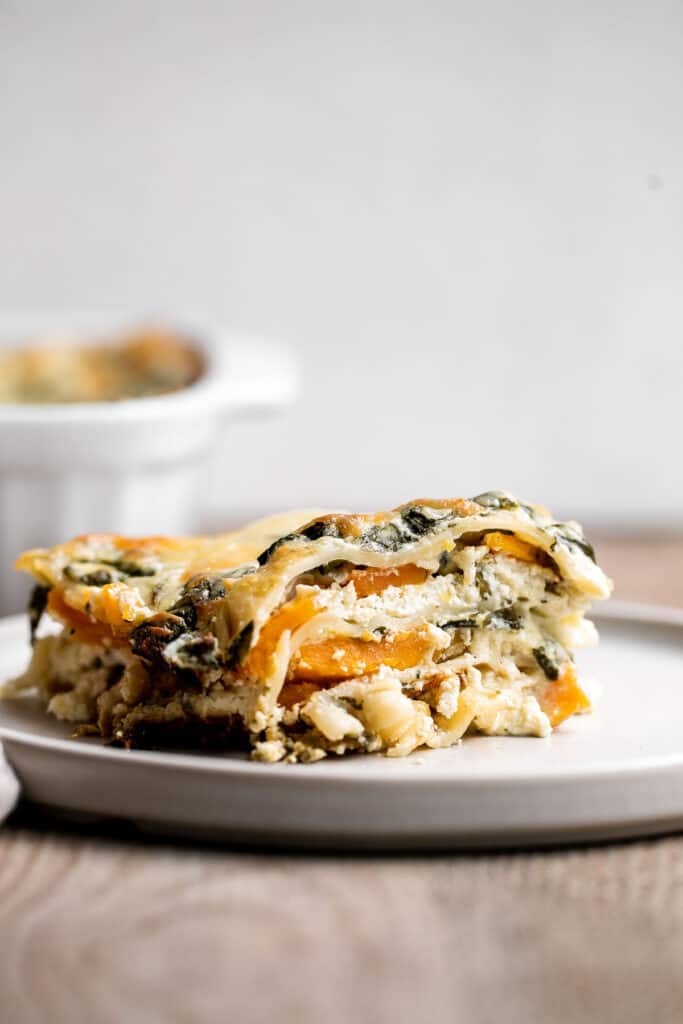
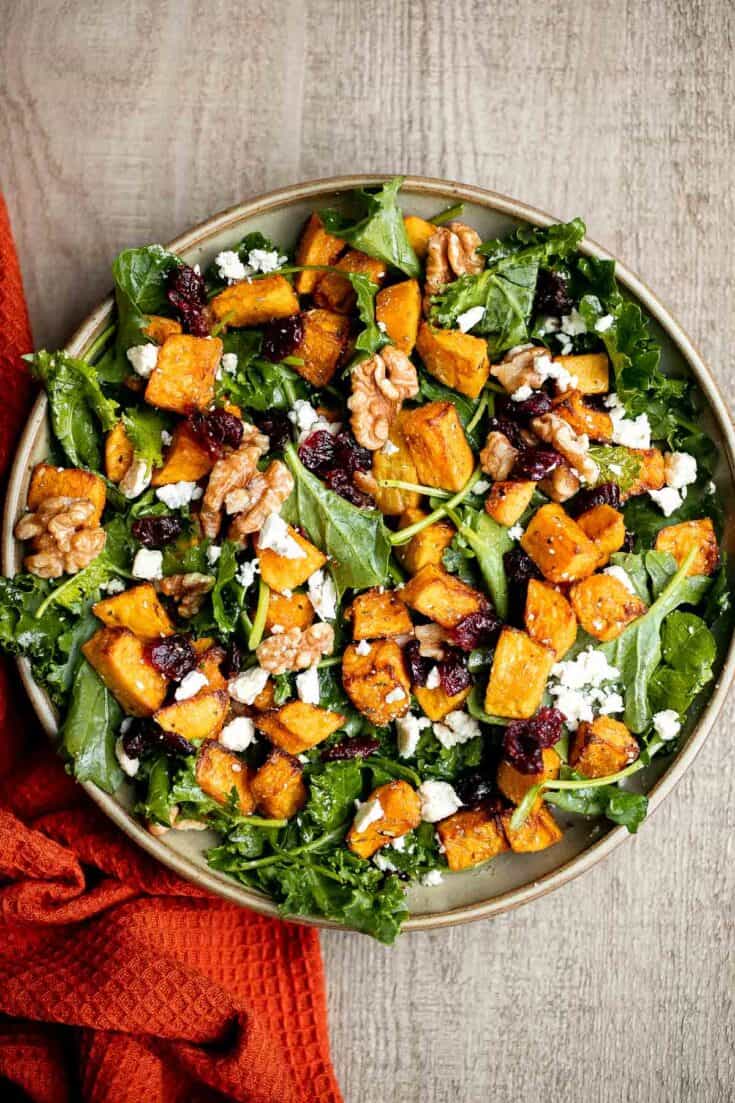
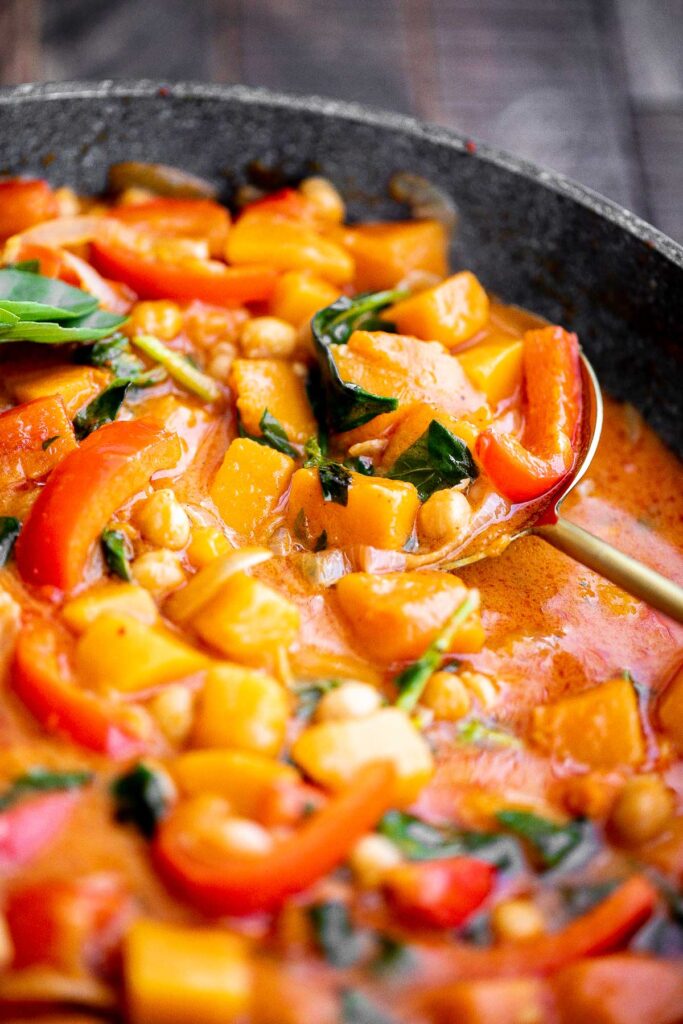
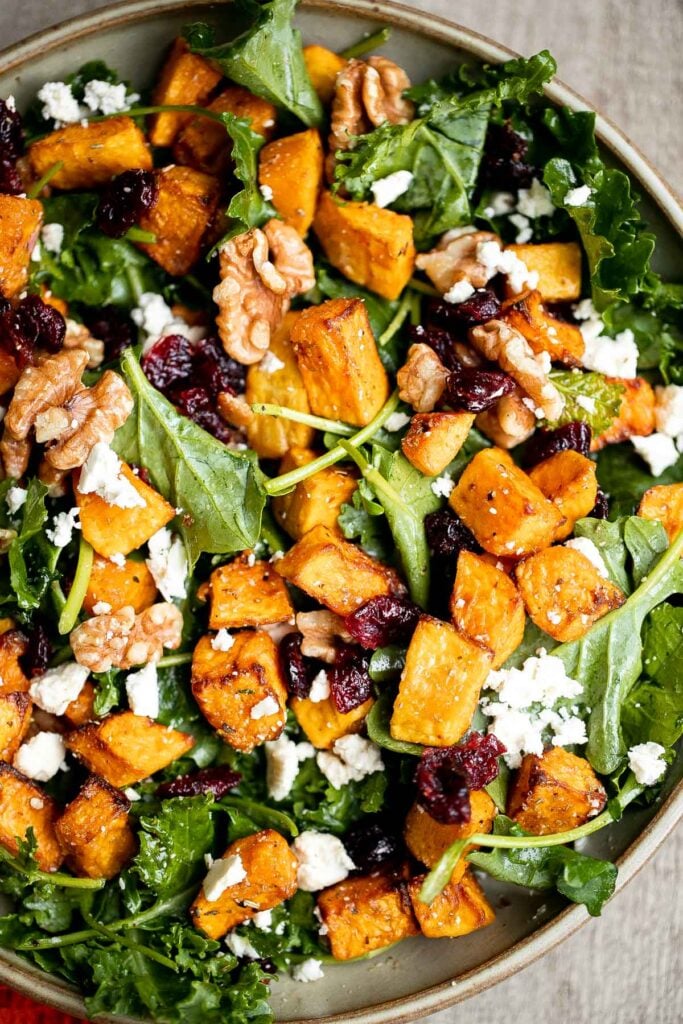
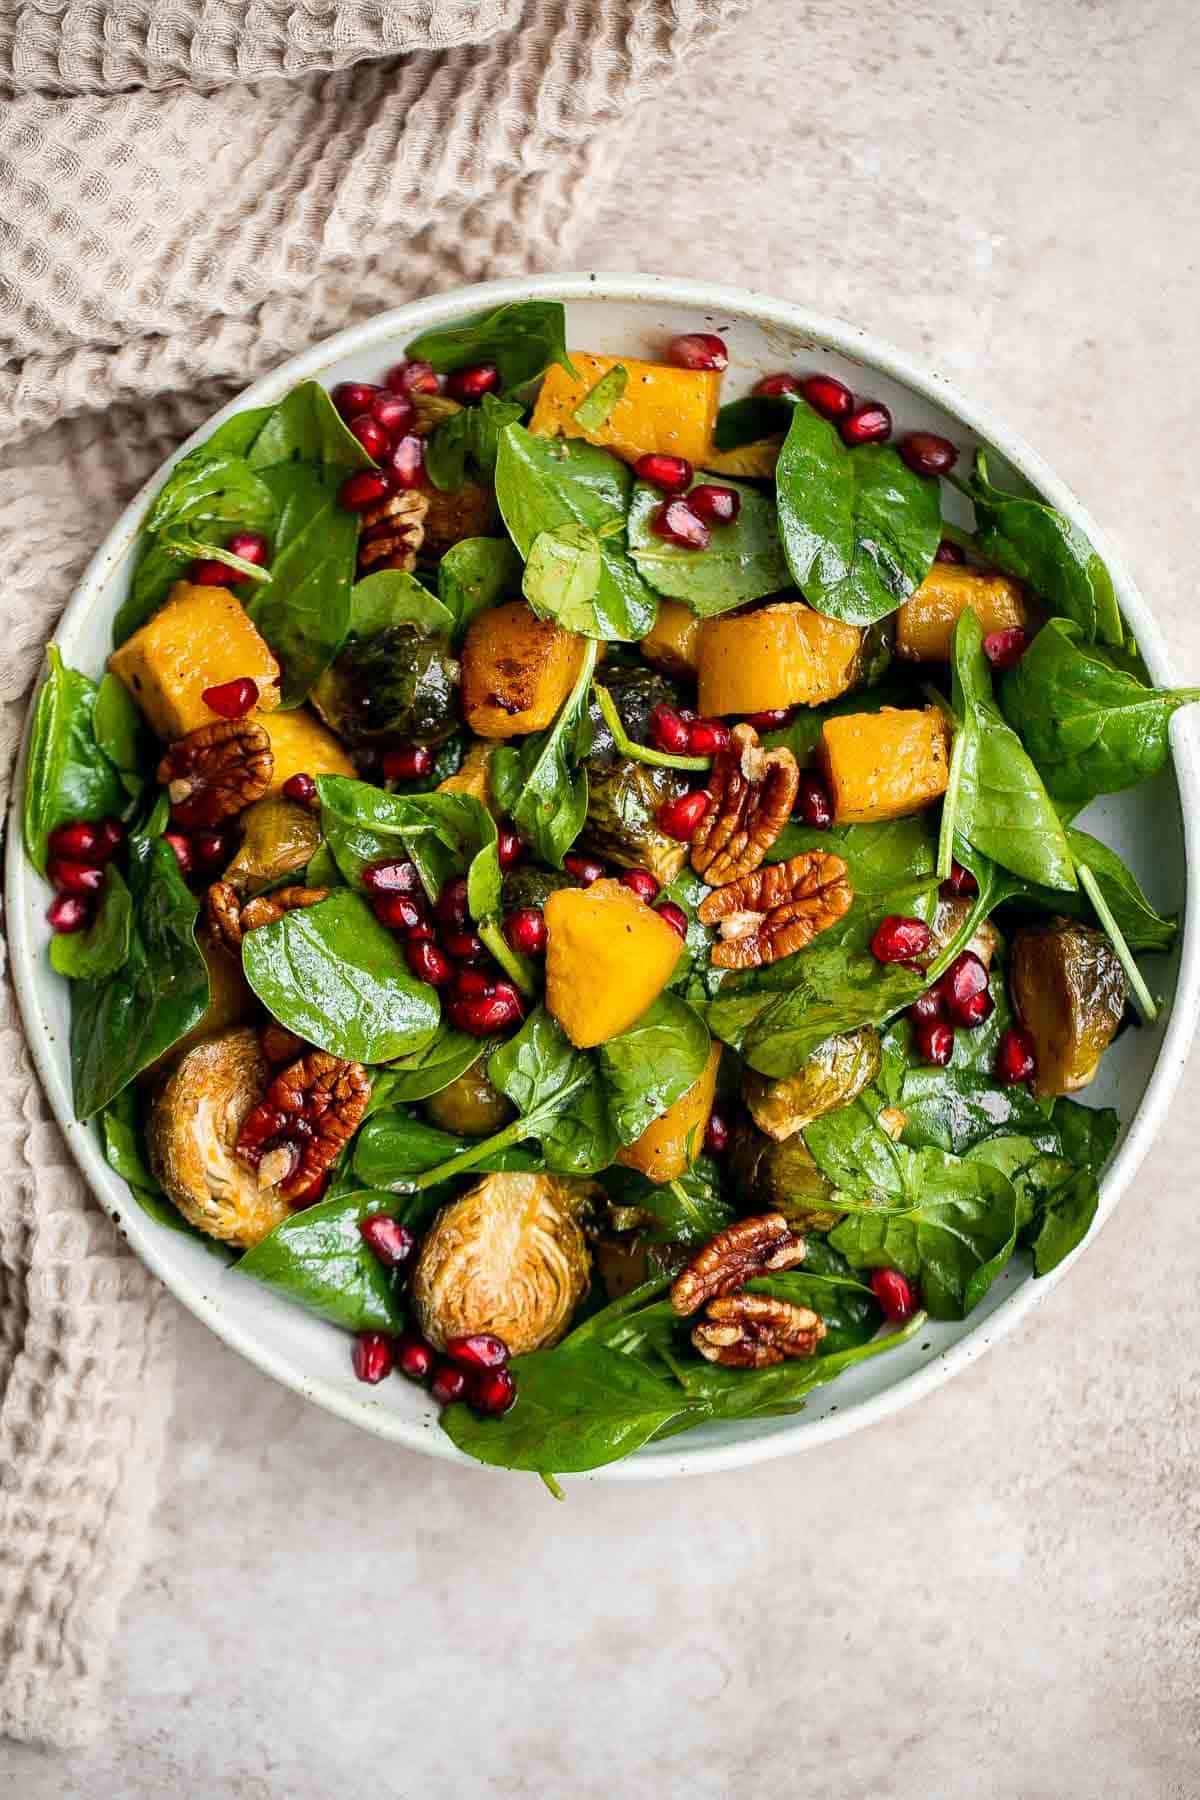
Butternut squash salad is a light meal that's loaded with fall flavors - roasted butternut squash, baby kale, walnuts, dried cranberries, and feta.
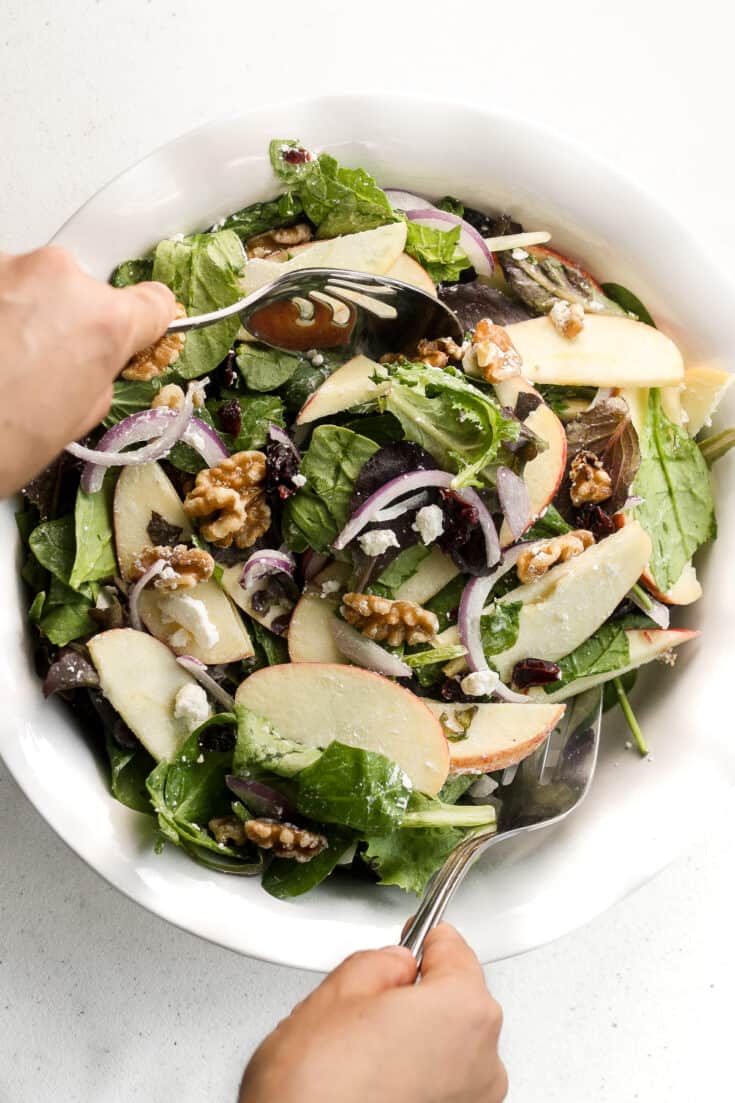
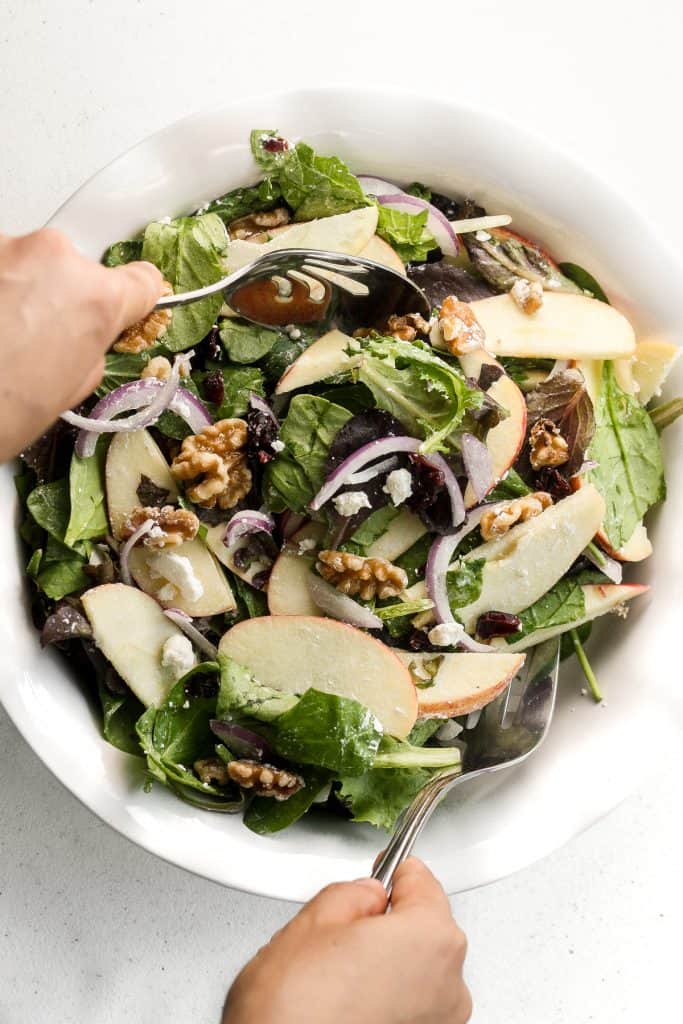
Apple Walnut Salad with Balsamic Vinaigrette
Throw together crisp apples, crunchy walnuts, and sweet cranberries for a taste of the holidays in this fall apple walnut salad with homemade balsamic vinaigrette.
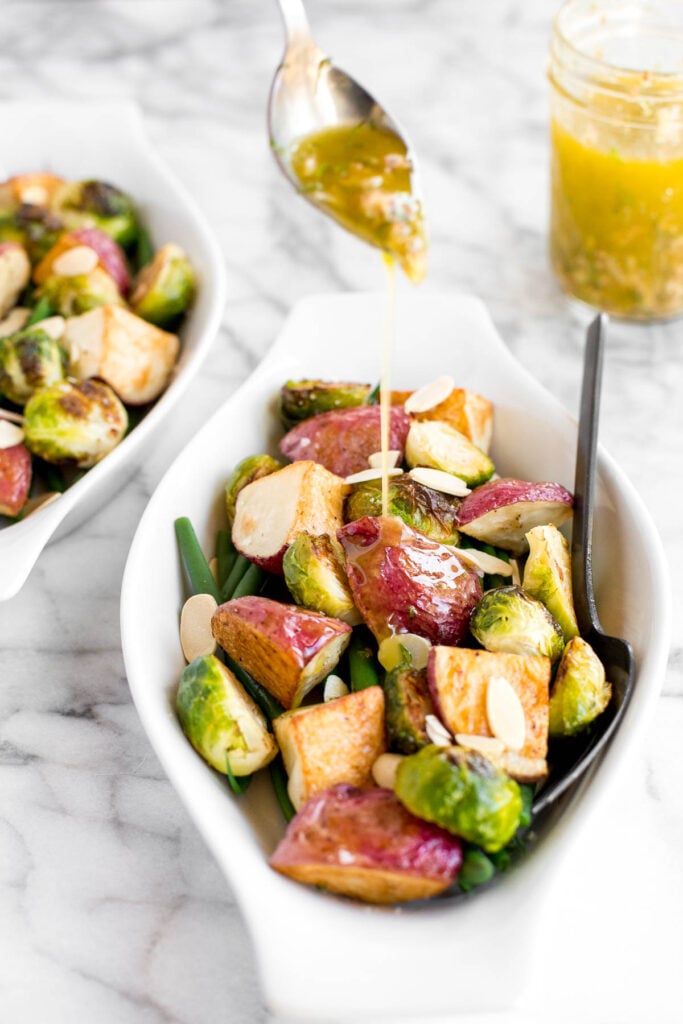
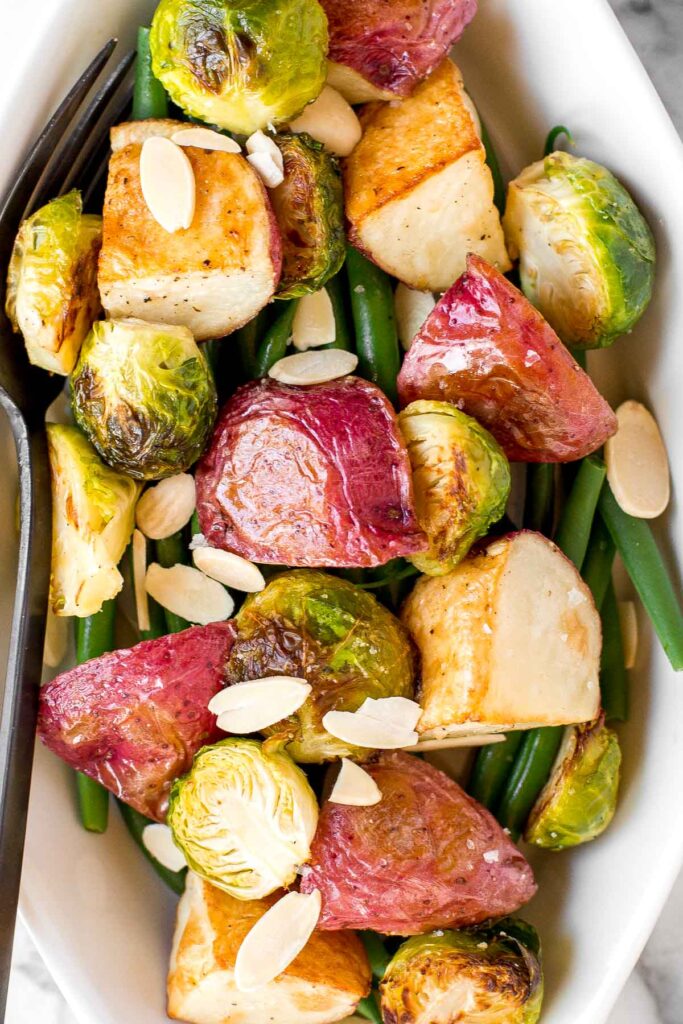
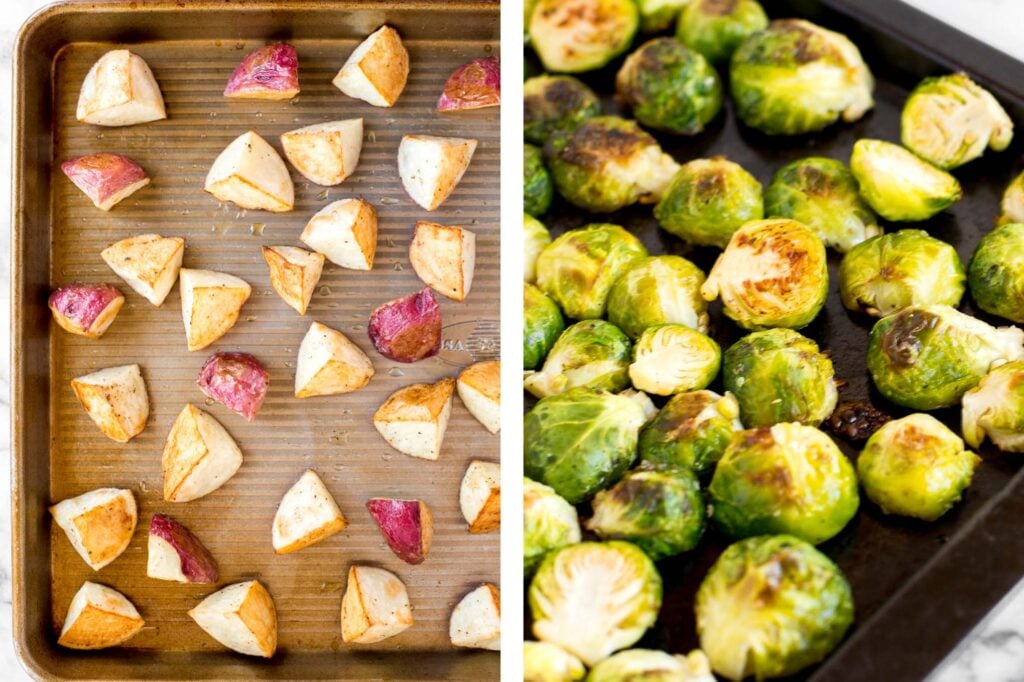
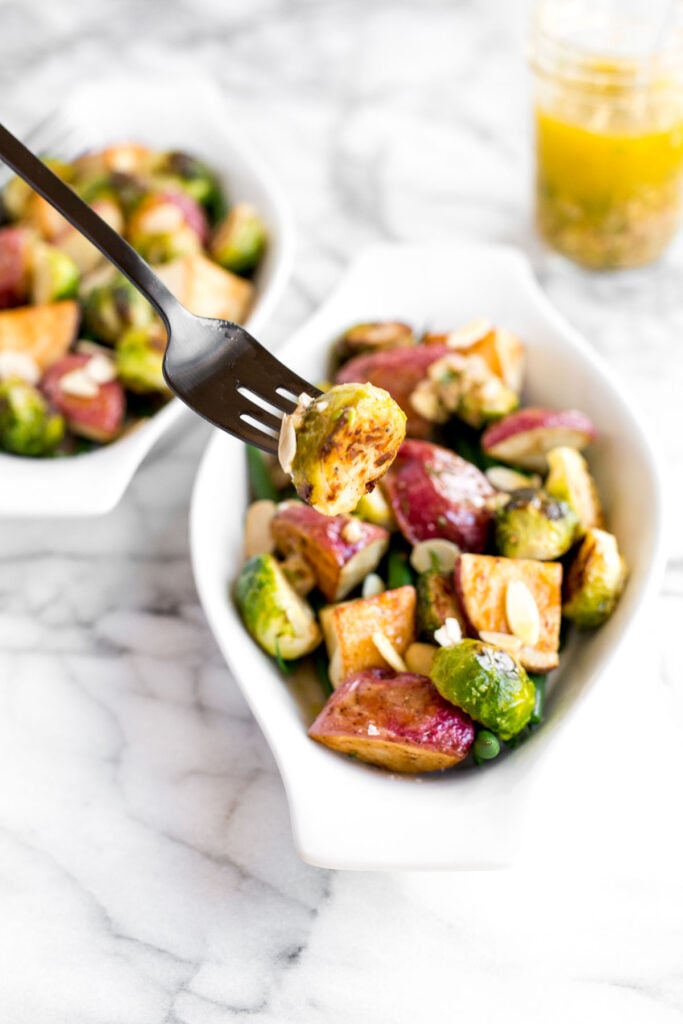
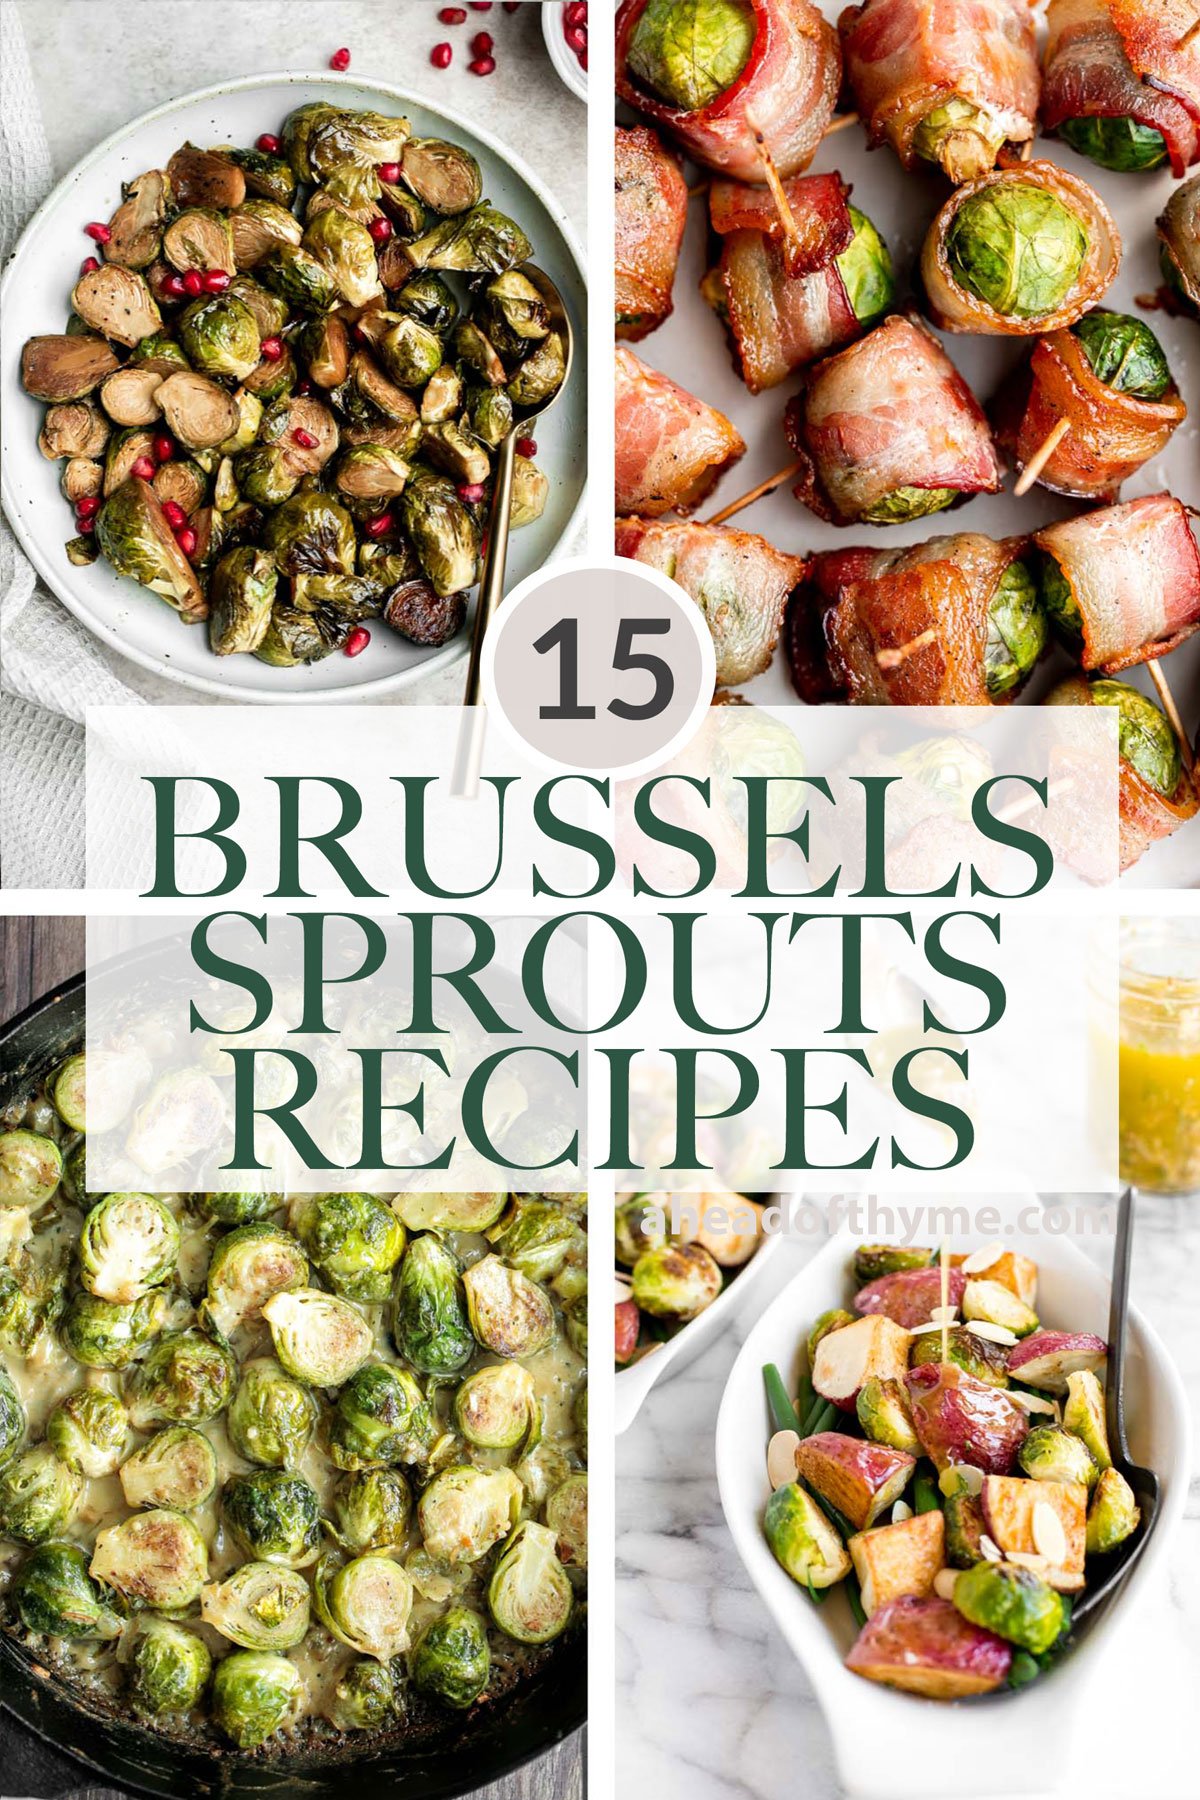
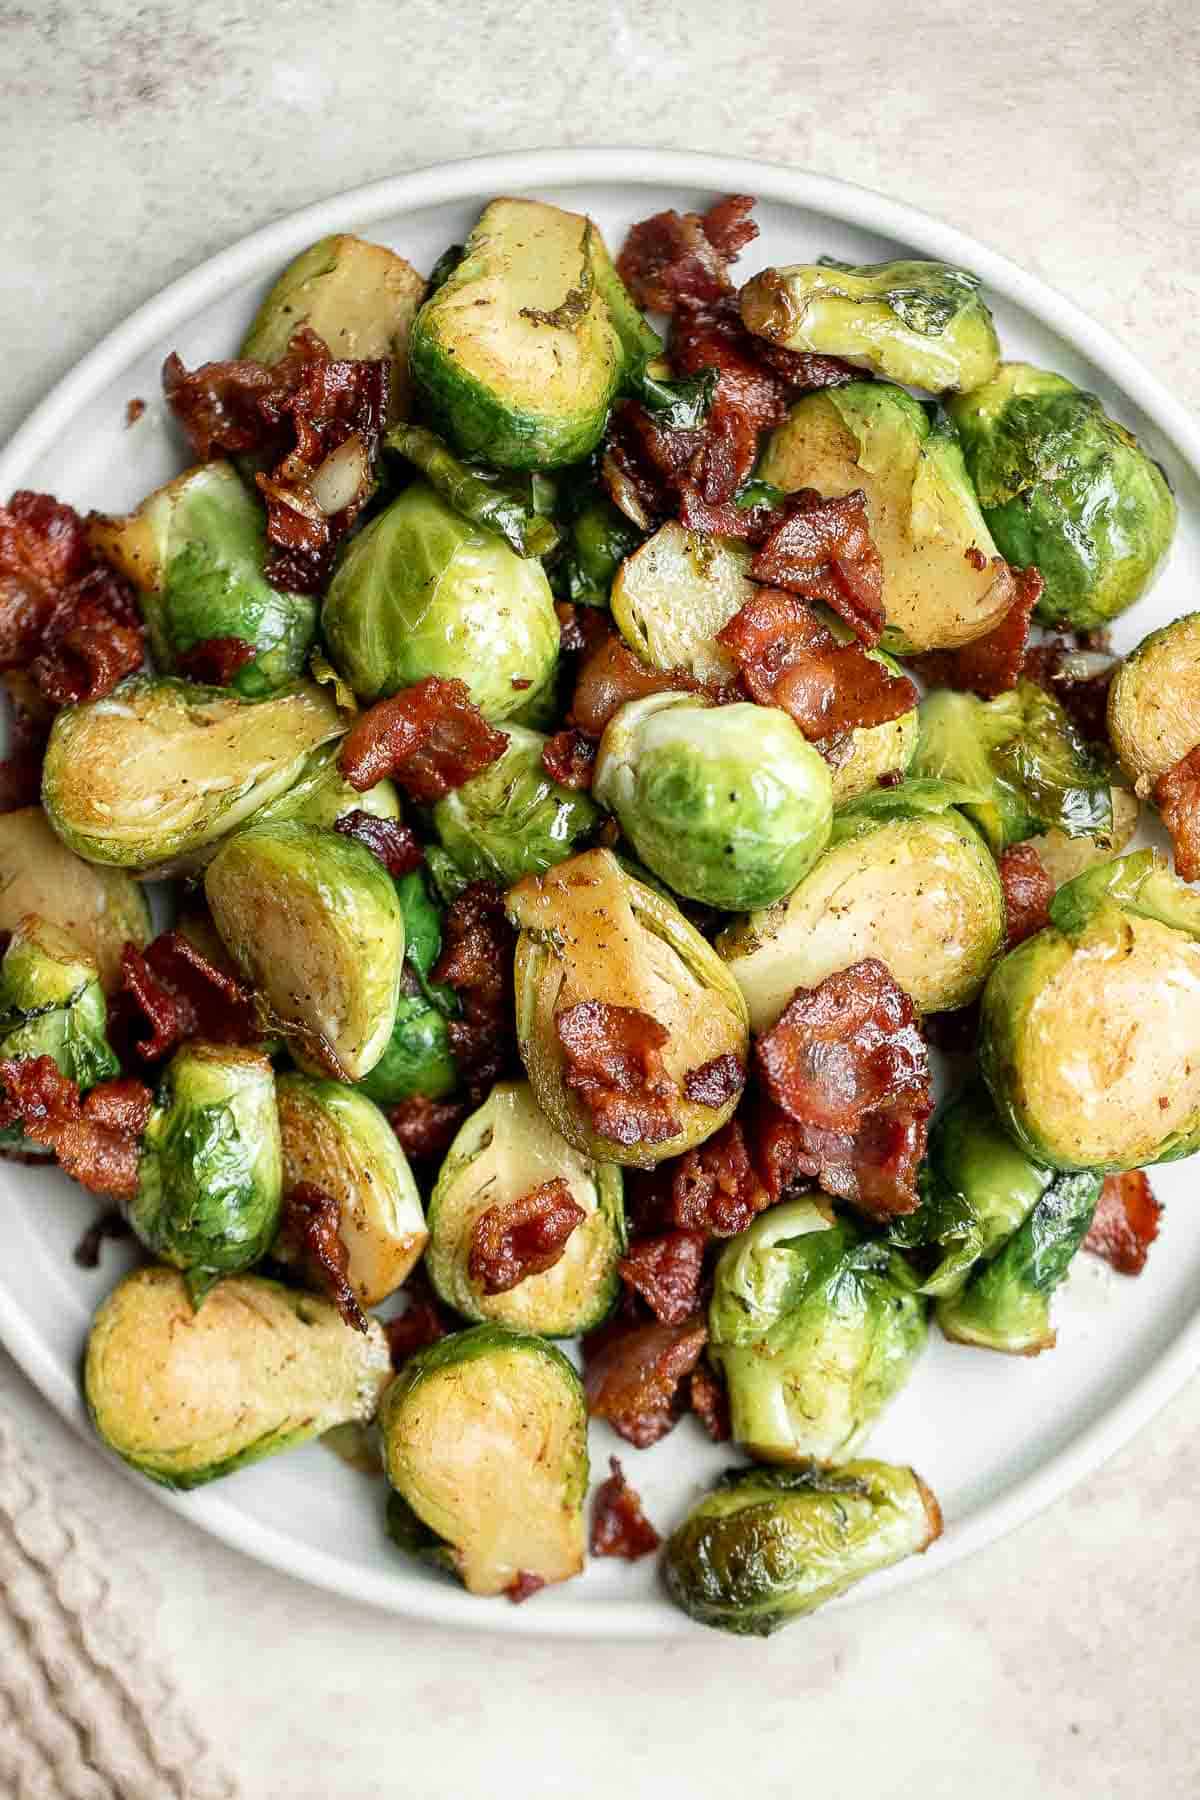
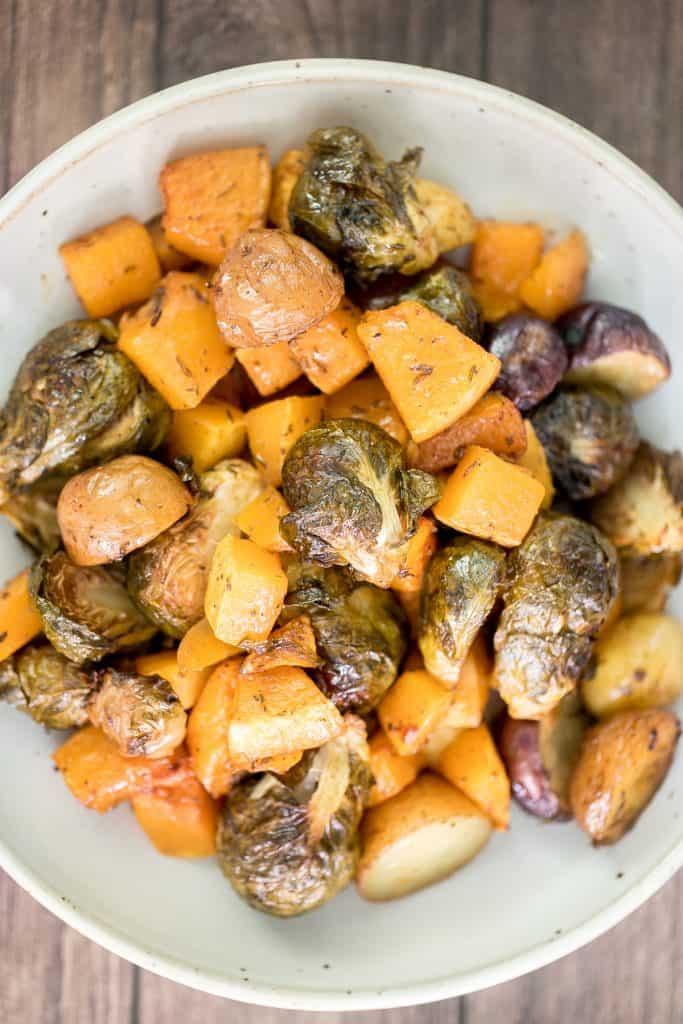
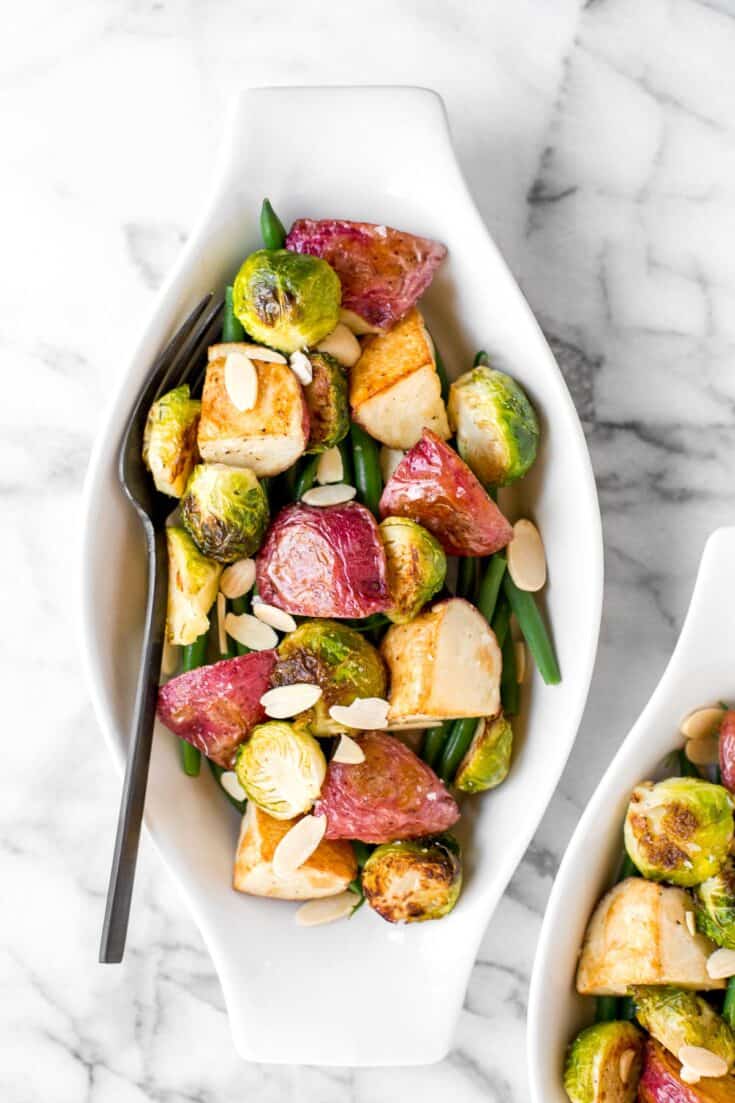
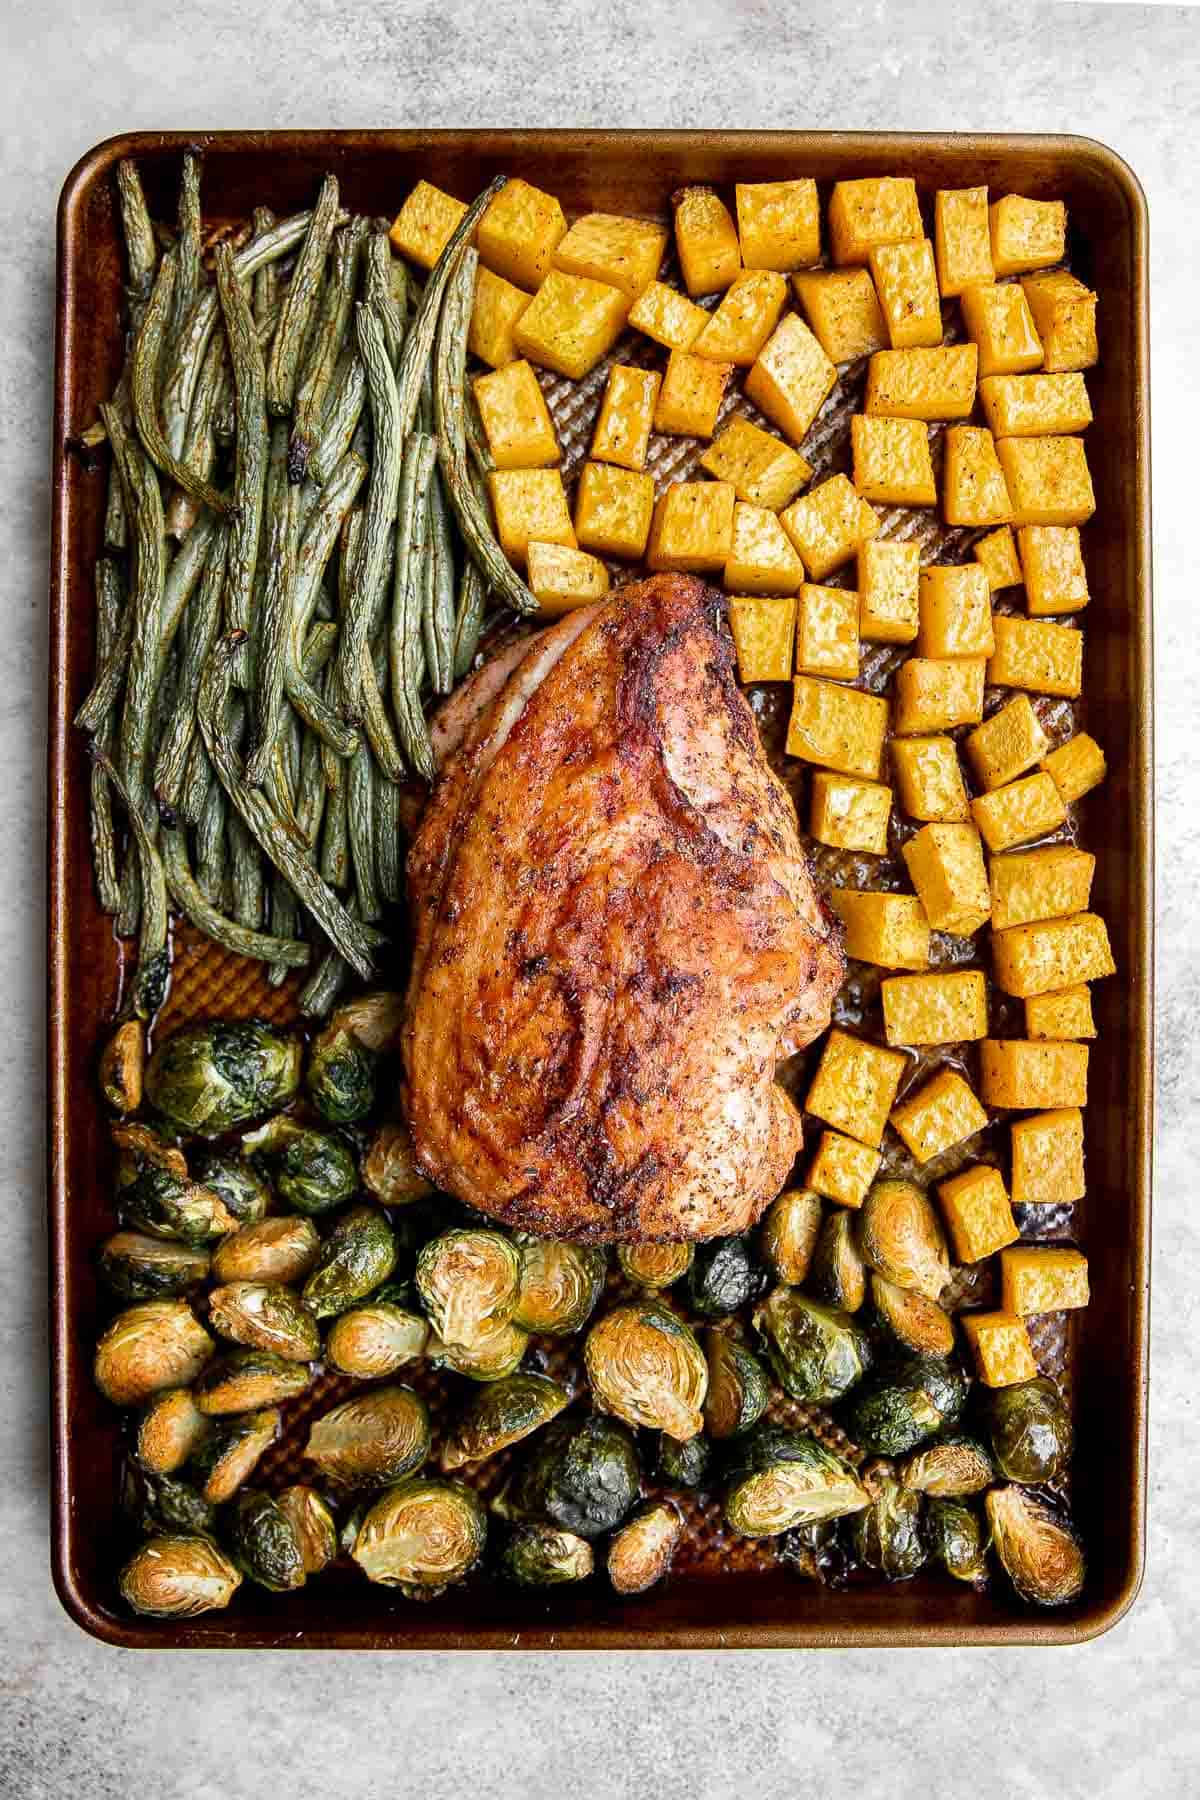
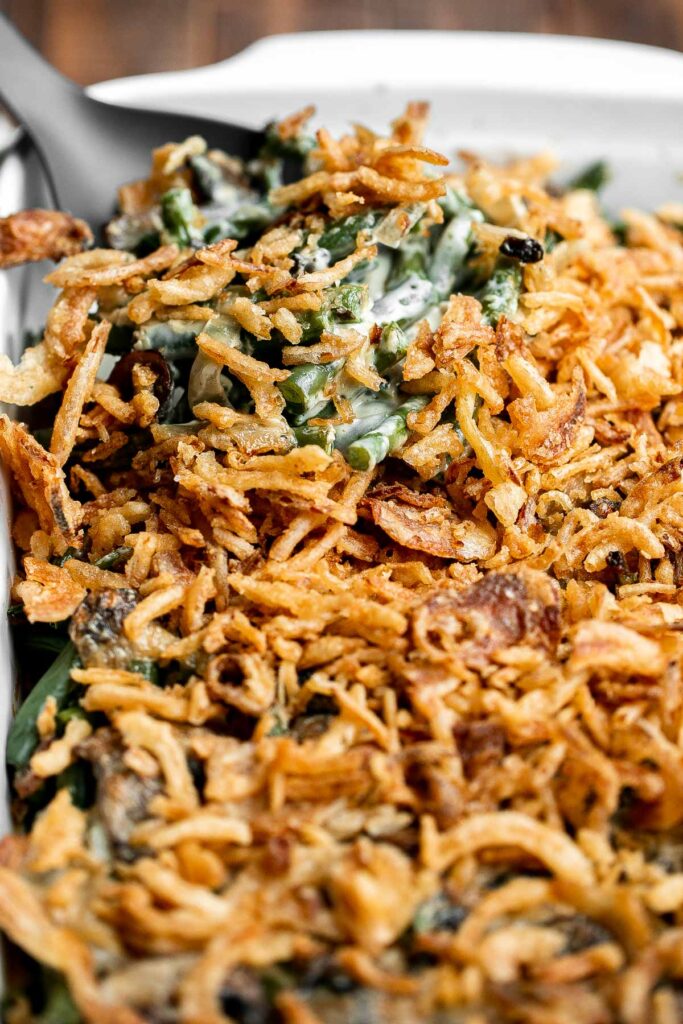
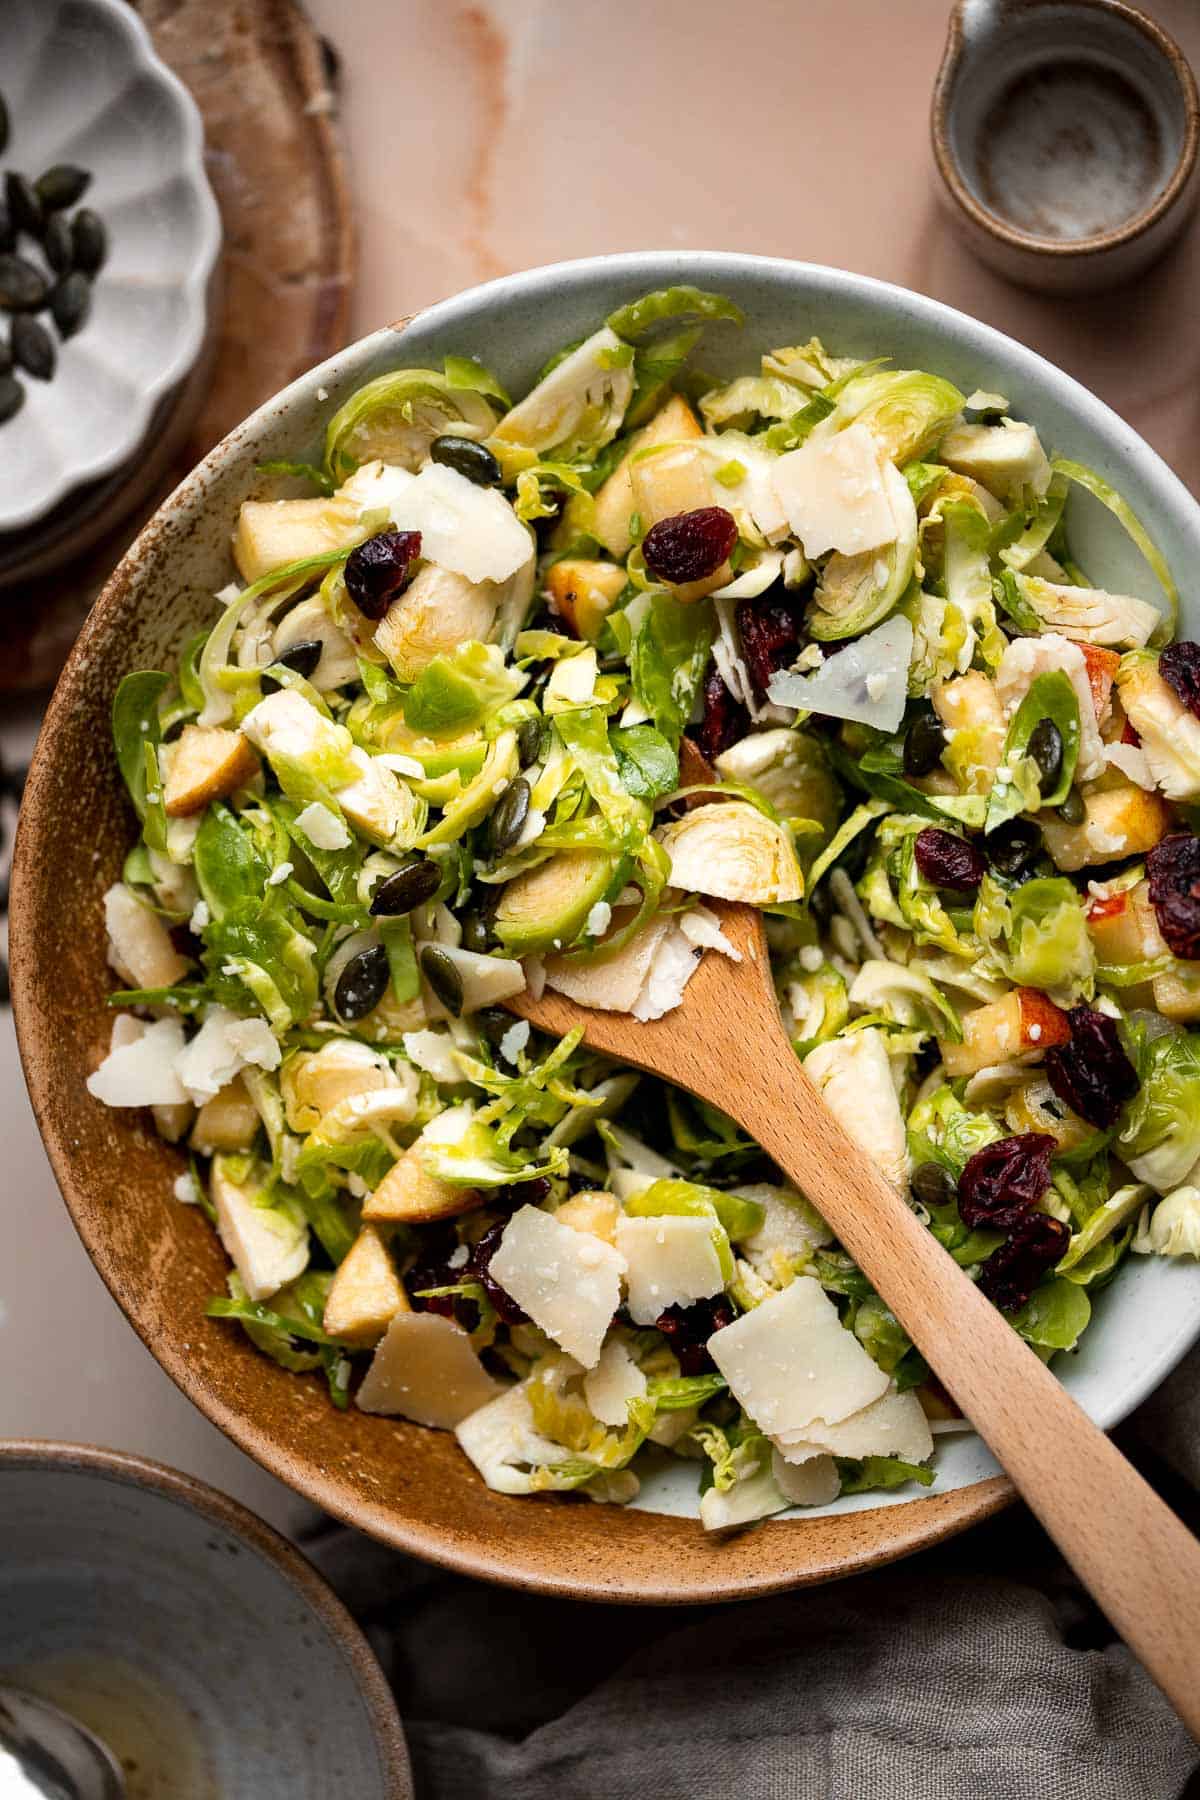
Roasted Brussels Sprouts Salad
Roasted brussels sprouts salad with creamy potatoes, crispy string beans, tender brussels sprouts, is tossed in a delicious homemade dijon vinaigrette.

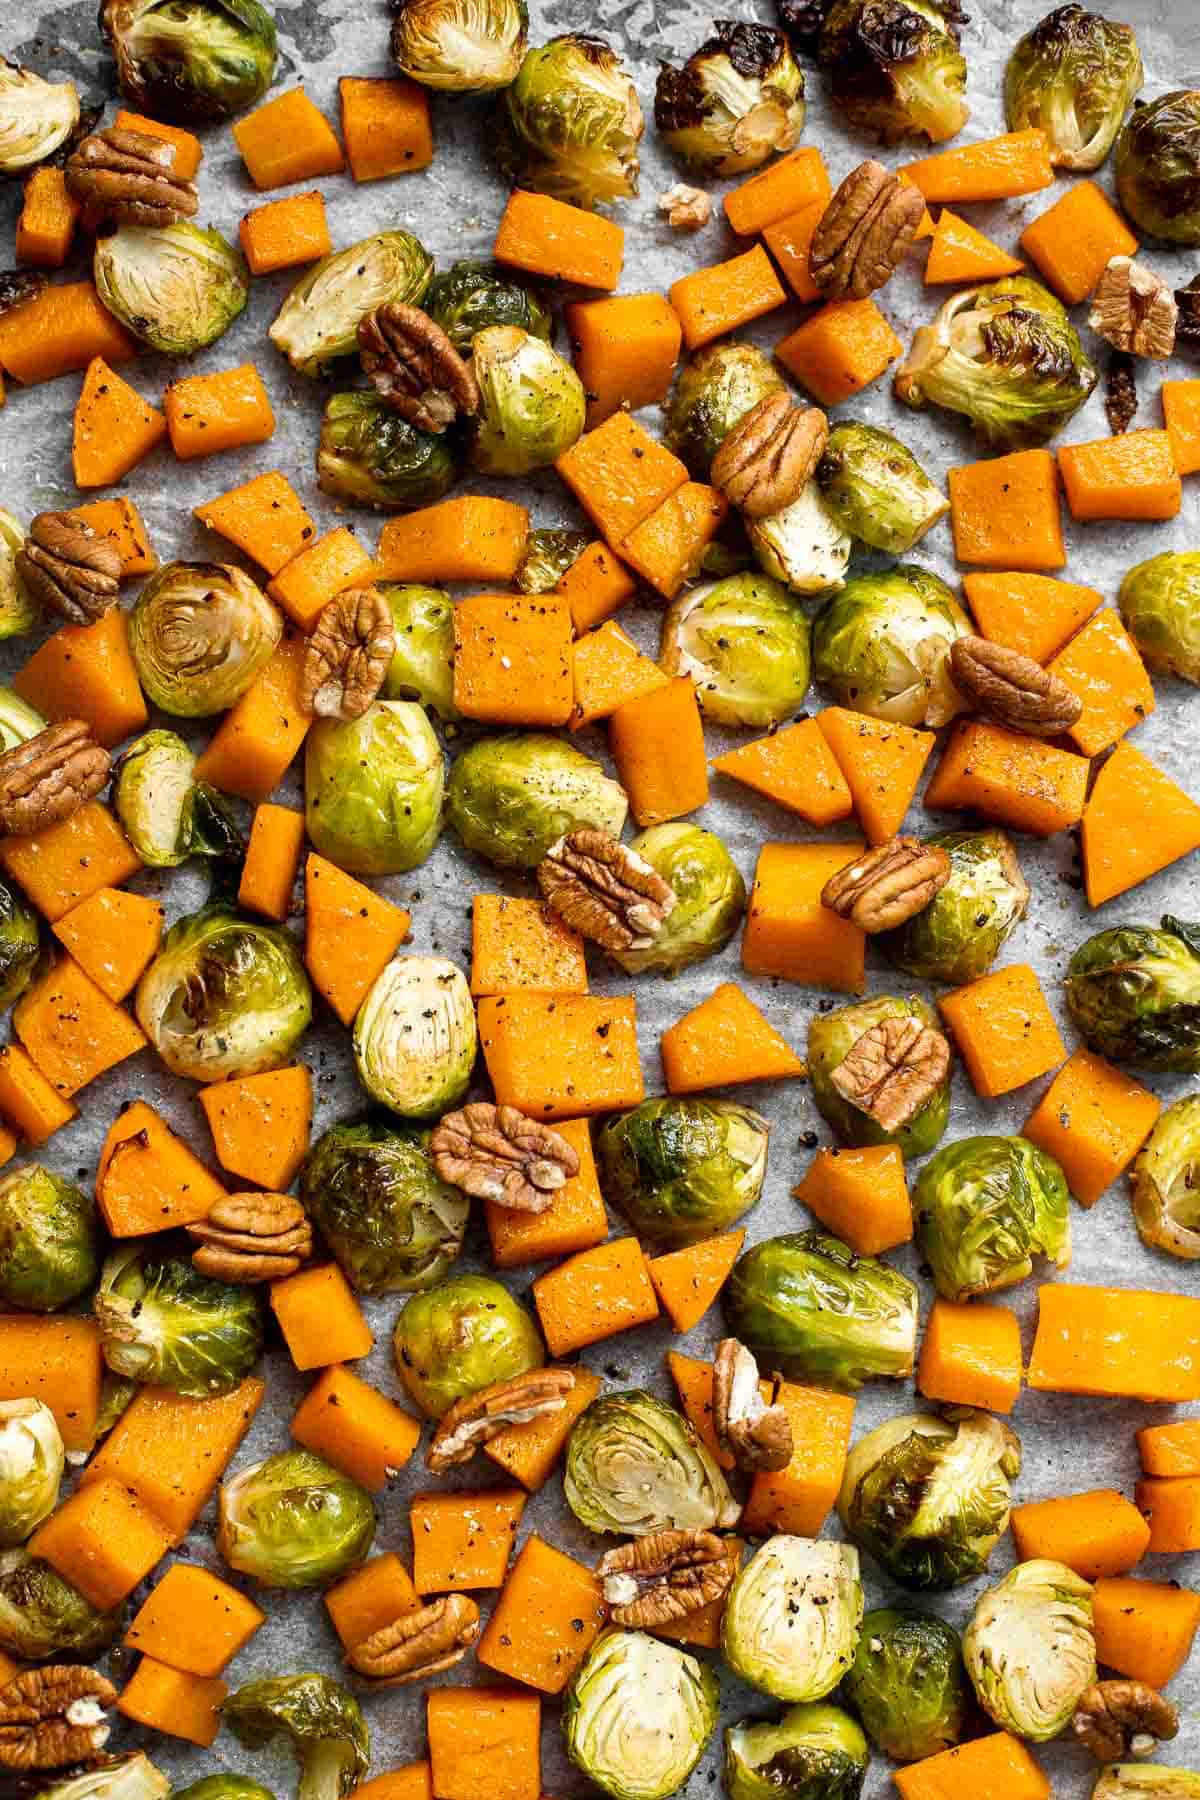
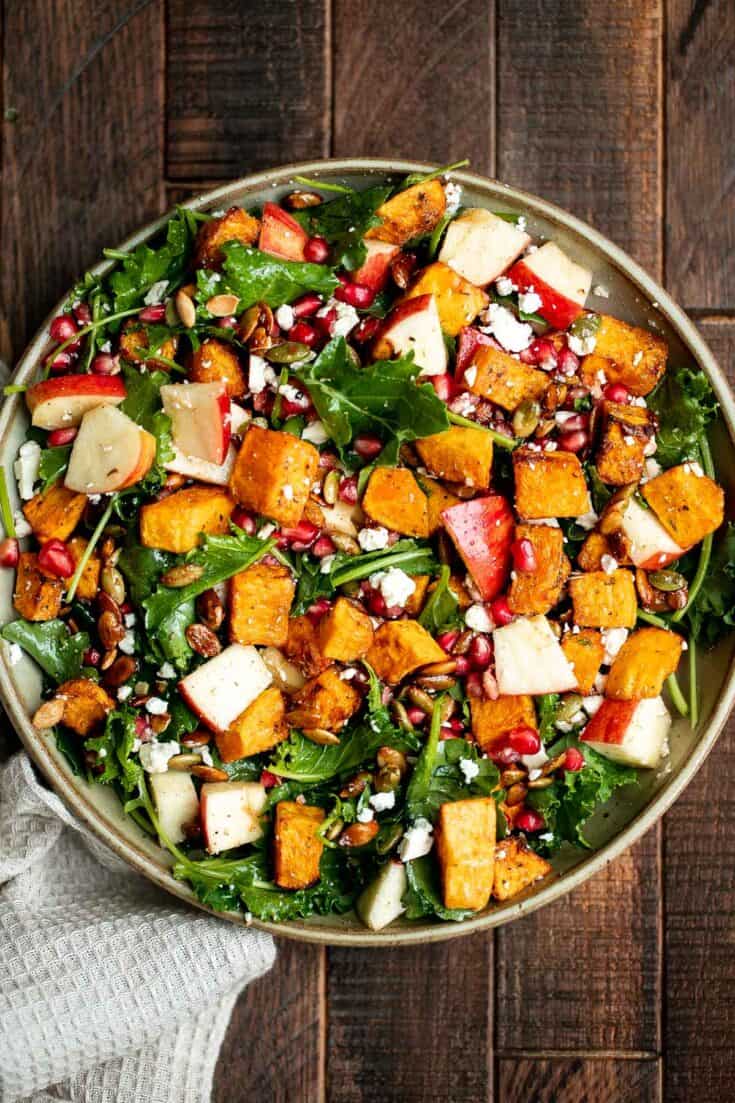
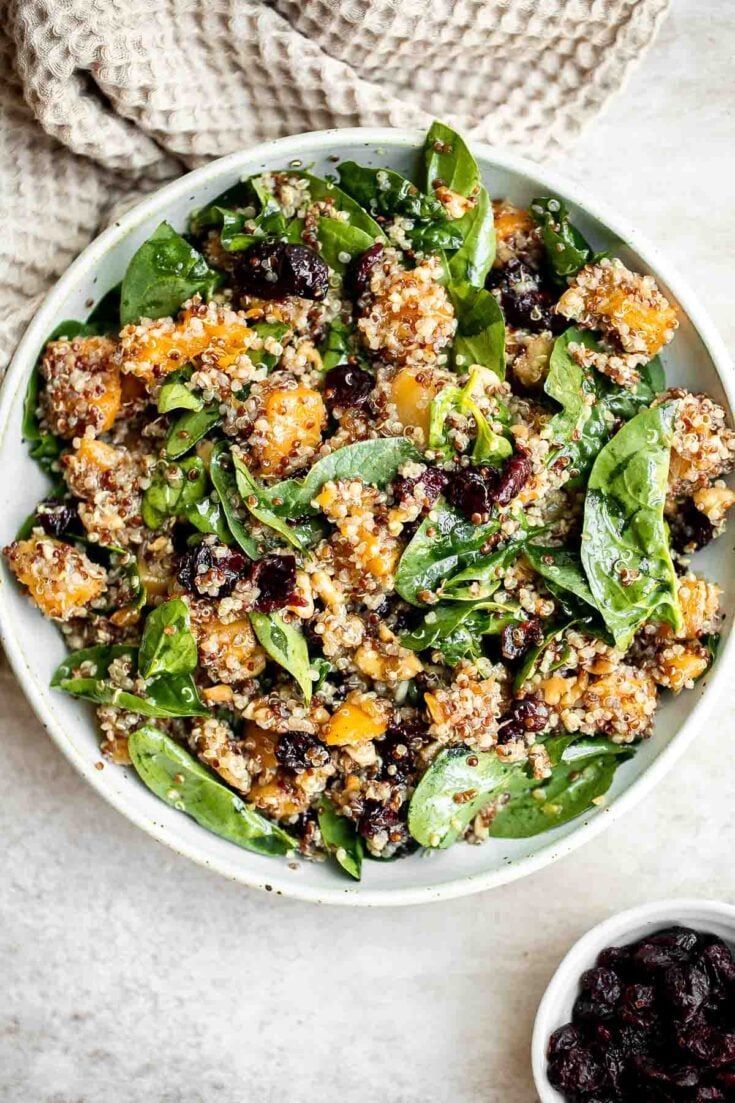
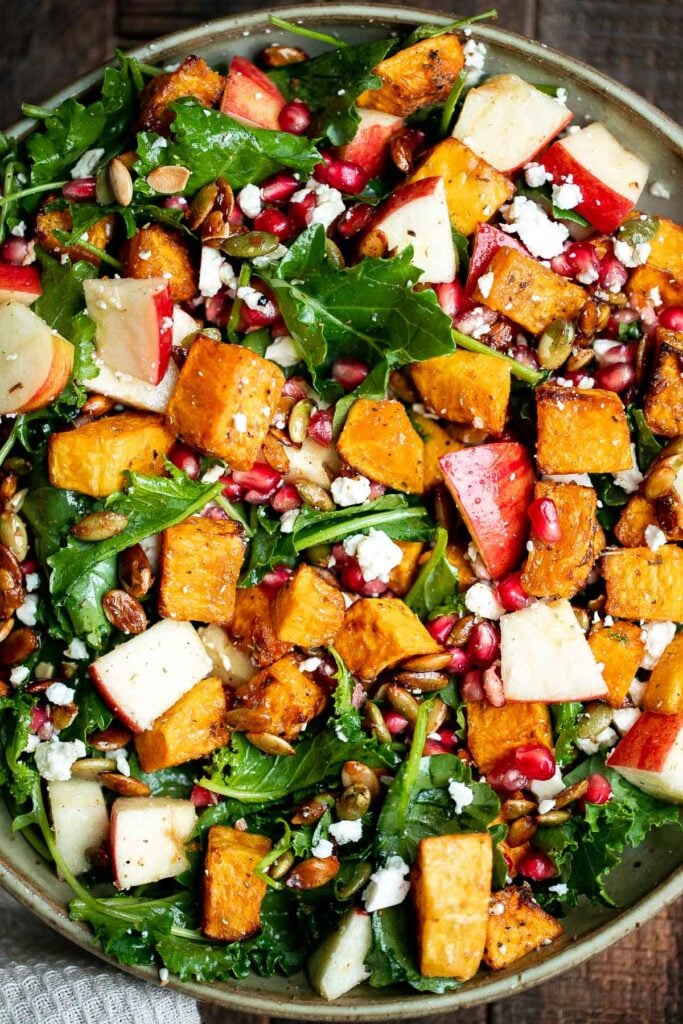
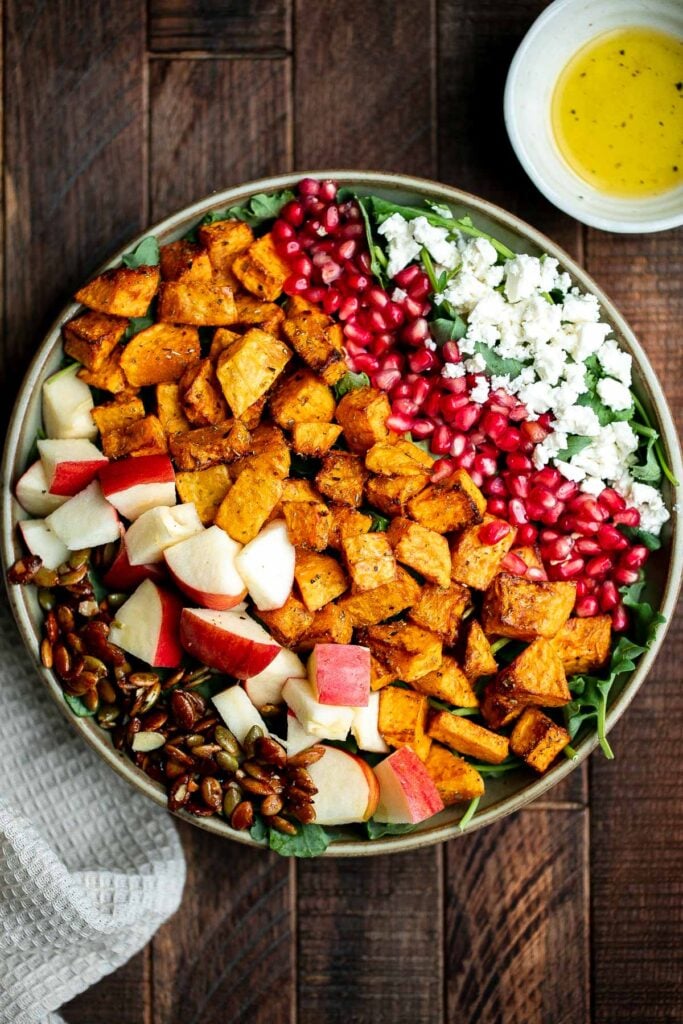
Fall Harvest Salad with Butternut Squash and Apple
Fall harvest salad with roasted butternut squash and apple is the only salad recipe you need this fall or winter. It's healthy, wholesome, and nourishing.

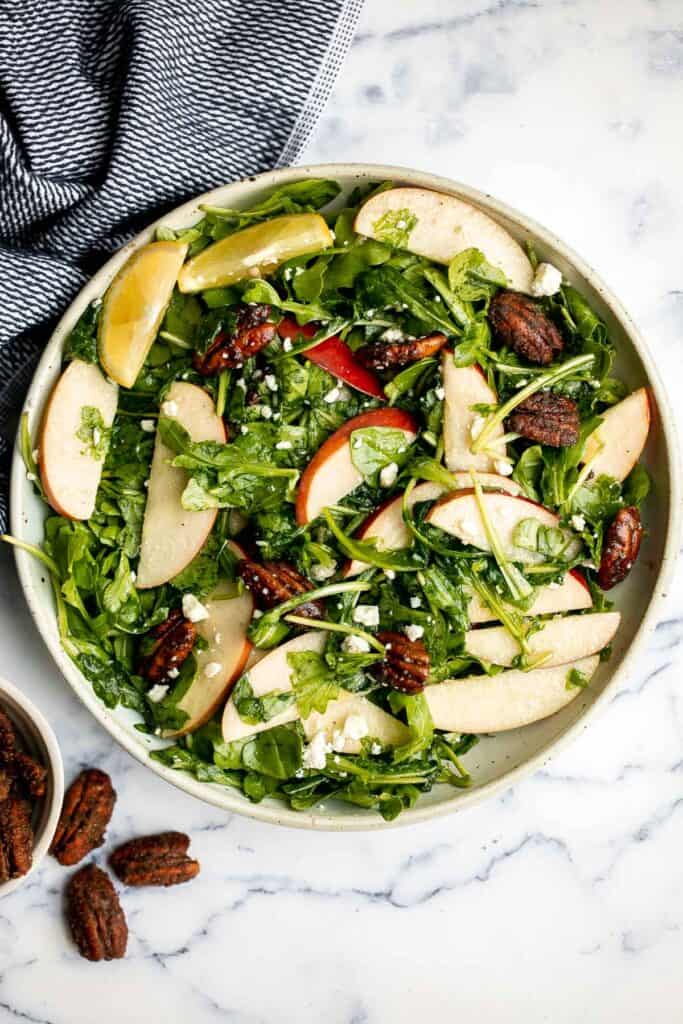
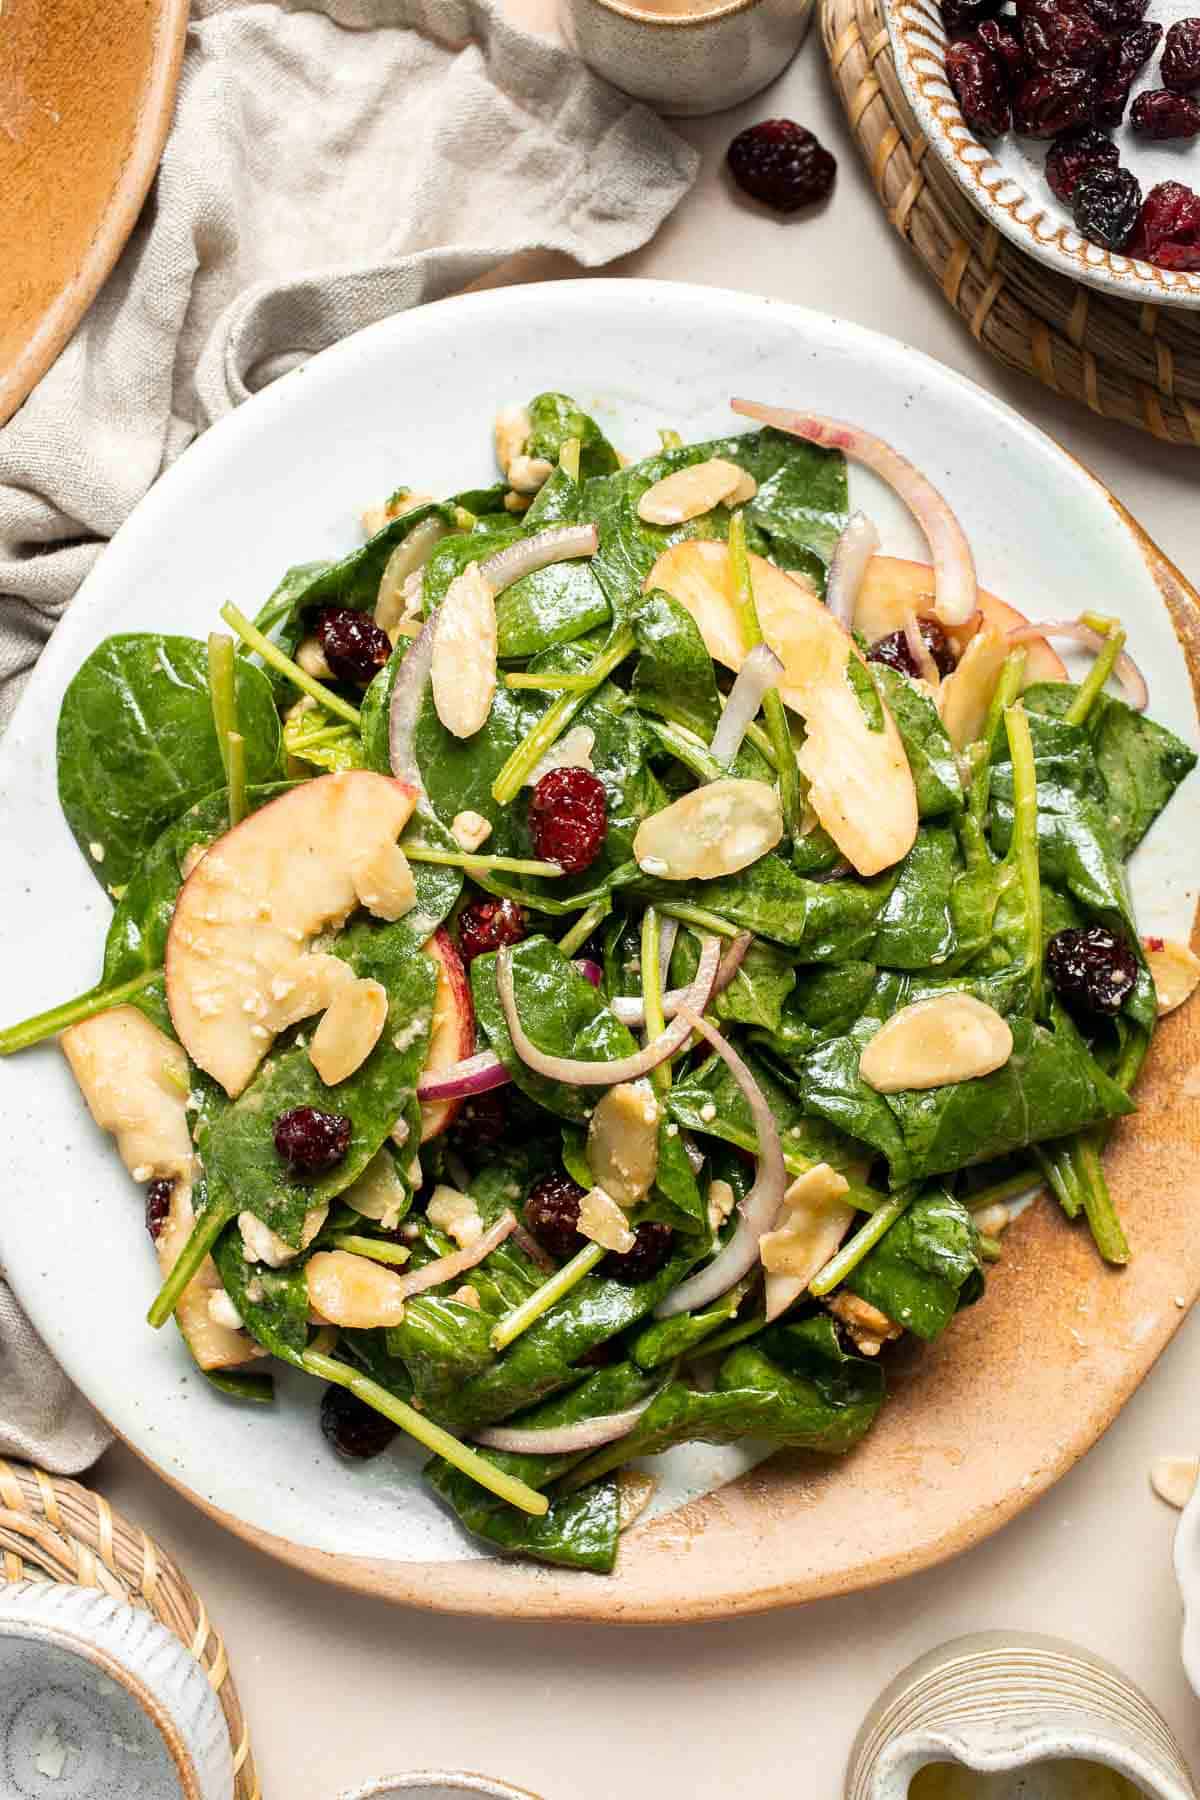
Arugula Salad with Apple and Pecan
Arugula salad with apple and pecan is a quick and easy fall salad made with fresh seasonal ingredients in just minutes. Perfect for a holiday dinner table.
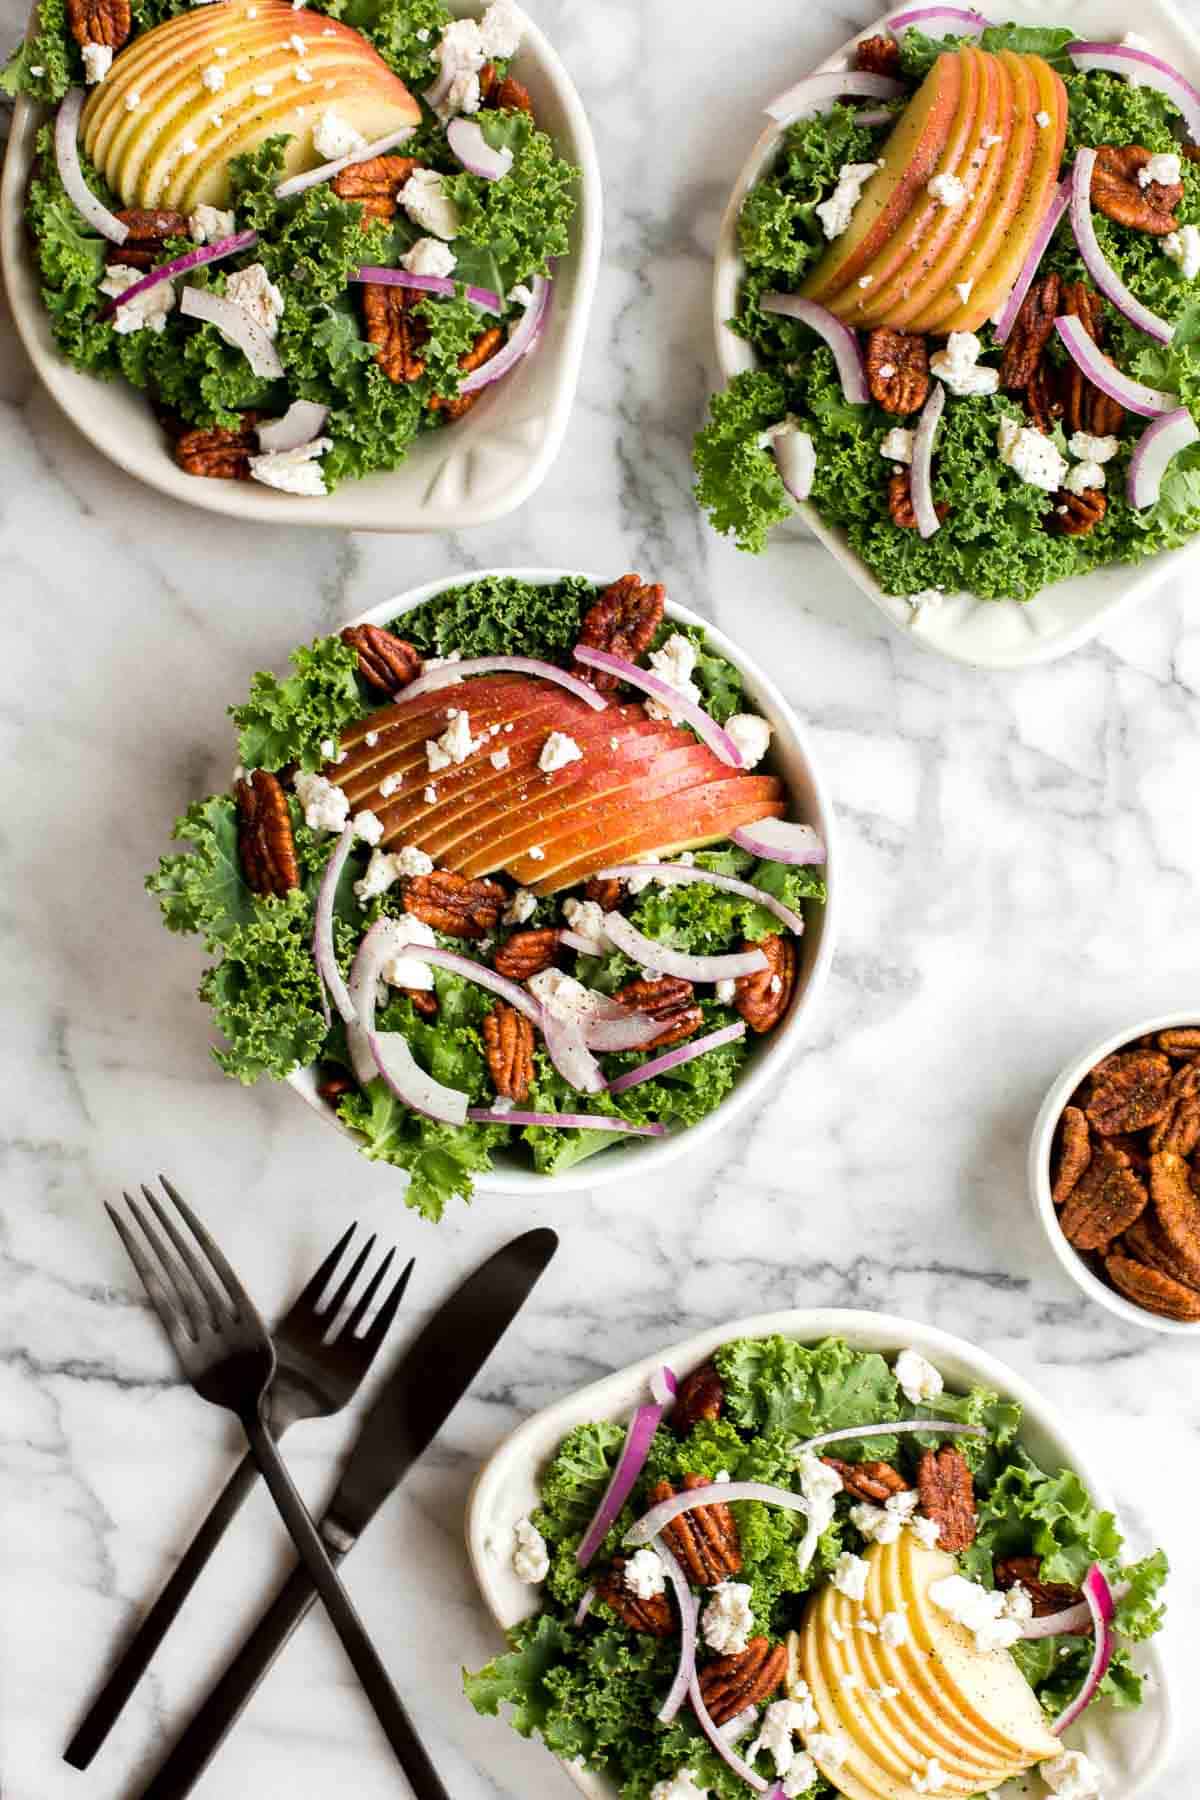
Winter Kale Salad with Apple Cider Vinaigrette and Spiced Pecans
Cozy winter kale salad with apple cider vinaigrette is easy to make with crispy apples, tangy goat cheese and crunchy spiced pecans in under 10 minutes.
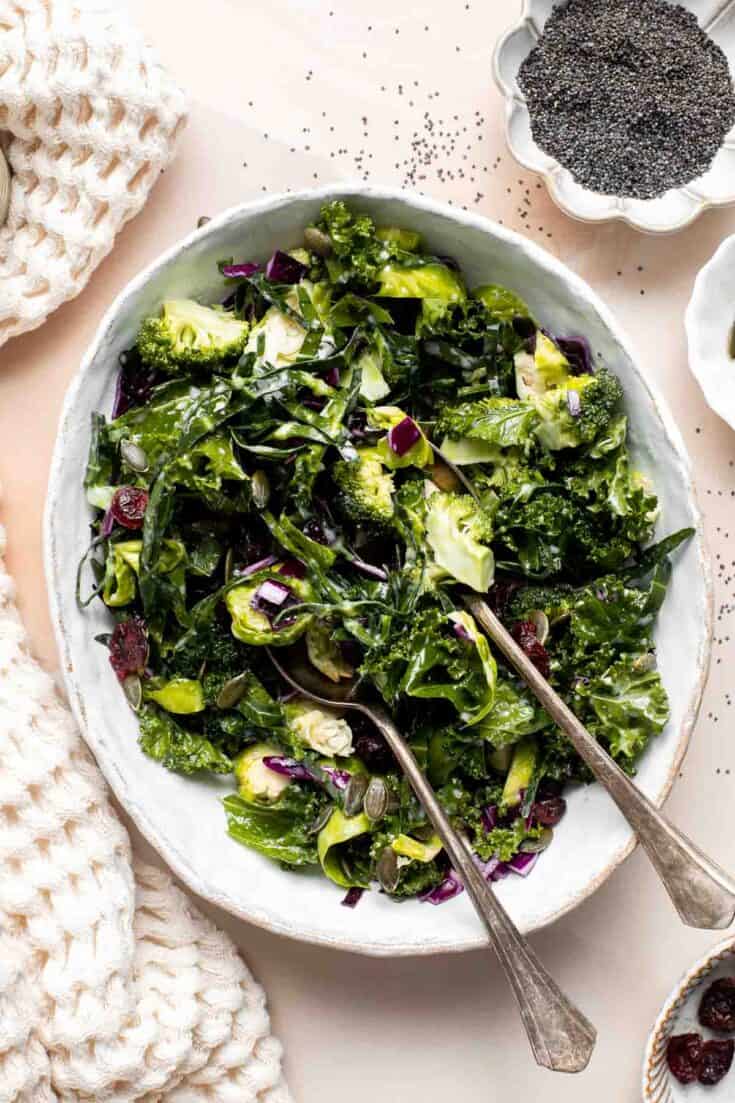
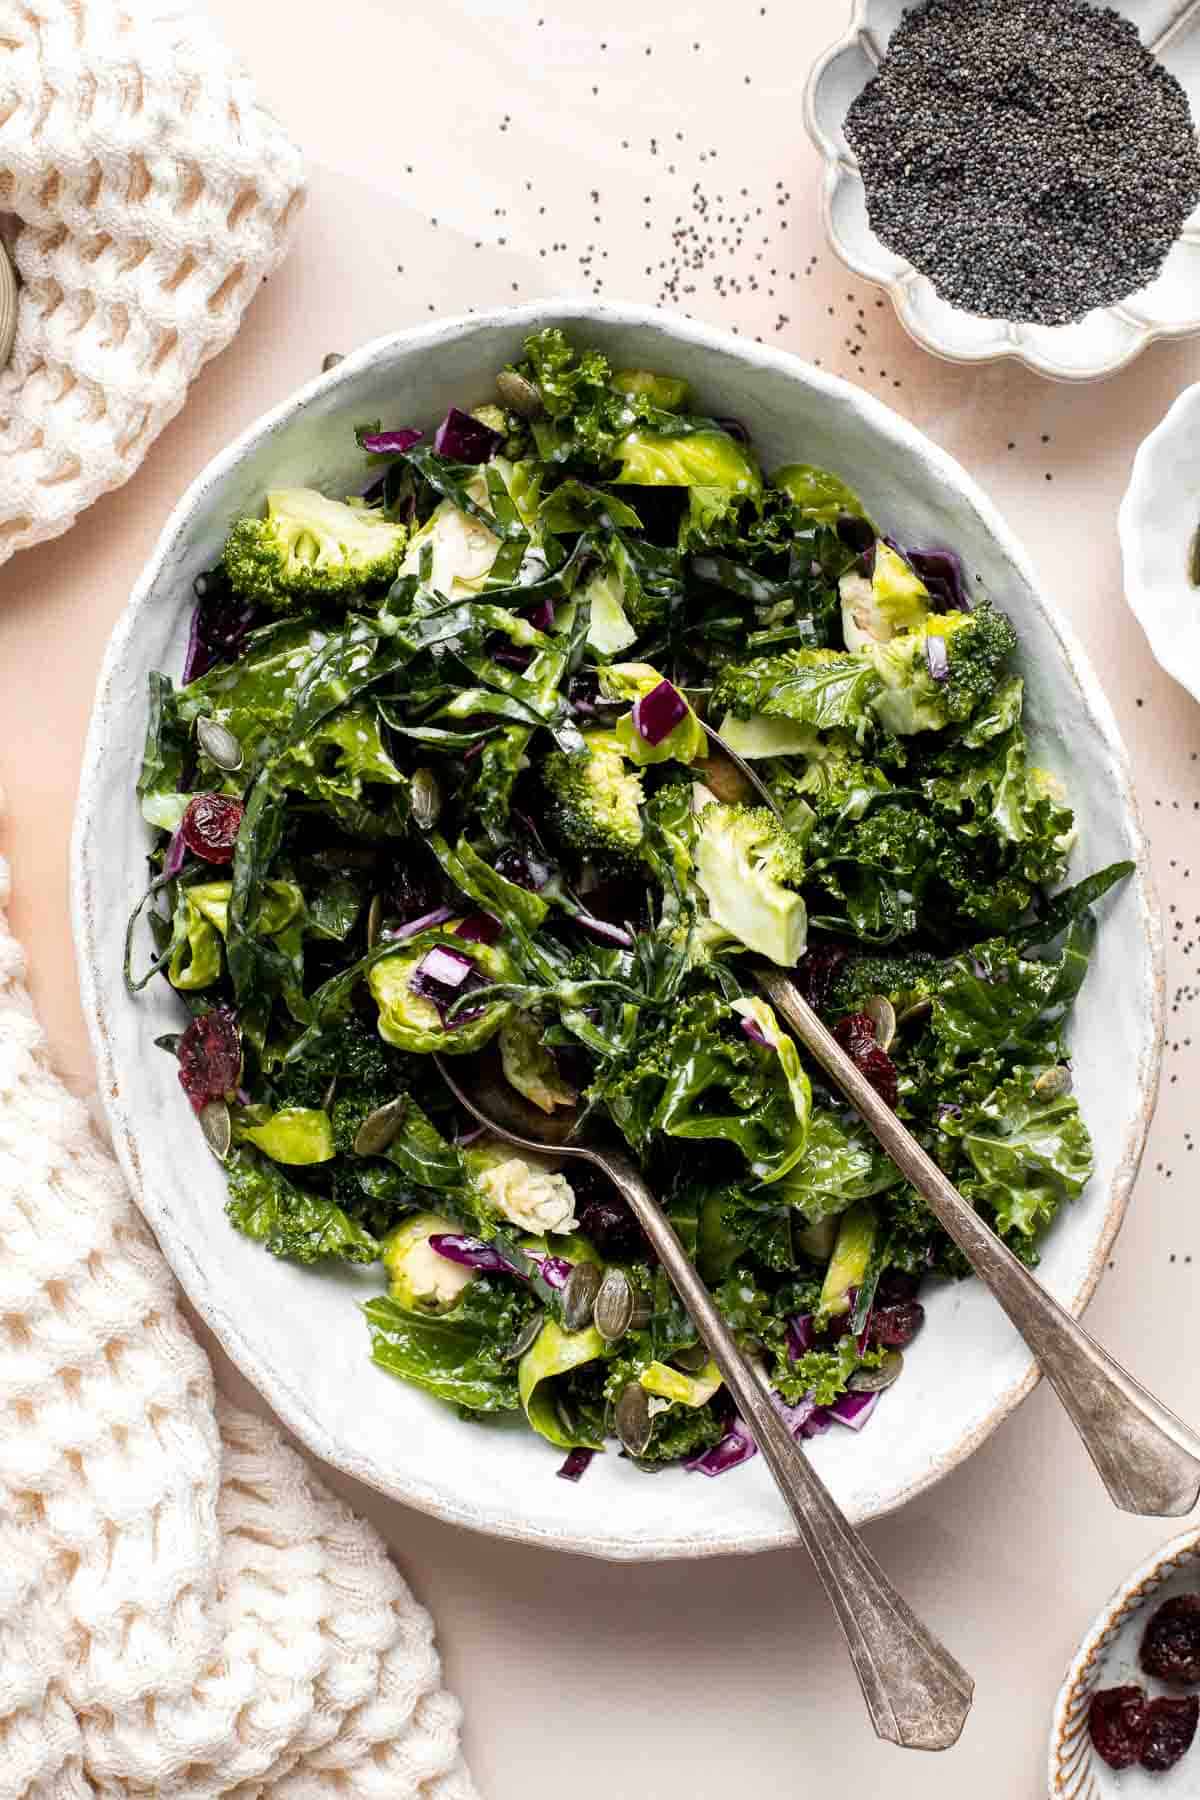
Shaved Brussels Sprout Salad is a delicious fall salad packed with fresh sprouts, apples, cranberries, and crunchy seeds, tossed in a homemade vinaigrette.
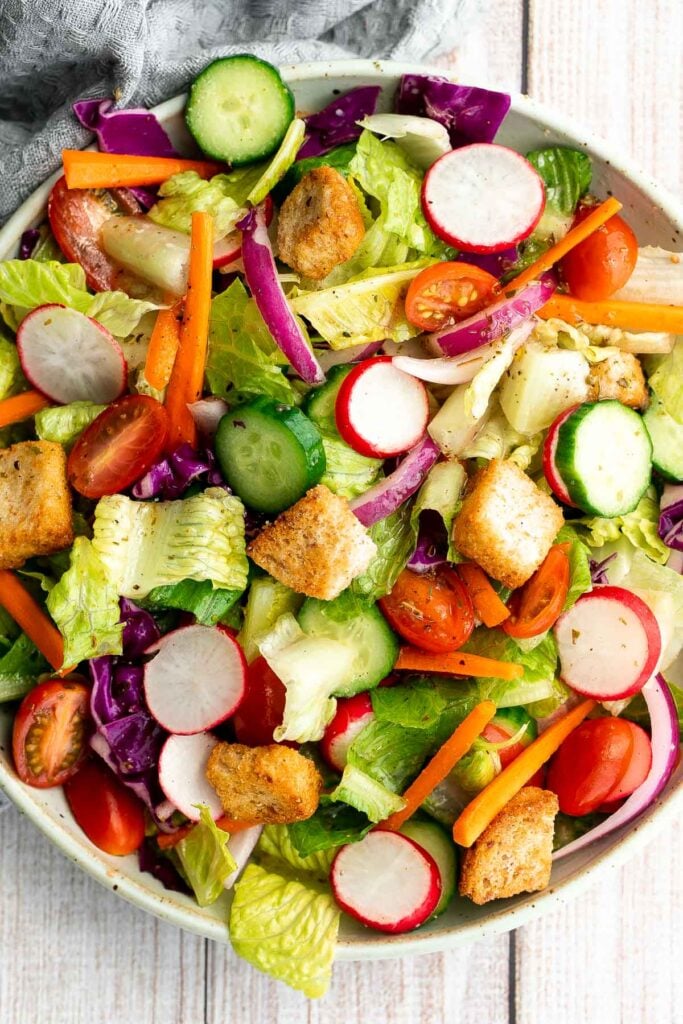
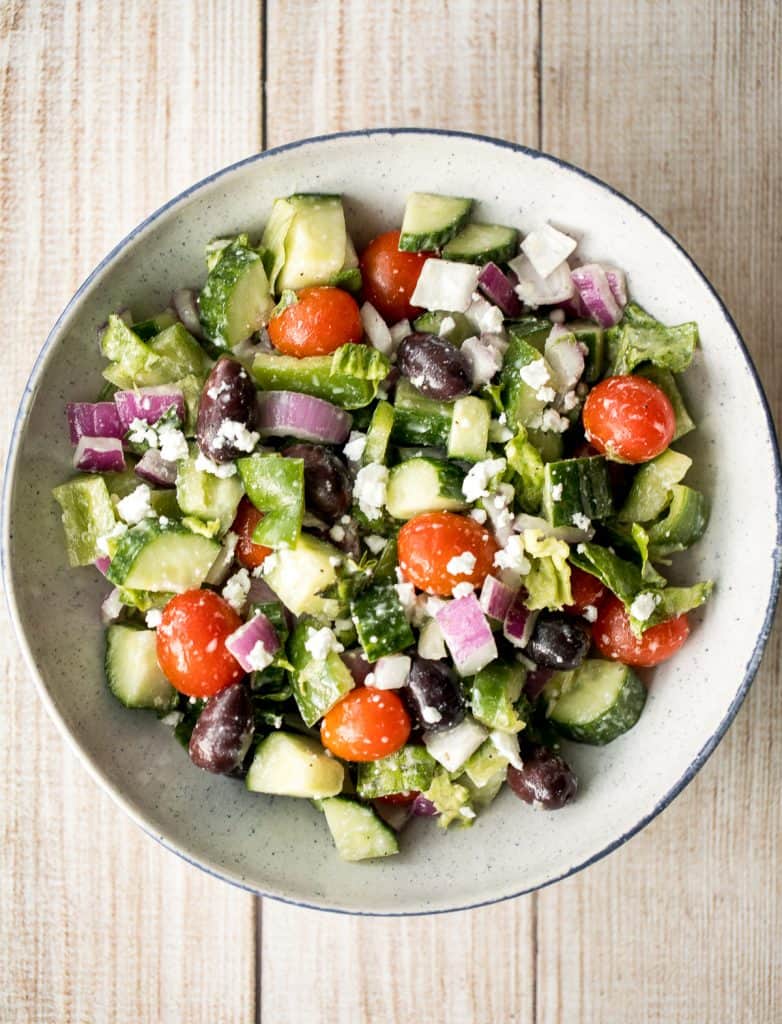
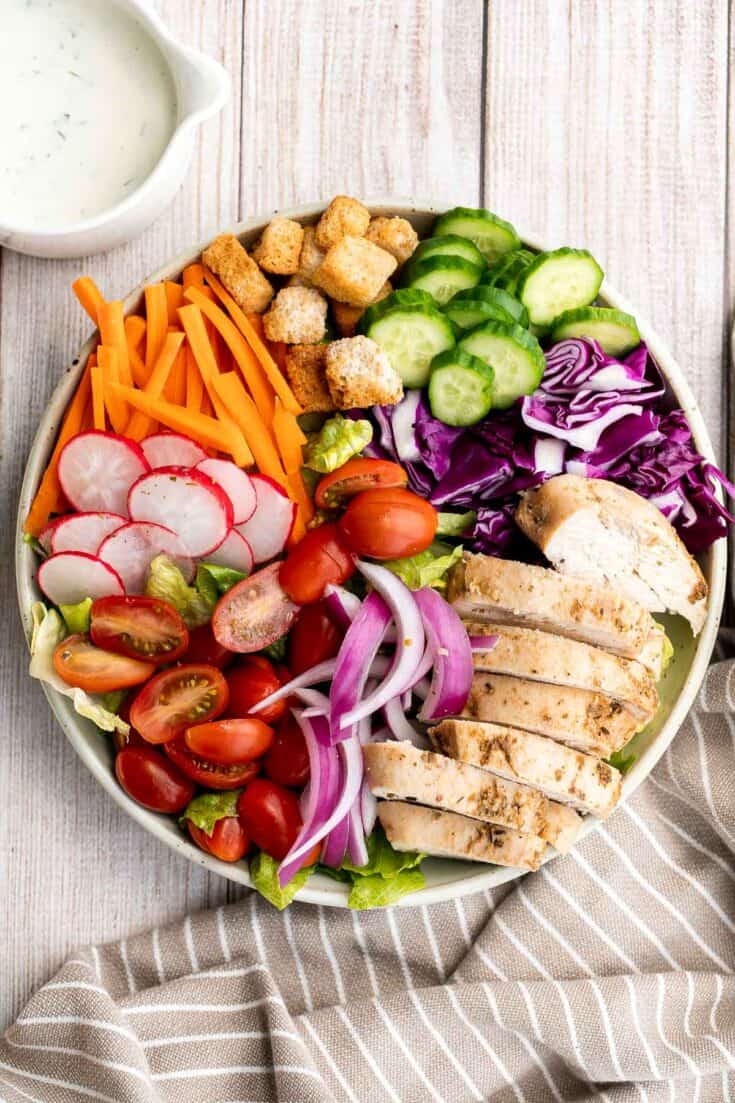
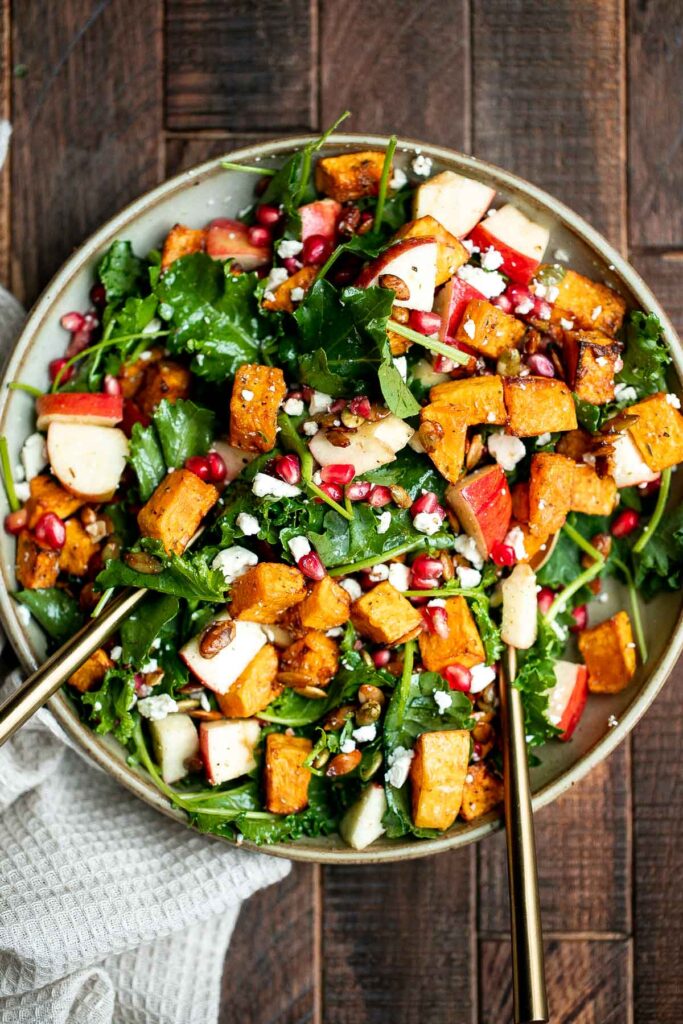
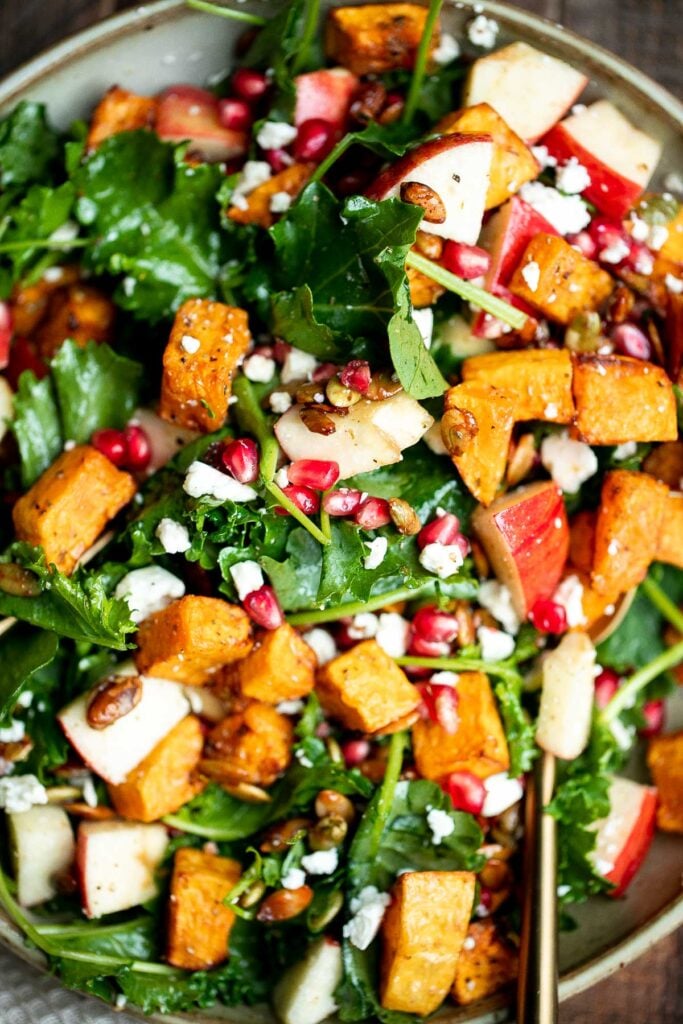
This simple and healthy Thanksgiving Salad is loaded with greens, seasonal veggies, pomegranate seeds, and pecans, all tossed in a homemade vinaigrette.
This Spinach Salad is a healthy and easy to make fall recipe with spinach, apples, cranberries, pecans, and feta tossed in homemade balsamic vinaigrette.
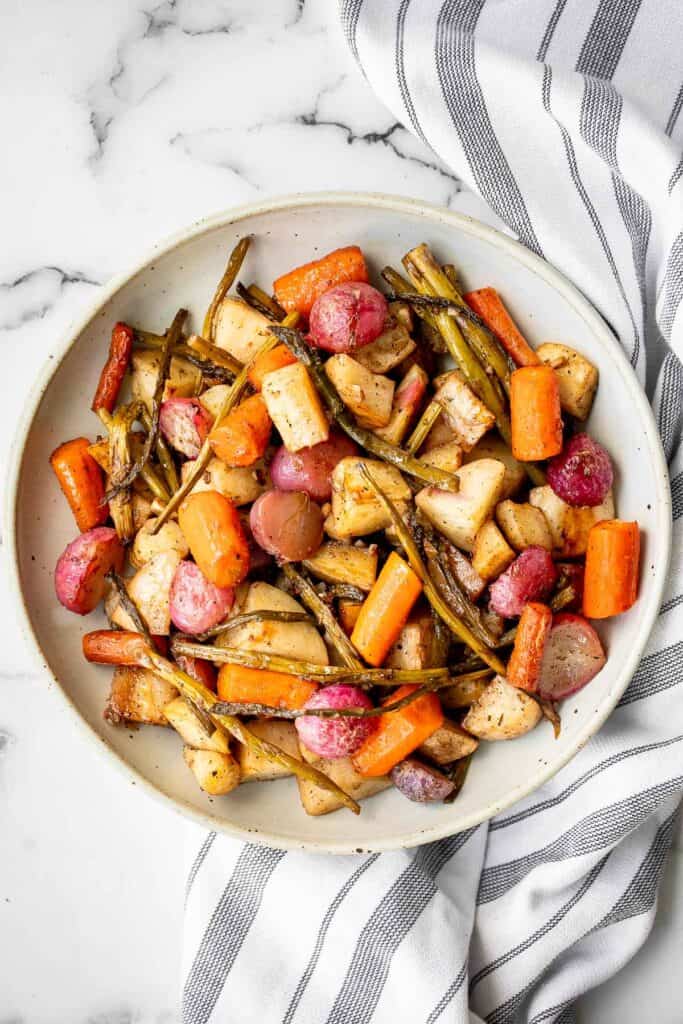
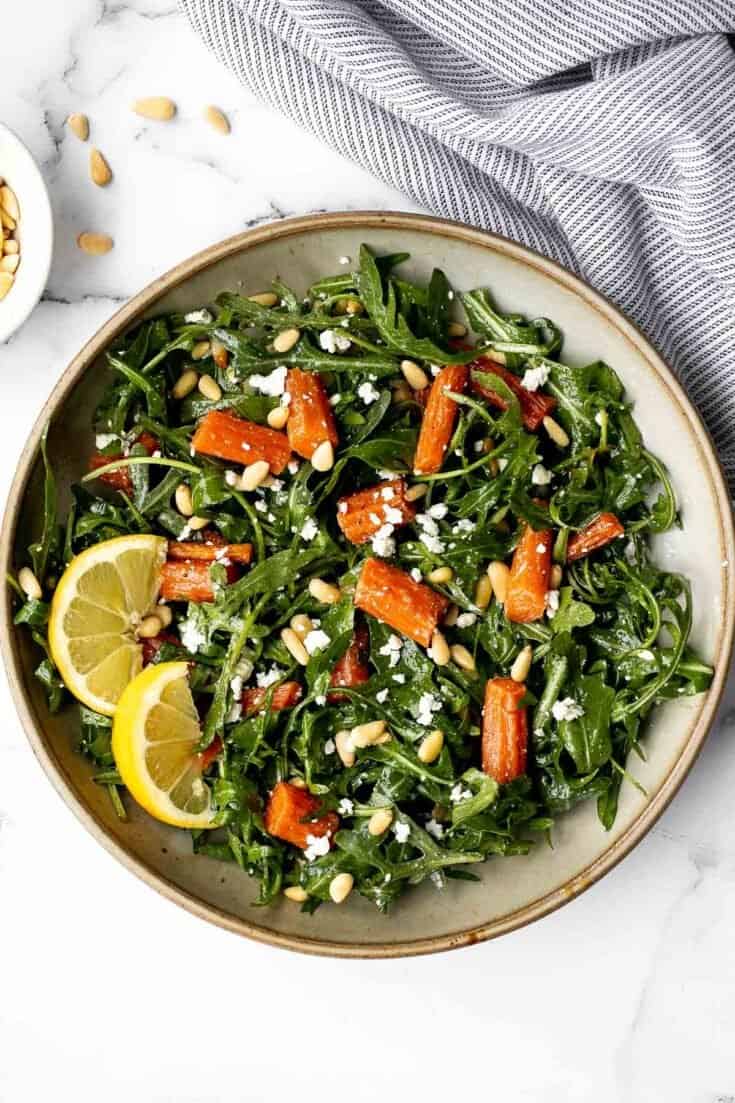
Arugula and Roasted Carrot Salad
Arugula and roasted carrot salad is one of the best spring salads, packed with a delicious combination of sweet and sour flavours, plus easy to make.

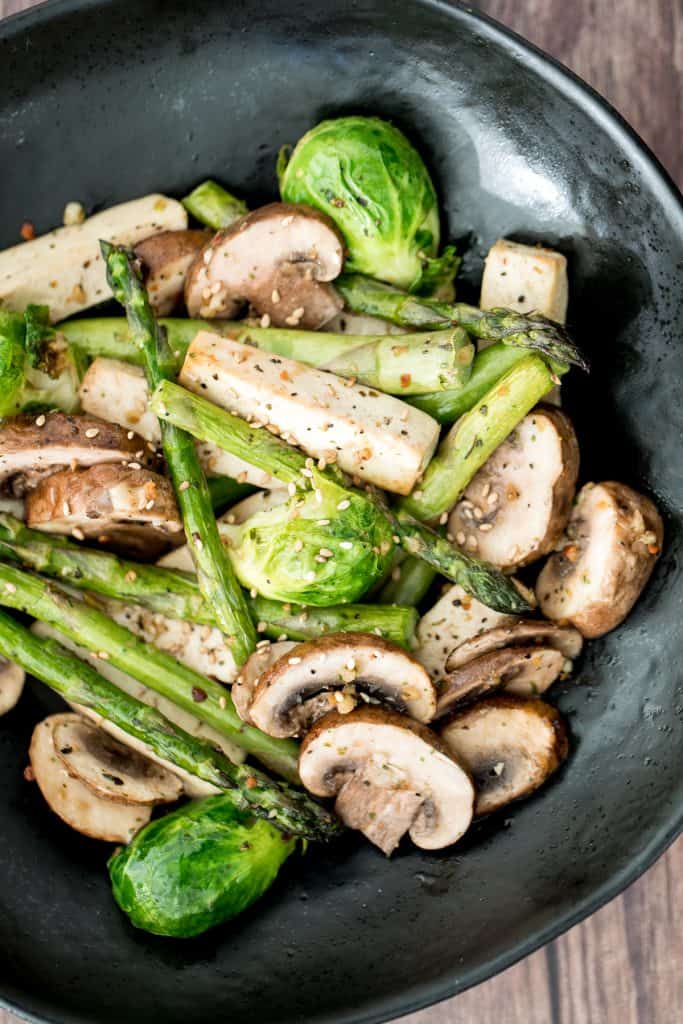
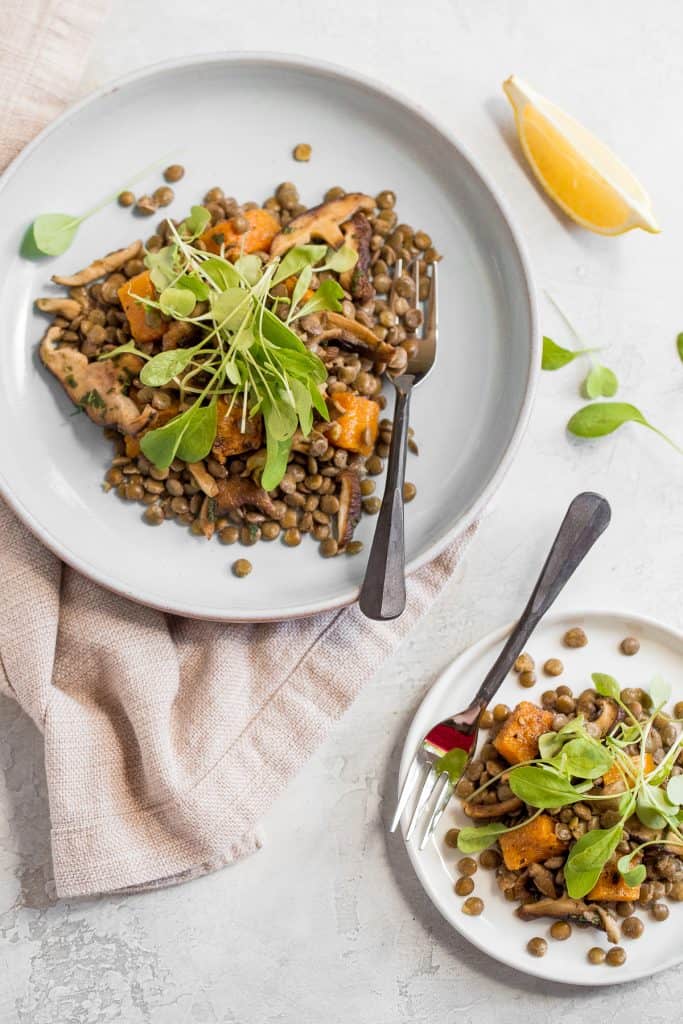
Warm Lentil Salad with Butternut Squash
This warm lentil salad with butternut squash and shiitake mushrooms is the most comforting salad. Add it to your holiday dinner this fall.
This Sweet Kale Salad is loaded with hearty greens, veggies, and homemade poppy seed dressing - inspired by the Taylor Farms salad kit from Costco.
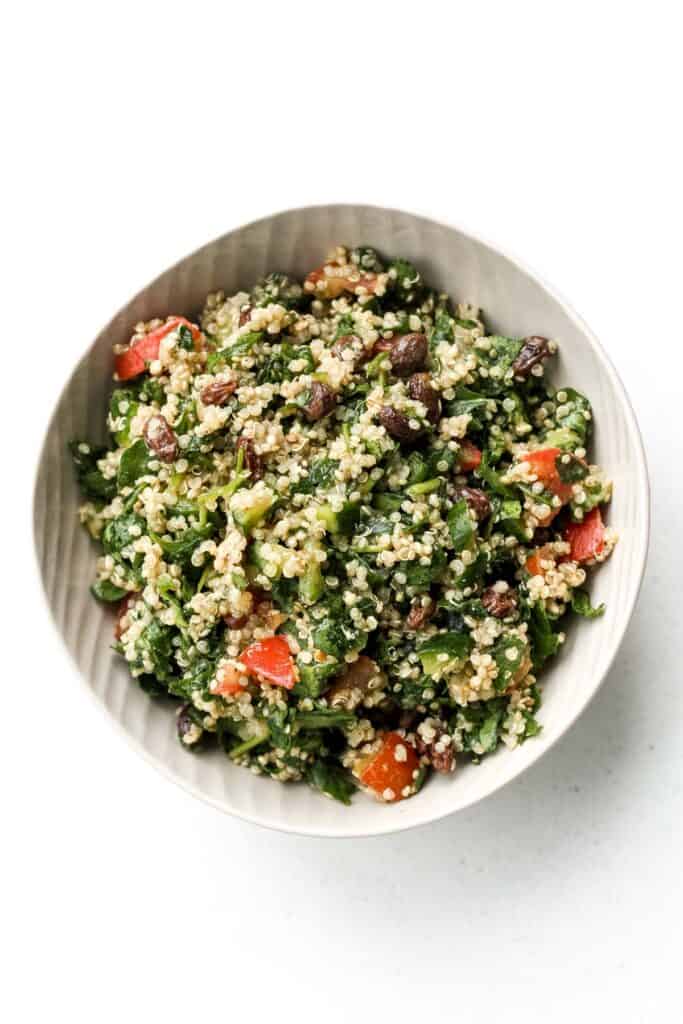
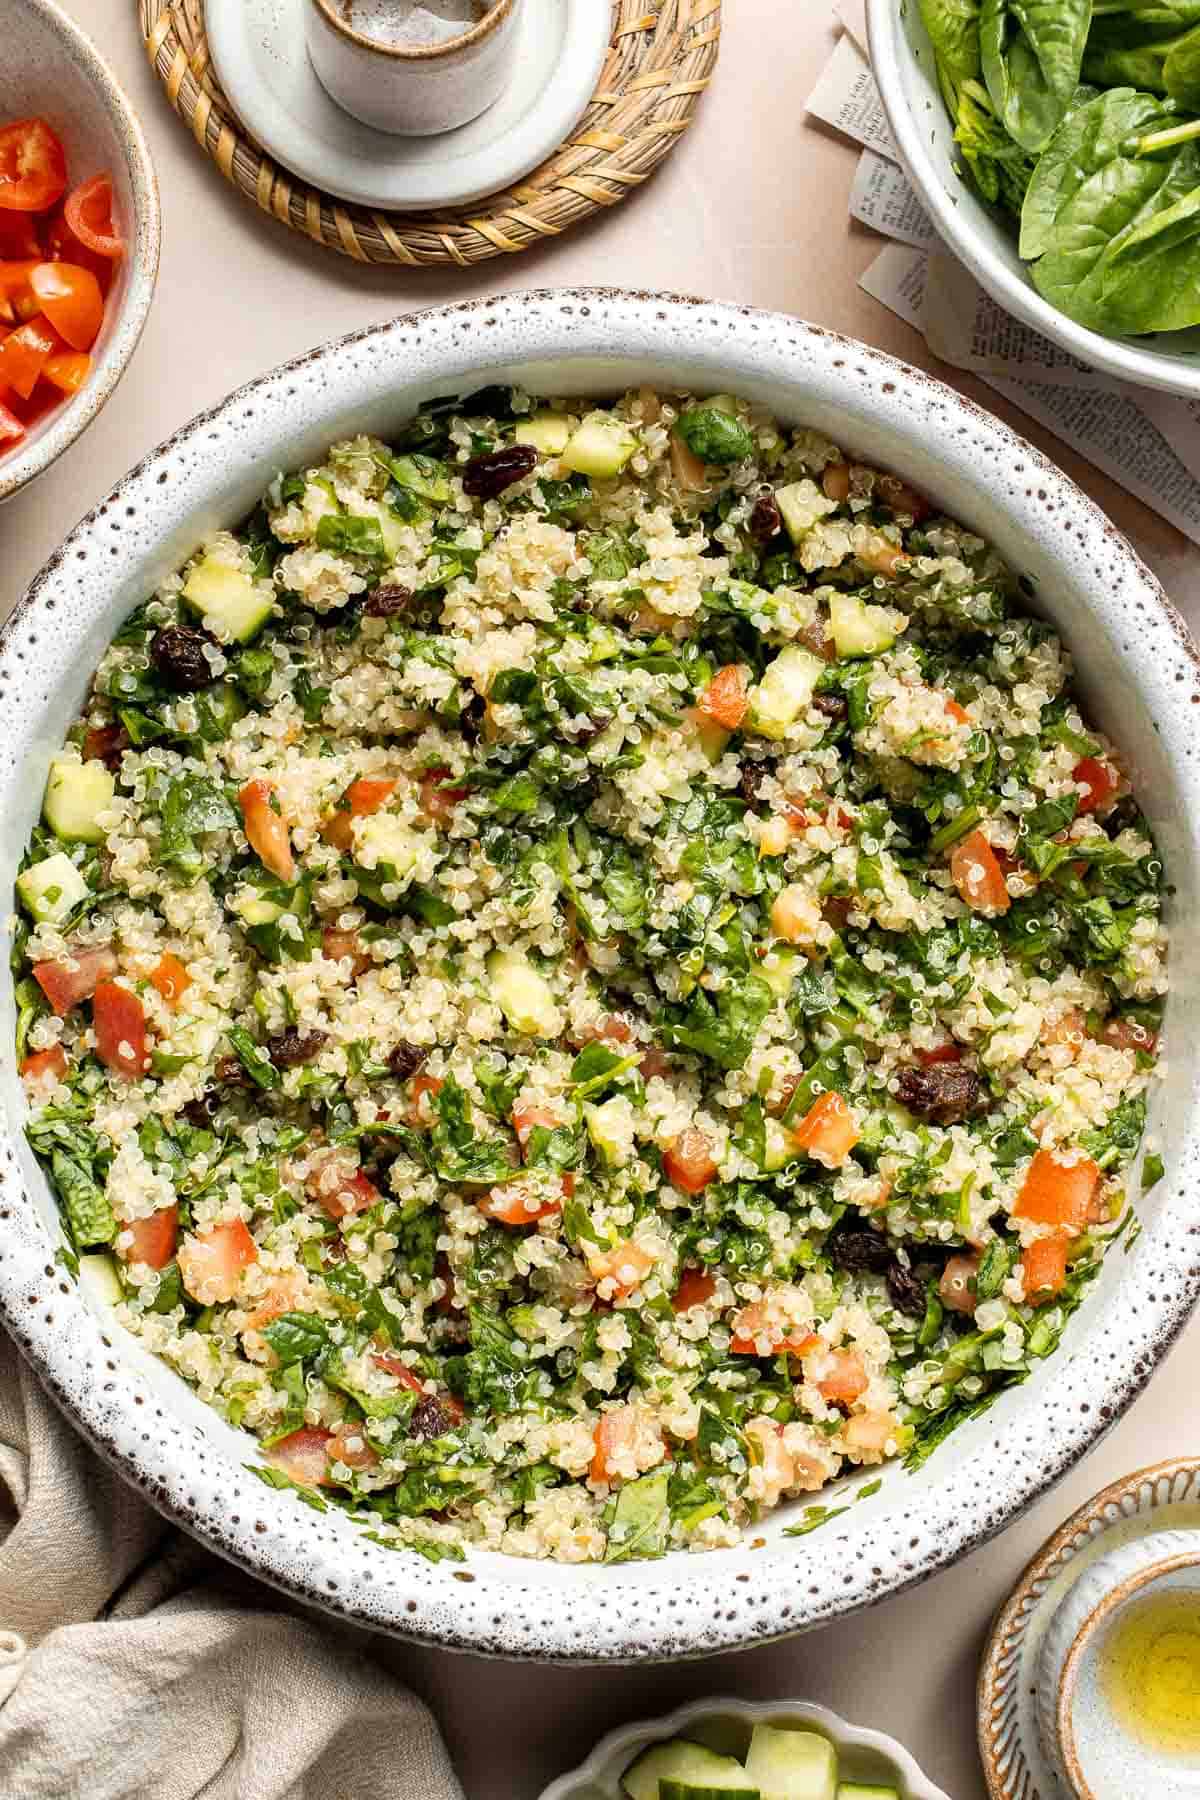
Quinoa Spinach Power Salad is made with tender quinoa, tomatoes, cucumbers, and raisins dressed in a homemade lemon vinaigrette. Gluten-free and vegan too.
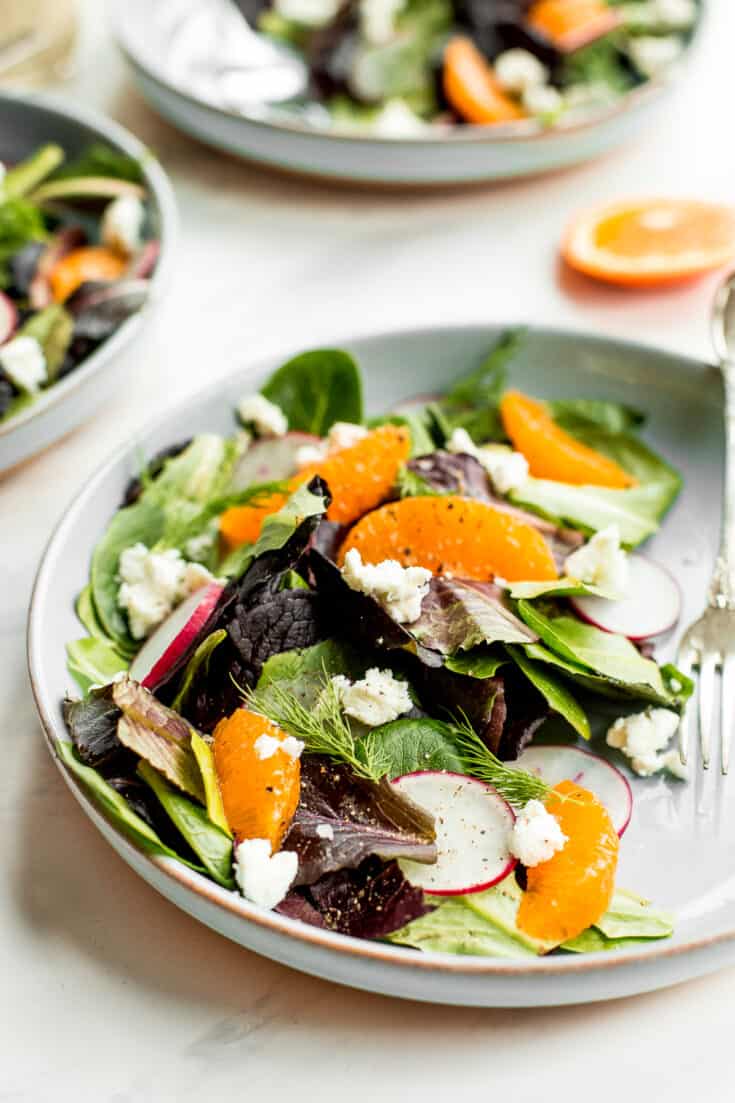
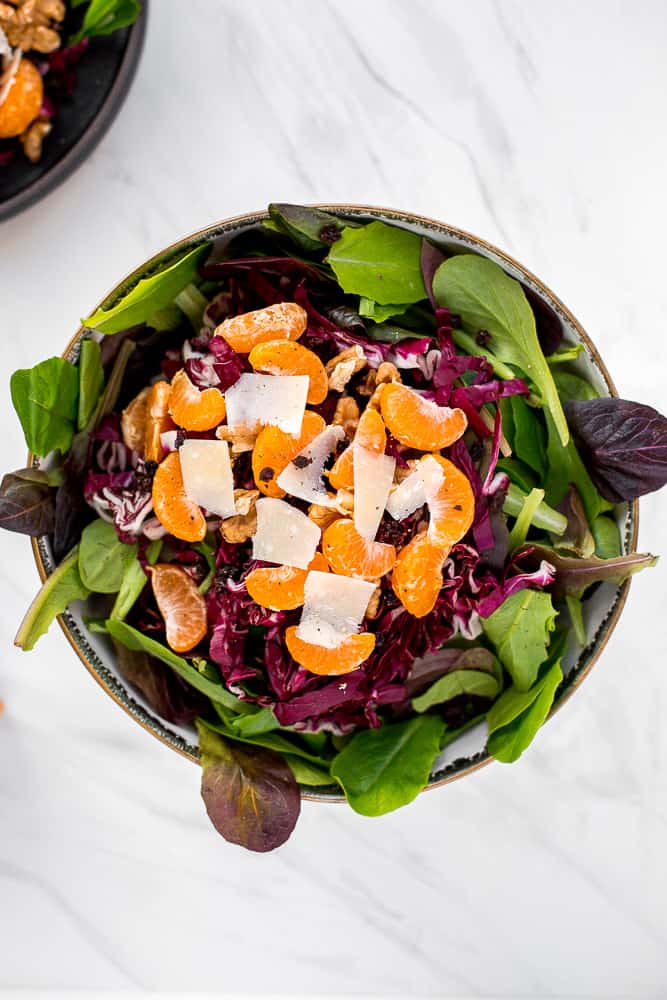
Mandarin orange salad is fresh, vibrant, tangy, and sweet, bursting with flavour, and topped with a delicious orange salad dressing.
Lemon kale salad is a simple, flavorful, and healthy meal that's thrown together in just minutes with fresh ingredients. The perfect quick lunch or dinner.

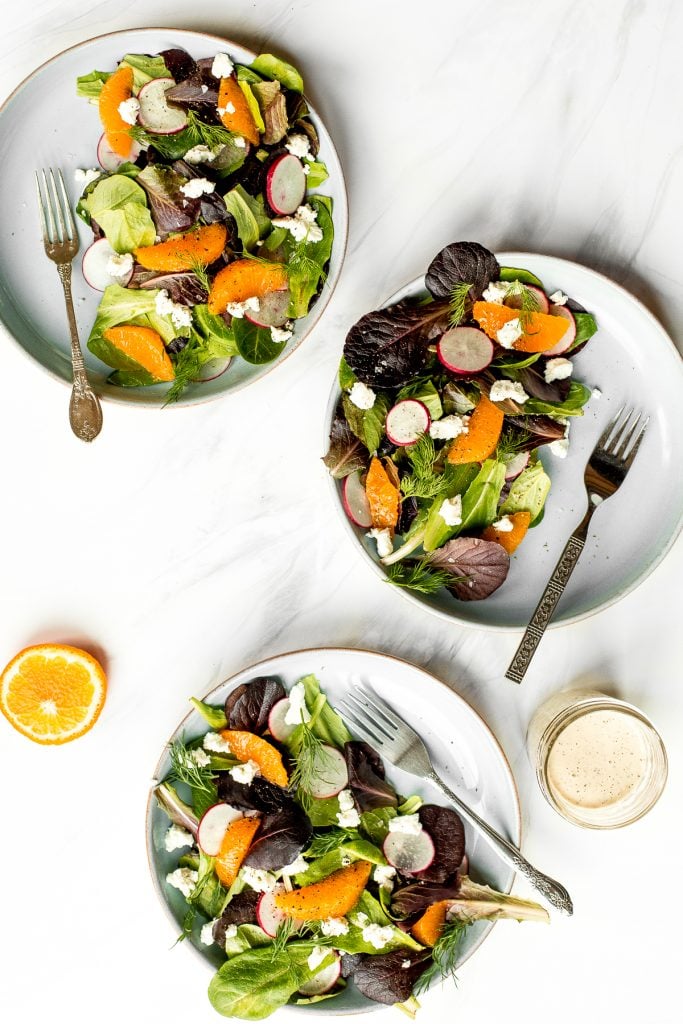
Goat Cheese and Tangelo Winter Salad
Healthy and light, goat cheese and tangelo winter salad with creamy caesar dressing is flavourful, crunchy and takes just minutes to prepare.
Tips for Storing Thanksgiving Salads
- Make ahead instructions: Almost all of these Thanksgiving salads can be made ahead of time. When making ahead, I recommend storing the ingredients separately from the dressing, and toss when ready to serve. To prep ahead of time, chop up all the ingredients and store in an airtight container in the refrigerator.
- How to store: Most Thanksgiving salads can be stored in an airtight container in the refrigerator for up to 3-4 days. Refer to the specific recipe post for complete storing instructions.
More Thanksgiving Recipes
- 30 Best Thanksgiving Appetizers
- 50 Best Thanksgiving Side Dishes
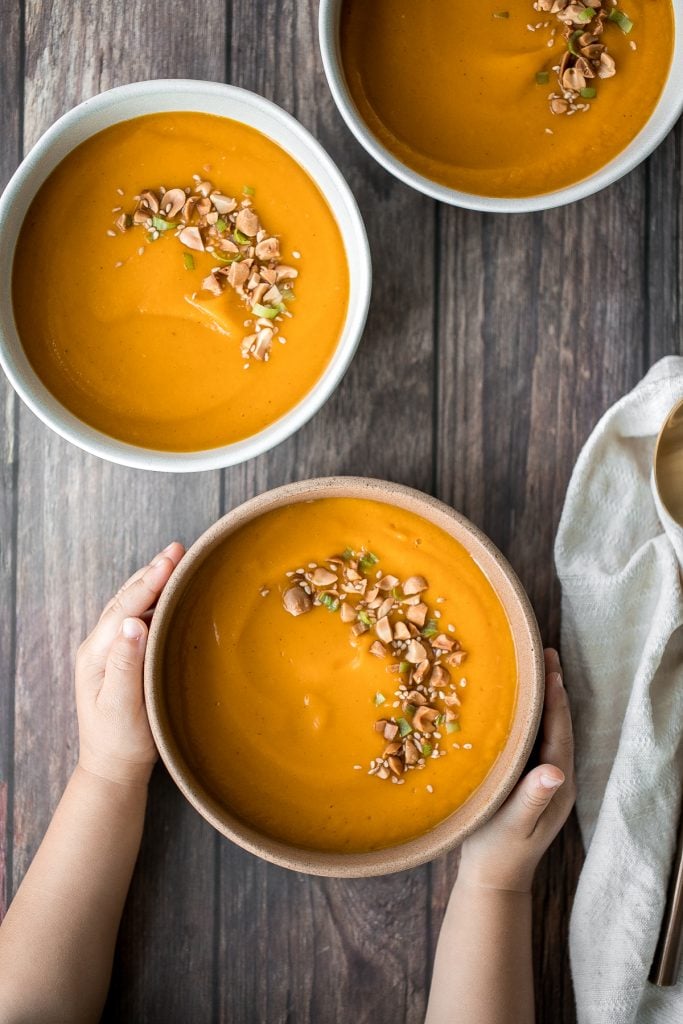
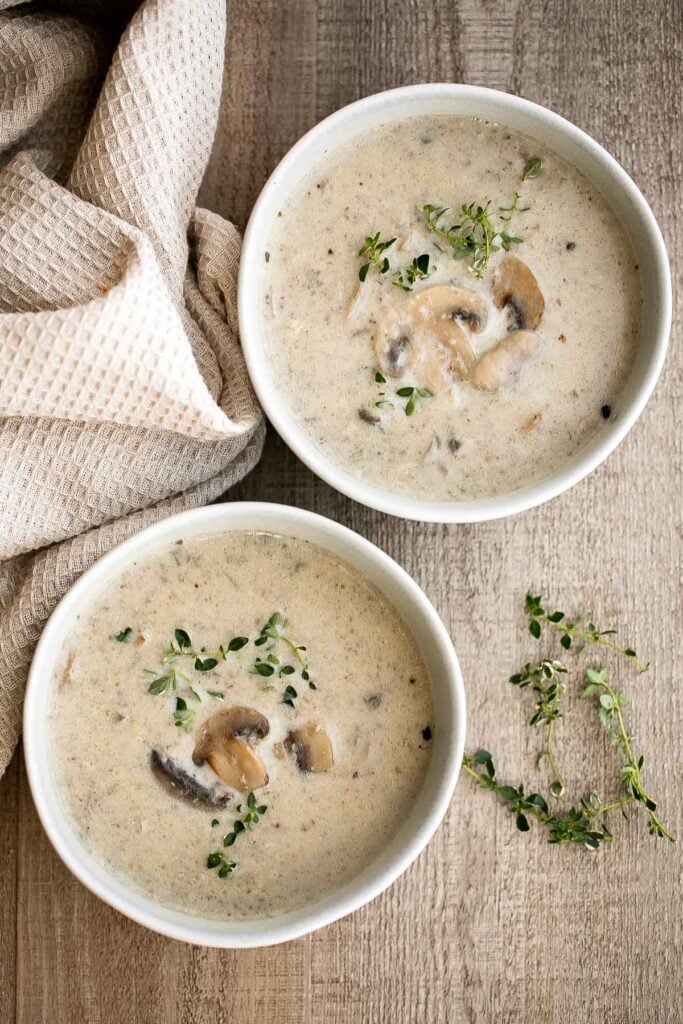
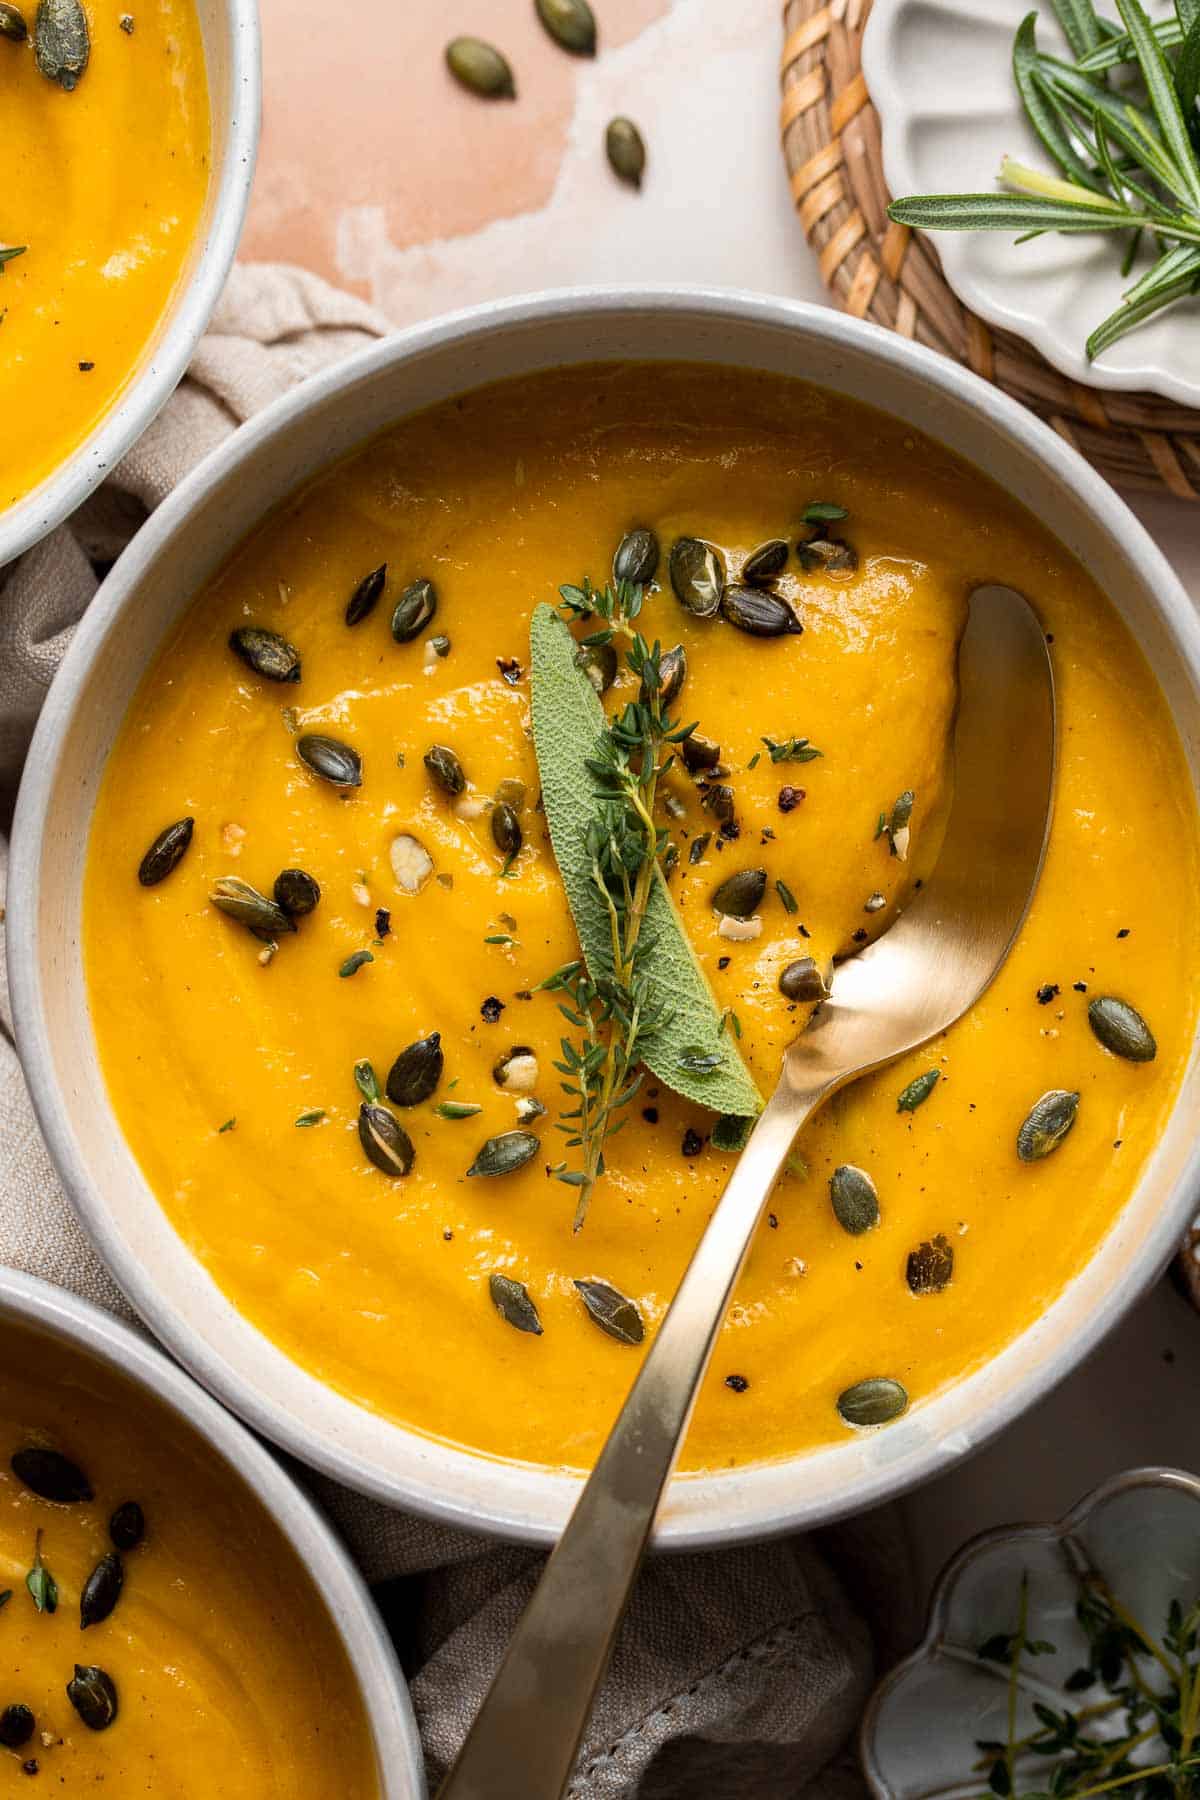
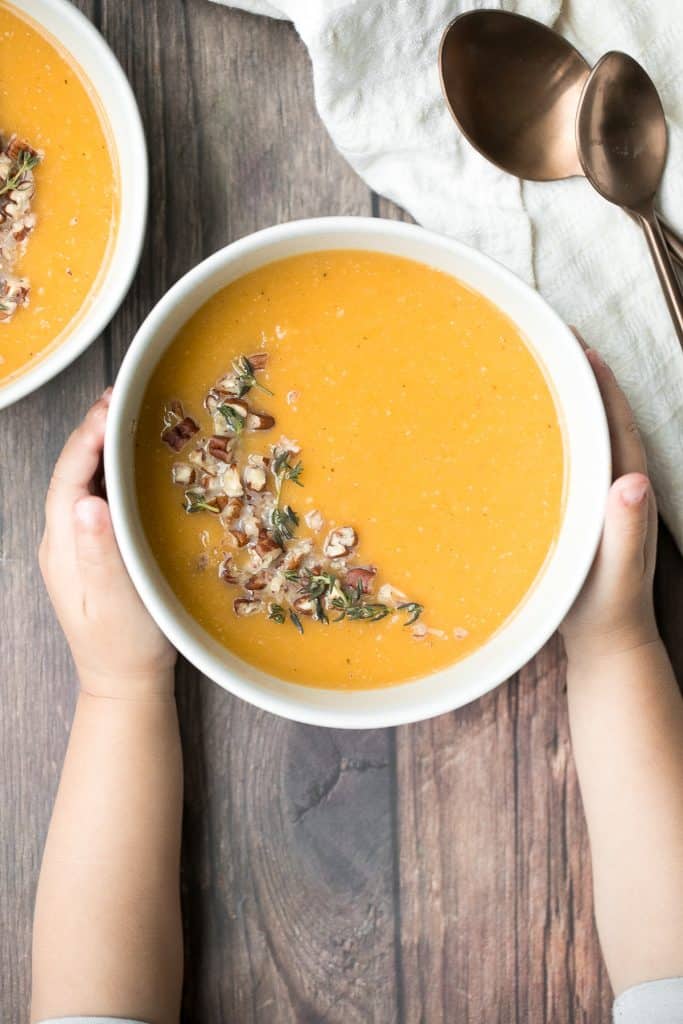
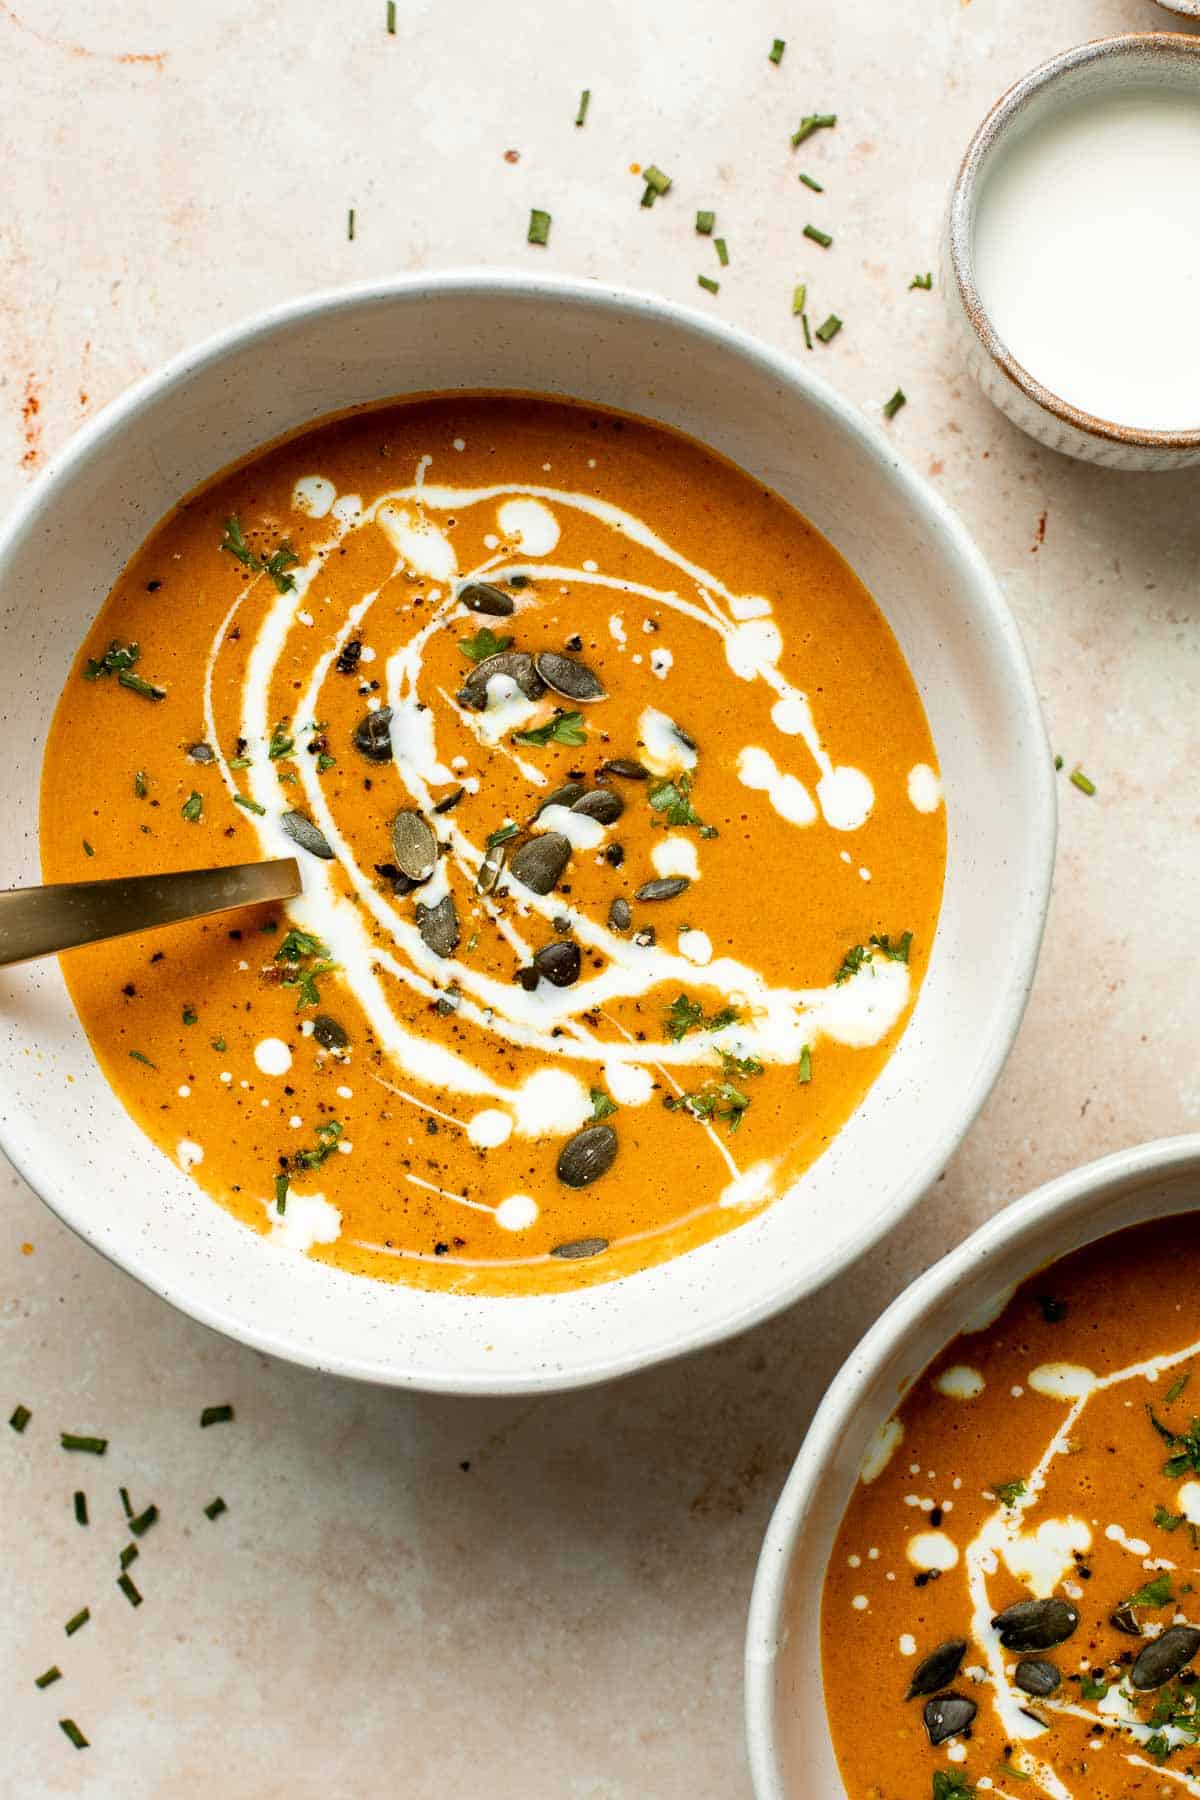
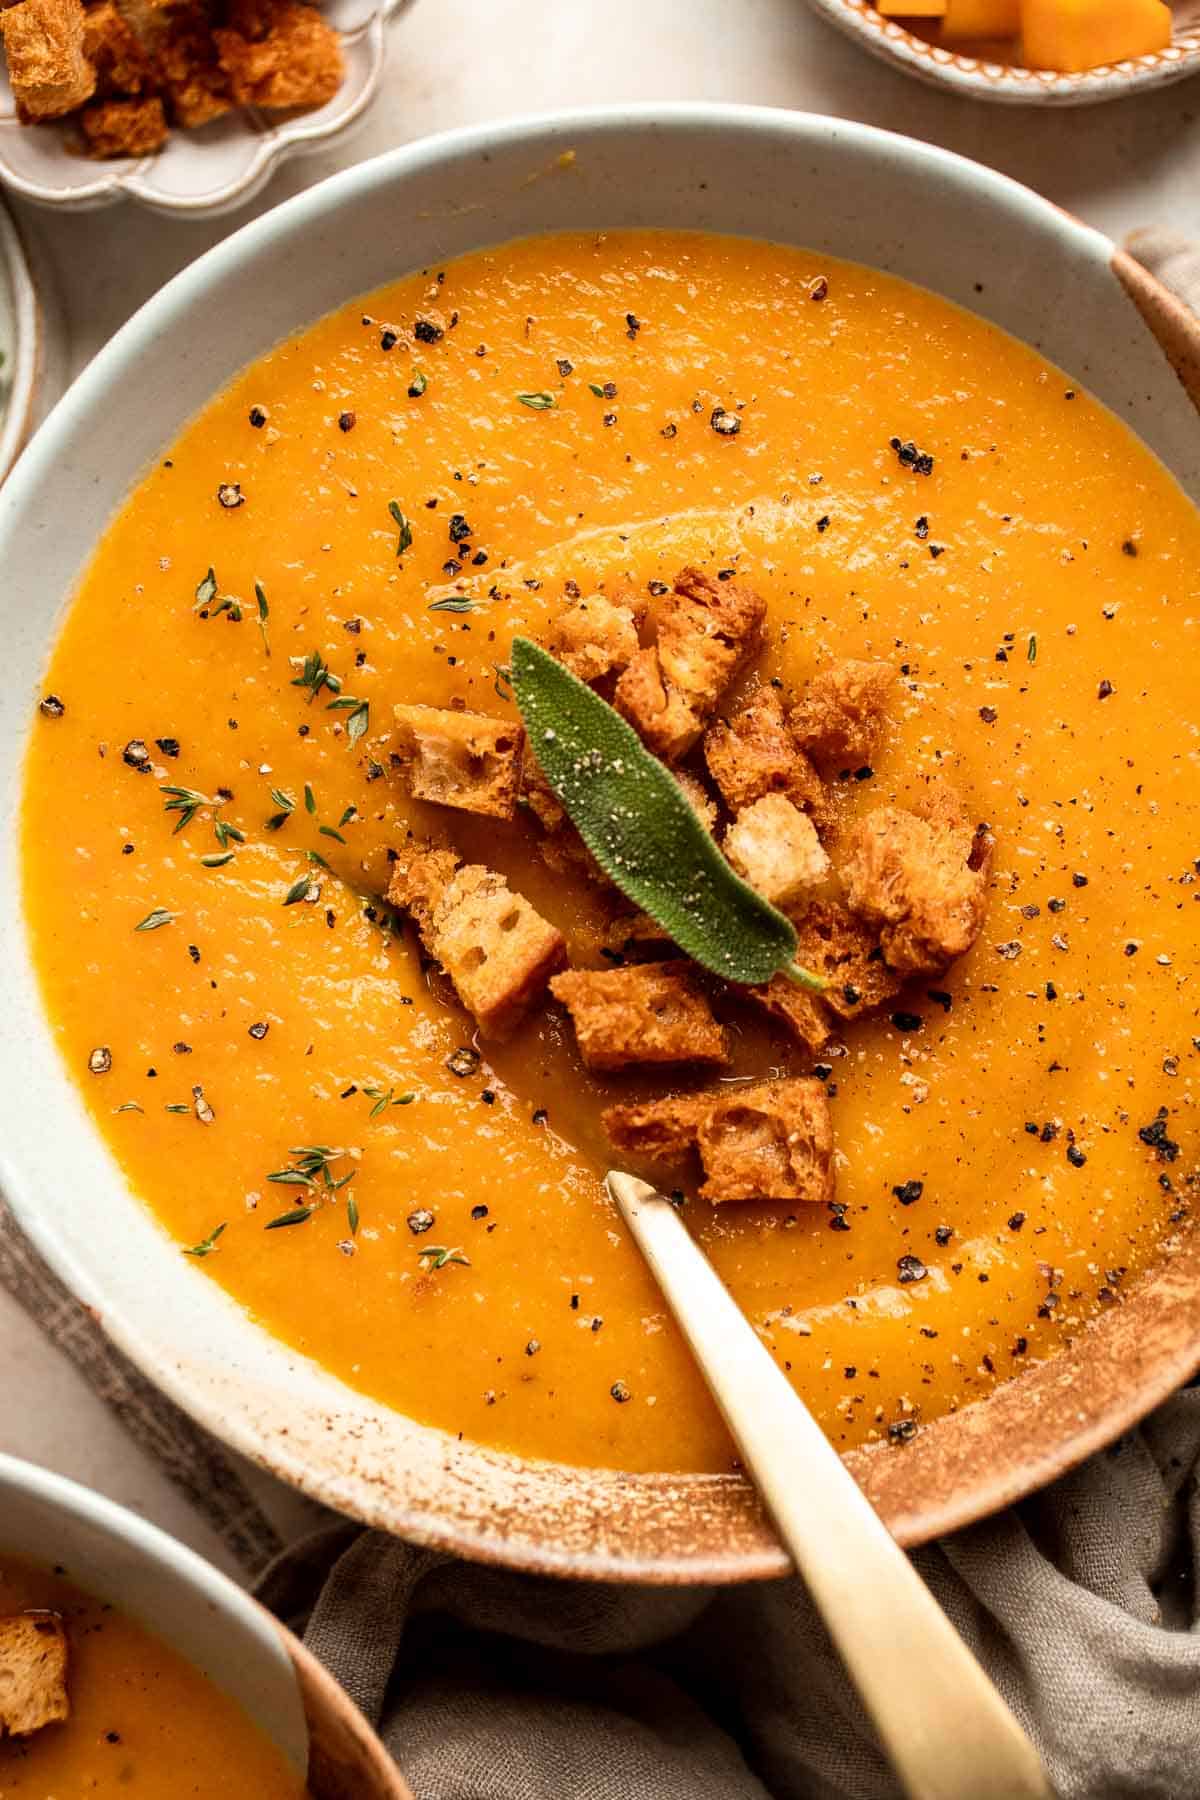
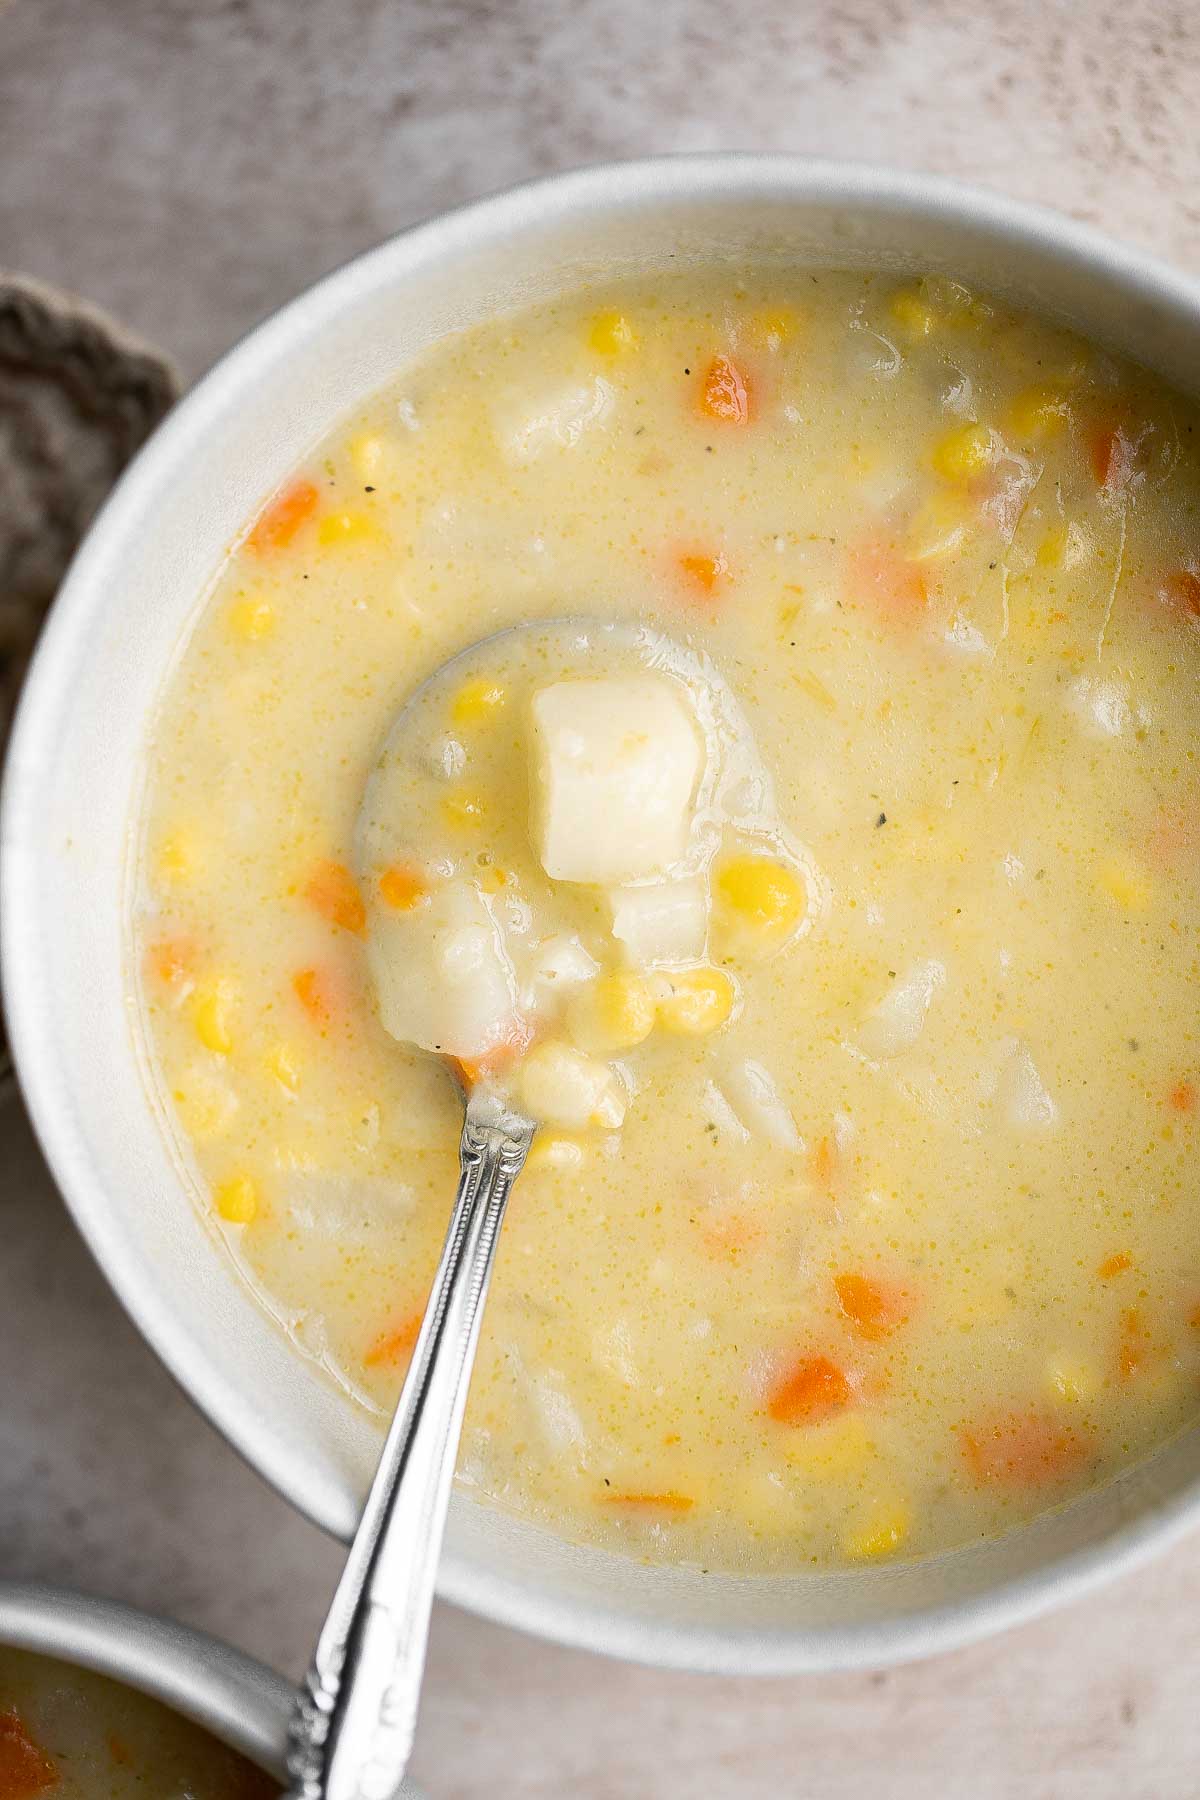
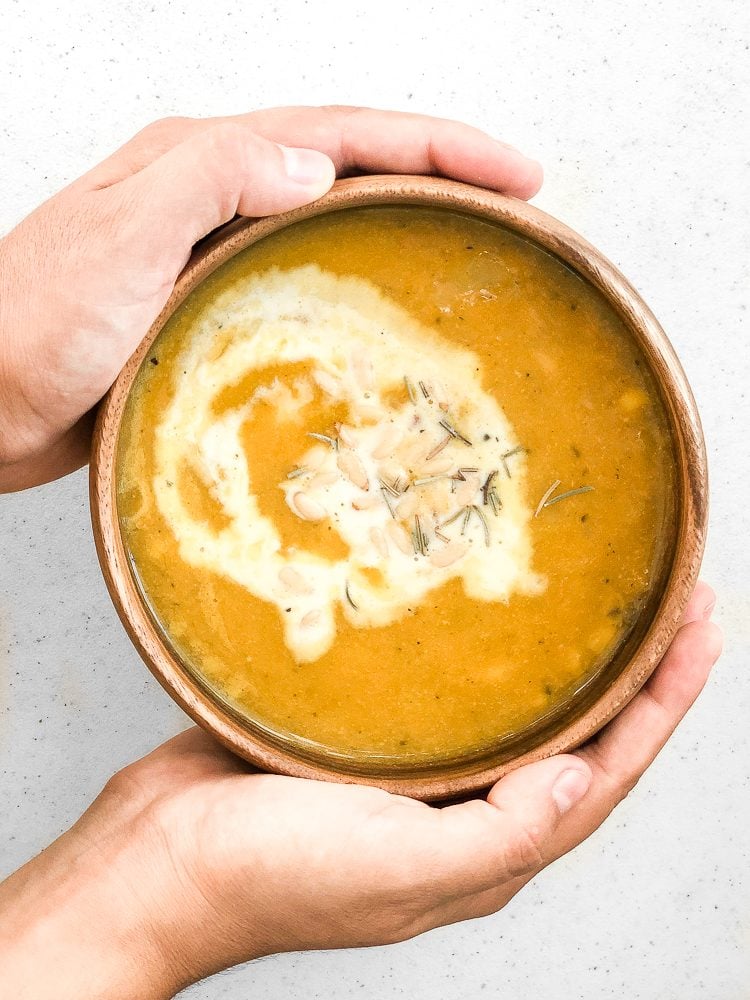
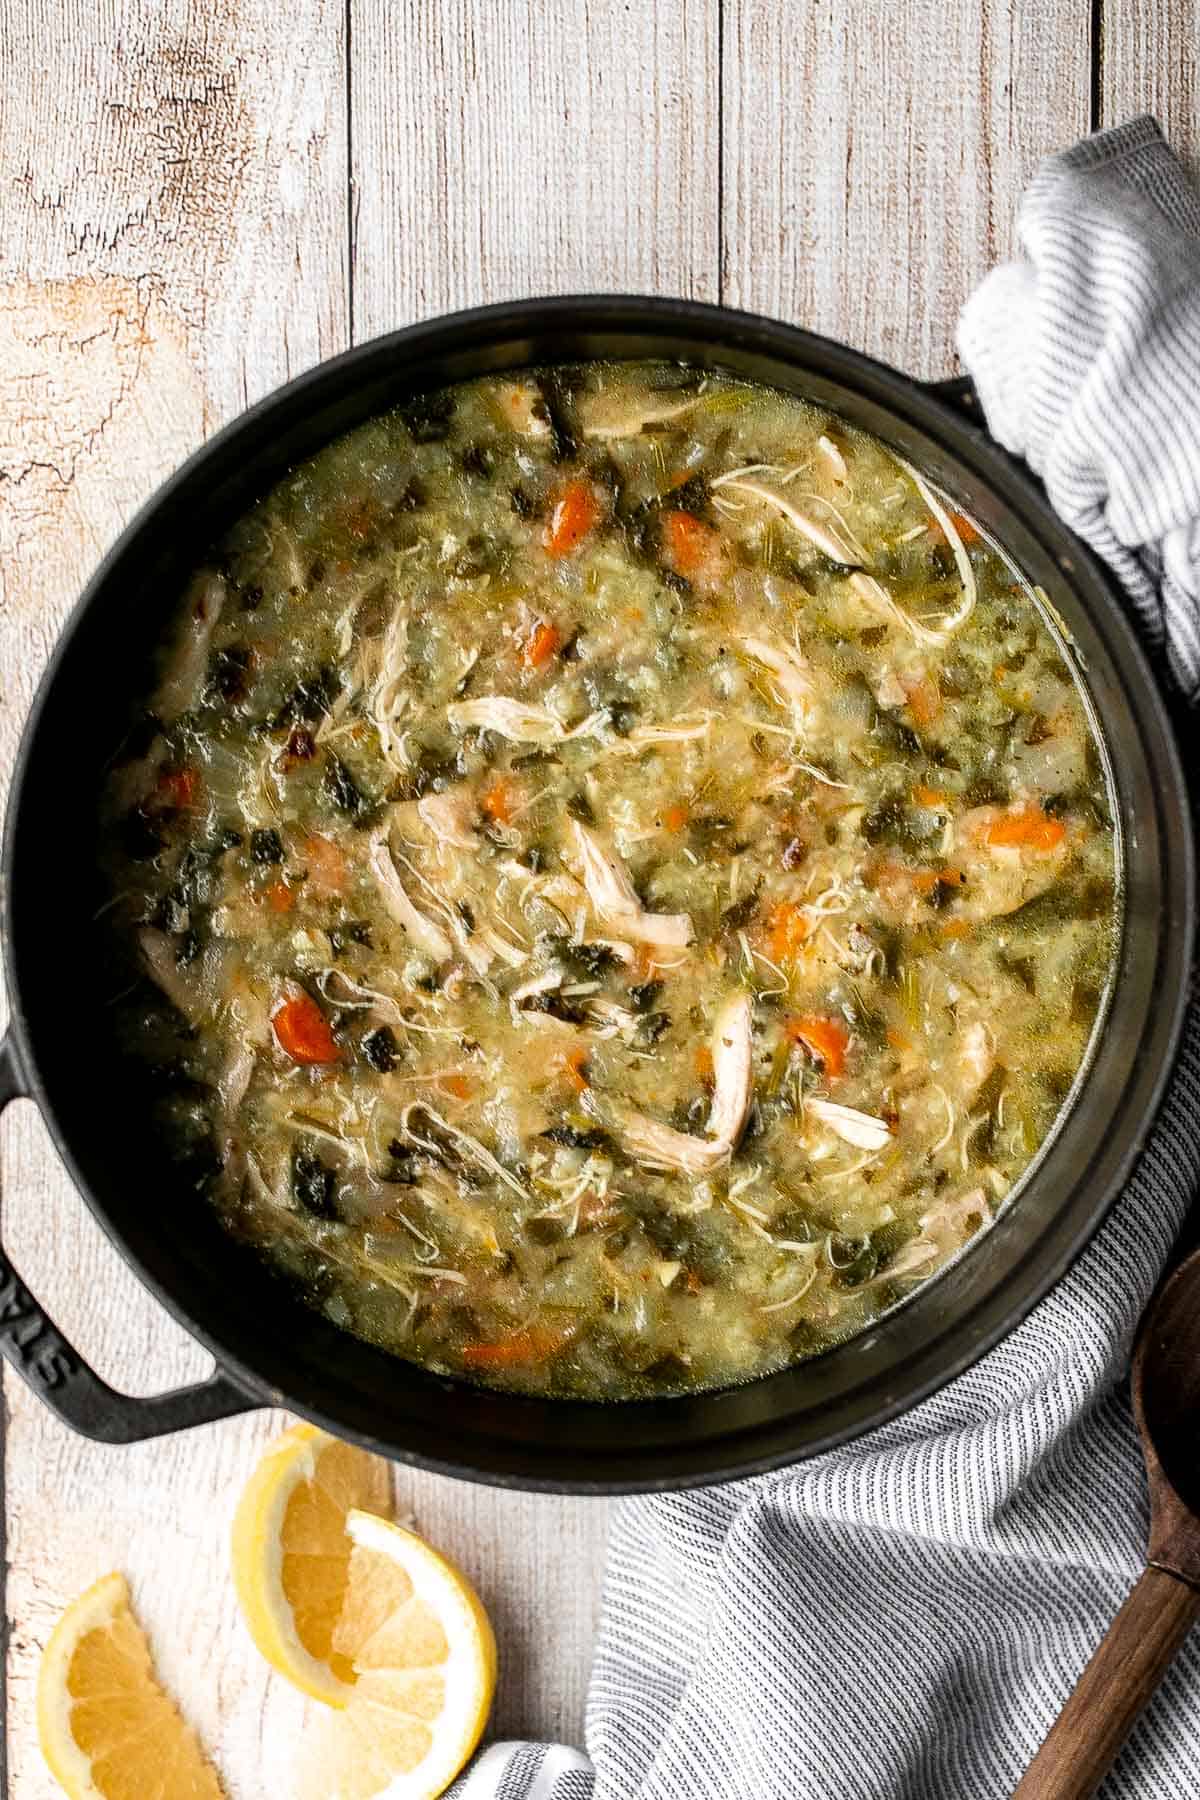
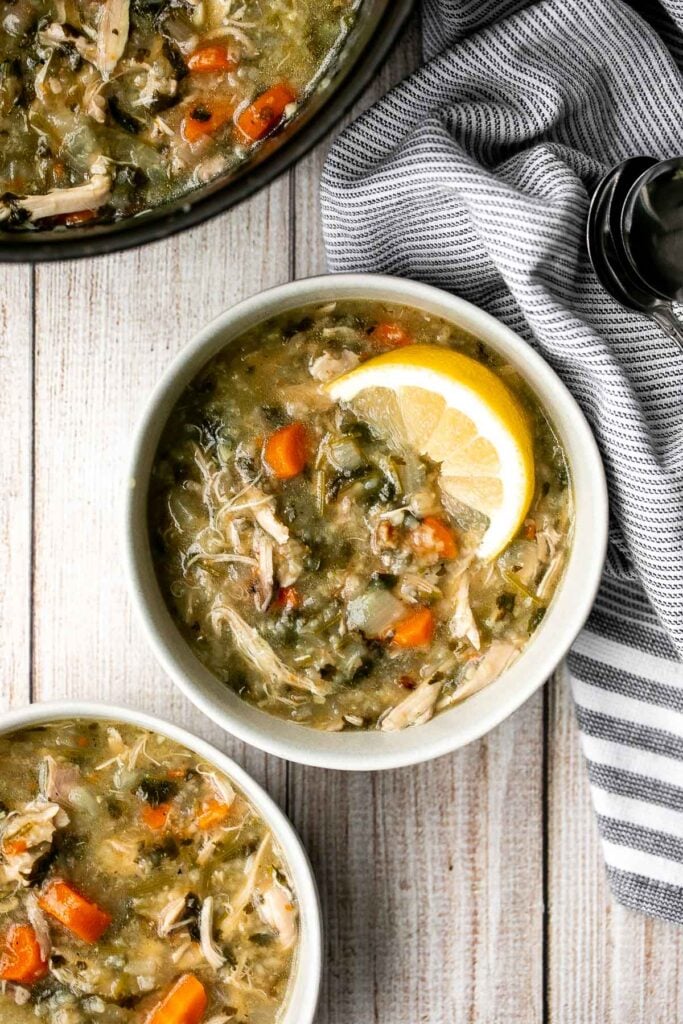
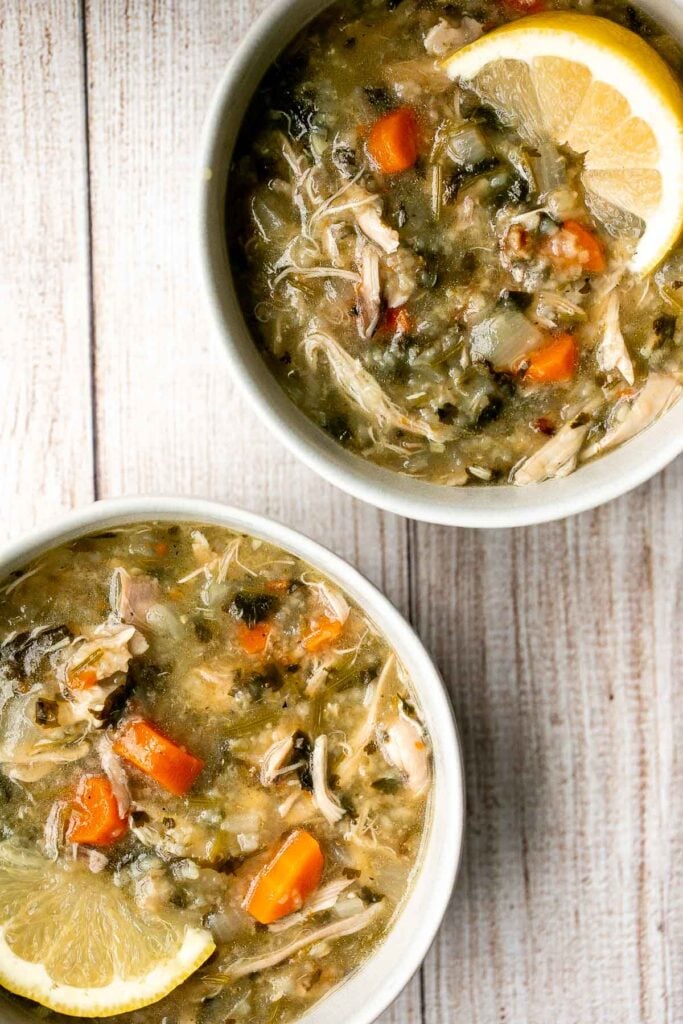
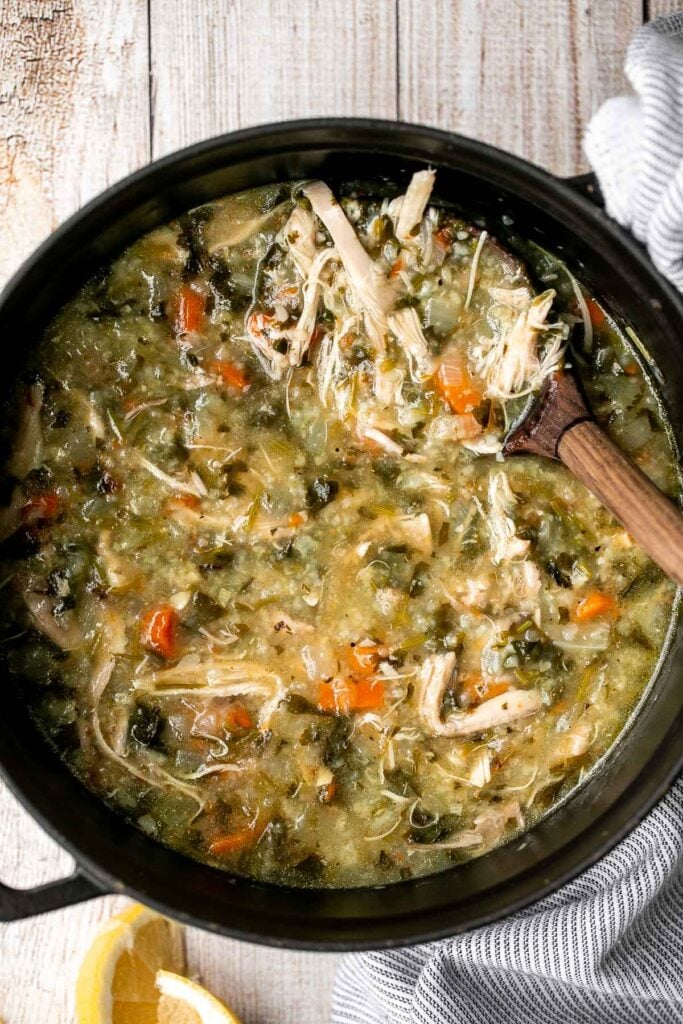
- 25 Warm and Cozy Fall Soup Recipes
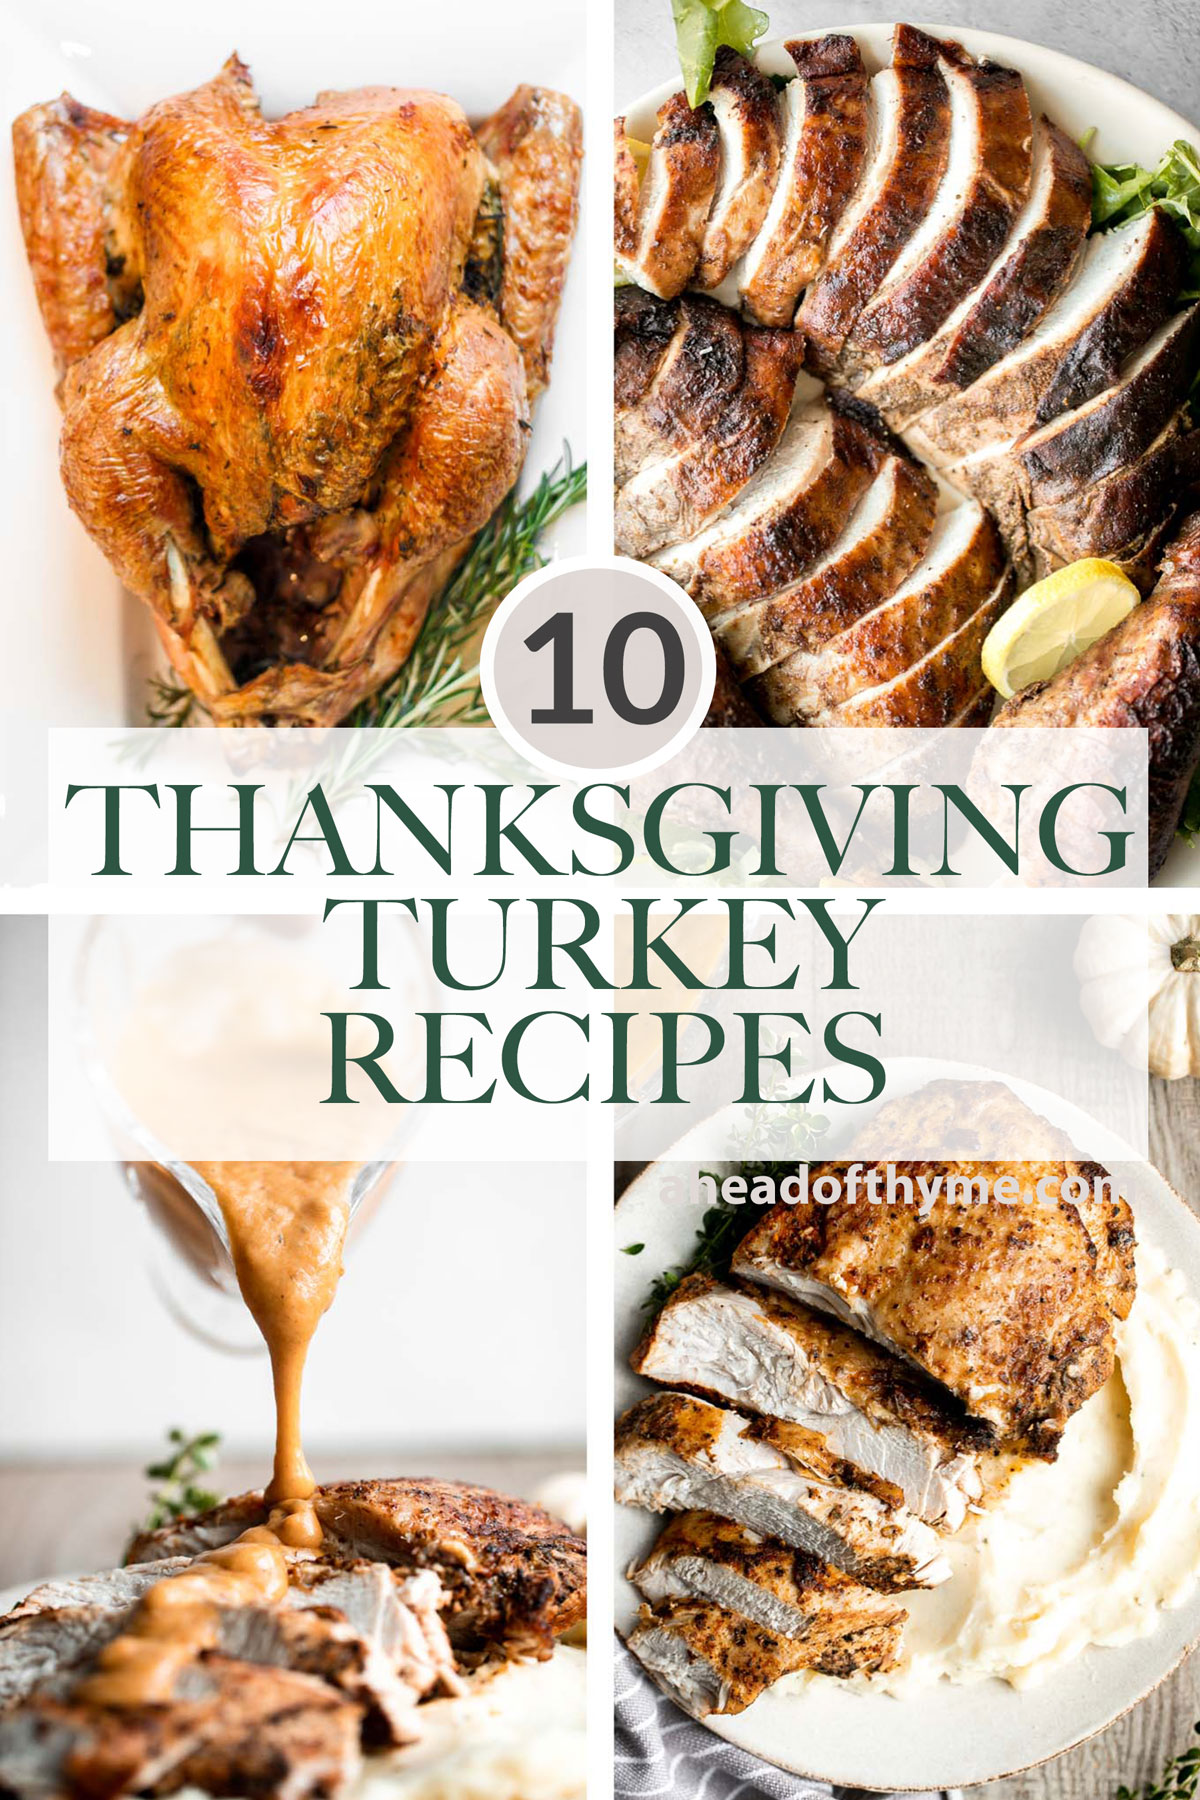
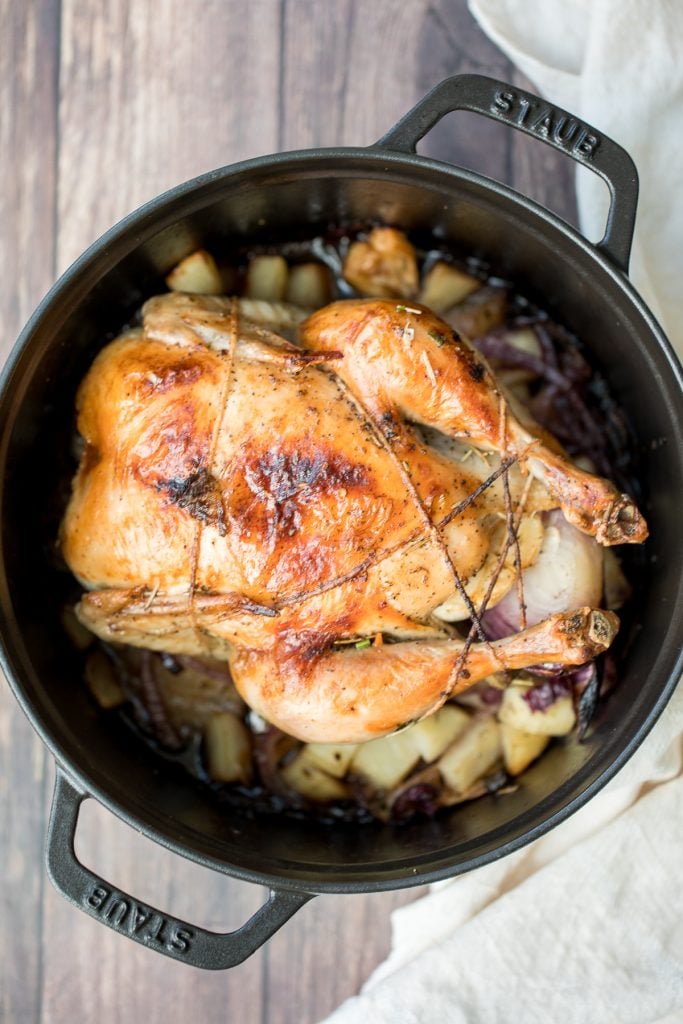
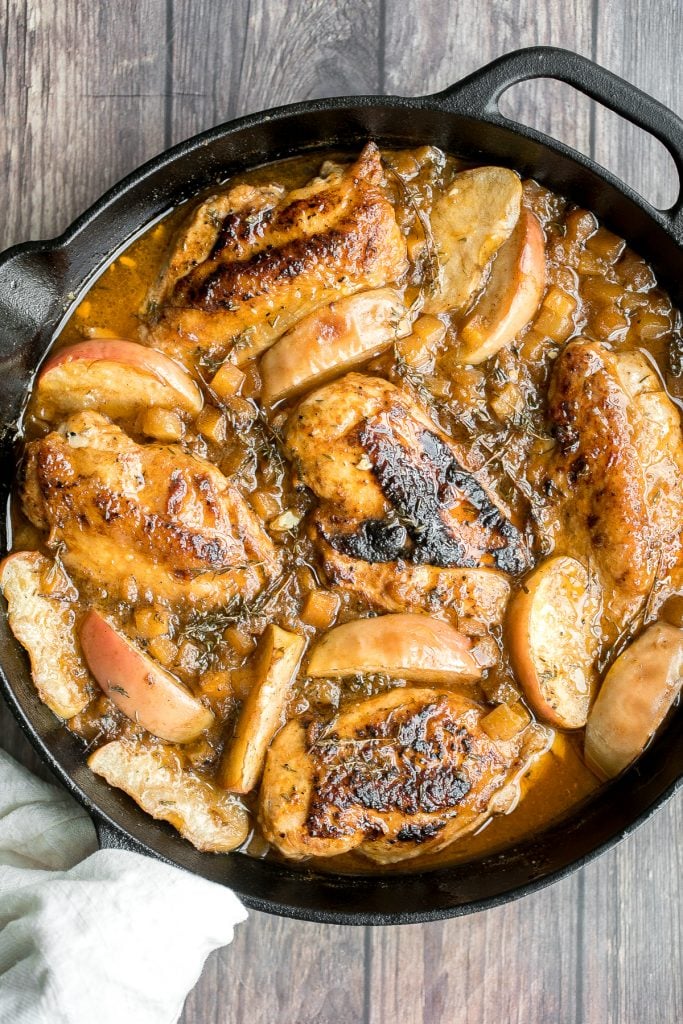
- 40 Best Thanksgiving Main Dishes
- 25 Best Thanksgiving Desserts
- 15 Thanksgiving Bread Recipes
Did You Make Any of These Thanksgiving Salad Recipes?
Please leave a comment and rating below, and let me know what you thought of this round up of these easy Thanksgiving salad recipes at home. Be sure to snap a picture and tag me on Instagram @aheadofthyme or share it on the Pinterest pin so that I can follow along.
HUNGRY FOR MORE? Don't forget to sign up for my email newsletter so that you don't miss any recipes. You can also follow along on Instagram and Pinterest for more recipe updates.