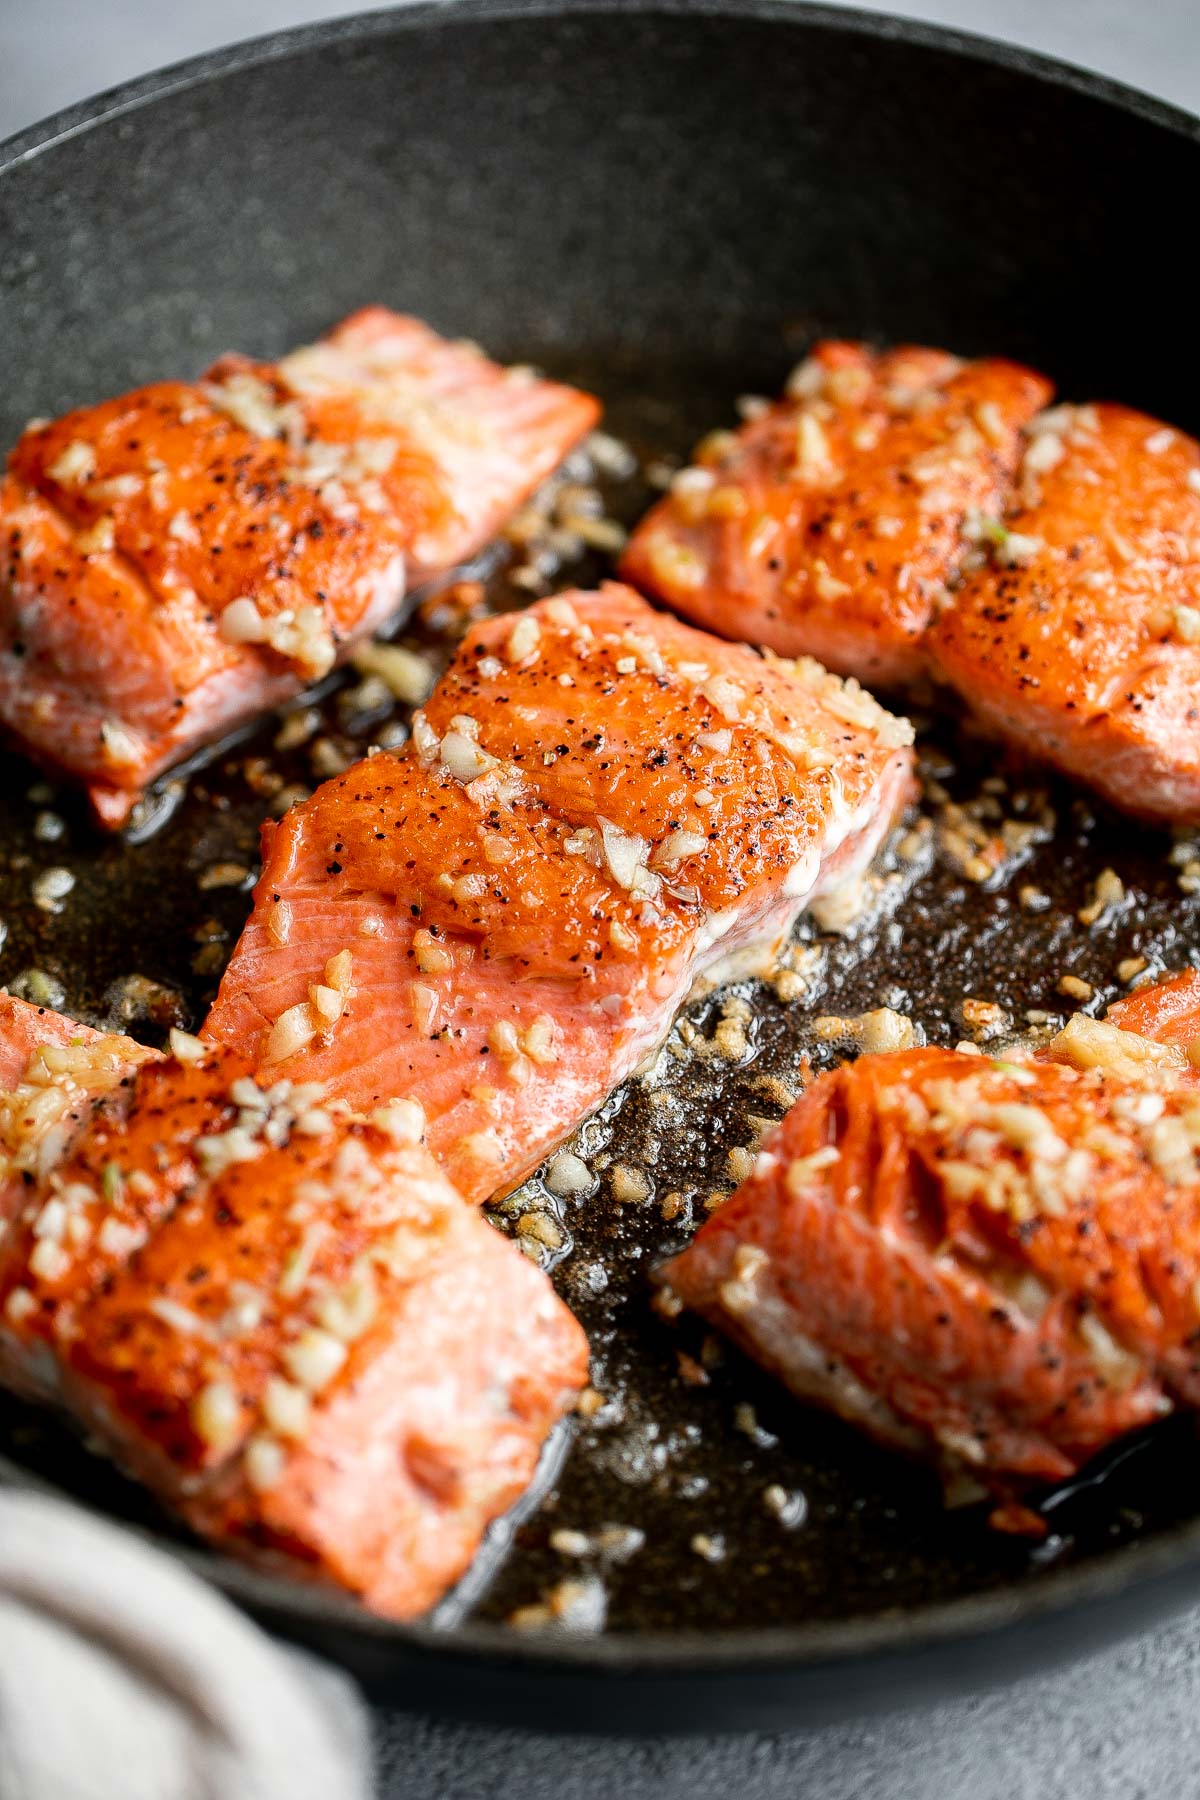
Preparing a keto-friendly feast and wondering what keto side dishes to serve with it? So if you're cooking a ketogenic main course, like a succulent steak or a flavorful salmon, and wondering, "what to serve with keto meals," you're in the right place! We've compiled a collection of the 30 Best Keto Side Dishes featuring an assortment of low-carb sides including fresh salads, roasted veggies, creamy mashed vegetables, healthy soups, and more.
These mouthwatering recipes are perfect for anyone following a keto diet, whether you're just starting out or a seasoned keto pro. So get ready to elevate your keto dining experience!
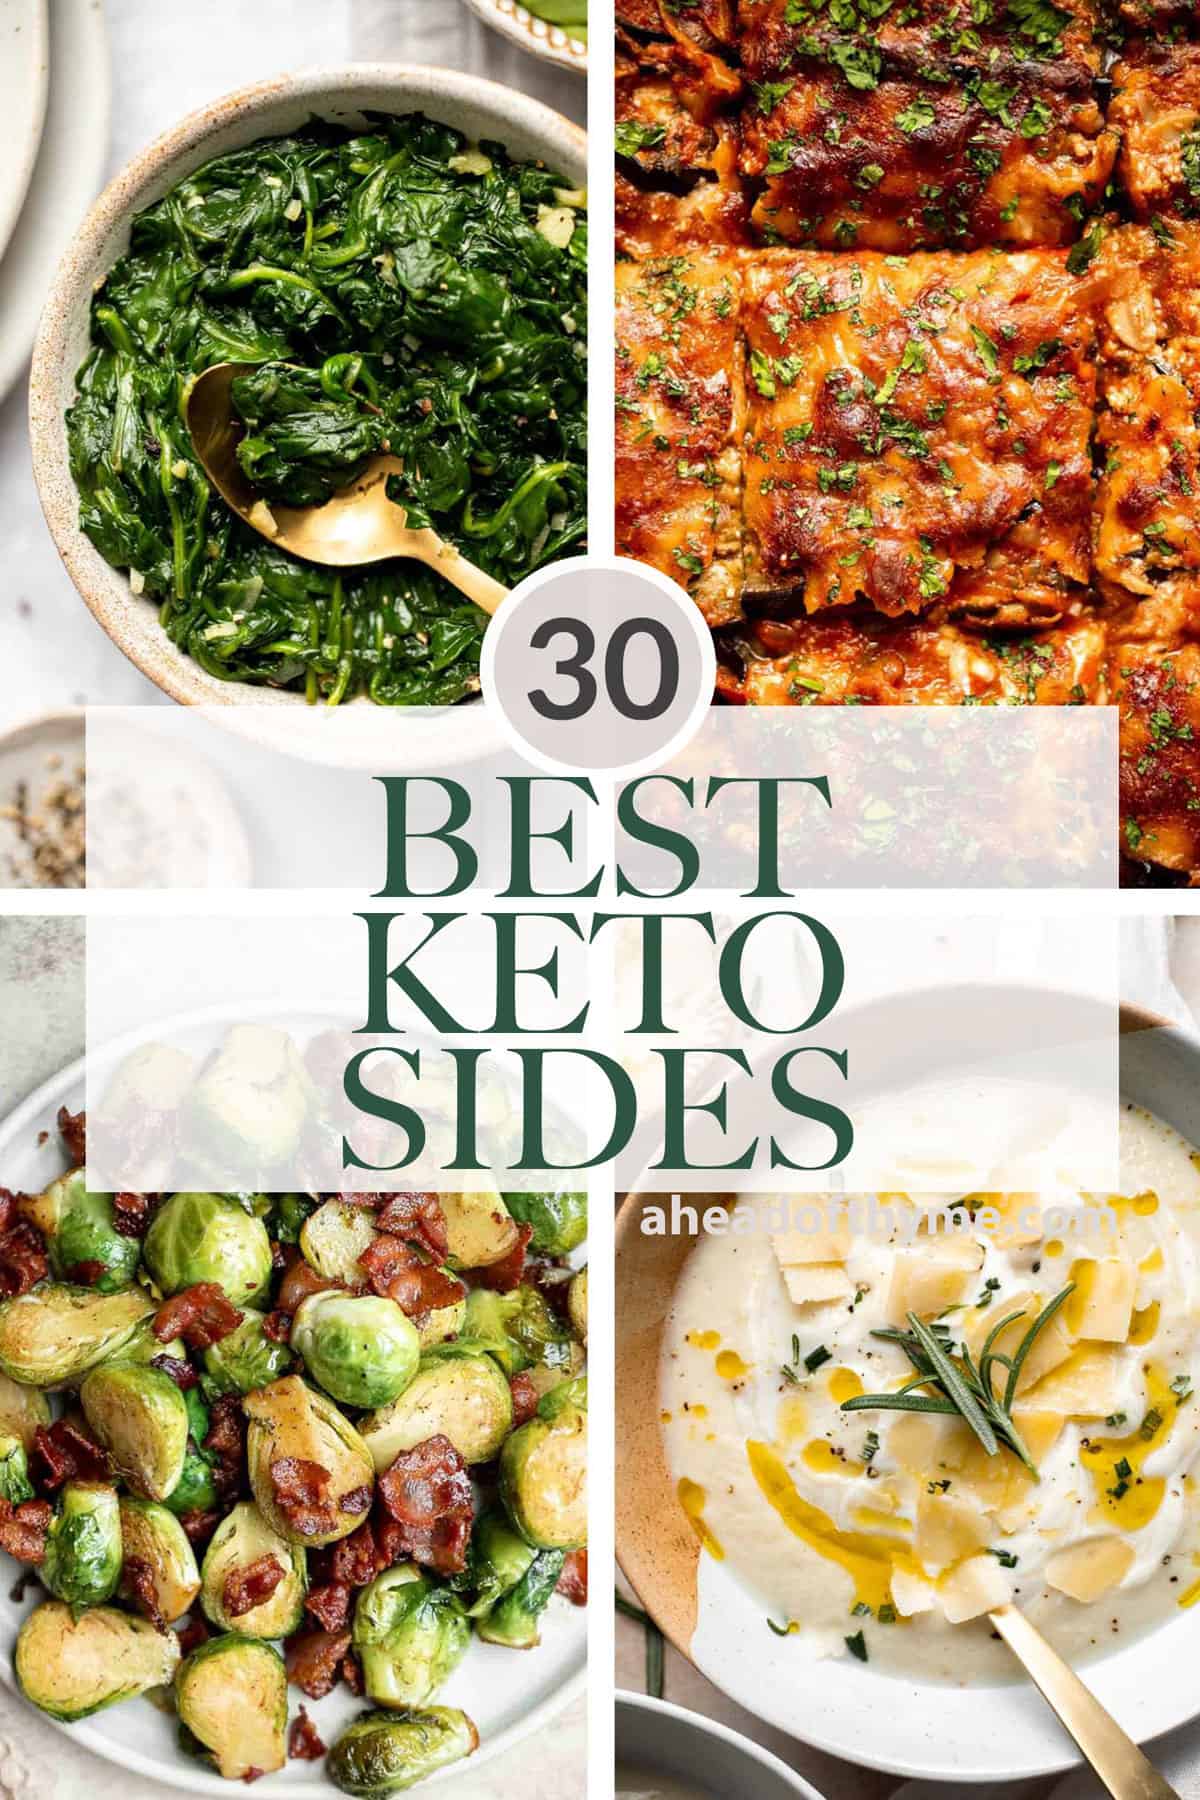
Best Keto Side Dishes
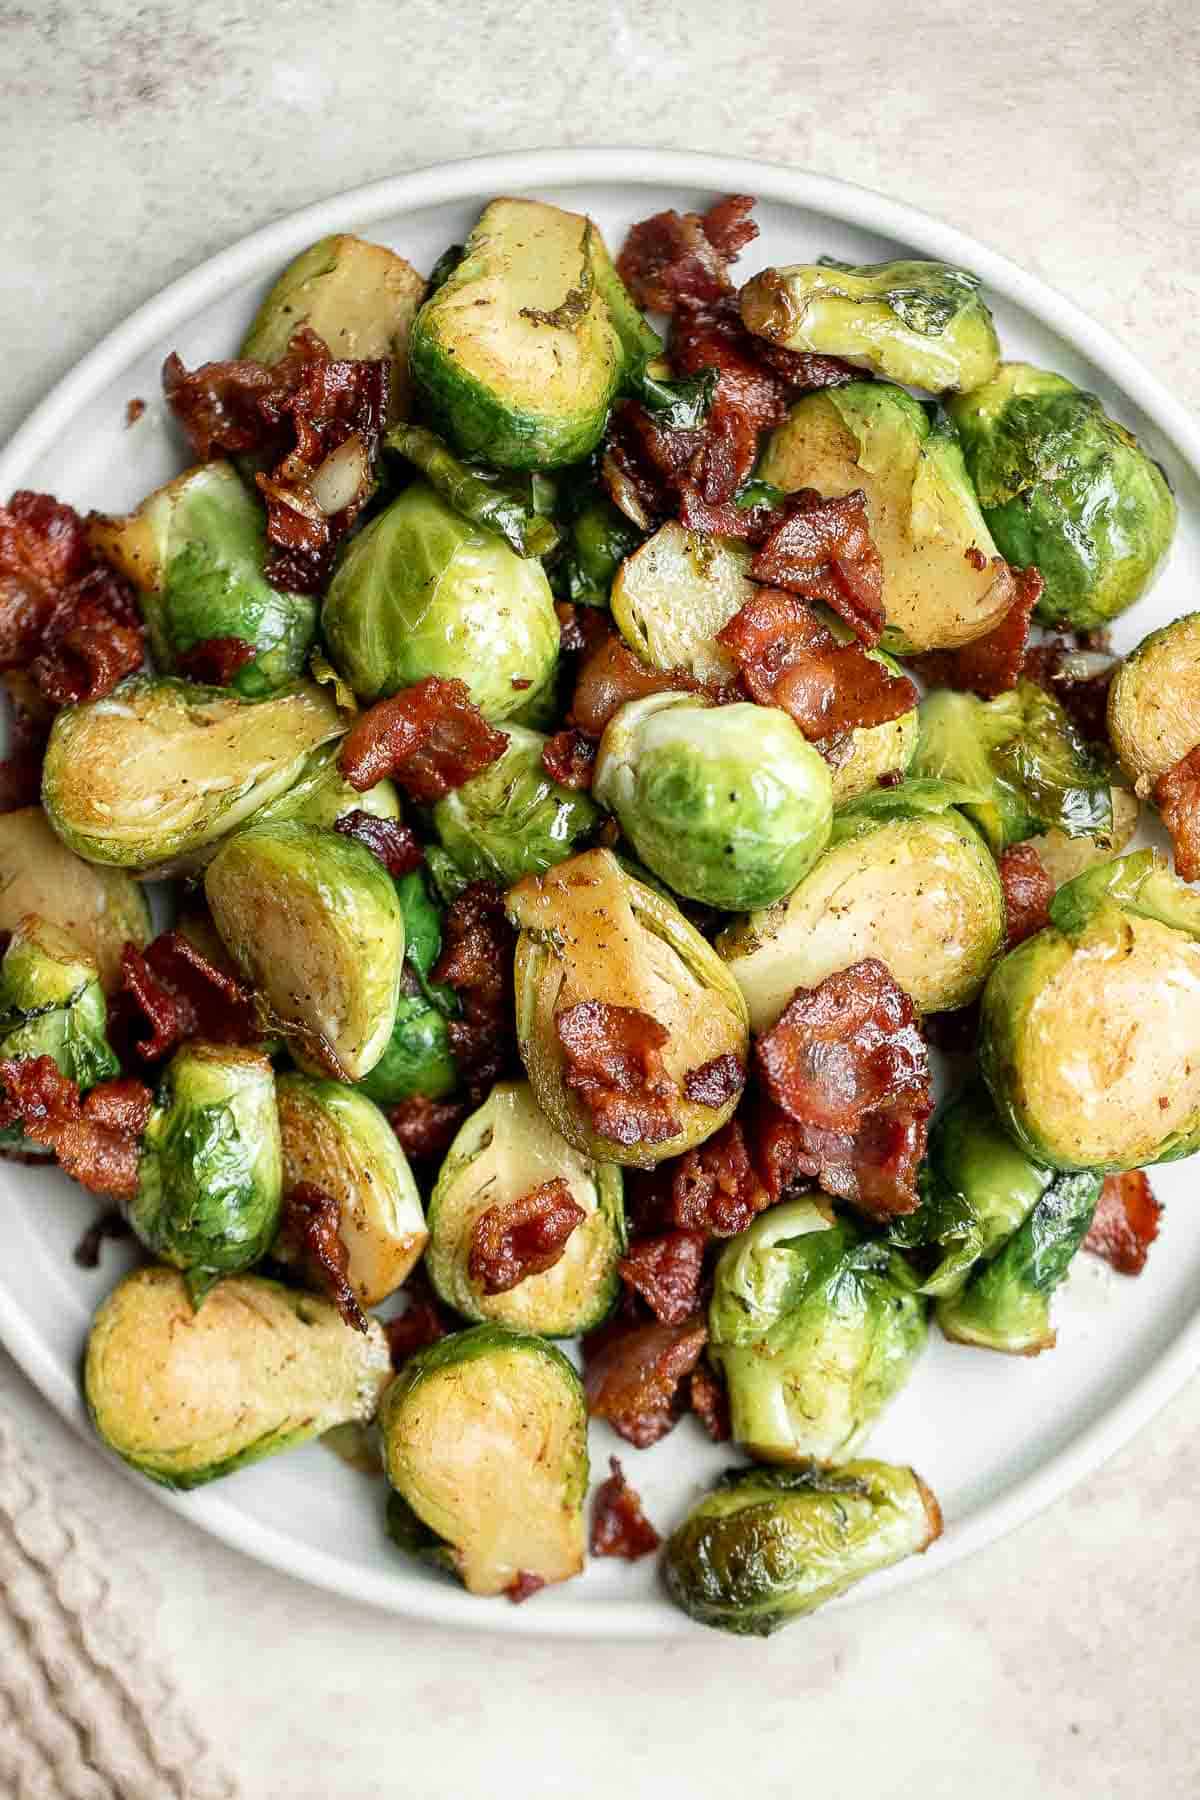
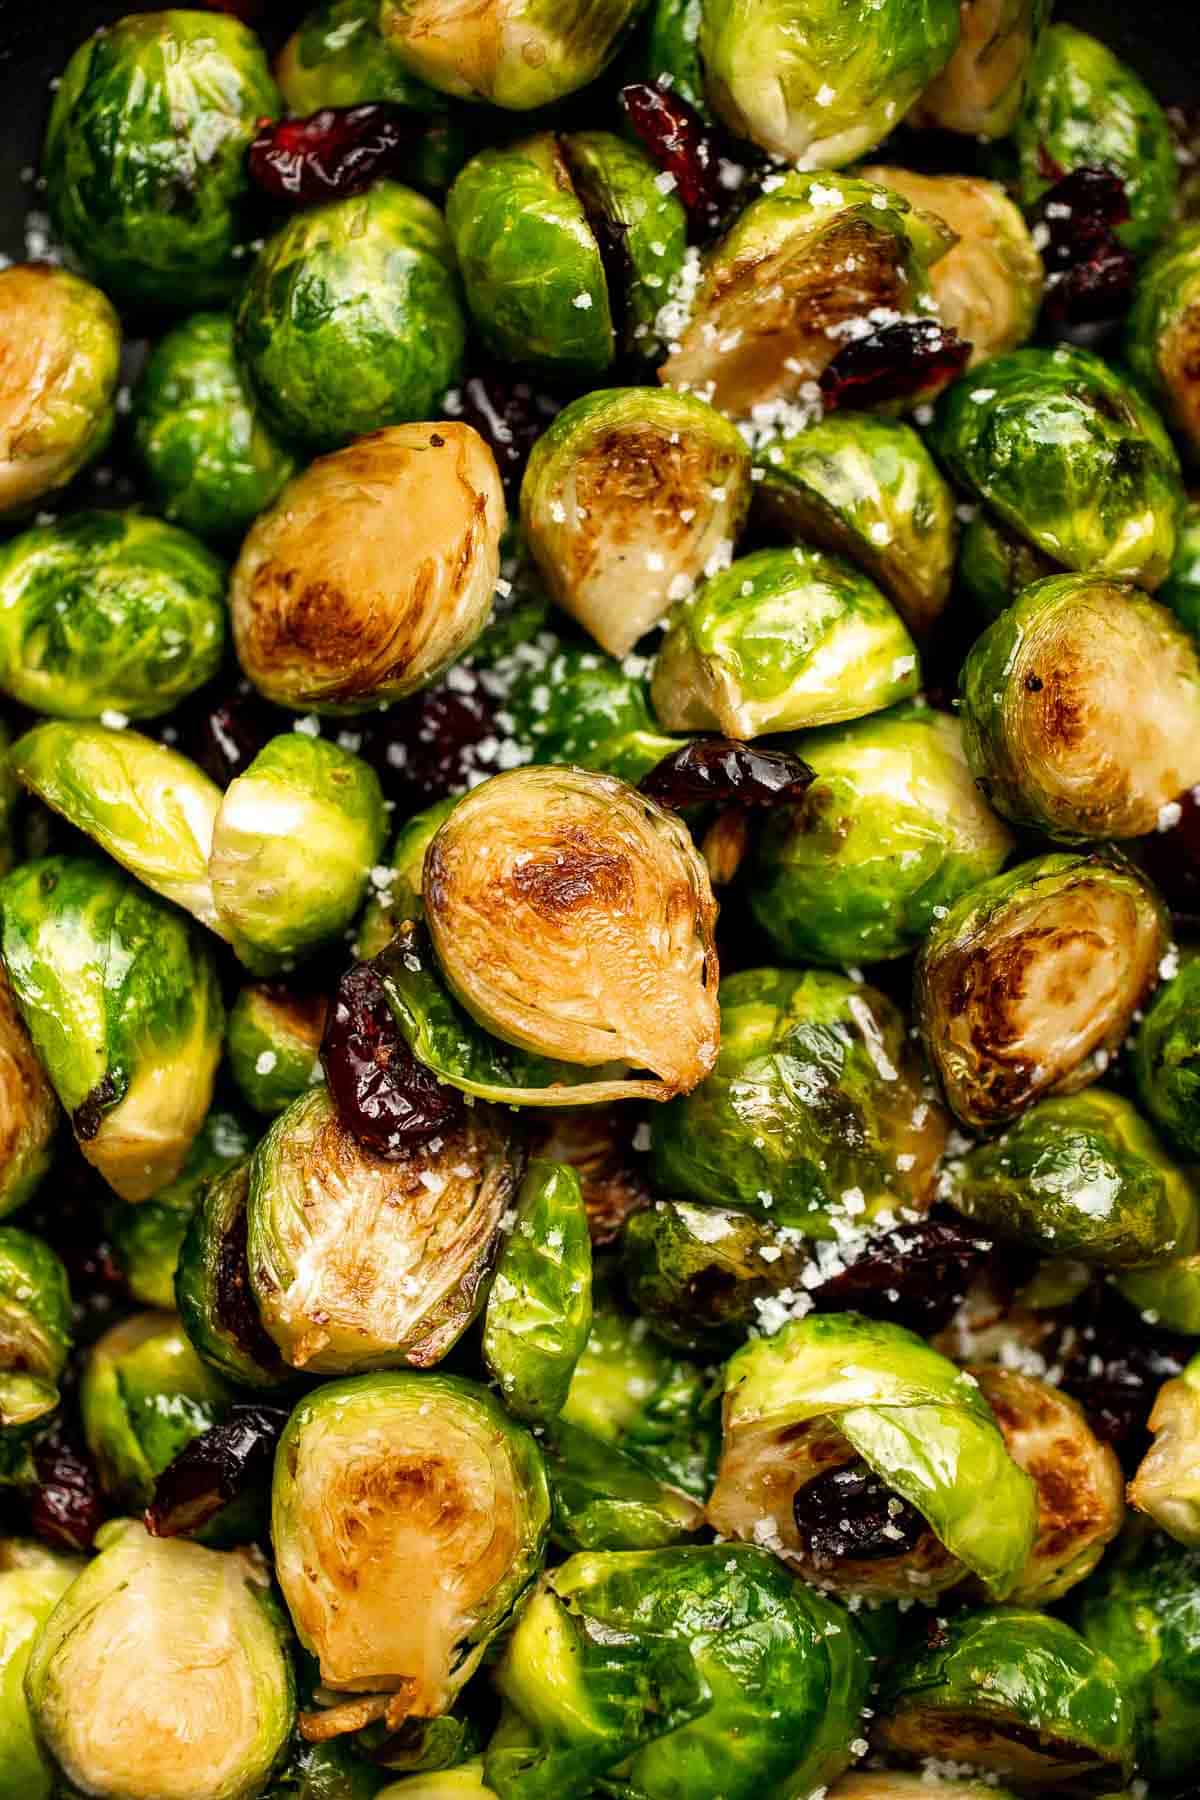
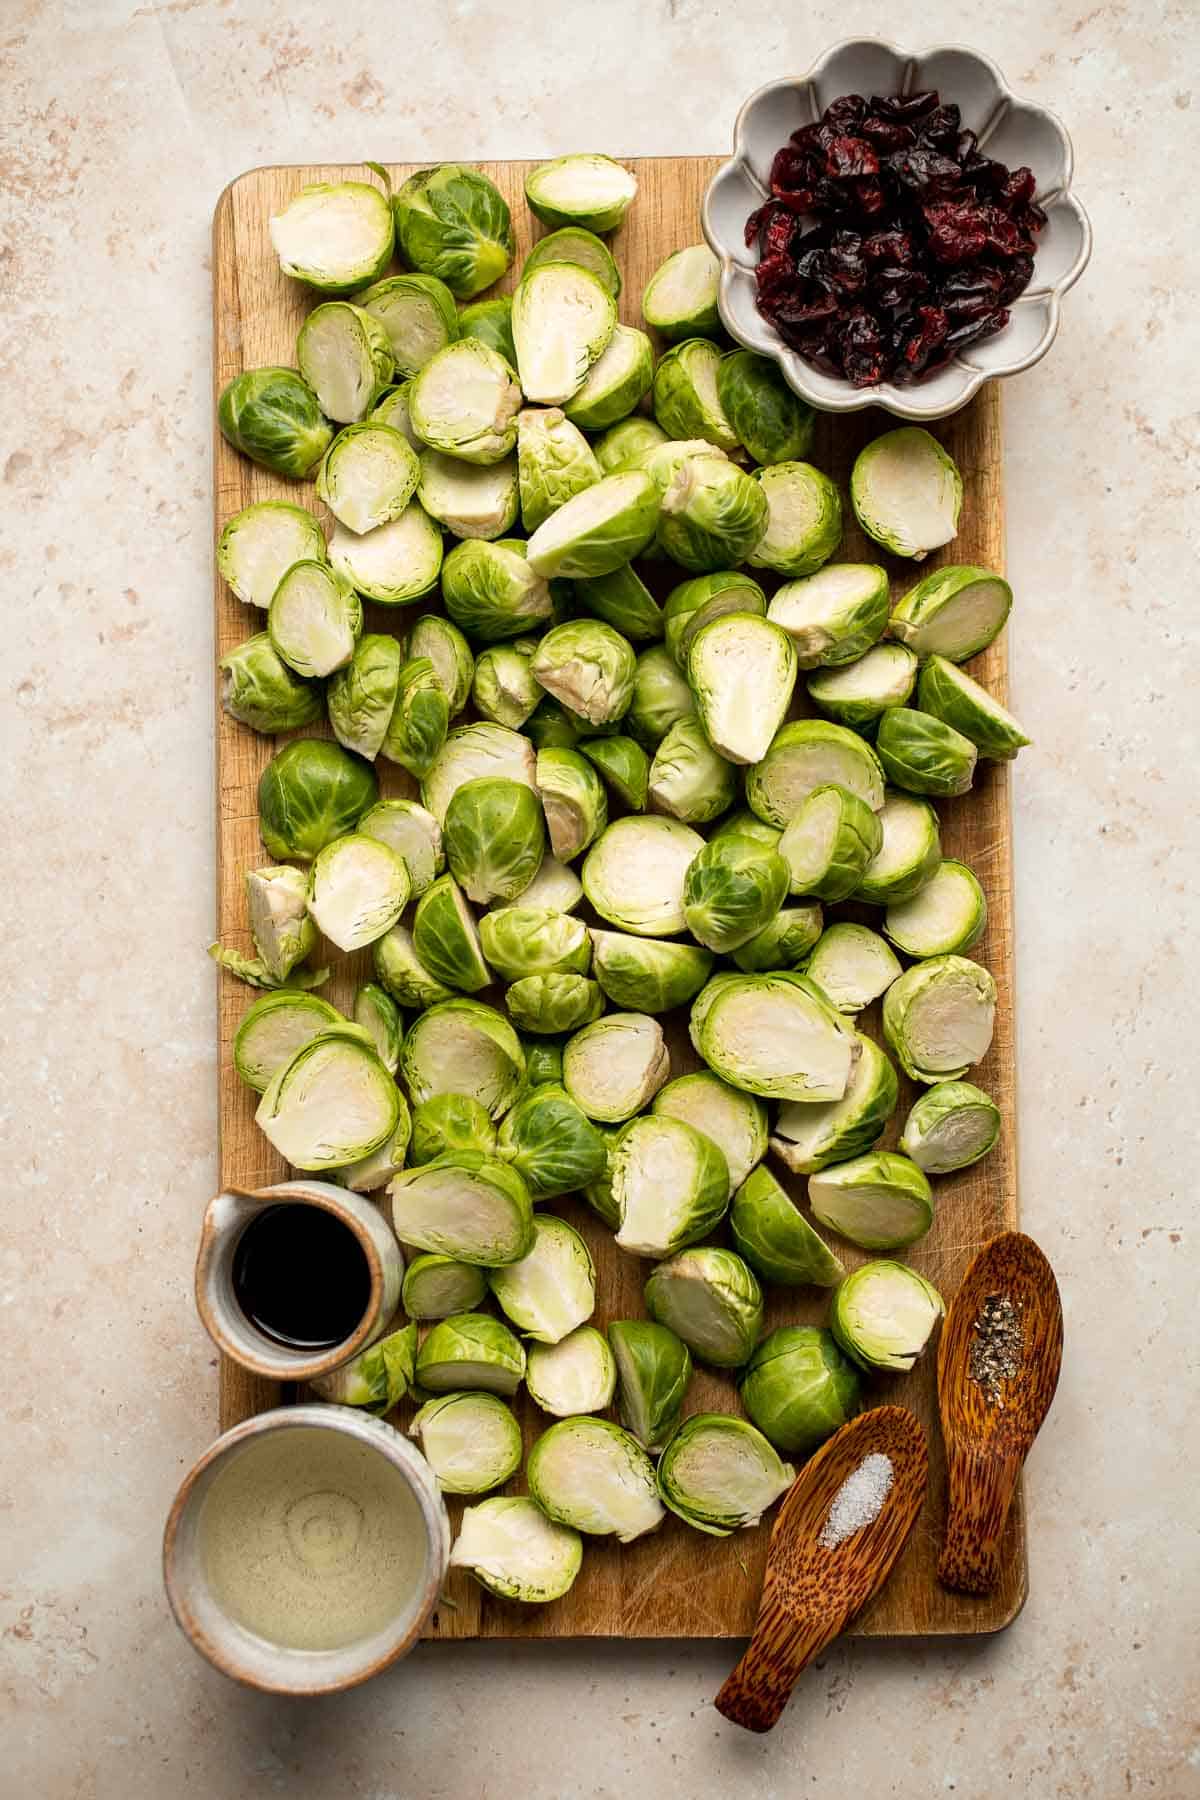
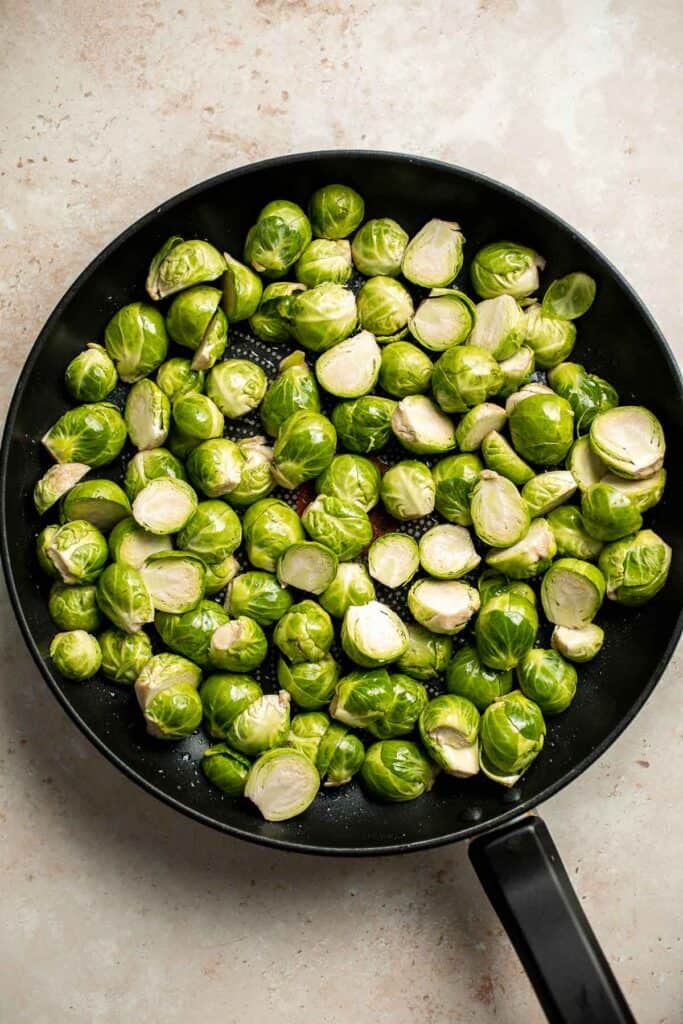
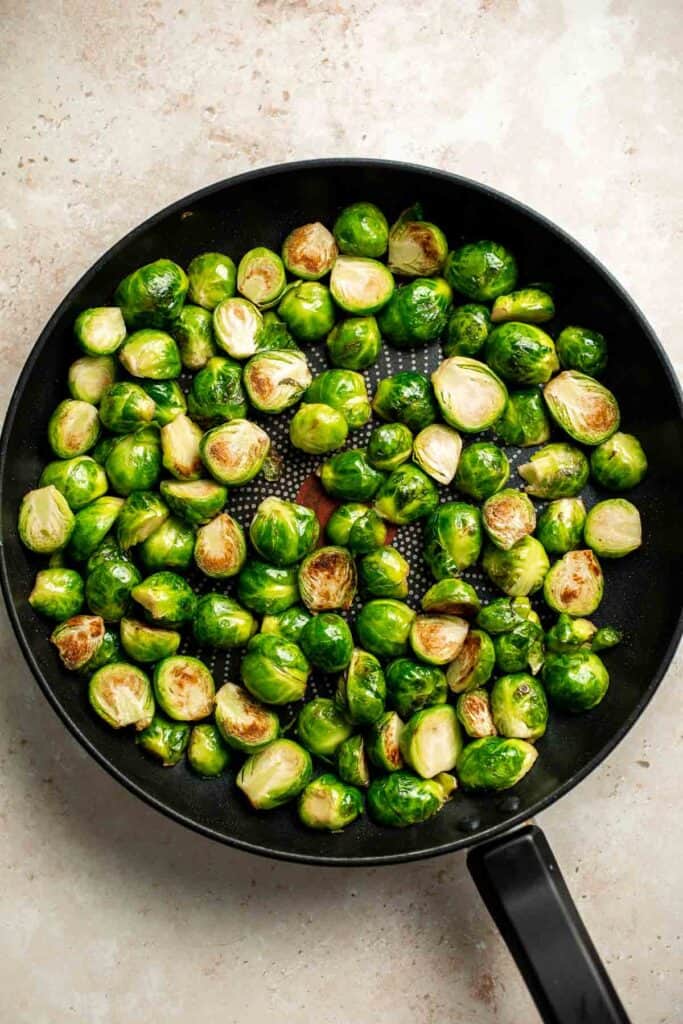
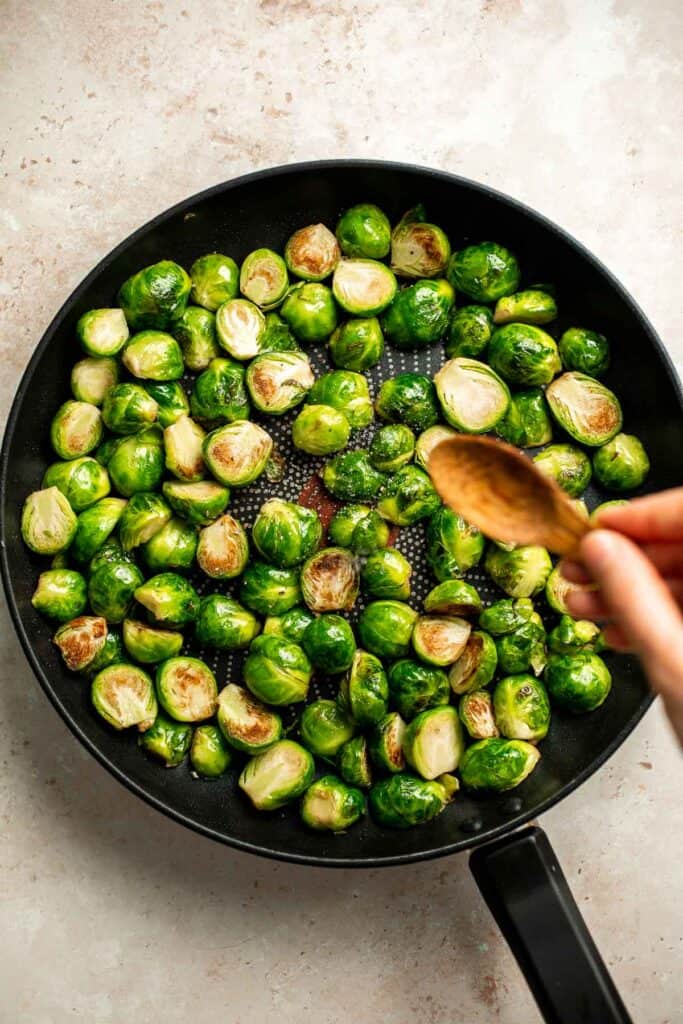
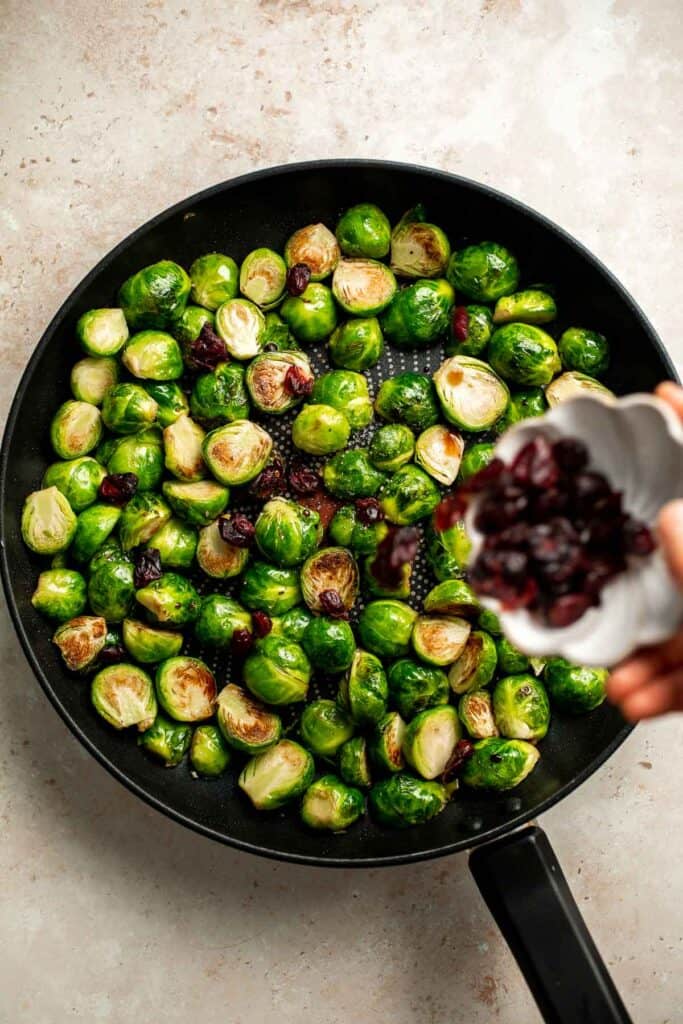
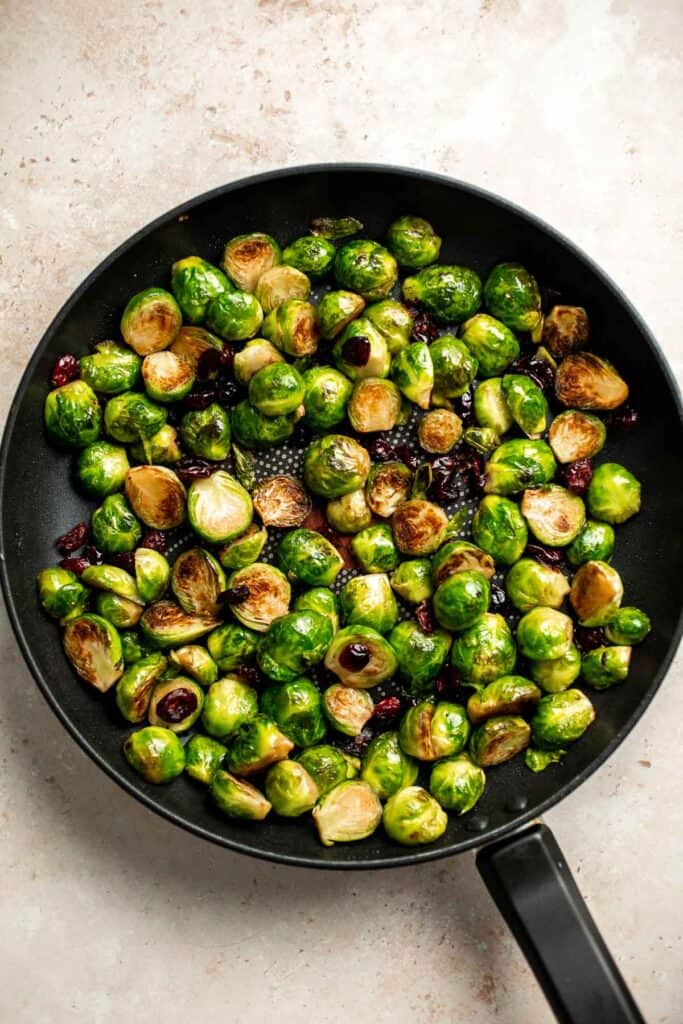
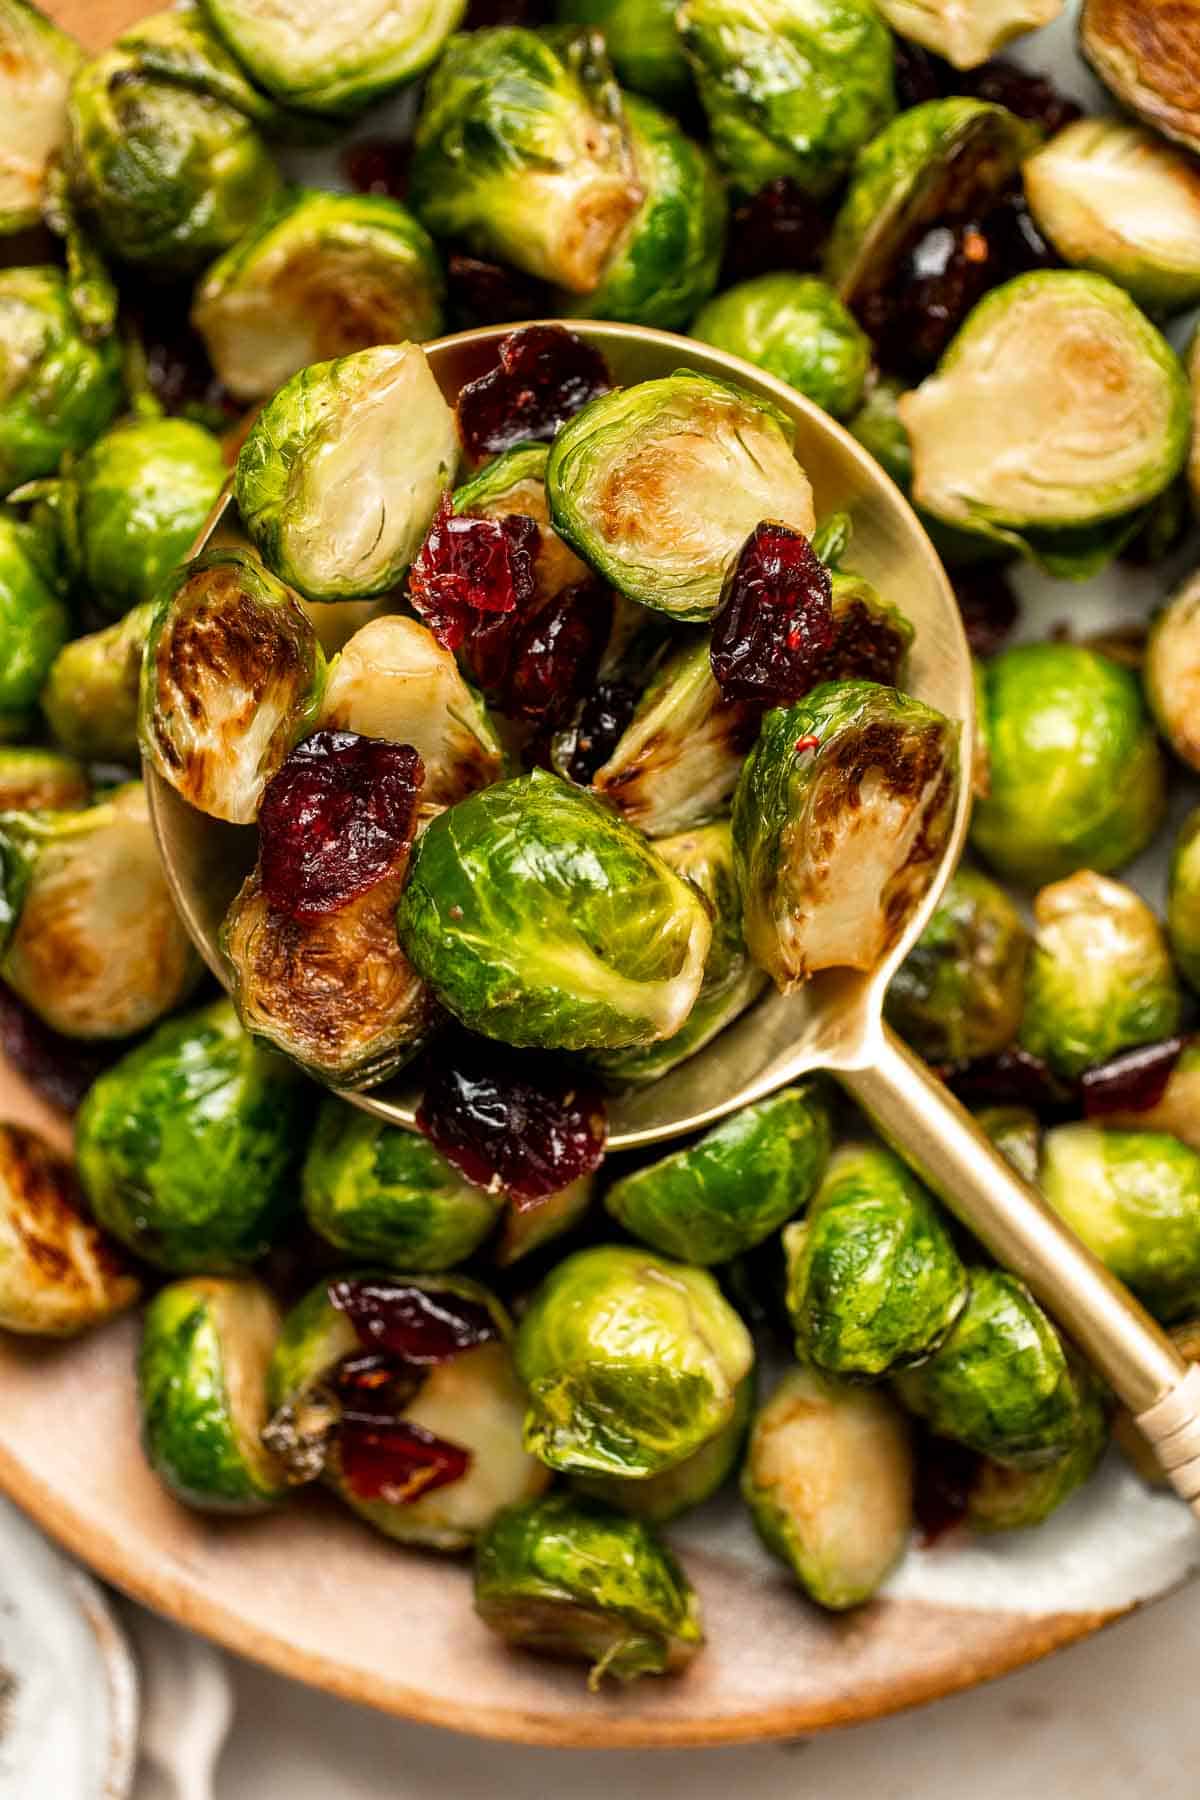
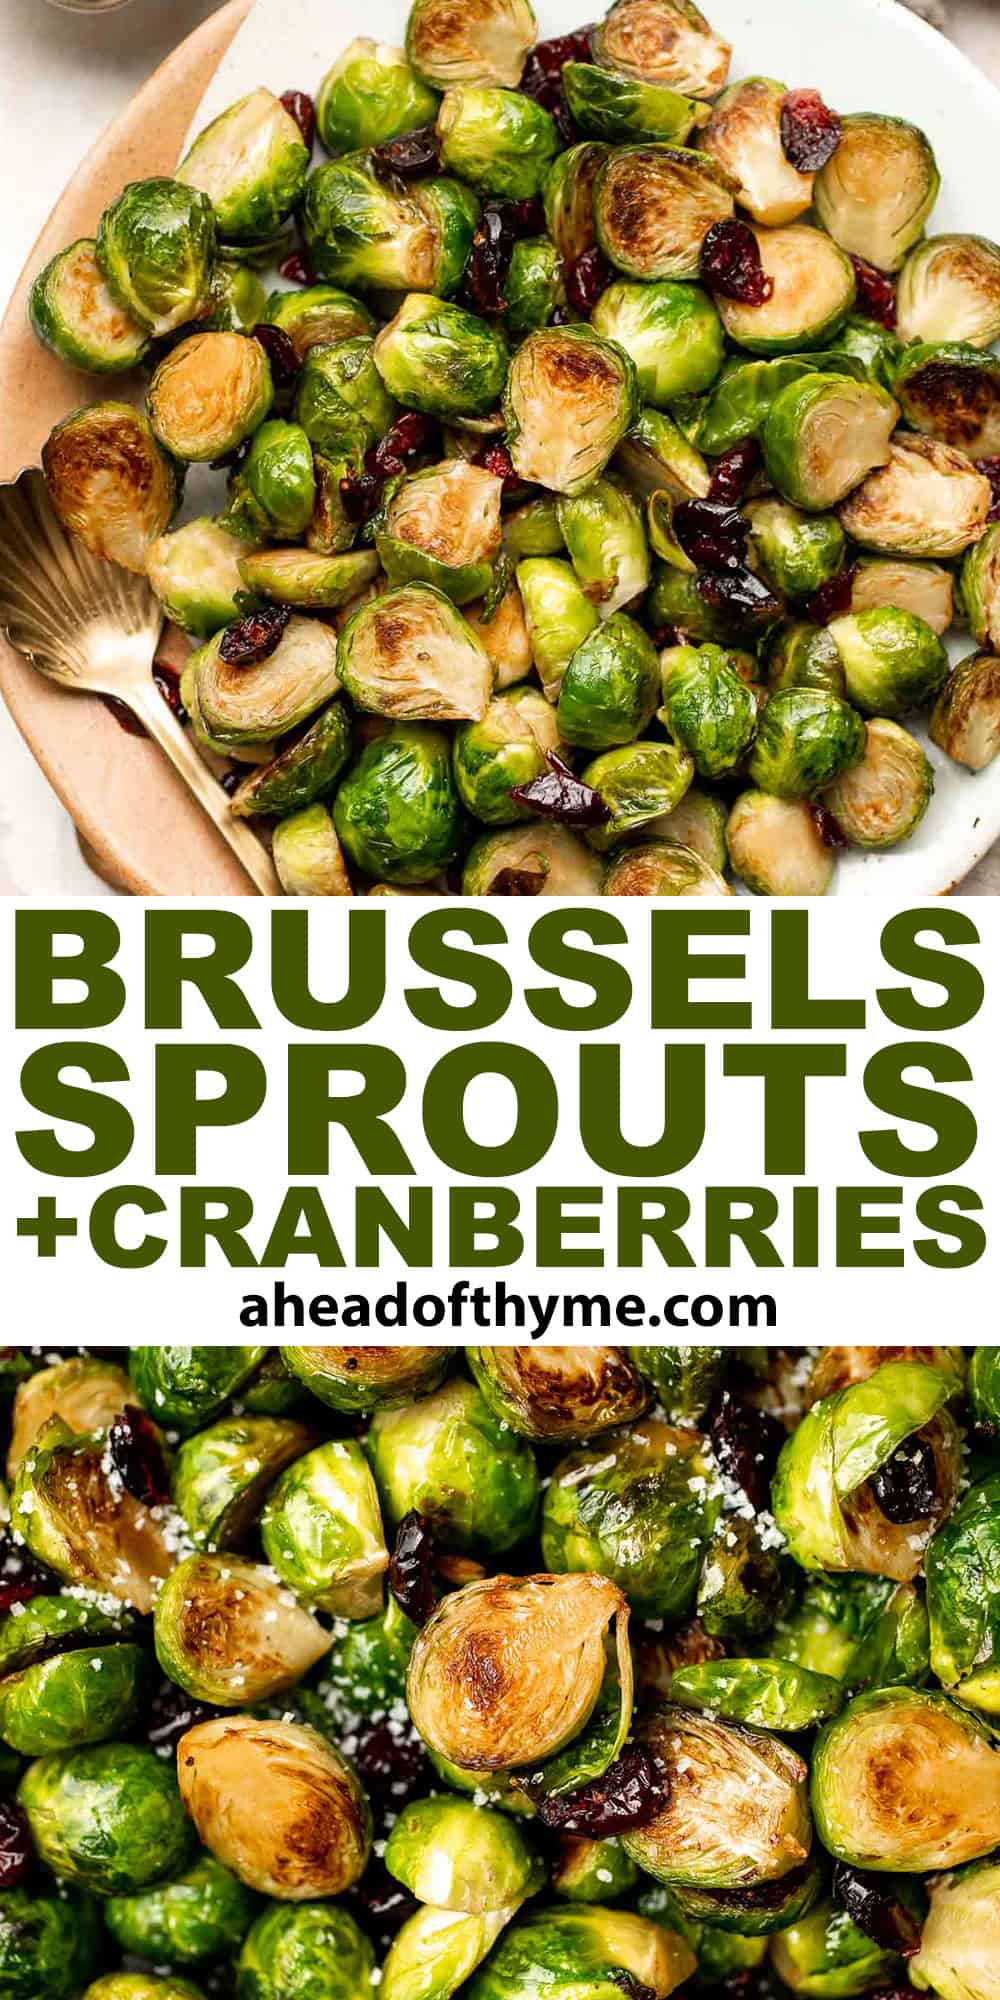
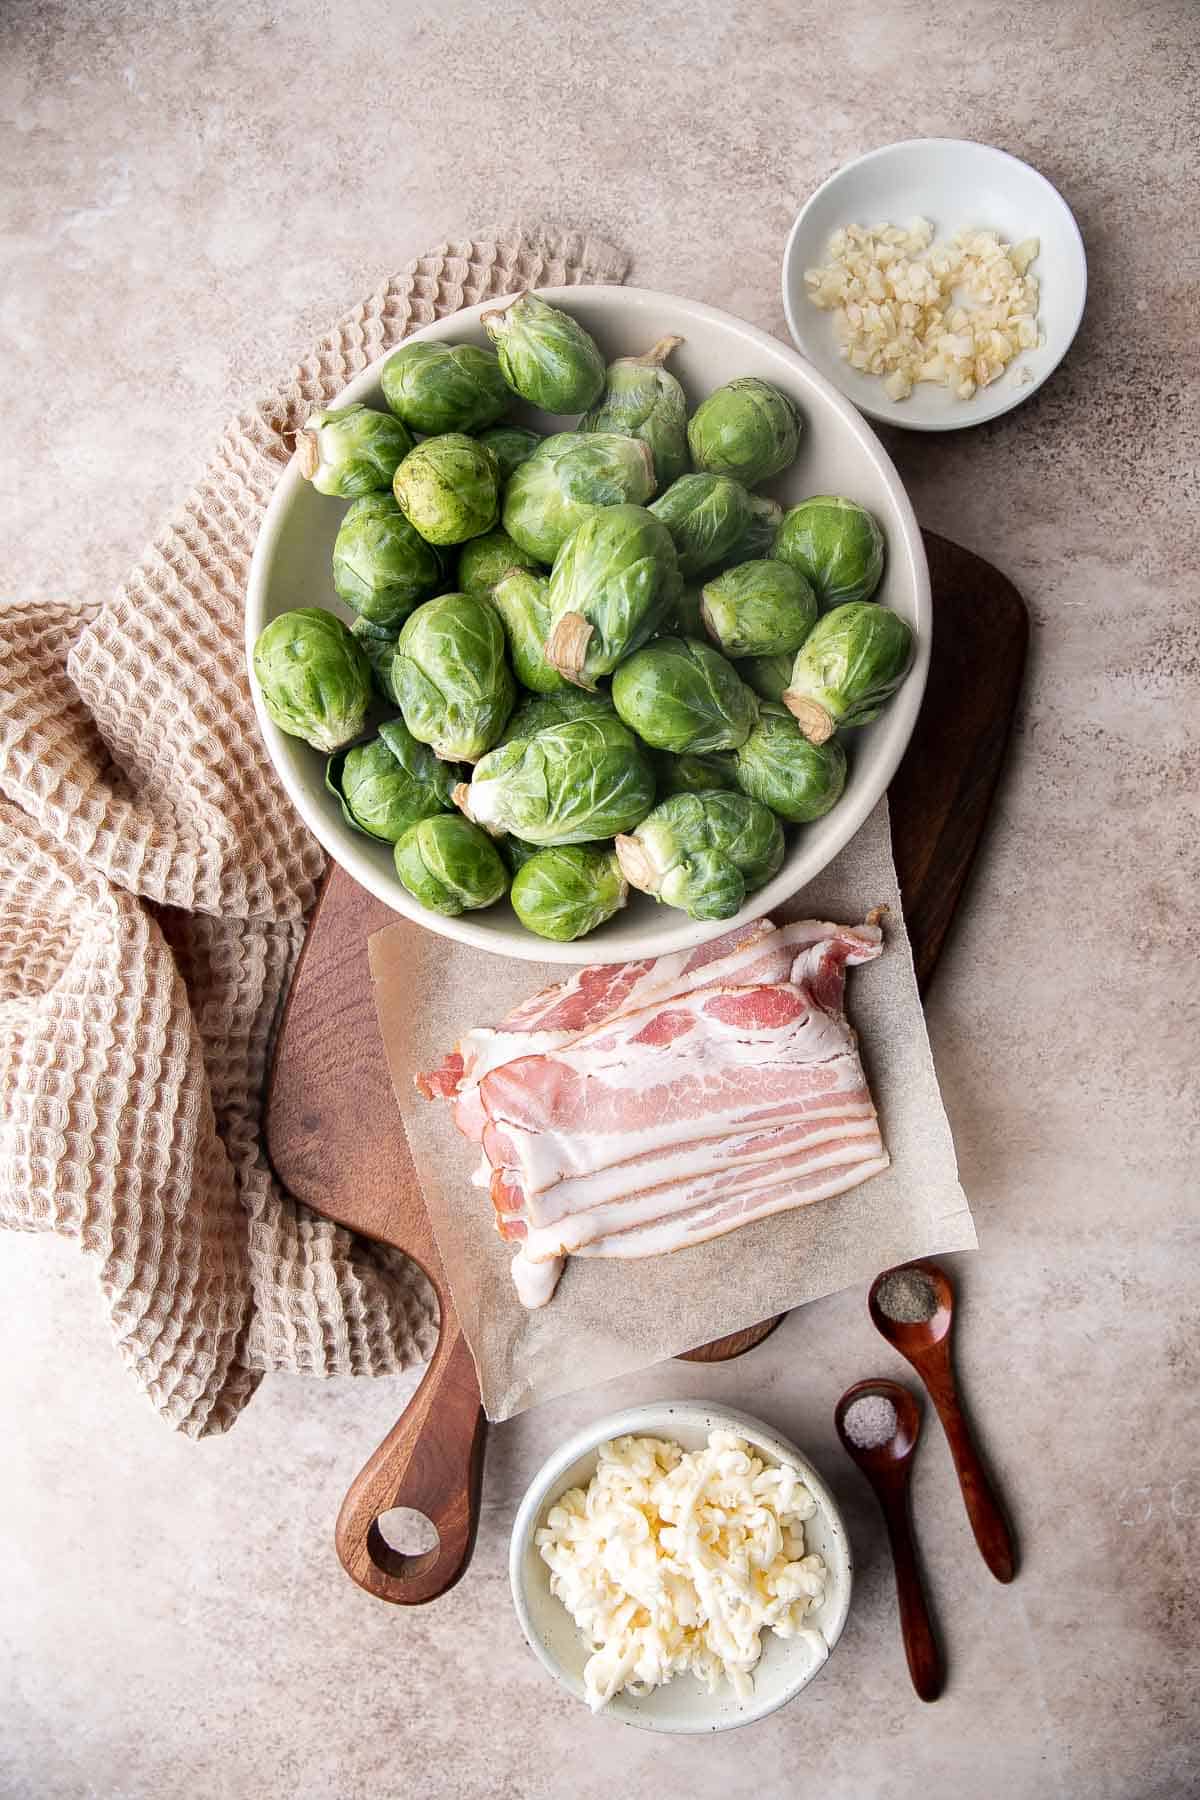
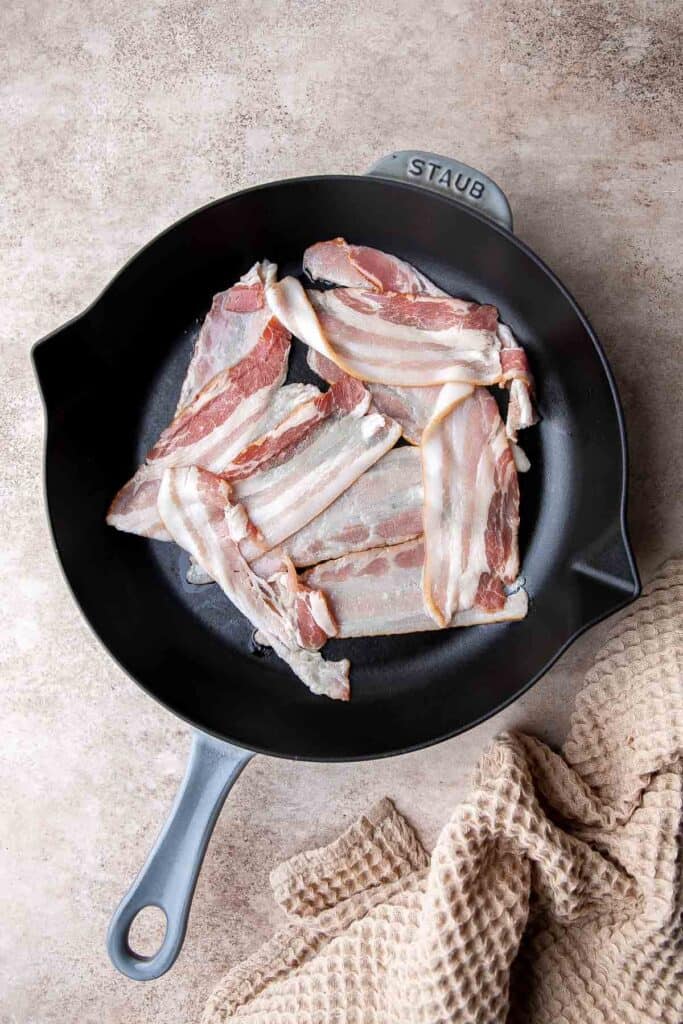
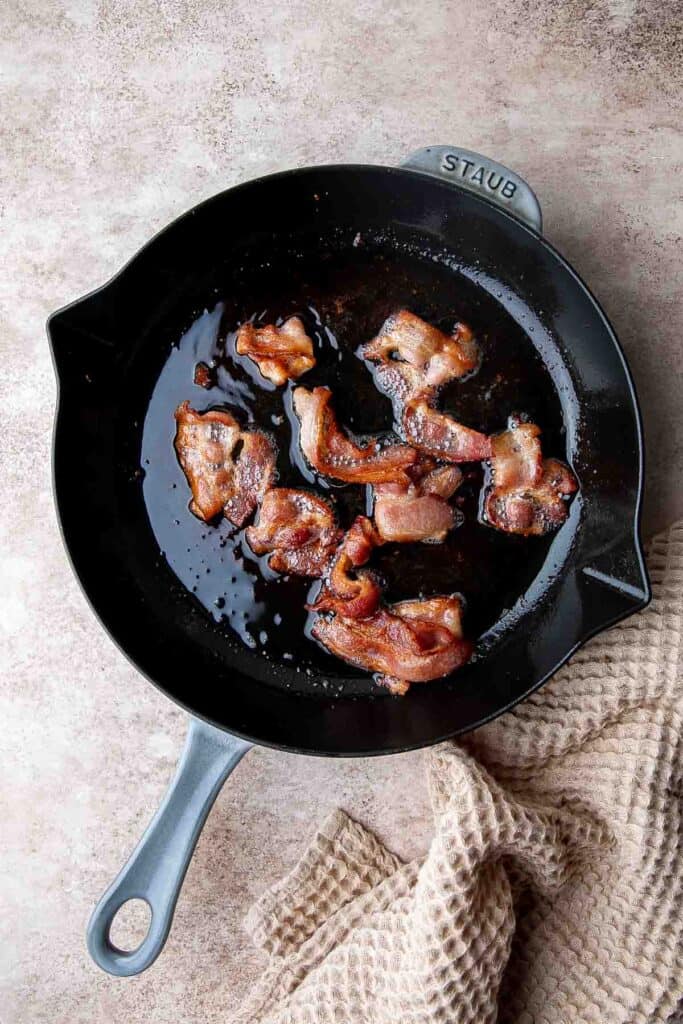
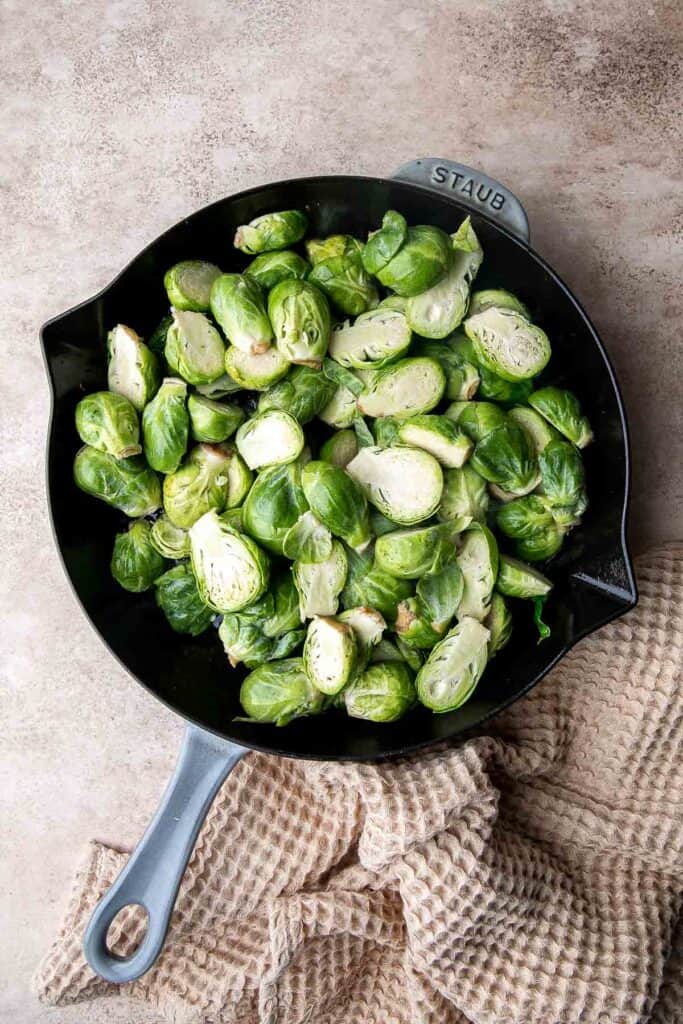
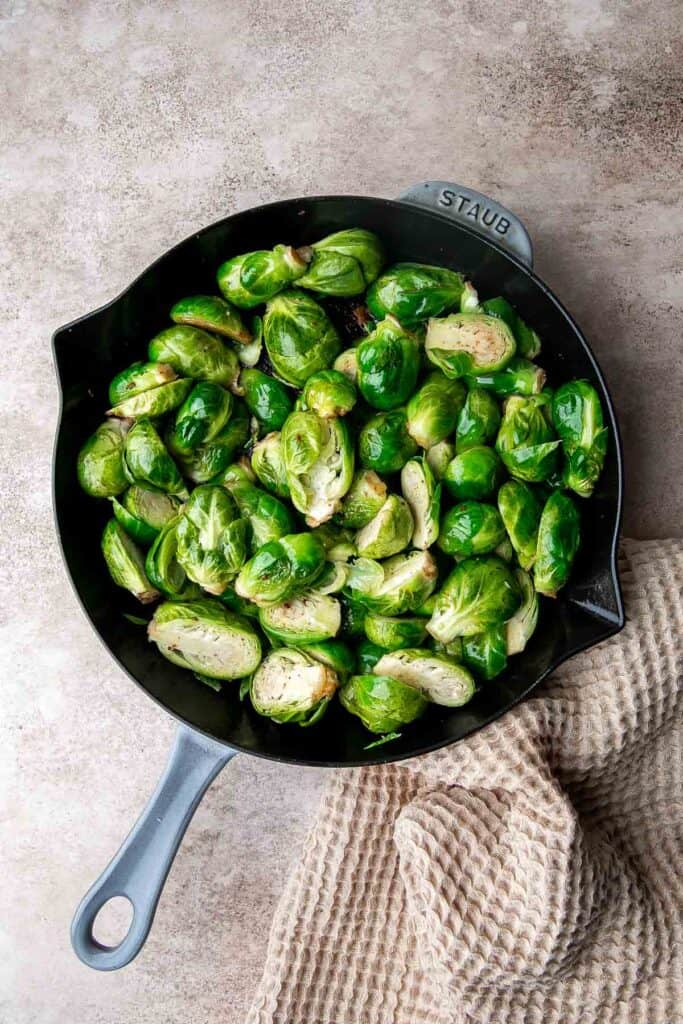
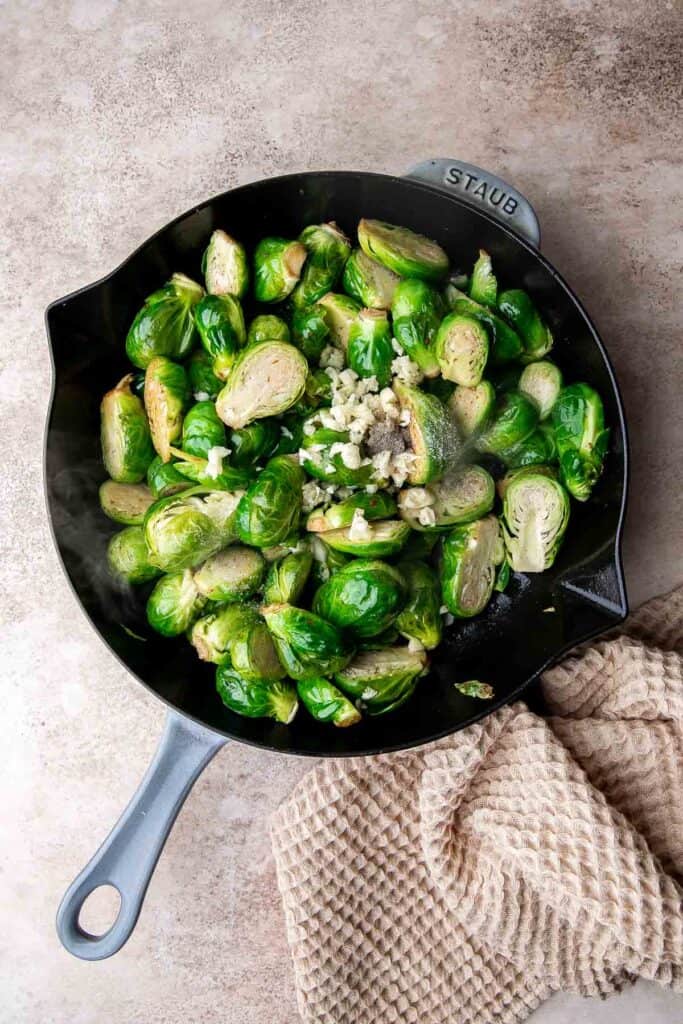
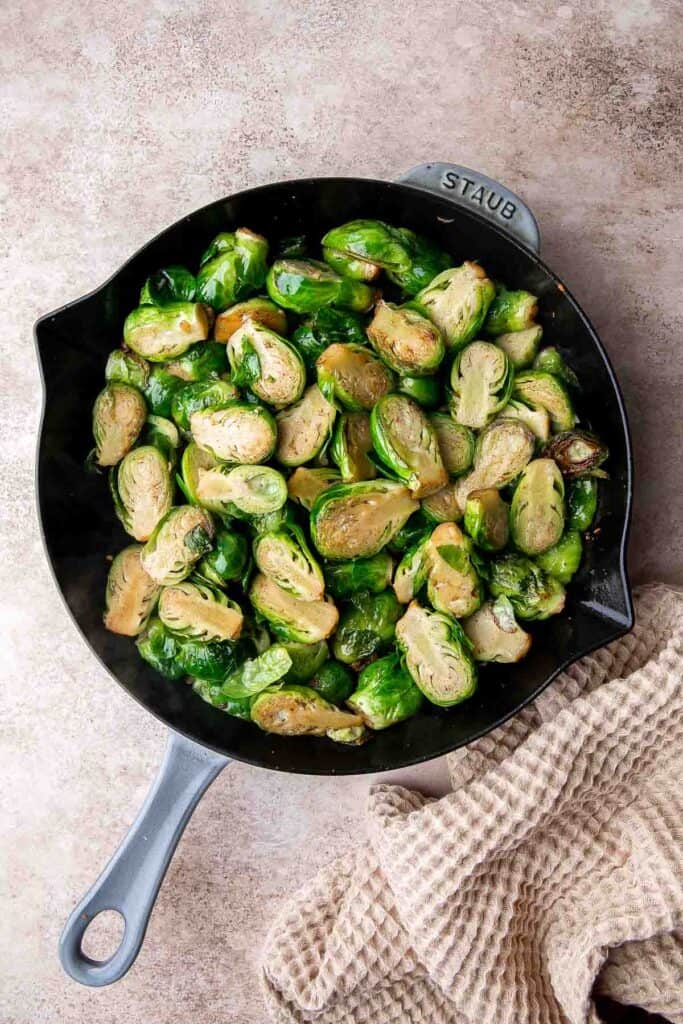
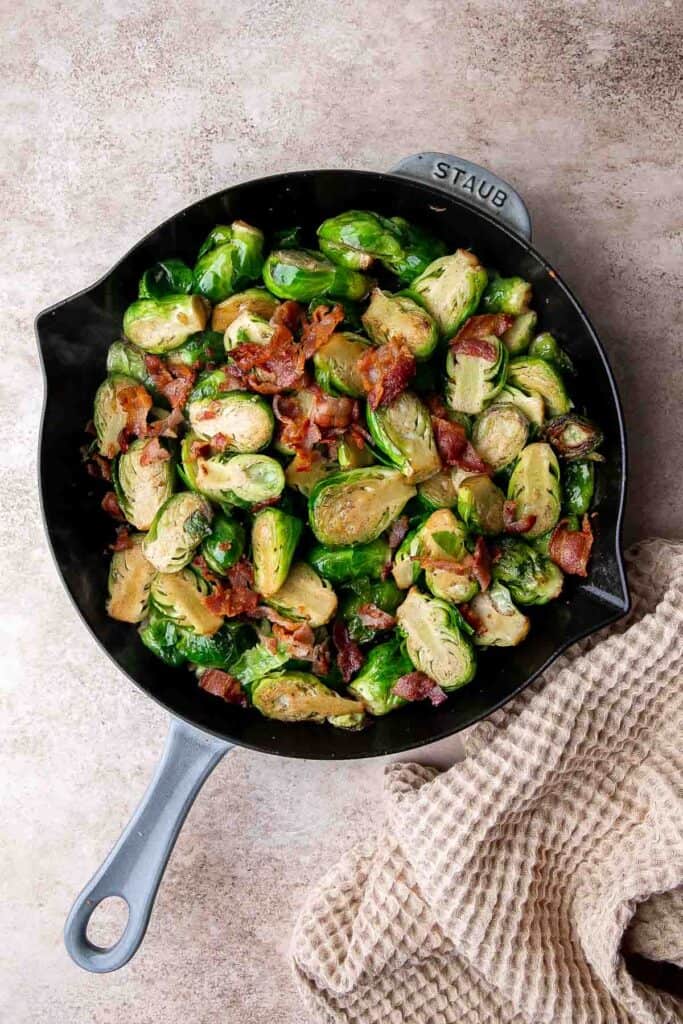
Brussels Sprouts with Bacon is a quick and easy side dish with the best flavor and texture. The best part? This holiday side is ready in under 15 minutes.
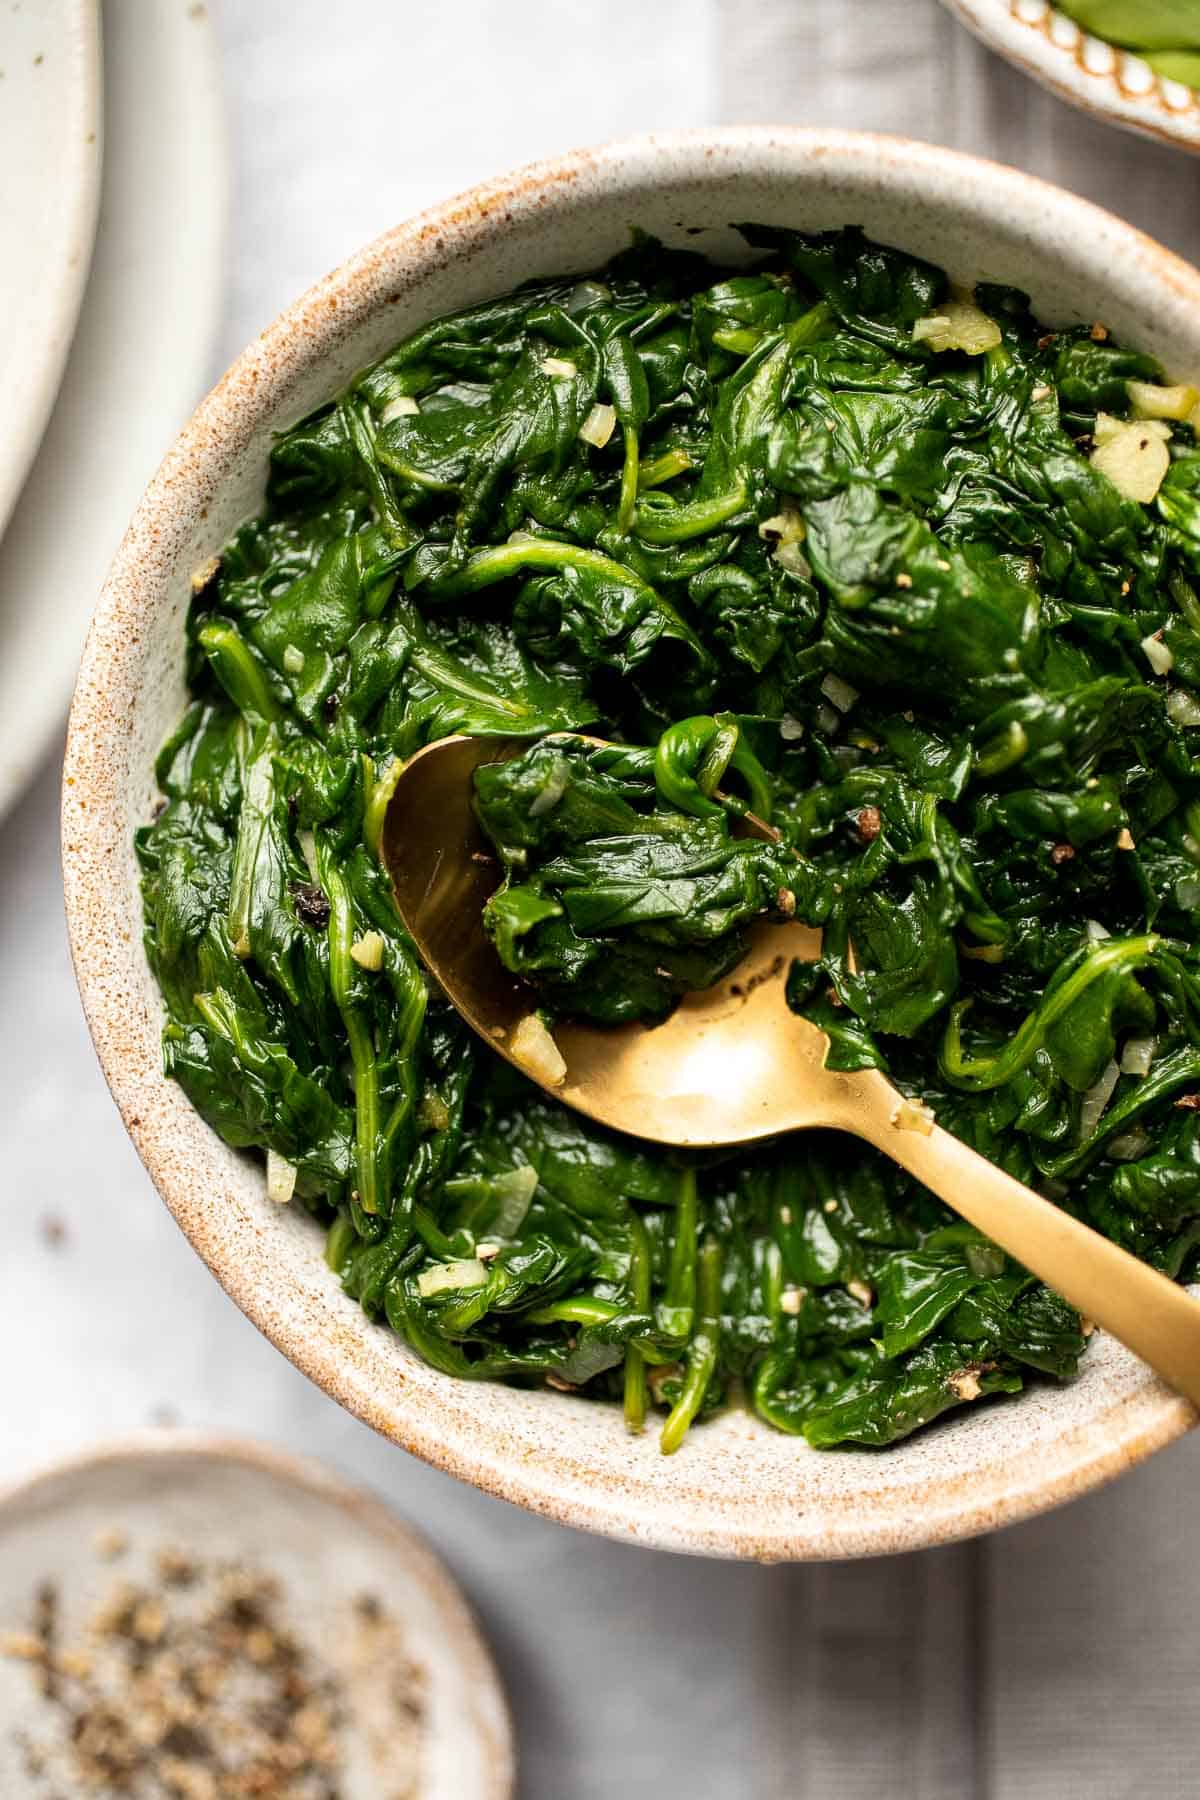
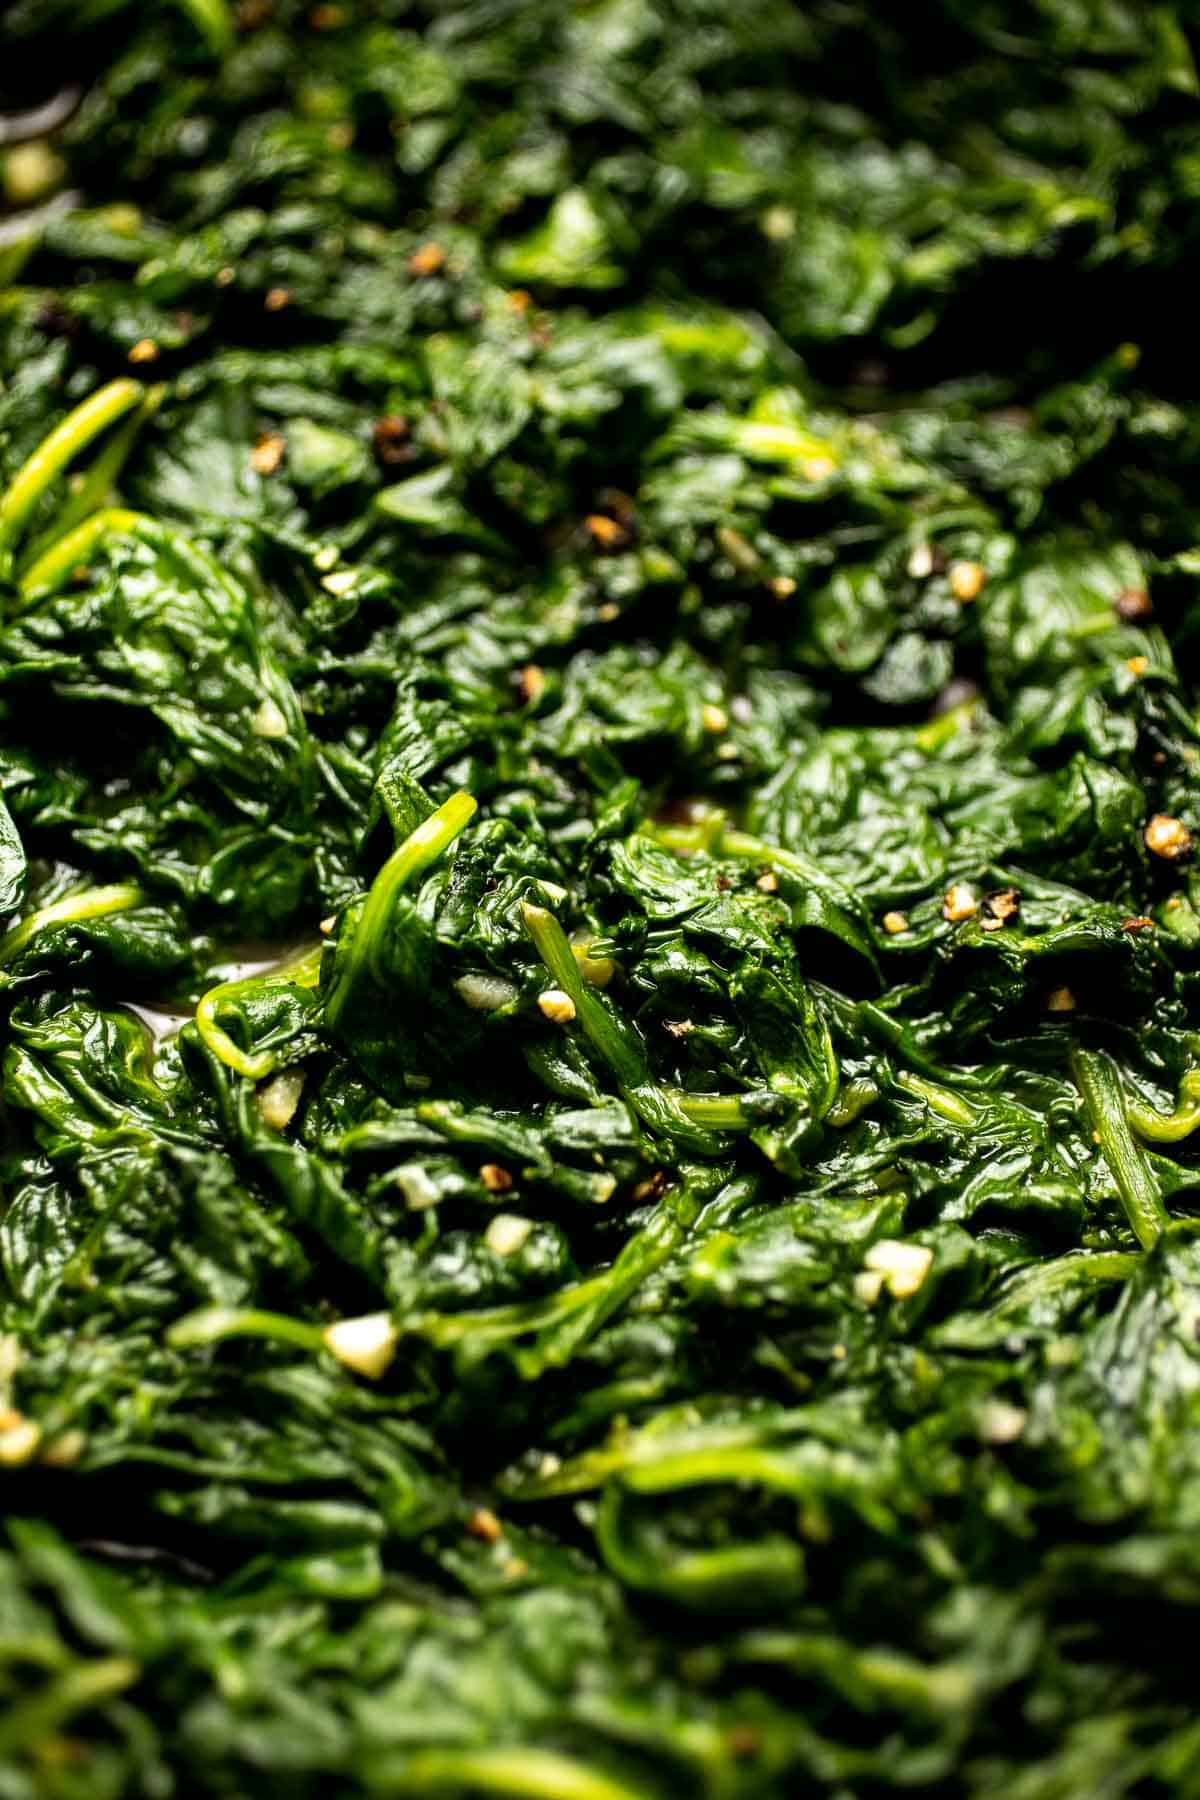
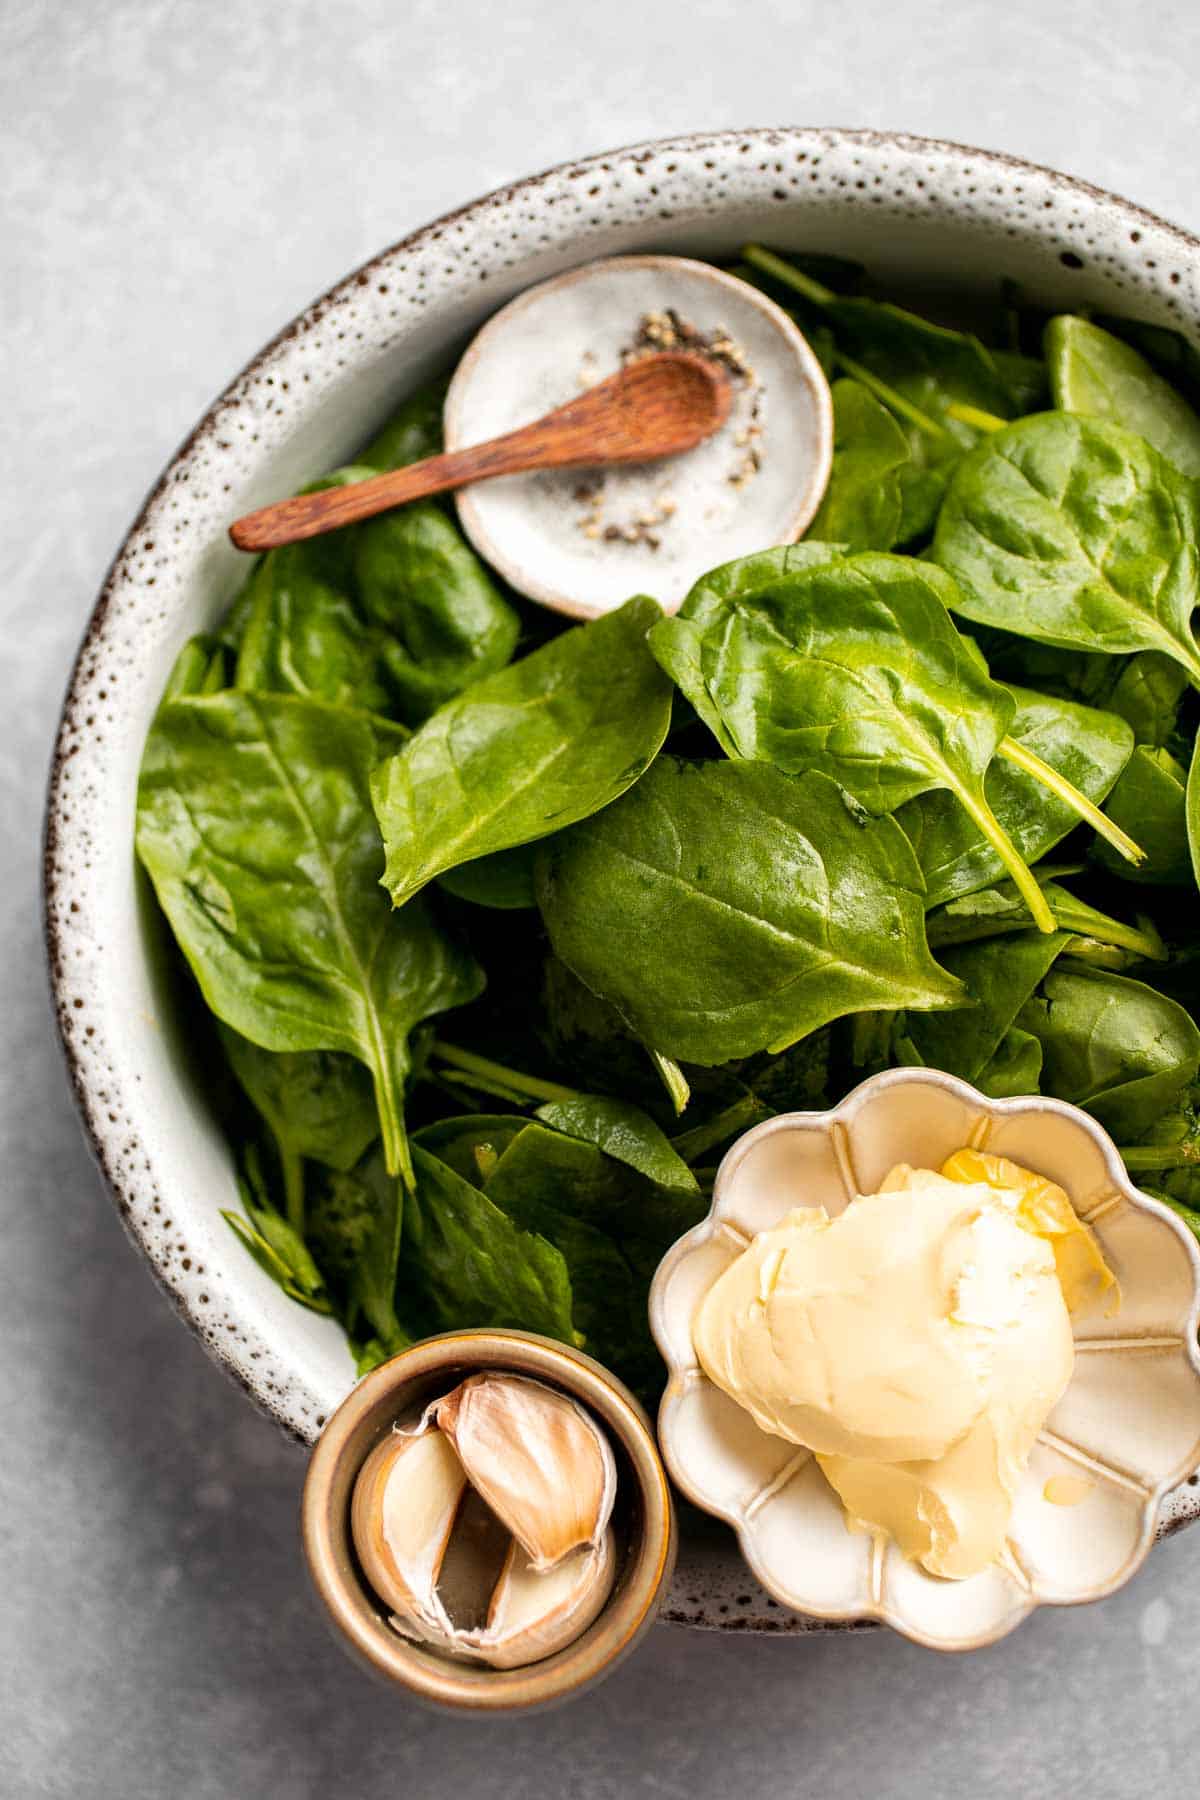
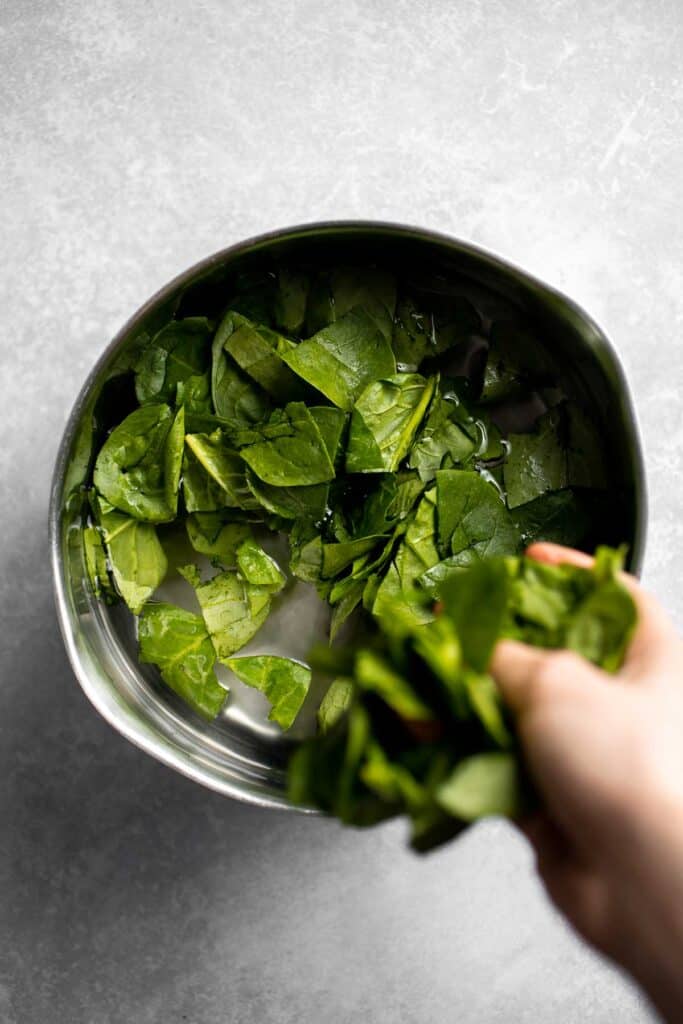
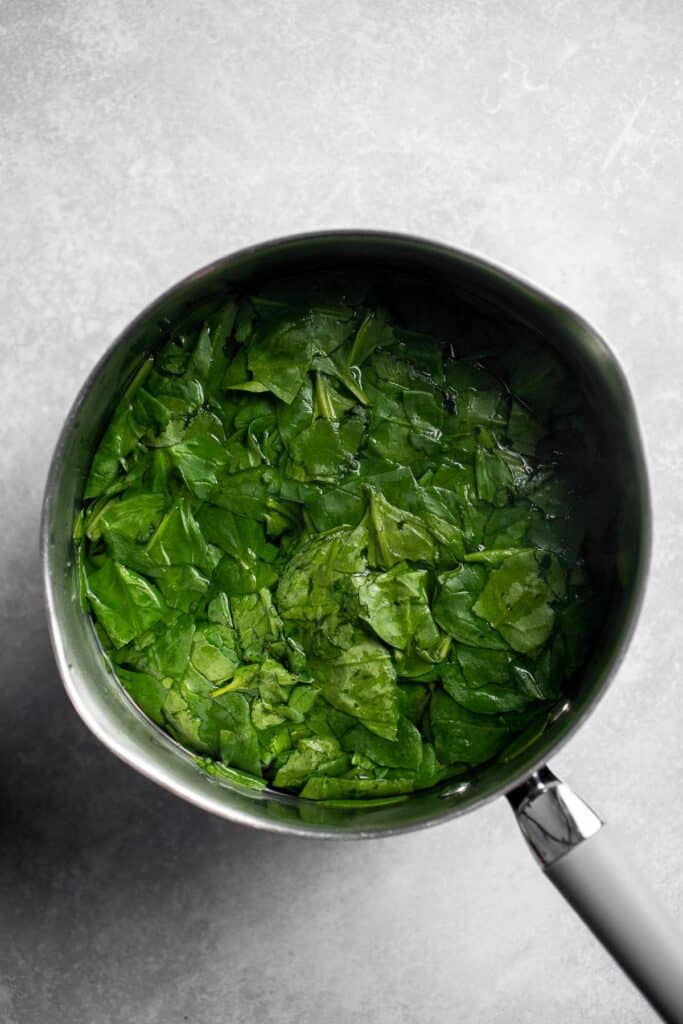
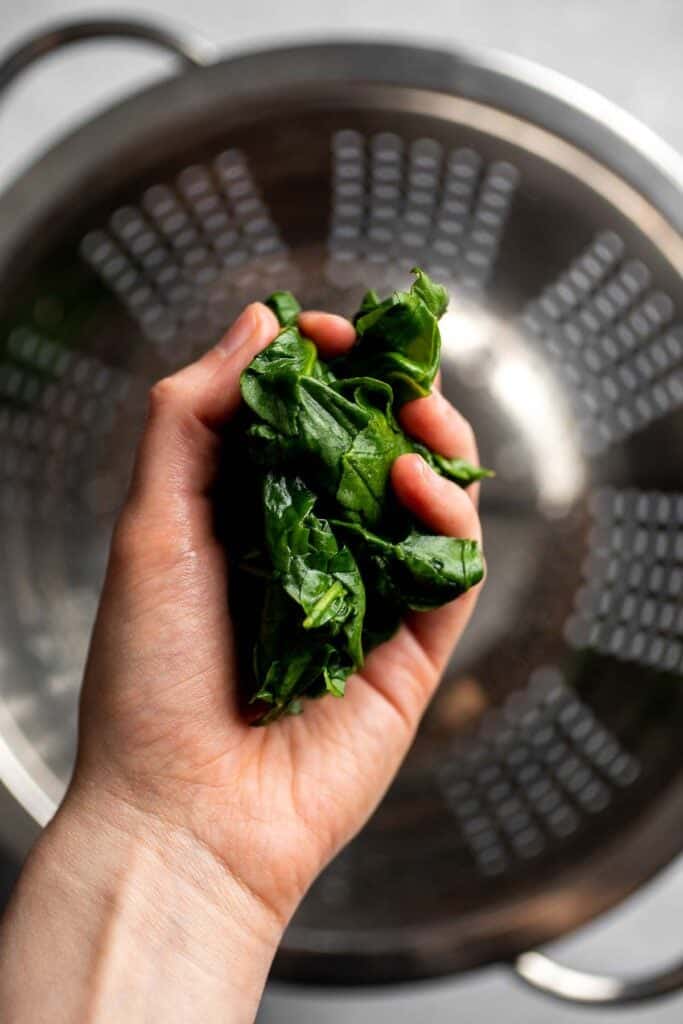
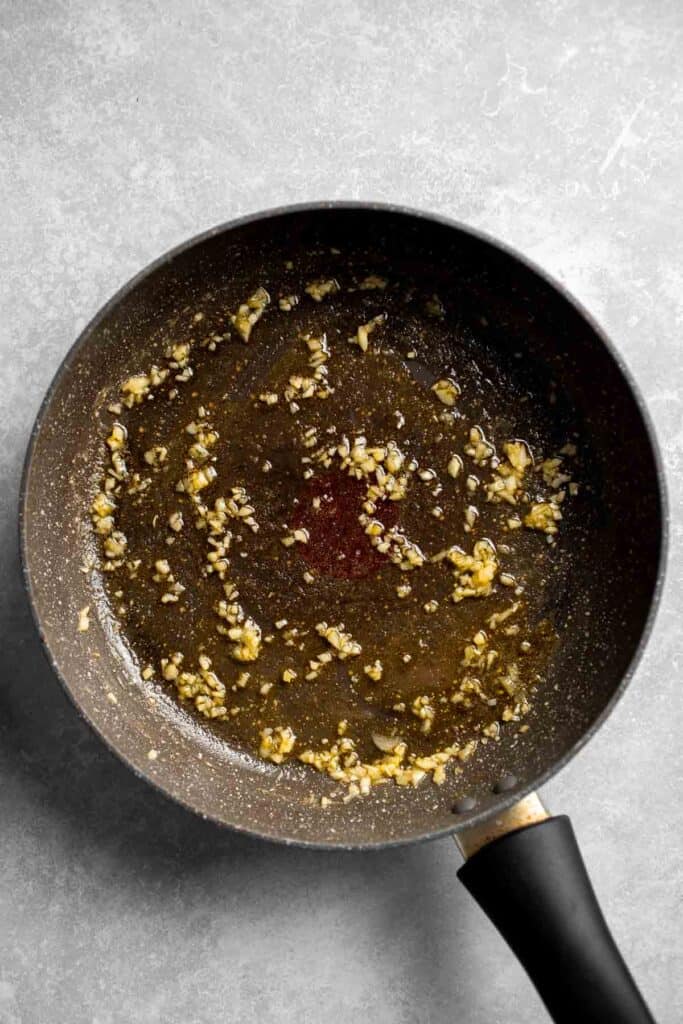
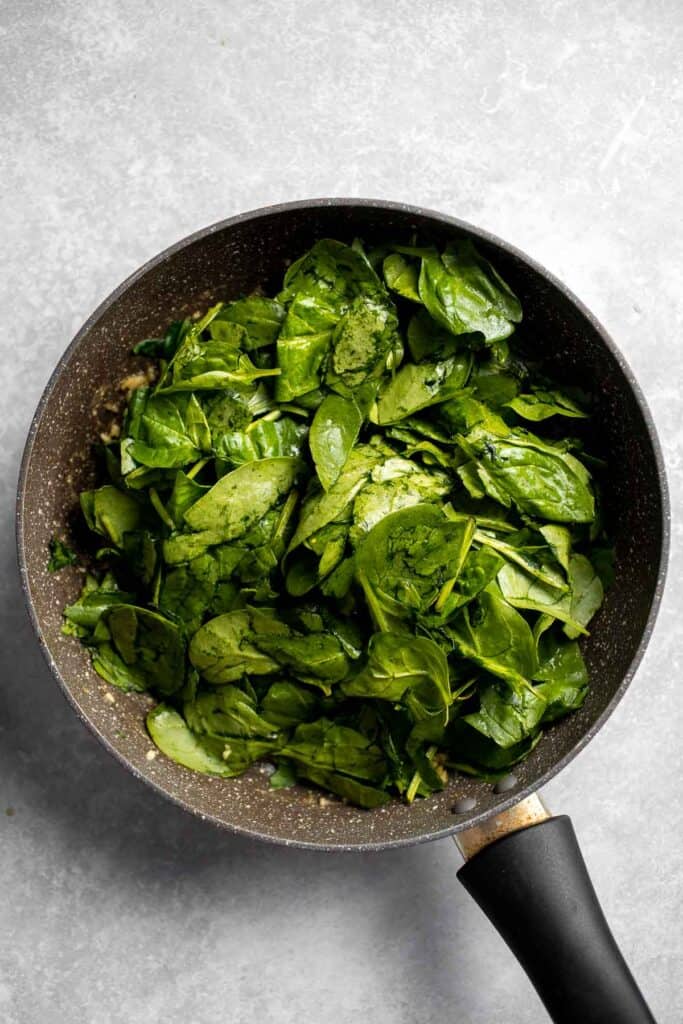
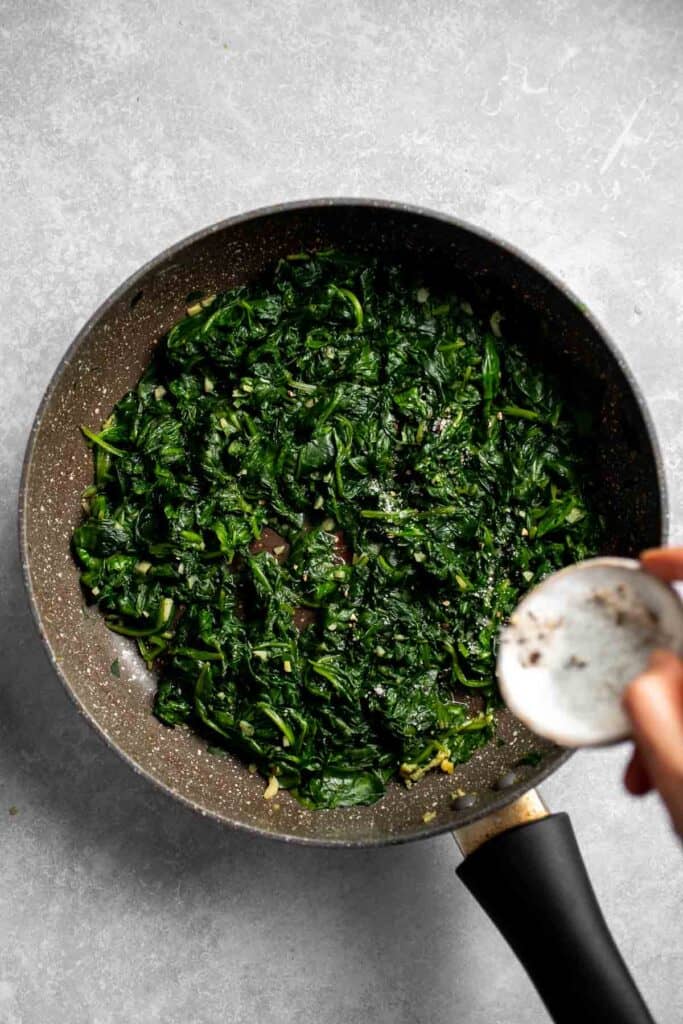
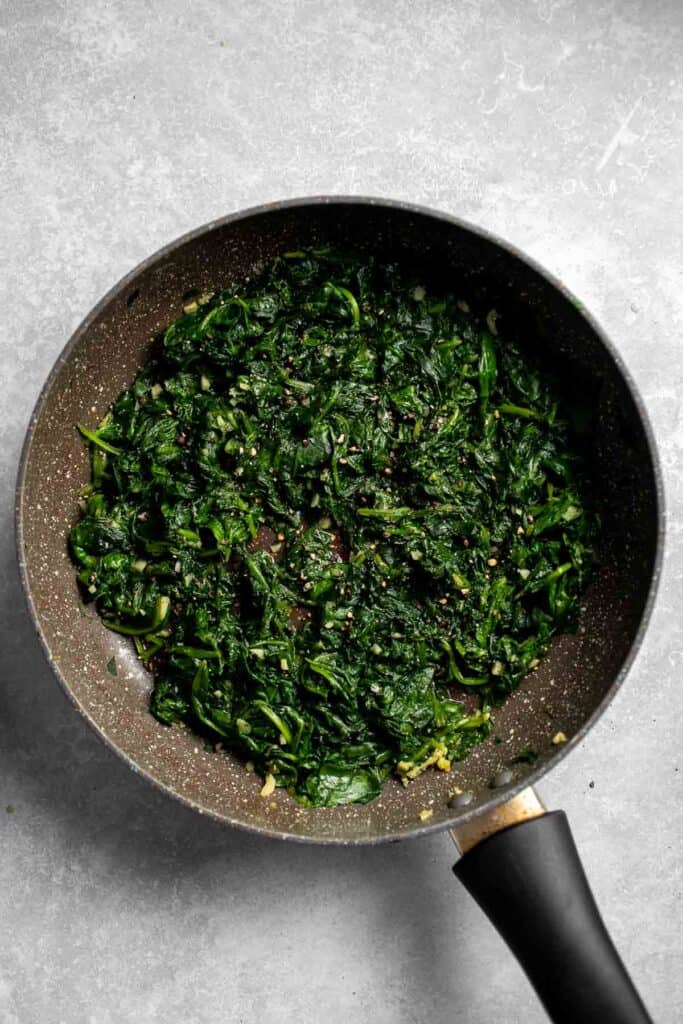
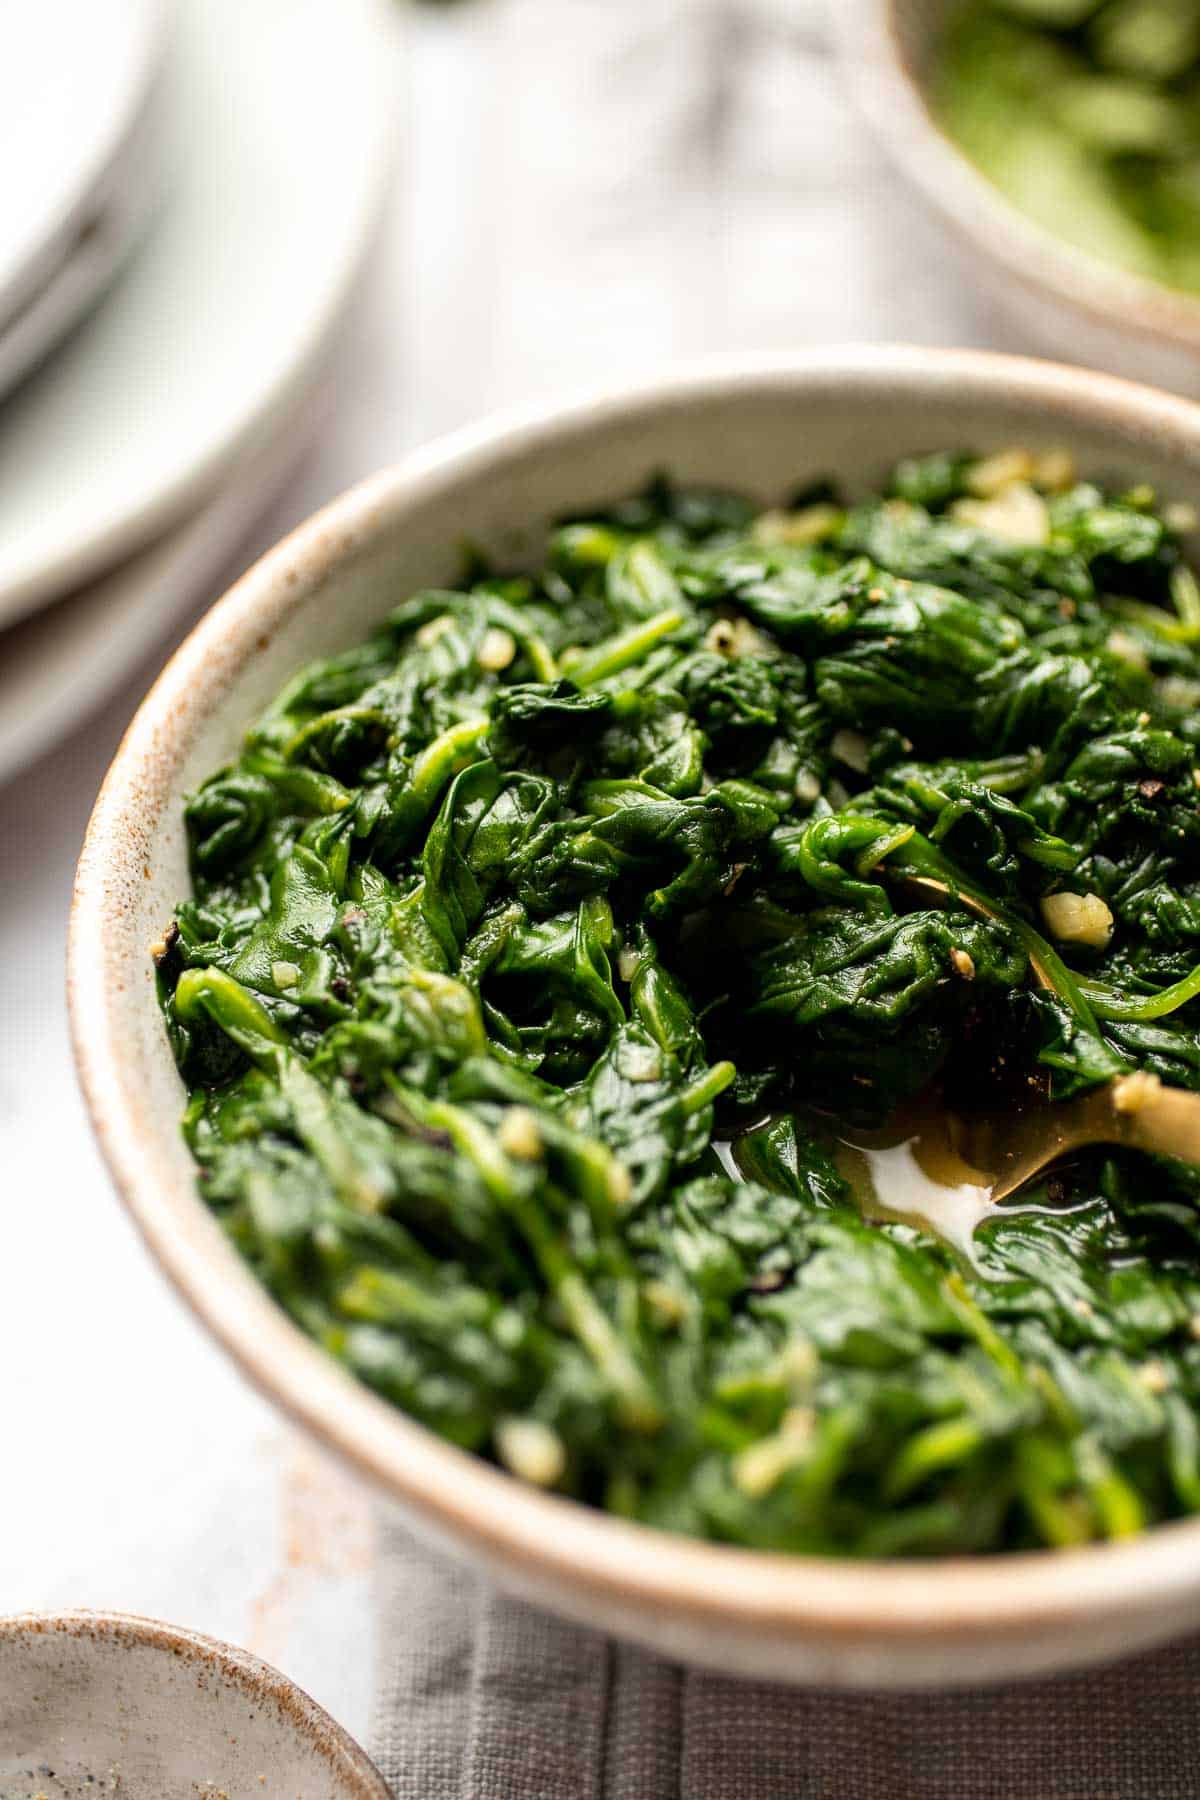
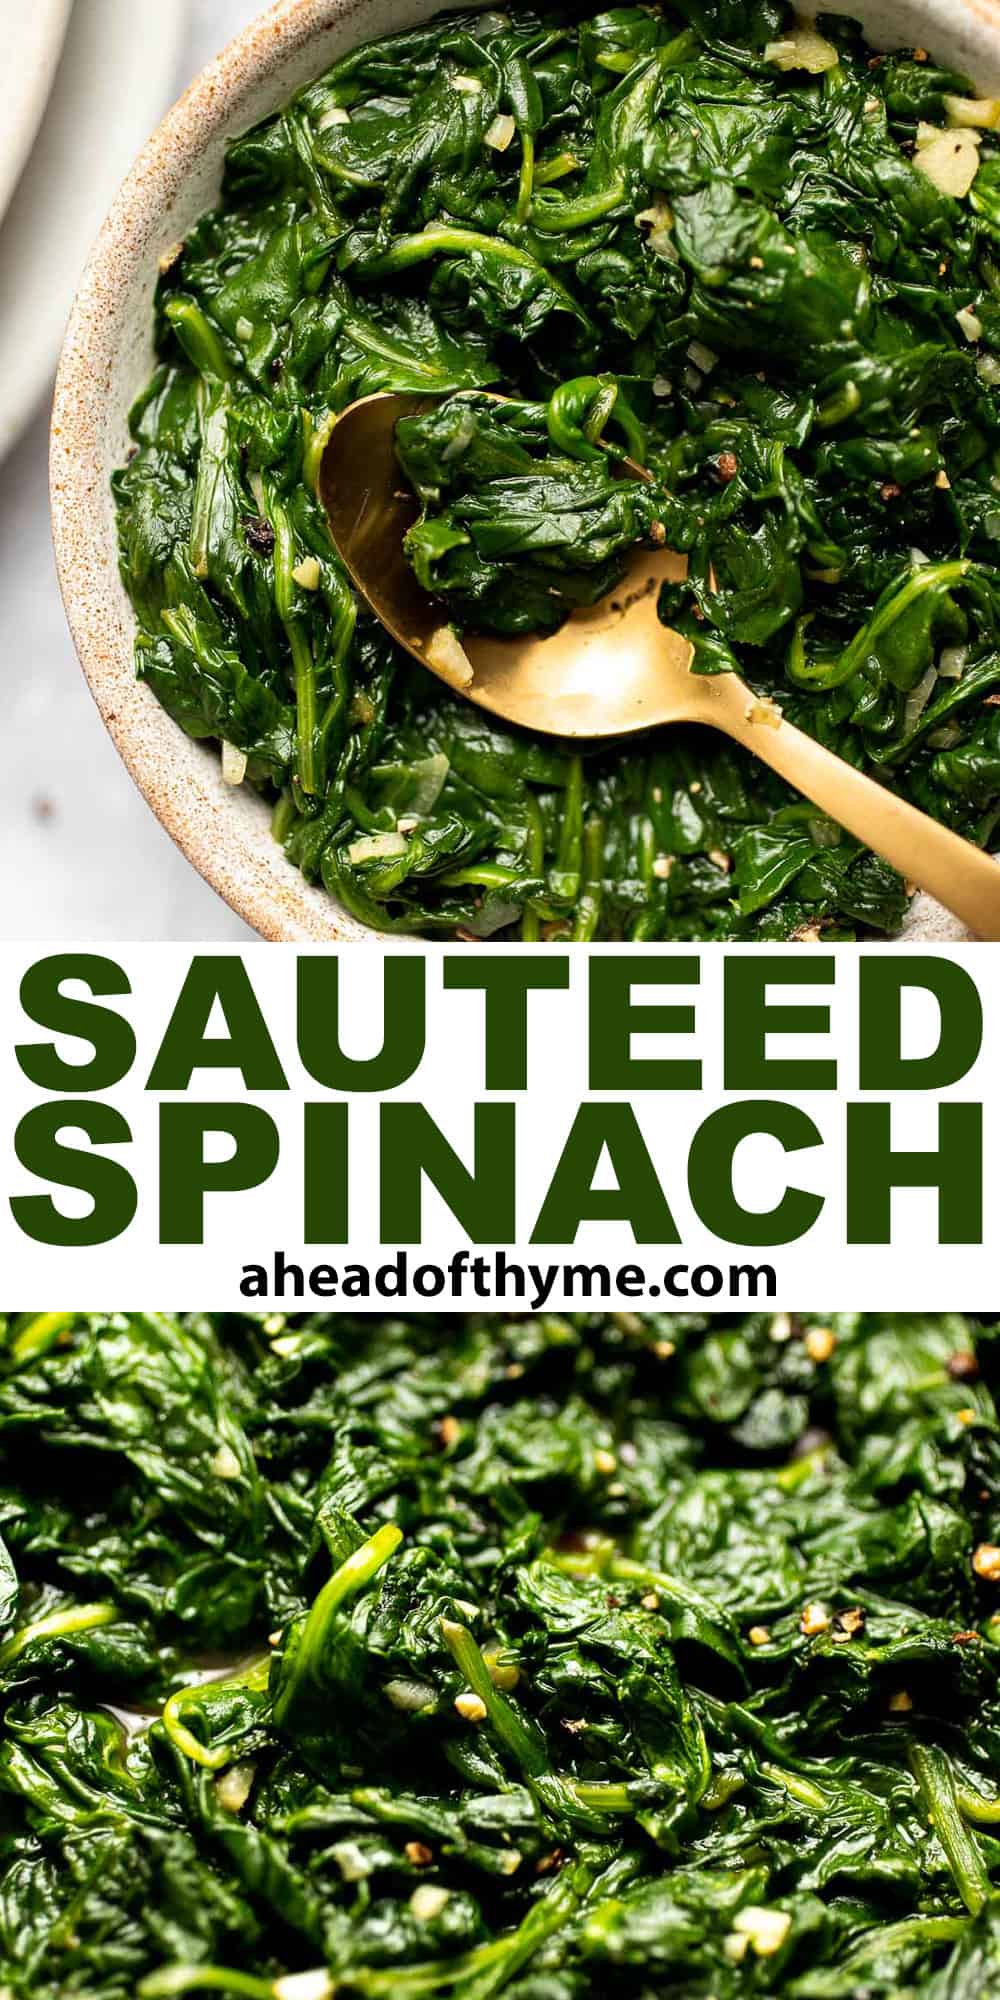
This buttery, garlicky Sautéed Spinach is the best way to enjoy this nutritious green. It's the ultimate healthy side dish and takes a few minutes to make!
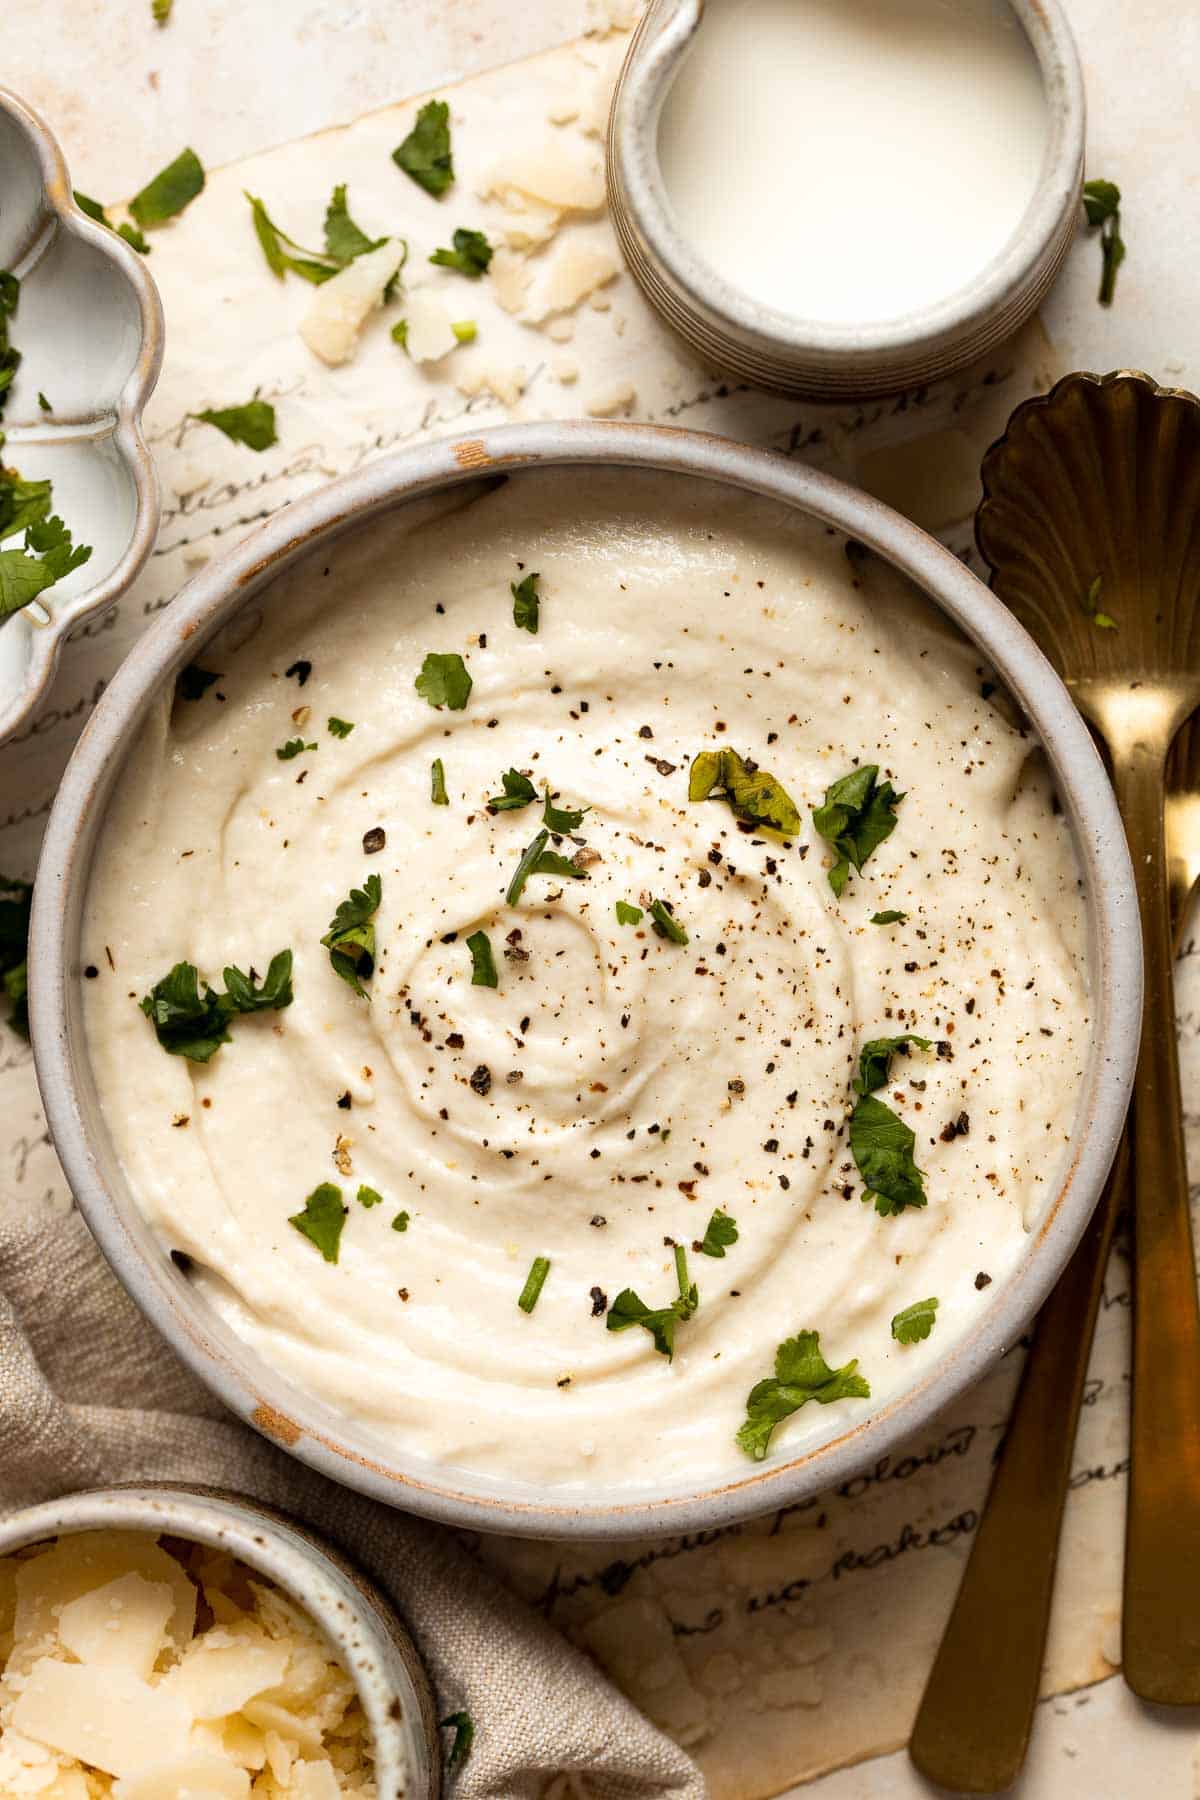
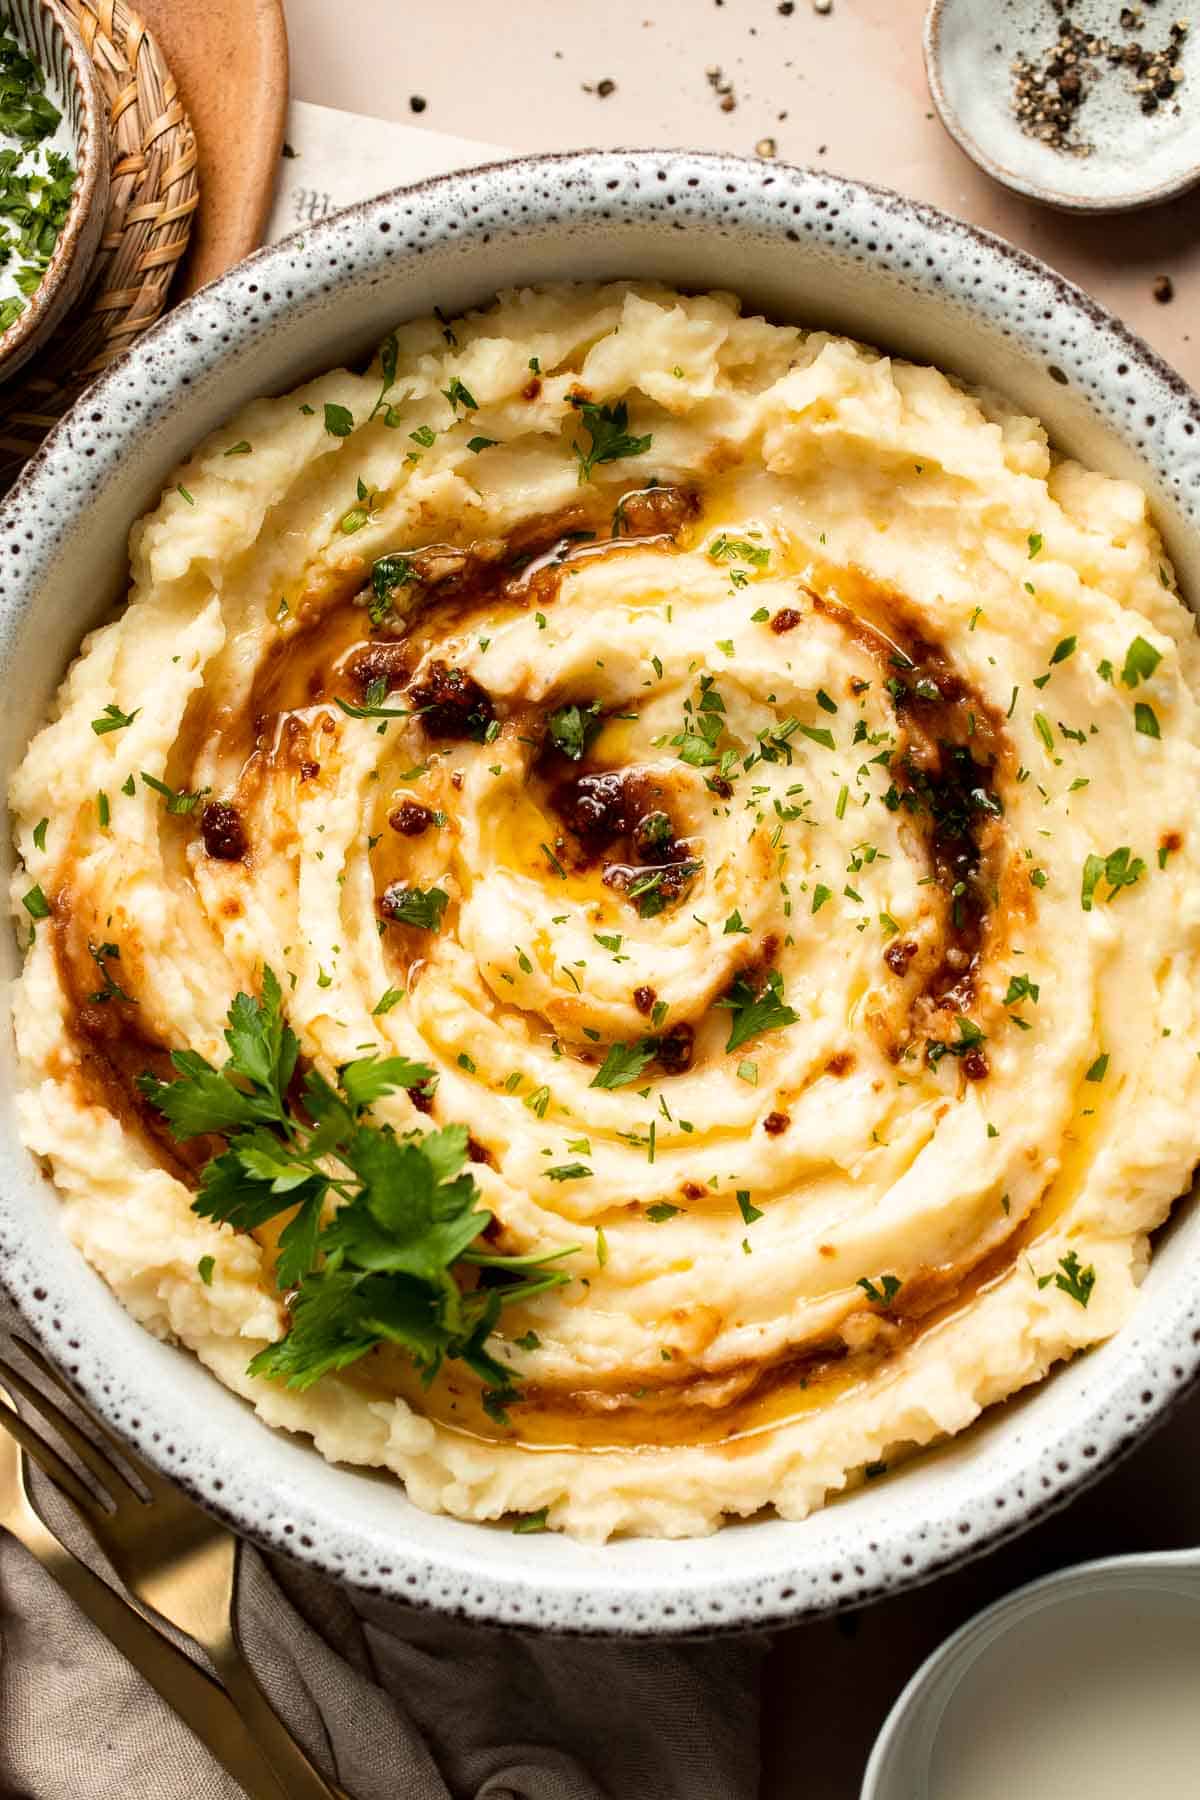
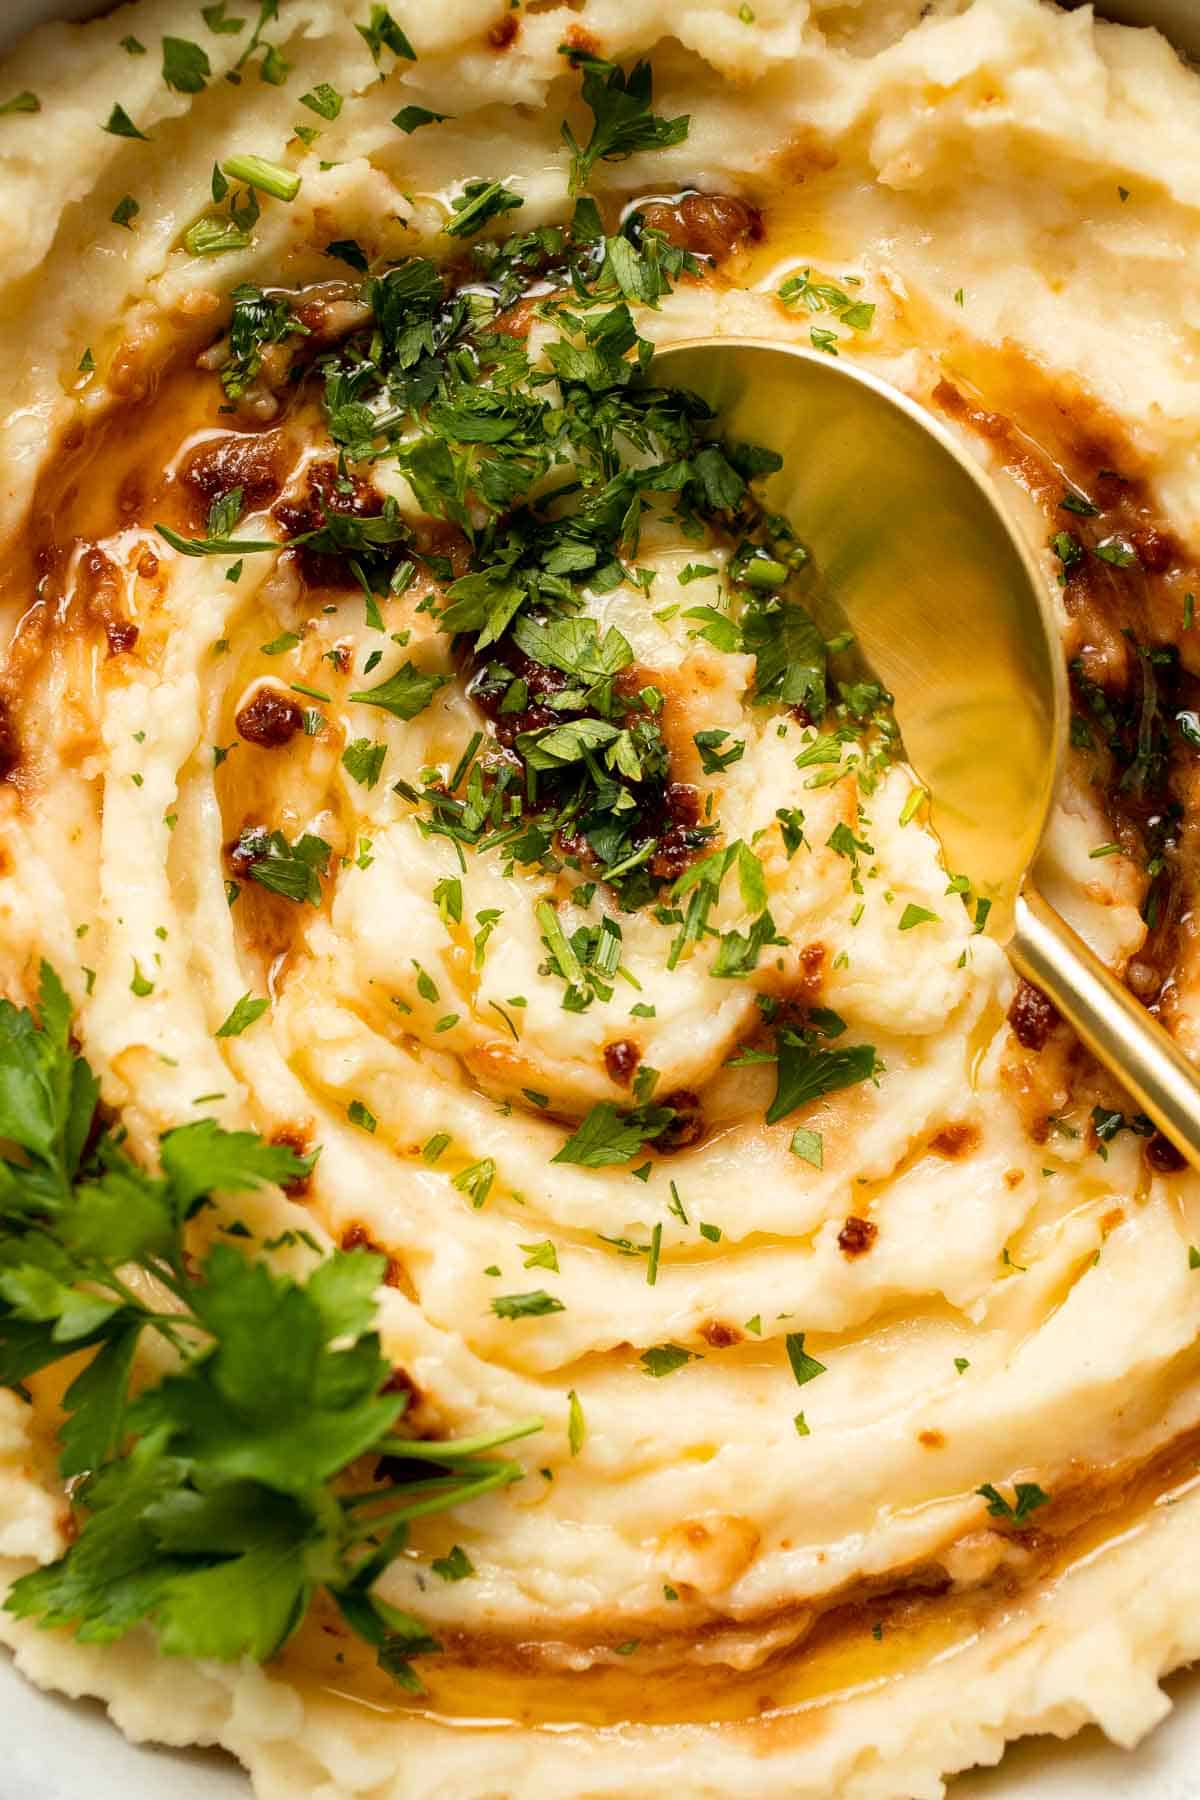
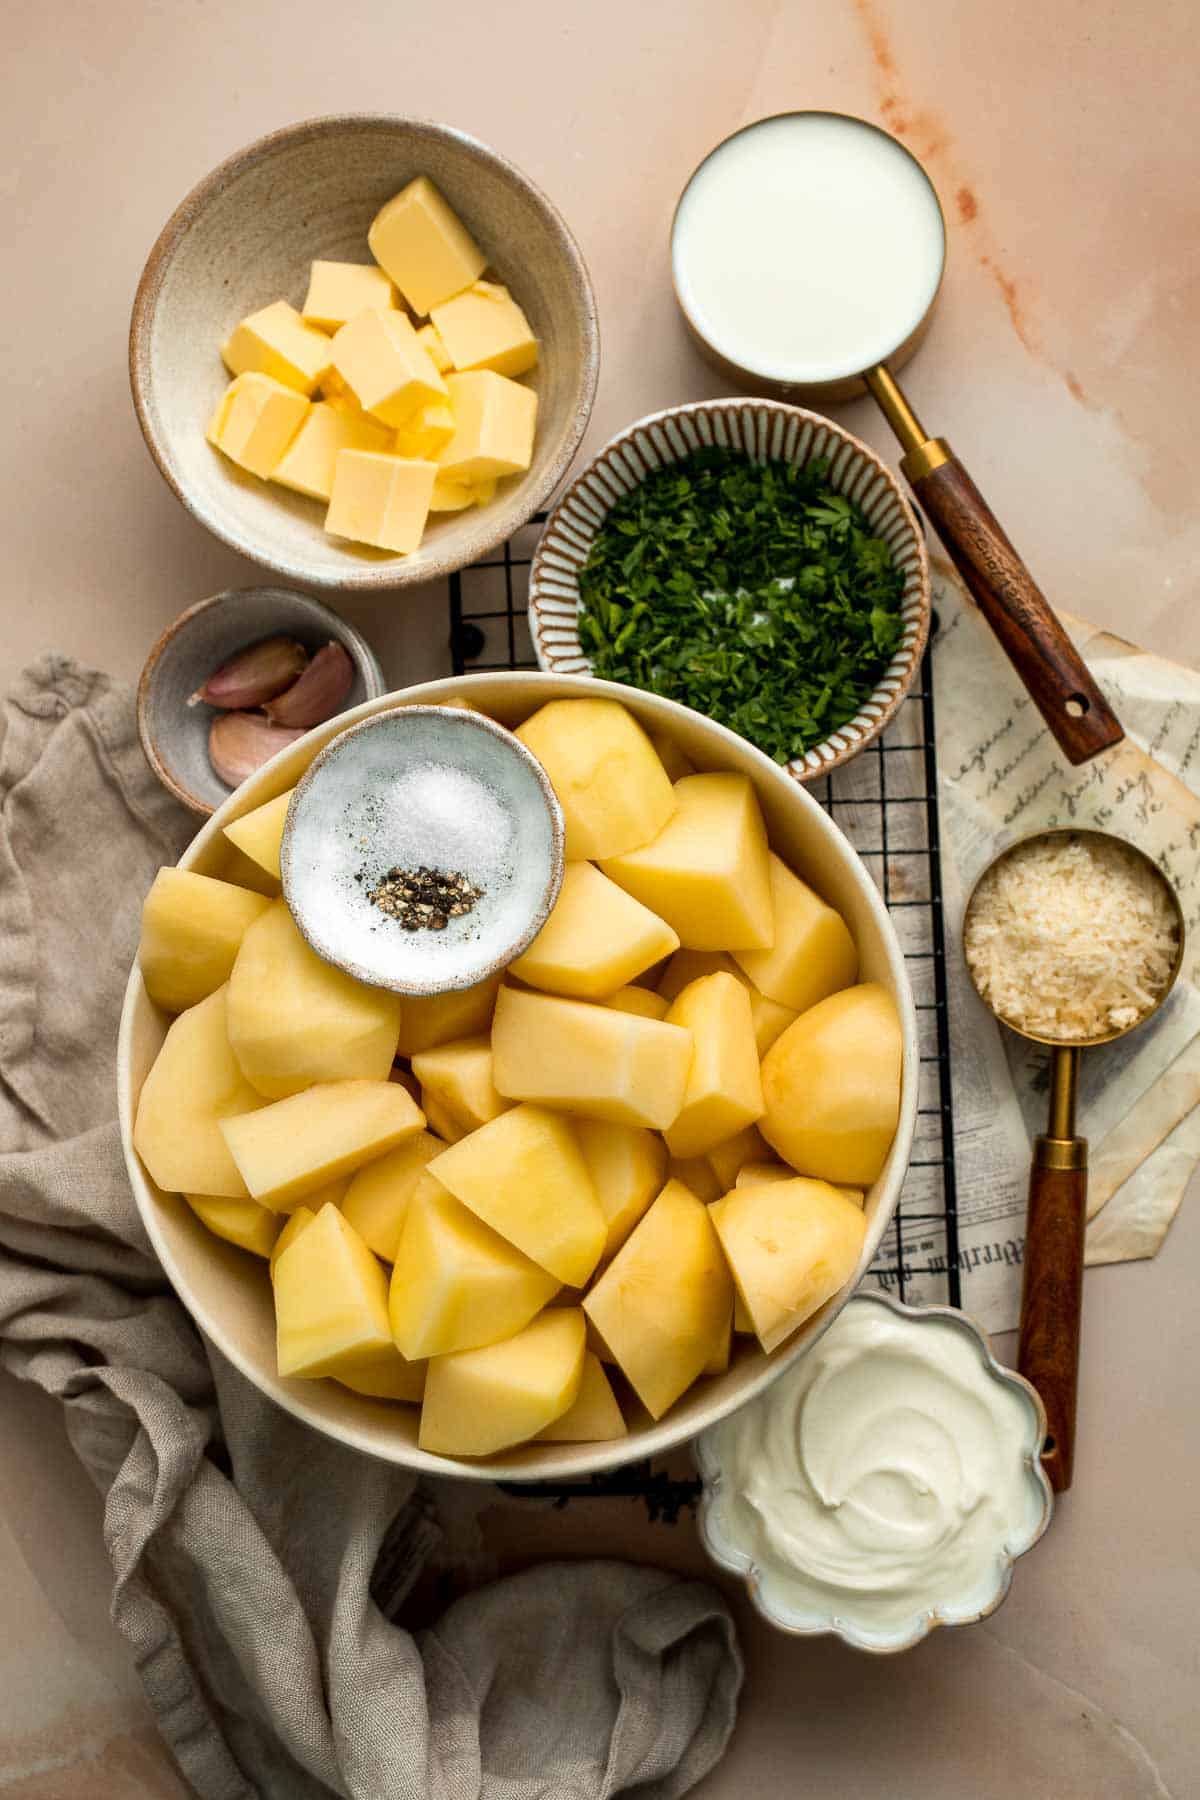
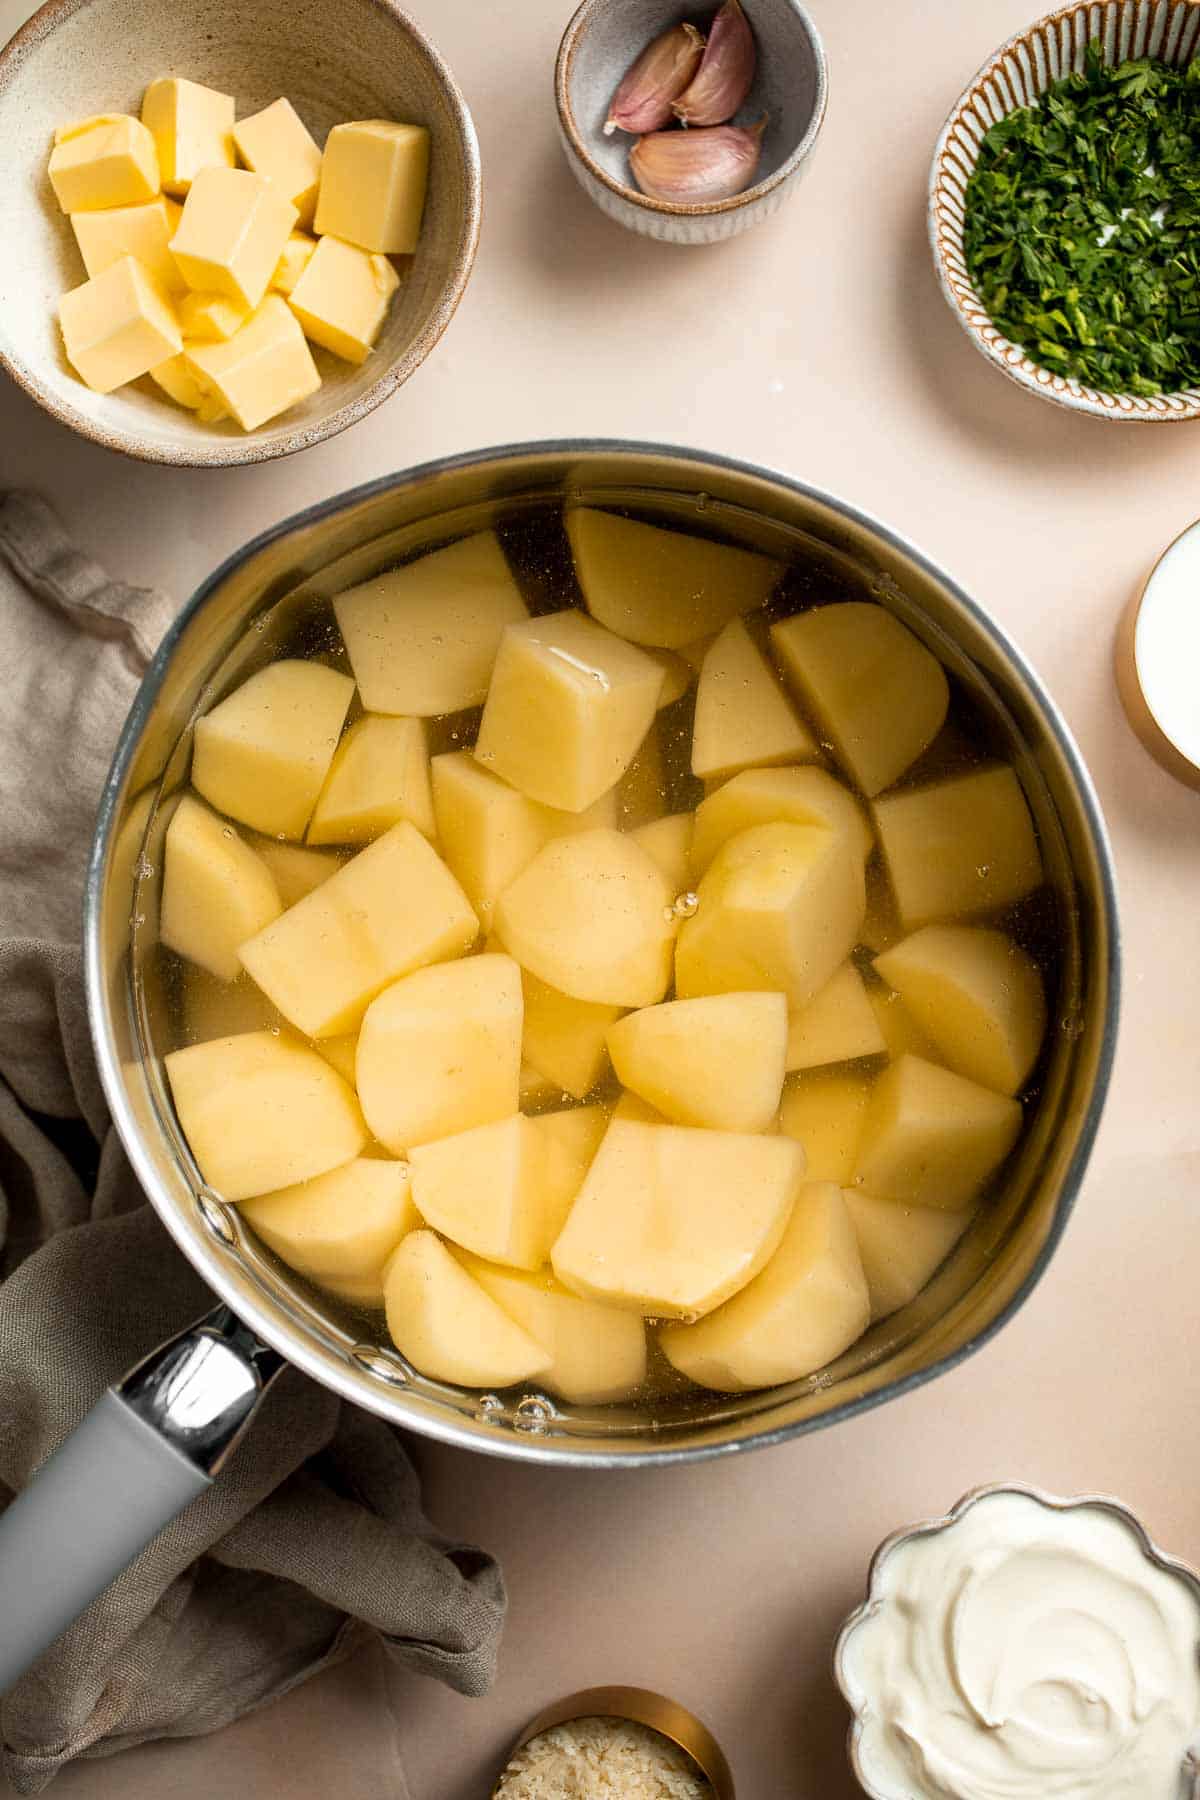
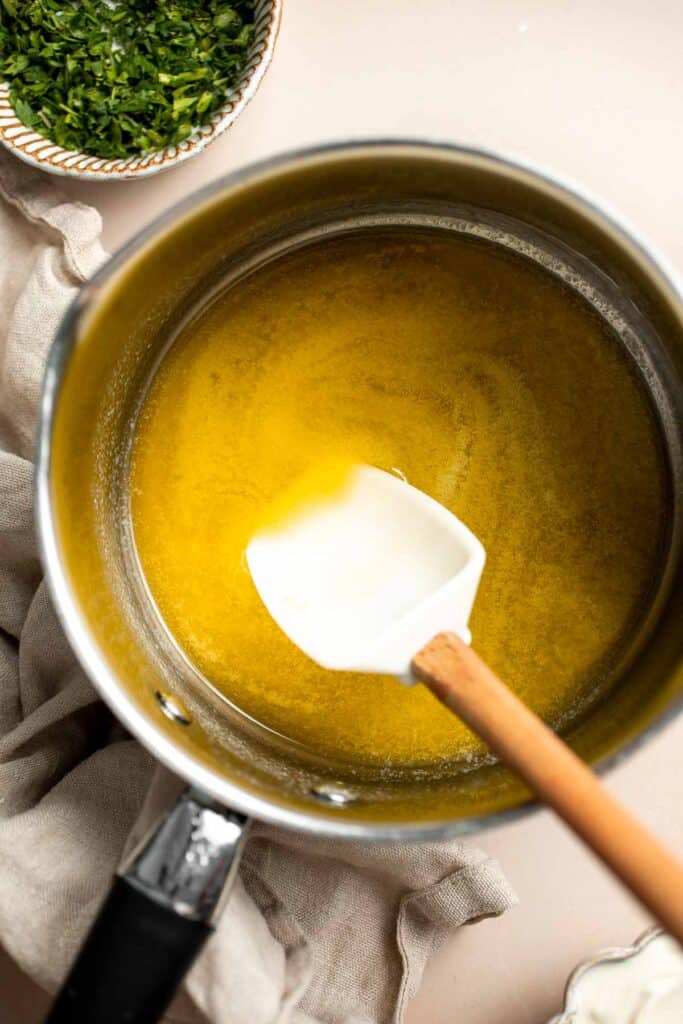
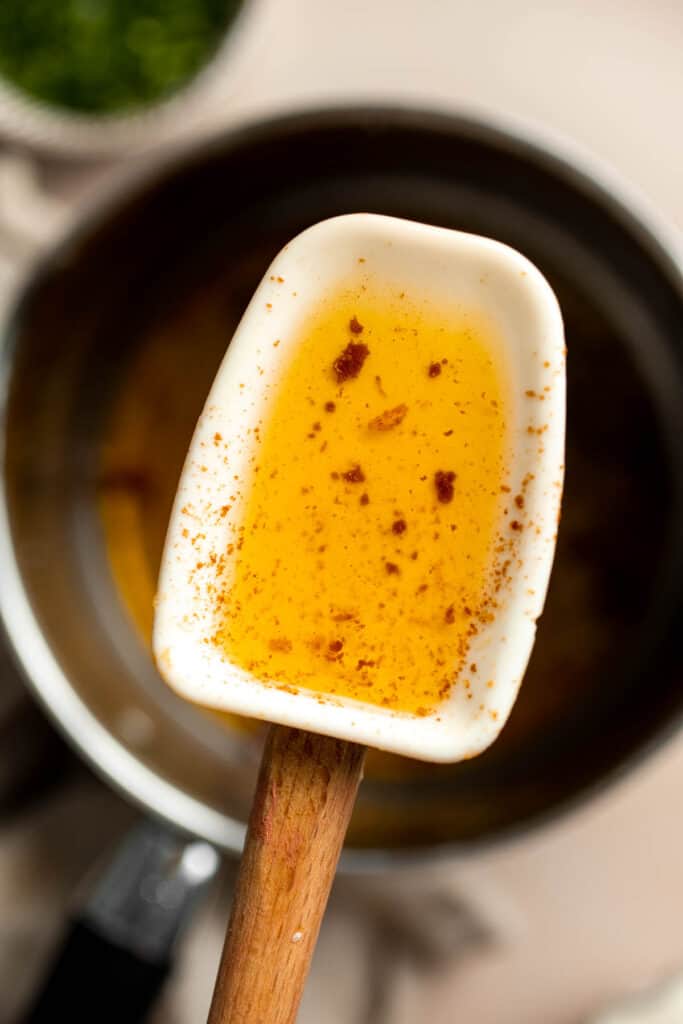
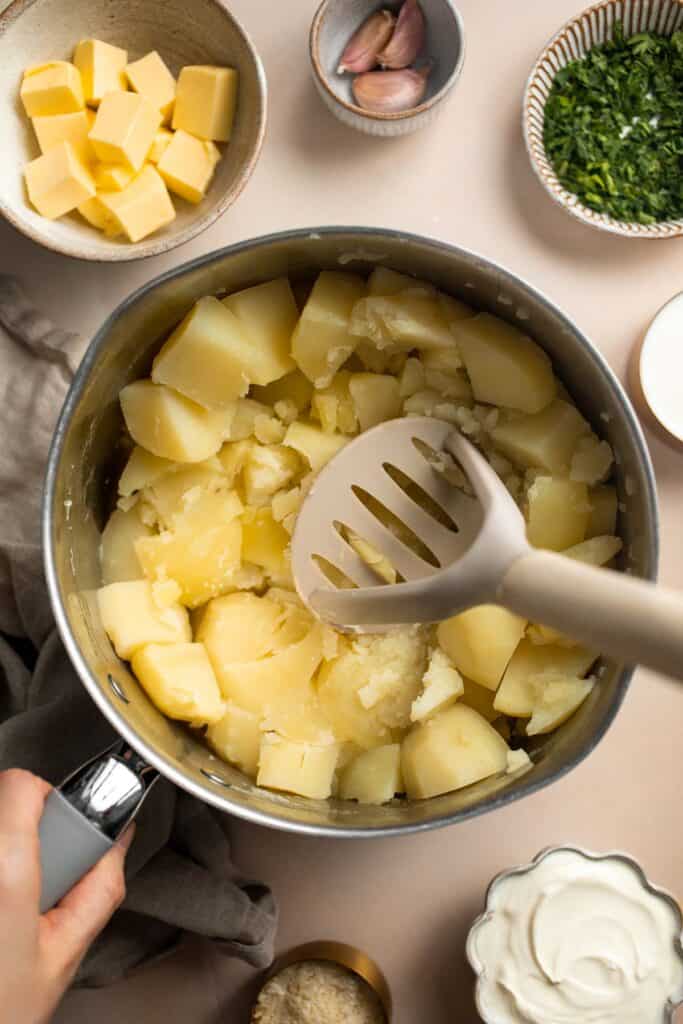
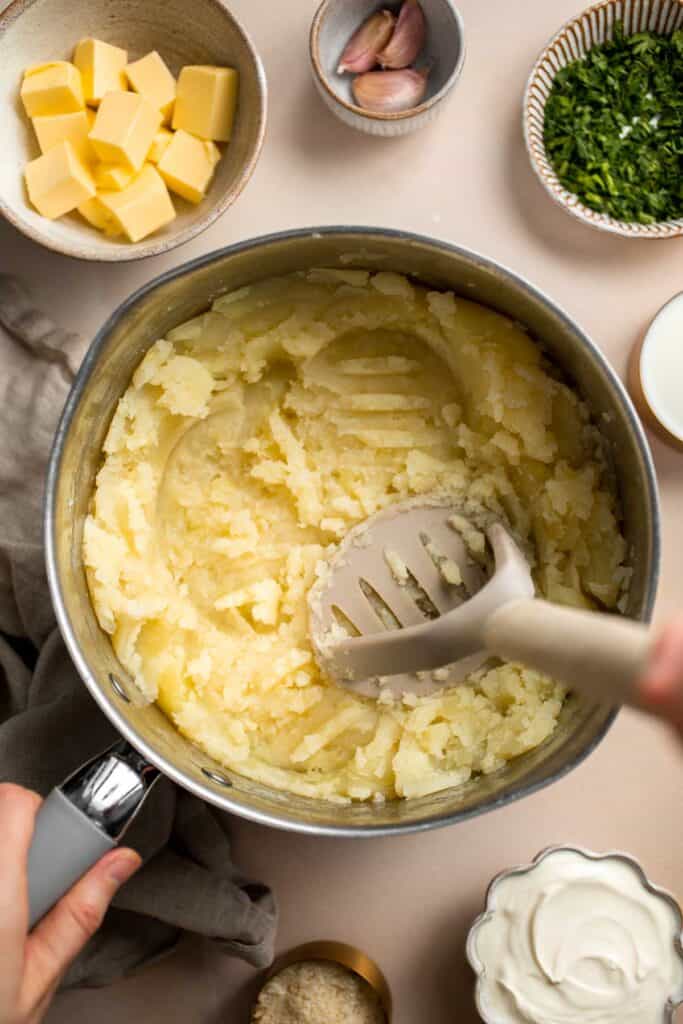
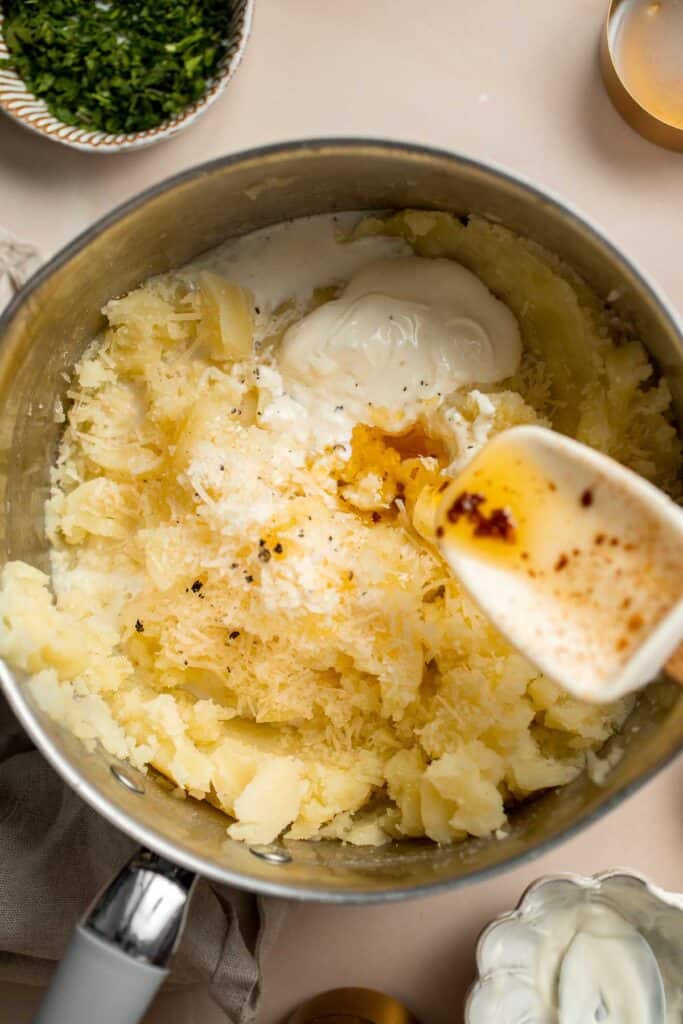
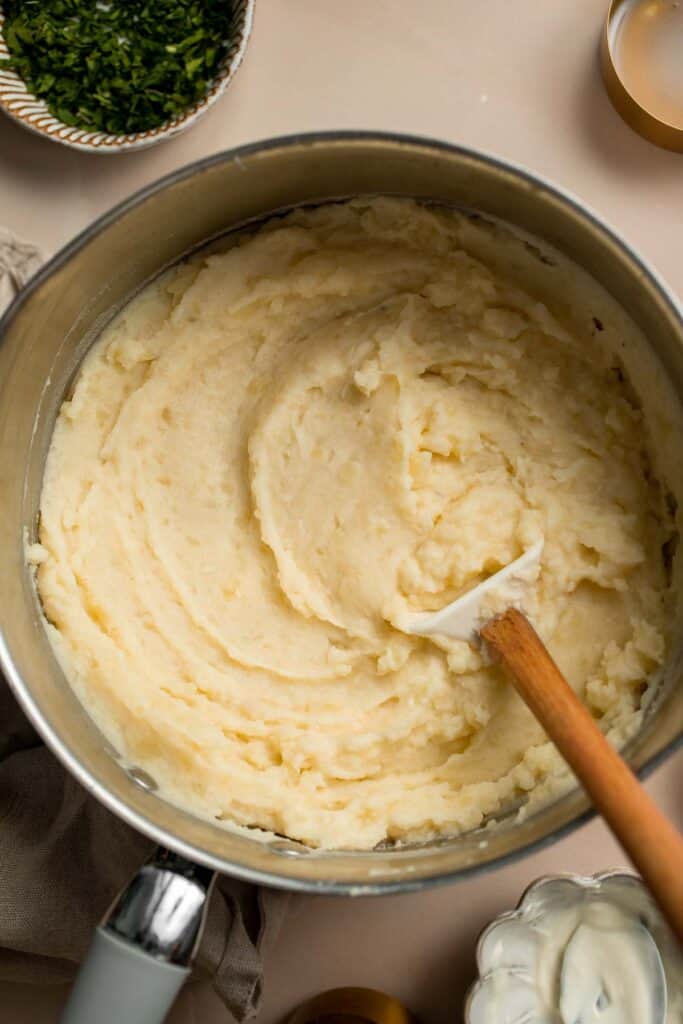
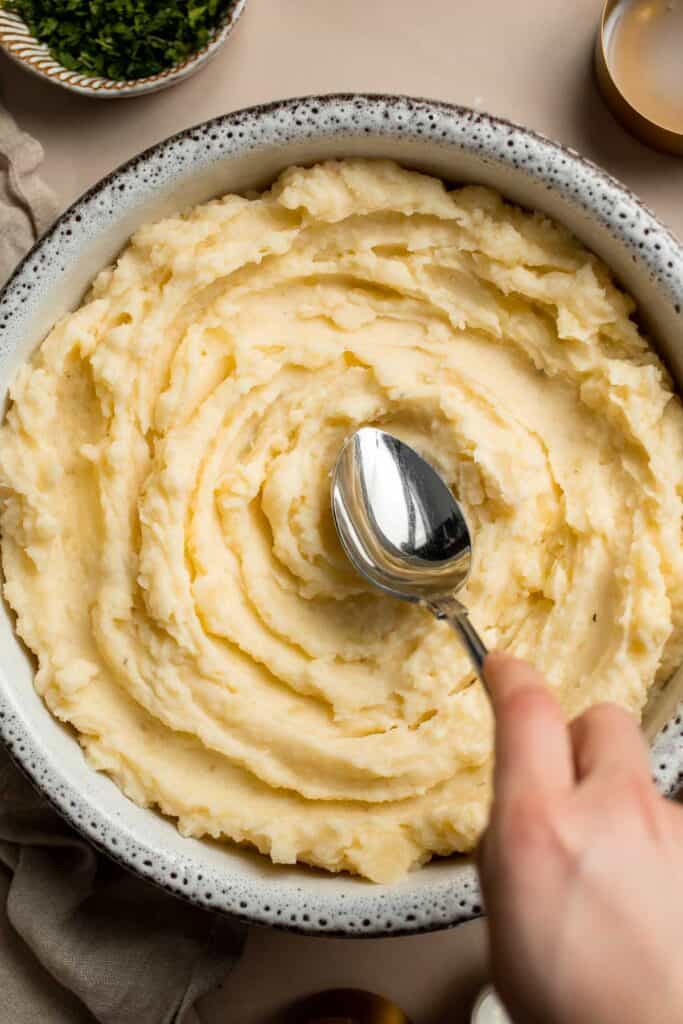
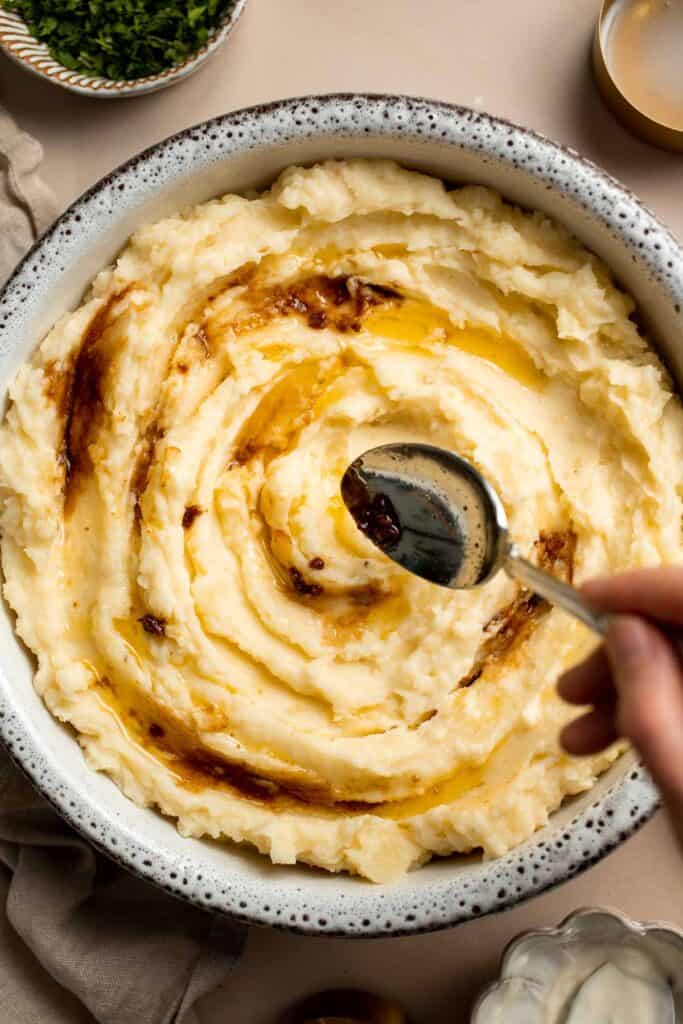
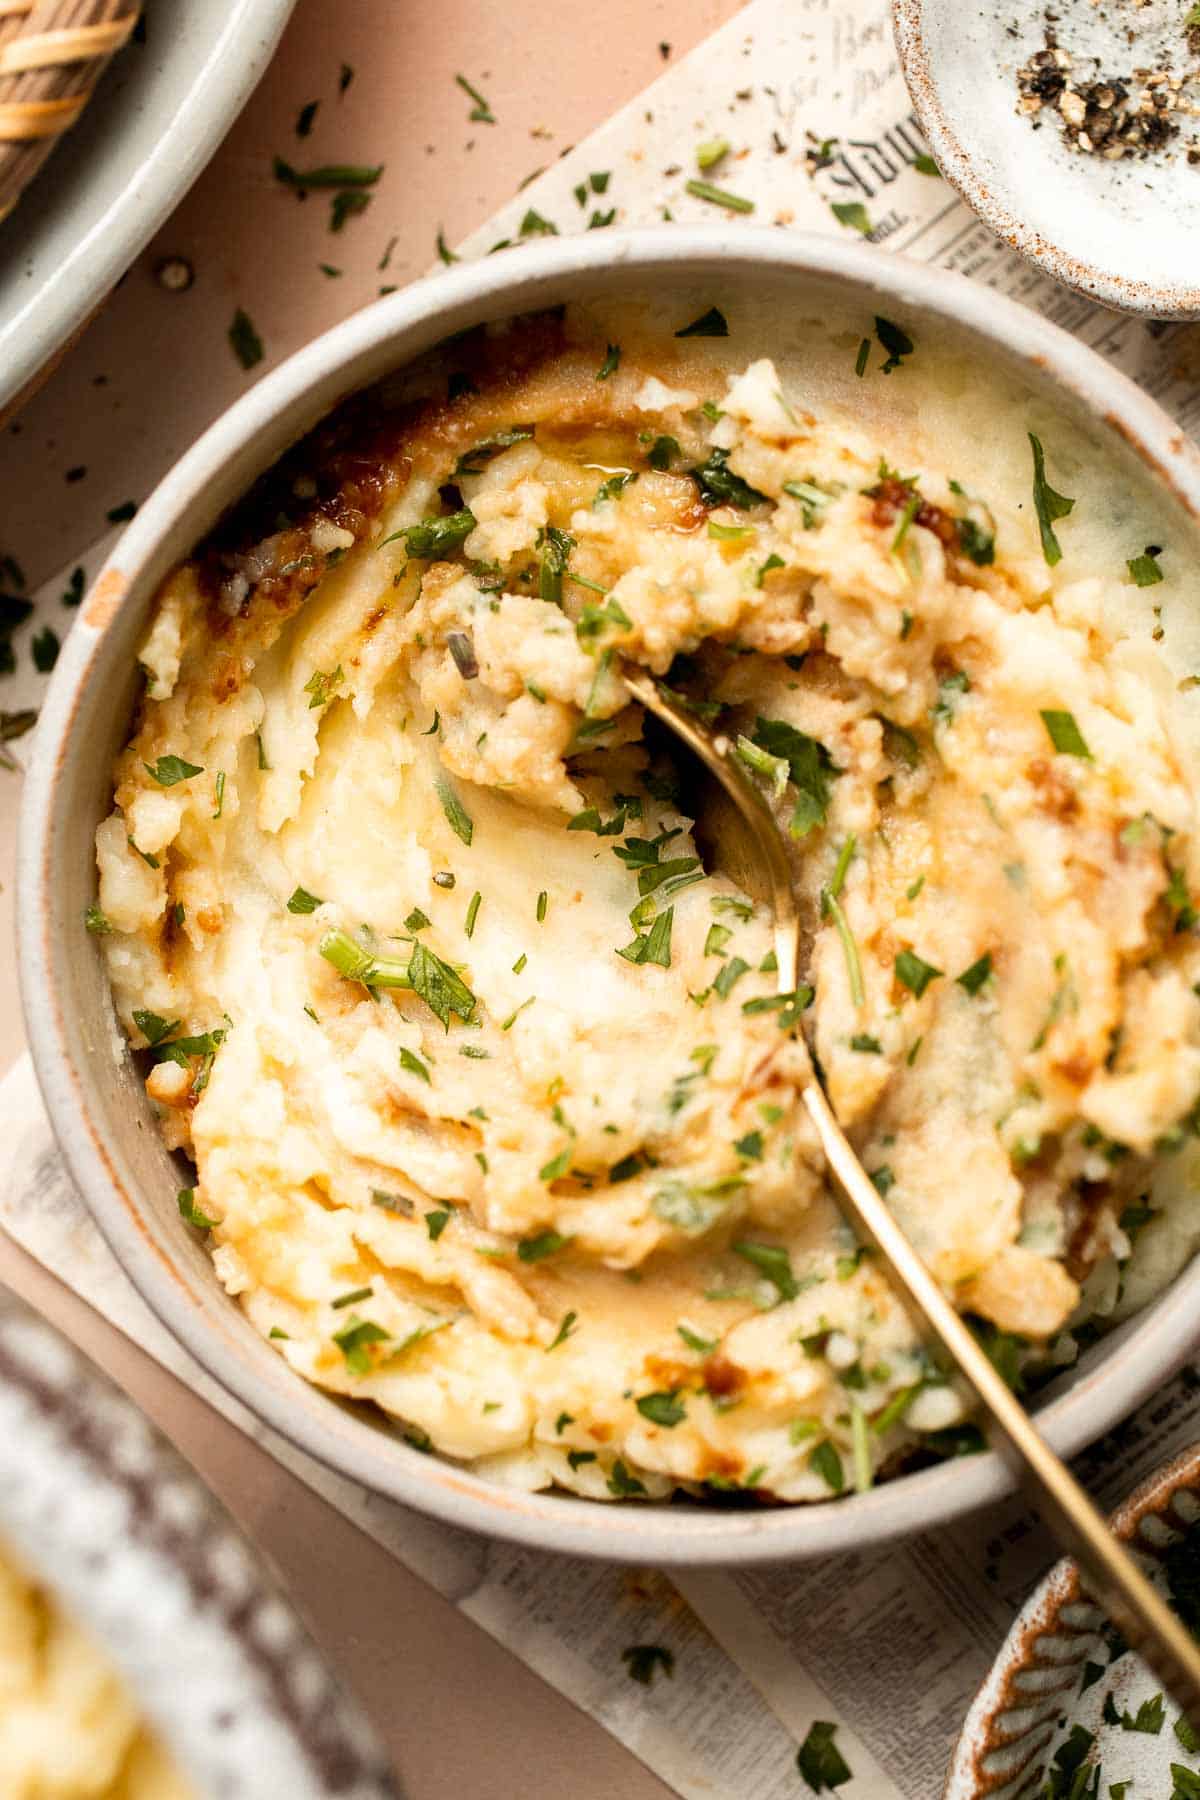
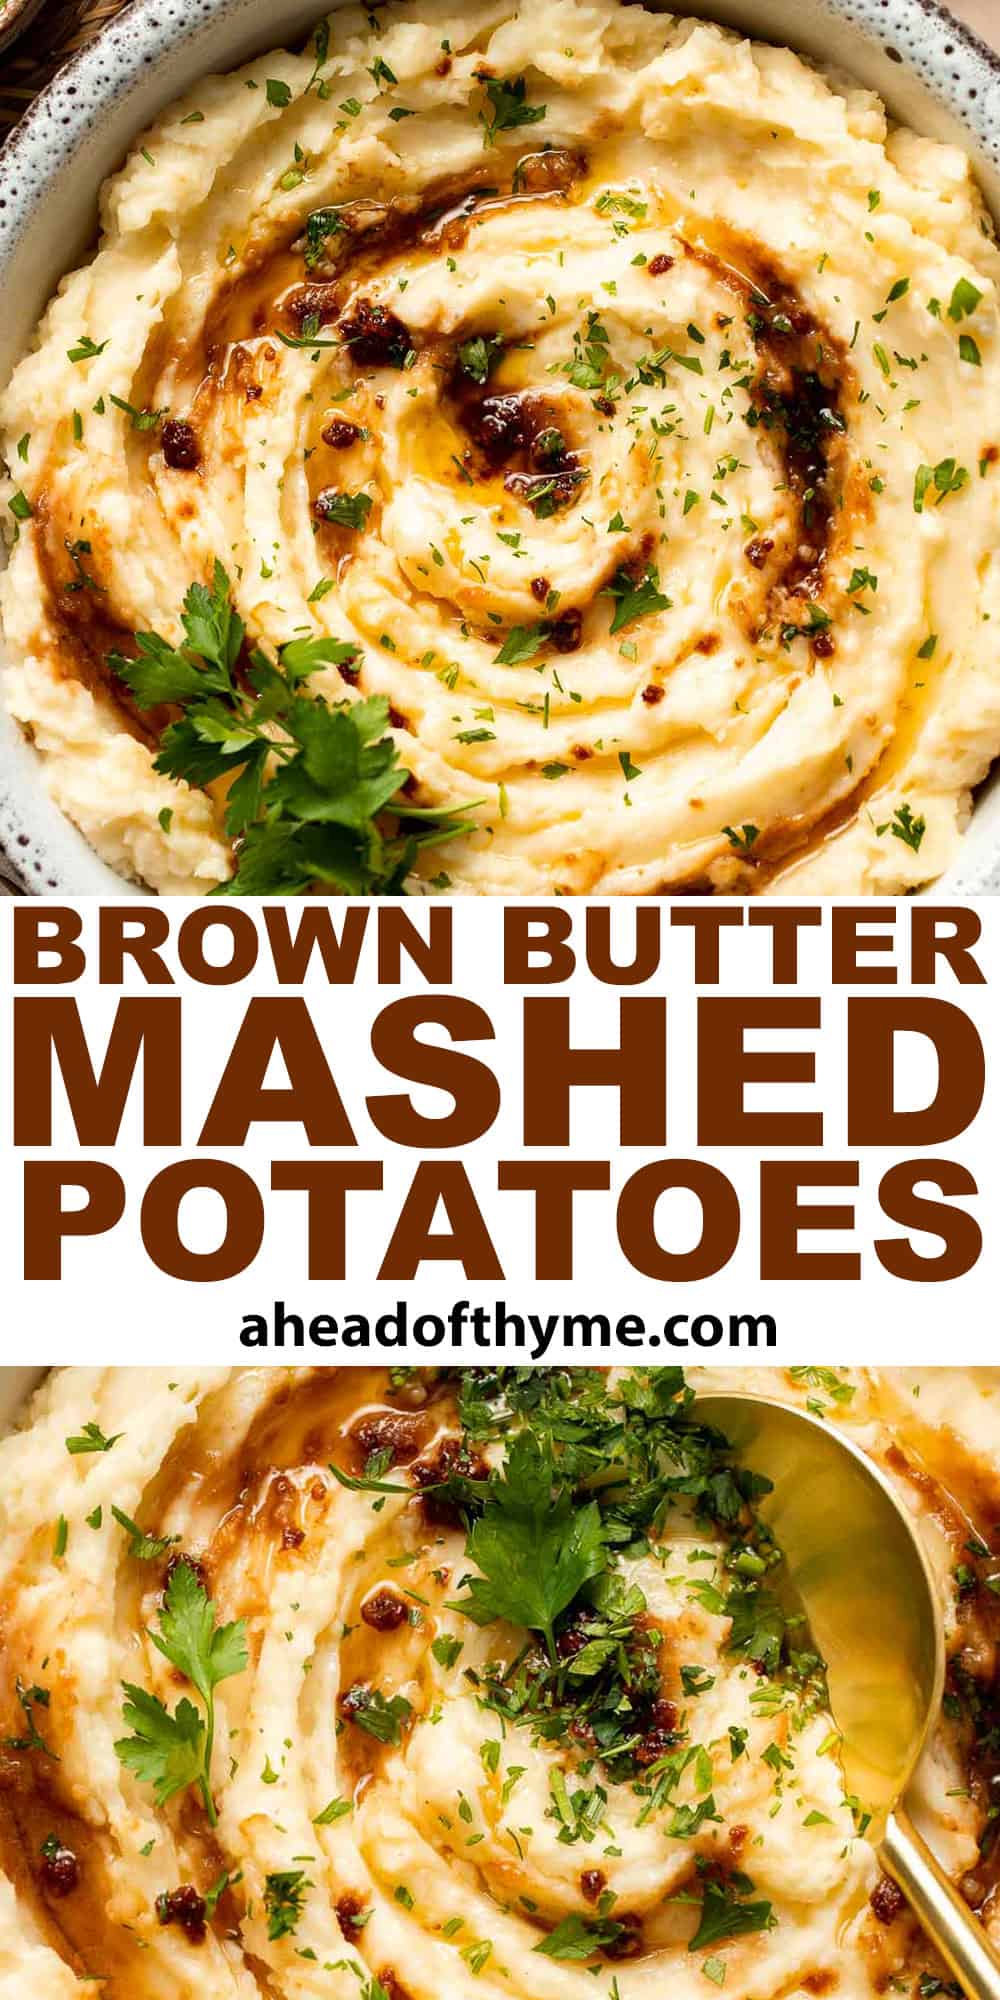
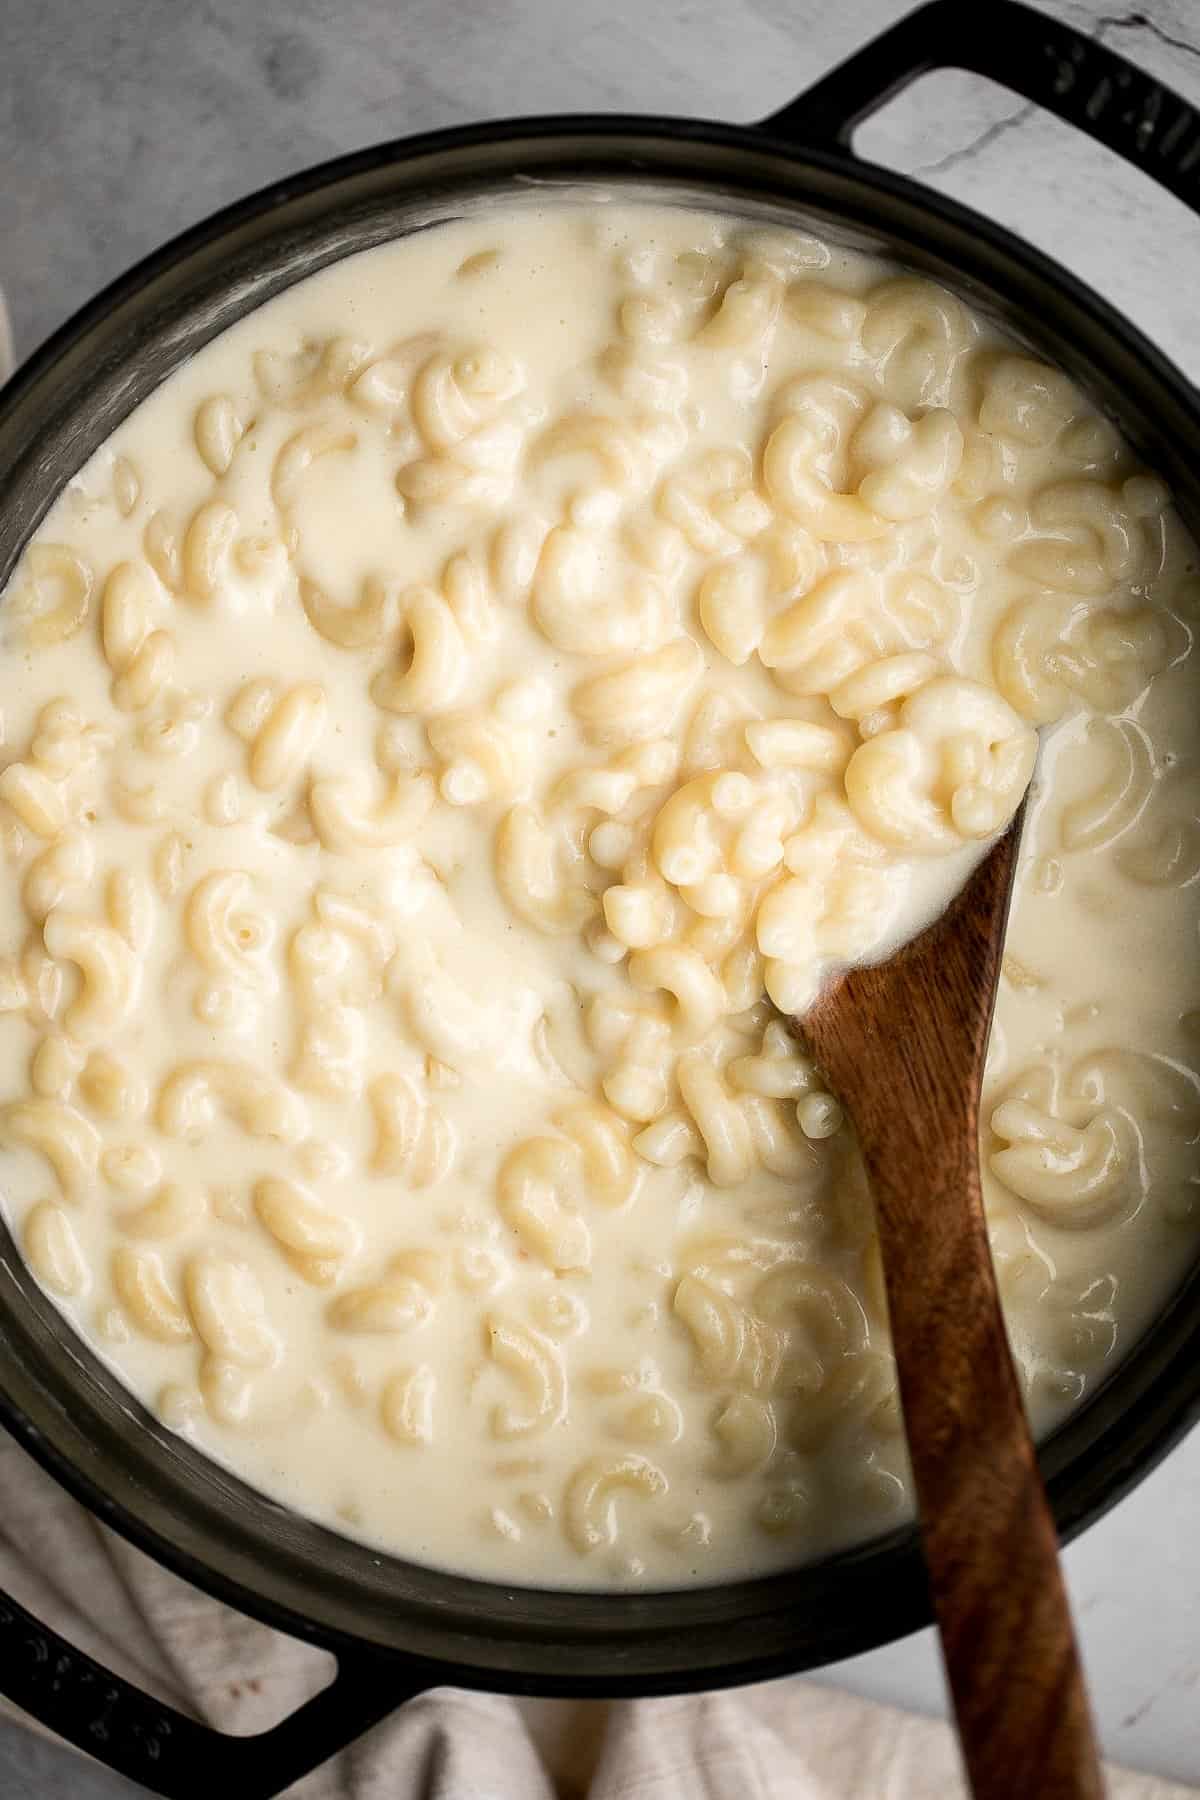
Mashed Cauliflower is a fluffy and buttery side dish and a low carb, keto-friendly alternative to mashed potatoes. Plus, it's easier and quicker too!
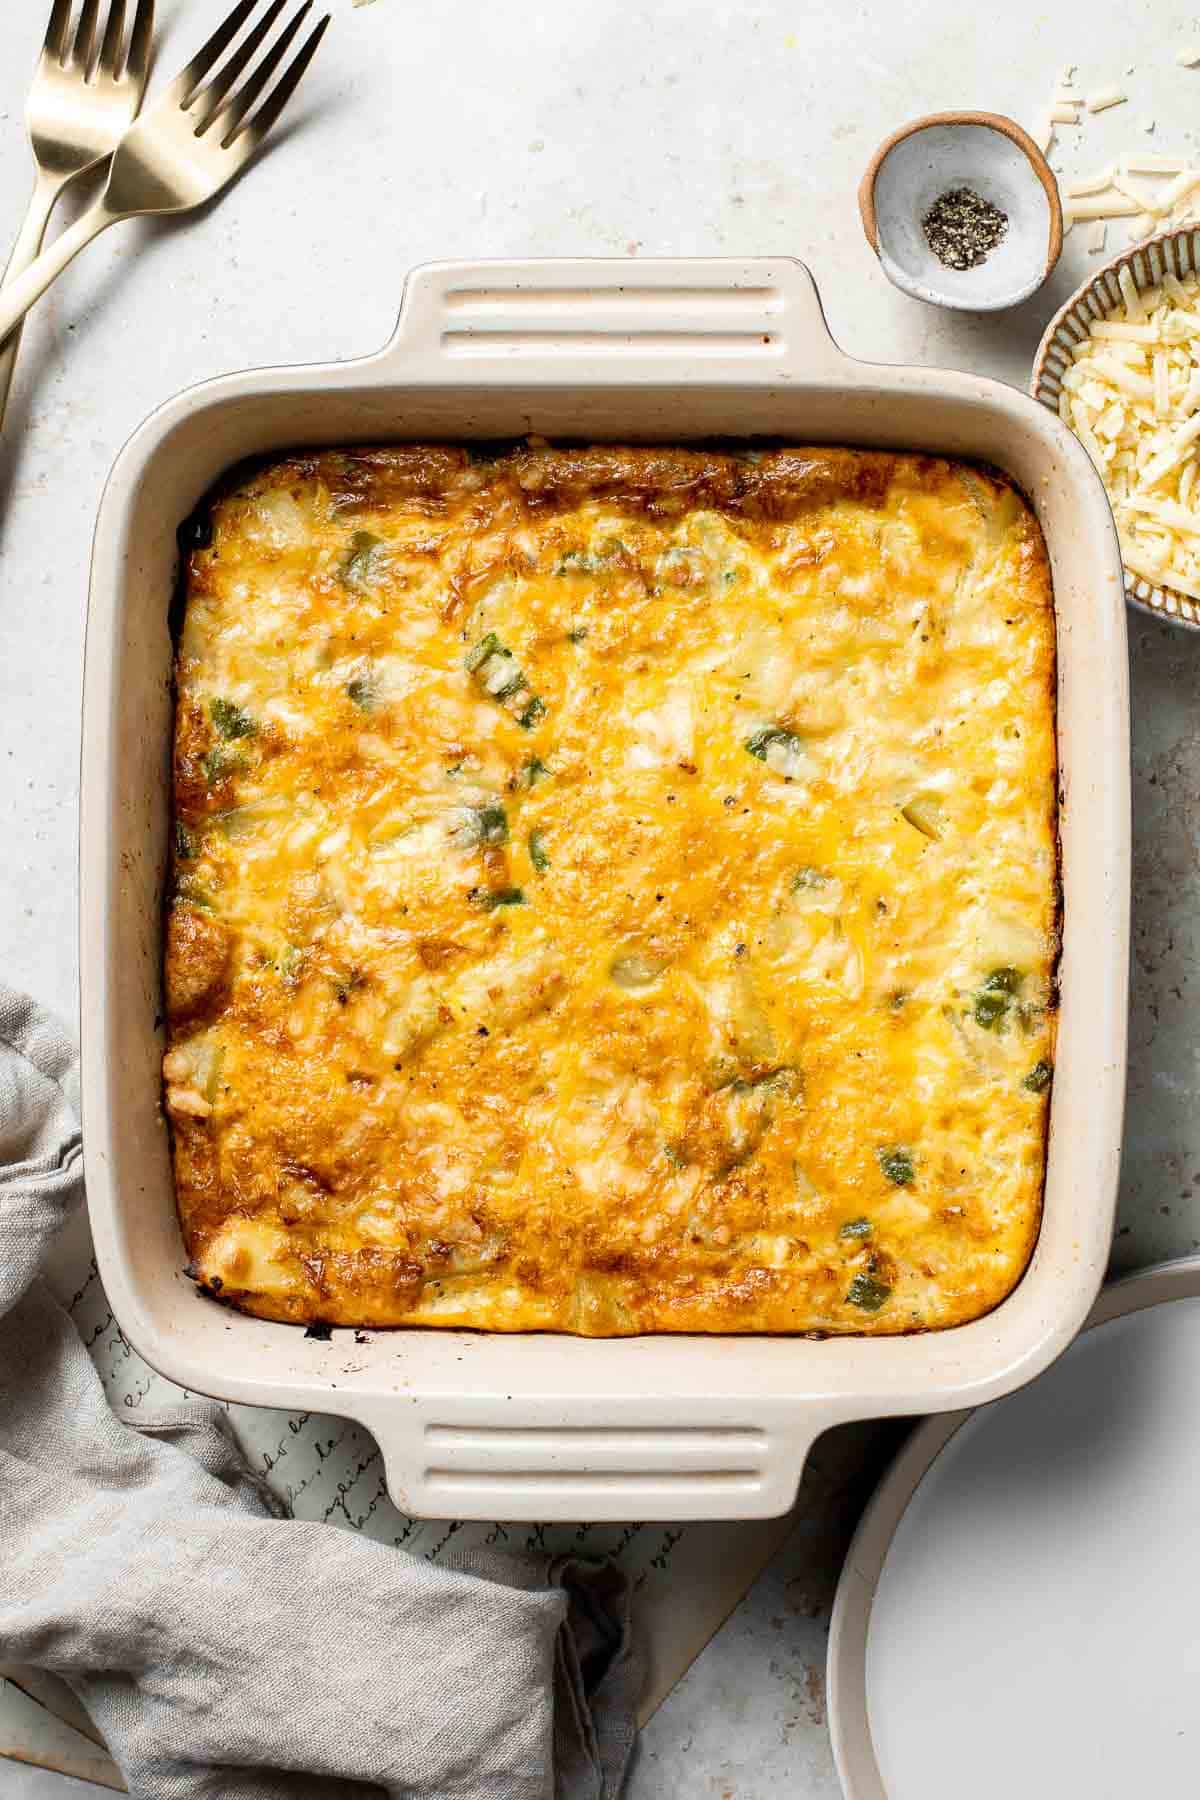
Egg muffins are a quick and easy way to meal prep breakfast on-the-go, loaded with cheddar cheese, bacon or salami, and green onions. Make 12 in 30 minutes.

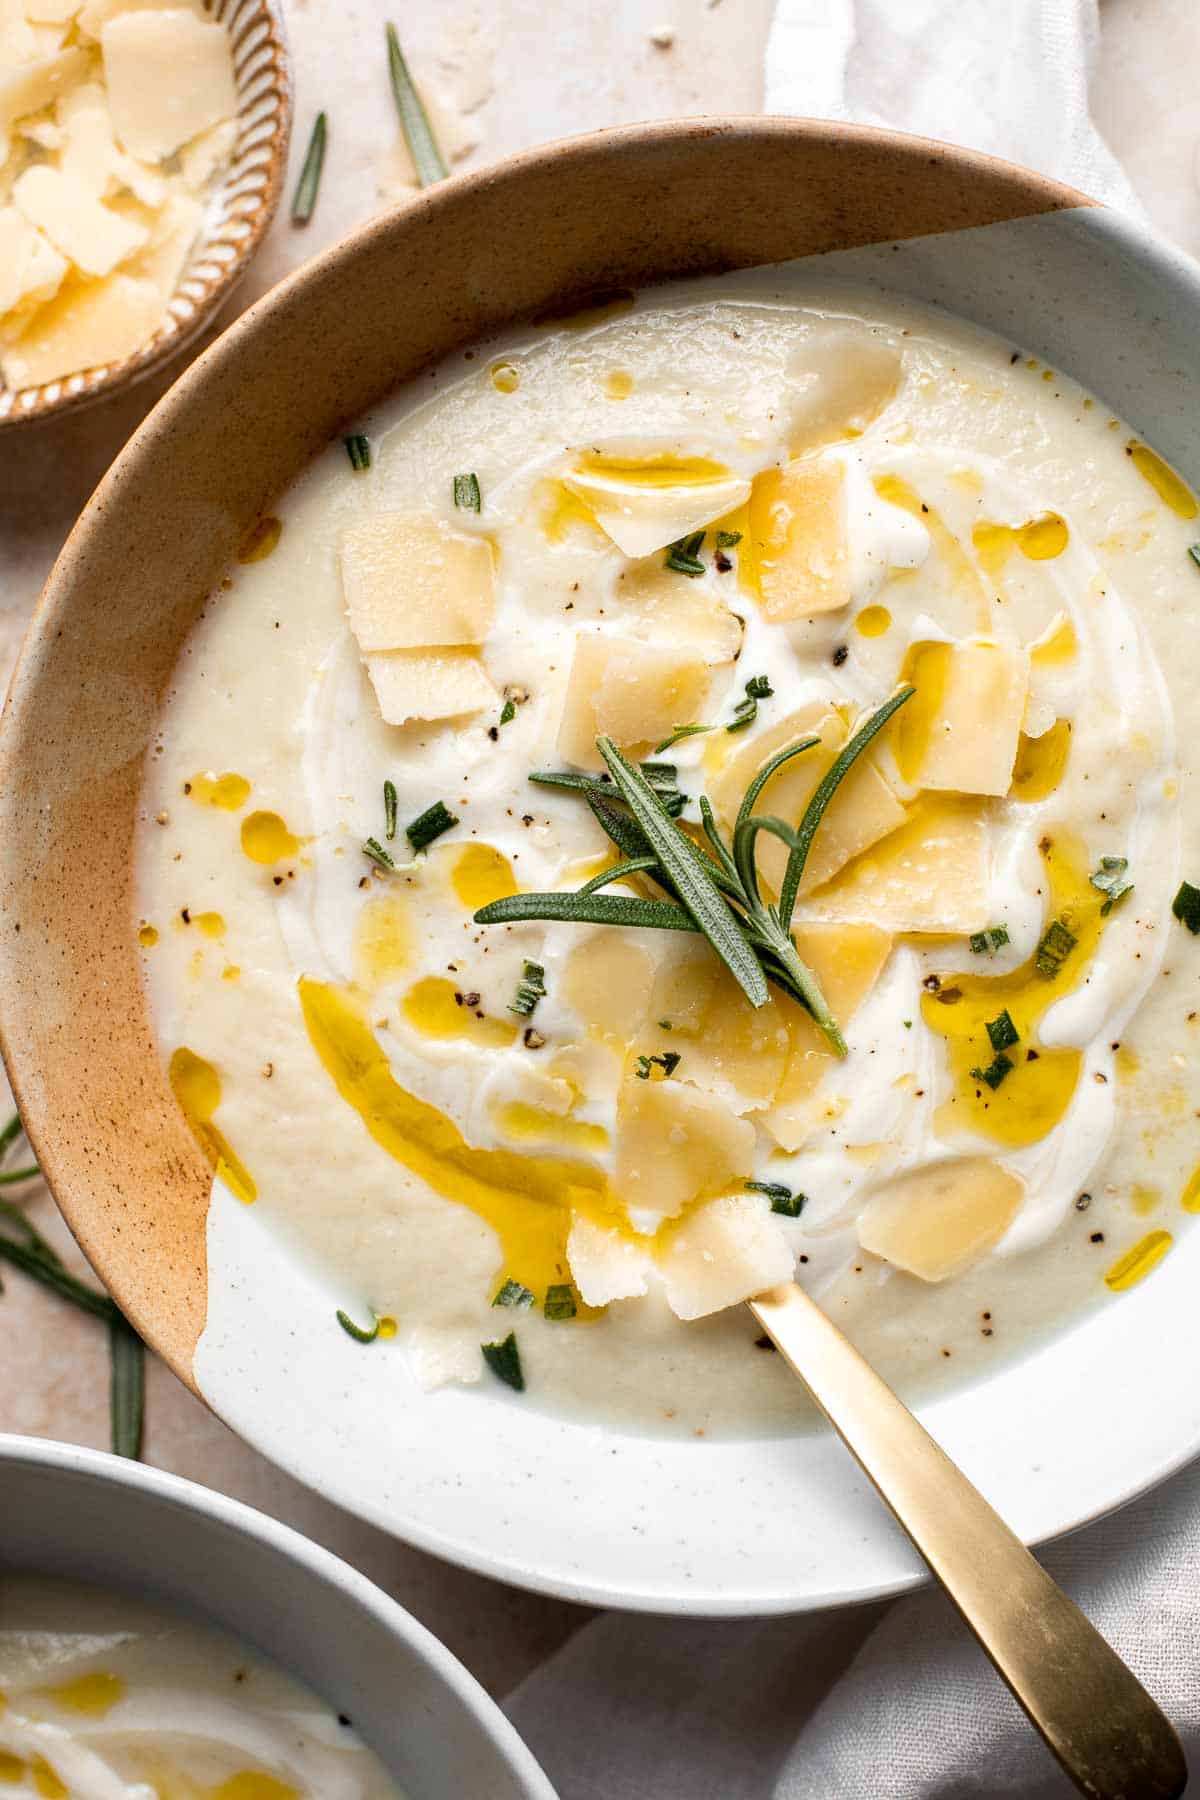
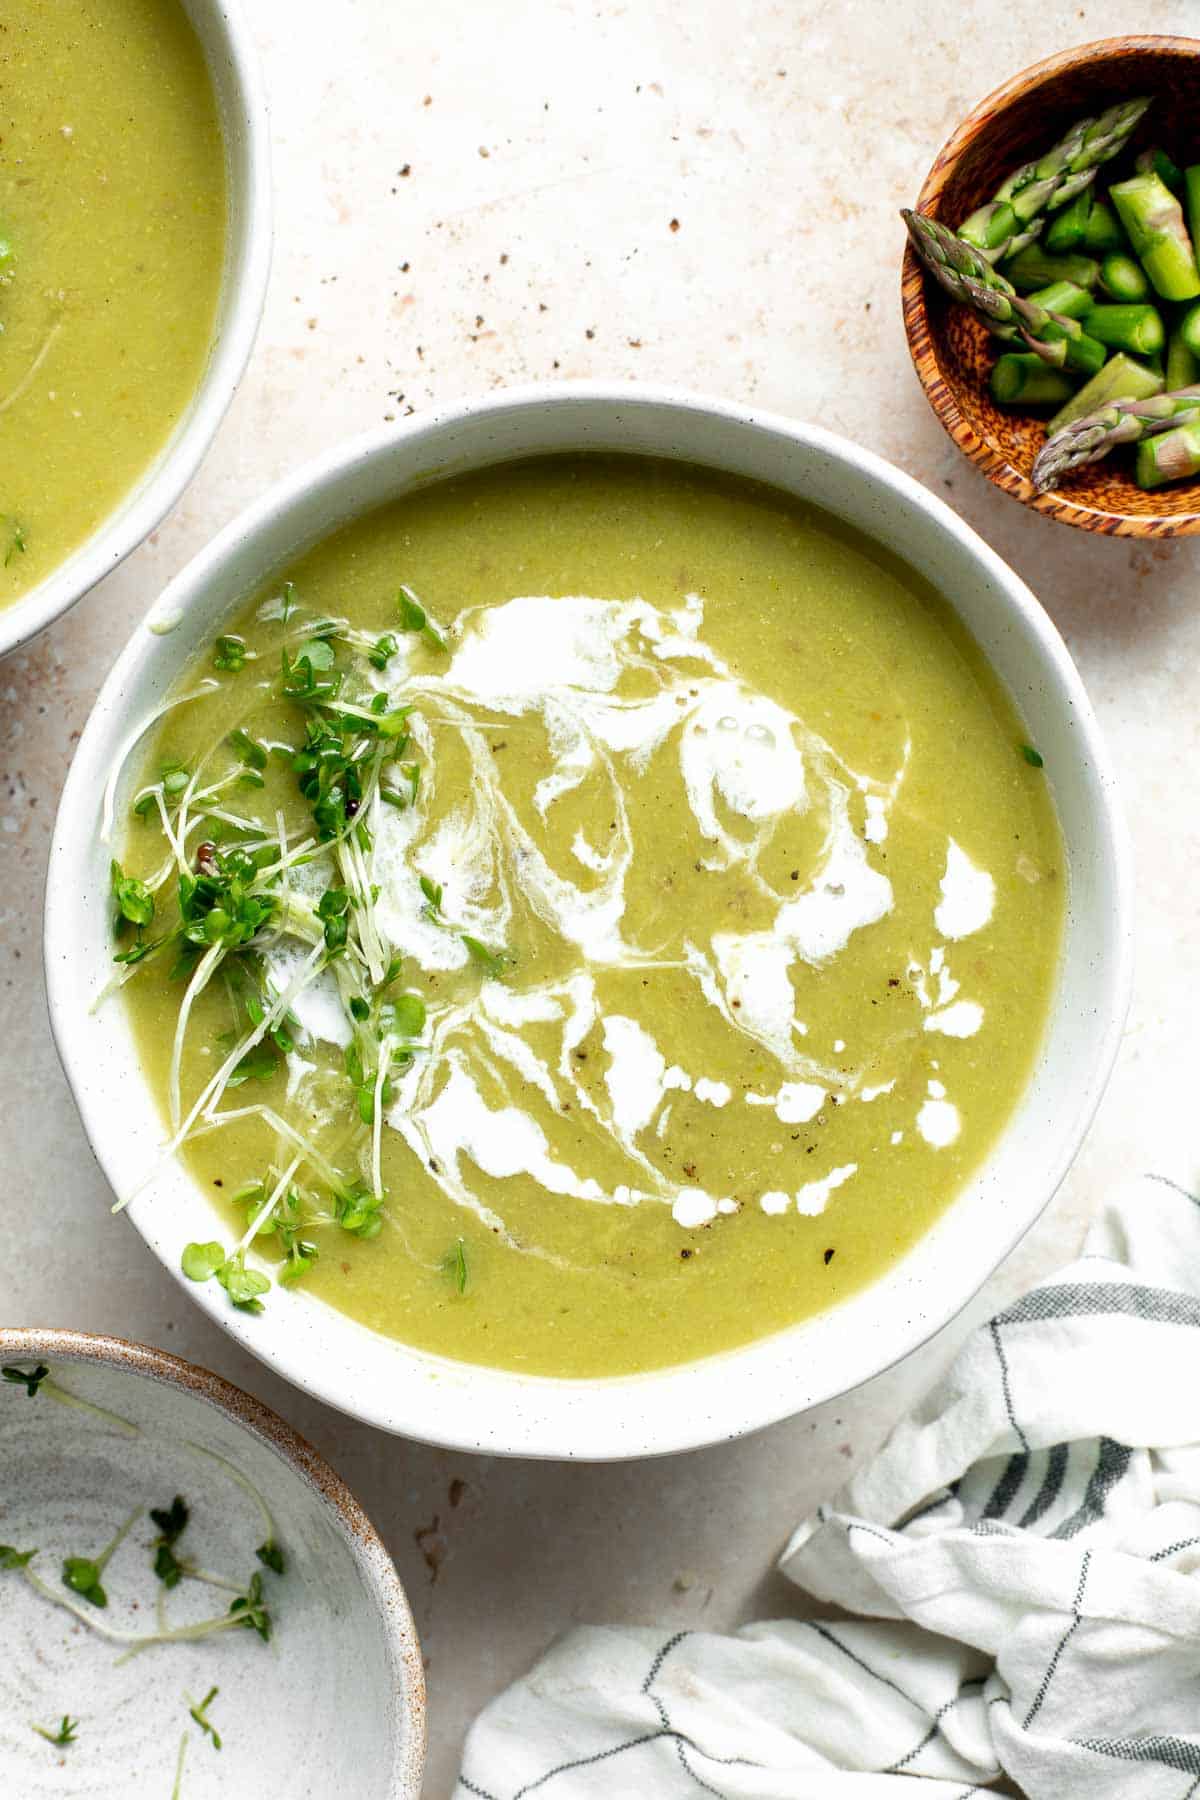
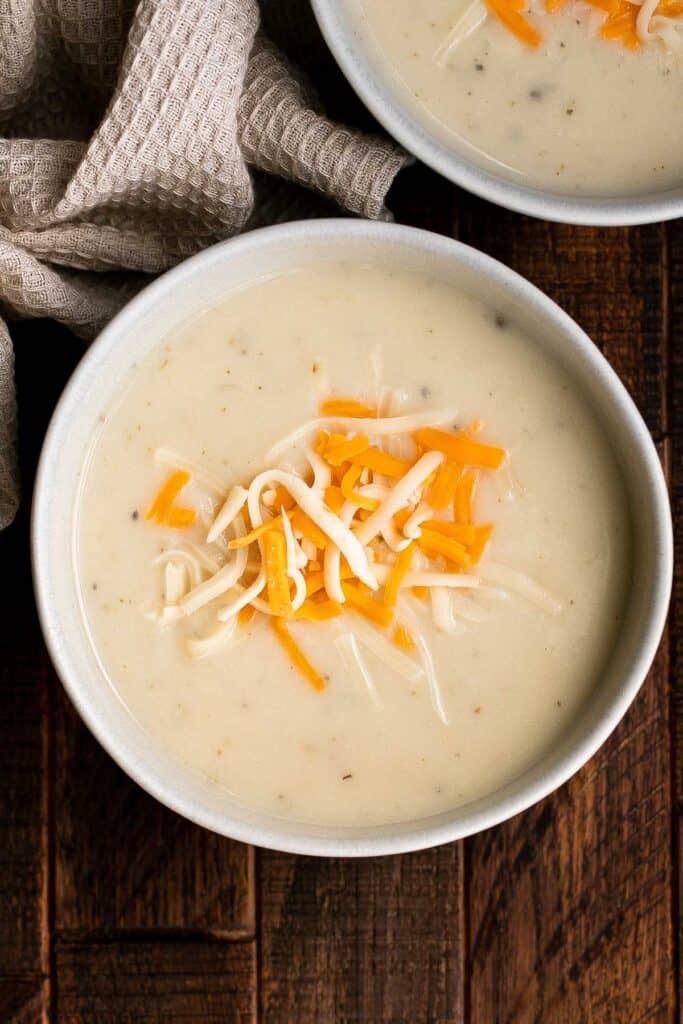
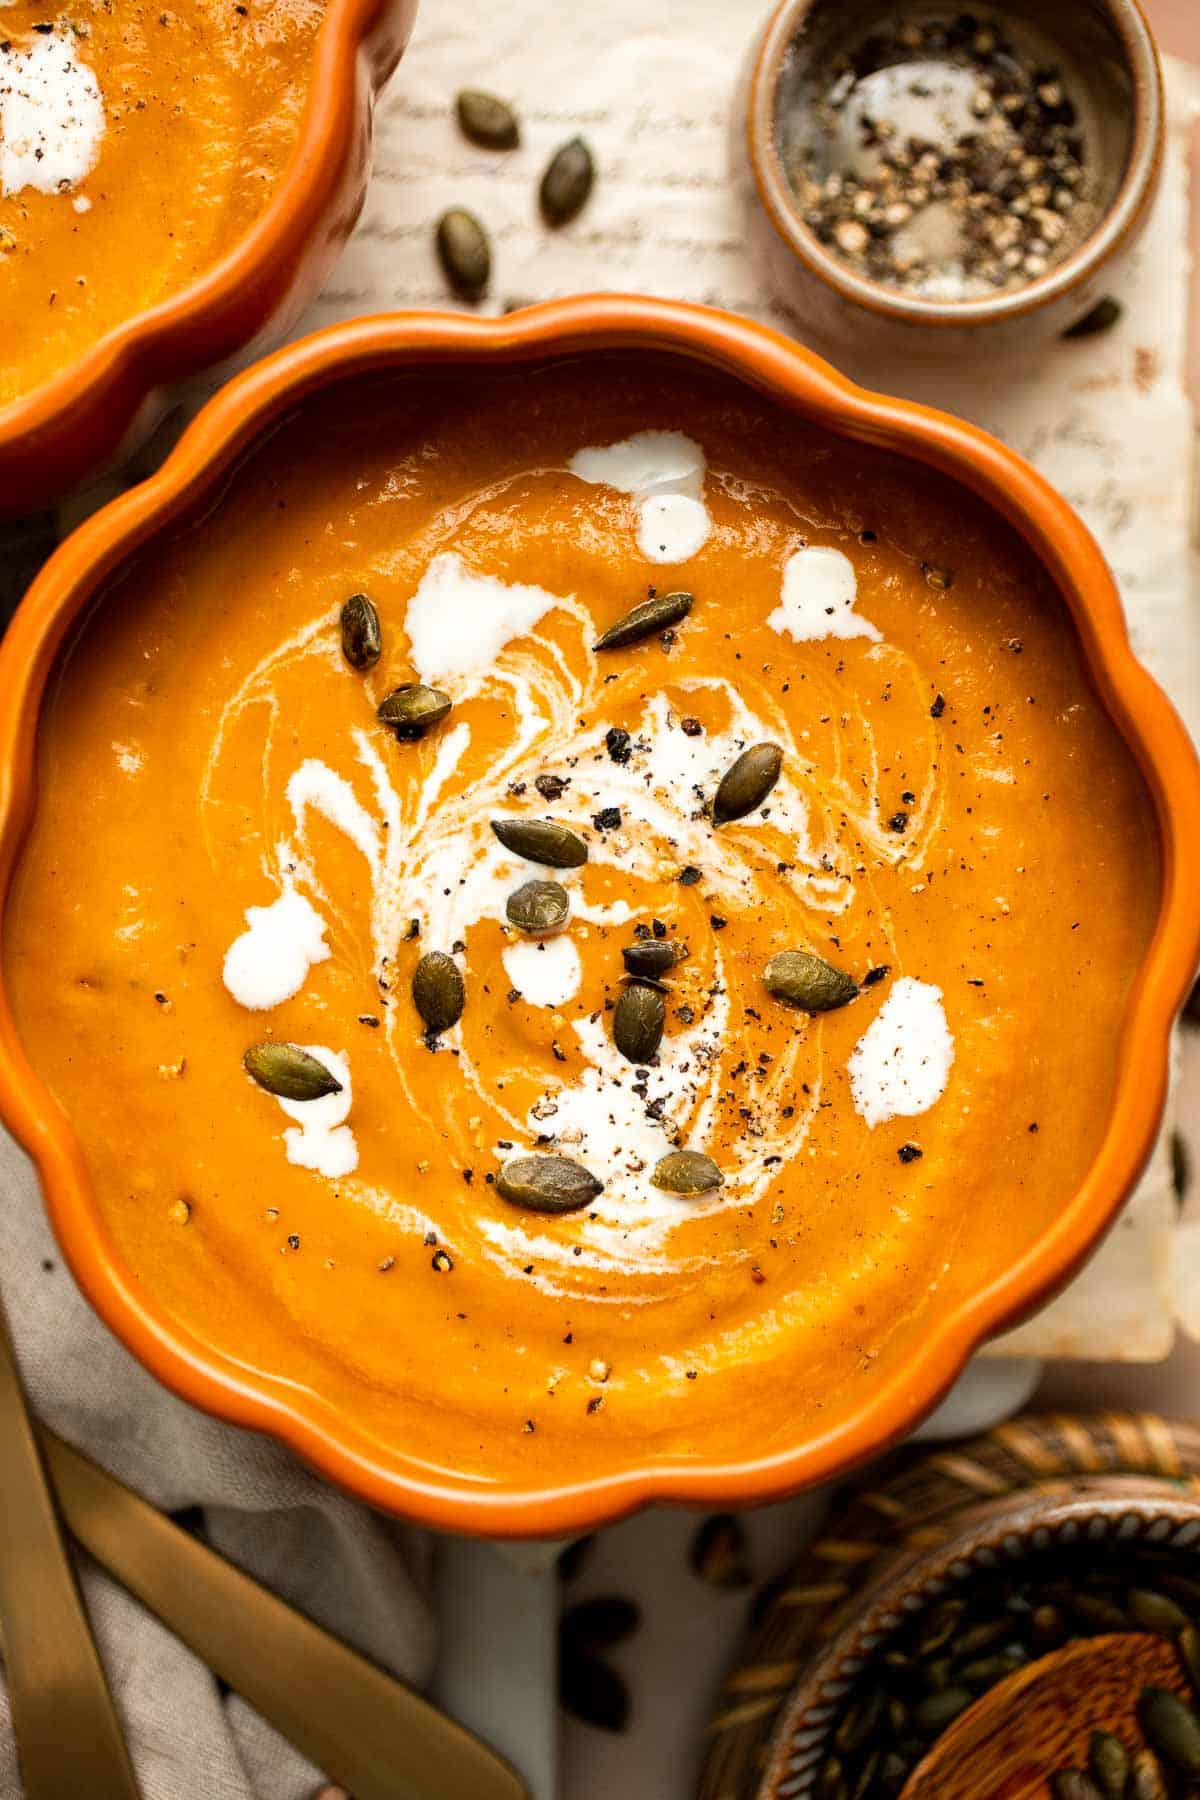
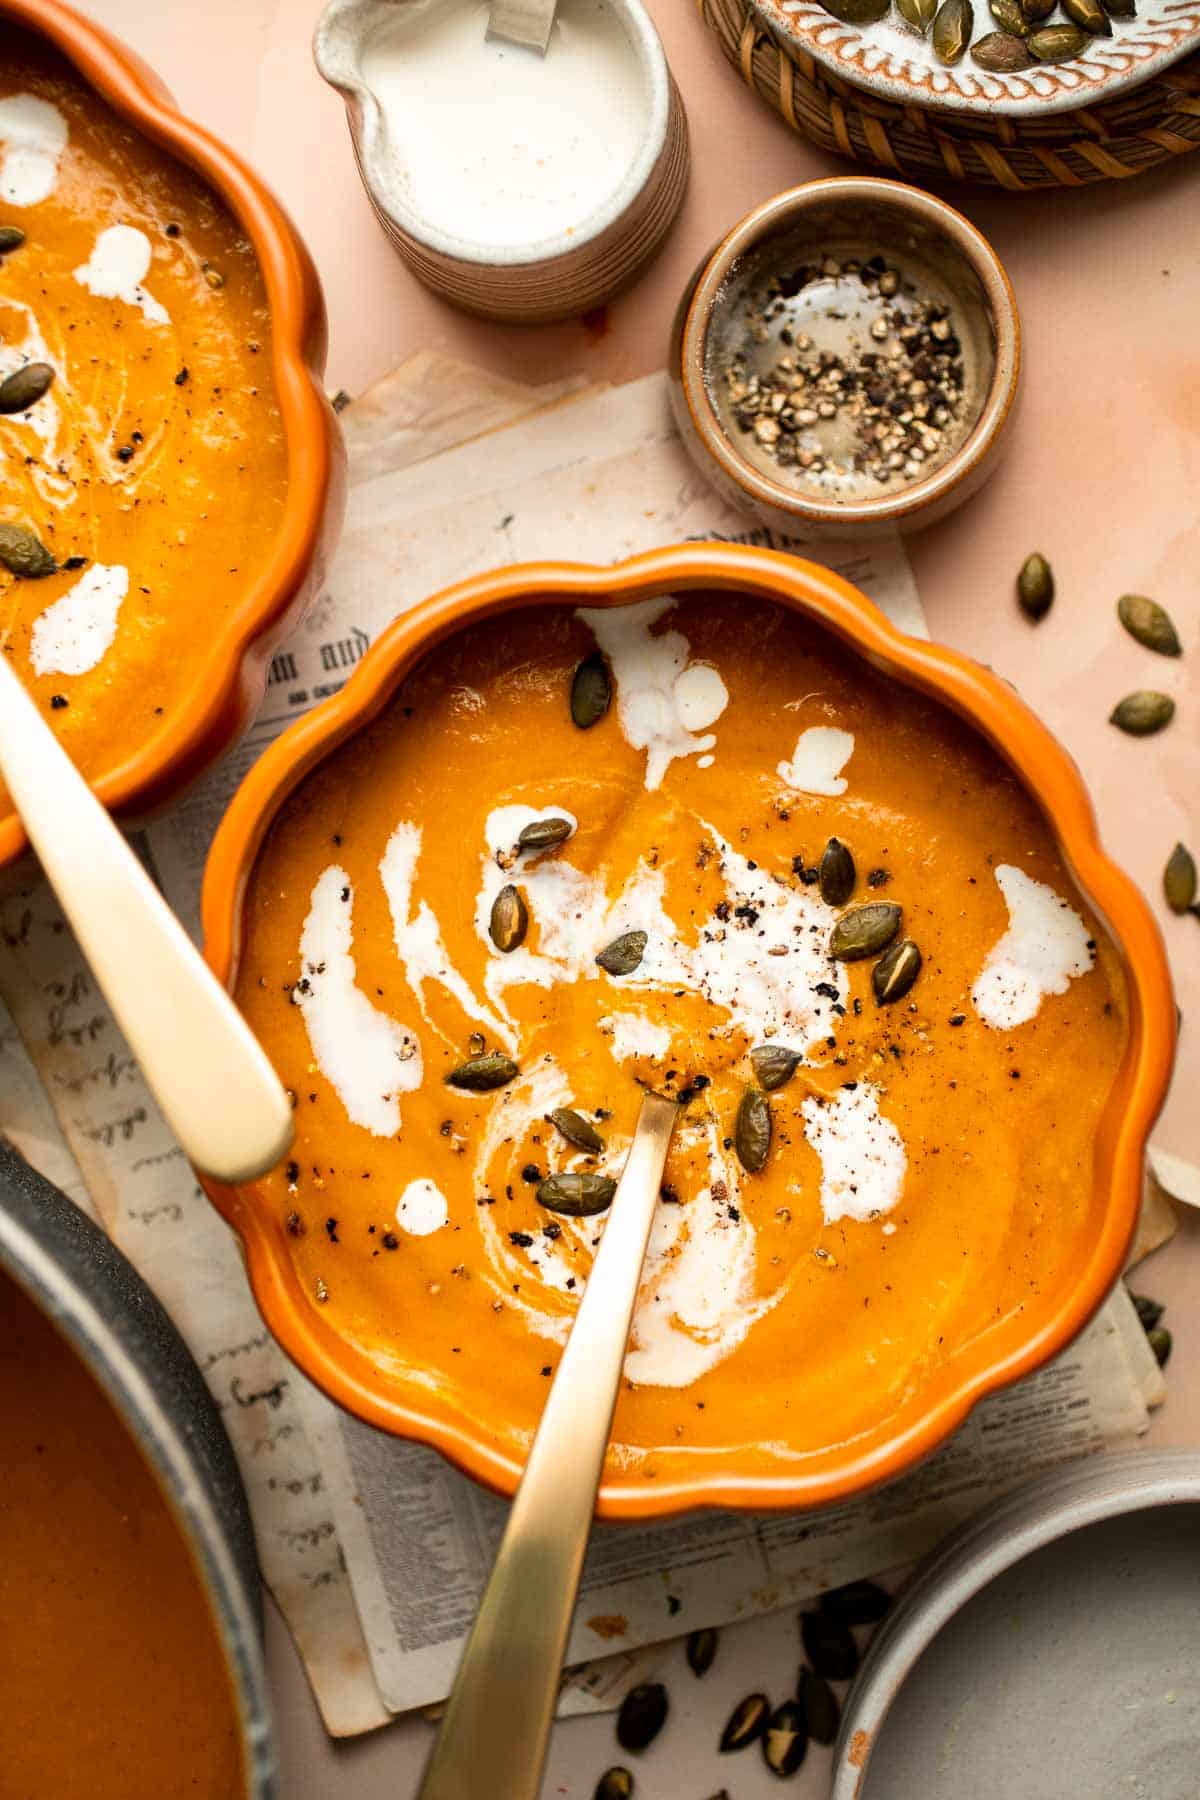
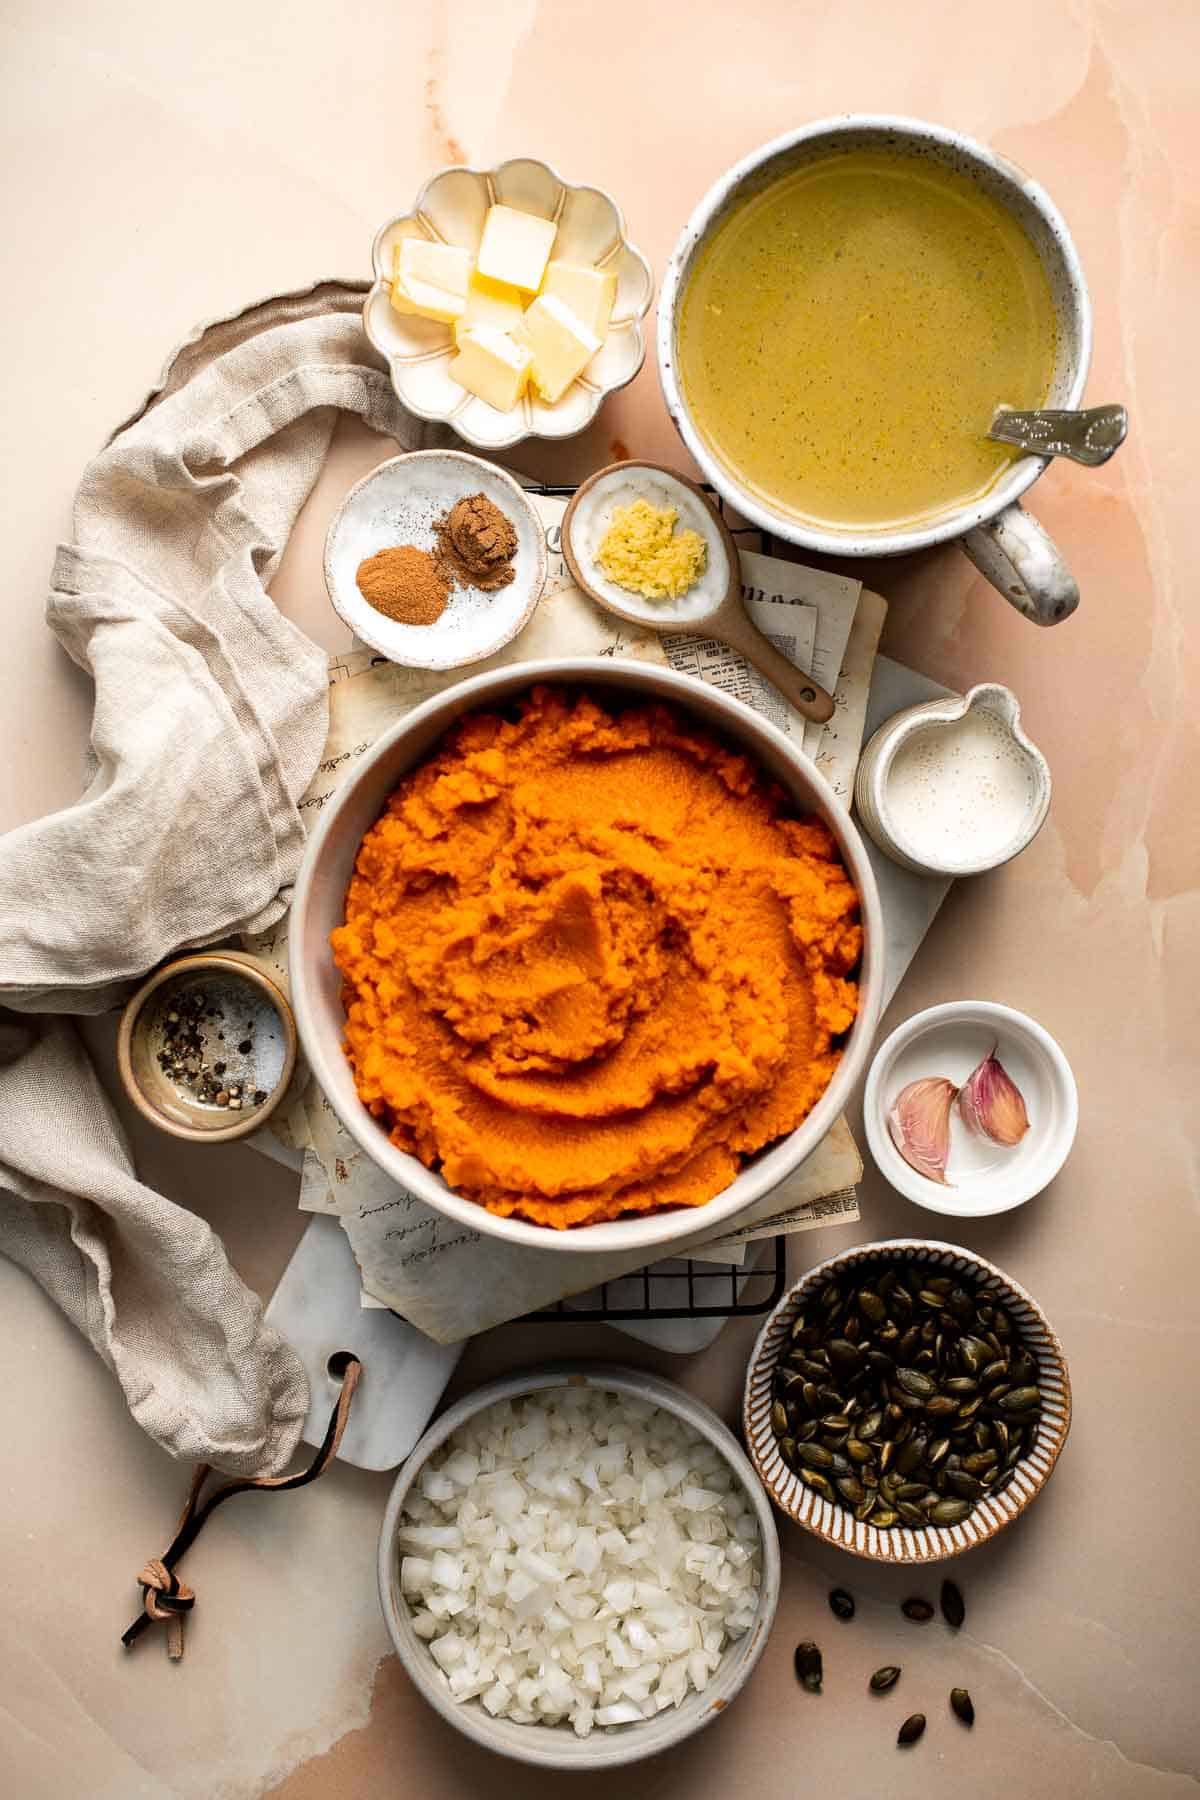
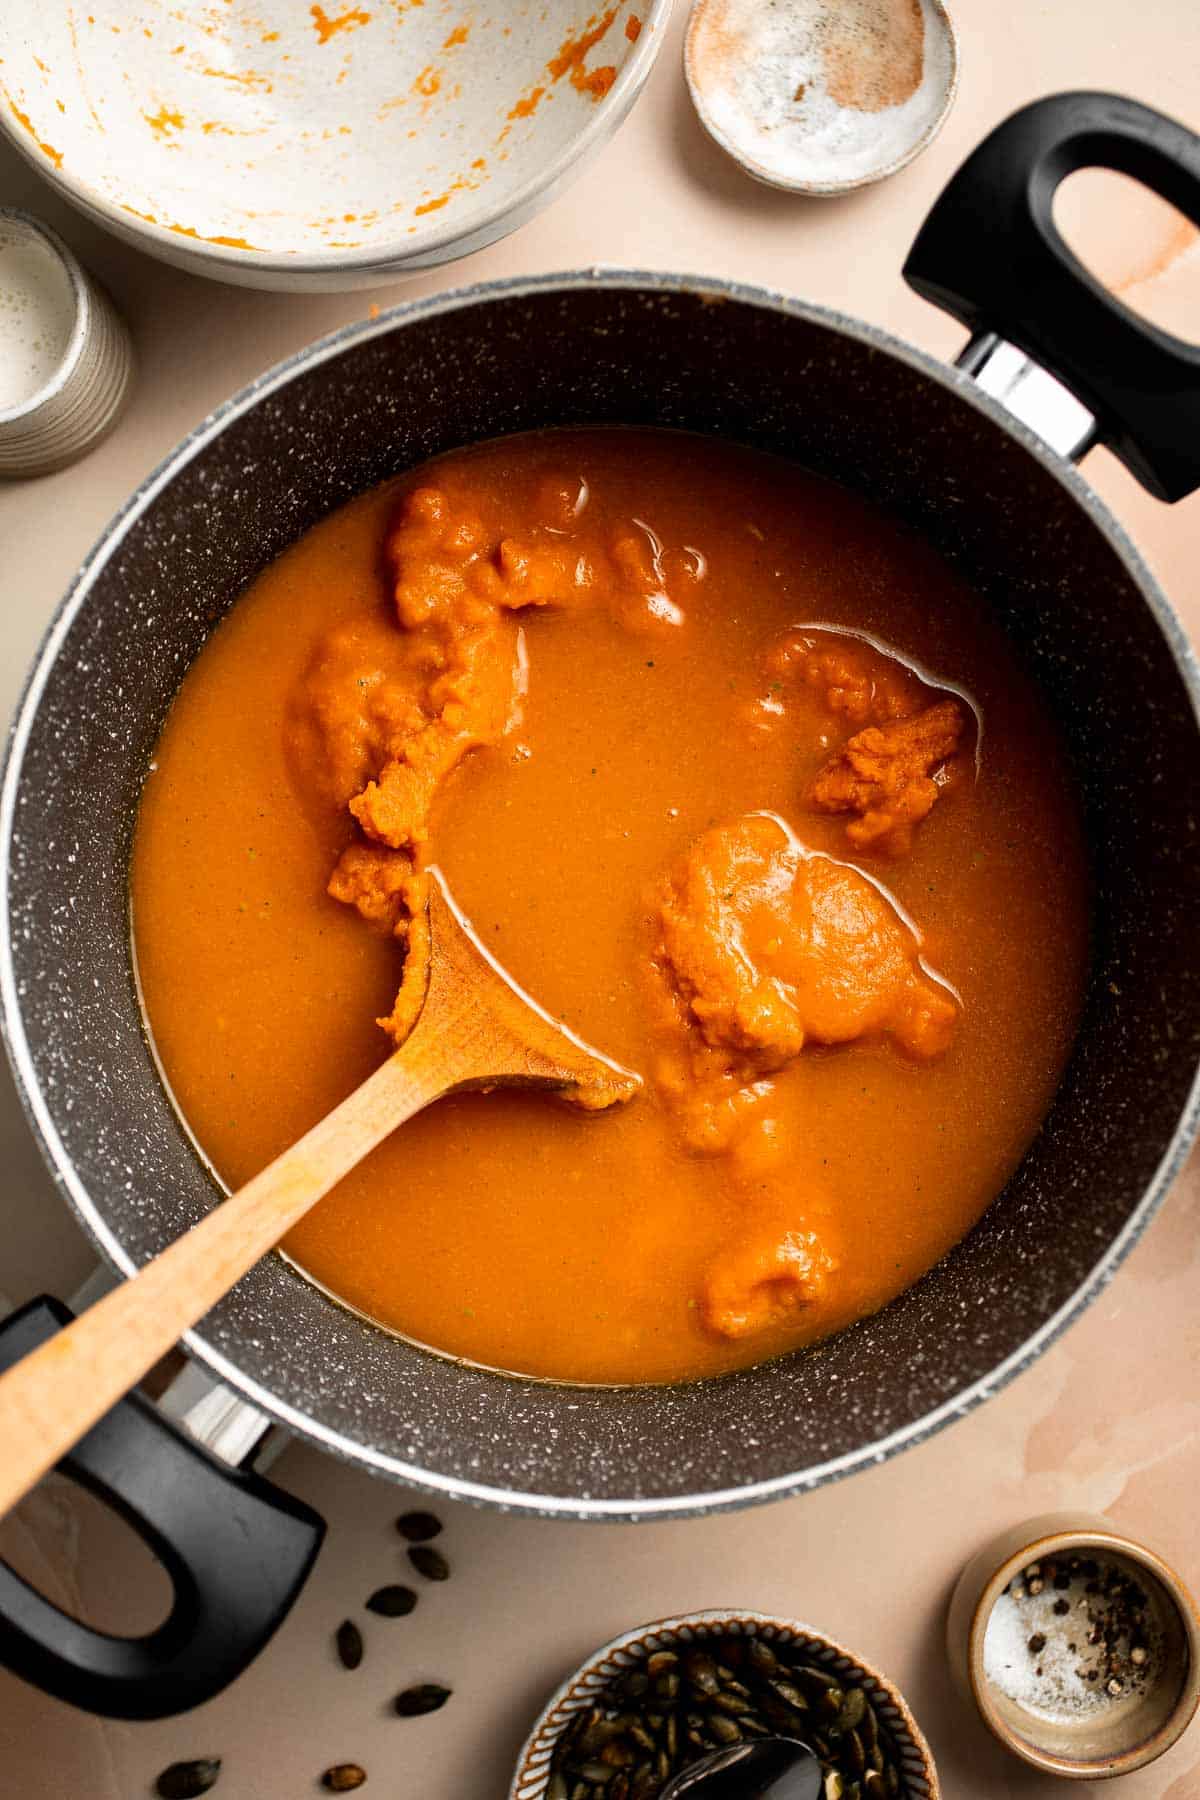
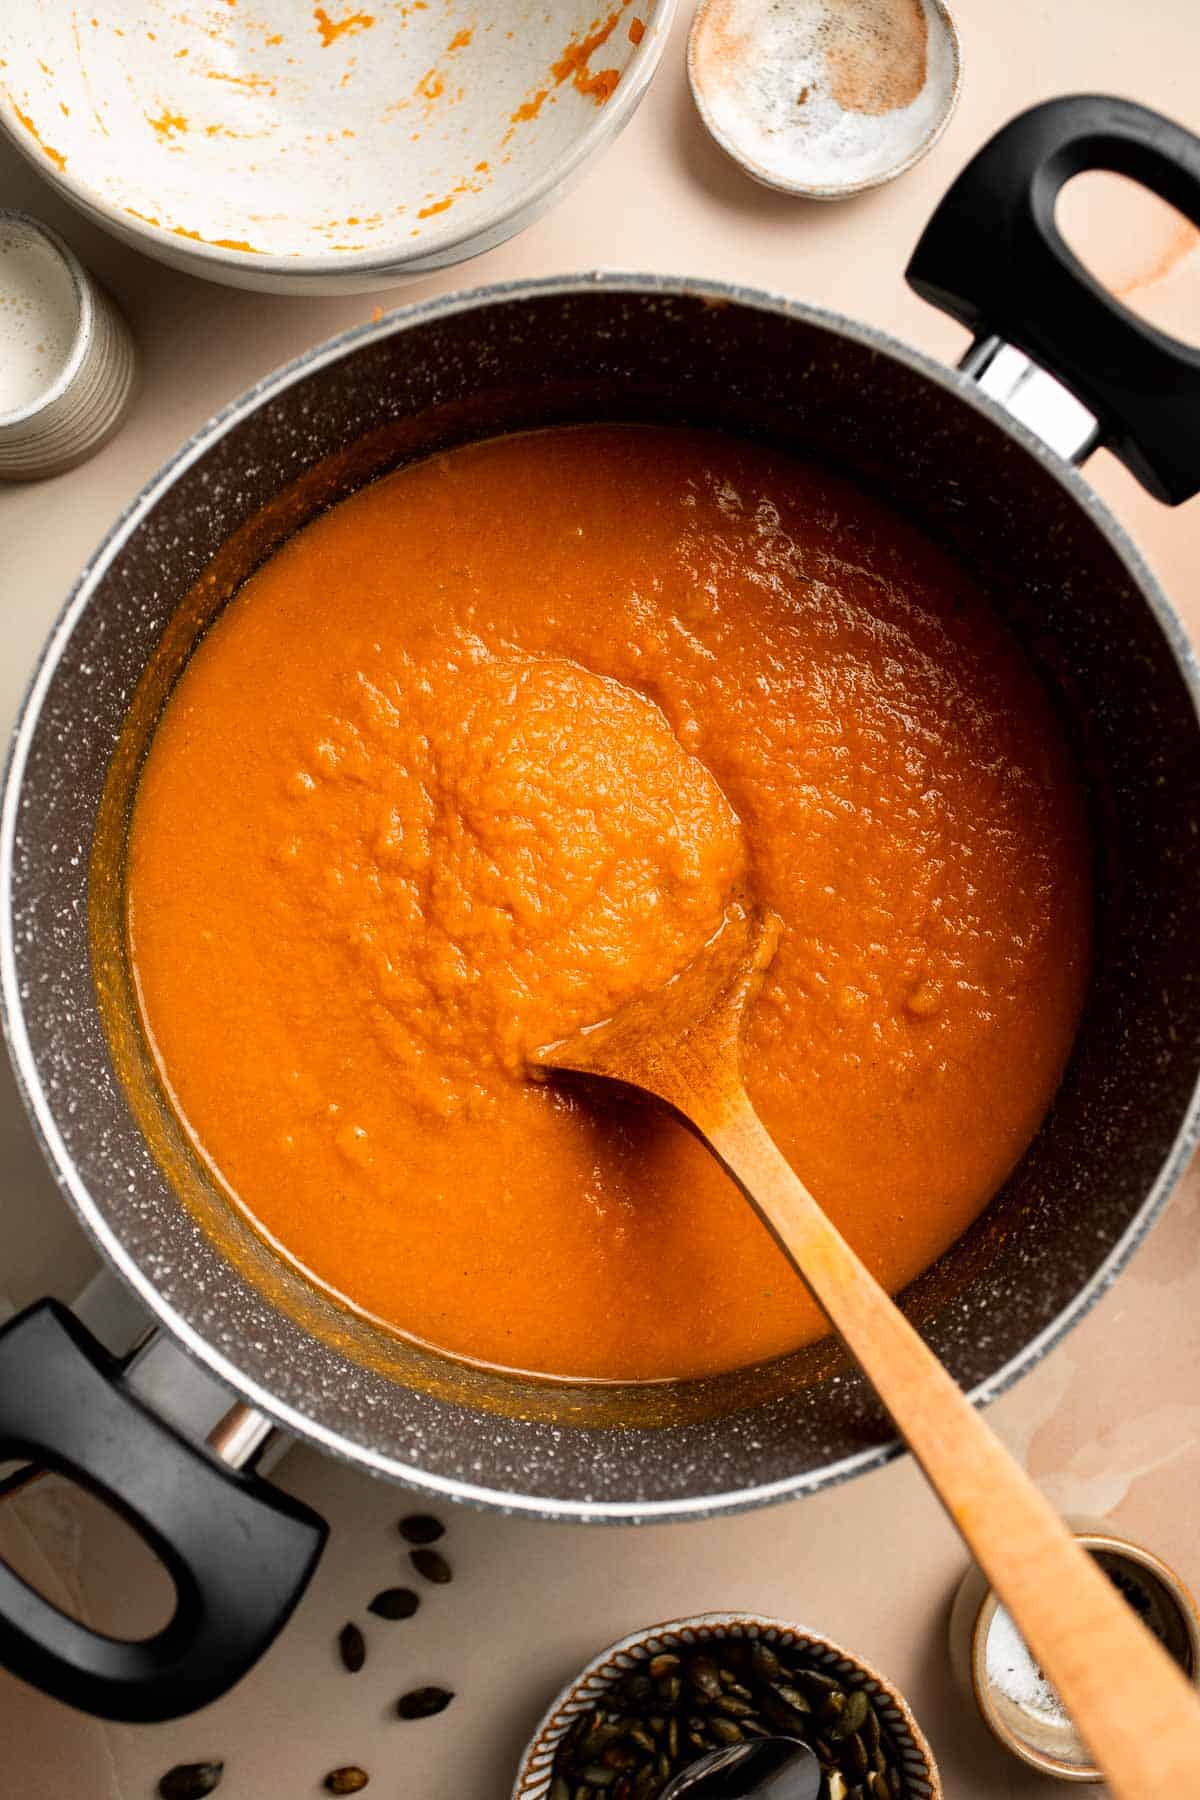
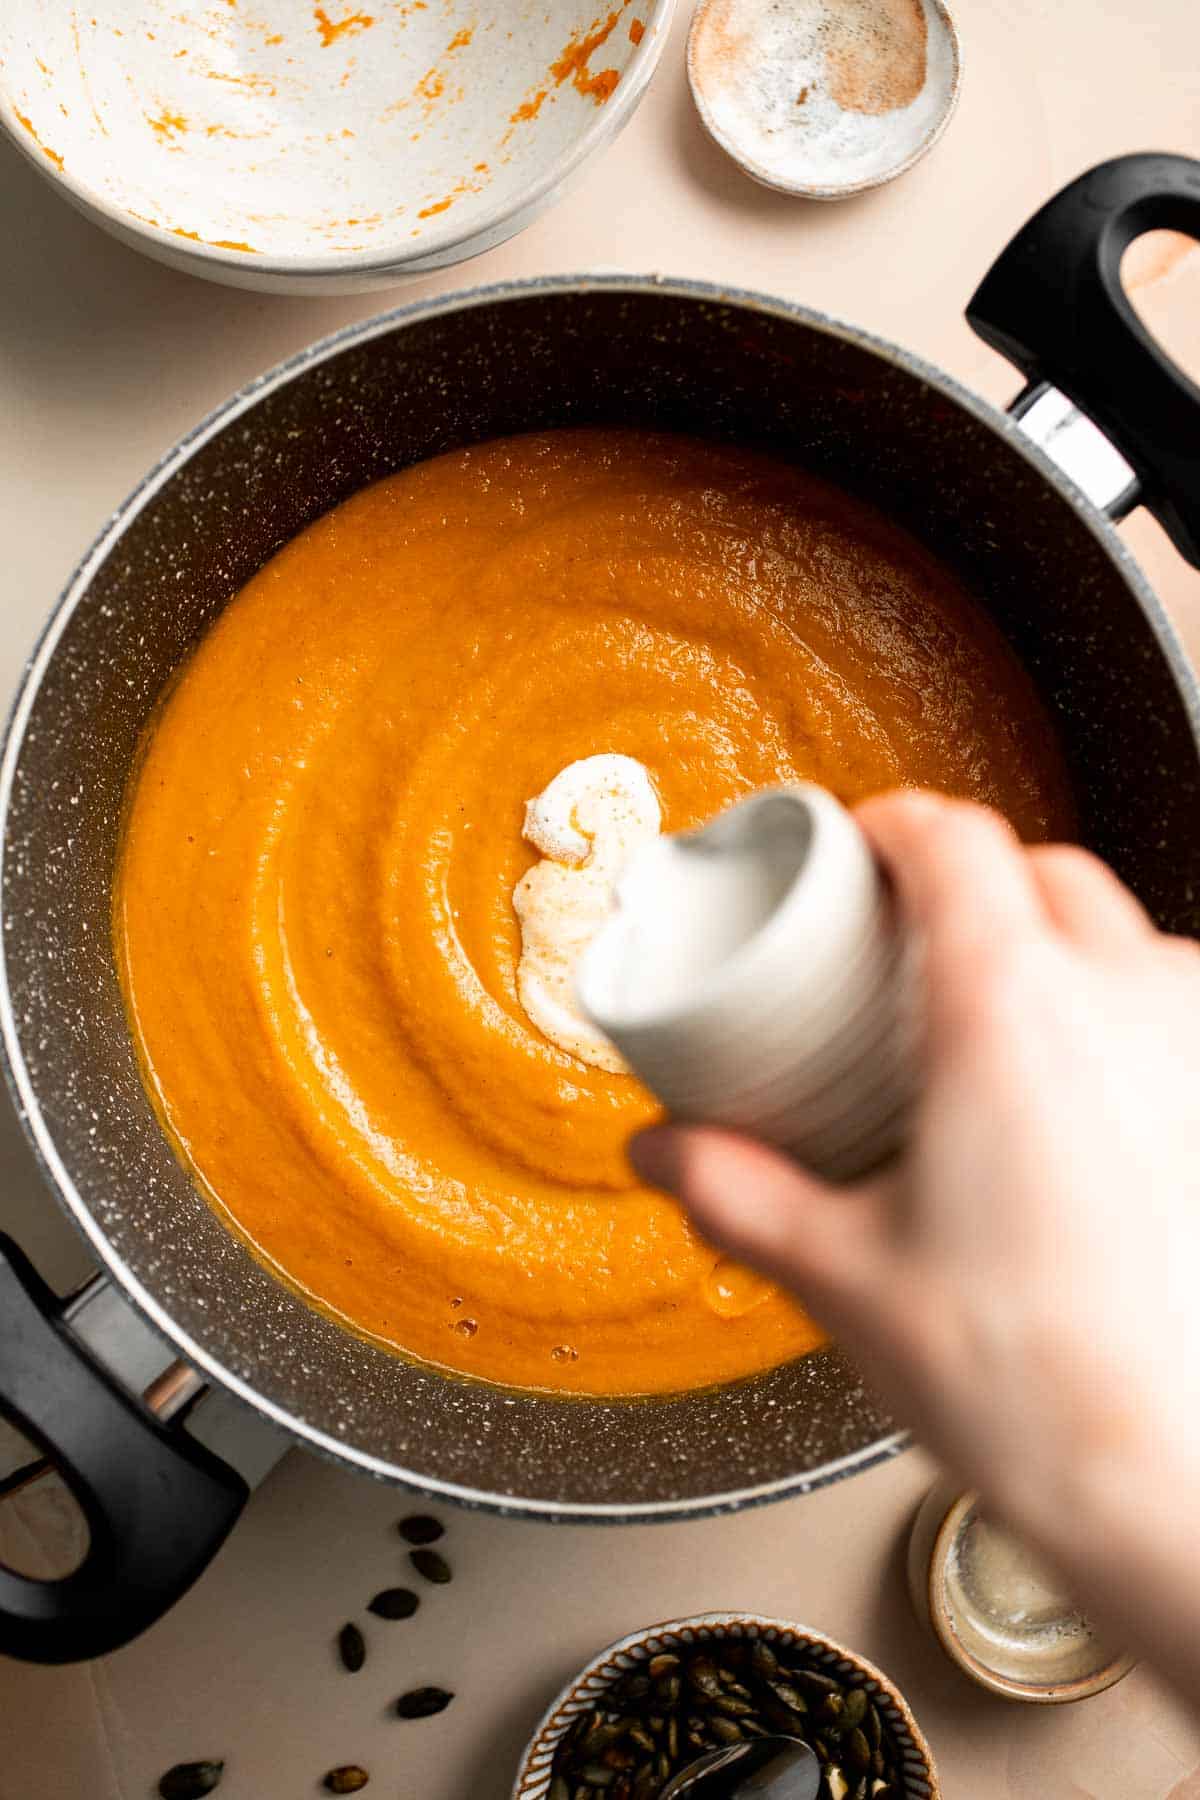
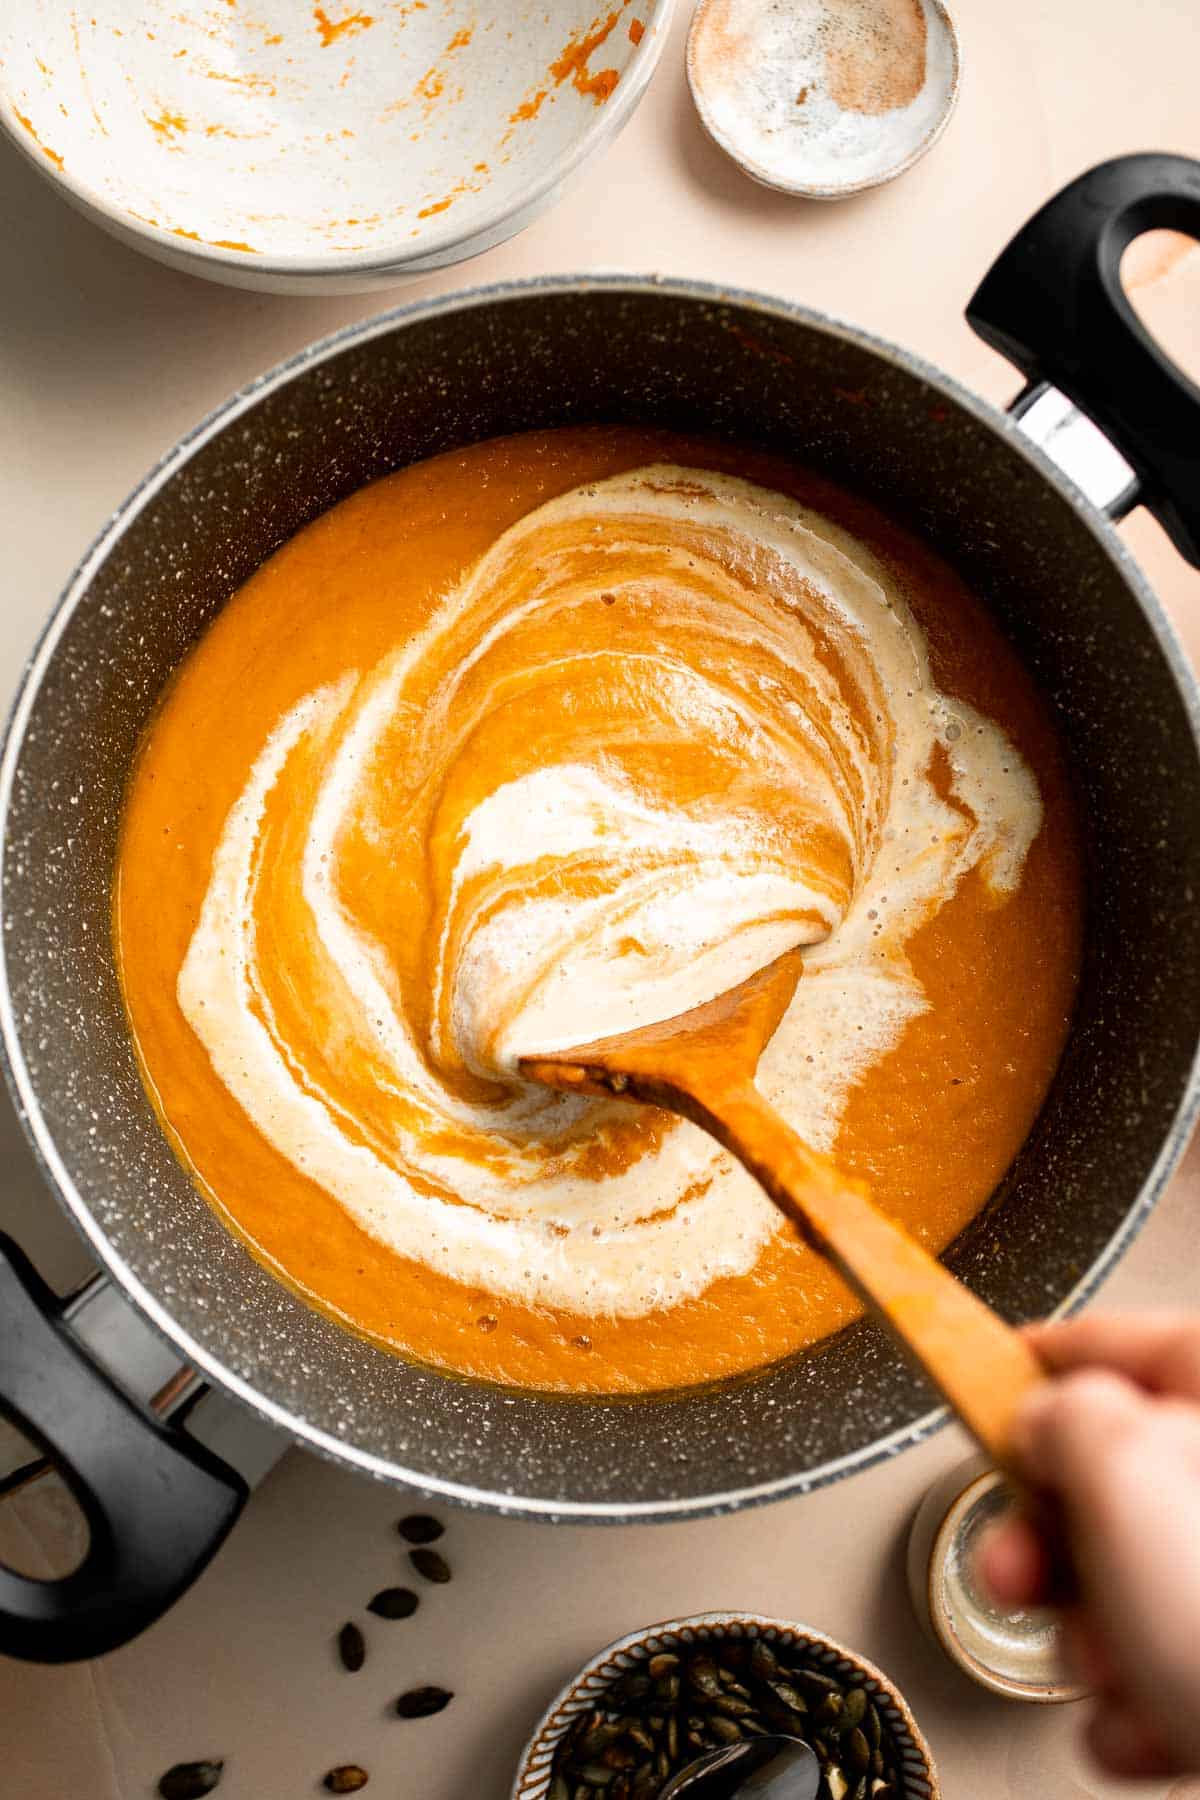
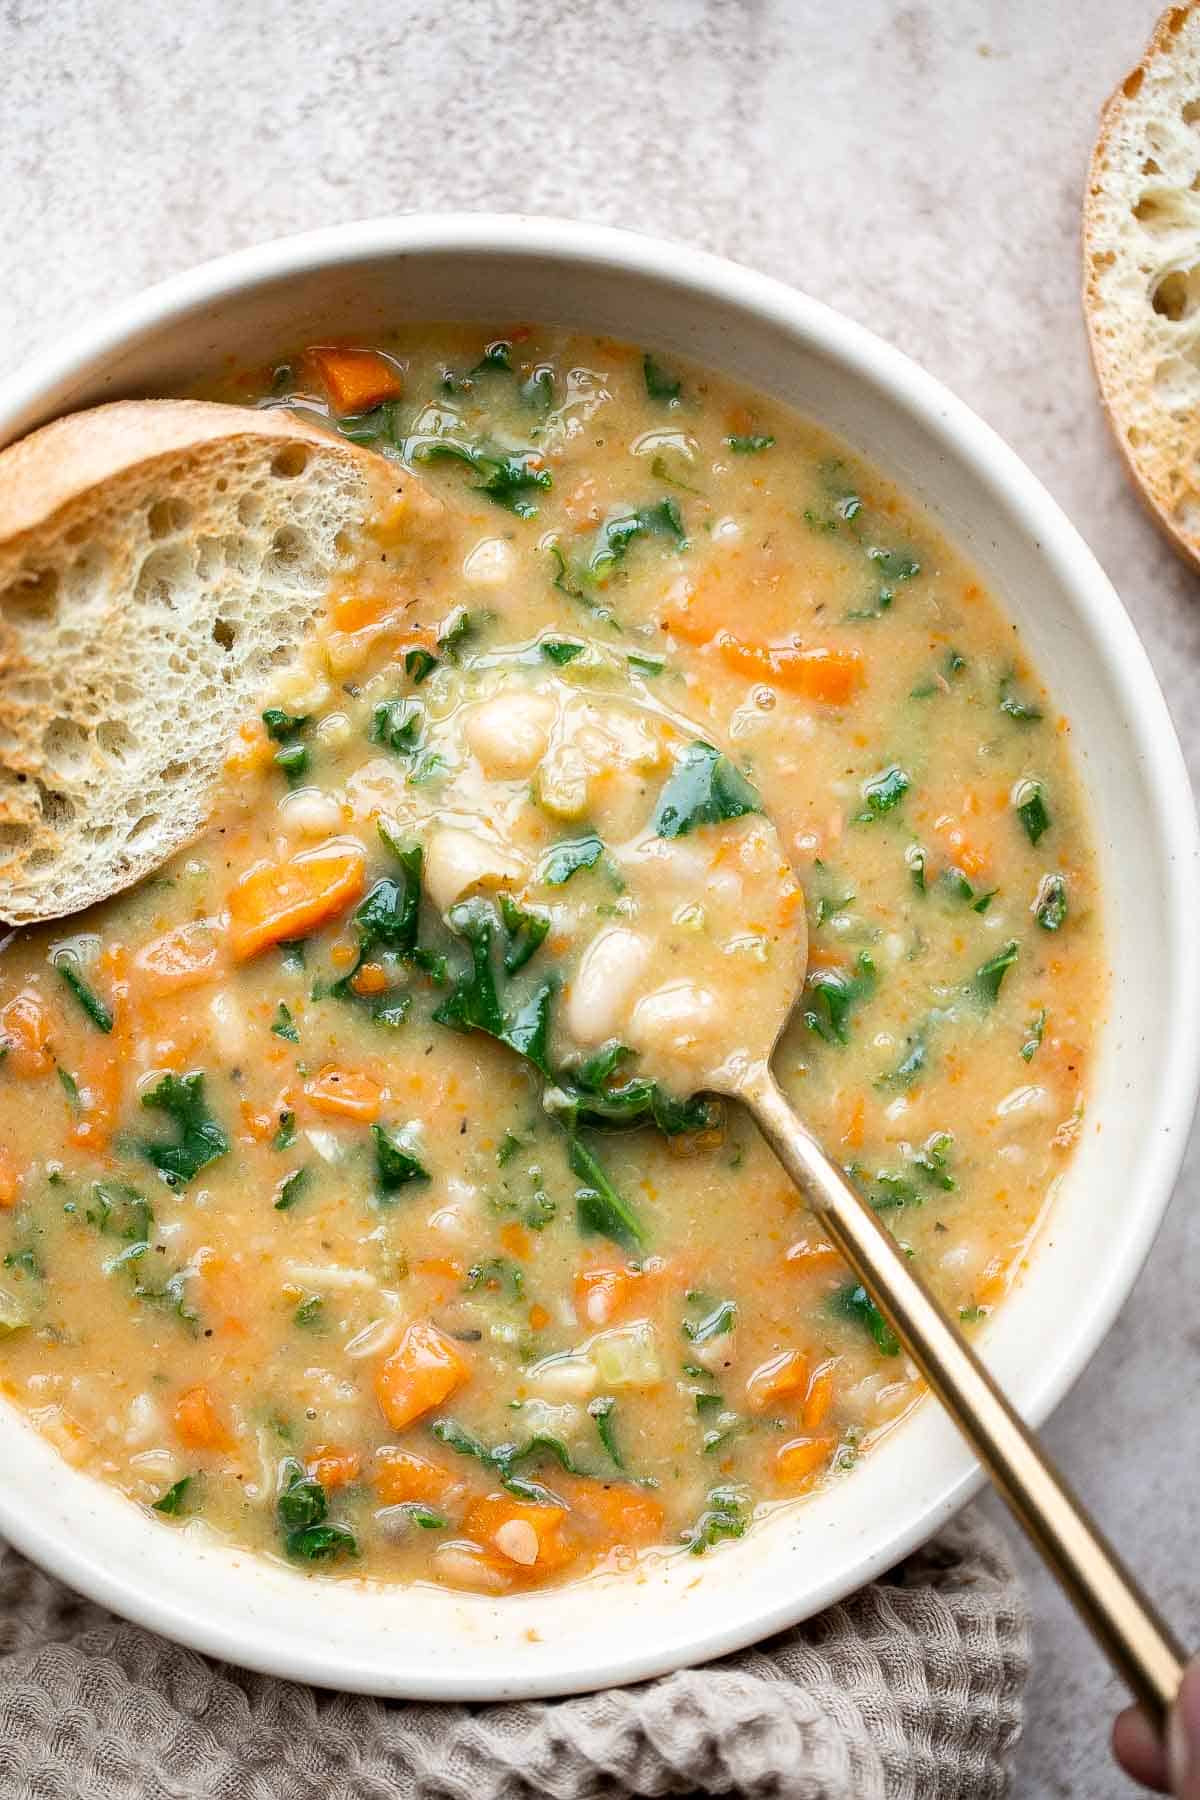
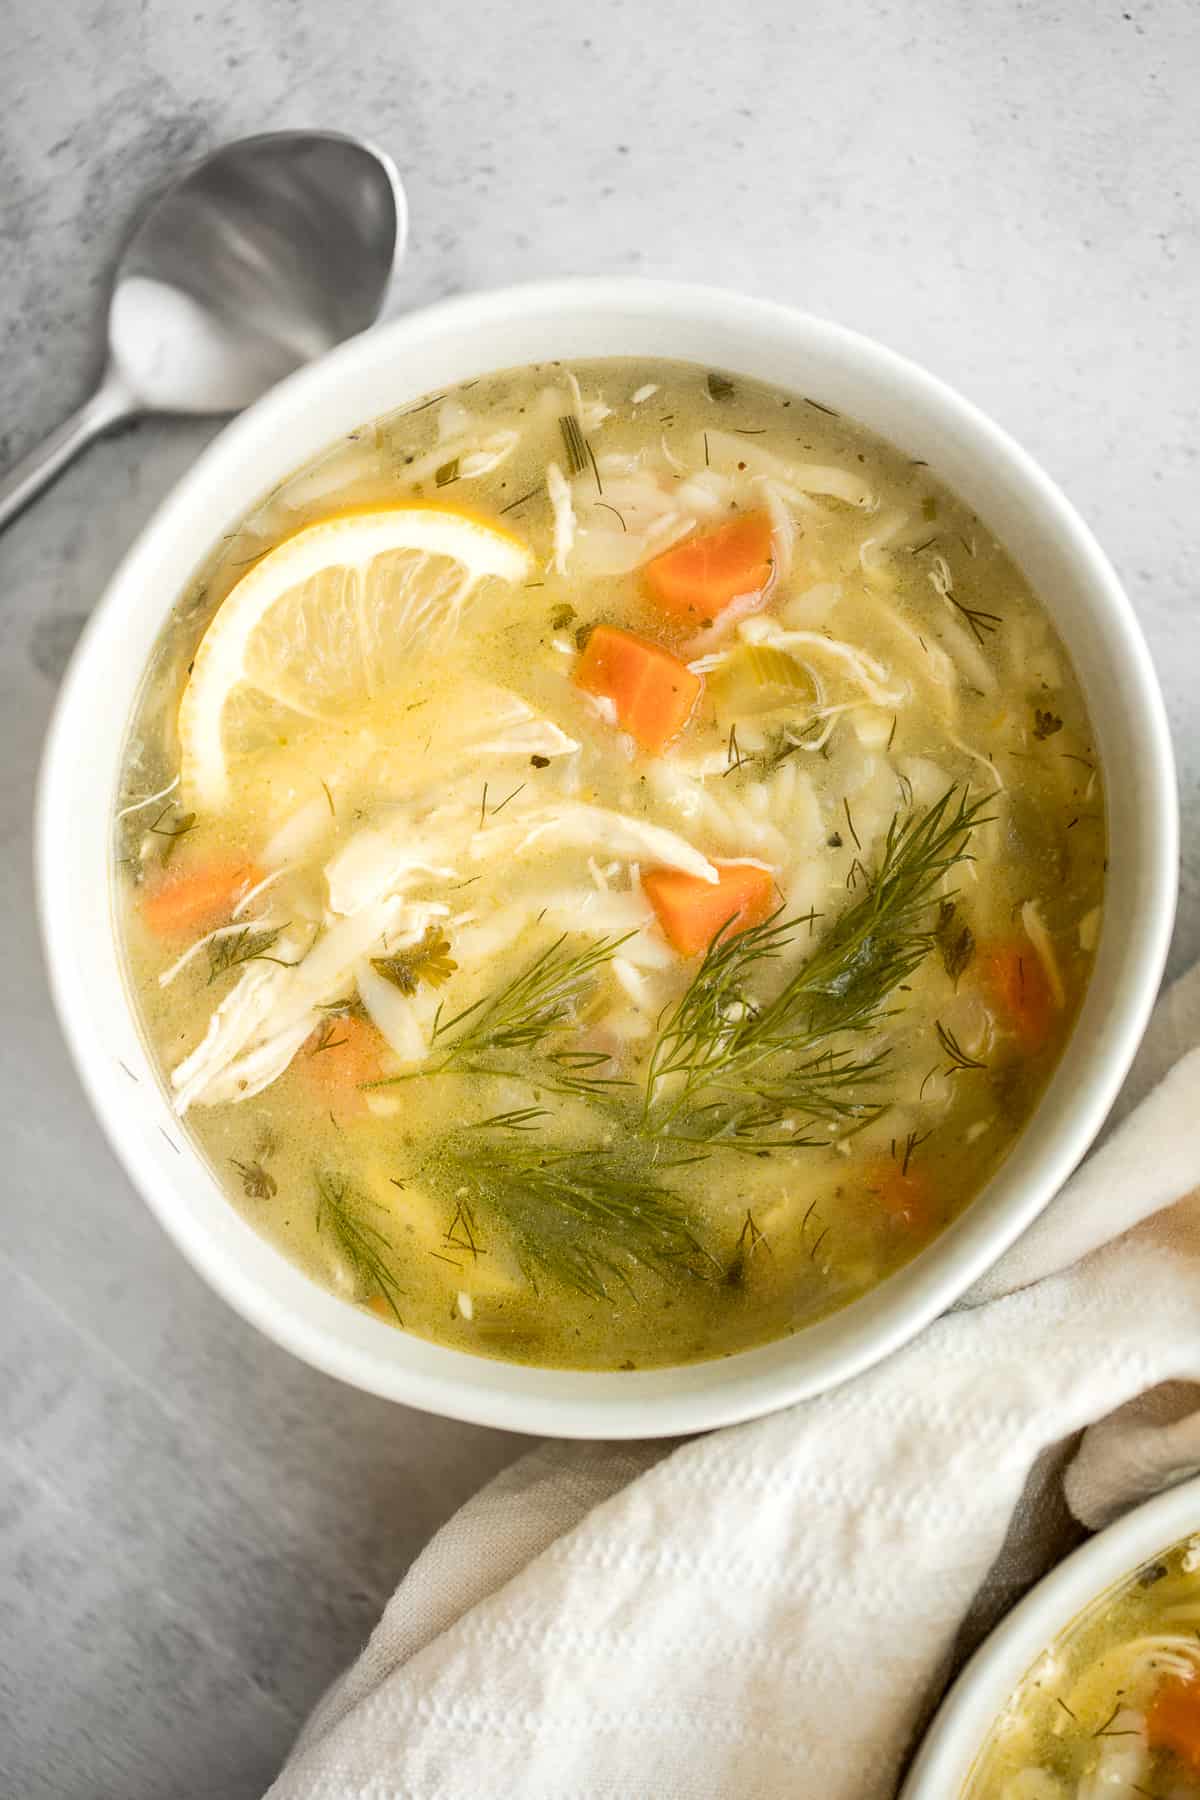
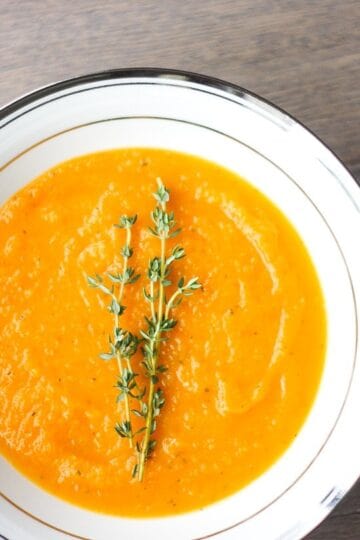
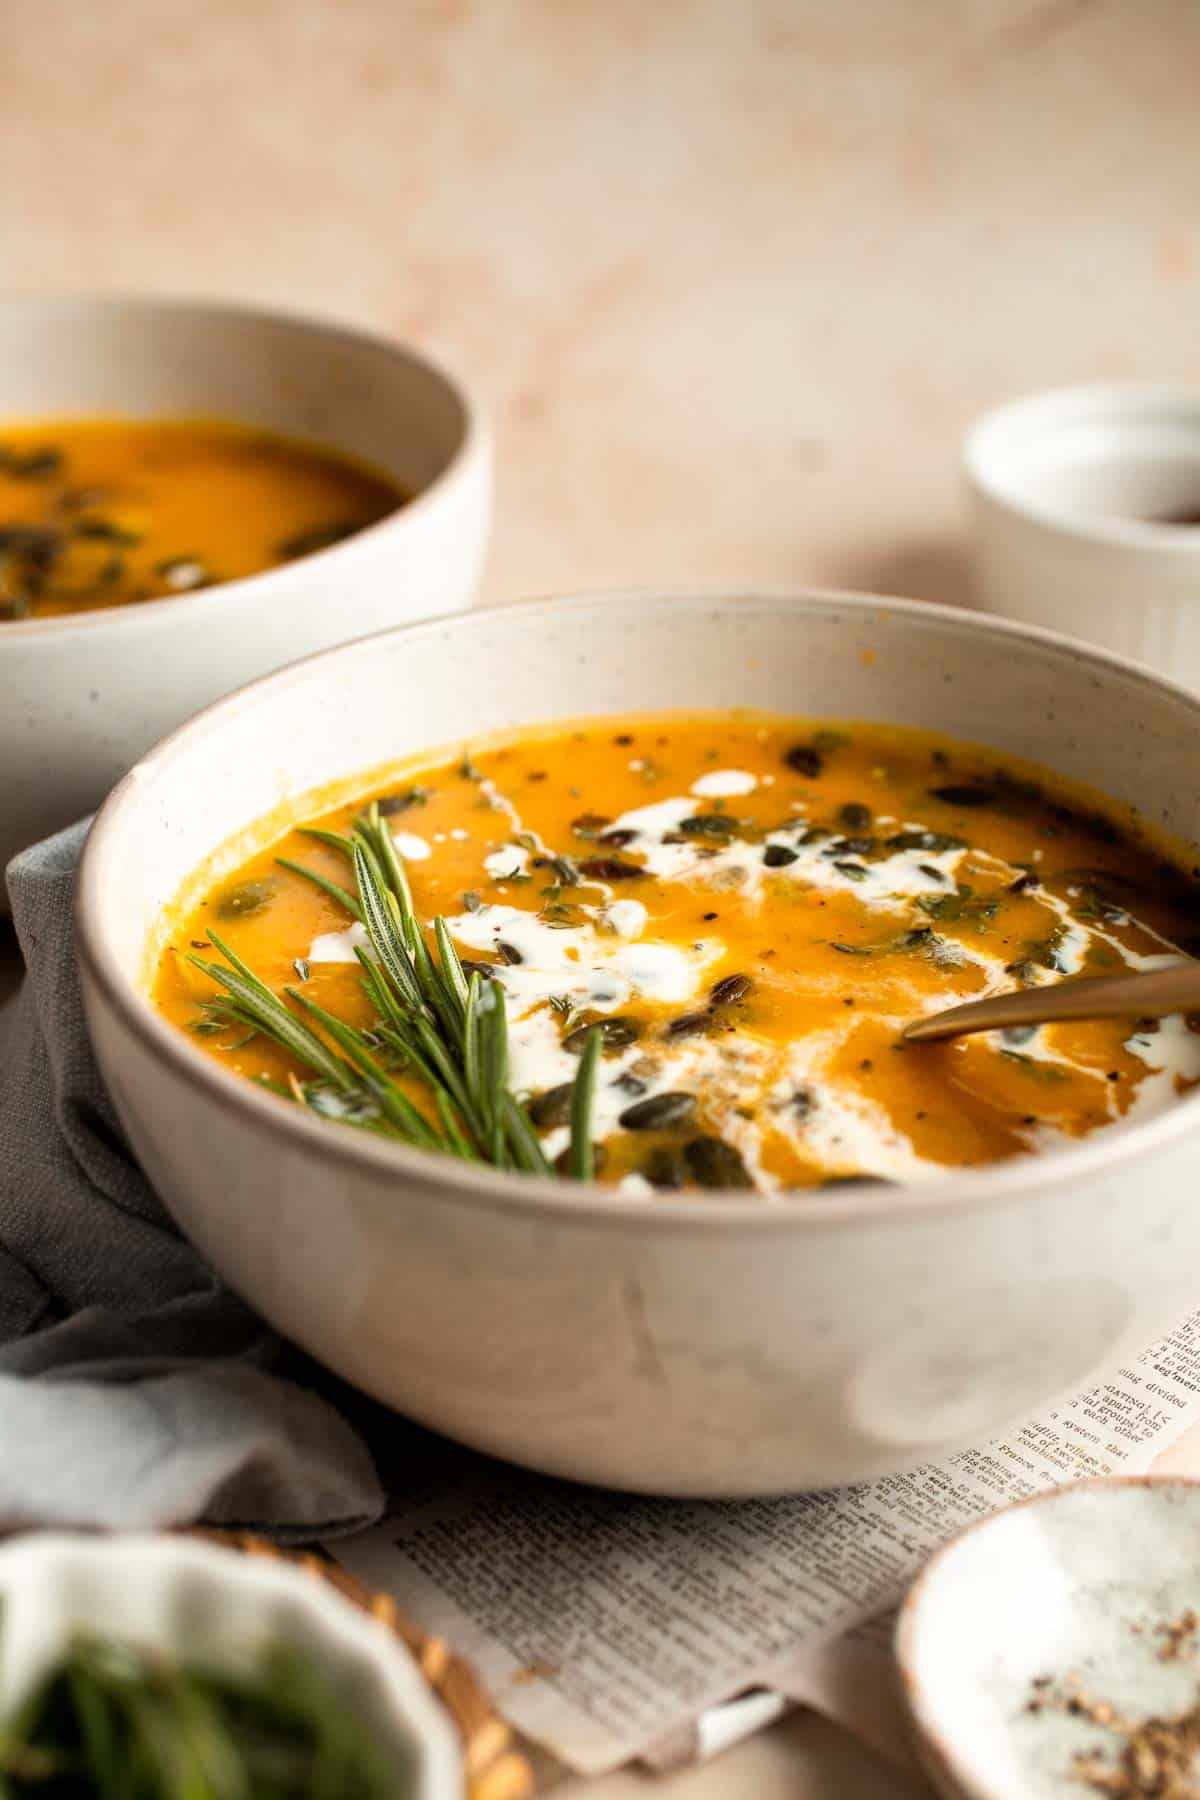
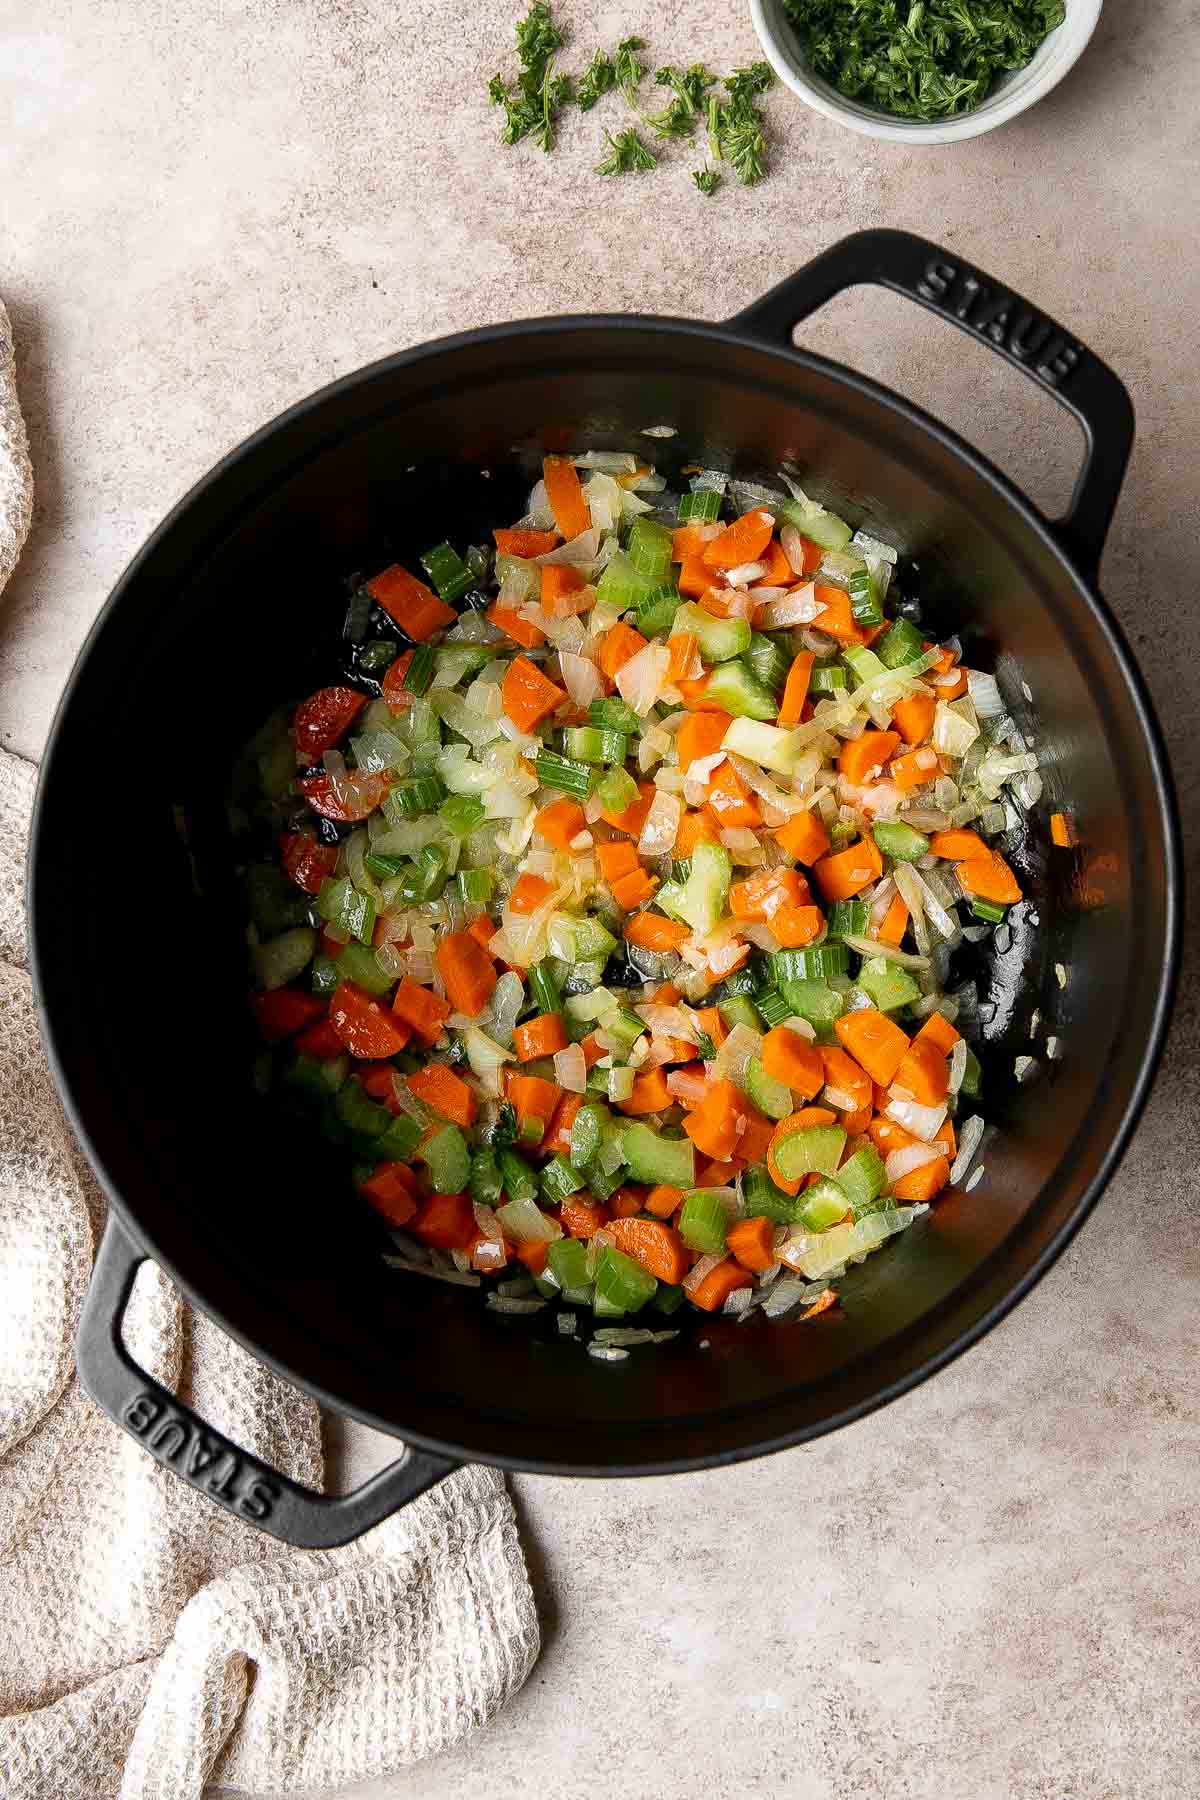
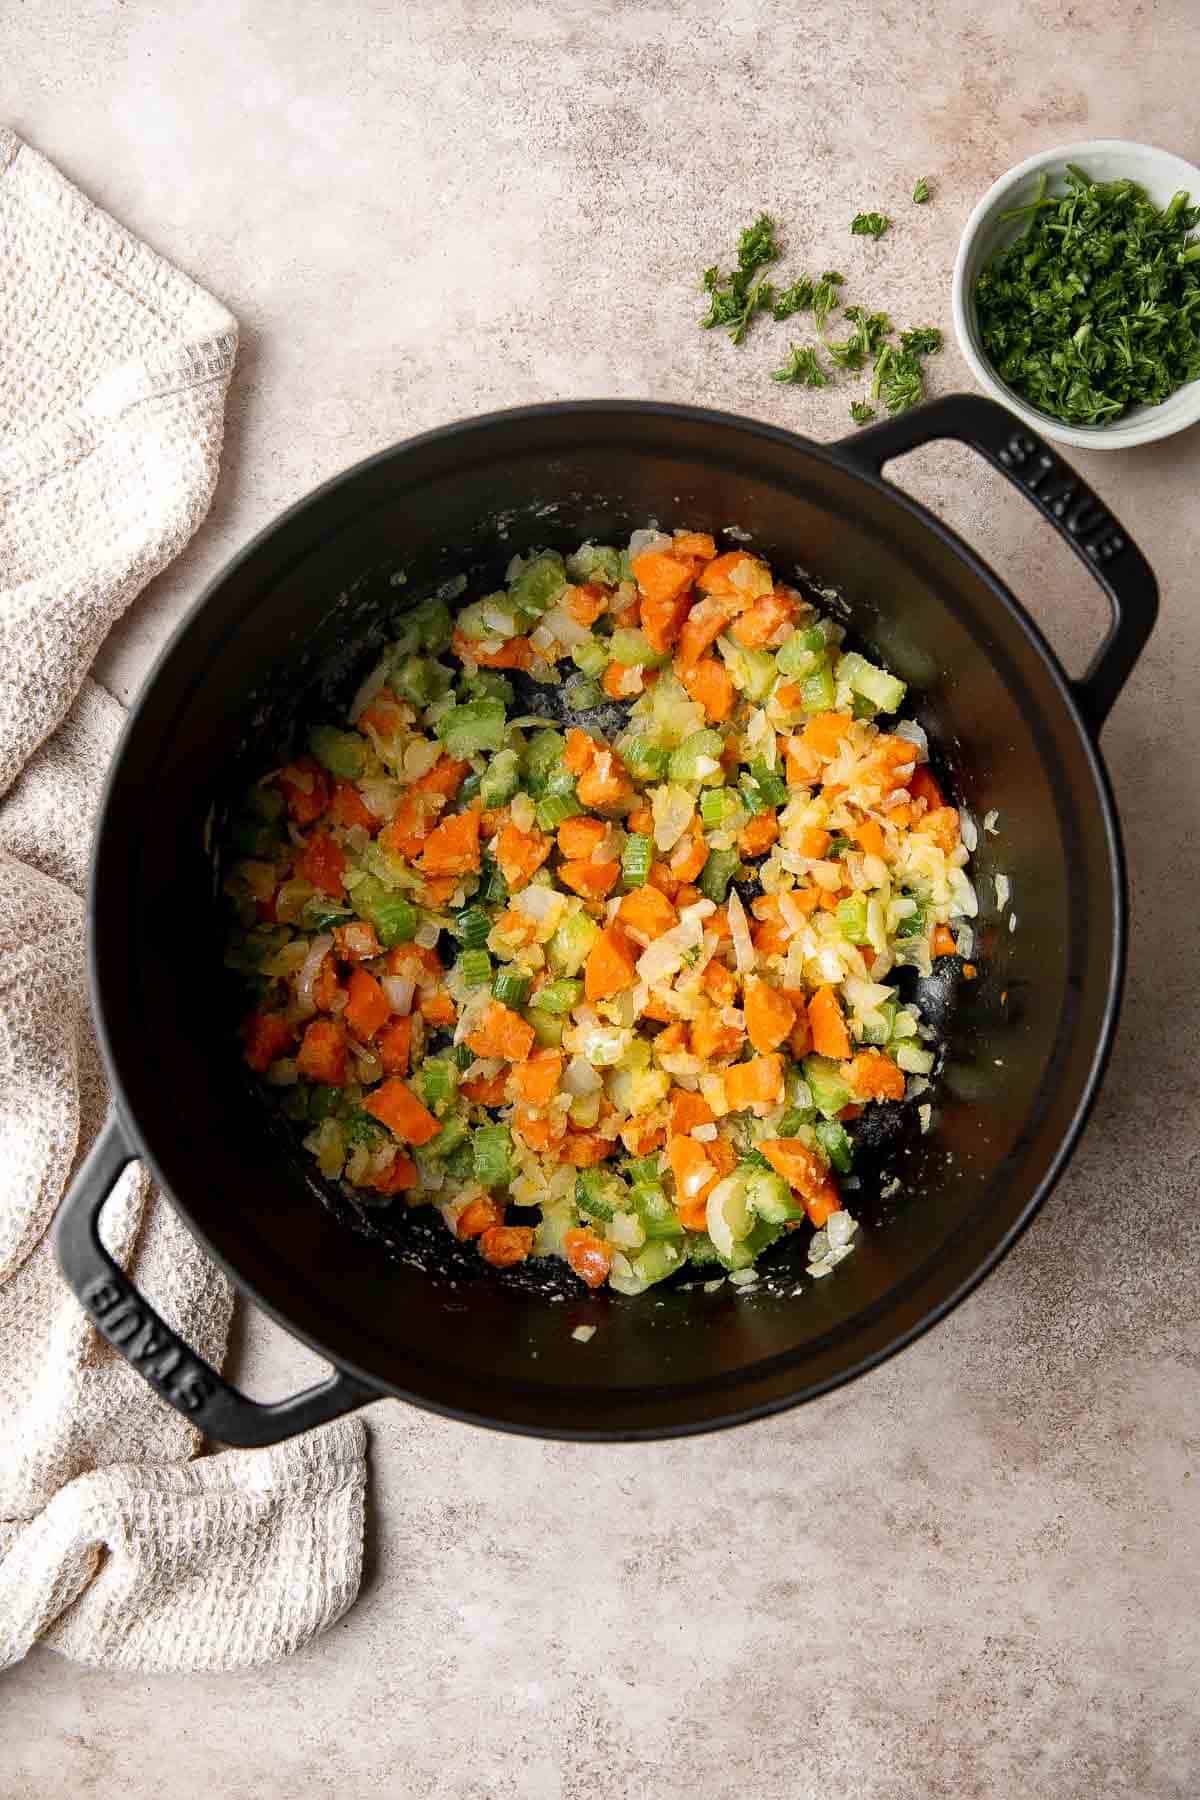
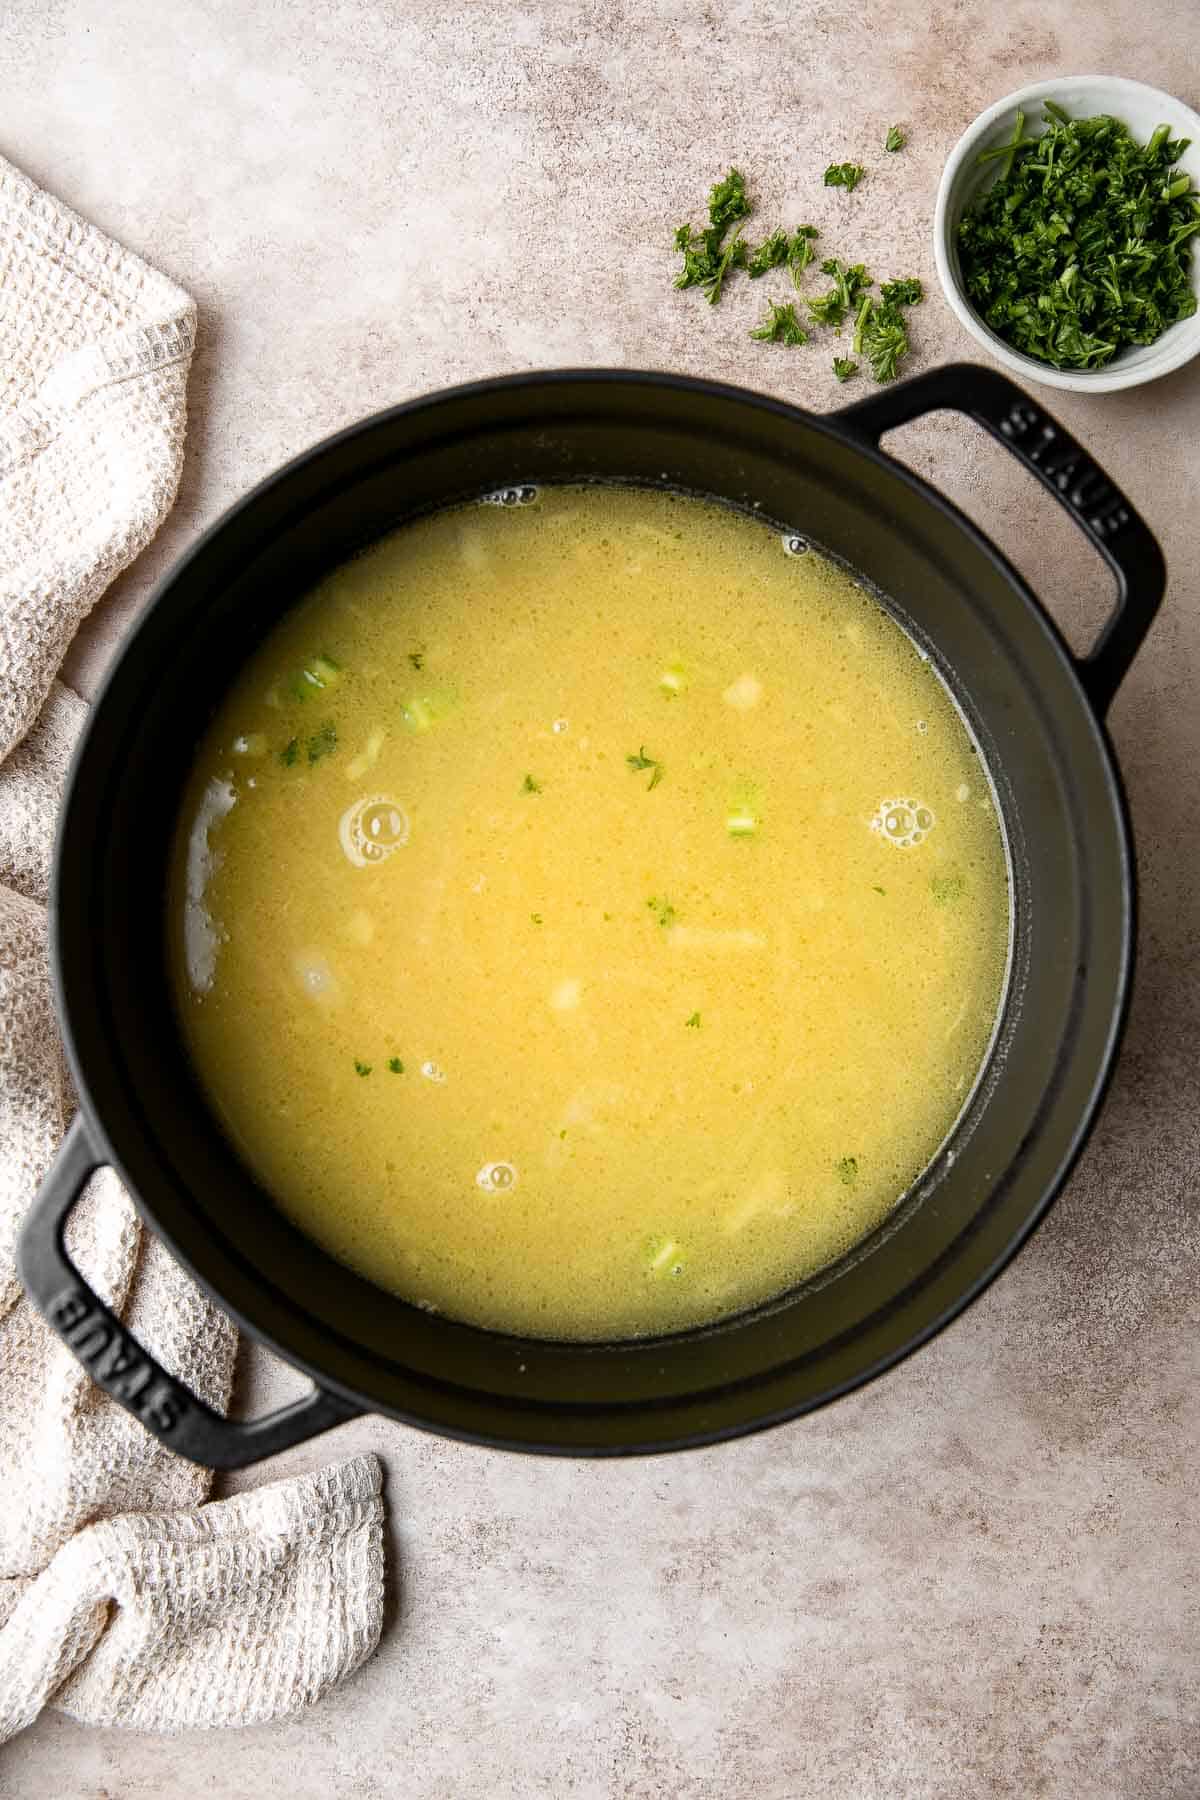
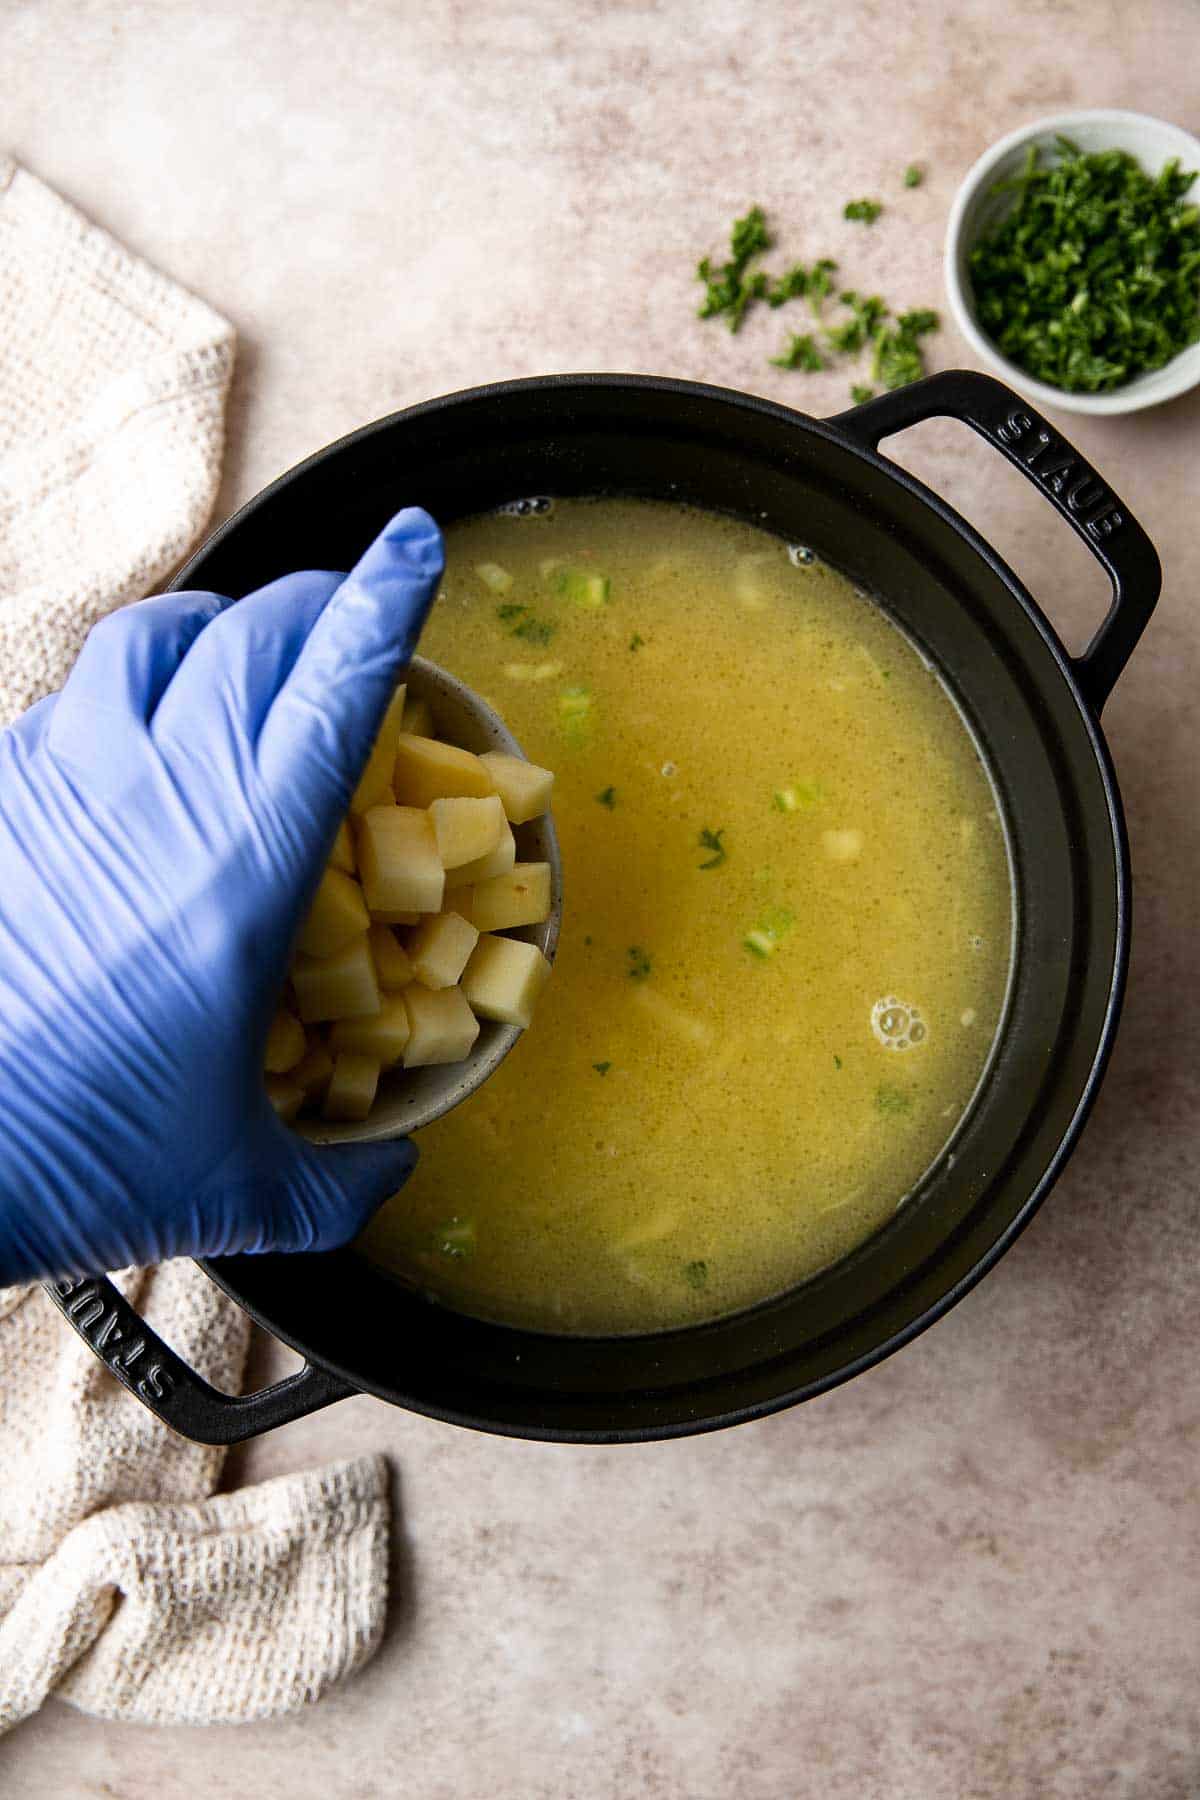
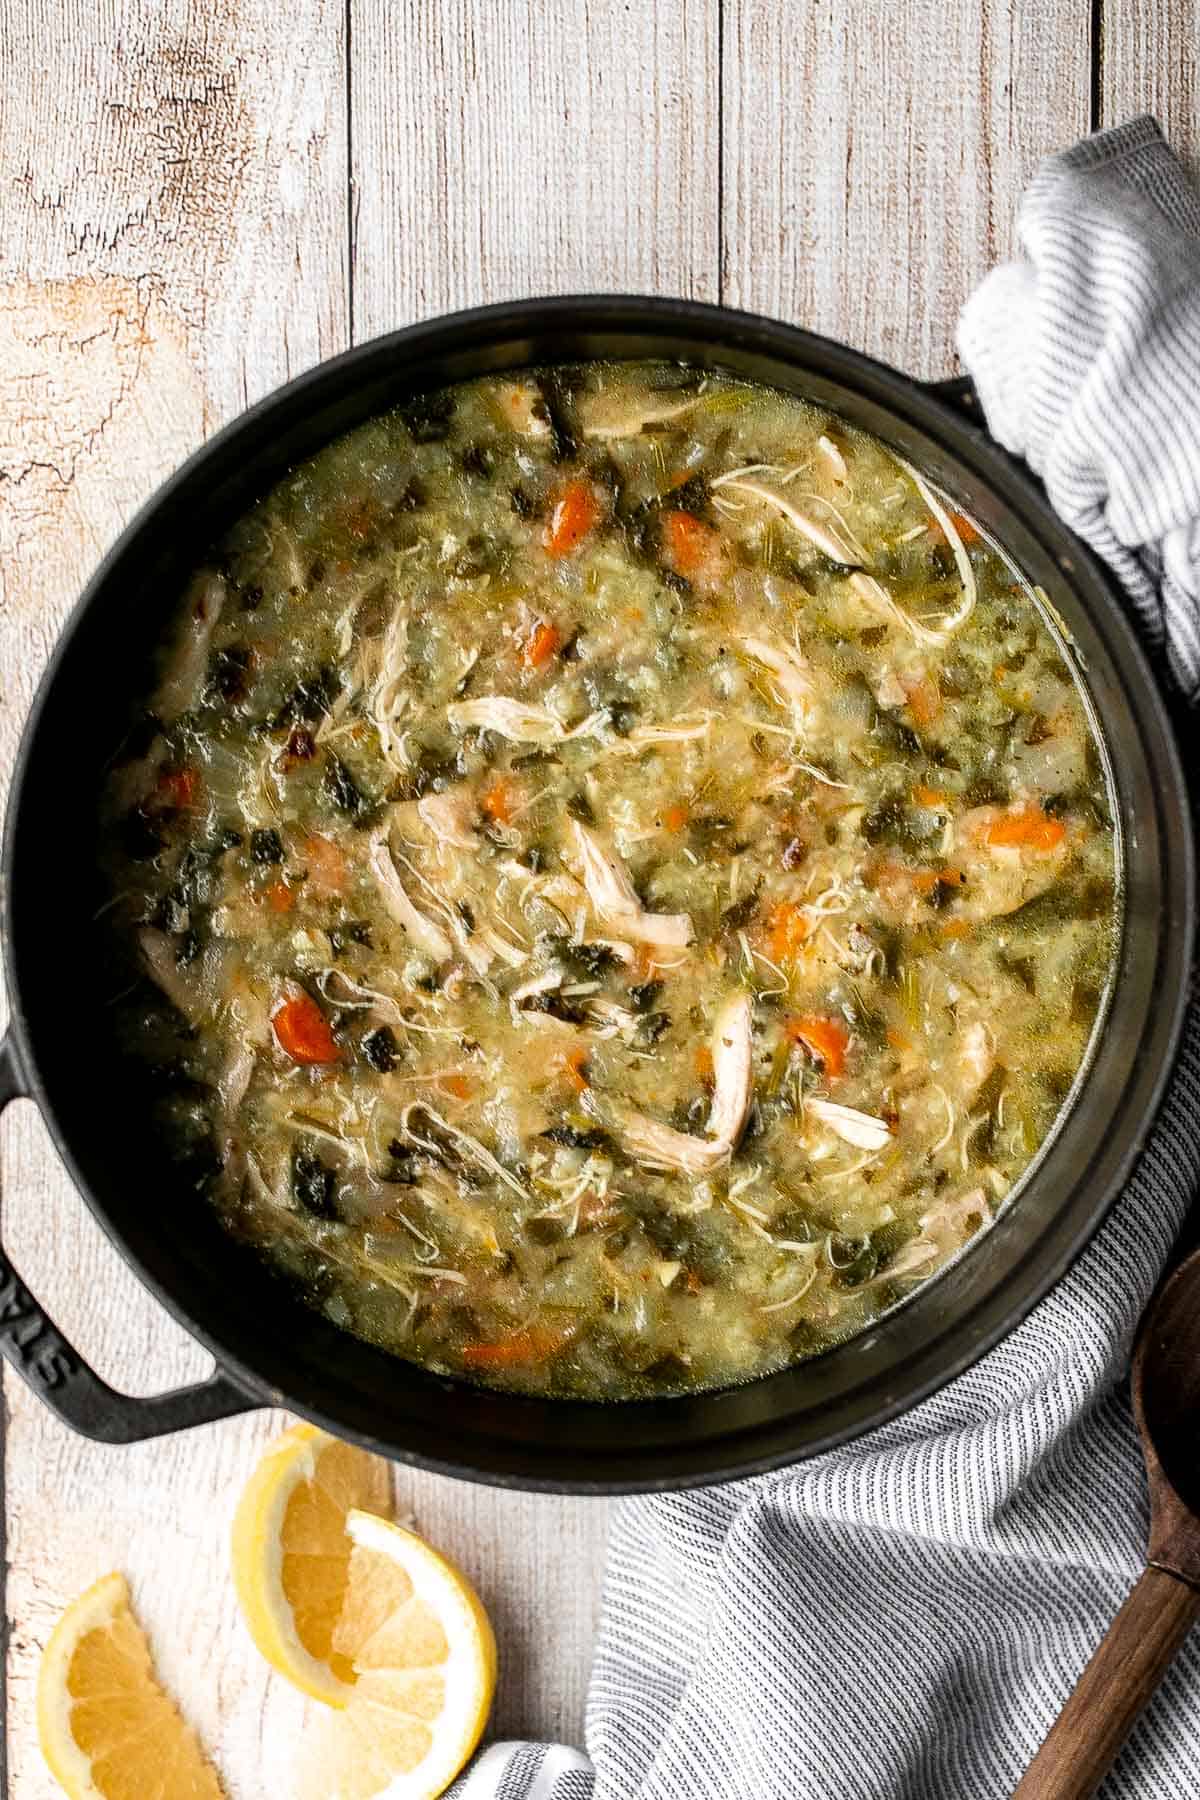
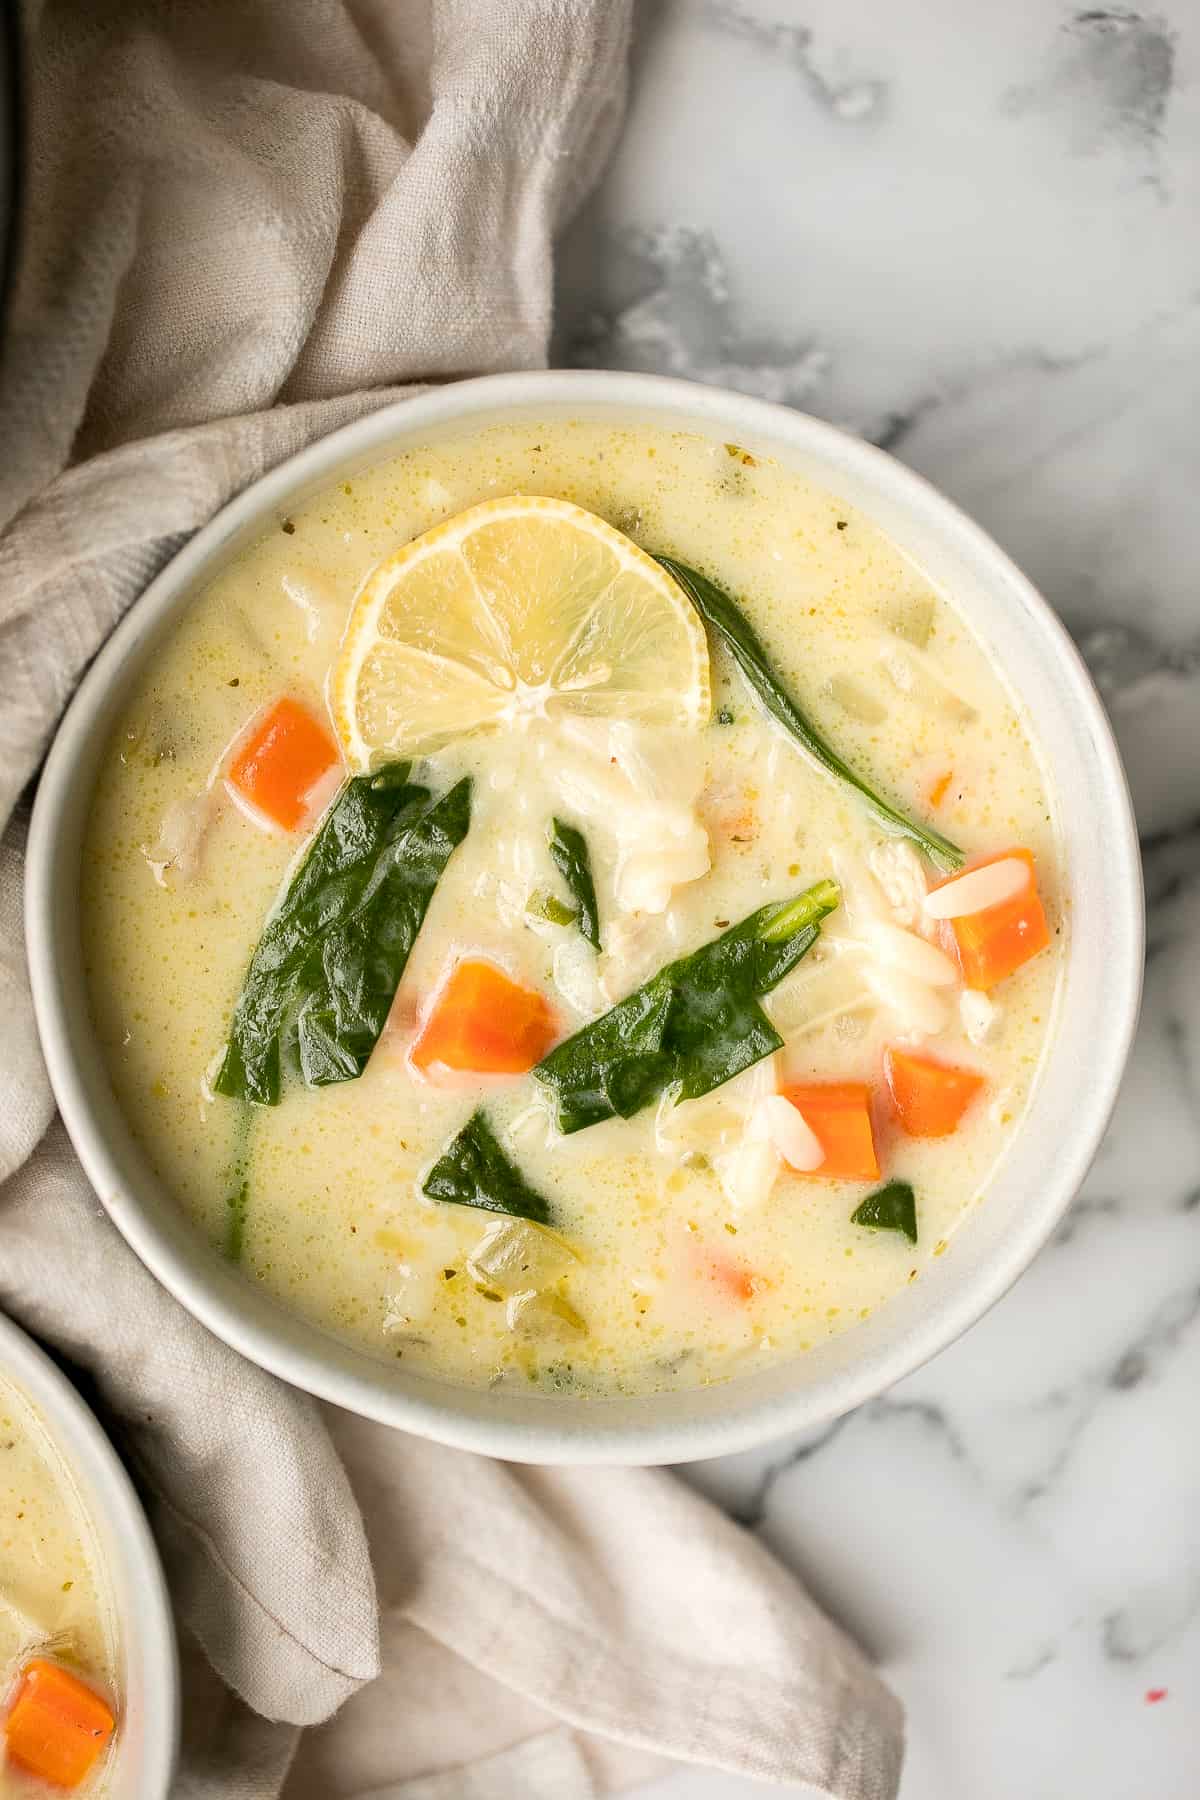
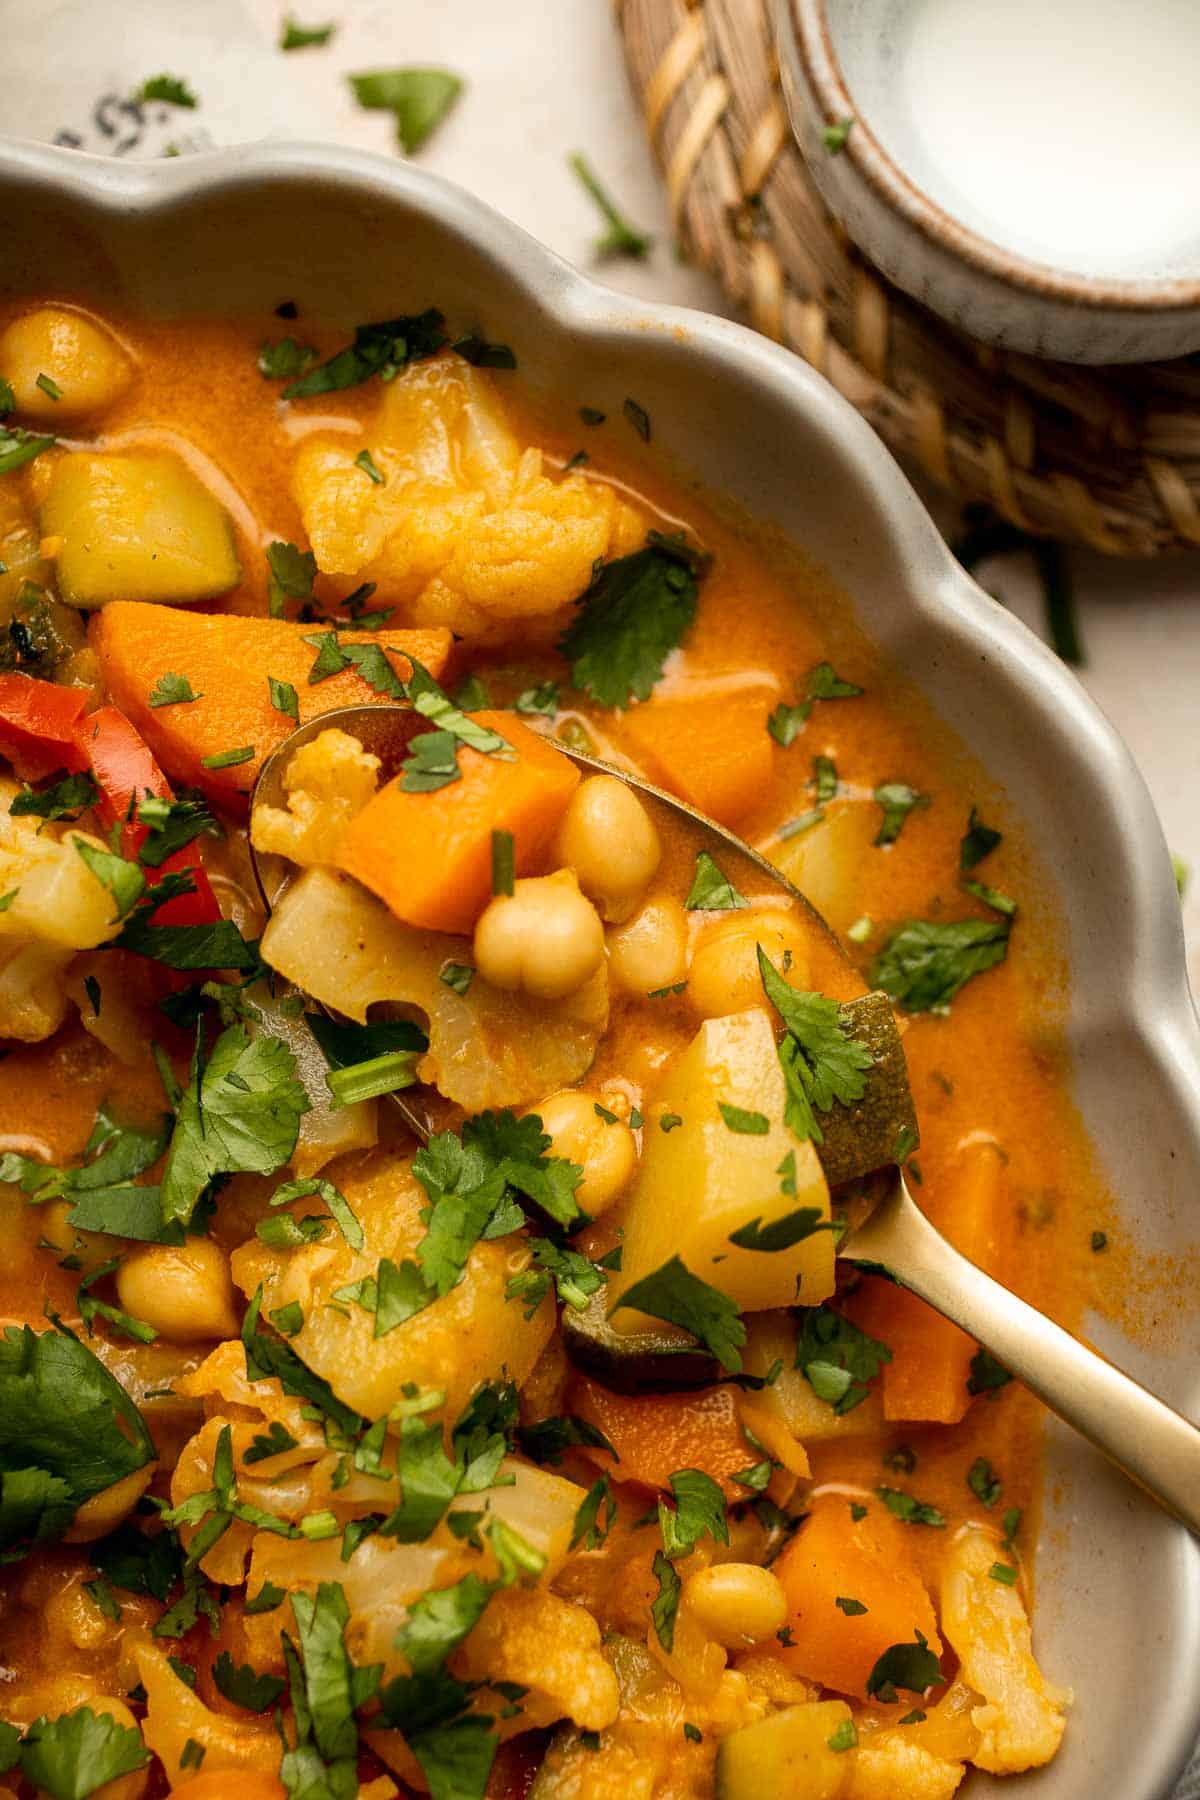
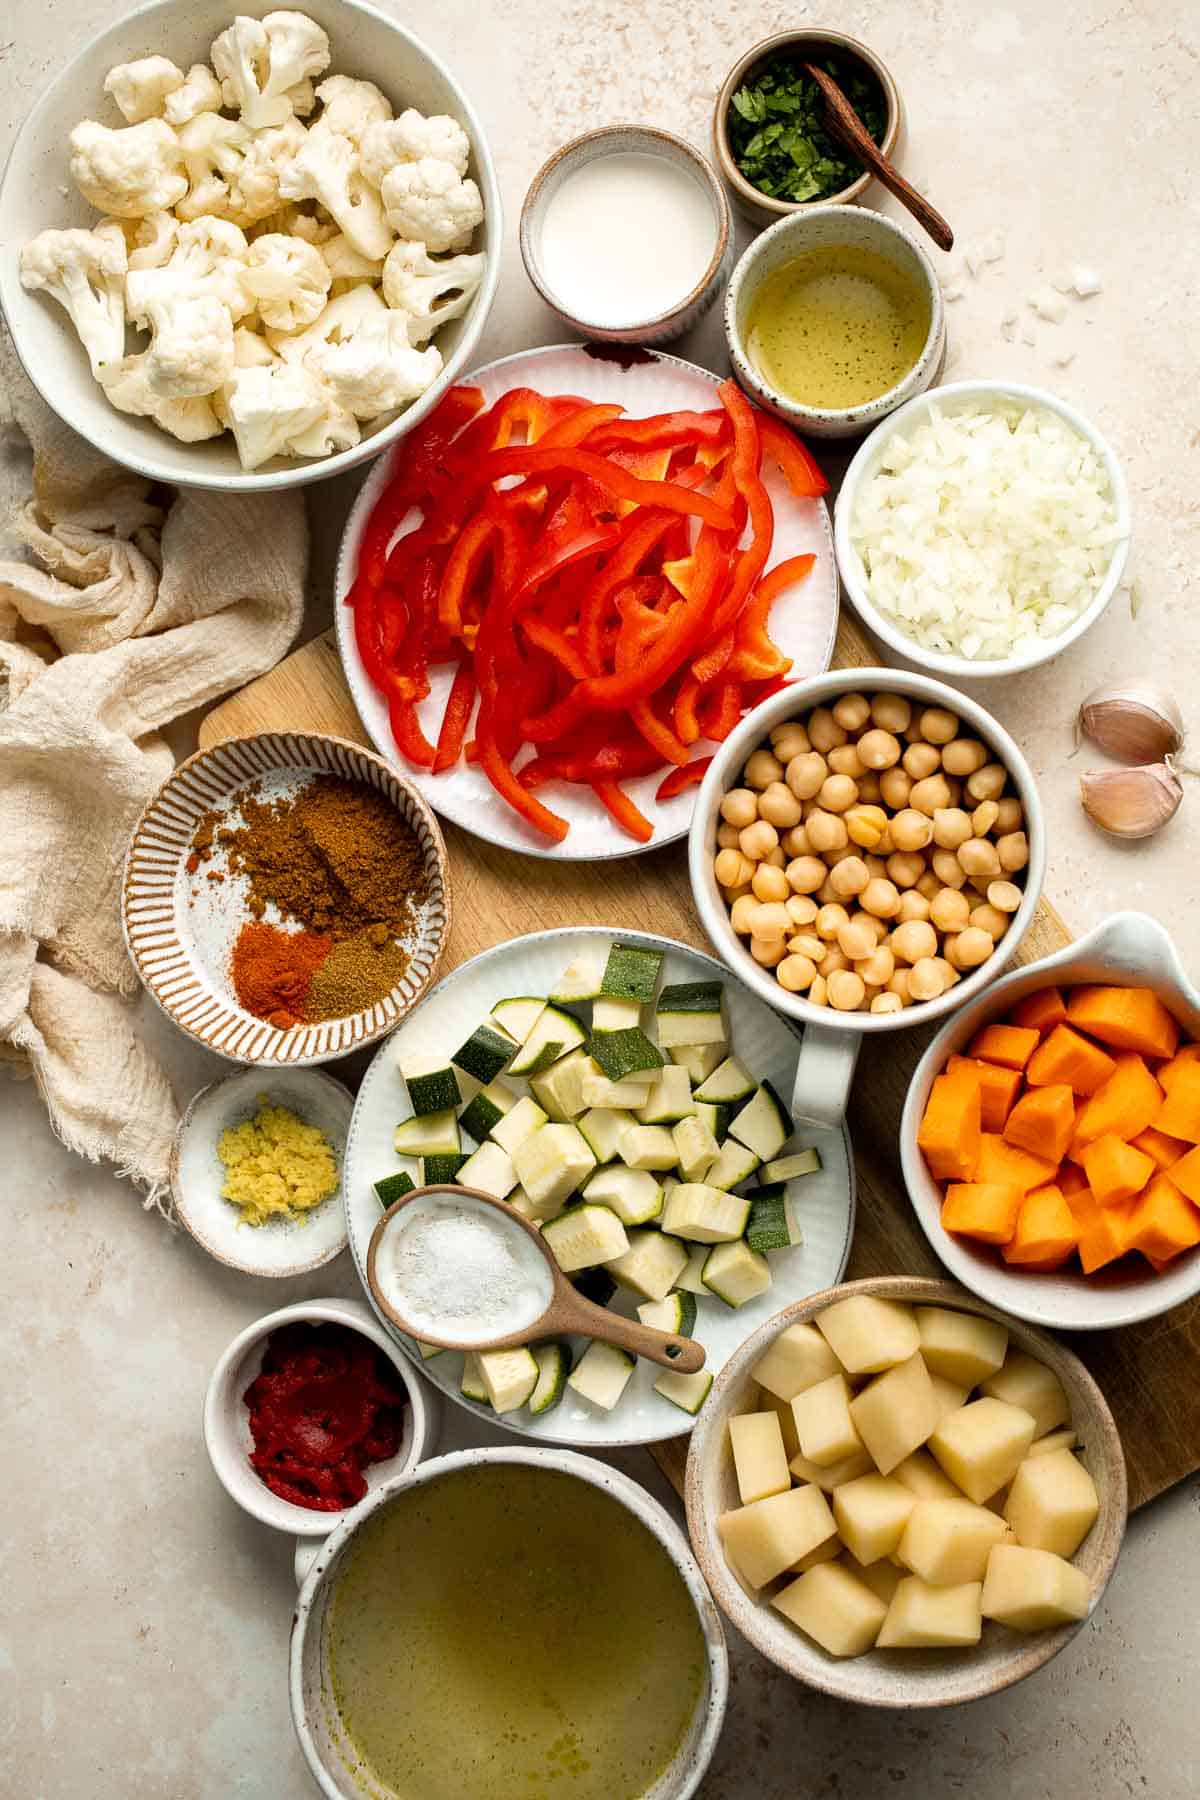
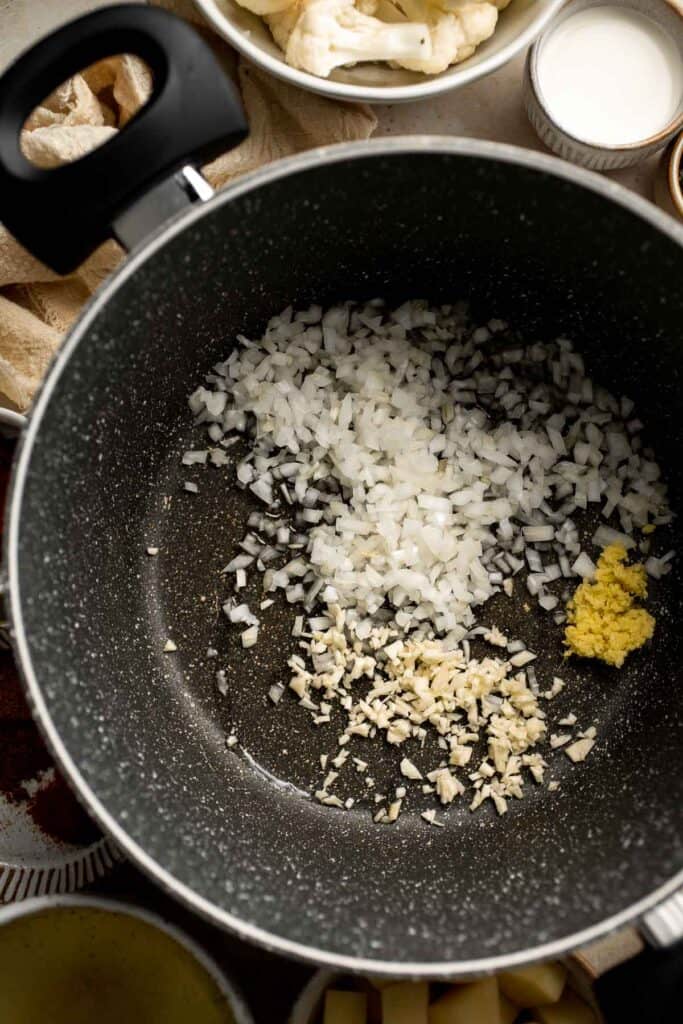
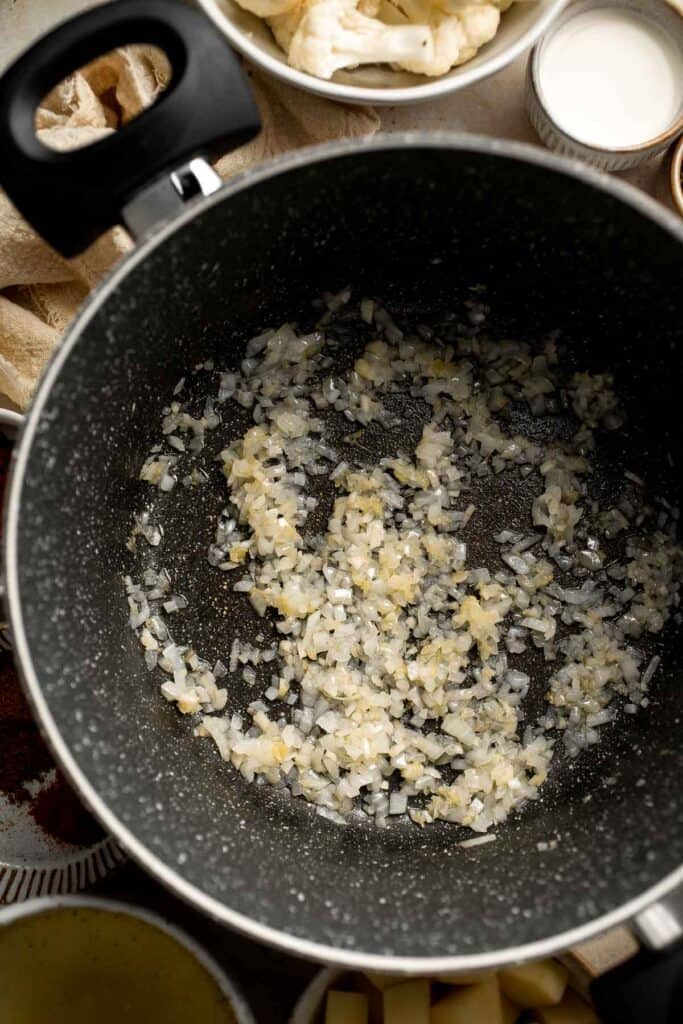
Creamy Garlic Cauliflower Soup
Creamy Garlic Cauliflower Soup is creamy and healthy. This vegetarian soup is ready in 45 minutes with a handful of wholesome ingredients and a few steps.
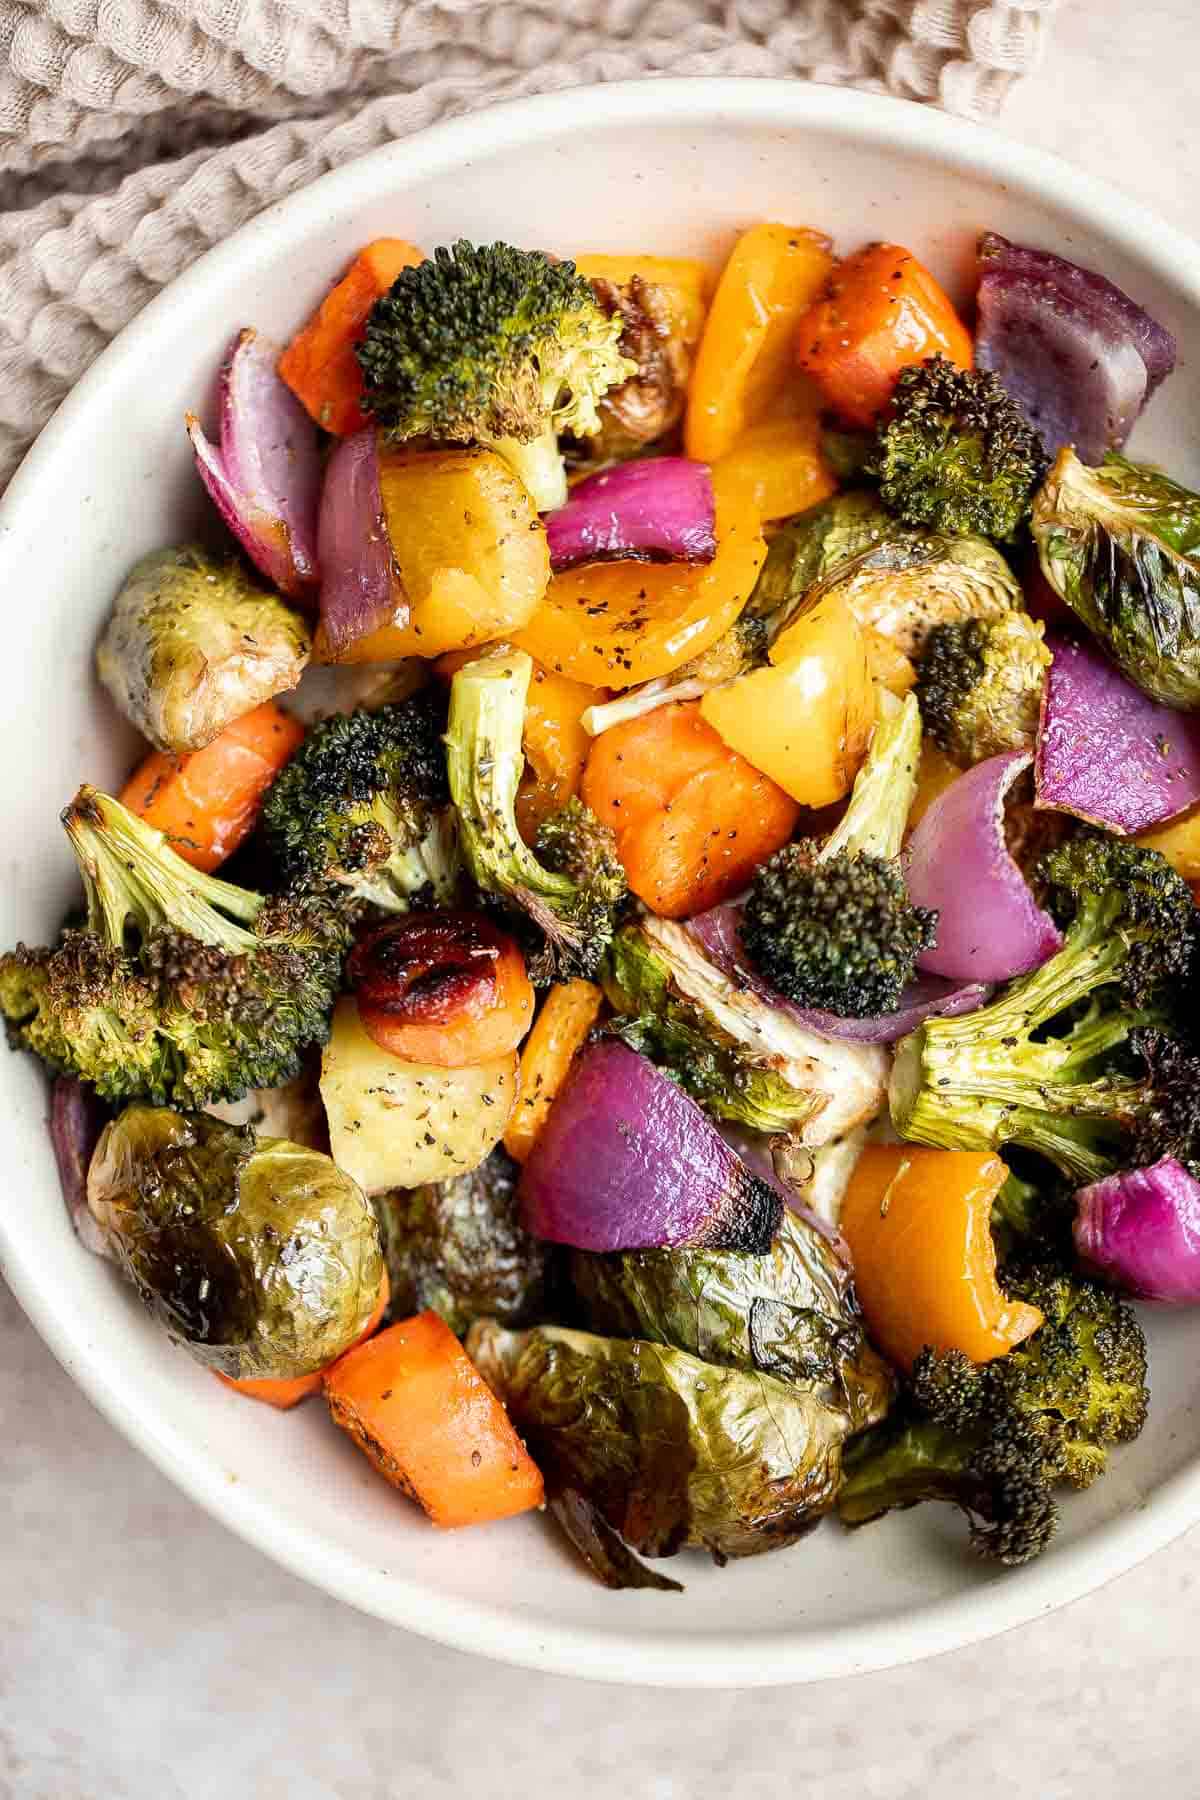
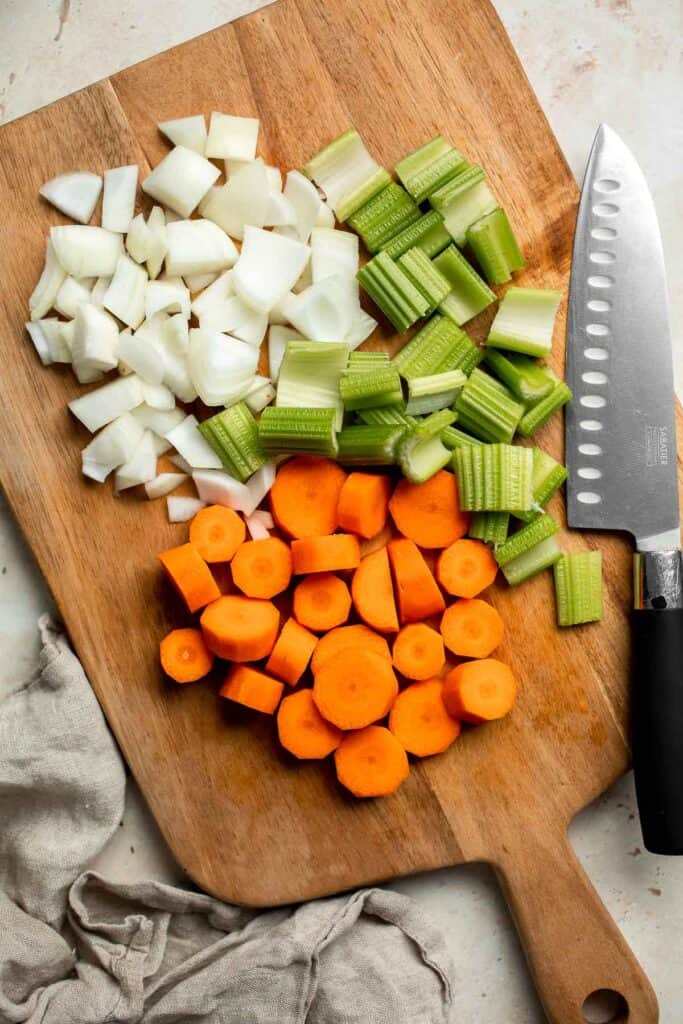
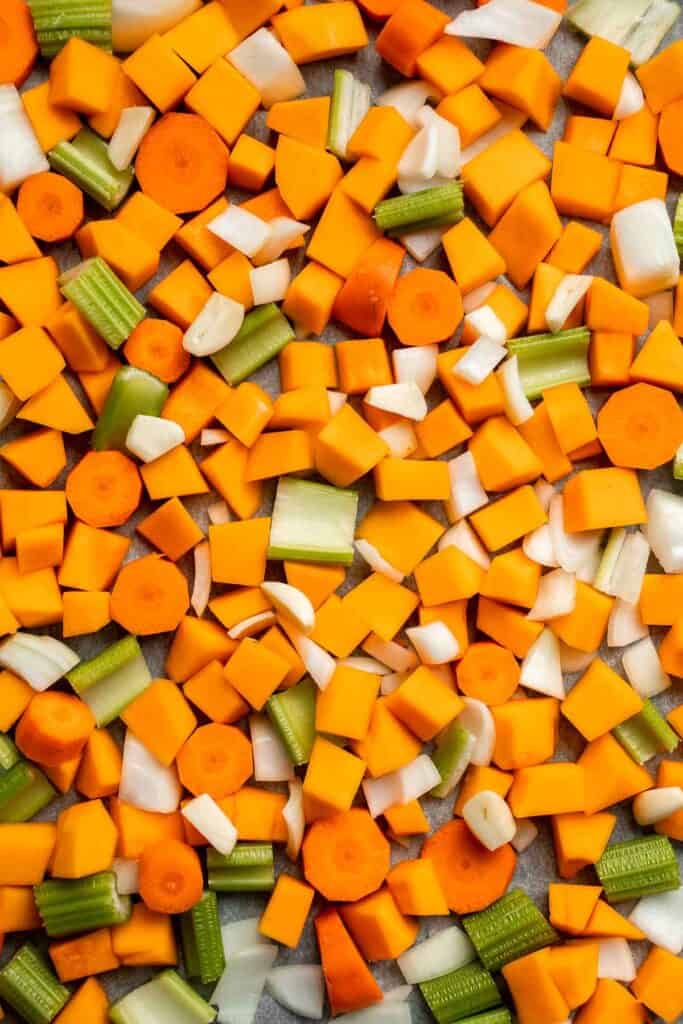
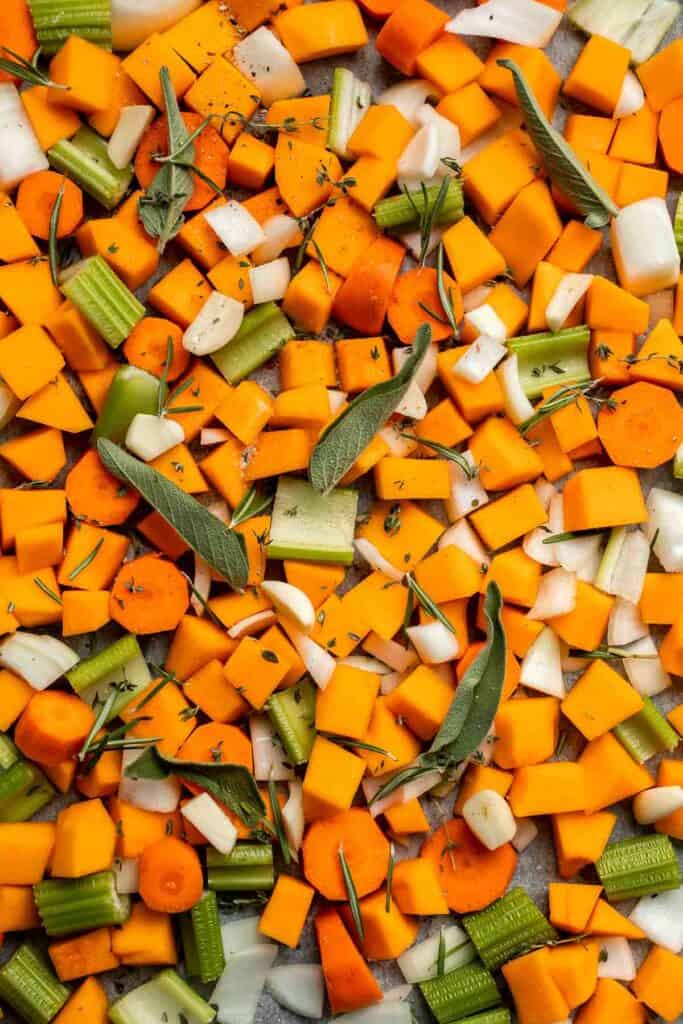
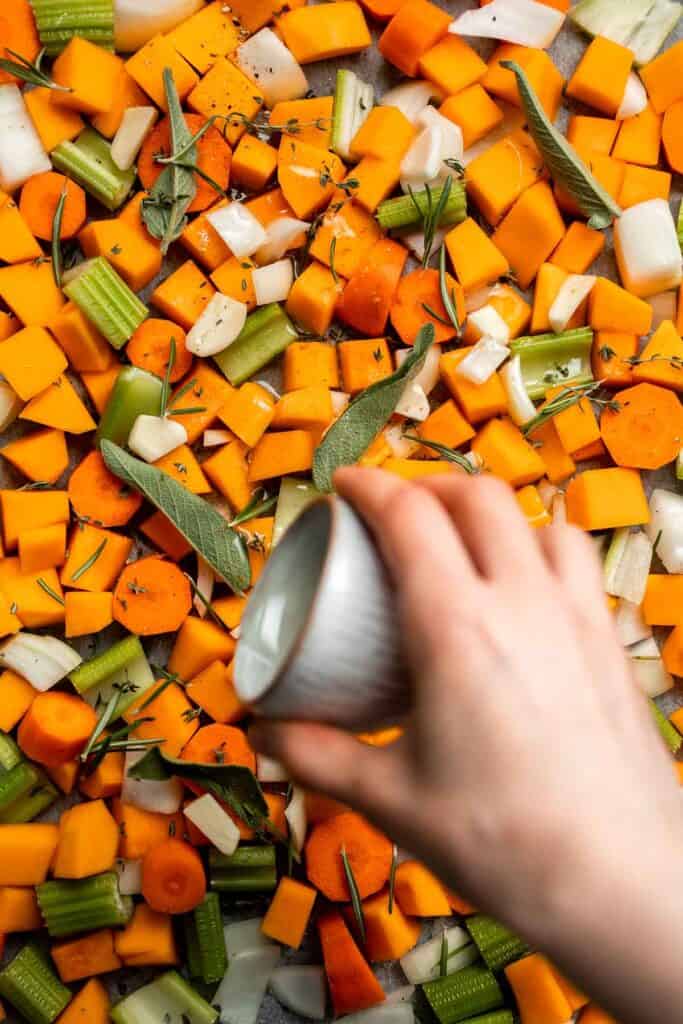
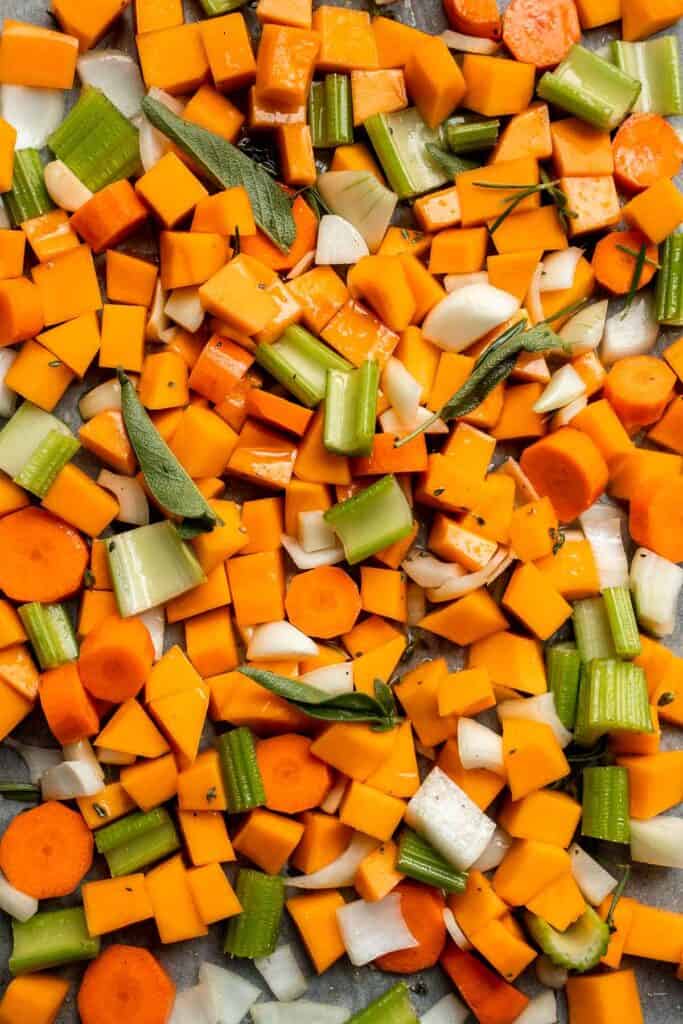
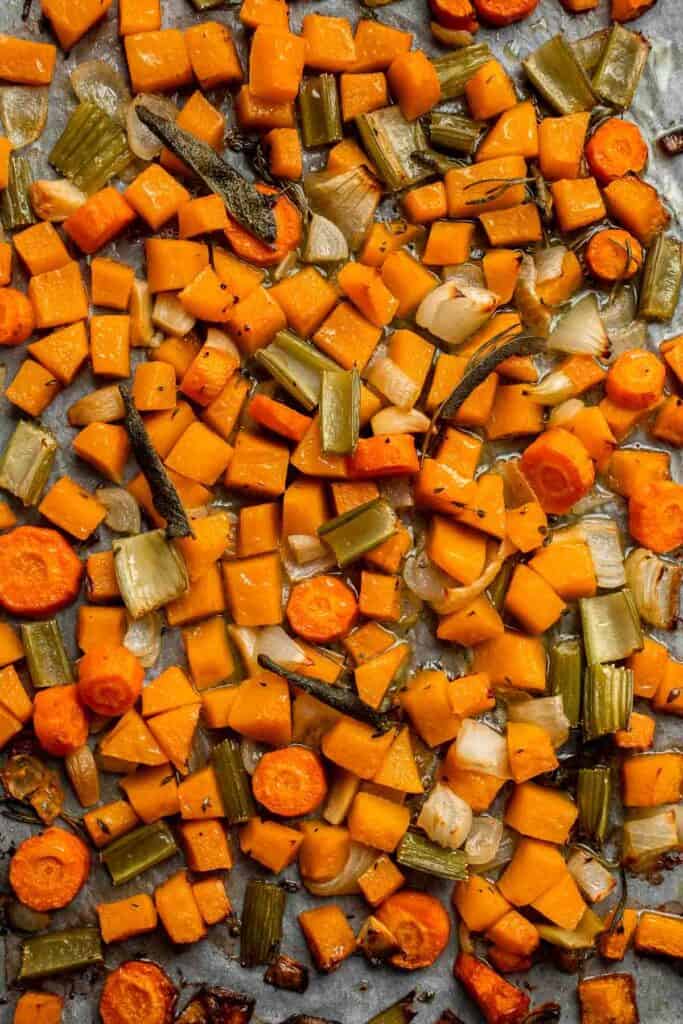
Oven Roasted Vegetables are a delicious flavorful side dish that goes well with almost any dinner main. Customize it with whatever veggies you have on hand.
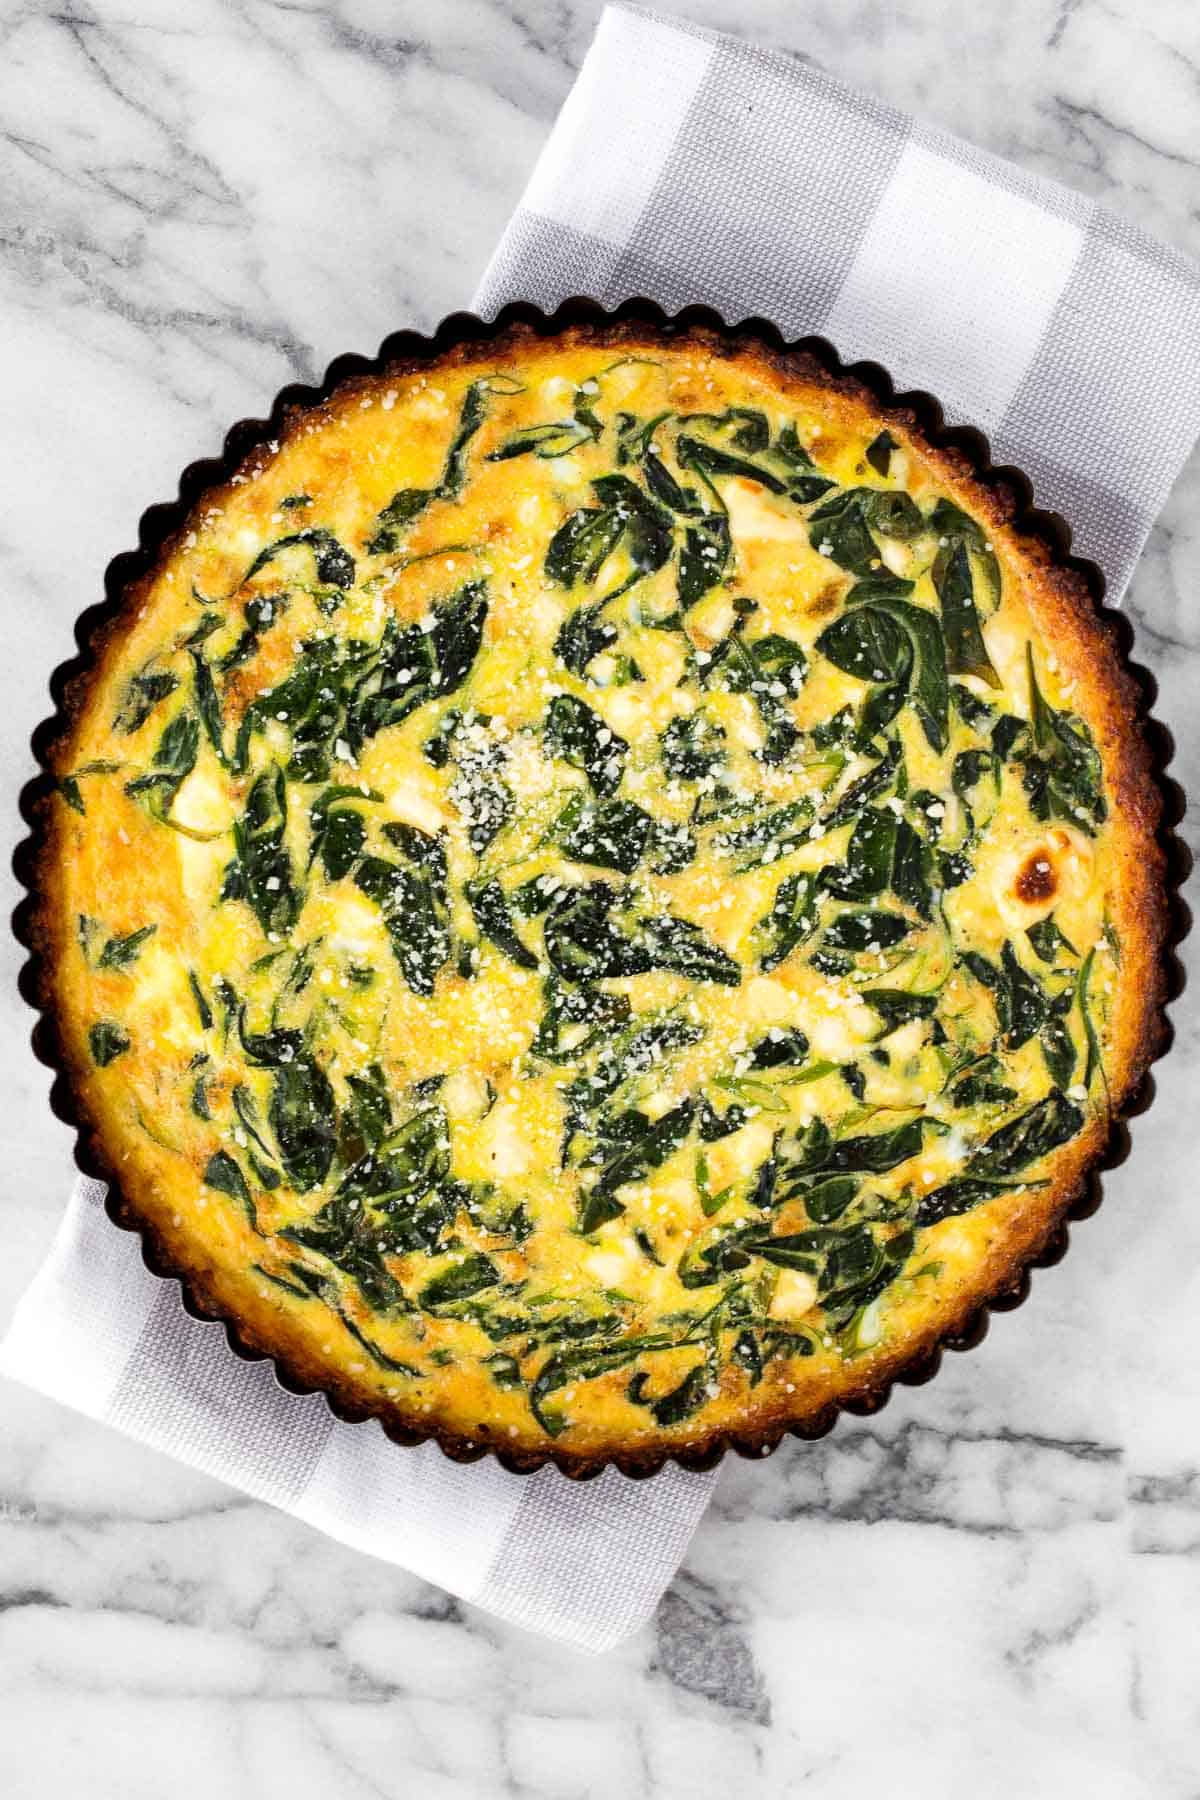
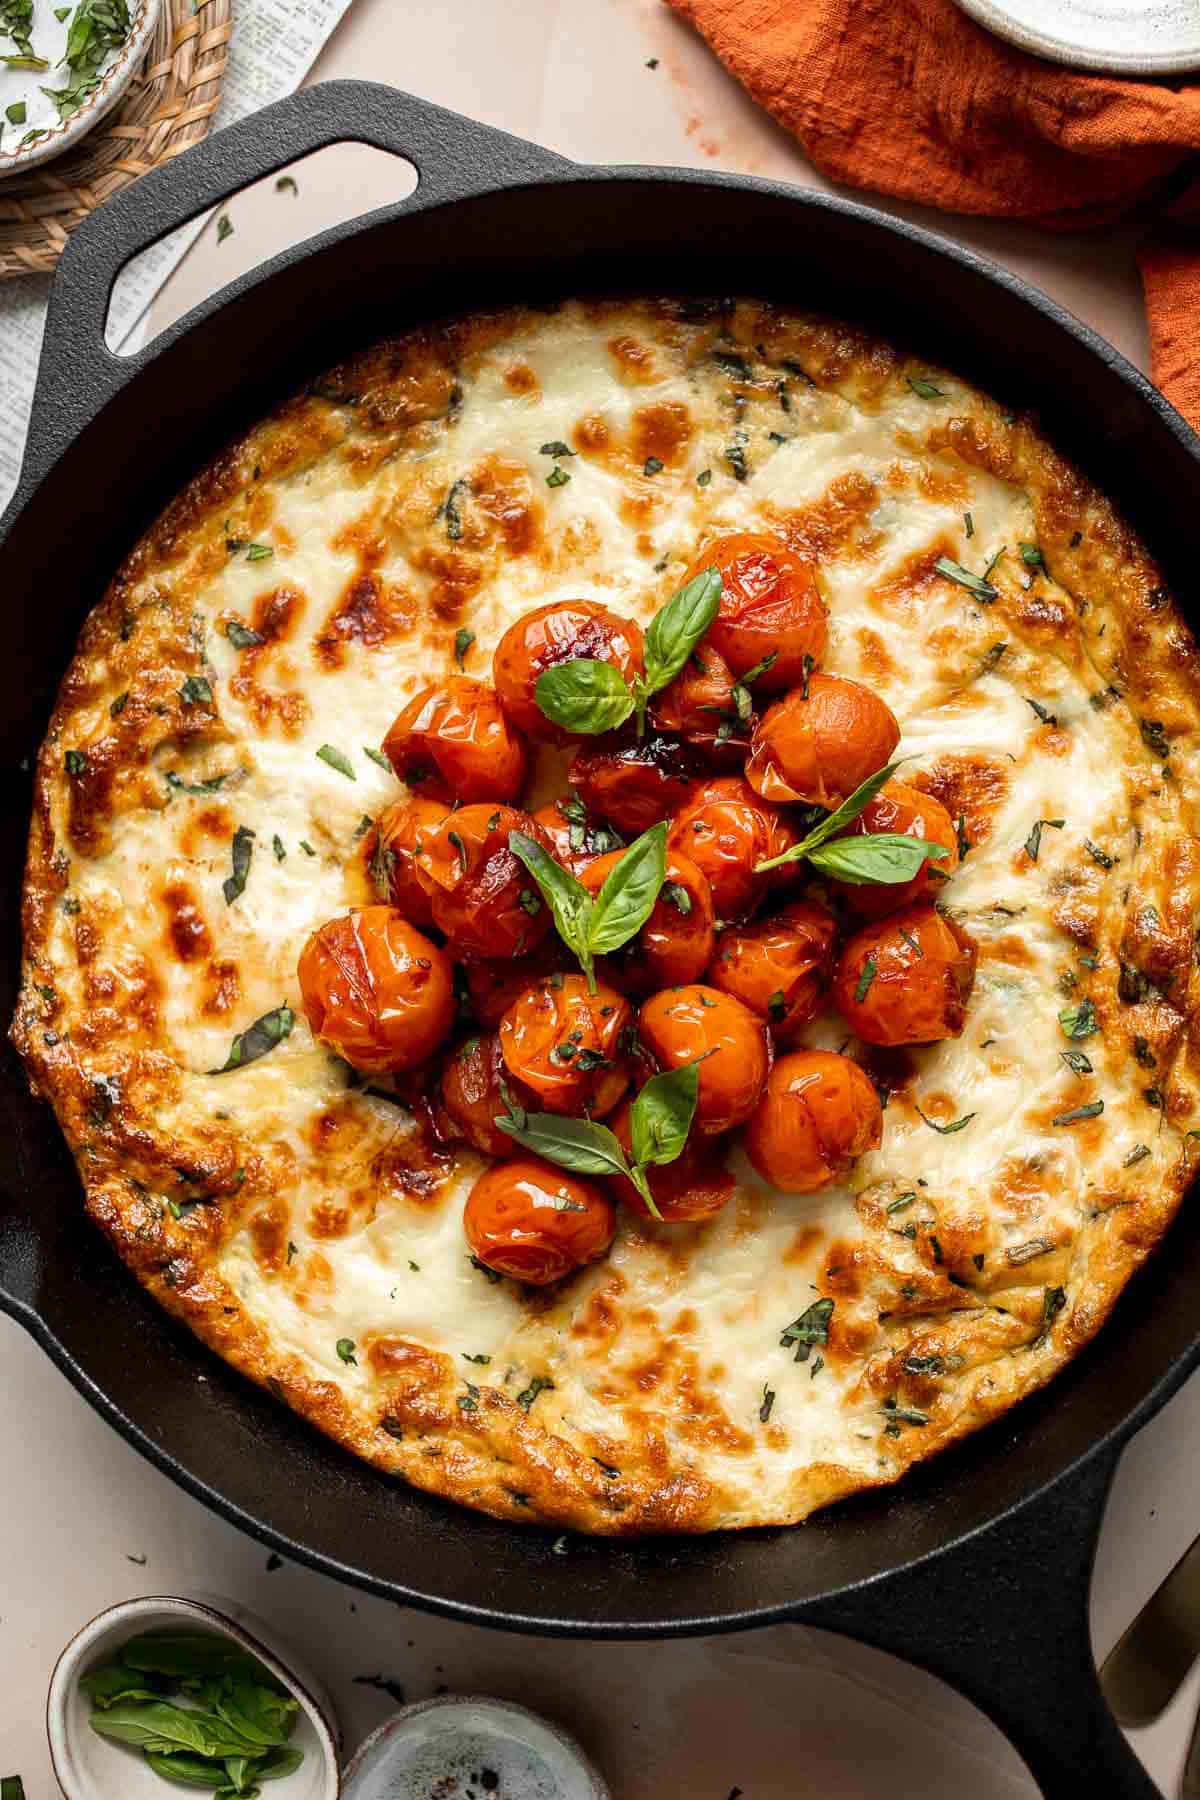
Spinach and Feta Quiche with Cauliflower Crust
Spinach and feta quiche is healthy and gluten-free with a keto cauliflower crust and savoury vegetarian filling. Serve for breakfast, lunch or dinner.
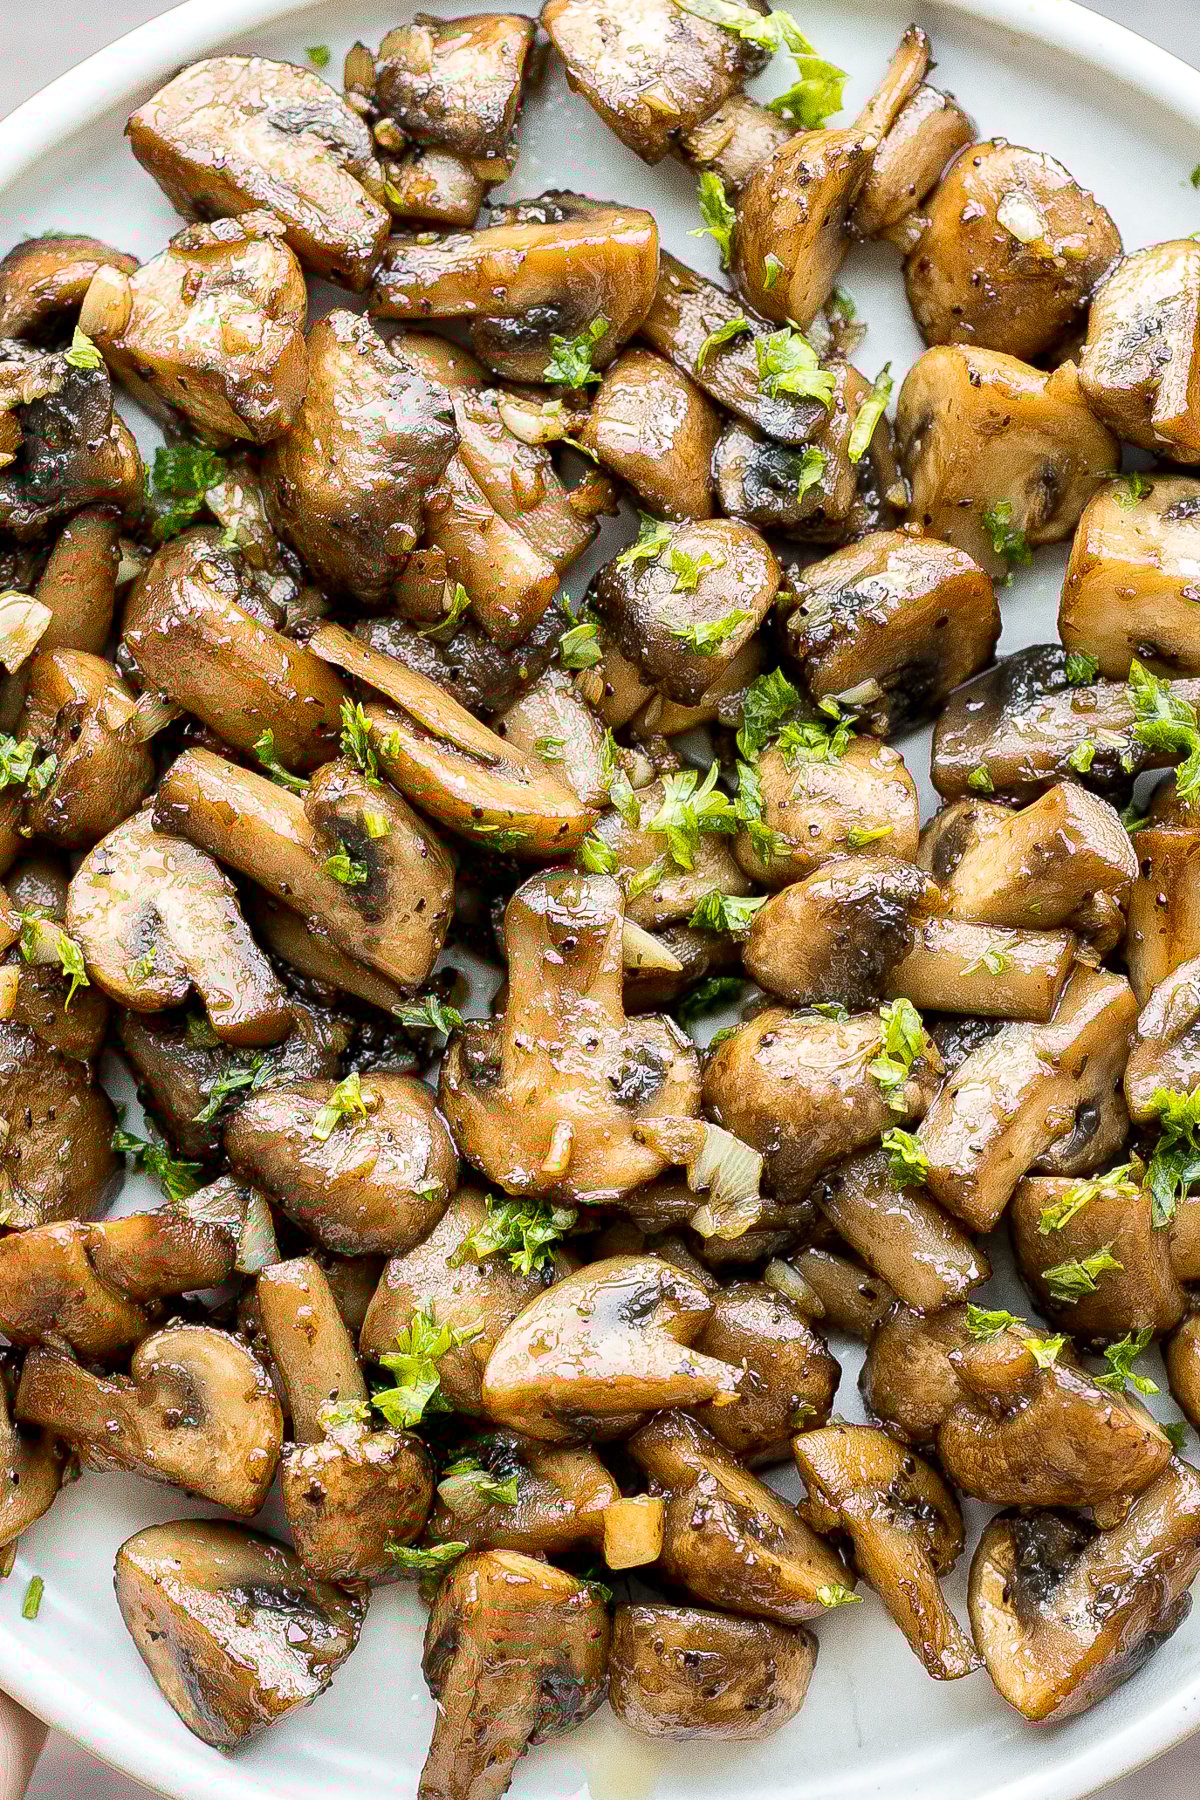
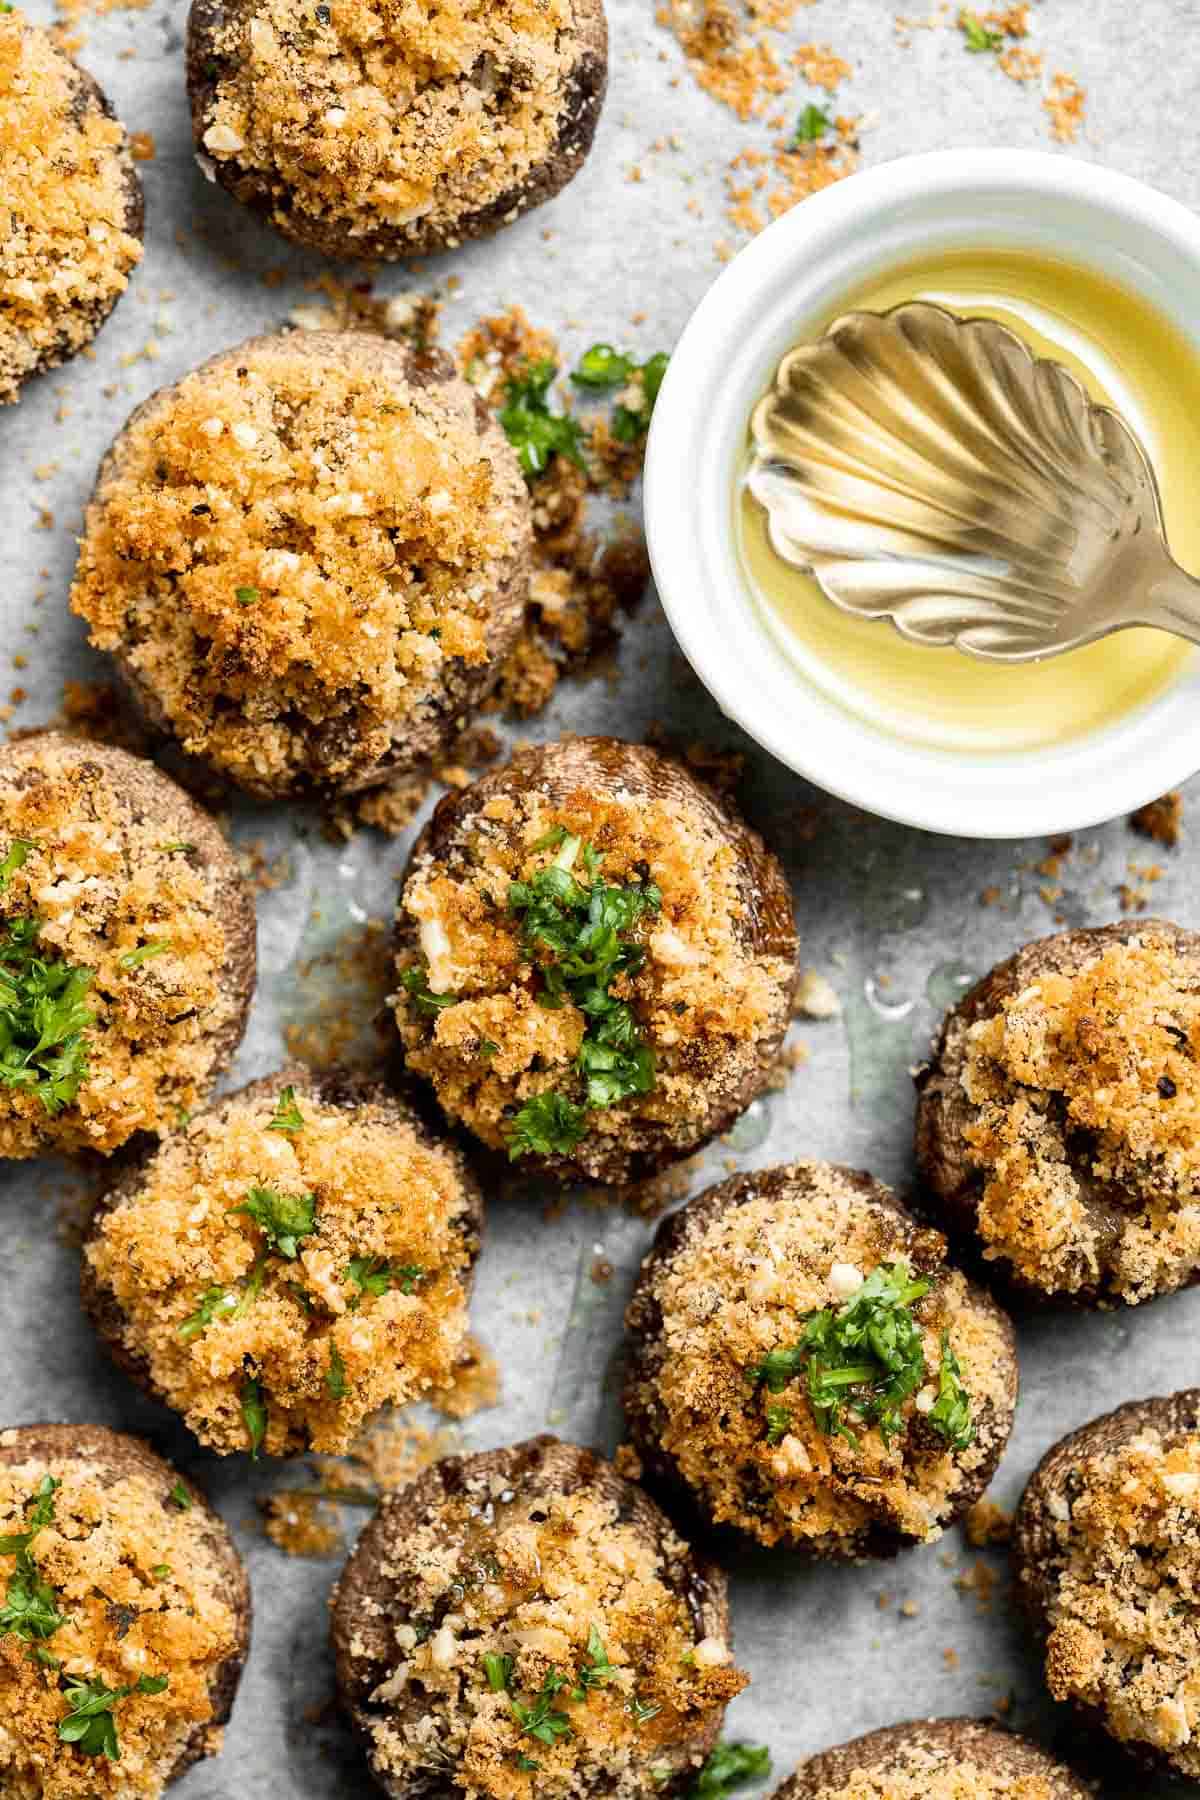
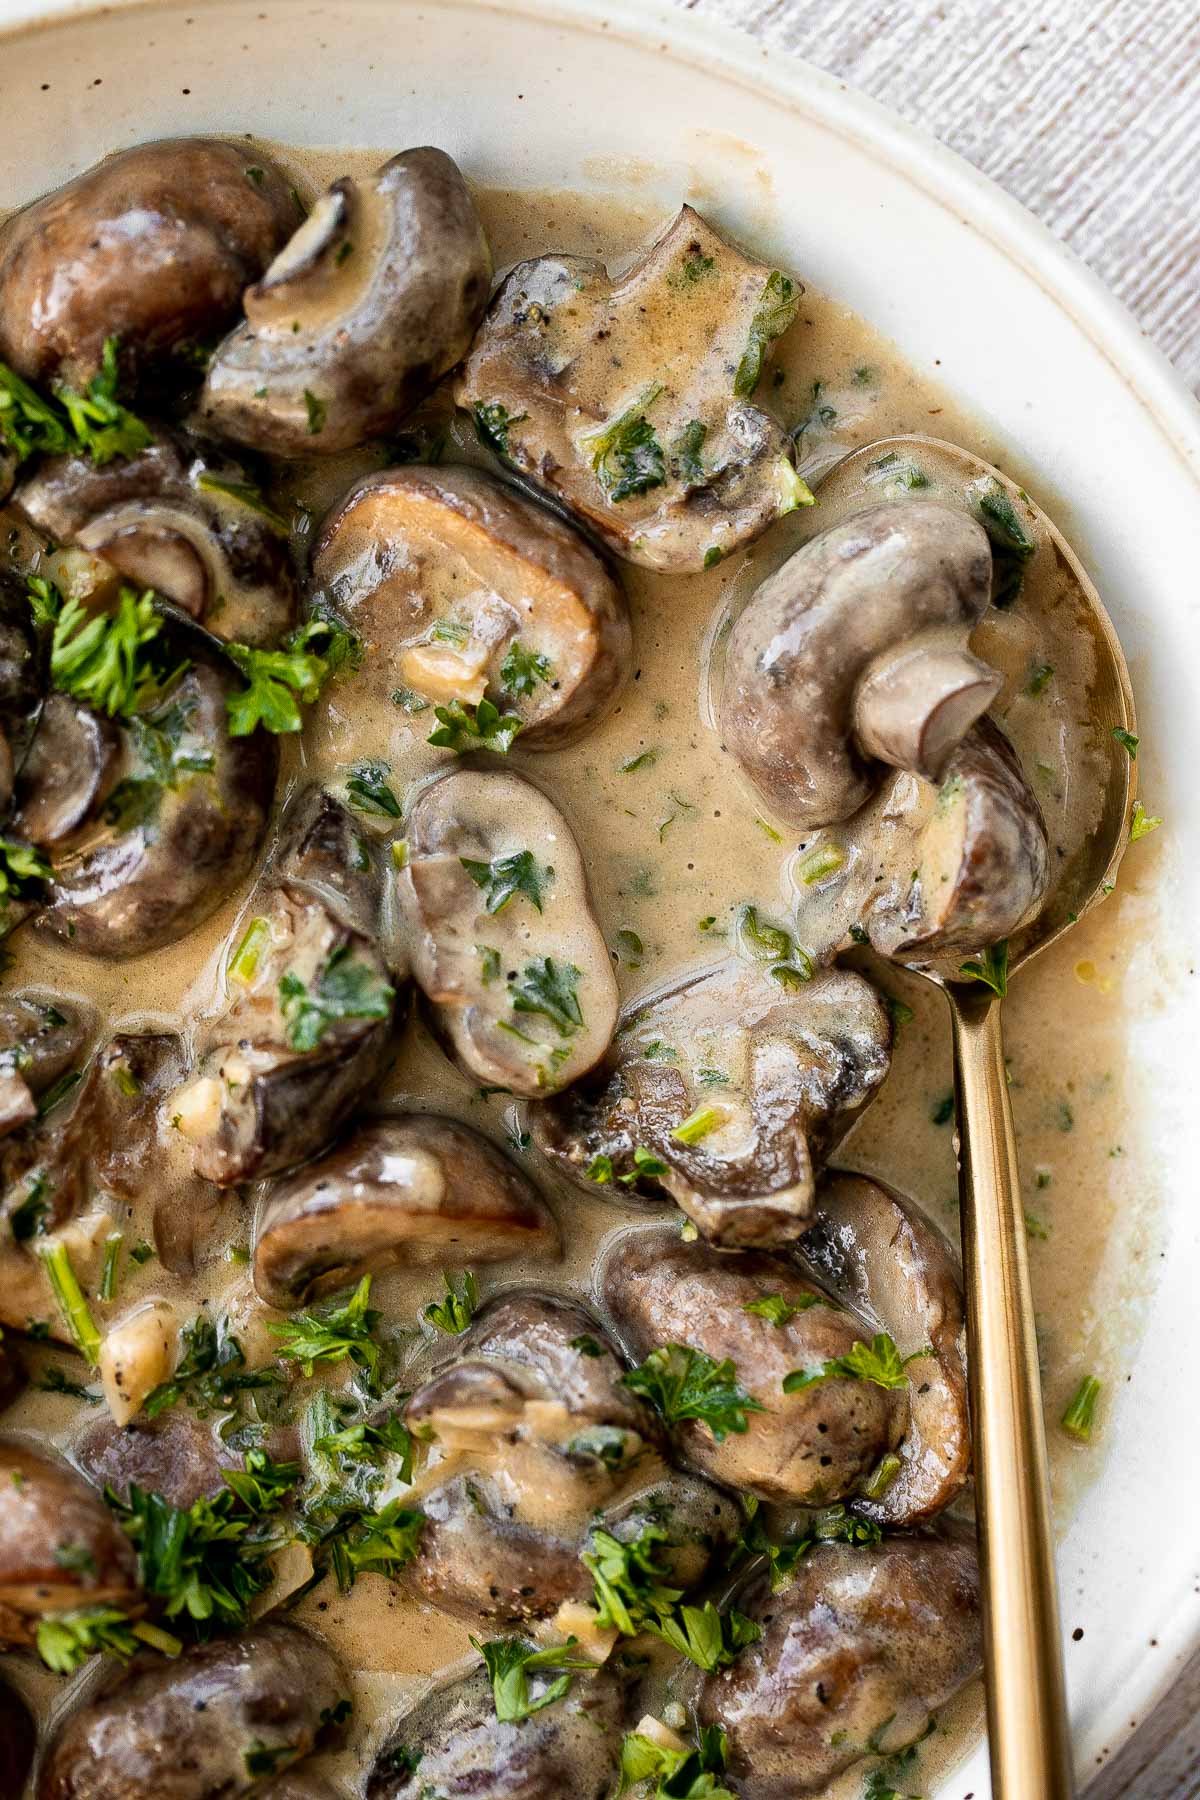
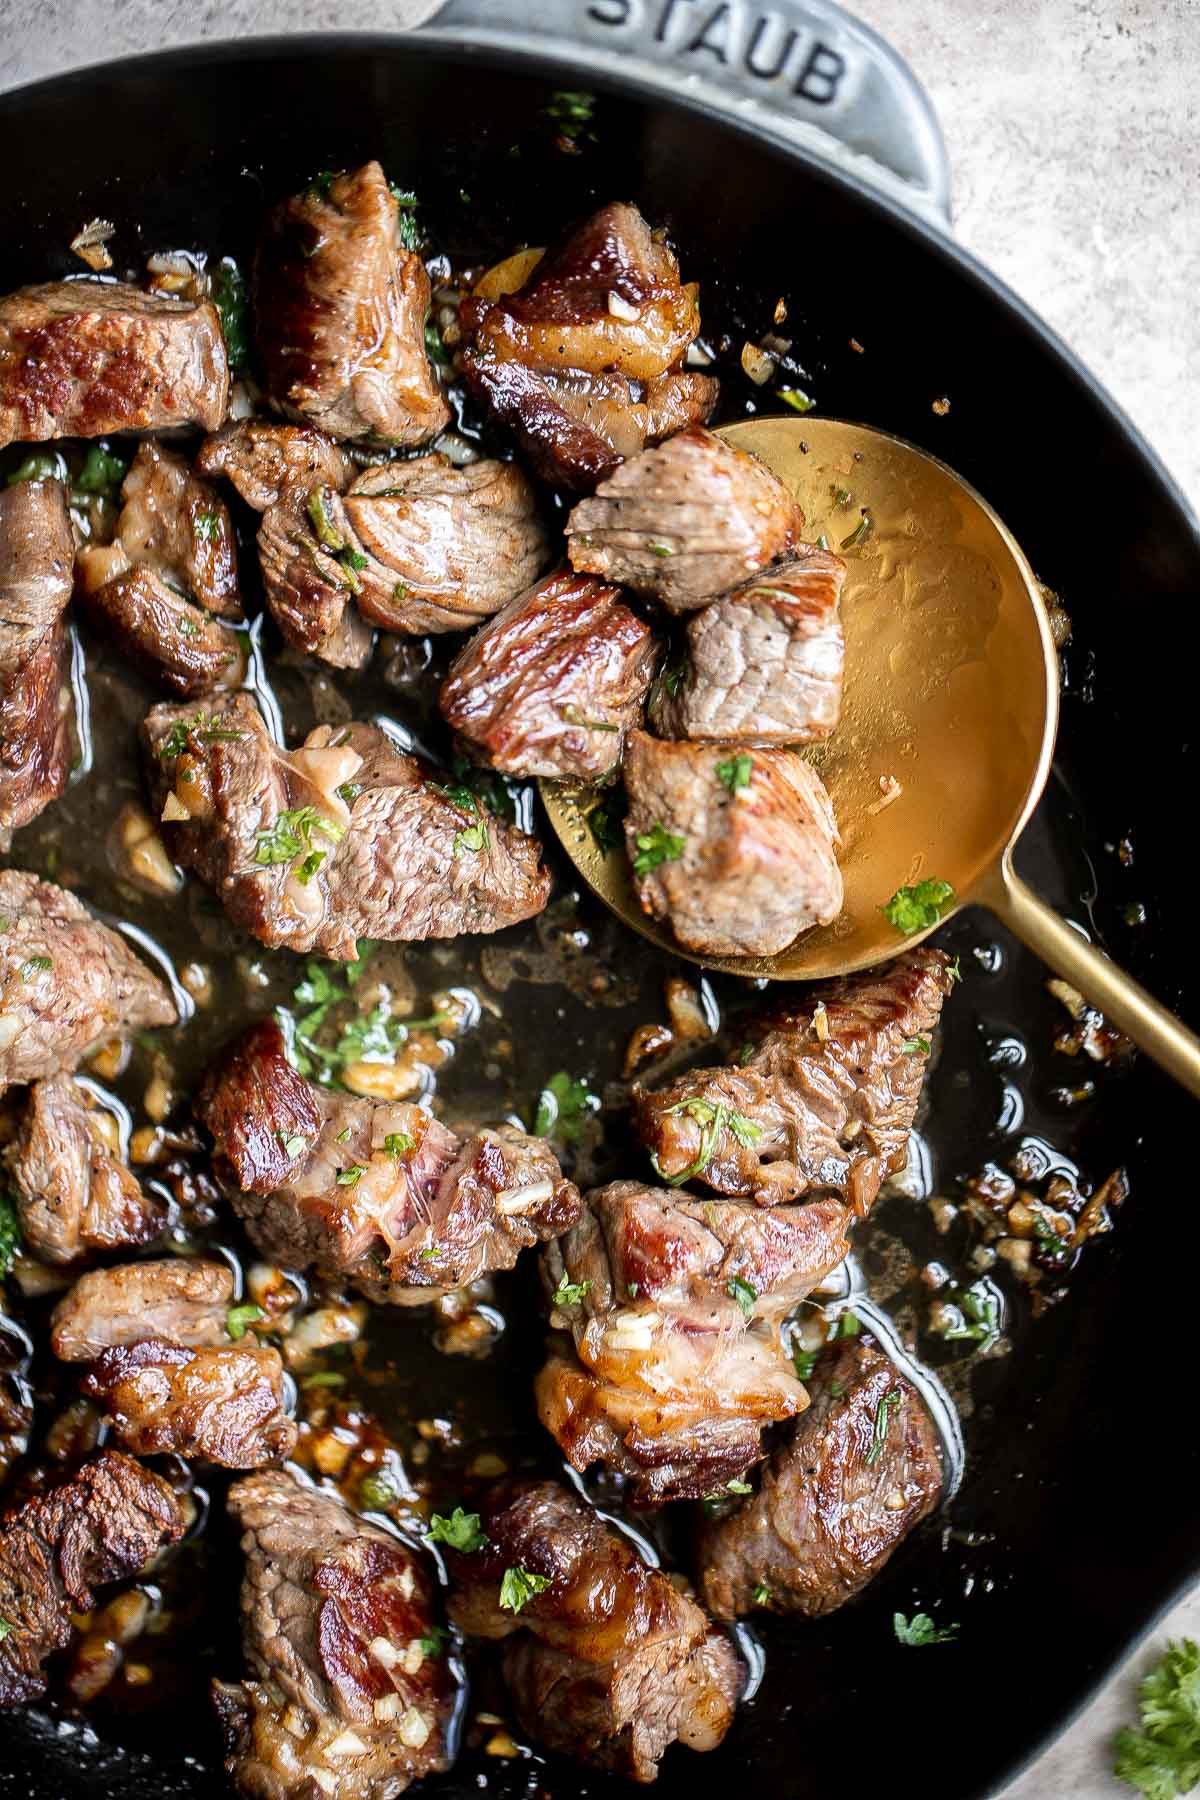
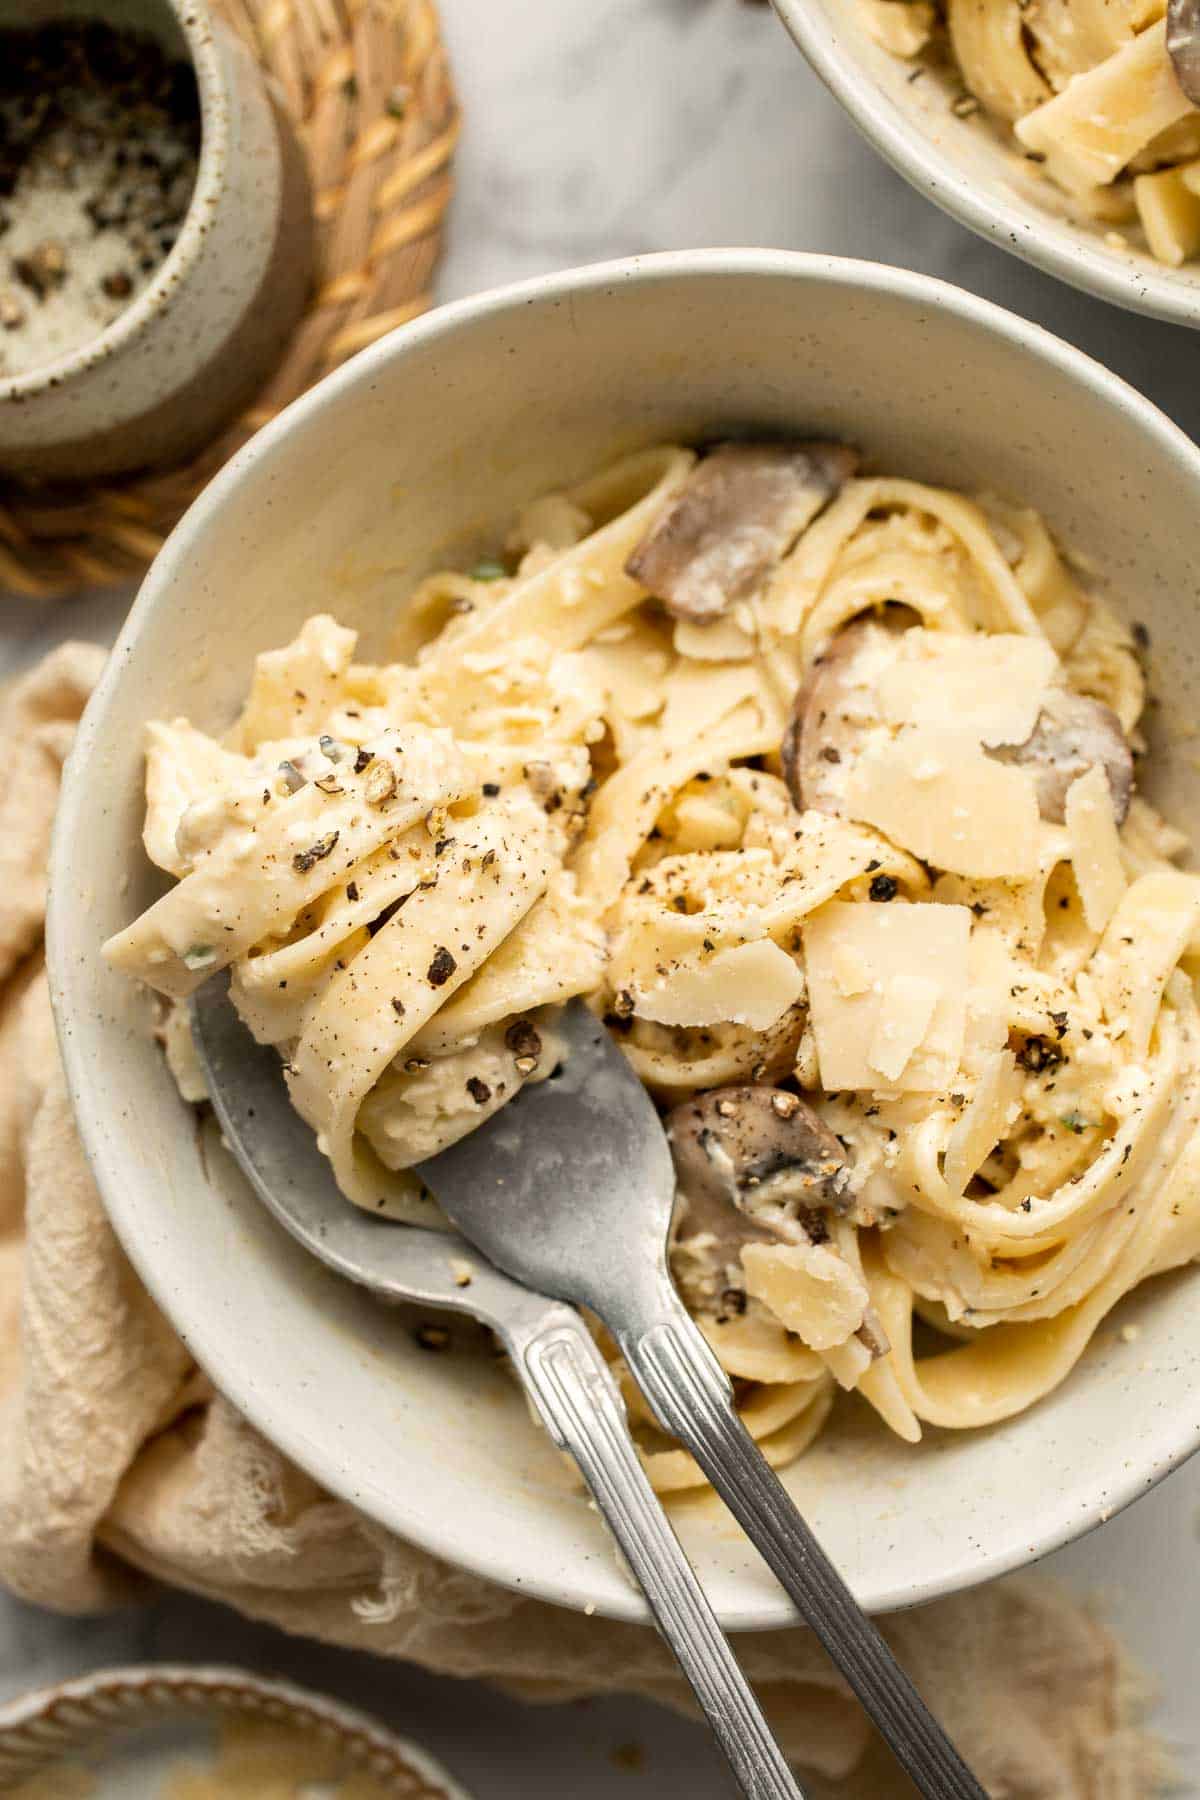
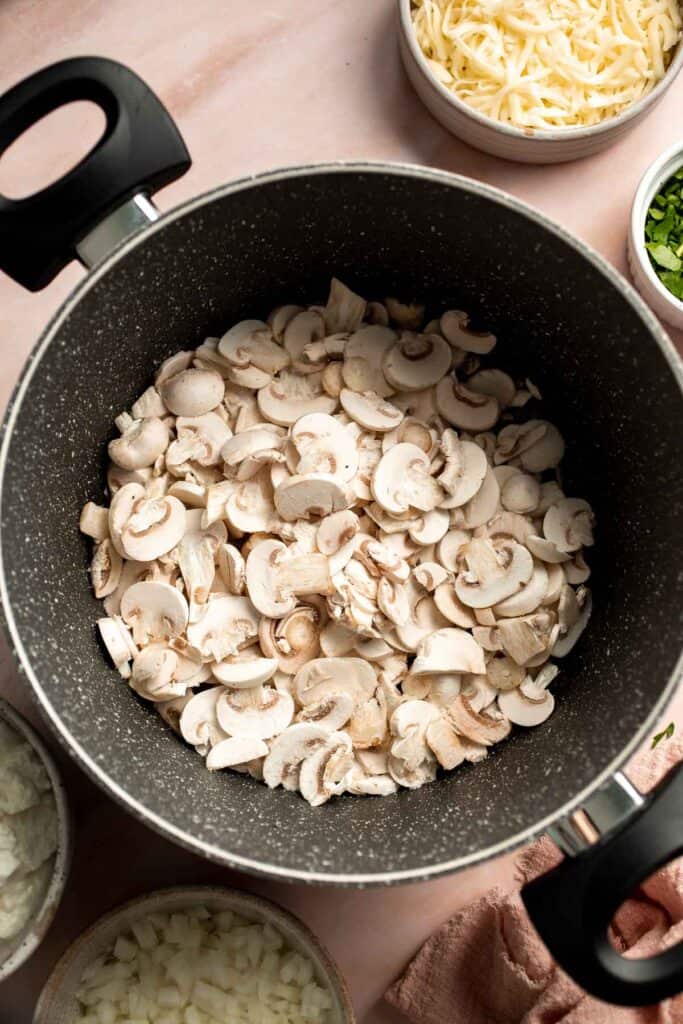
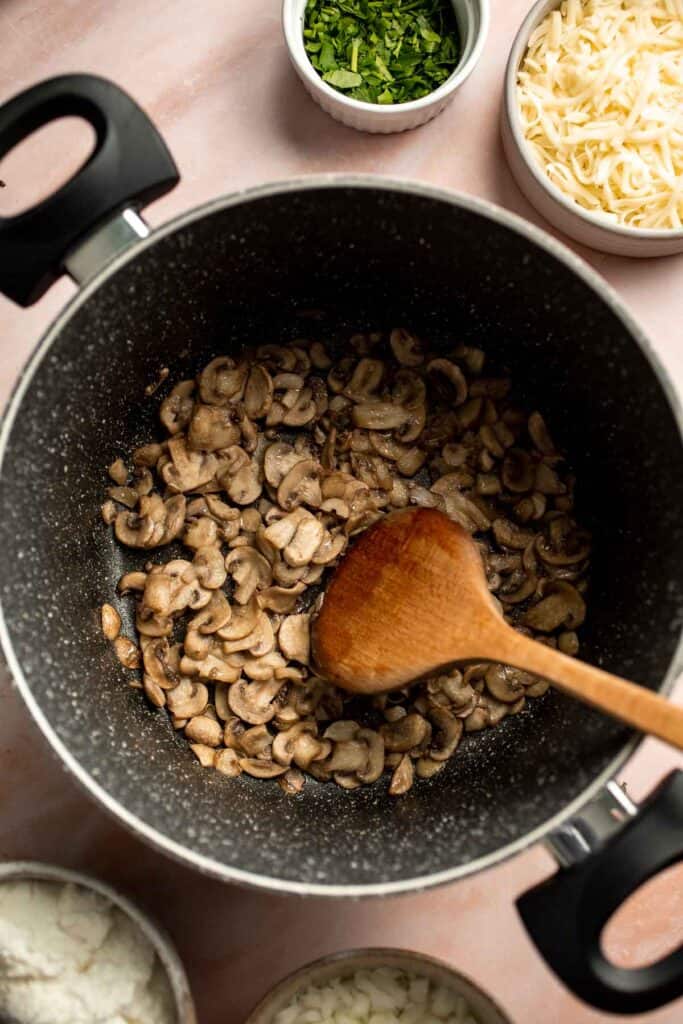
Buttery sautéed garlic mushrooms are silky smooth with an incredible caramelization and earthy rich flavour. A simple side dish in under 15 minutes.
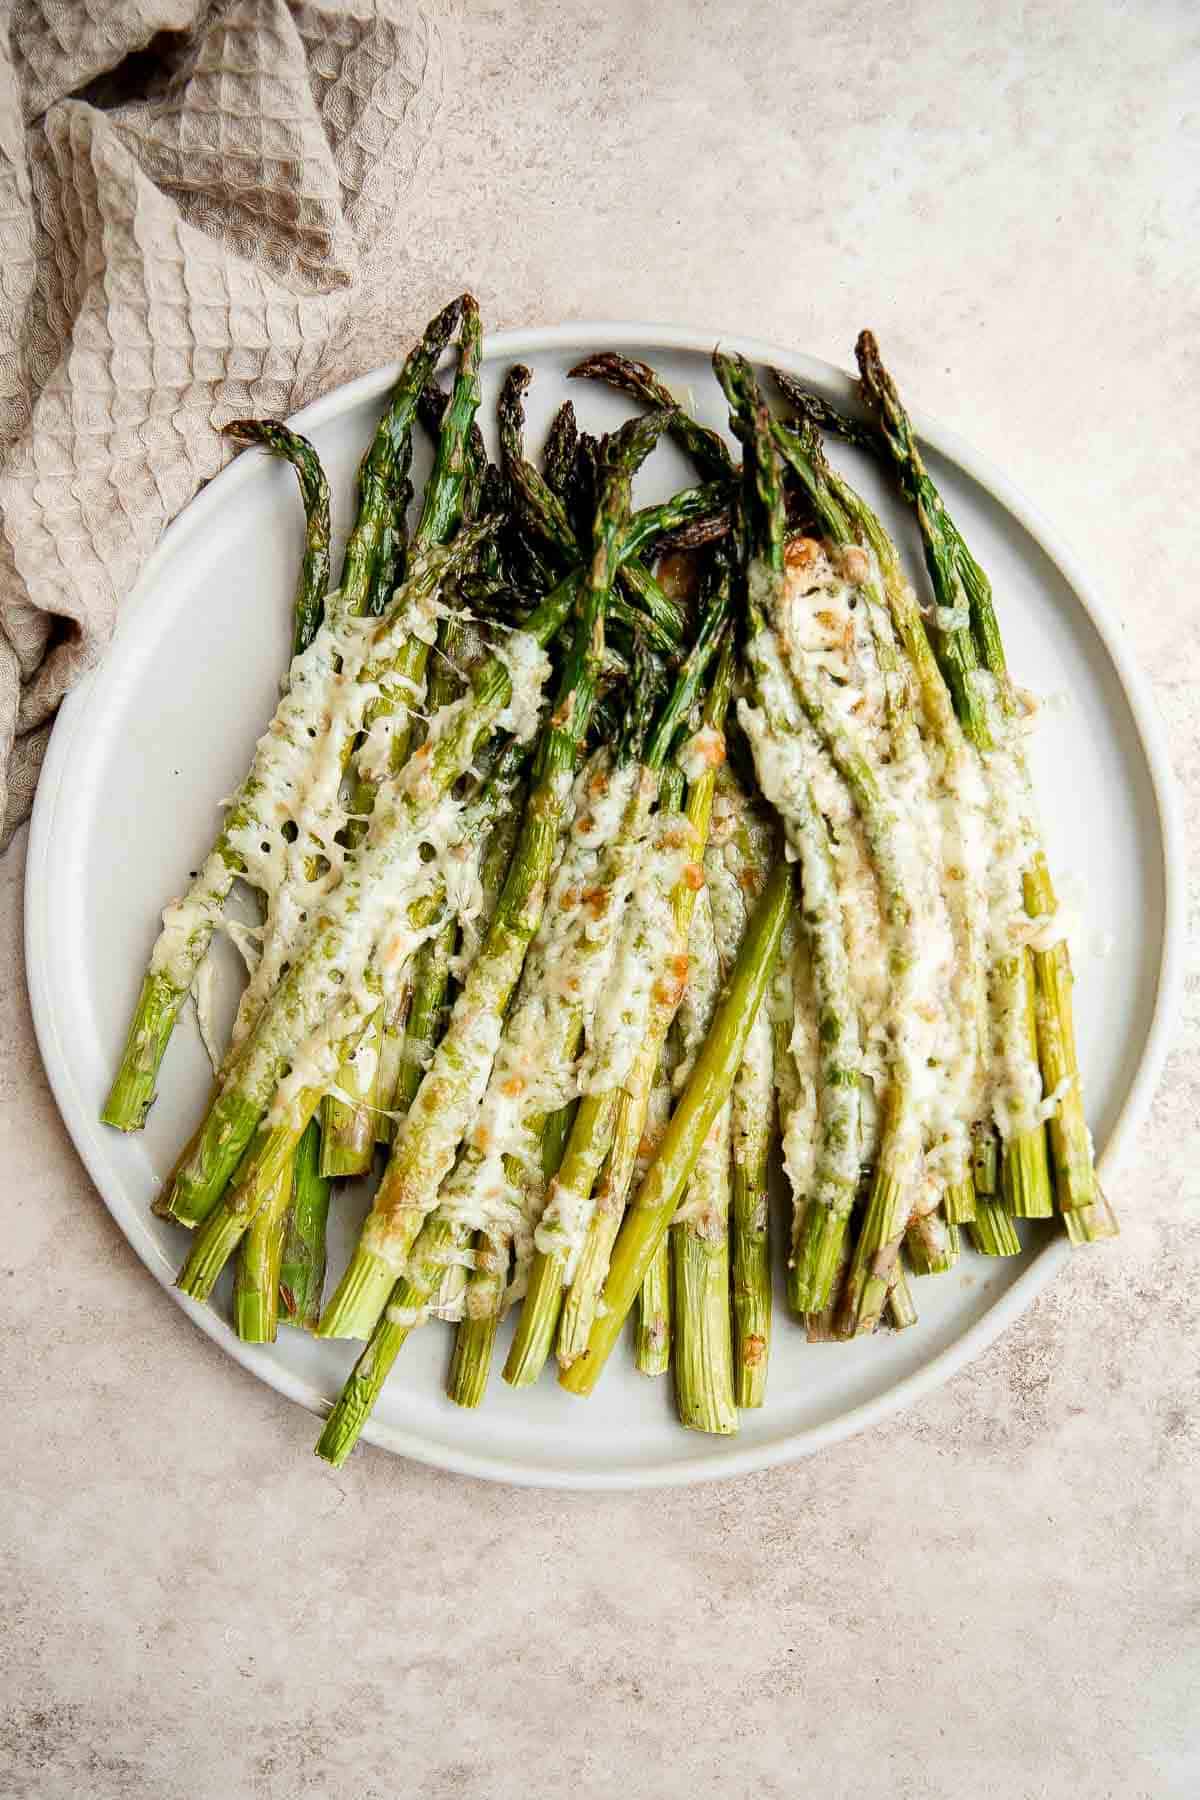
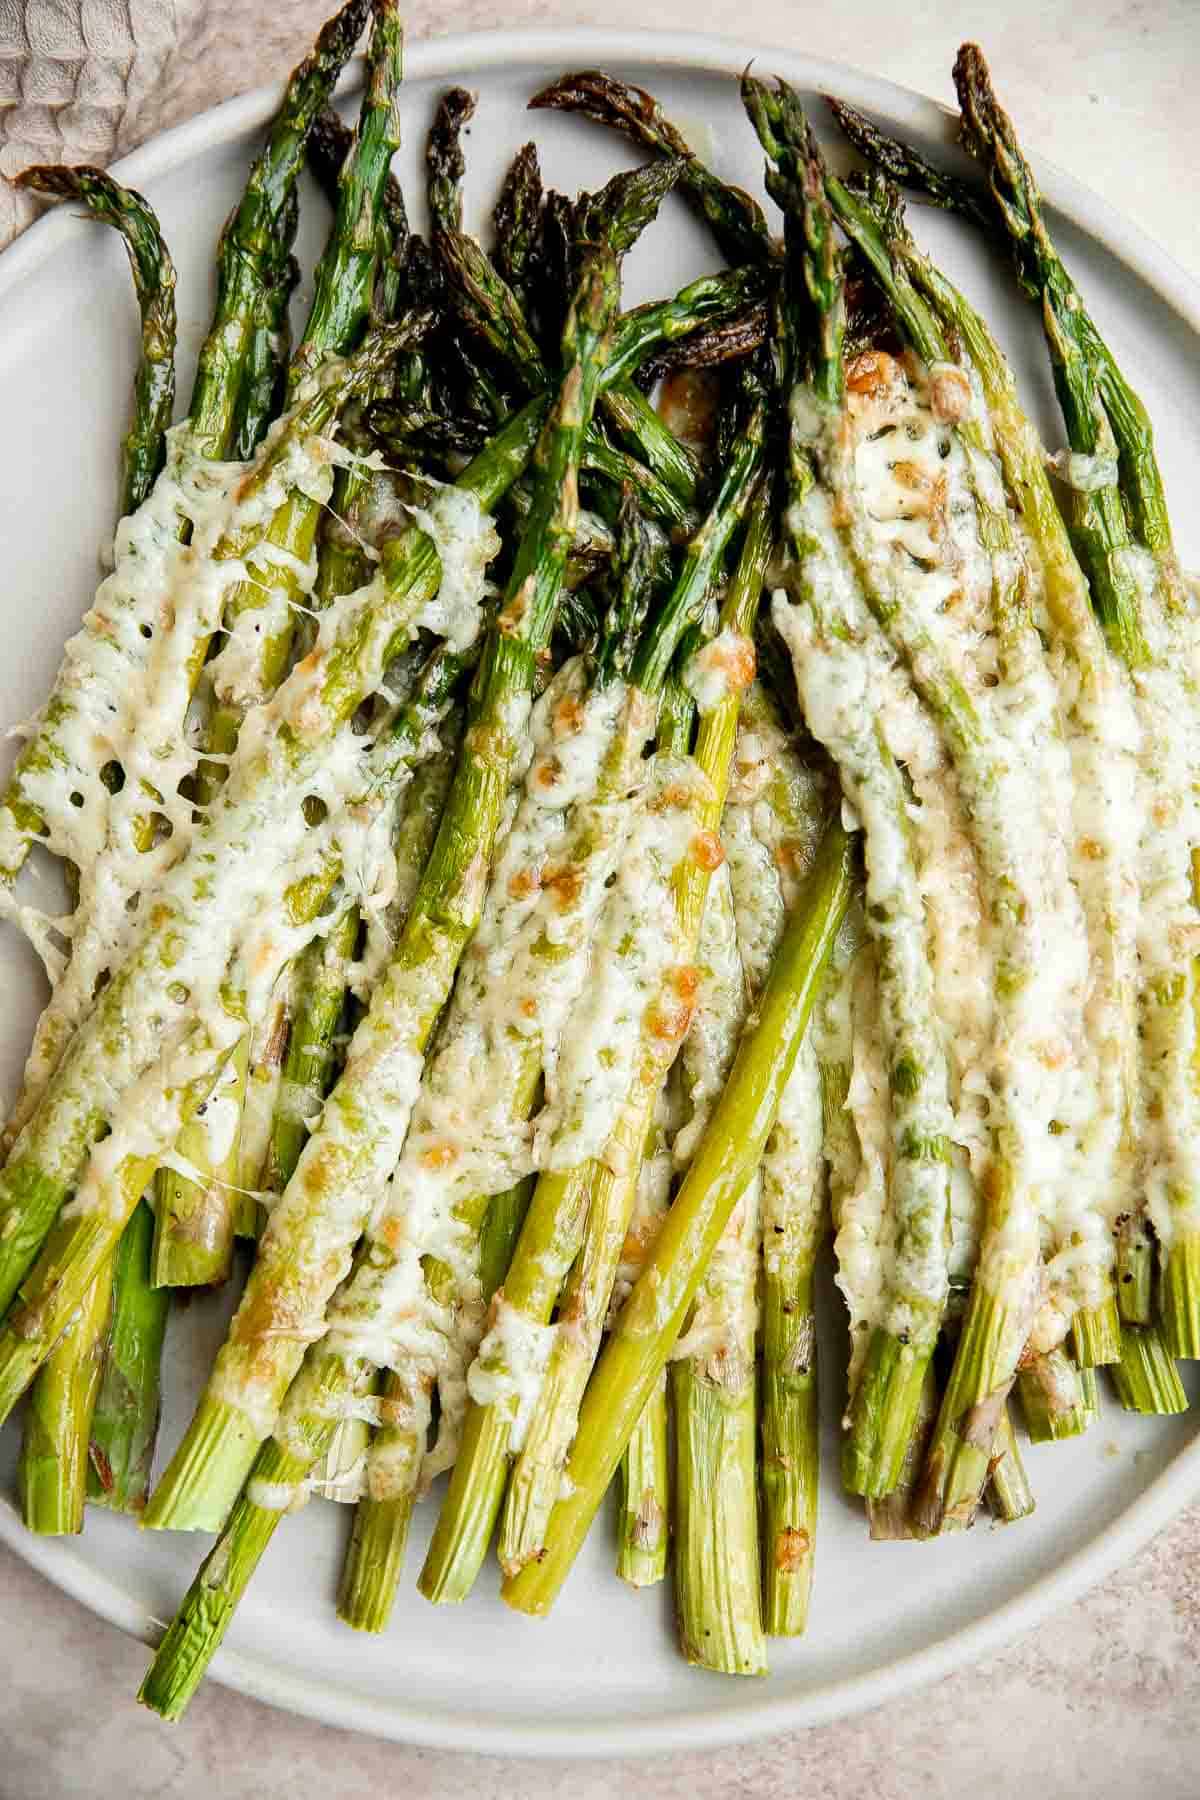
Cheesy roasted asparagus is a quick and easy side dish made with a handful of simple ingredients in 20 minutes. They're garlicky, cheesy, and flavorful.
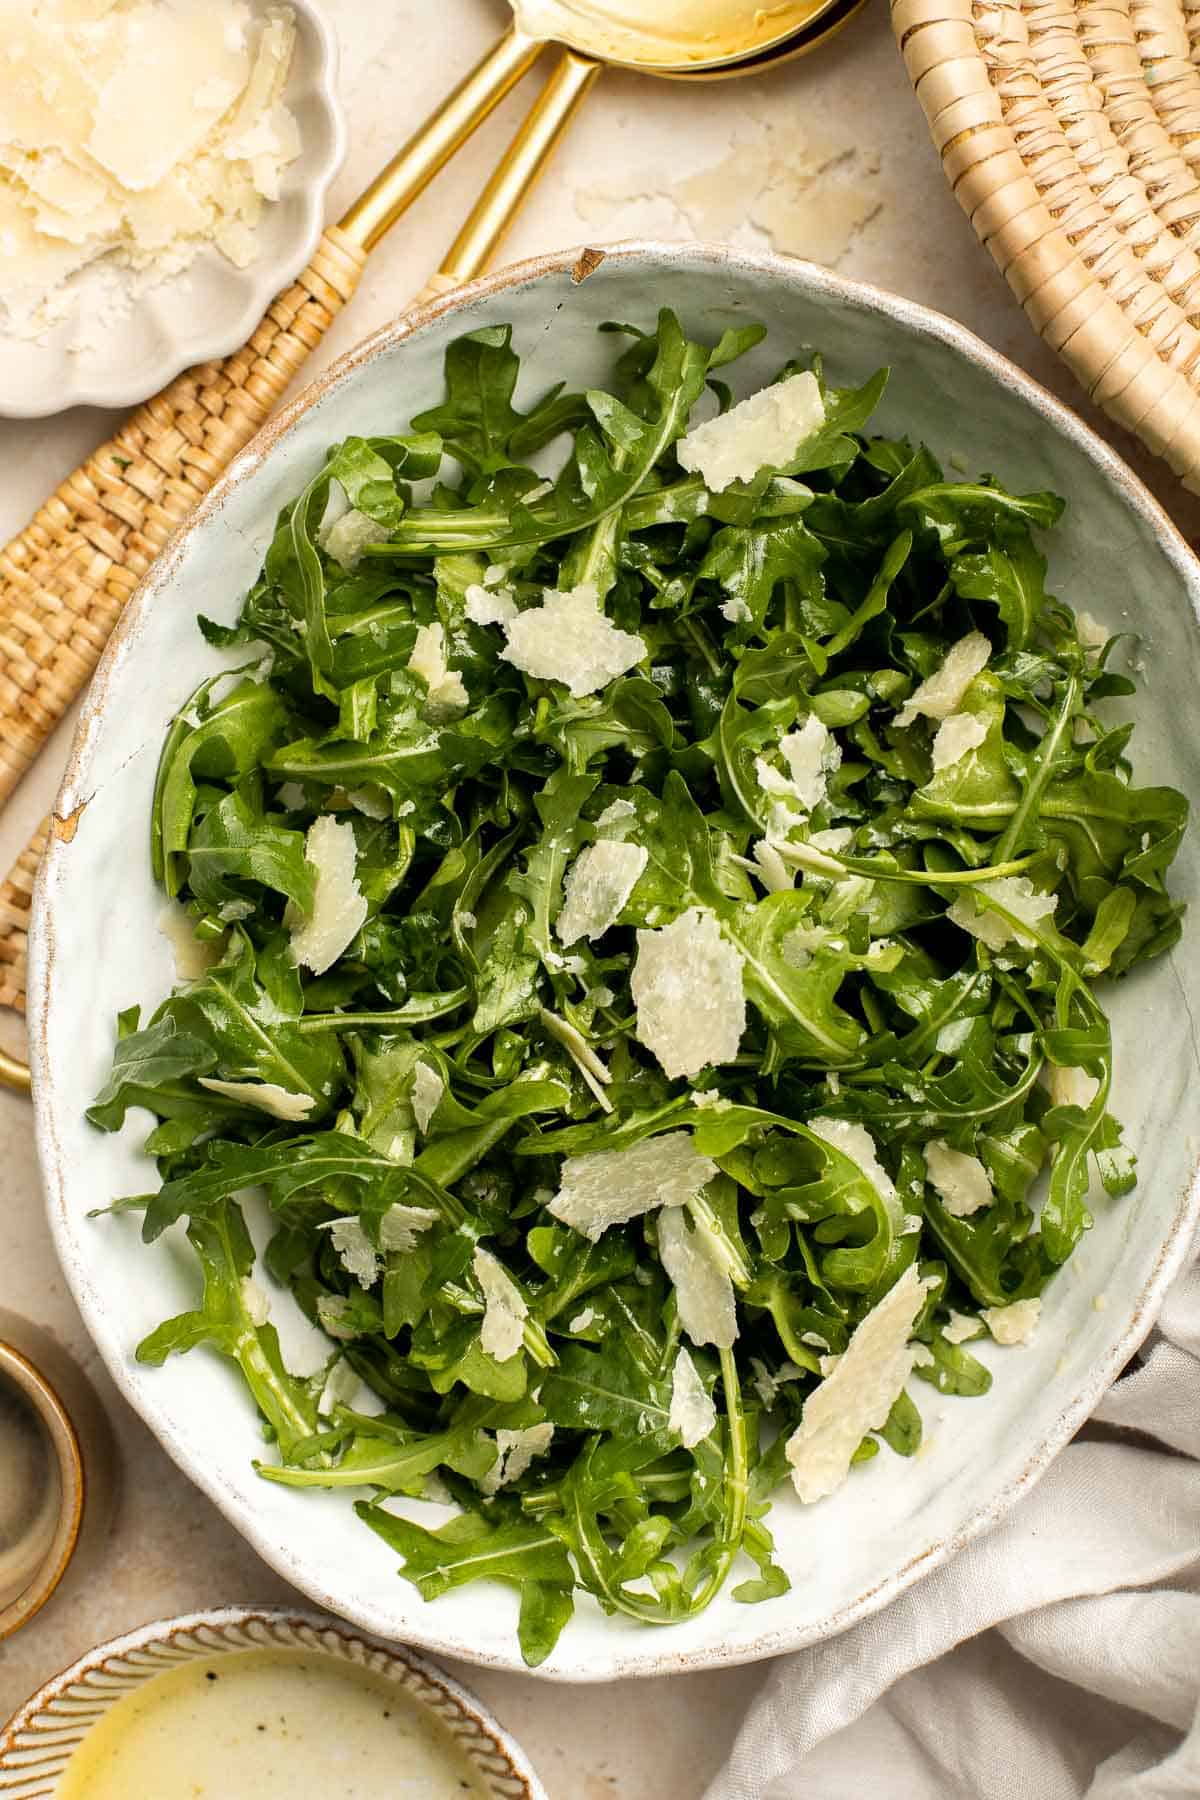
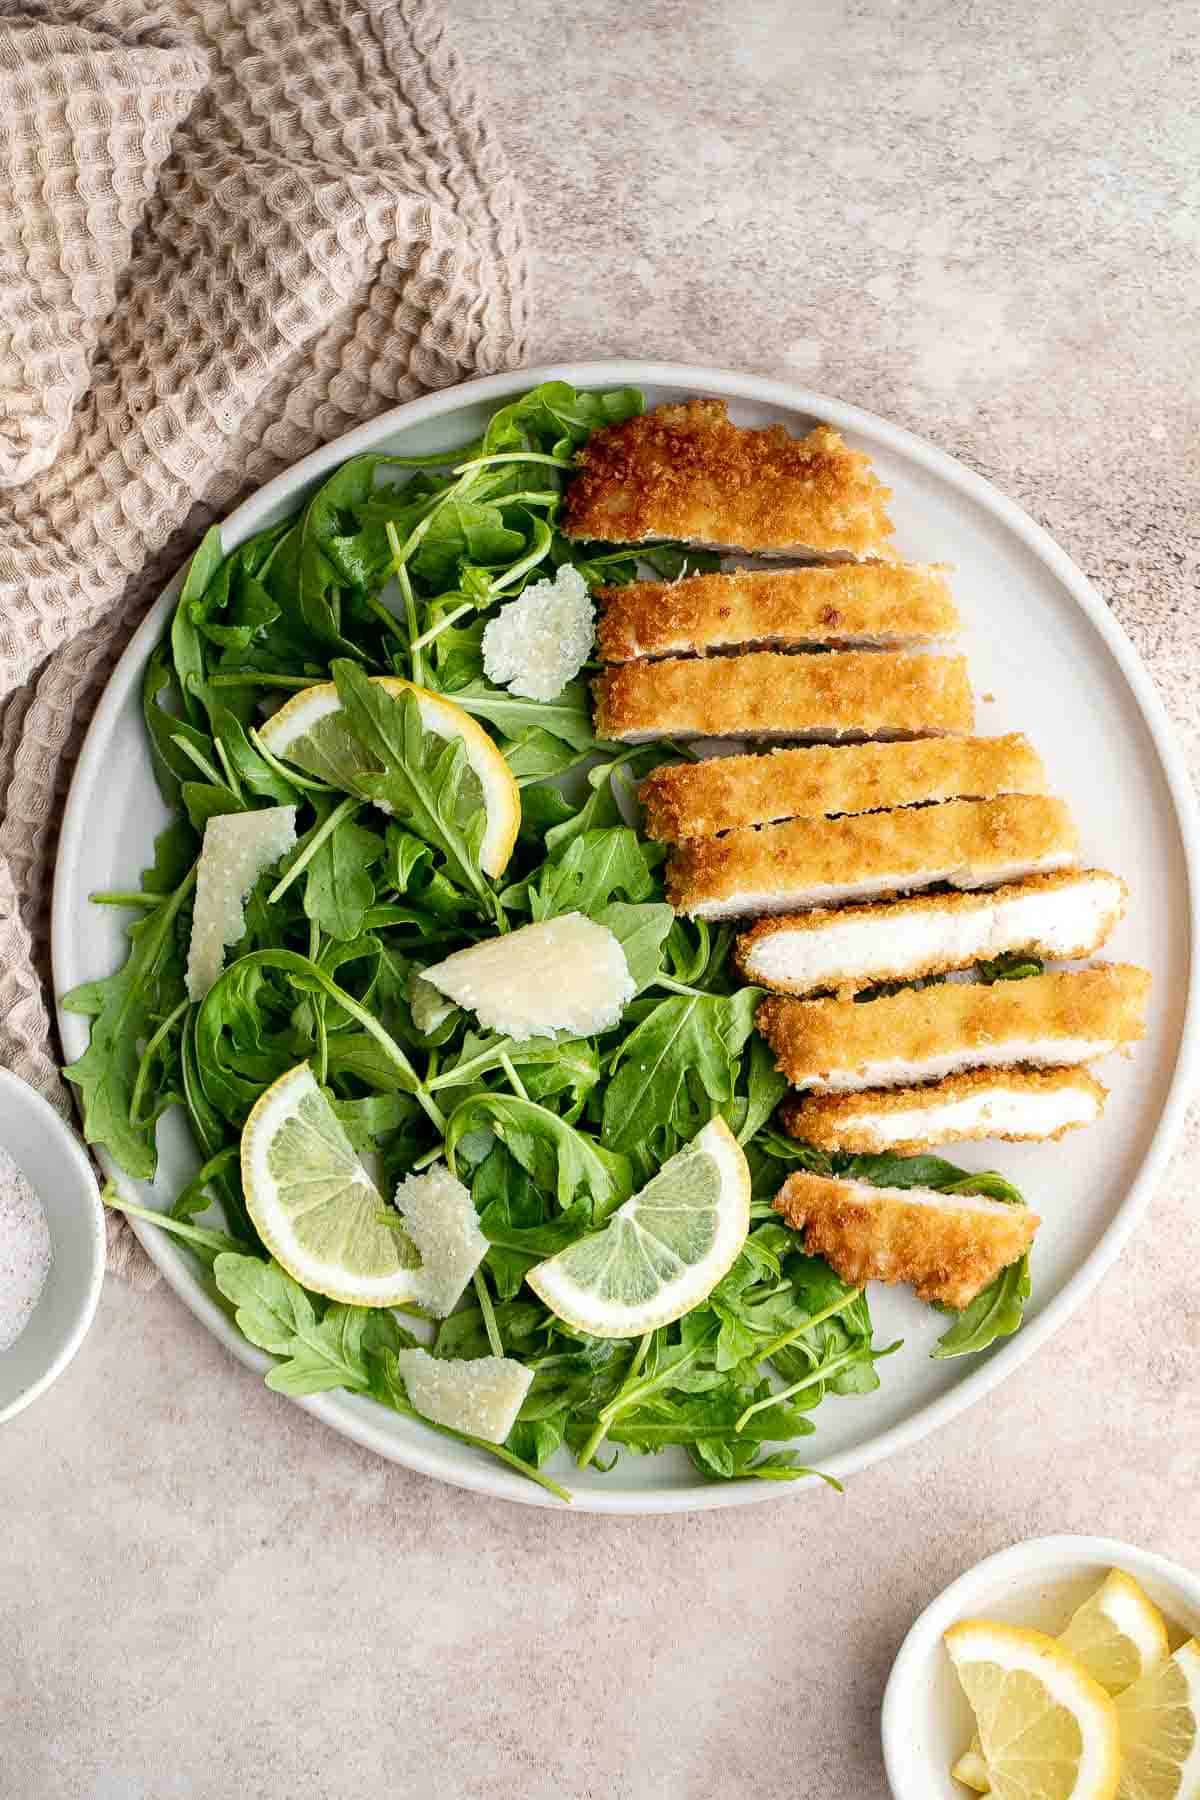
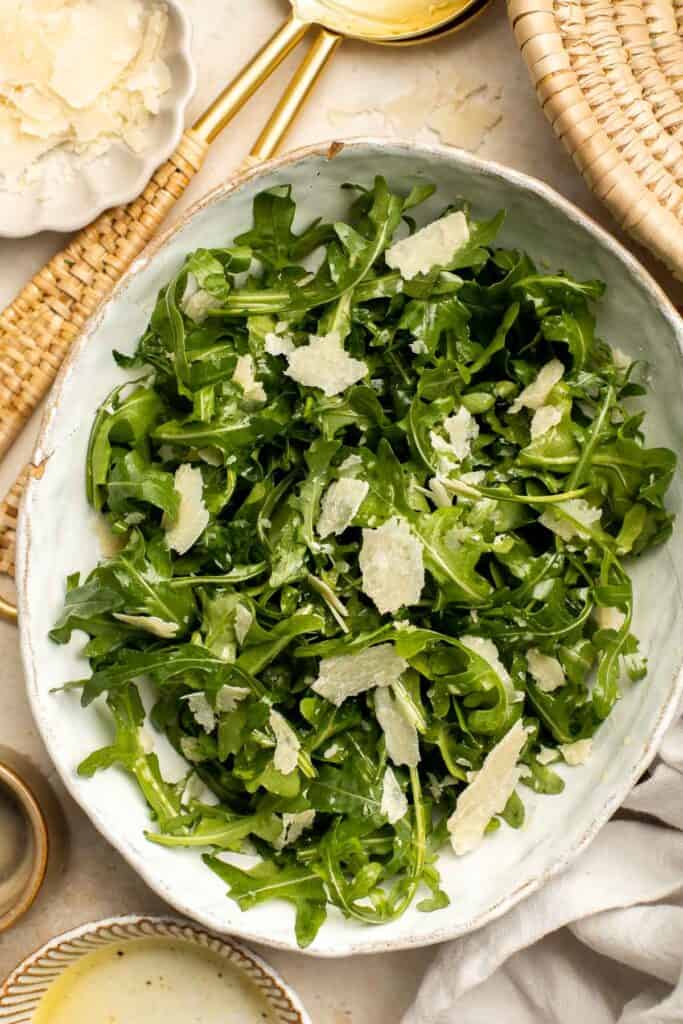
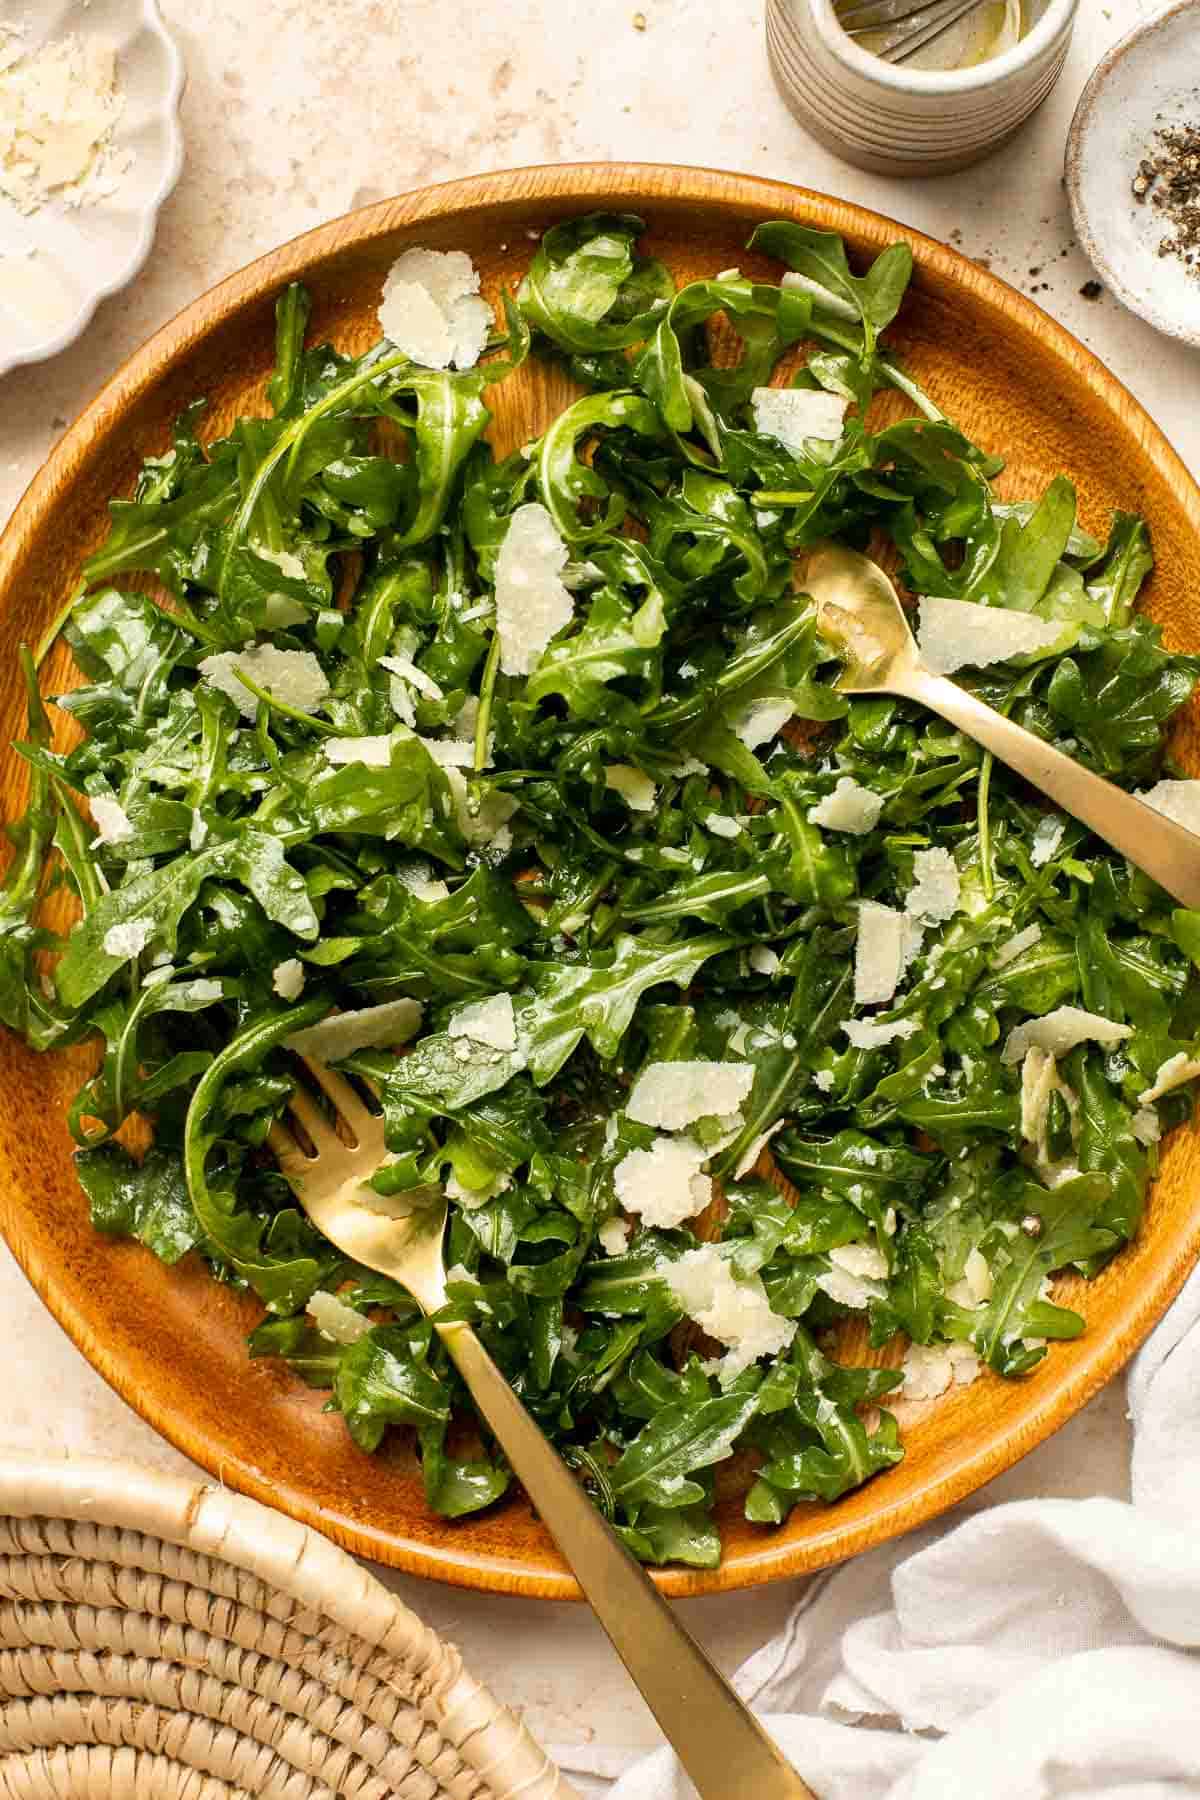
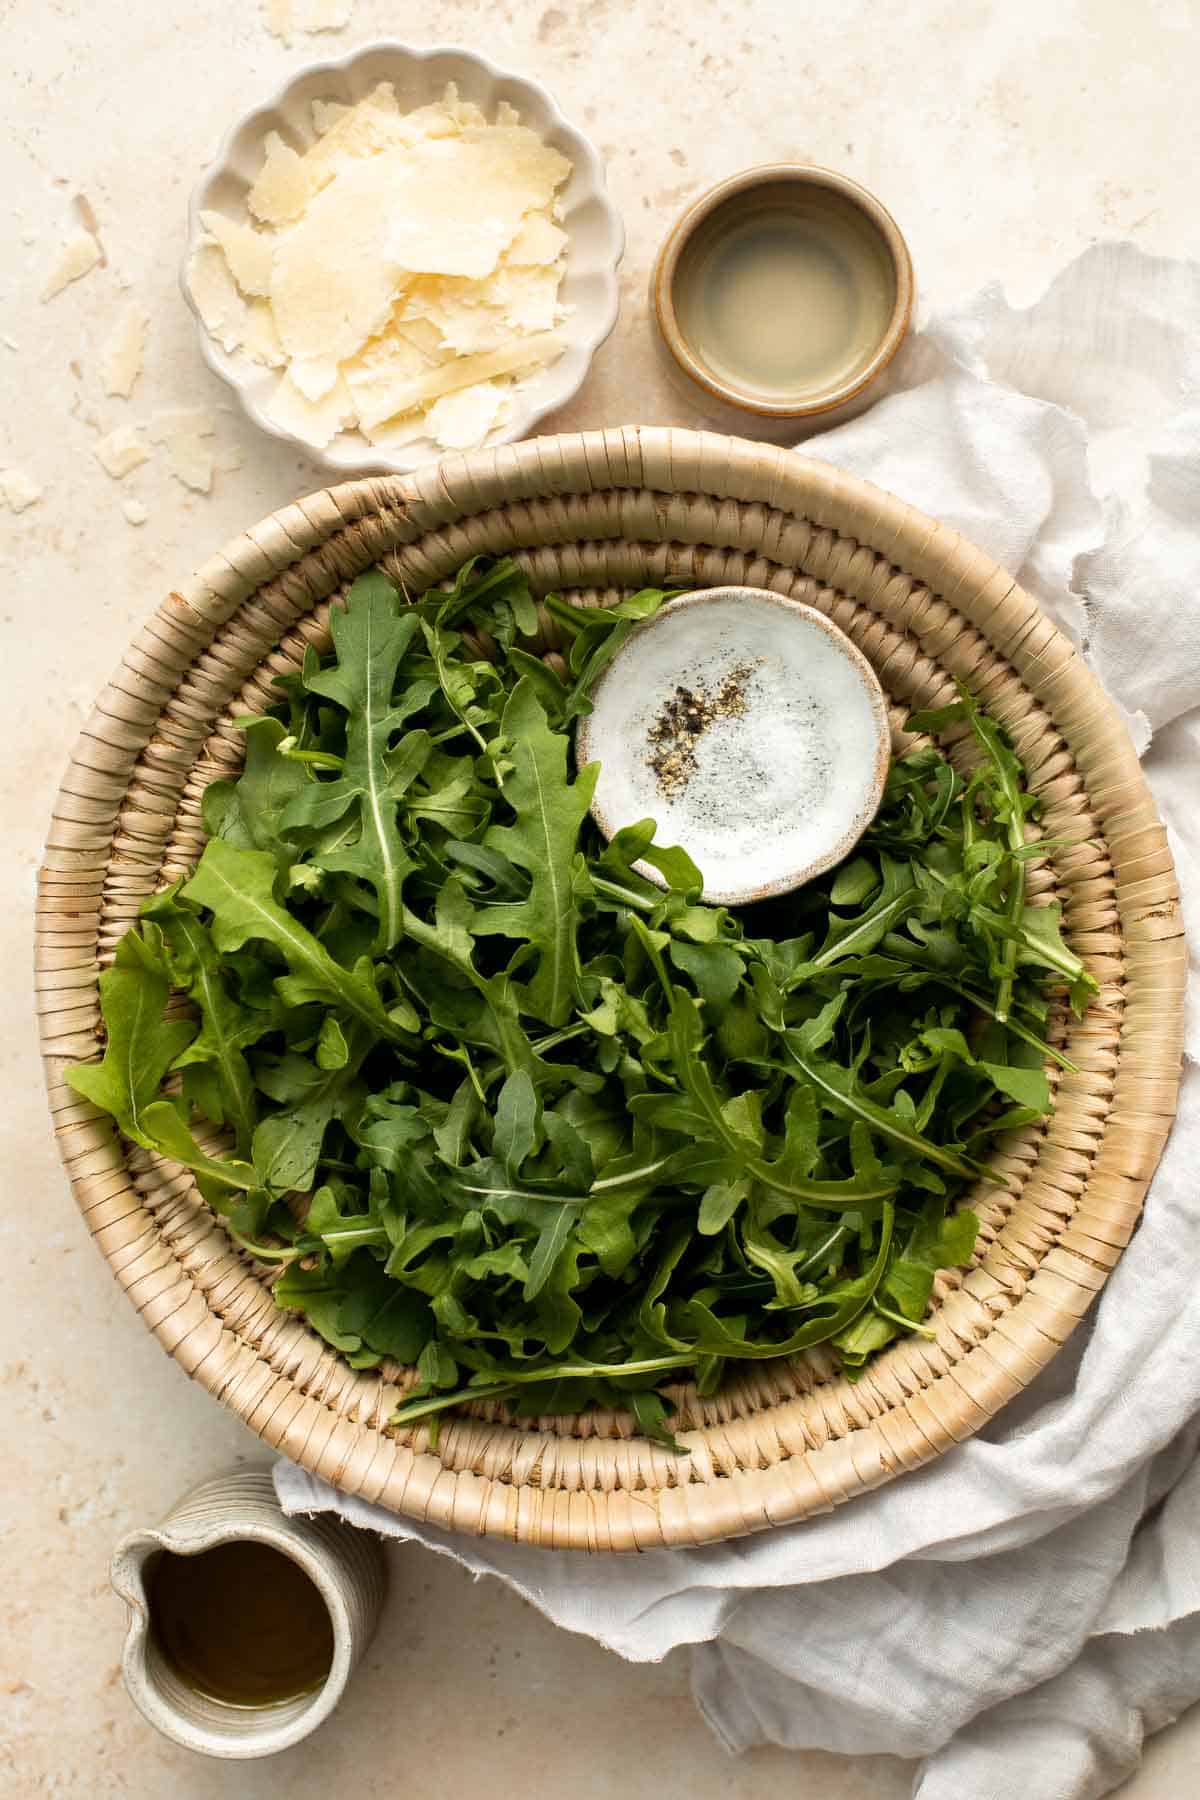
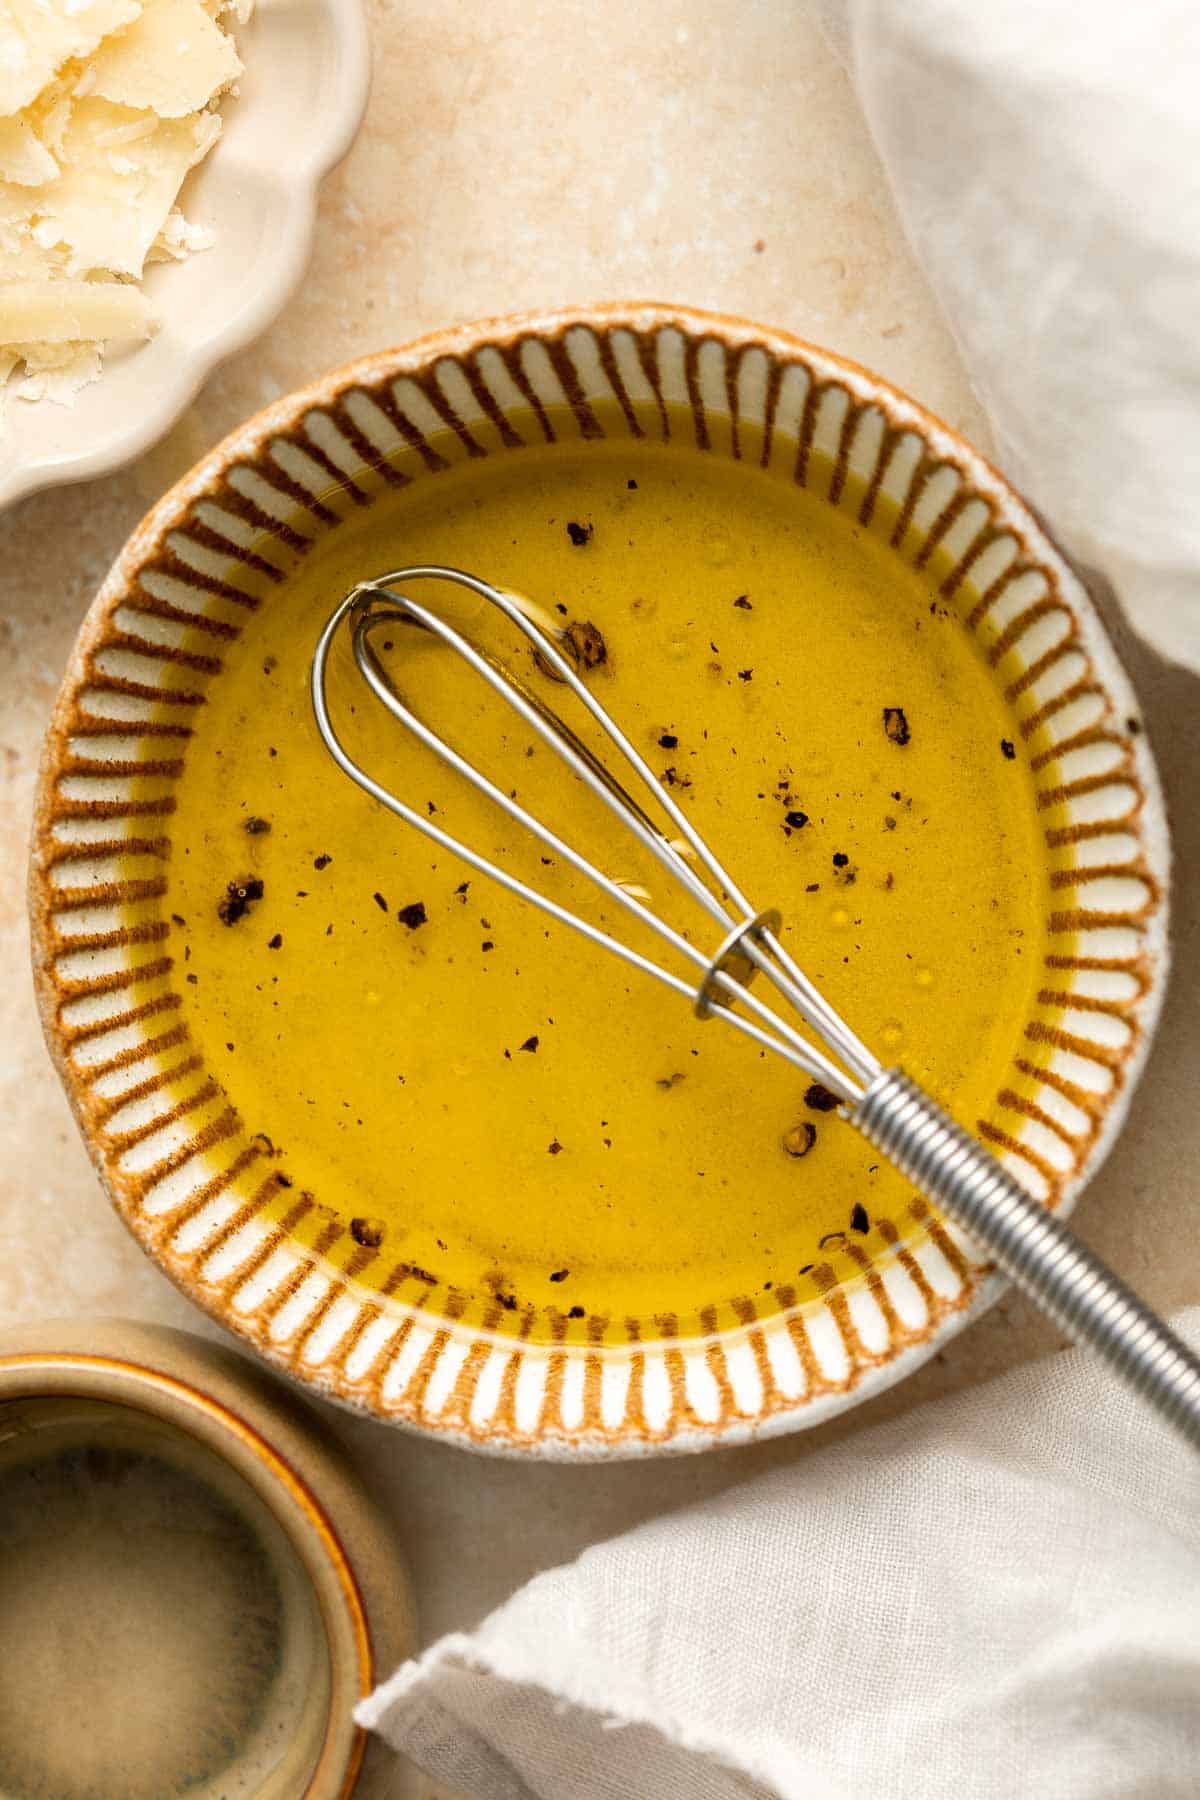
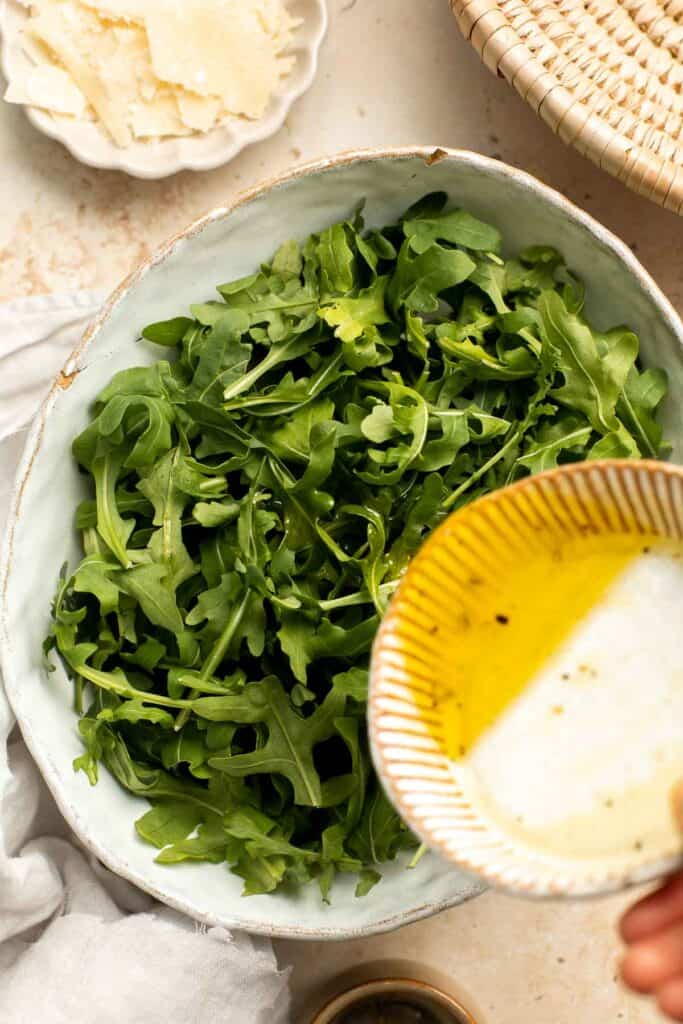
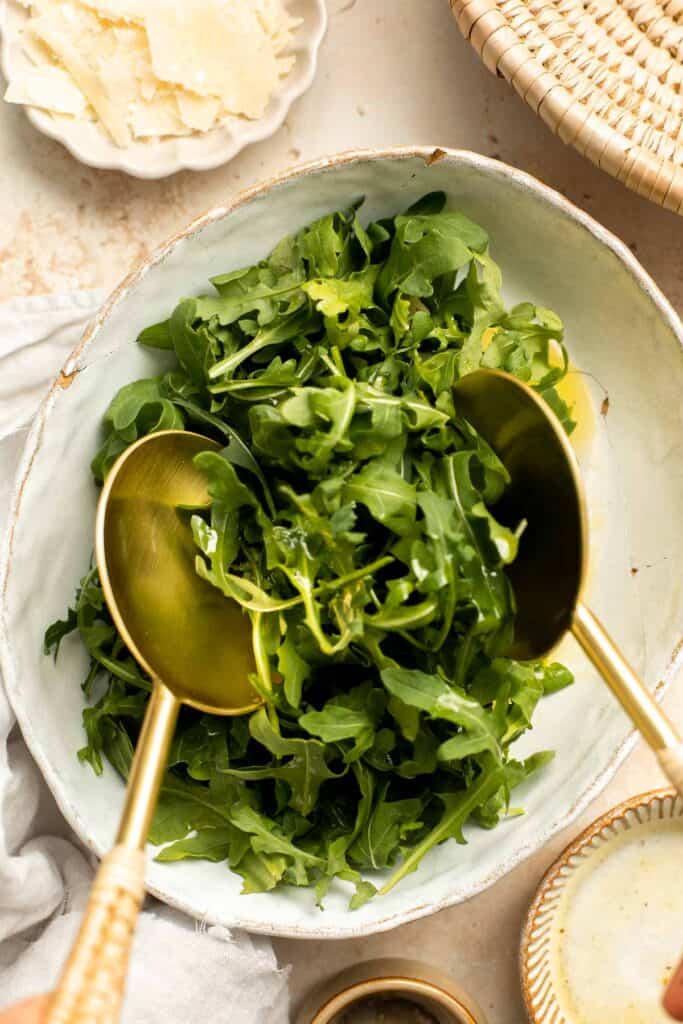
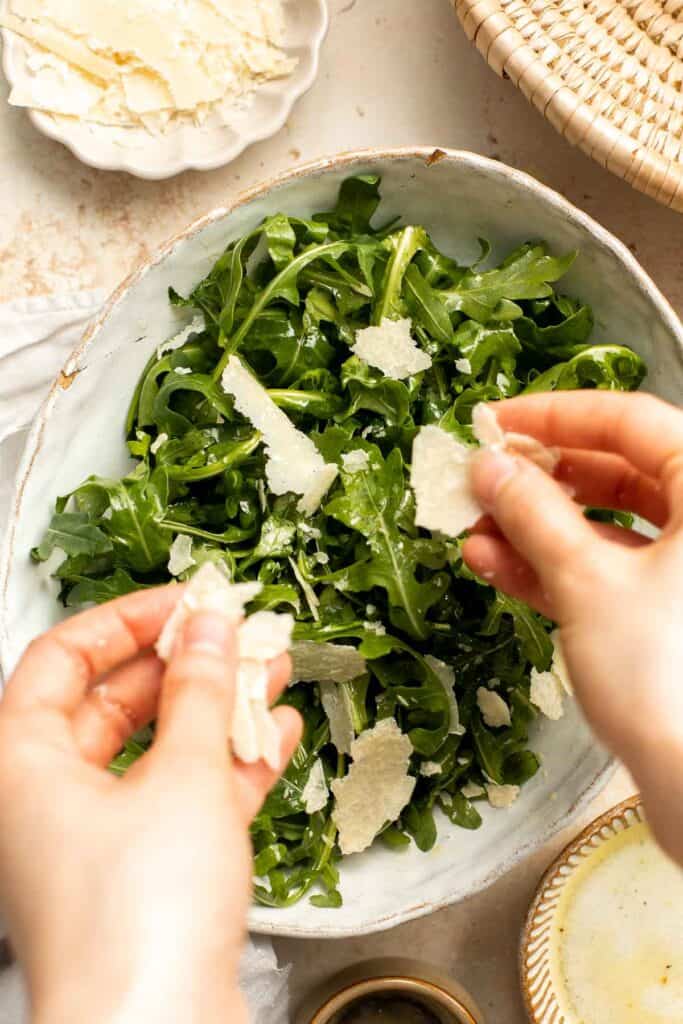
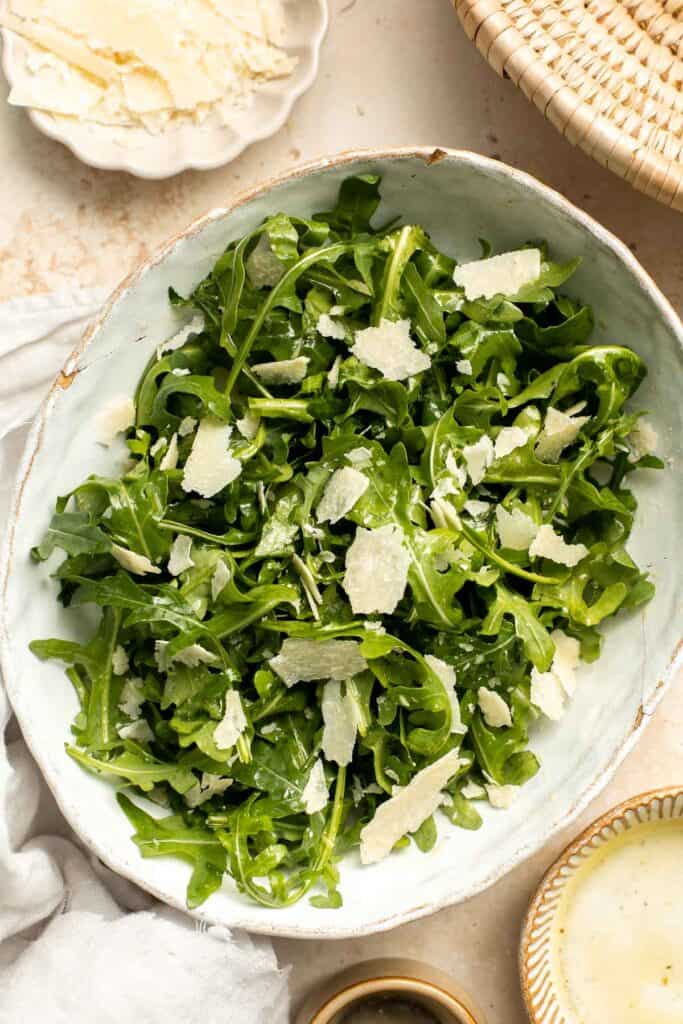
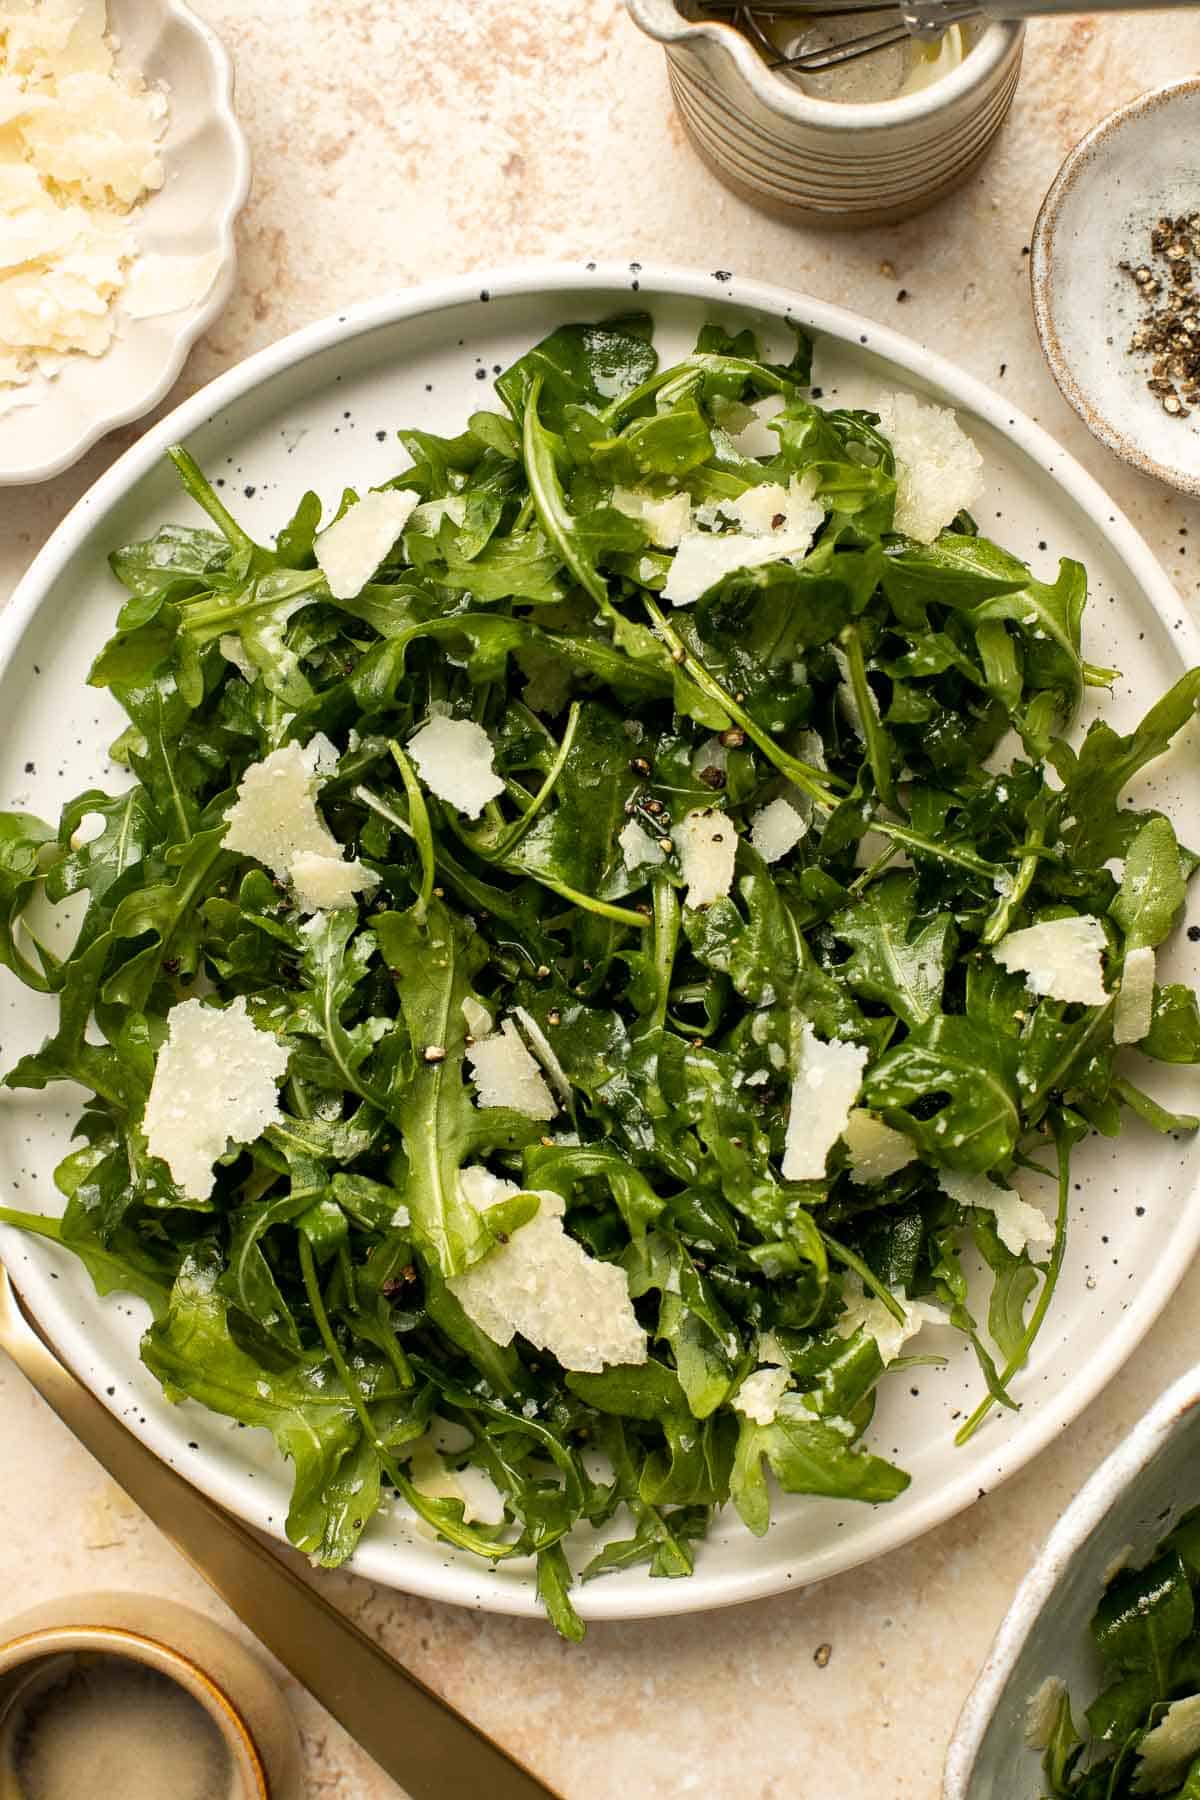
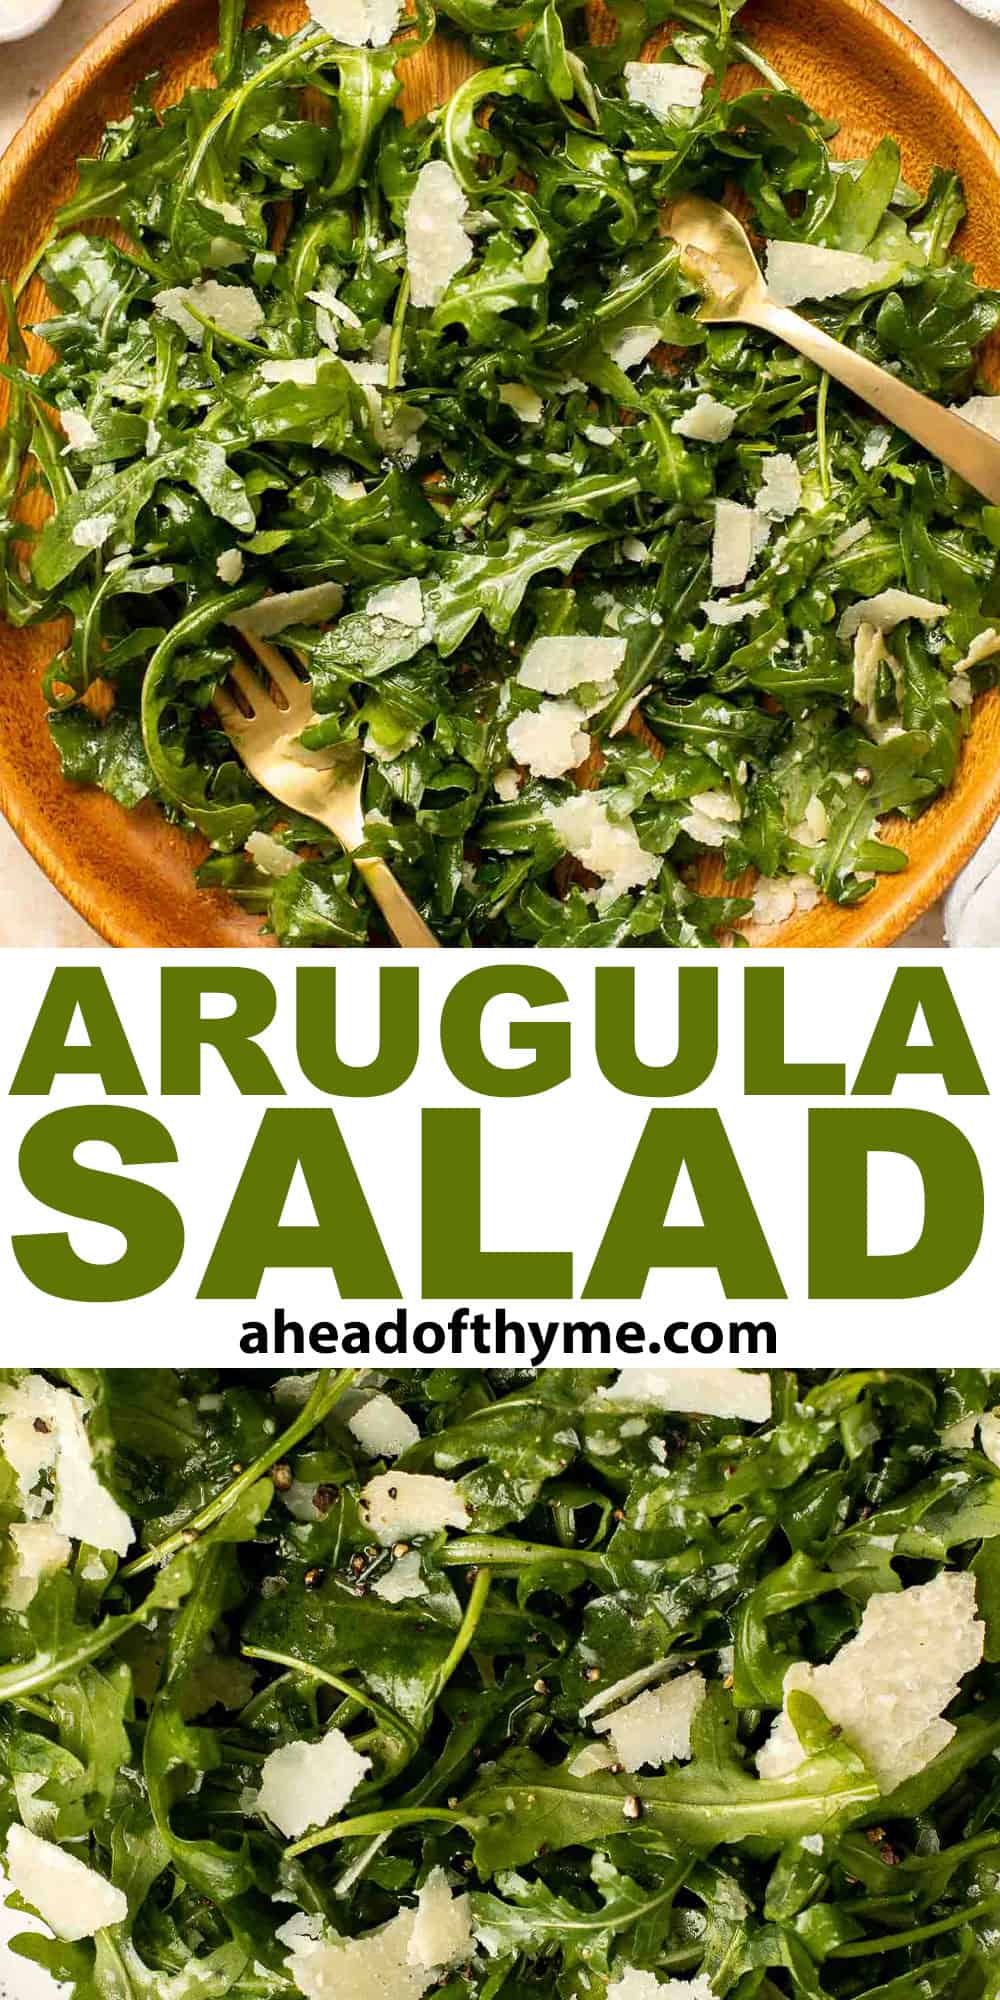
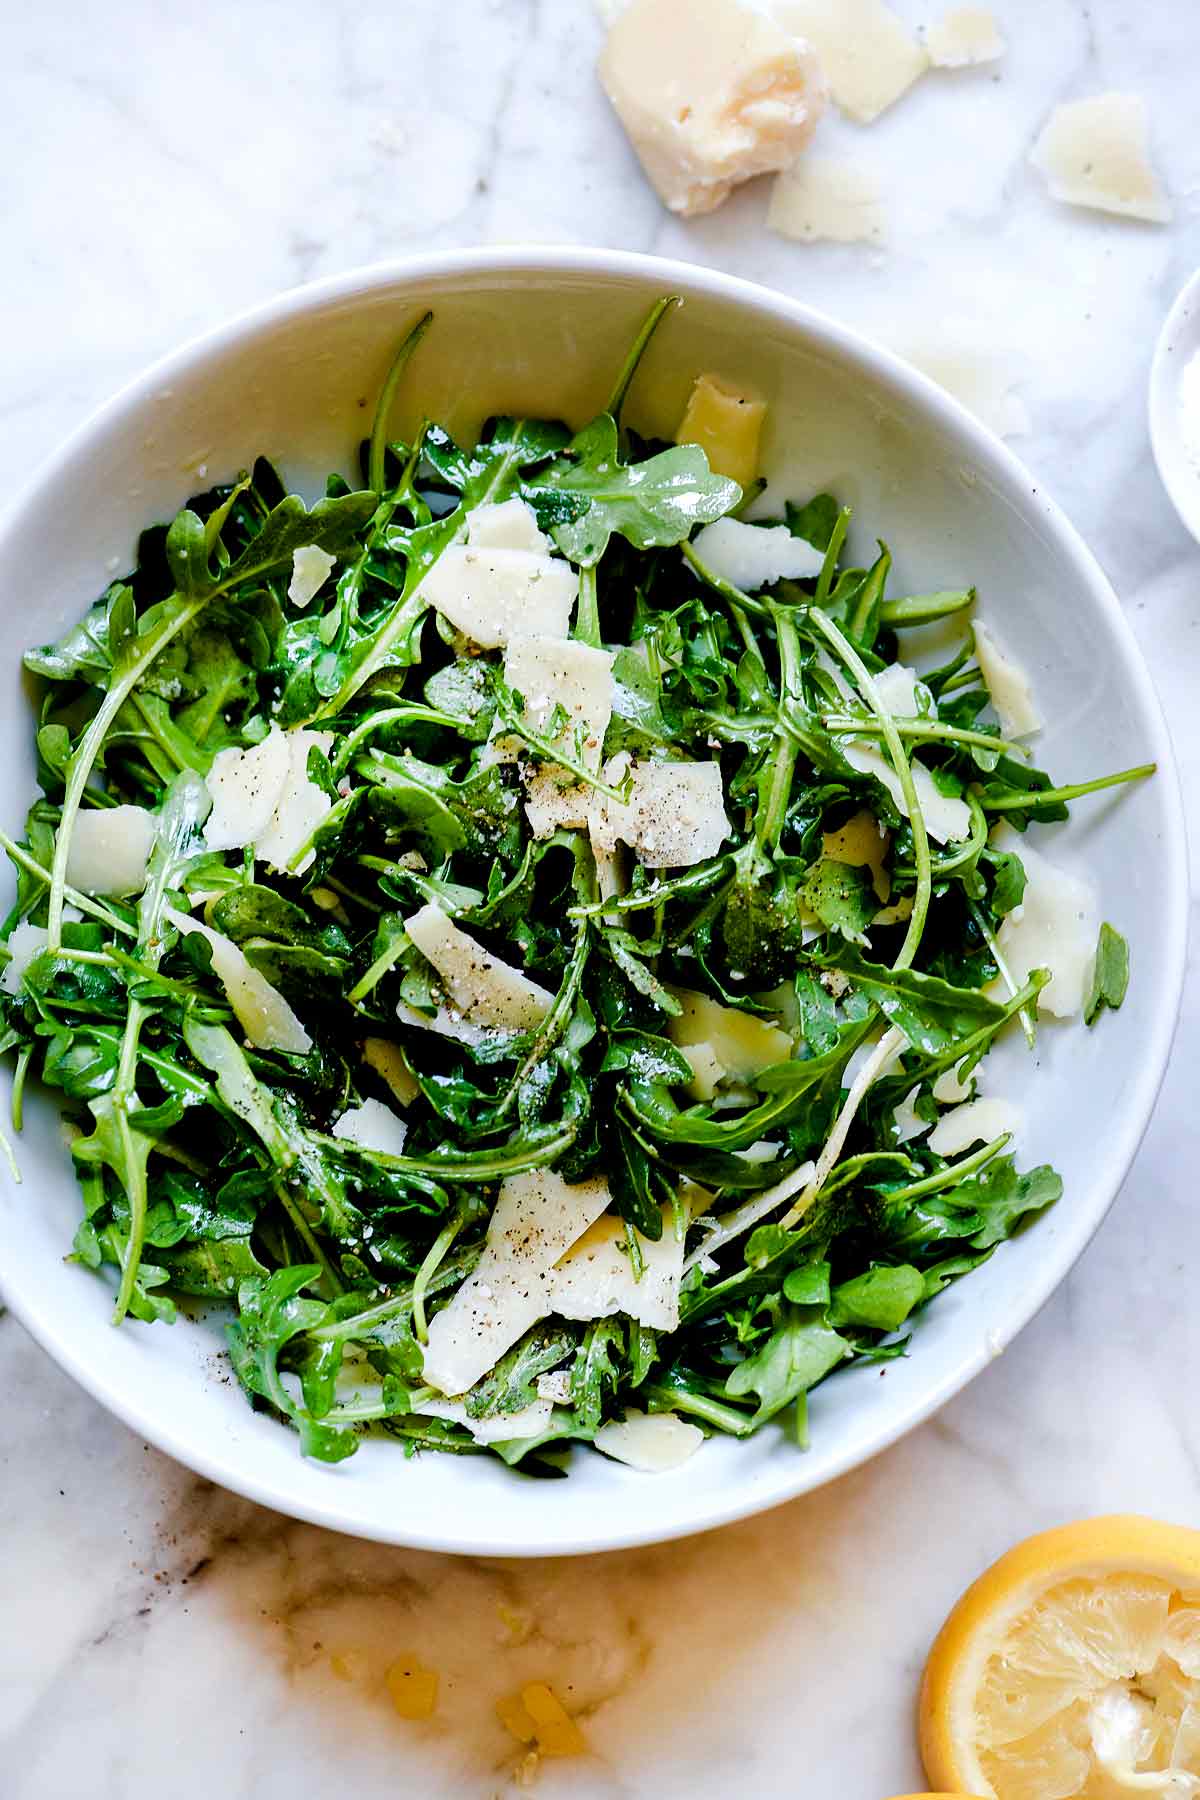
Arugula Salad with Parmesan cheese and a simple homemade lemon dressing is healthy, fresh, and delicious. Toss it together in just 5 minutes!
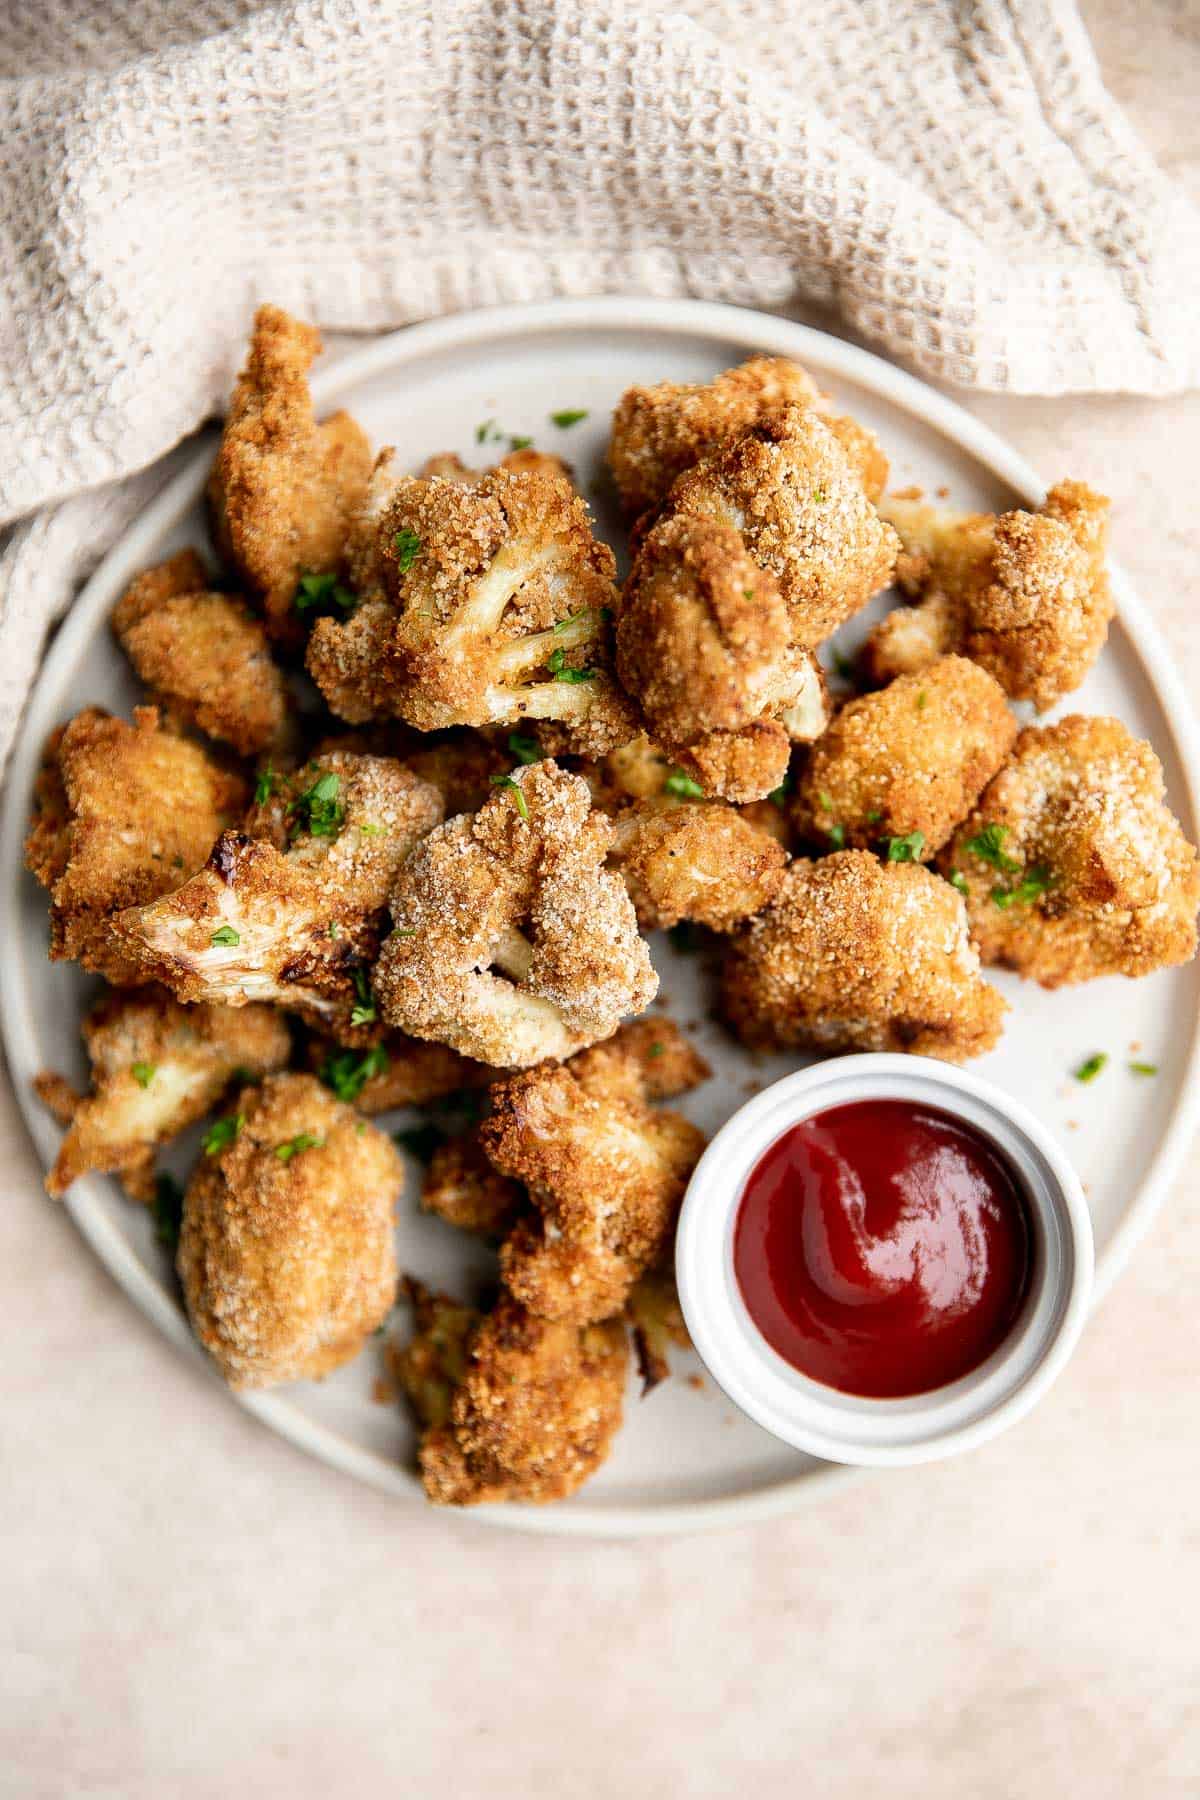
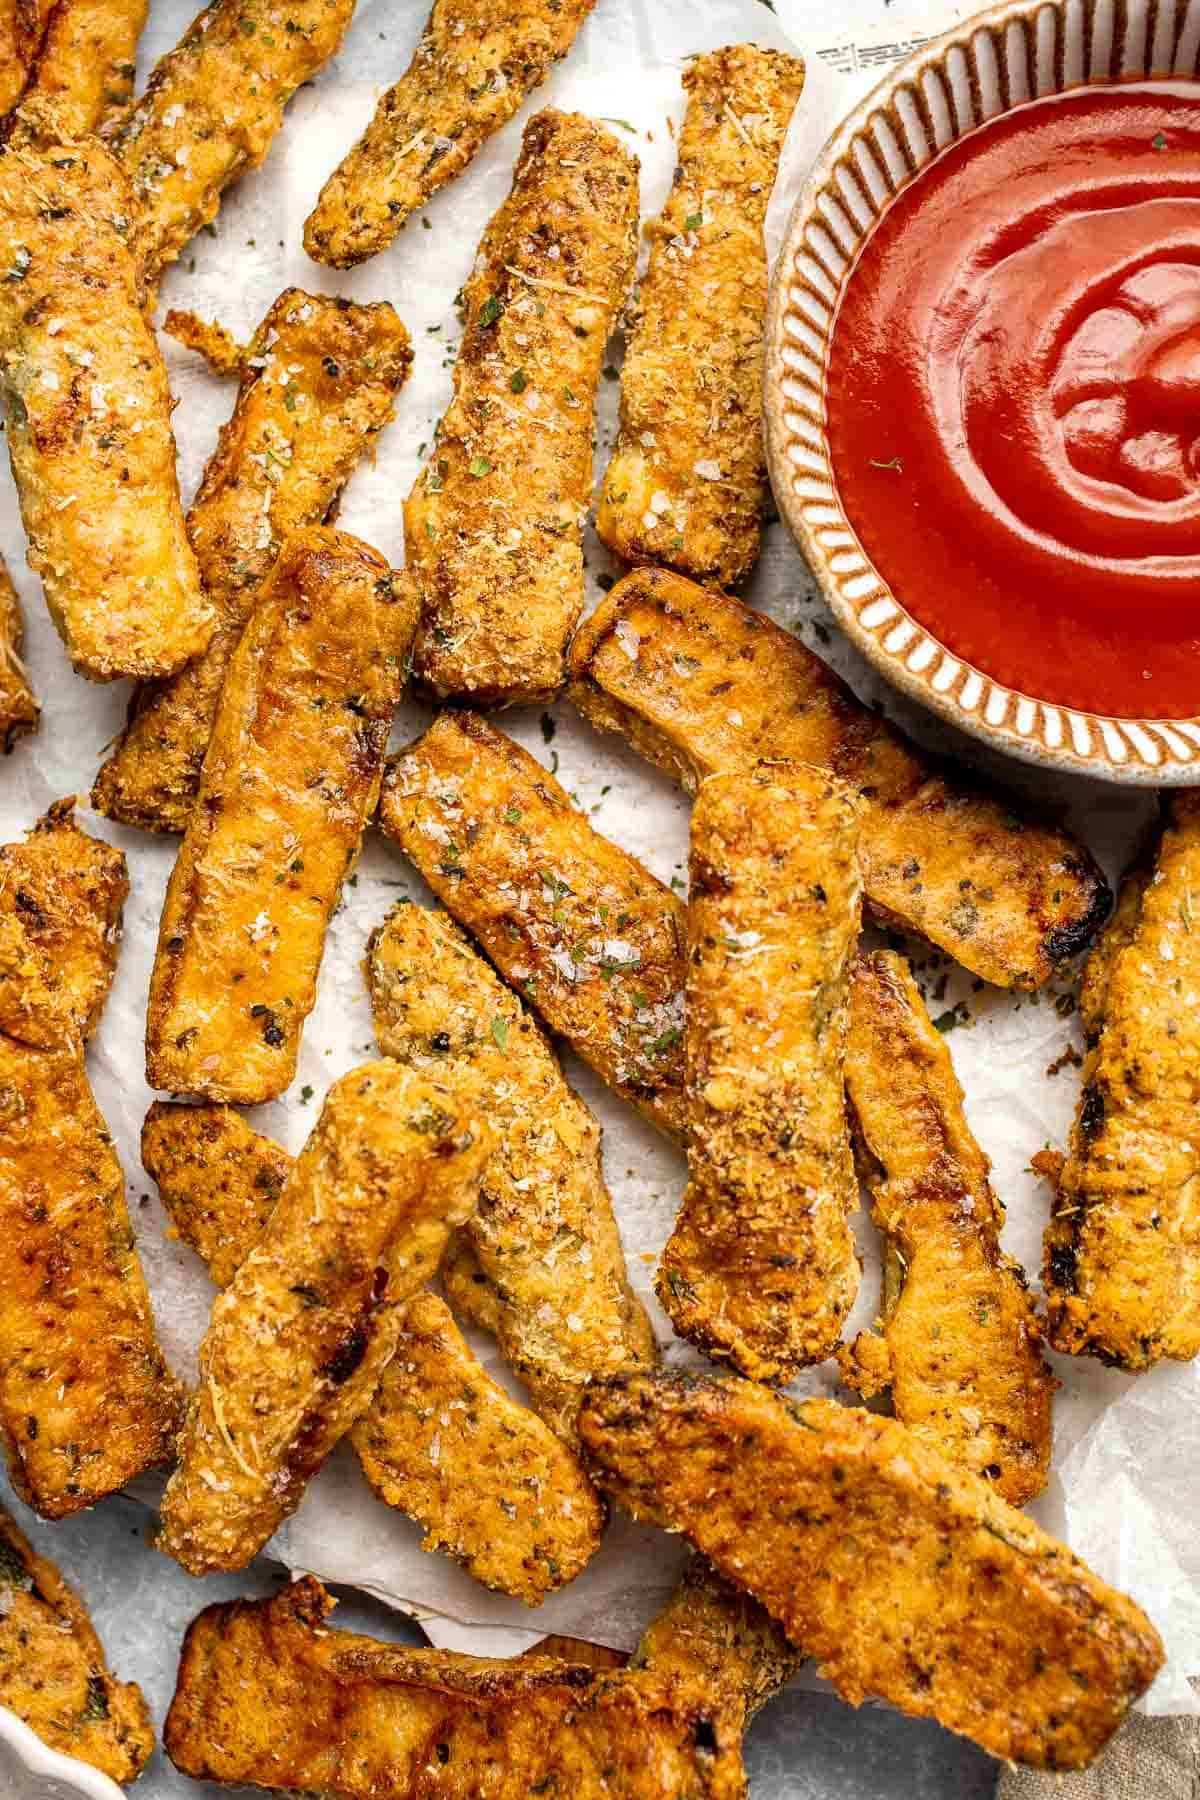
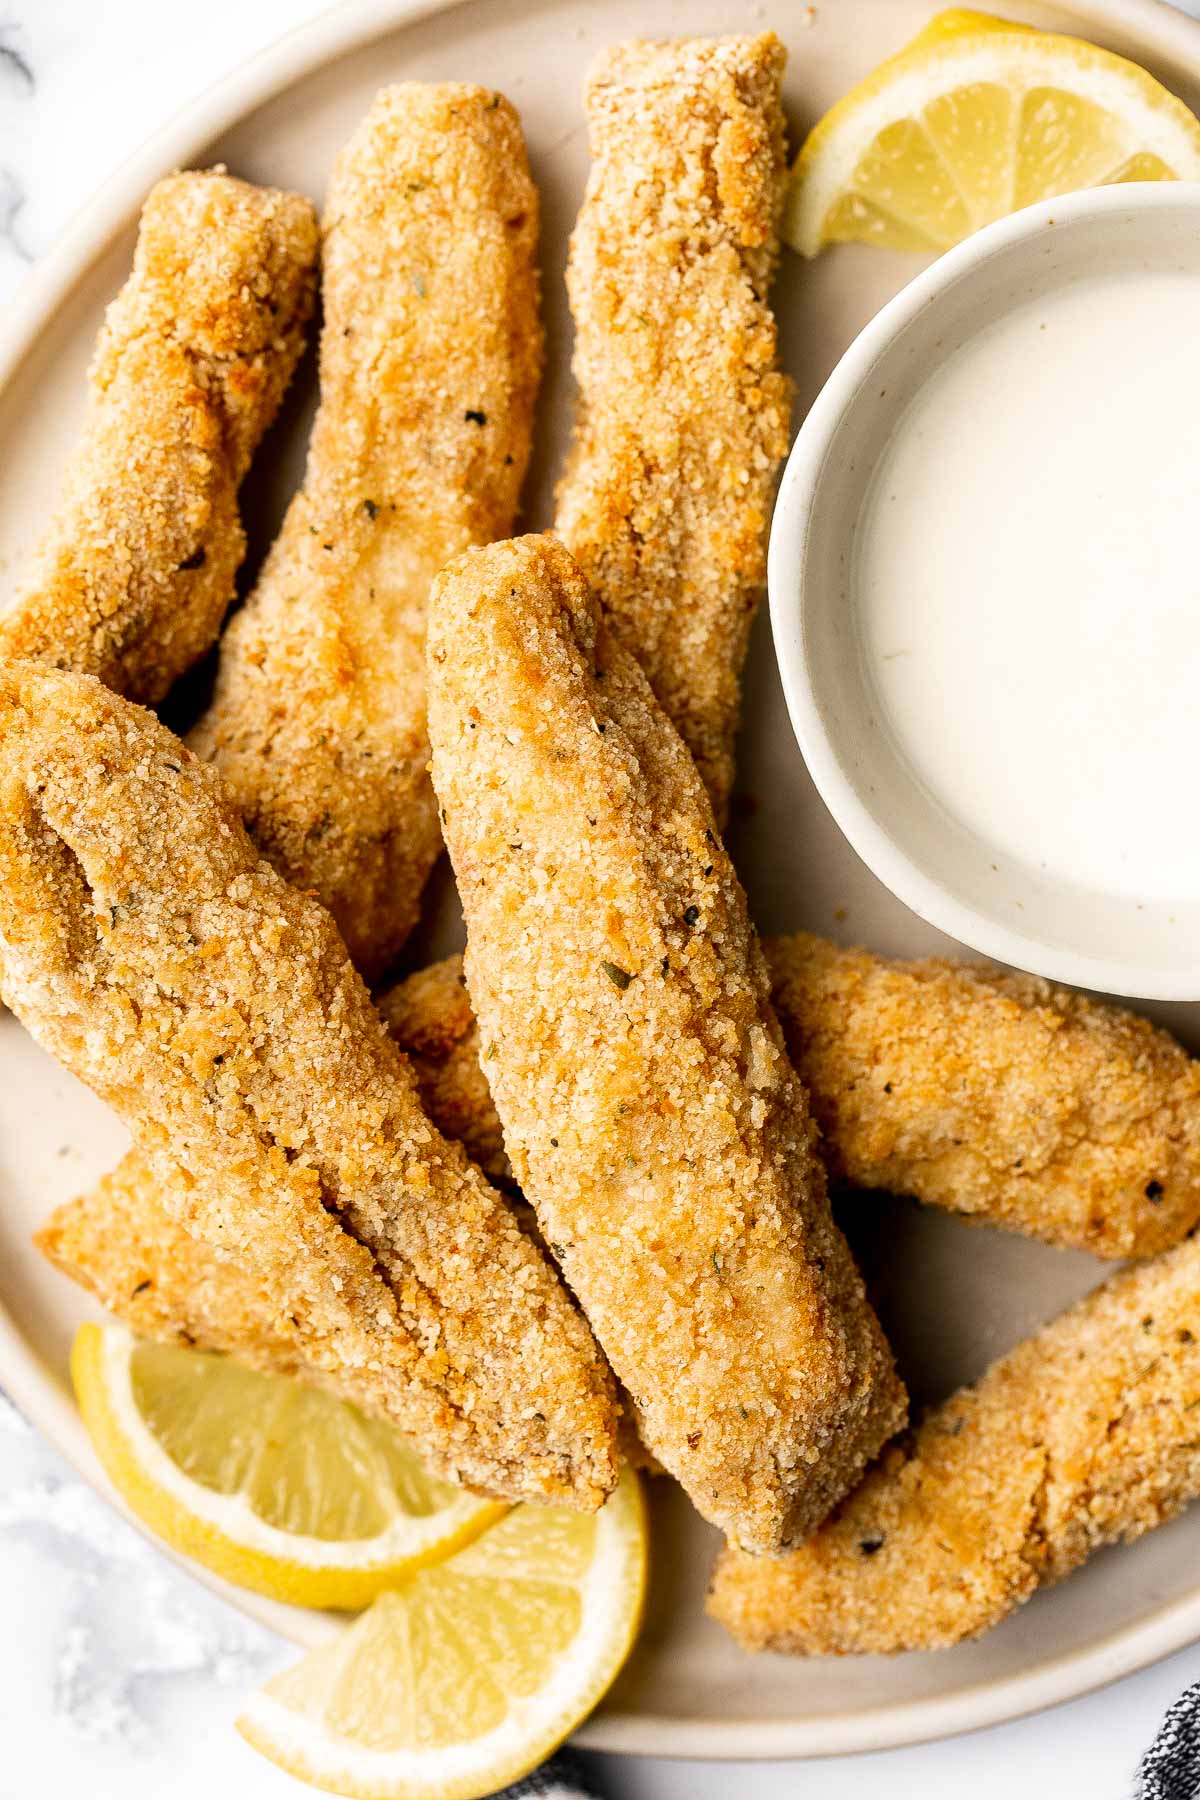
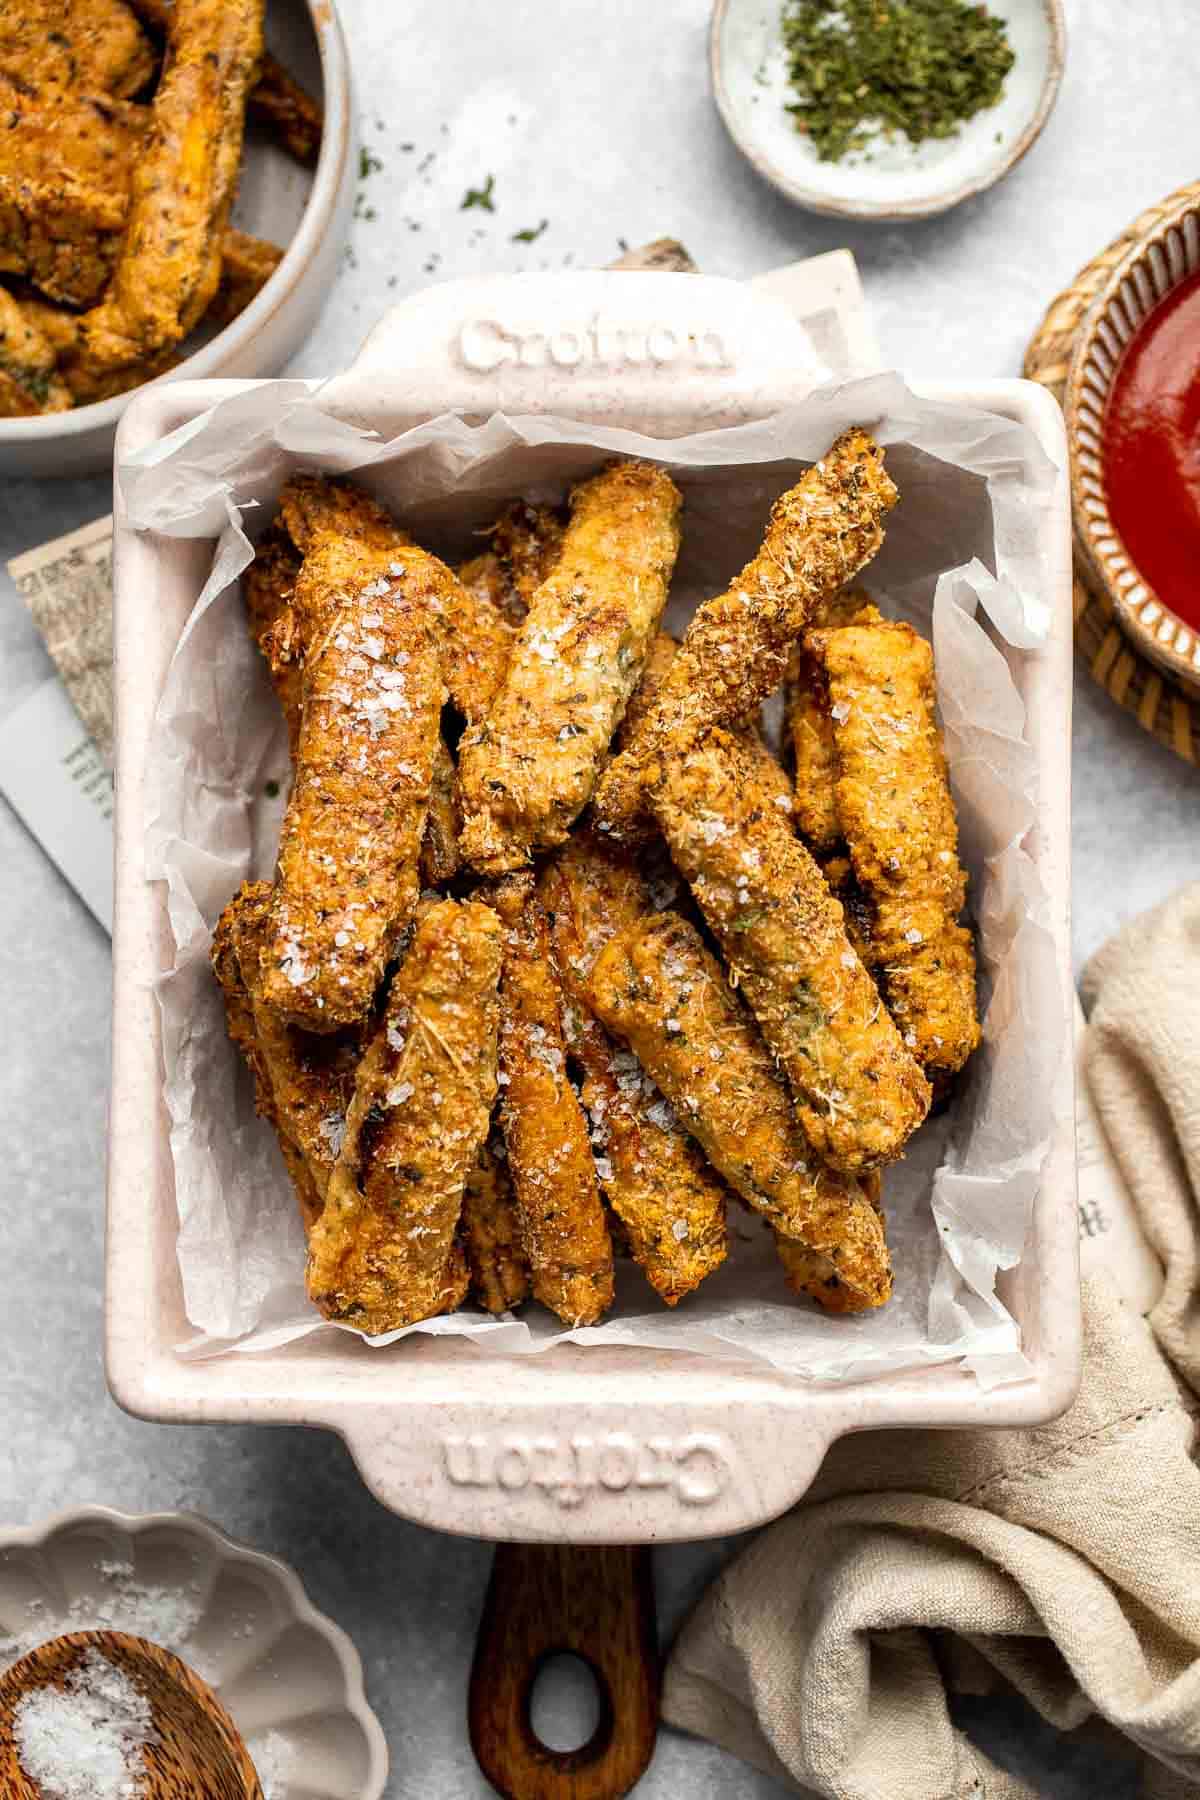
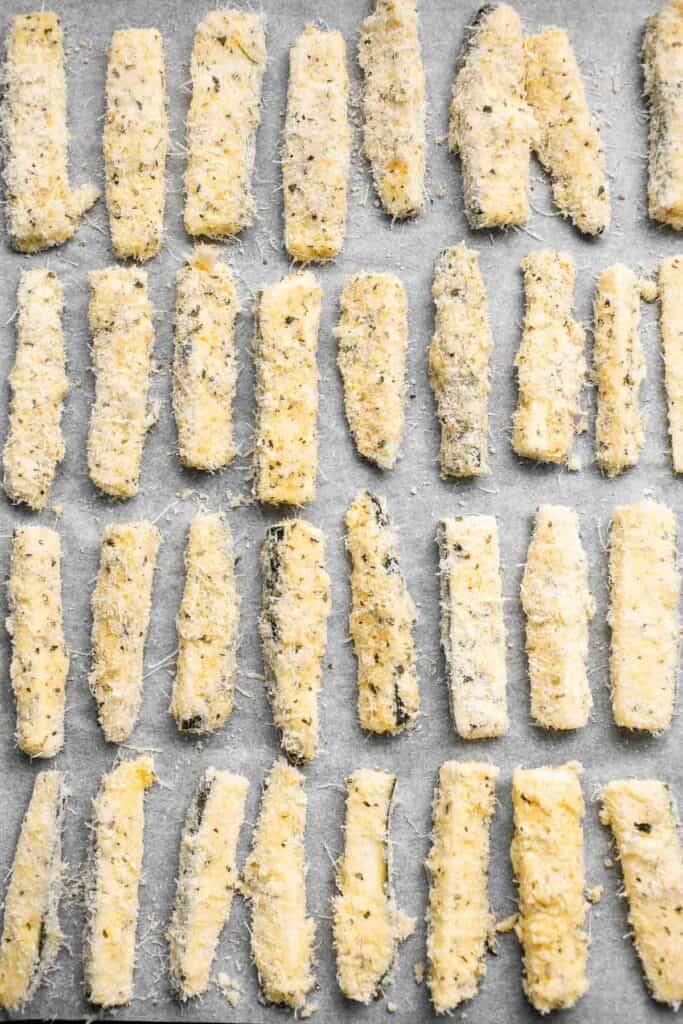
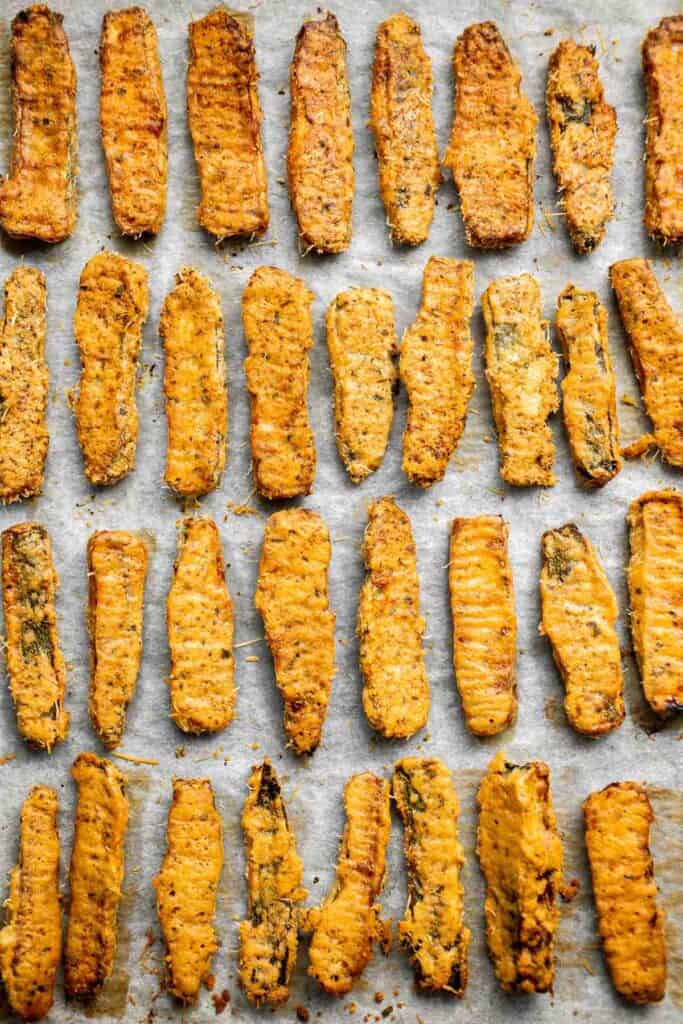
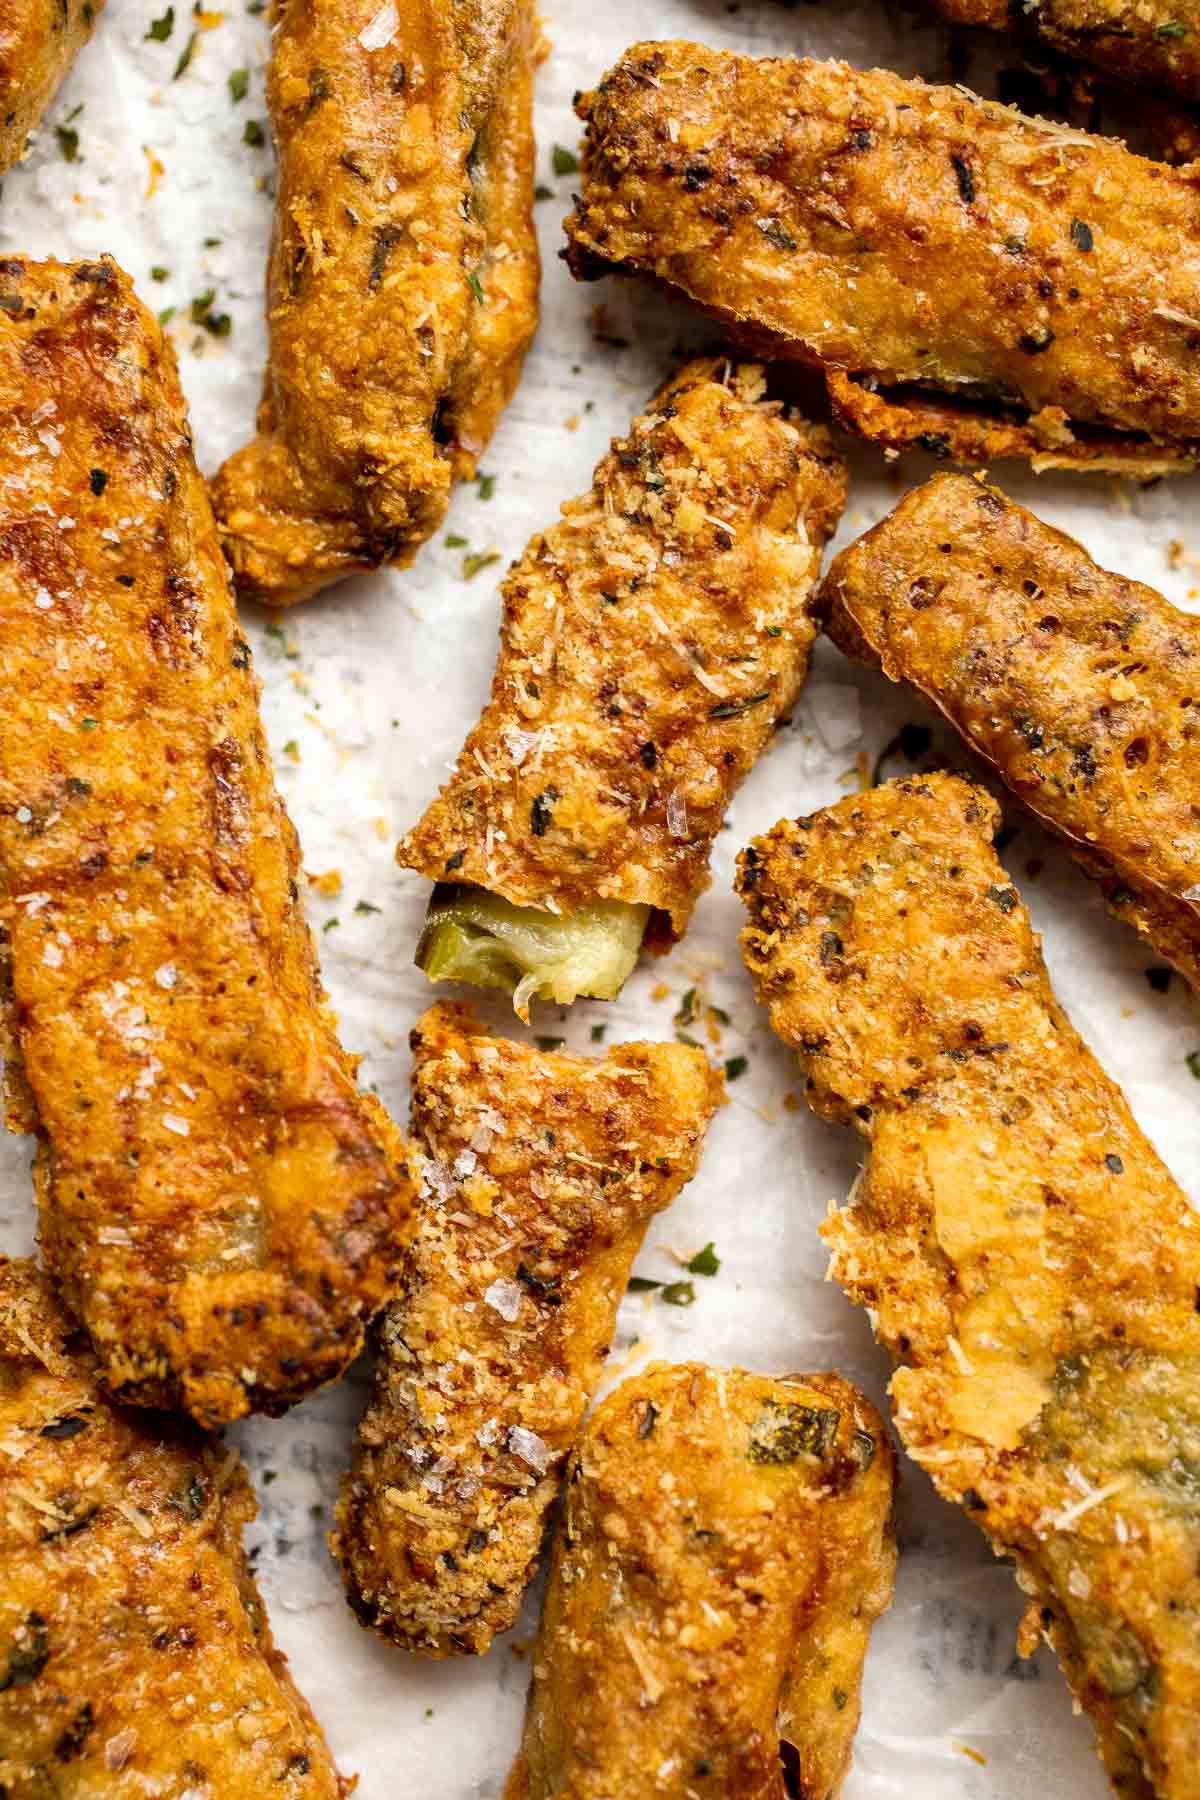
Air fryer cauliflower bites have a crispy breaded coating outside, yet tender and light inside. They are bite-sized, flavorful, easy to make, and healthy.
Lemon Parmesan Green Beans are the perfect side to any entree dinner meal - buttery, lemony, and cheesy. This quick side dish is easy to make in 20 minutes.

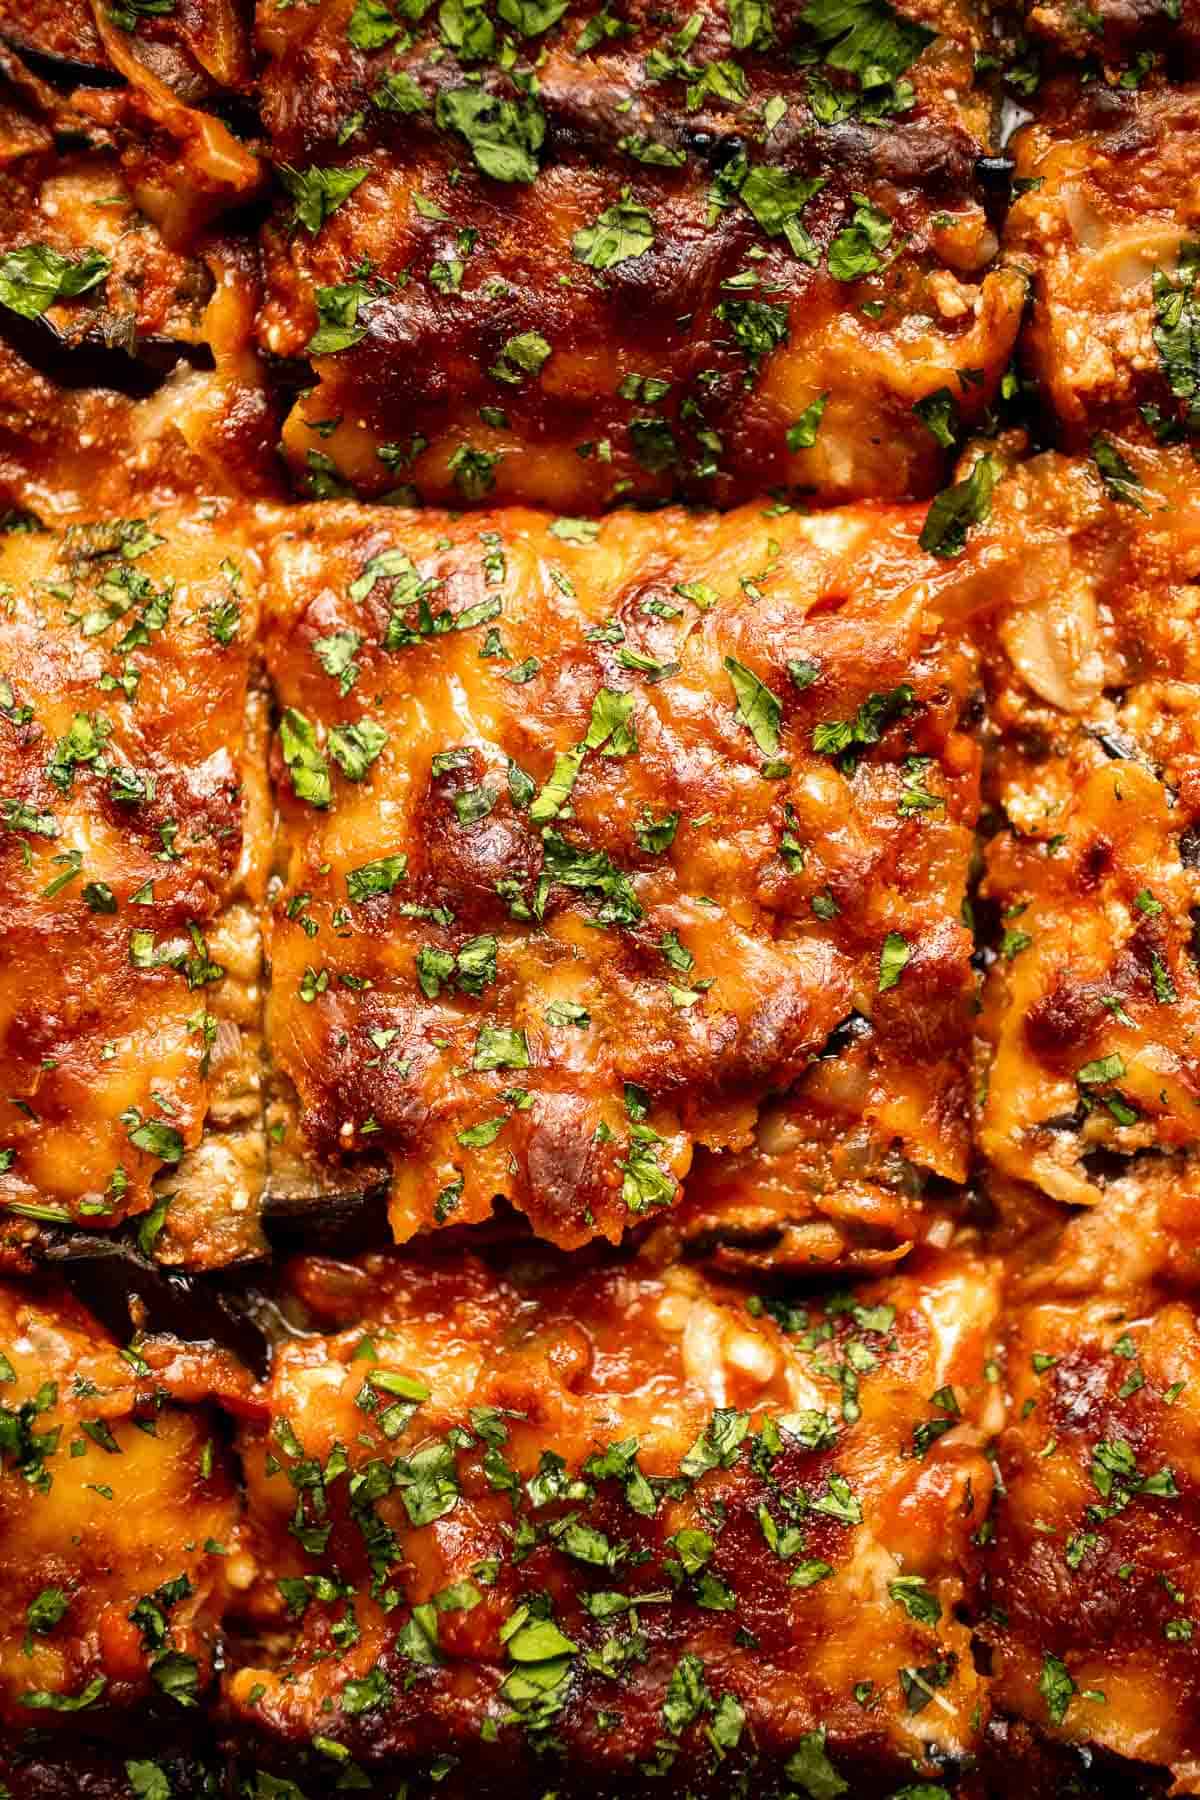
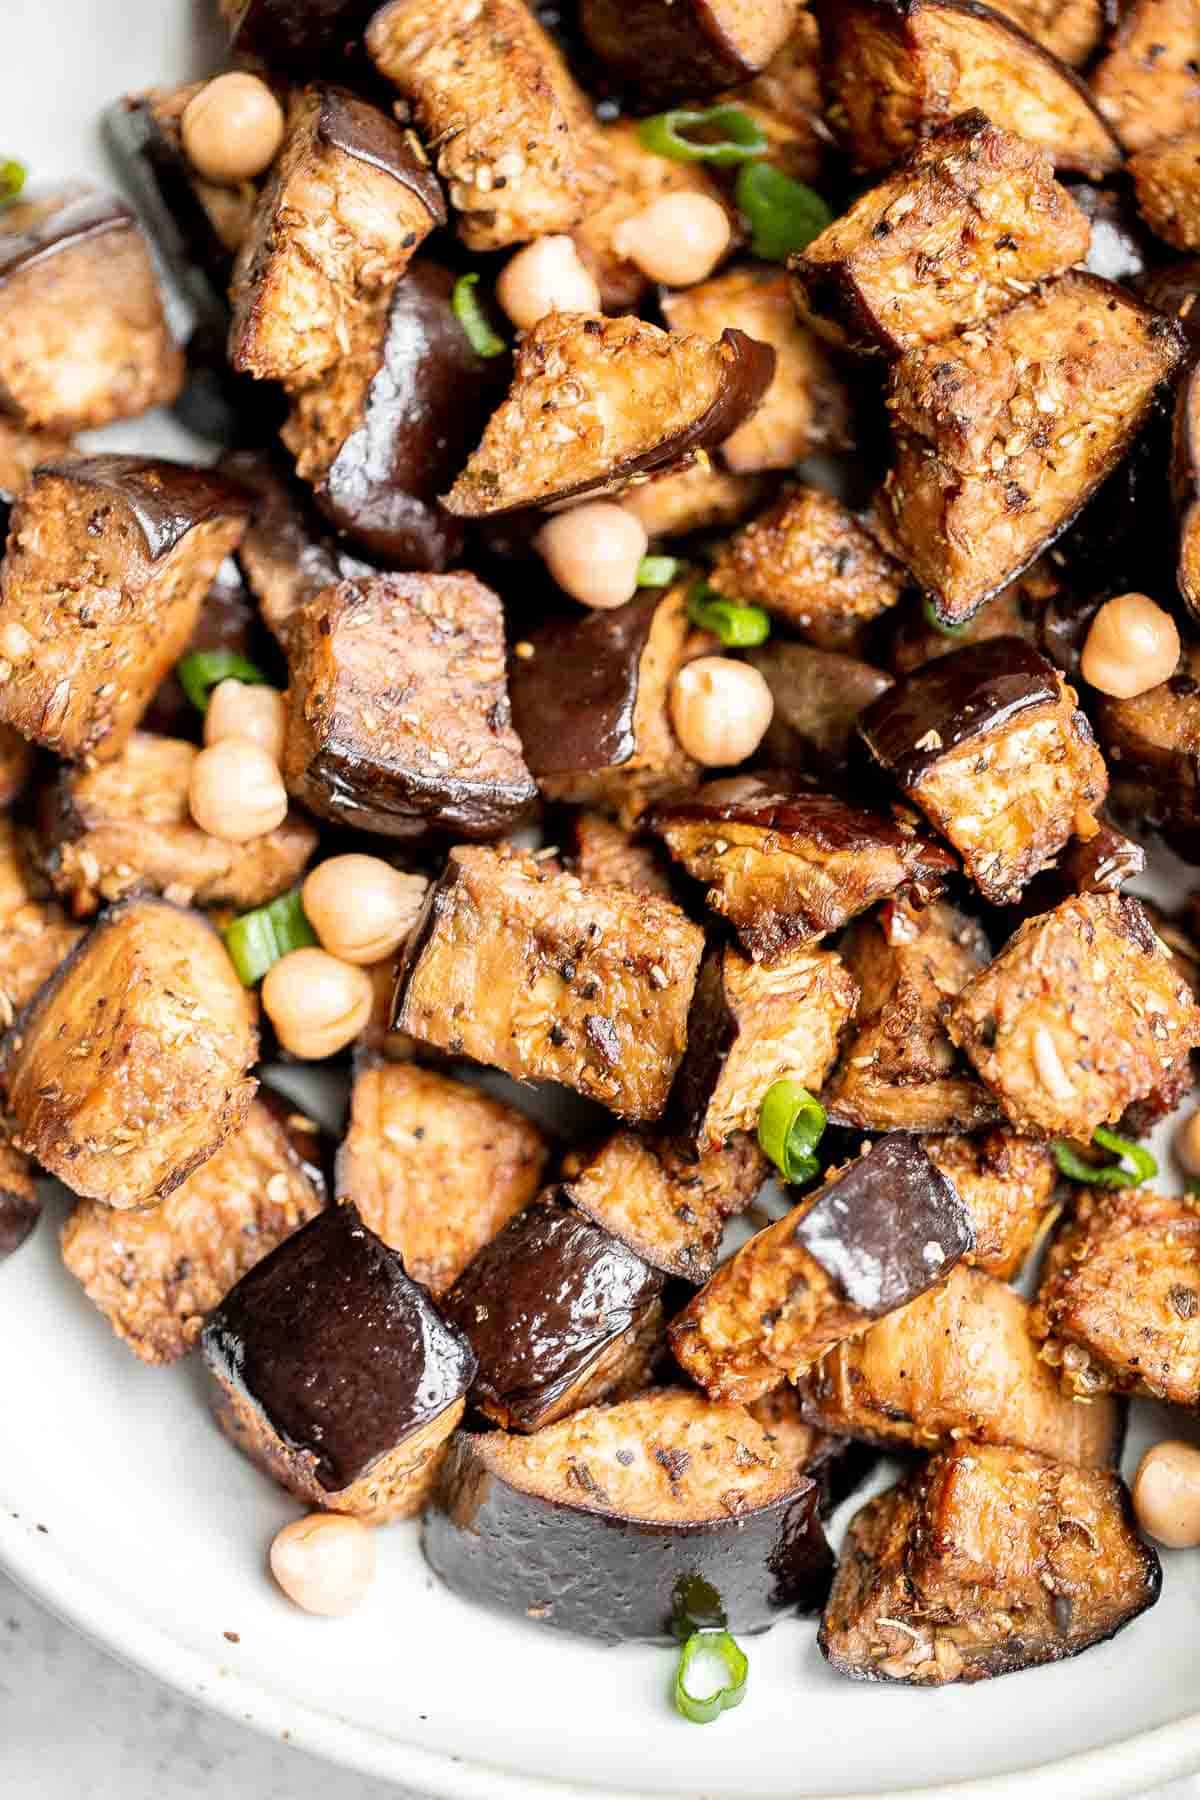
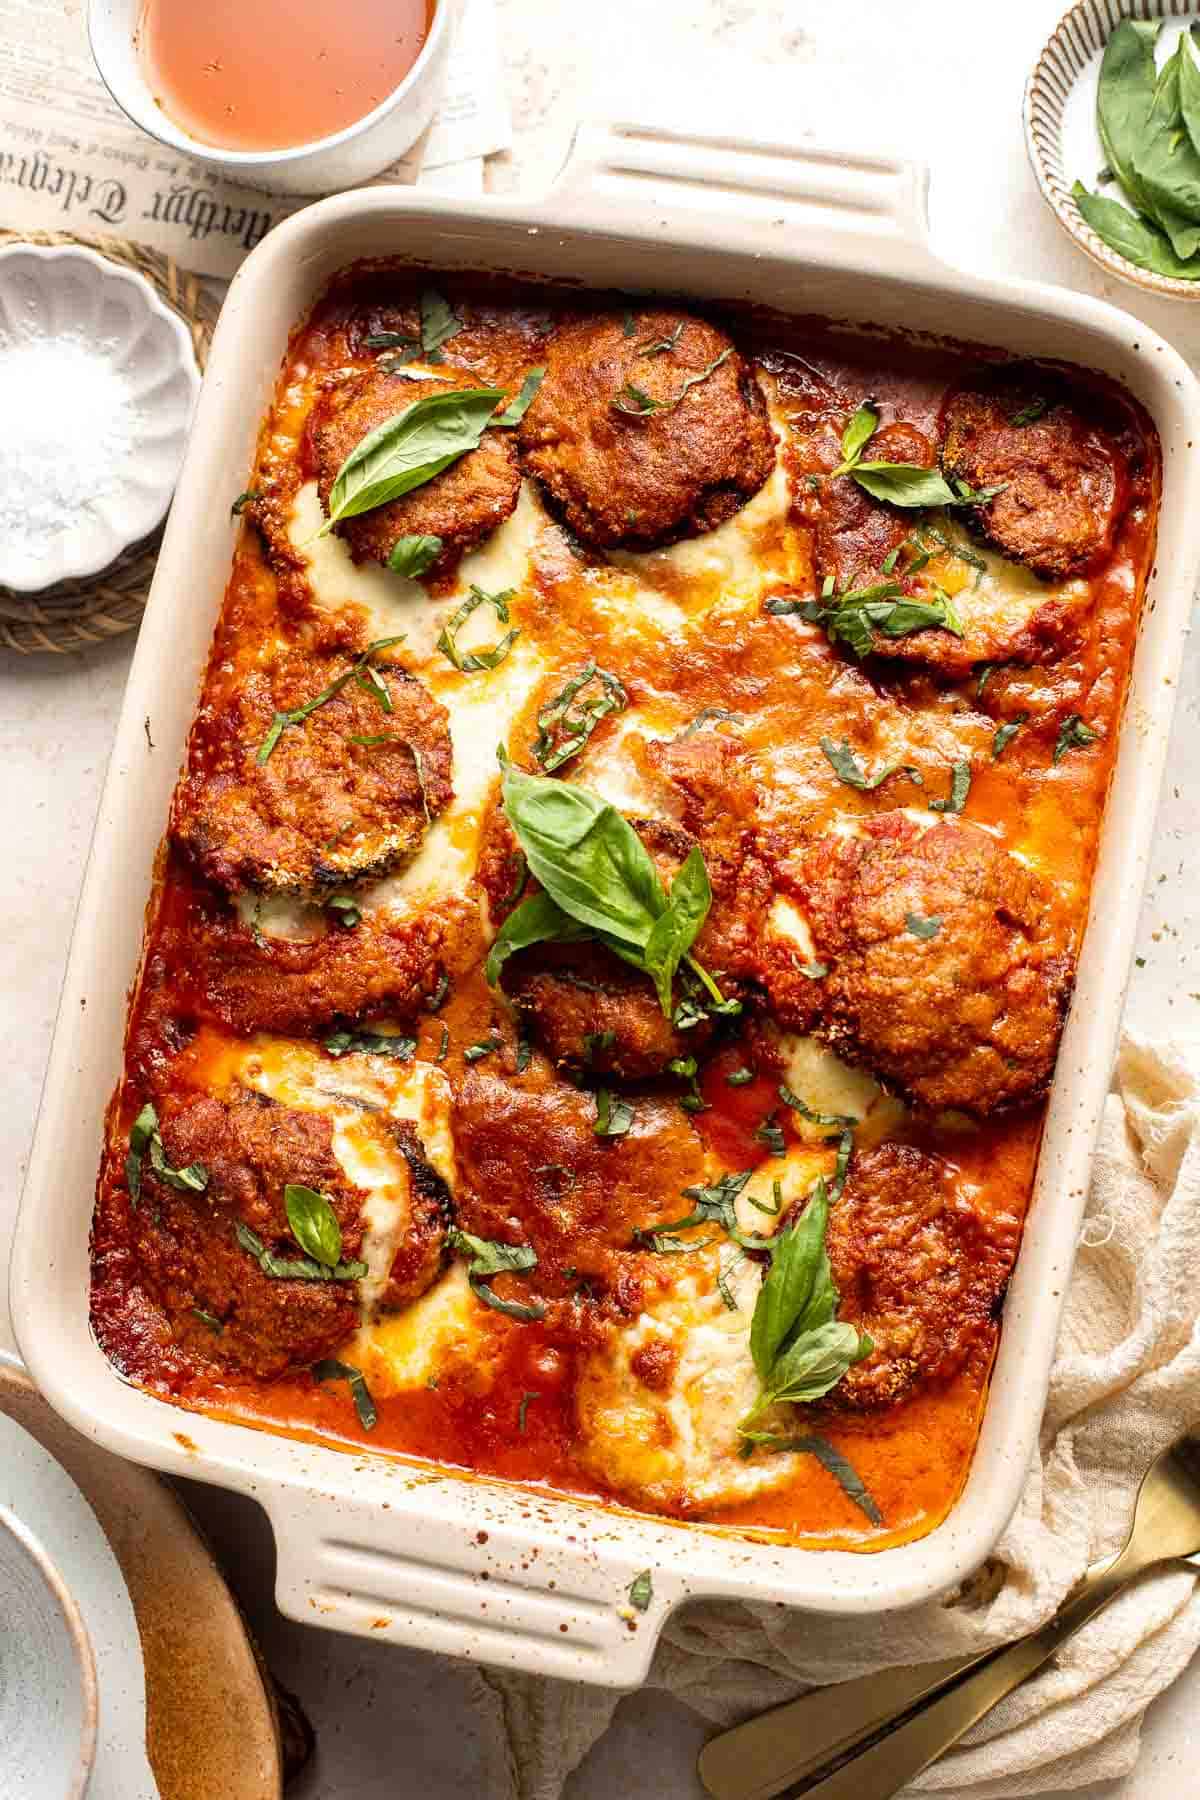
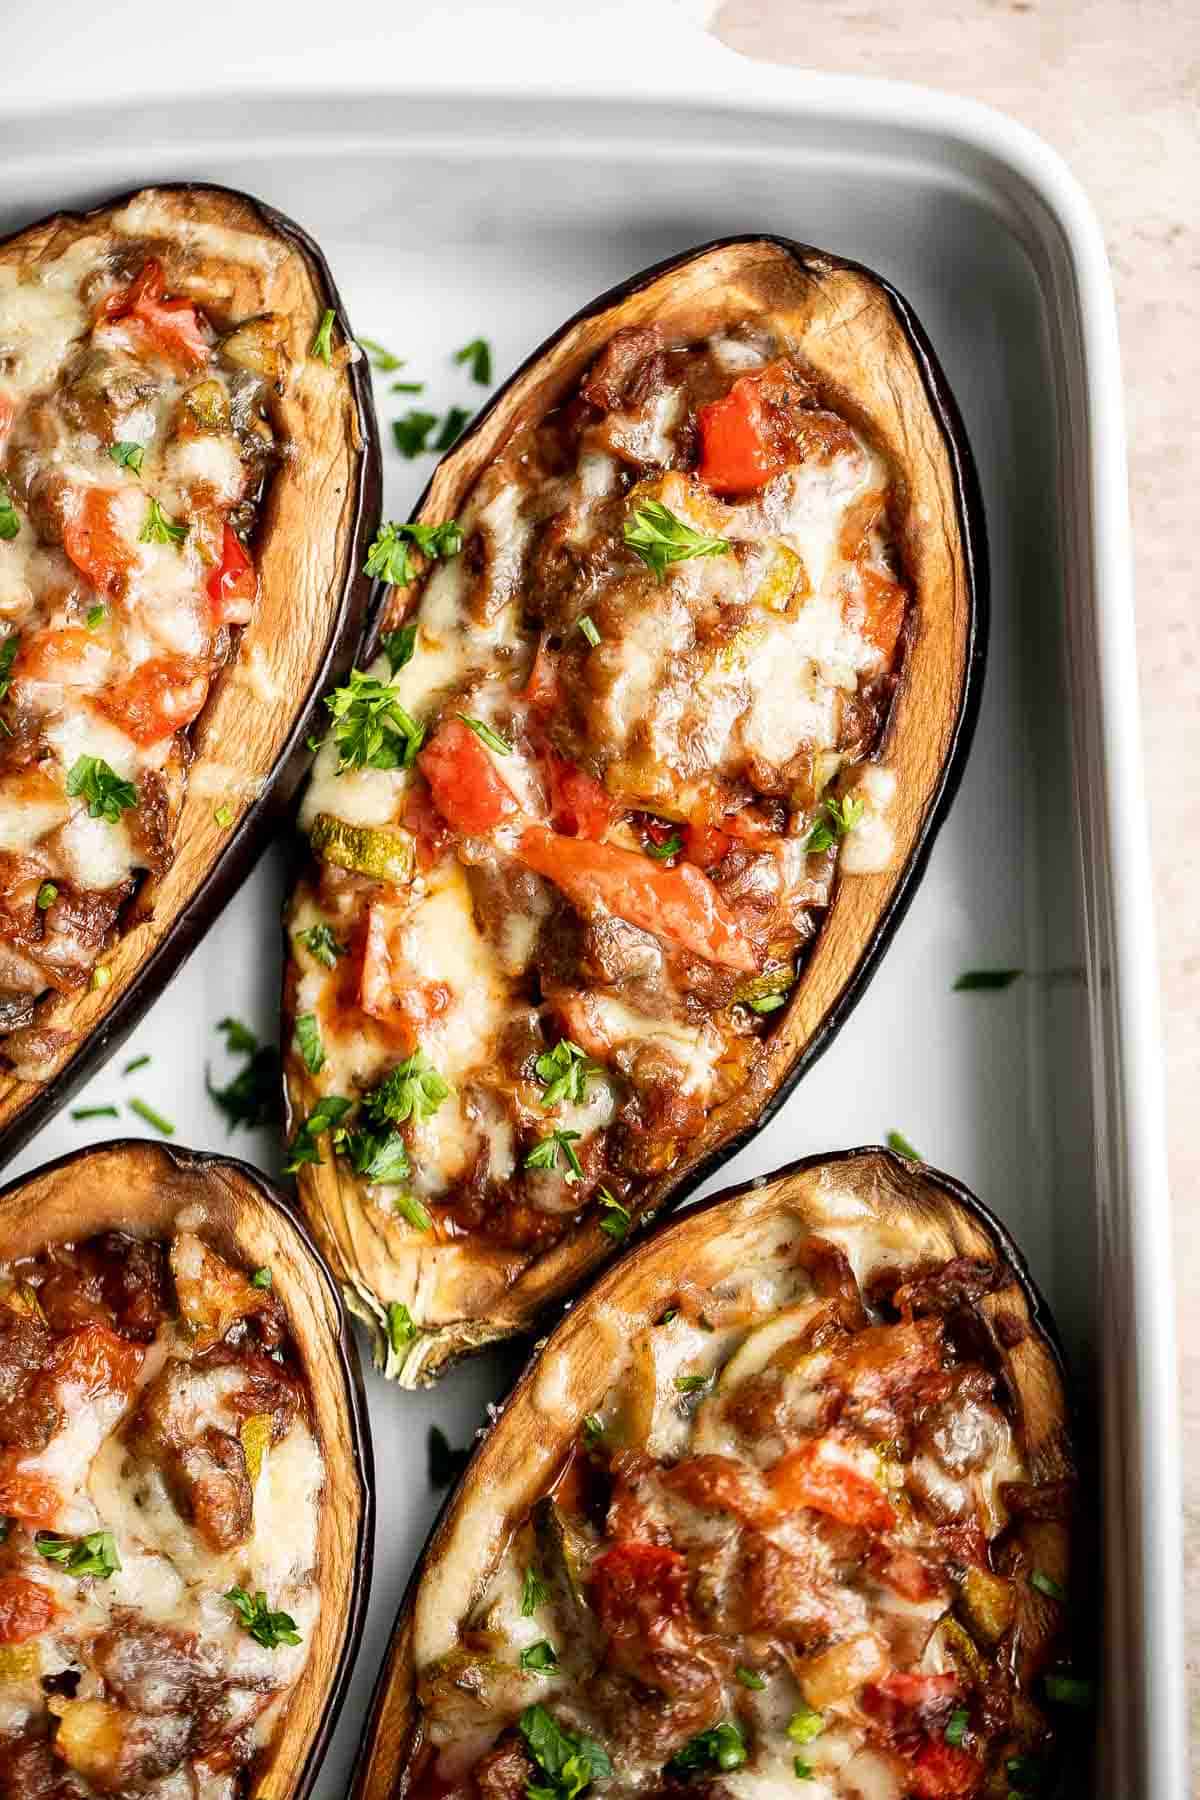
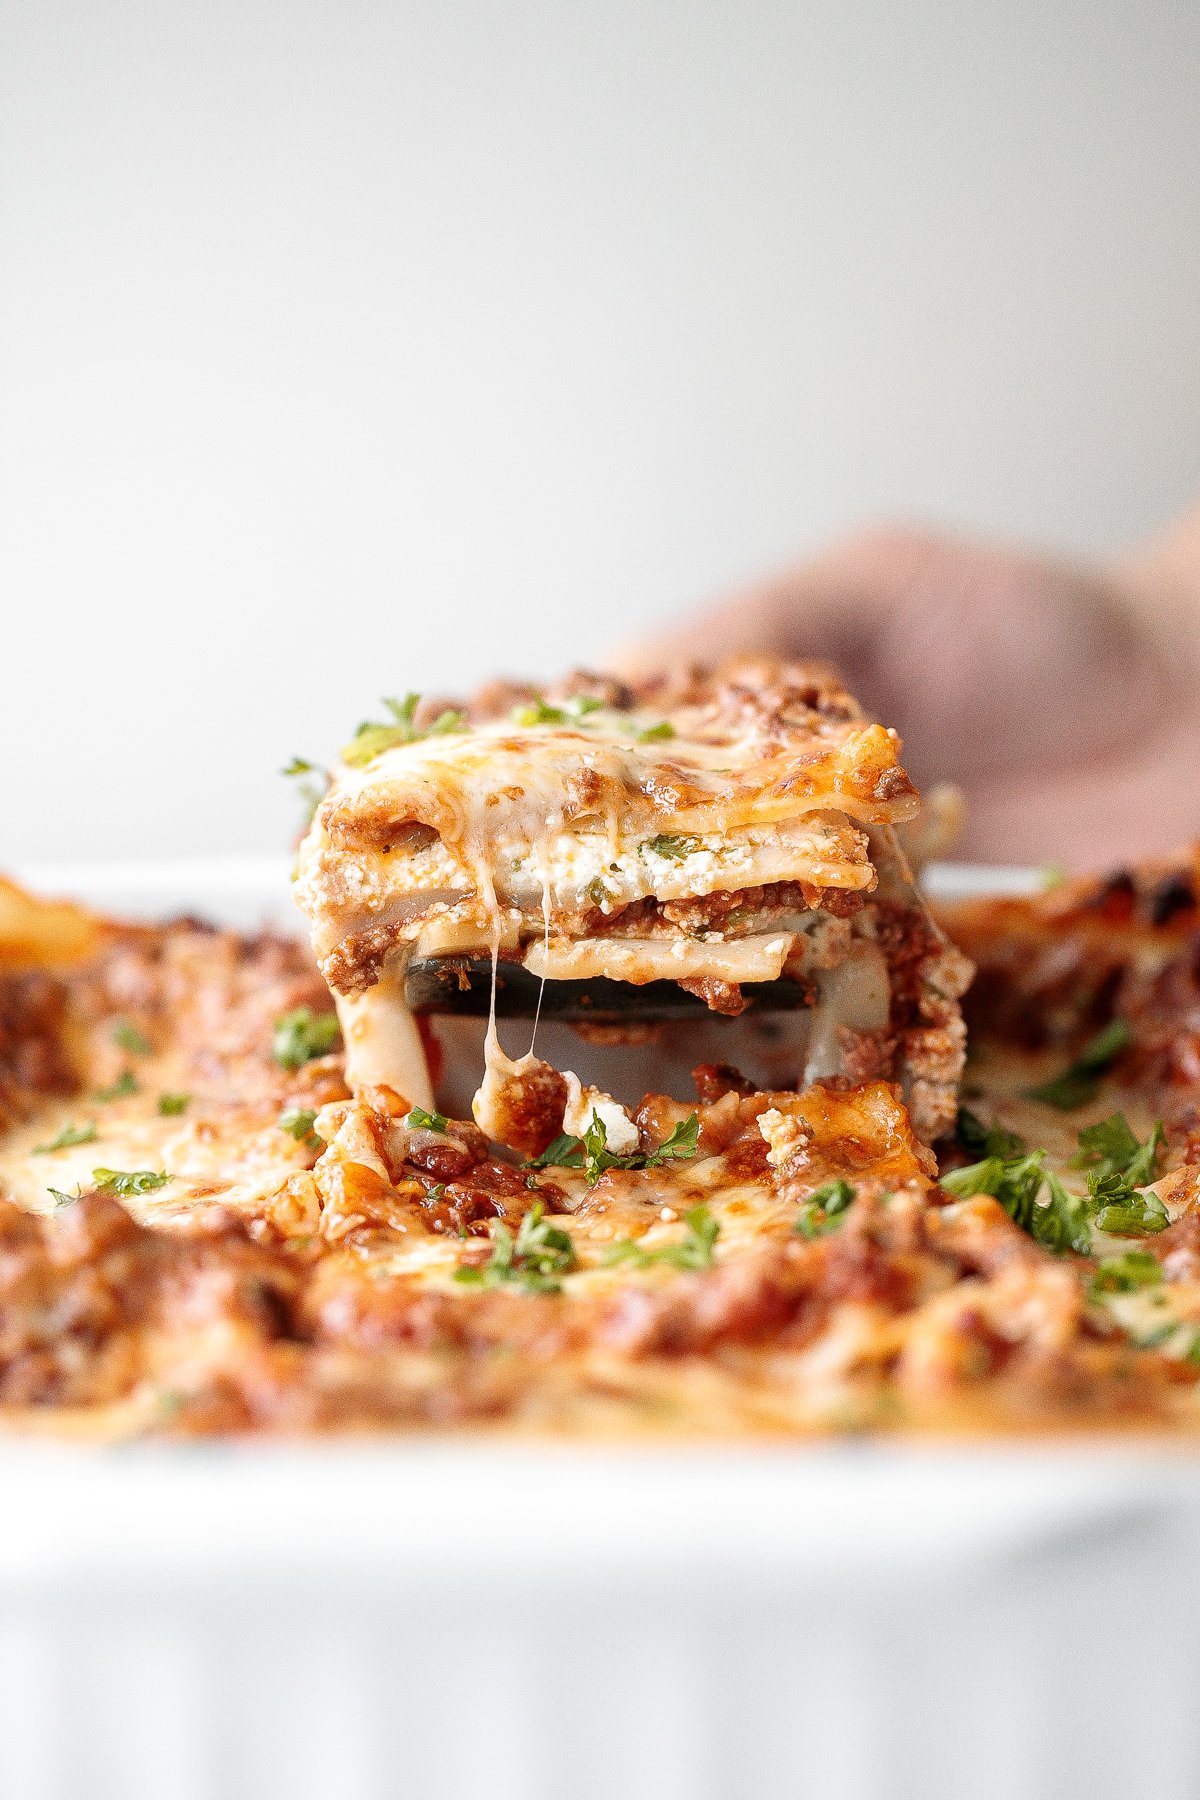
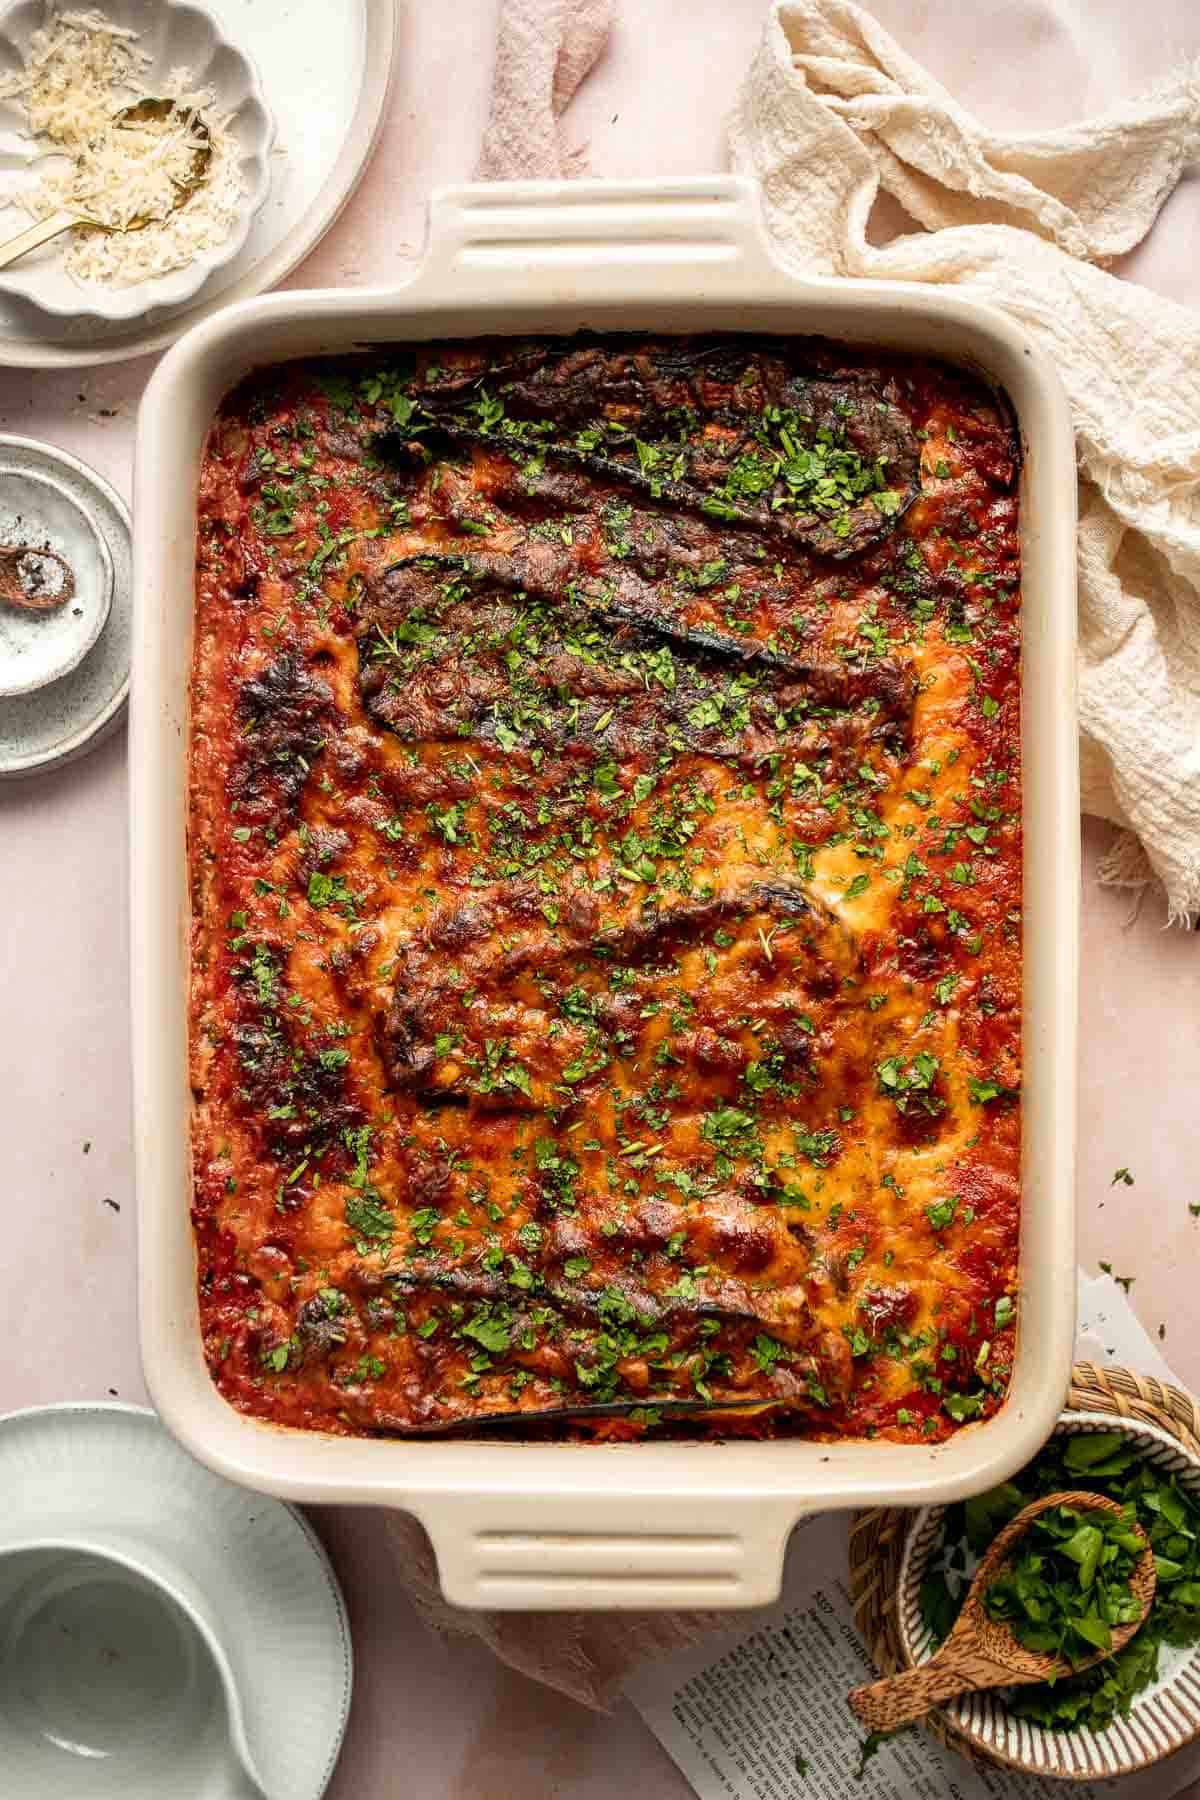
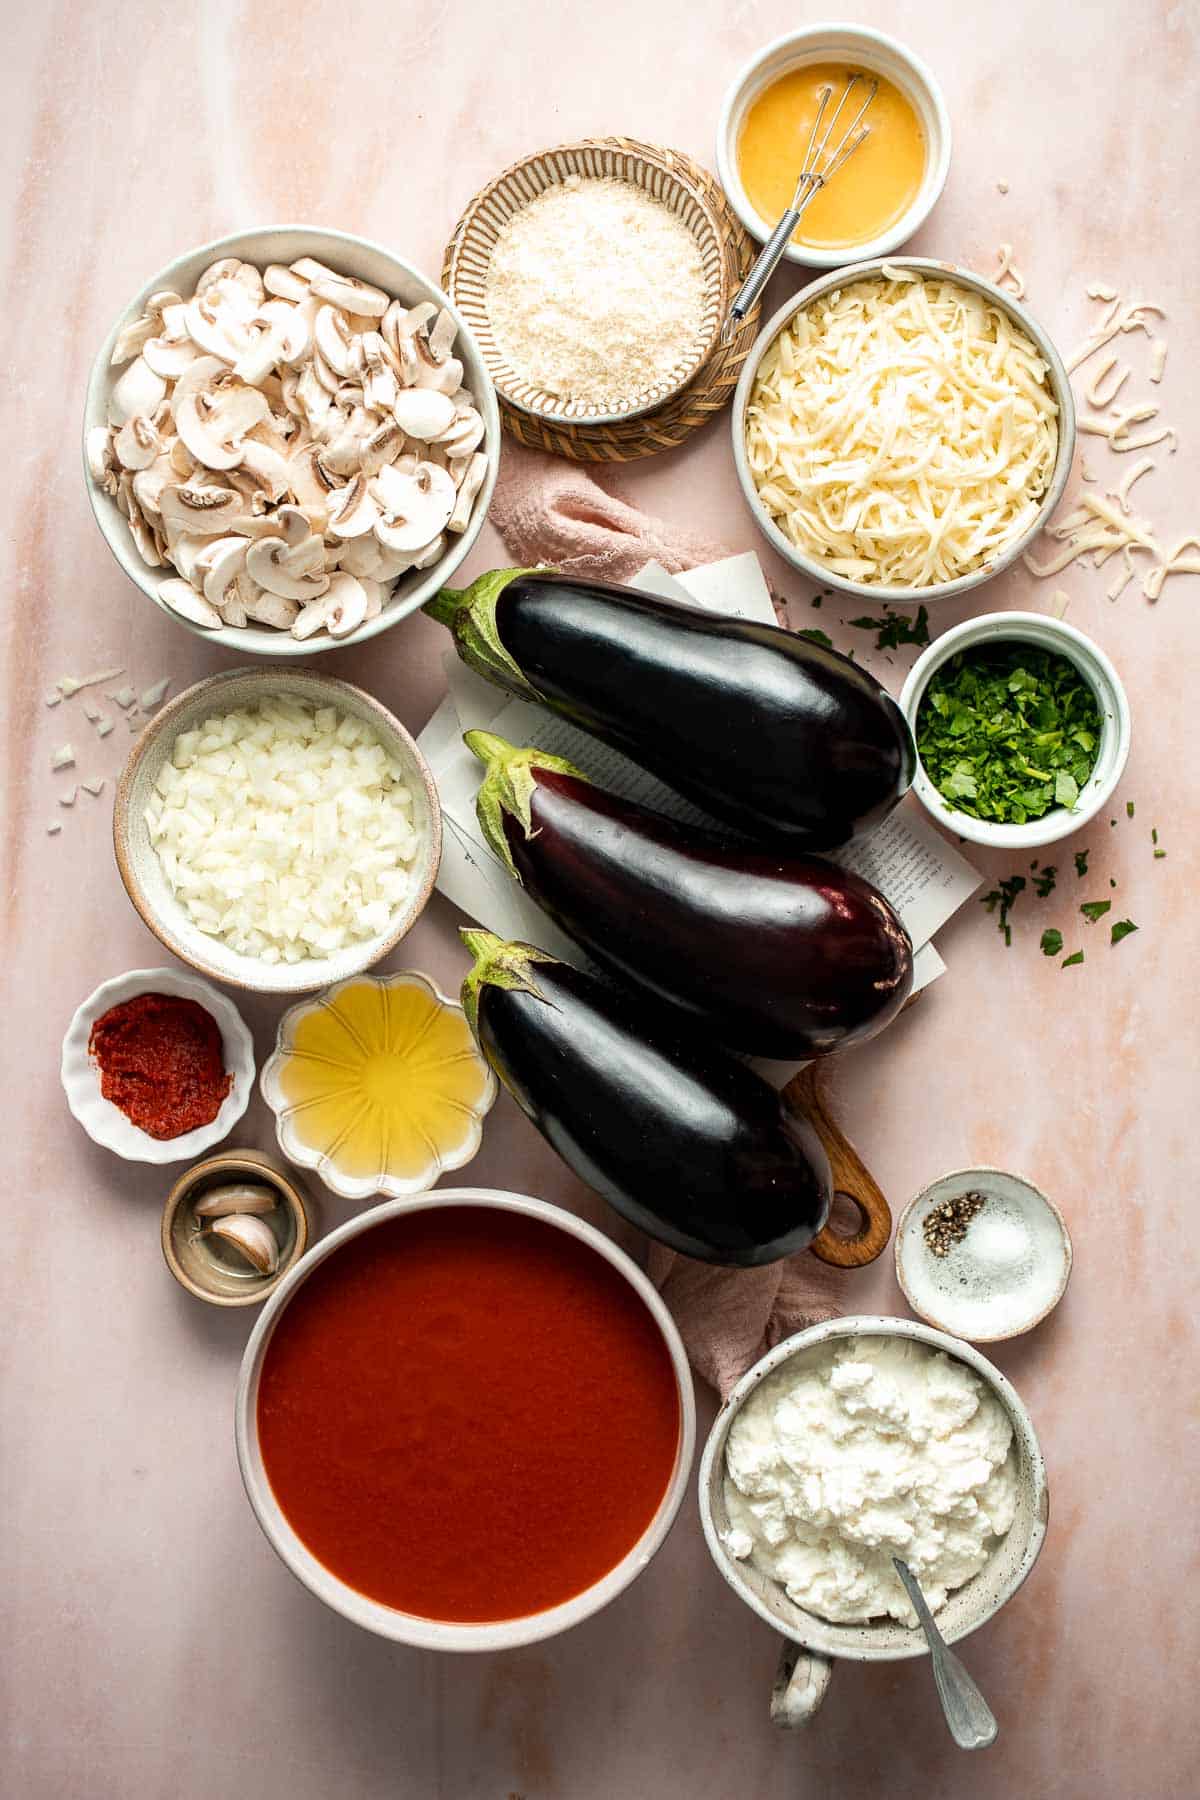
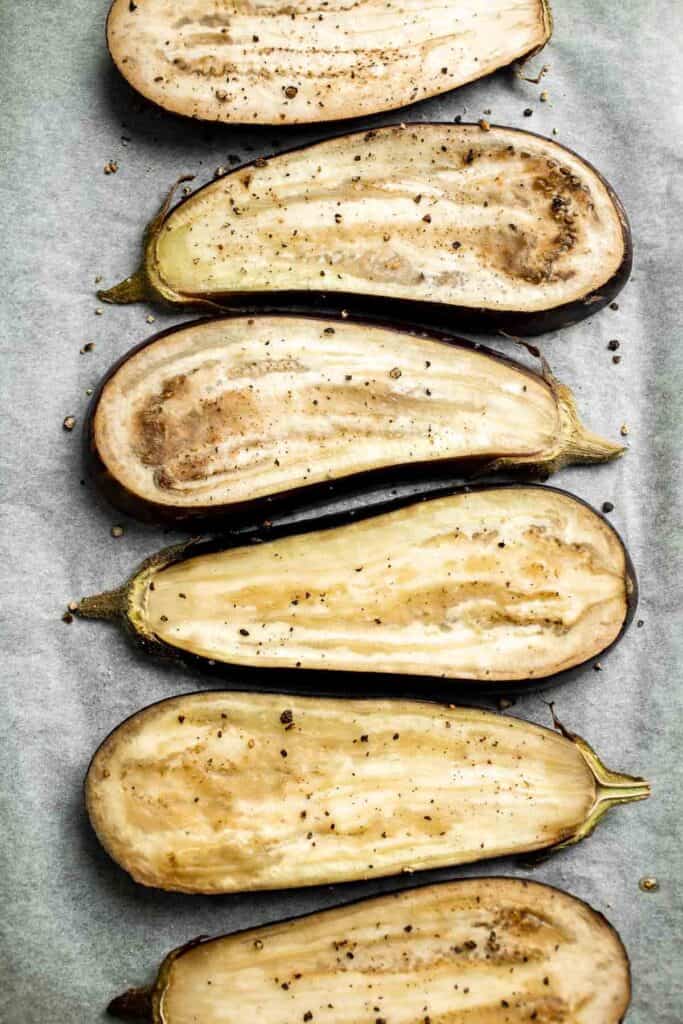
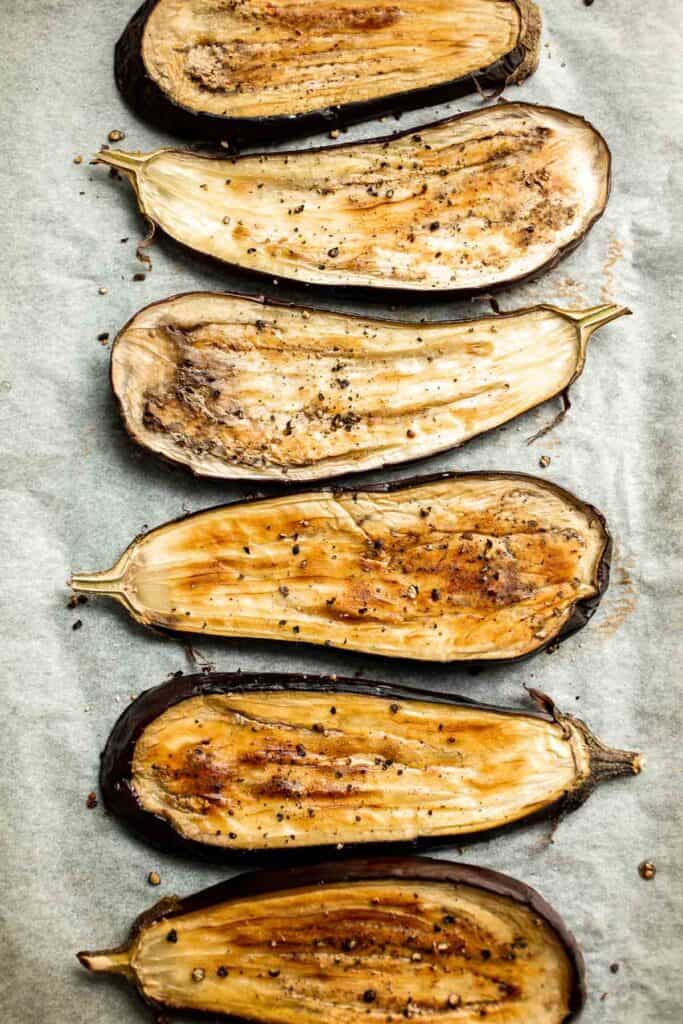
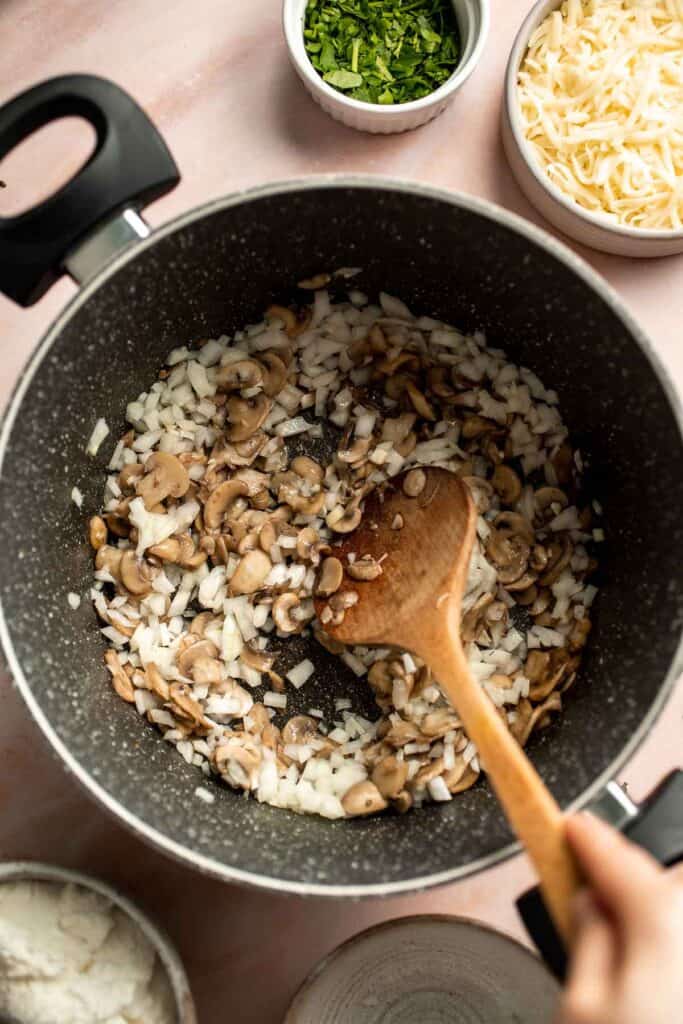
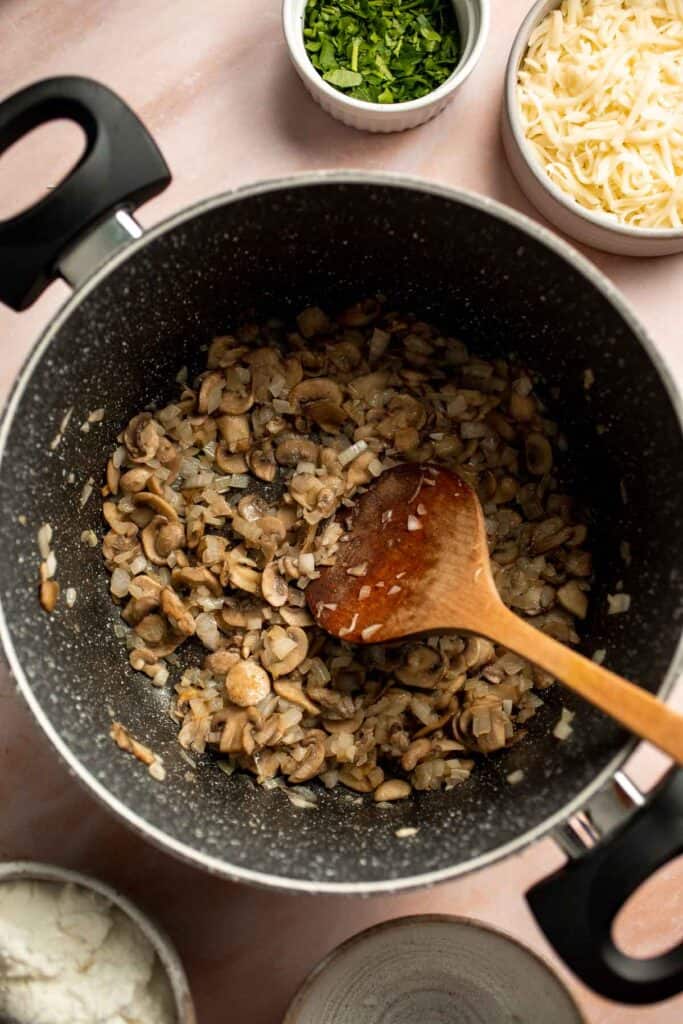
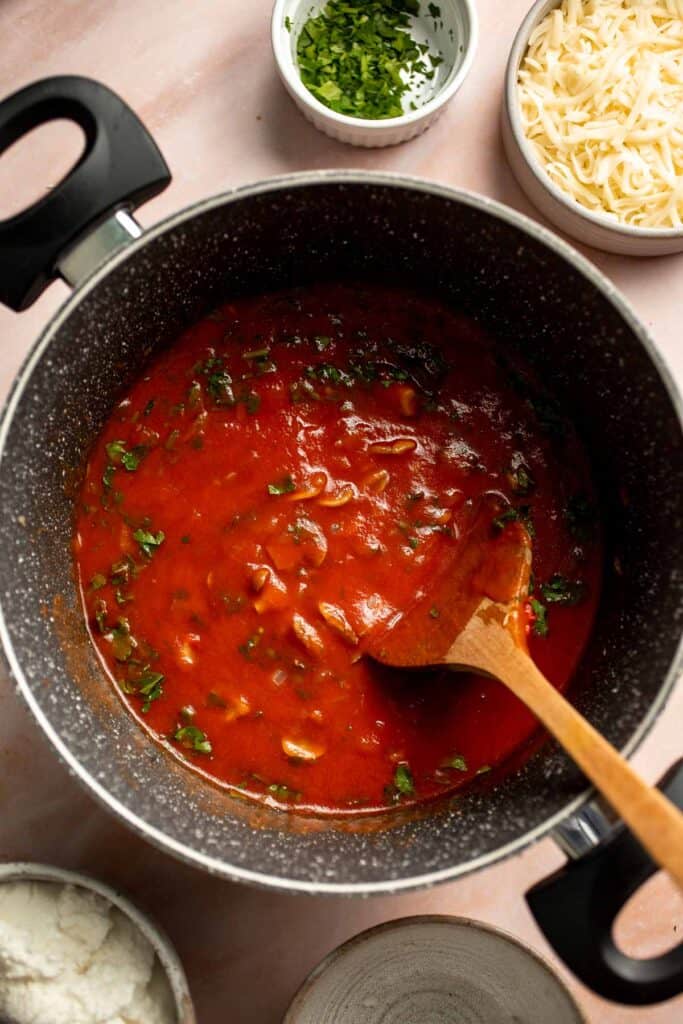
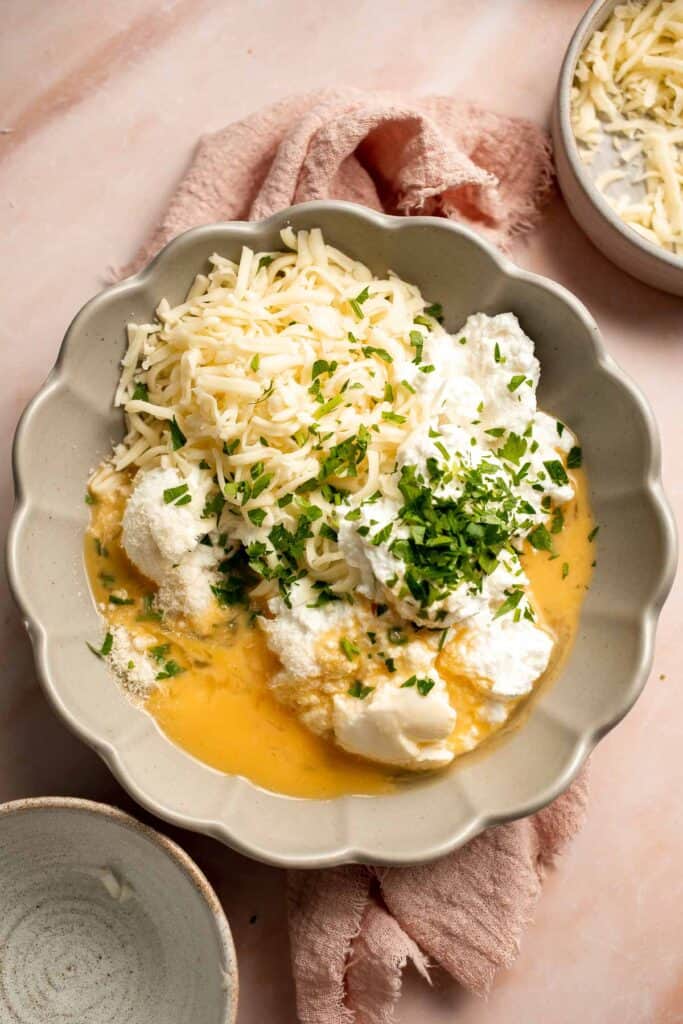
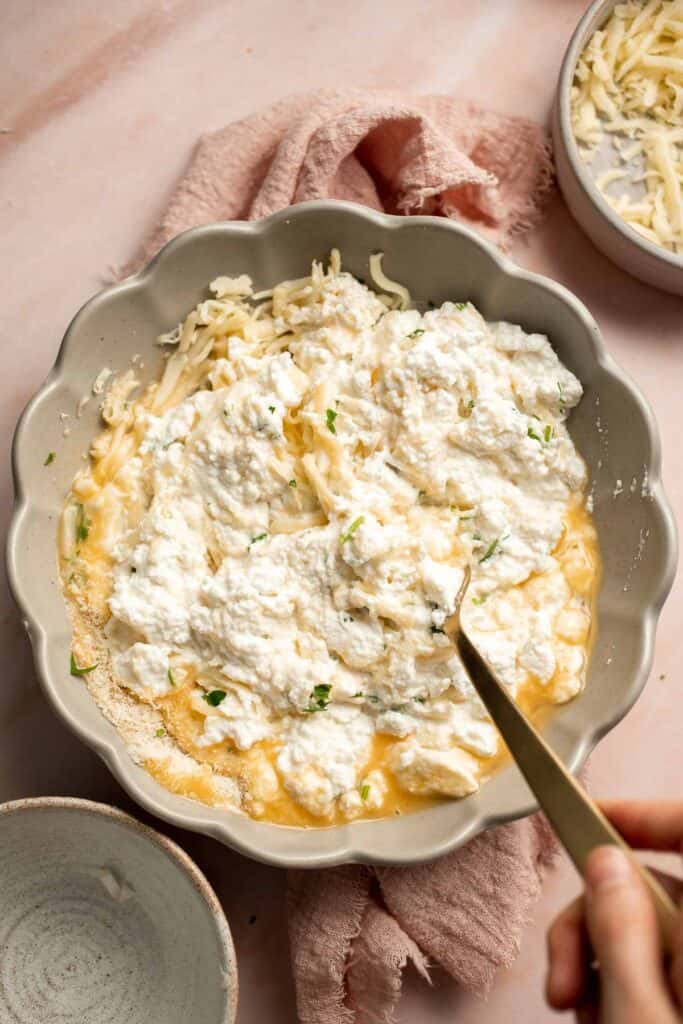
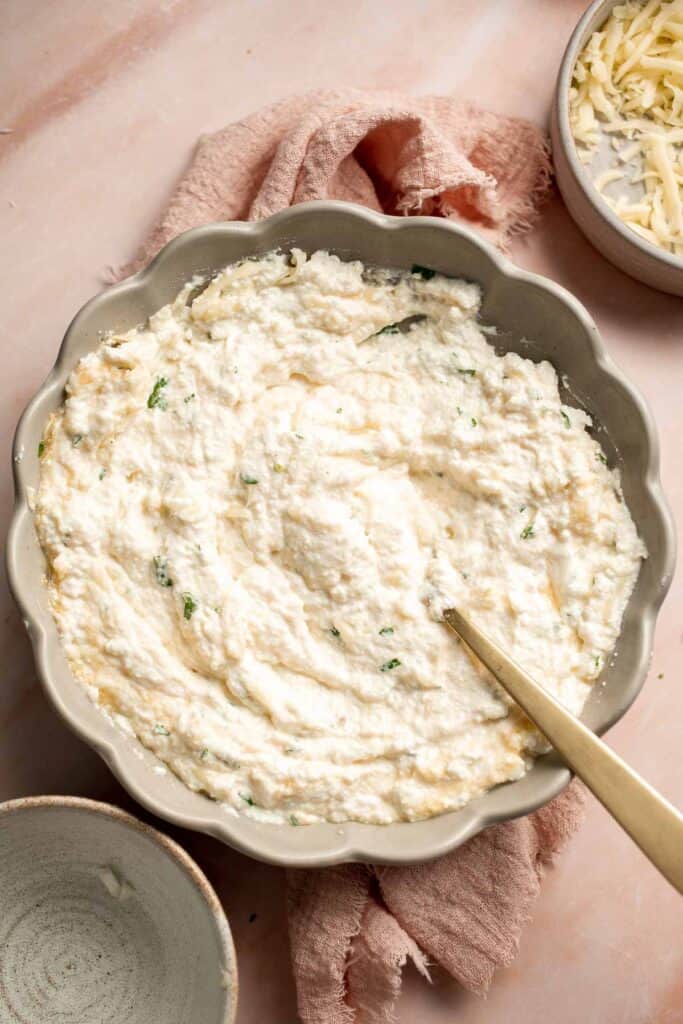
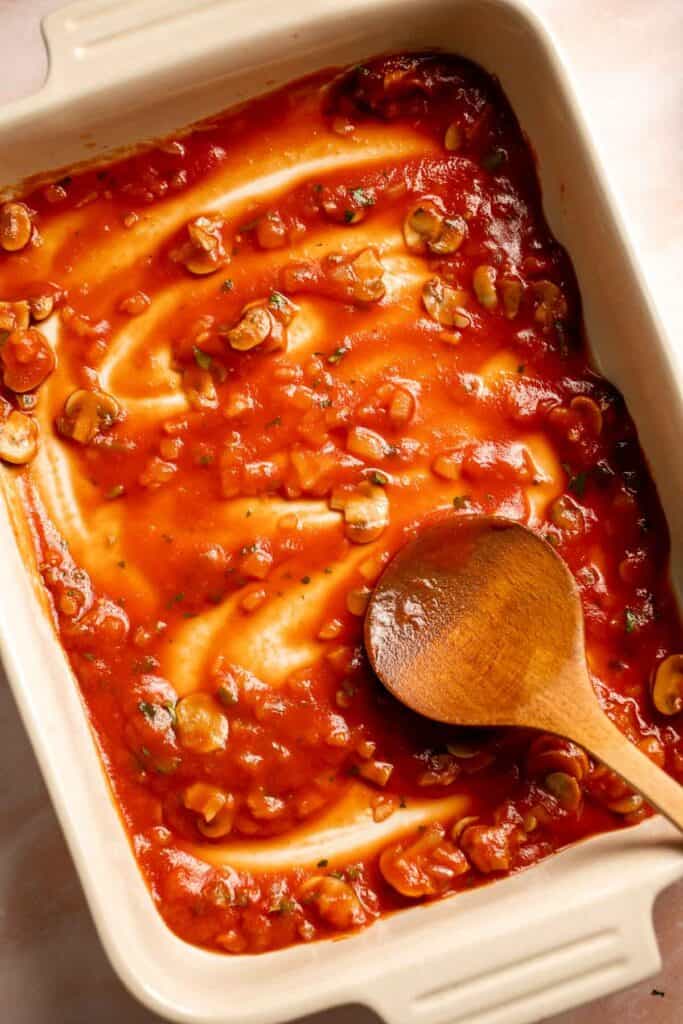
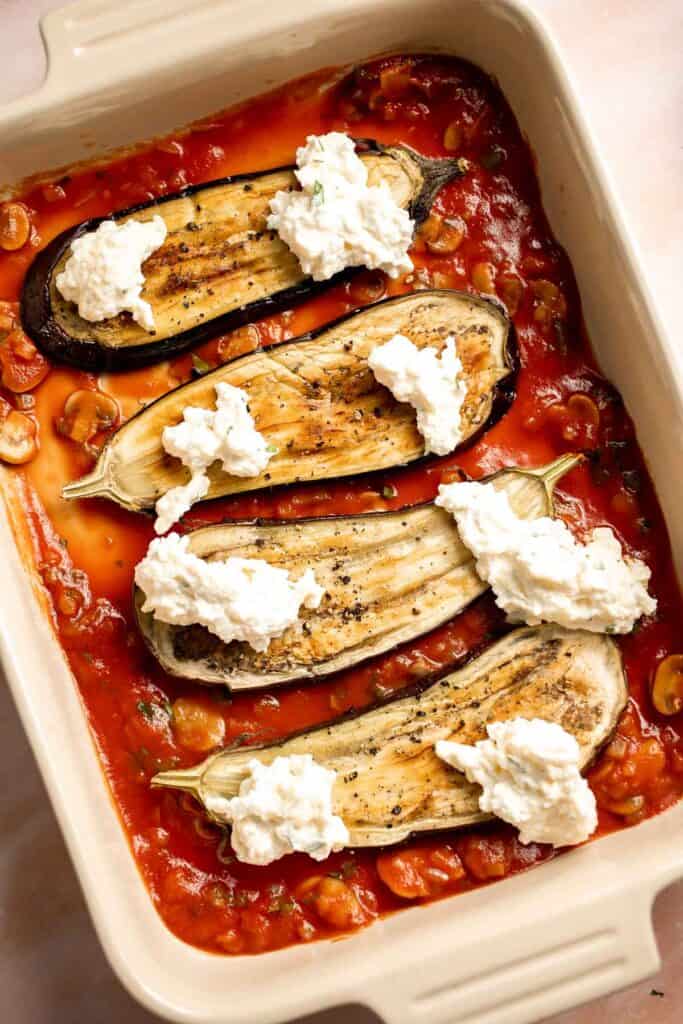
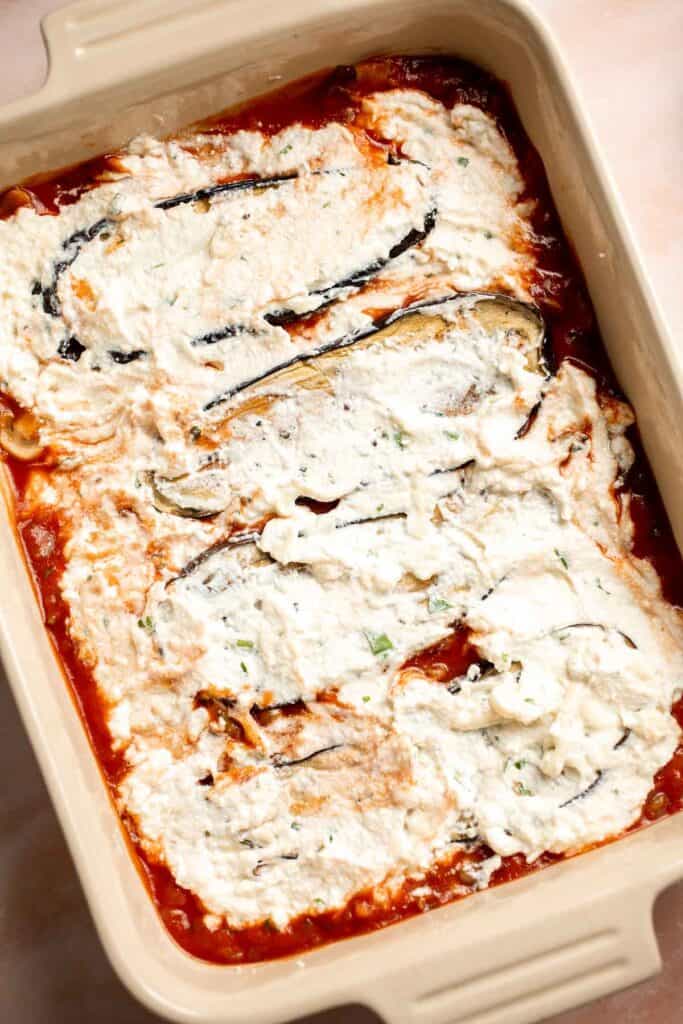
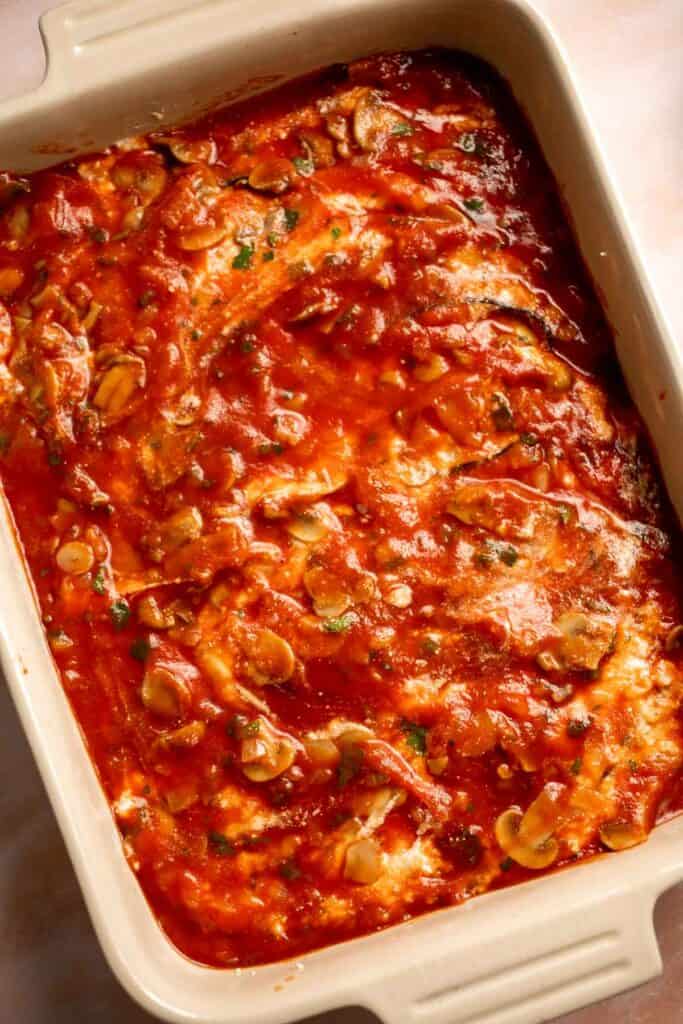
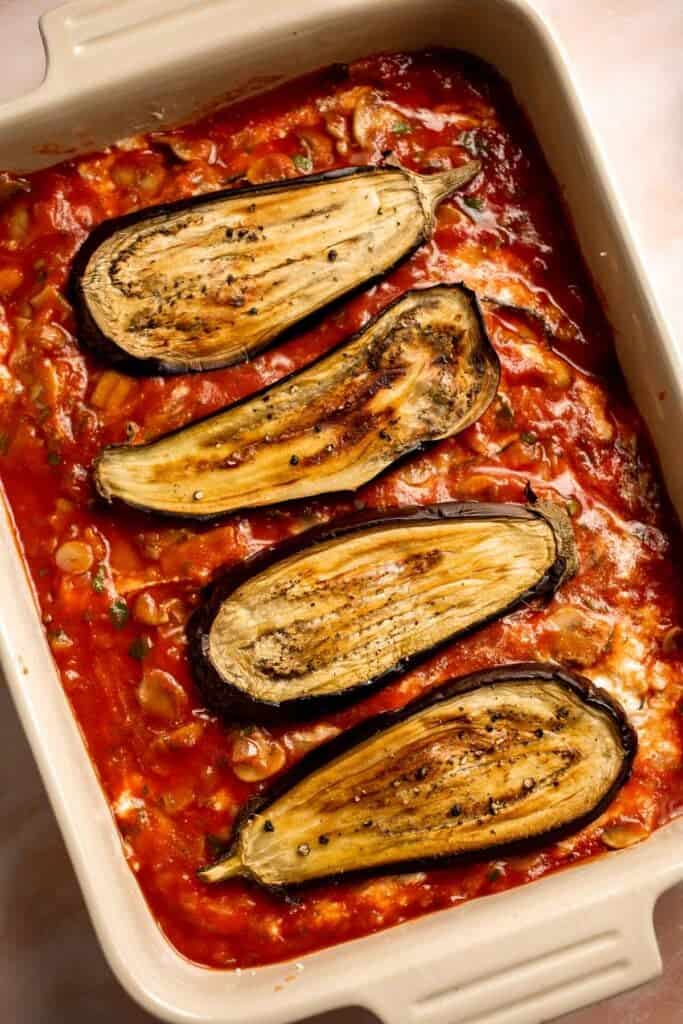
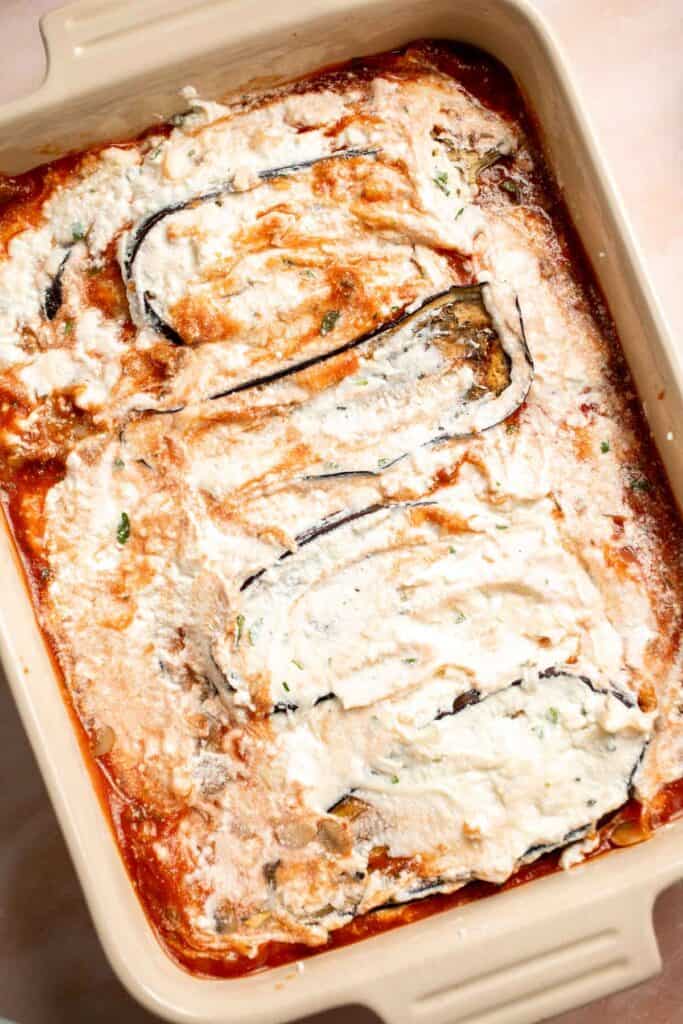
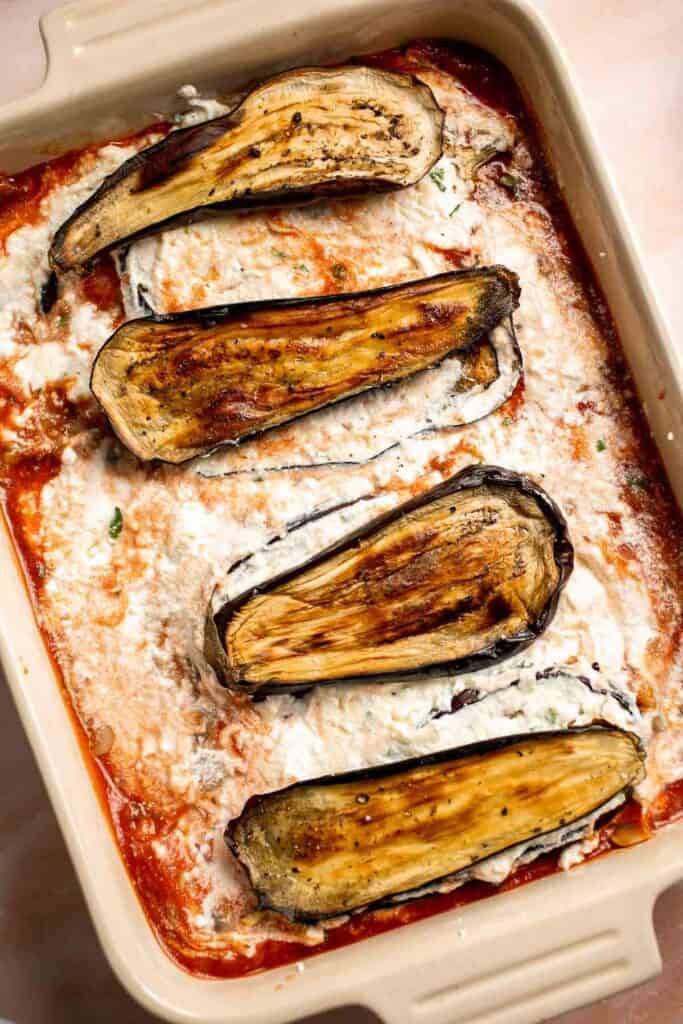
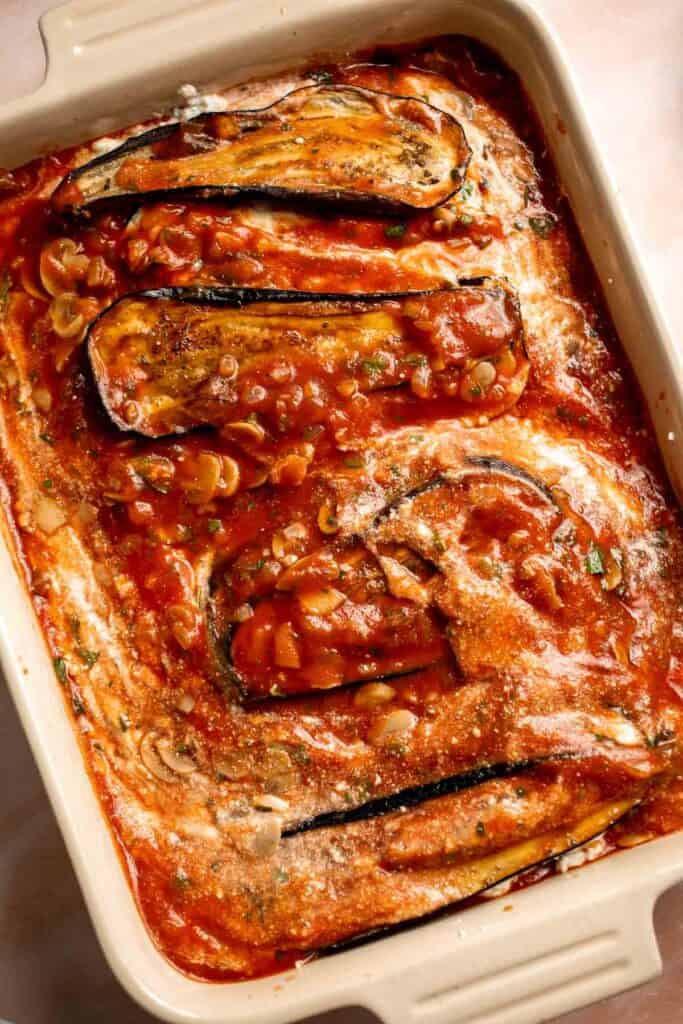
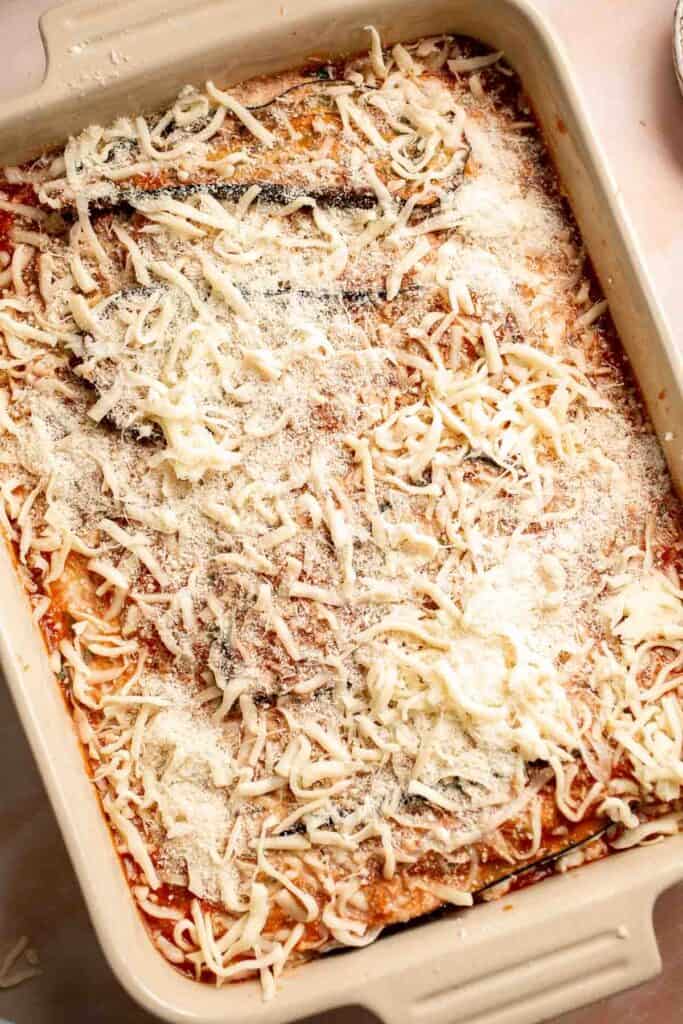
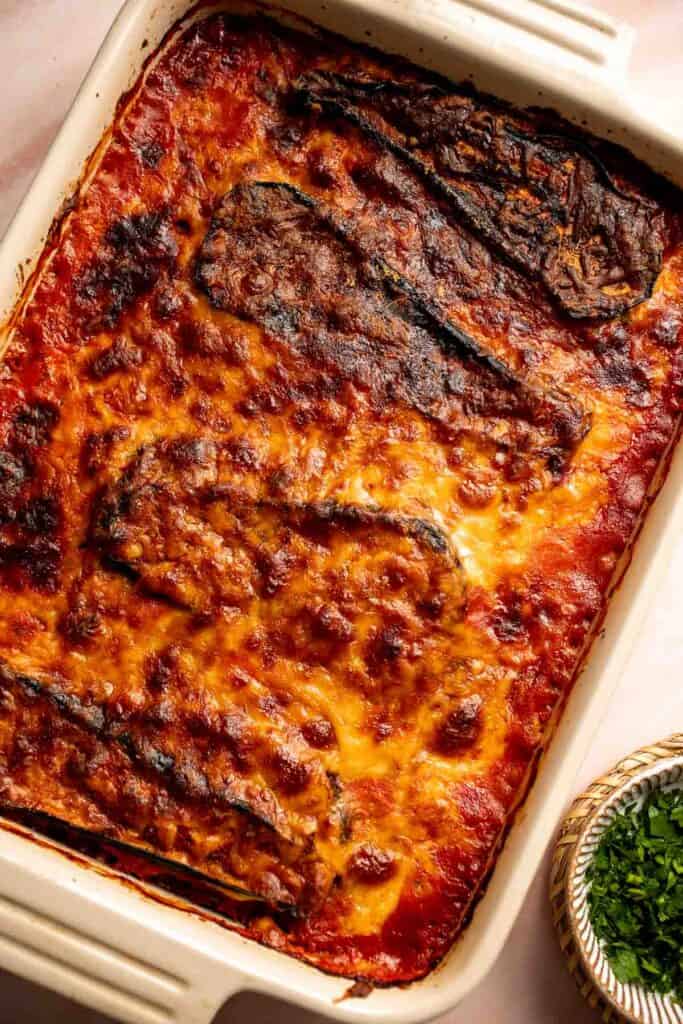
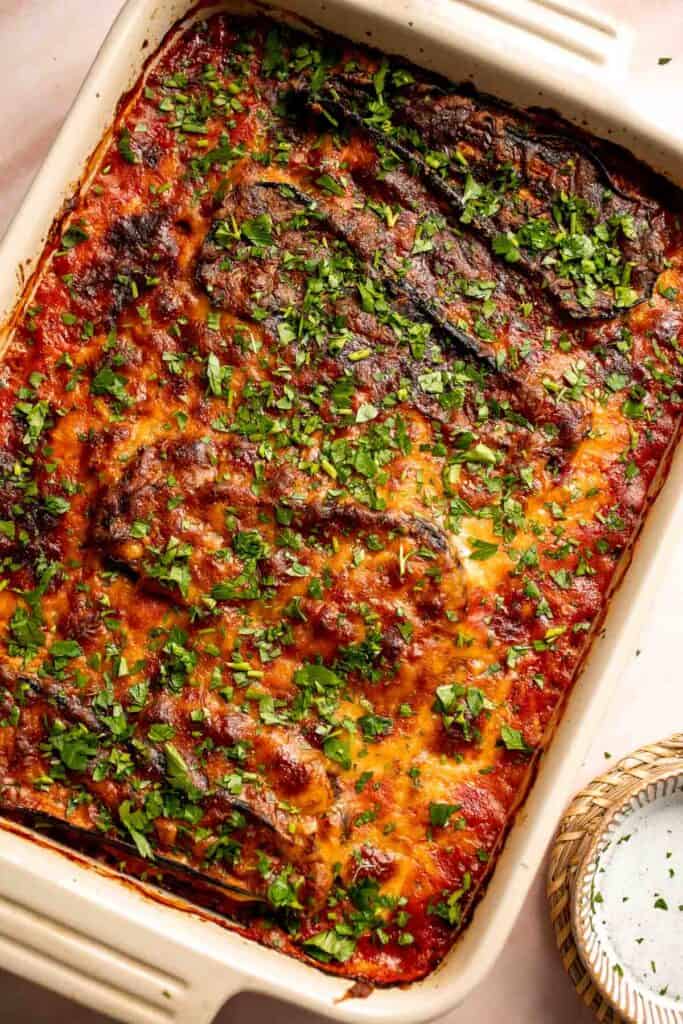
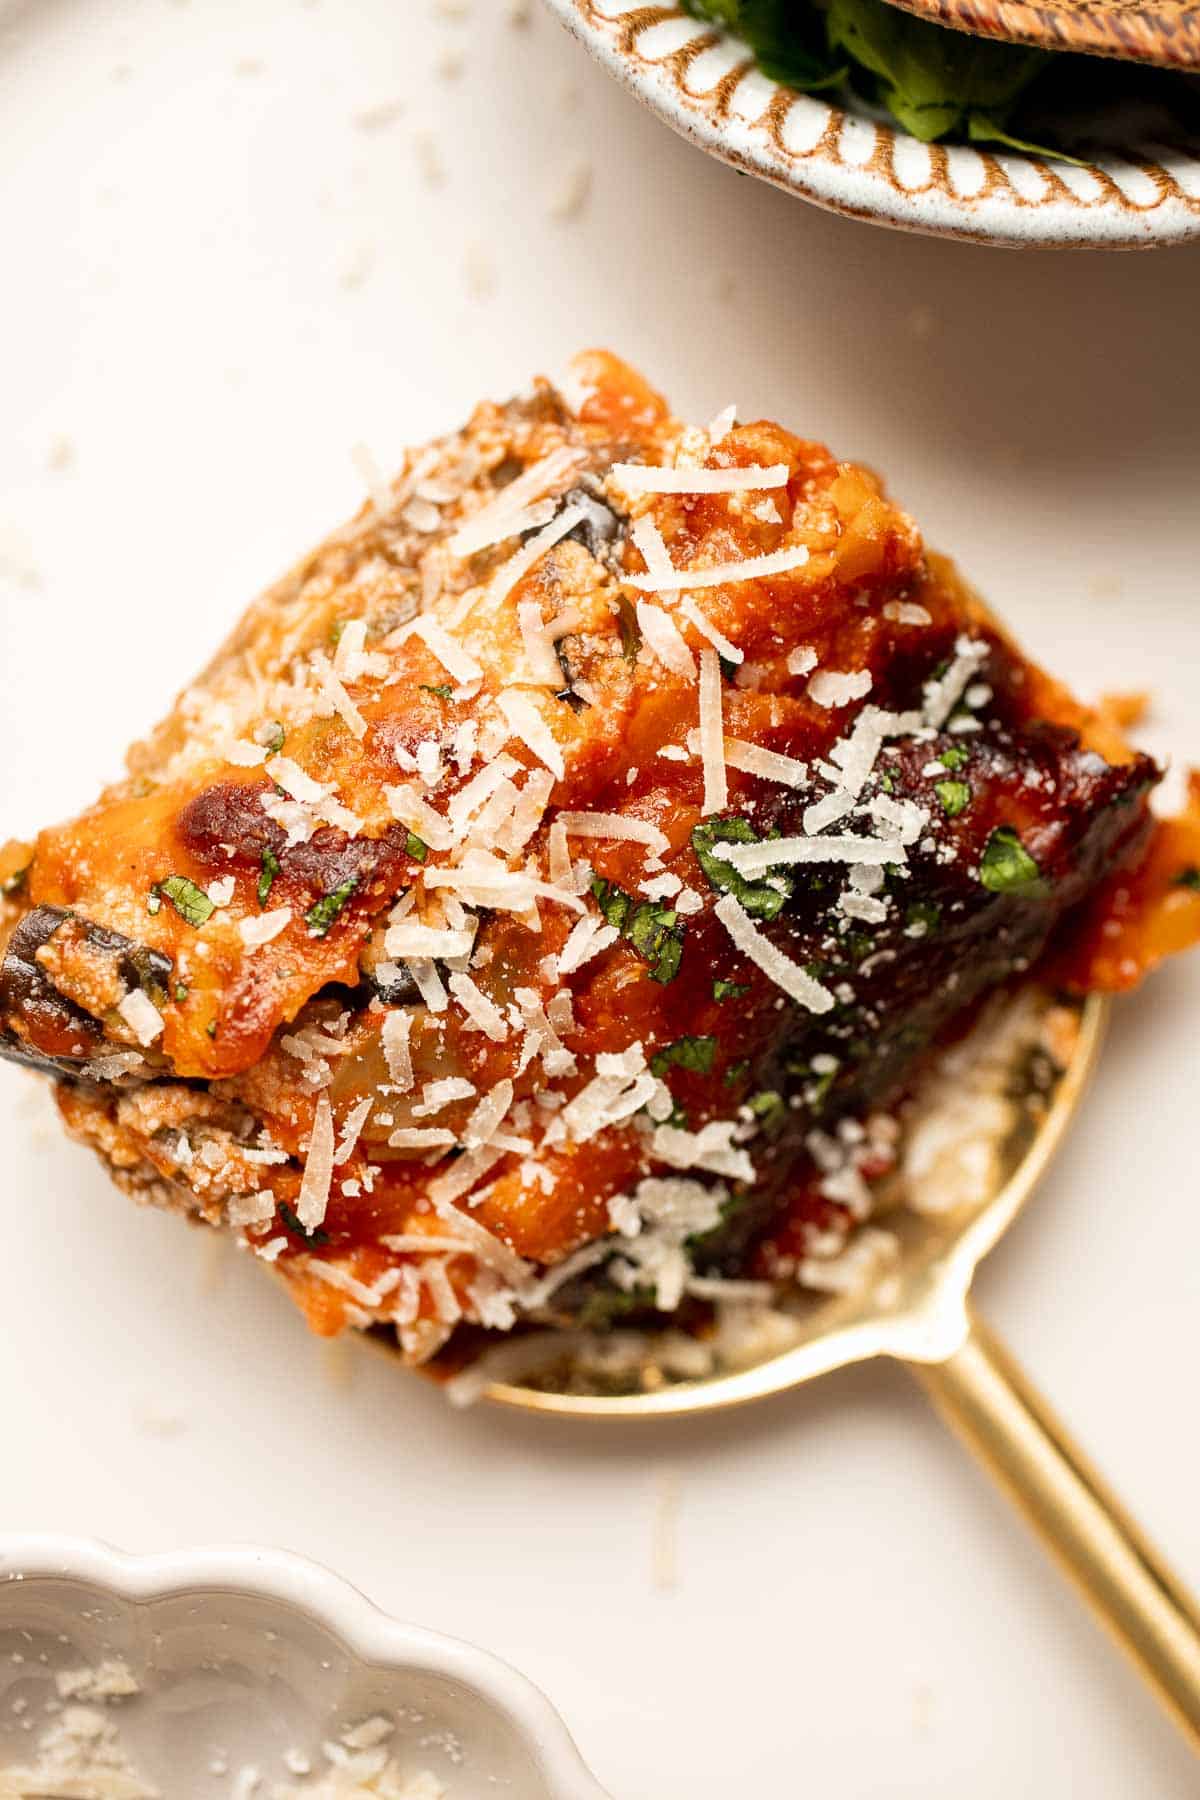
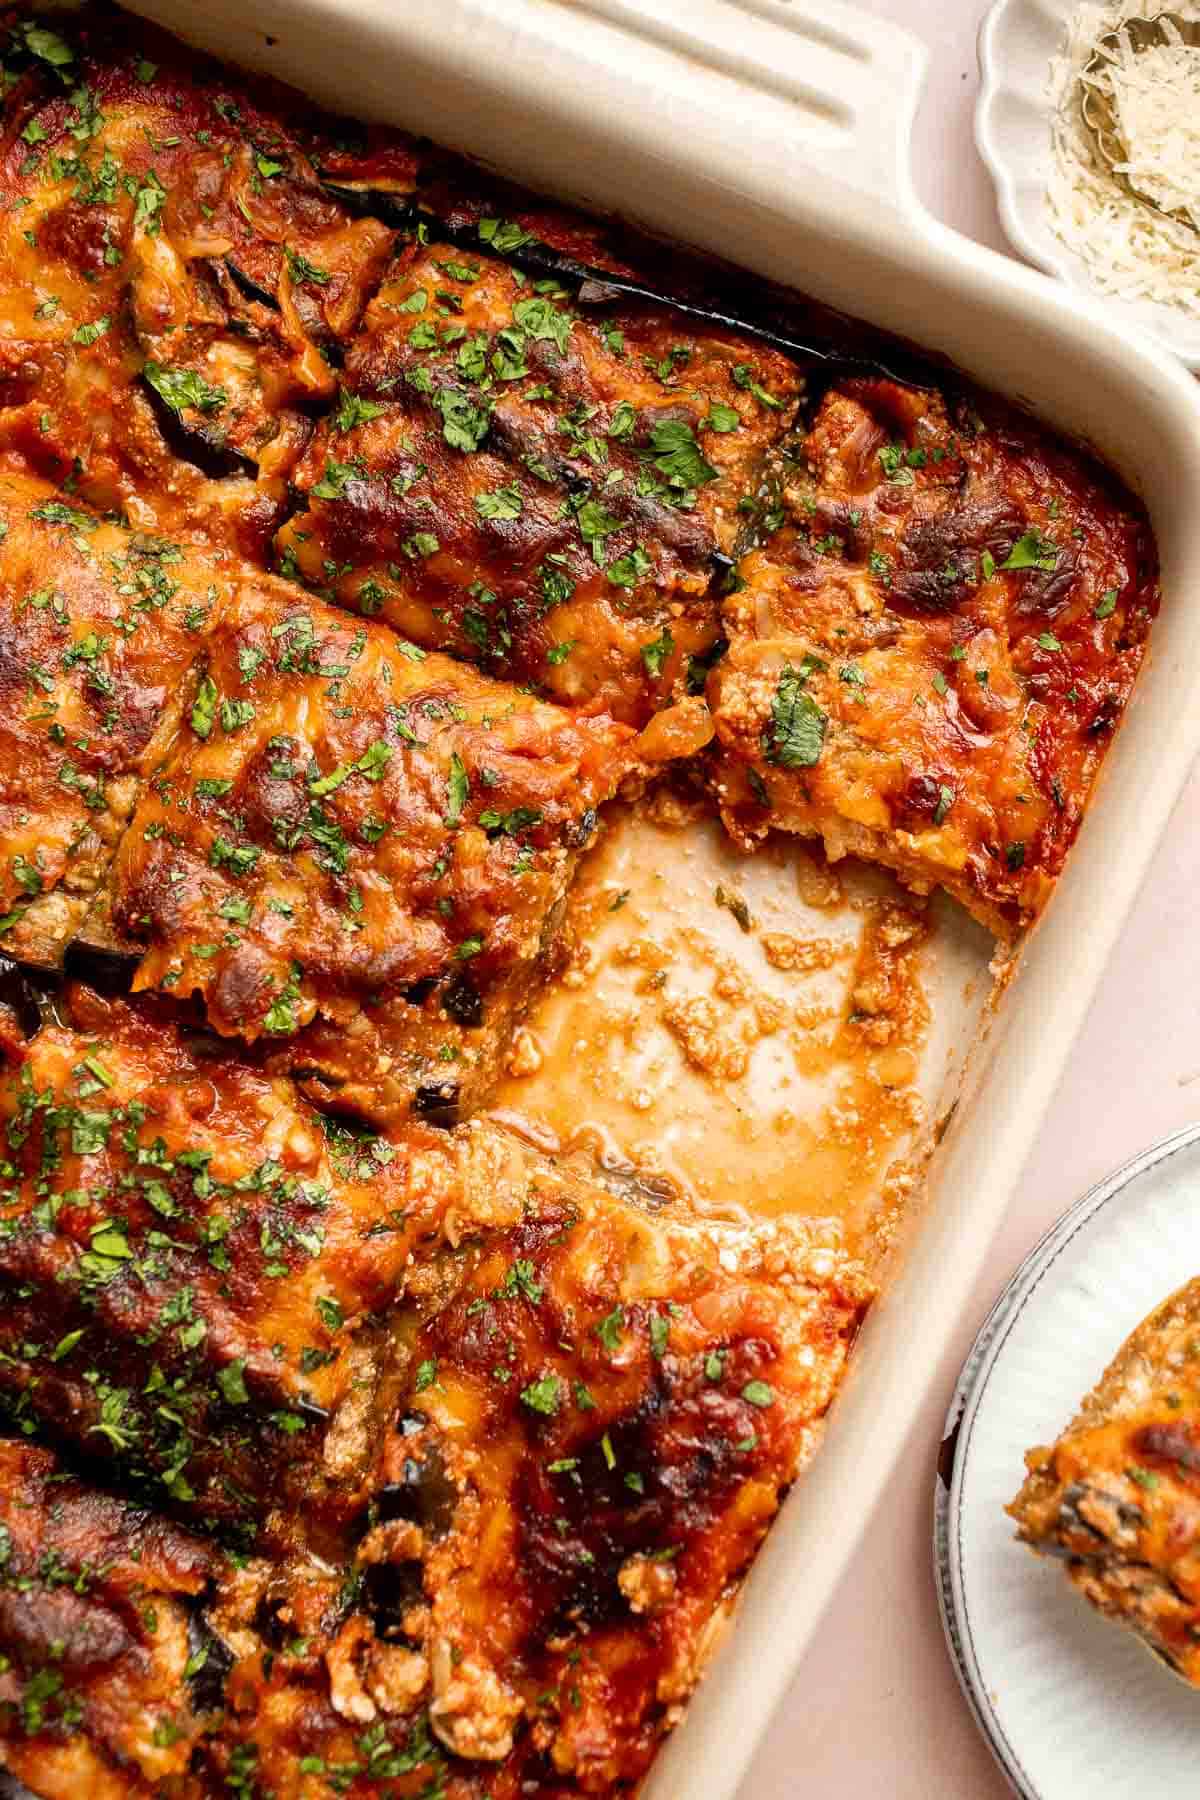
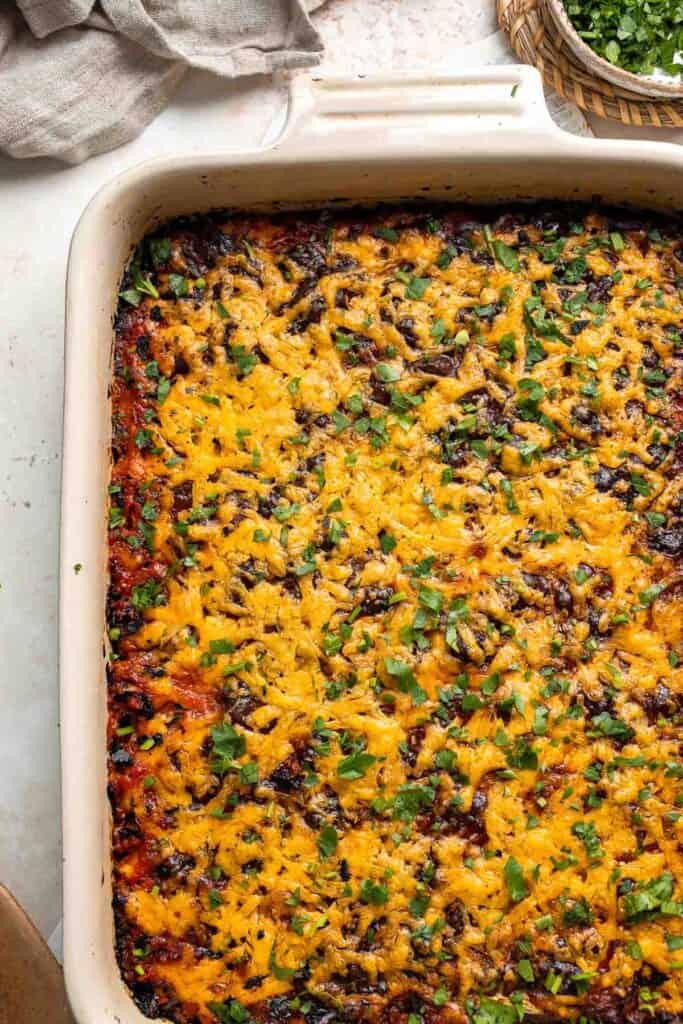
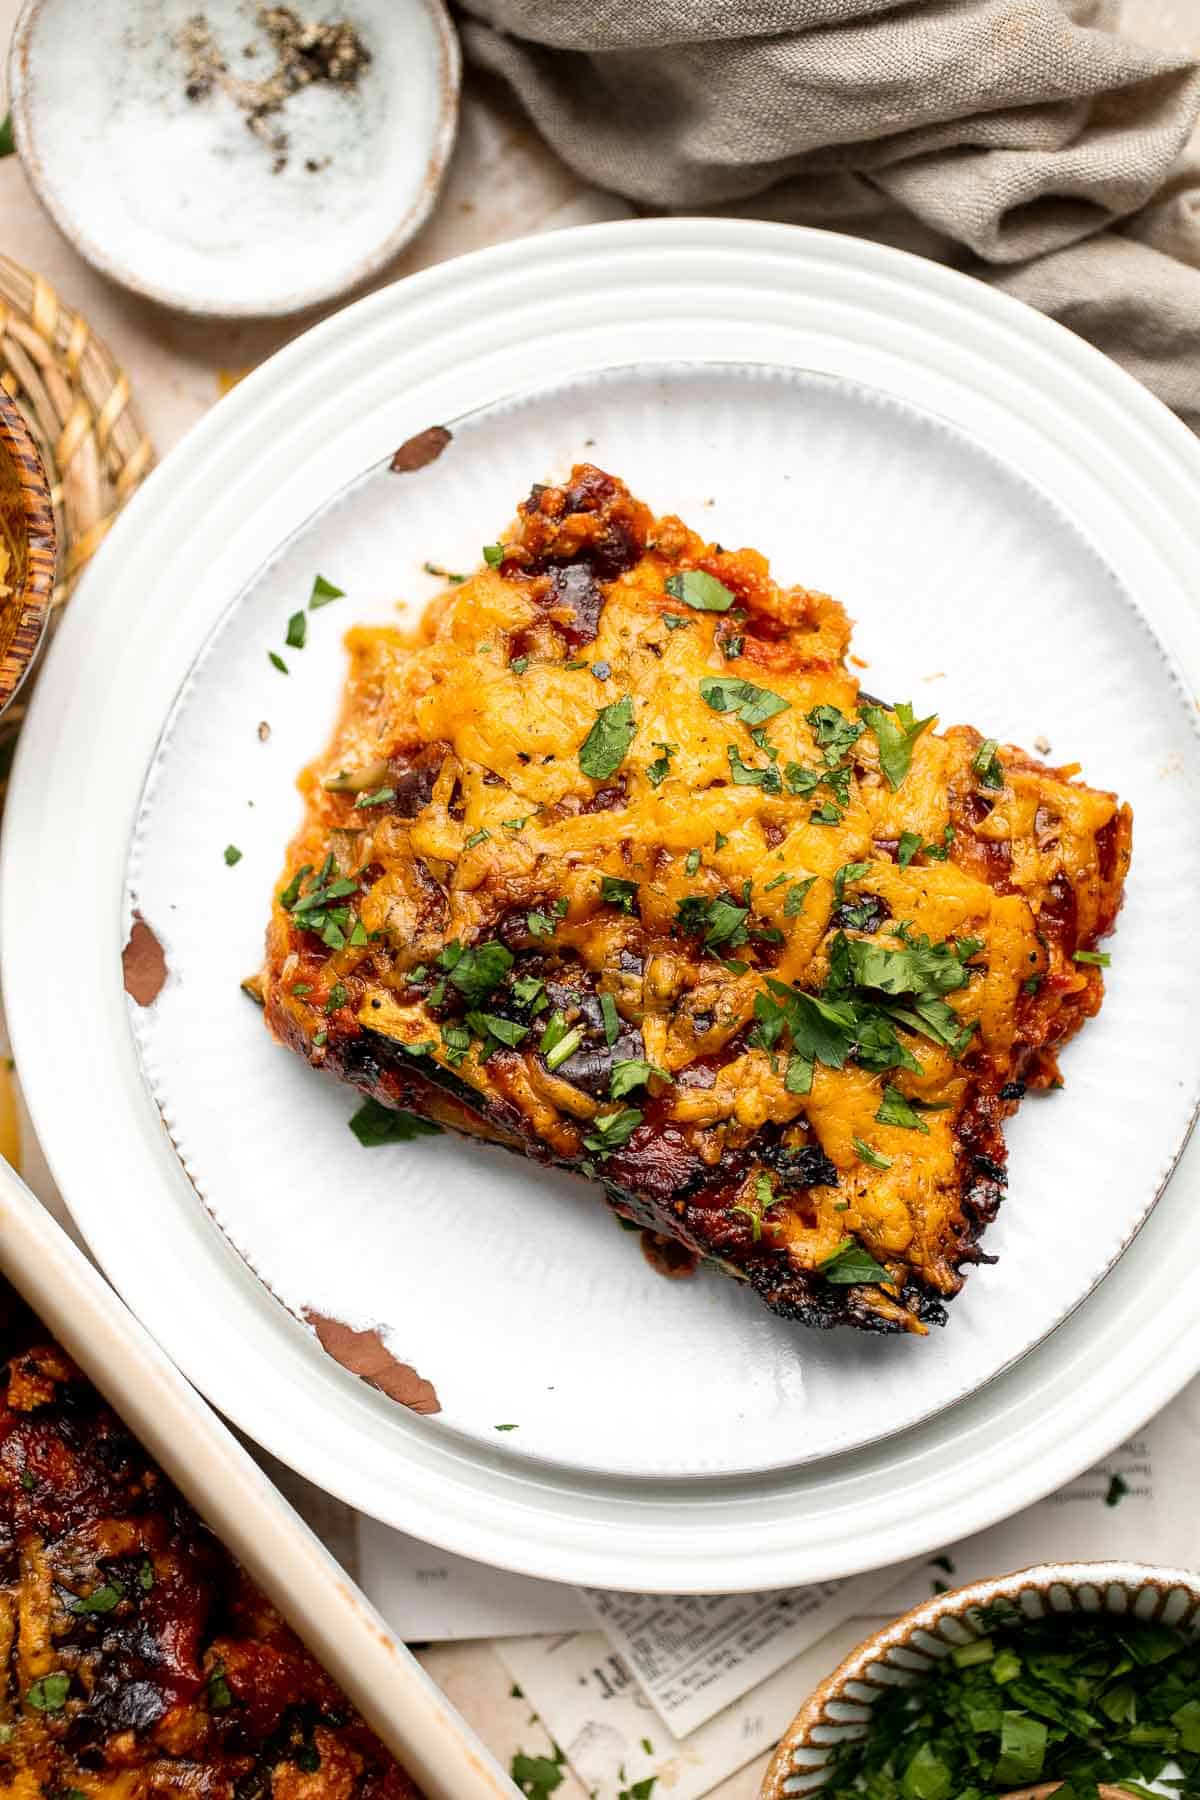
This Eggplant Lasagna is cheesy, saucy, and packed with layers of roasted eggplant, mushrooms, and melty cheese. It's gluten-free and vegetarian too.
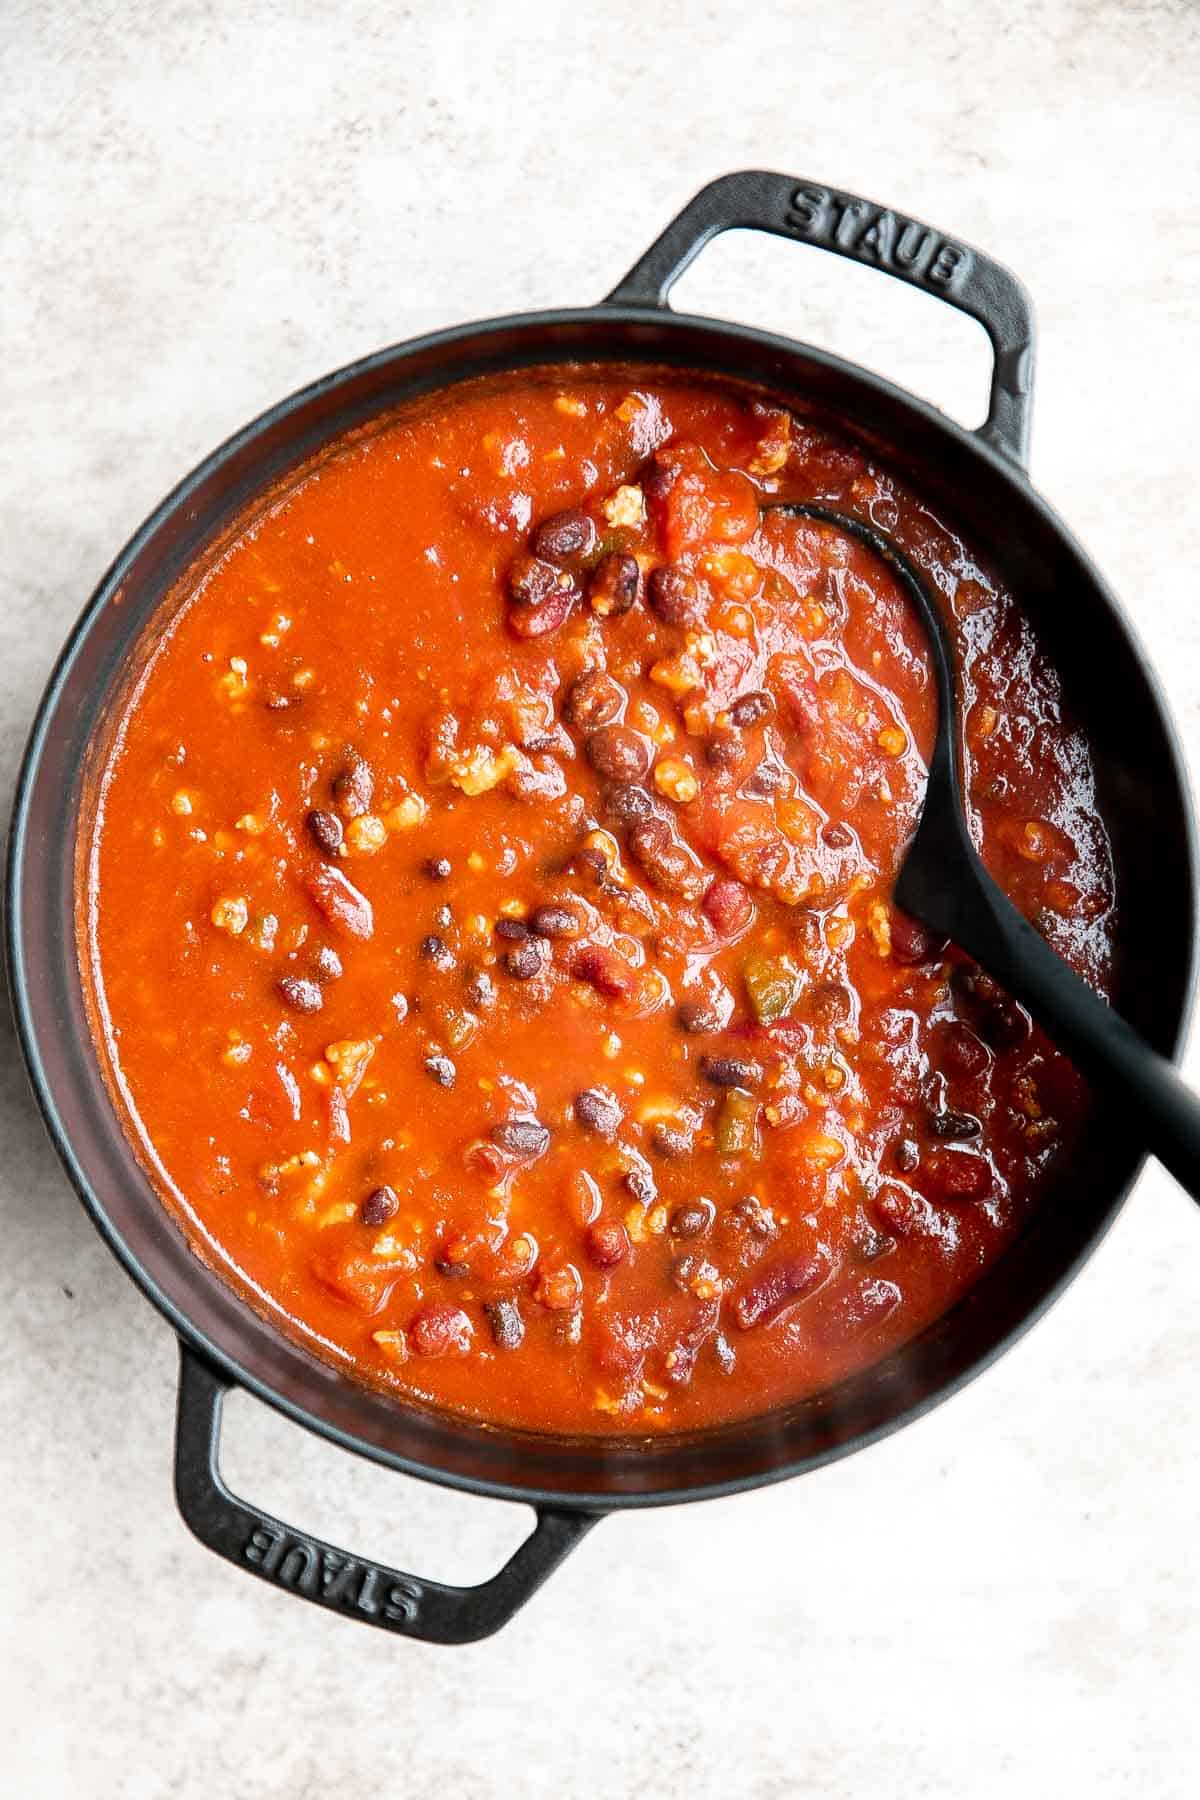
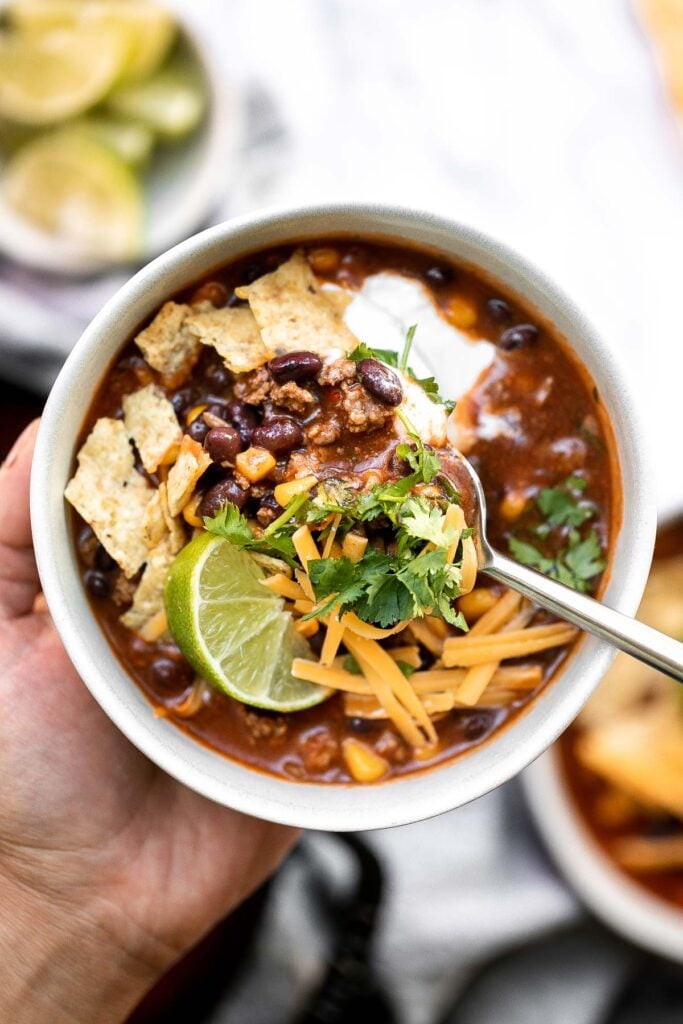
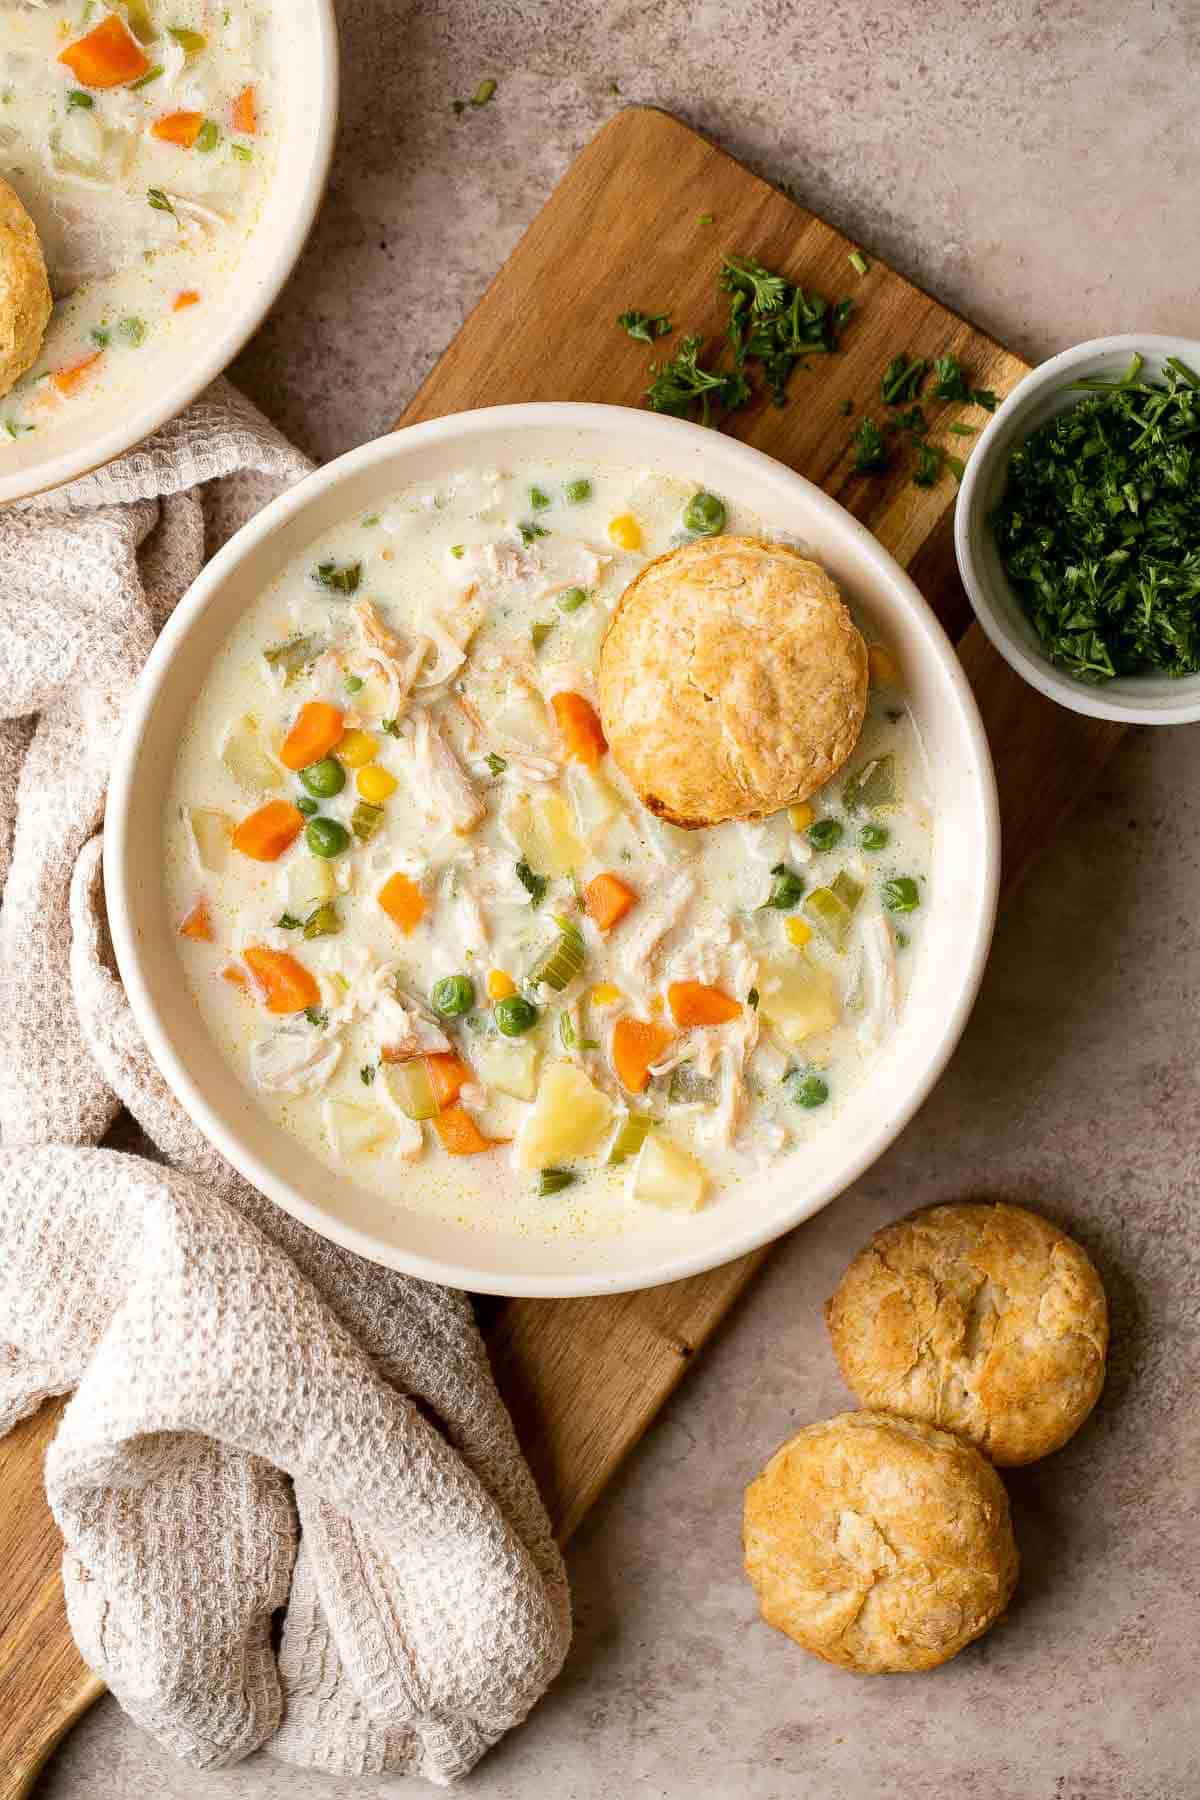
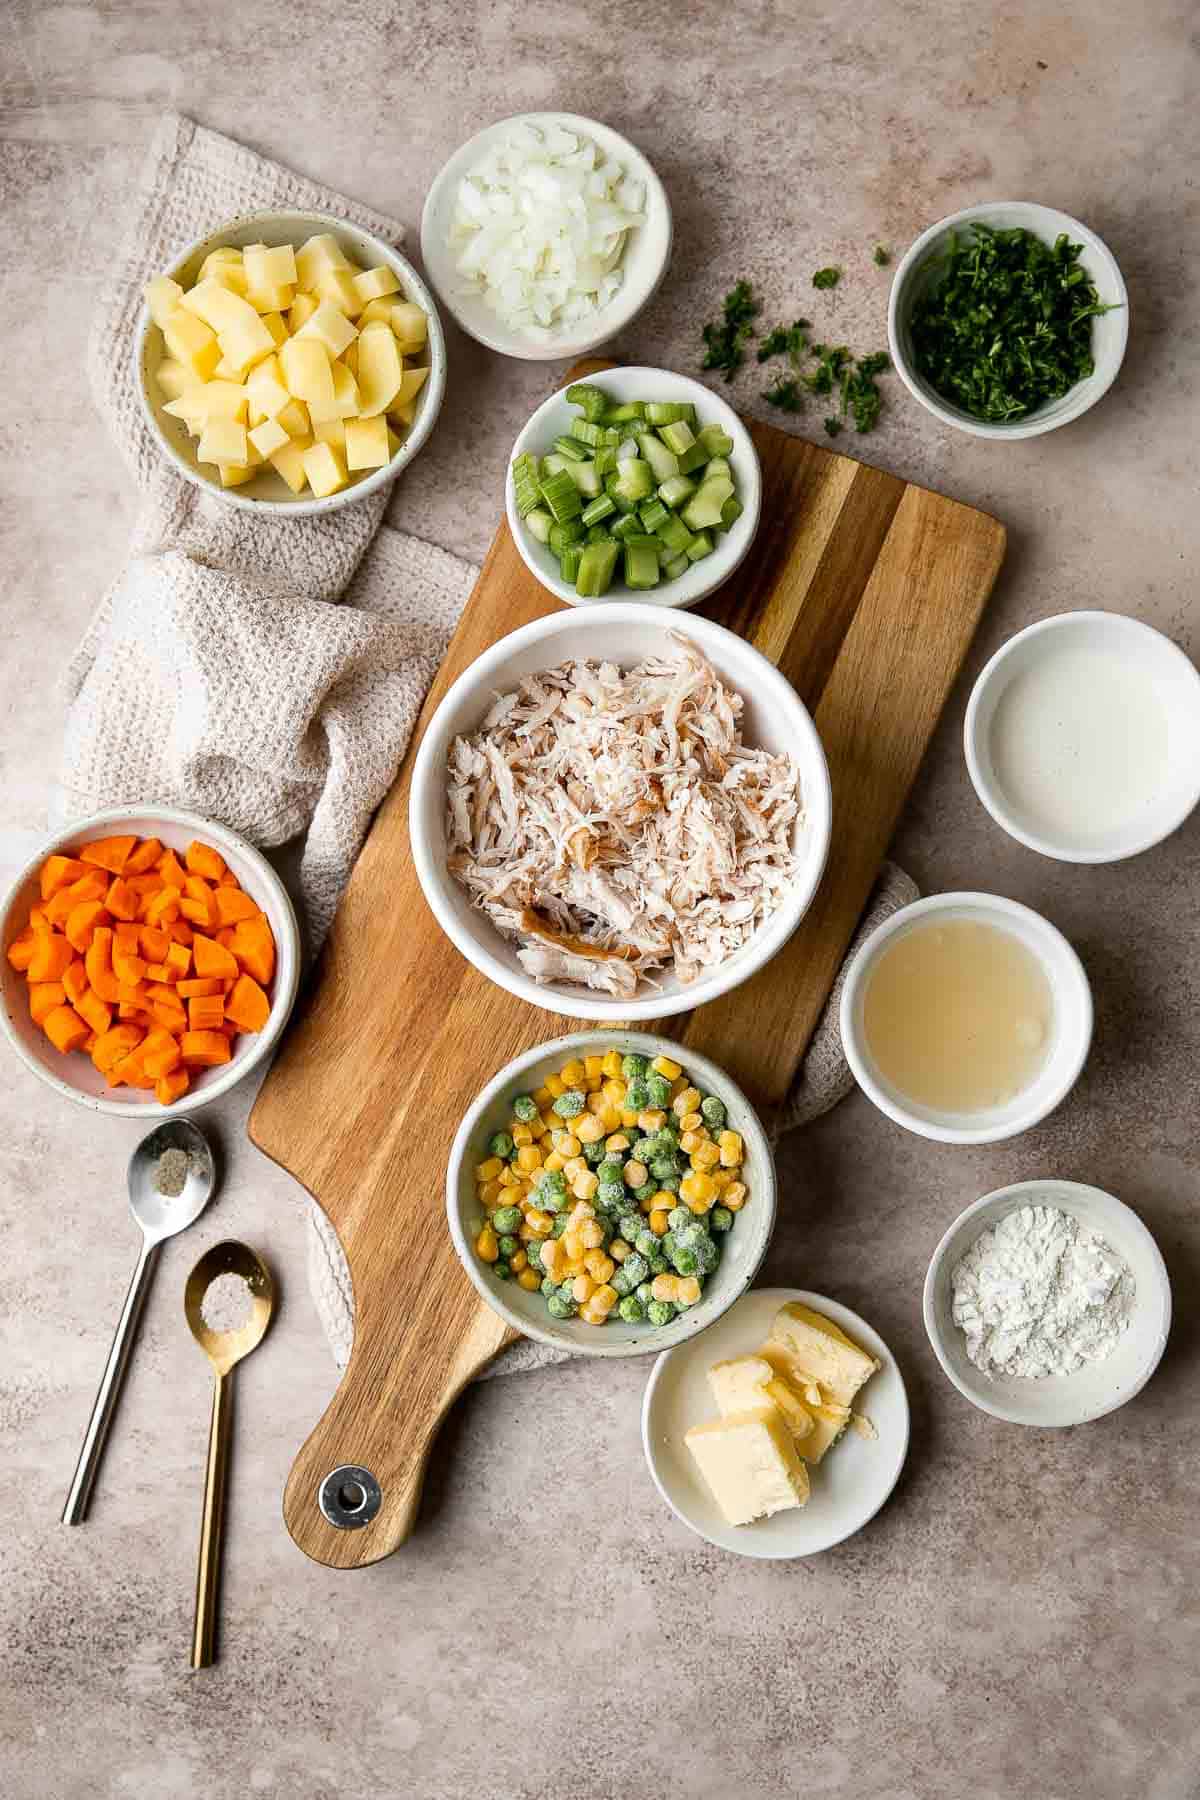
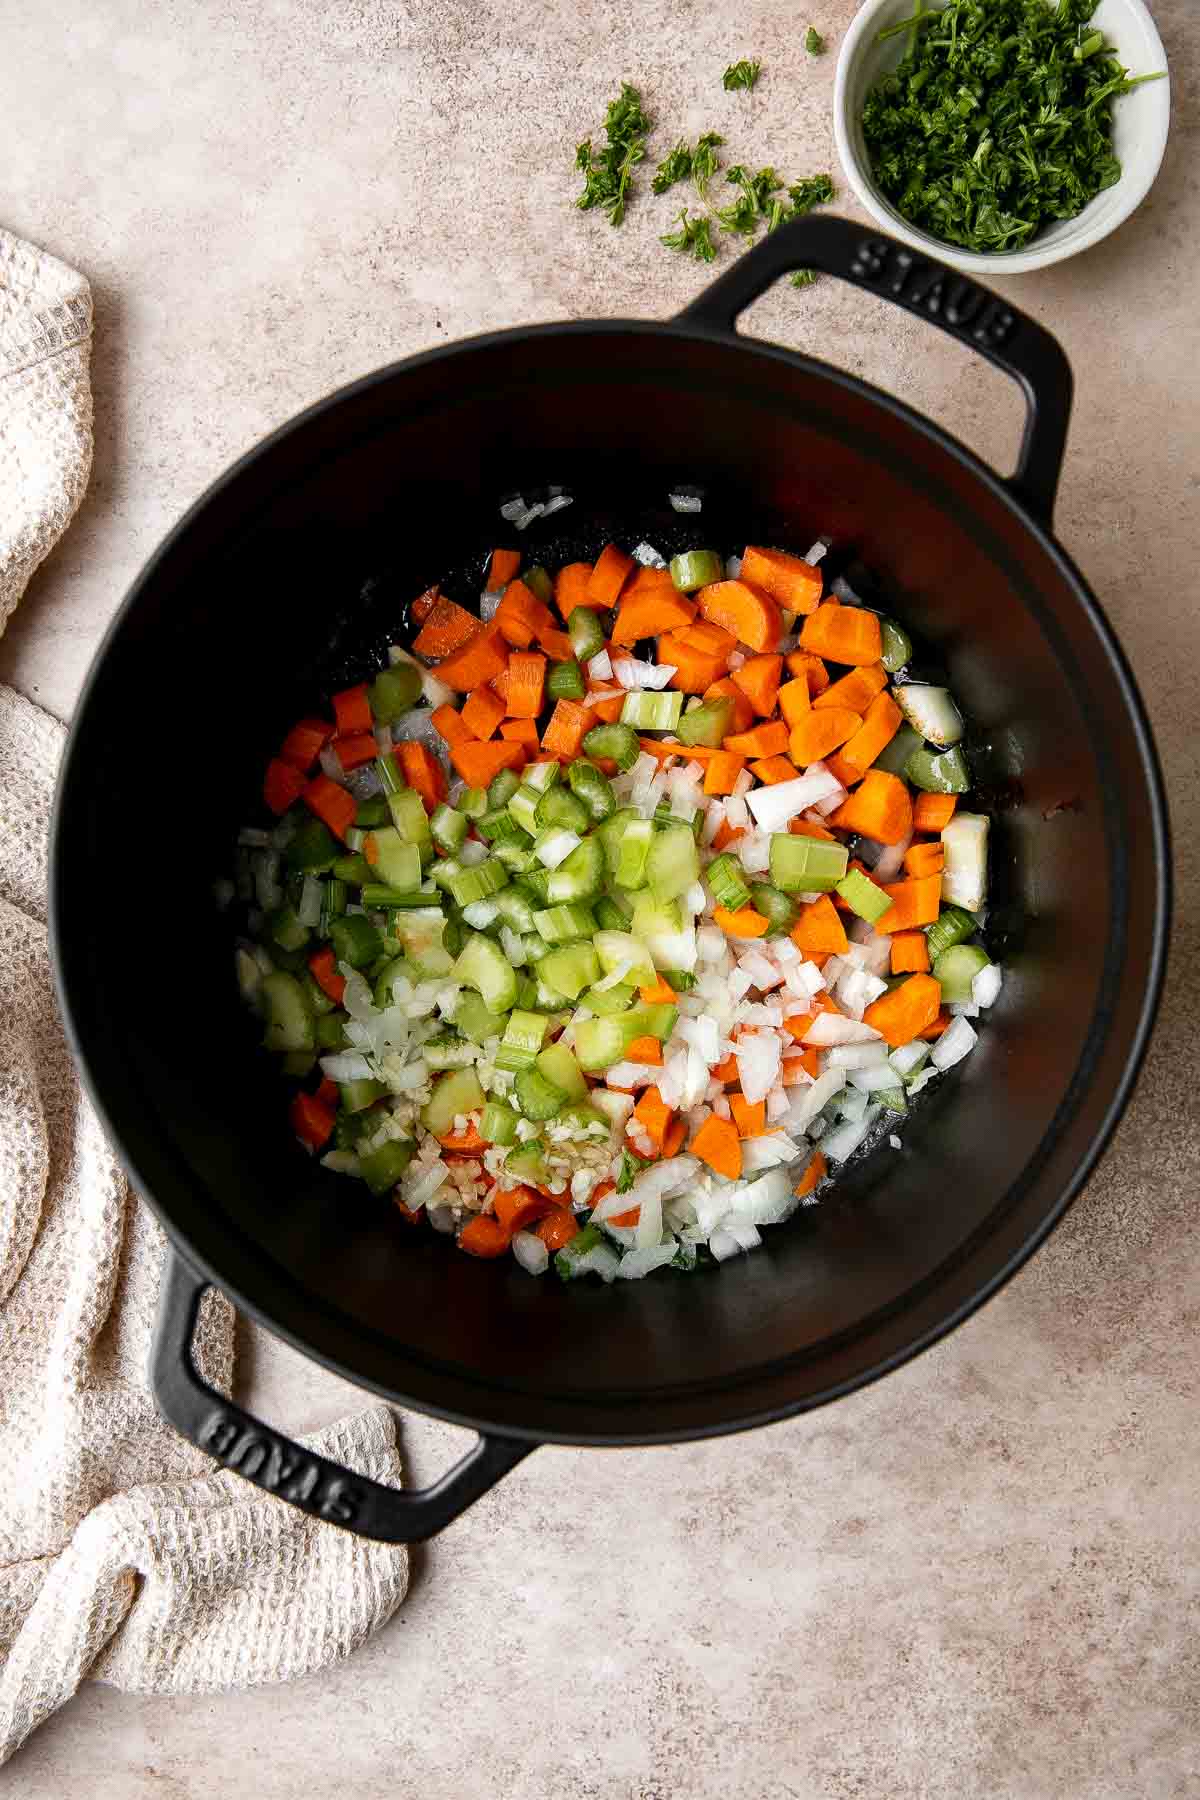
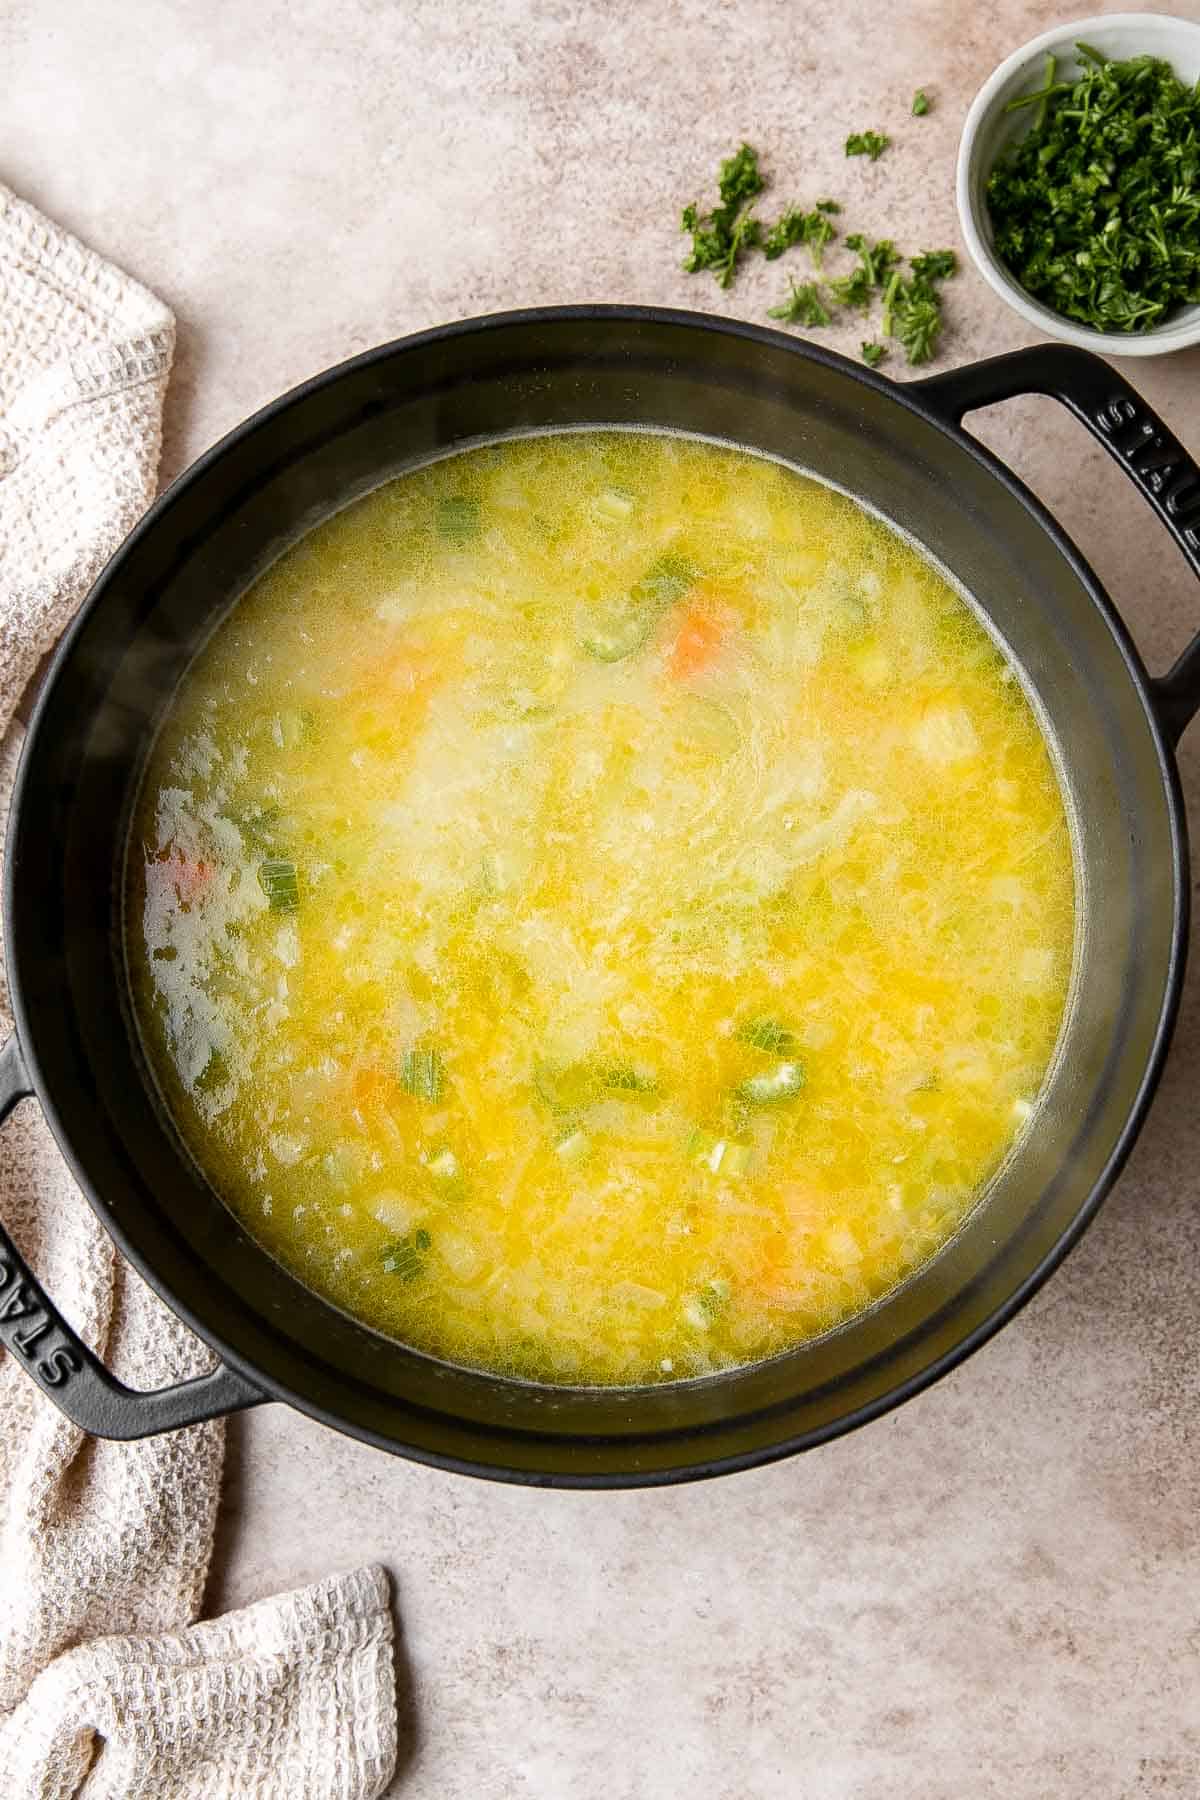
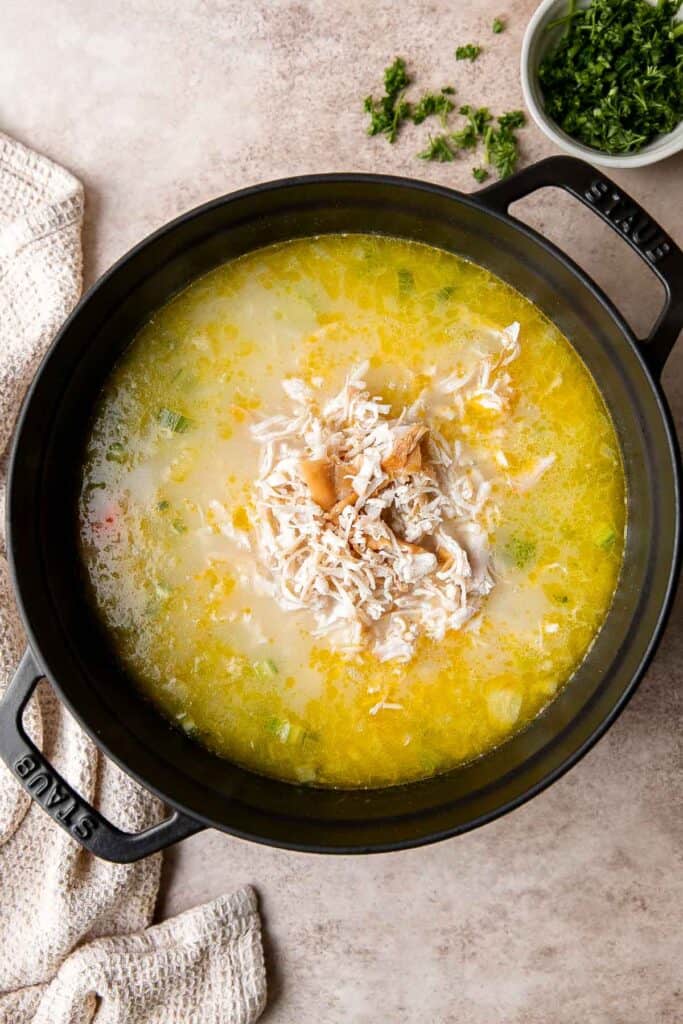
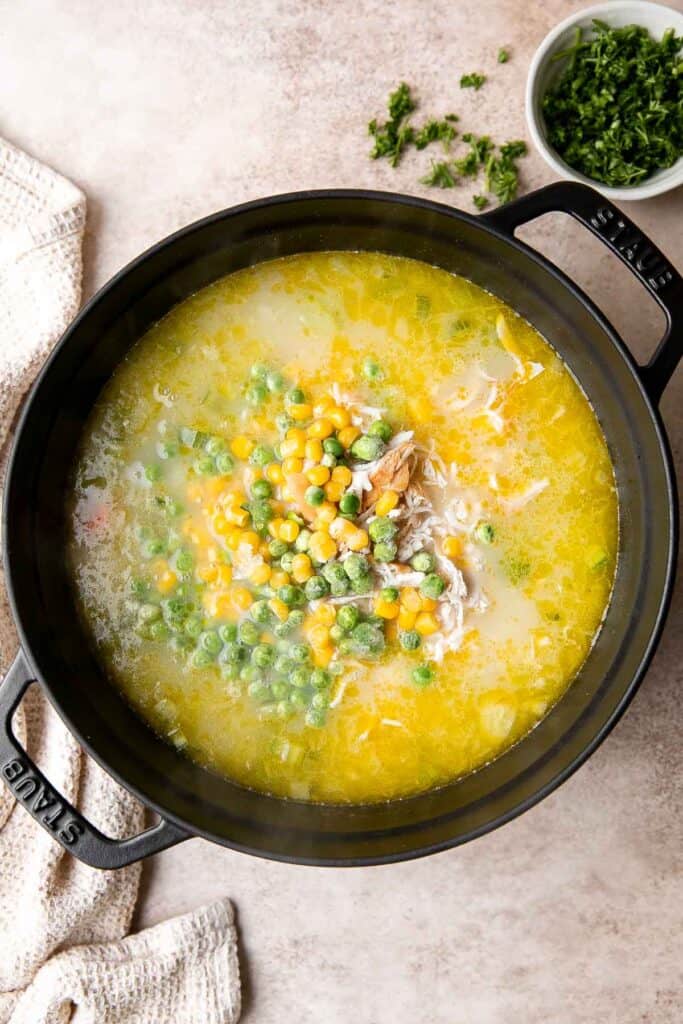
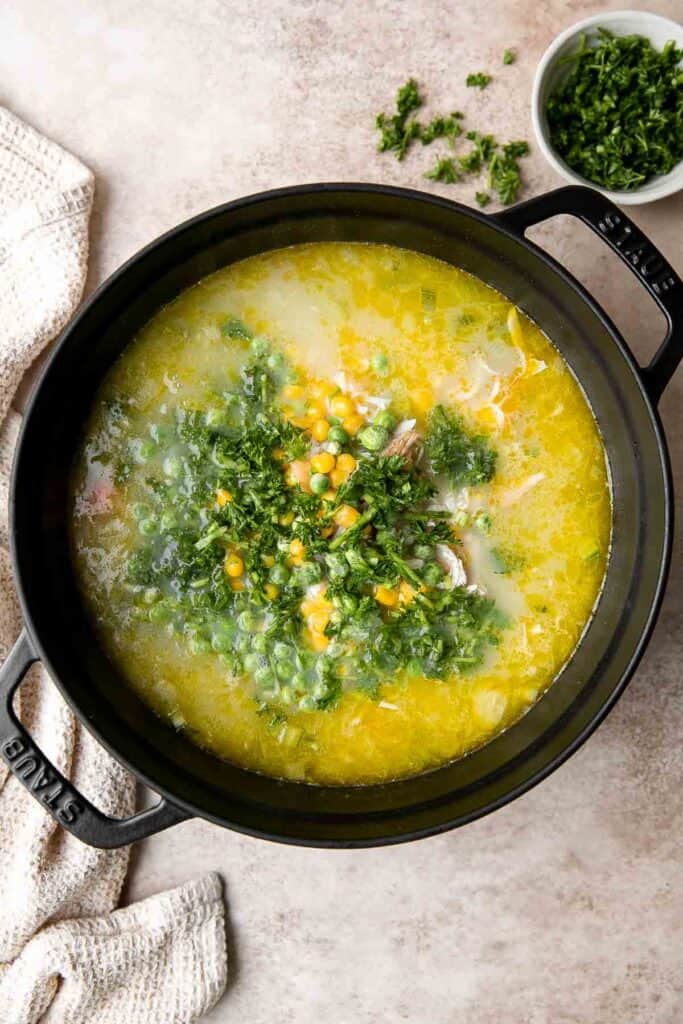
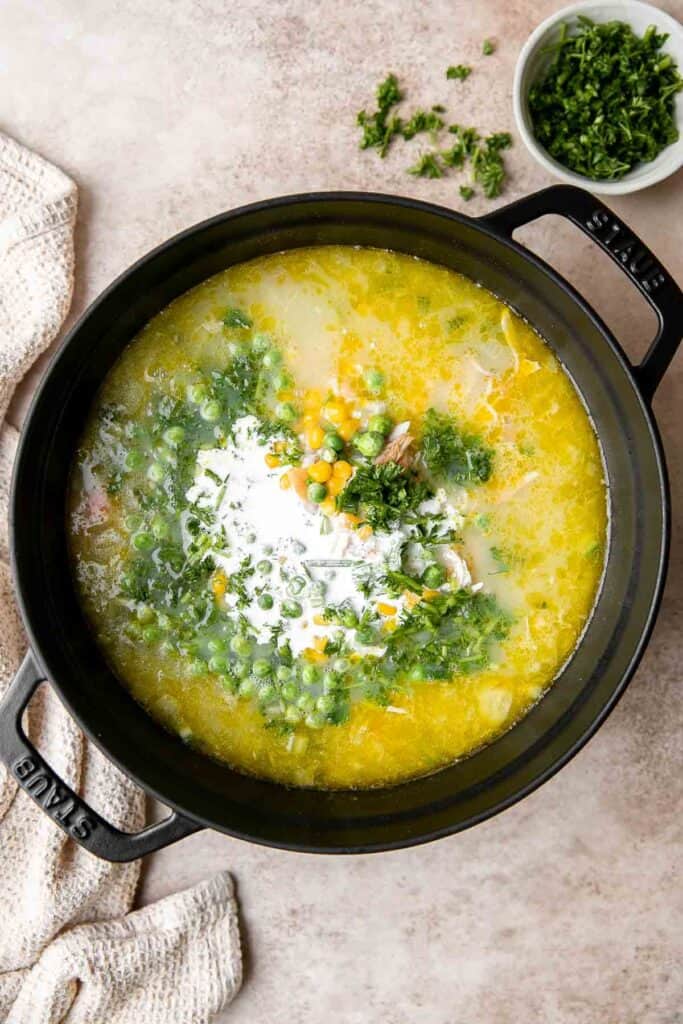
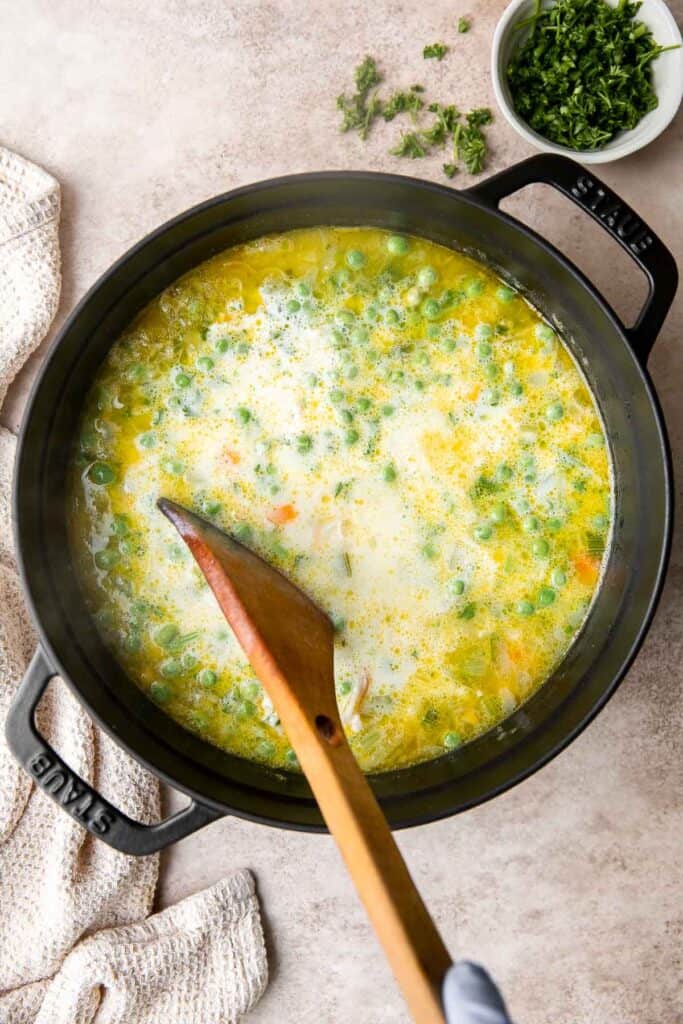
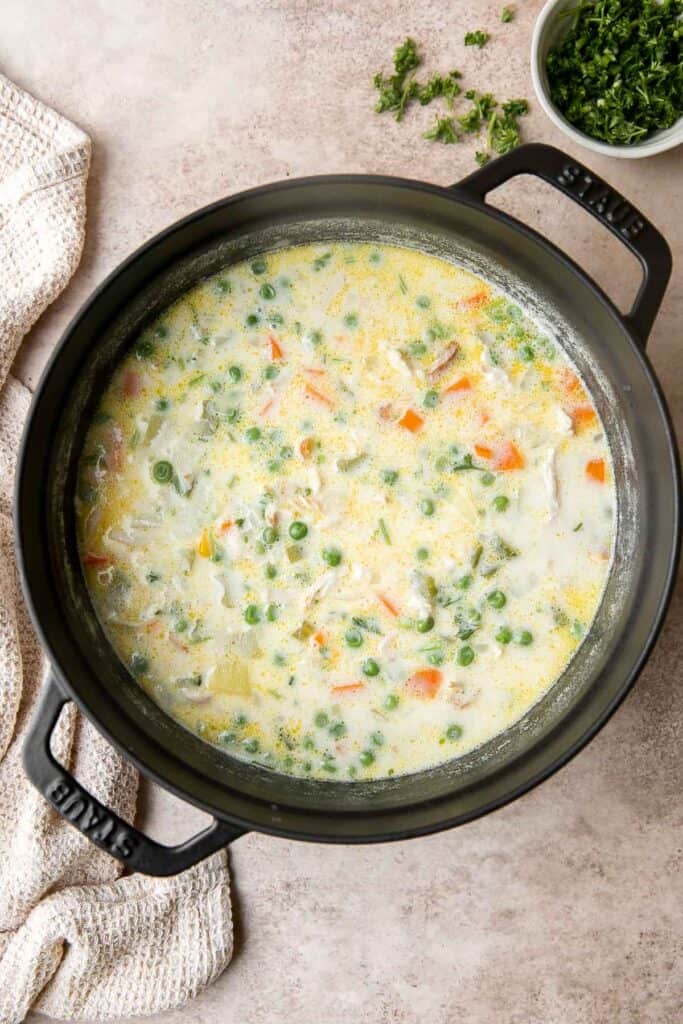
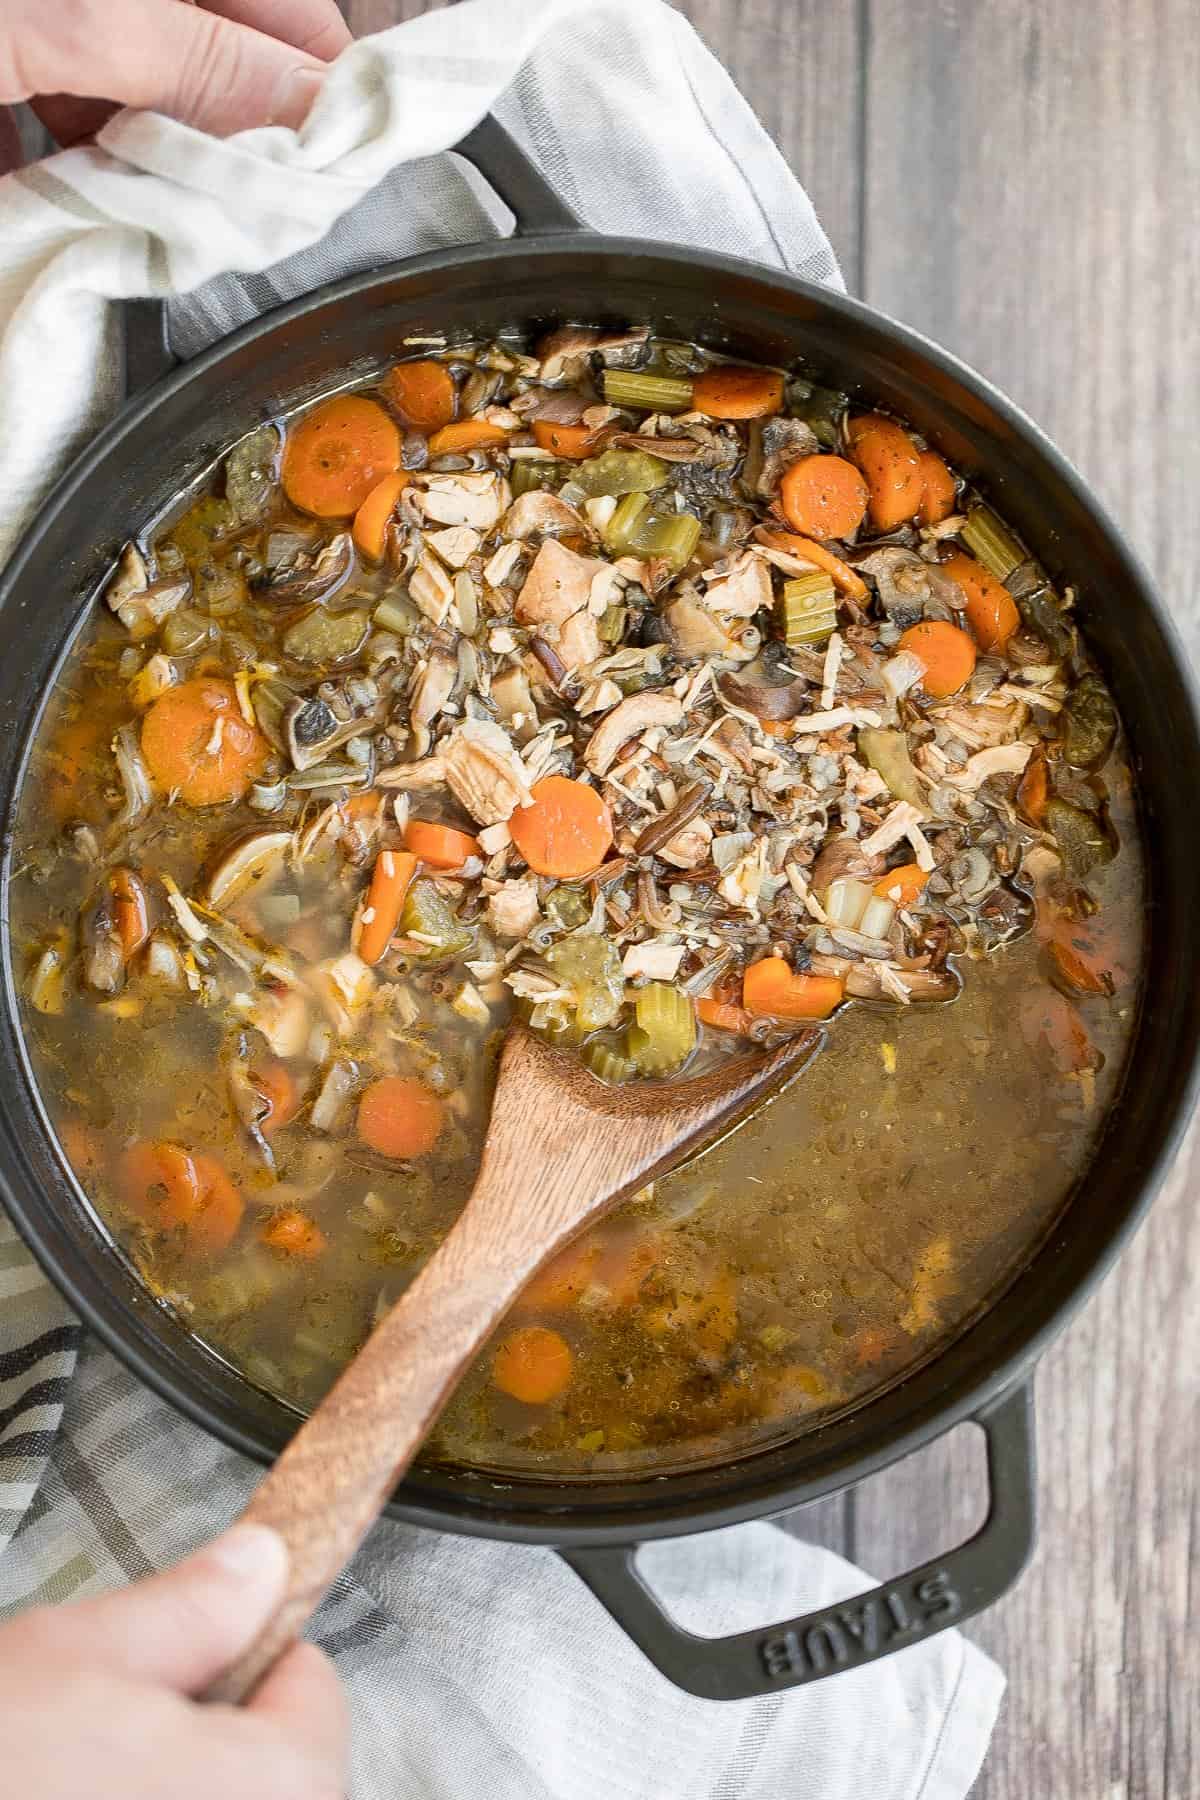
White chicken chili is an easy and delicious one pot meal made with shredded chicken, hearty veggies, and a creamy broth that's loaded with flavor.

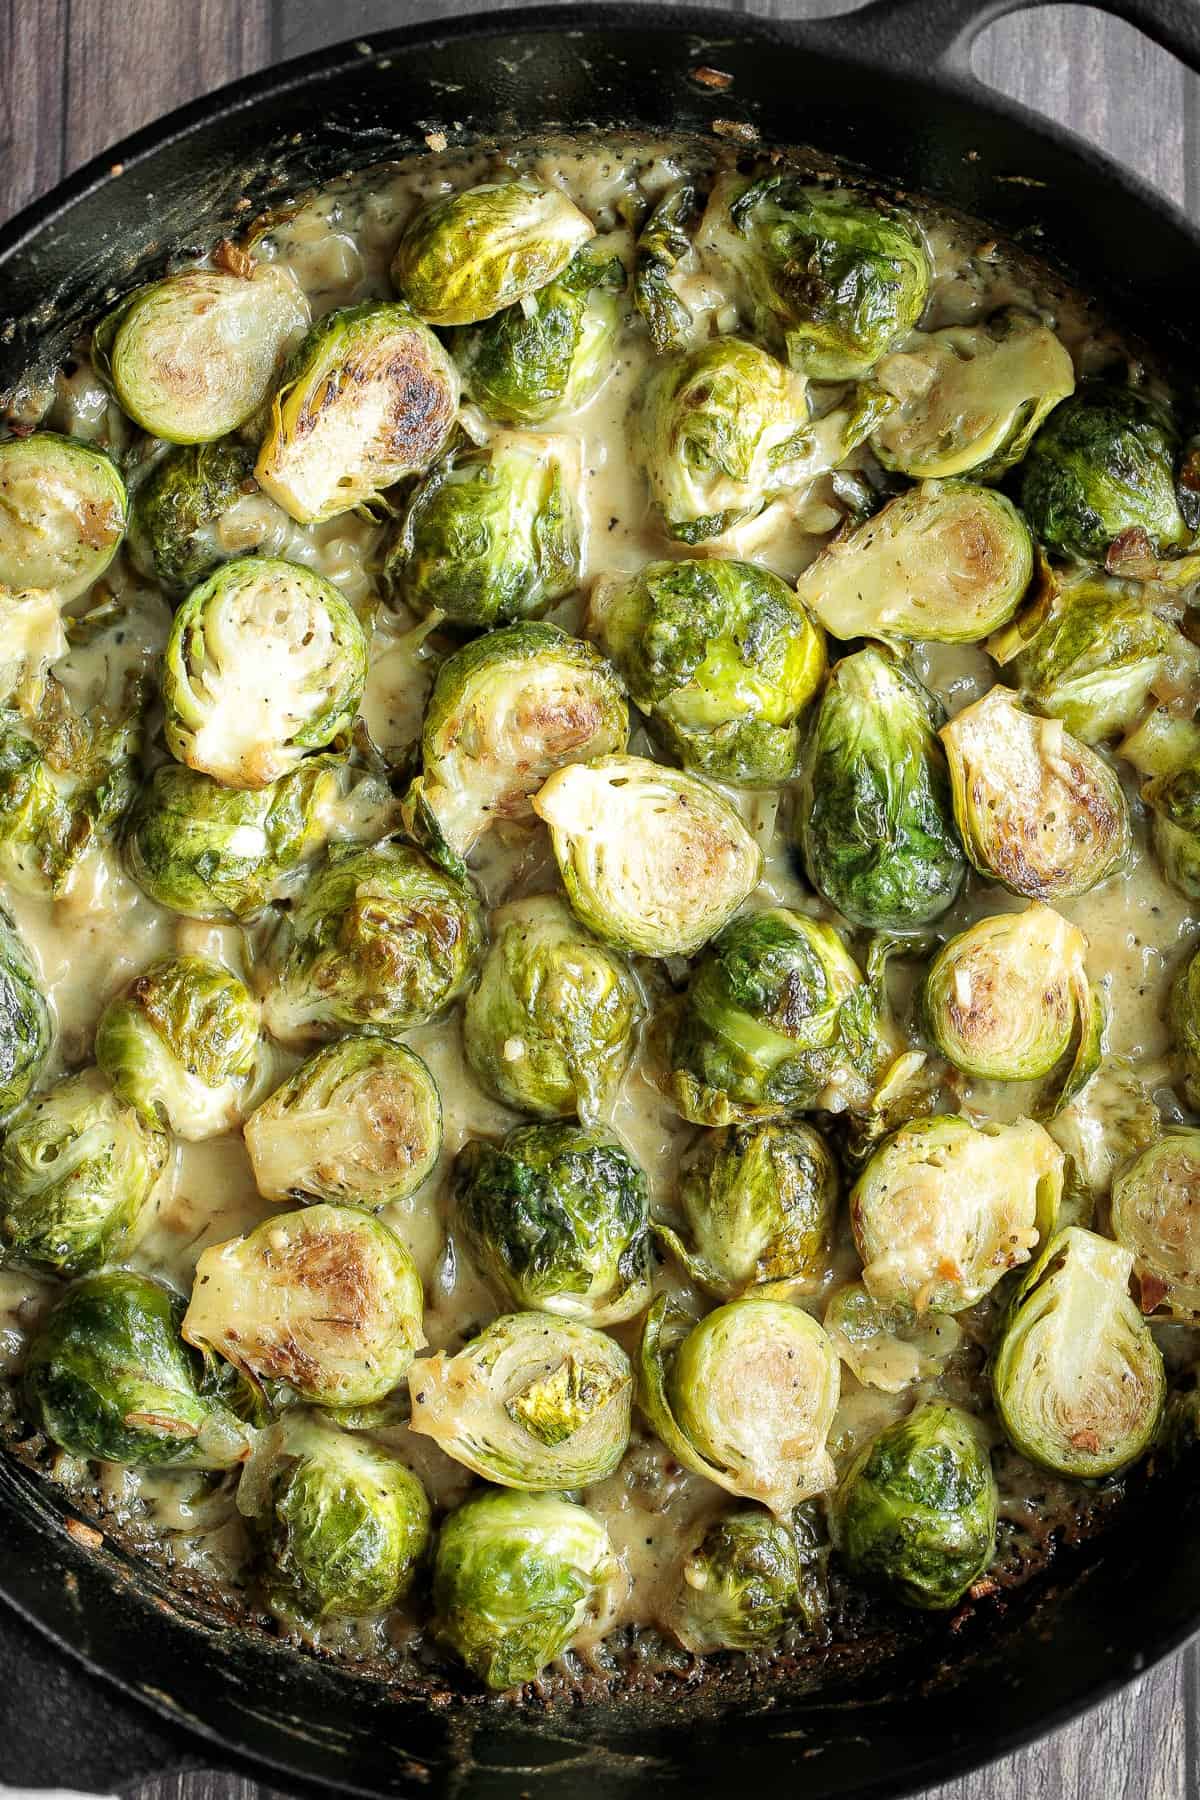
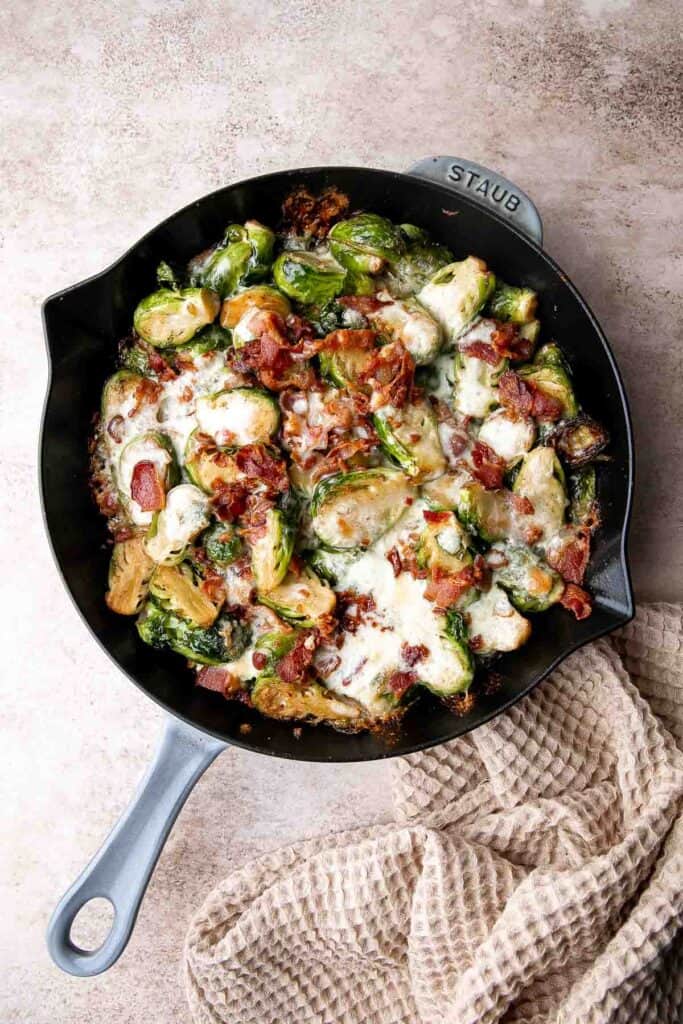
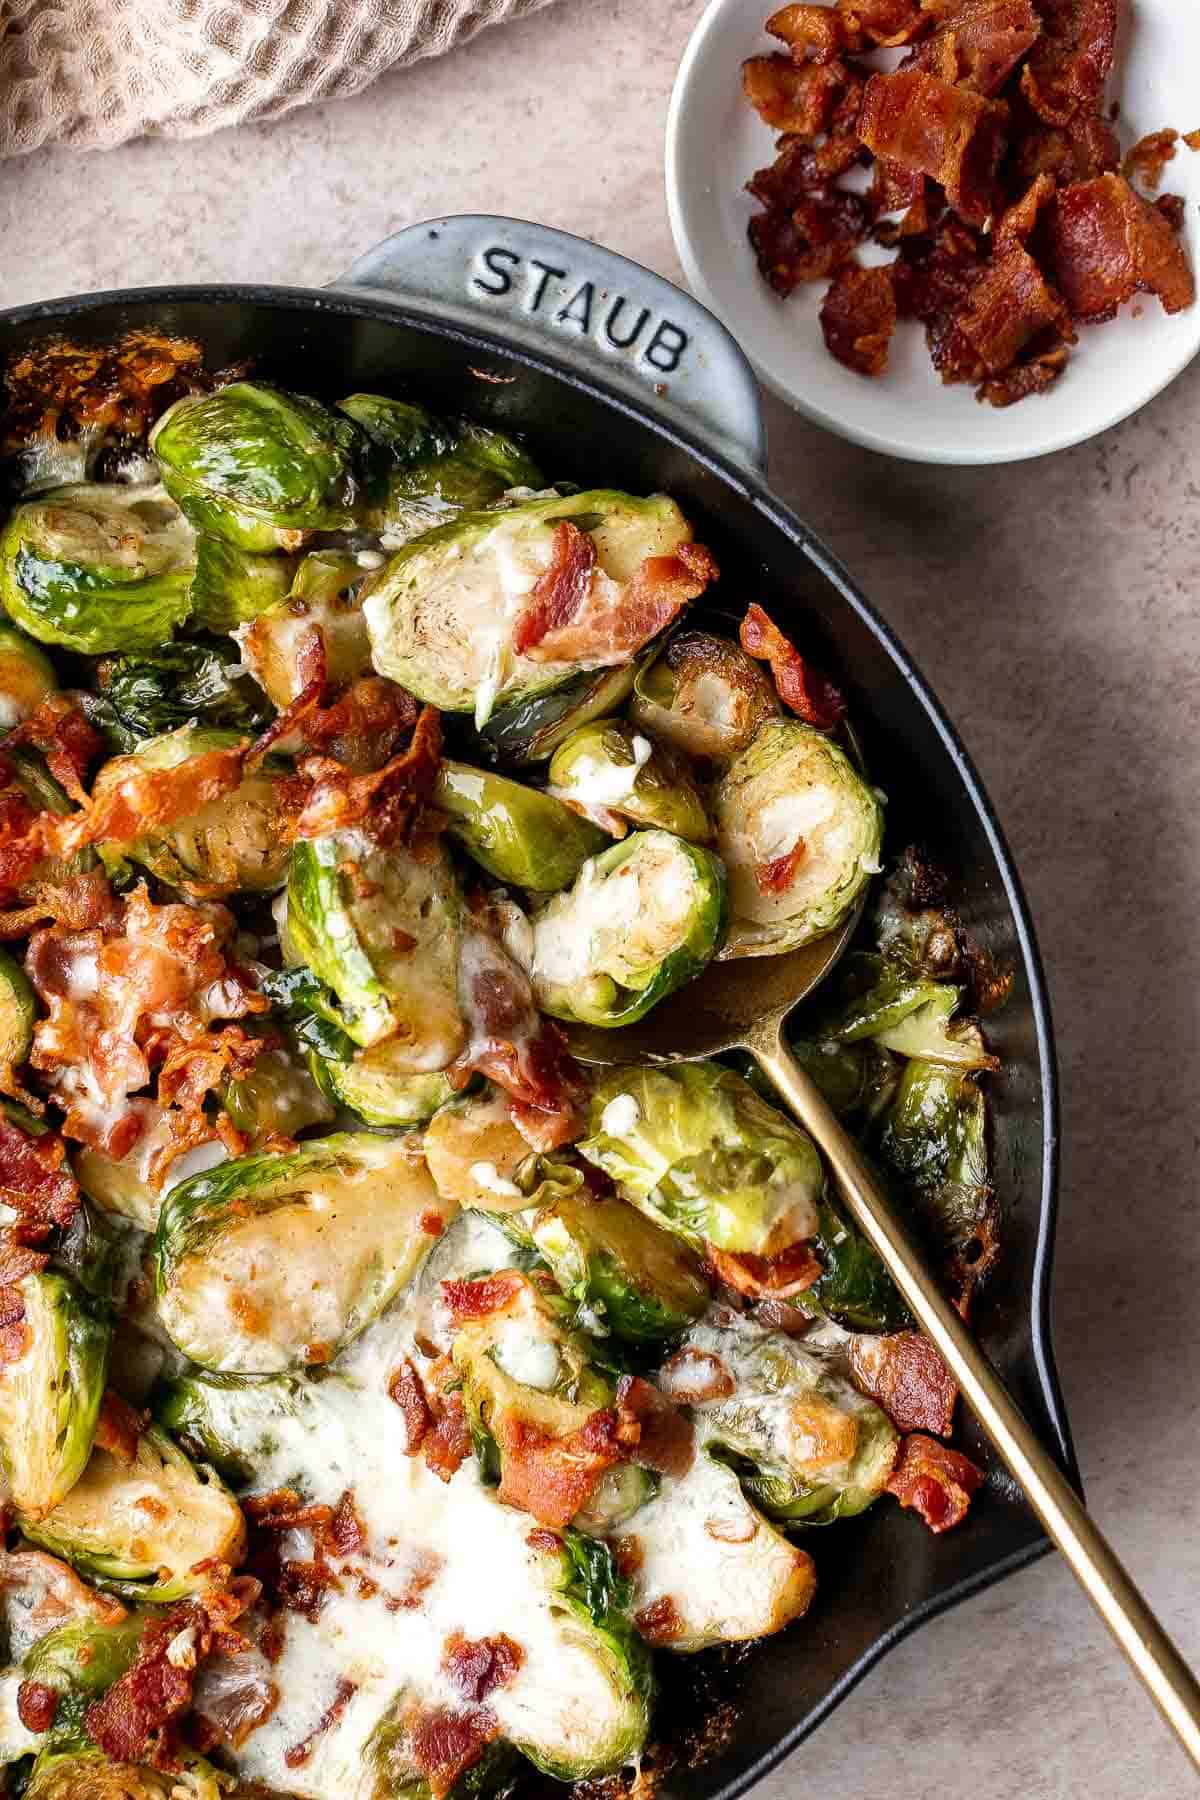
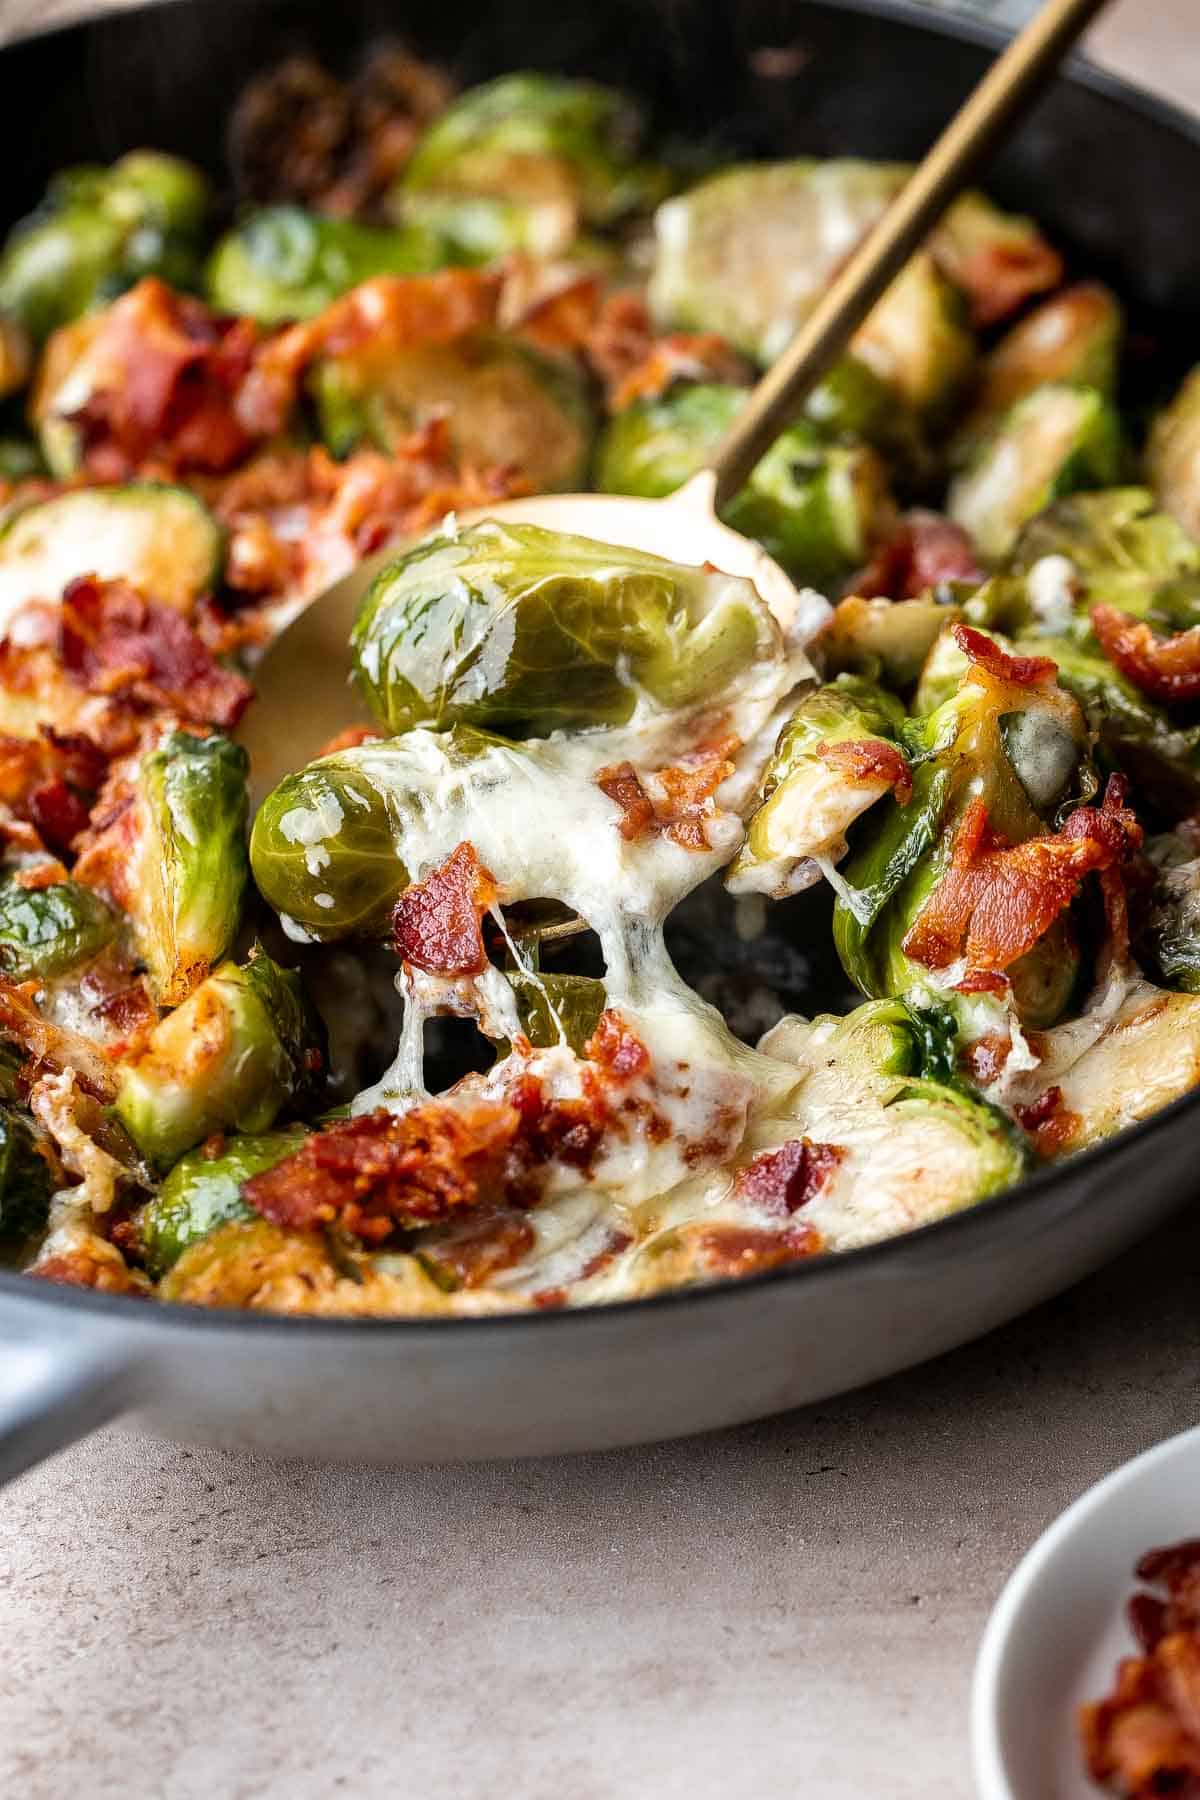
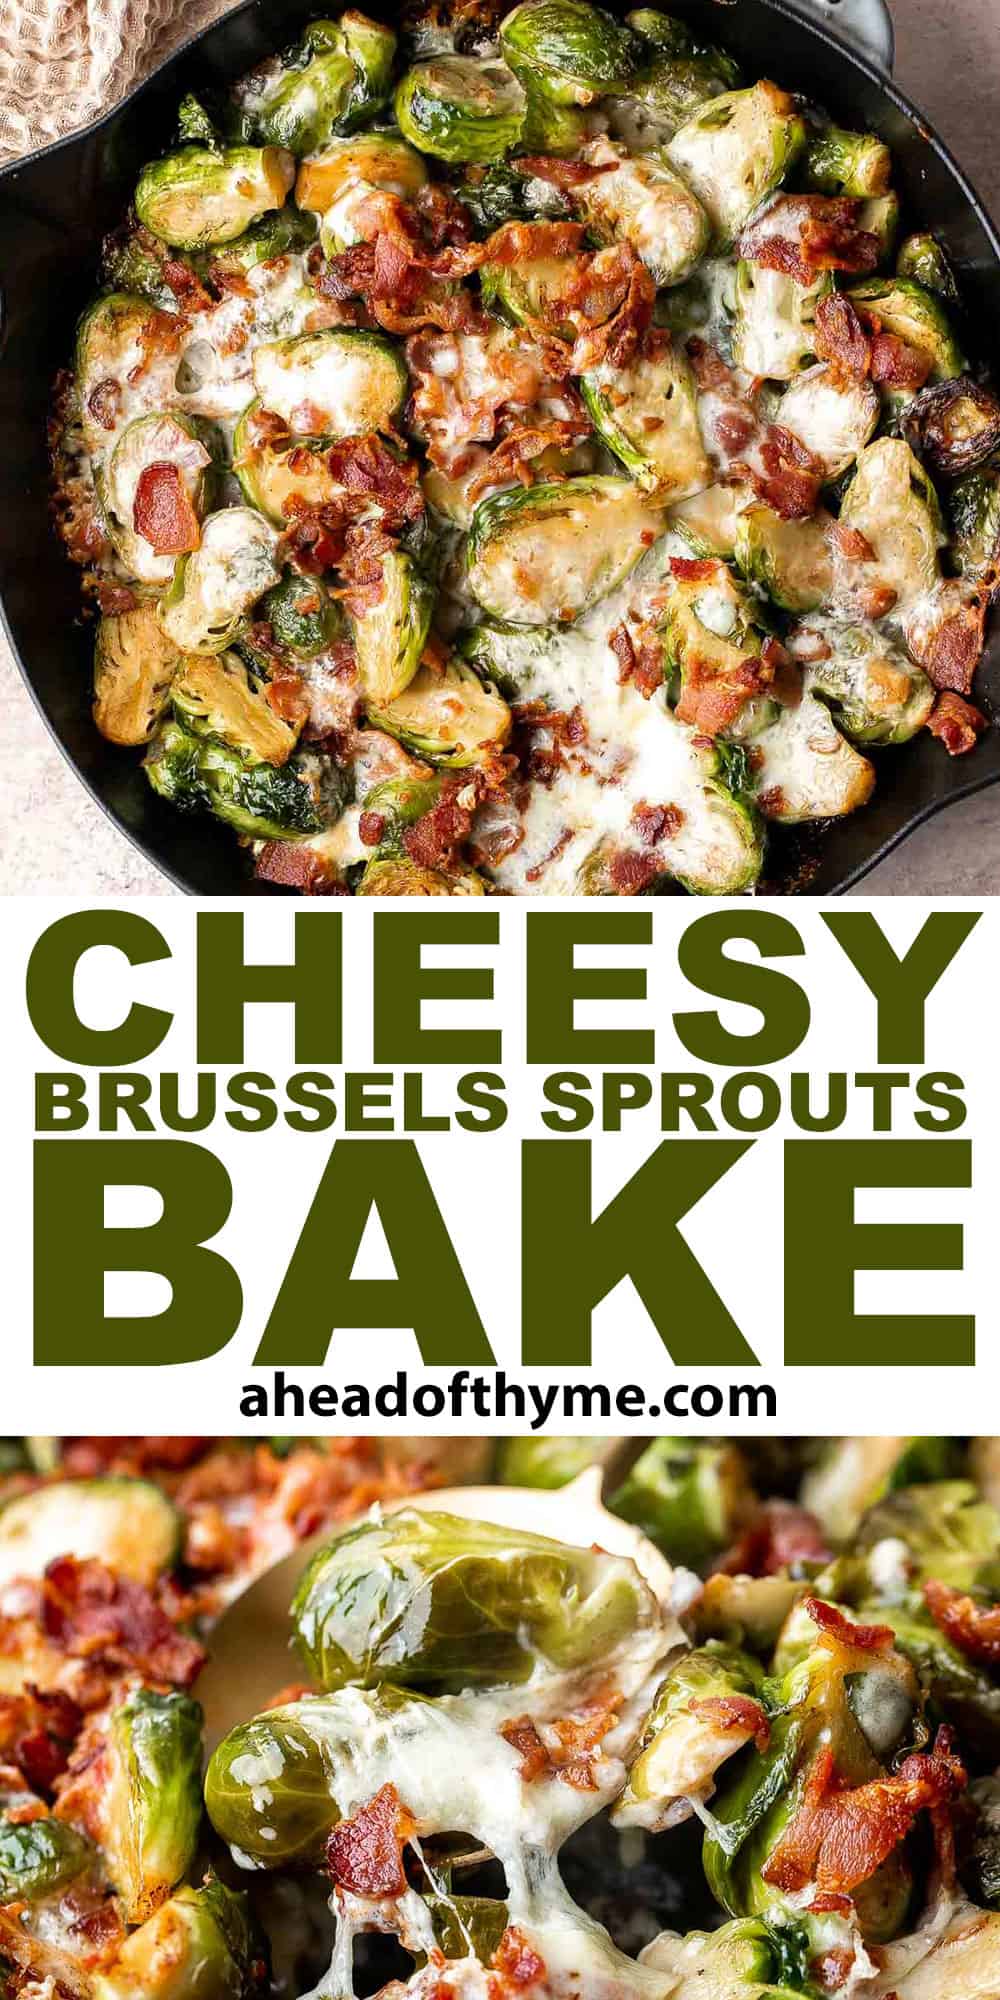
Delicious, garlicky, cheesy and creamy brussels sprouts bake is the ultimate comfort food side dish. So flavourful and the best way to eat brussels sprouts.
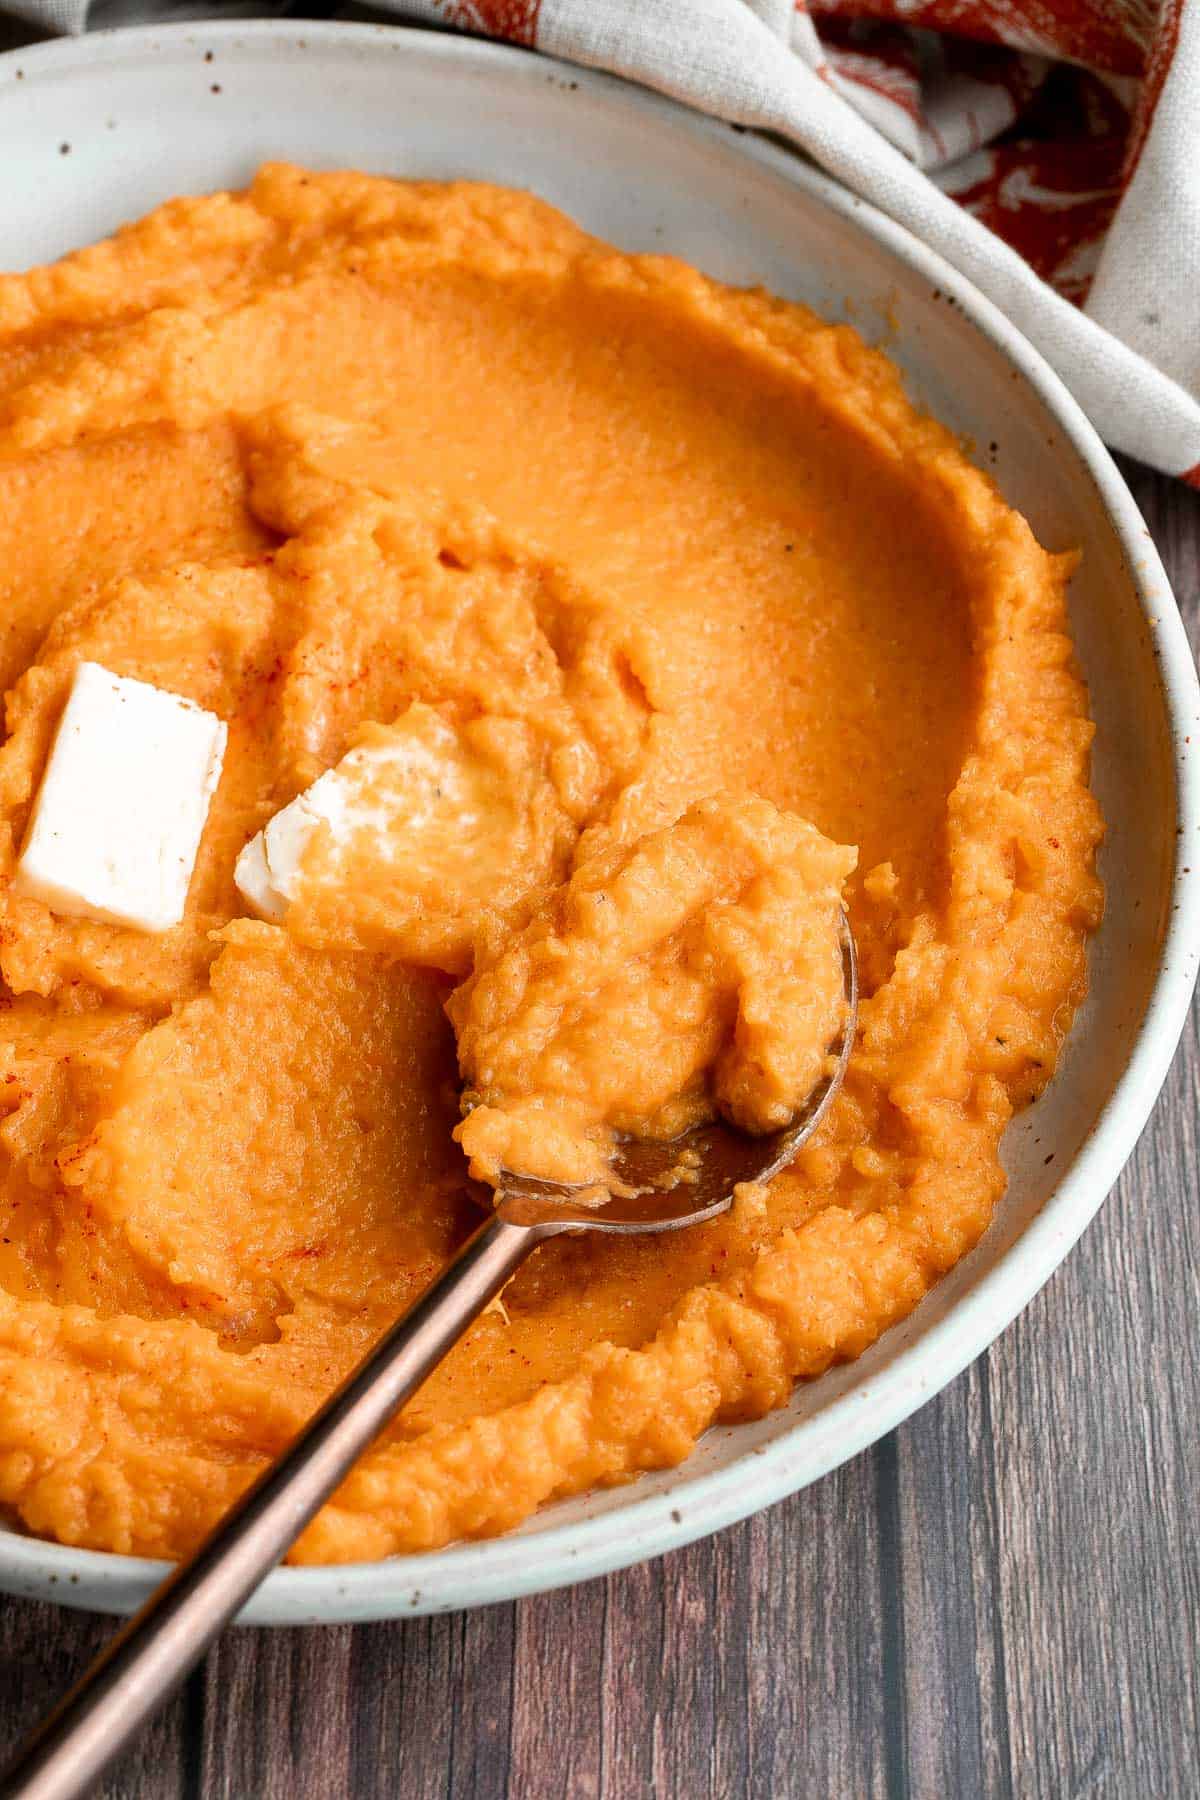
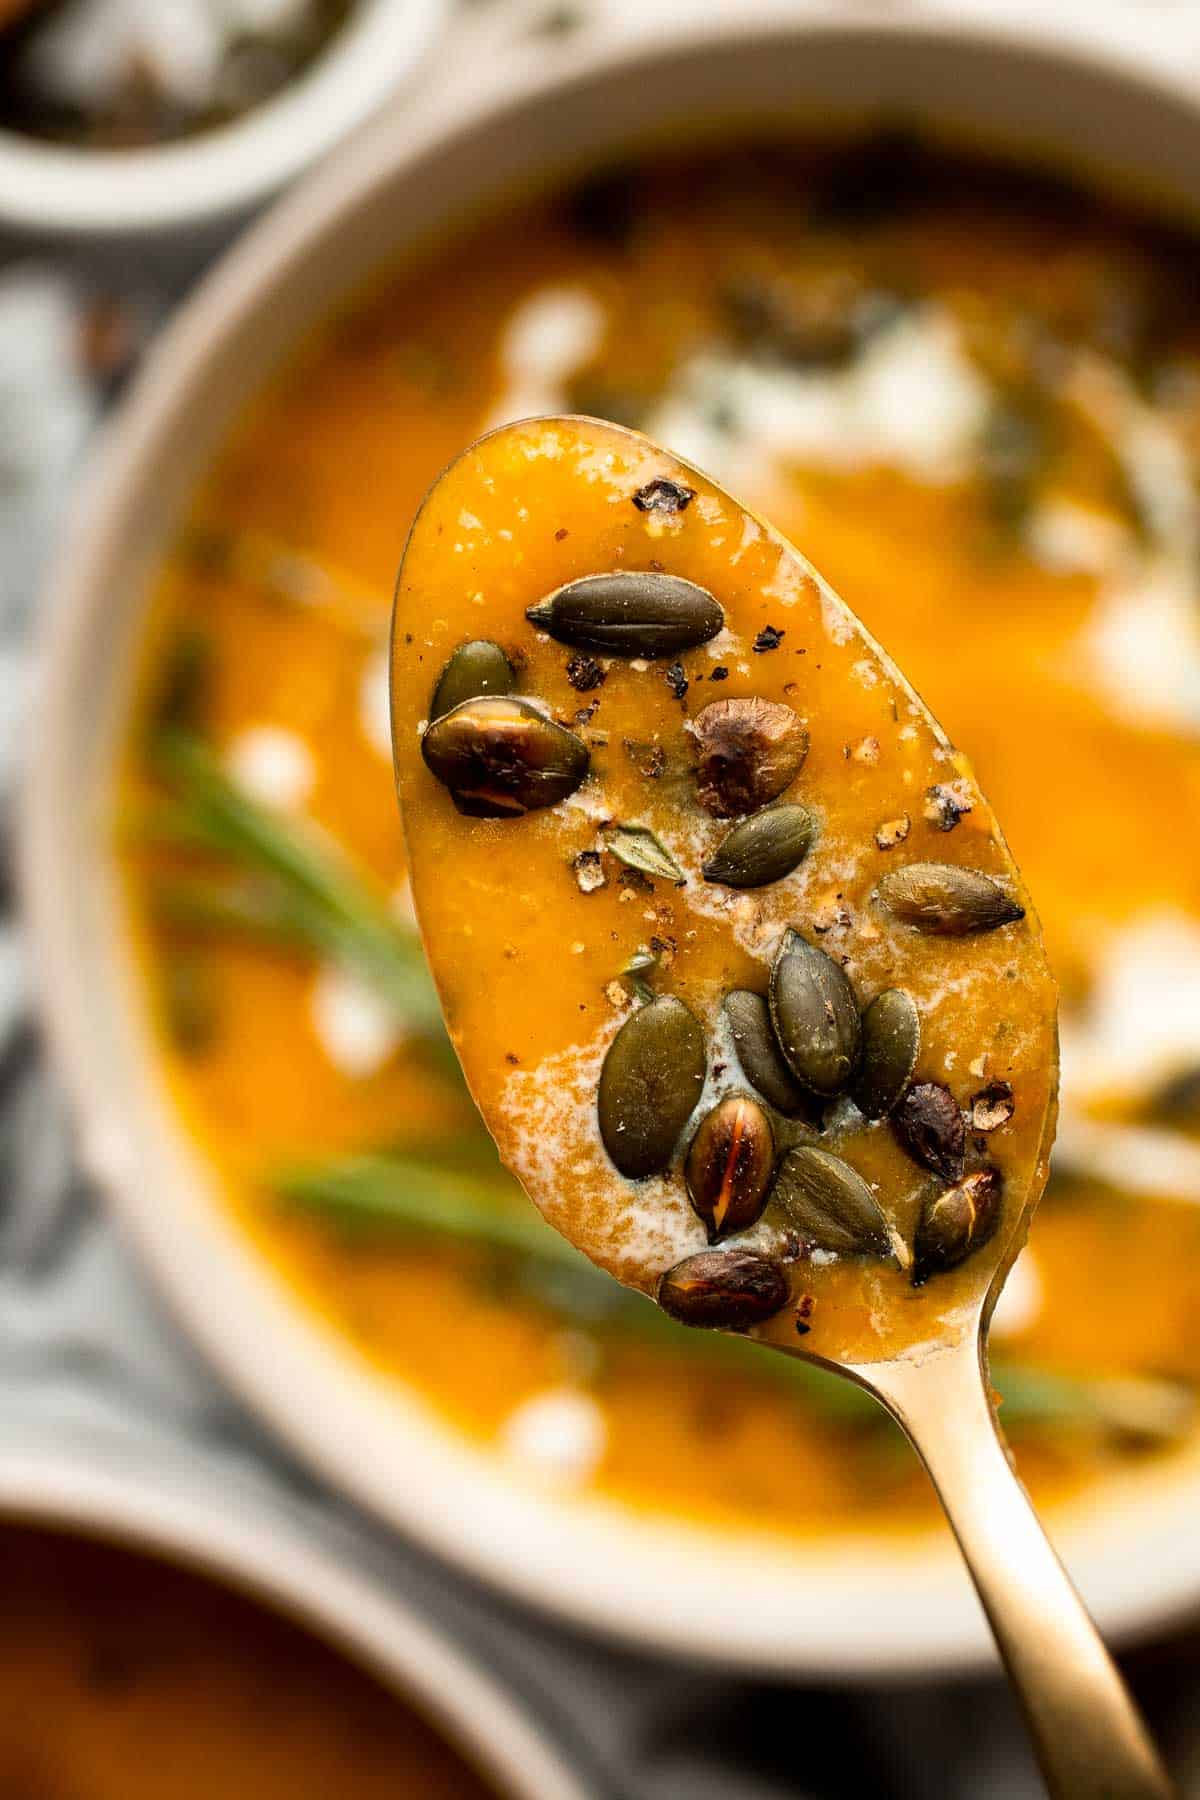
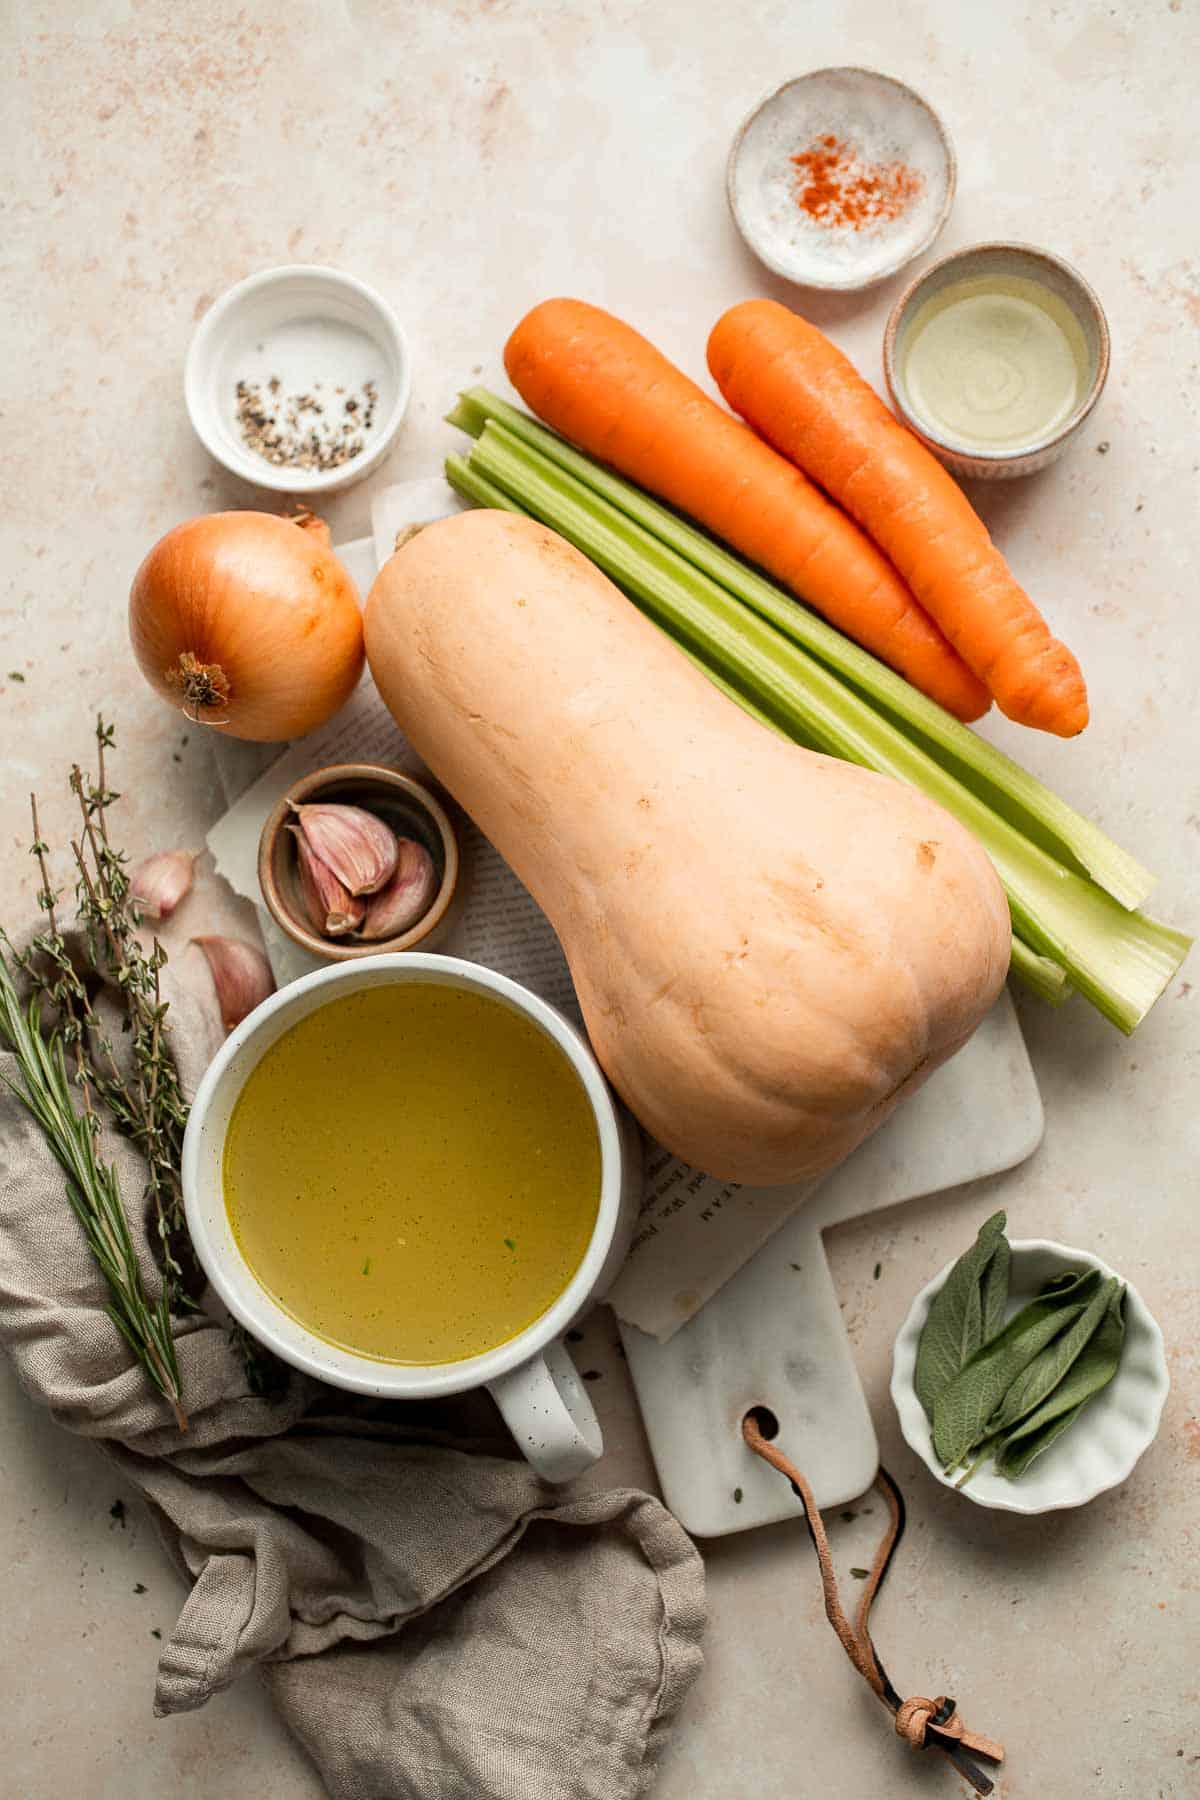
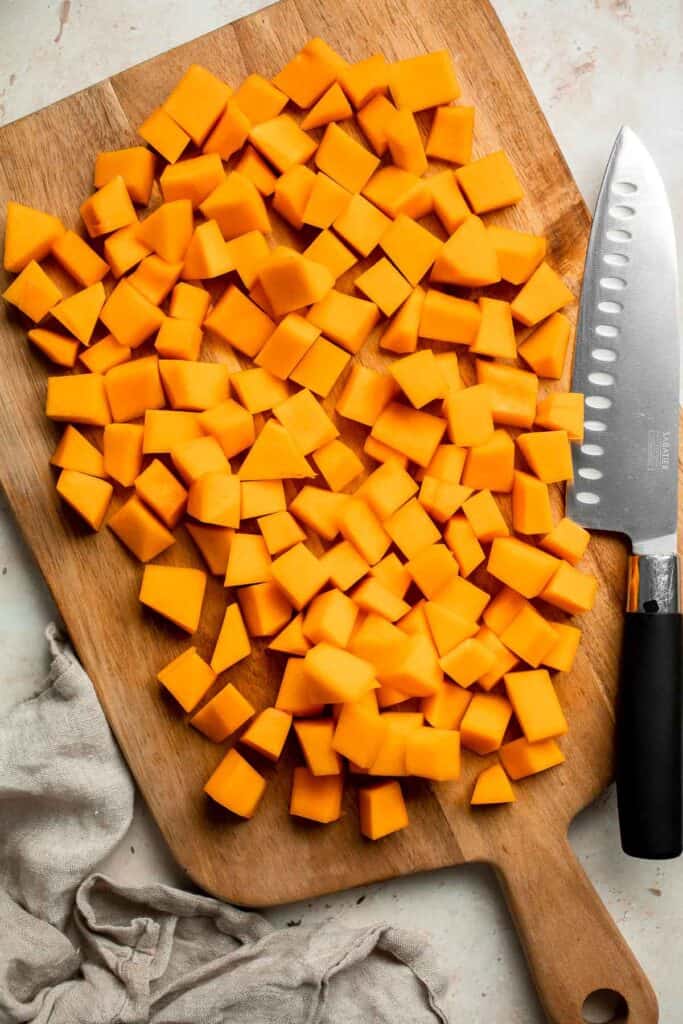
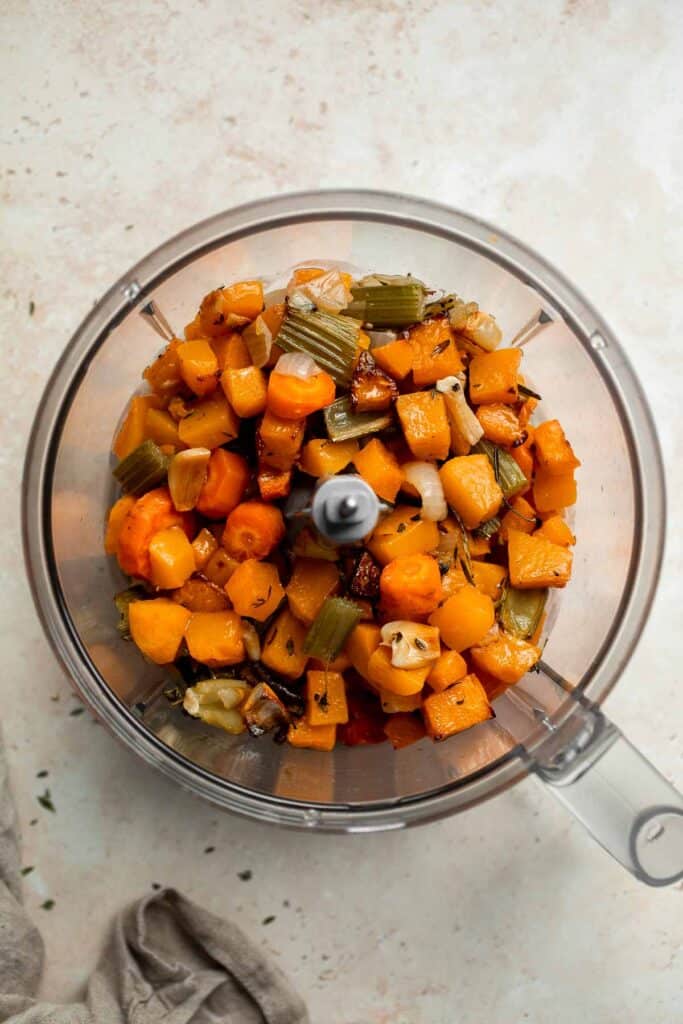
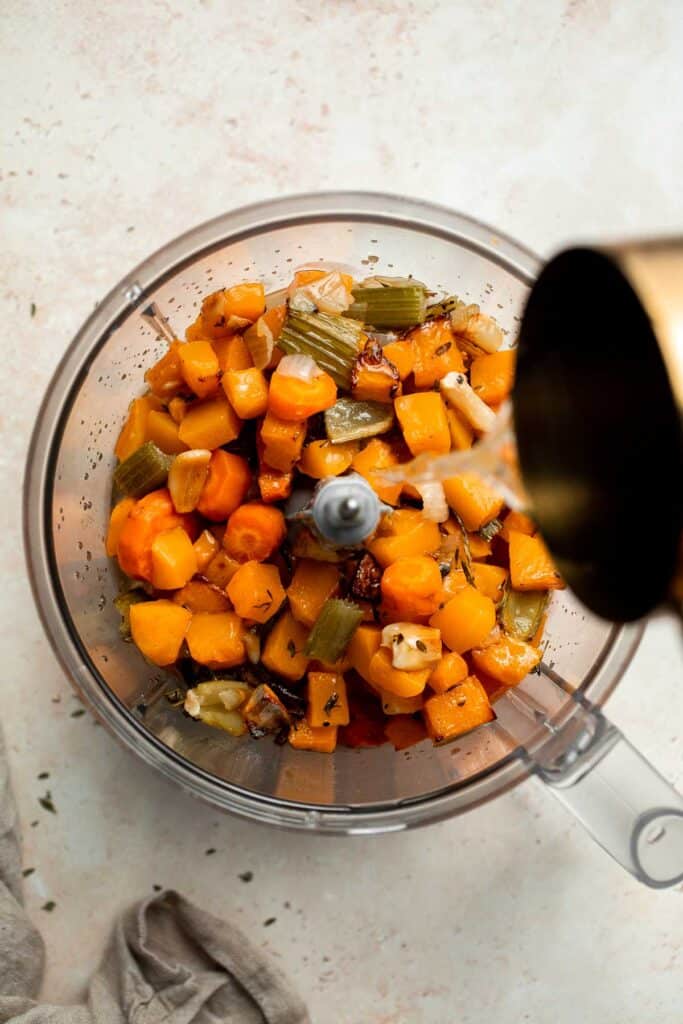
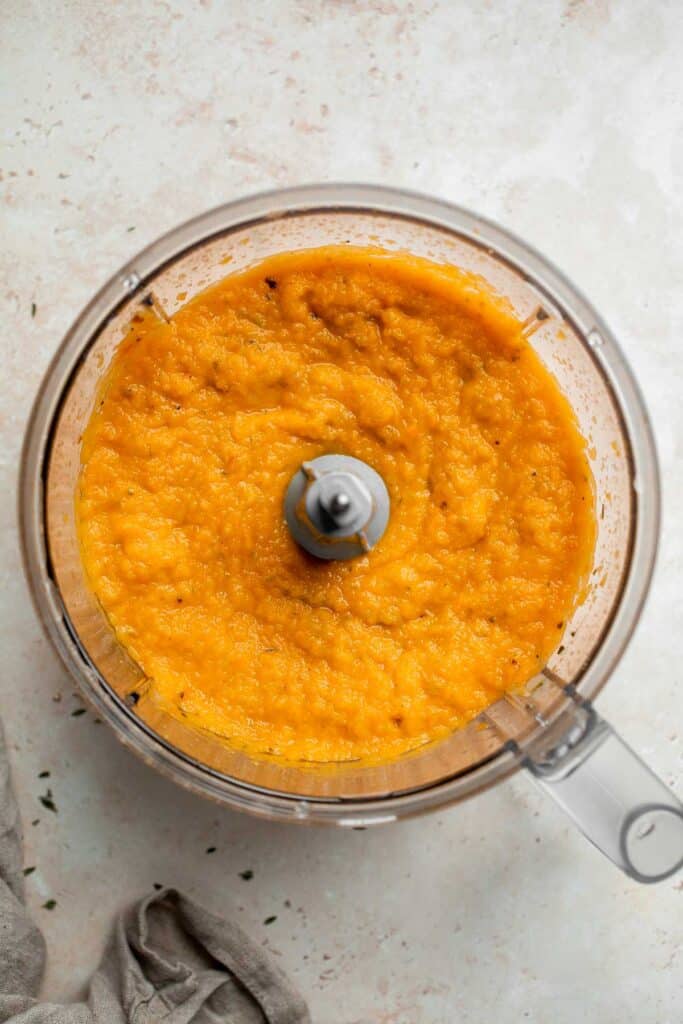
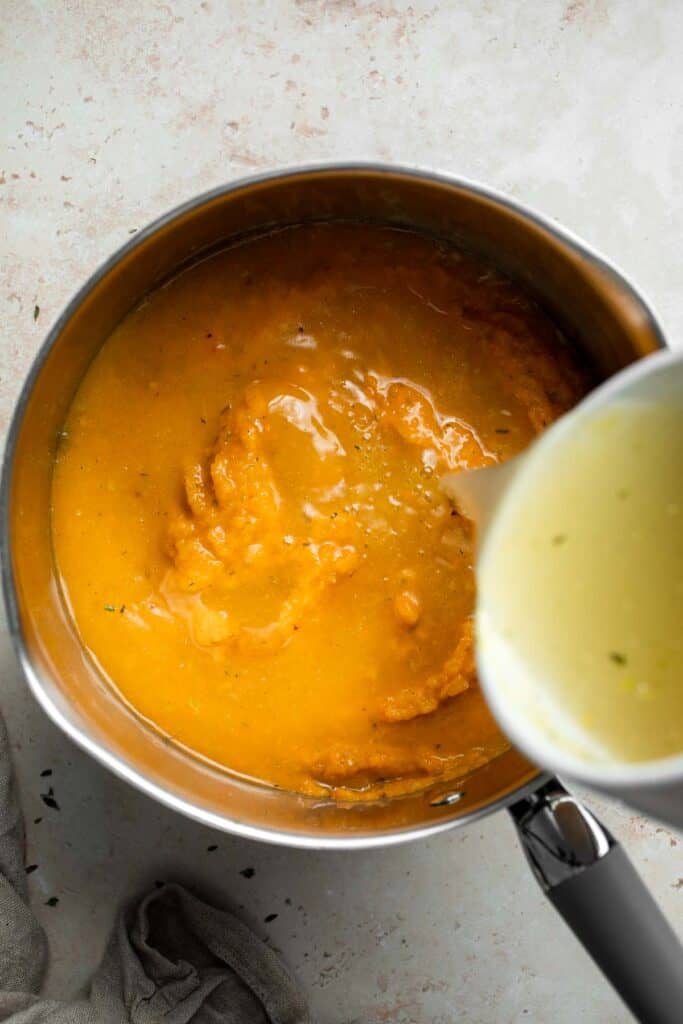
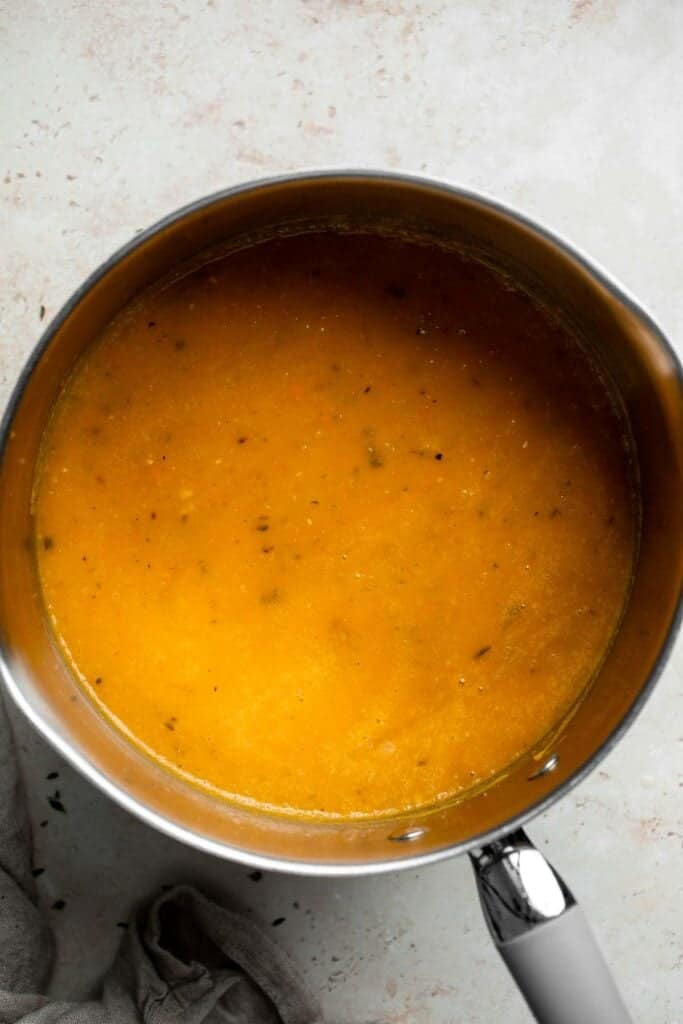
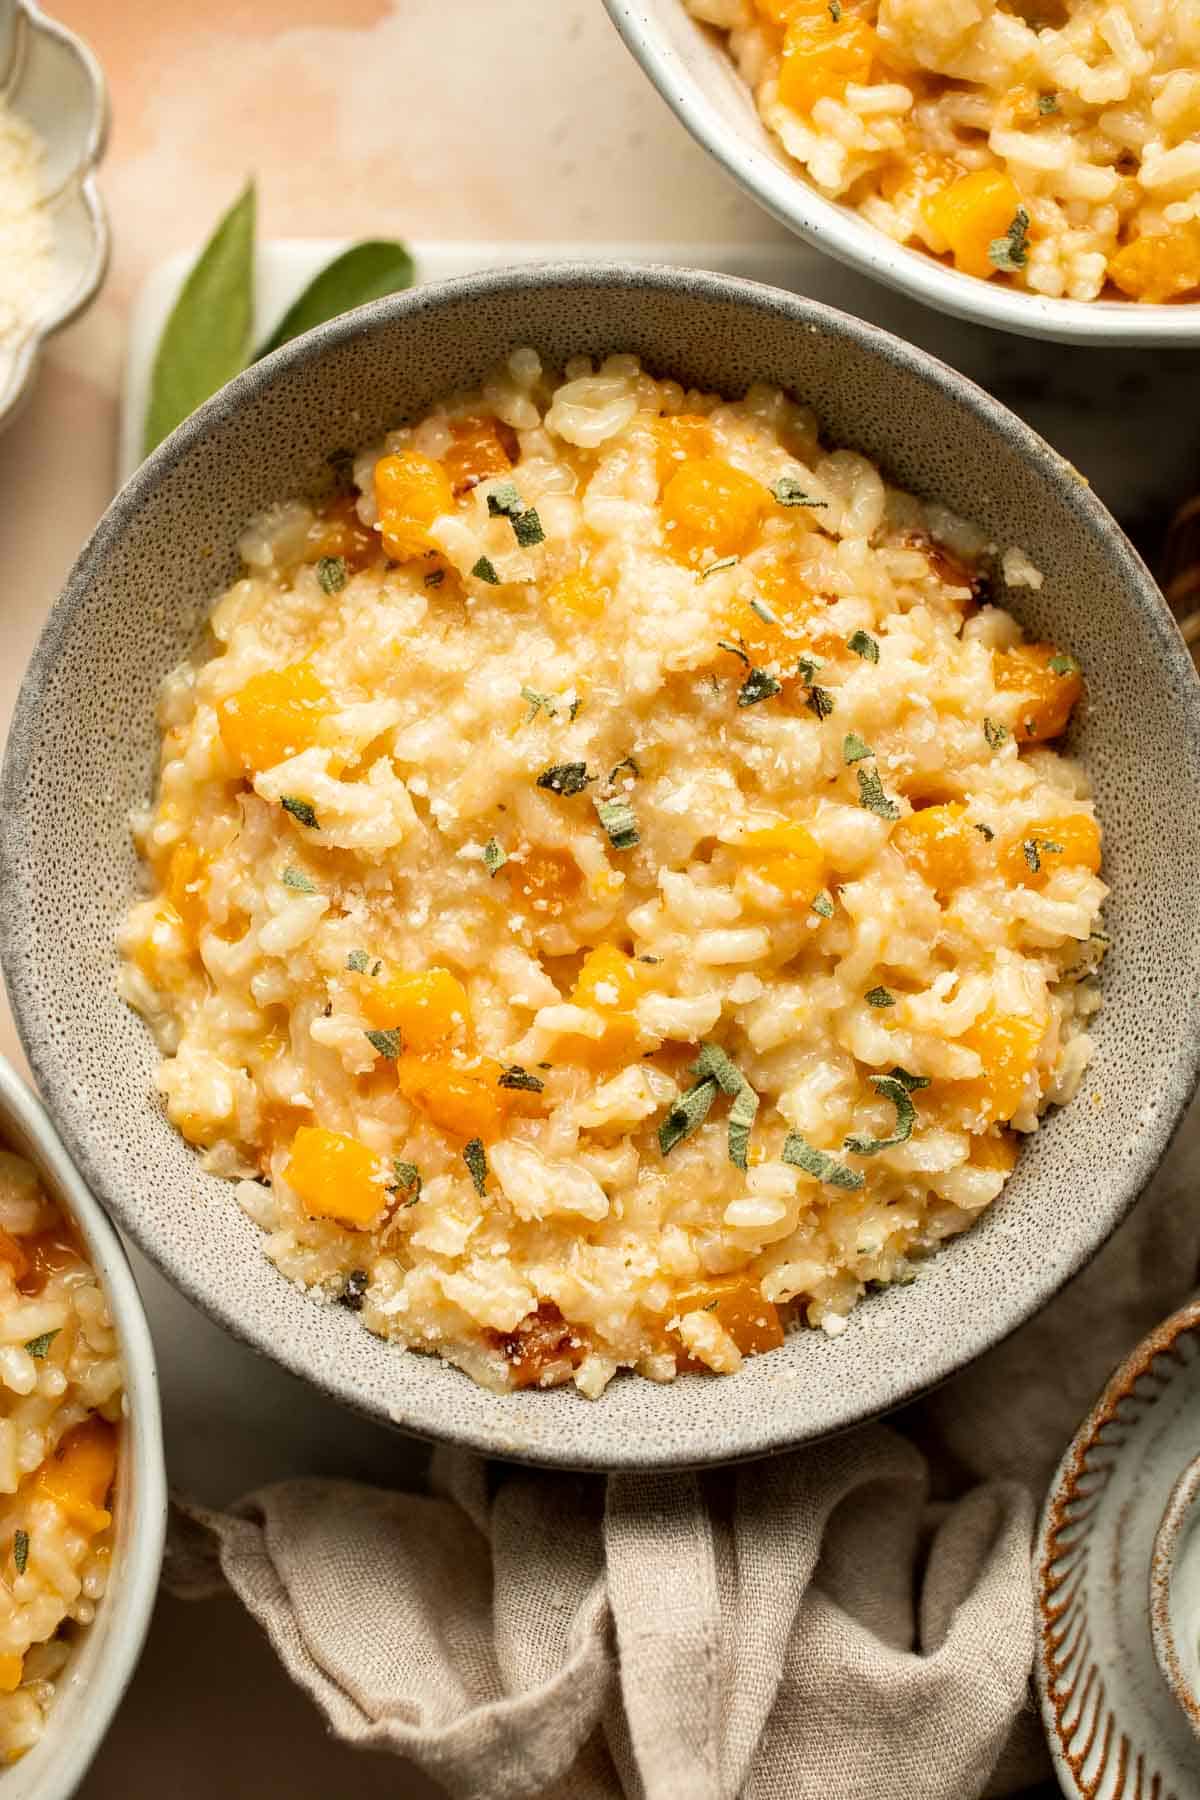
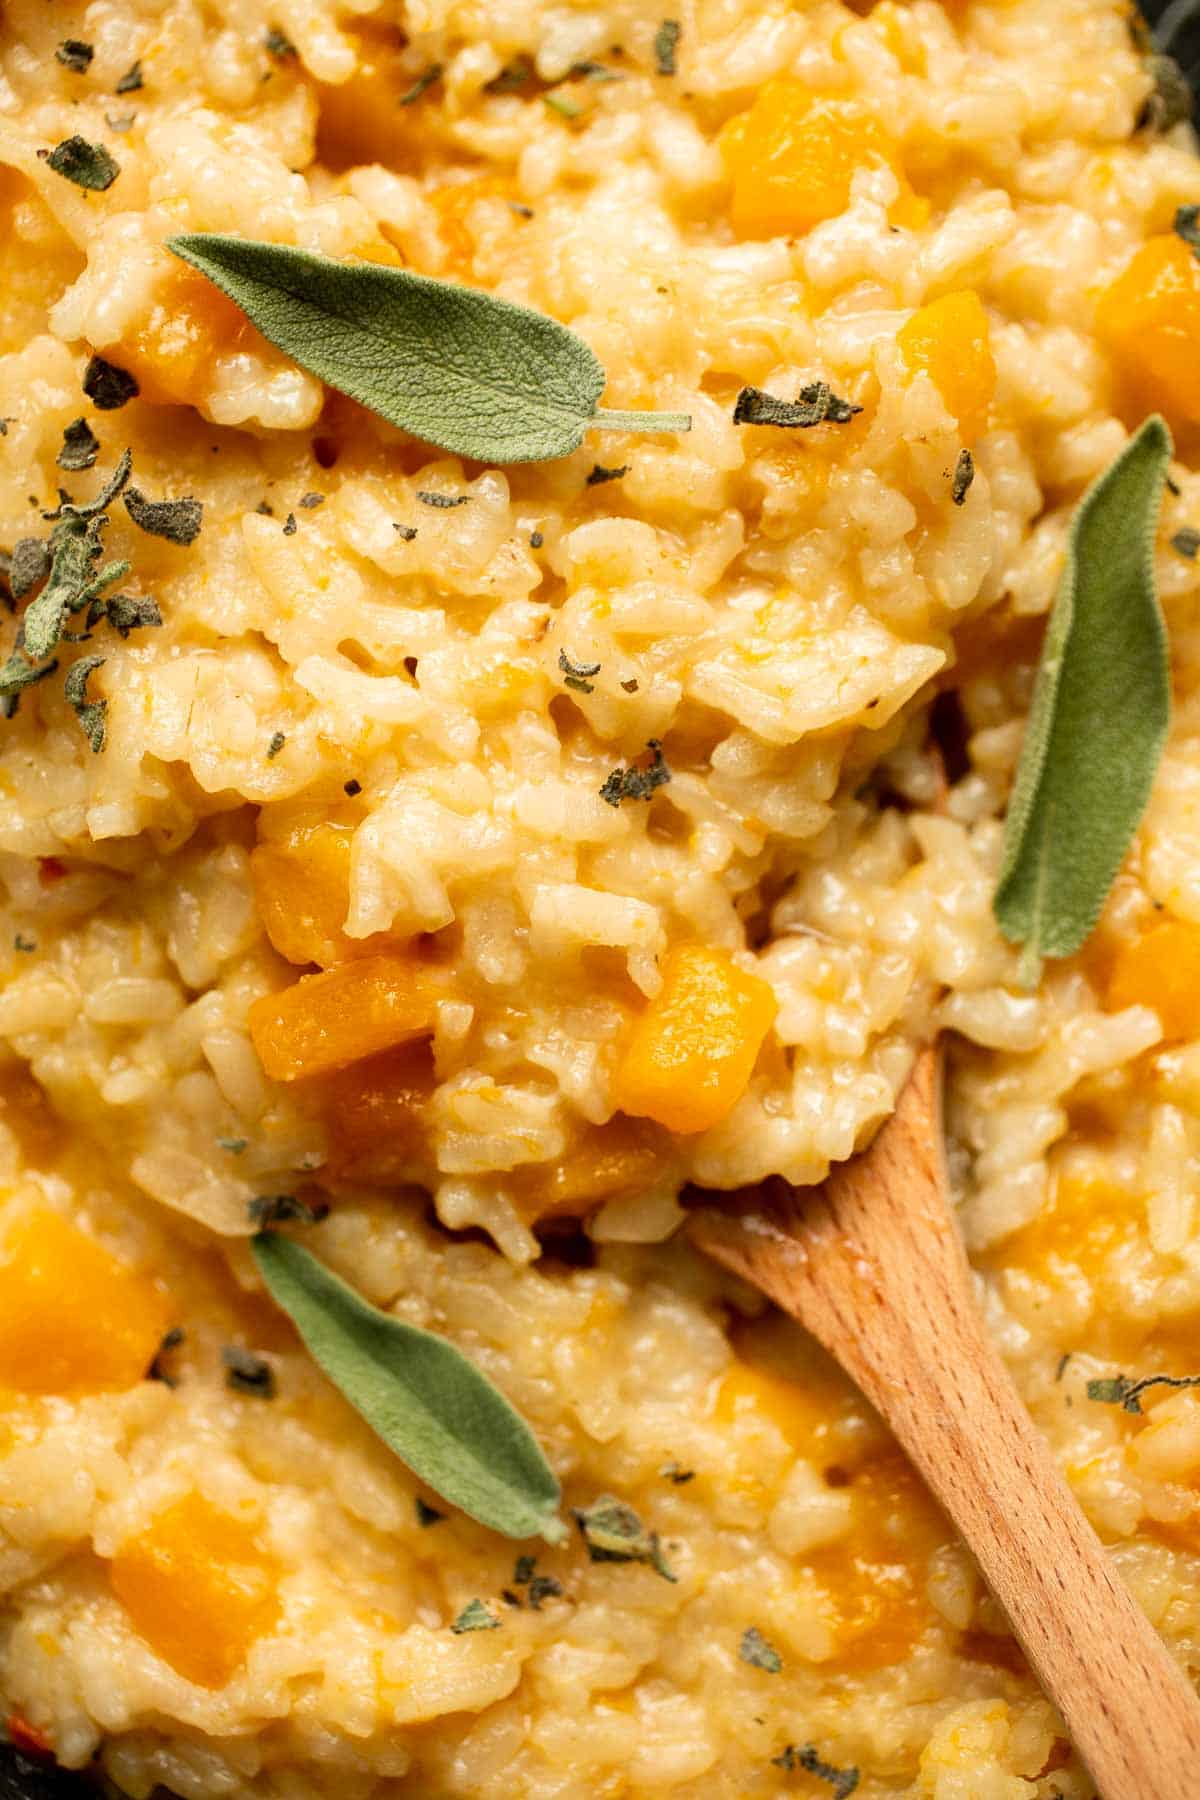
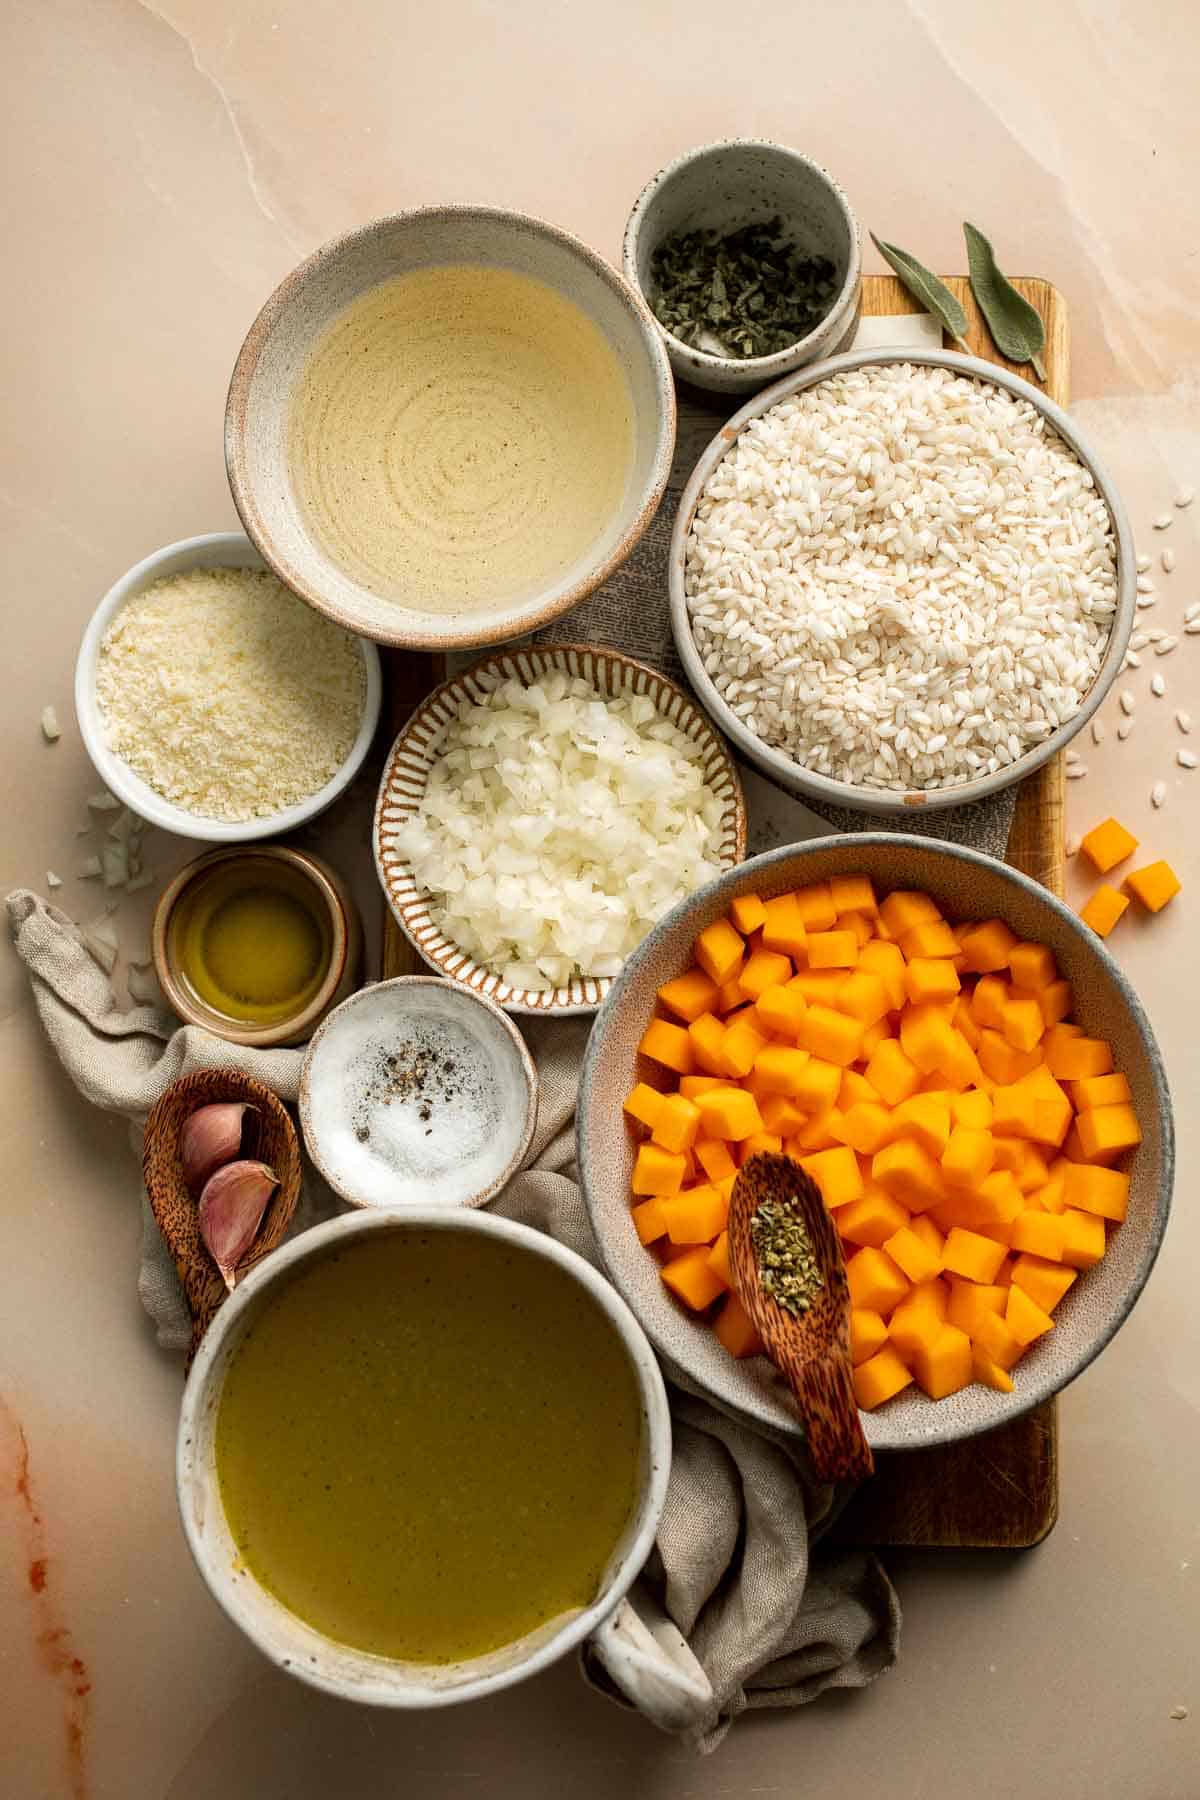
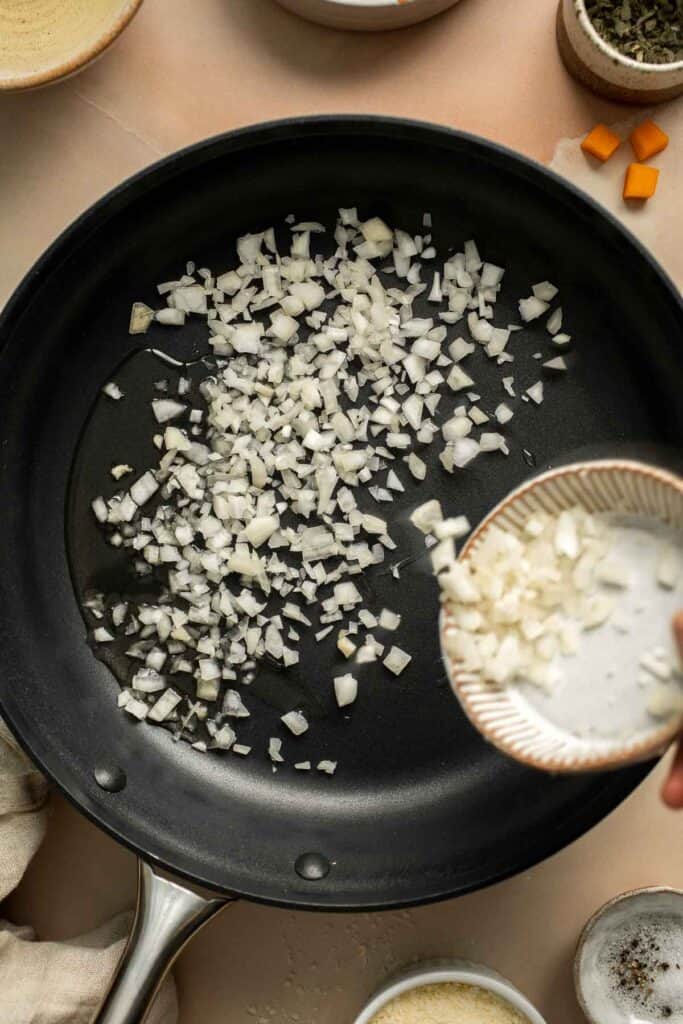
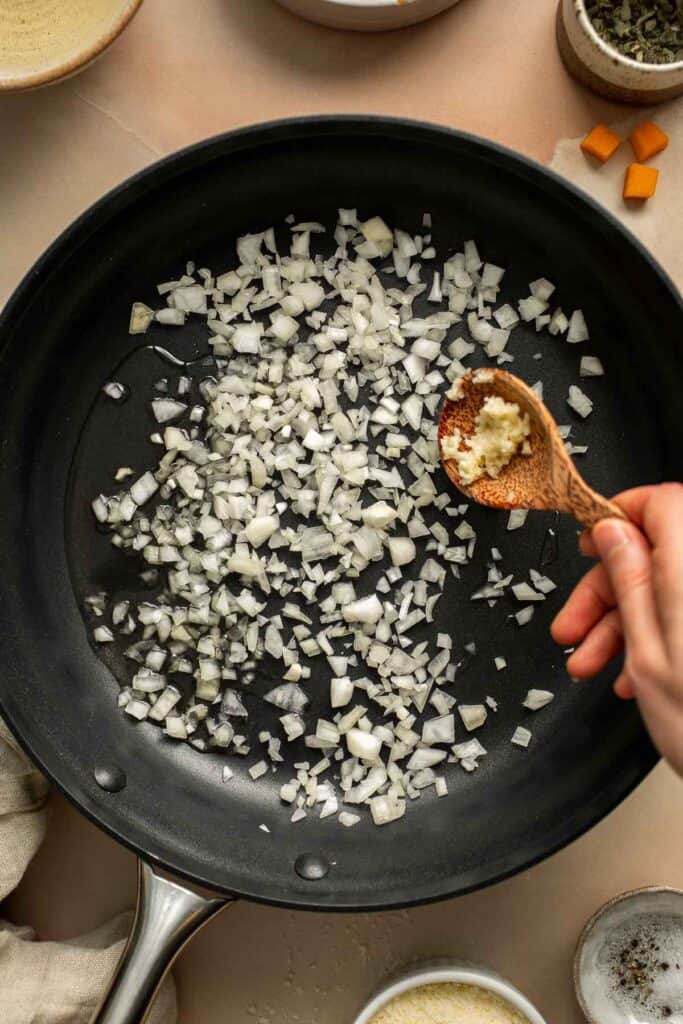
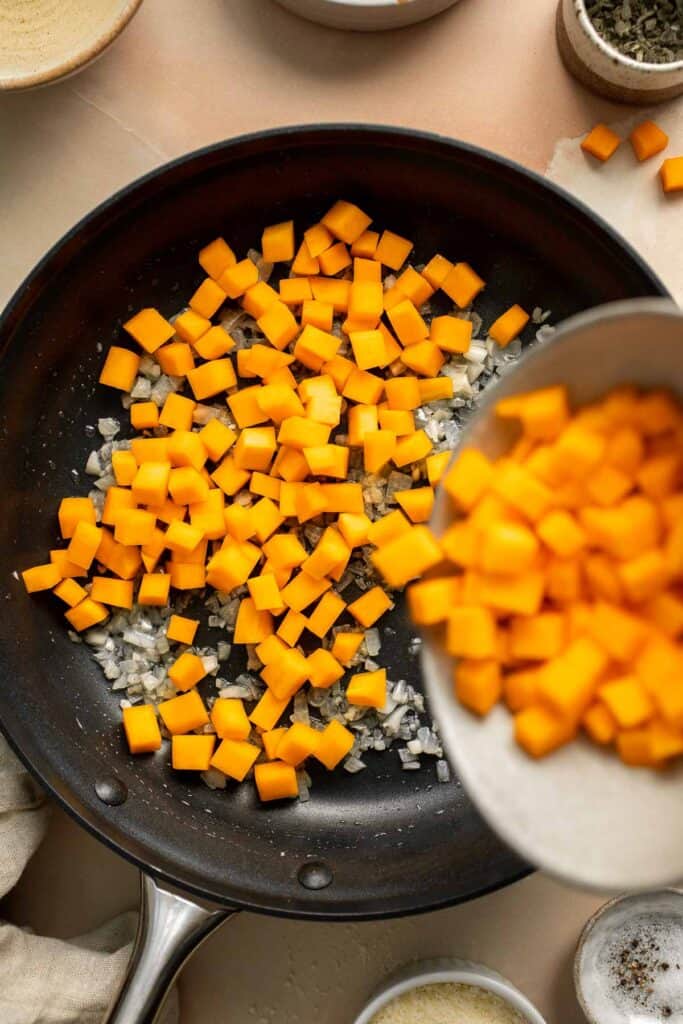
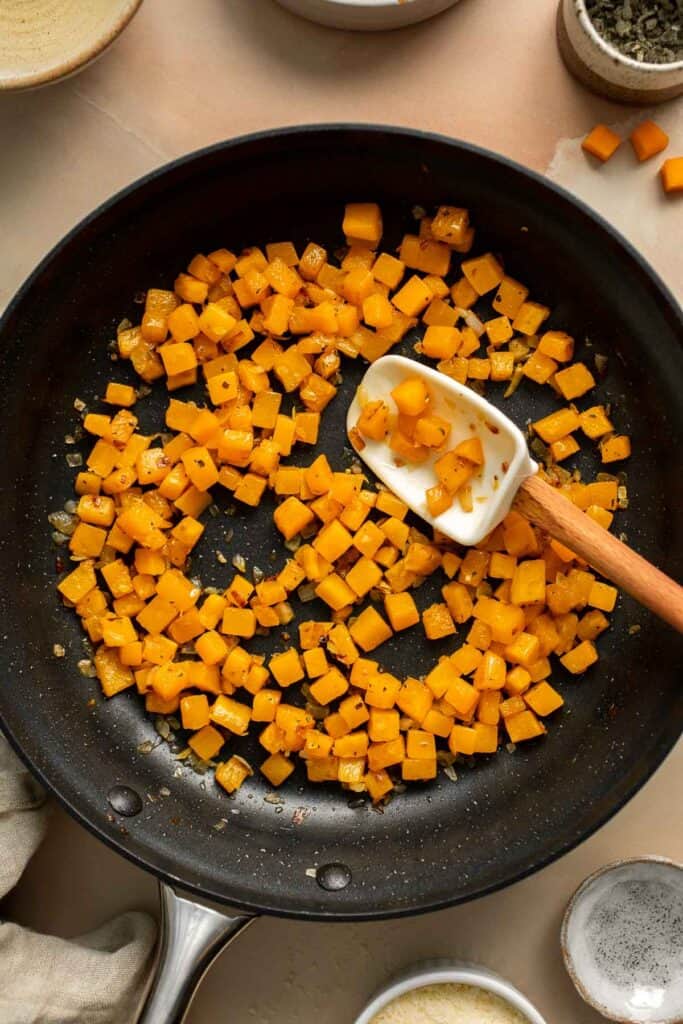
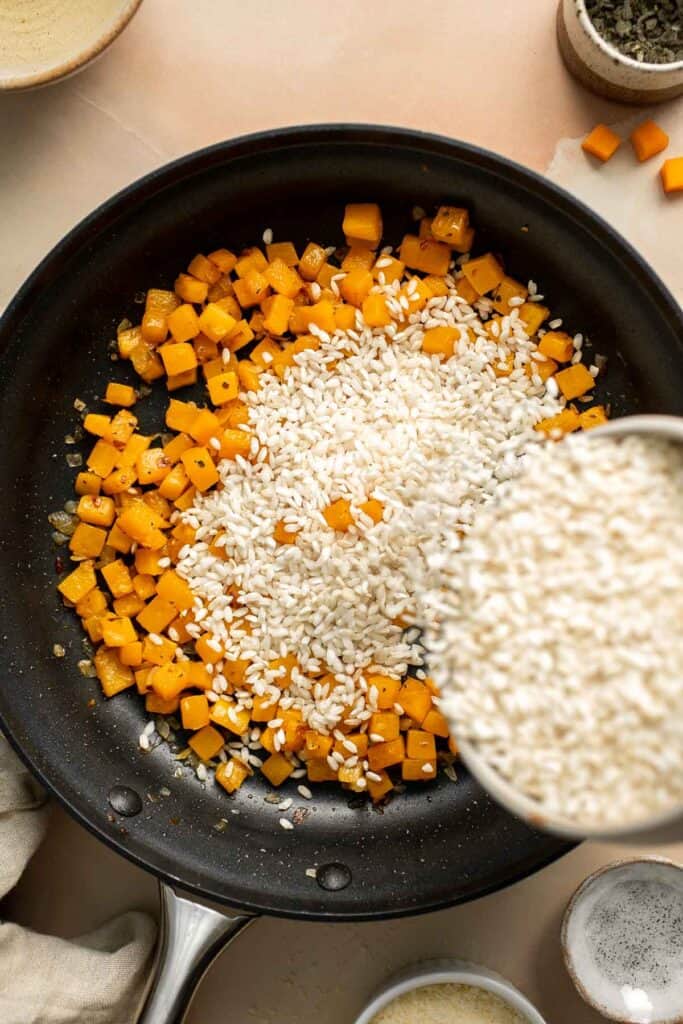
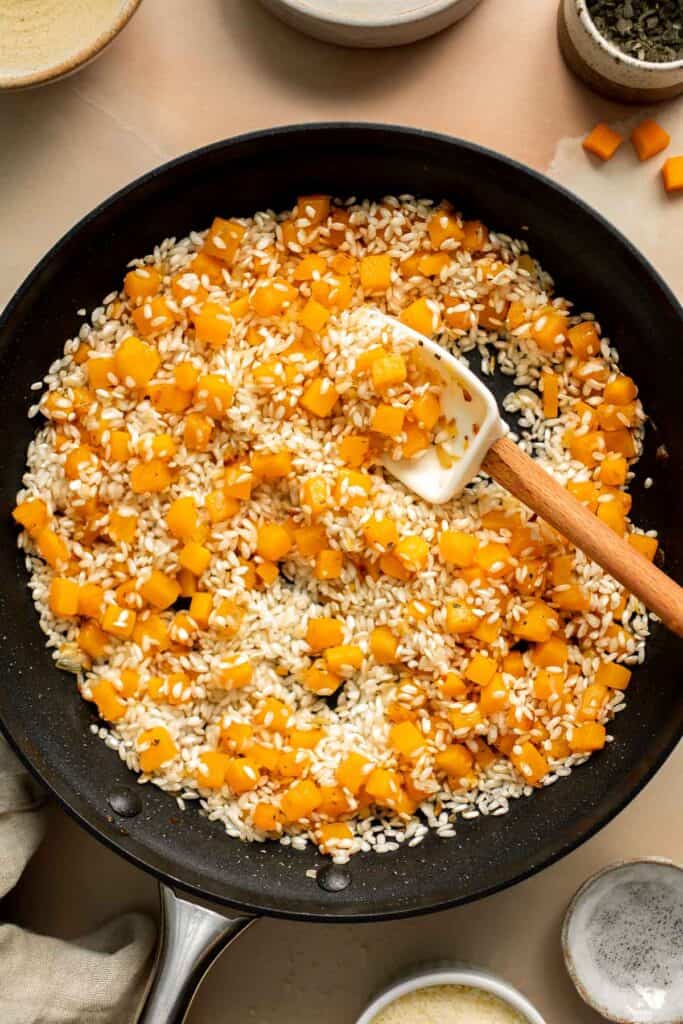
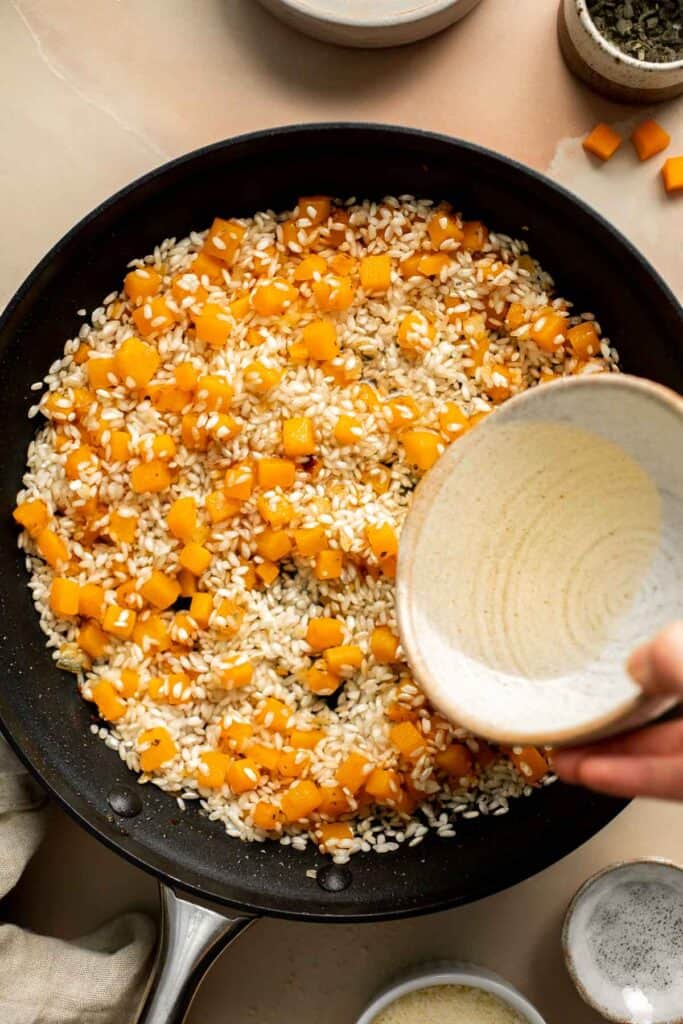
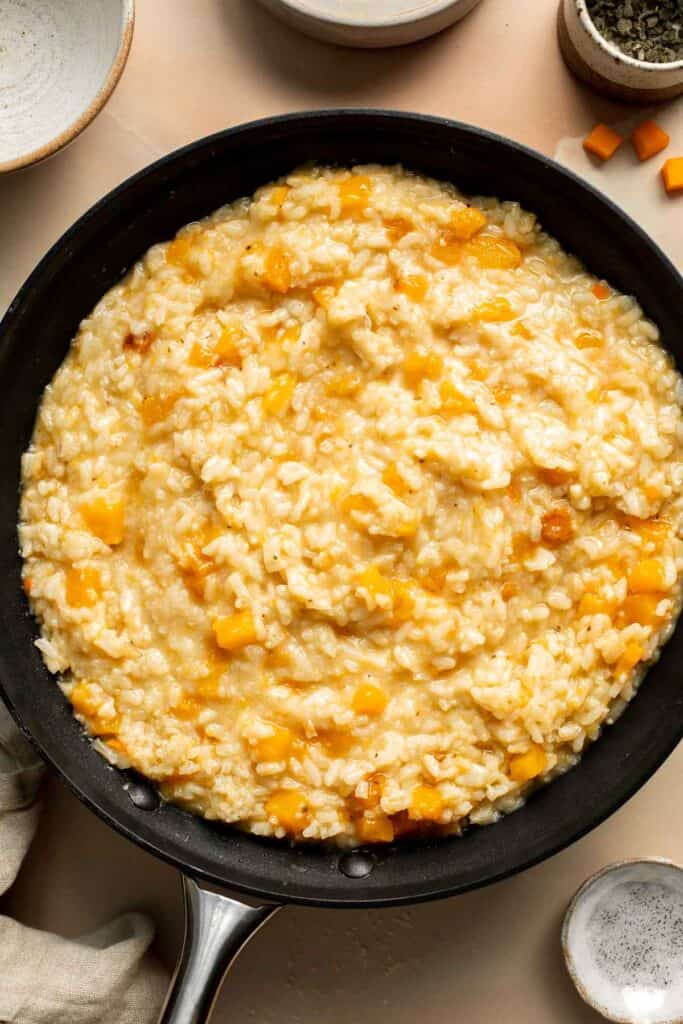
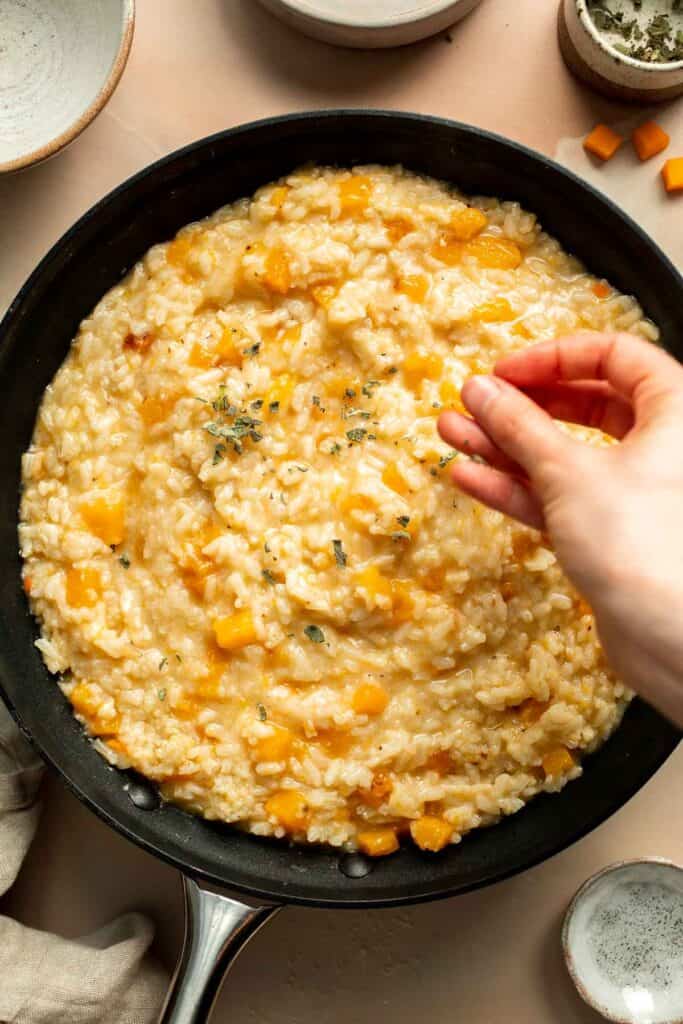
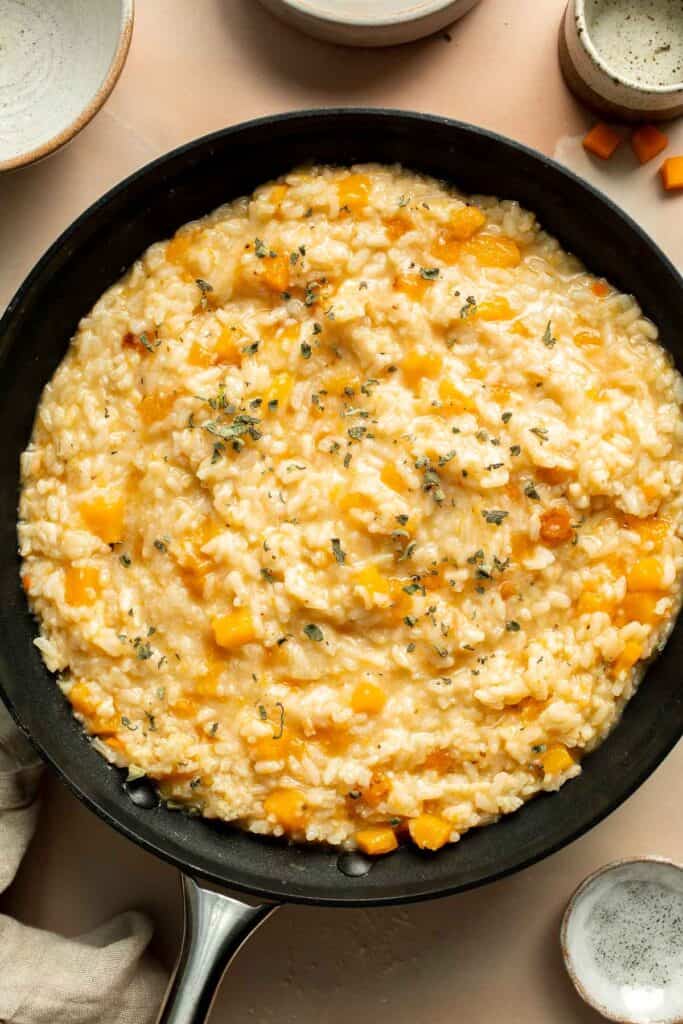
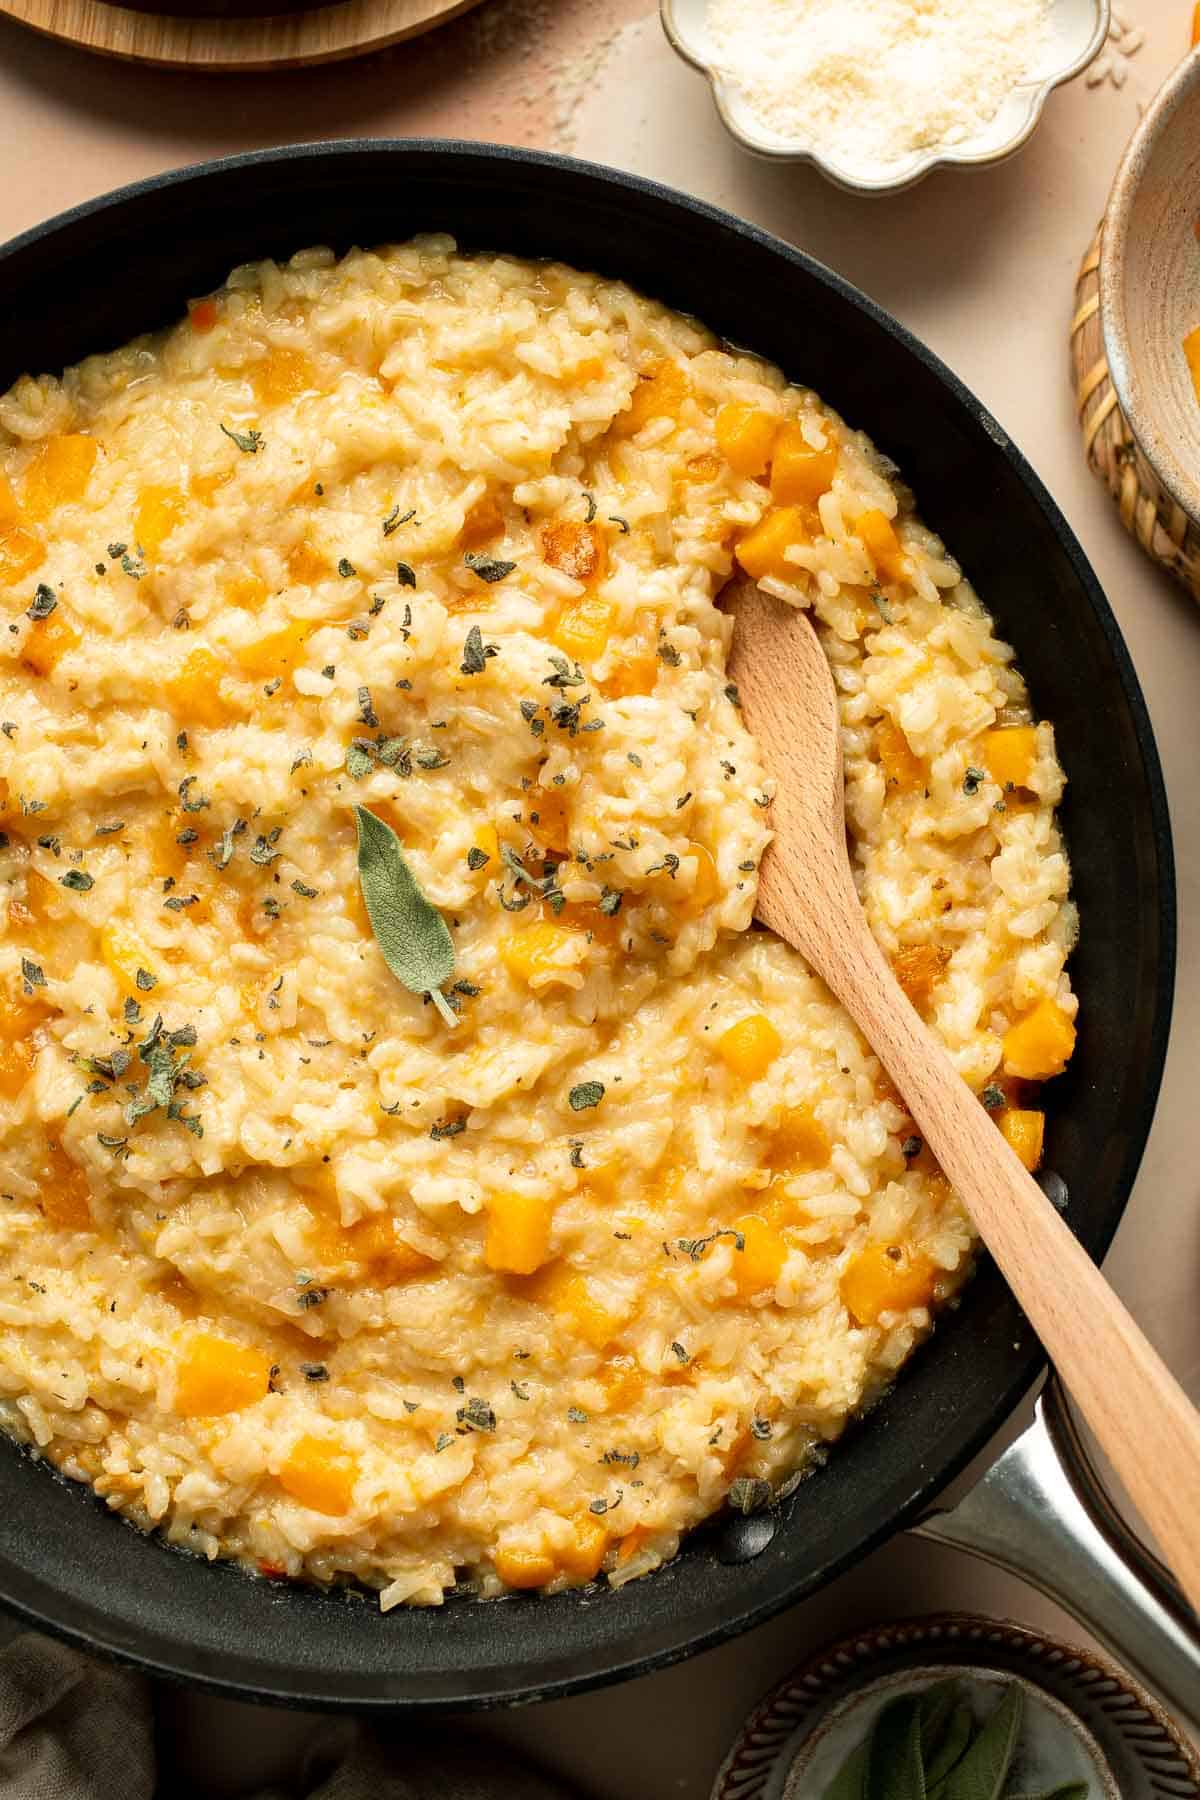
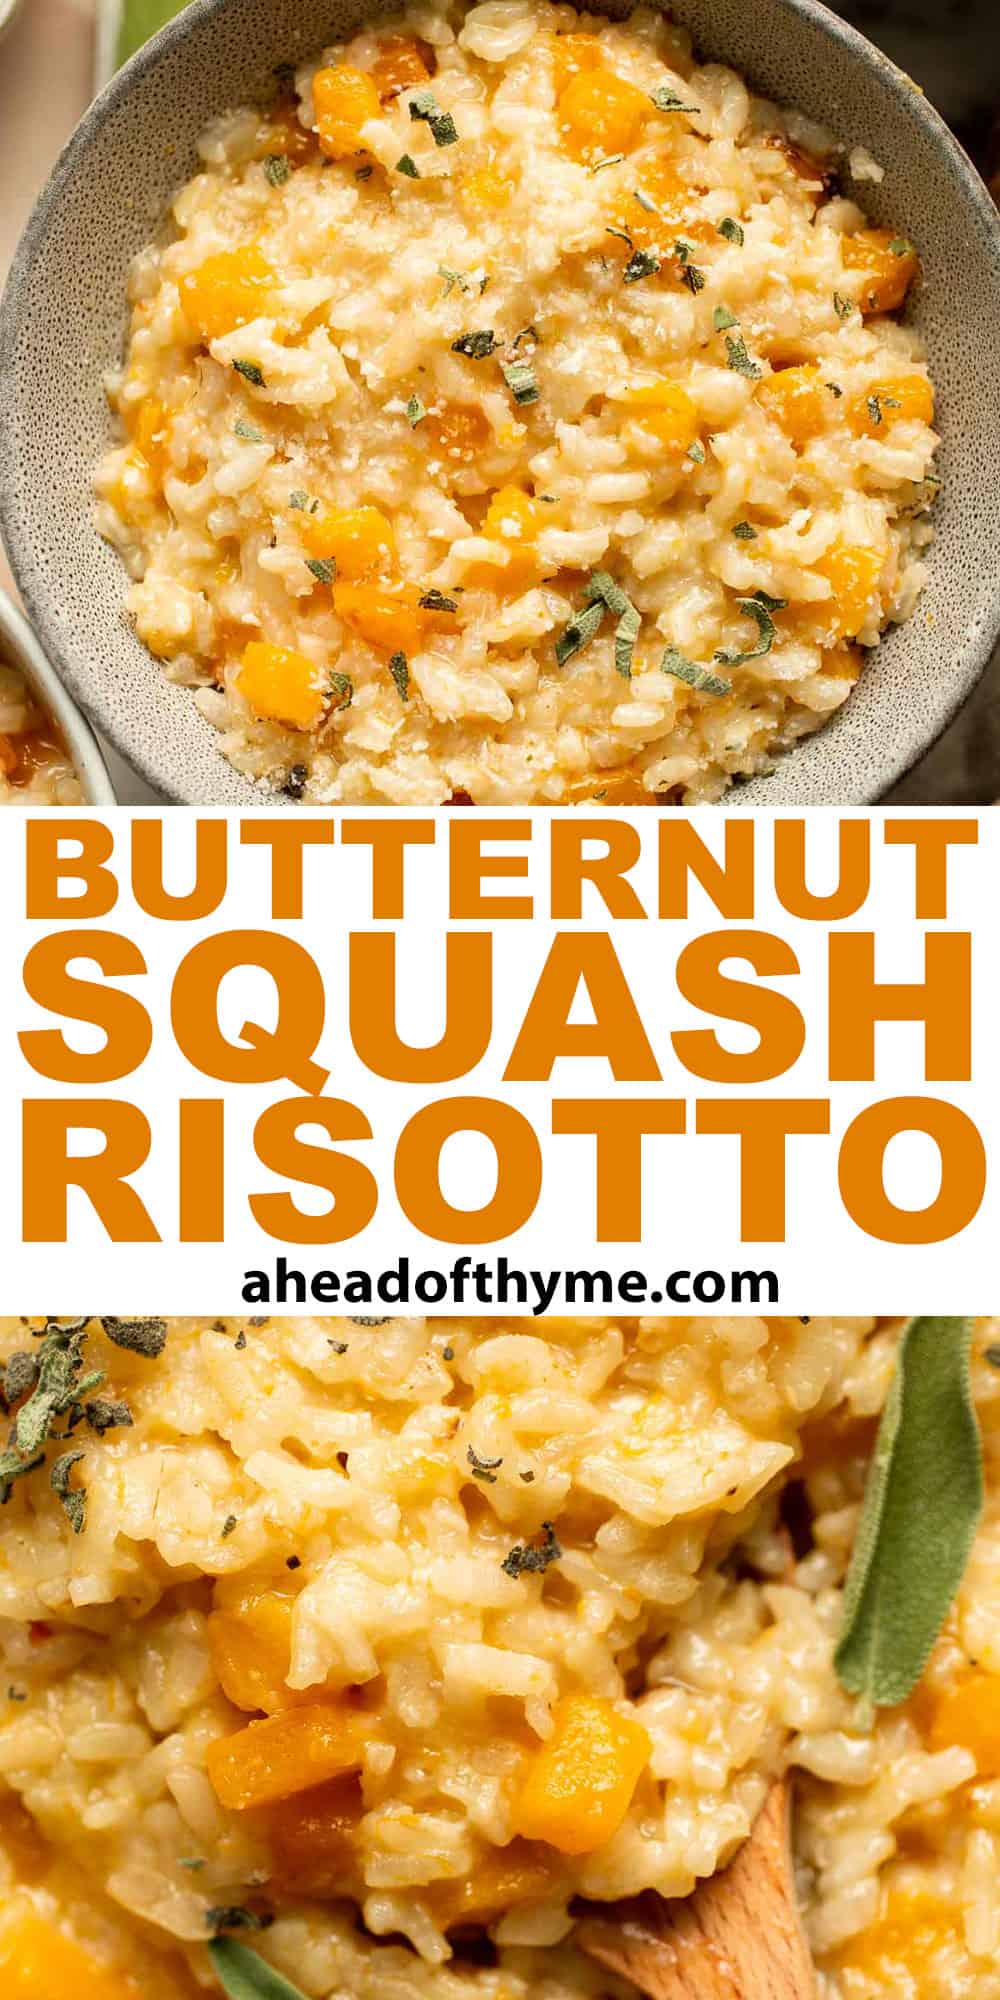
Mashed butternut squash is the perfect side dish for fall - creamy, smooth, and delicious, with the perfect balance between sweet and savory fall flavors.
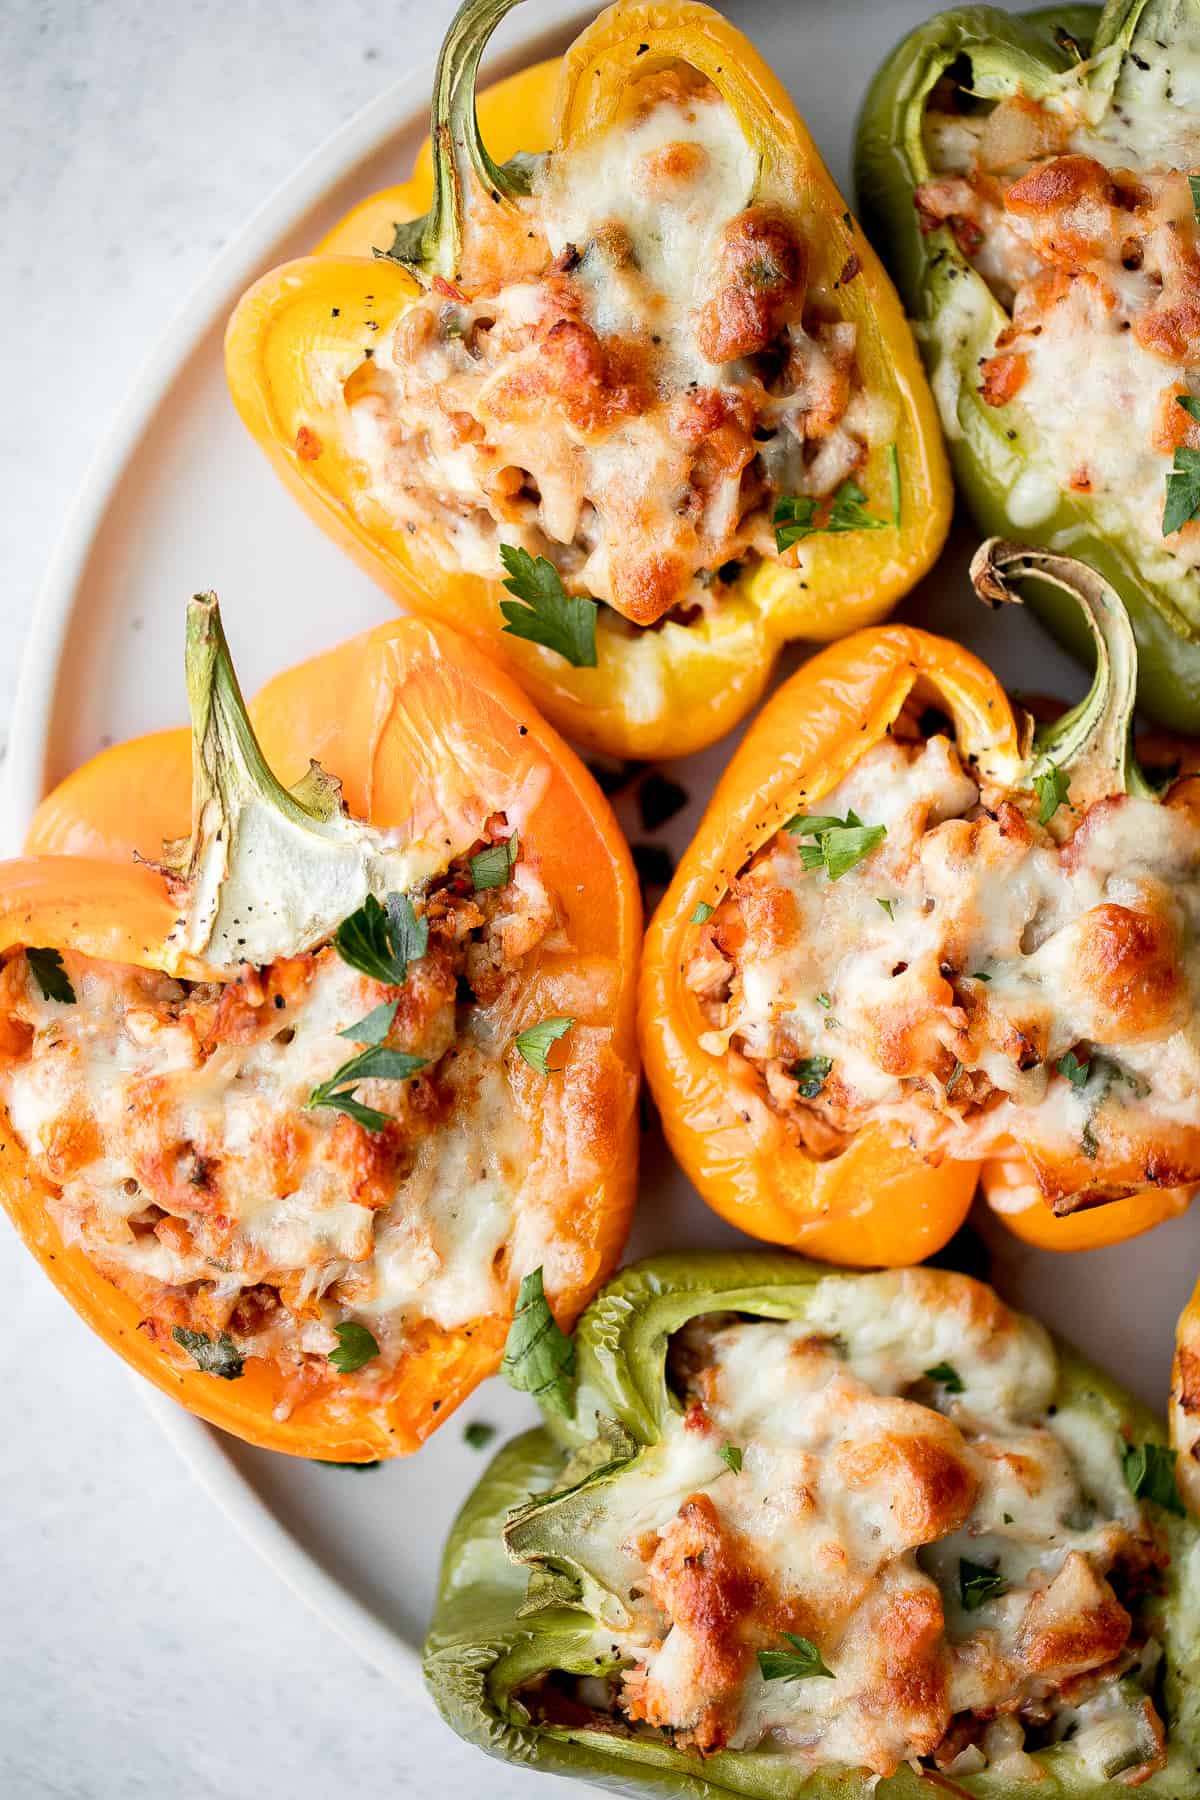
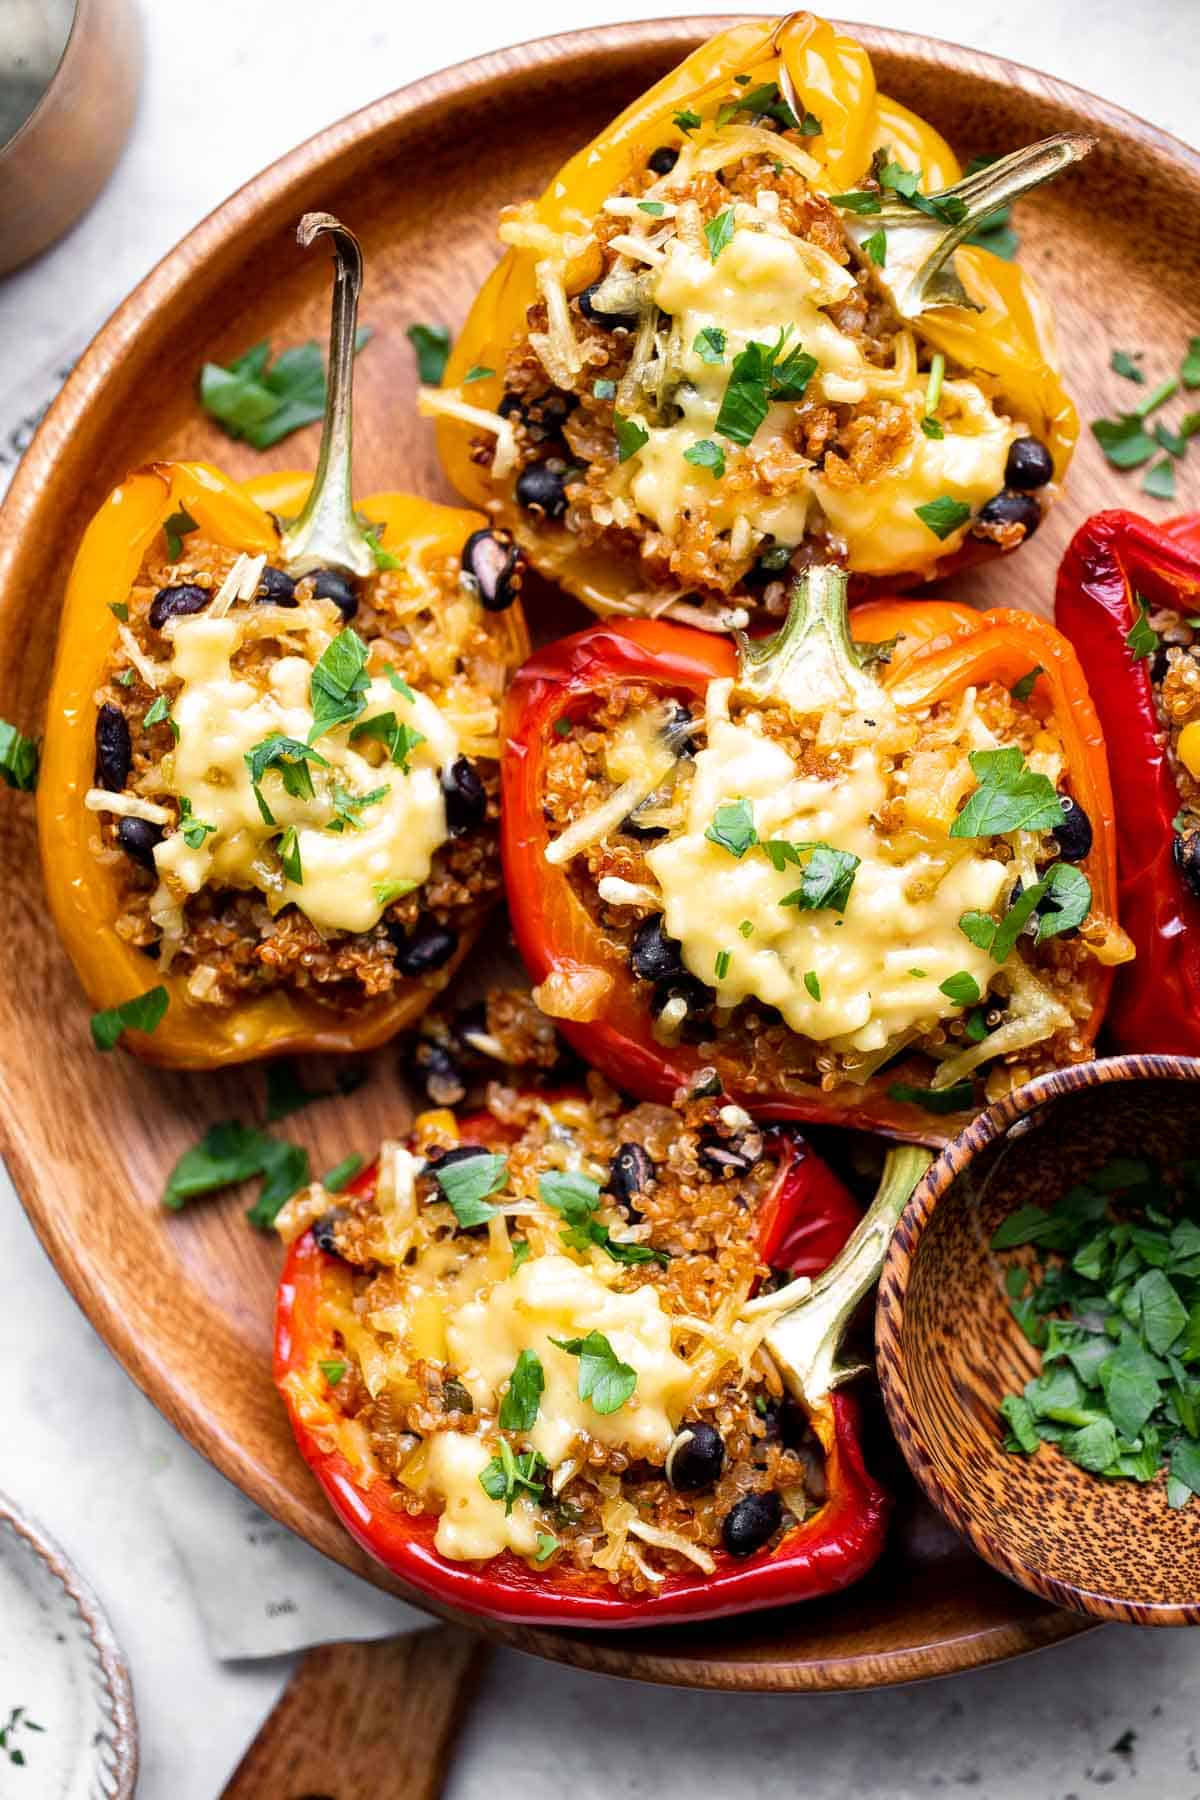
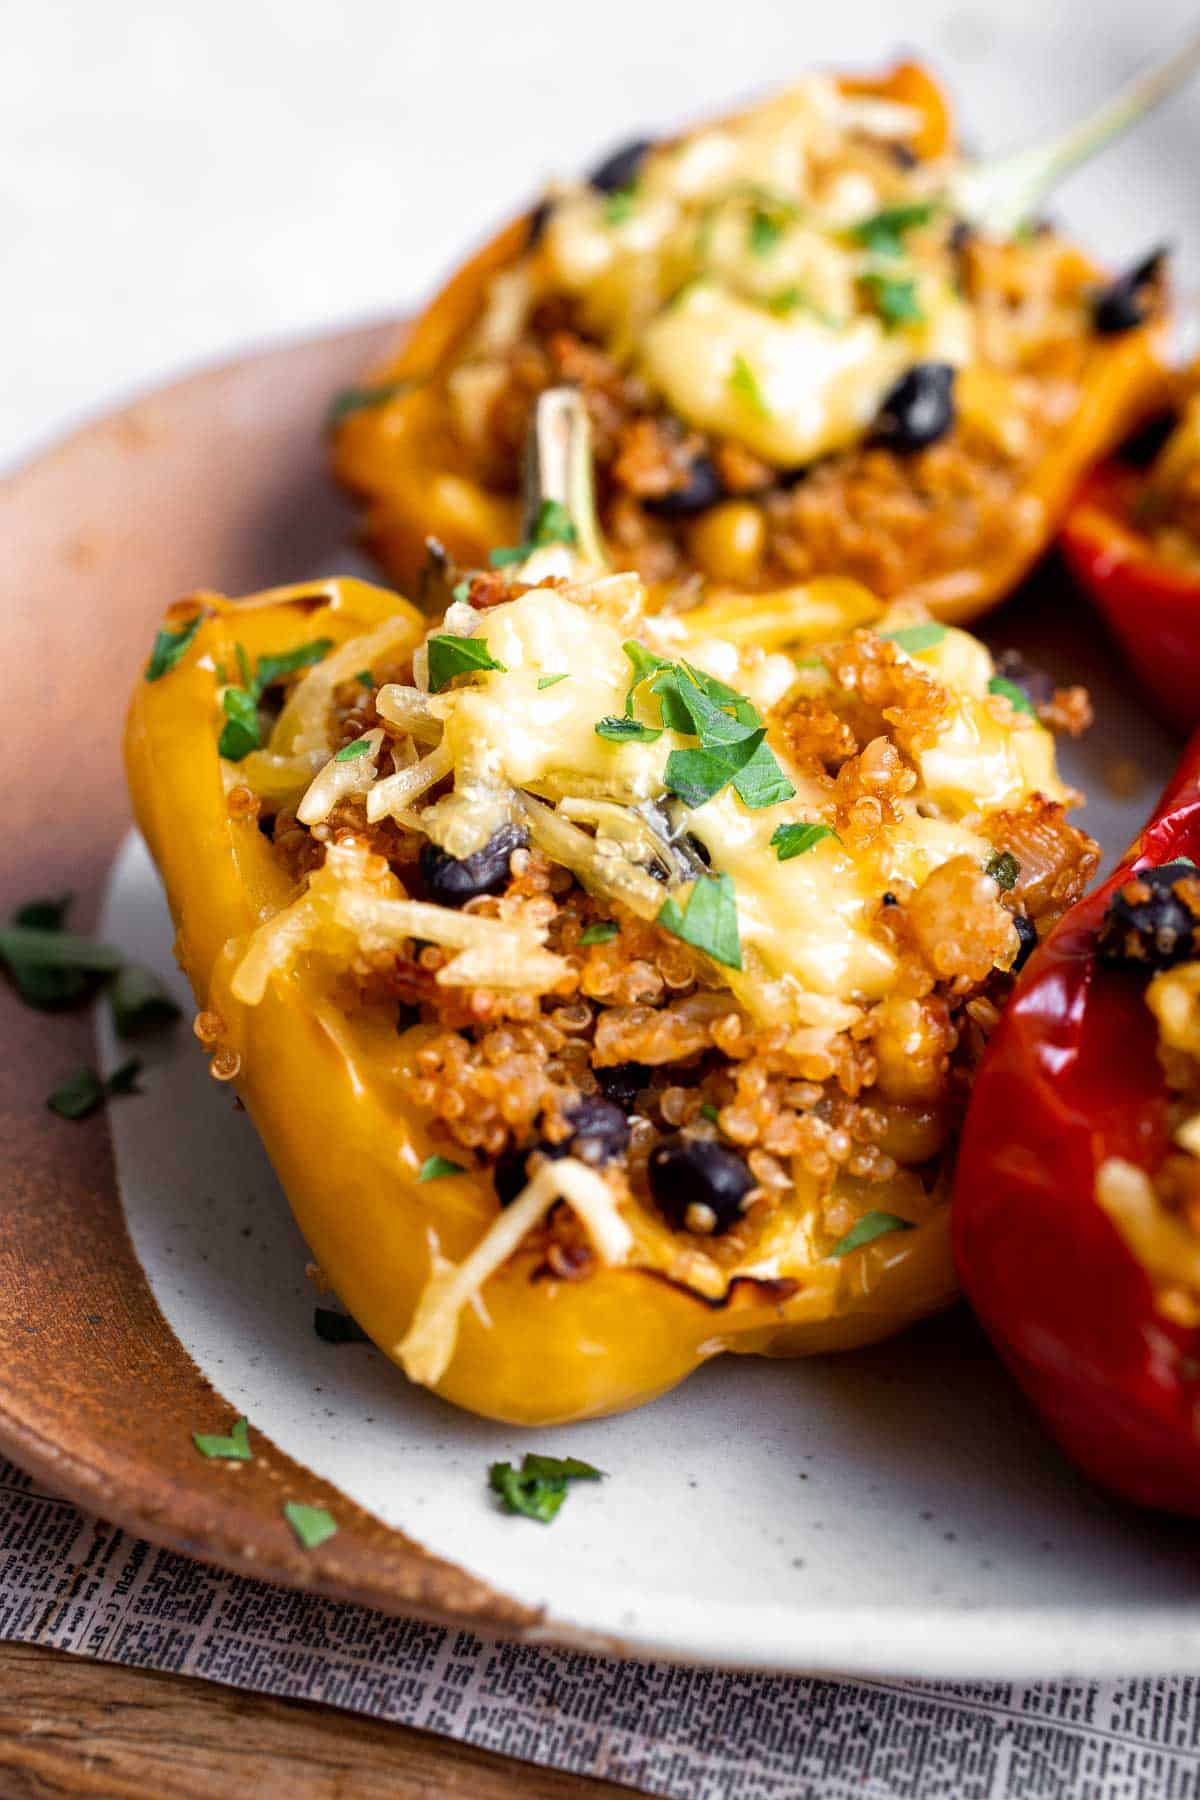
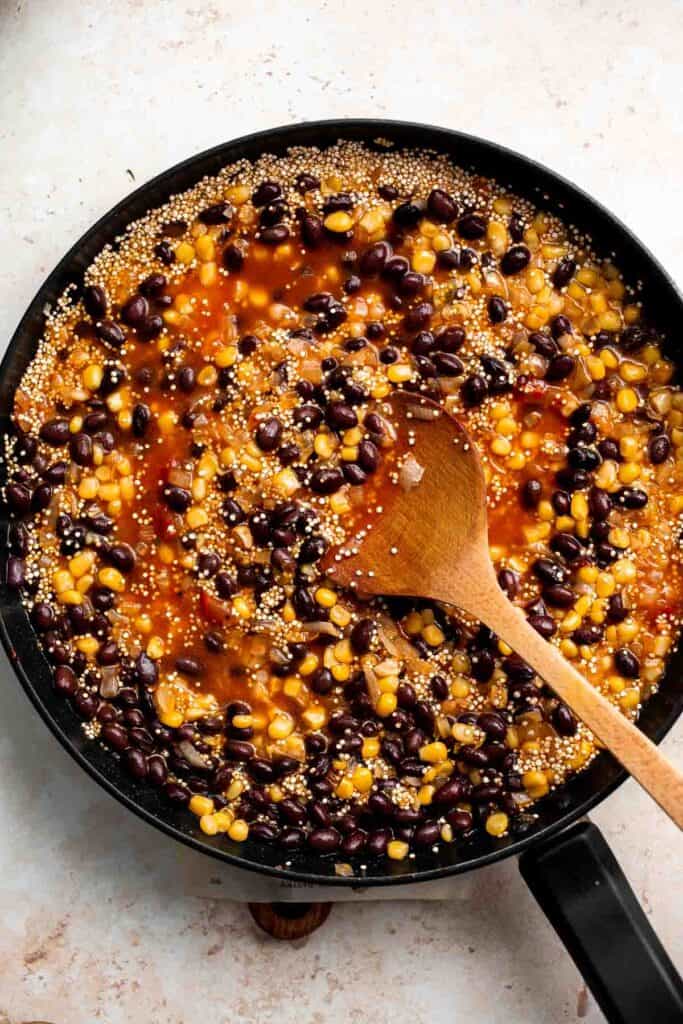
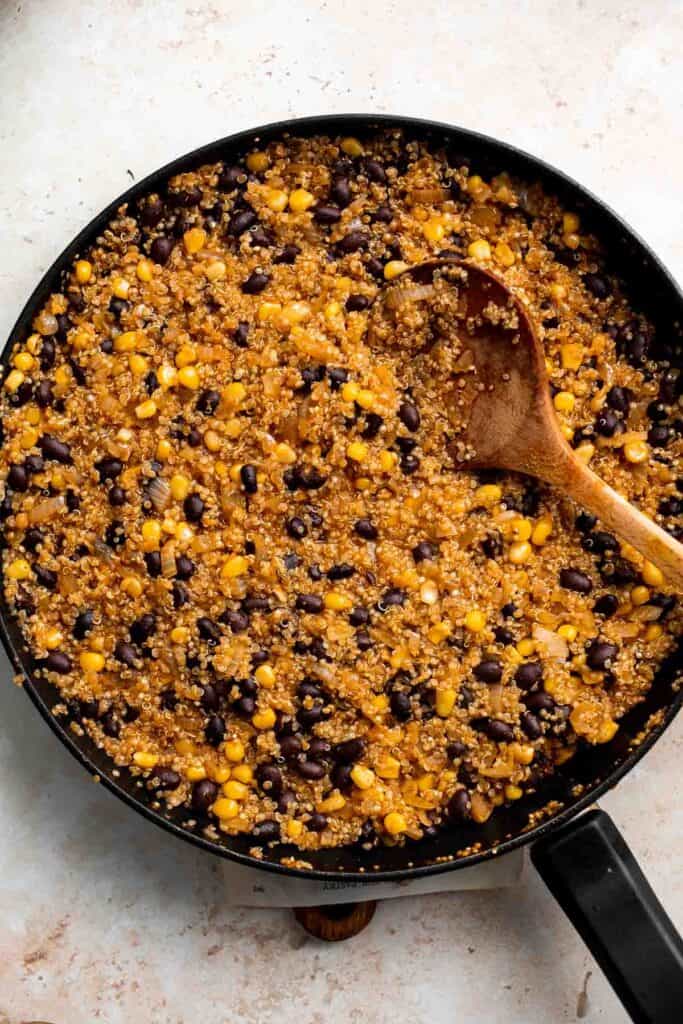
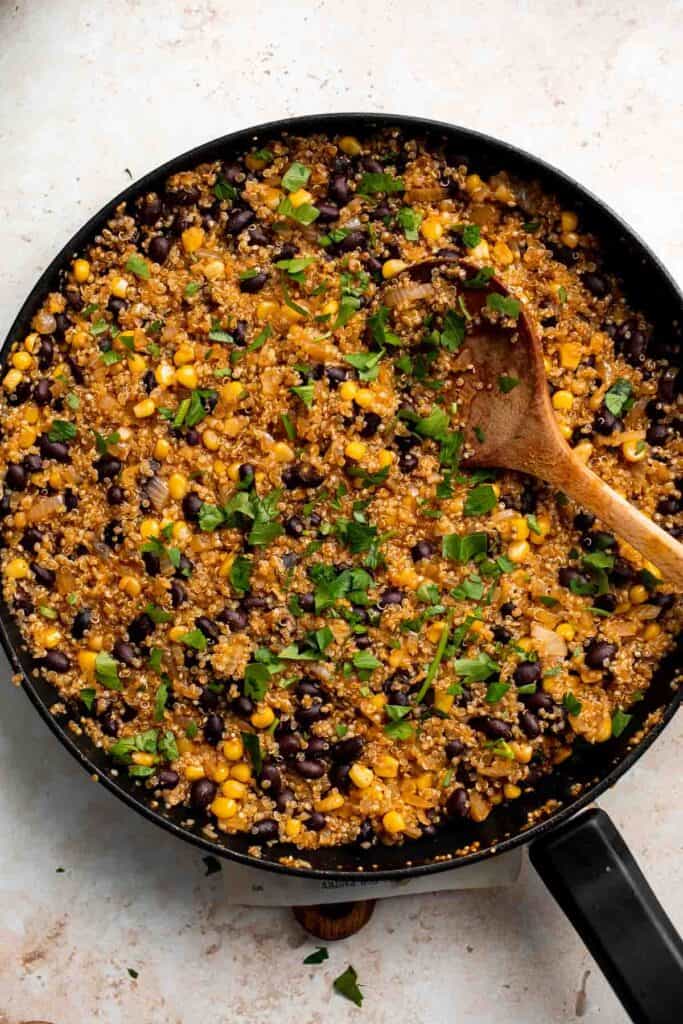
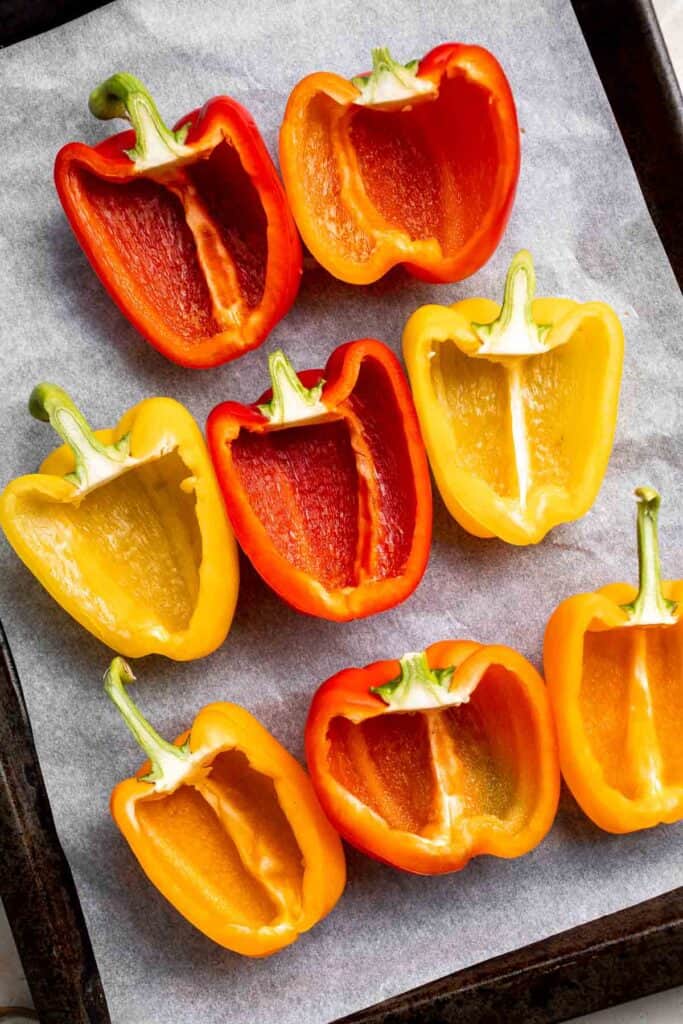
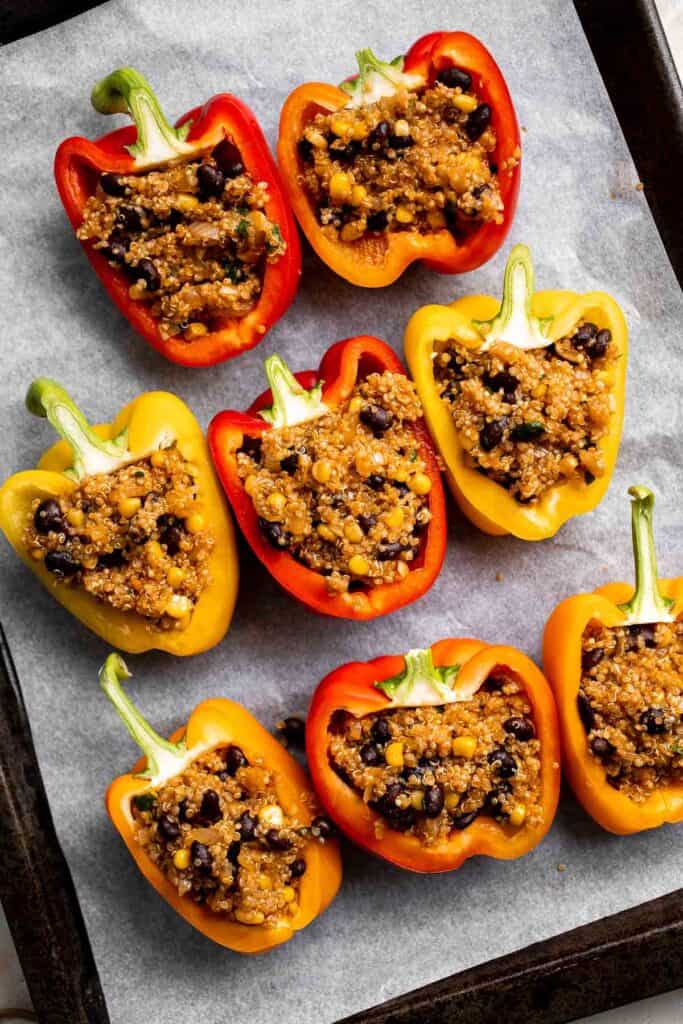
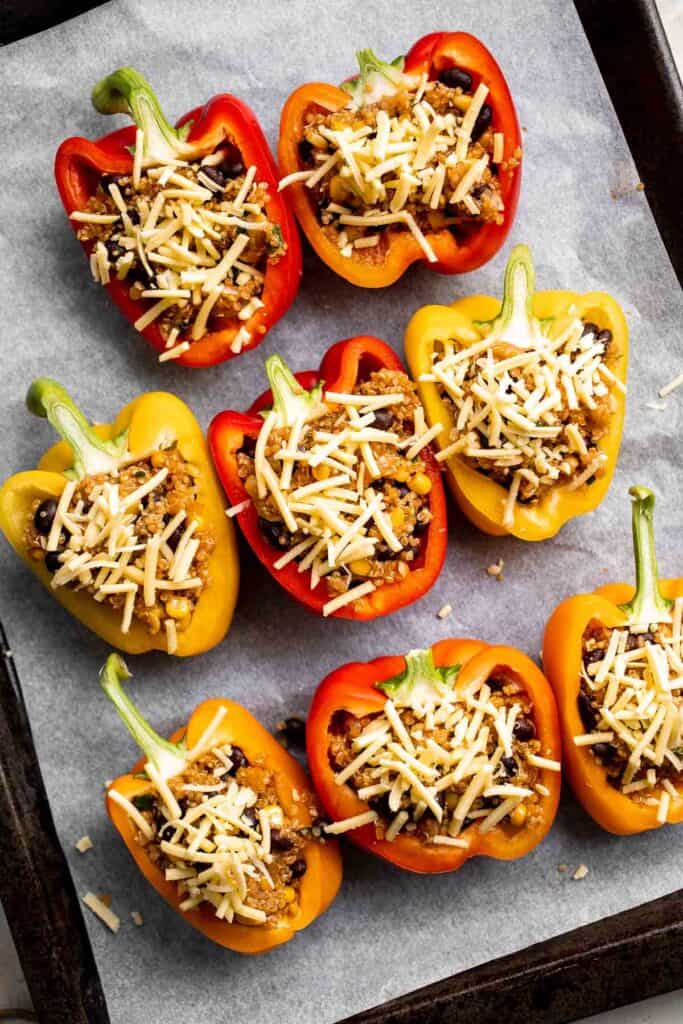
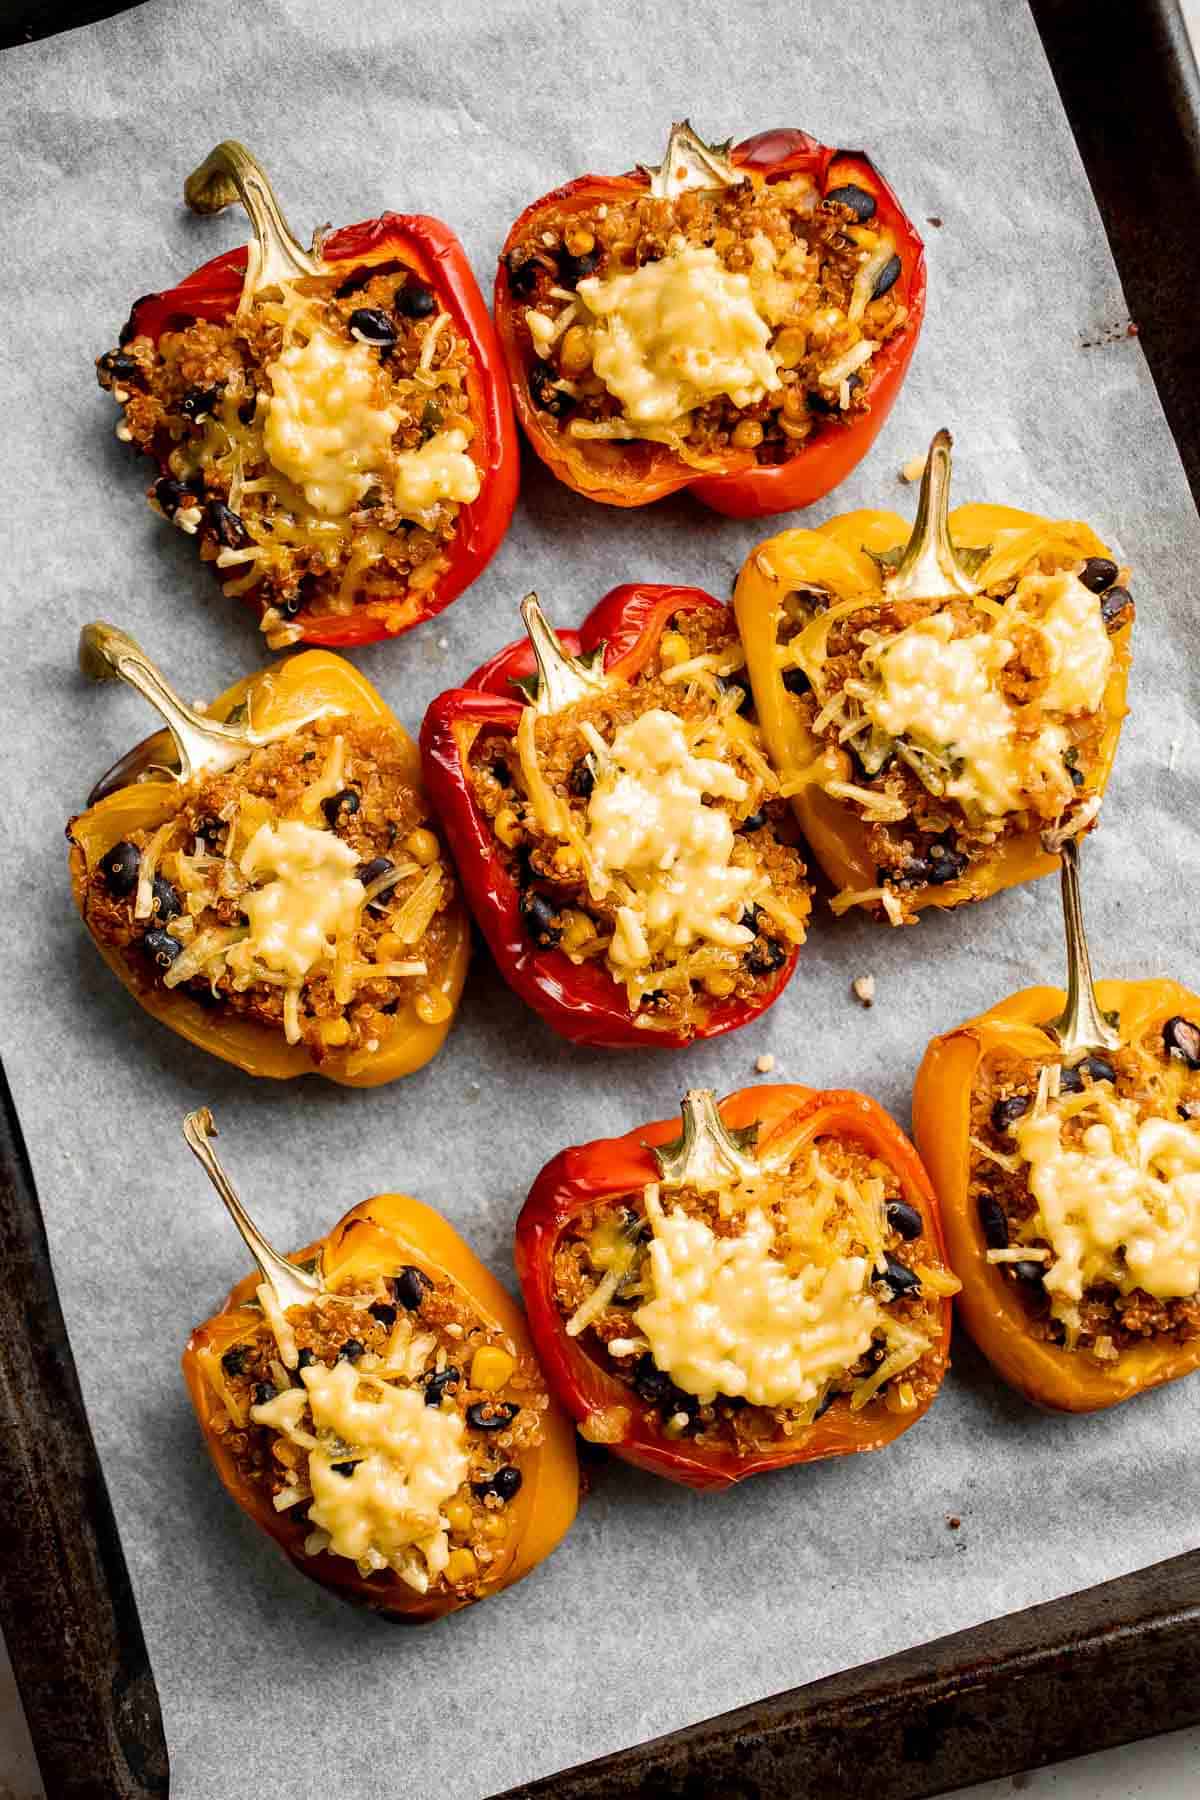
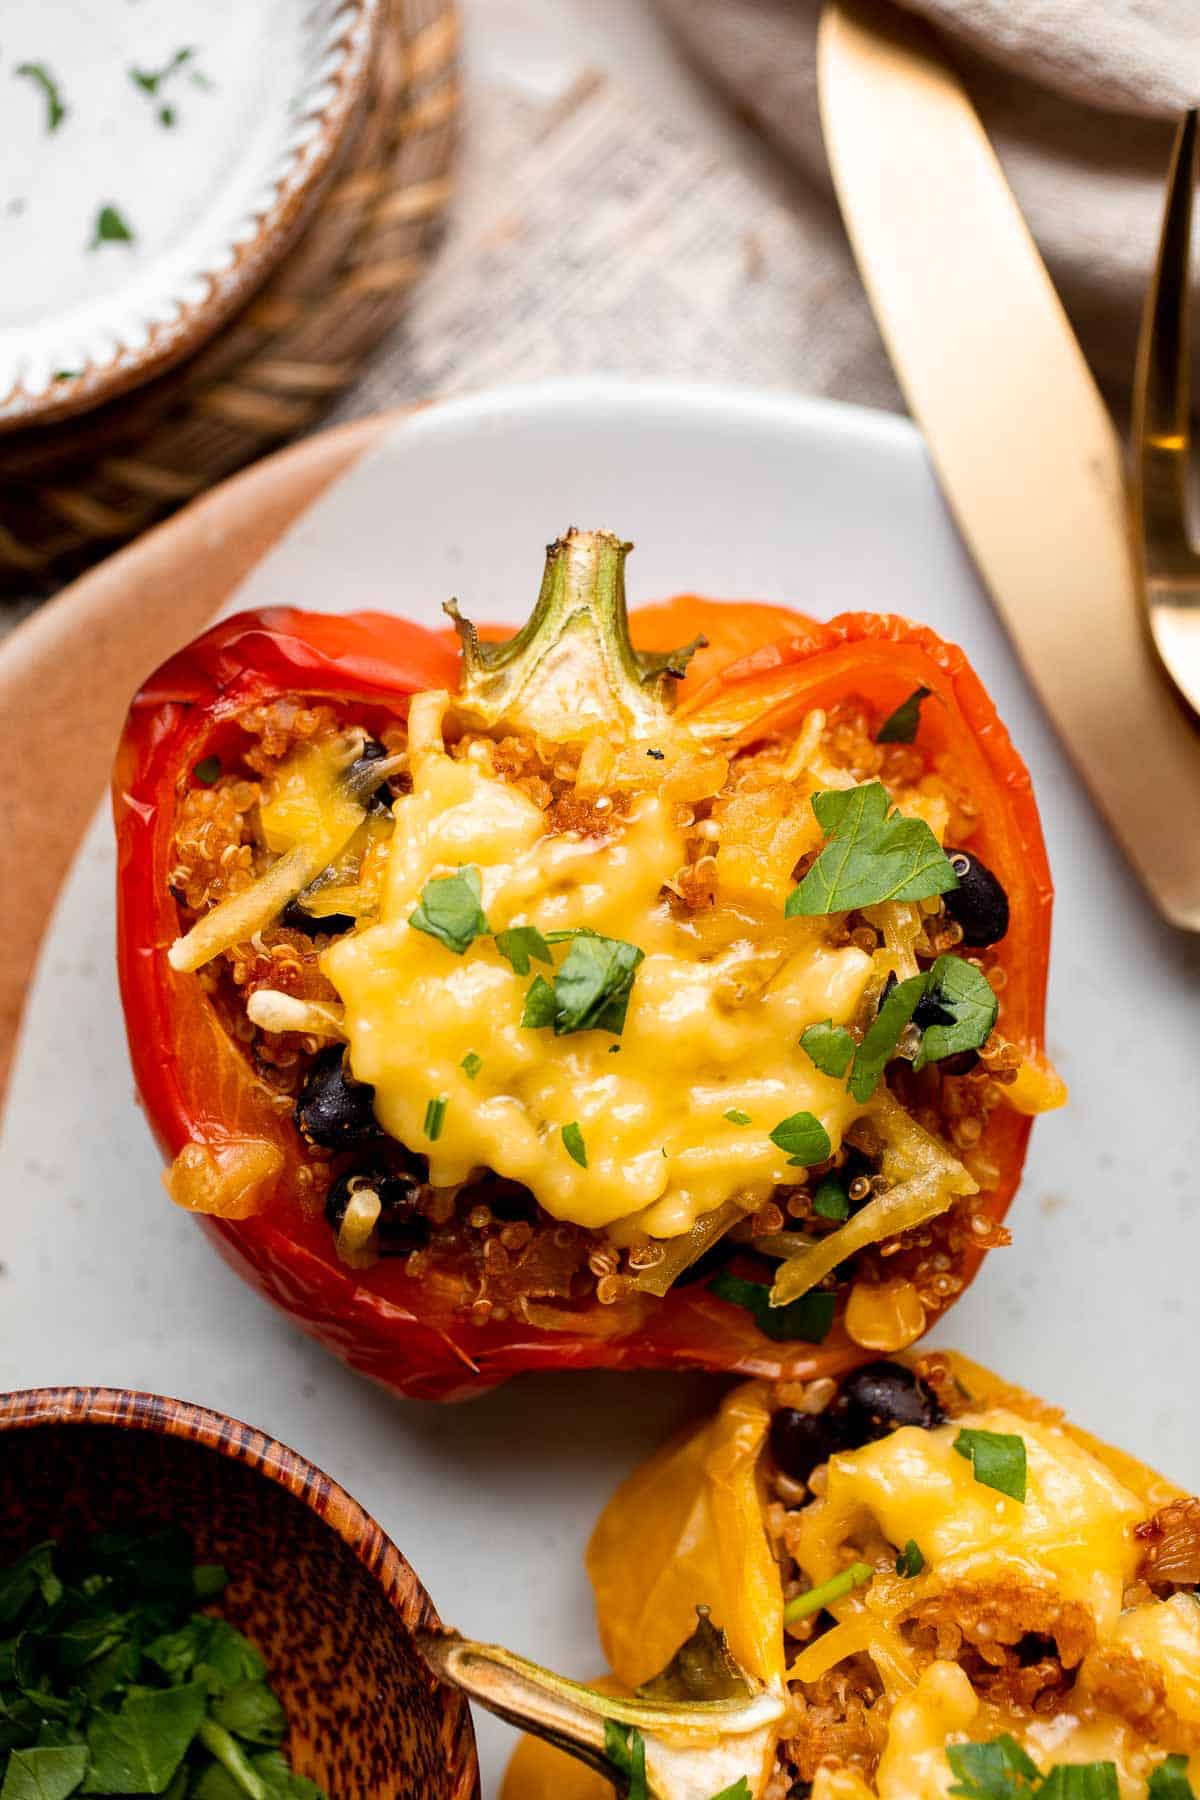
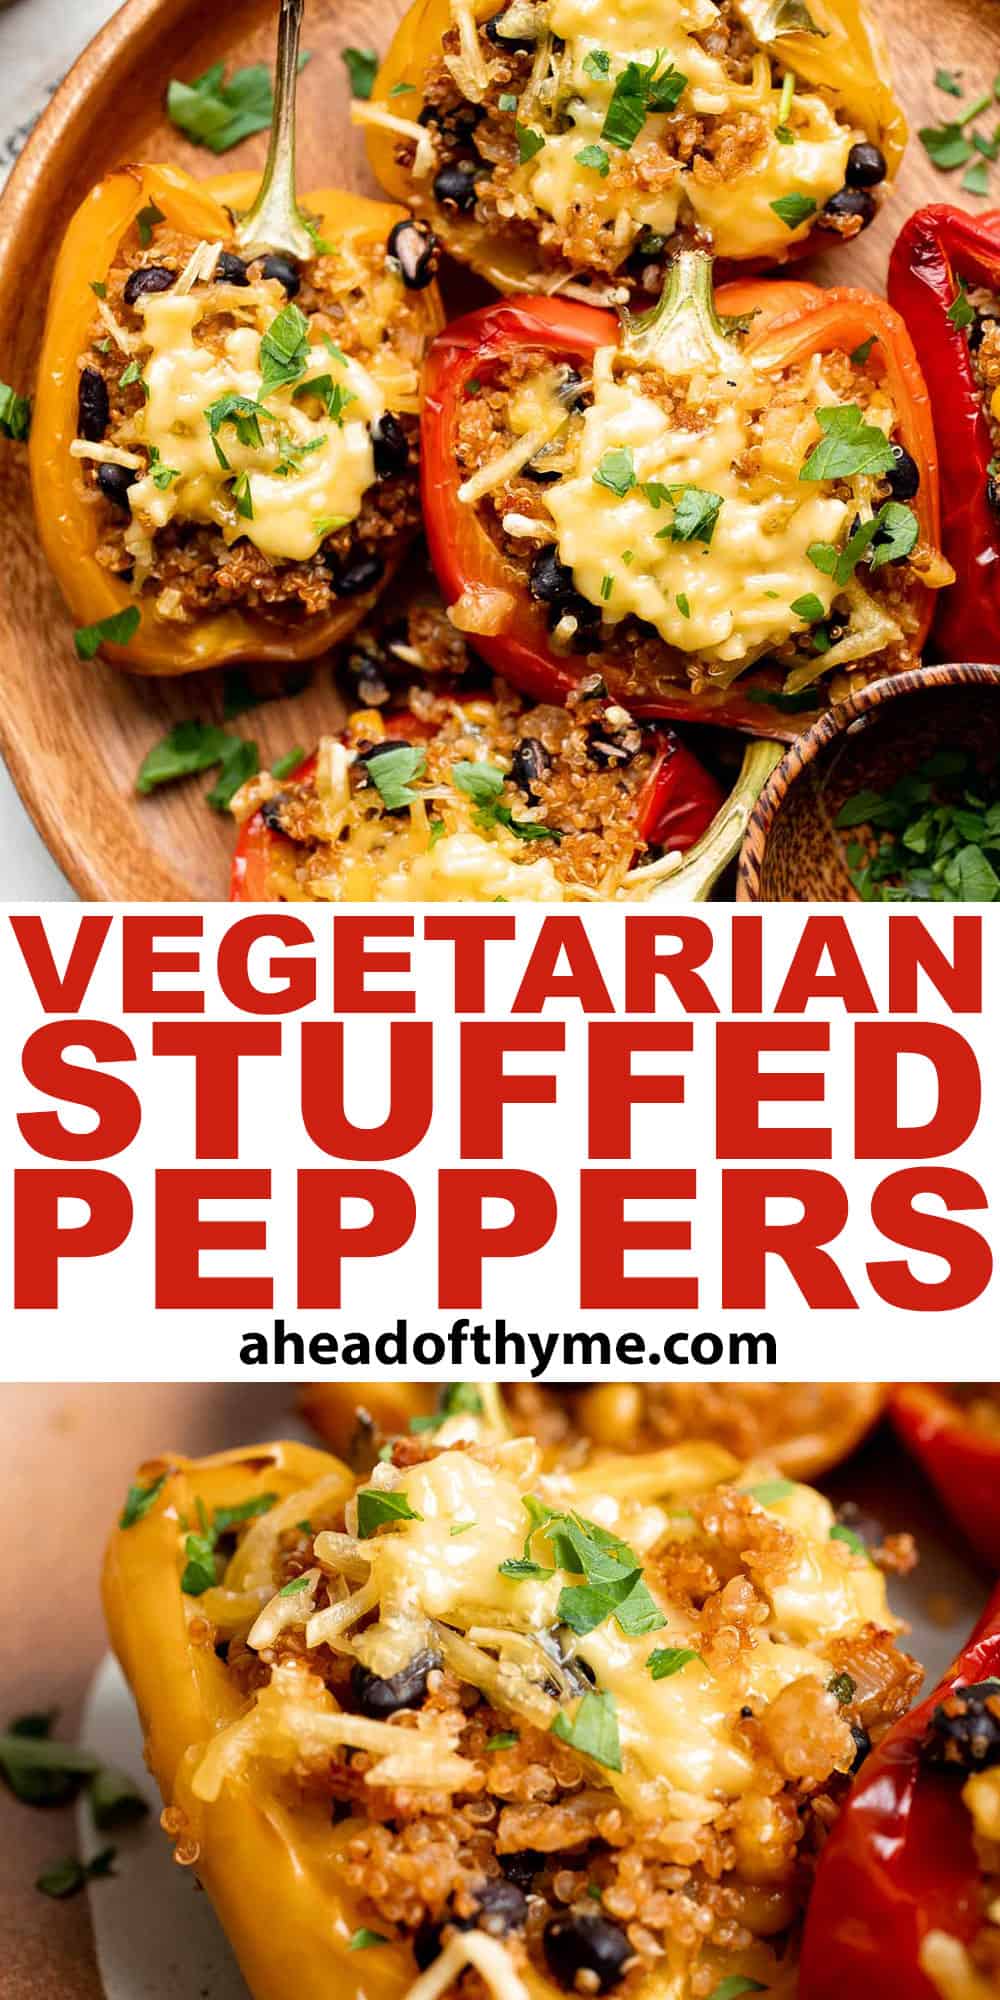
Leftover Turkey Stuffed Peppers
Leftover turkey stuffed peppers are a nutritious, wholesome and healthy dinner that you can throw together easily and quickly. A total crowd-pleaser.
Bacon Wrapped Brussels Sprouts
Bacon wrapped brussels sprouts are the sweet, savory, and salty appetizer that you need at your next holiday gathering this fall. Simple and easy to make.

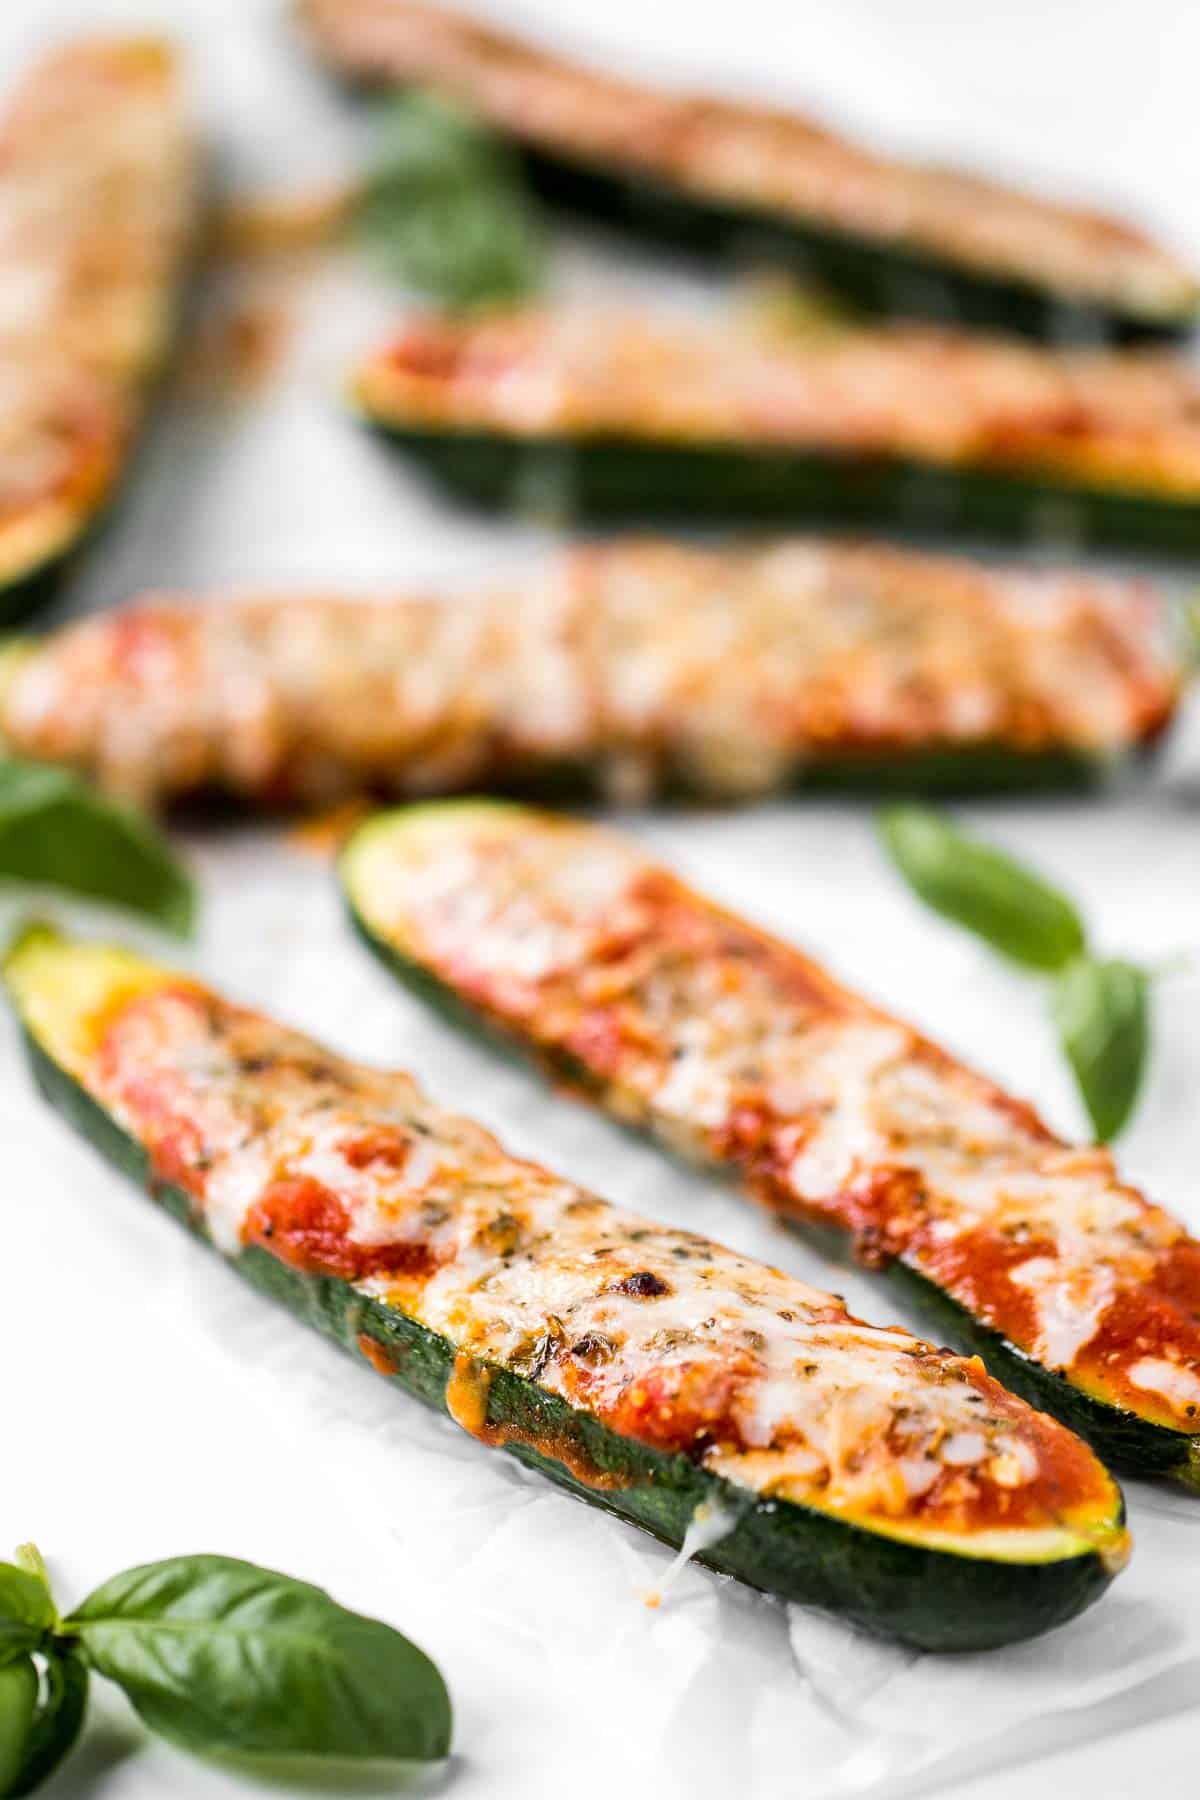
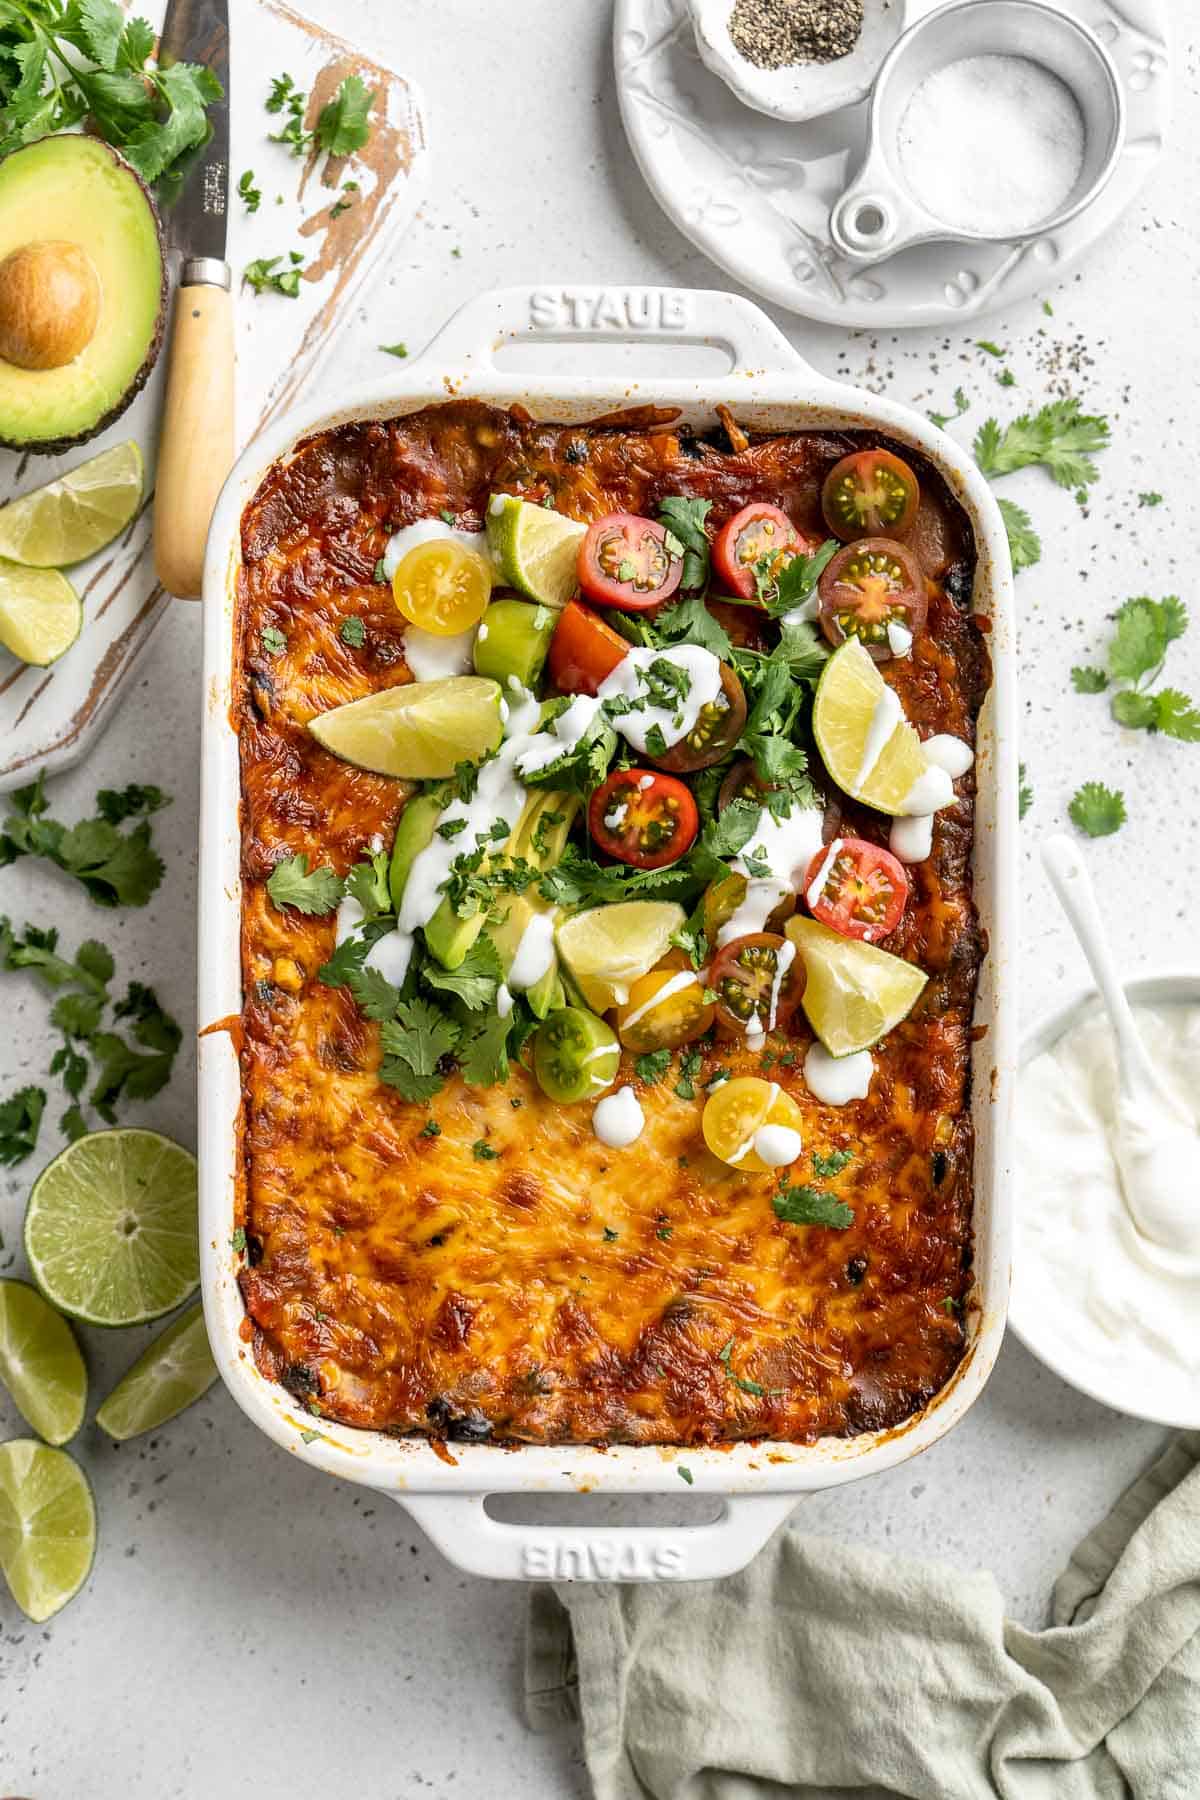
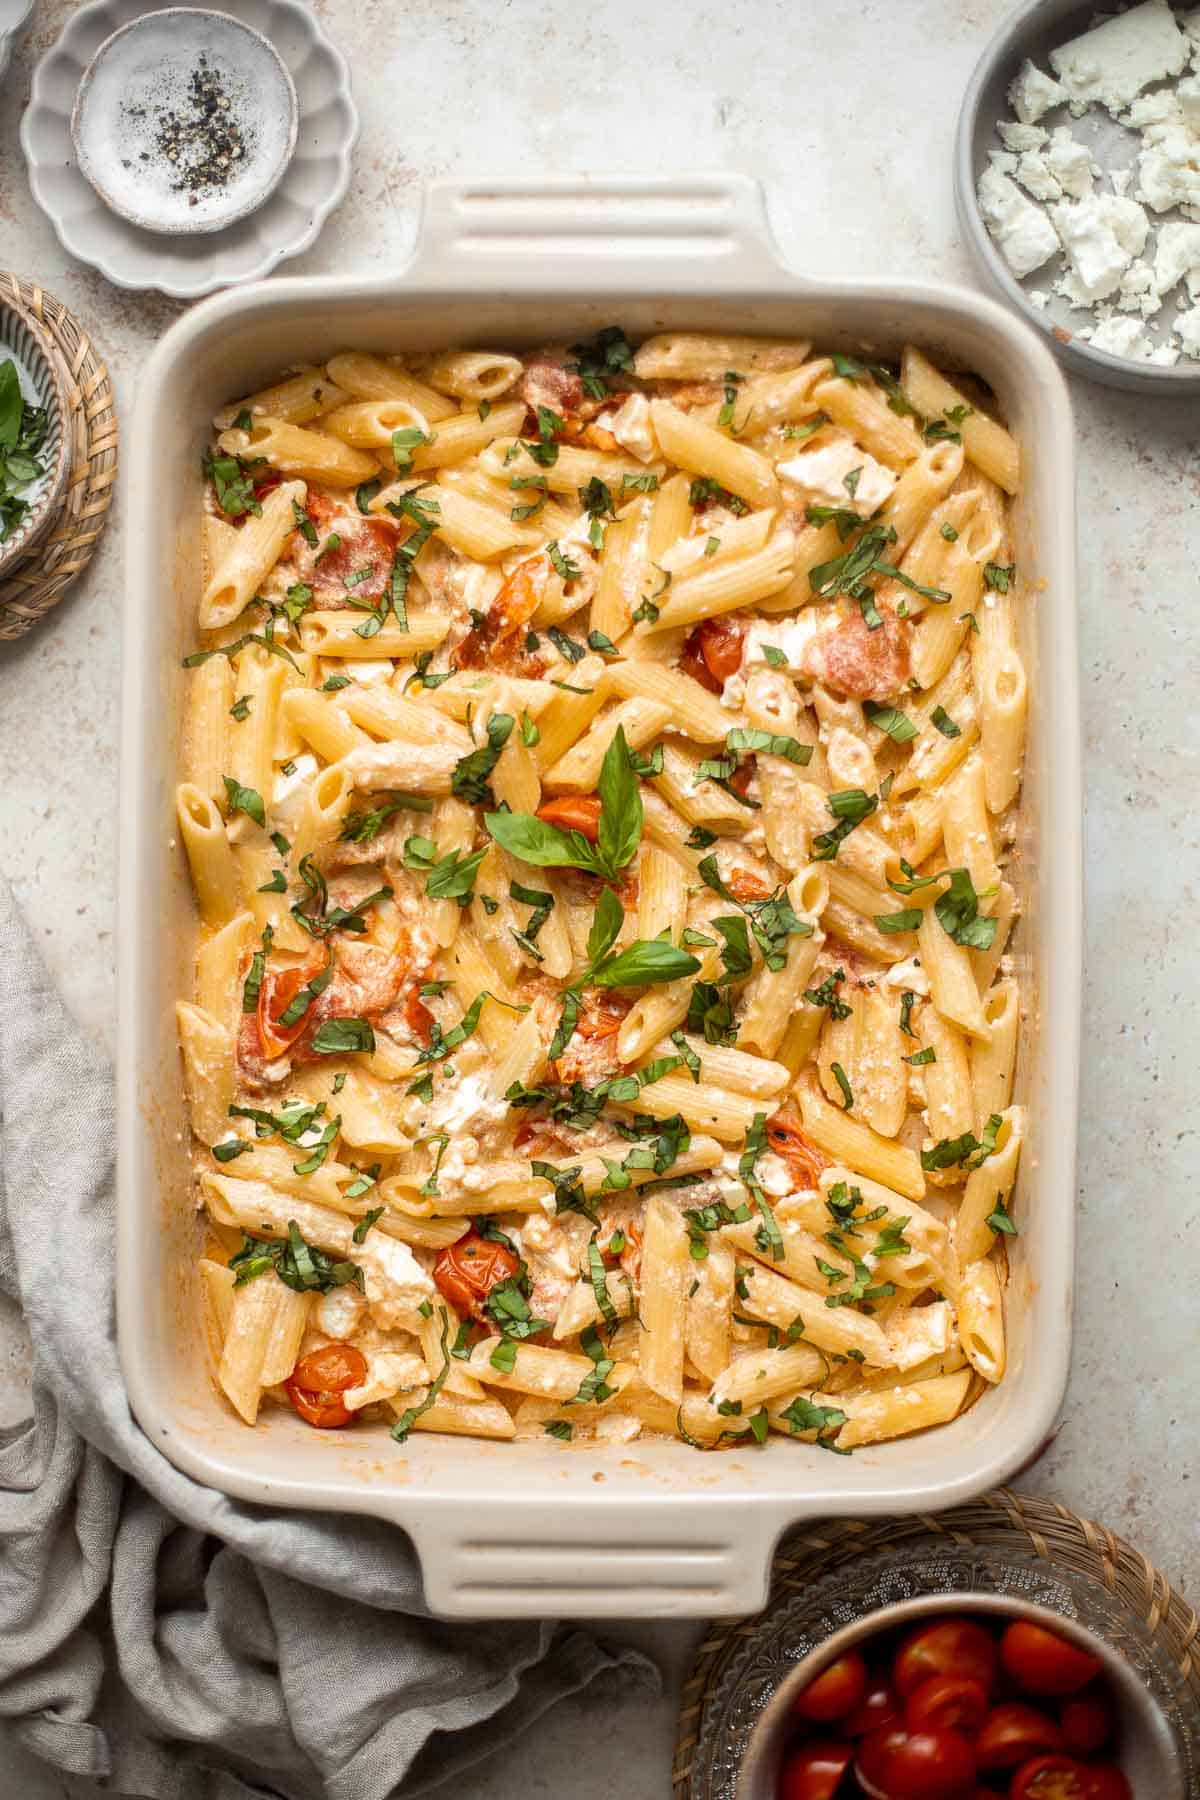
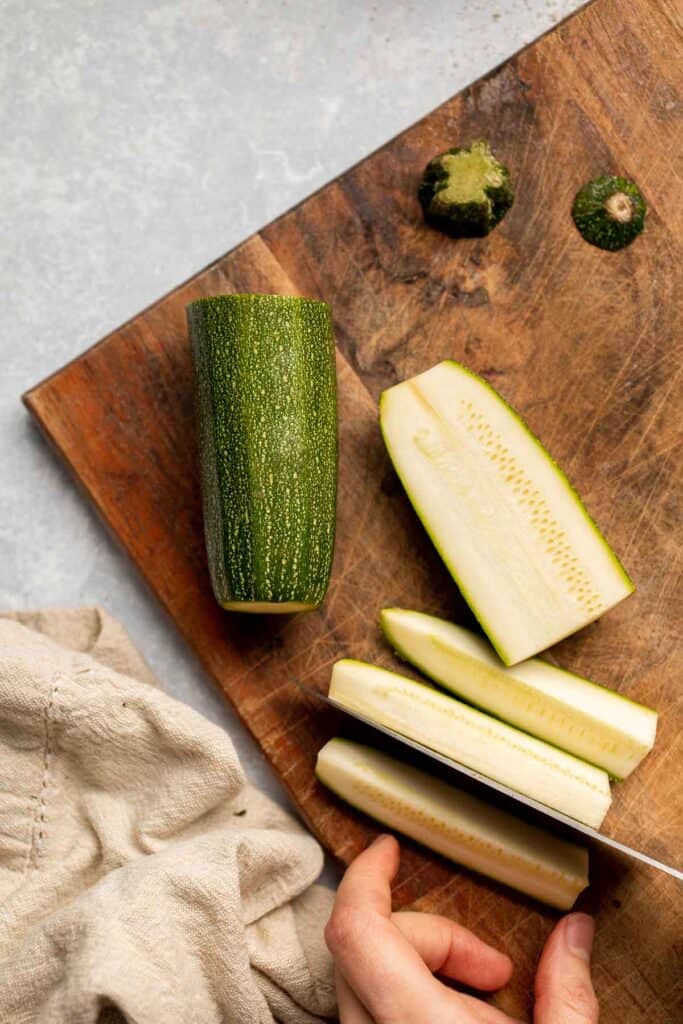
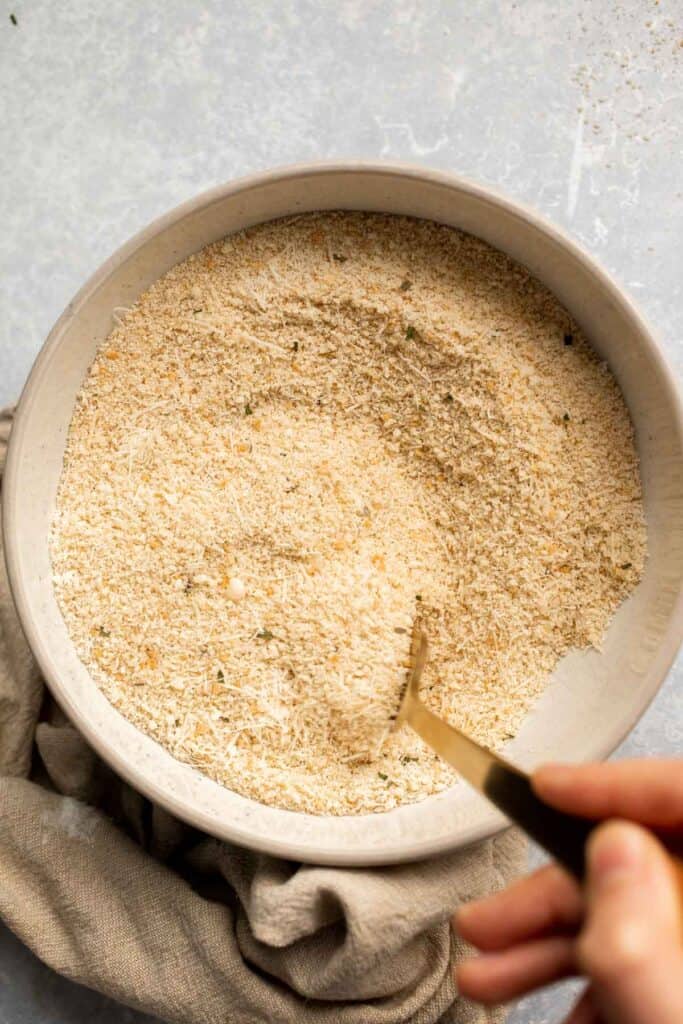
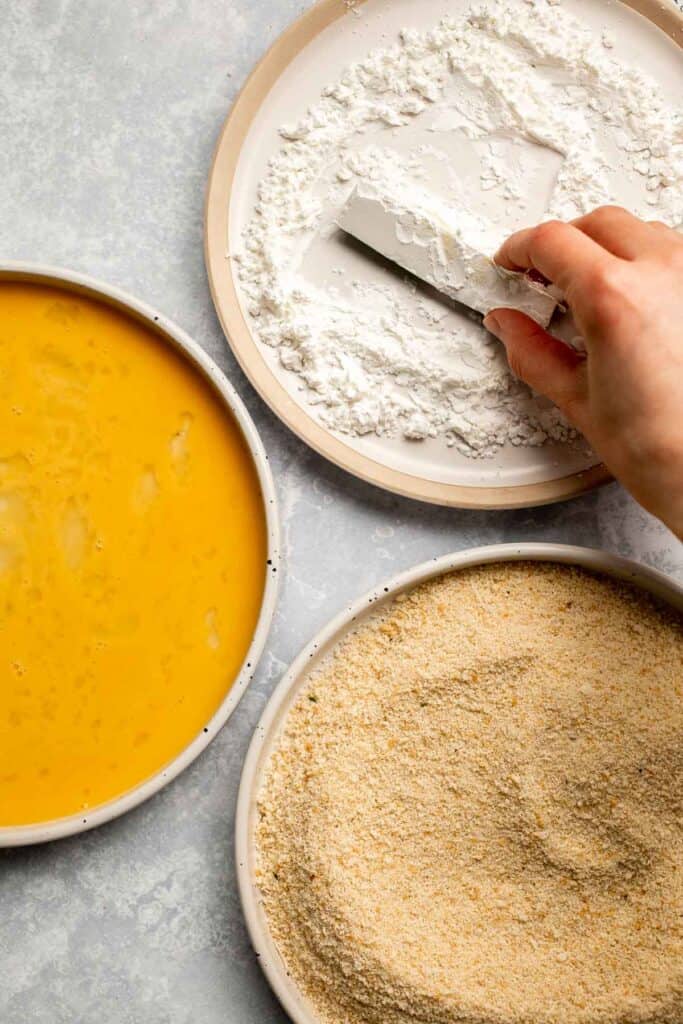
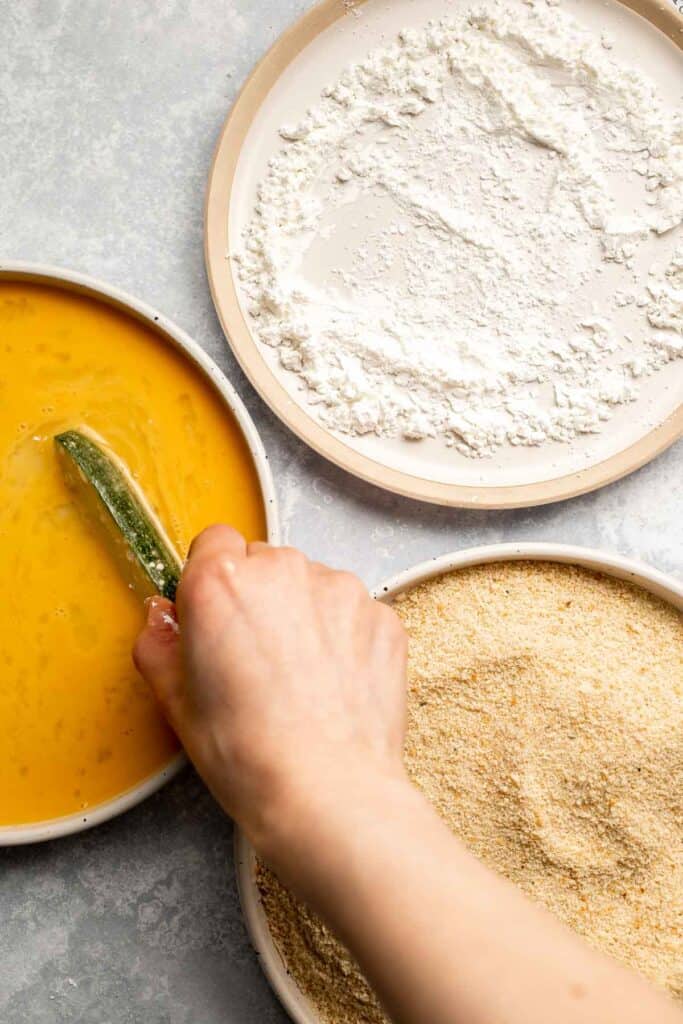
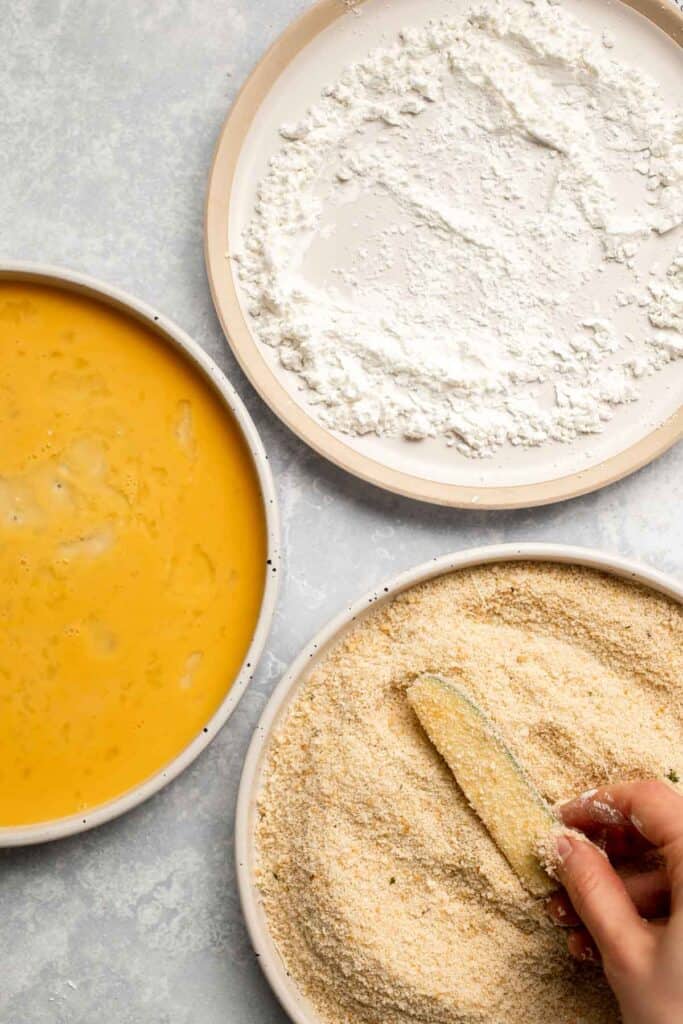
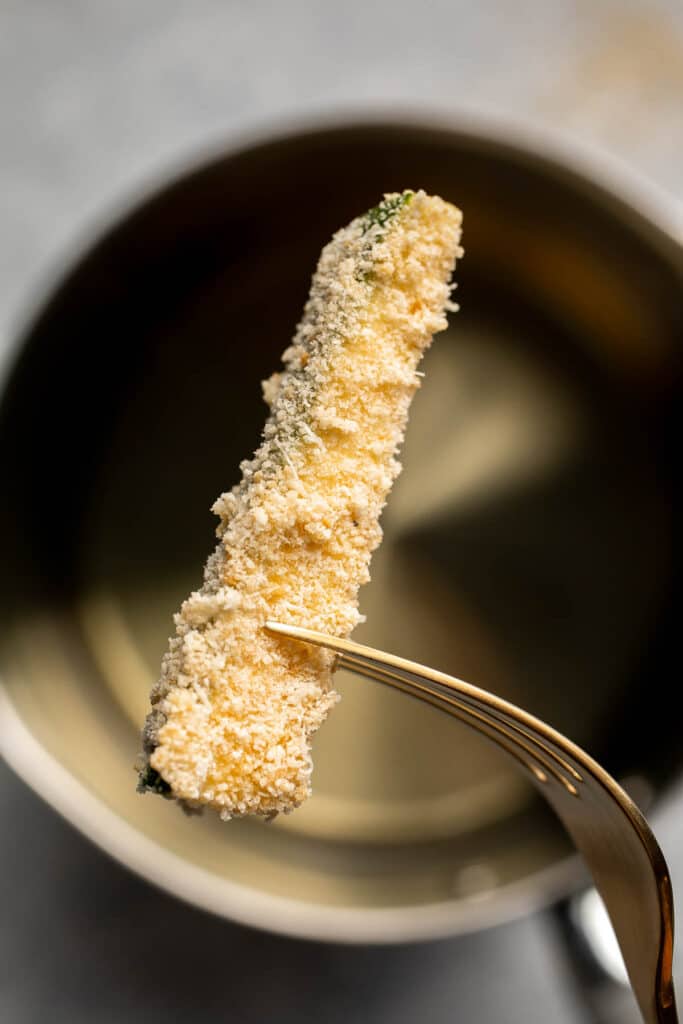
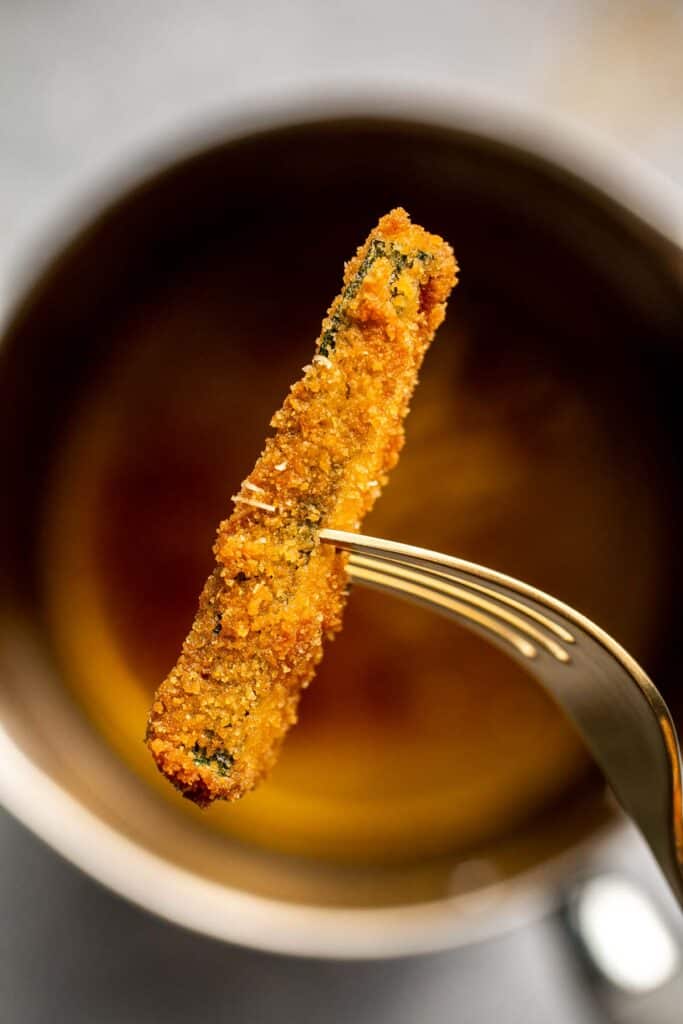
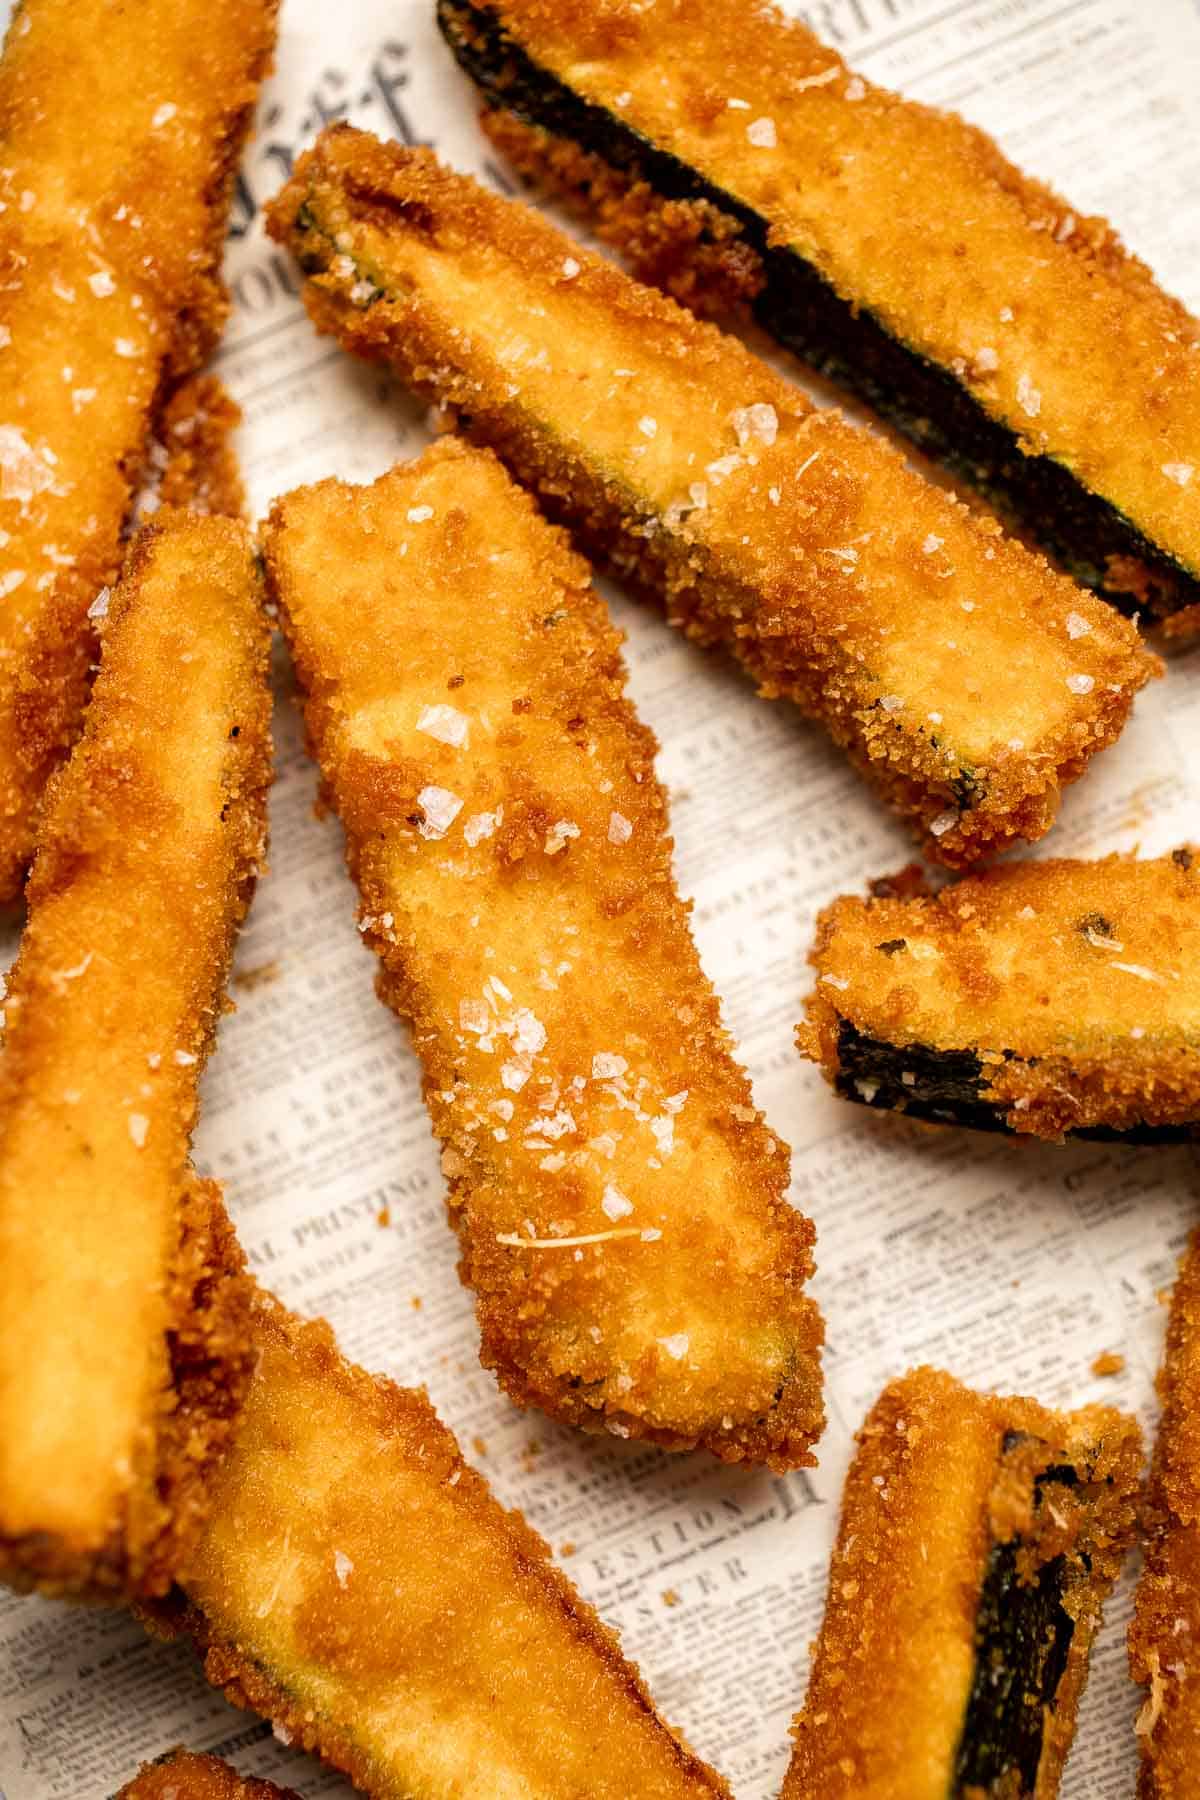
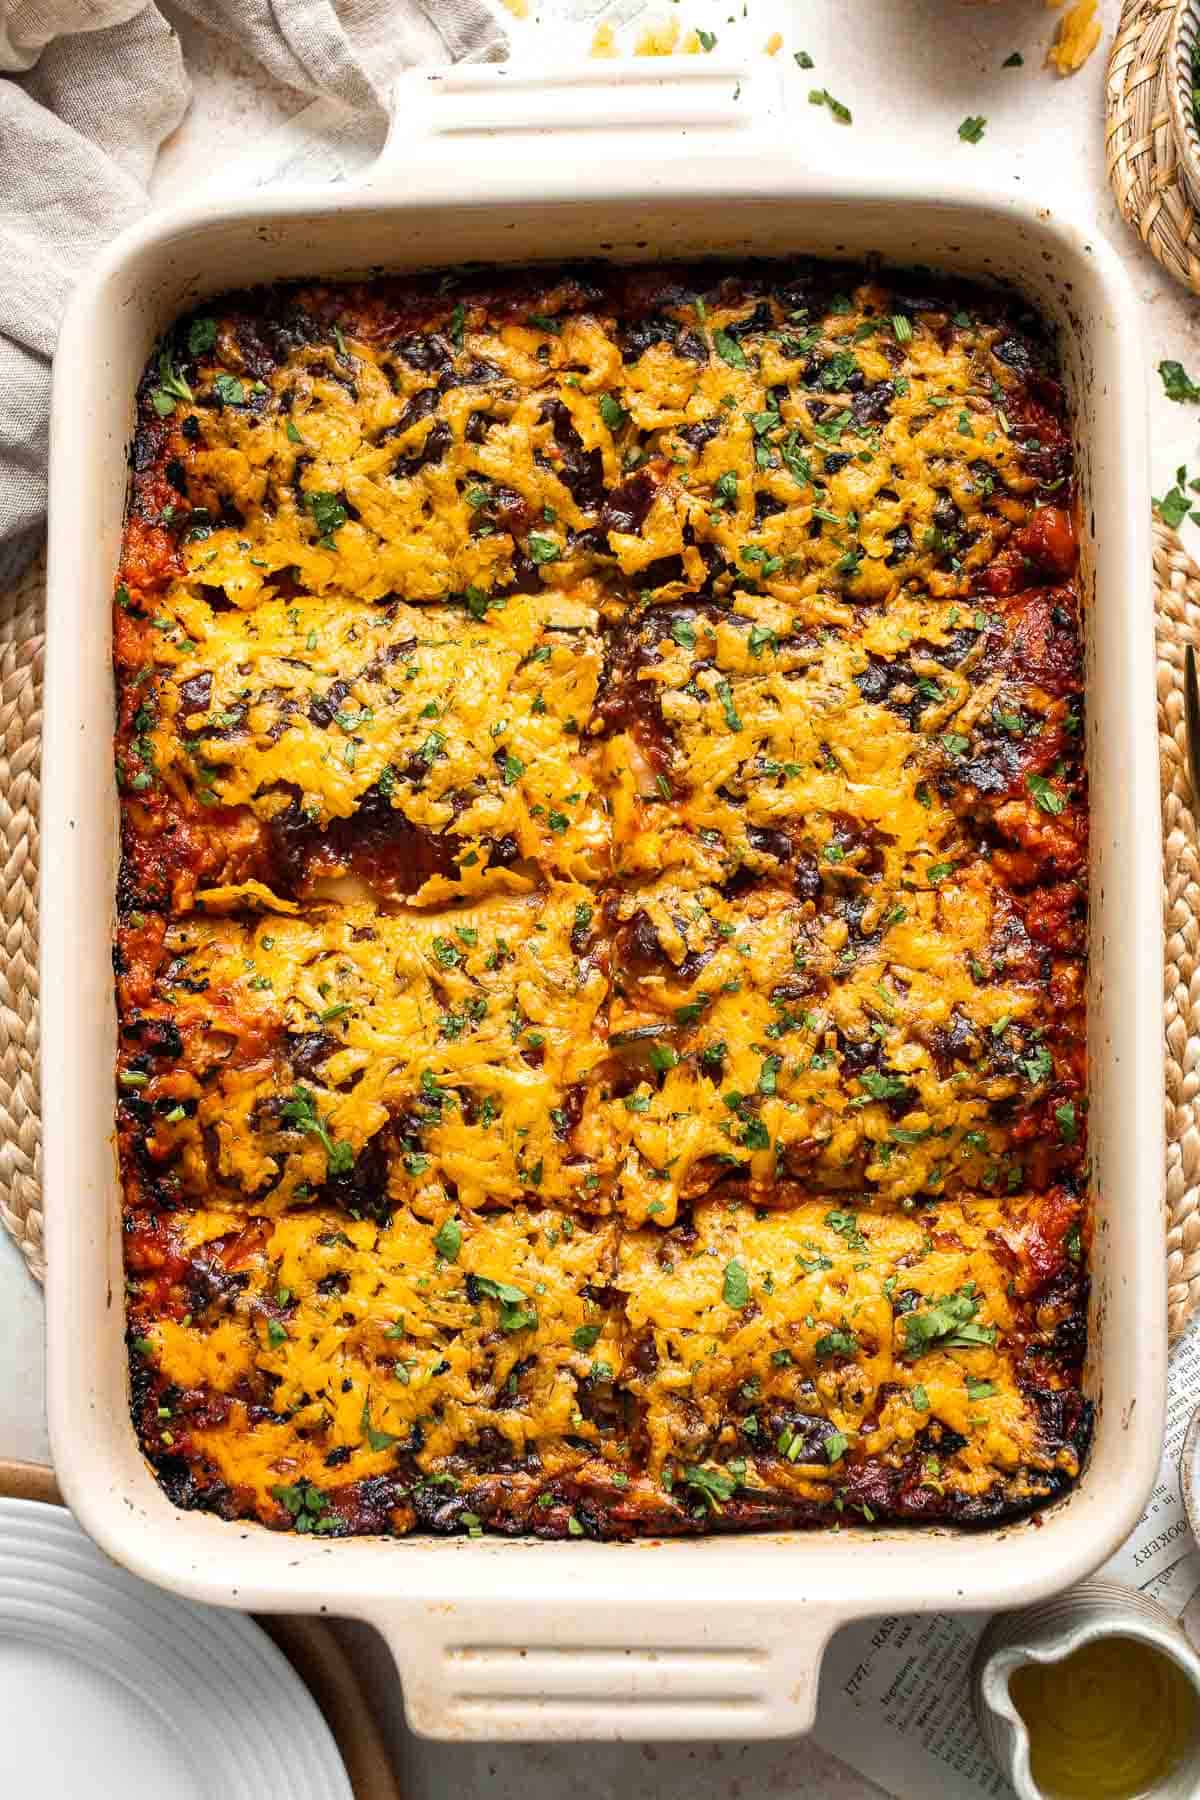
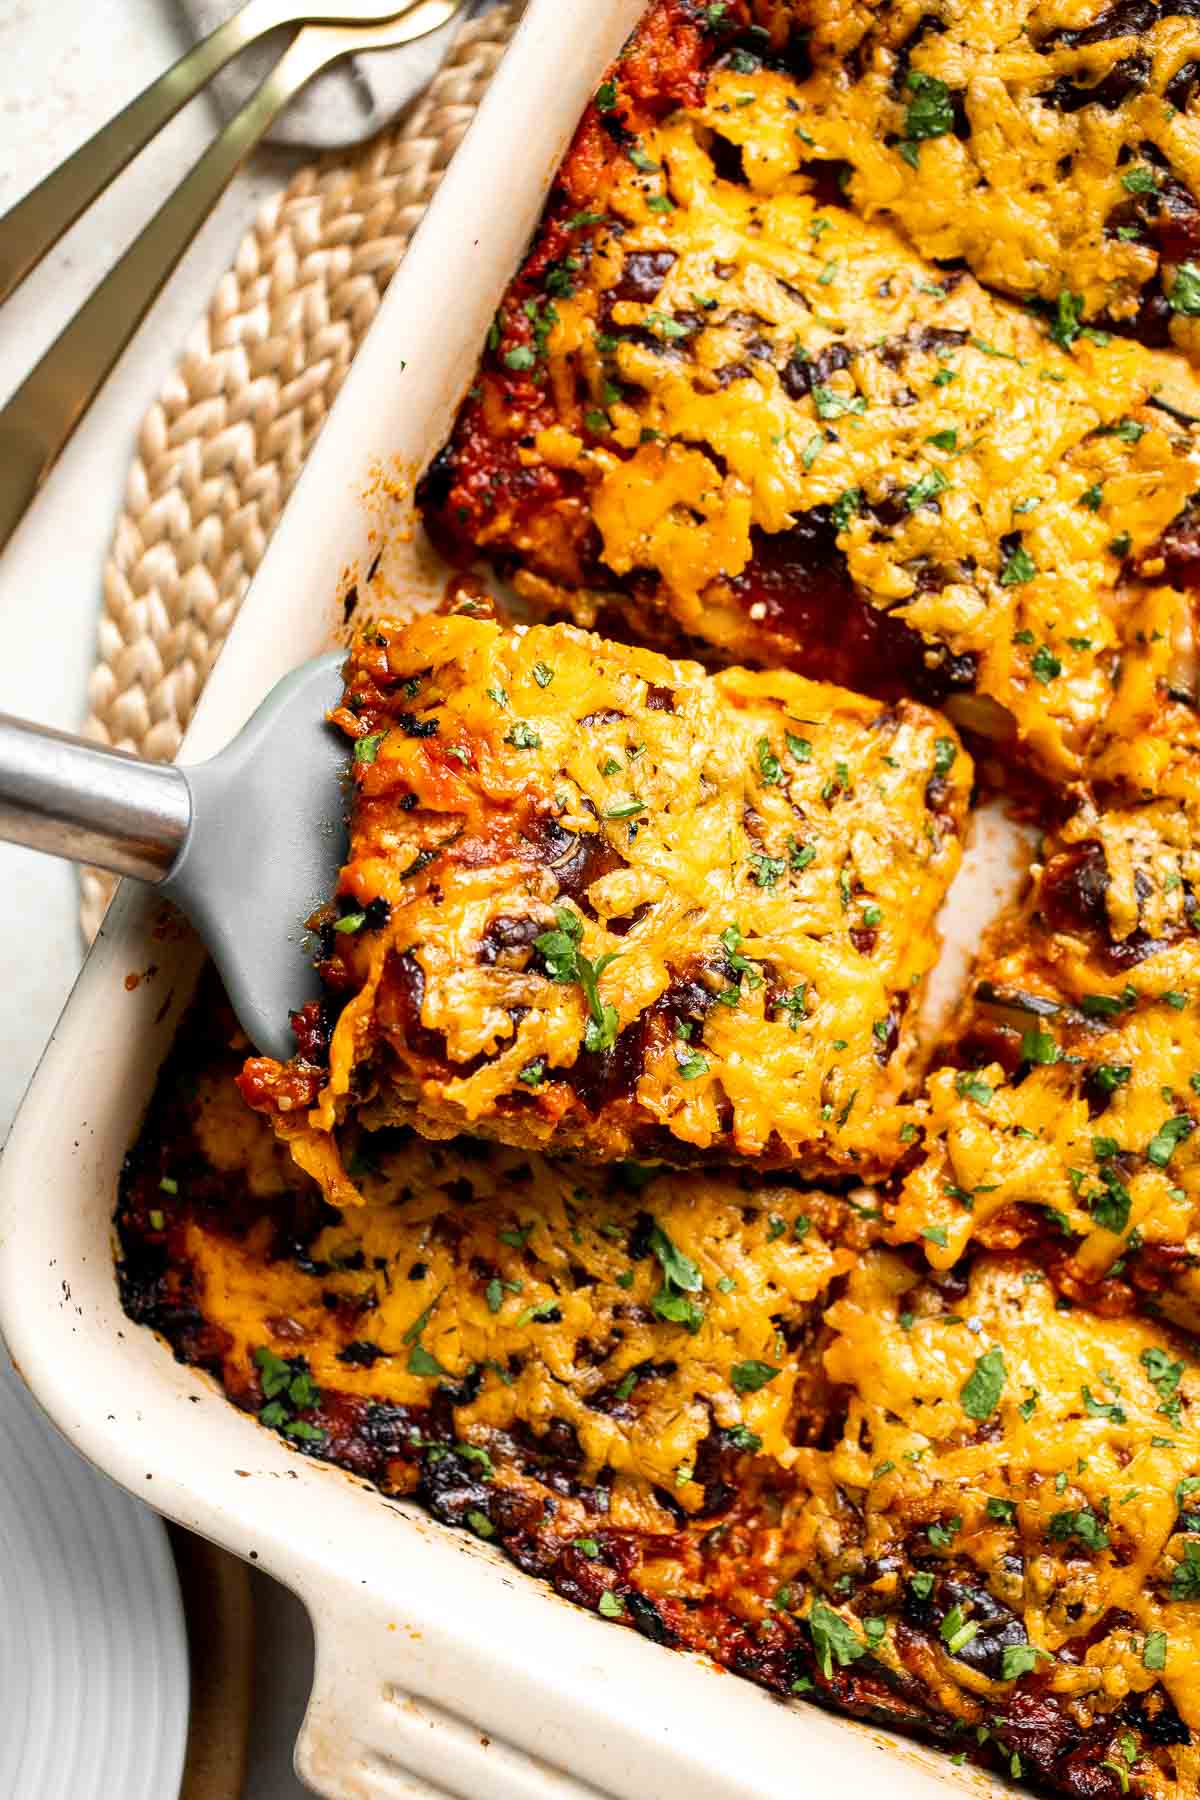
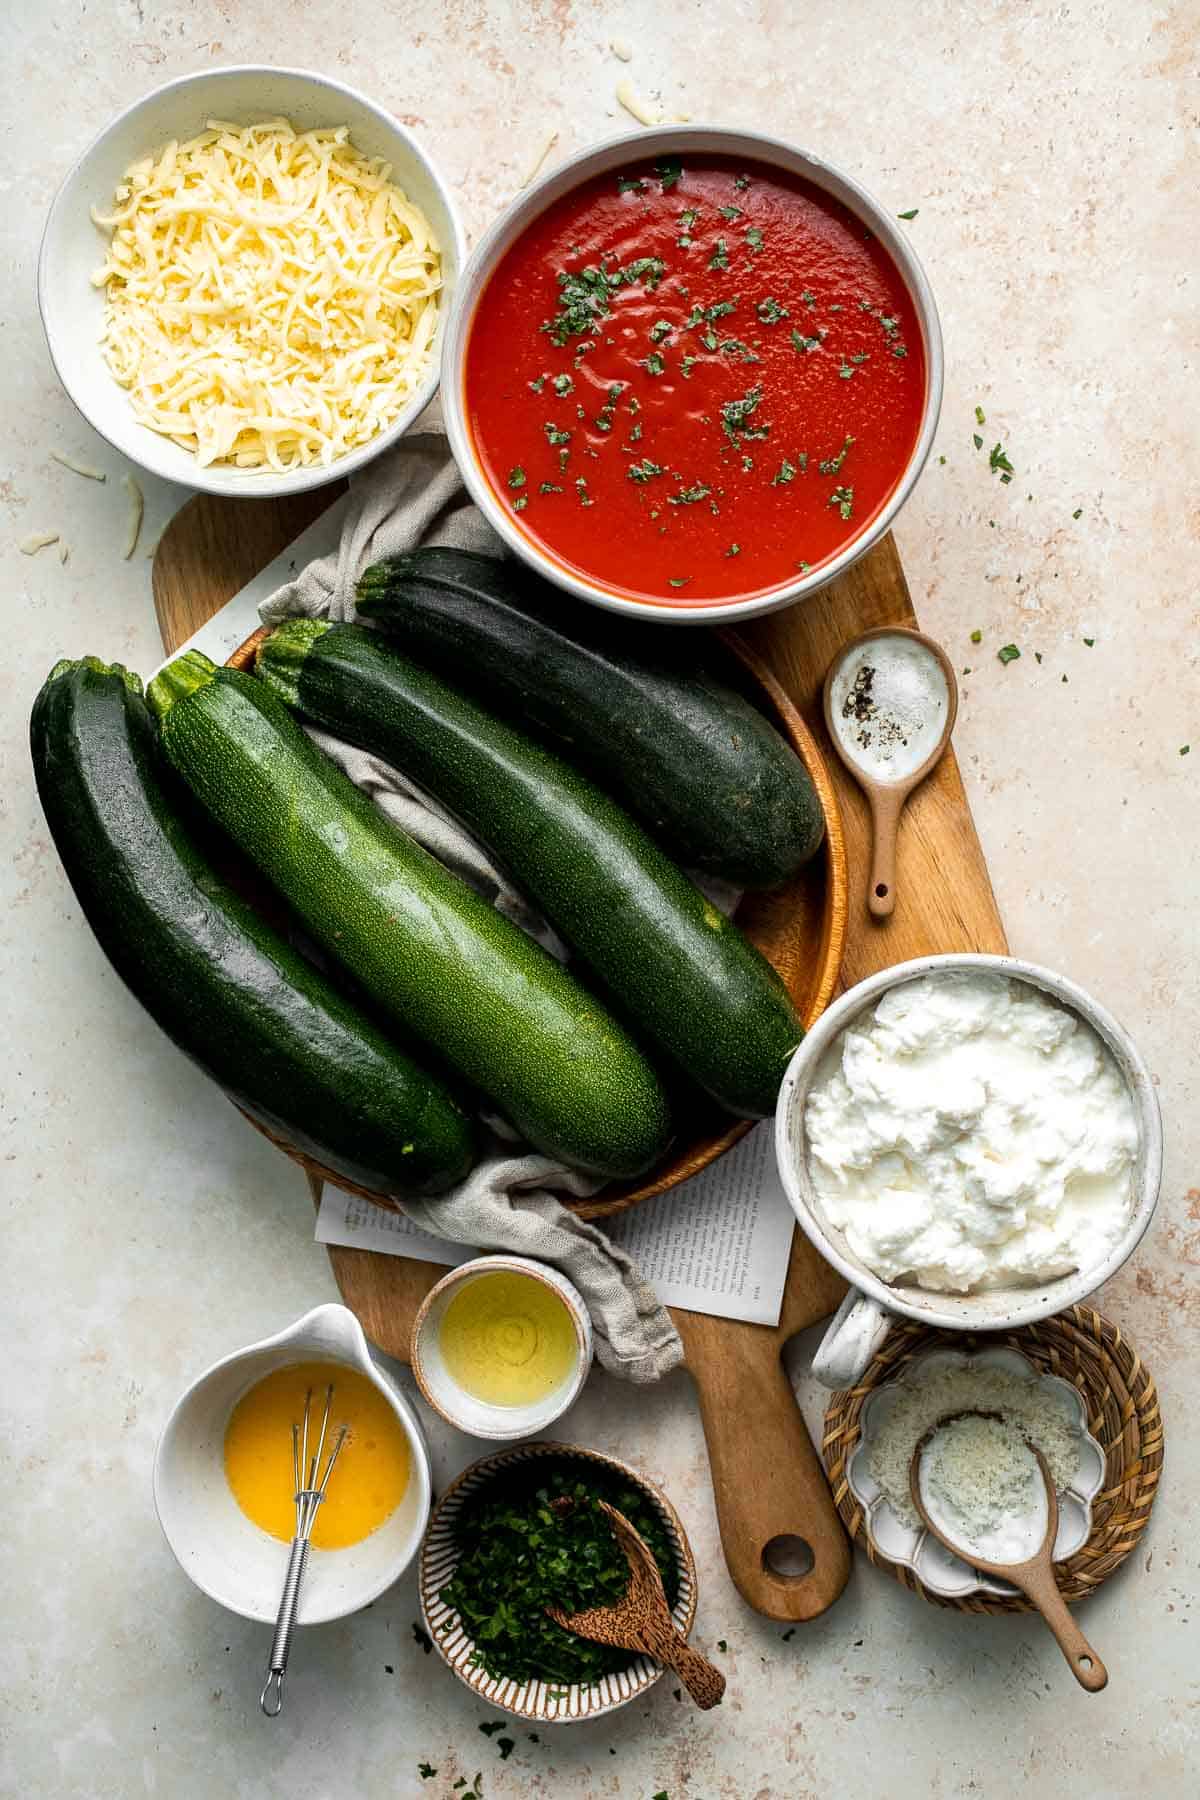
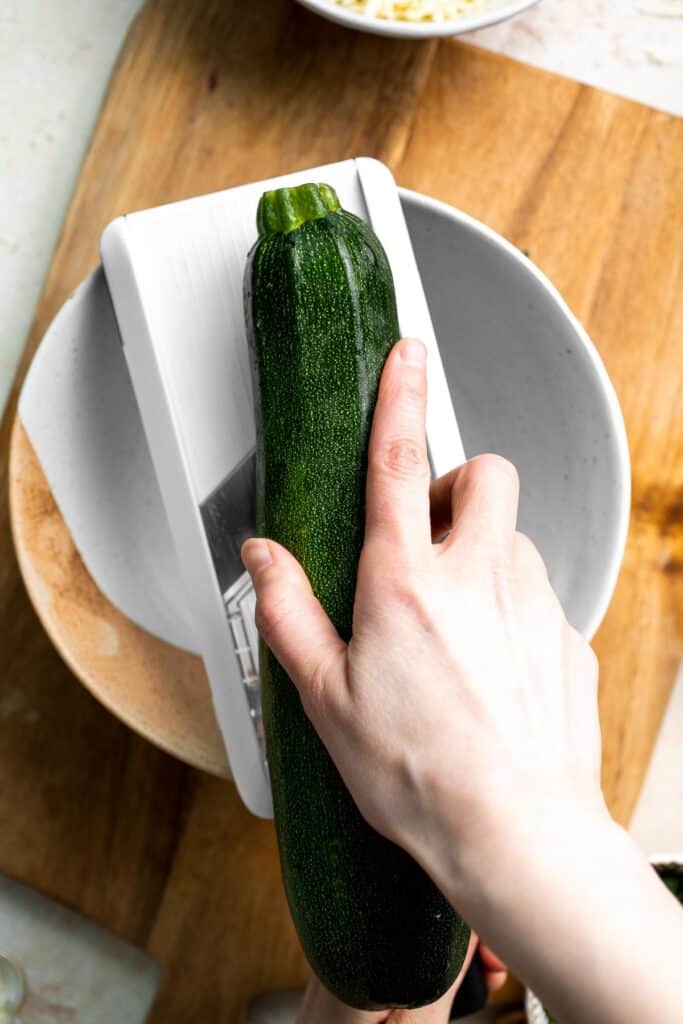
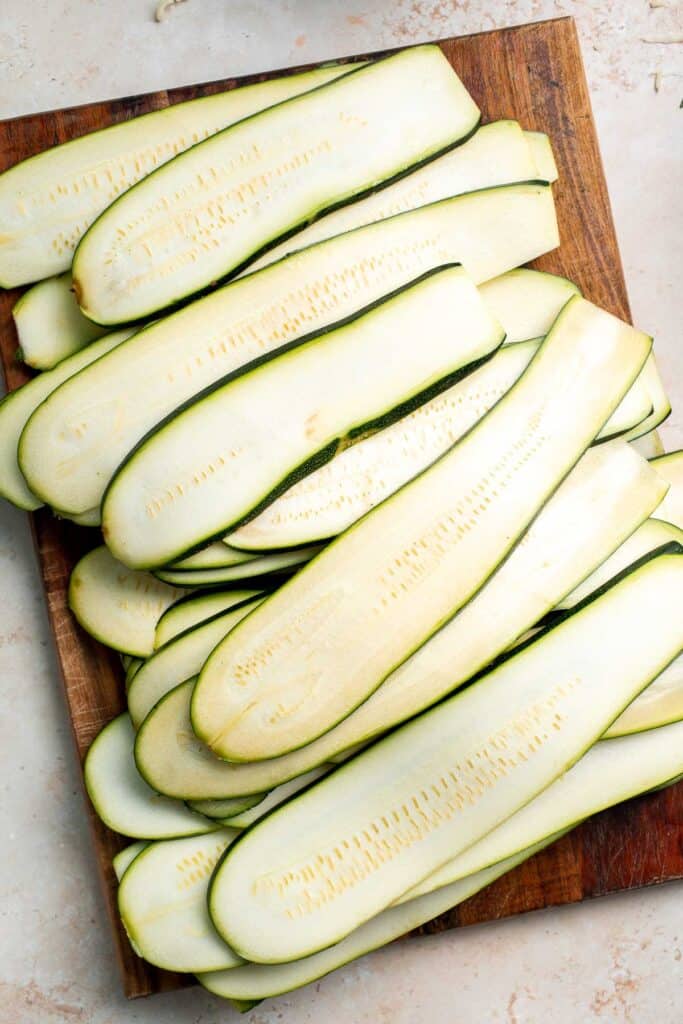
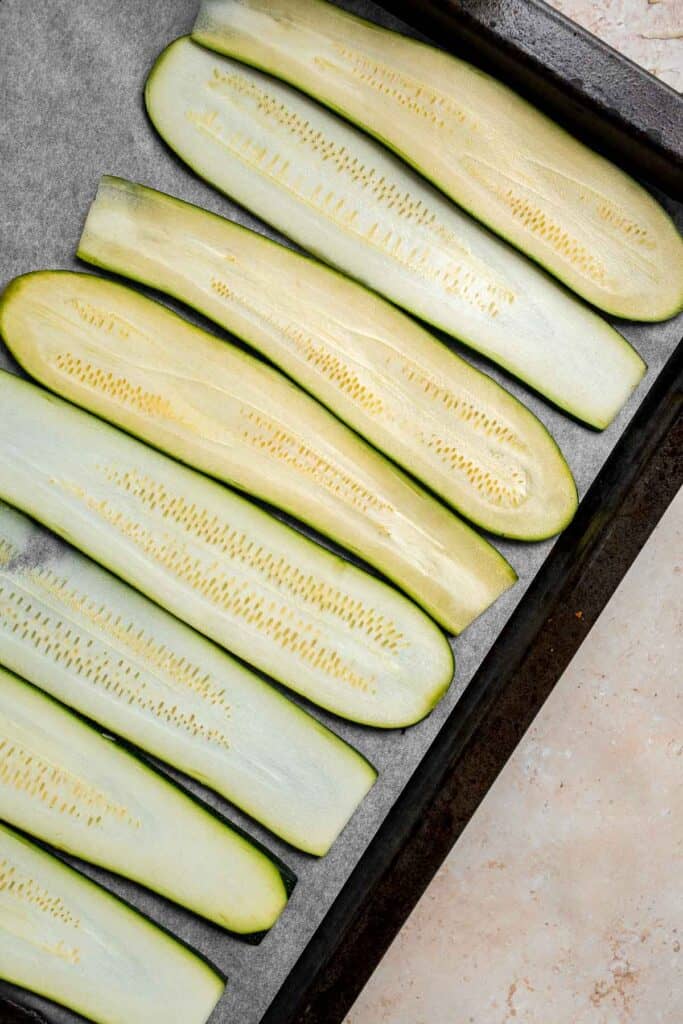
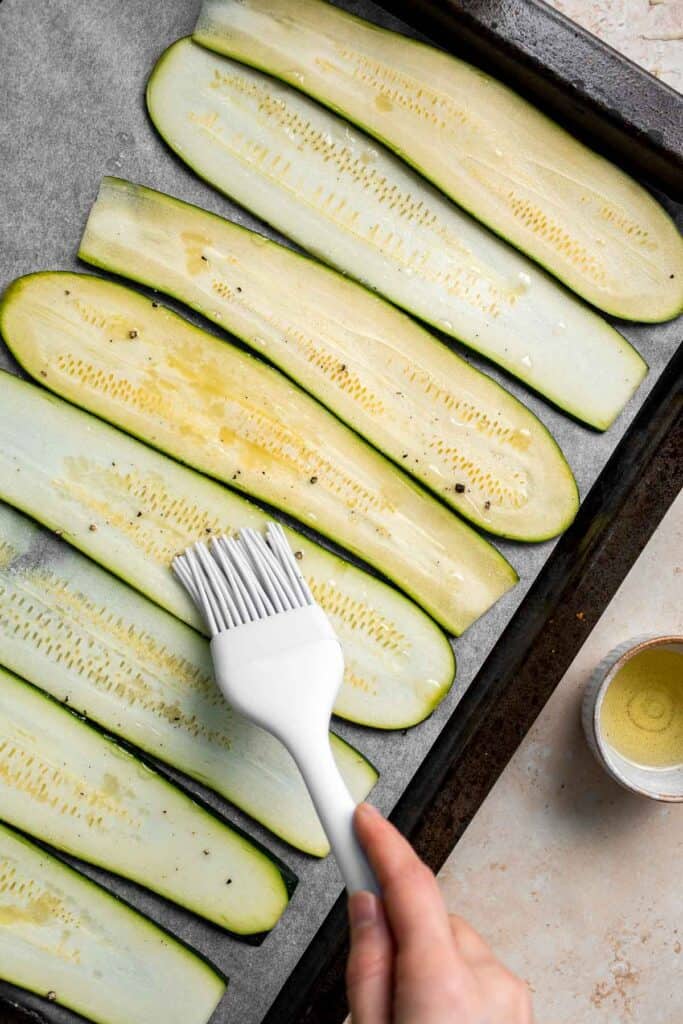
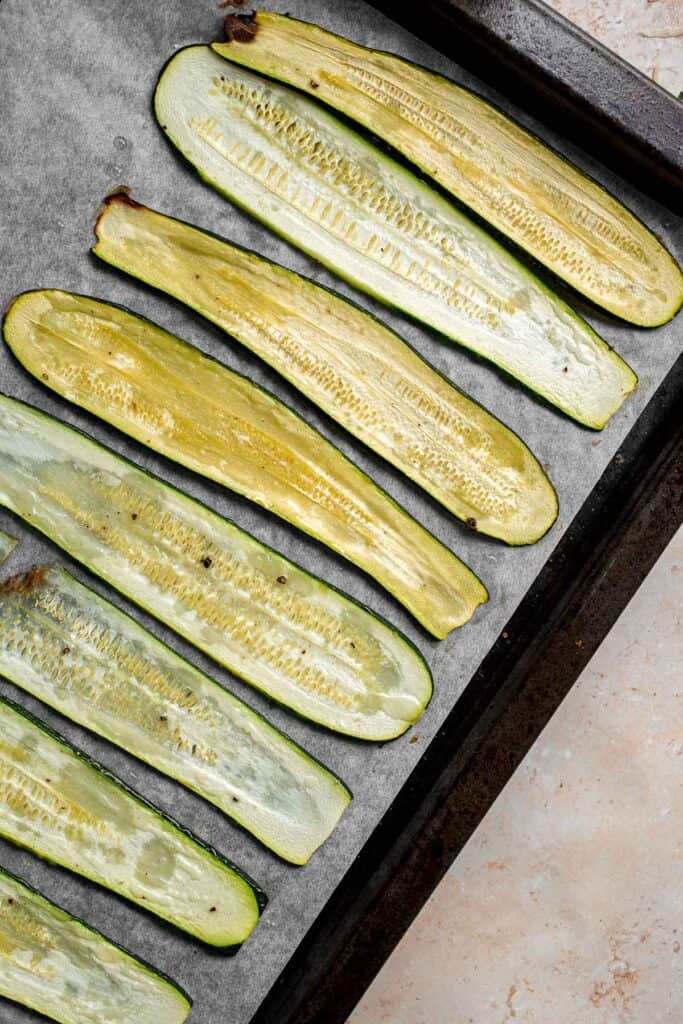
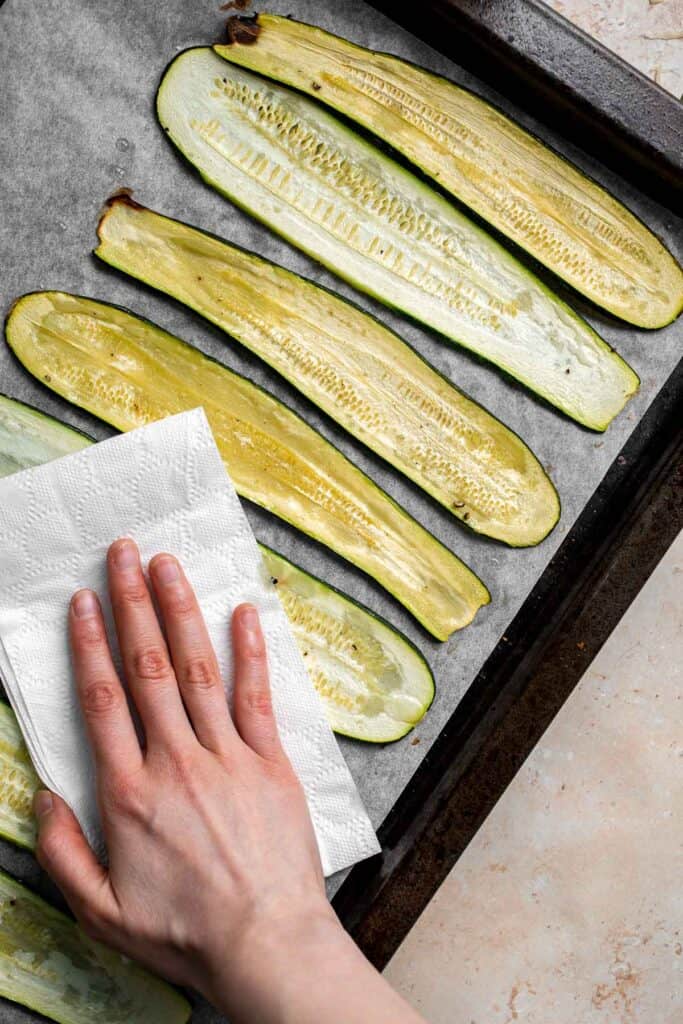
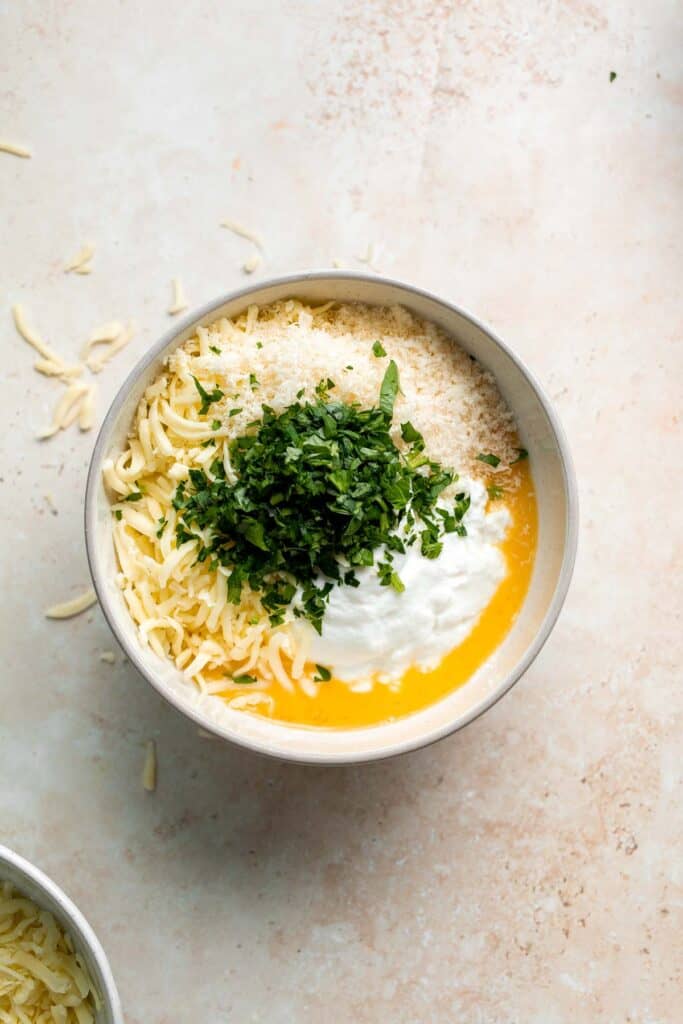
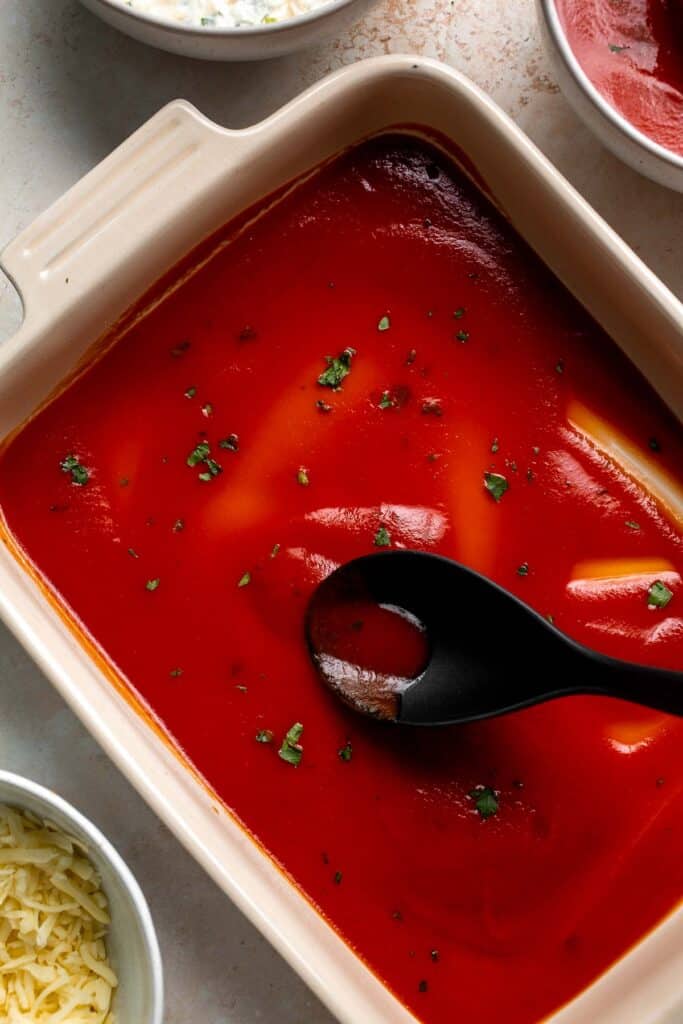
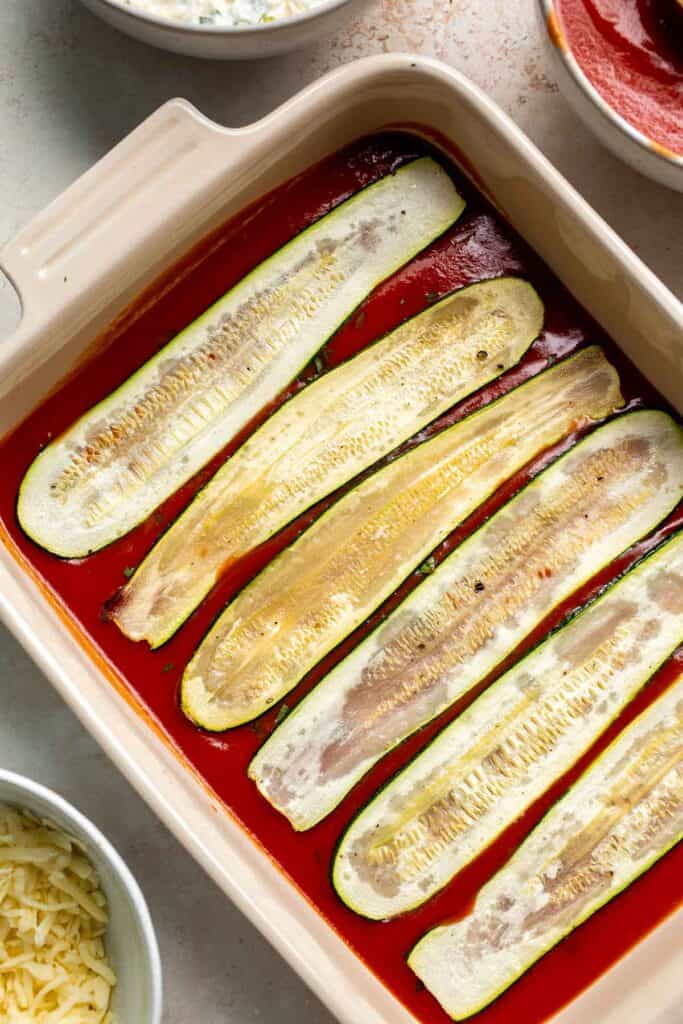
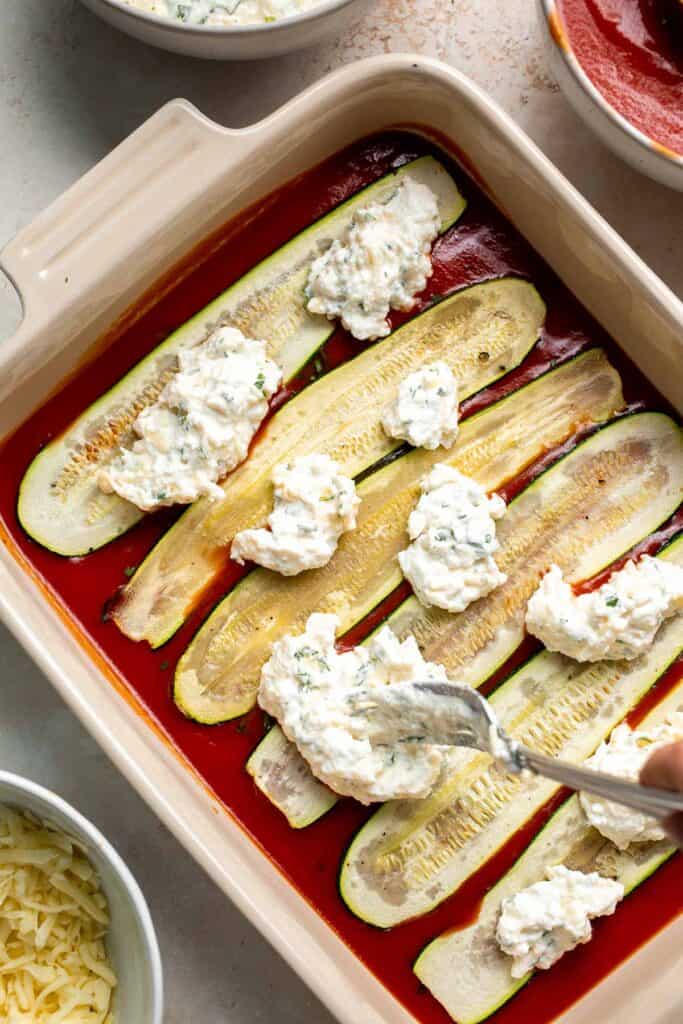
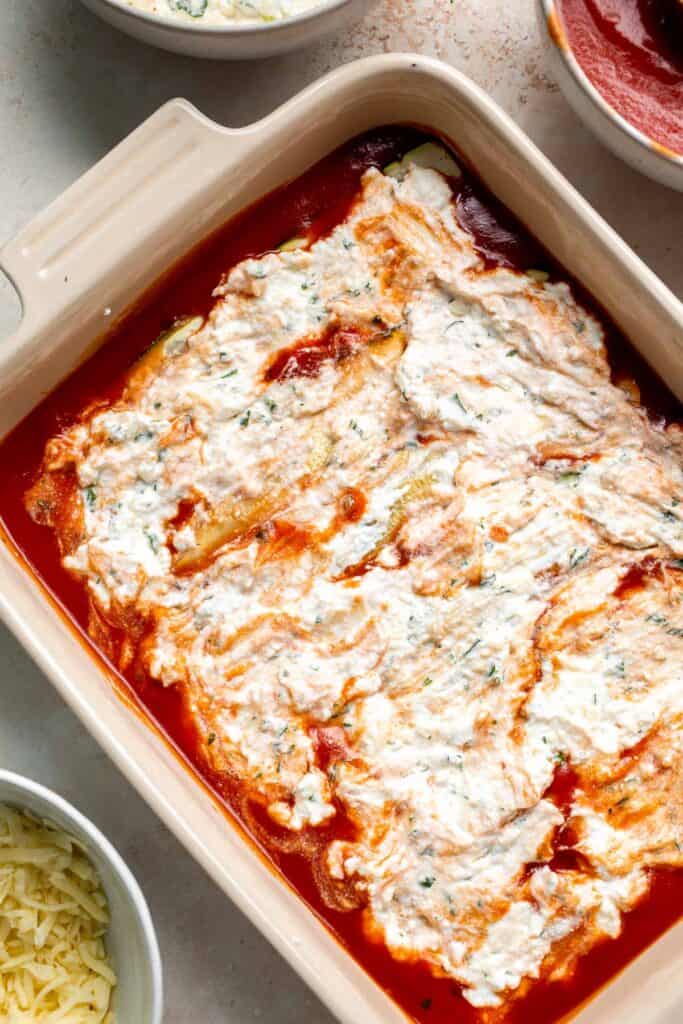
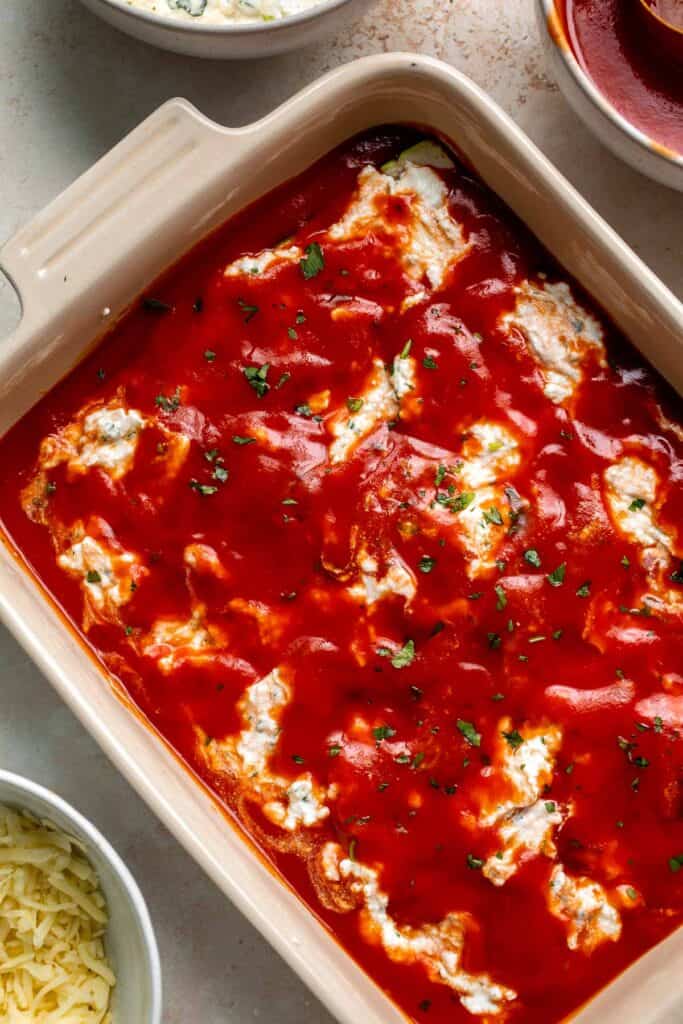
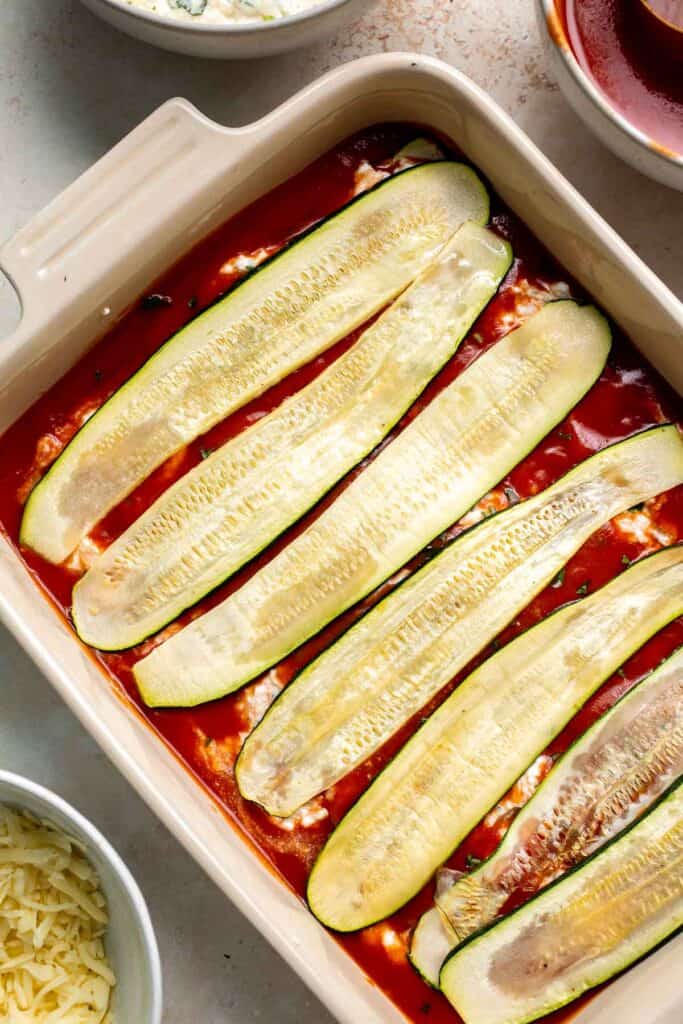
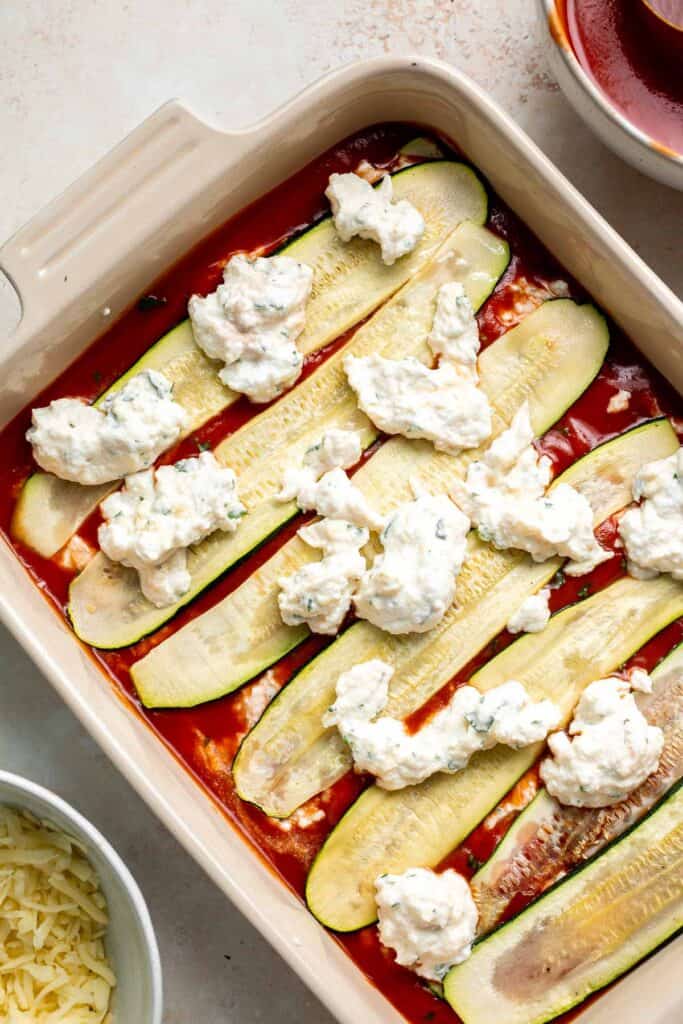
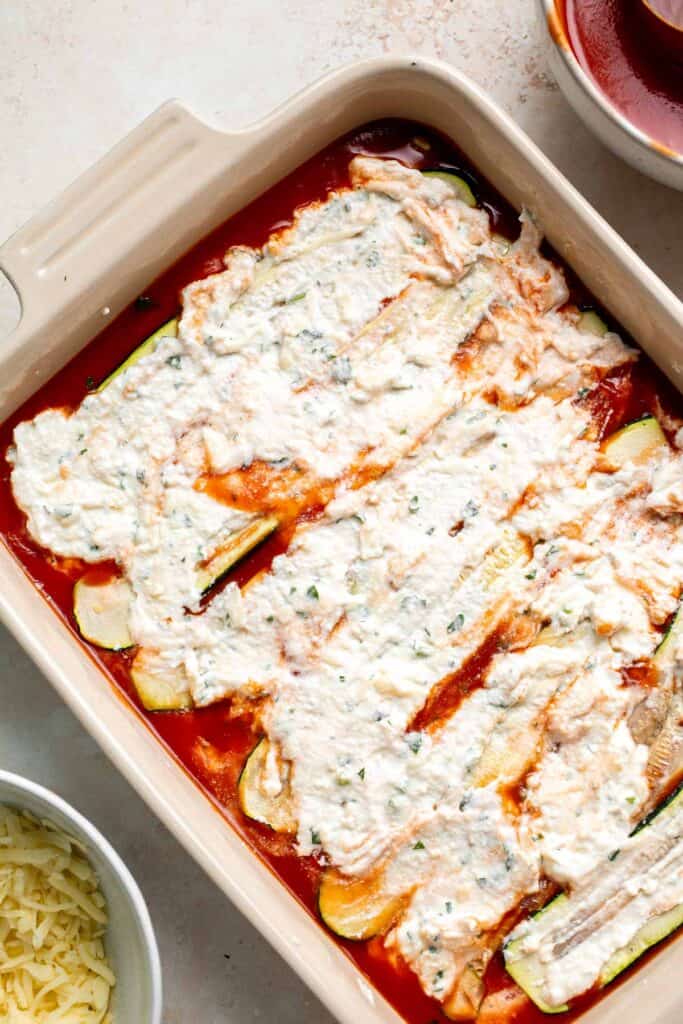
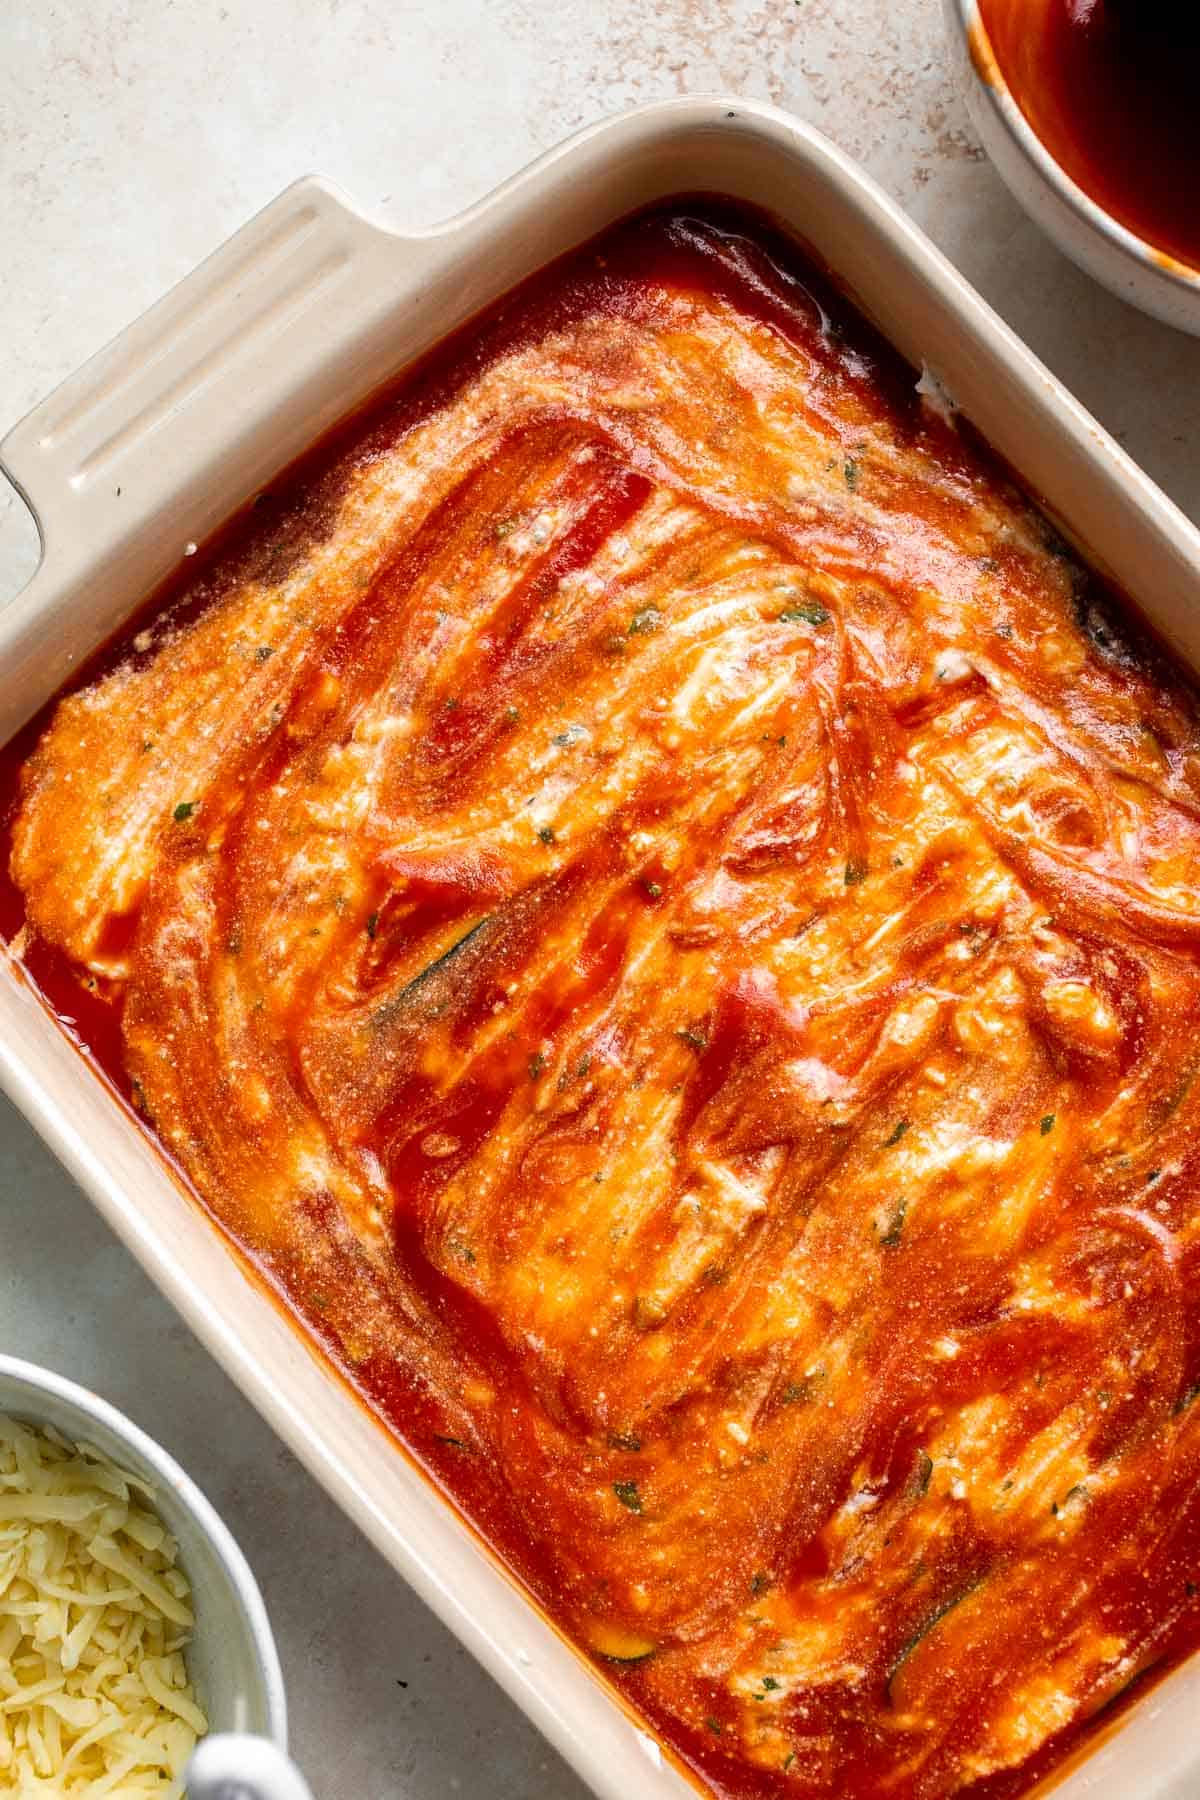
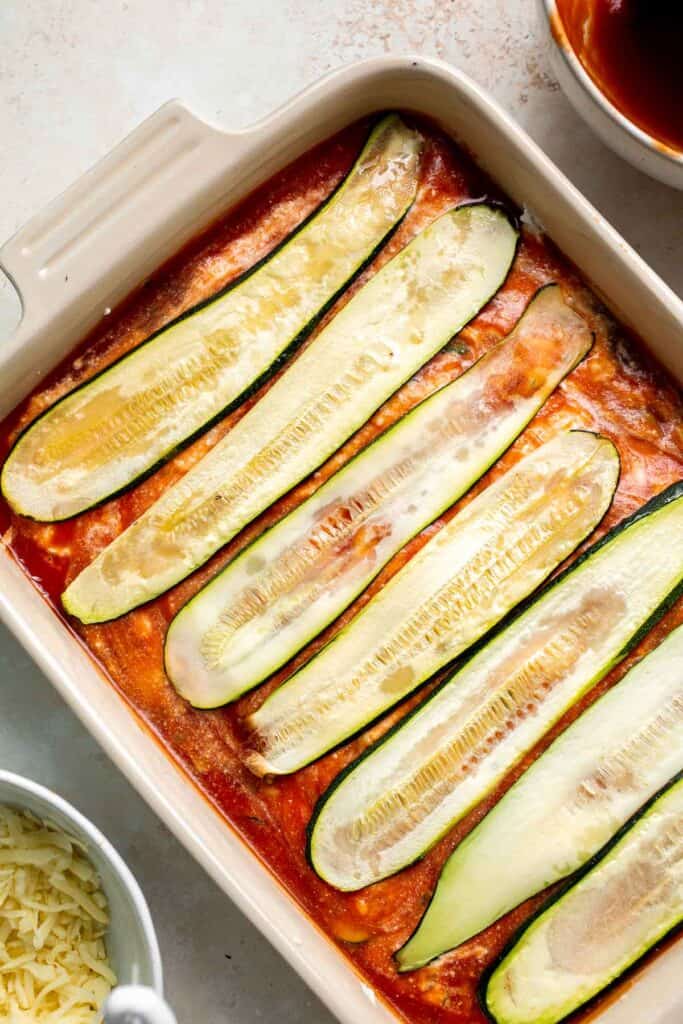
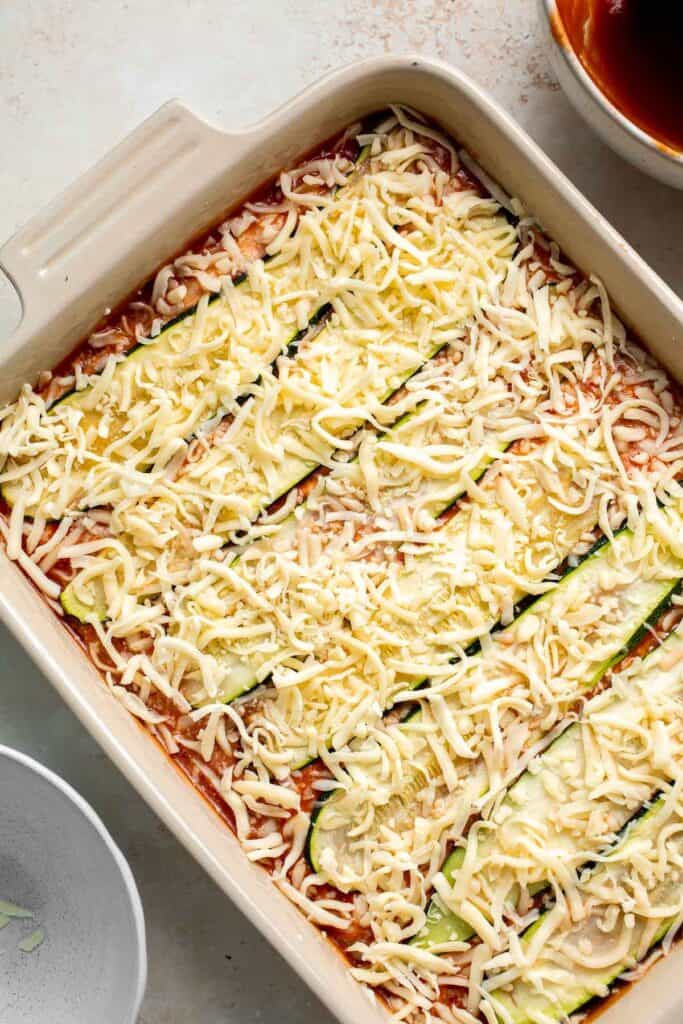
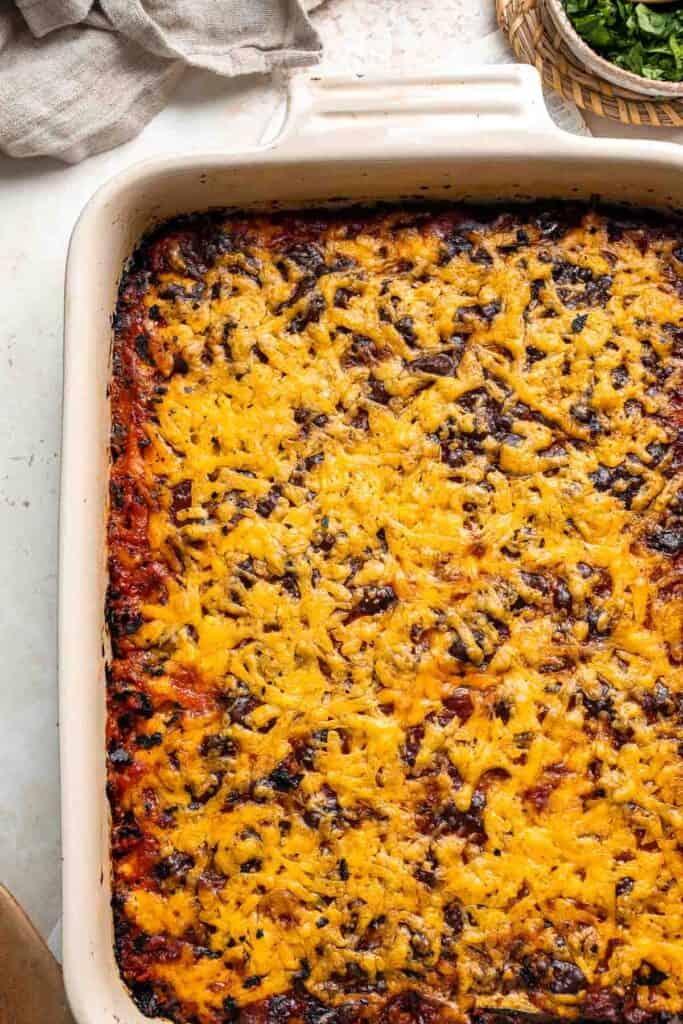
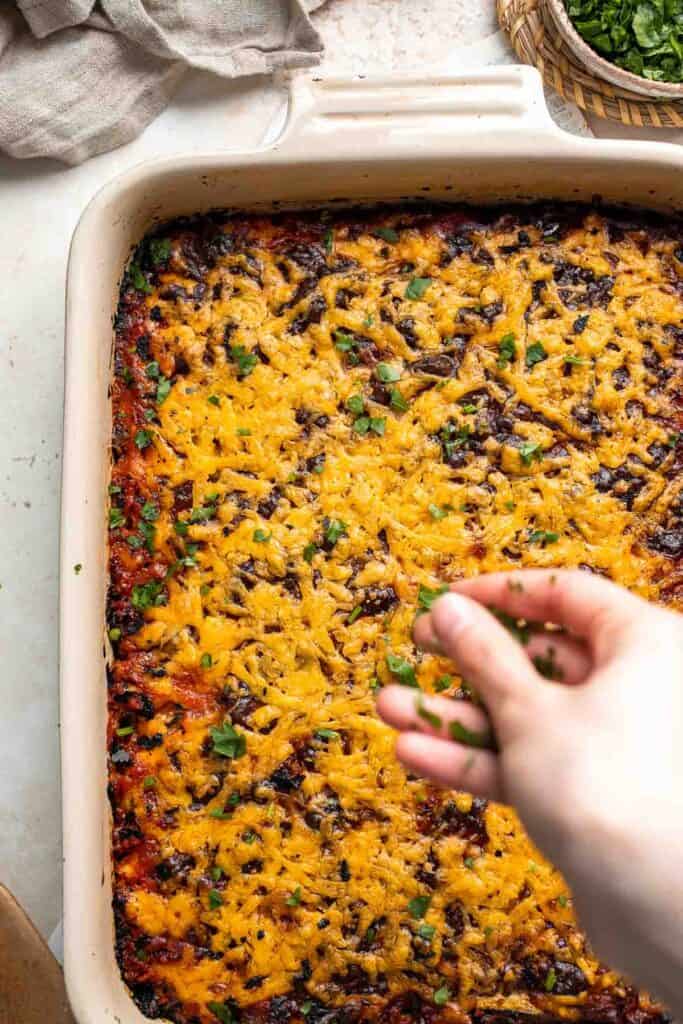
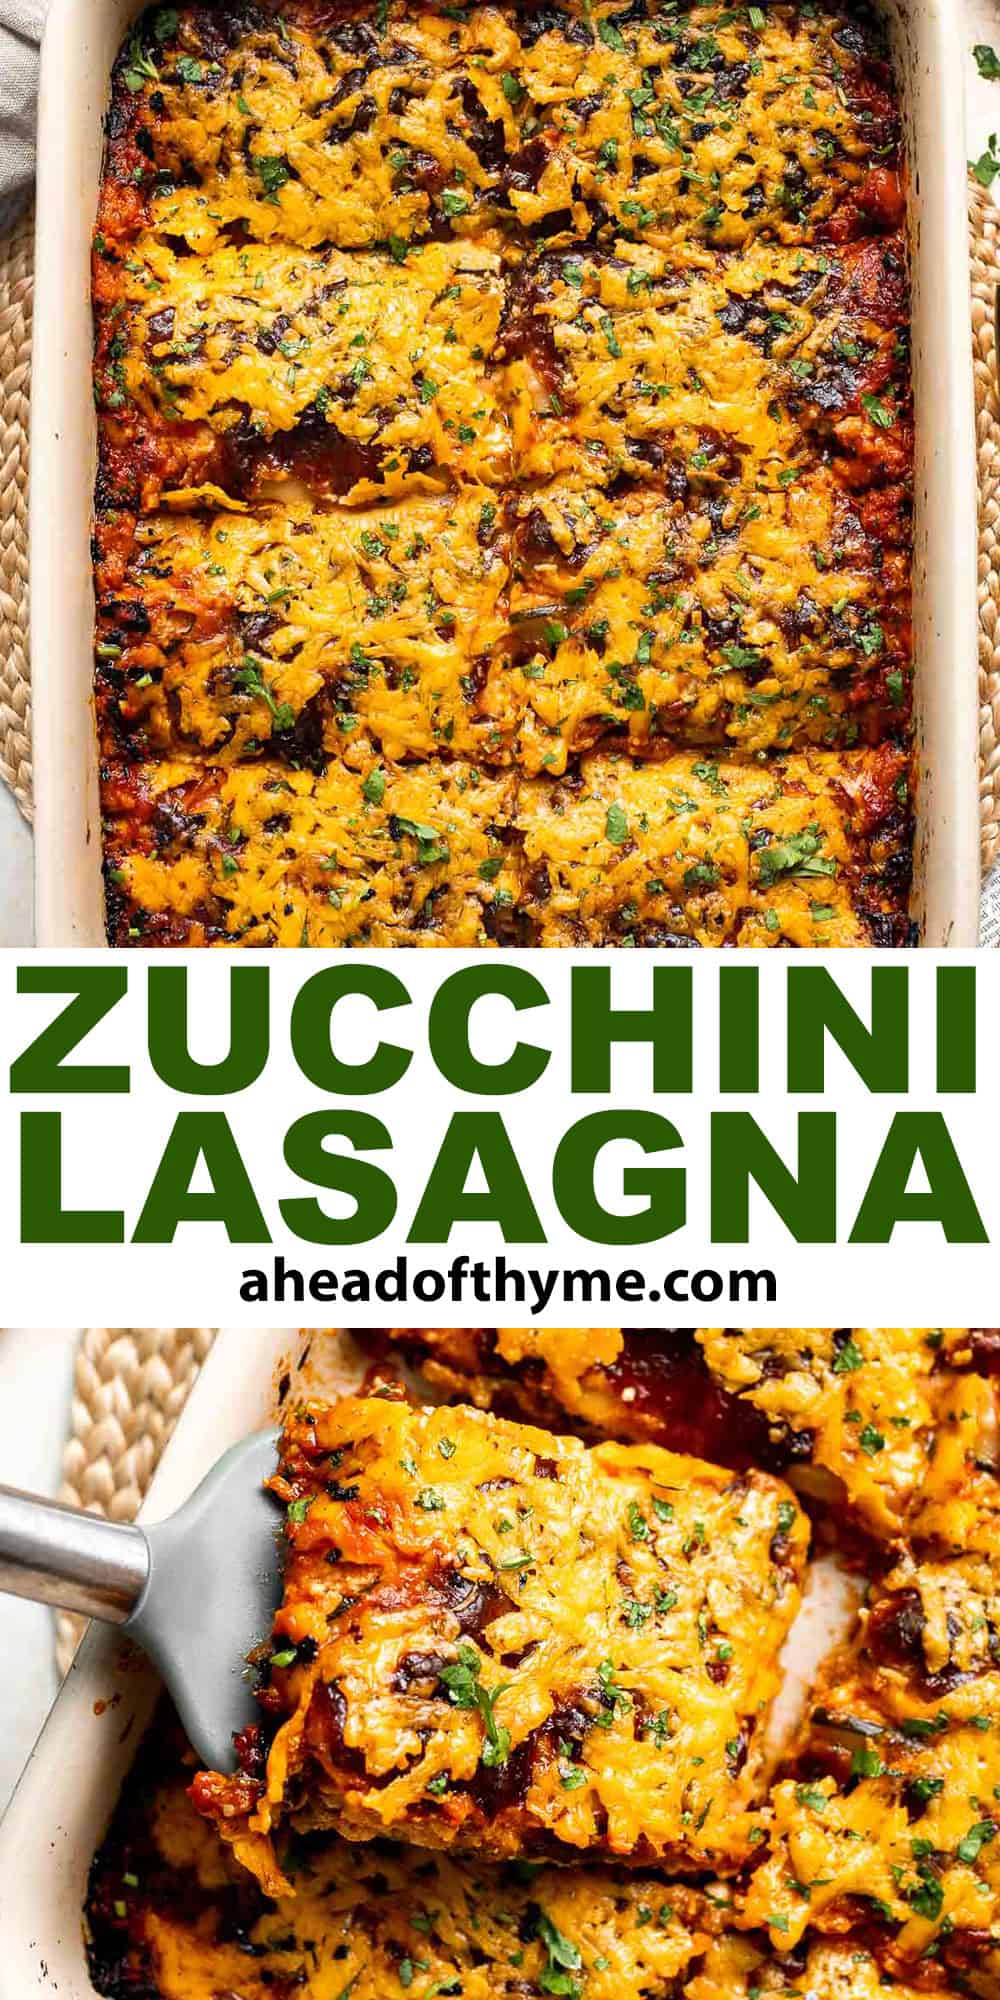
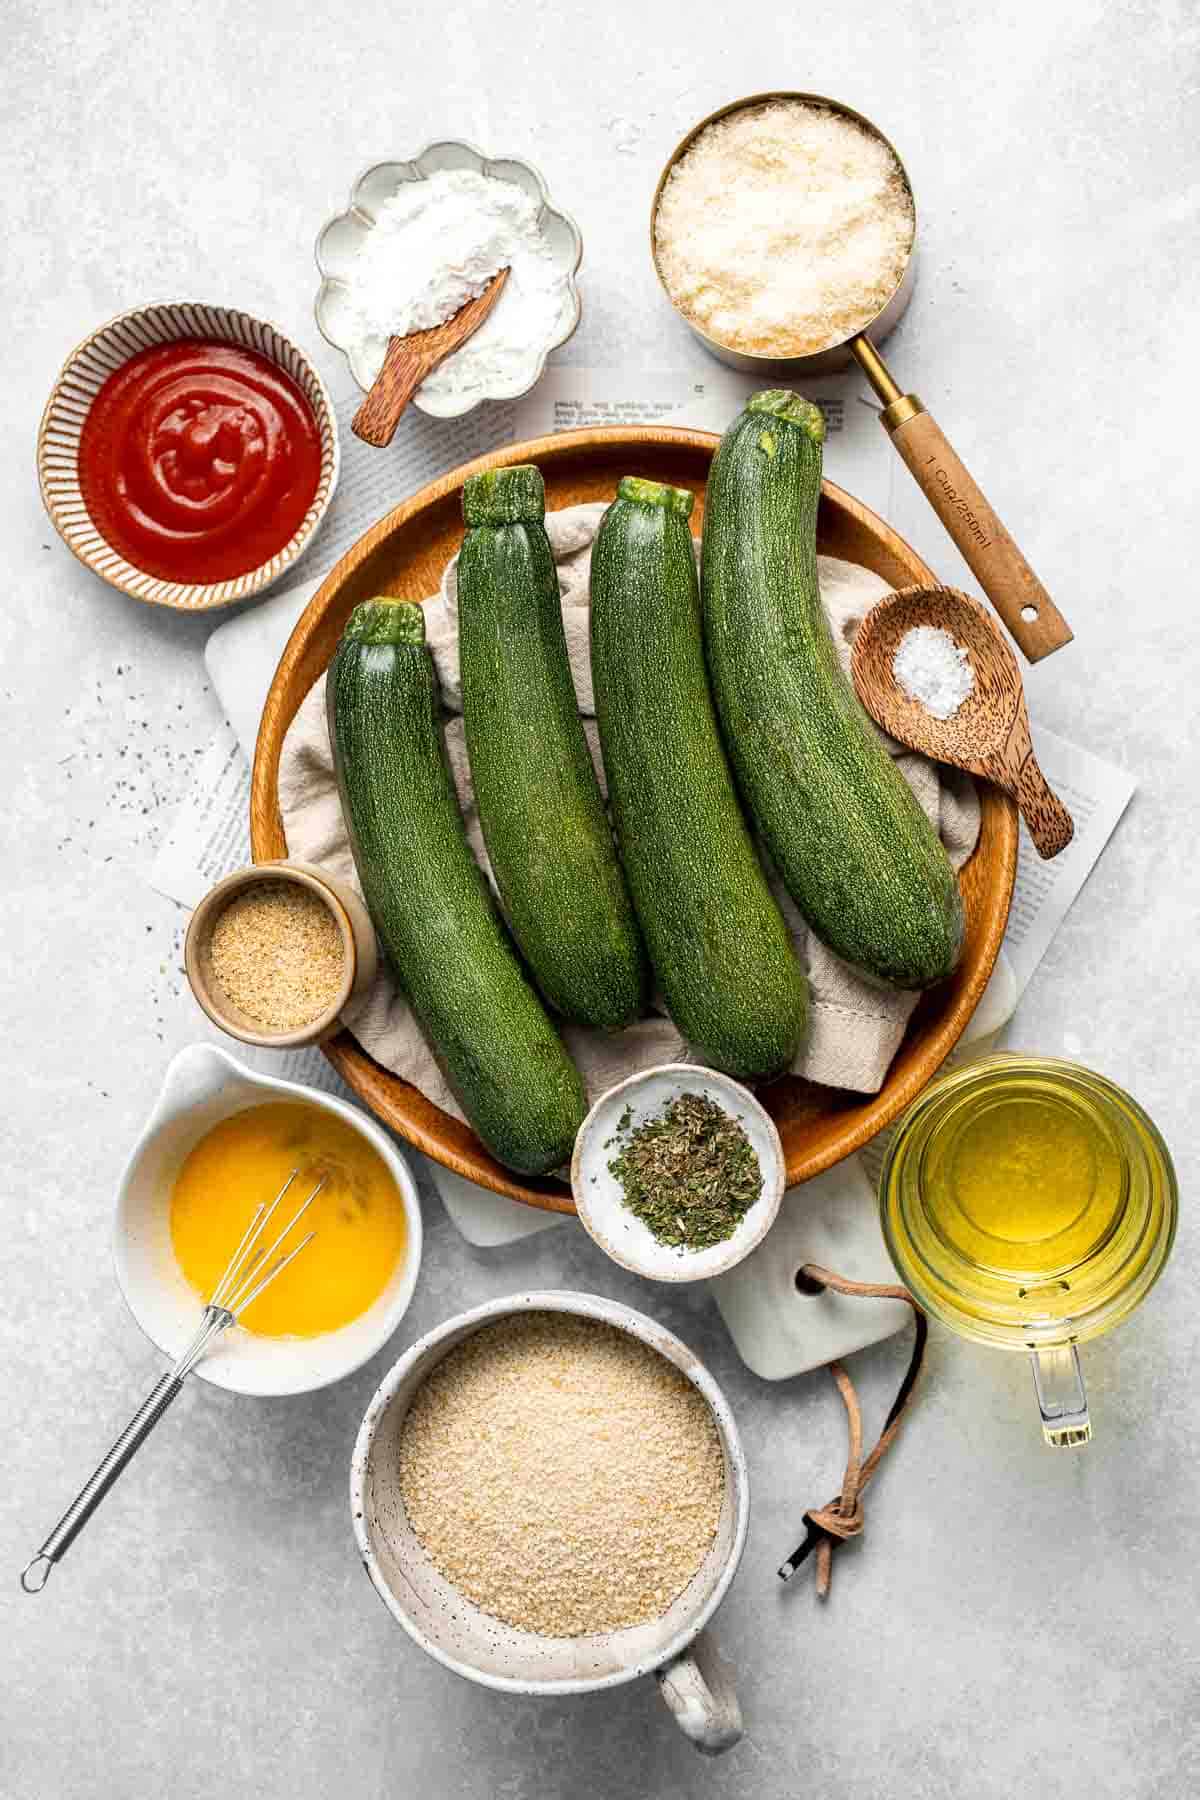
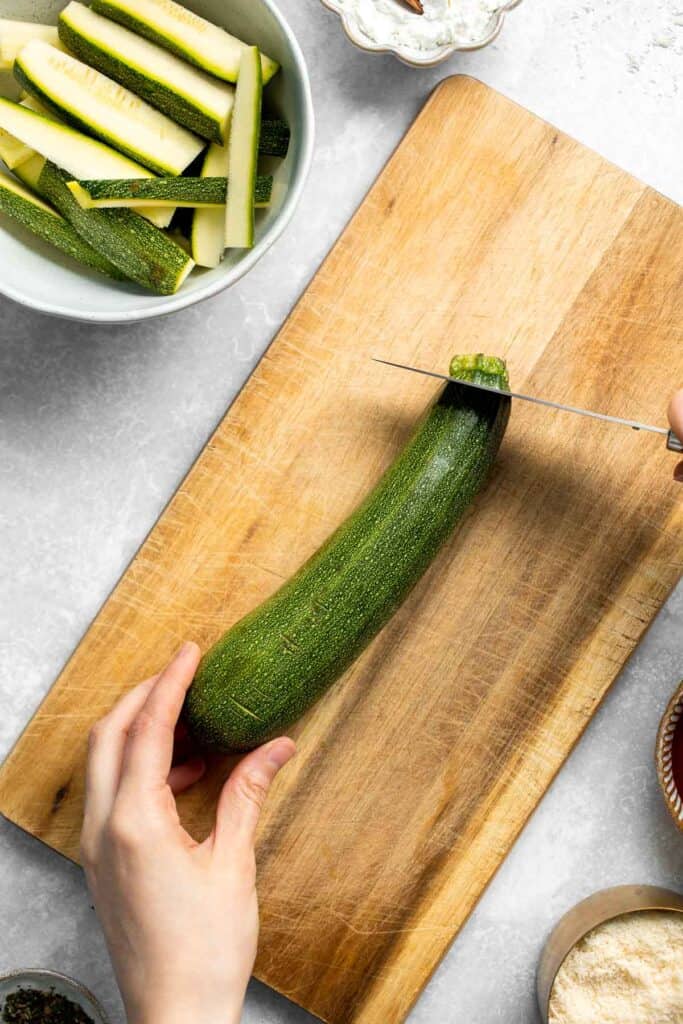
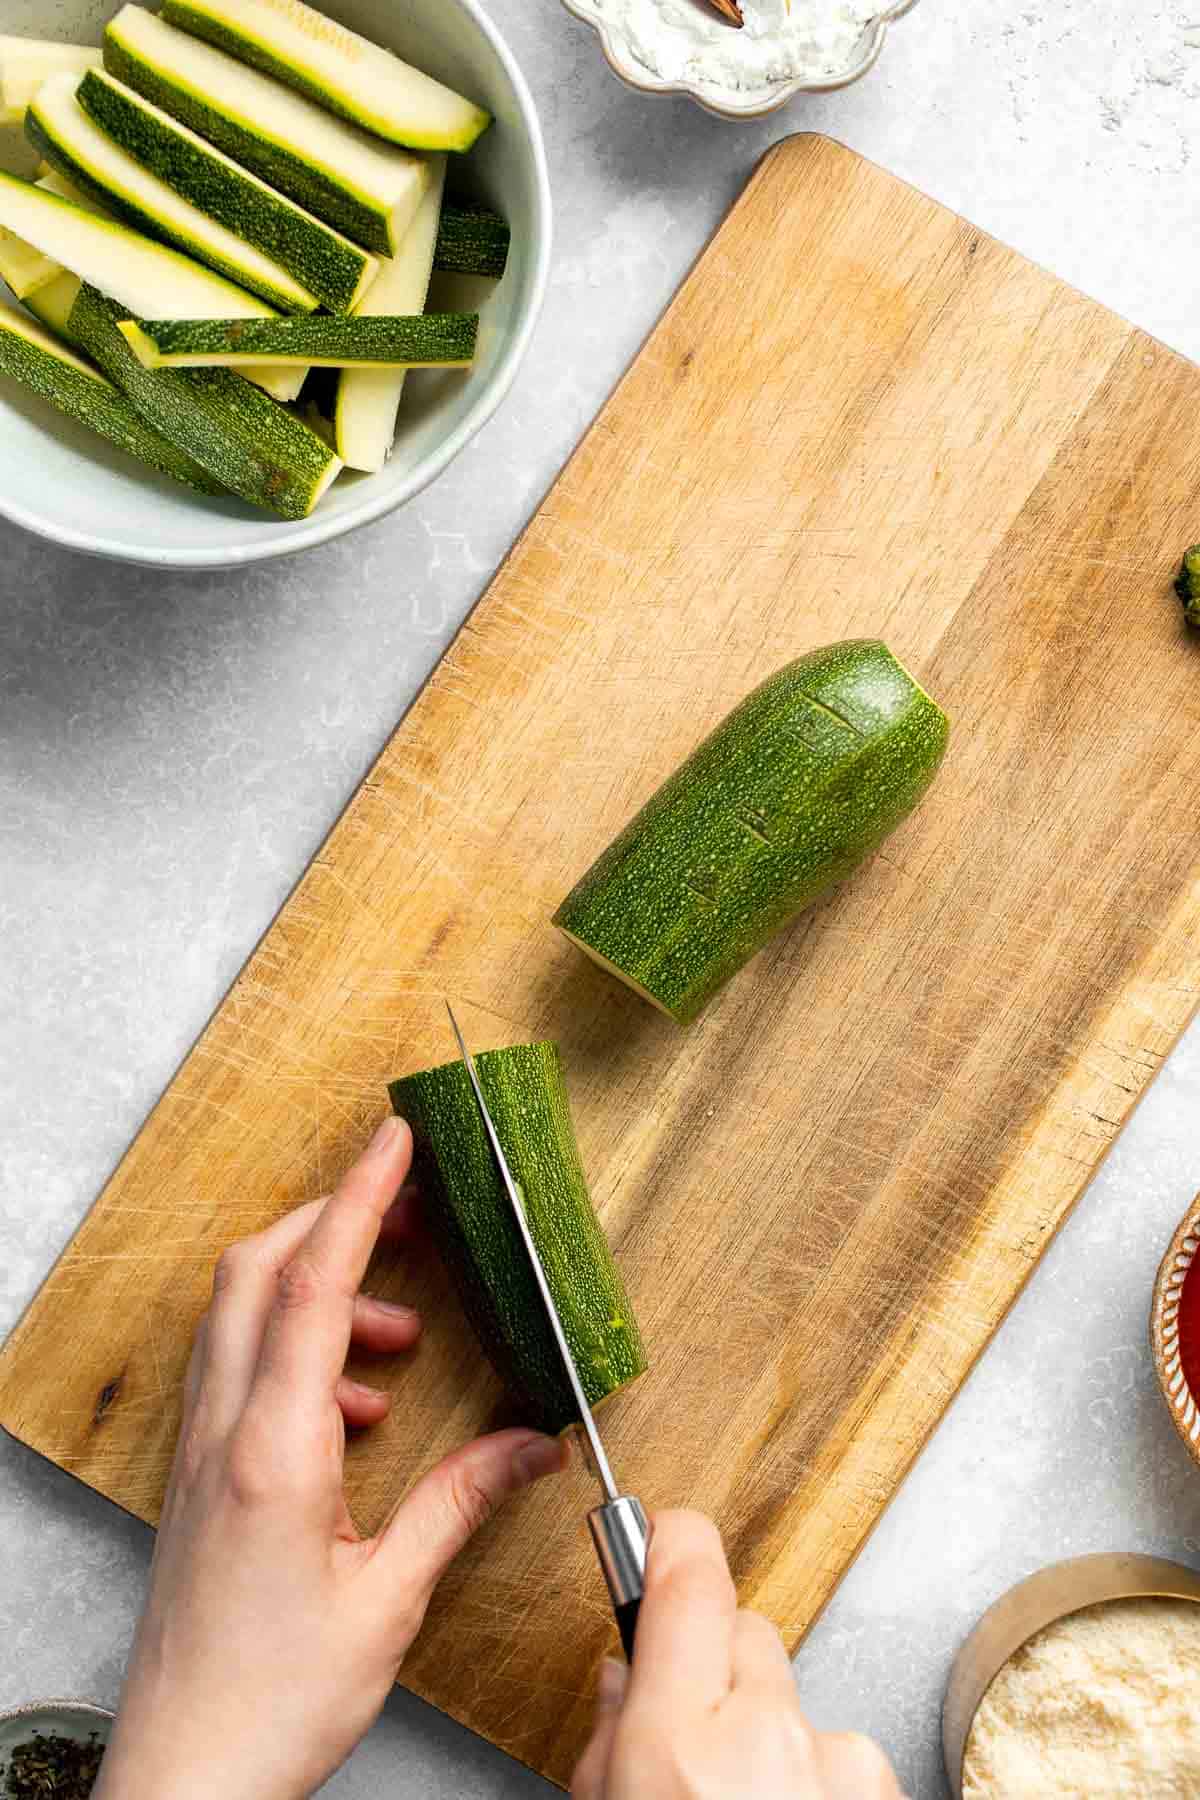
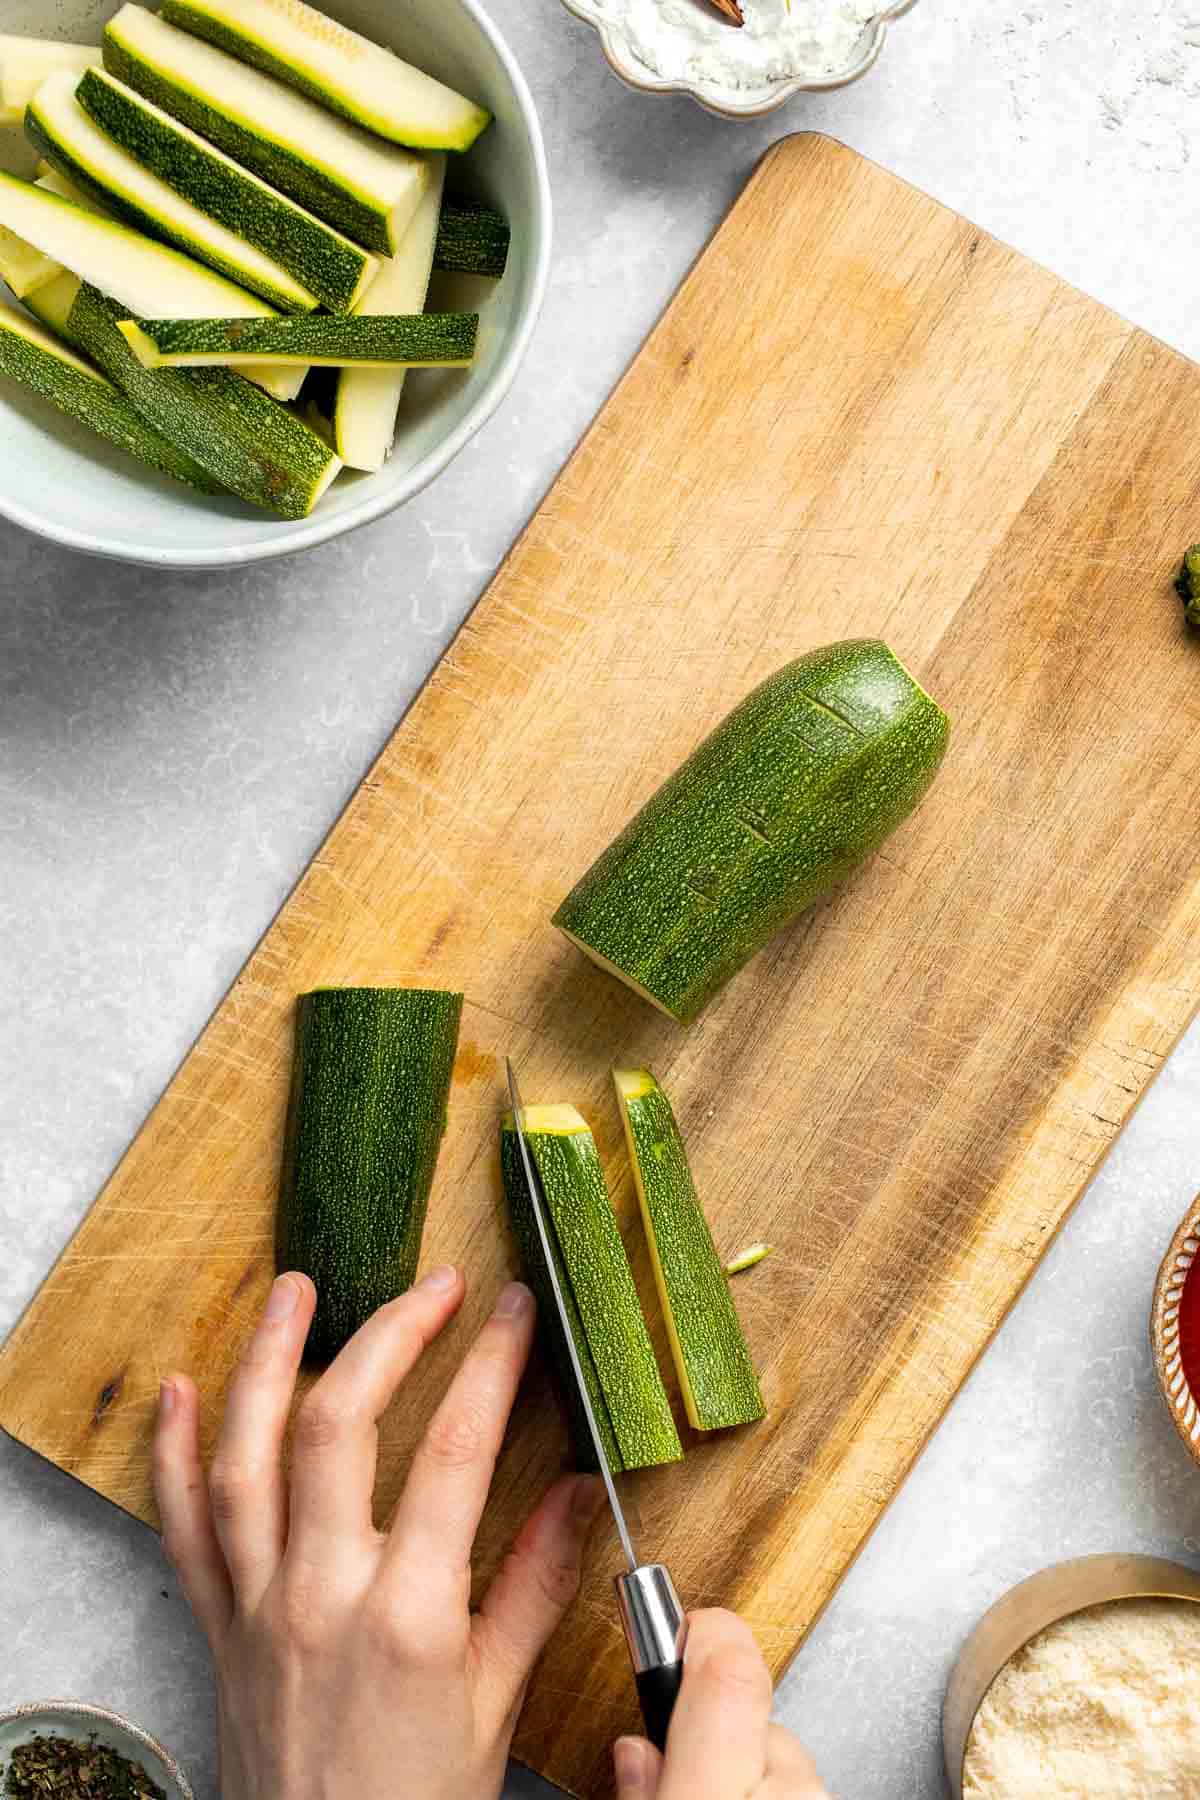
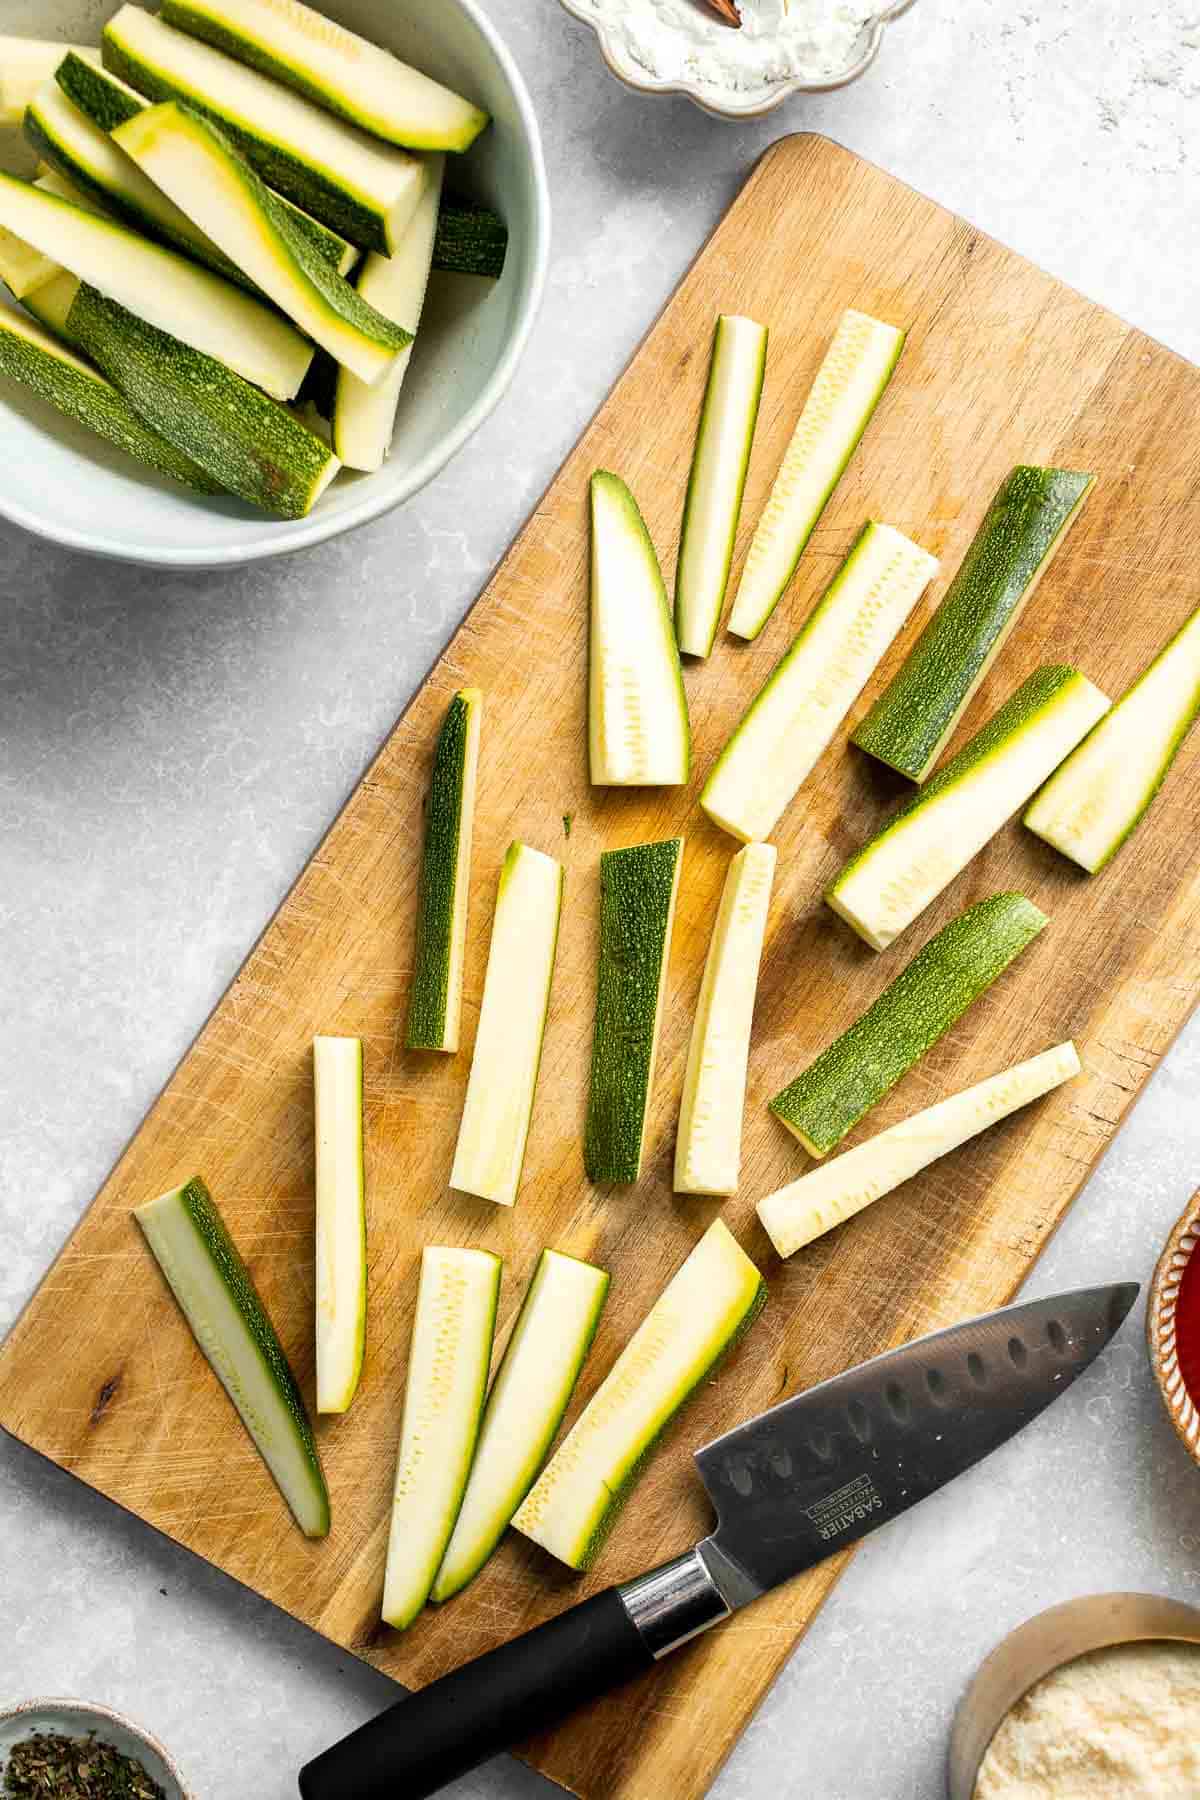
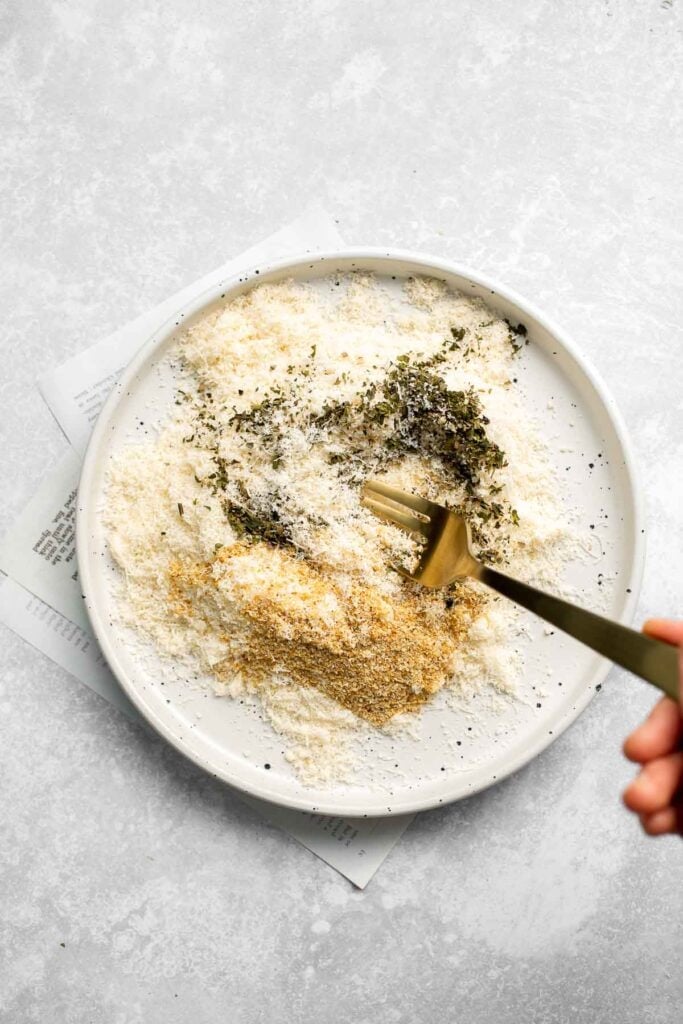
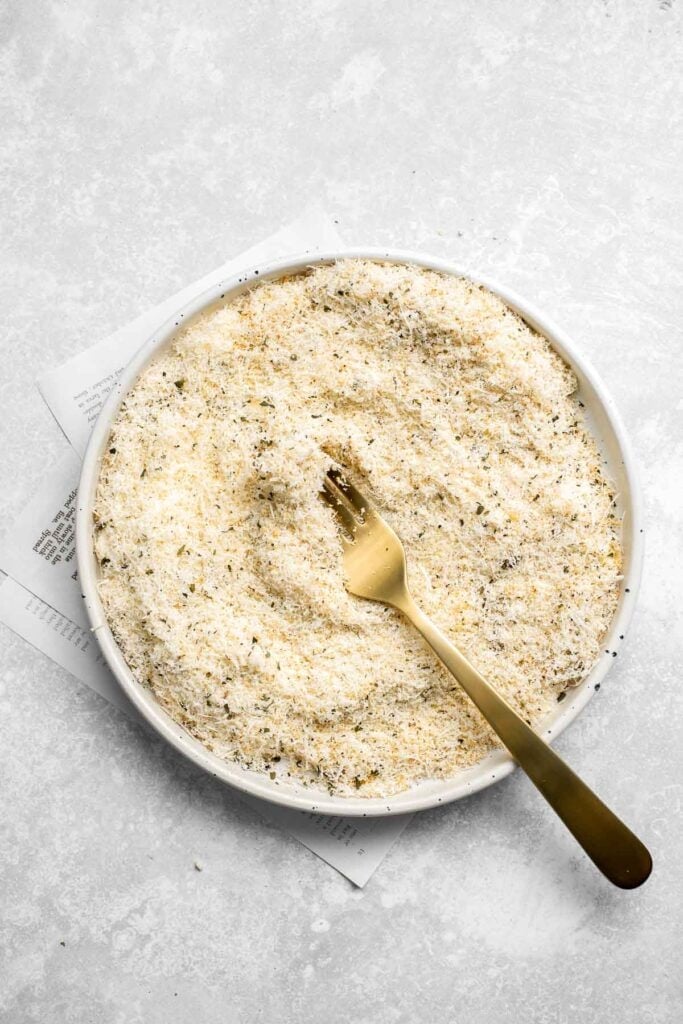
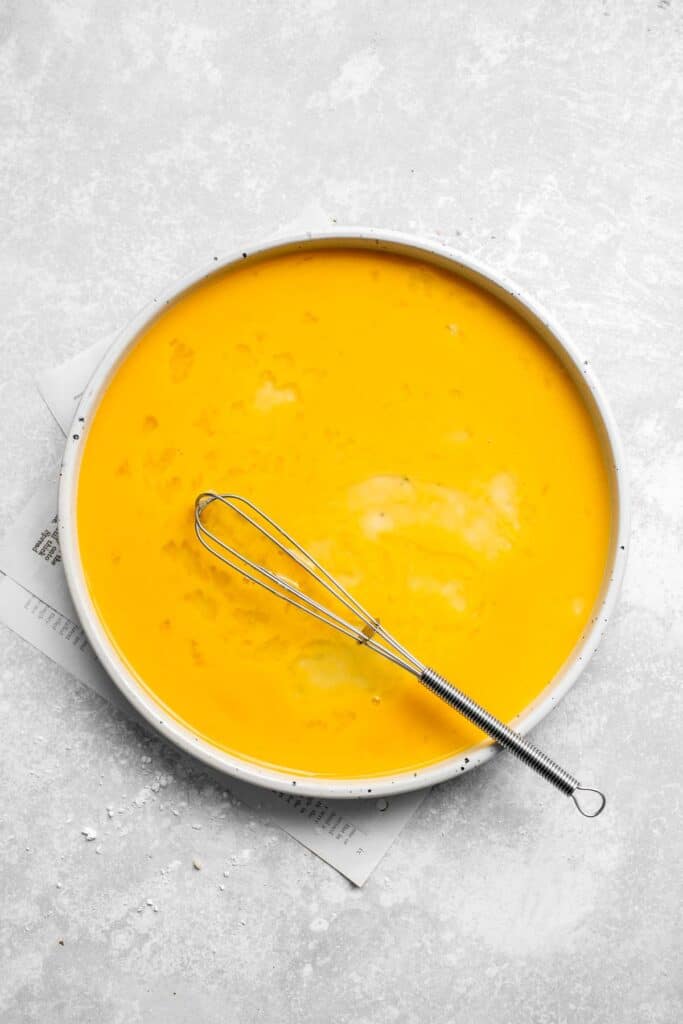
Cheesy Baked Zucchini with Marinara
Cheesy Baked Zucchini with Marinara will save your weeknight dinner routine (and the kids love it too!). It's low carb, vegetarian, gluten-free, and keto.
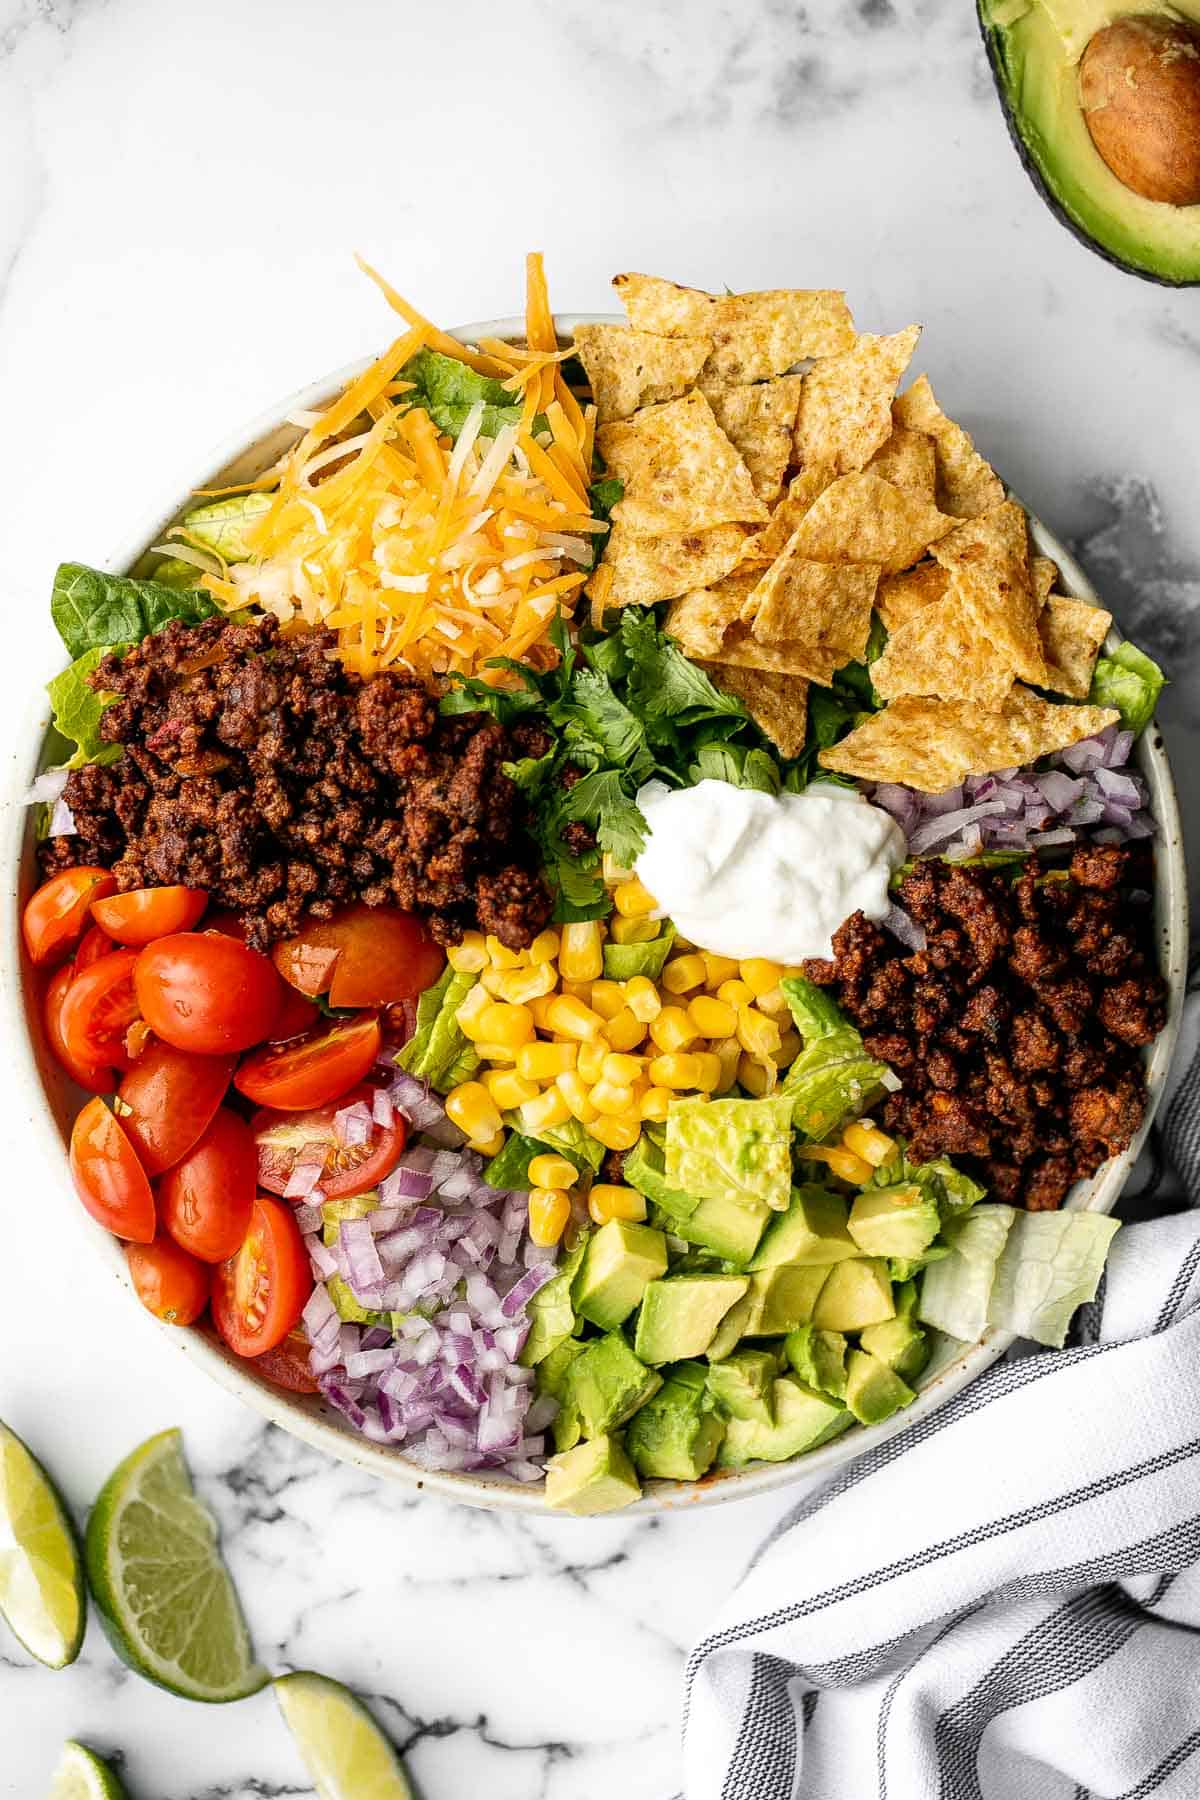
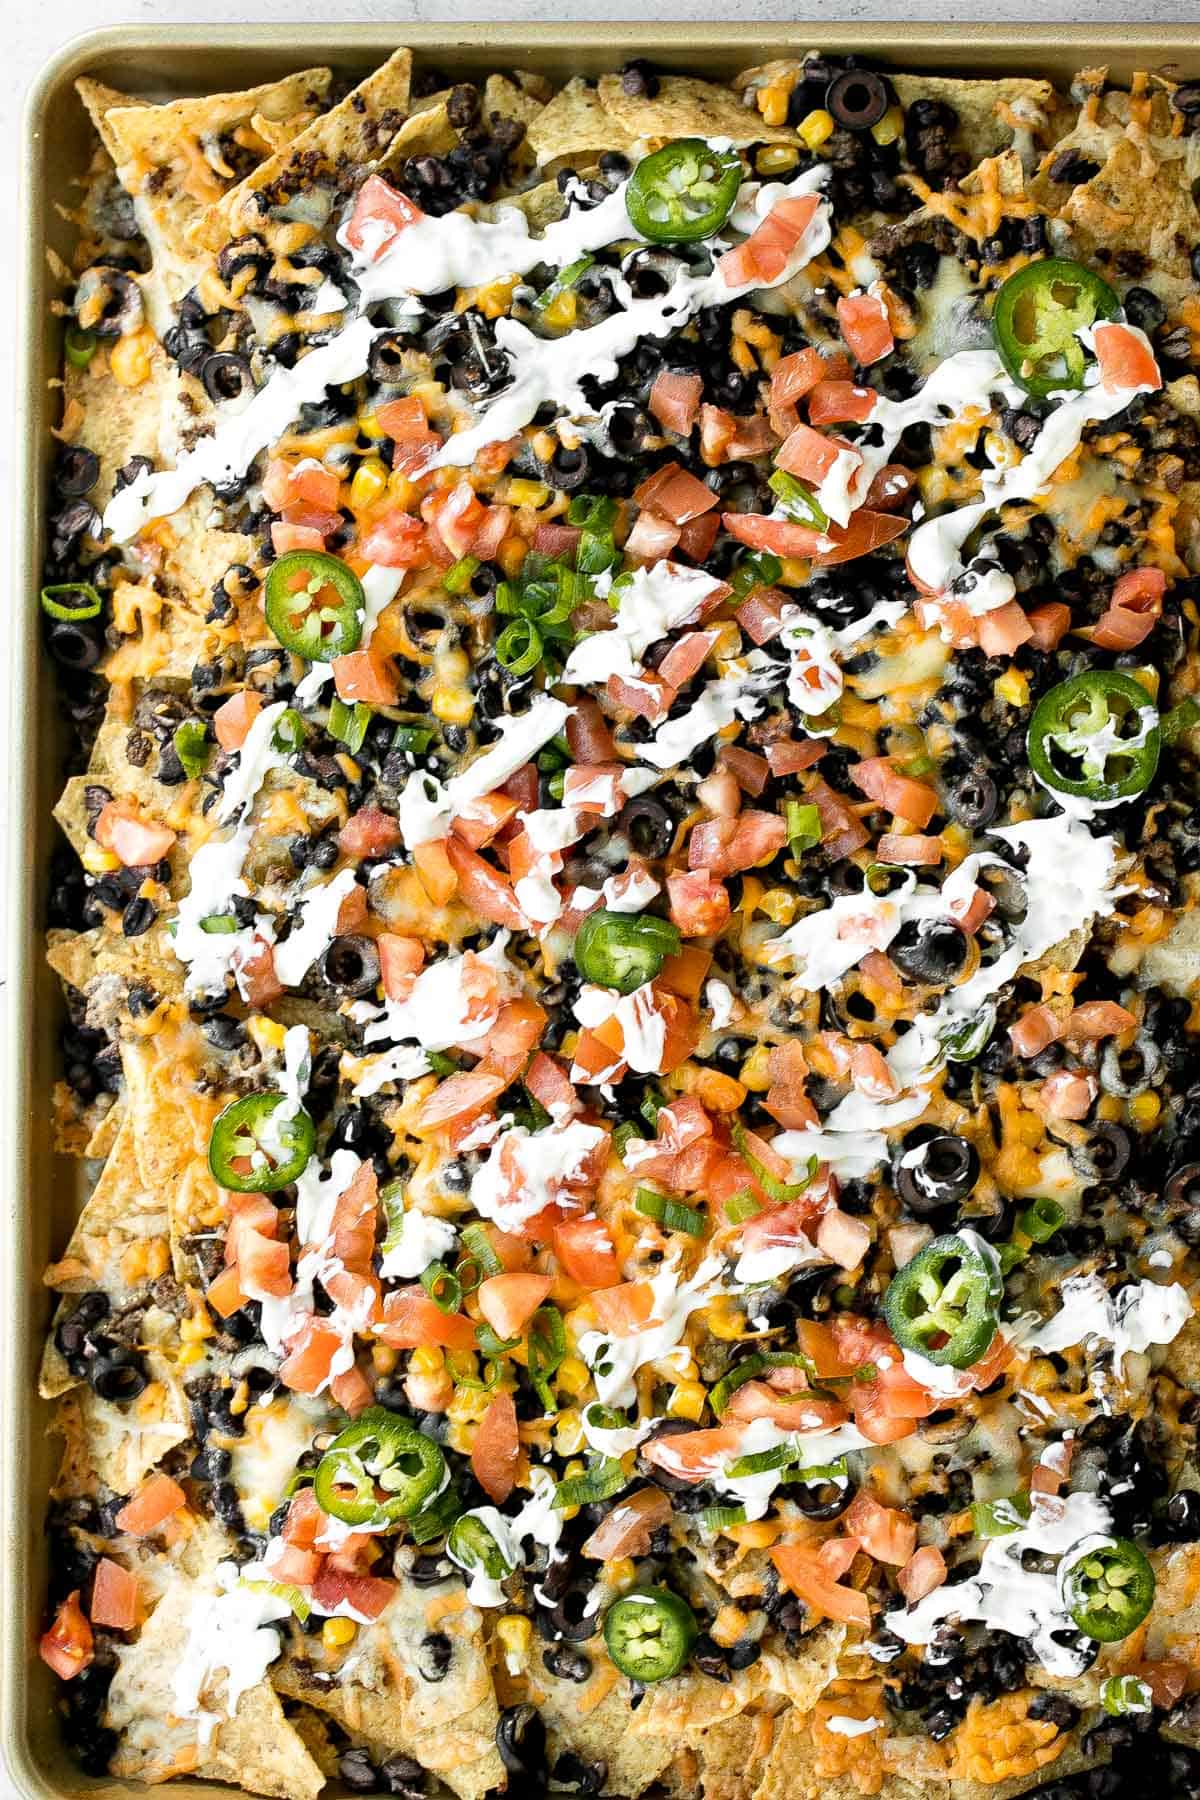
Beef taco salad is a simple, filling, and delicious meal loaded with your favorite taco fillings, and a creamy lime dressing. Make it in 20 minutes.
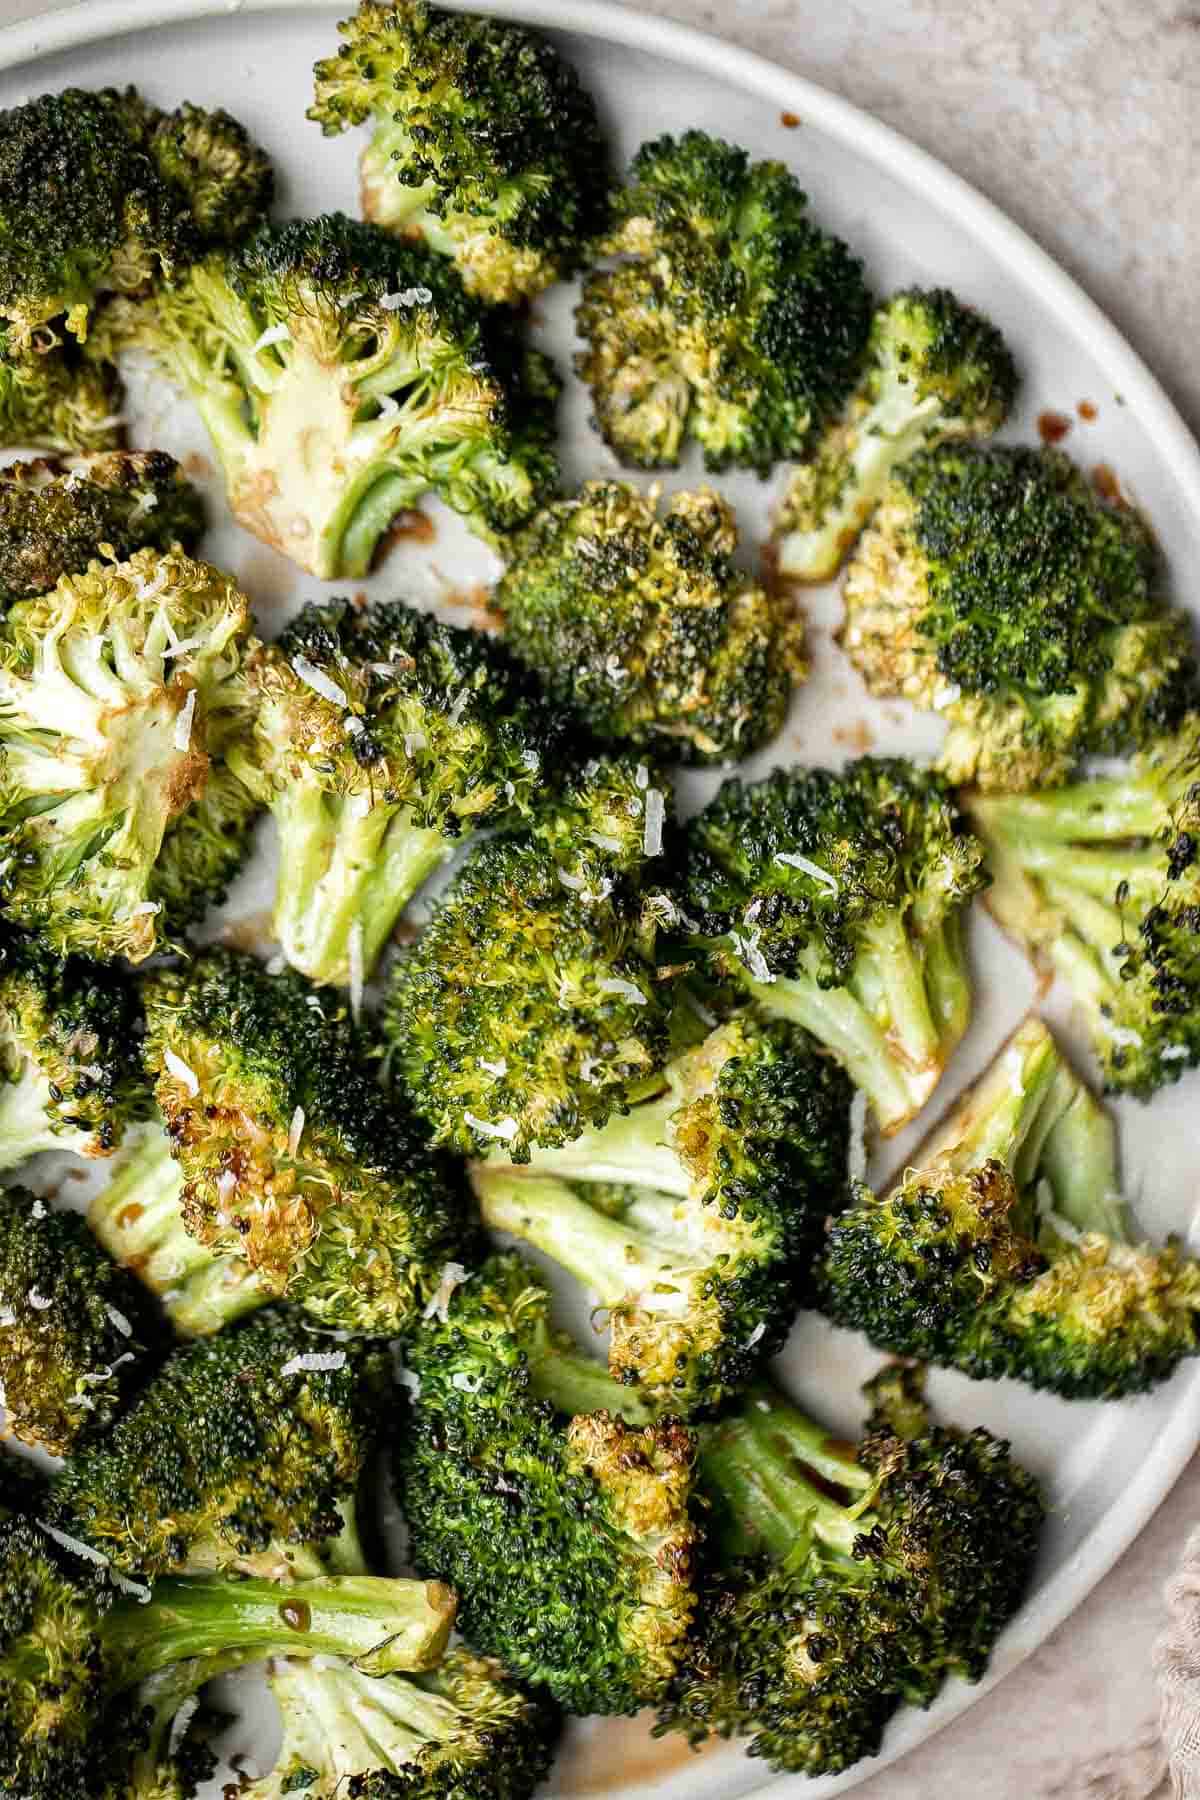
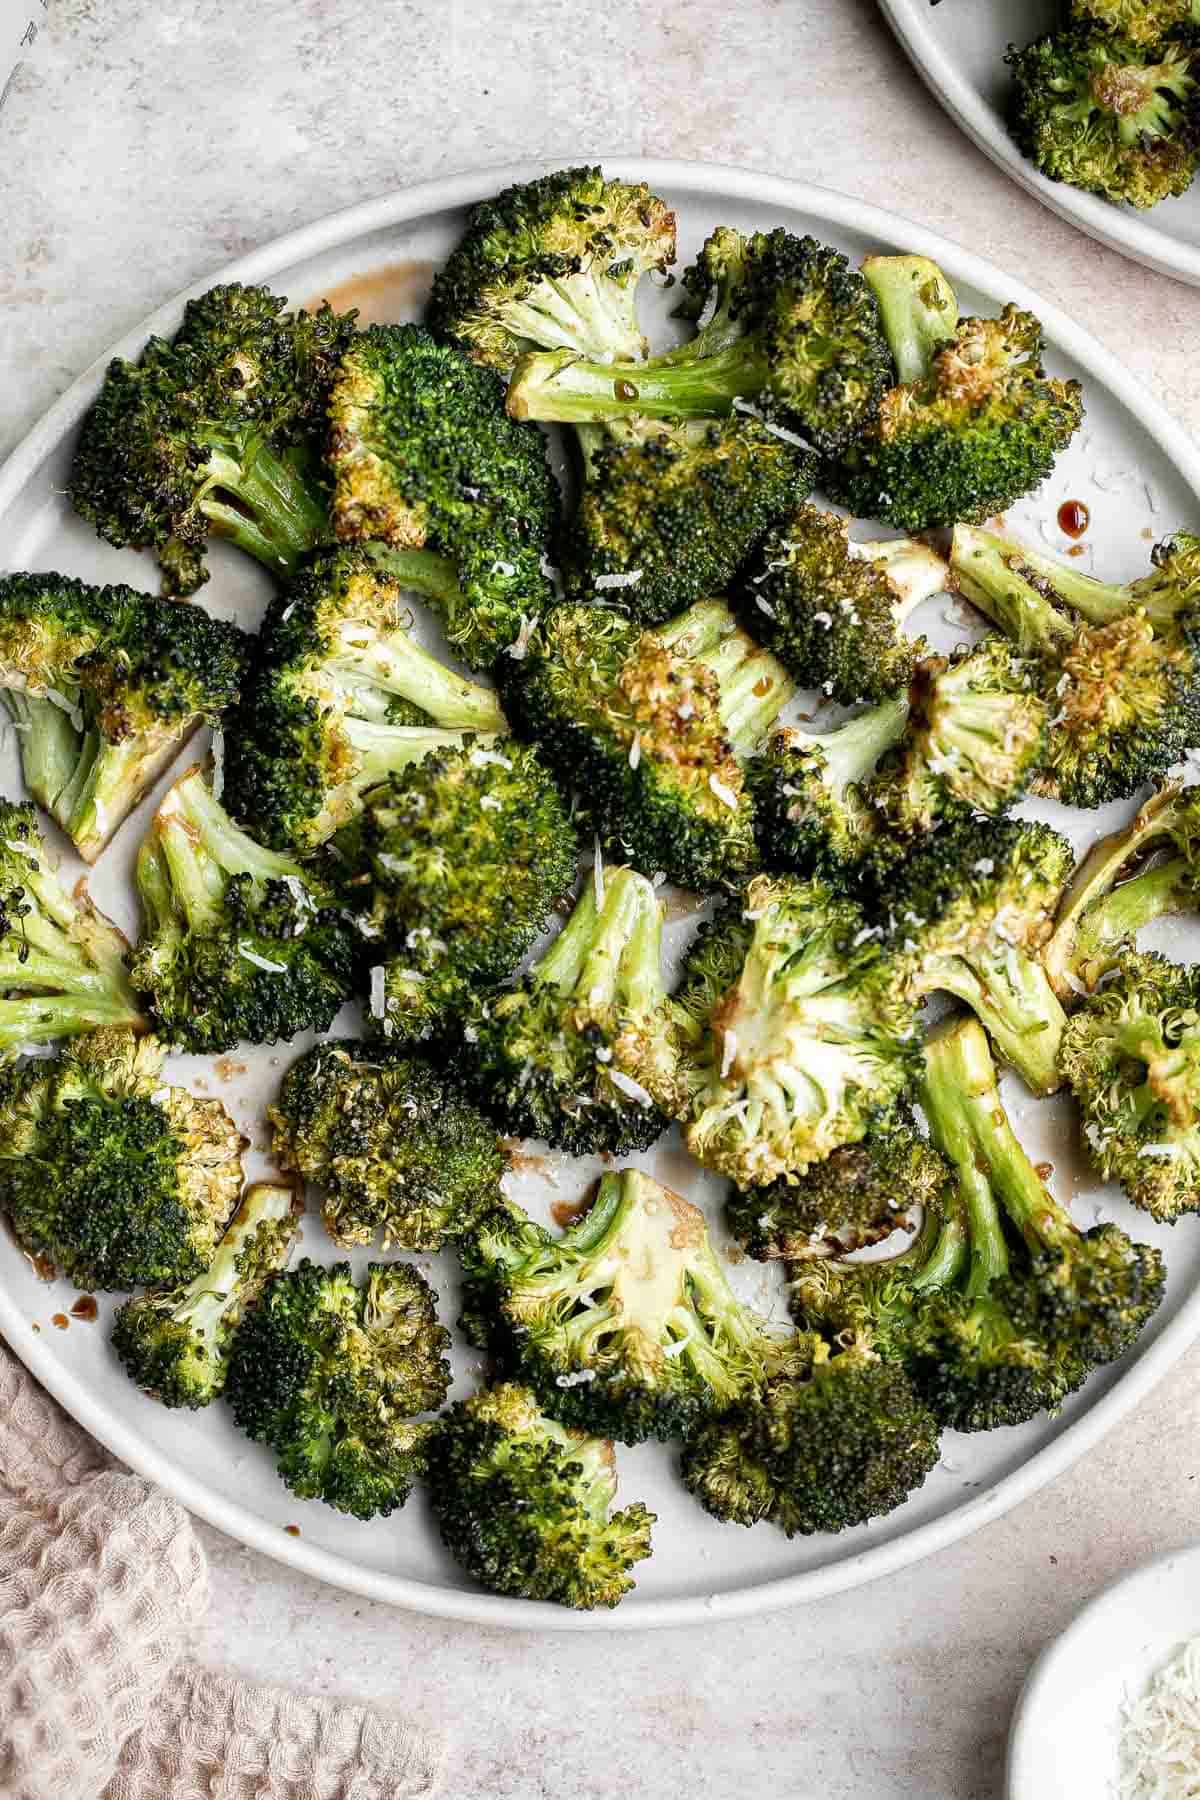
Balsamic Roasted Broccoli is a quick easy side dish made with tender, crispy broccoli tossed in a flavorful 5-ingredient glaze and is ready in 25 minutes.
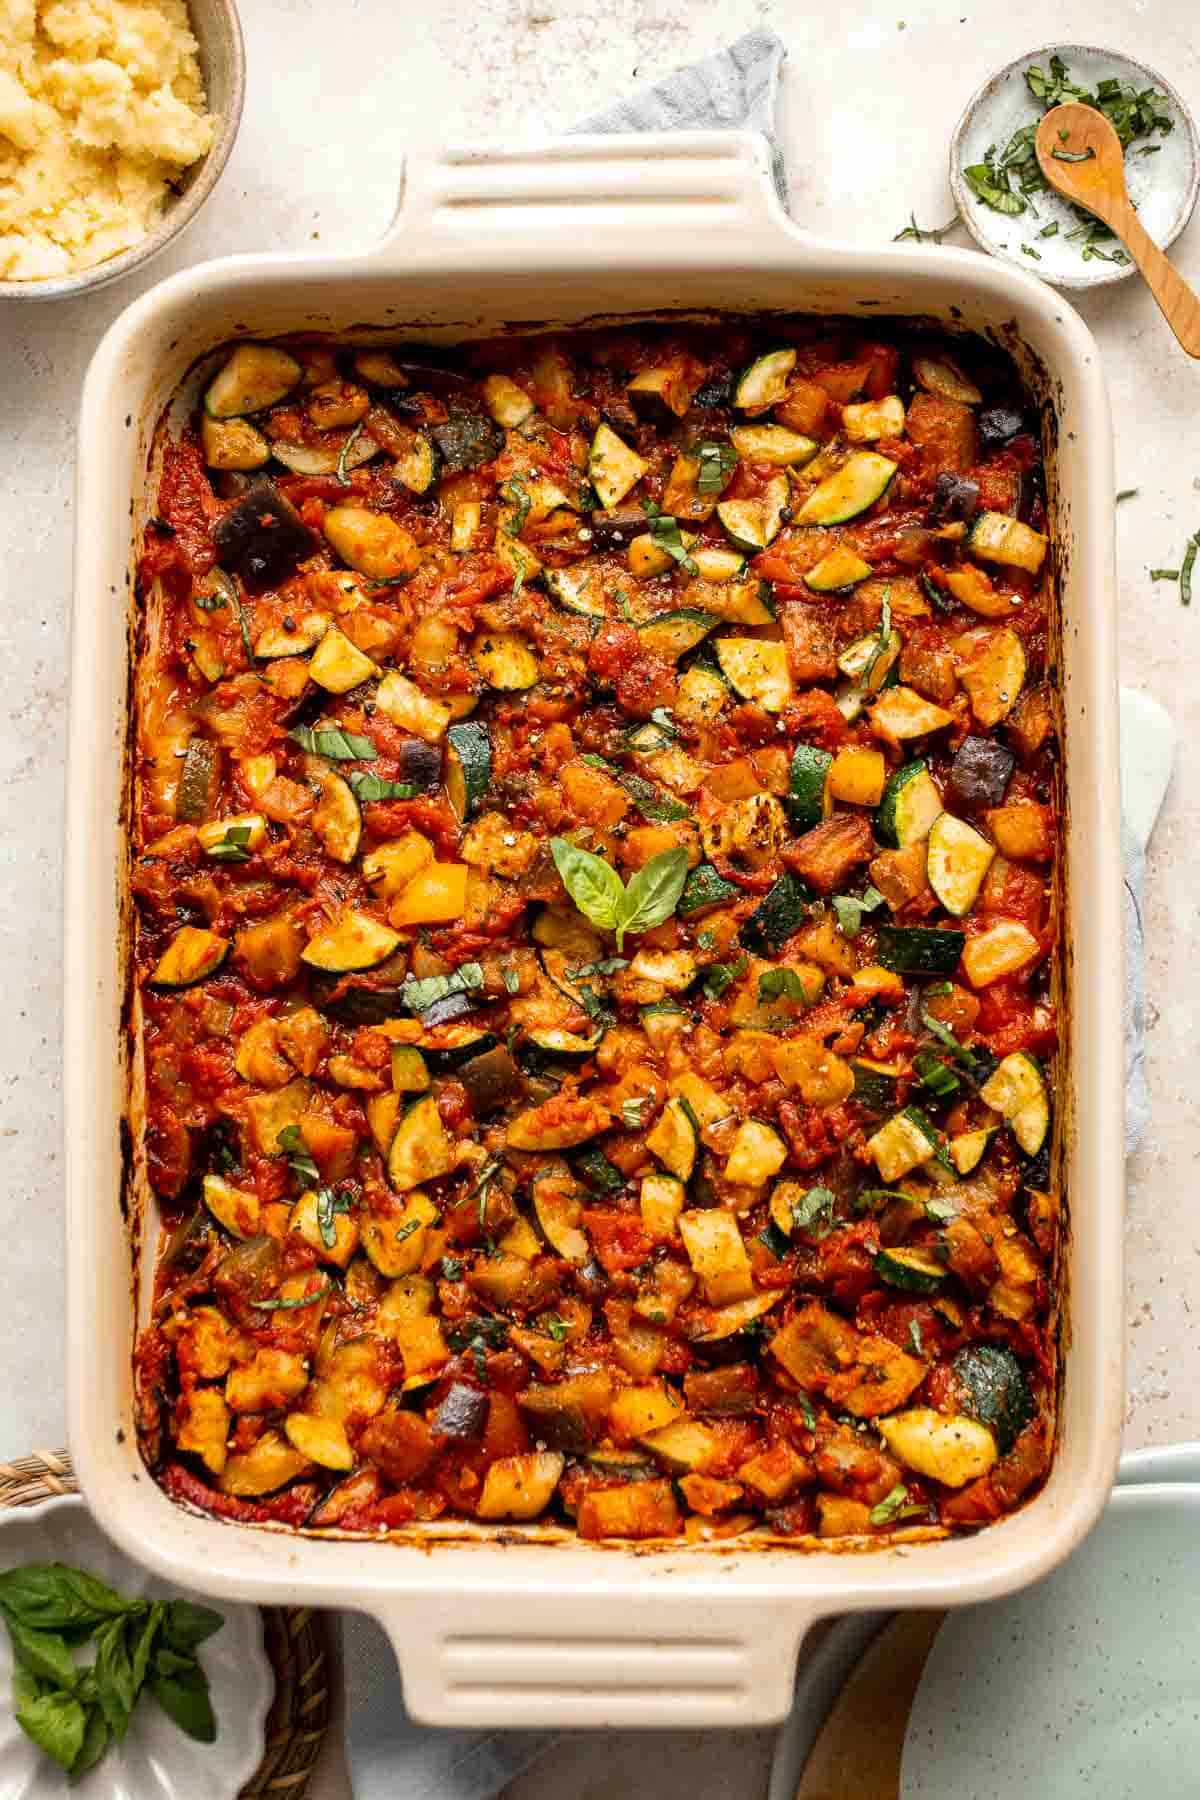
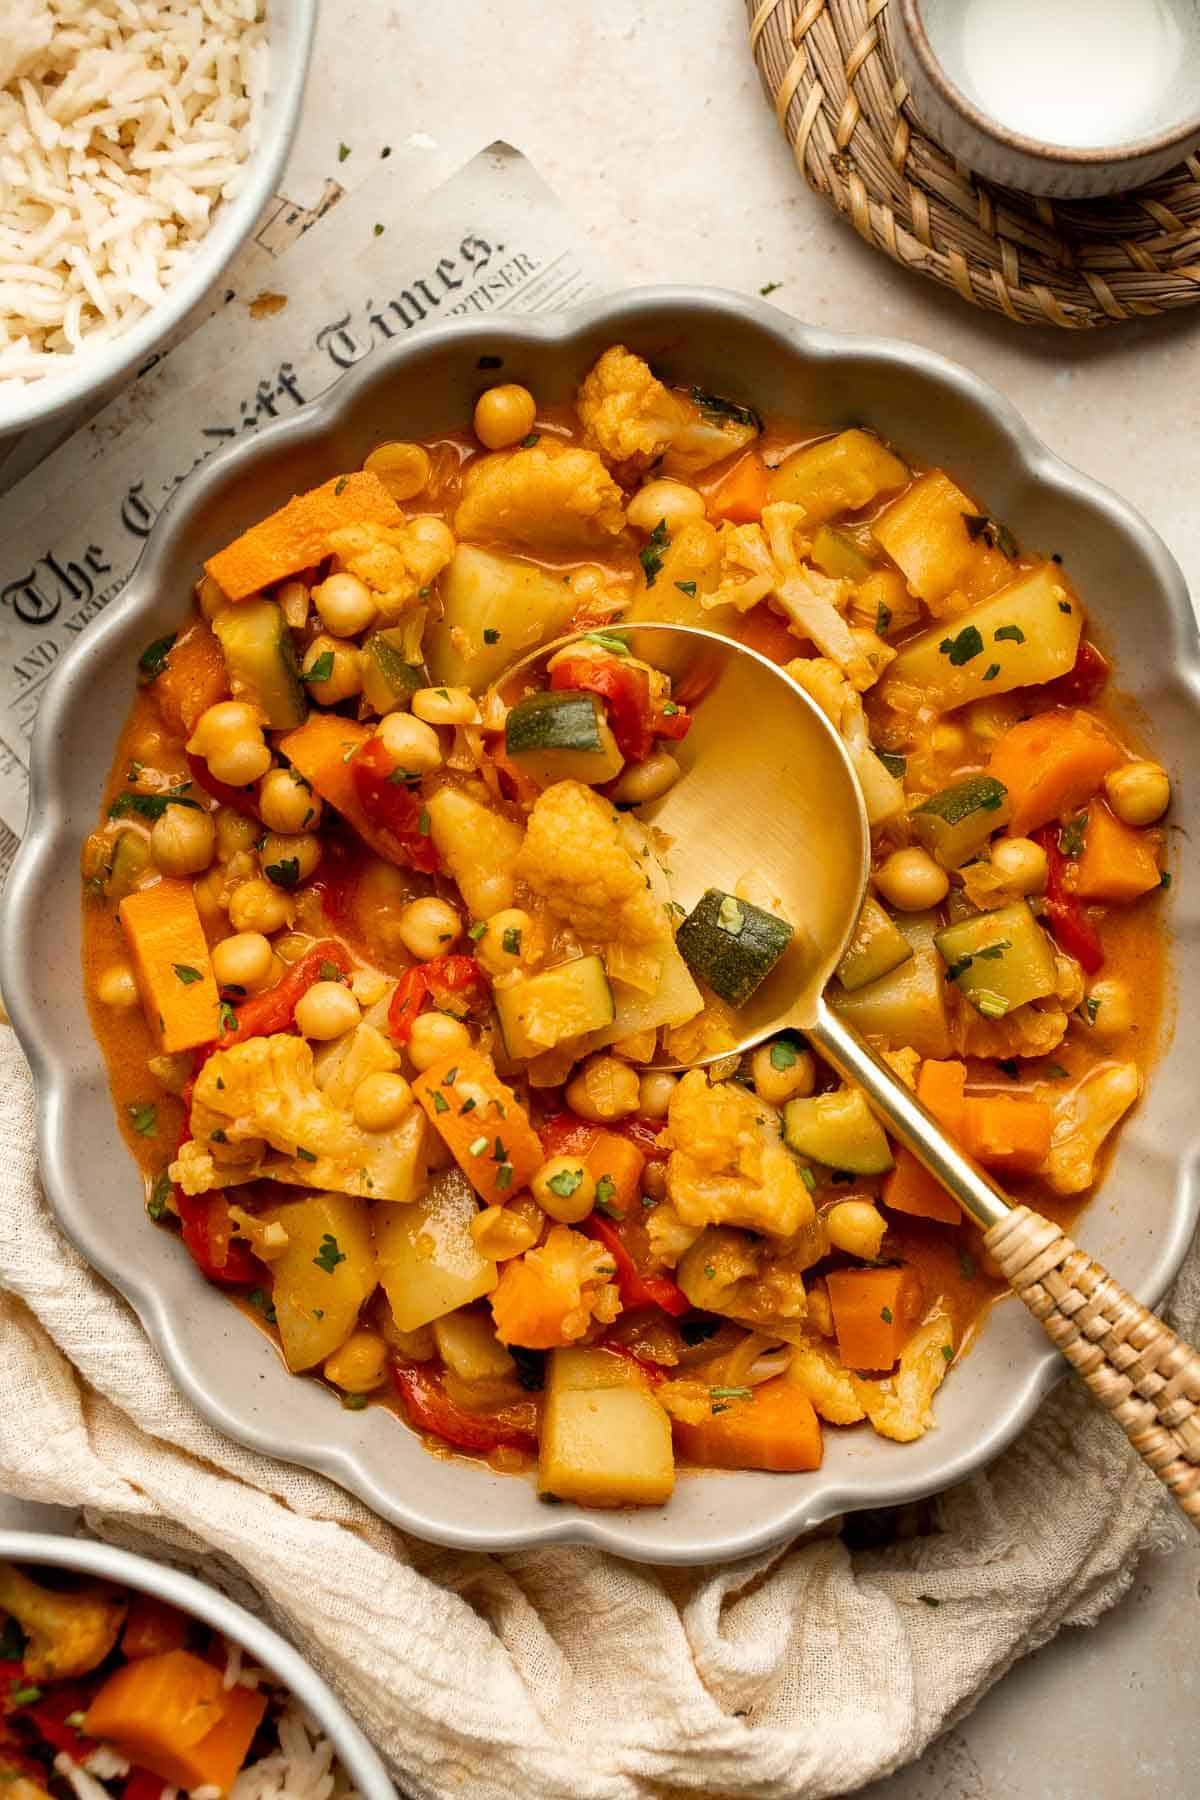
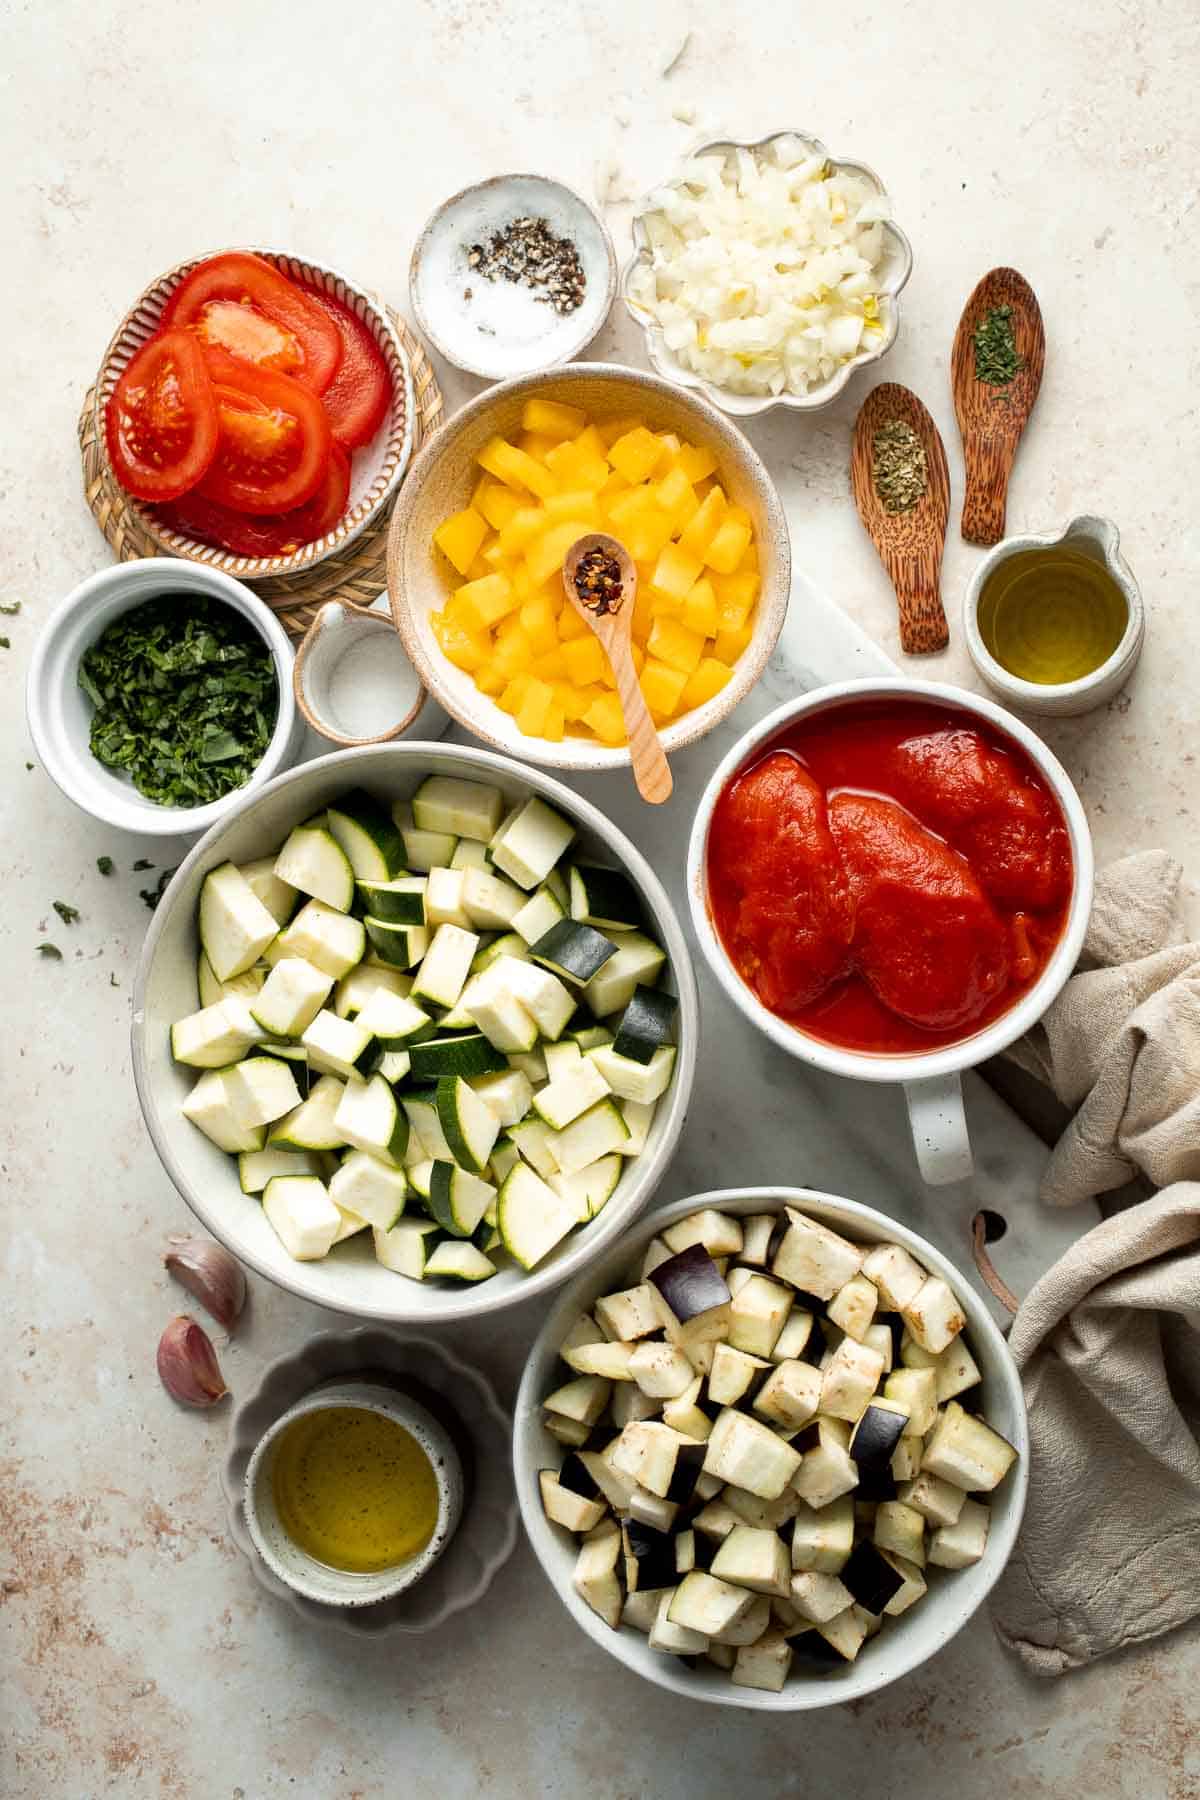
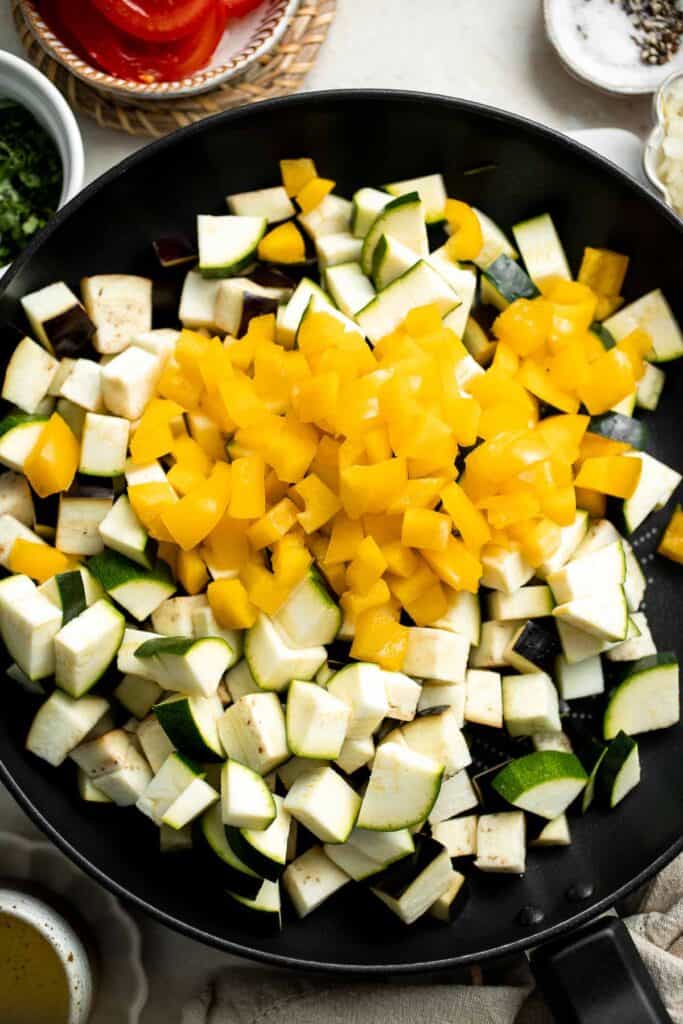
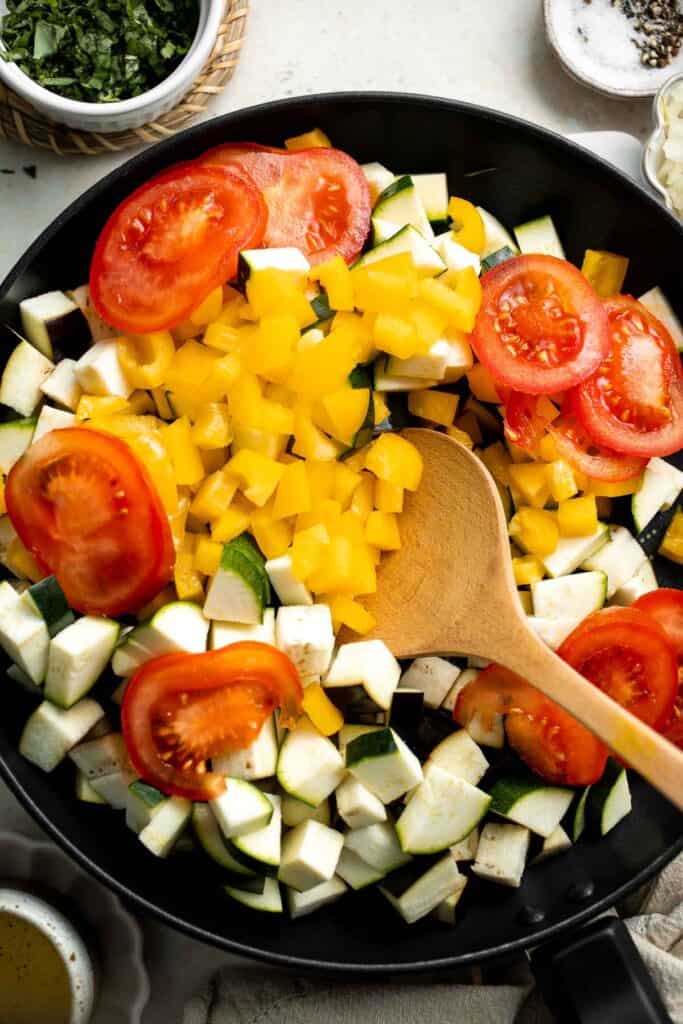
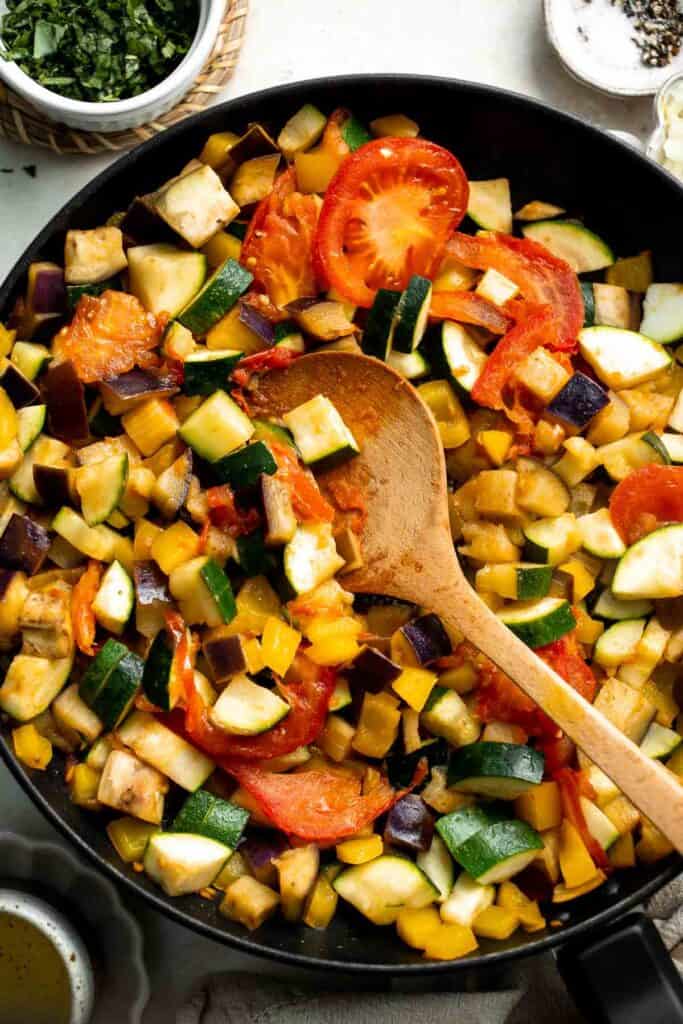
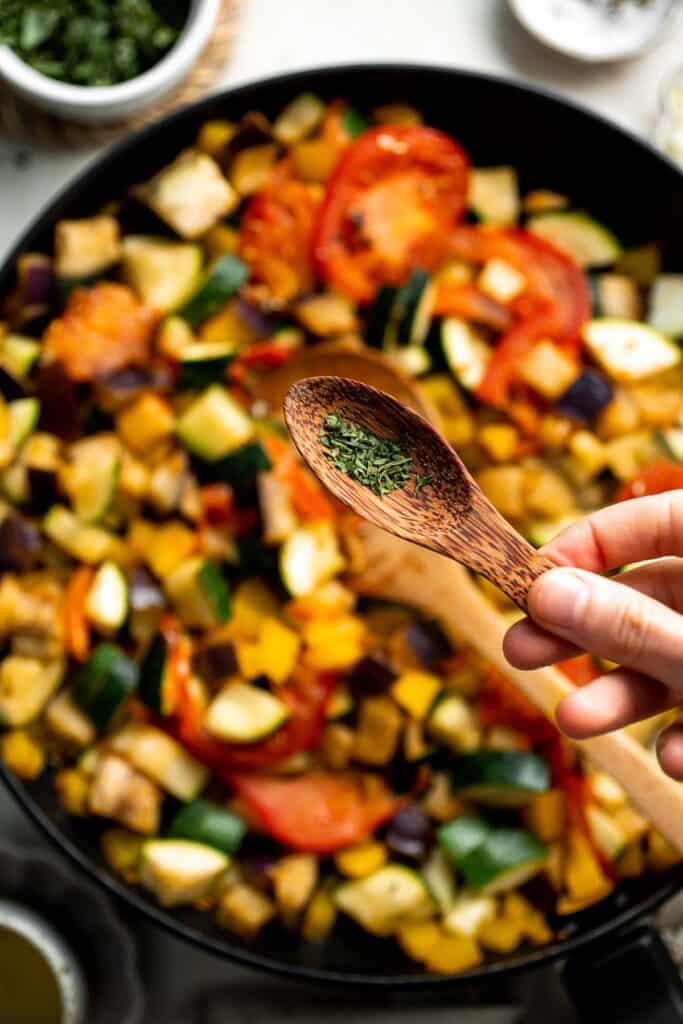
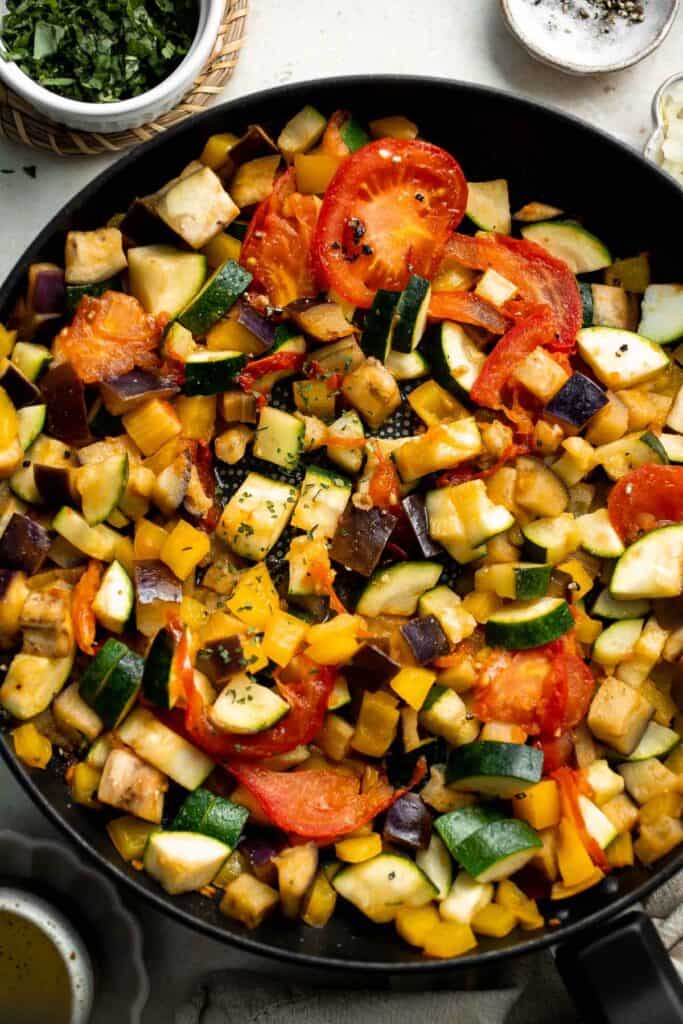
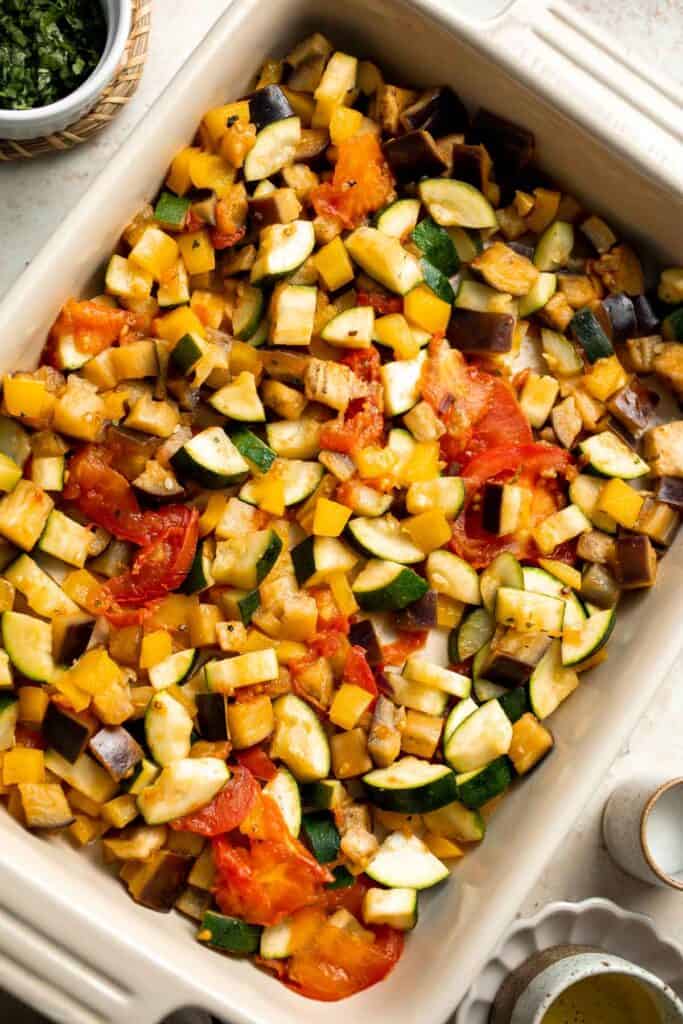
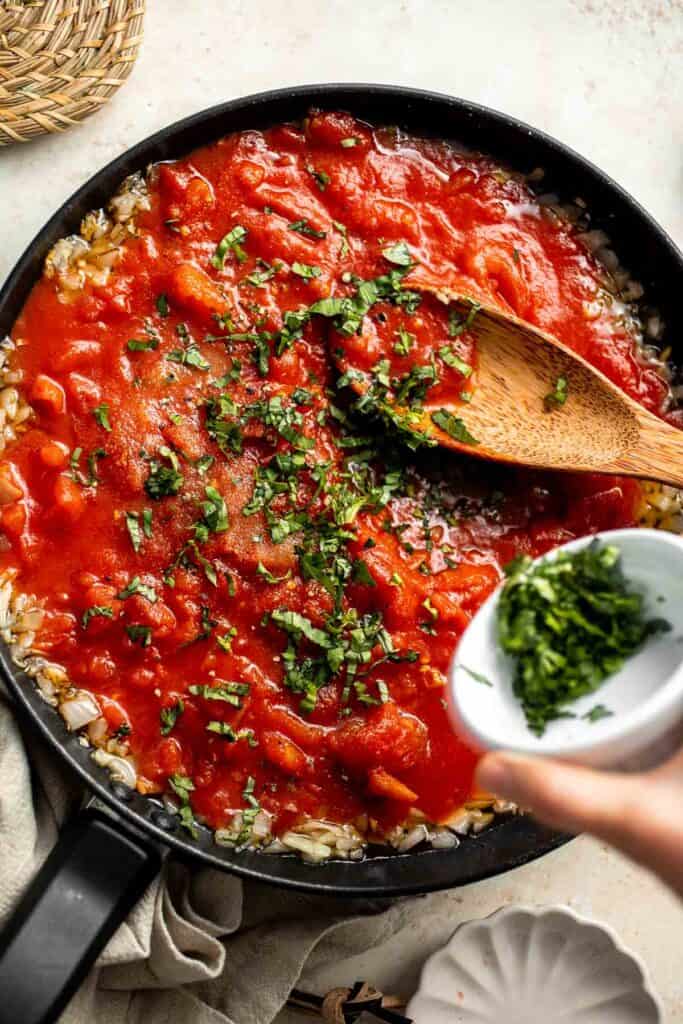
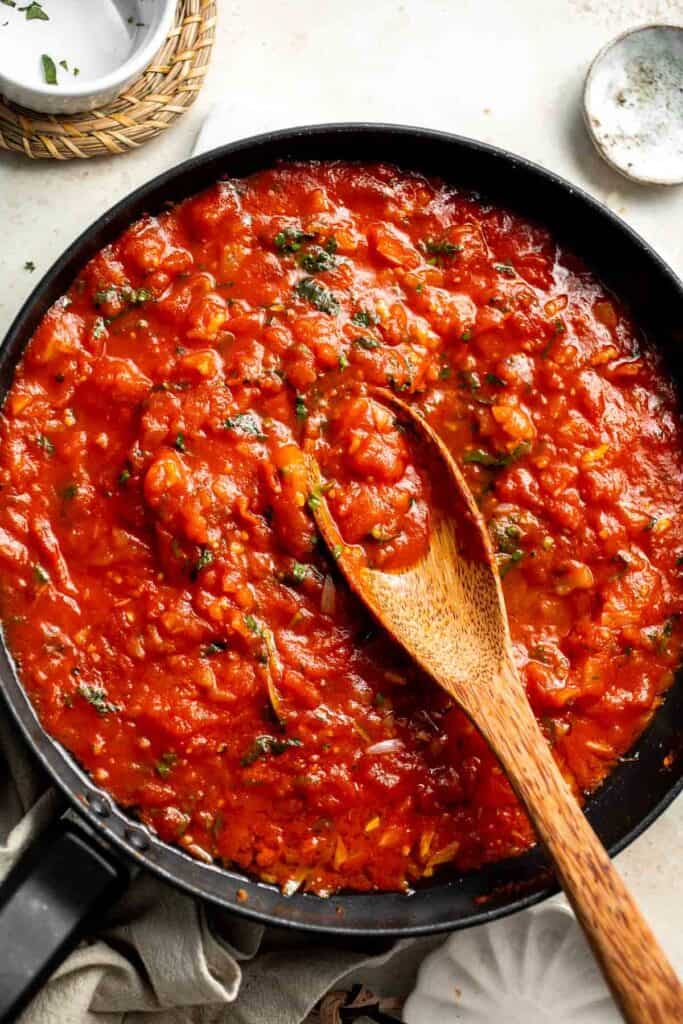
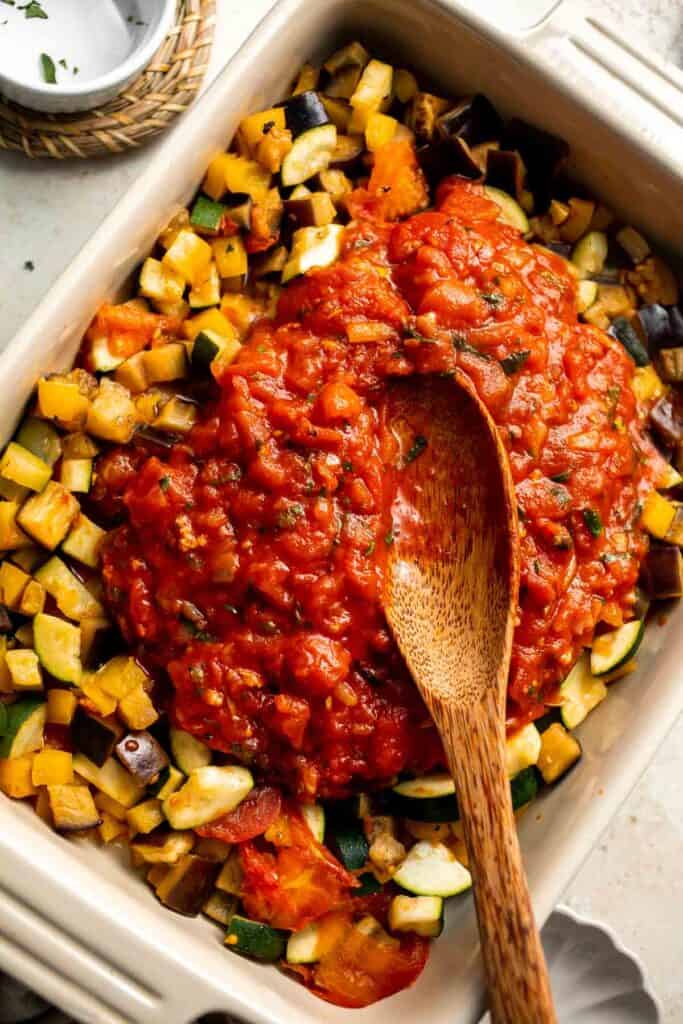
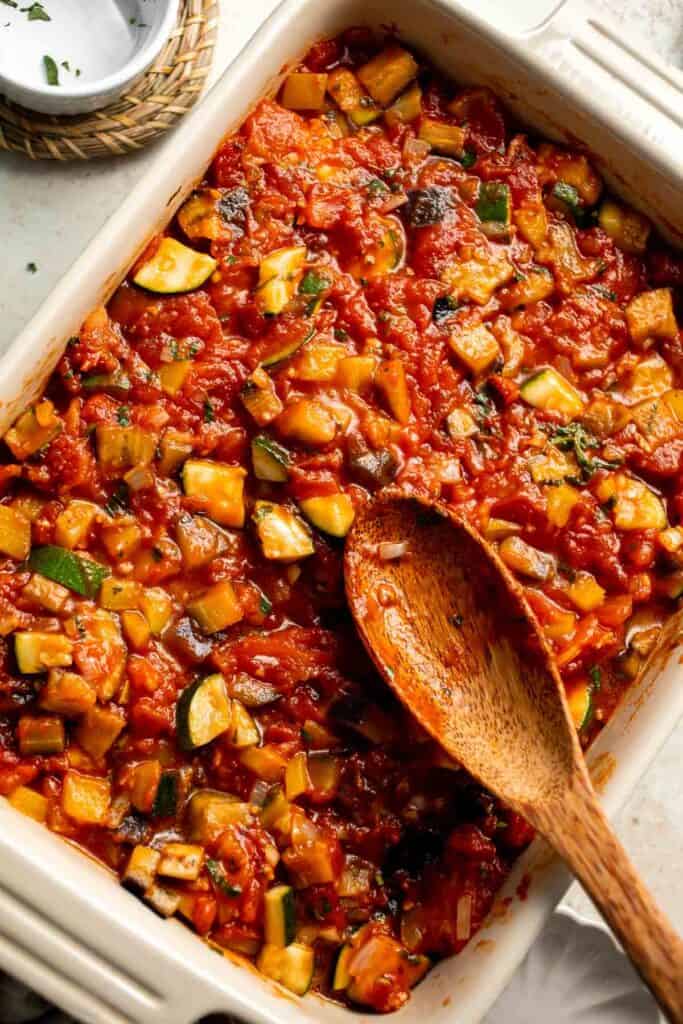
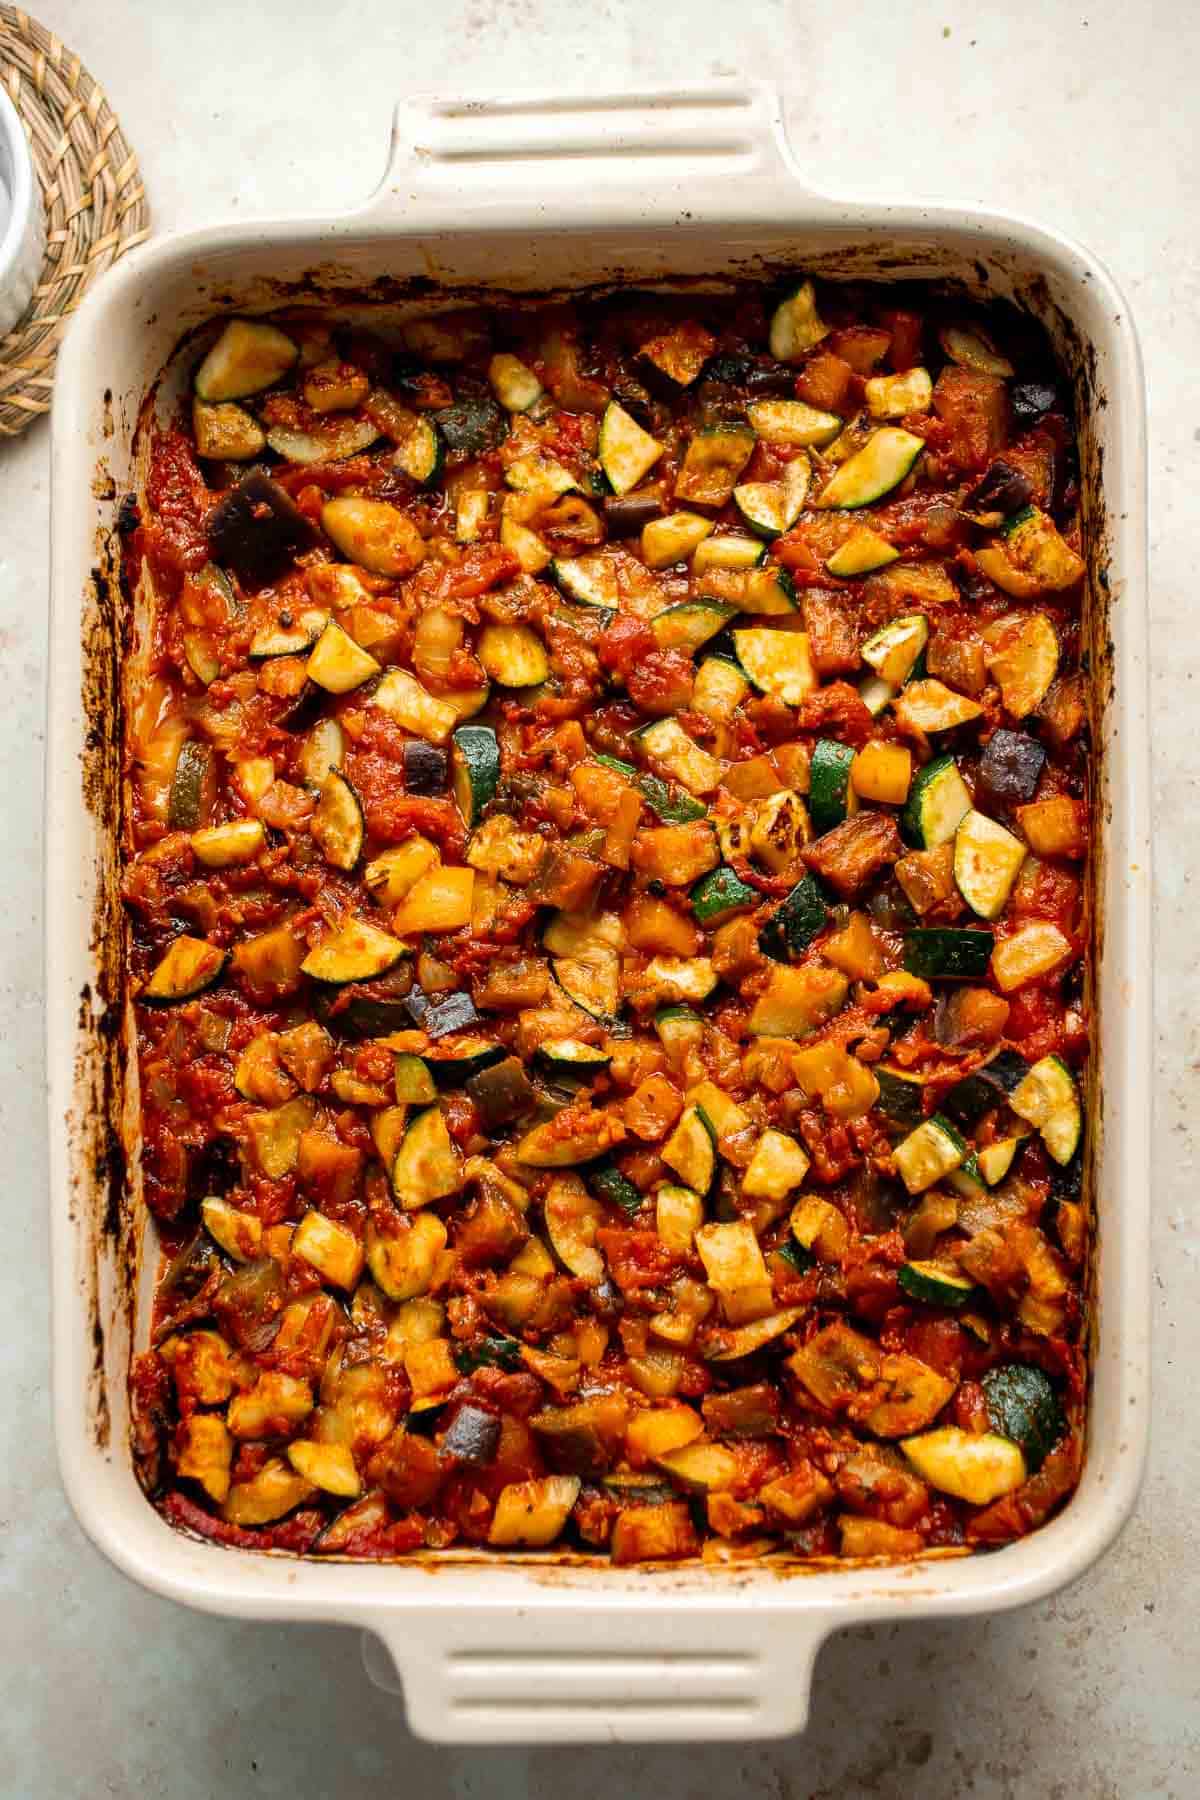
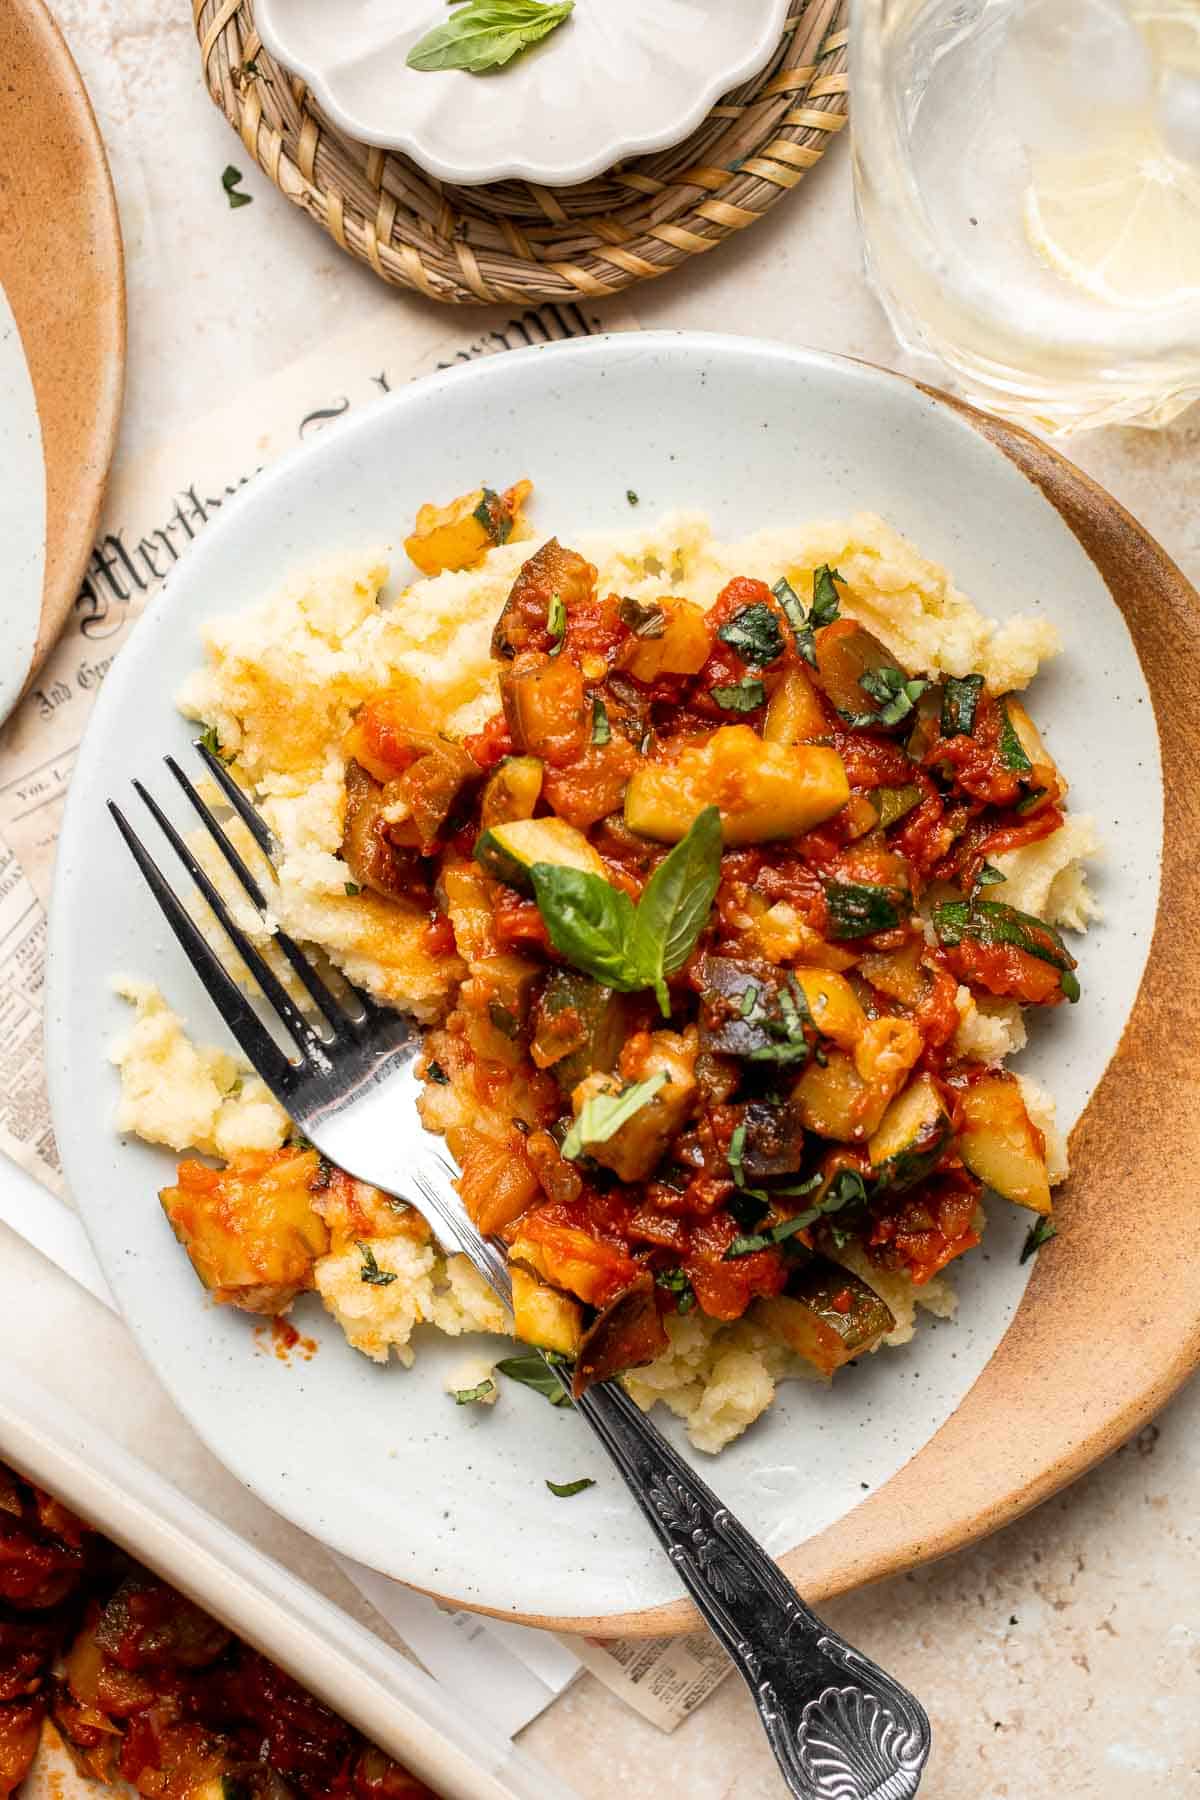
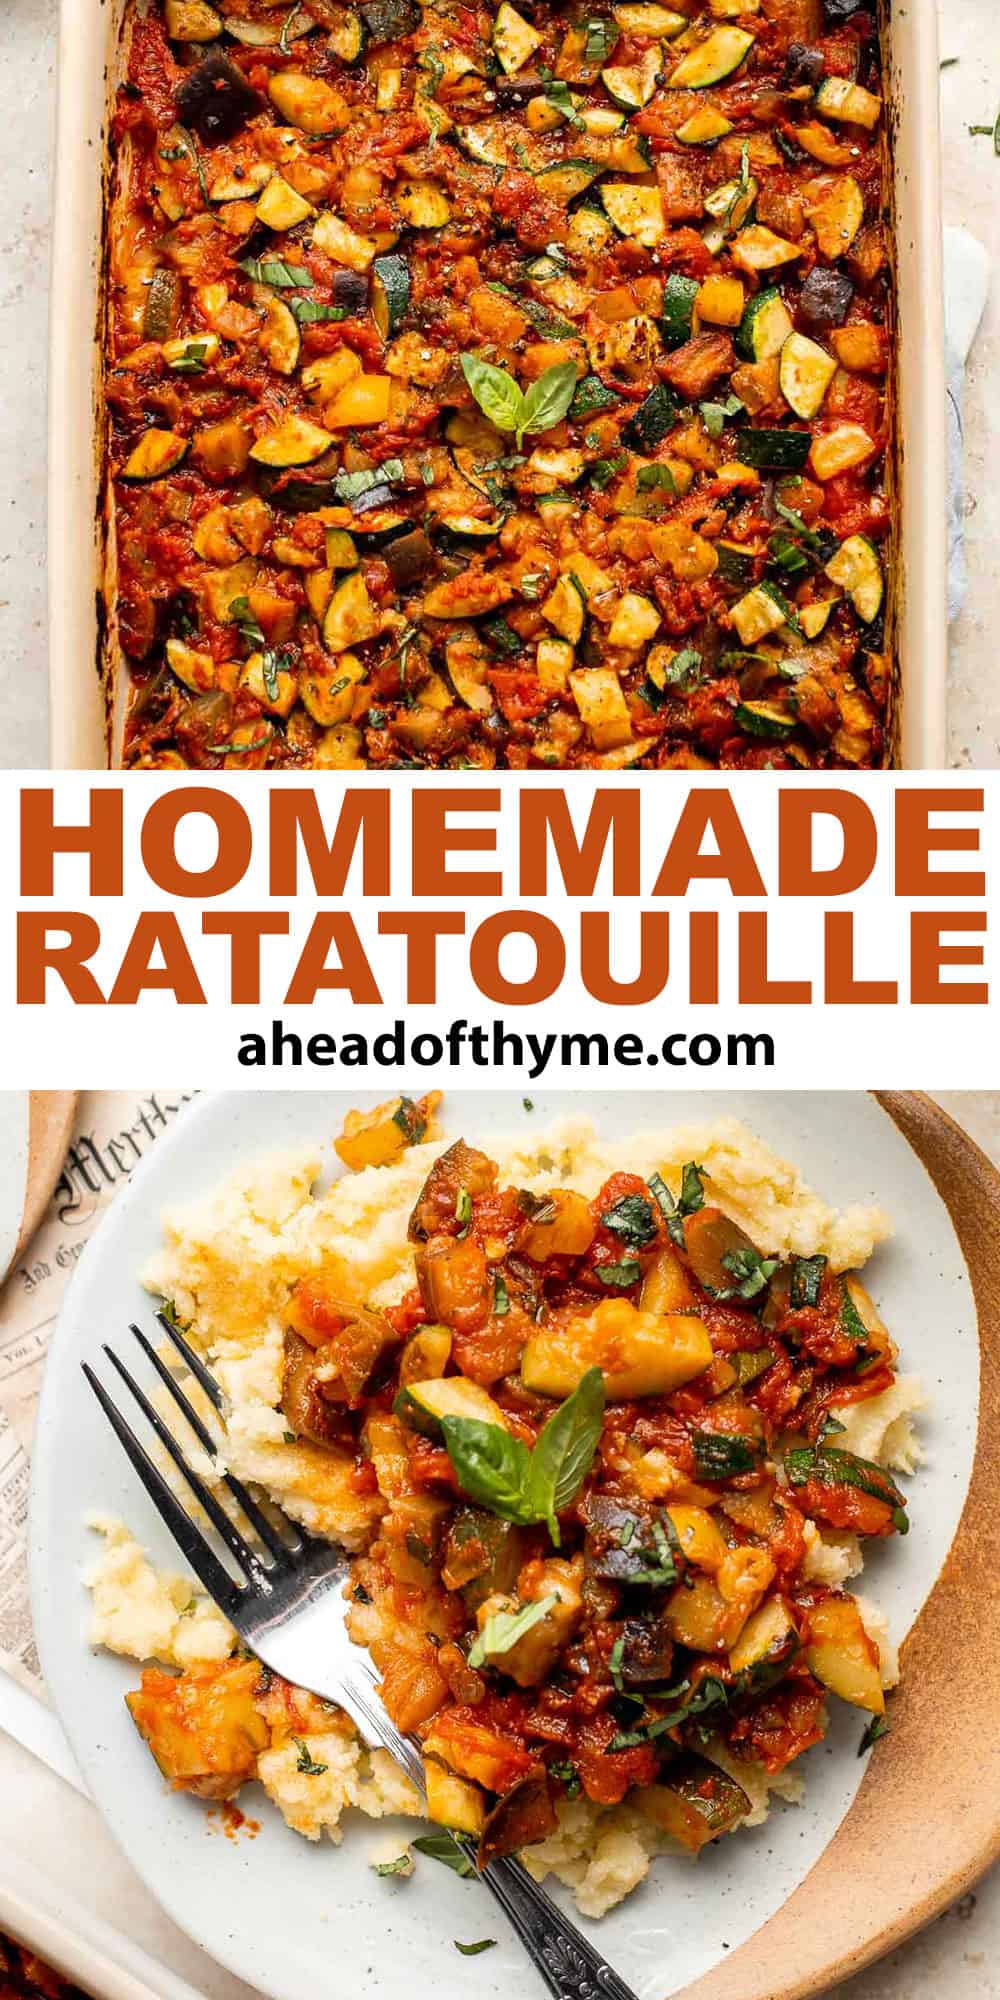
Ratatouille is a classic summer stew loaded with tender, flavorful vegetables smothered in a rich homemade tomato sauce. It is easy to make too!
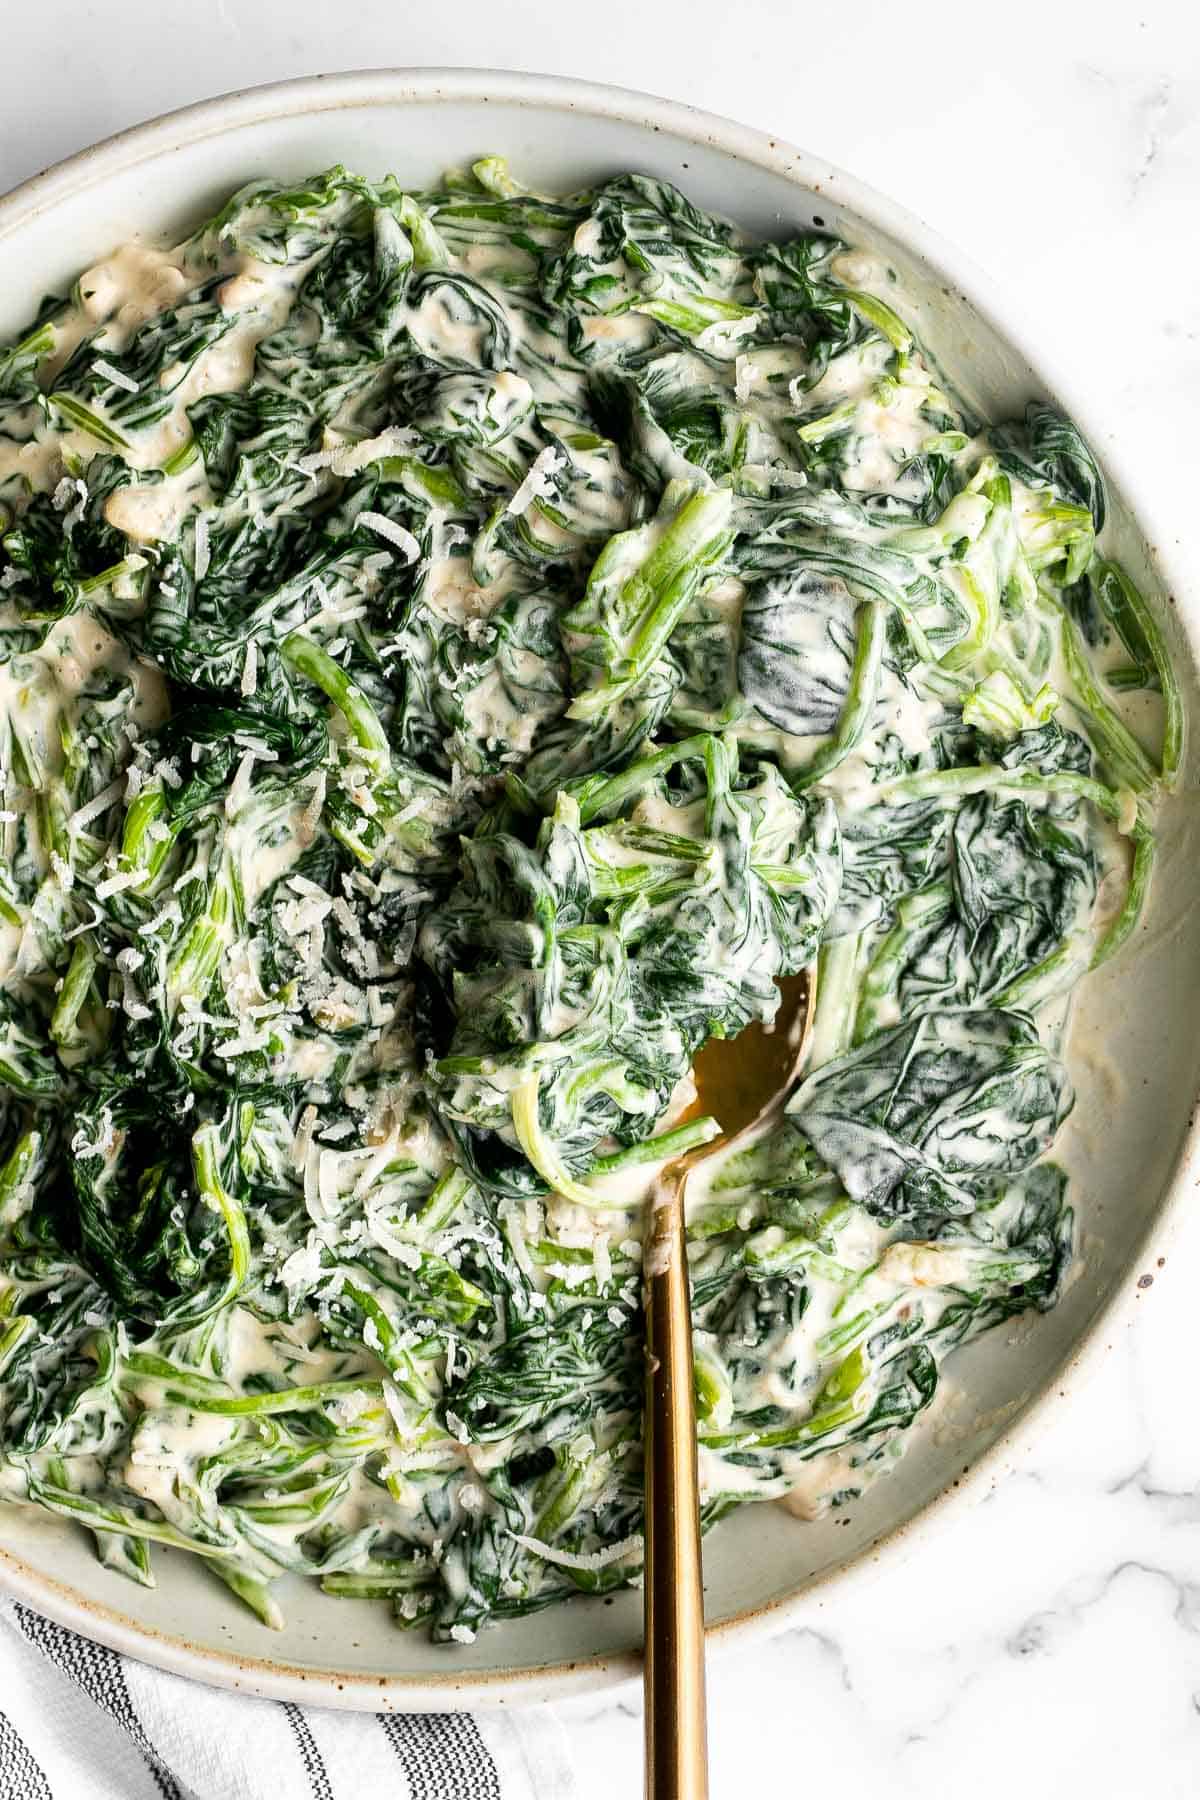
Creamed spinach is a rich, creamy, and delicious side dish to make this fall. Easy to make ahead and reheats well - perfect for Thanksgiving holiday dinner.
Creamless Cream of Asparagus Soup
Creamless cream of asparagus soup is healthy, delicious, smooth, creamy, quick and easy to make. A perfect spring soup for a last minute lunch or dinner.
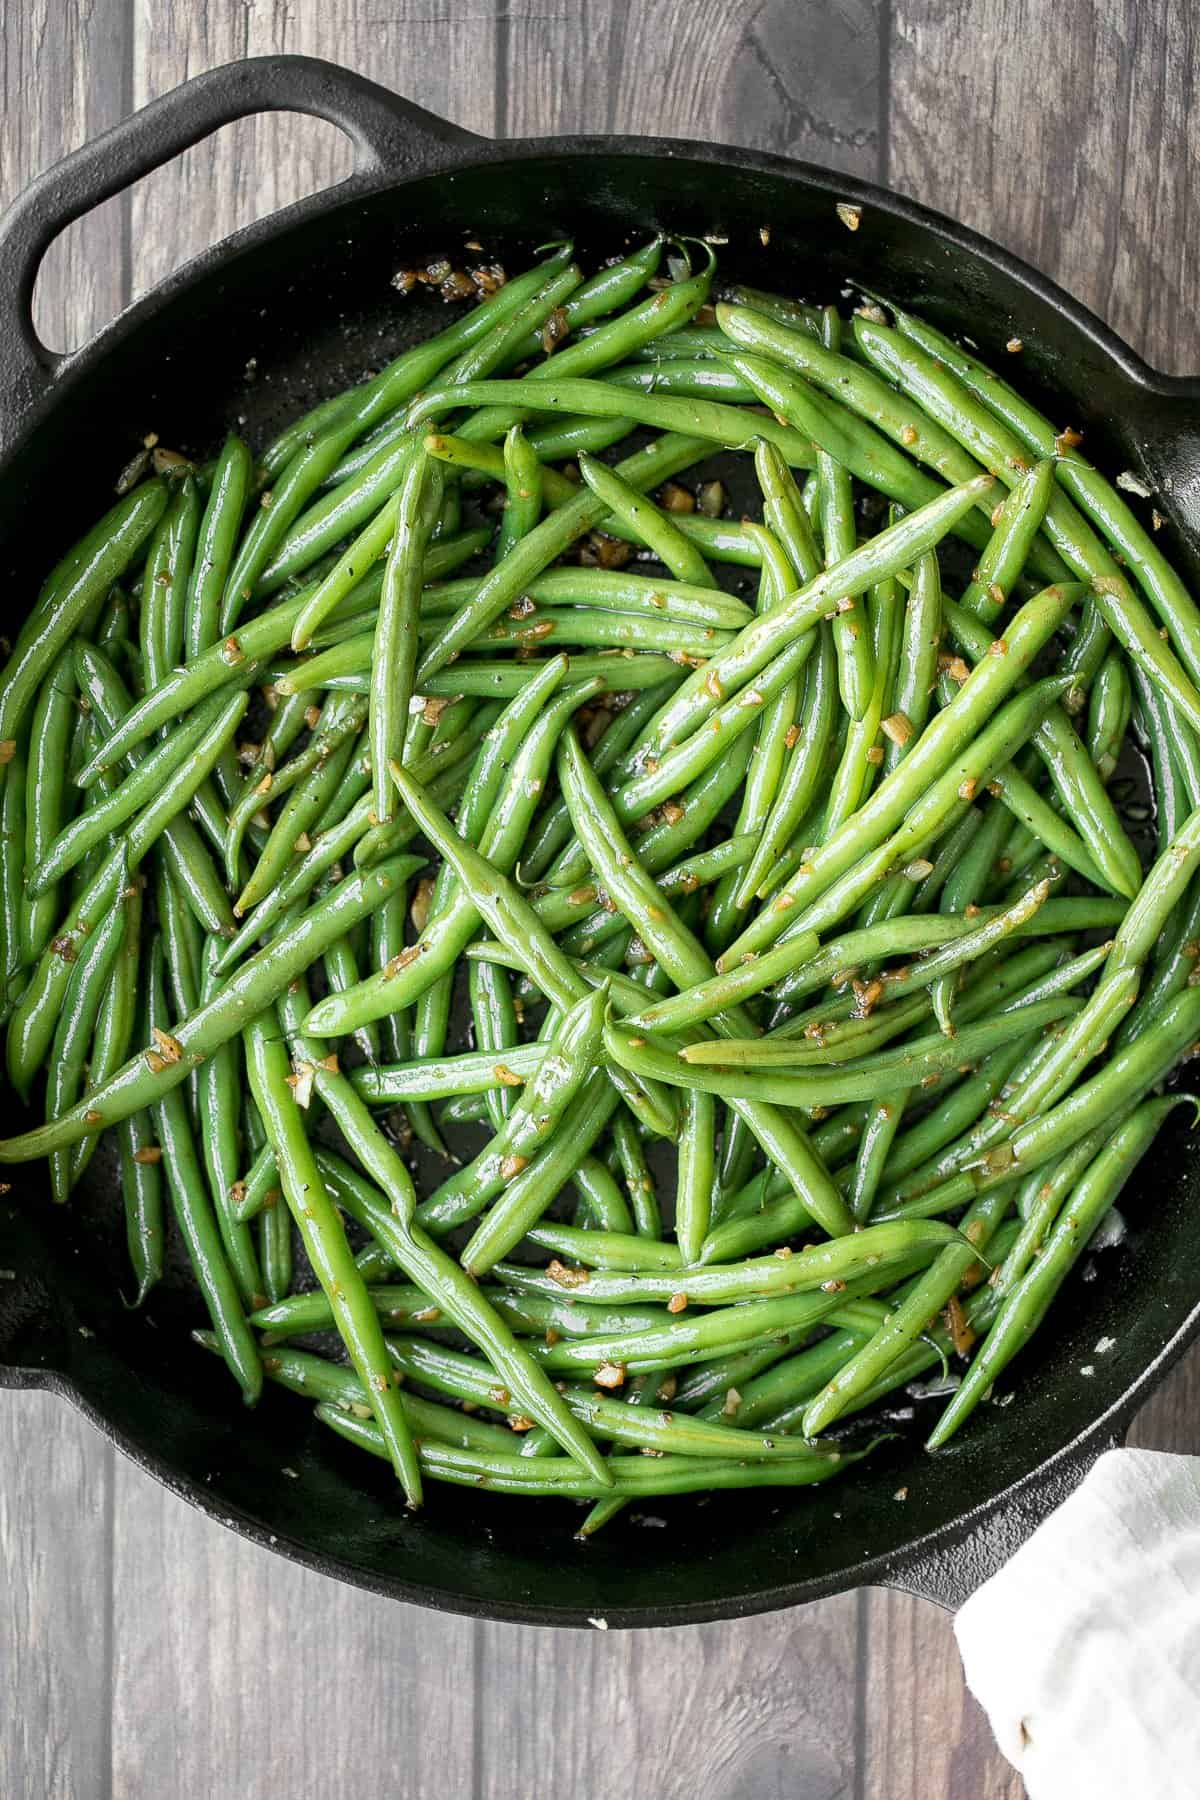
Buttery sautéed garlic green beans is a simple side dish that is quick, easy and delicious. Make these vibrant, crispy and tender green beans in 10 minutes.
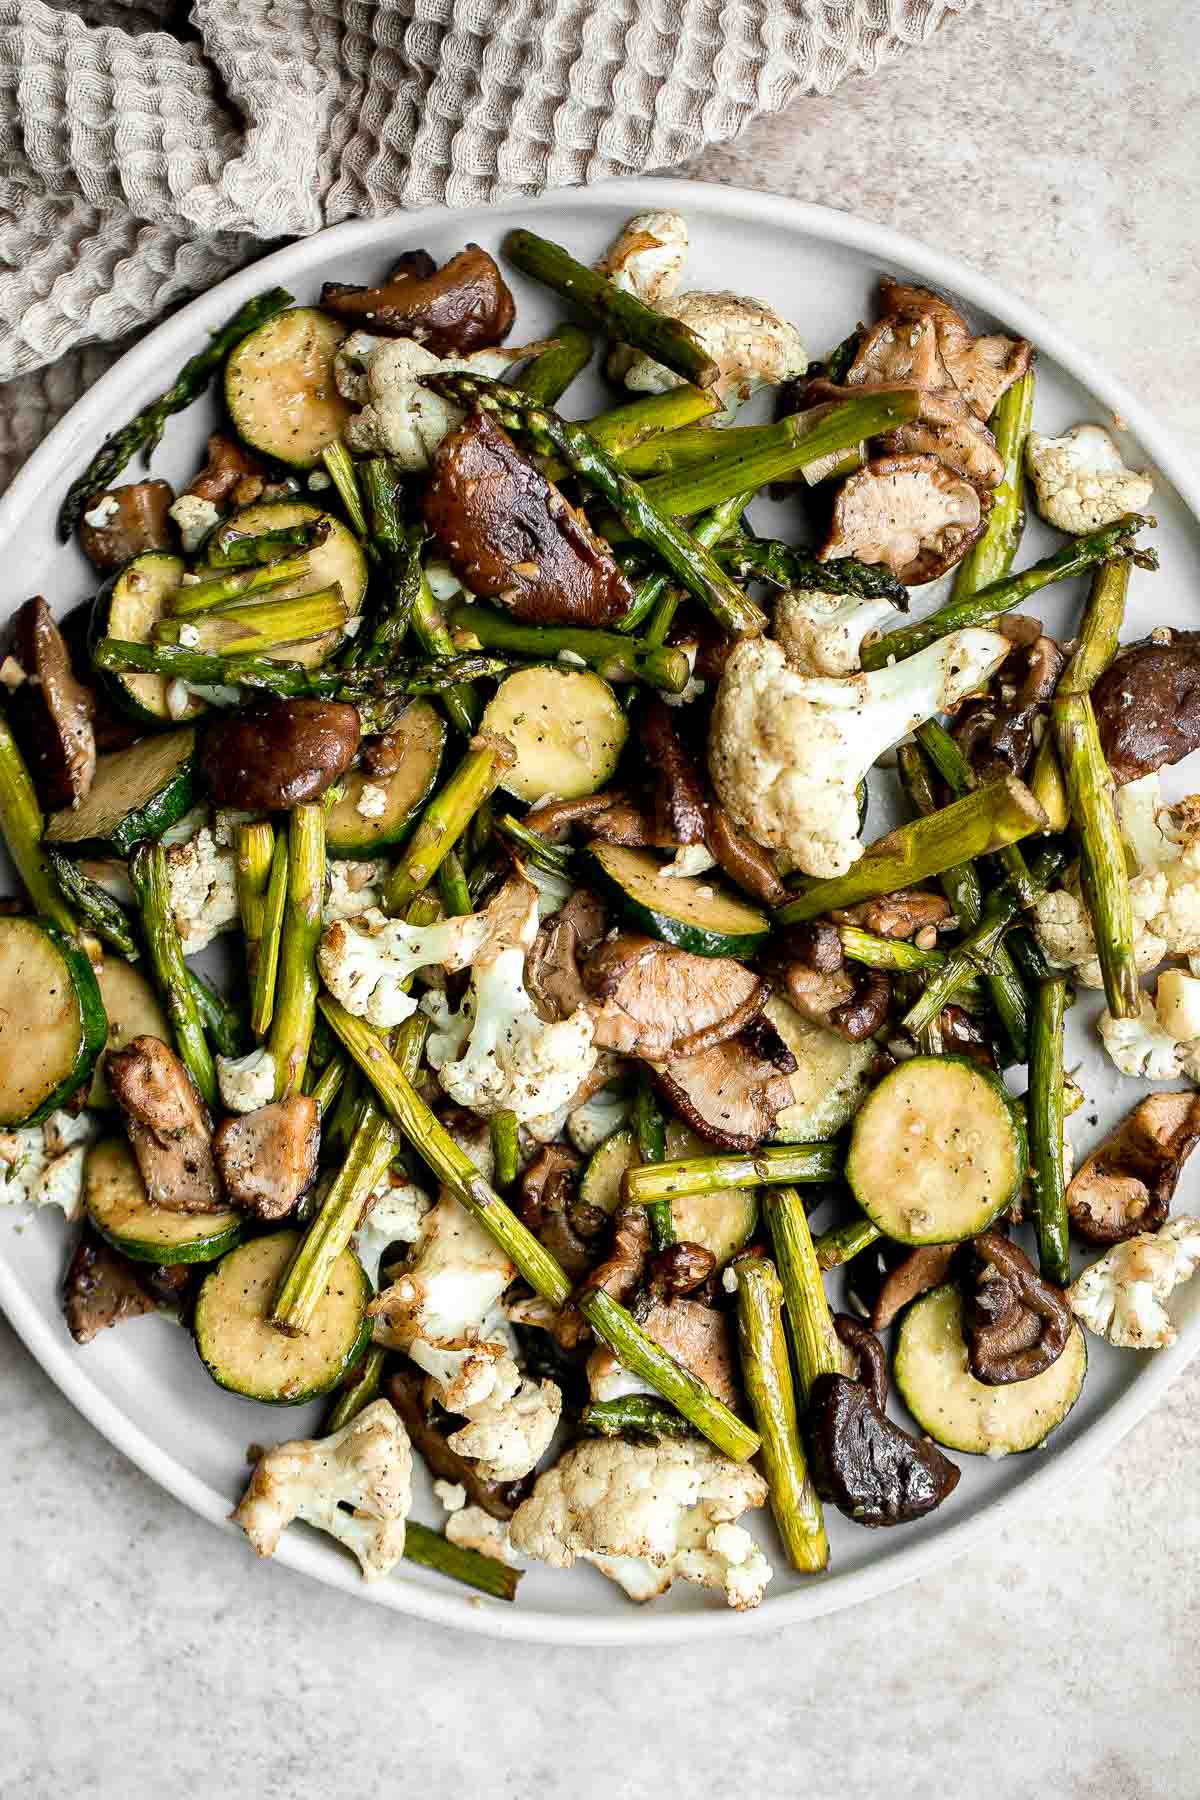
Air fryer vegetables are healthy, flavorful, and delicious. This vegan side dish is quick and easy to make in the air fryer in under 15 minutes.
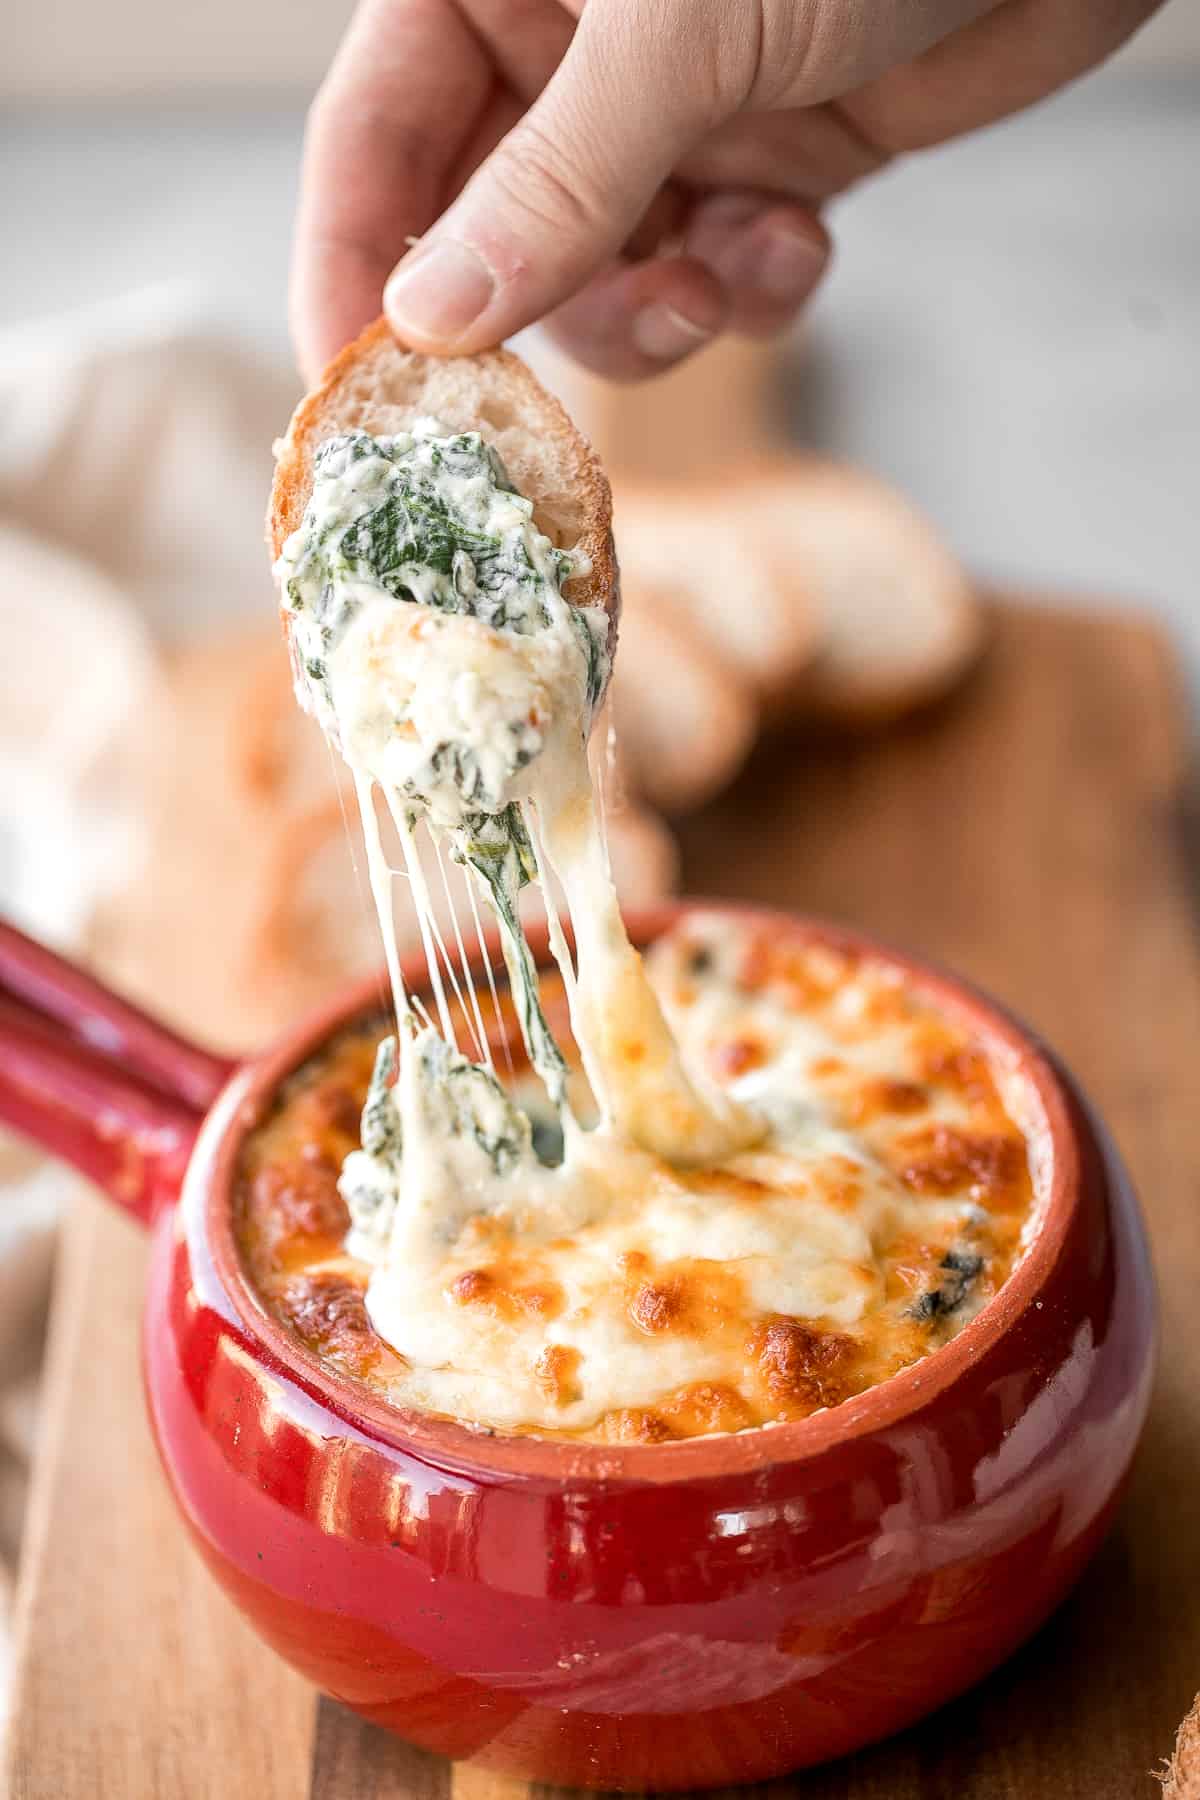
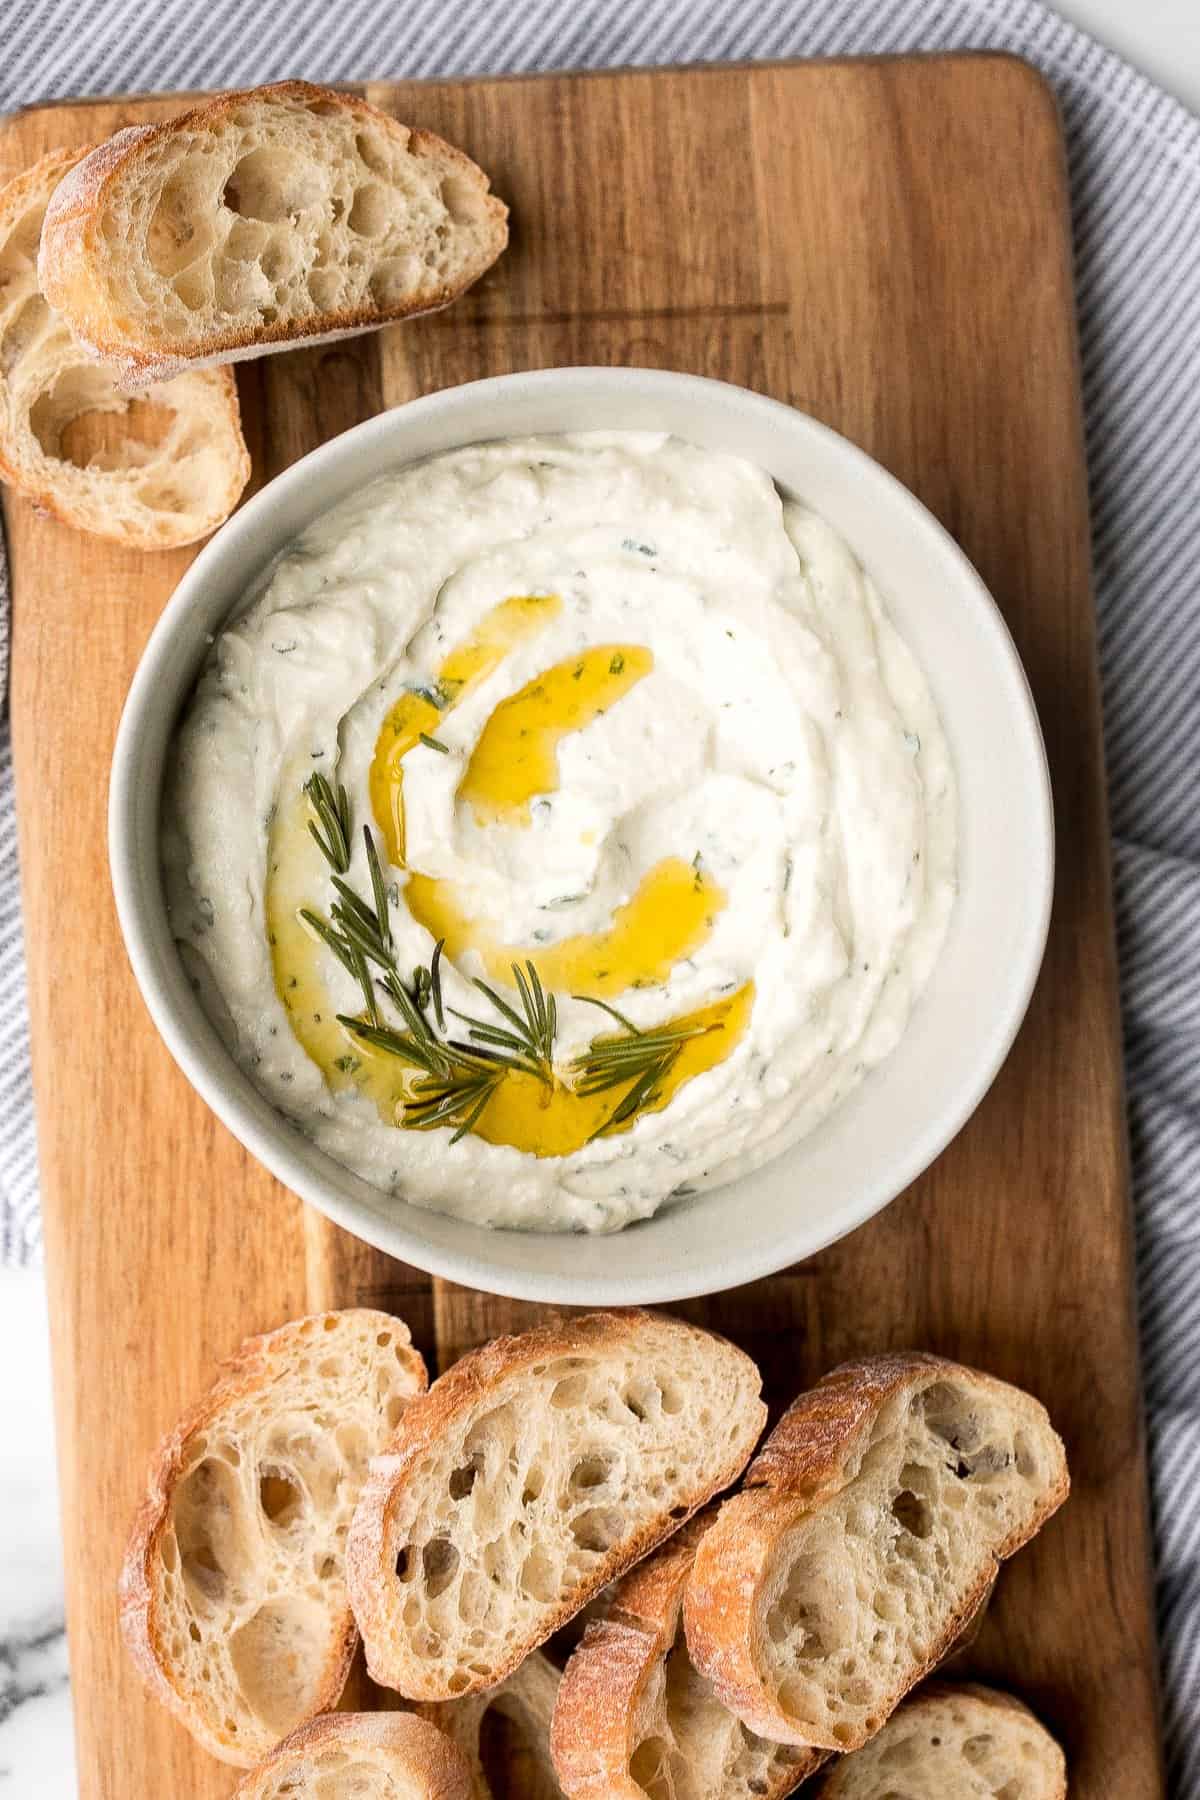
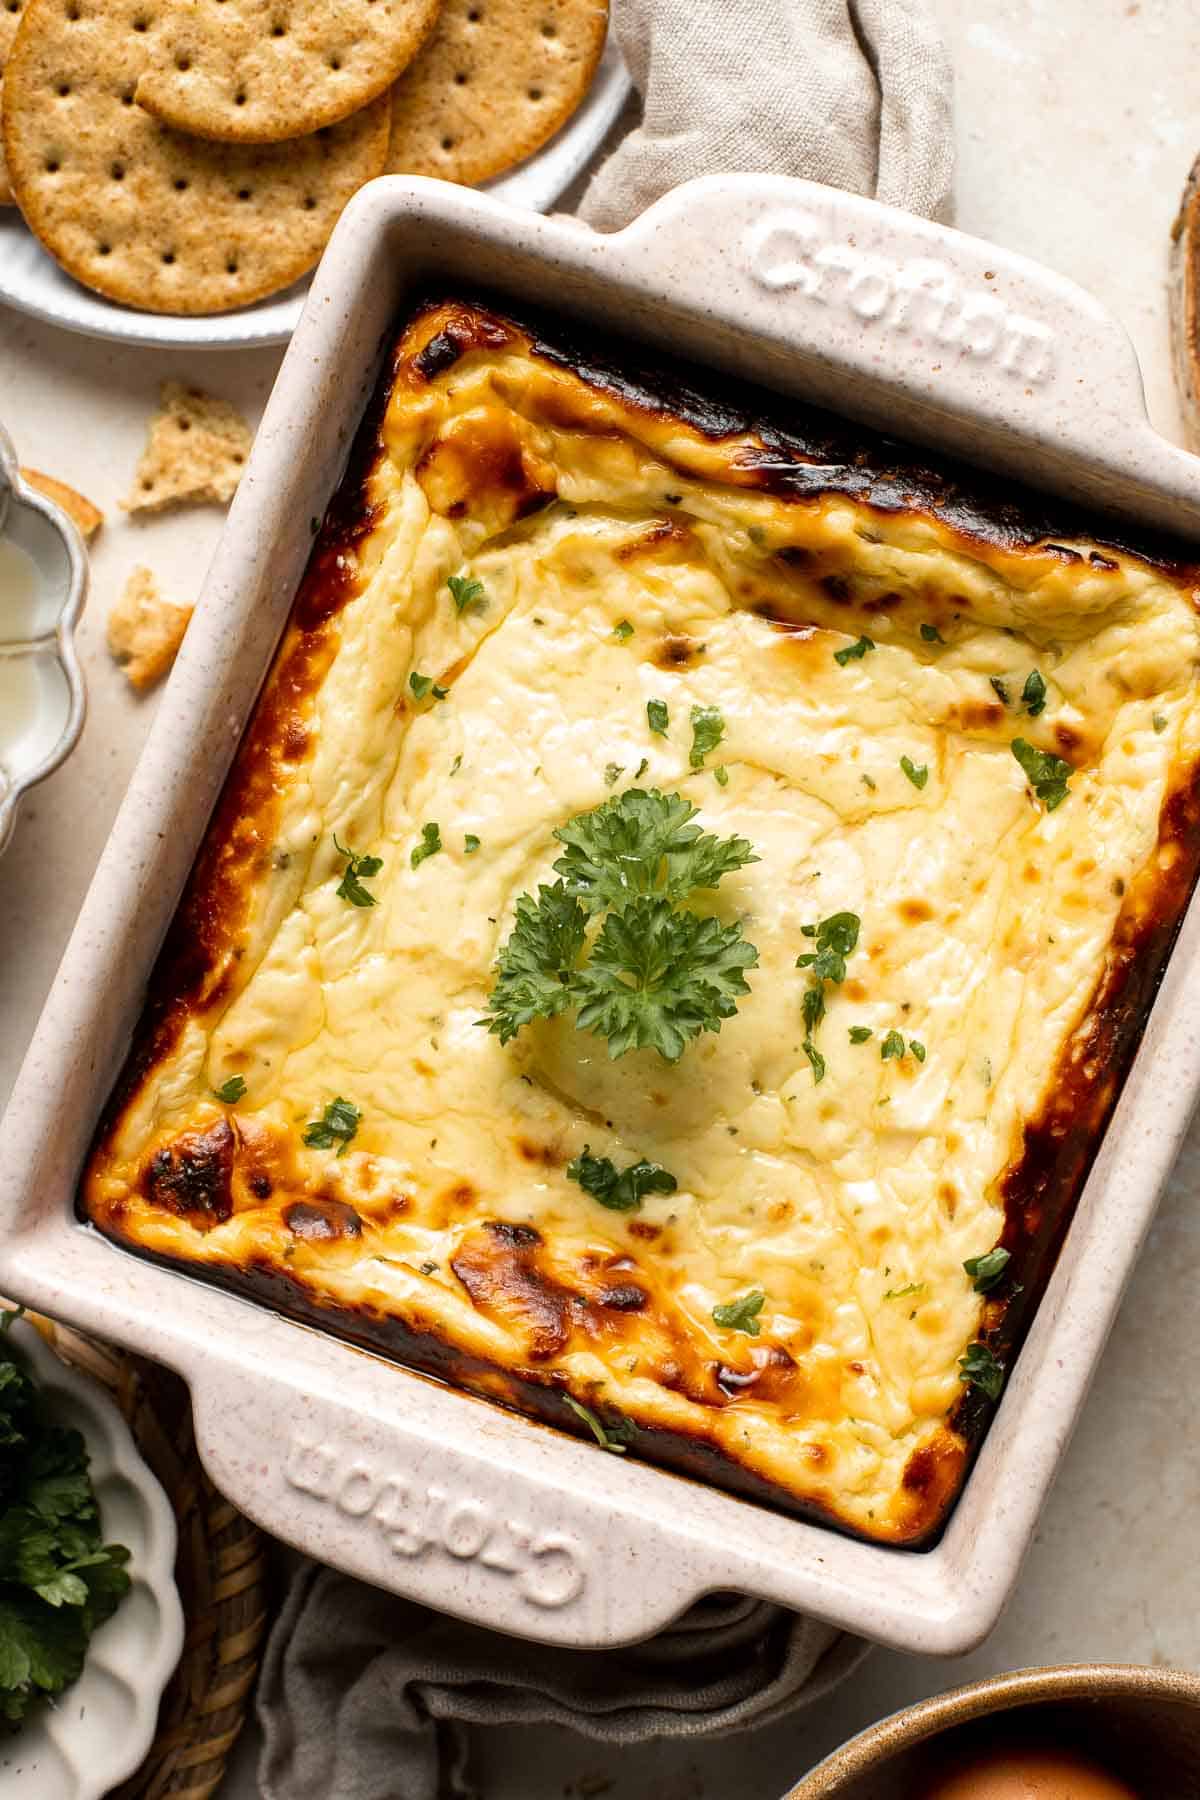
Warm, rich, creamy baked spinach dip is a delicious and easy appetizer that is baked until warm and melty. Easy to make ahead and a total crowd pleaser.
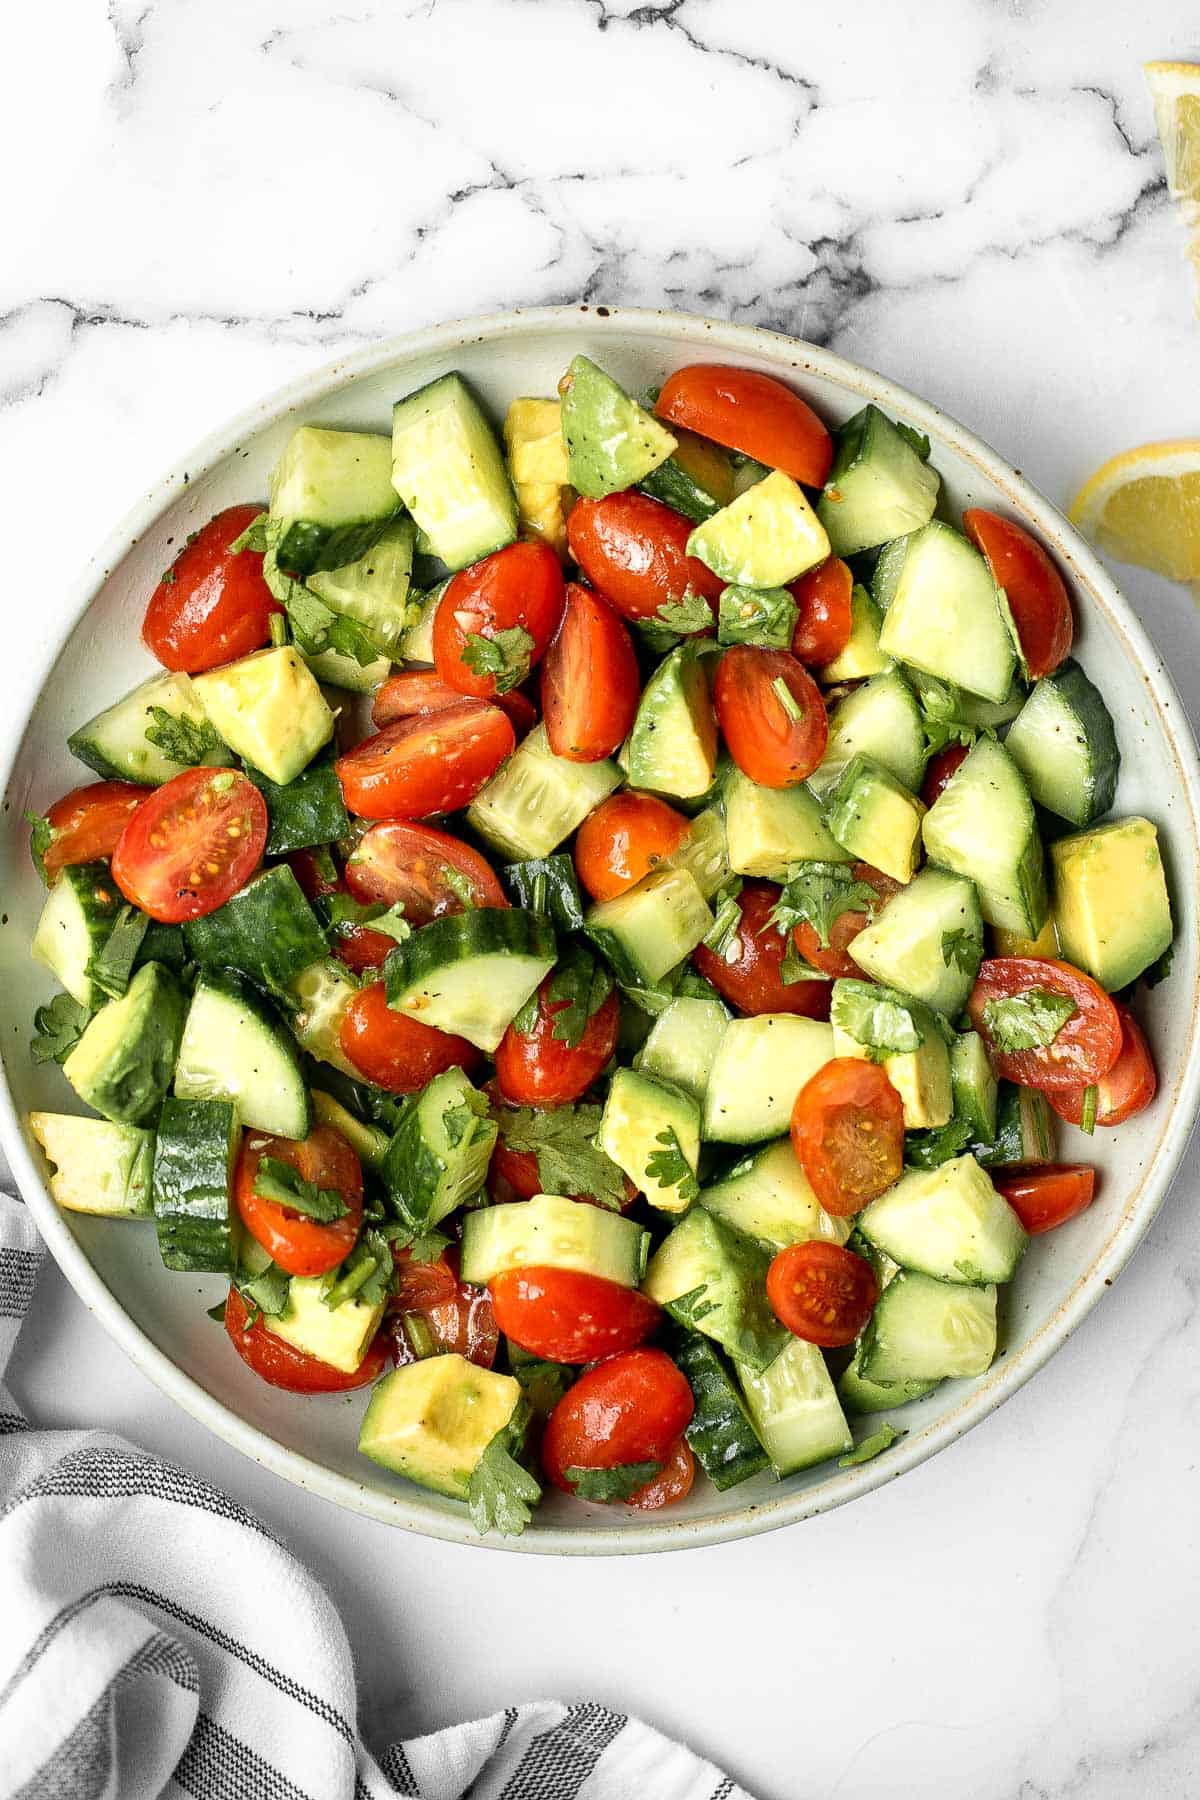
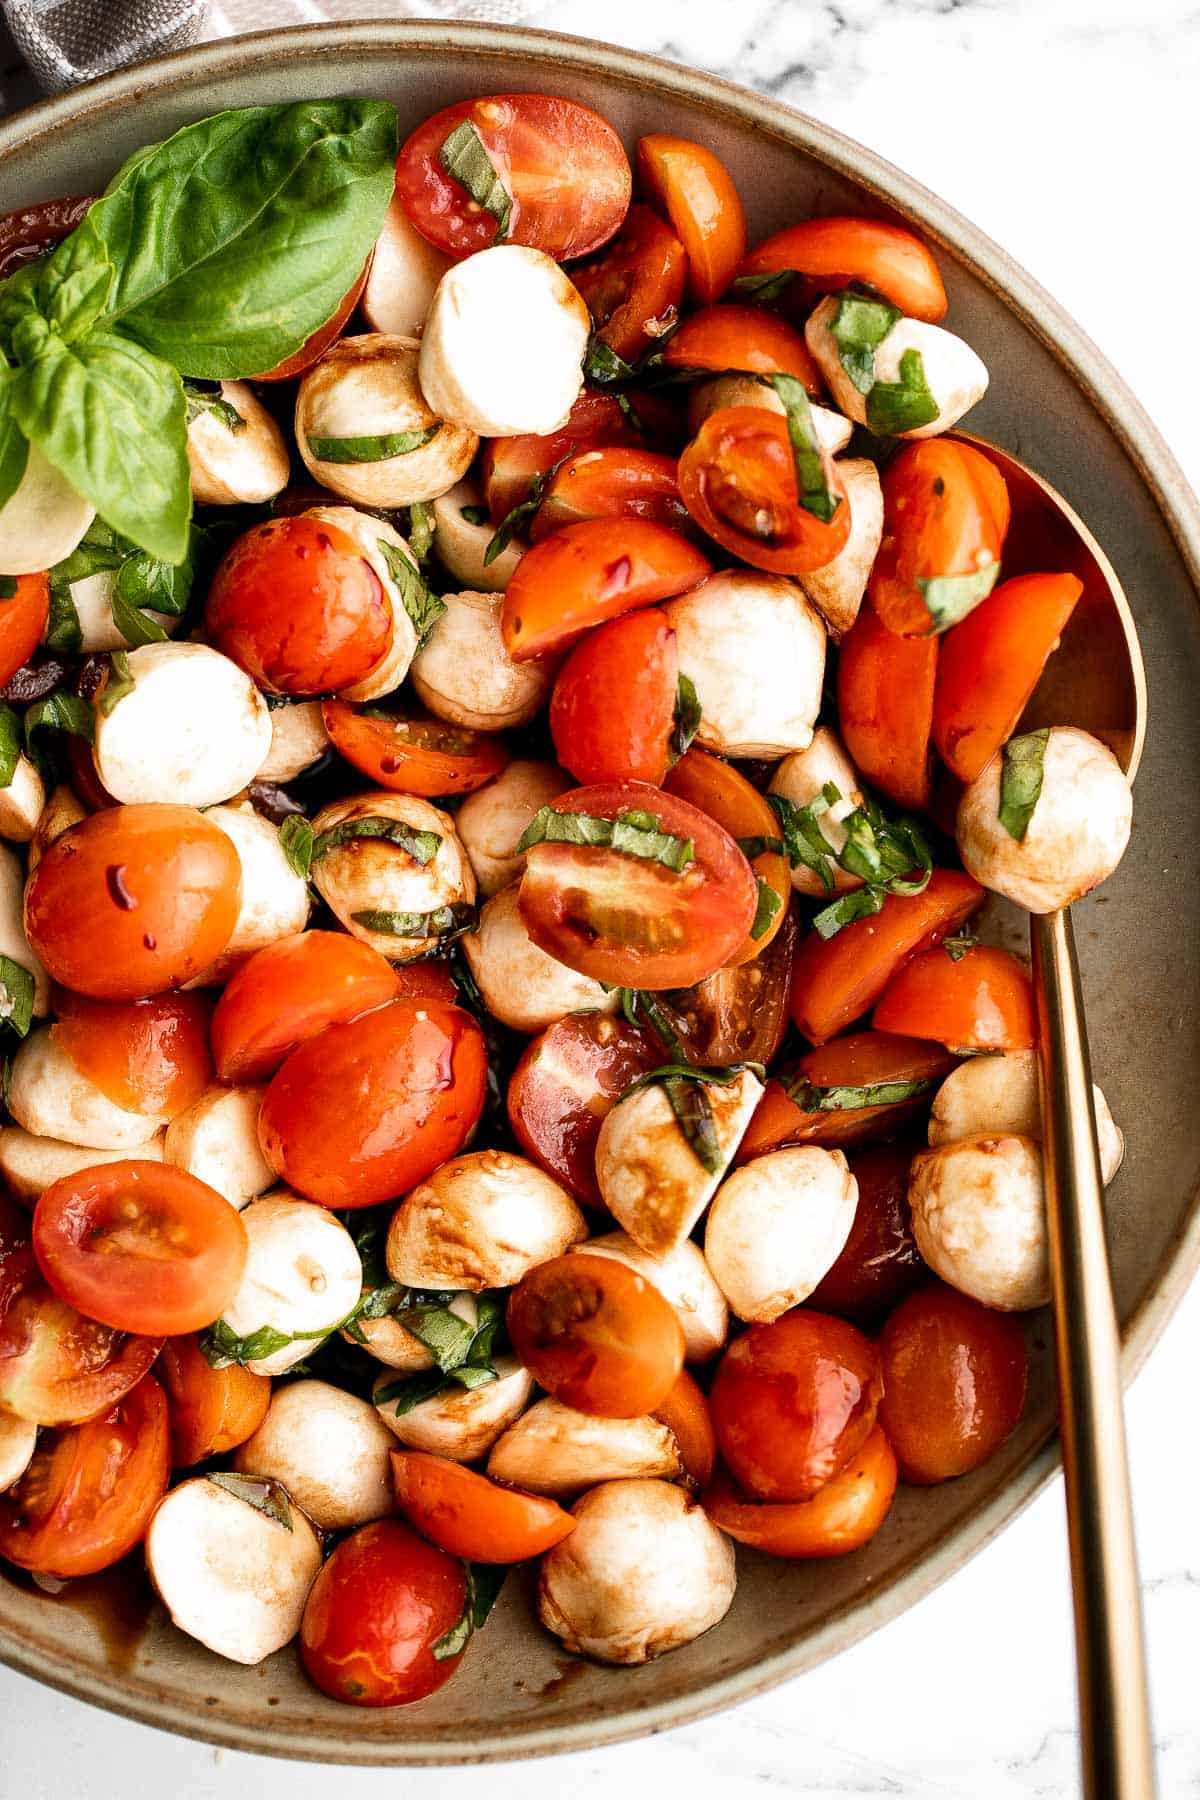
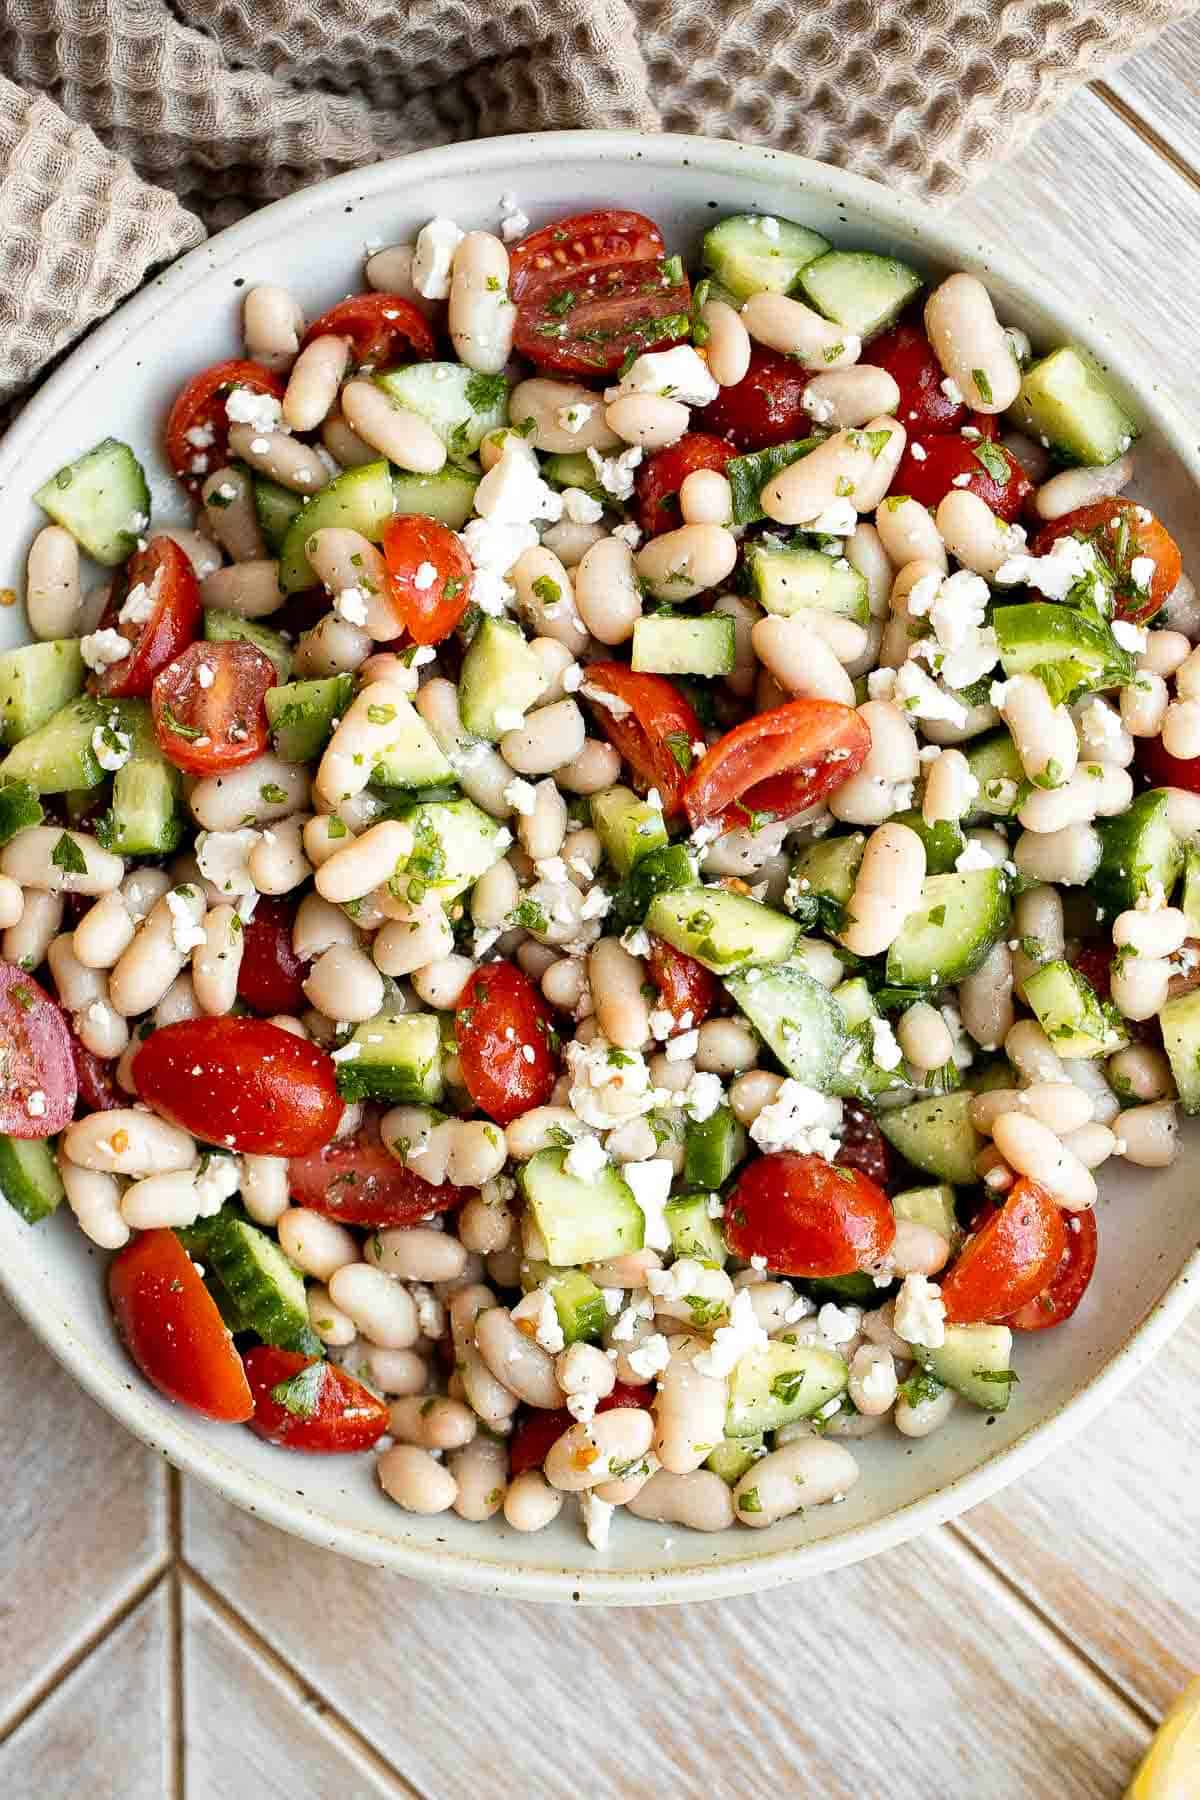
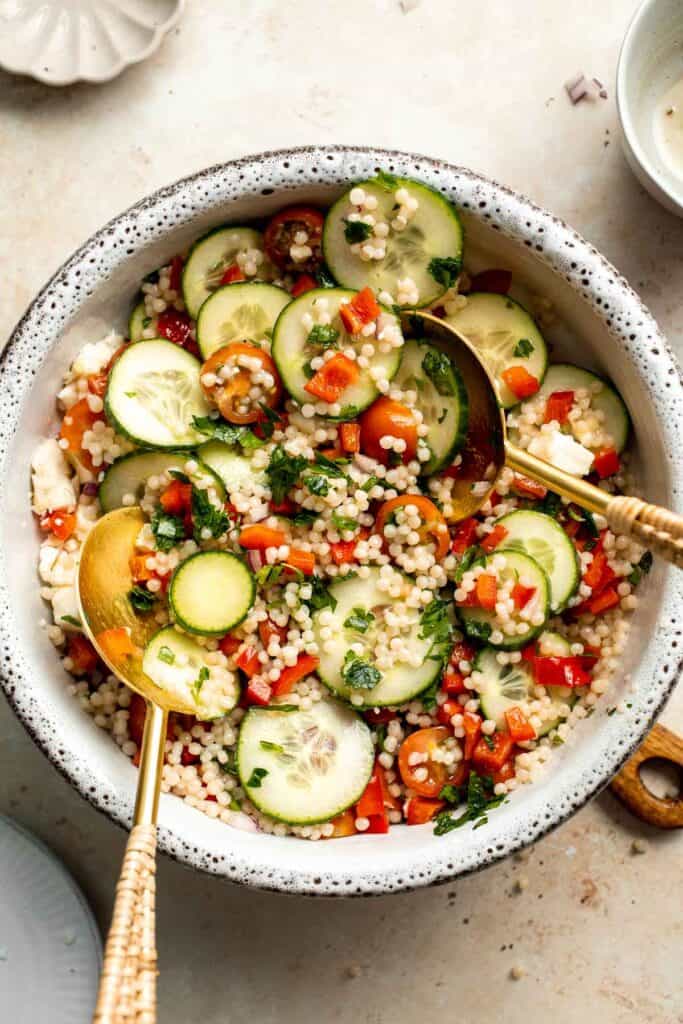
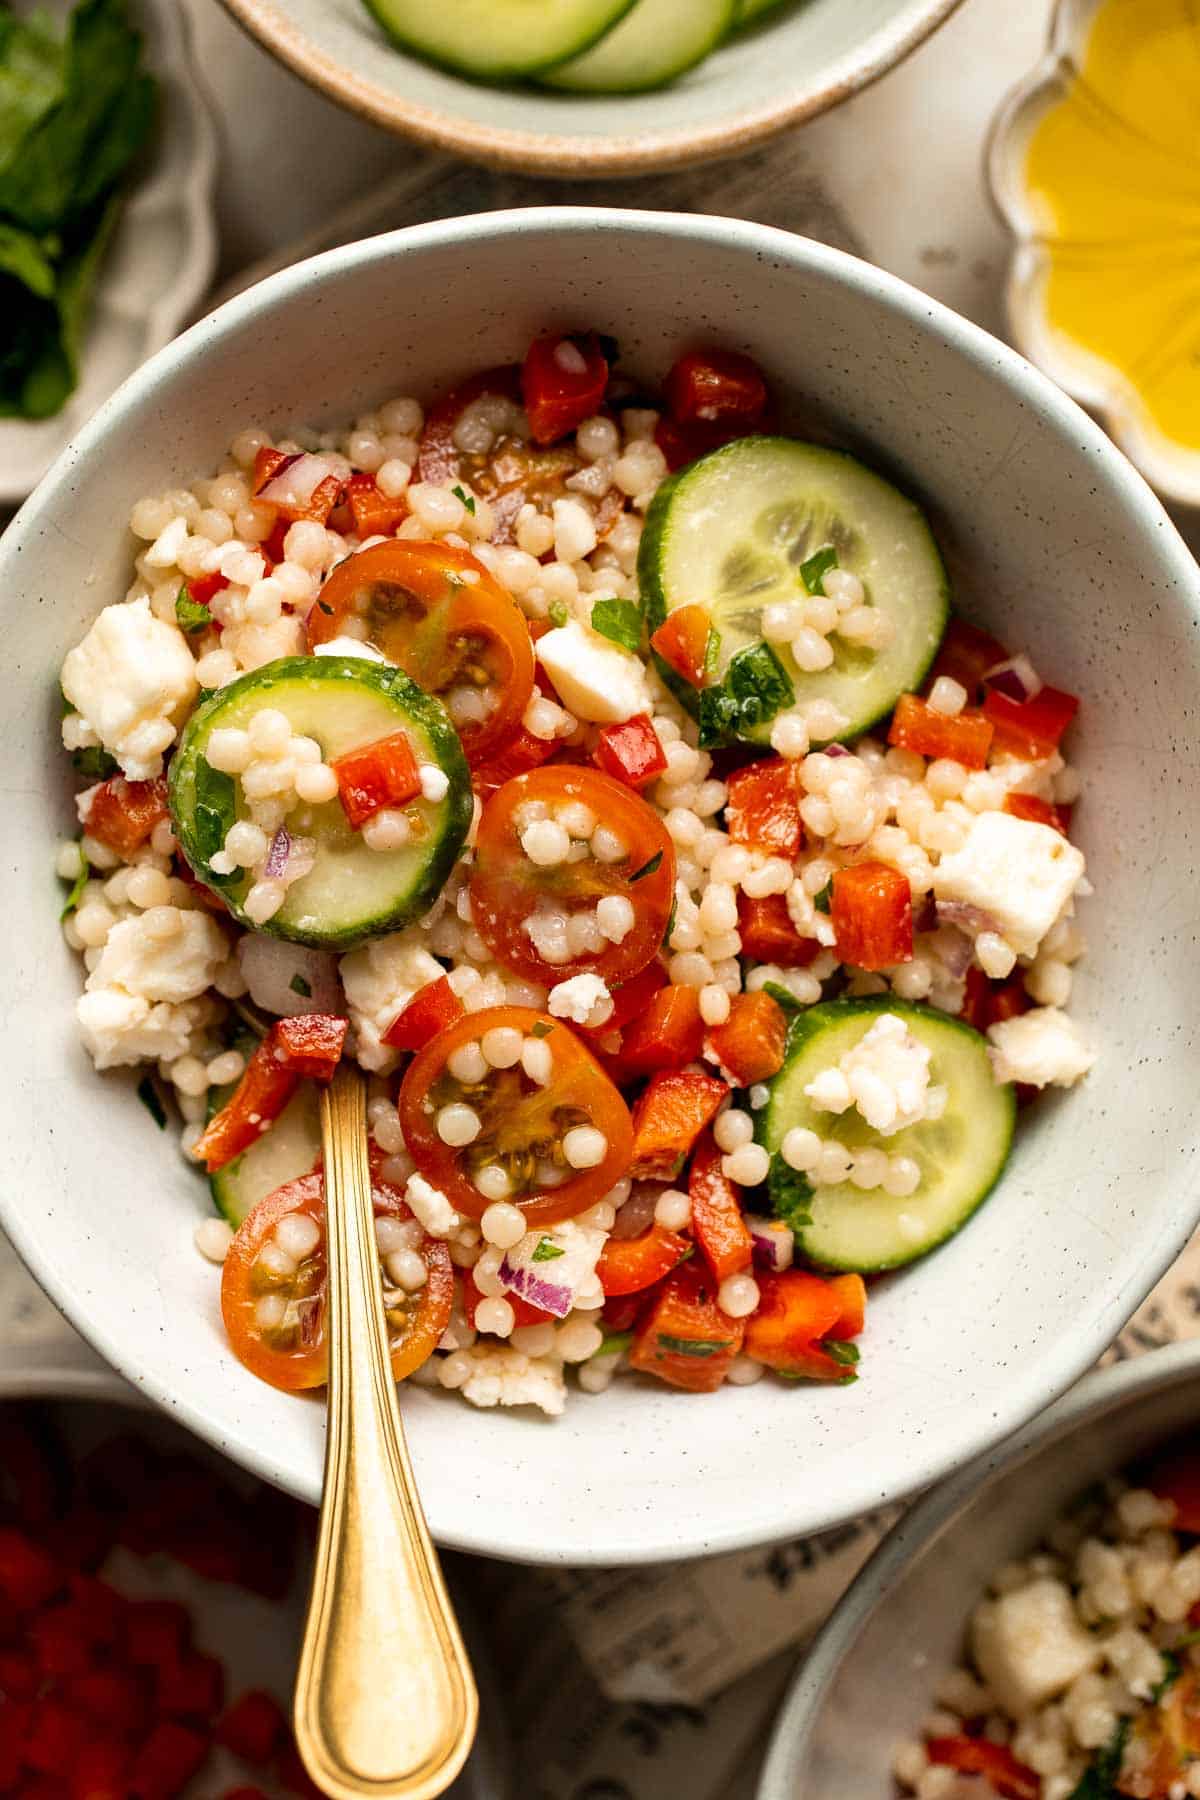
Simple tomato cucumber avocado salad with a delicious lemon vinaigrette is a light and refreshing salad that comes together in literally 5 minutes.
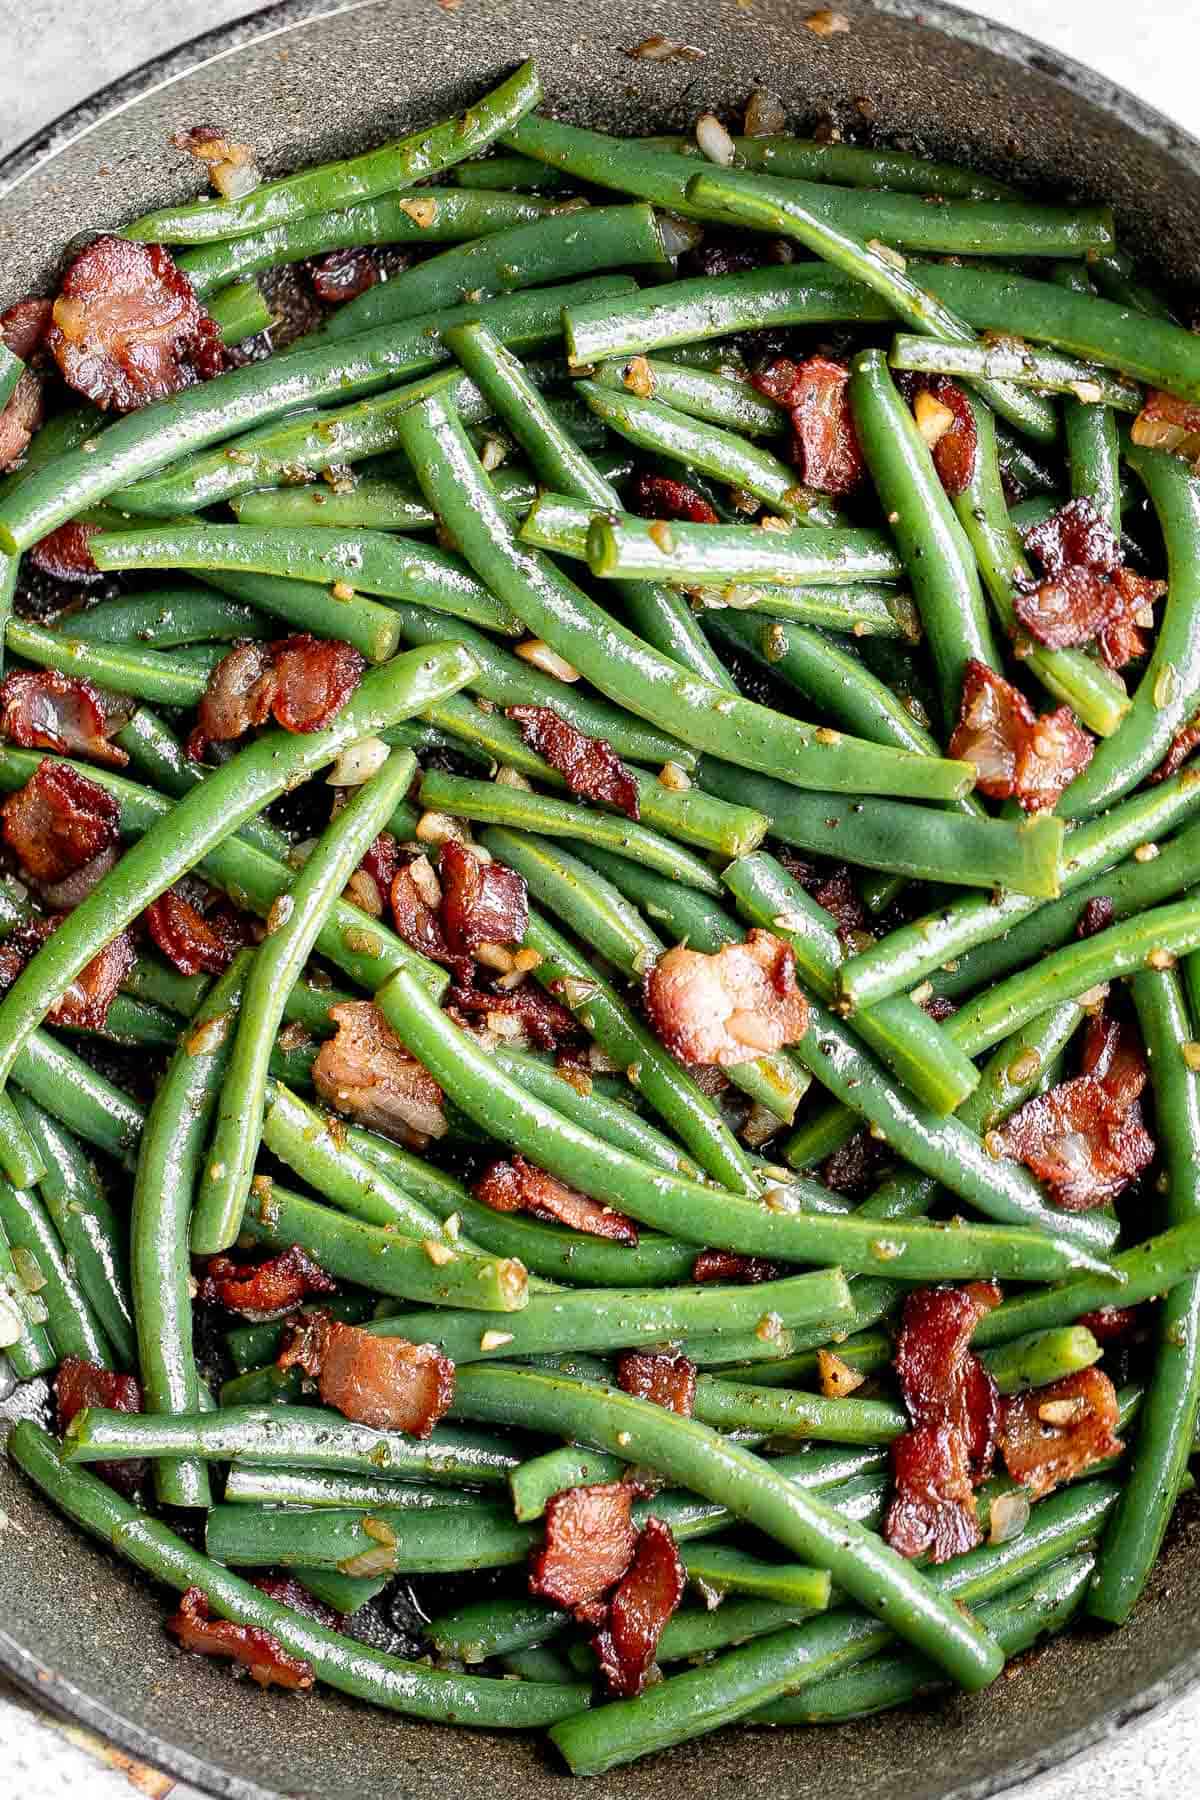
Green Beans with Bacon is a delicious, flavorful side dish that comes together quickly in 20 minutes (including prep!) with a handful of simple ingredients.
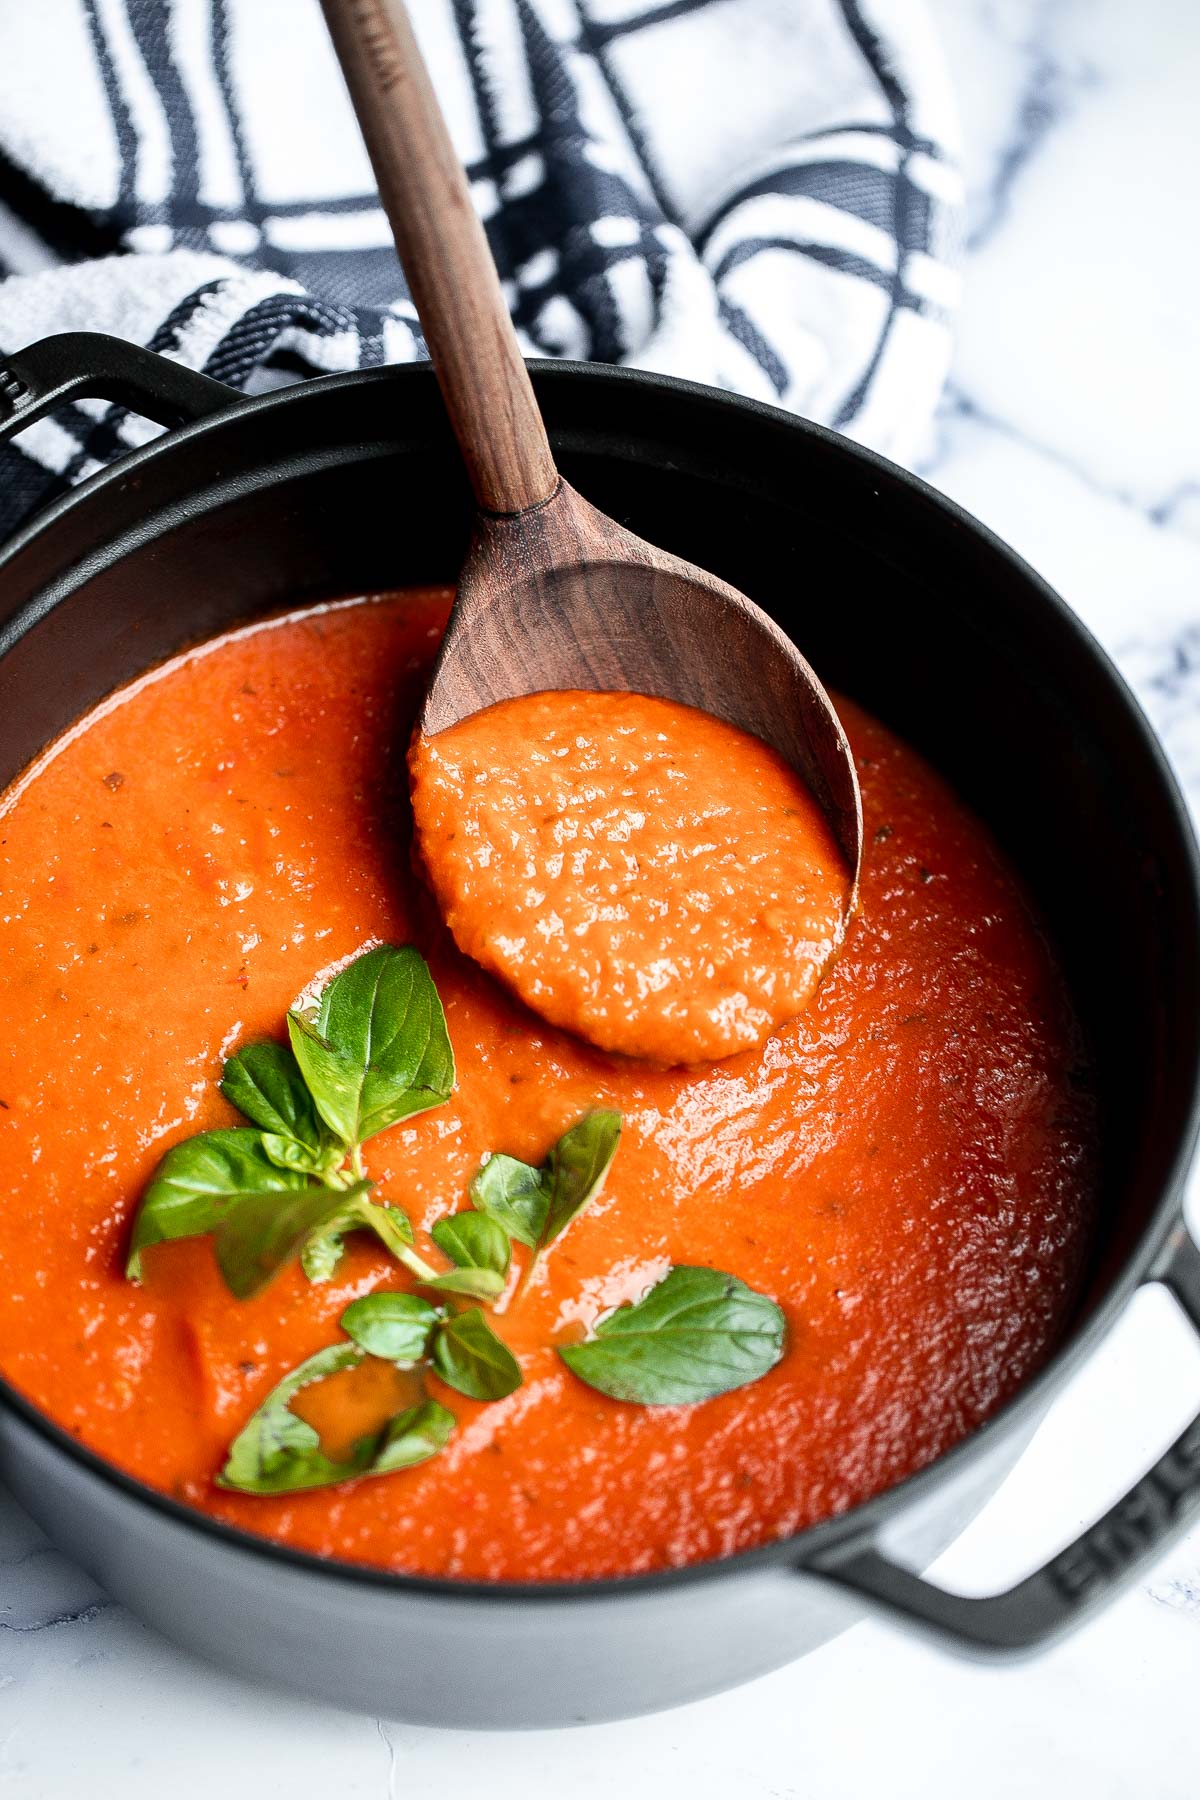
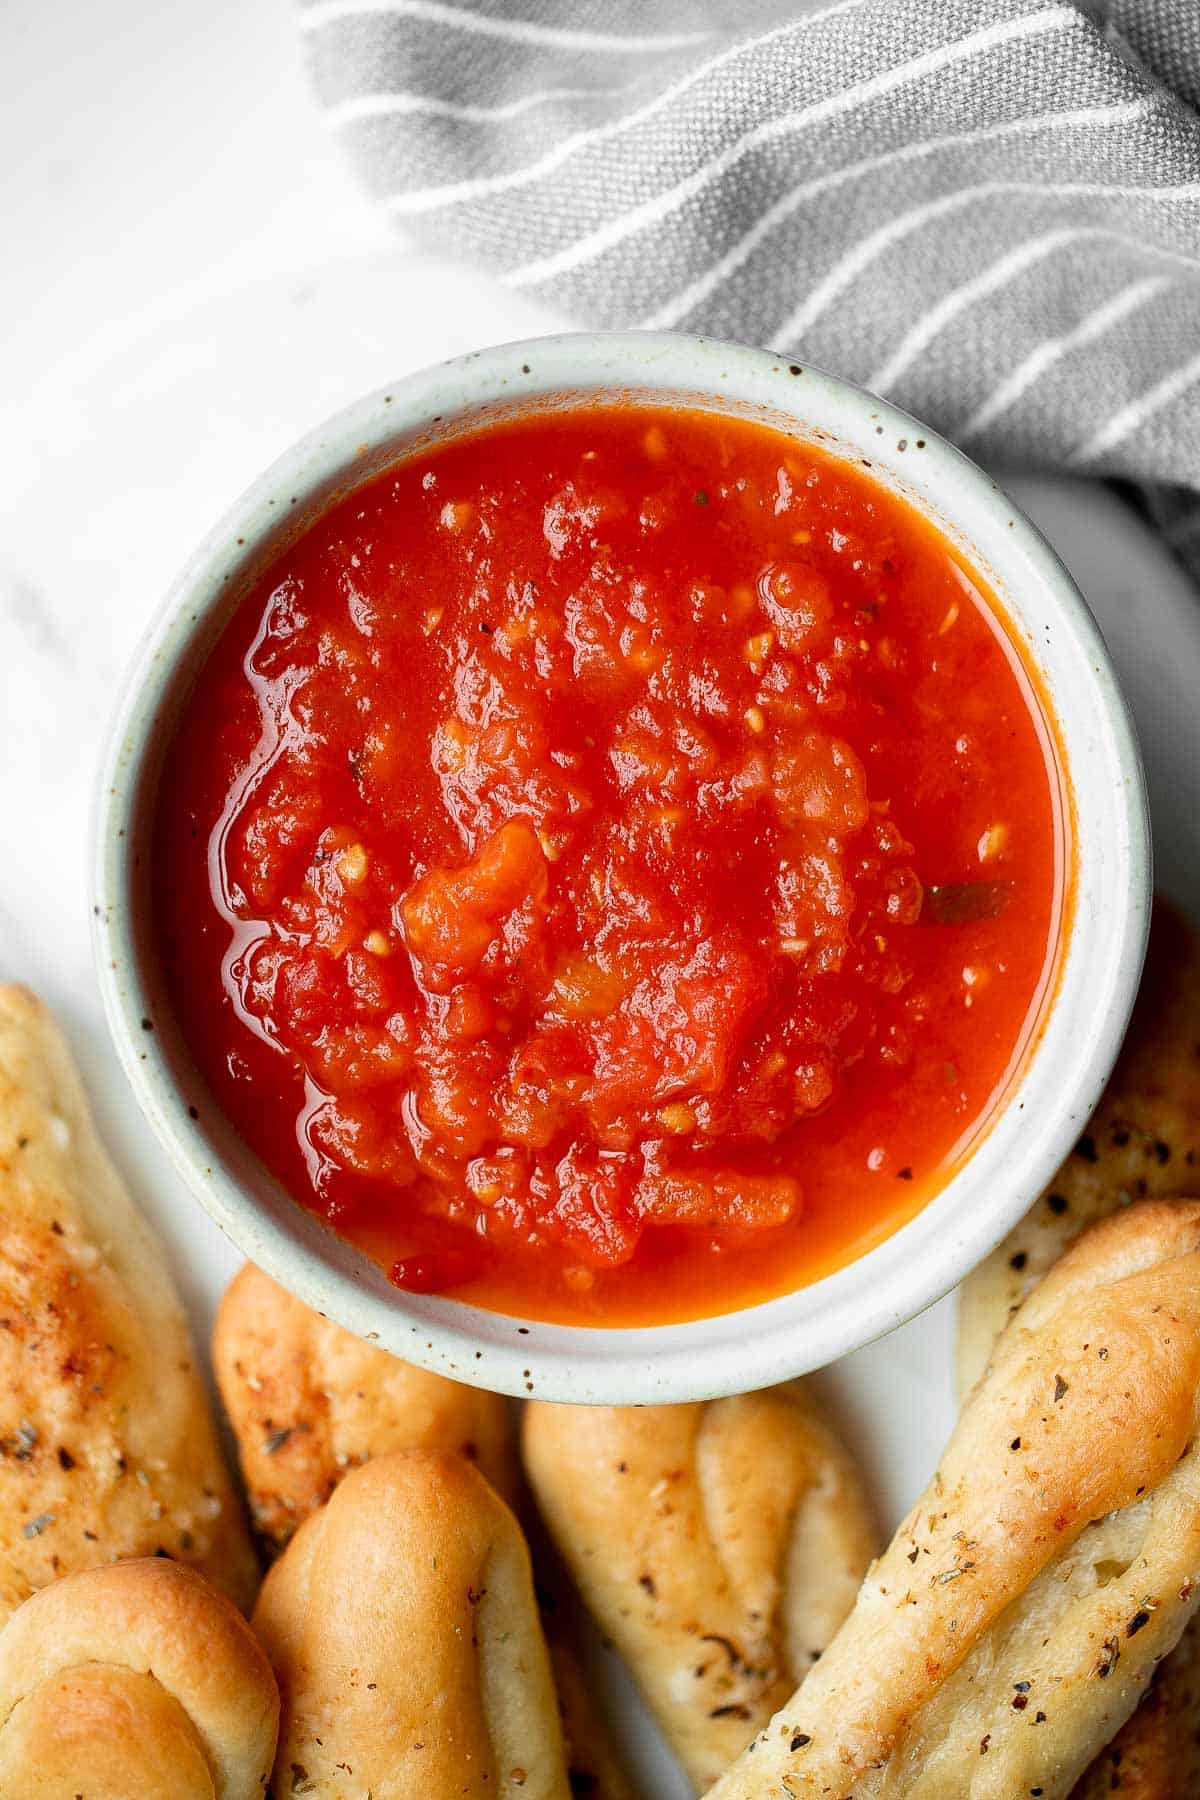
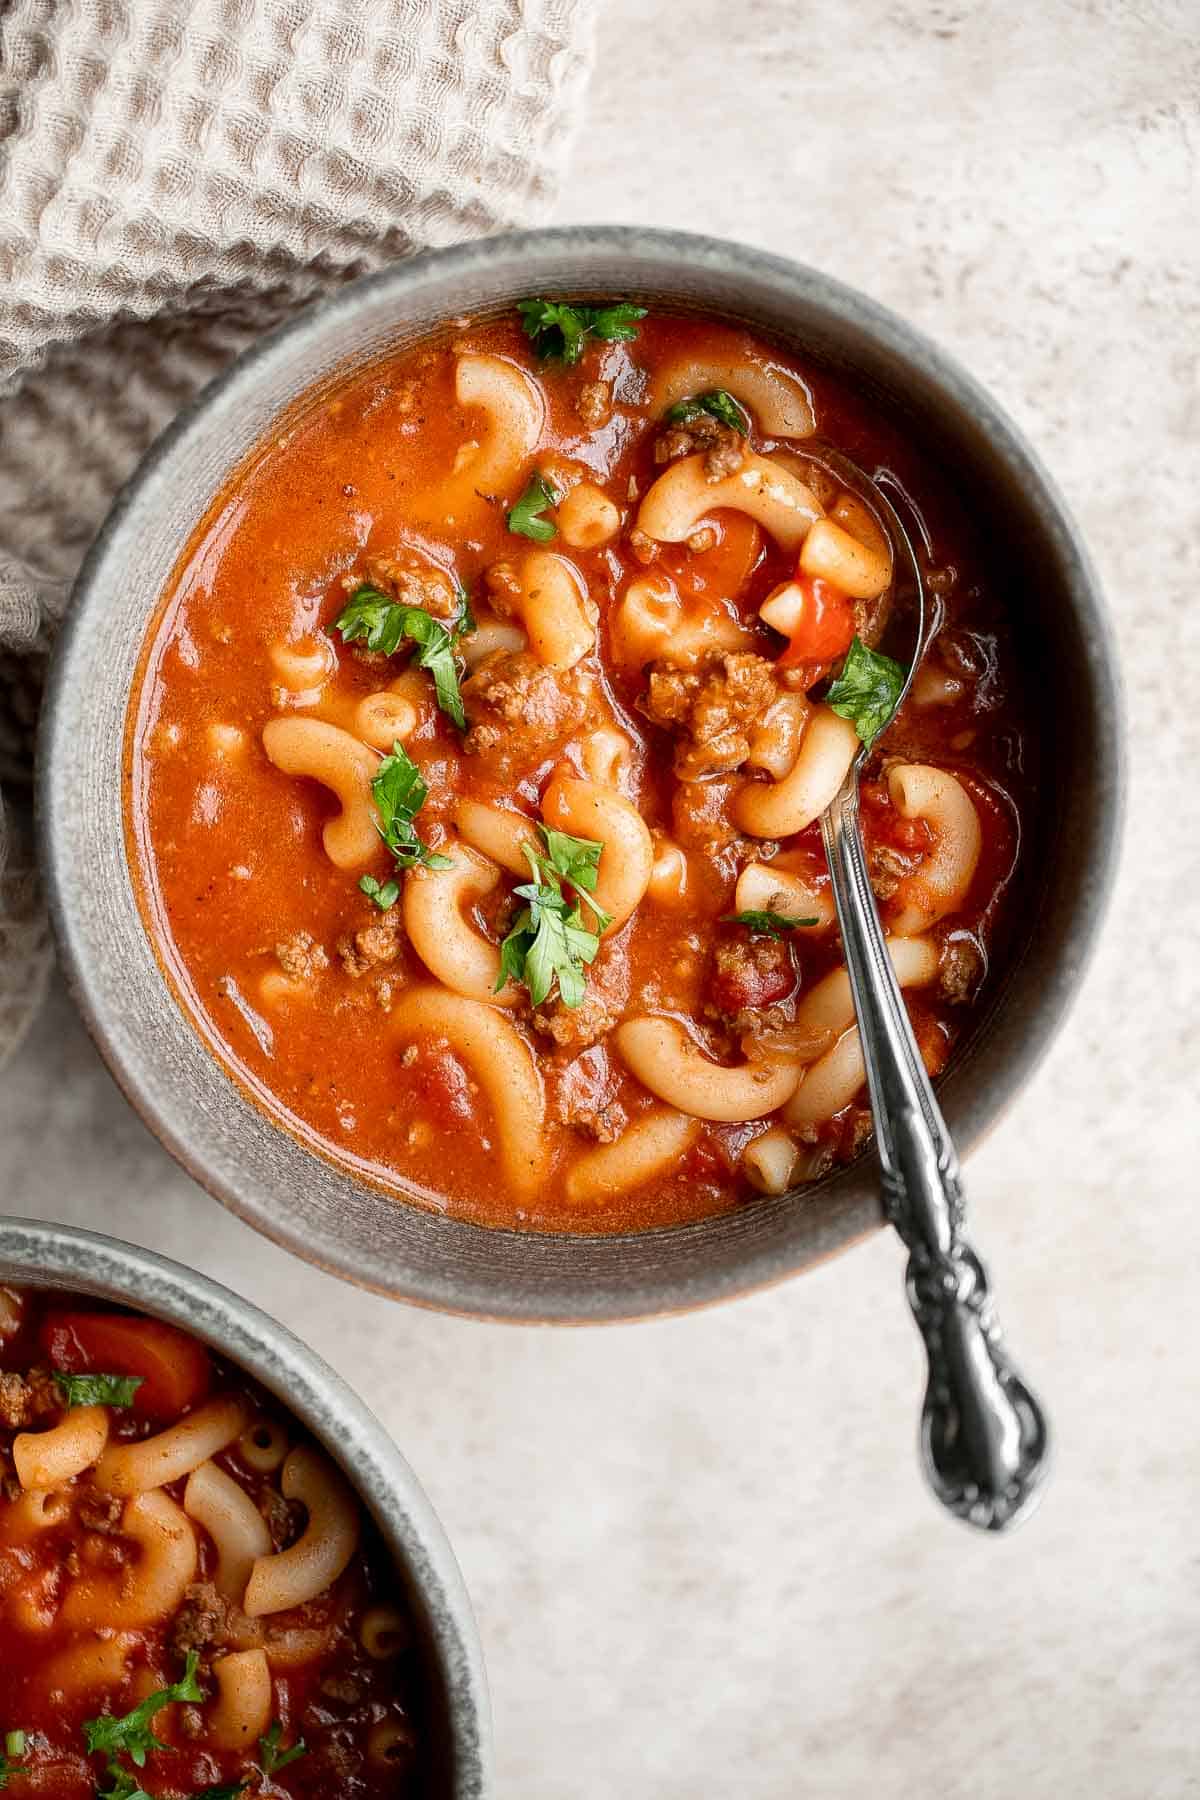
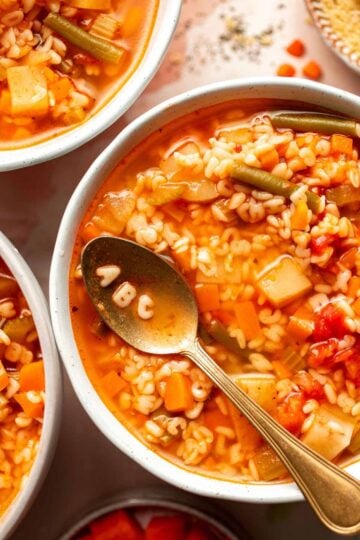
Homemade tomato basil soup is comforting, rich, and smooth. This cozy soup is easy, flavourful, and nourishing, making it so much better than canned.
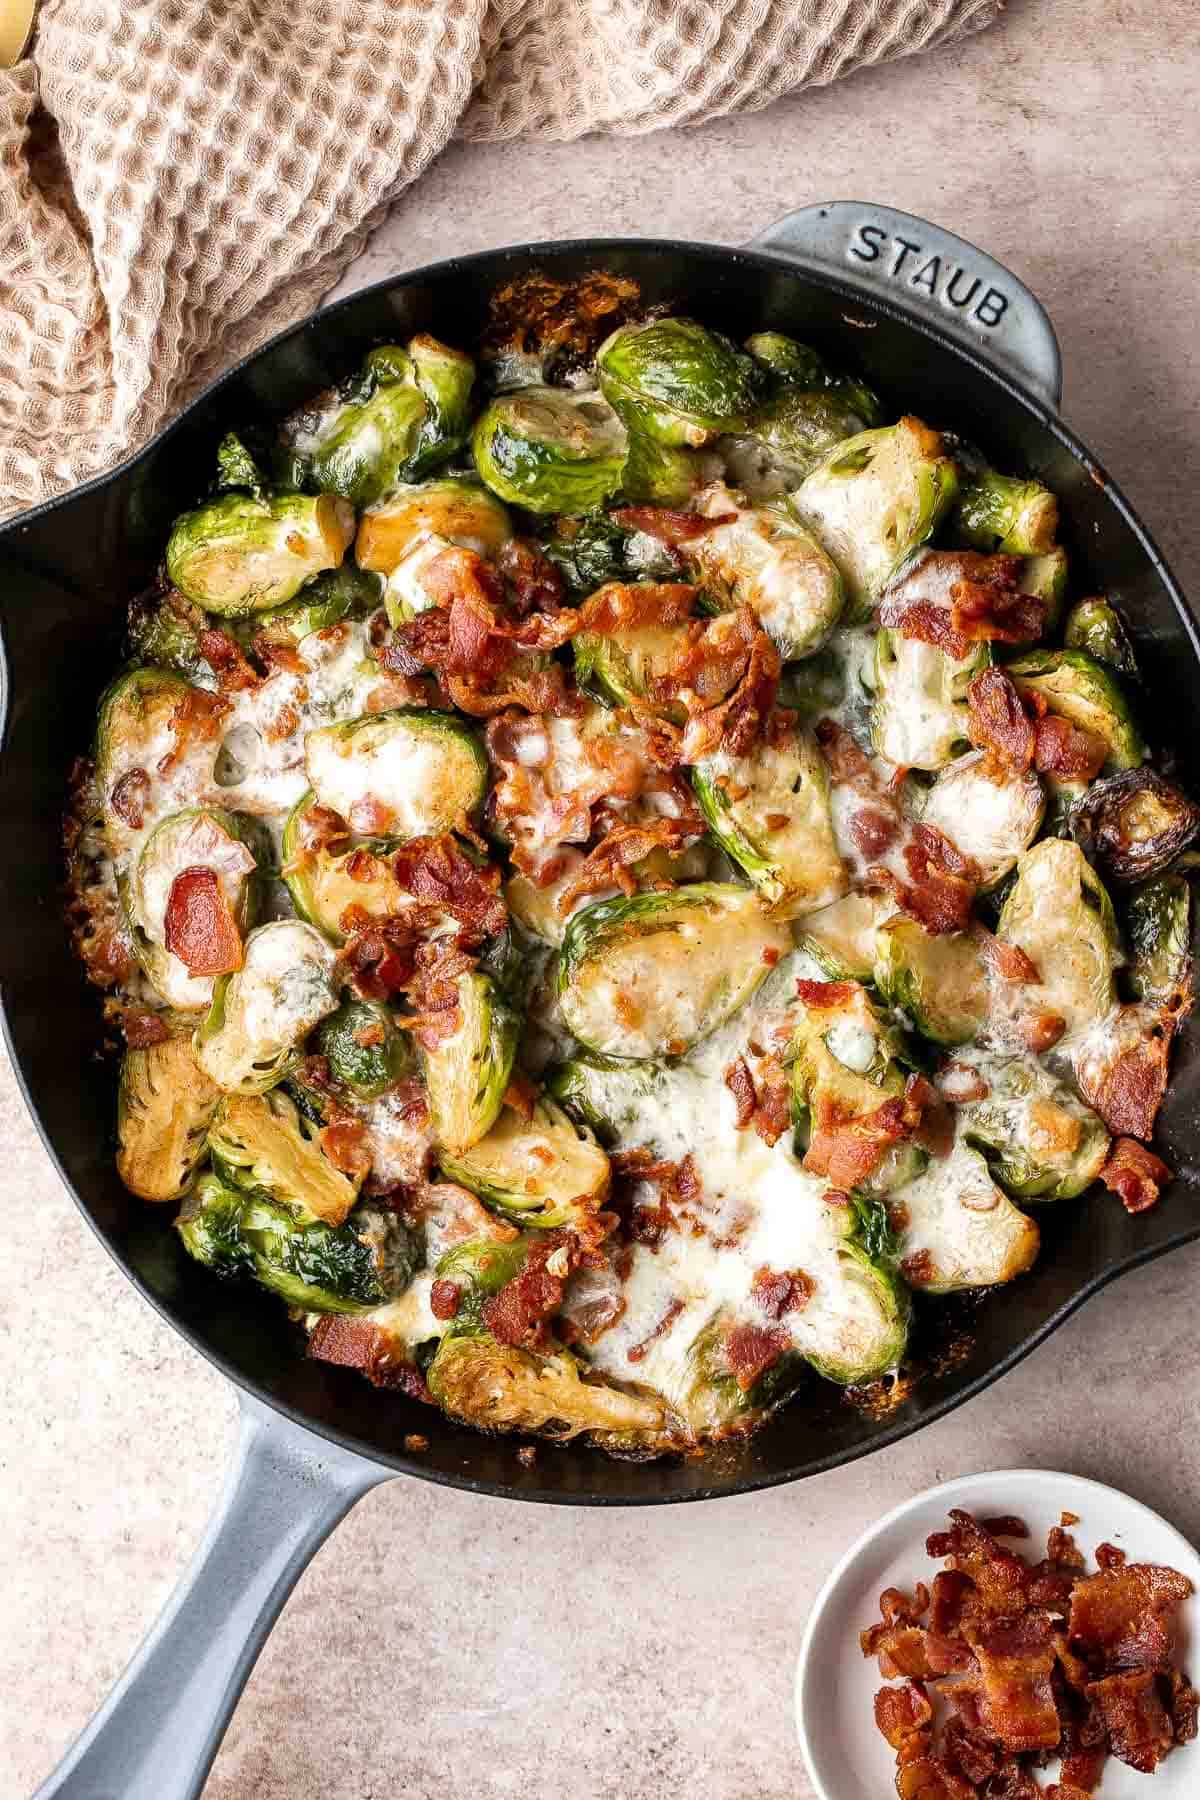
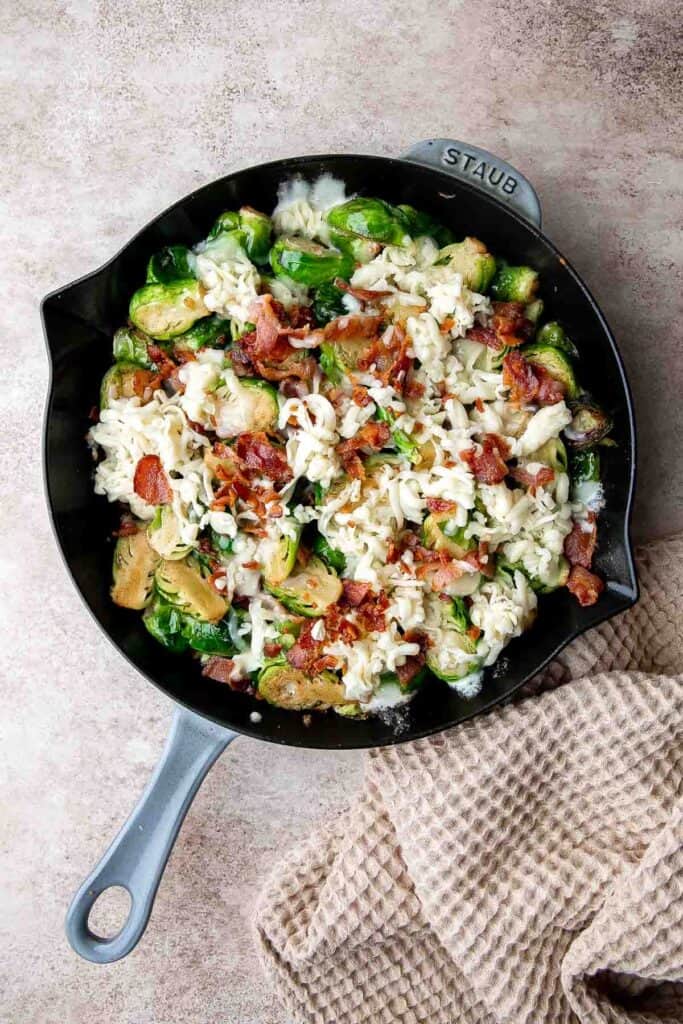
Cheesy Brussels Sprouts Bake is a comforting side dish made with sautéed garlic brussels sprouts, topped with bacon and cheese, and baked until bubbly.
More Side Dish Recipes
- 40 Vegetable Side Dishes
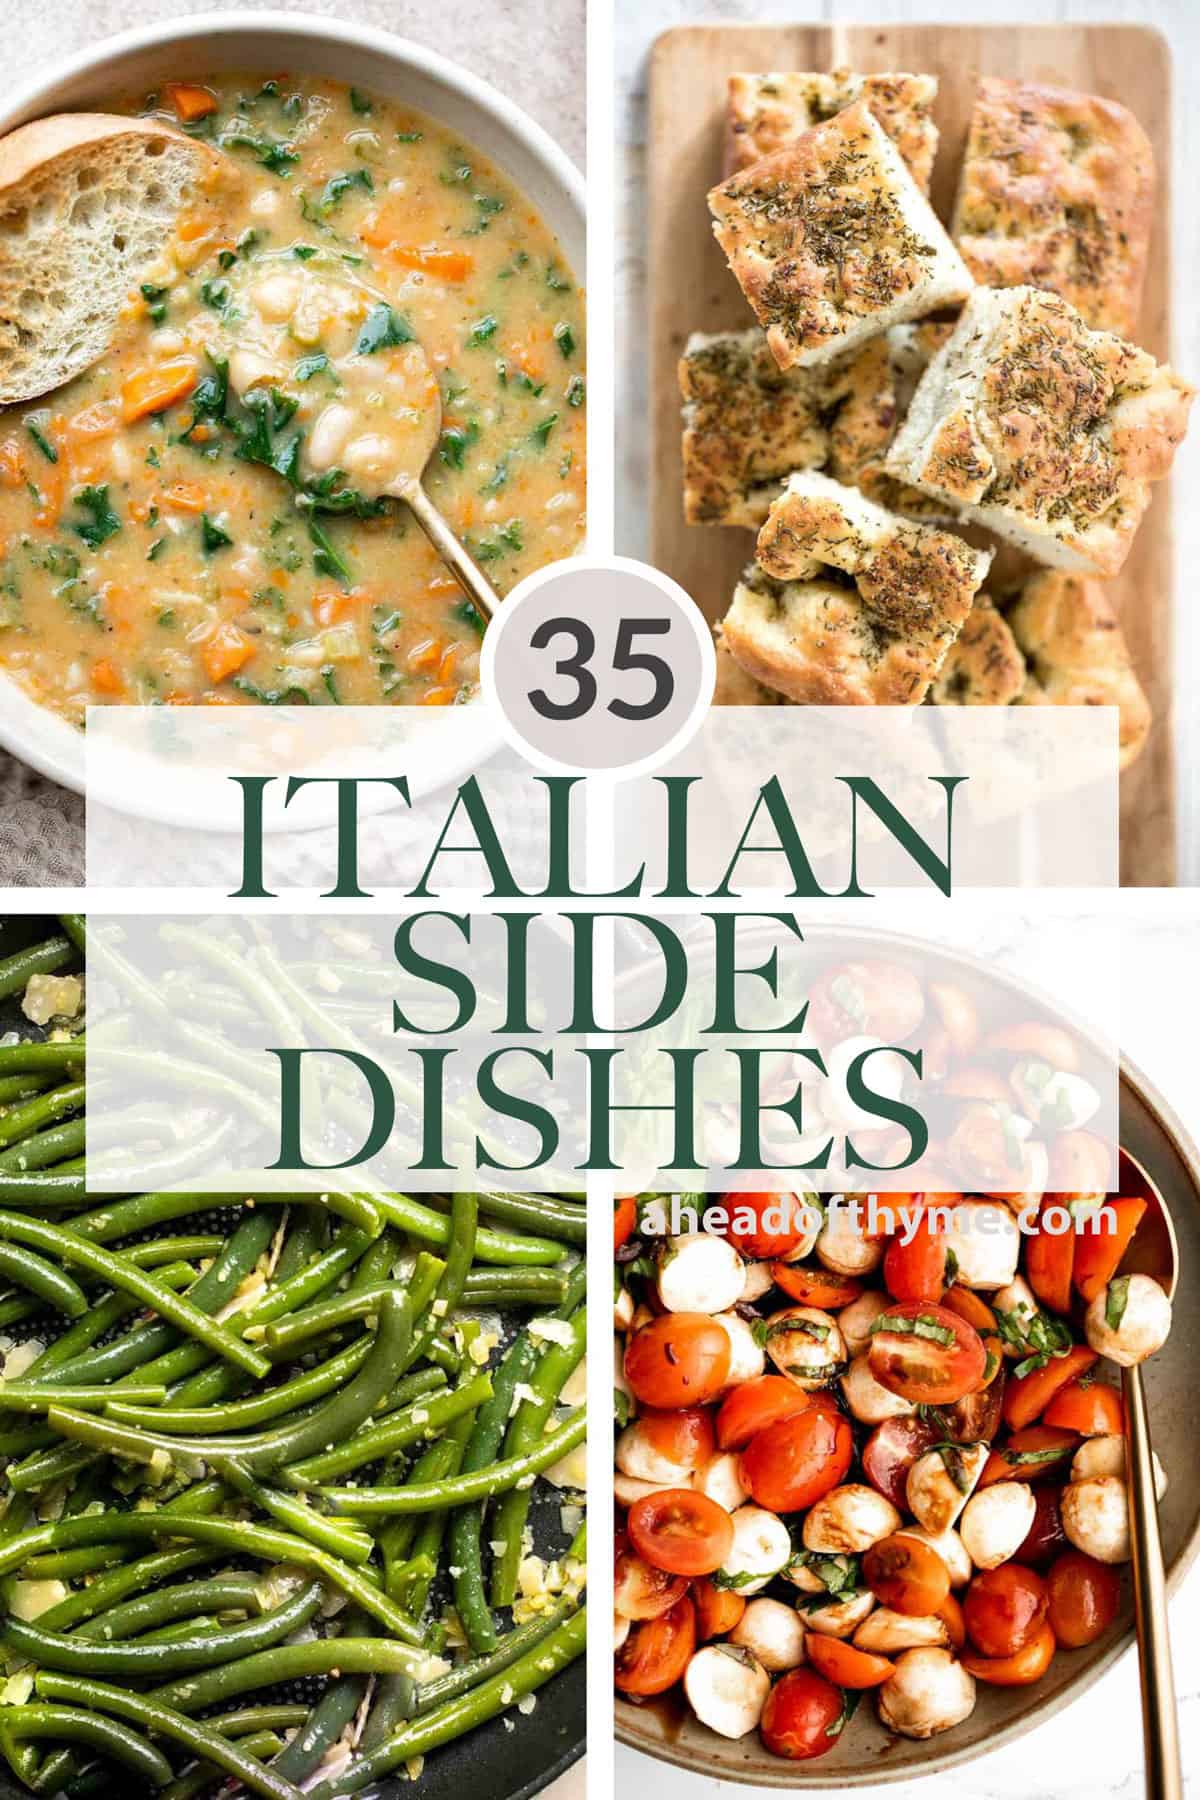
- 35 Best Italian Side Dishes
- 25 BBQ Side Dishes
- 40 Vegetable Side Dishes
- 30 Potato Side Dishes
Did You Make Any of These Keto Side Dishes?
Please leave a comment and rating below, and let me know what you thought of this round up of Italian side dish recipes. Be sure to snap a picture and tag me on Instagram @aheadofthyme or share it on the Pinterest pin so that I can follow along.
HUNGRY FOR MORE? Don't forget to sign up for my email newsletter so that you d


