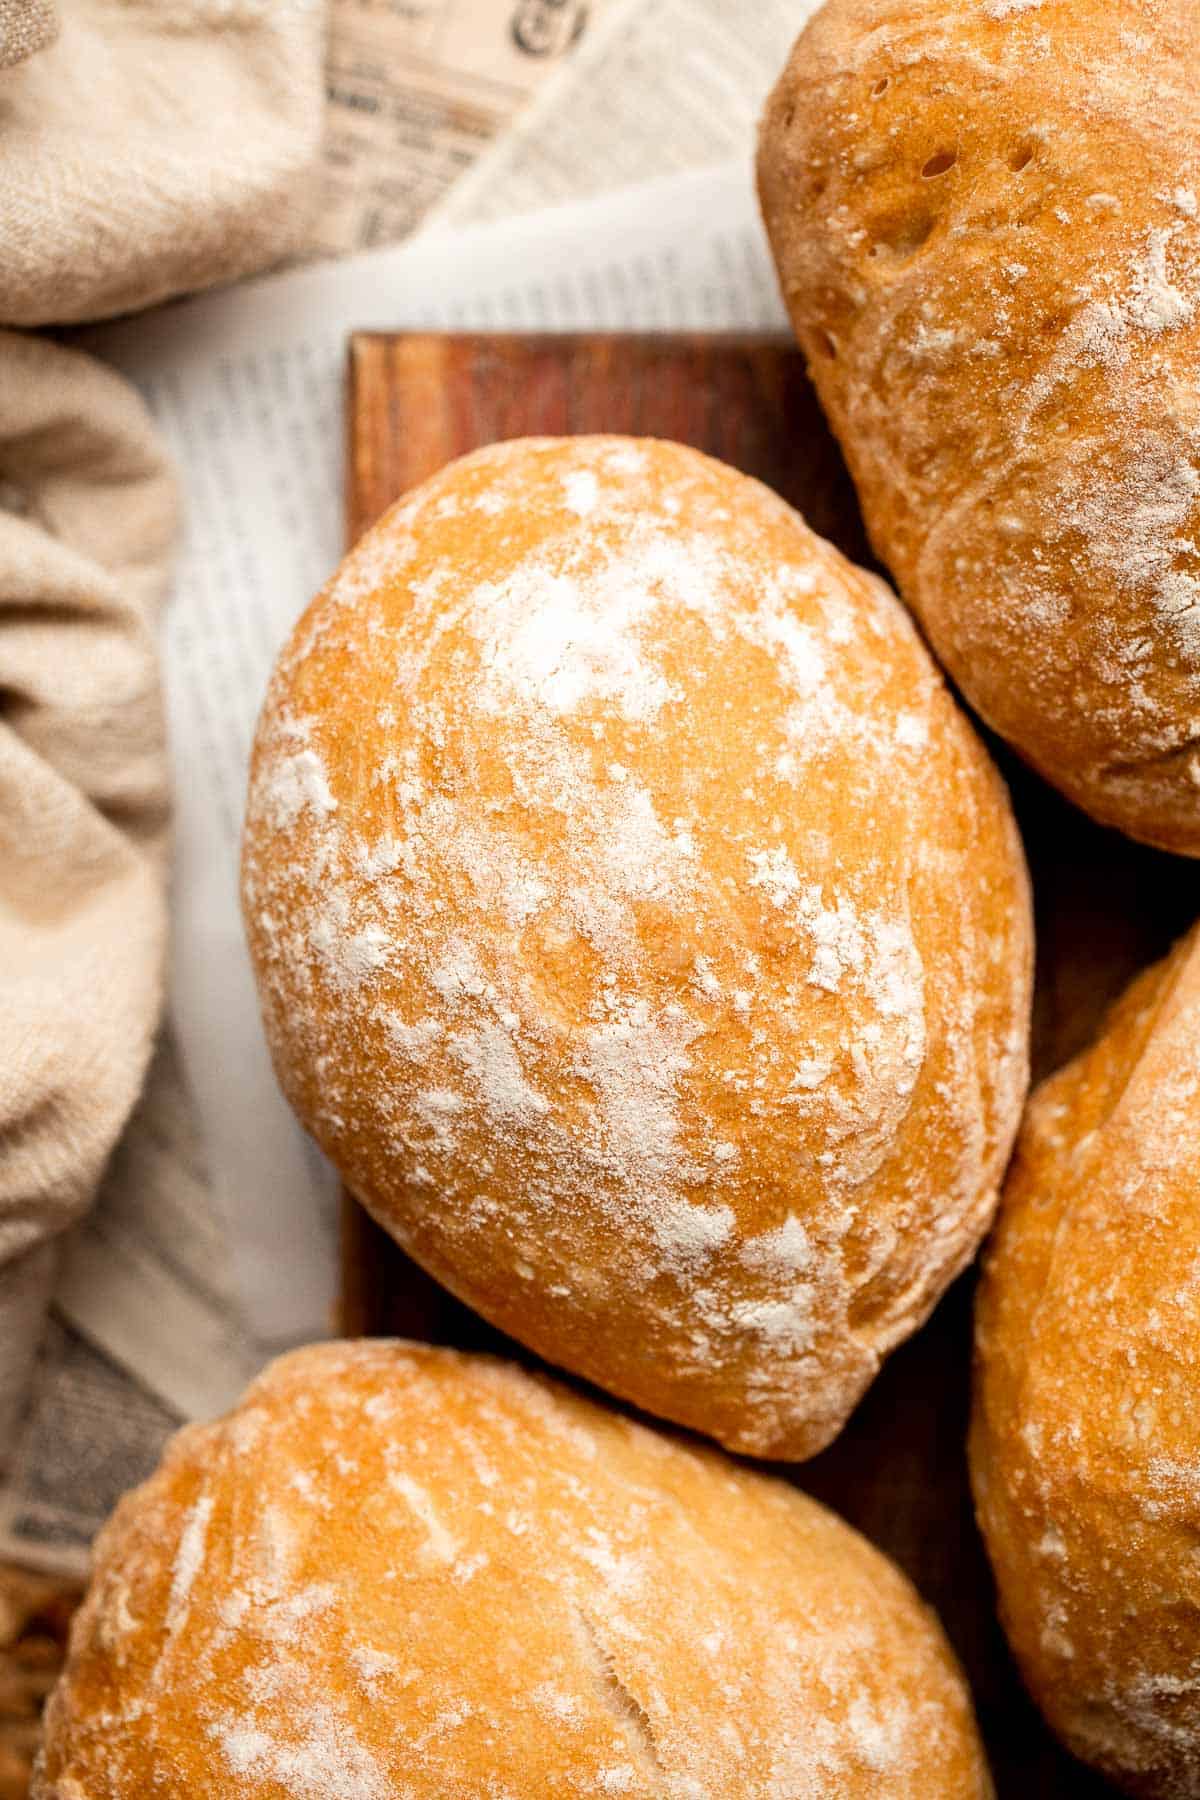
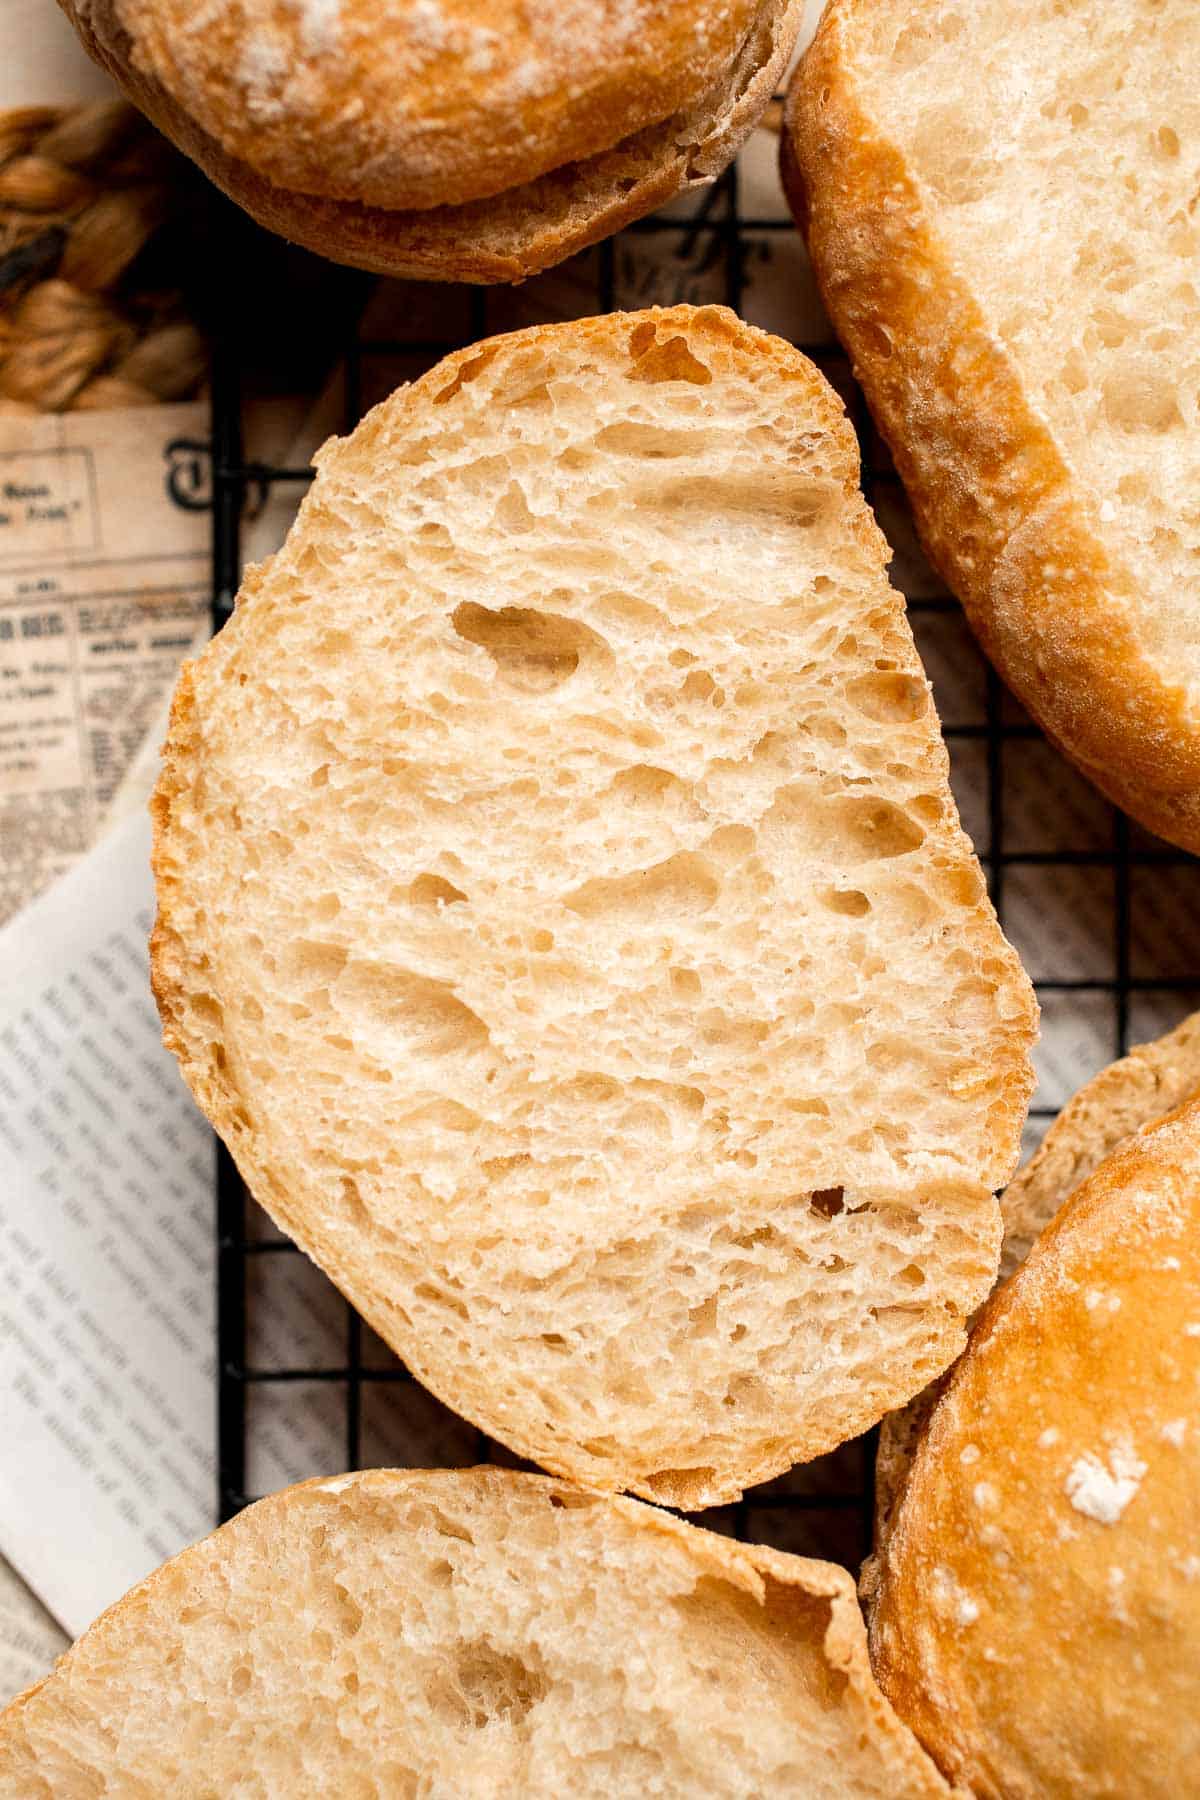
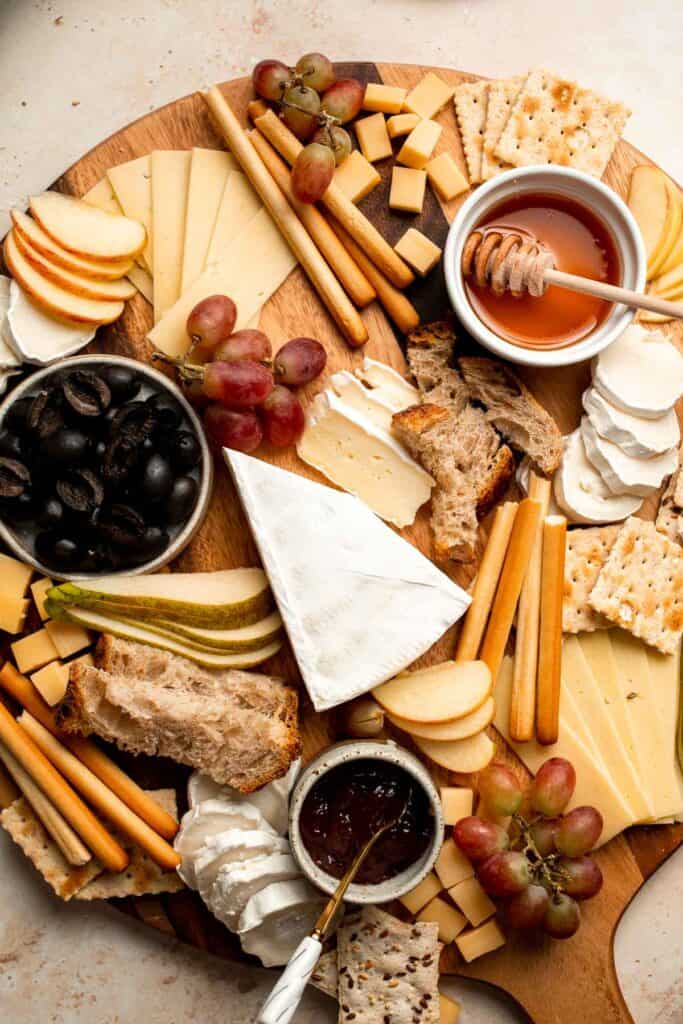
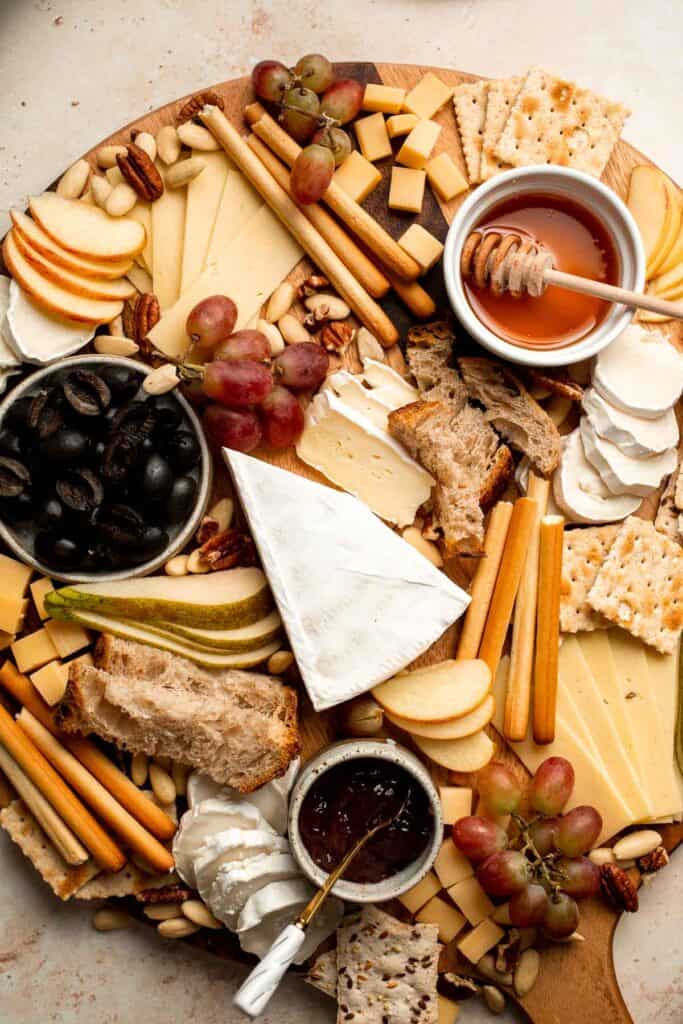
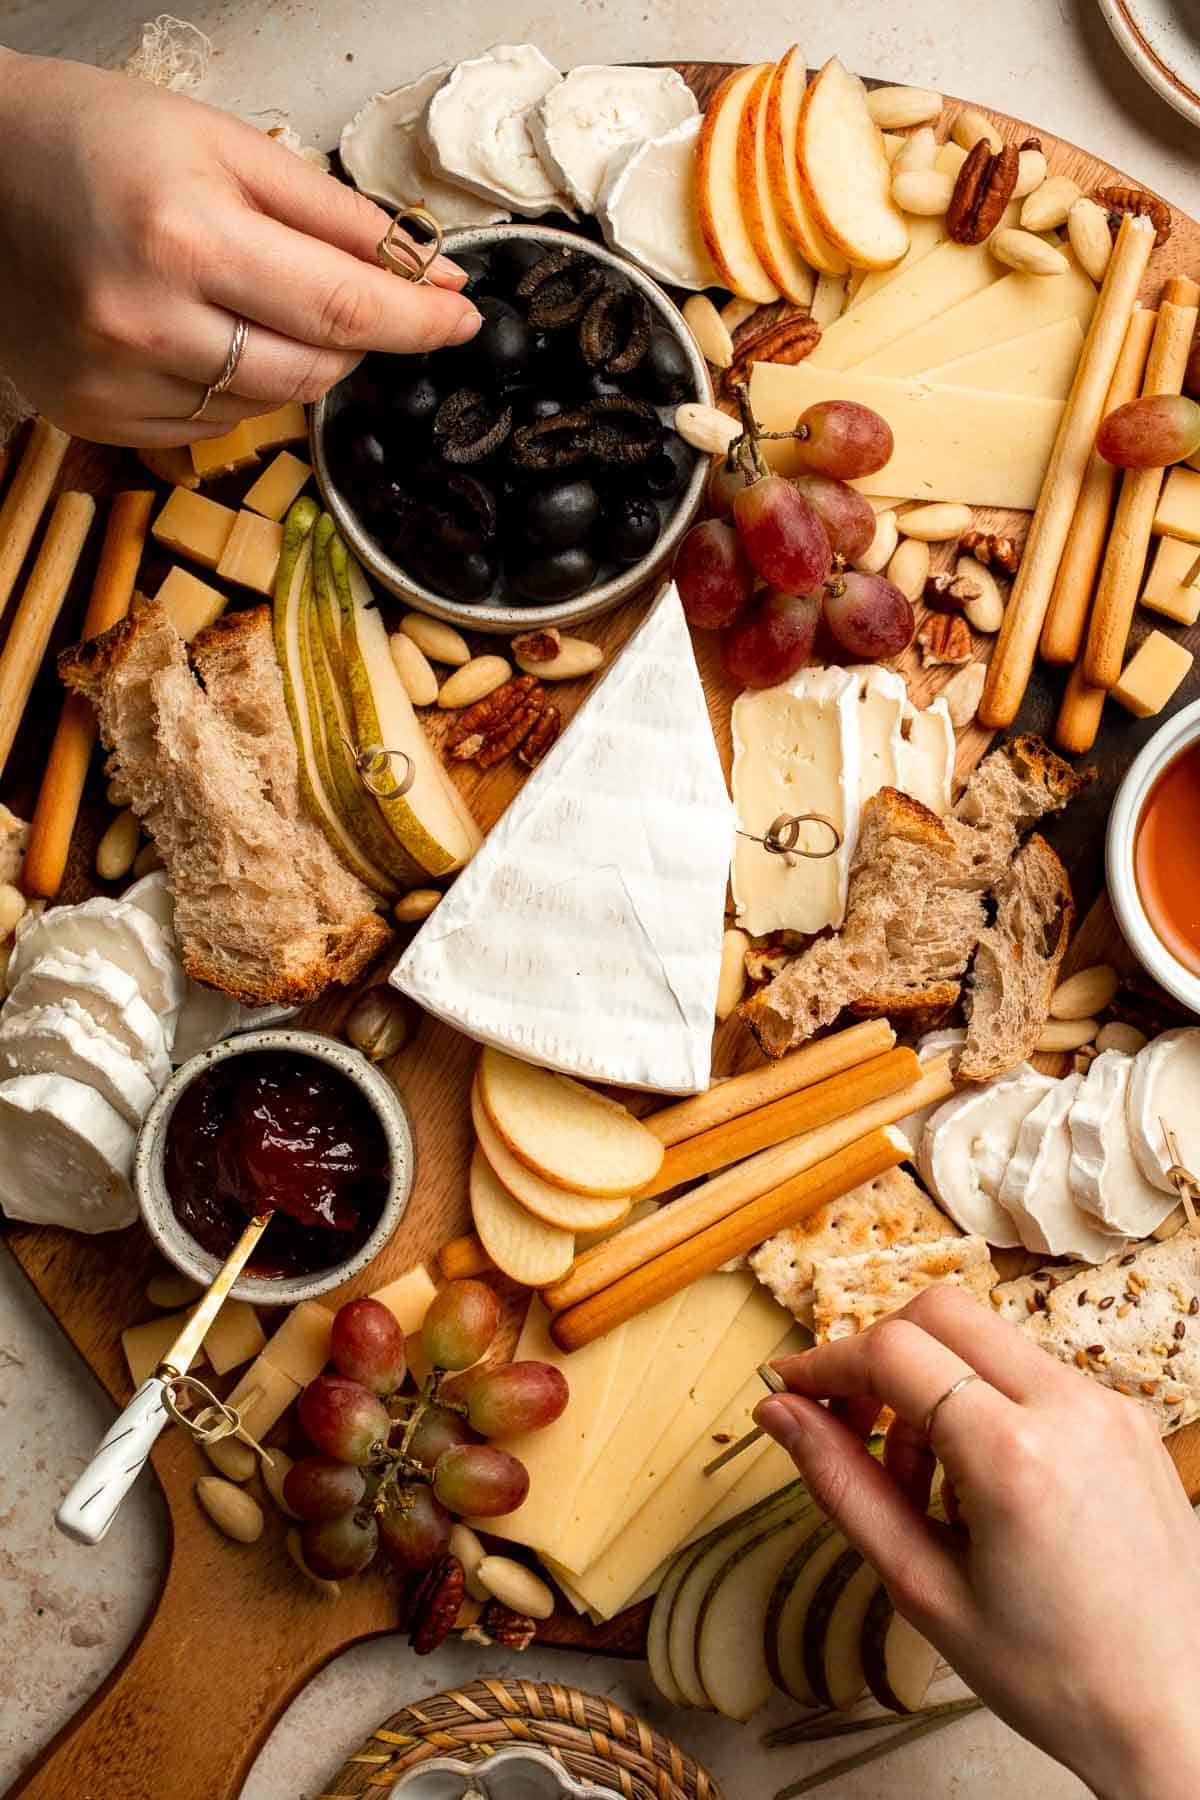
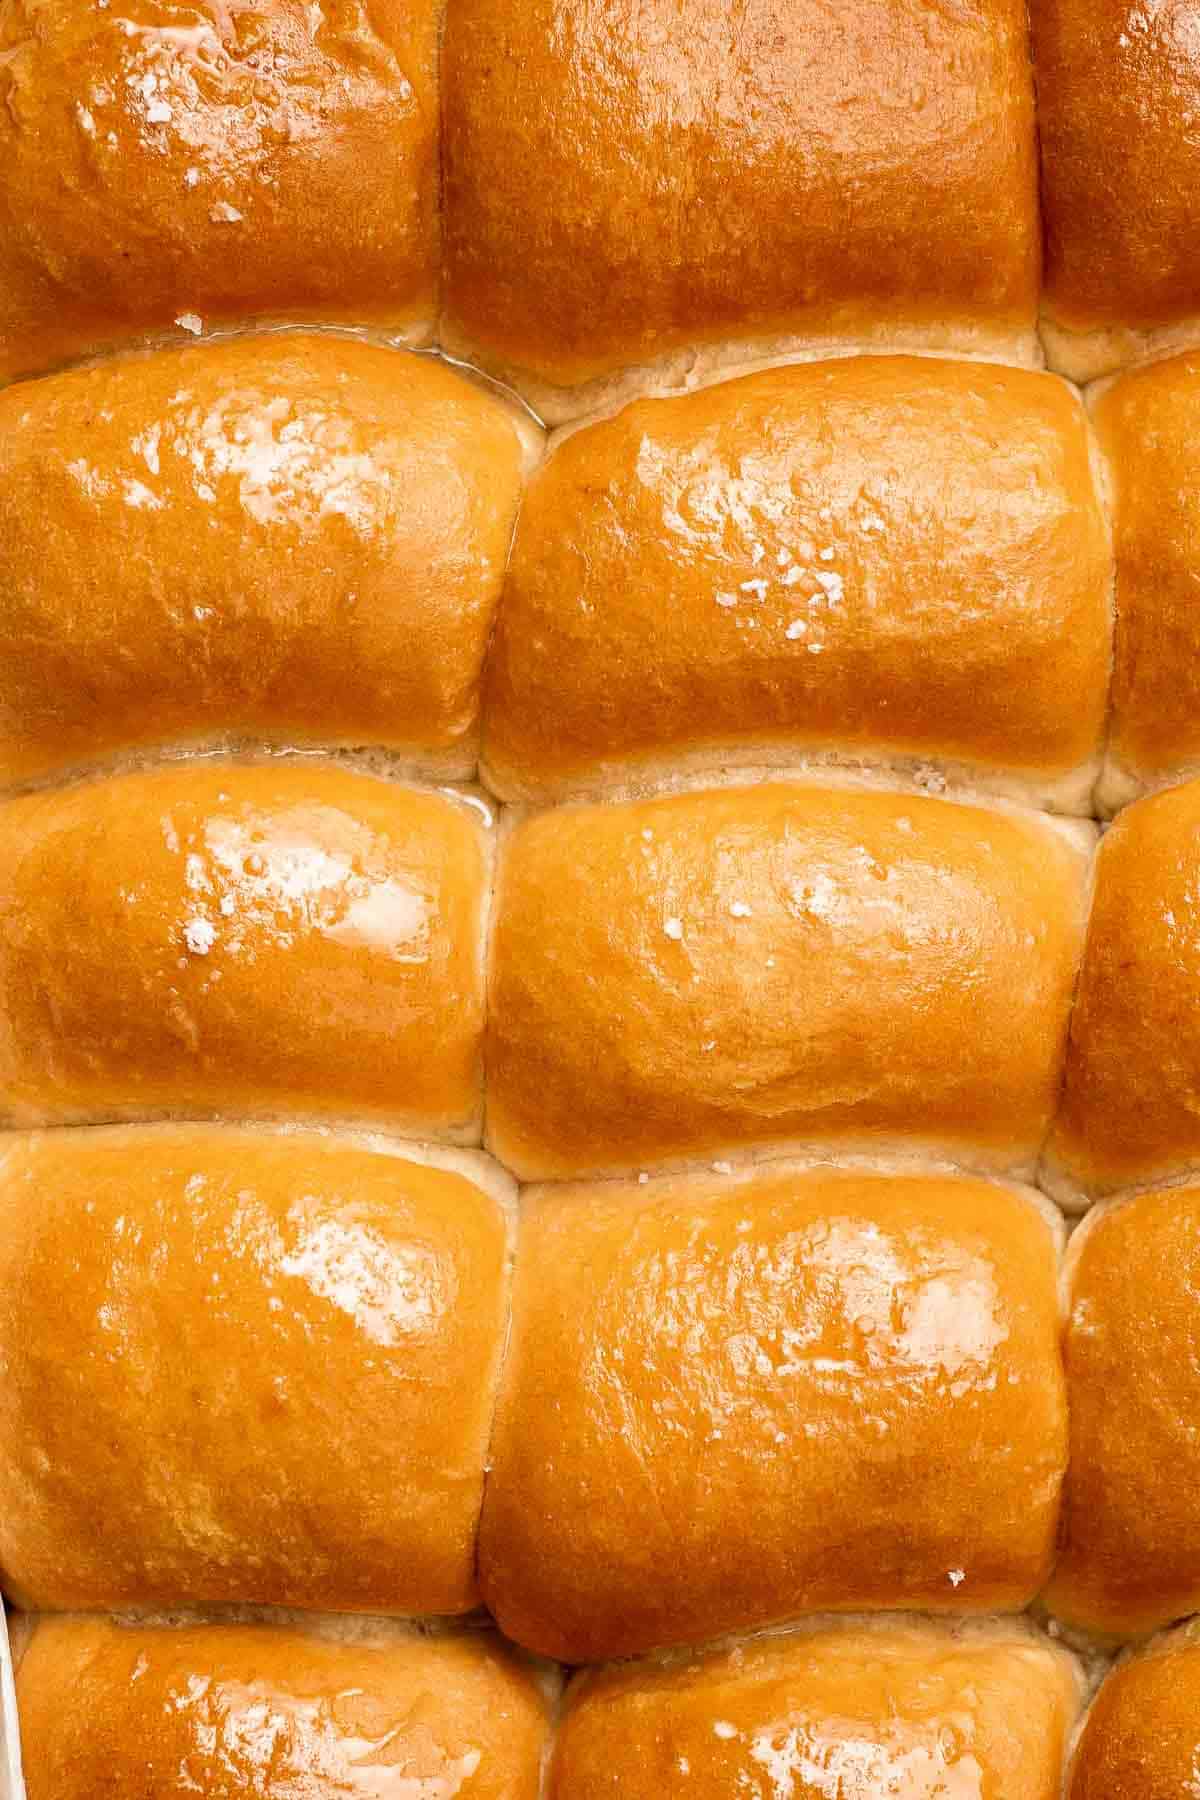
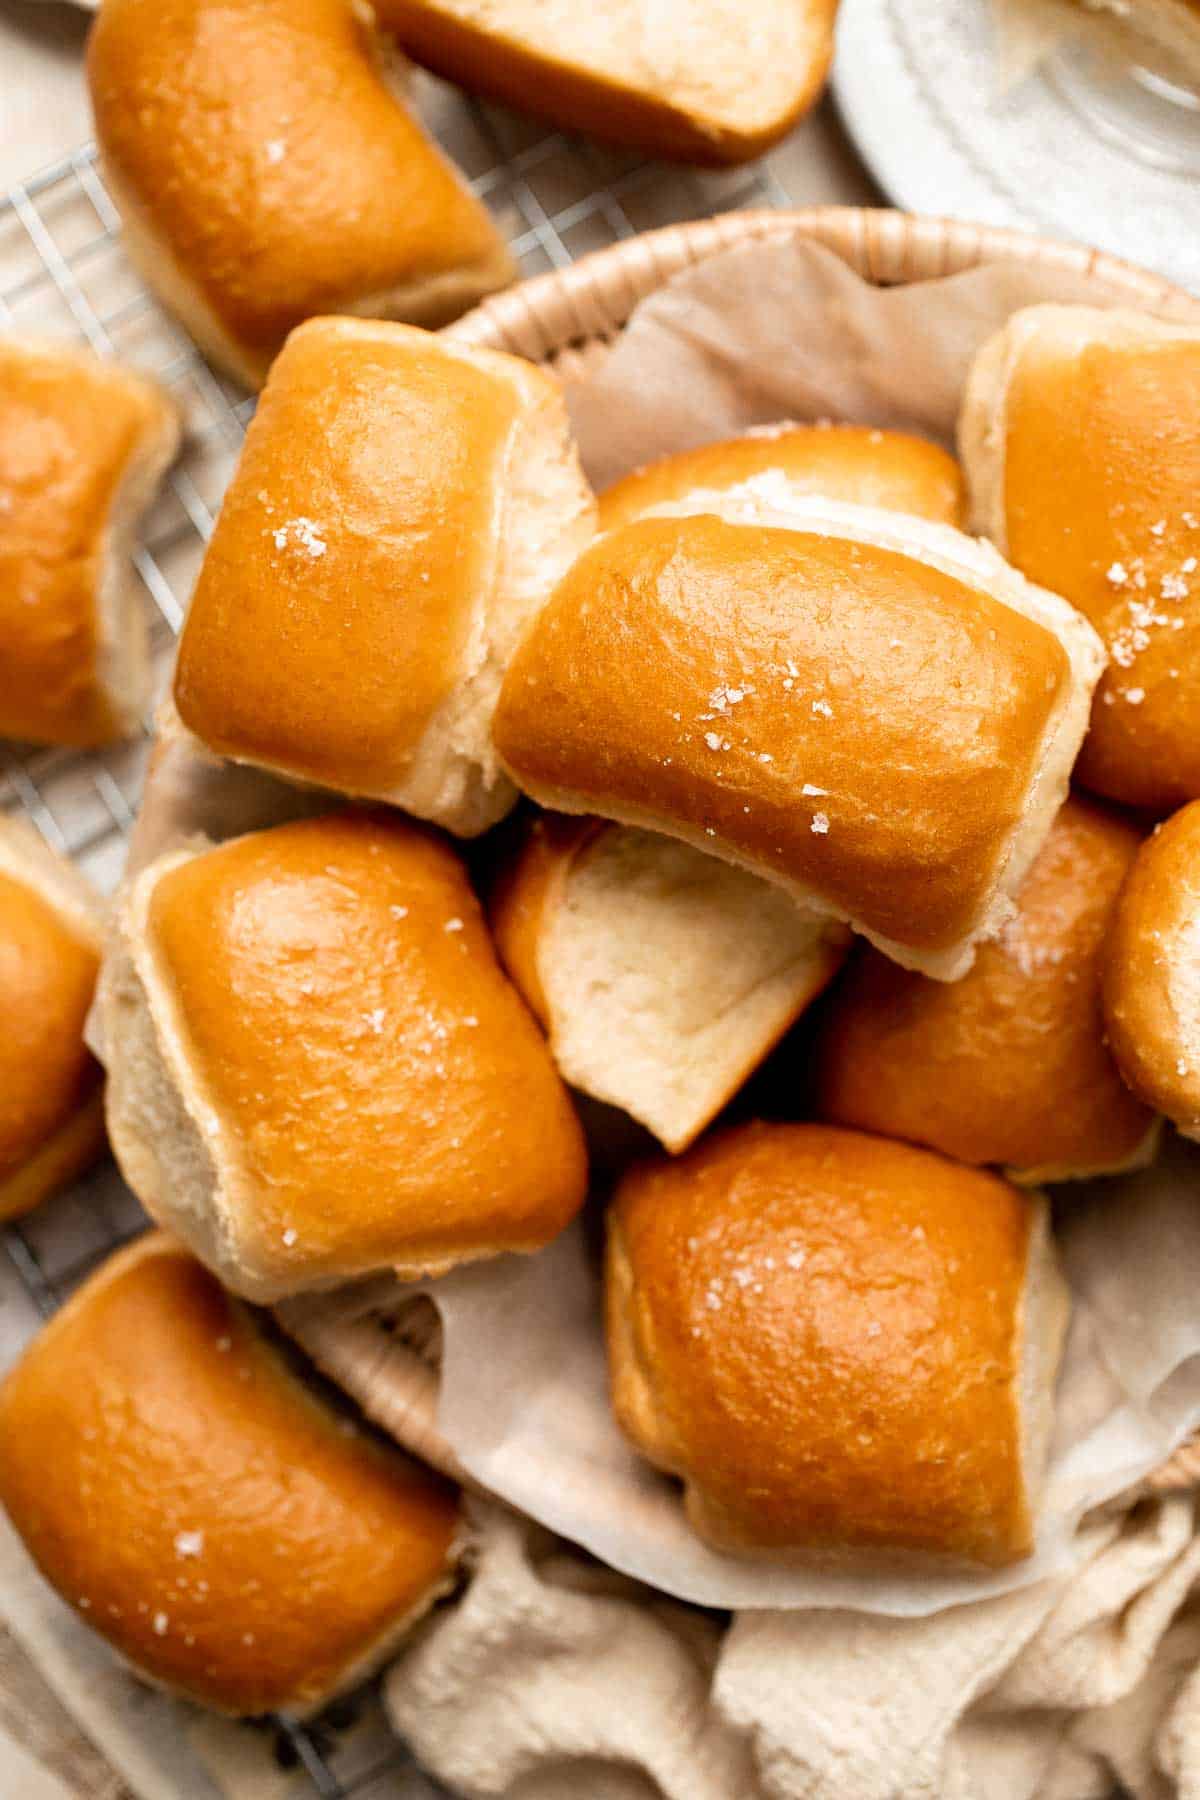
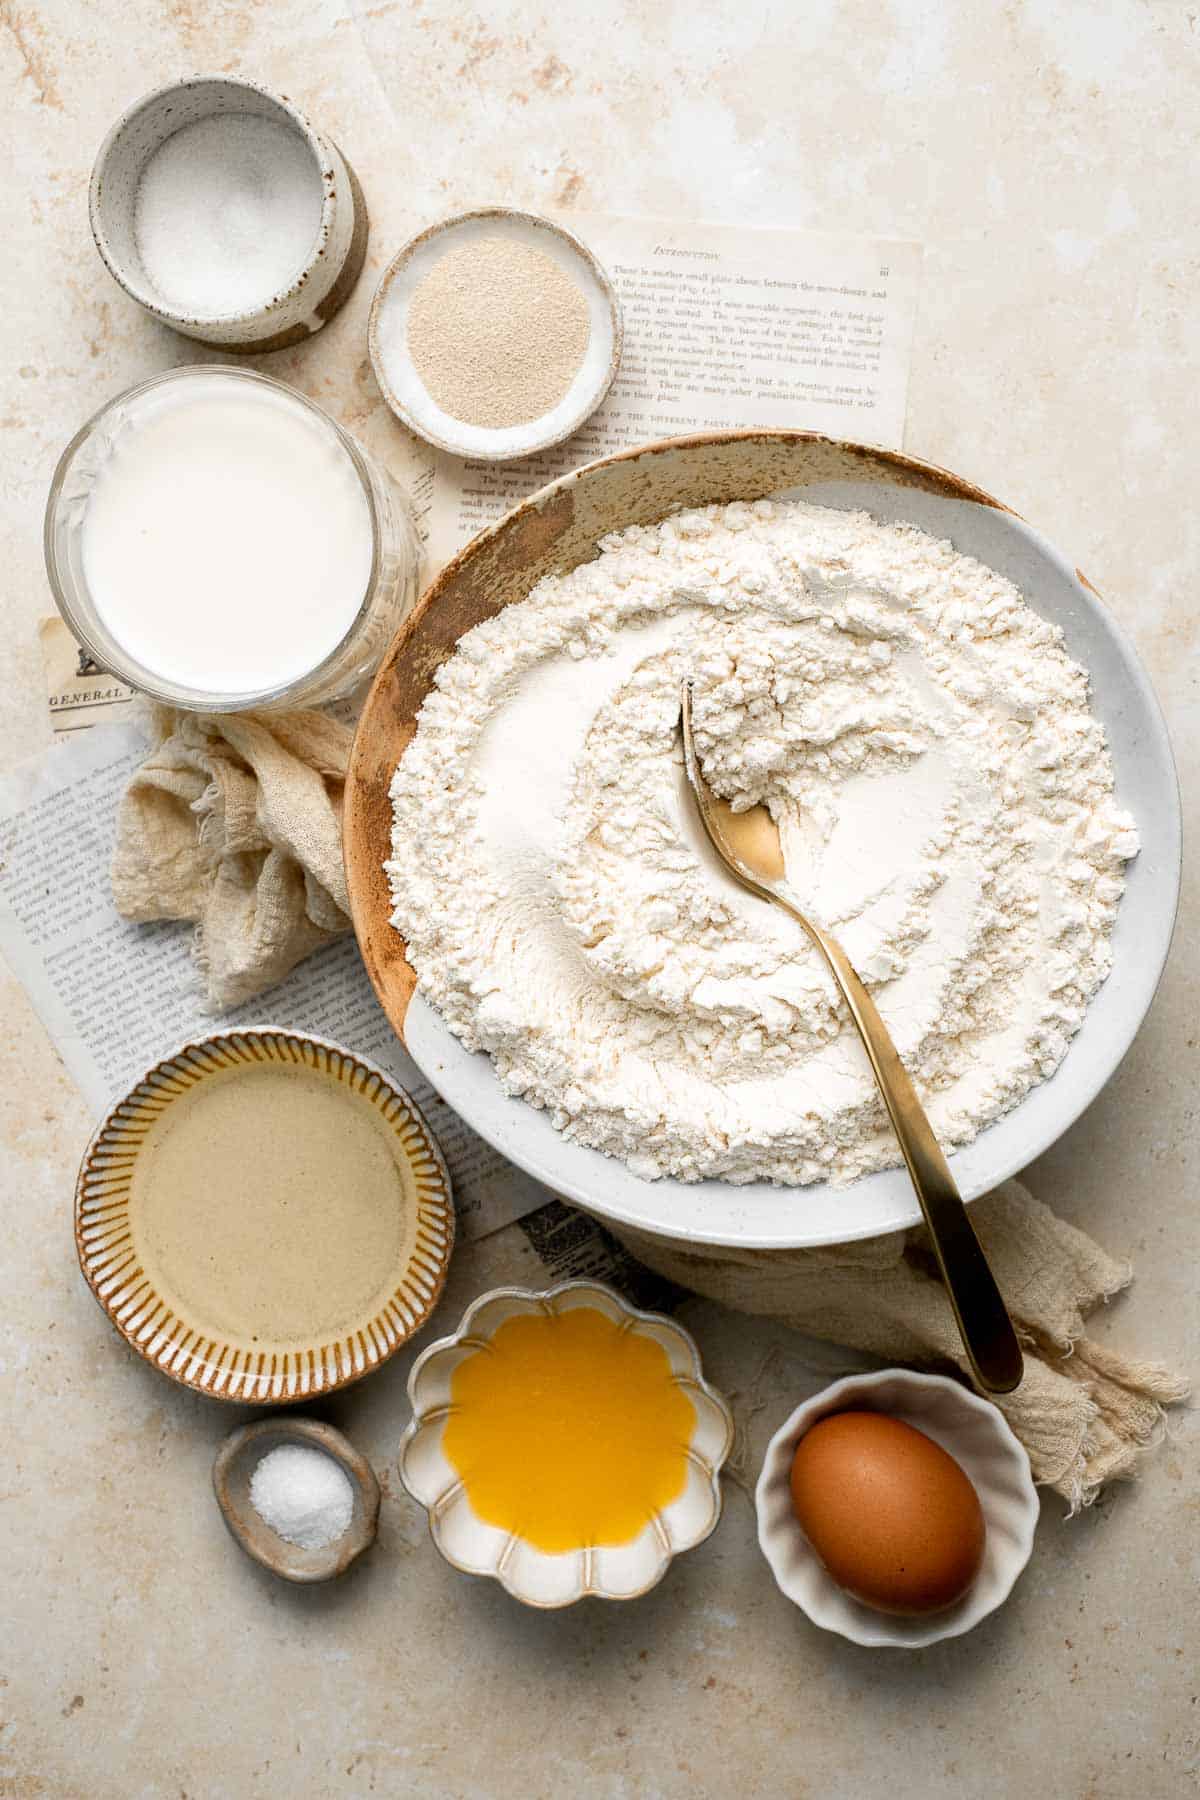
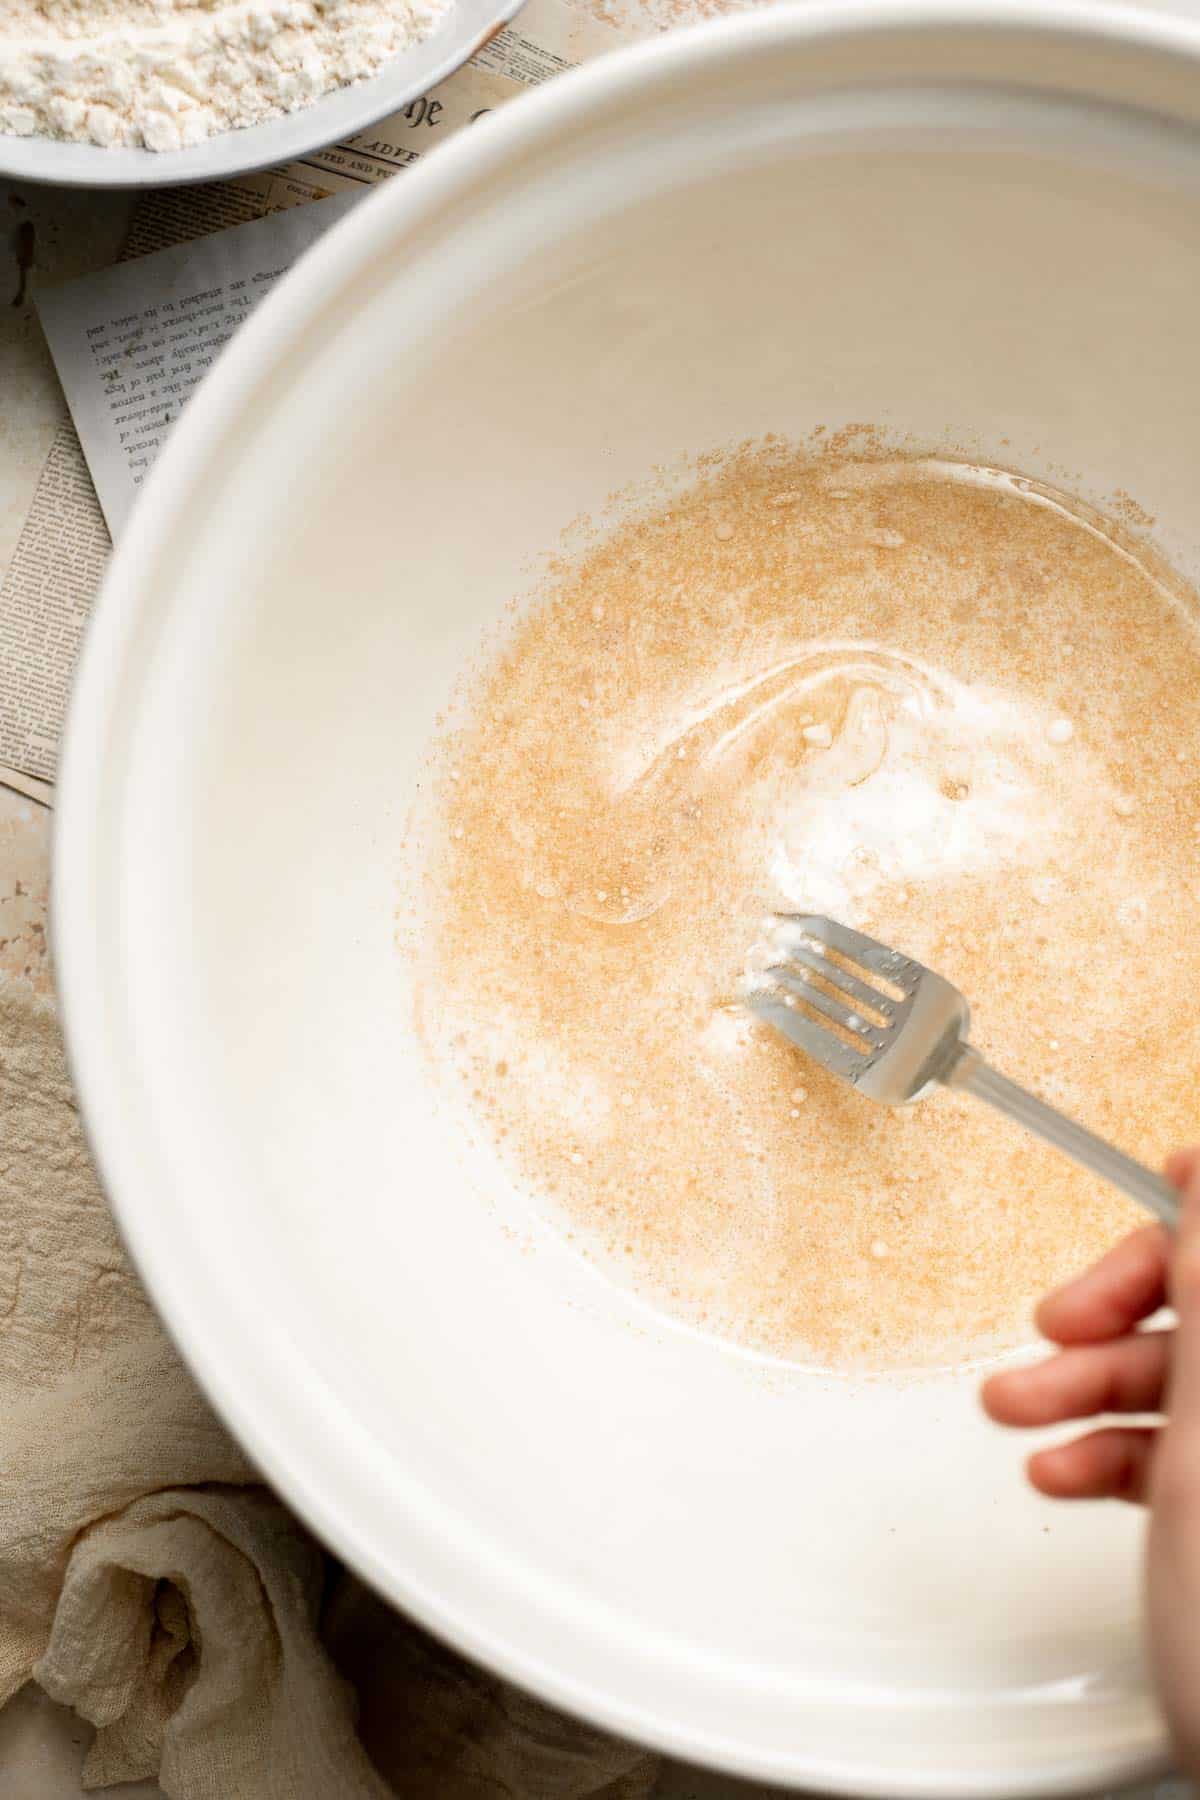
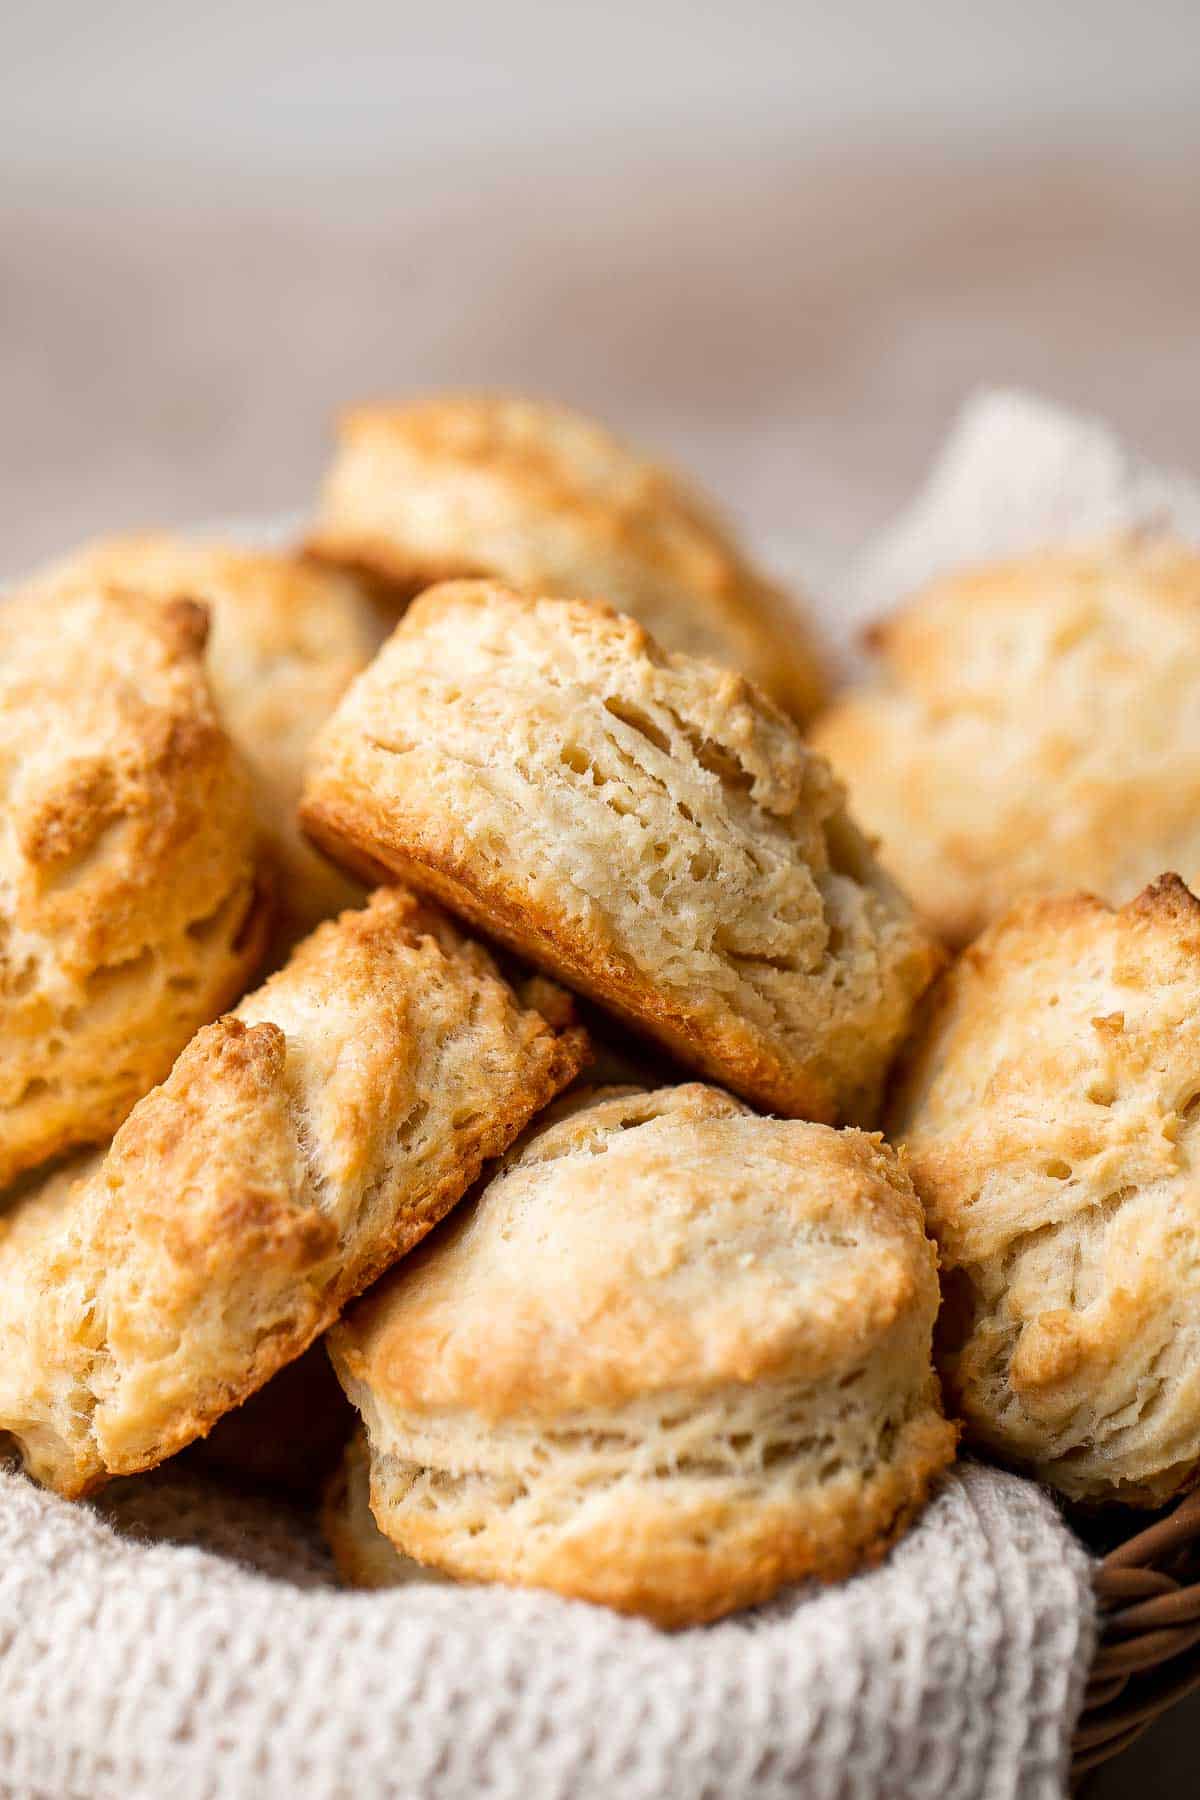
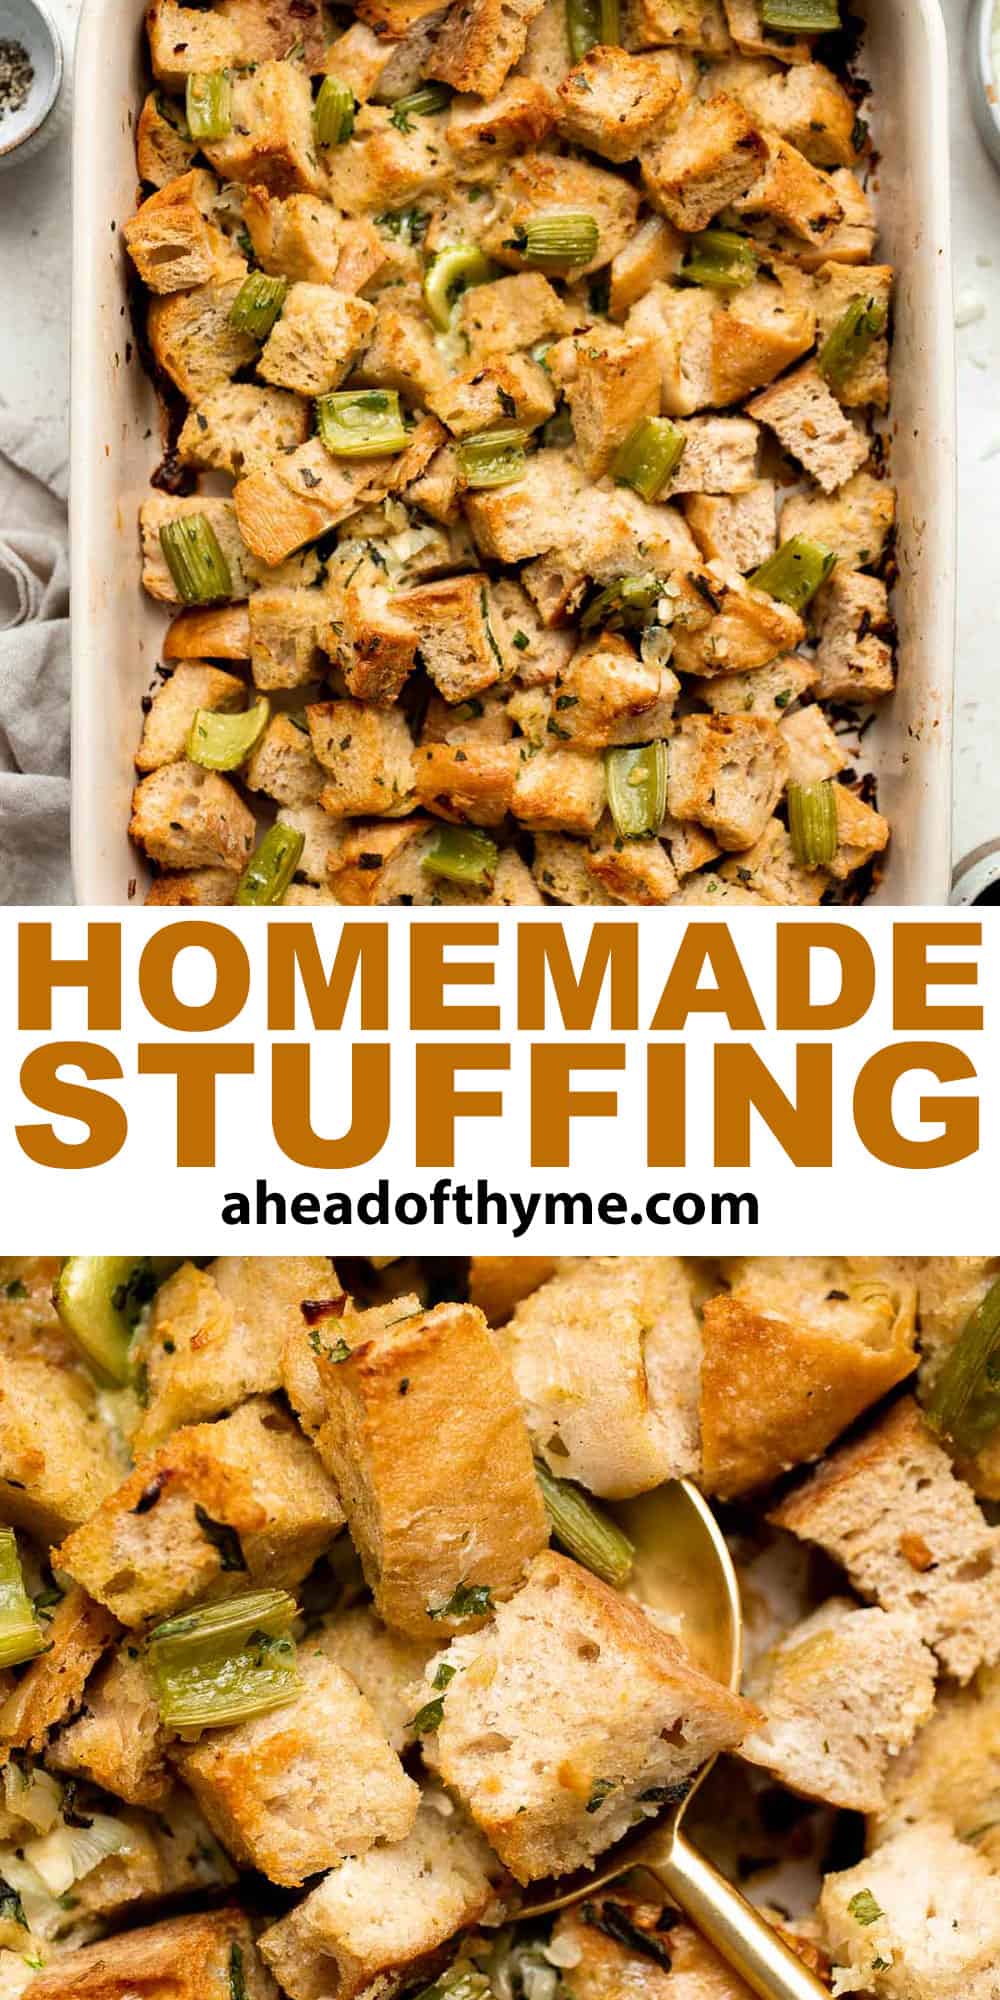
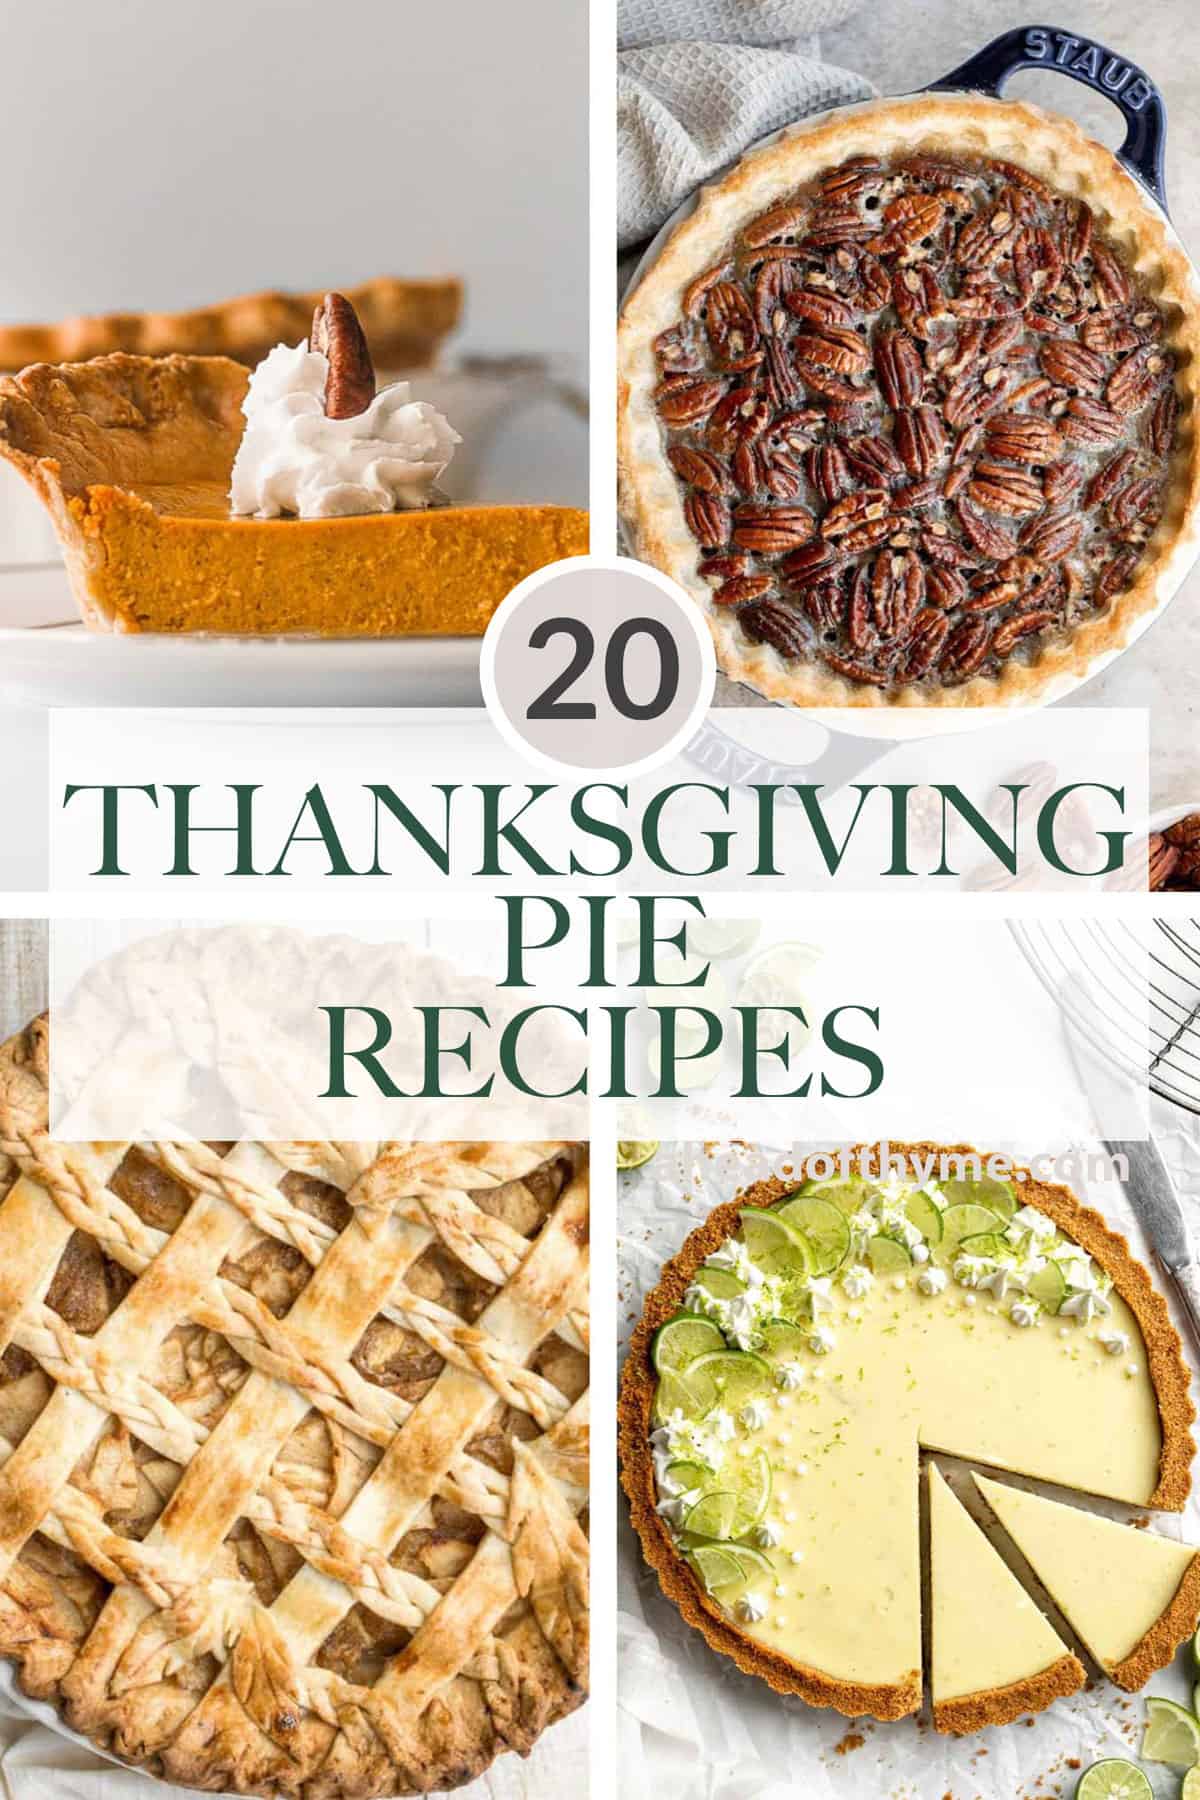
Looking for a delicious homemade pie recipe to make for Thanksgiving this year? You are in the right place. Whether you are looking for a classic and nostalgic pie like pumpkin pie or something more creative and fun, we have you covered. We are sharing over 20 Best Thanksgiving Pie Recipes including pumpkin pie, pecan pie, cream pies, and more.
Making a Thanksgiving pie to serve after an epic holiday dinner is the perfect finale to your Thanksgiving celebration. So preheat that oven, stock up on seasonal ingredients, and get ready to whip up a mouthwatering pie for your Thanksgiving table this year.
Best Thanksgiving Pies
Classic Thanksgiving Pumpkin Pie
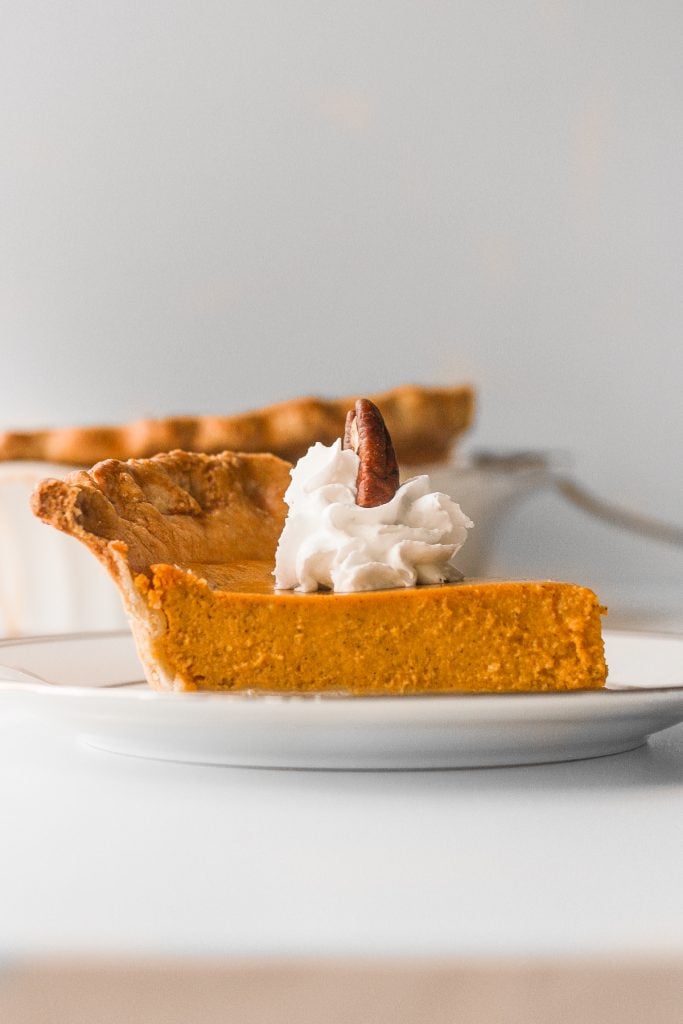
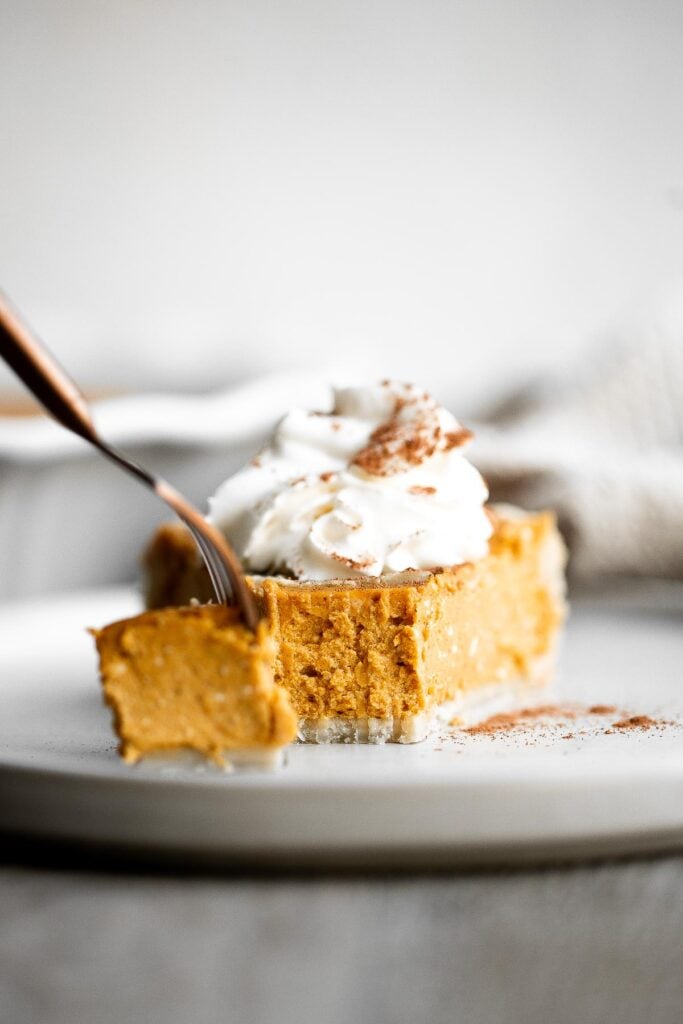
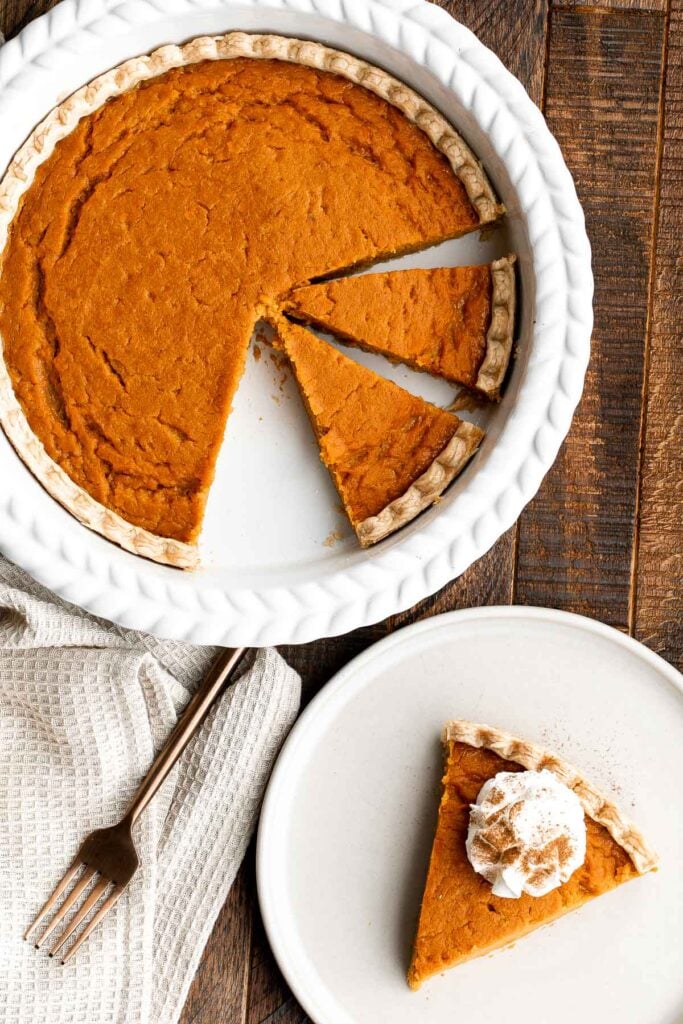
Thanksgiving just isn't the same without a slice of classic Thanksgiving pumpkin pie. There is nothing better than a bite into that flaky crust and smooth pumpkin filling, full of those classic pumpkin spice flavours.
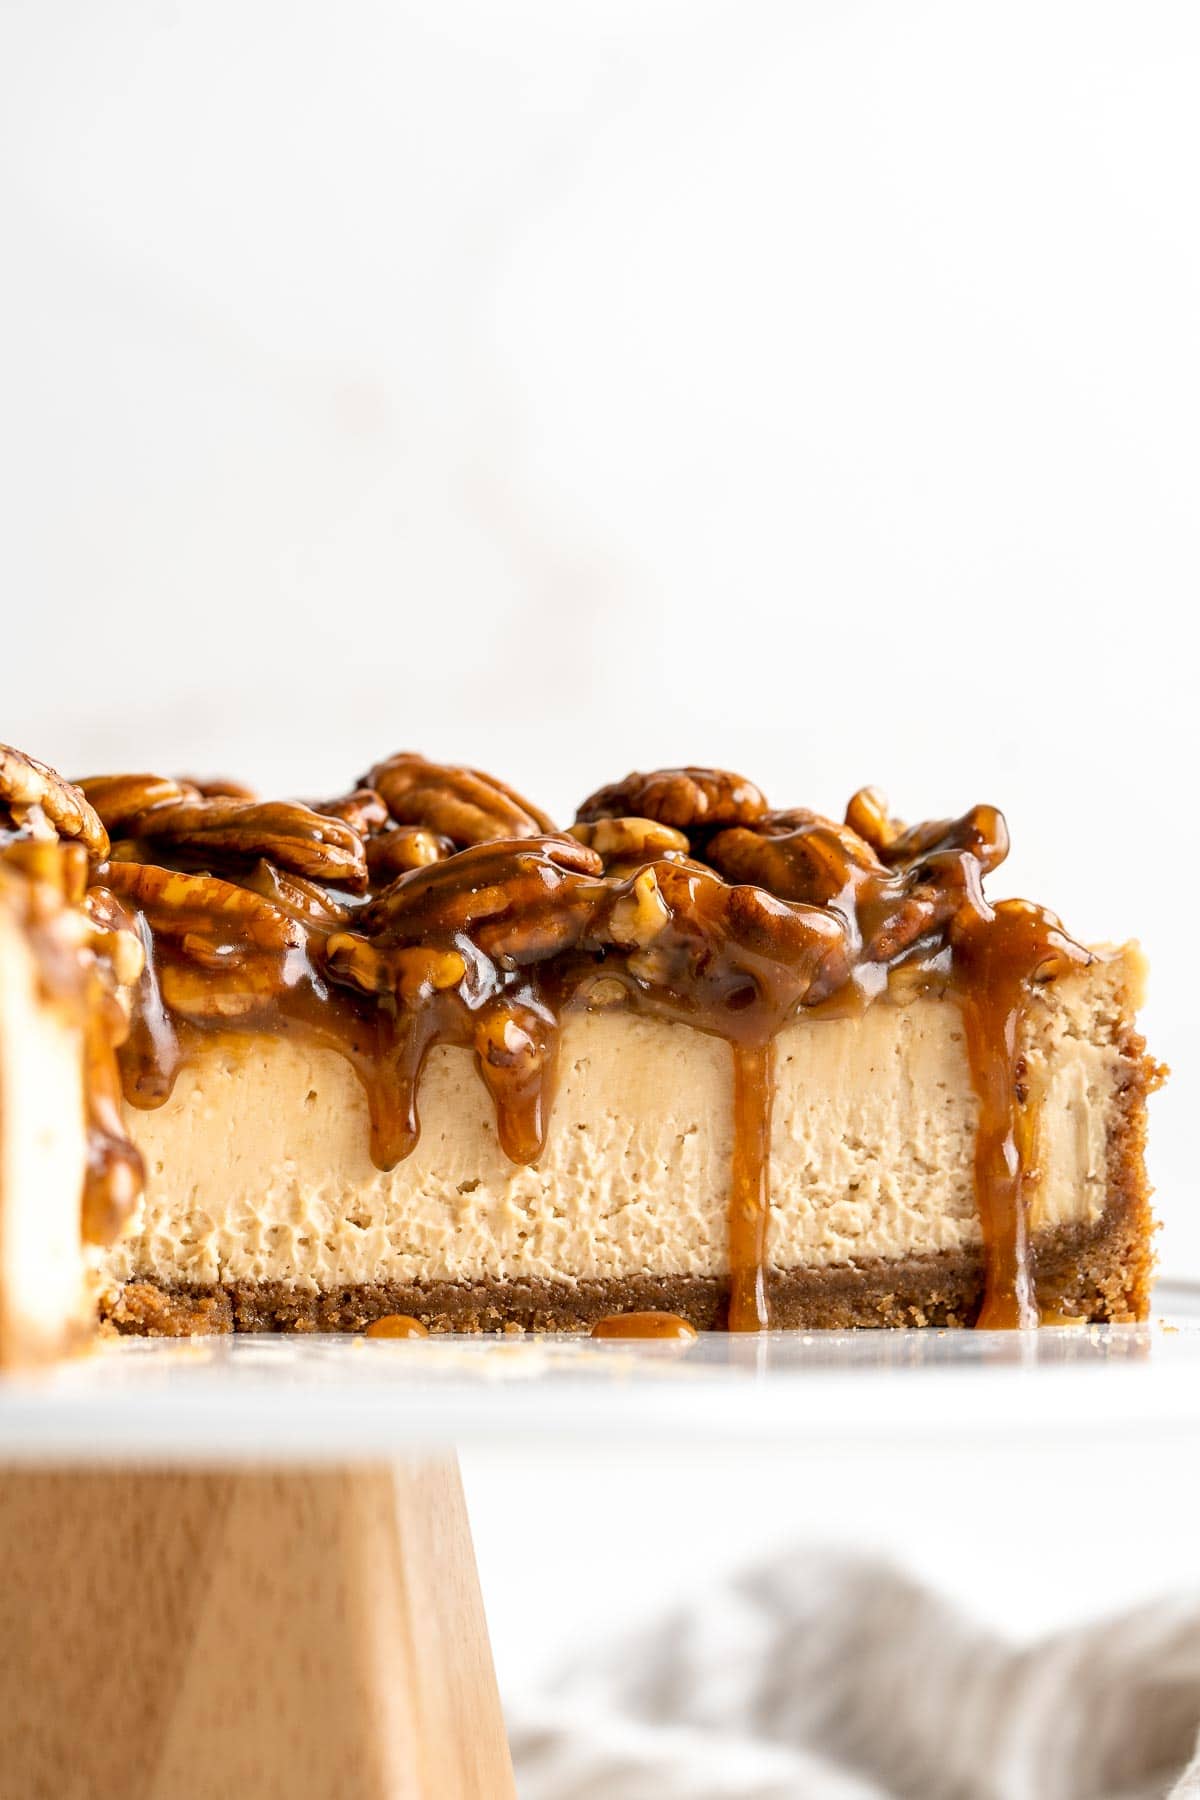
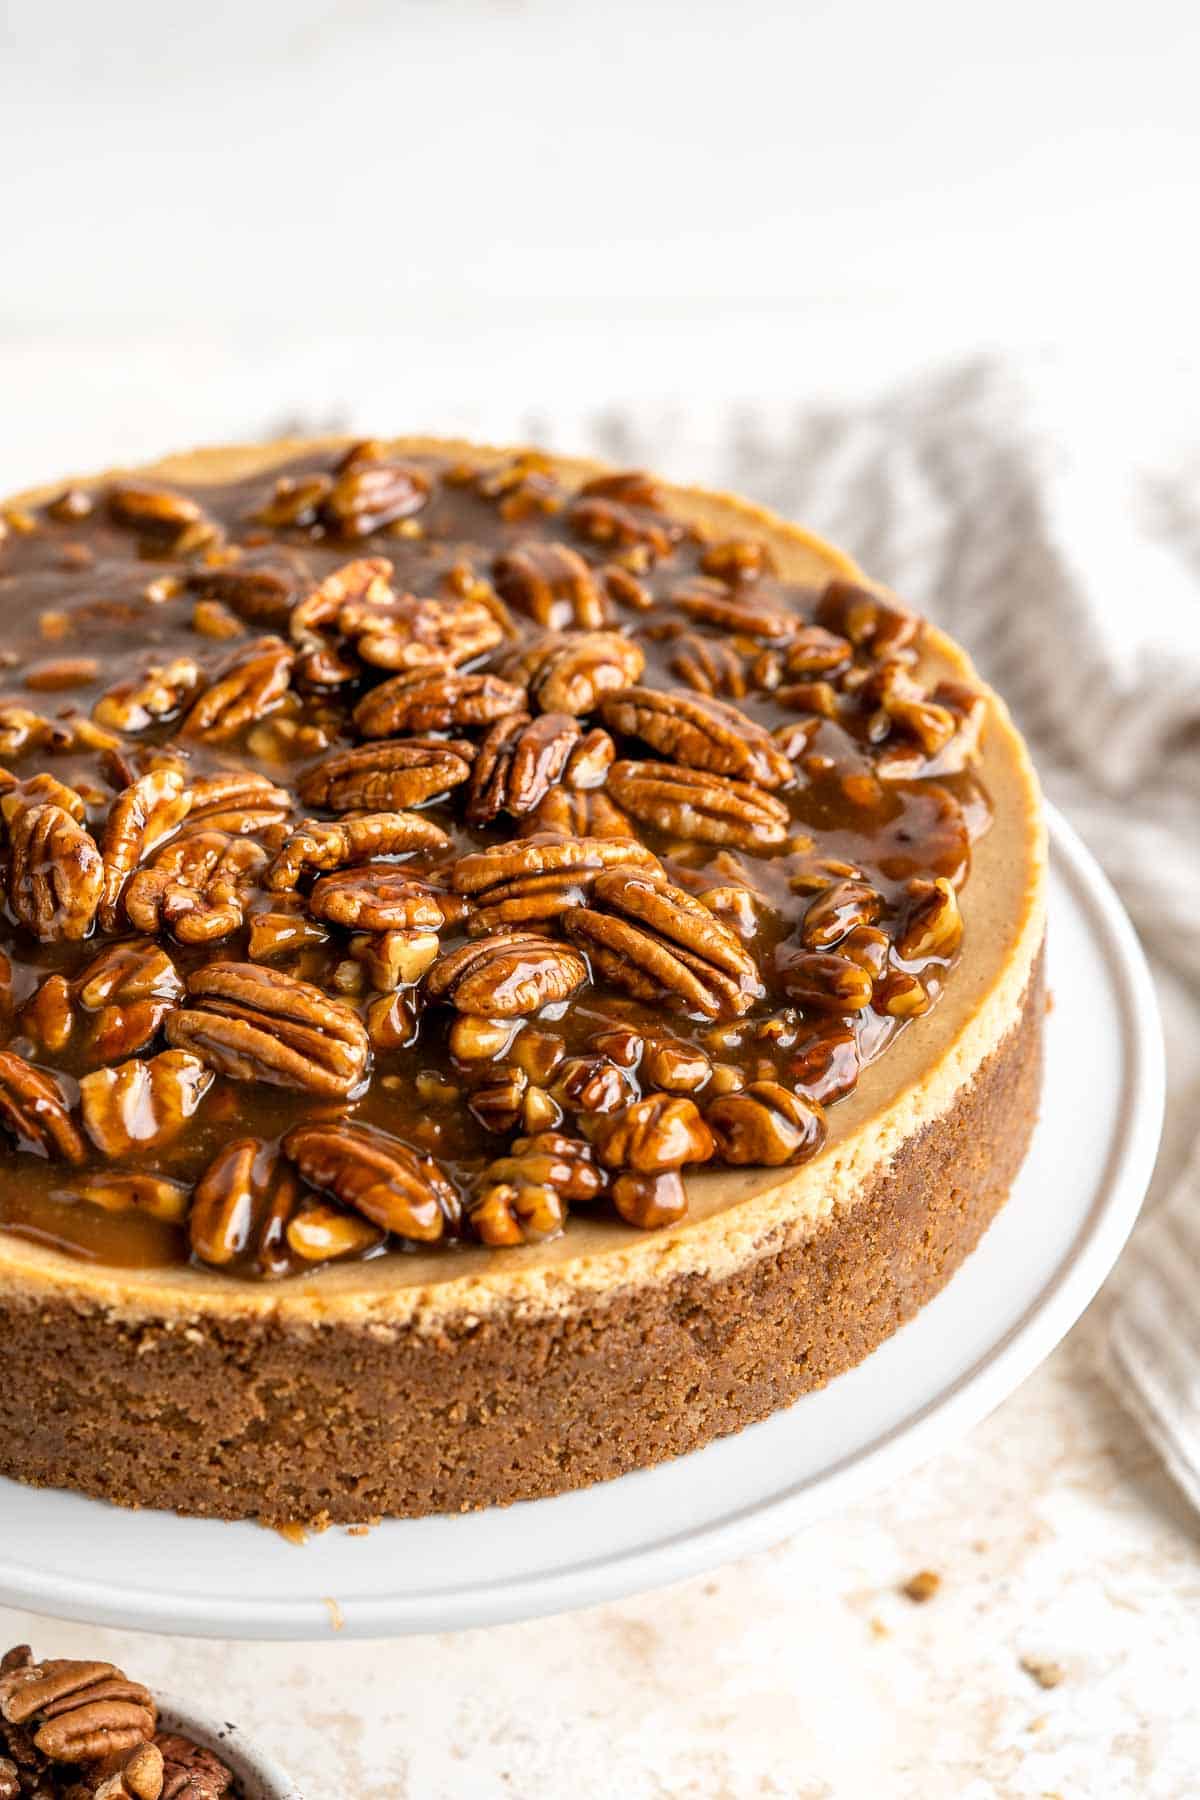
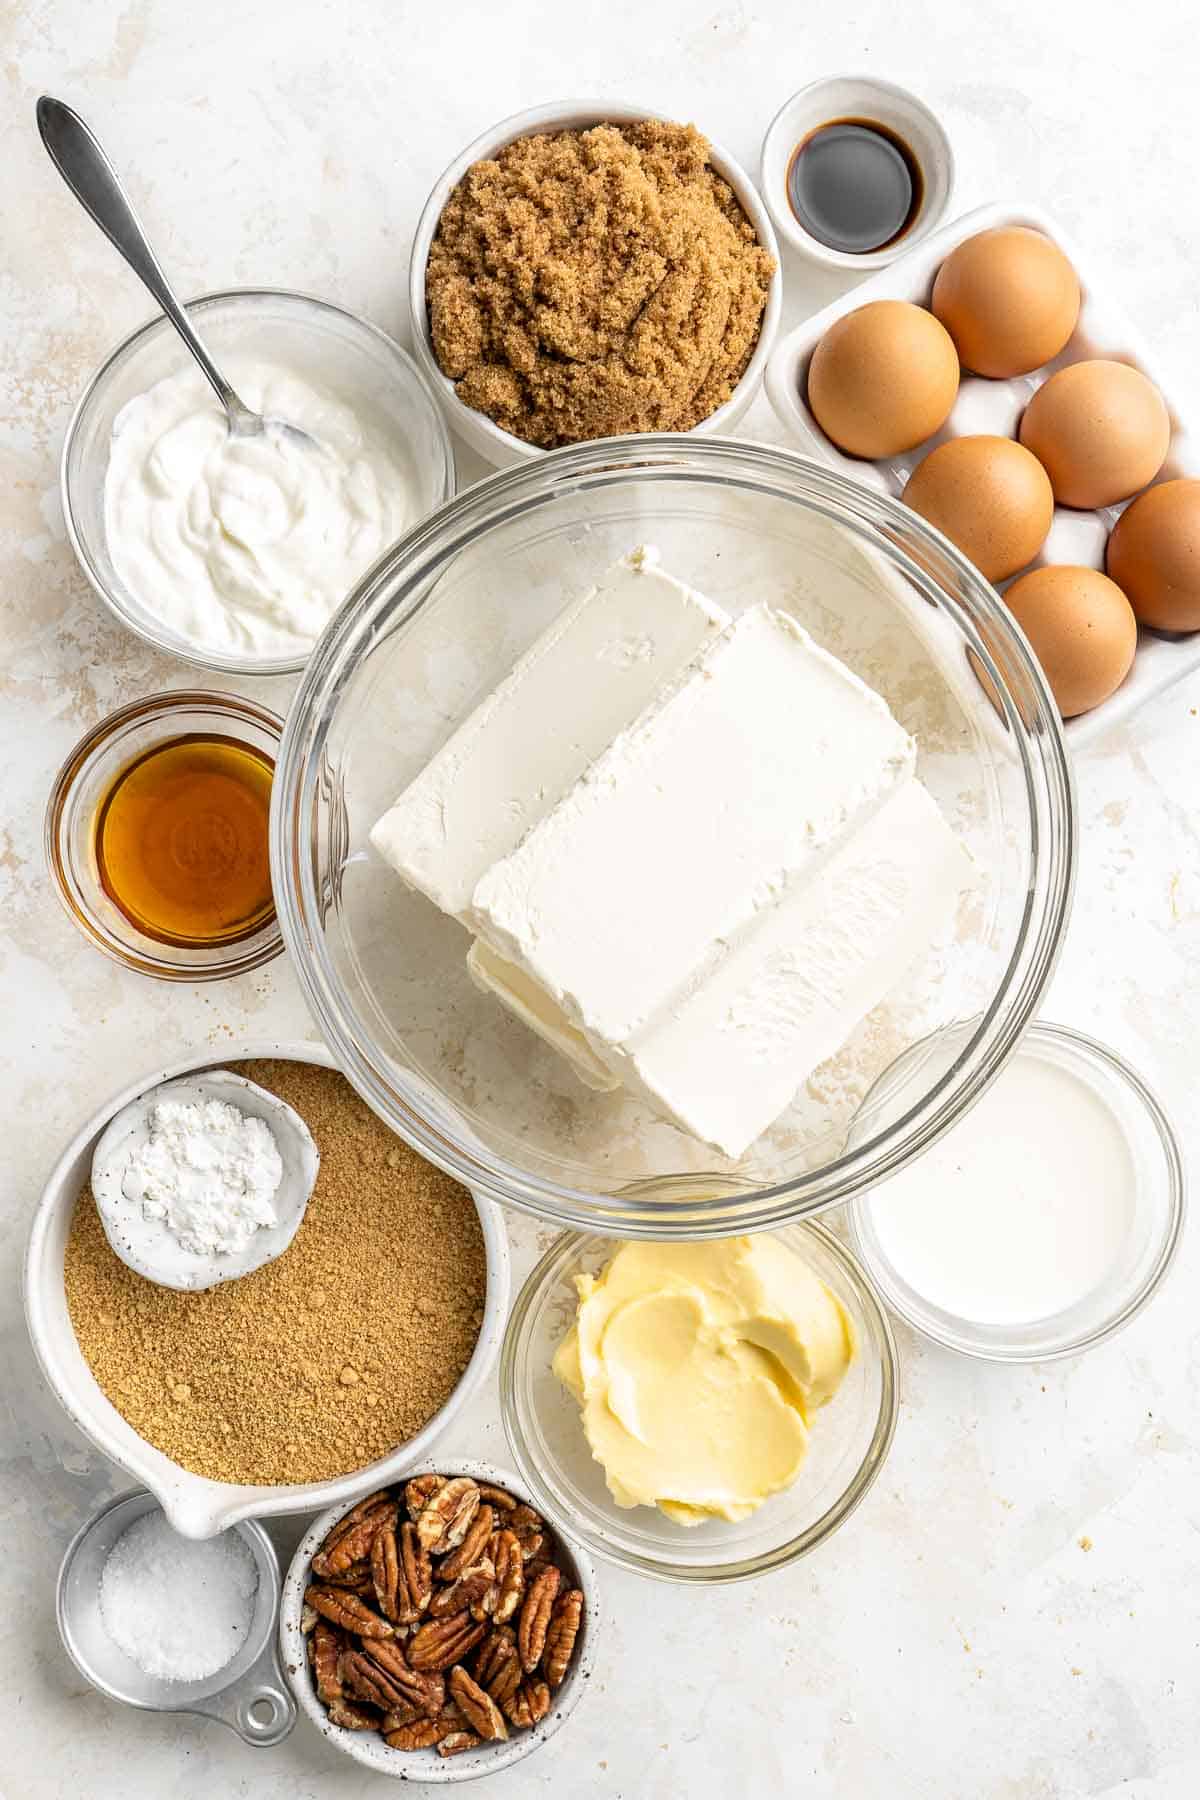
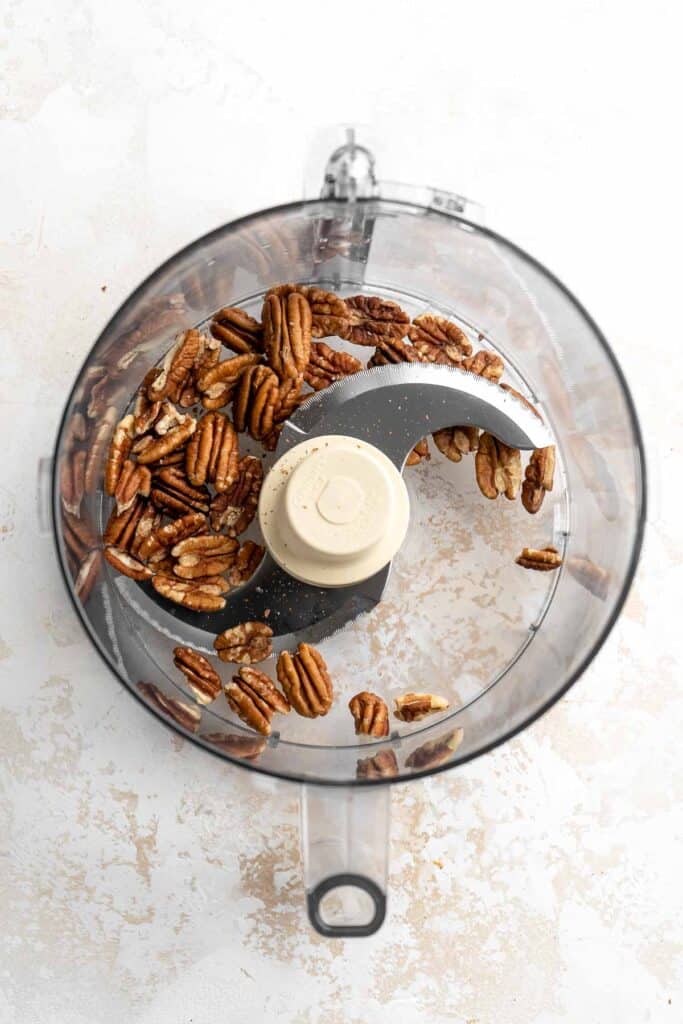
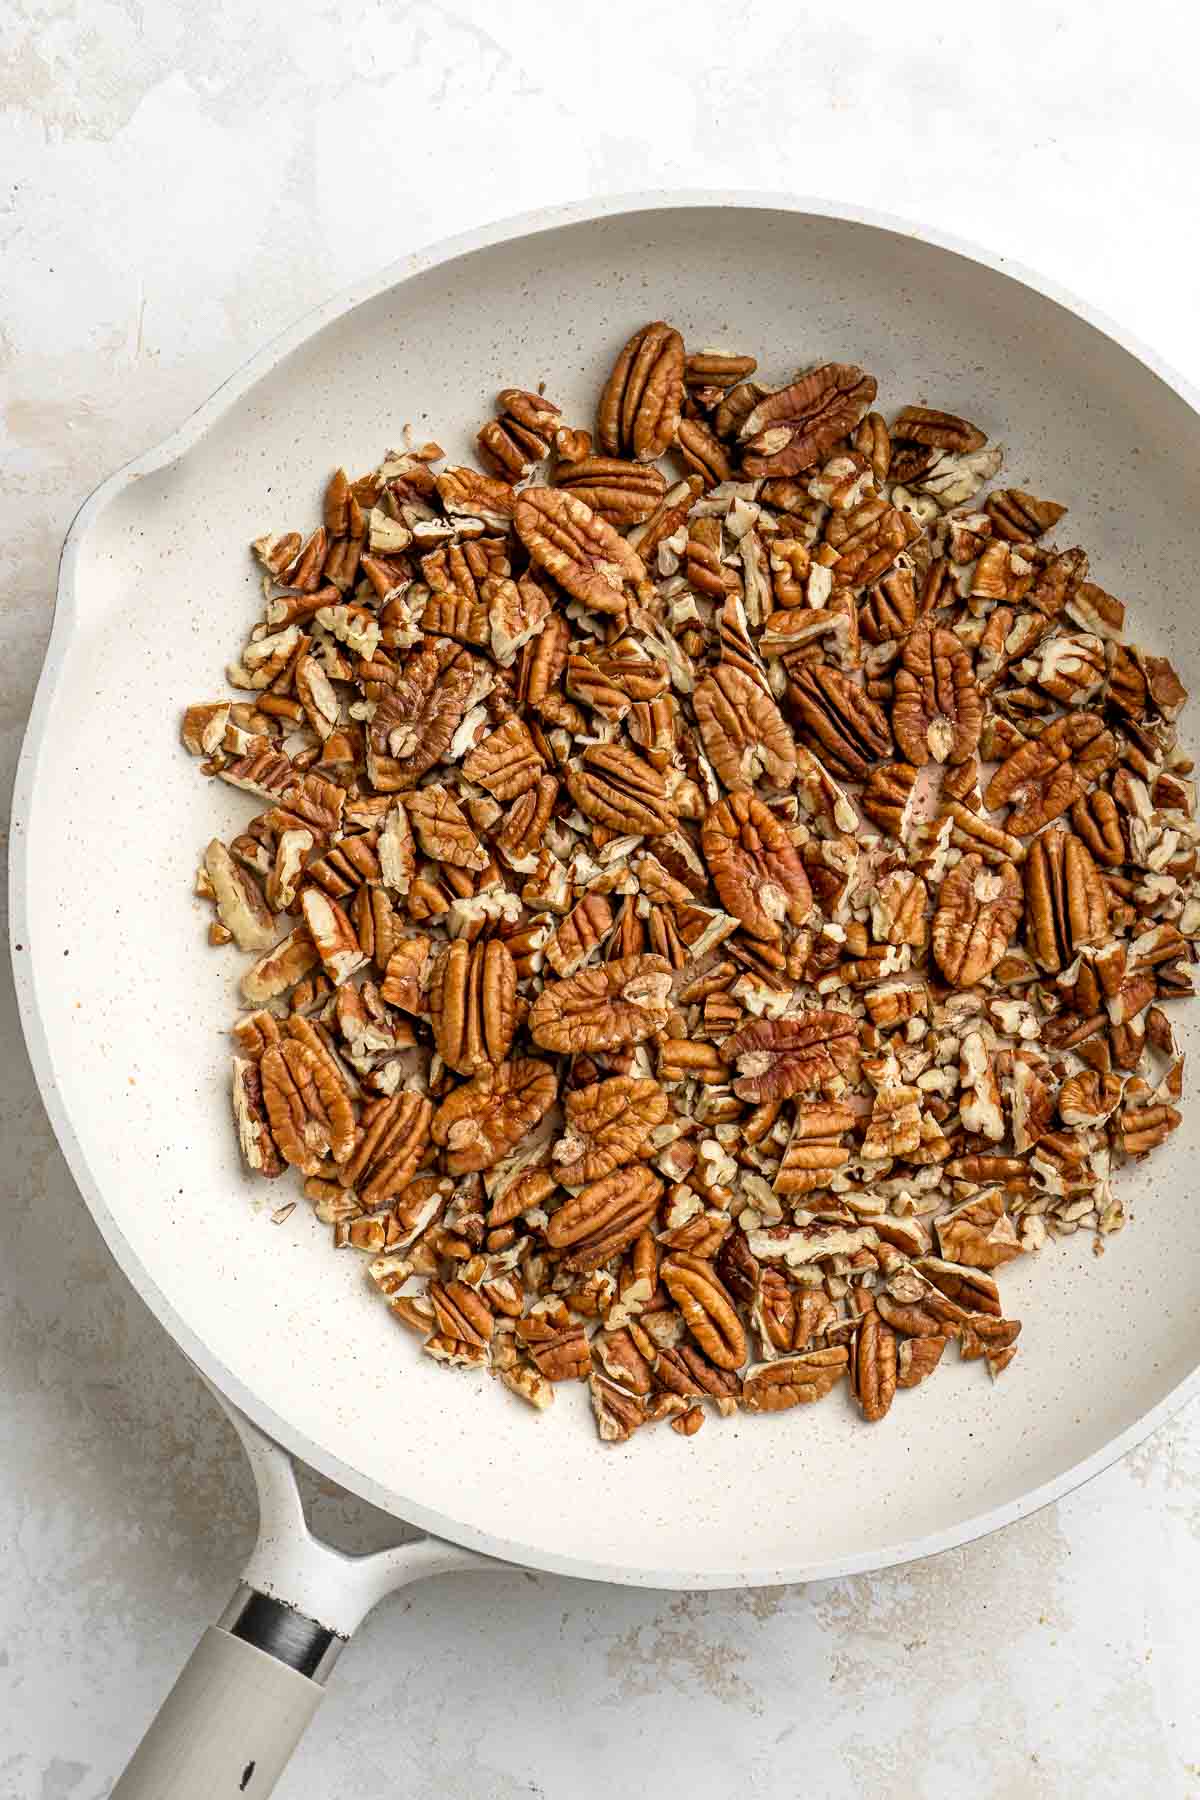
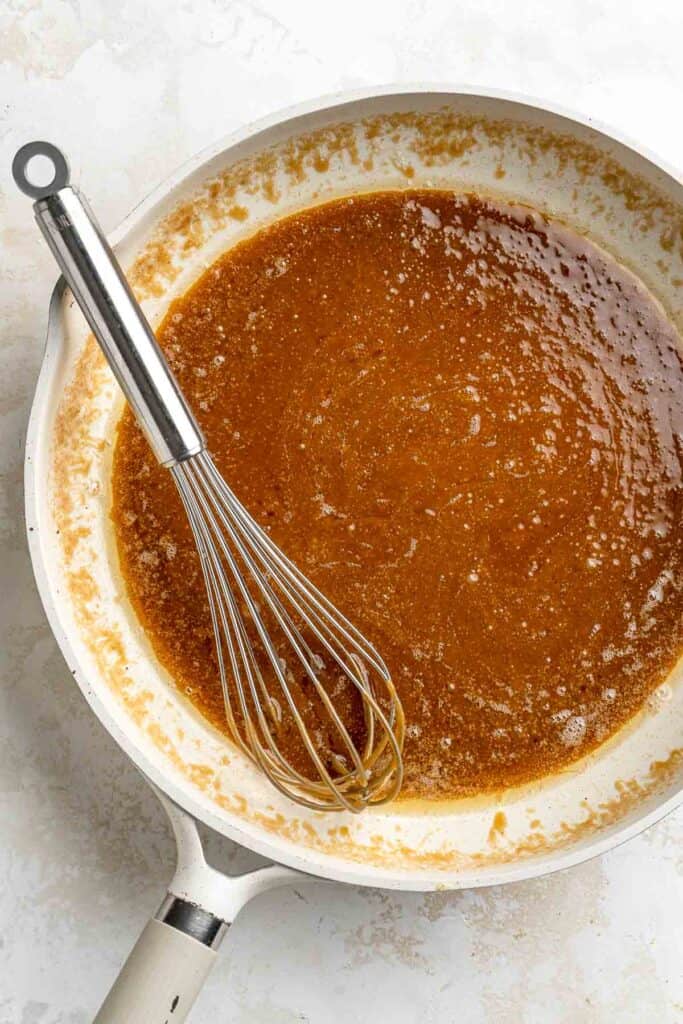
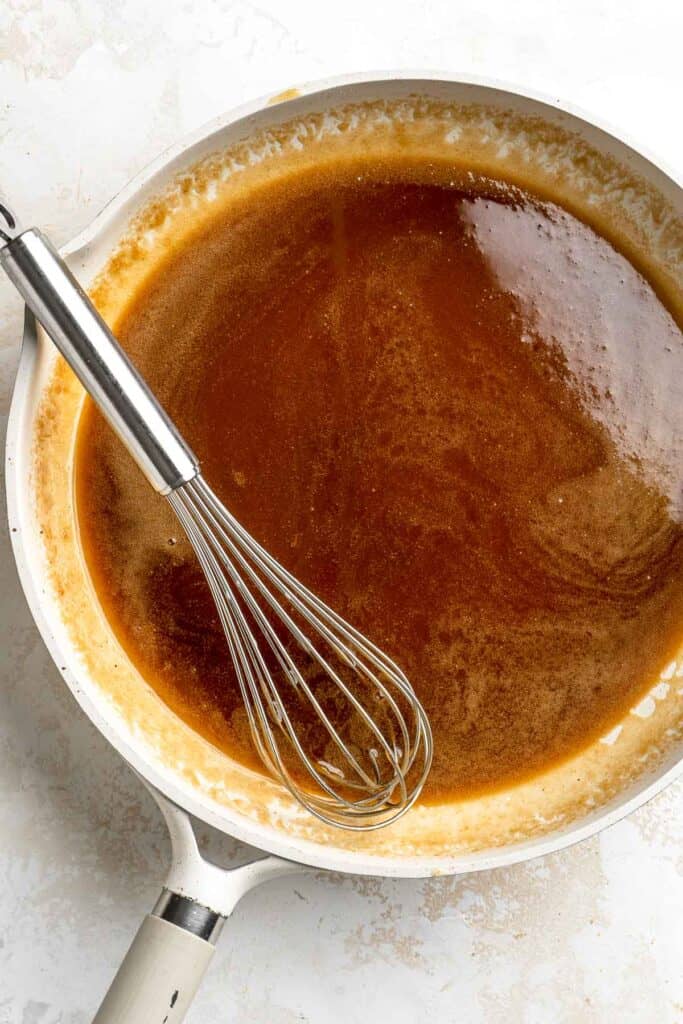
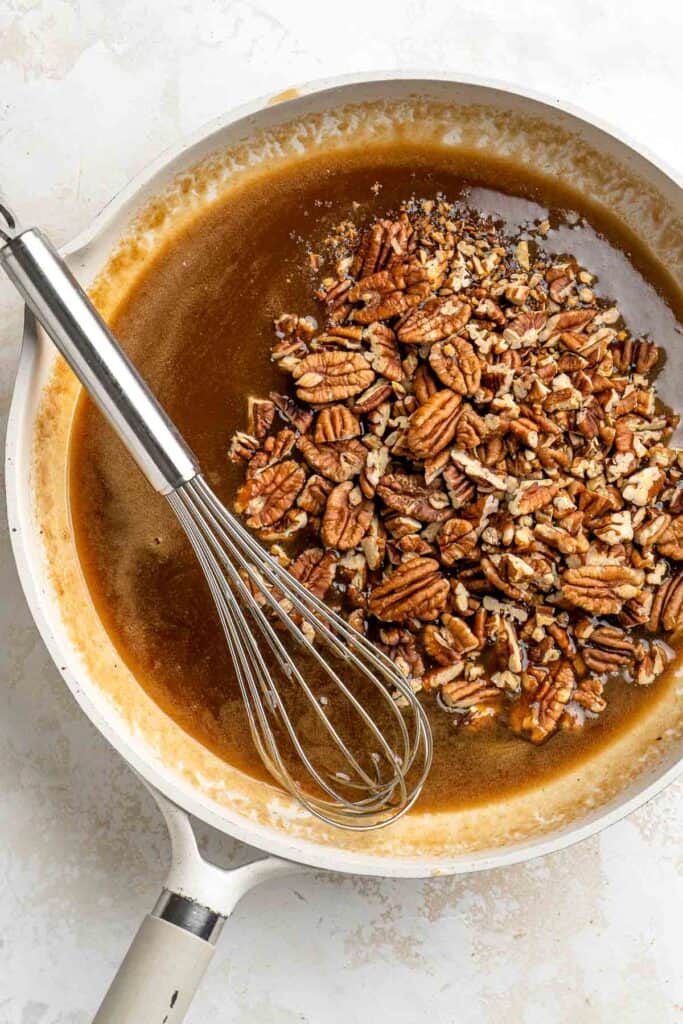
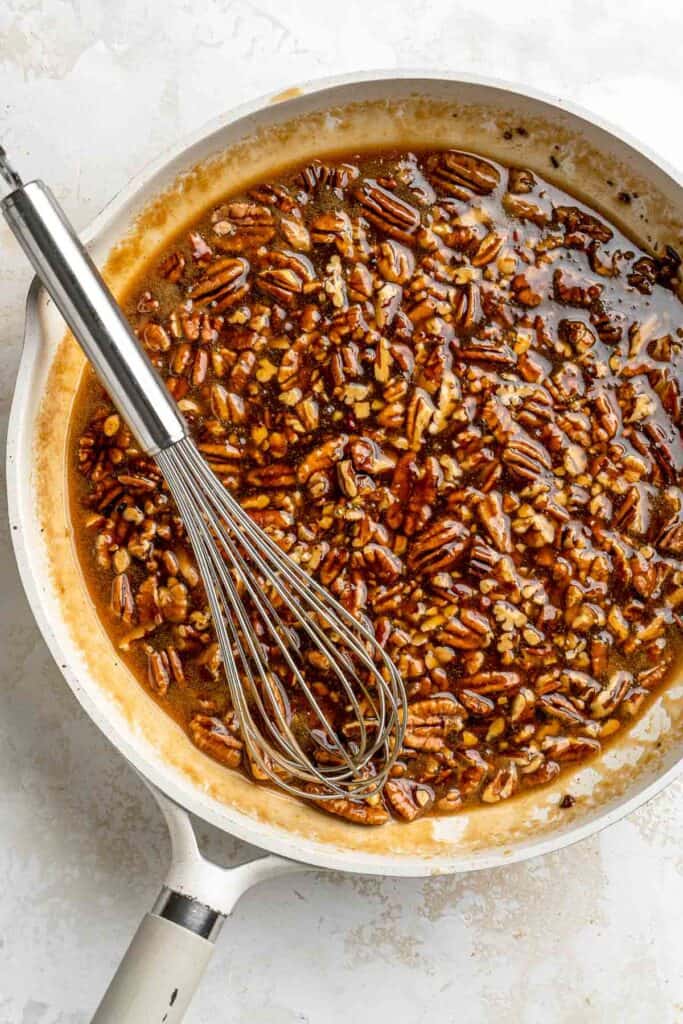
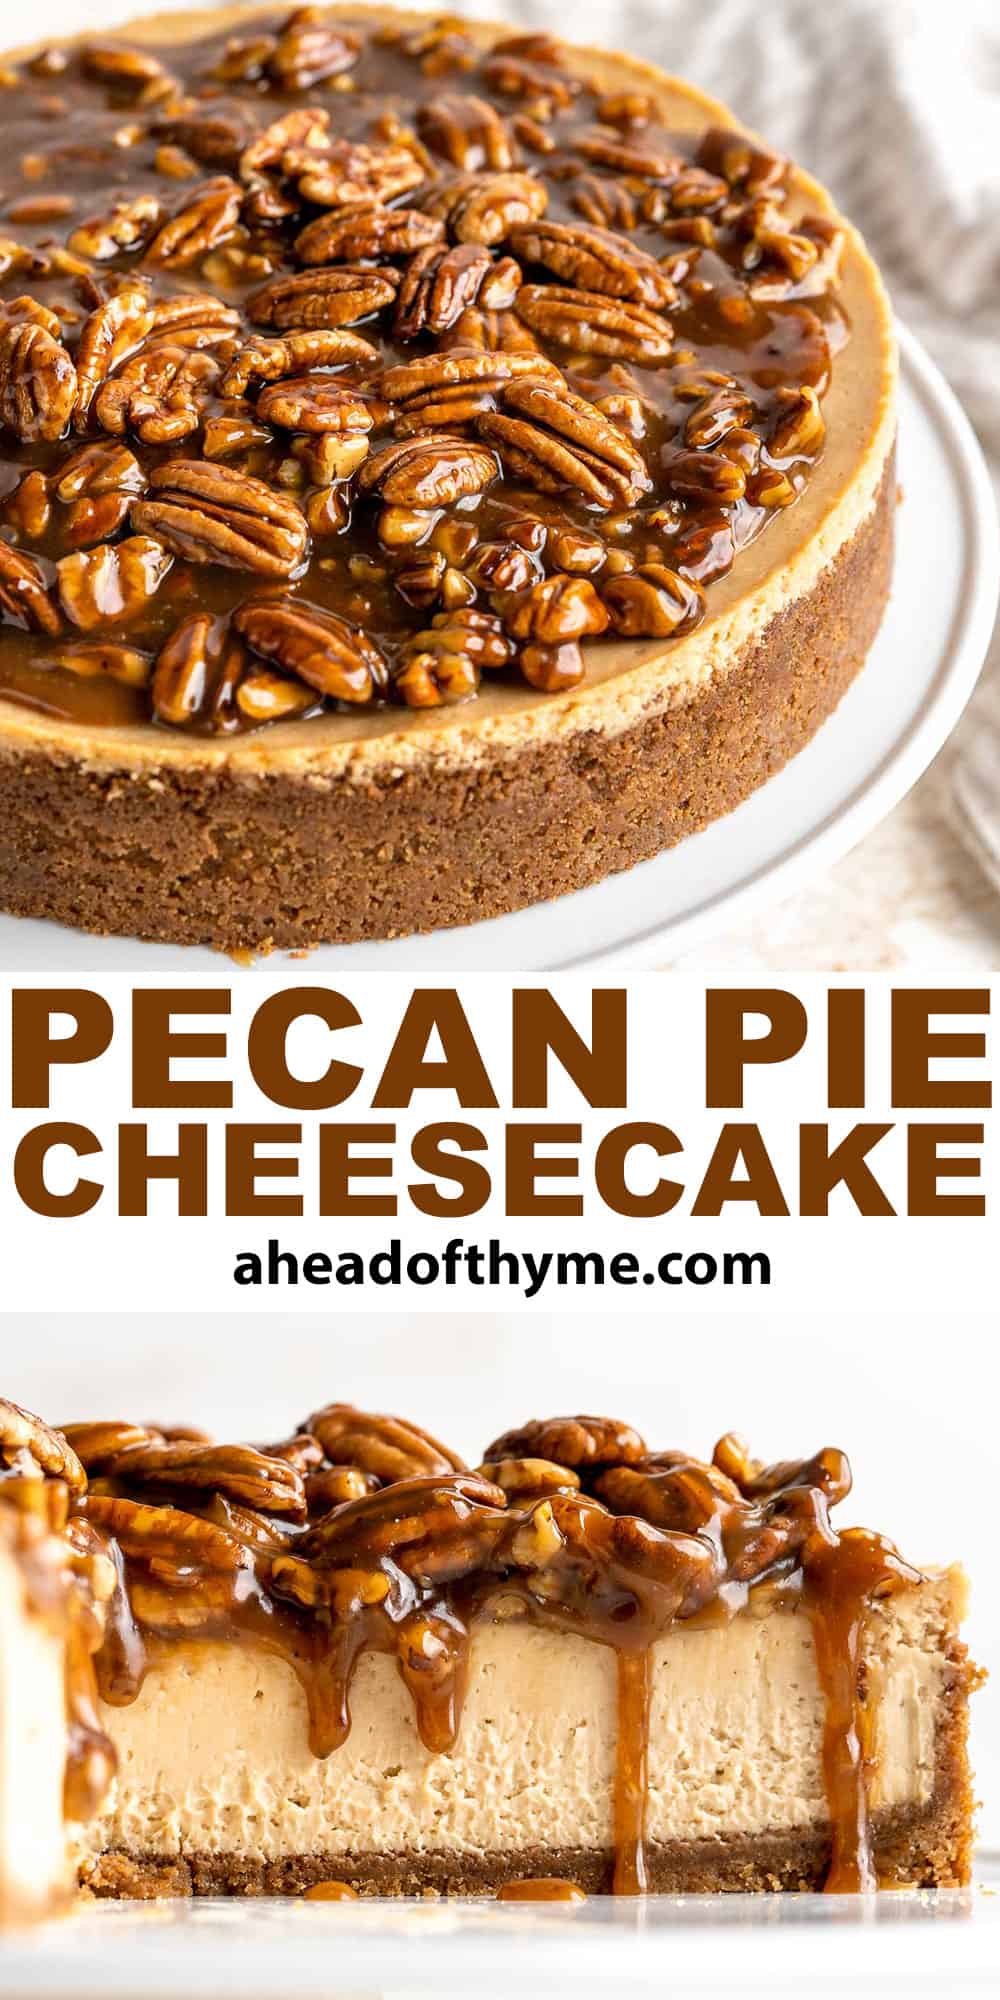
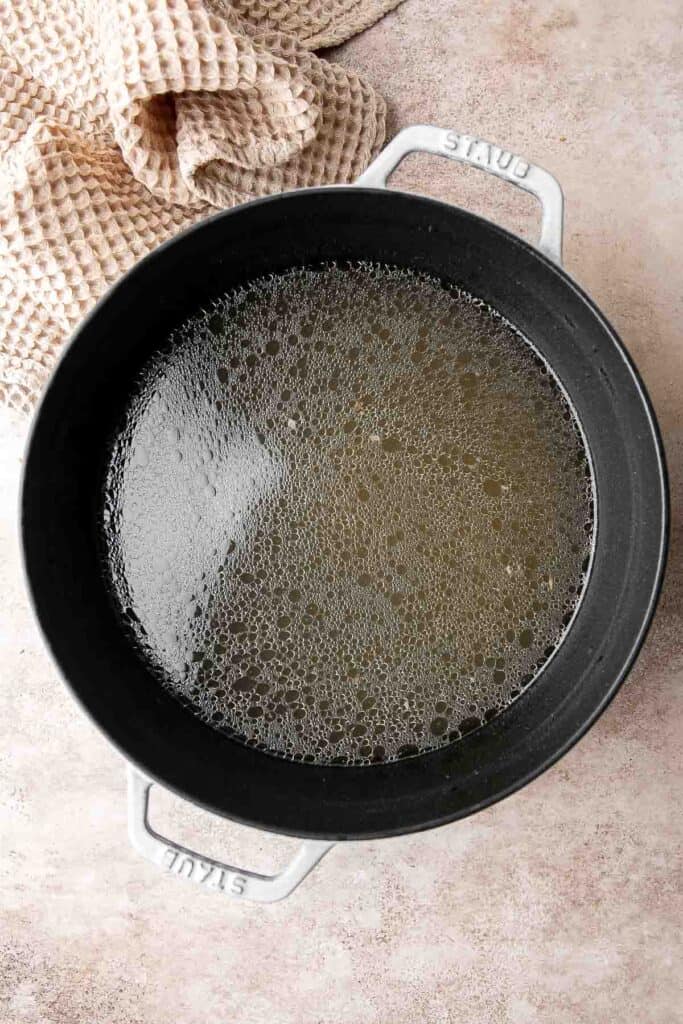
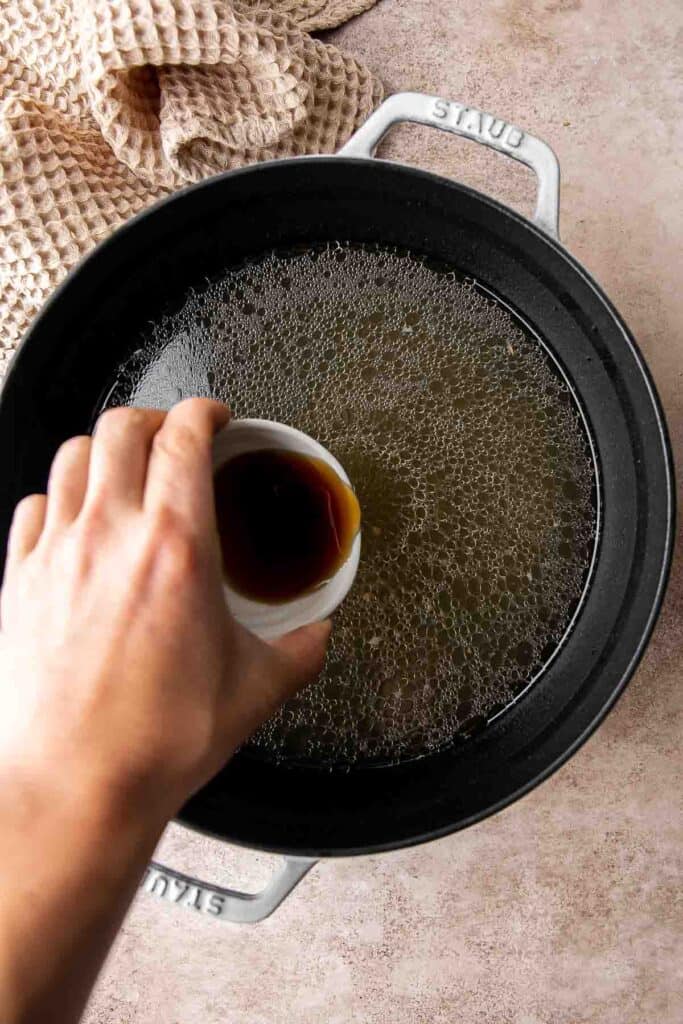
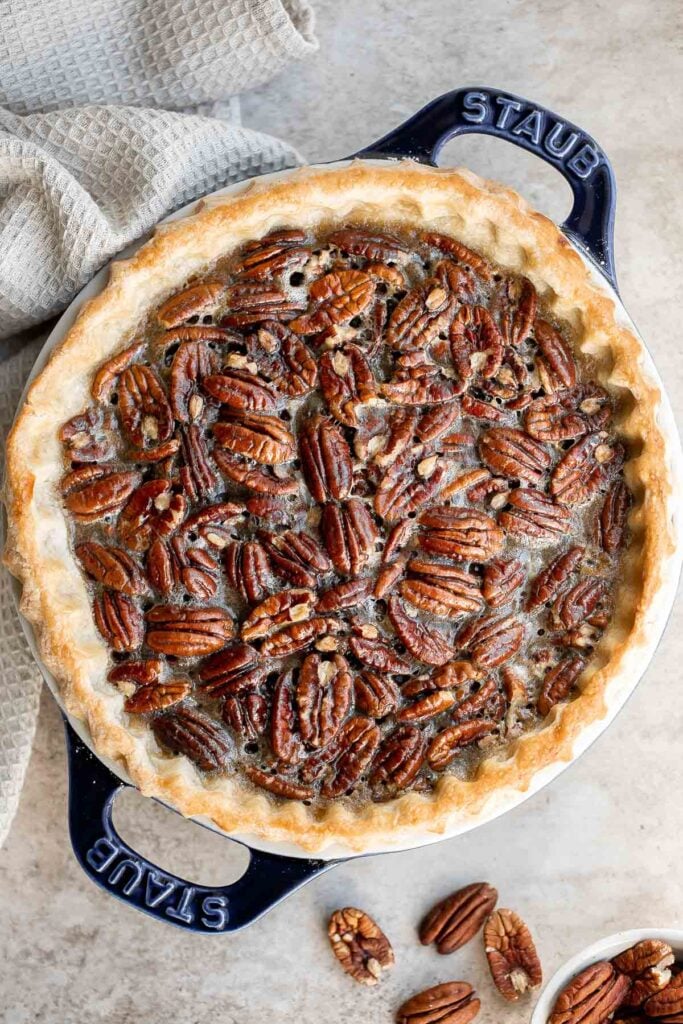
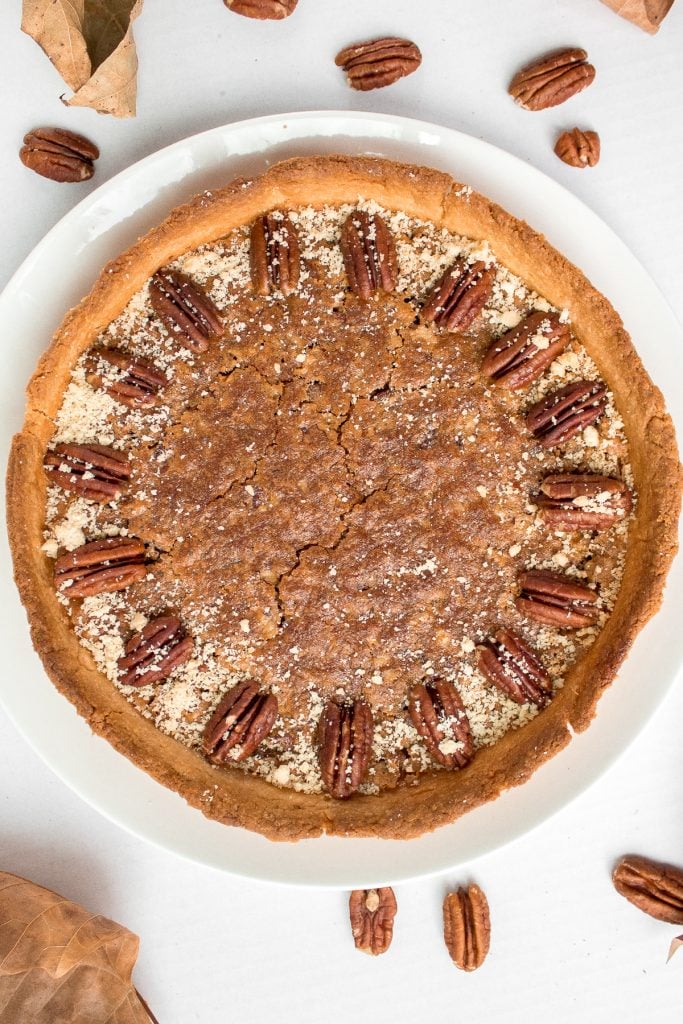
Old-fashioned pecan pie is a classic fall dessert with a homemade pie crust and sweet custard filling loaded with crunchy pecans - perfect for Thanksgiving. For such a fancy pie, it is actually embarrassingly easy to make.
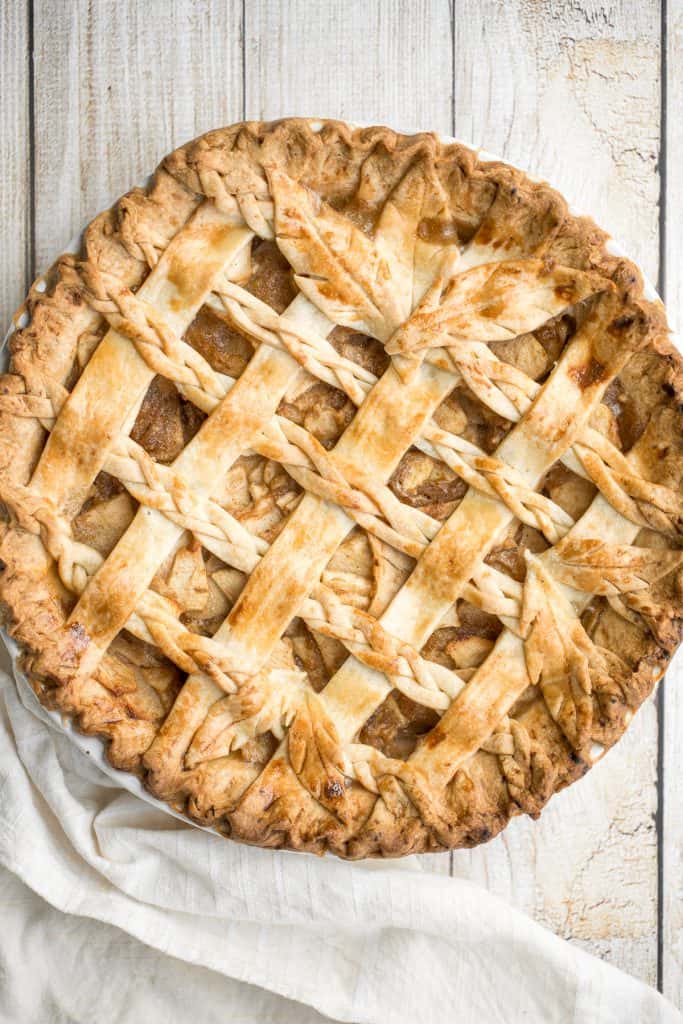
This braided lattice apple pie is packed with cinnamon apples tossed in a caramel sauce and sealed in a buttery, flaky pie crust with a braided lattice top. Serve it with a scoop of vanilla ice cream.
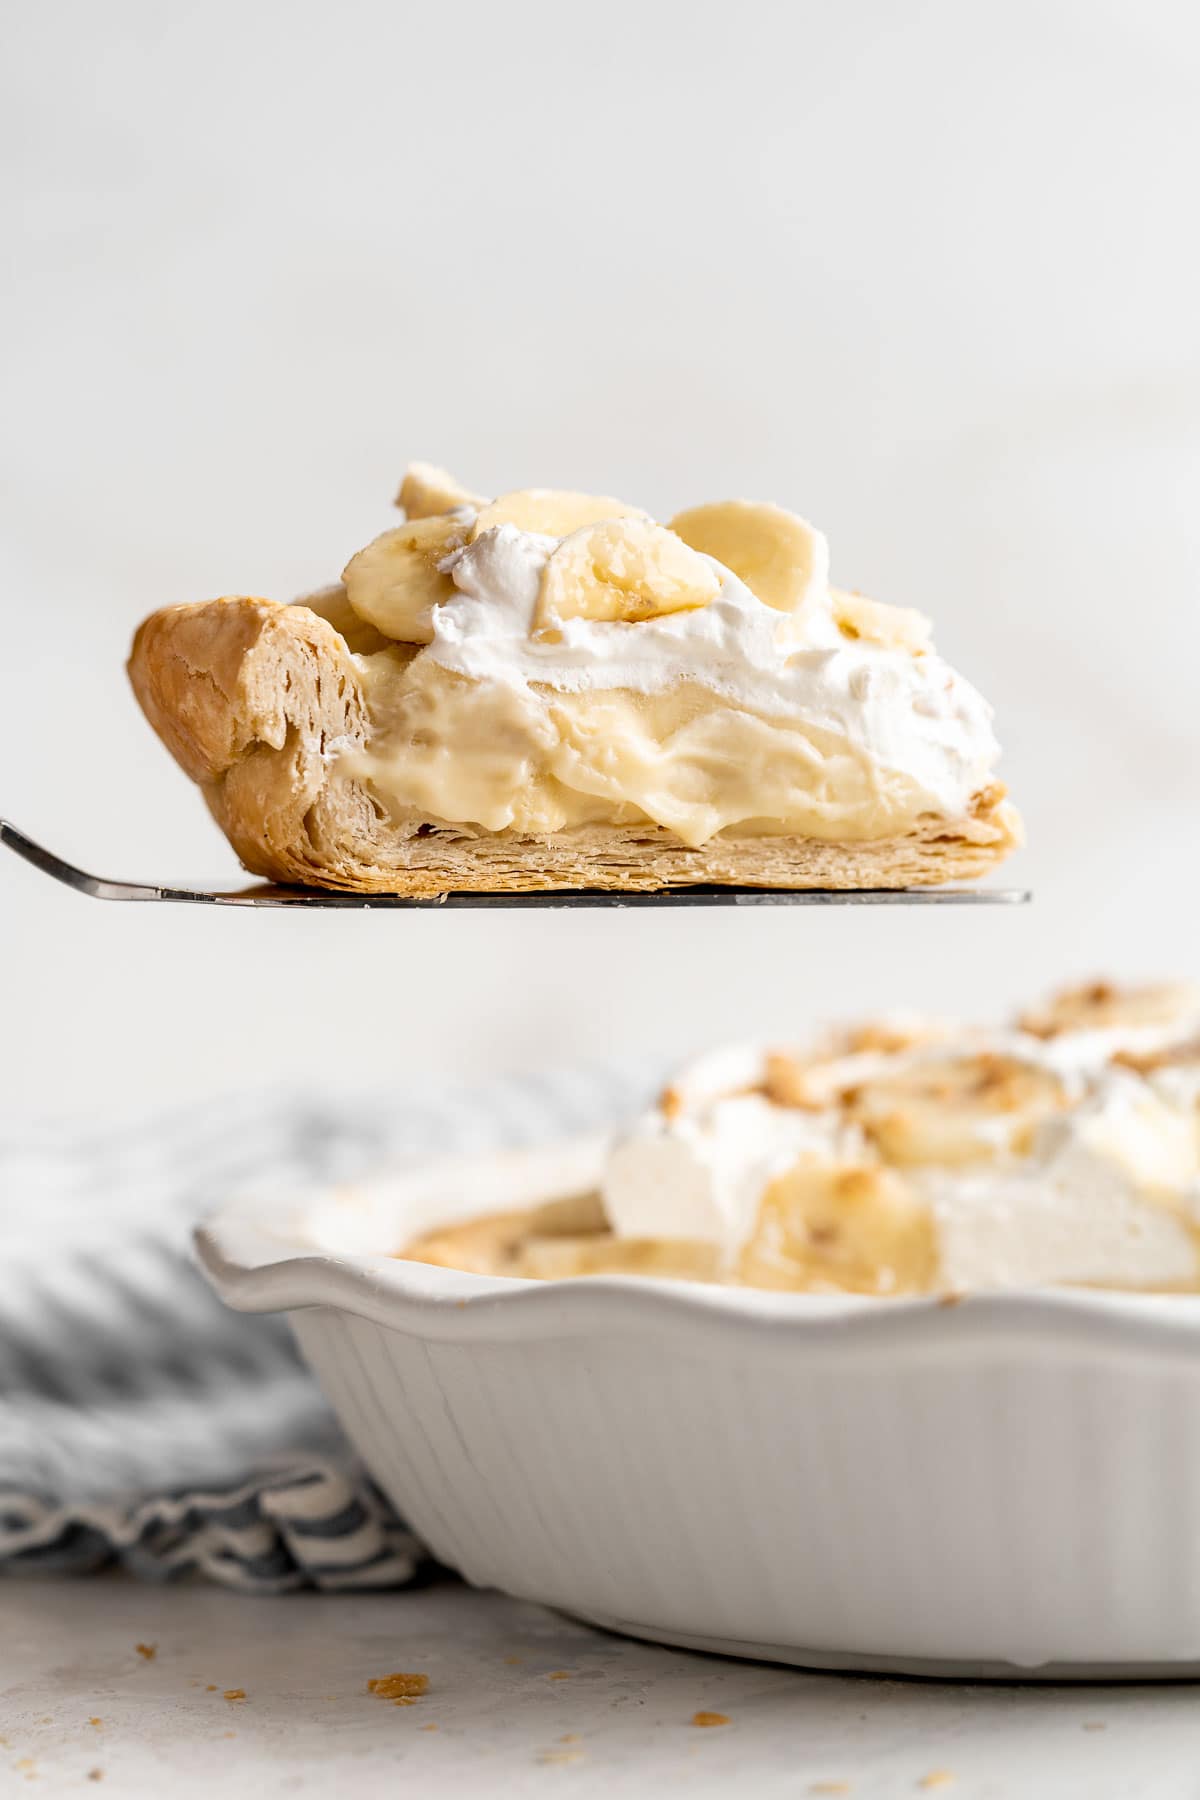
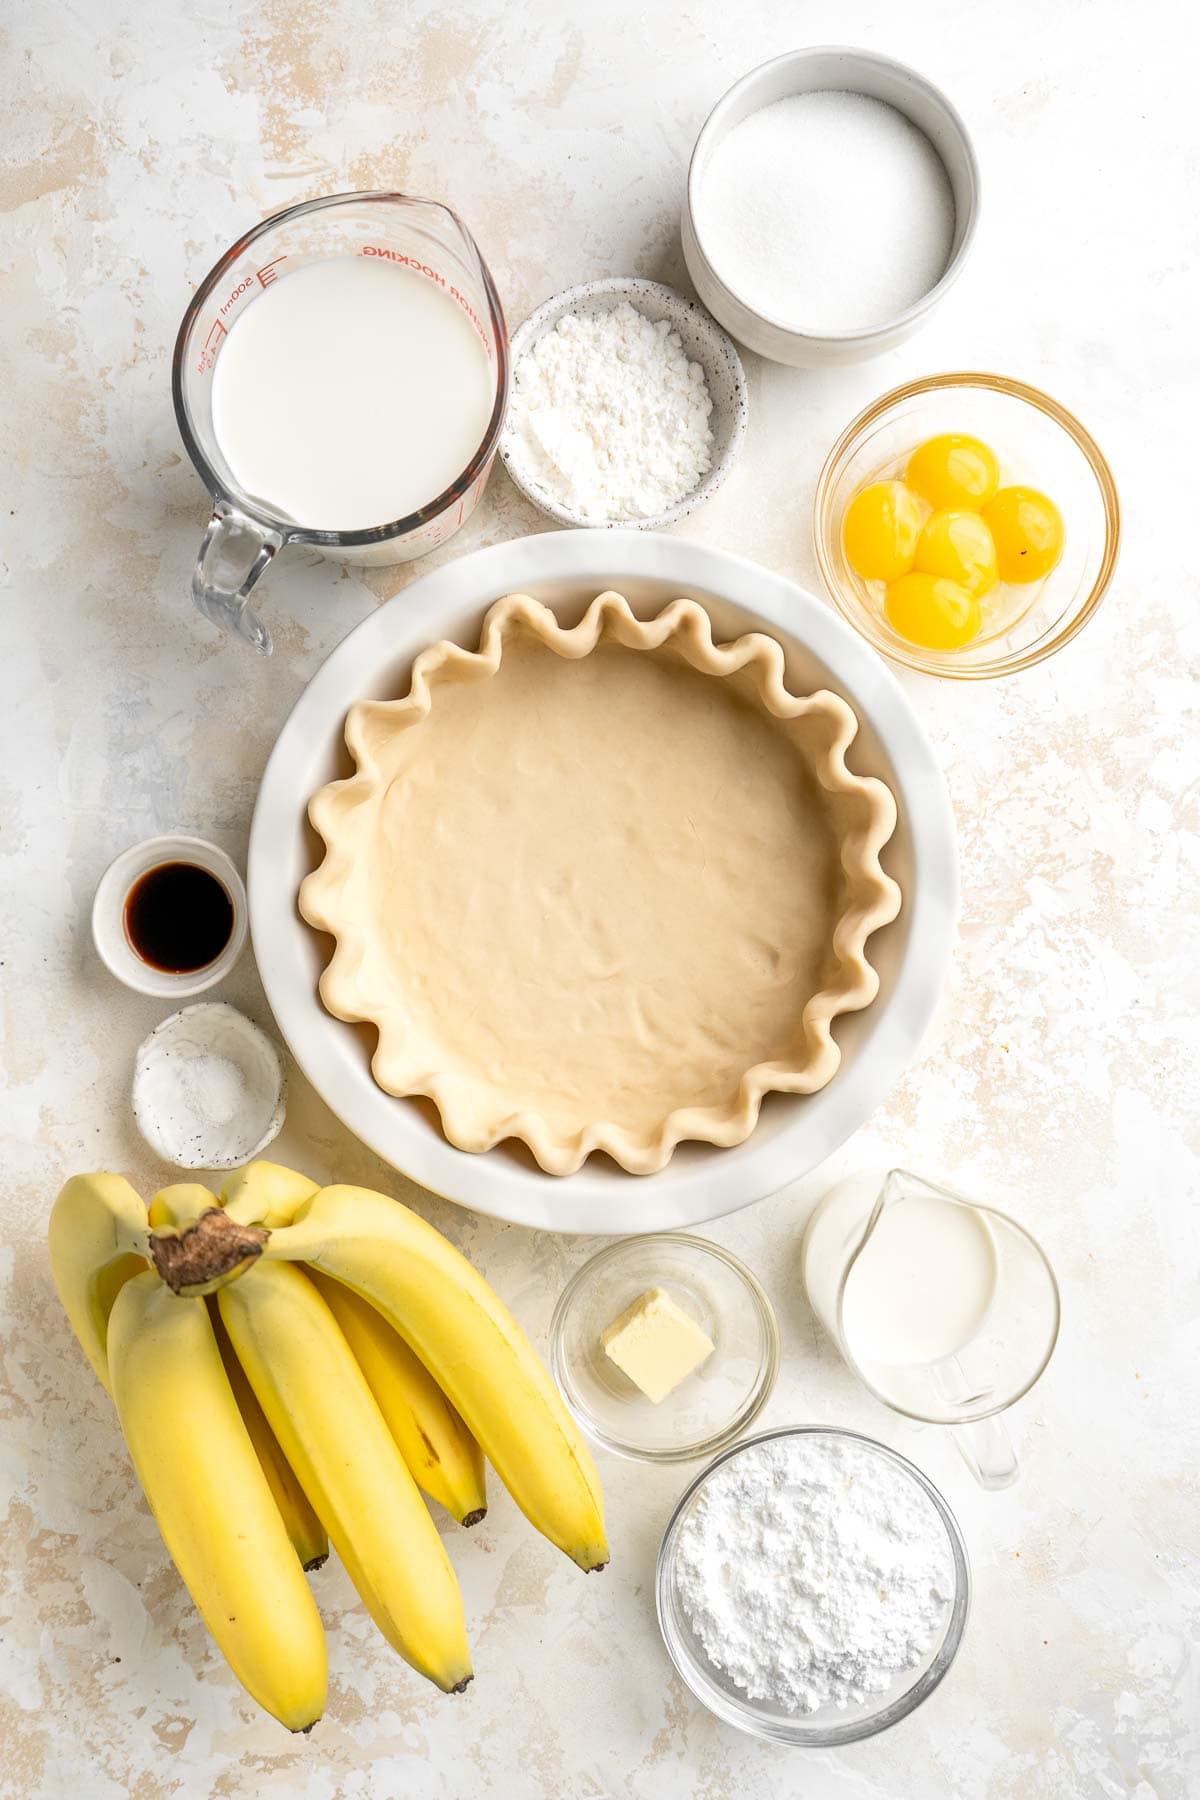
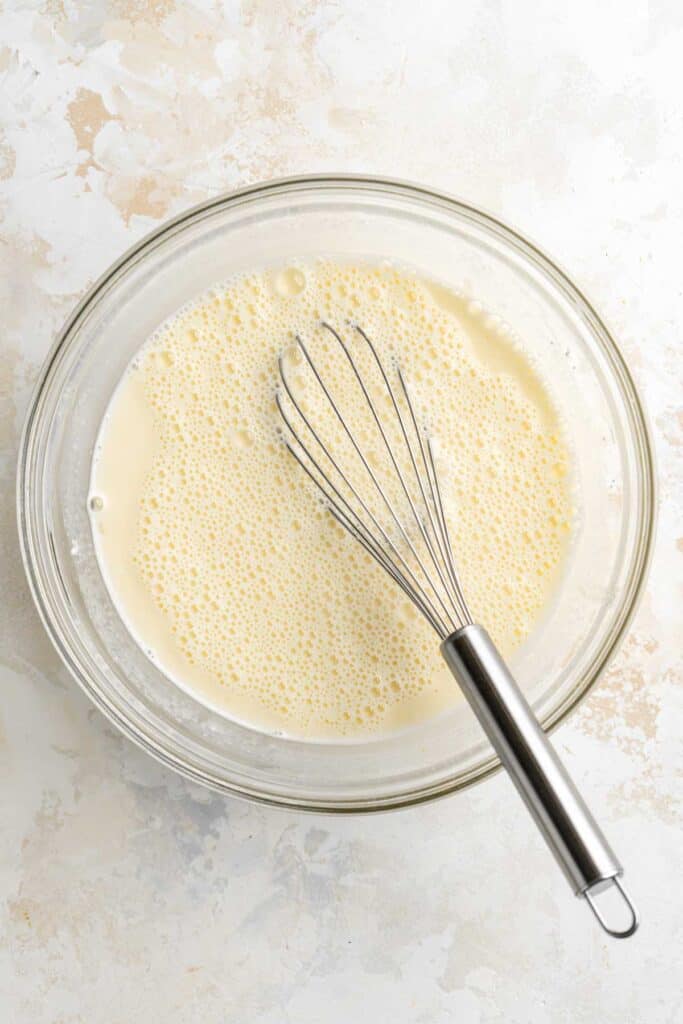
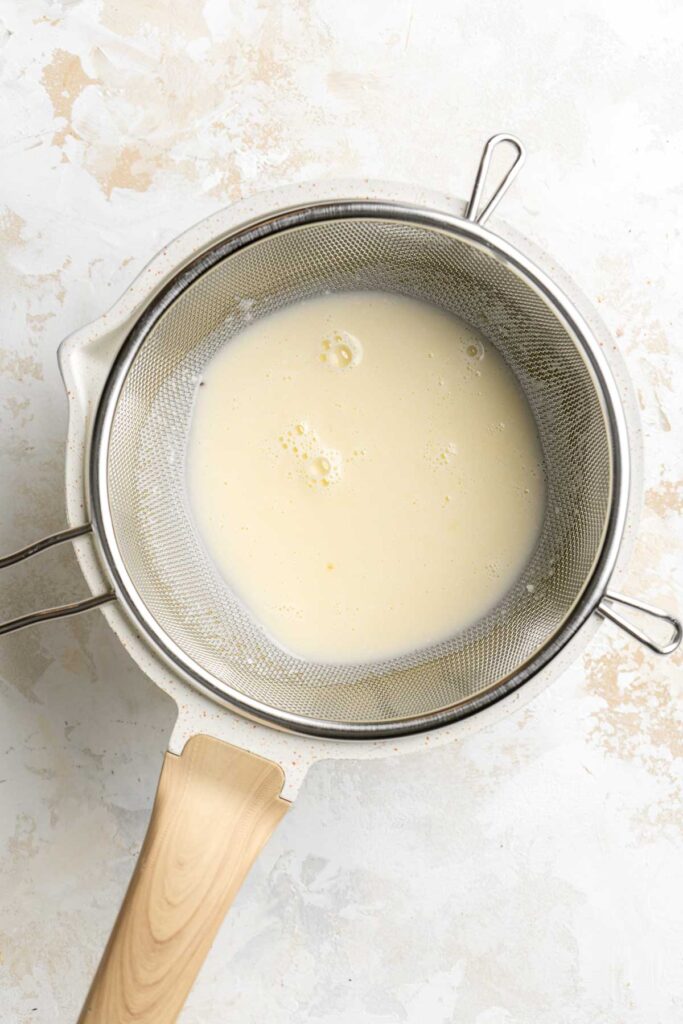
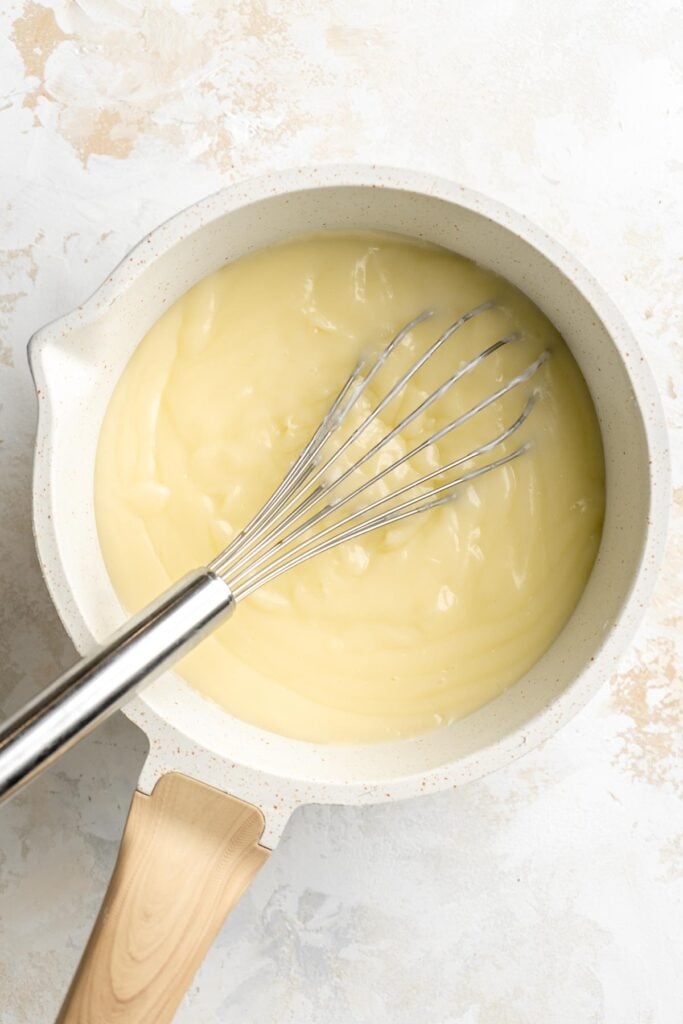
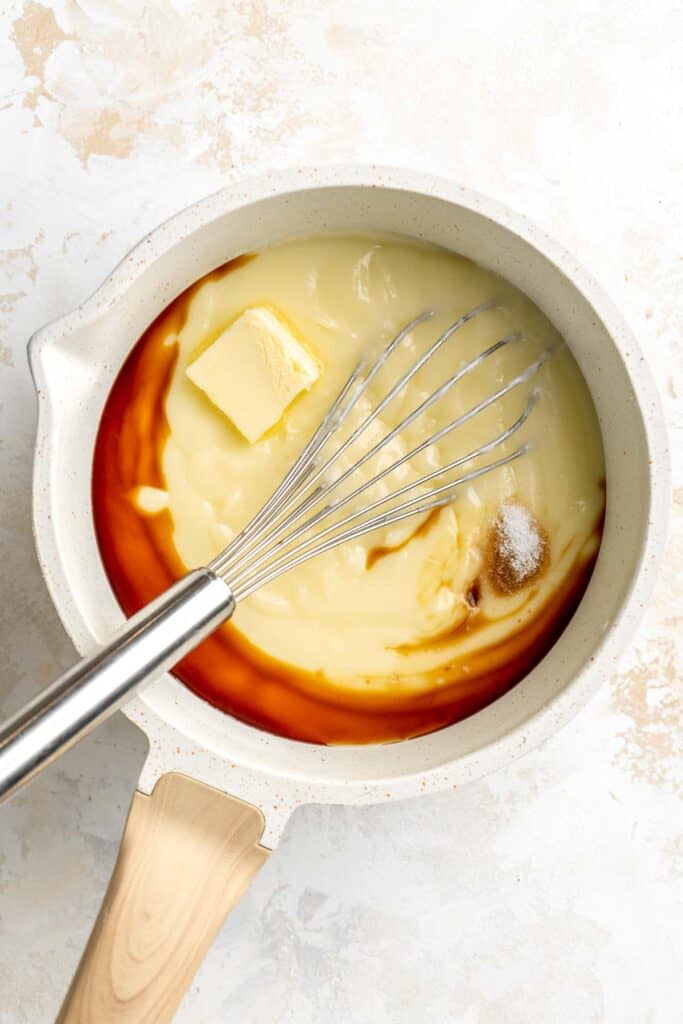
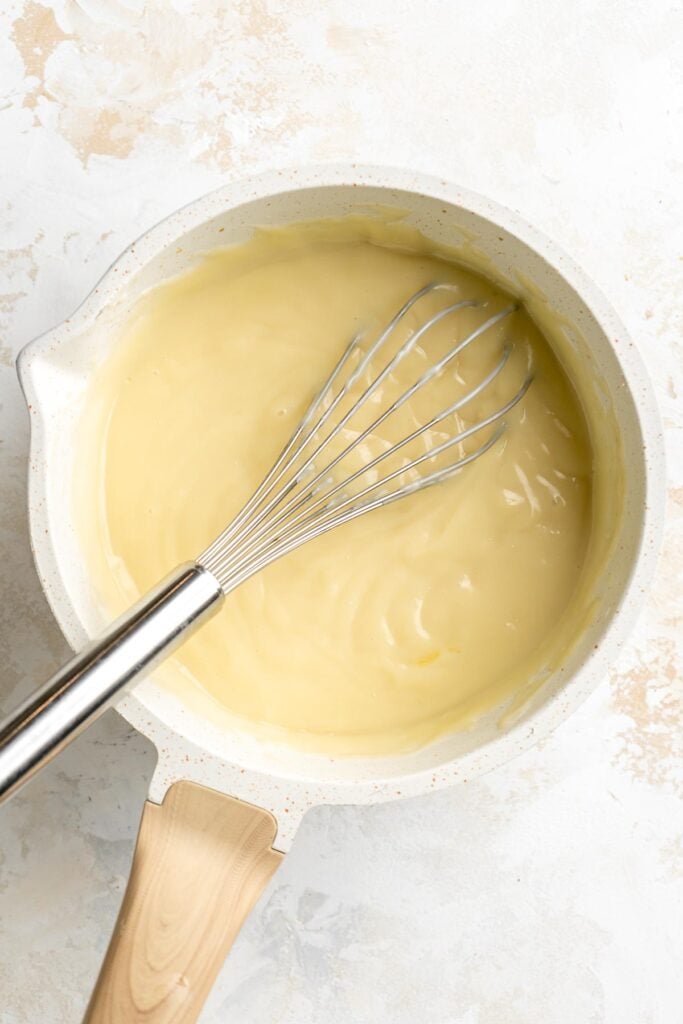
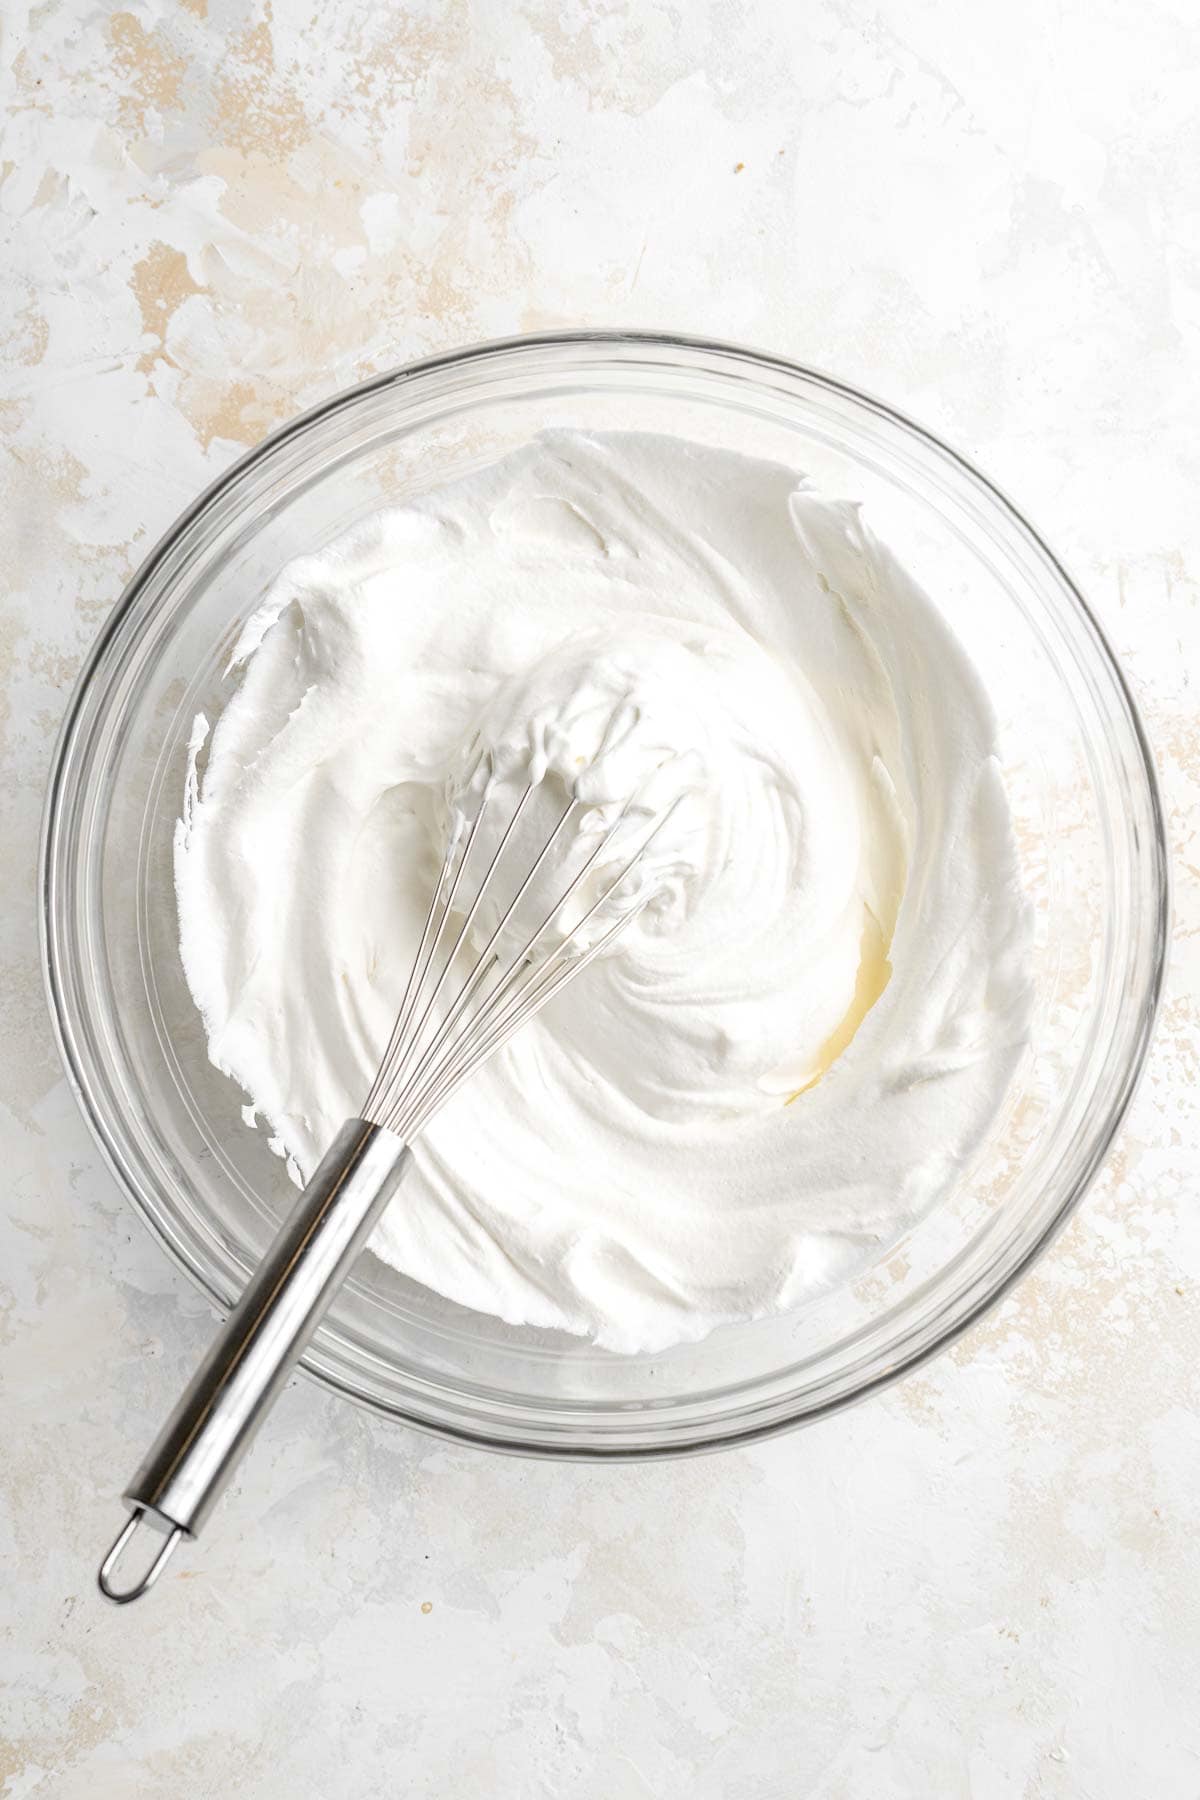
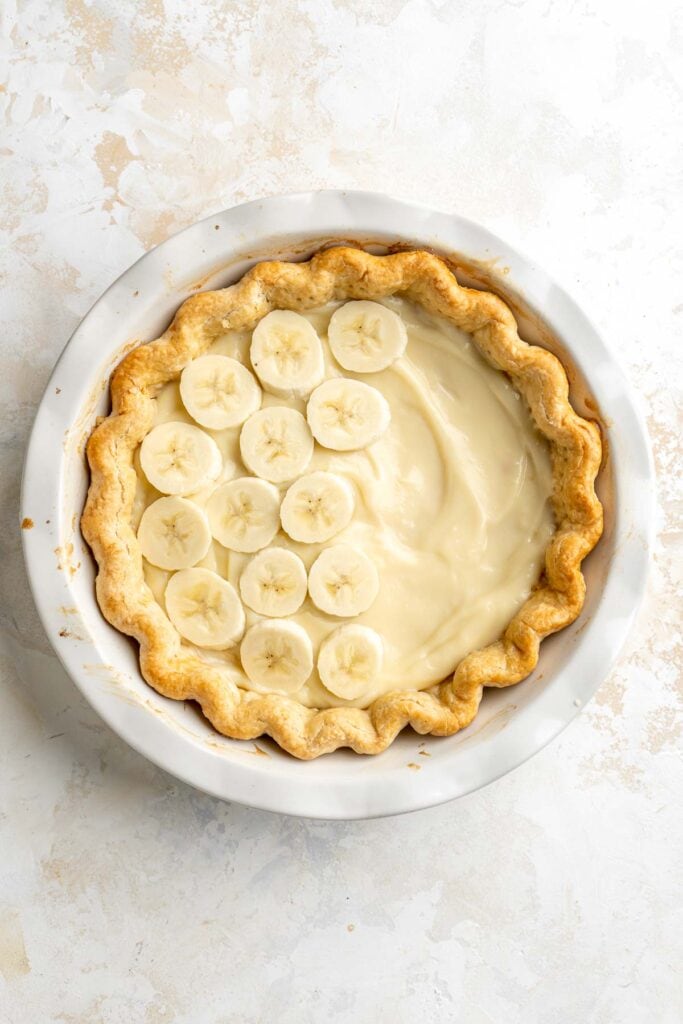
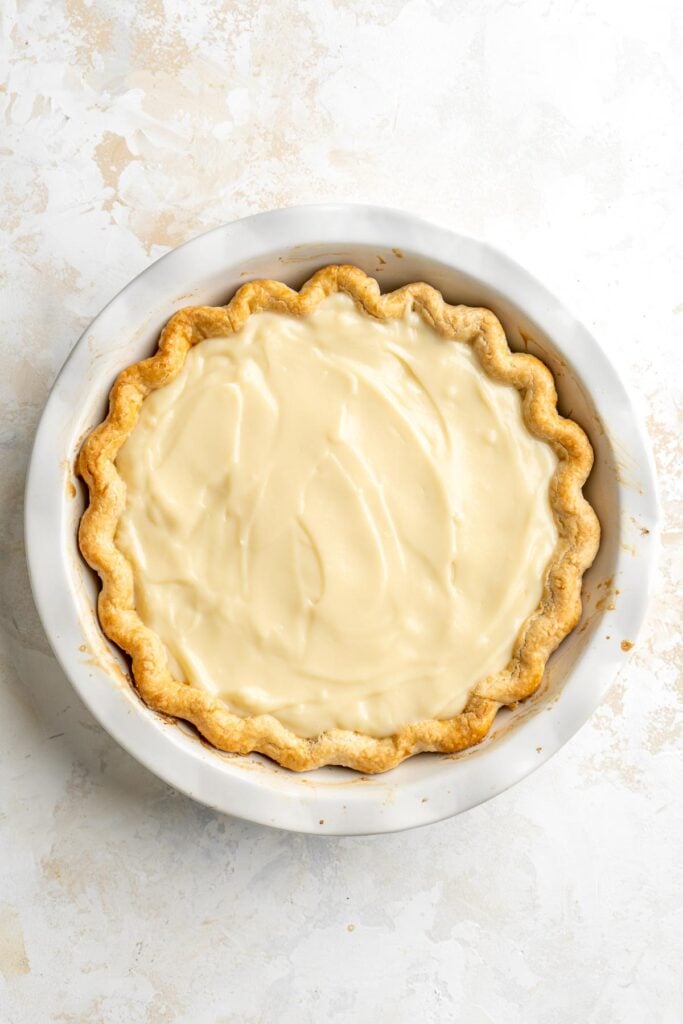
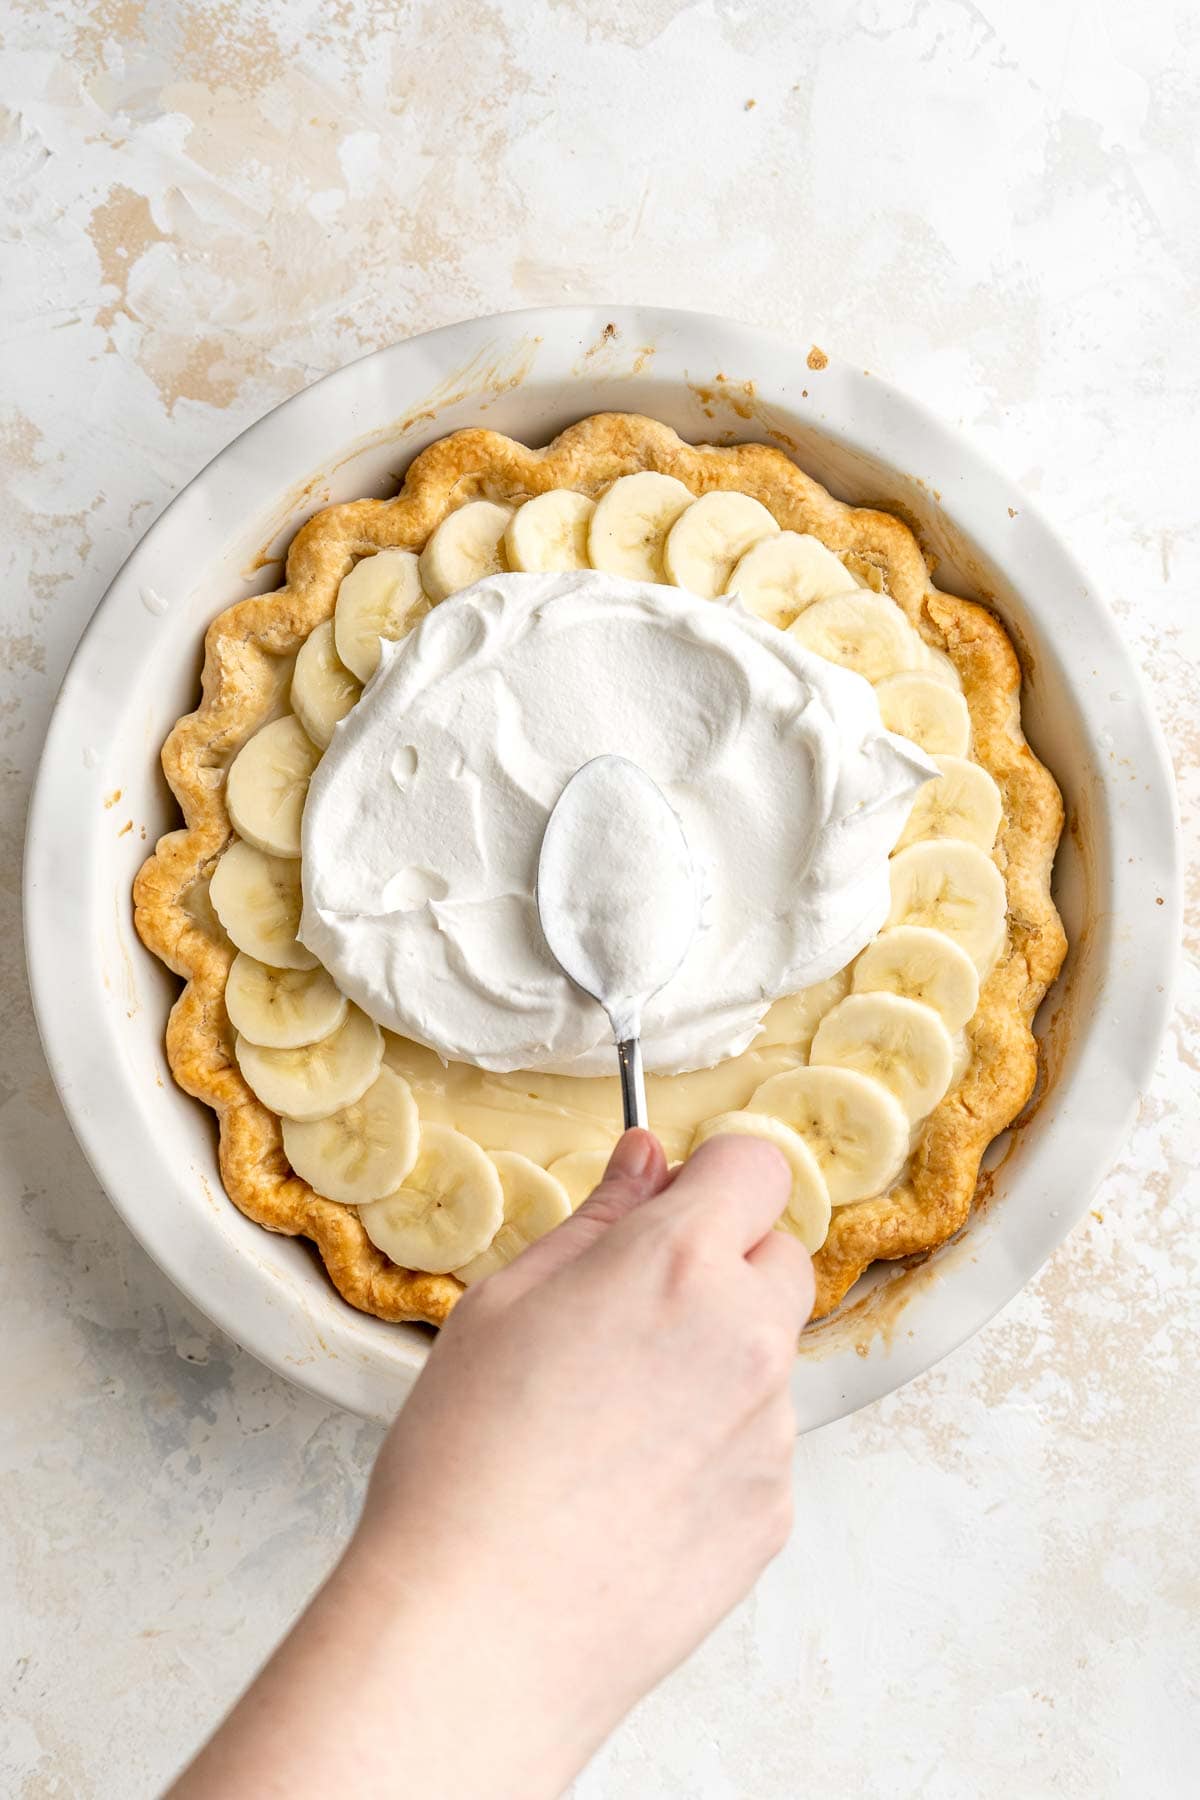
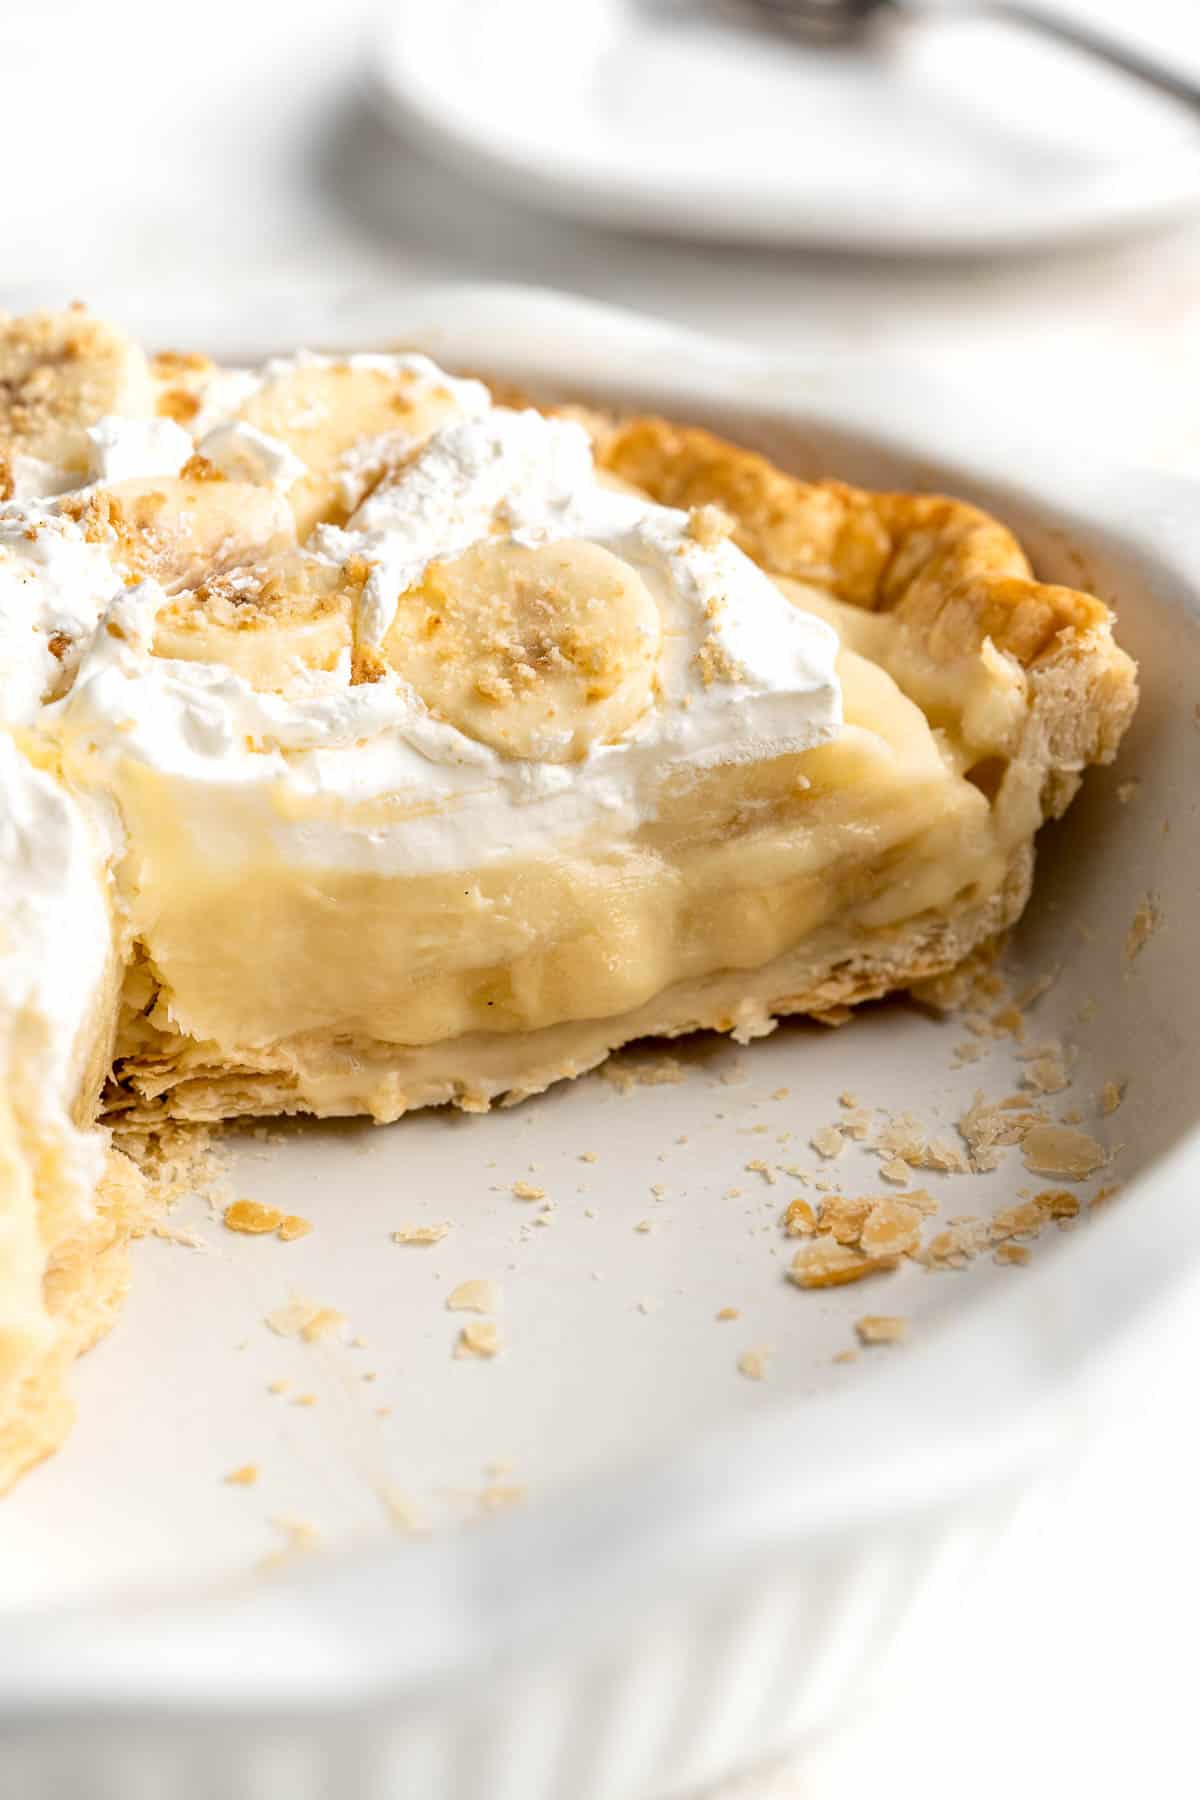
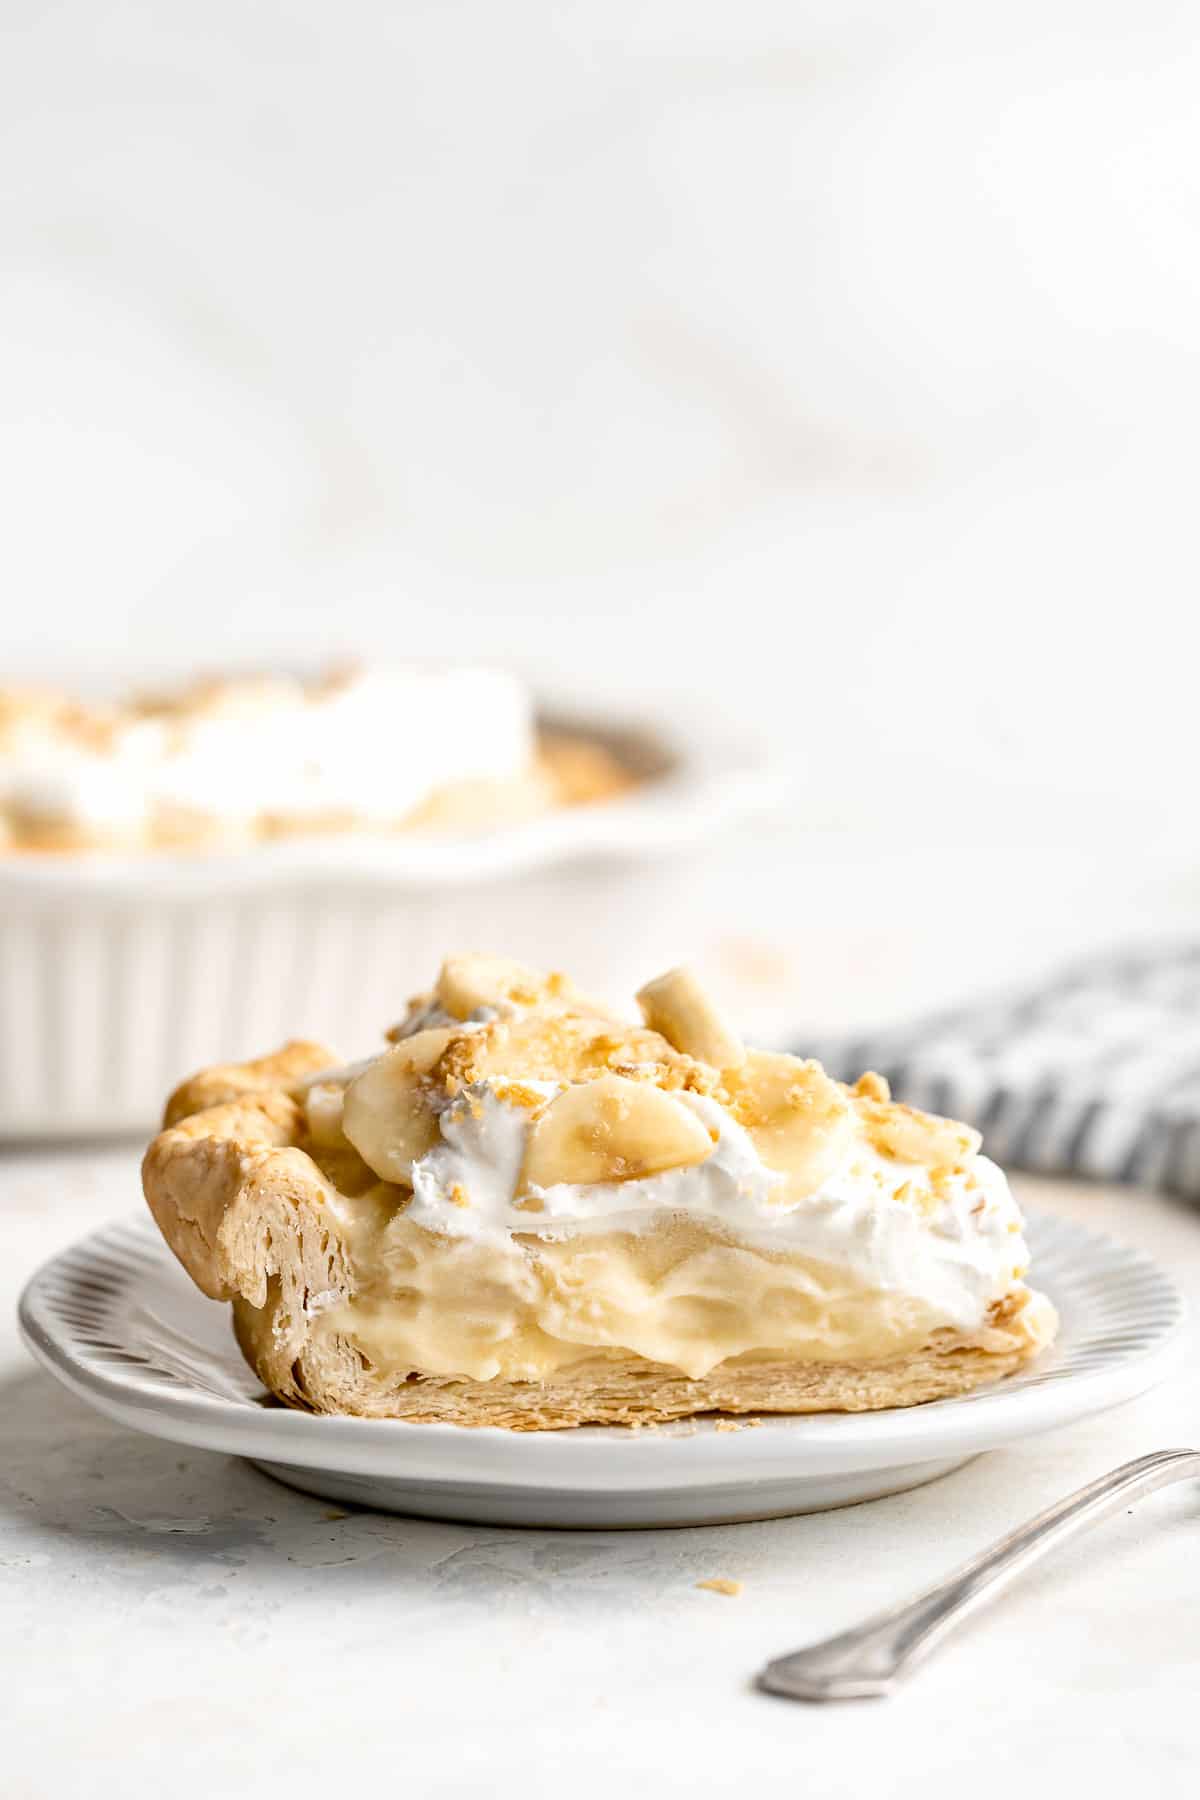
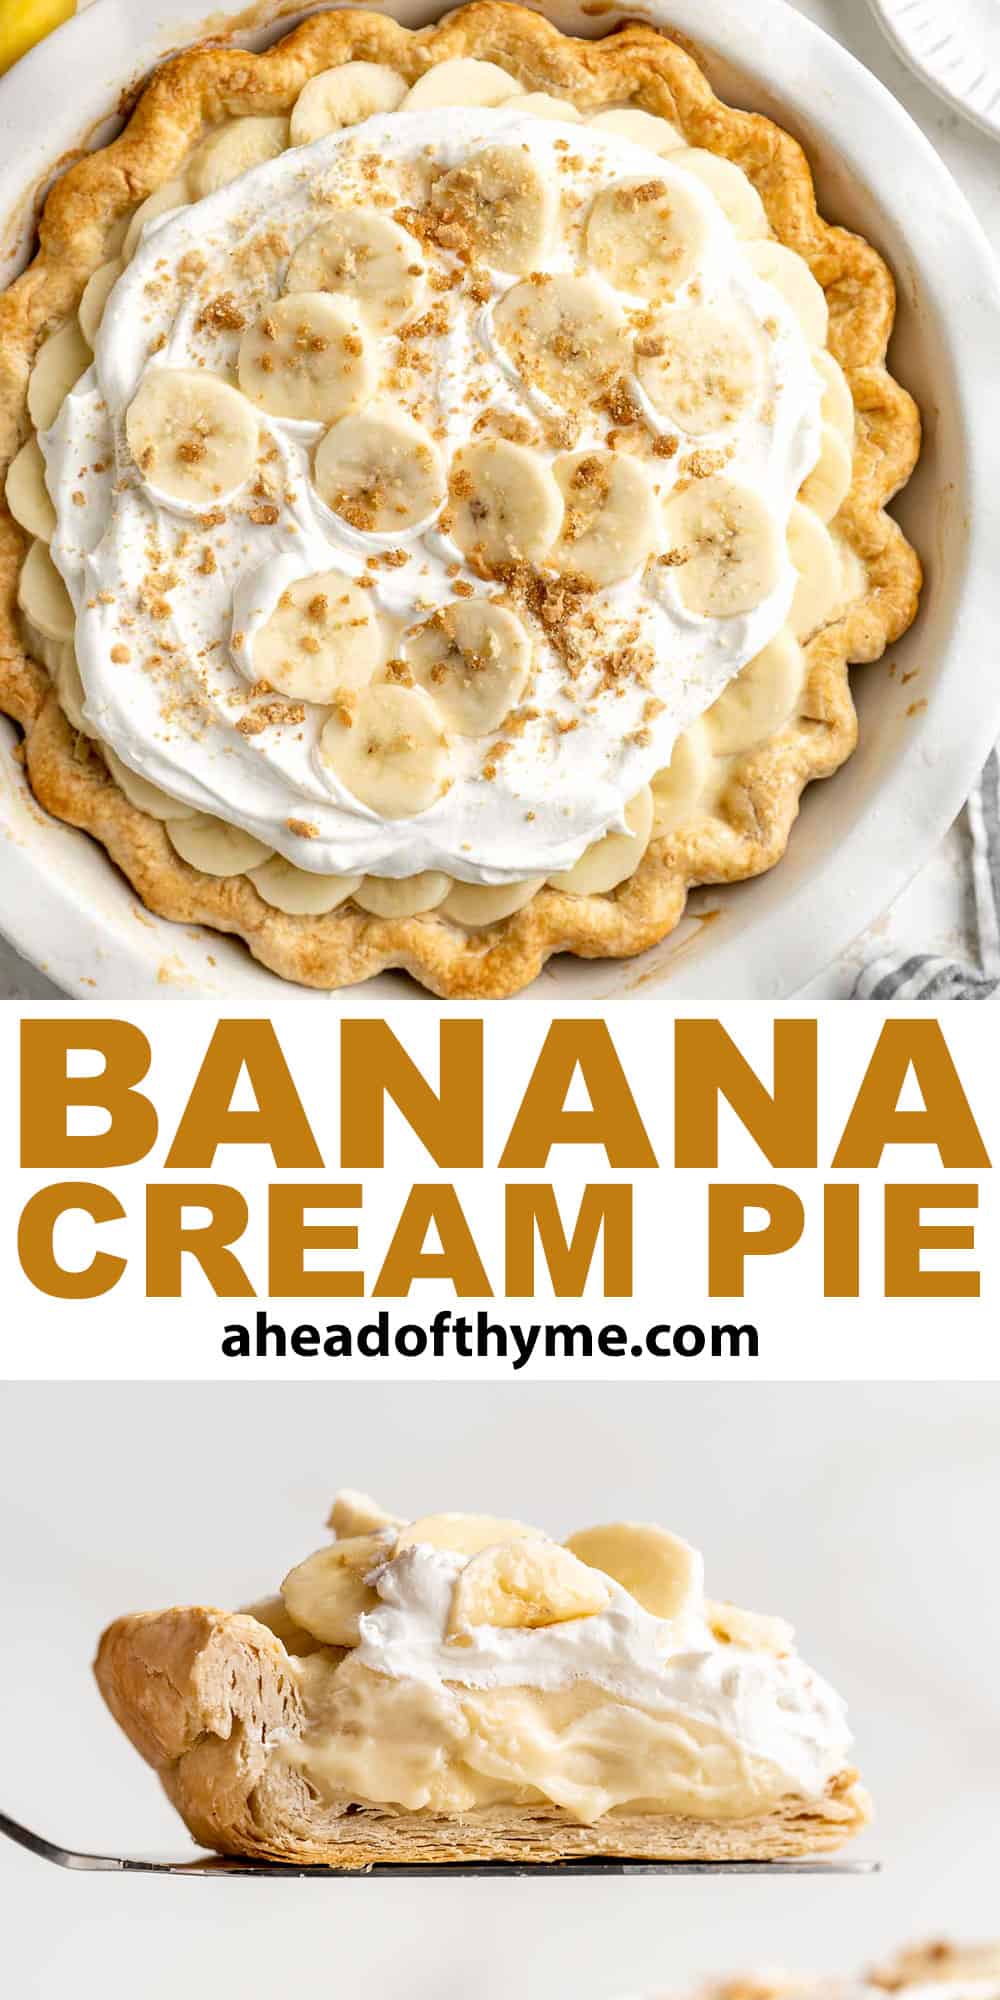
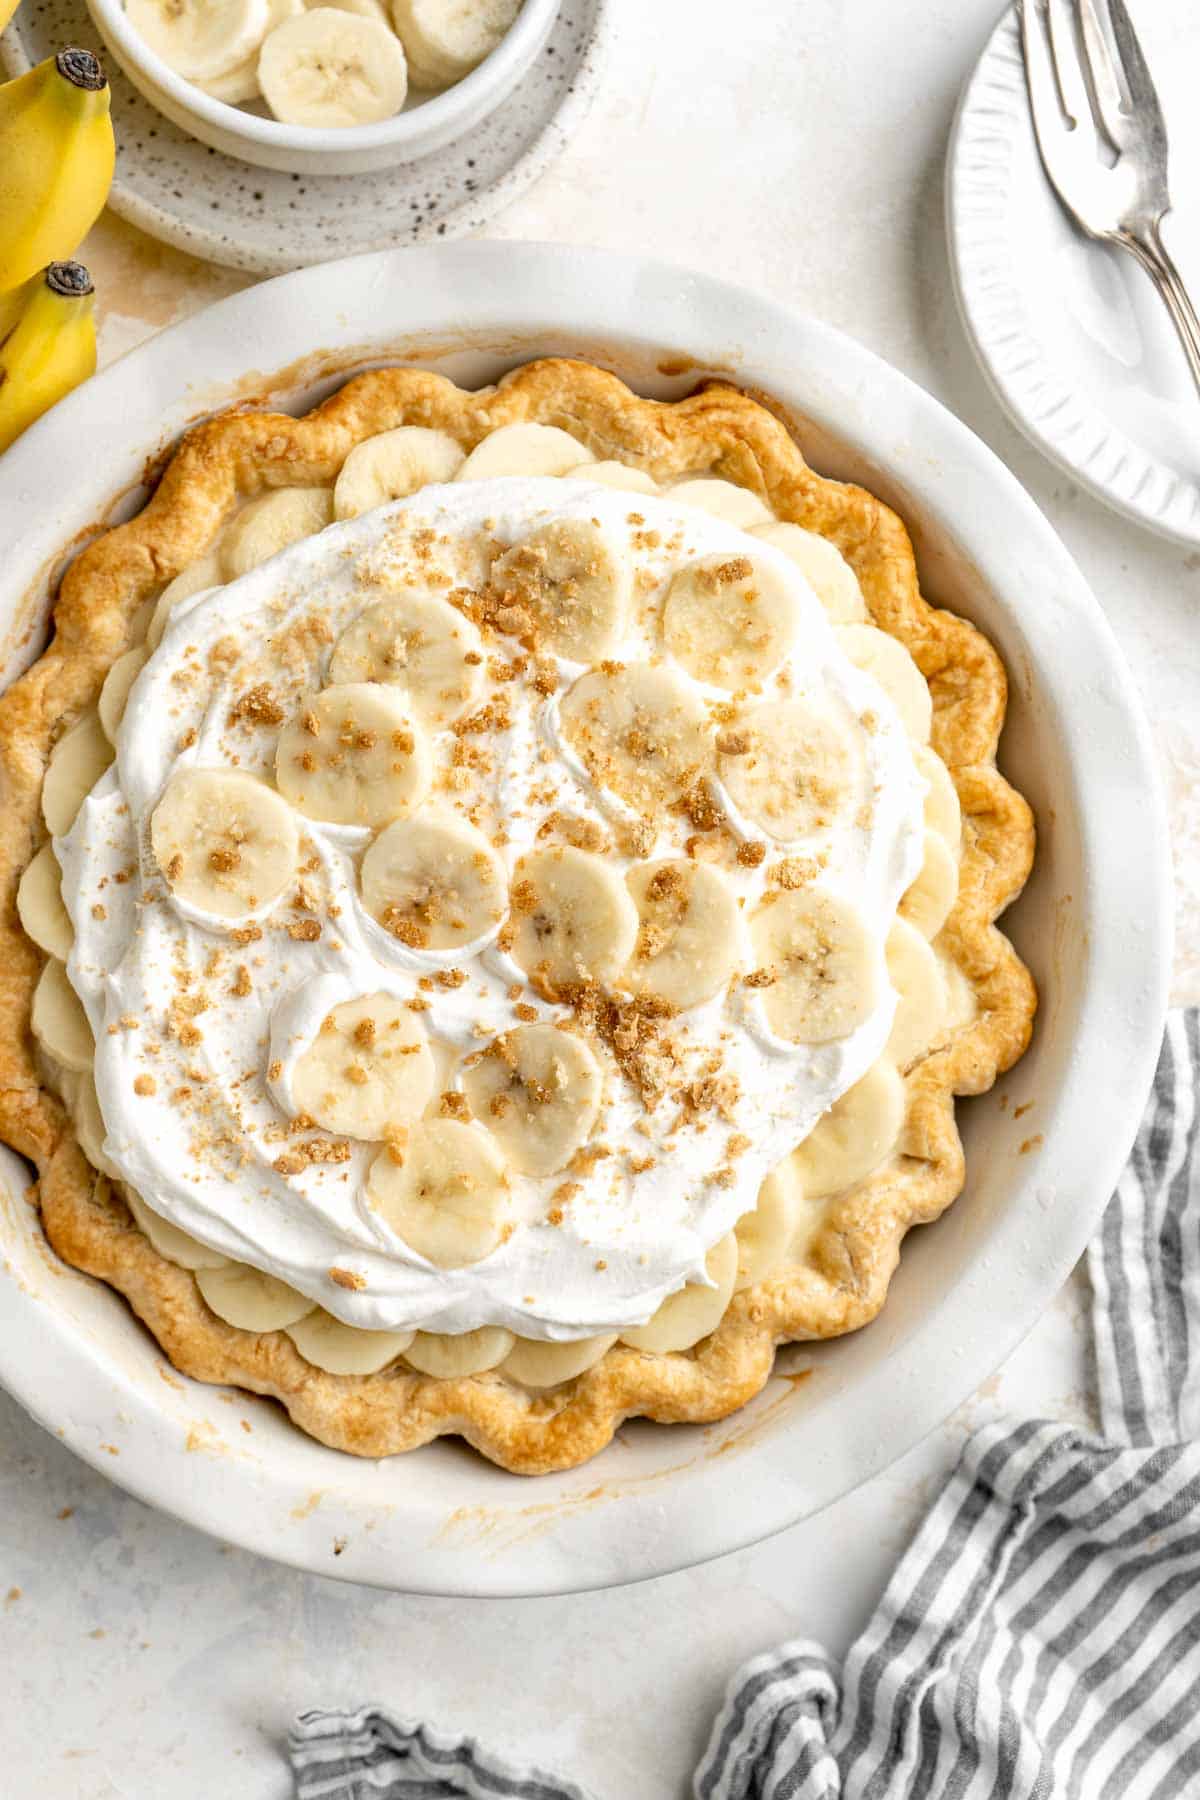
Homemade Banana Cream Pie is endlessly creamy with a buttery, flaky pie crust, a dreamy homemade vanilla custard, fresh banana slices, and whipped cream.
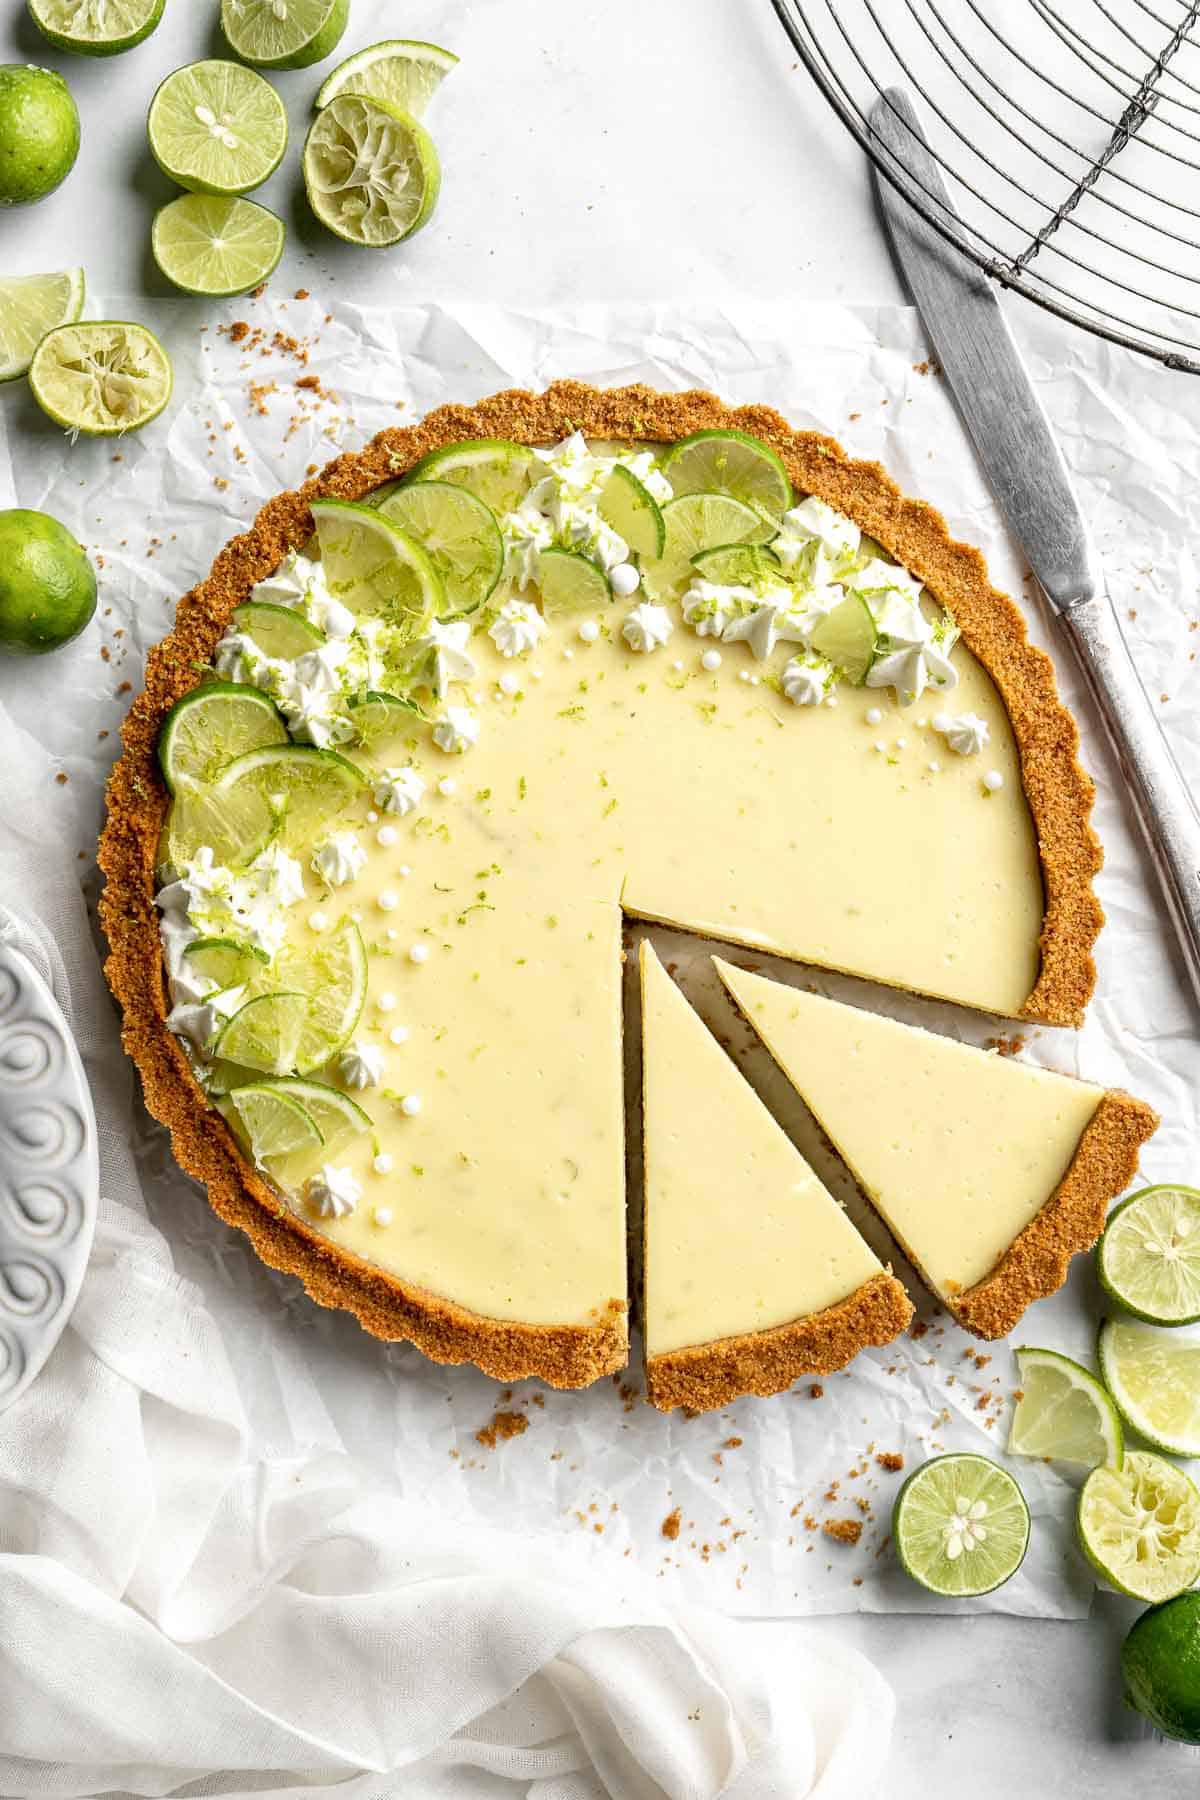
Perfectly creamy and tart with a buttery graham cracker crust, this easy Key Lime Pie is a classic for a reason. You won't need another pie recipe again!
Pumpkin mascarpone pie is a warm and cozy holiday dessert that is incredibly easy to make with just minutes of prep work before popping into the oven.
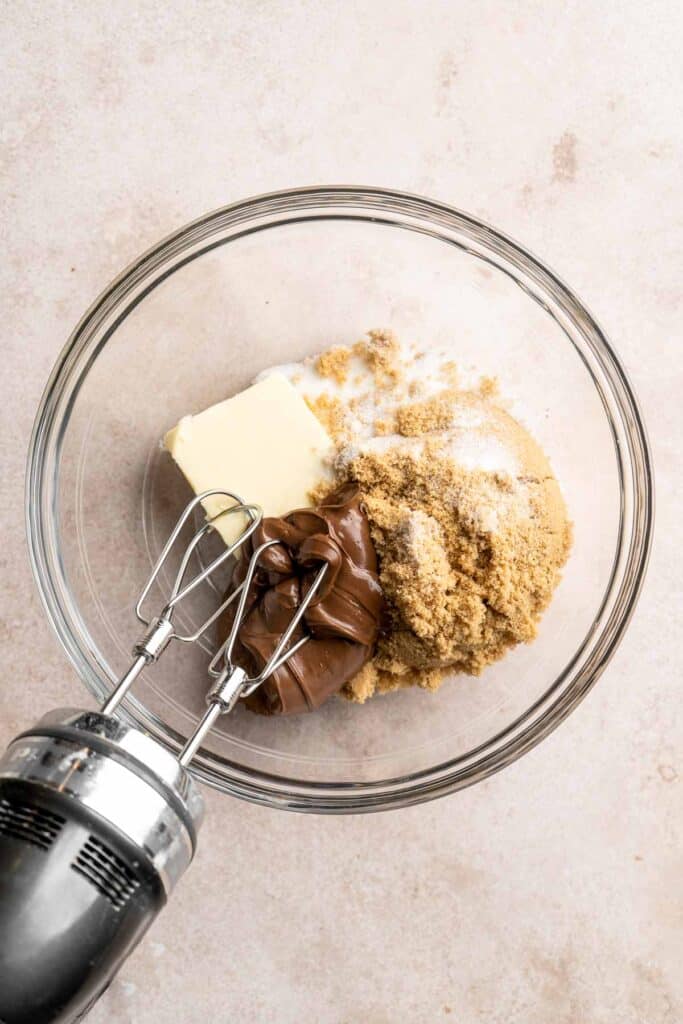
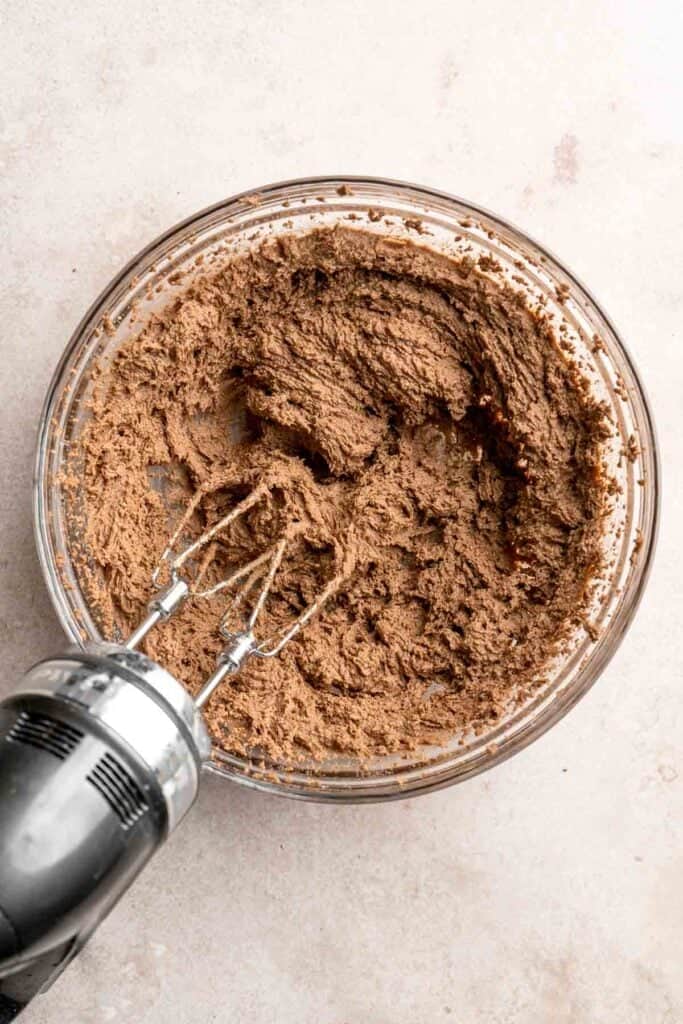
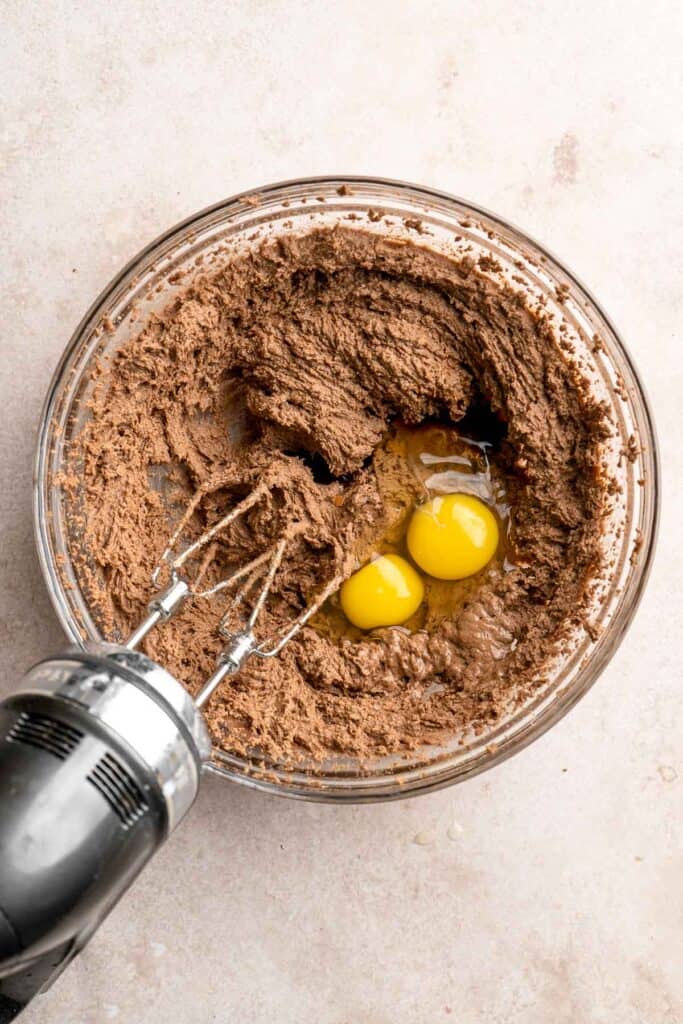
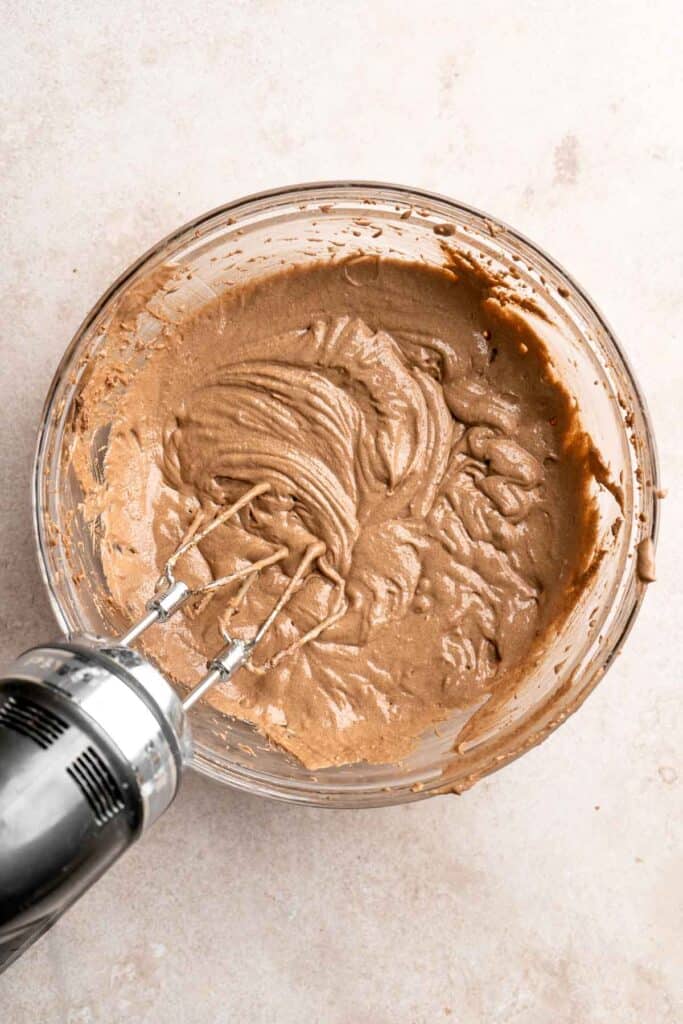
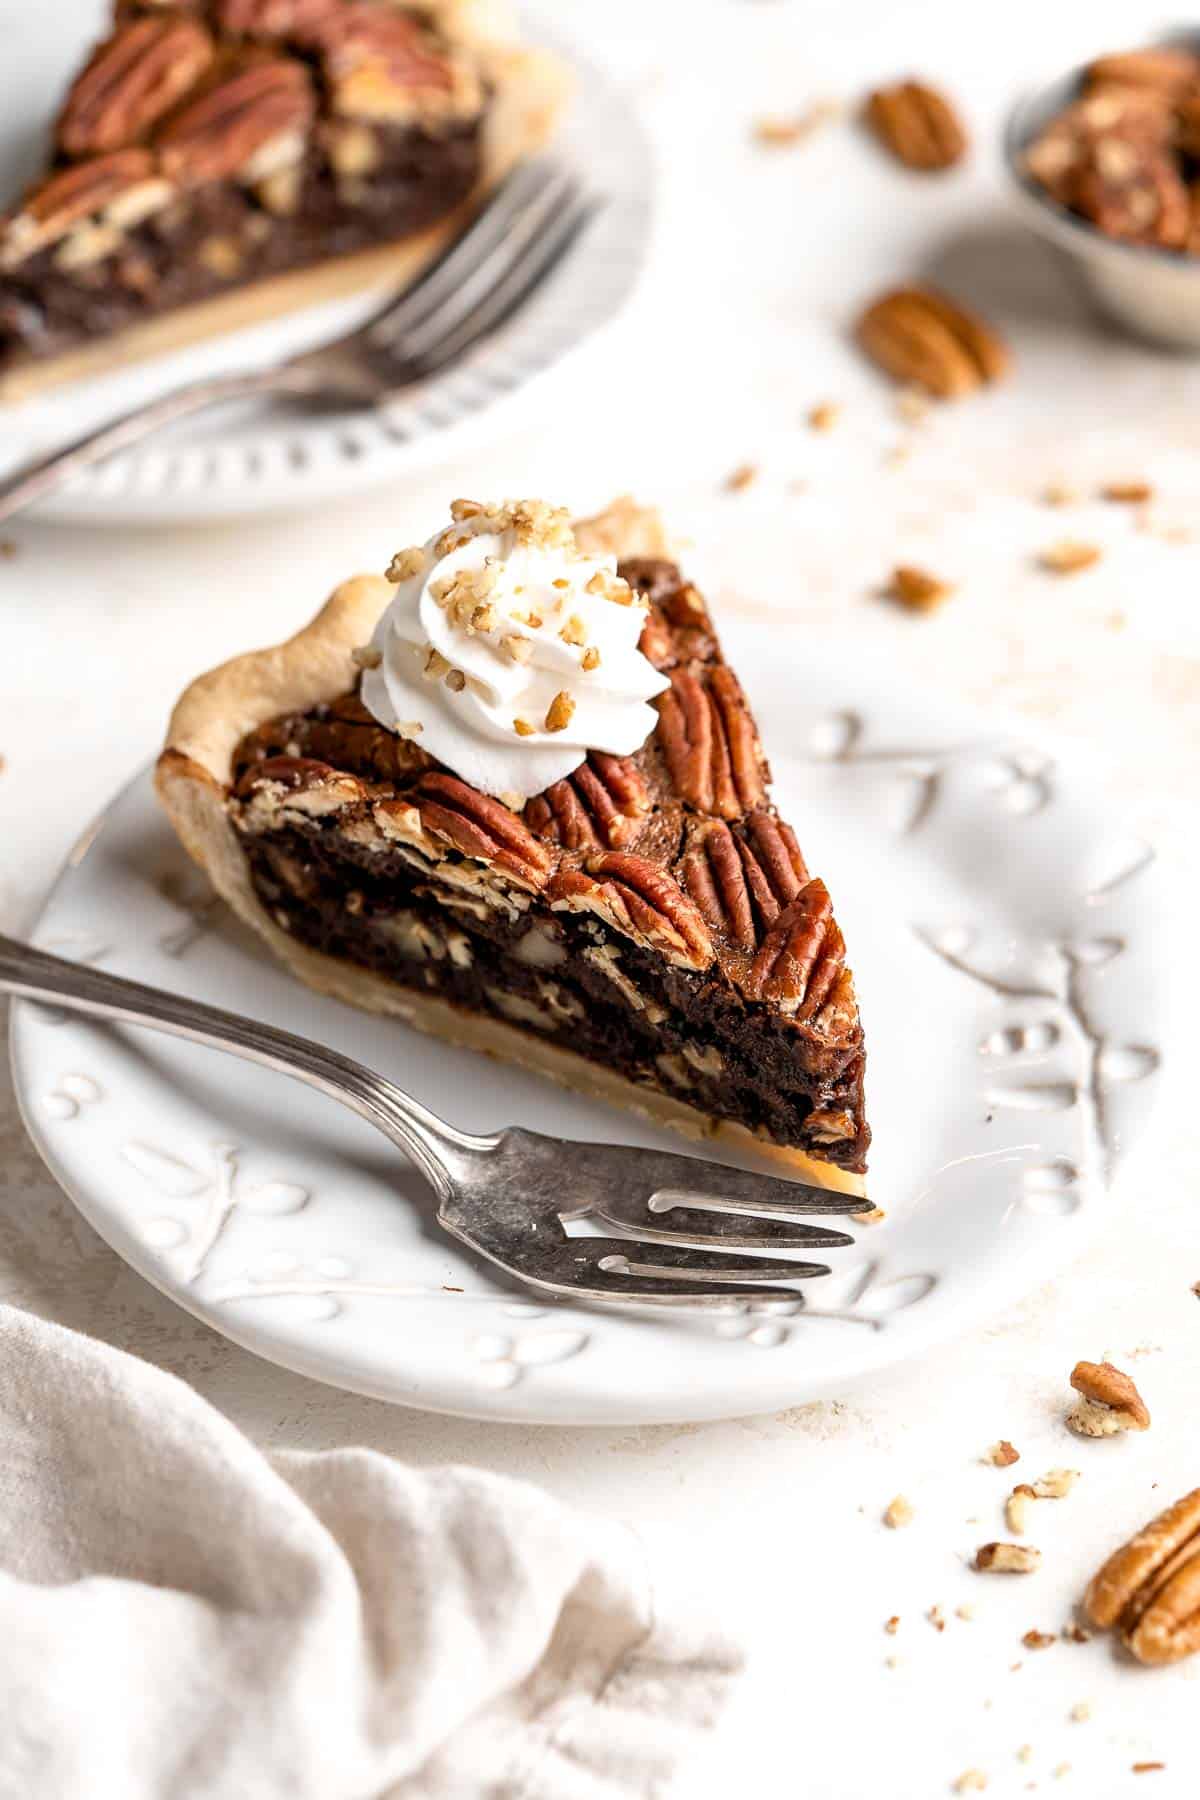
This decadent Chocolate Pecan Pie is a twist on the classic holiday pie with a rich, dark chocolate flavor that pairs wonderfully with toasted pecans.
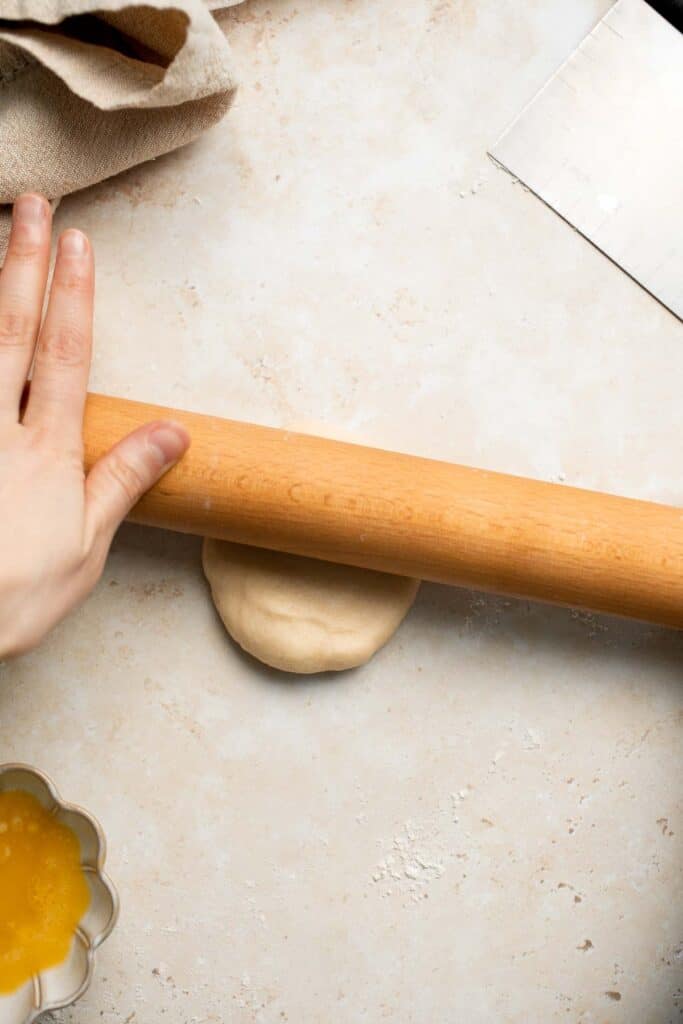
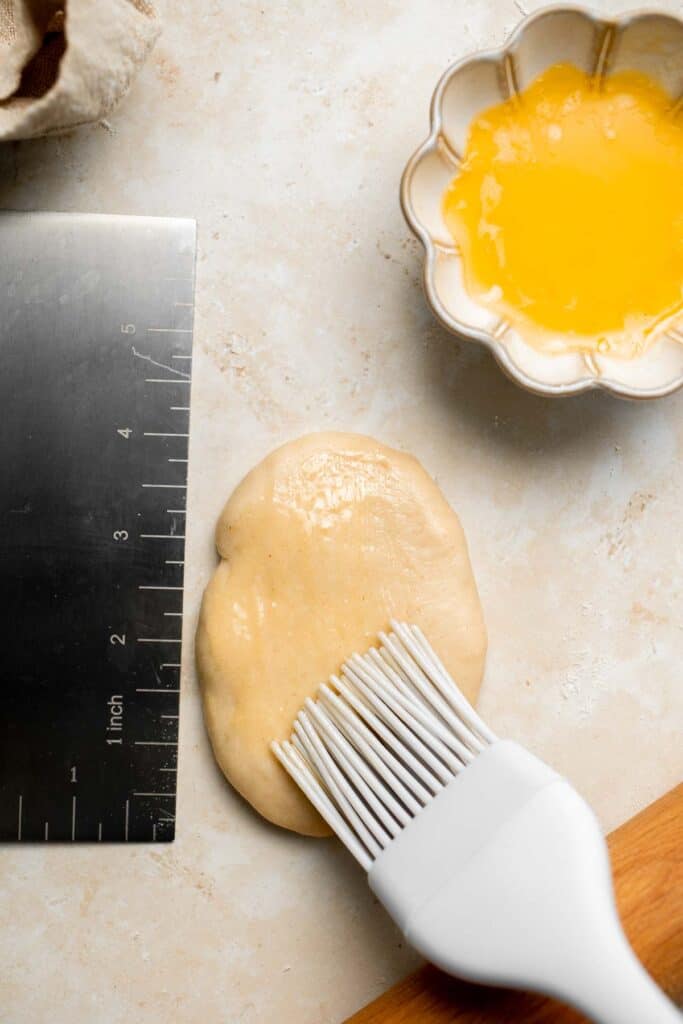
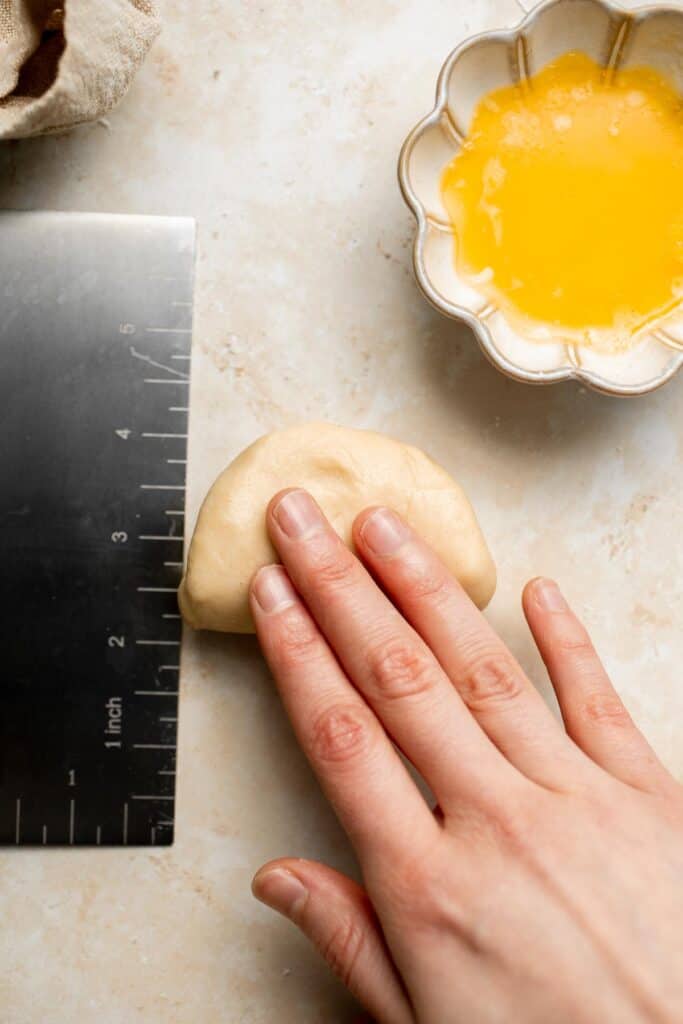
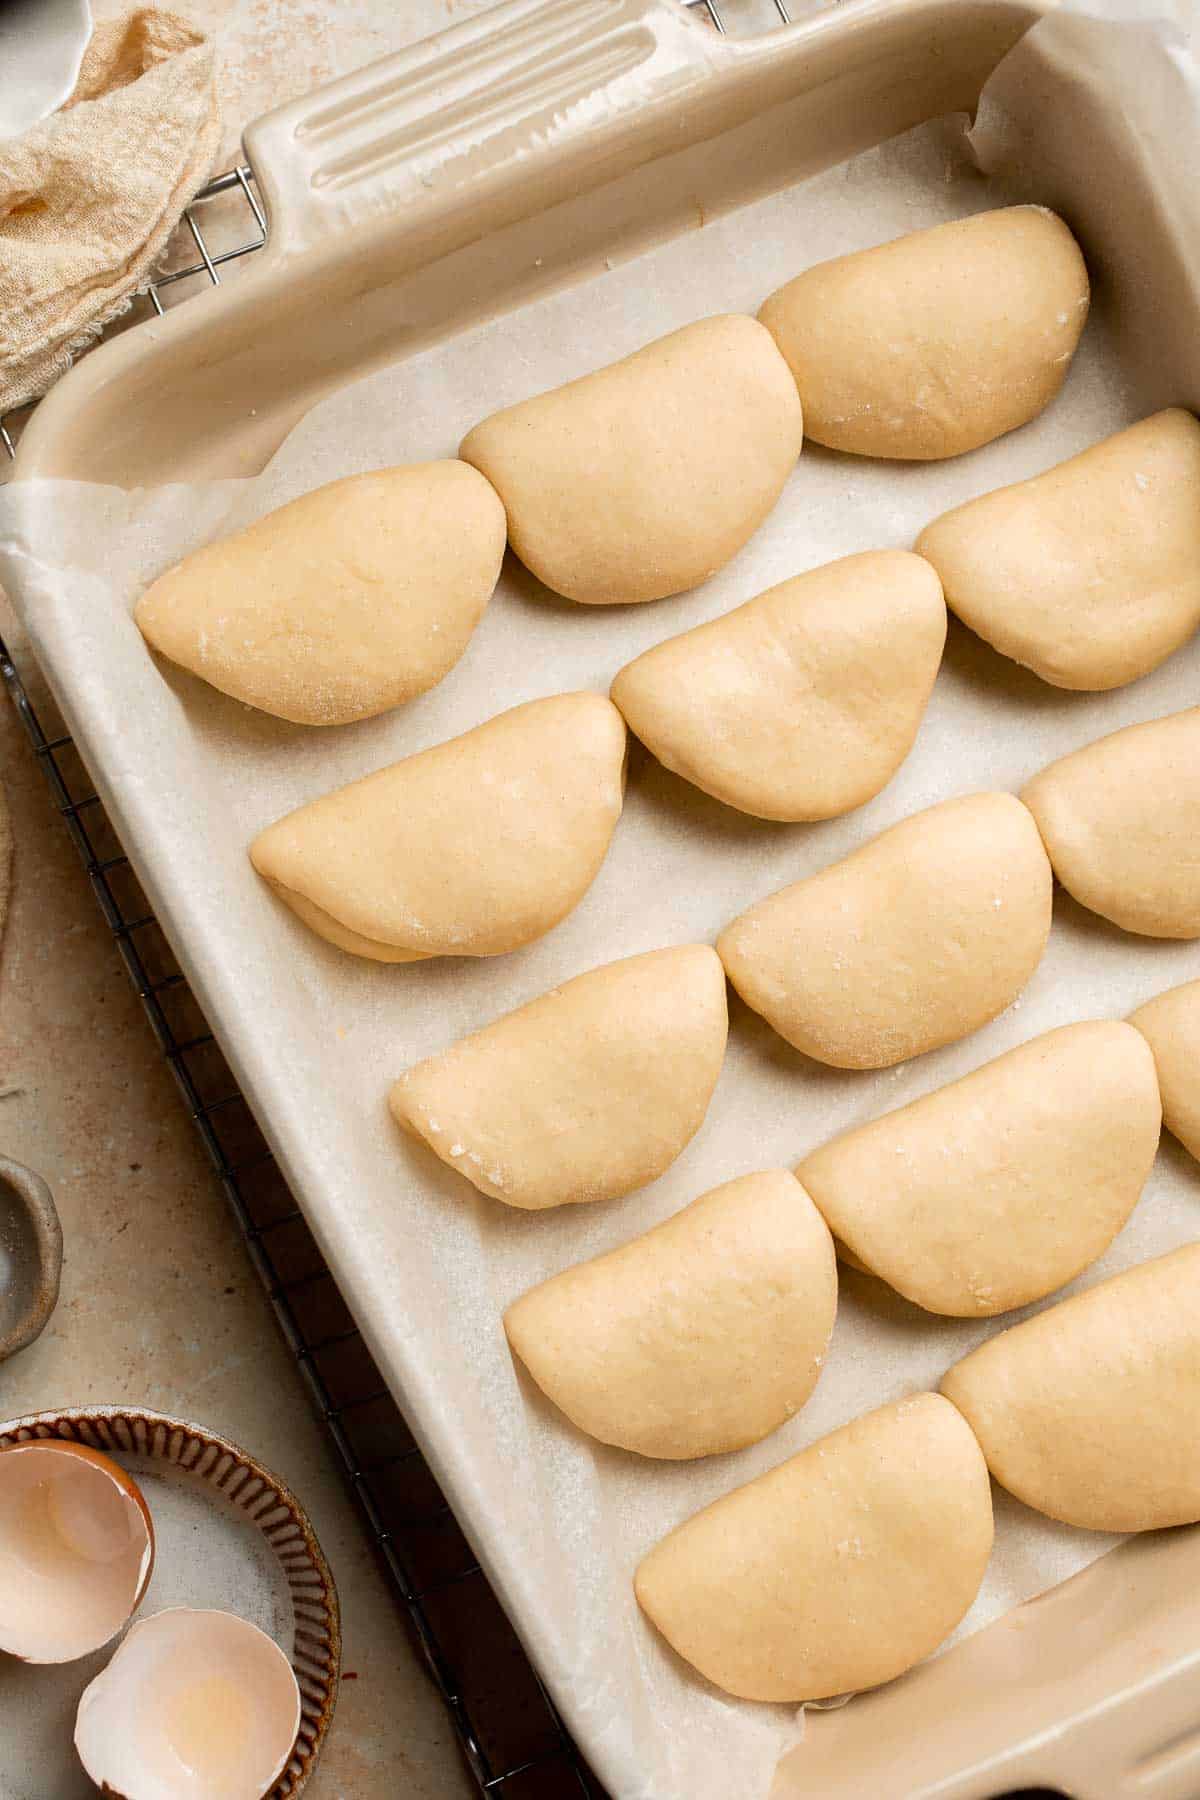
With a buttery, flaky crust and spiced sweet apple filling, these homemade Apple Turnovers are hands down one of the best ways to enjoy this seasonal fruit.

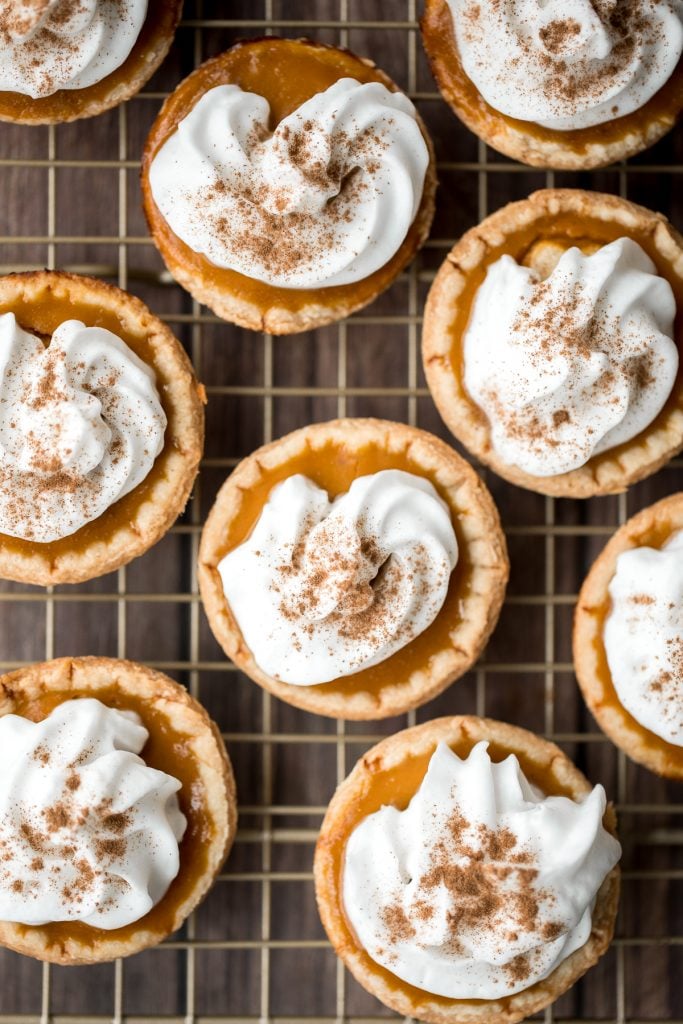
Small batch mini pumpkin pies with a flaky crust, delicious pumpkin pie filling, and cinnamon whipped cream, are perfect for a small Thanksgiving crowd.
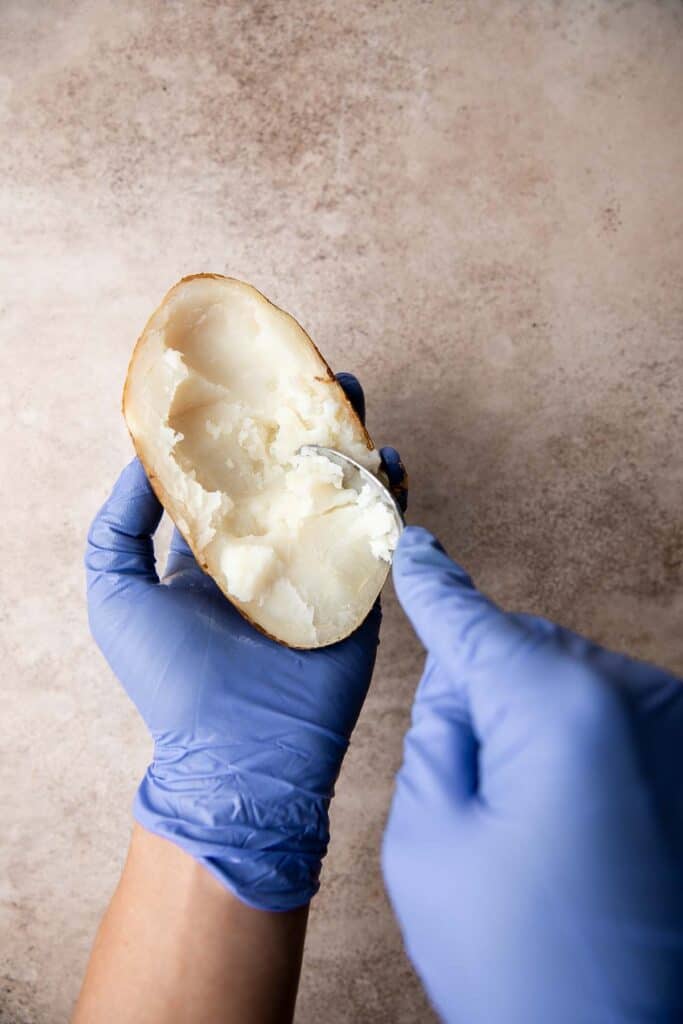
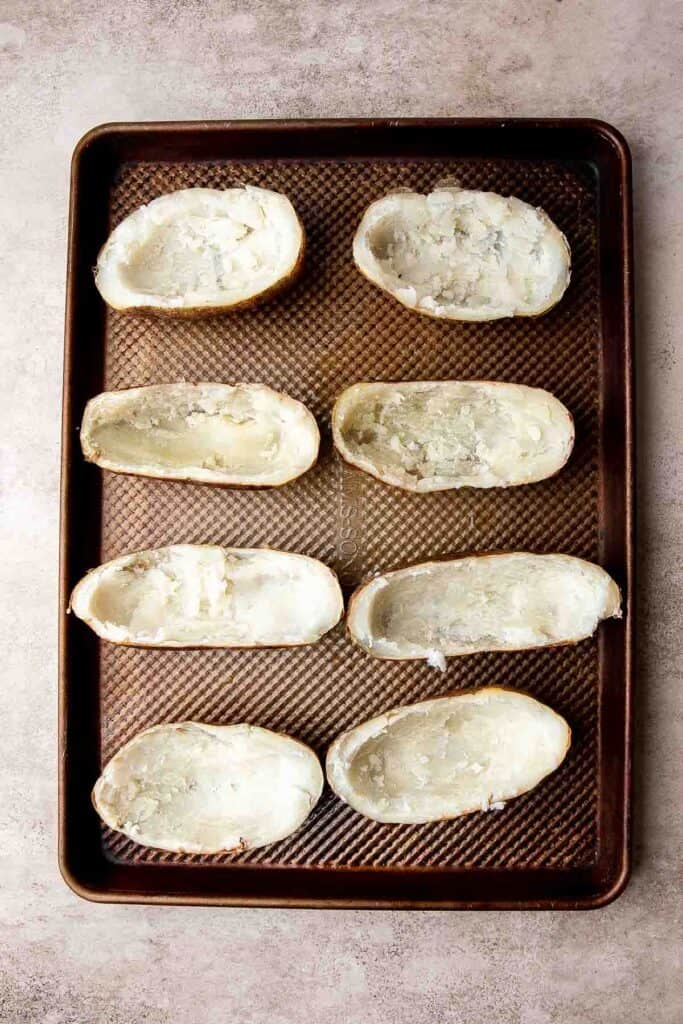
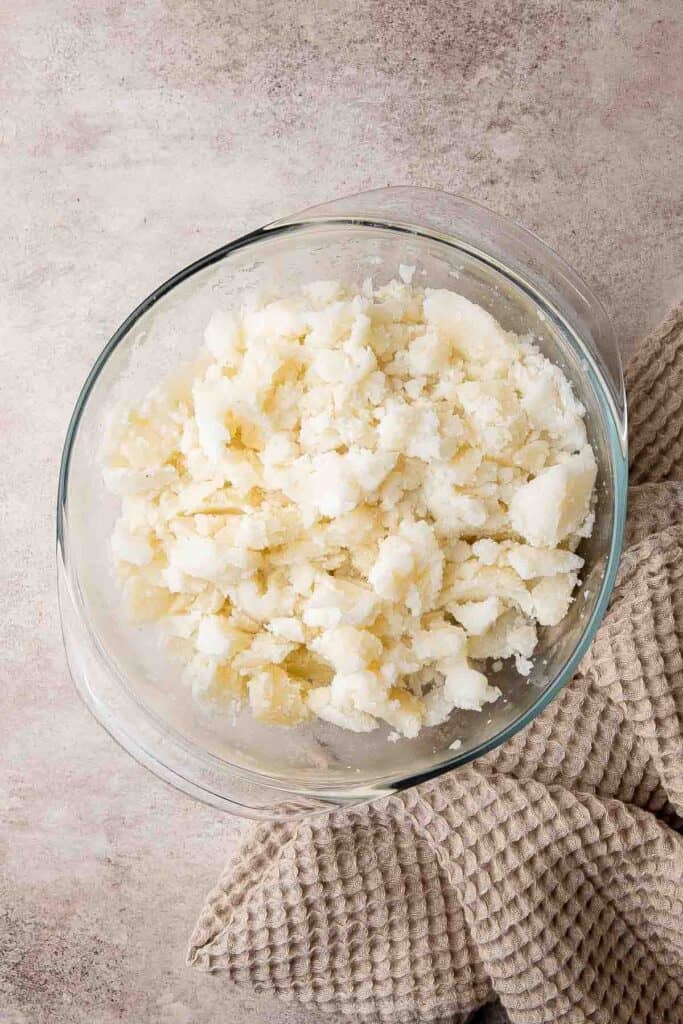
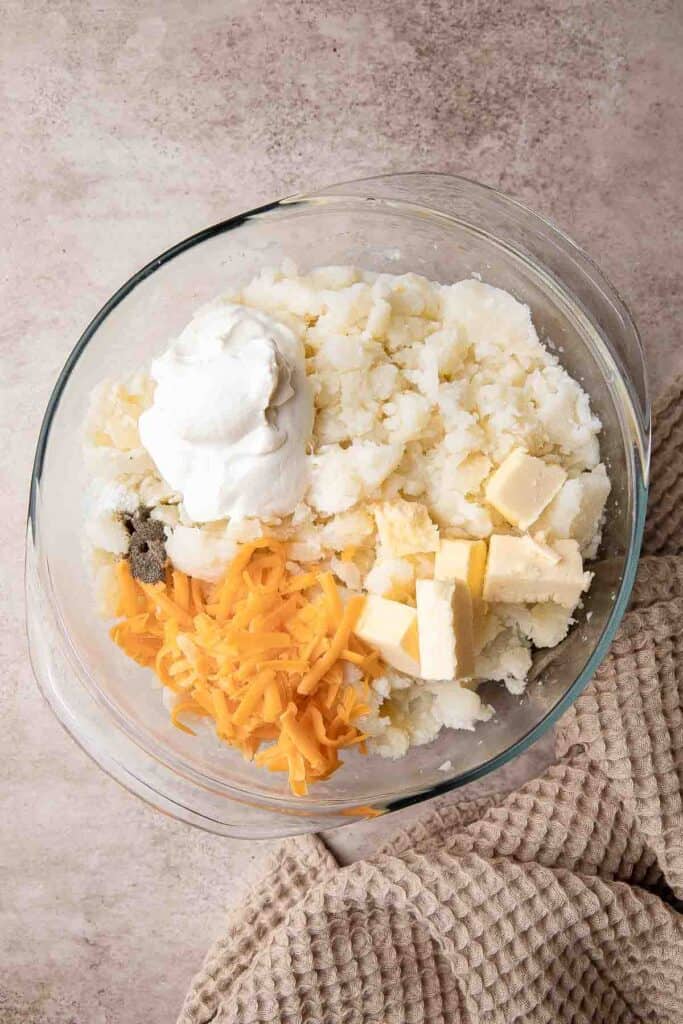
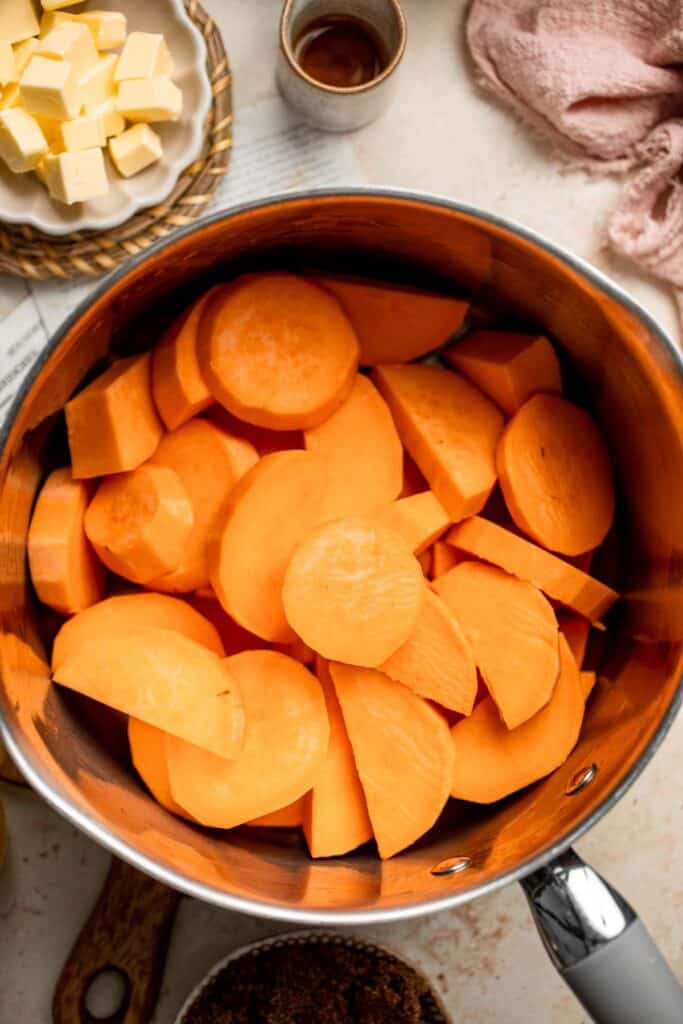
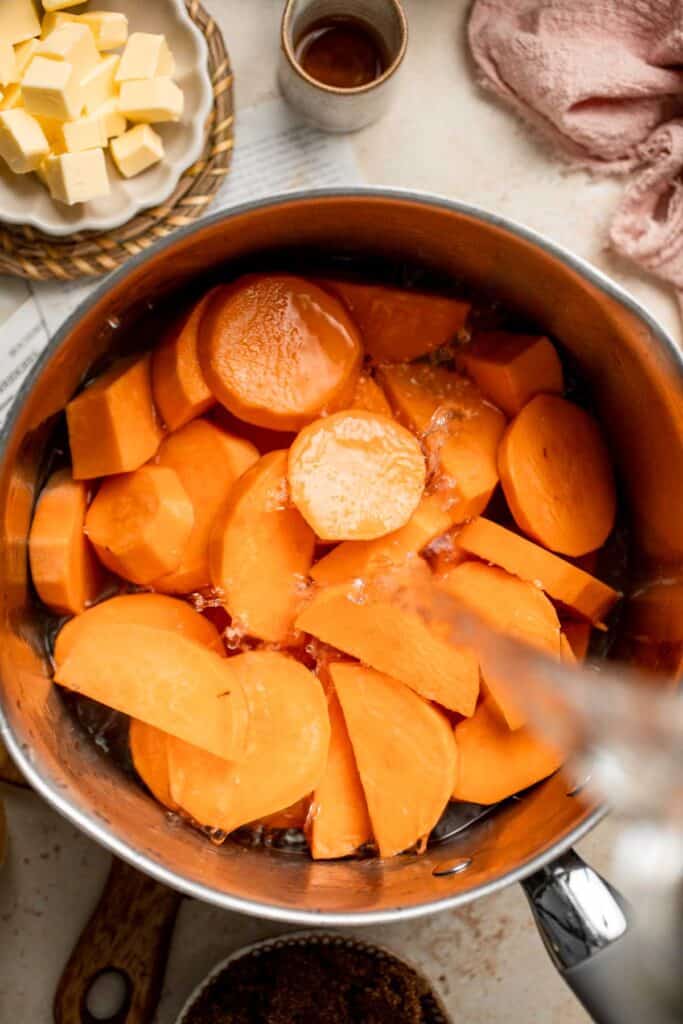
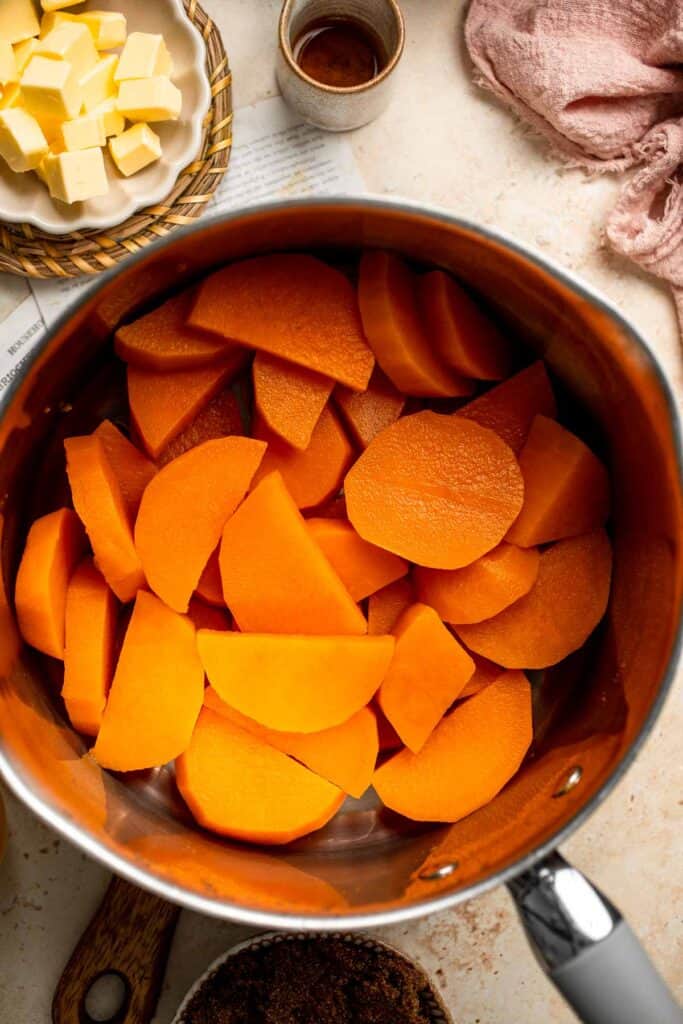
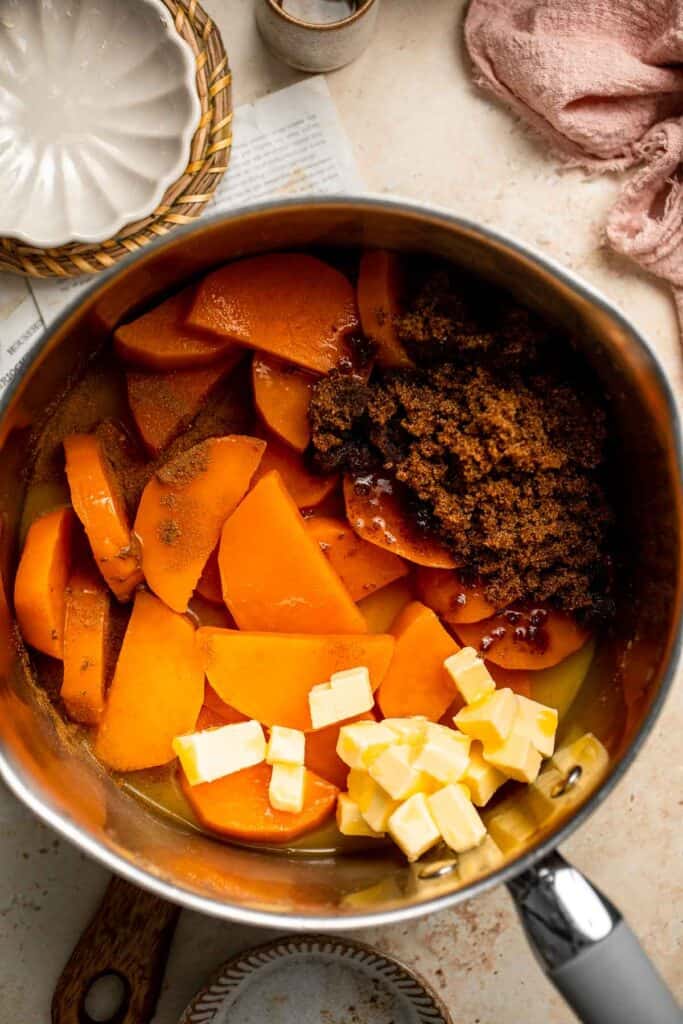
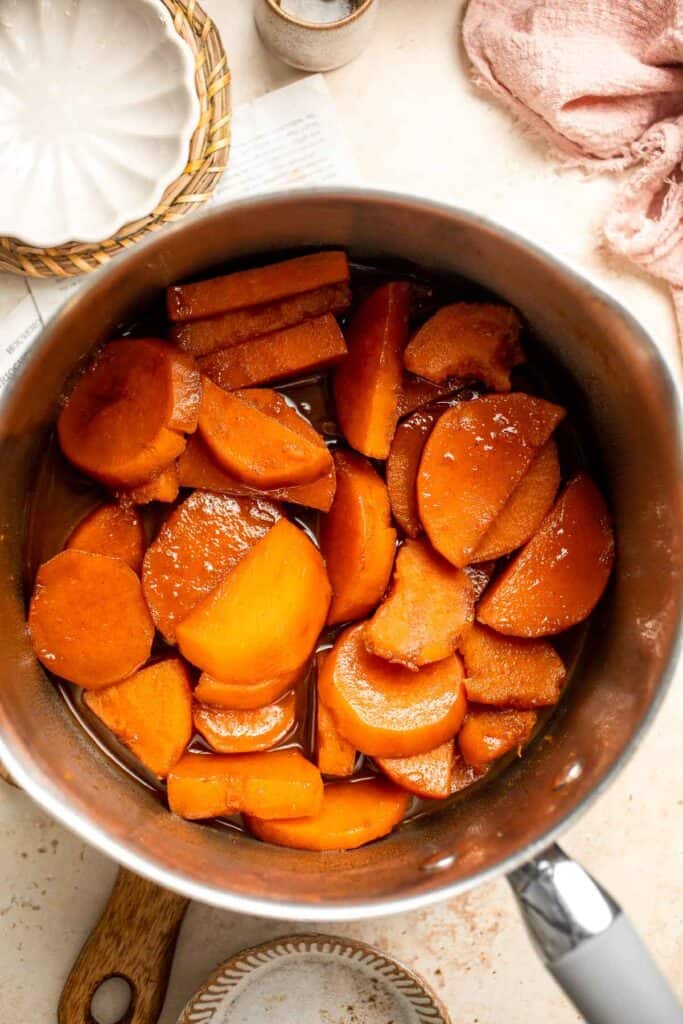
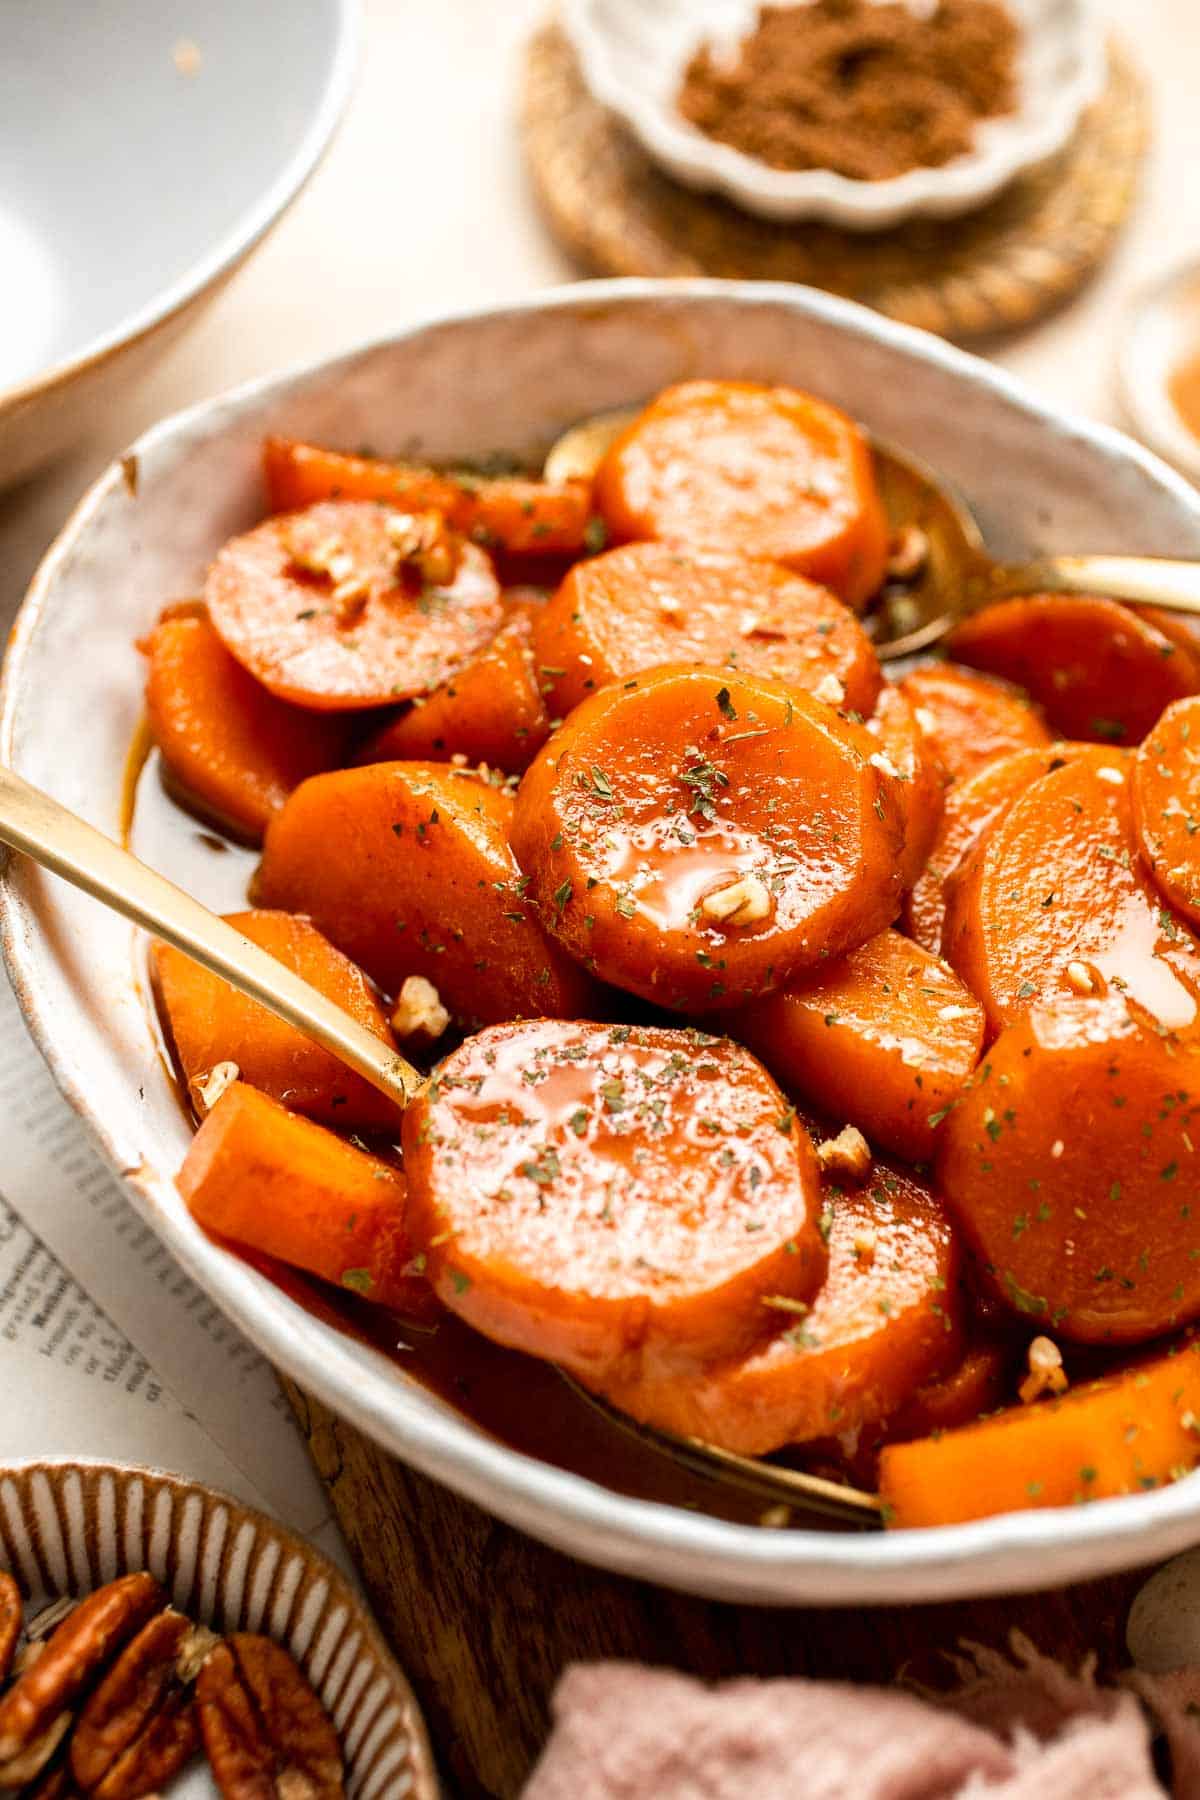
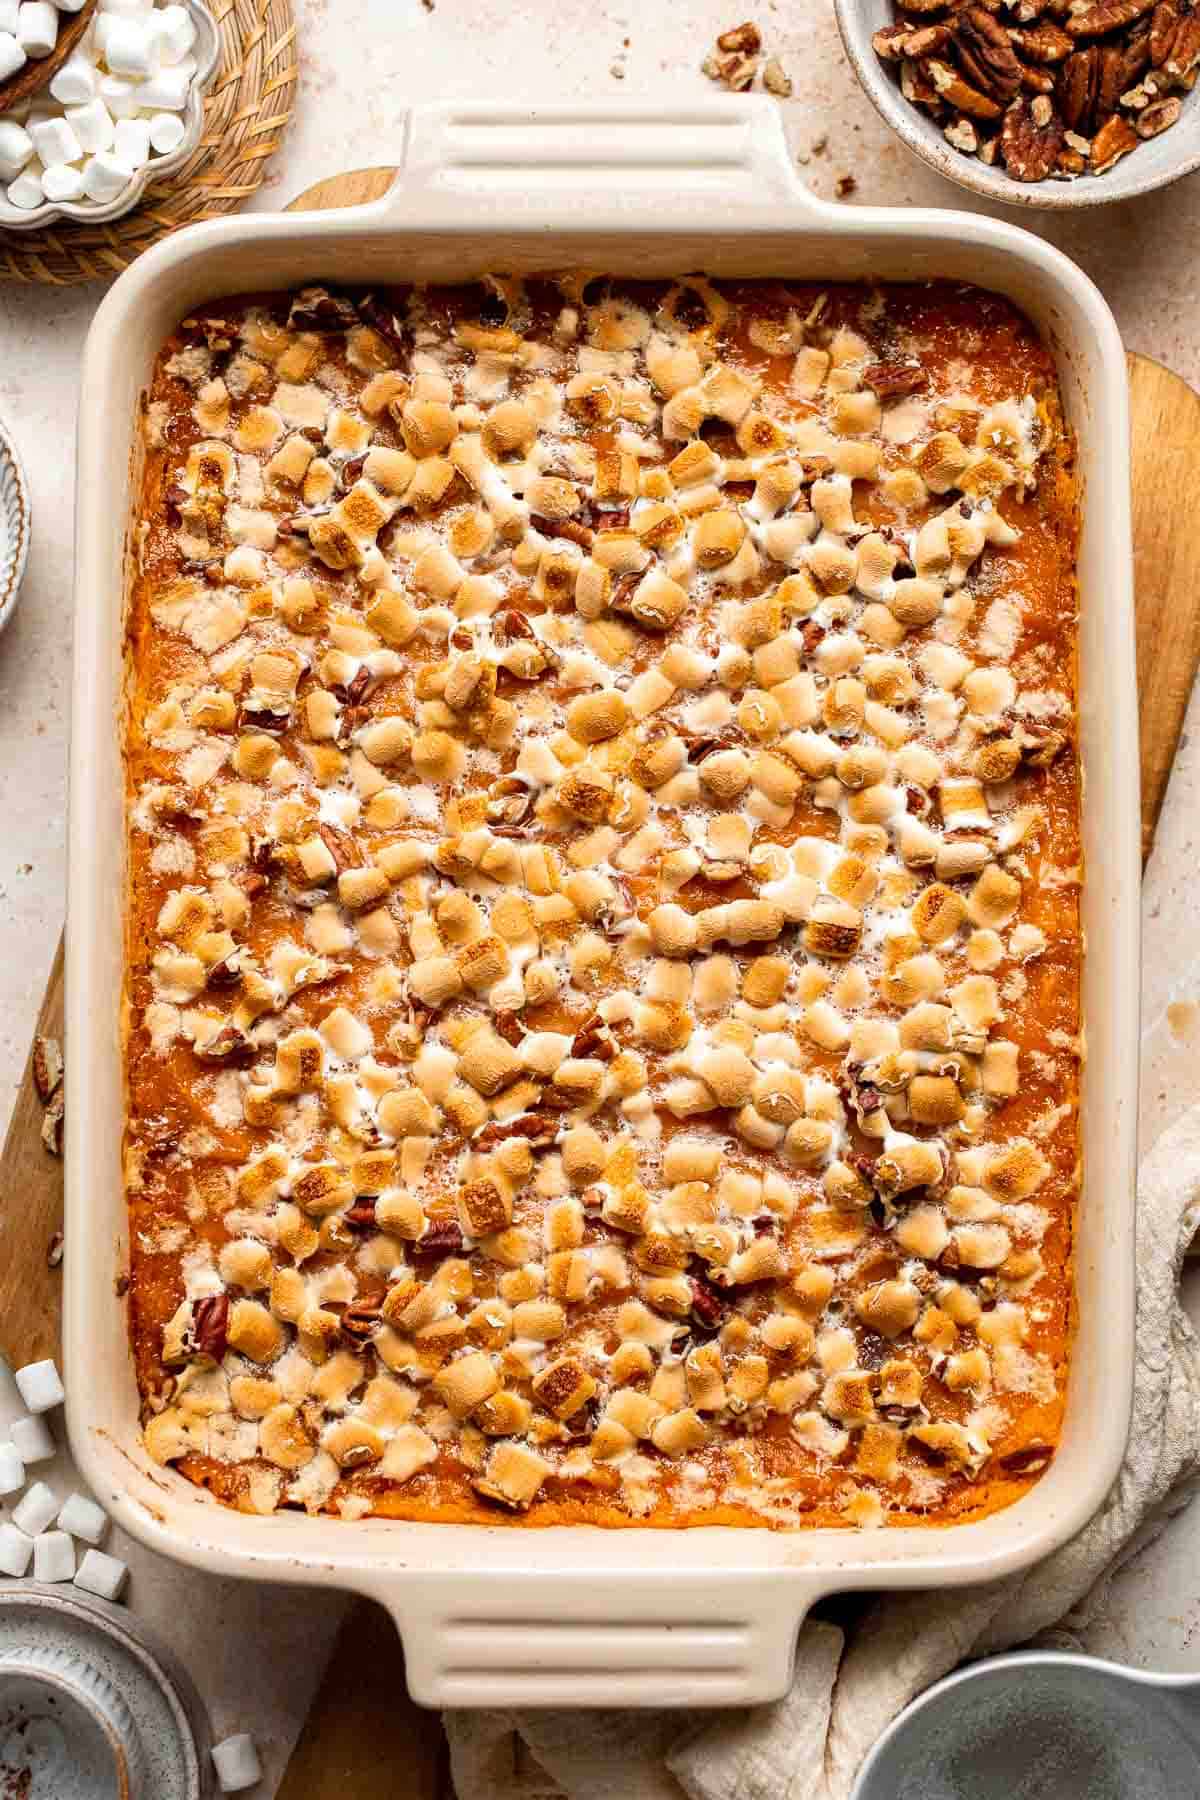
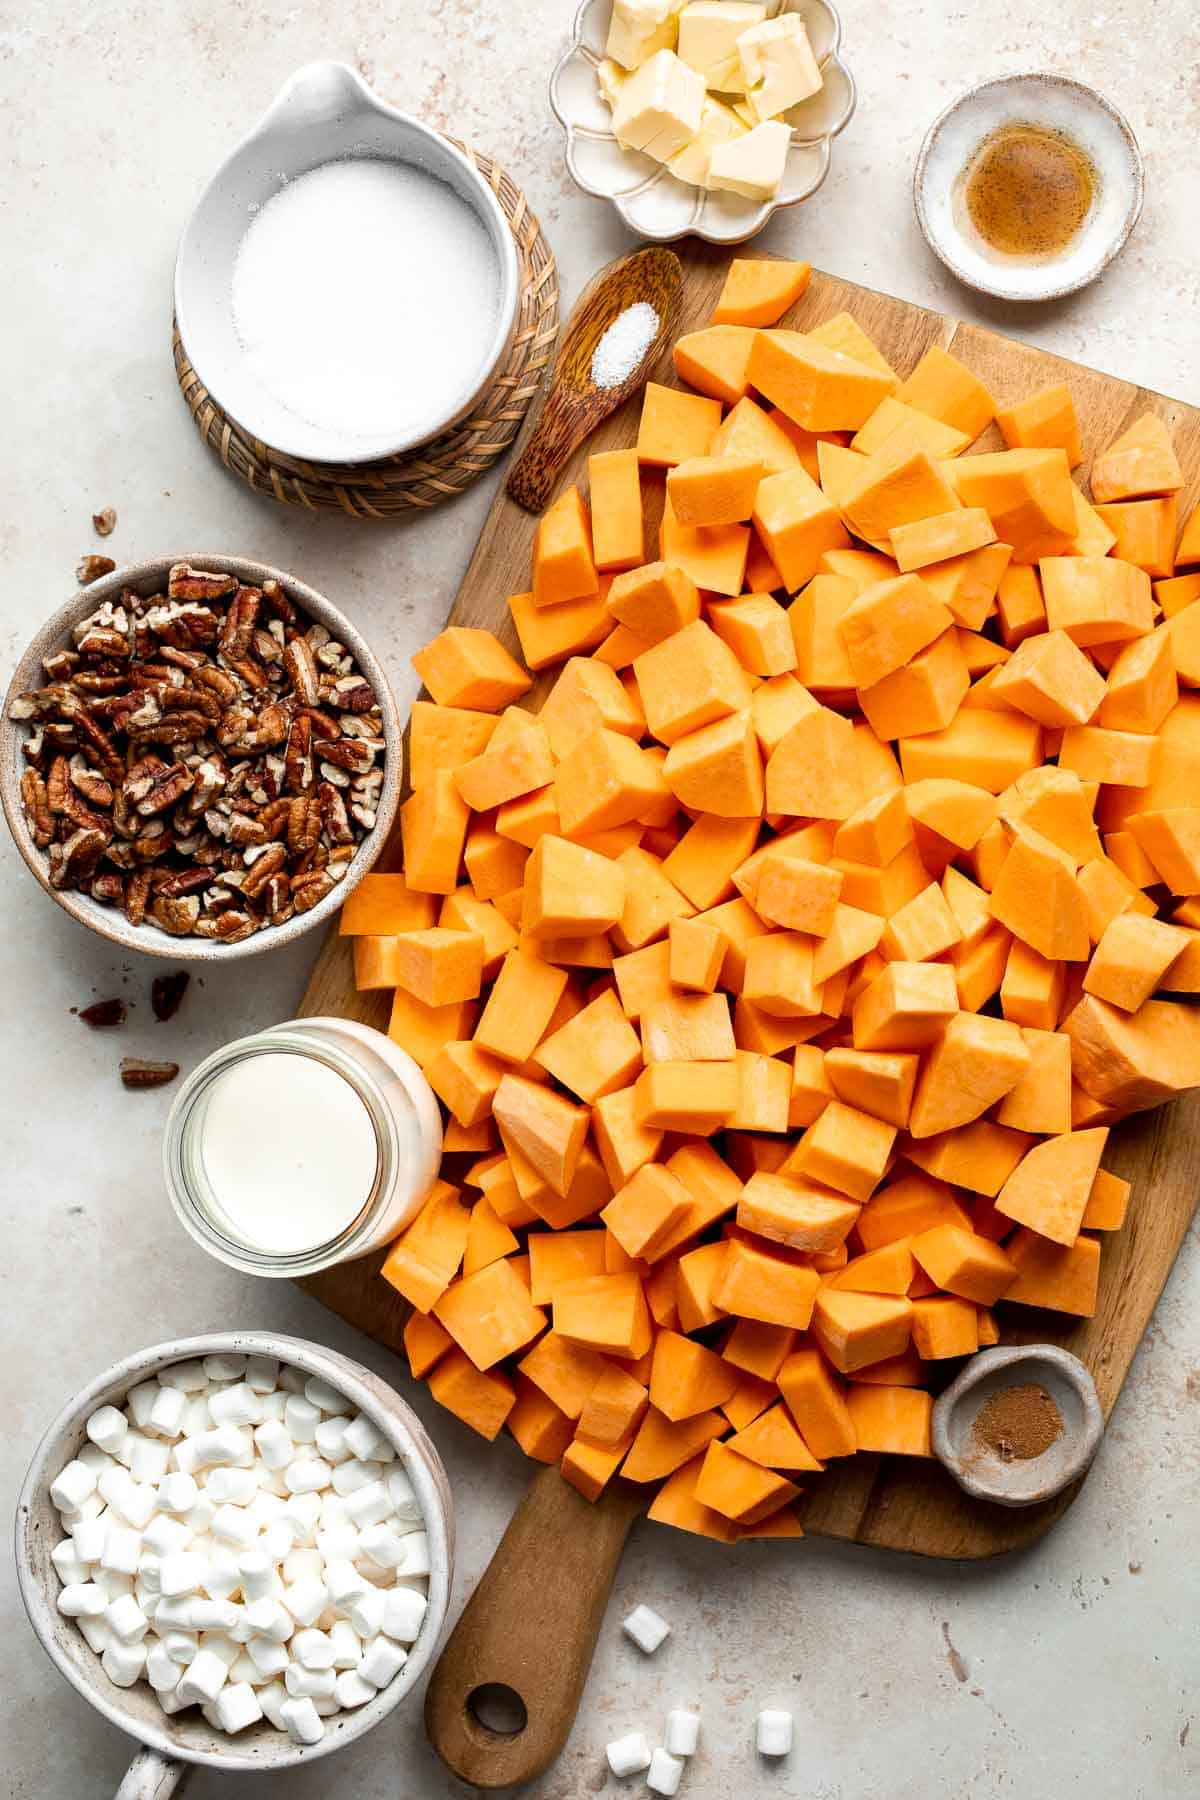
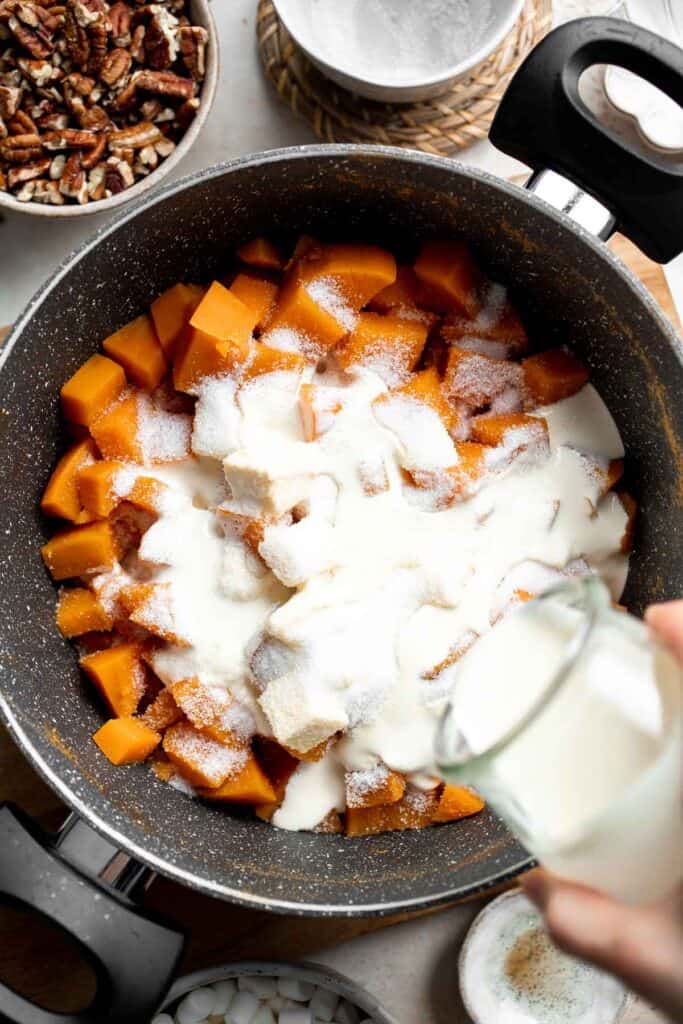
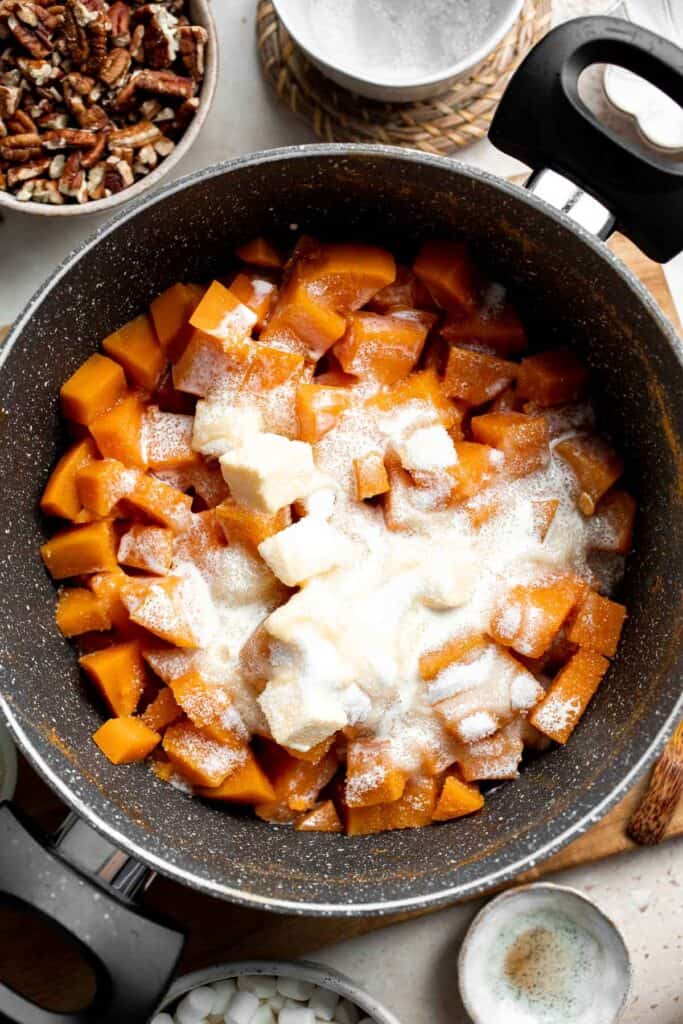
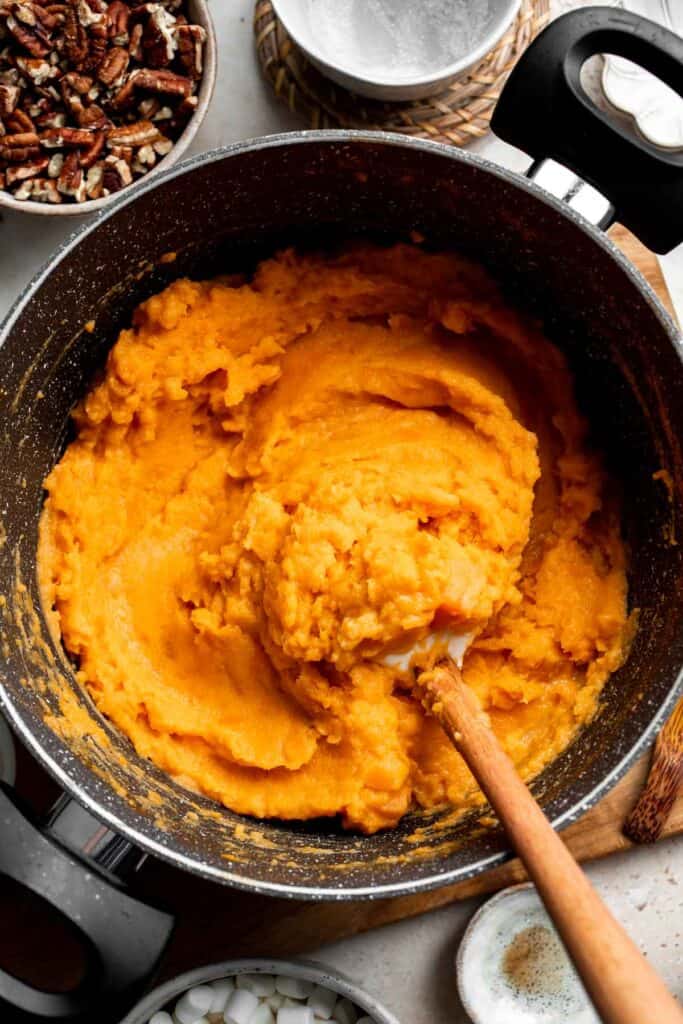
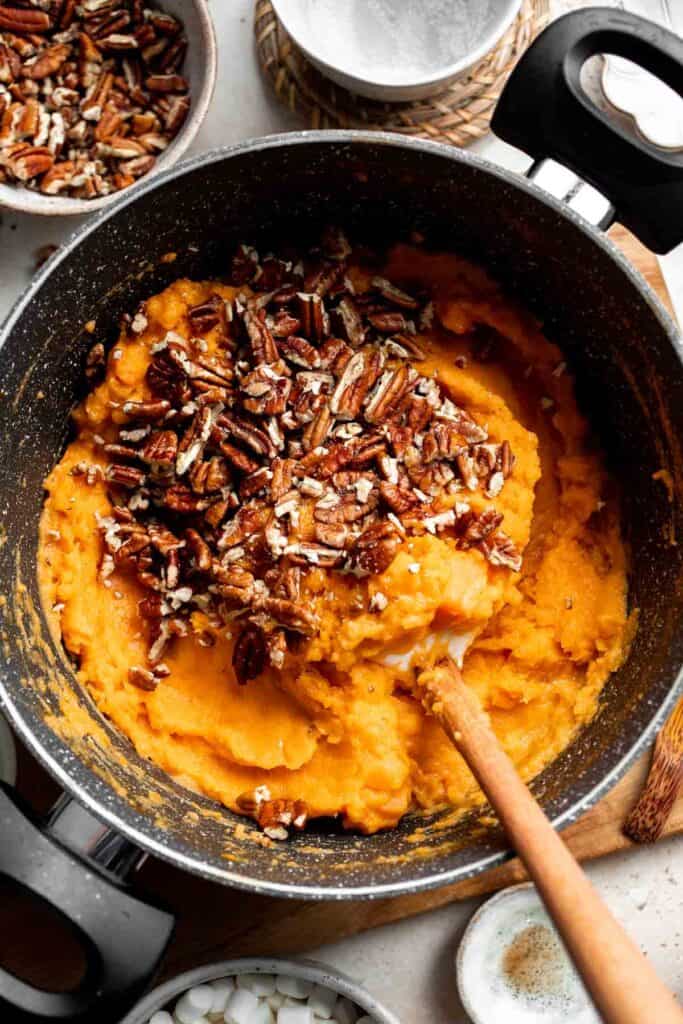
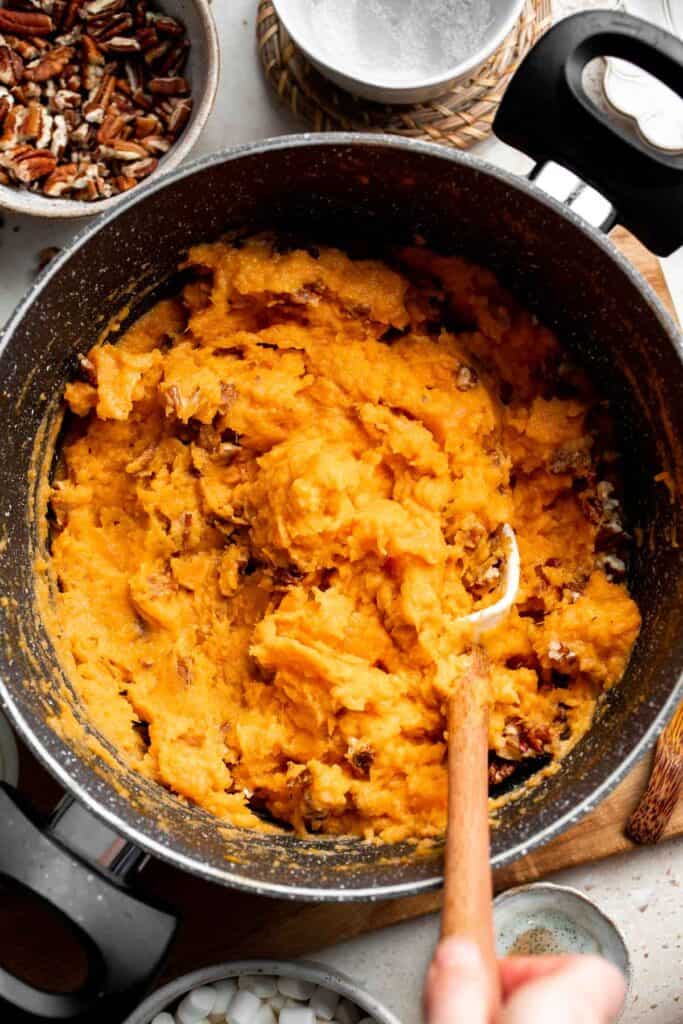
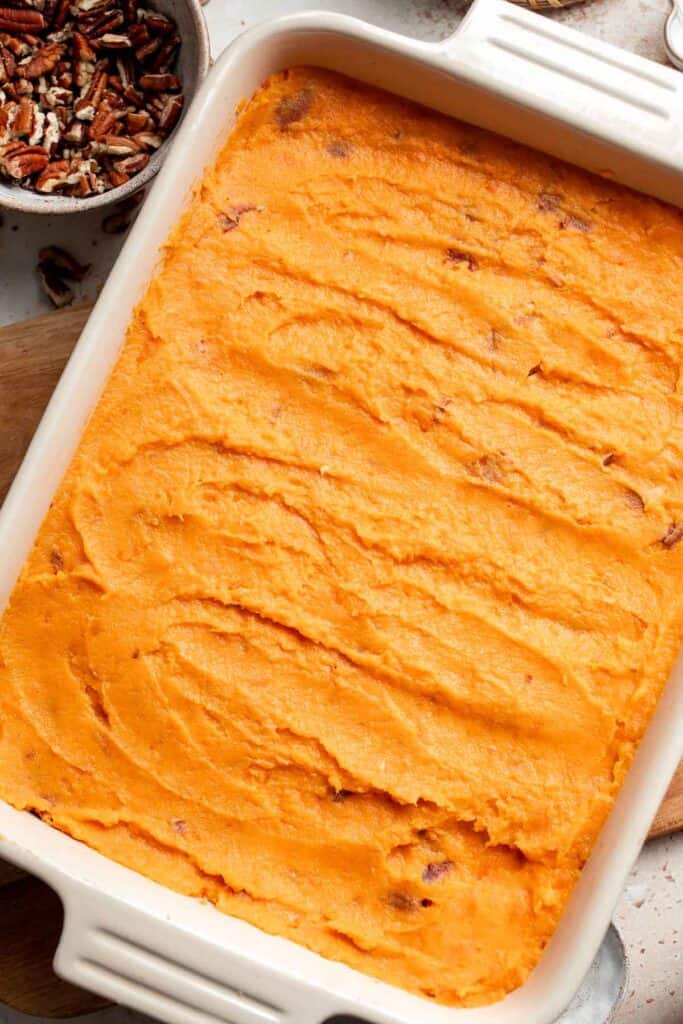
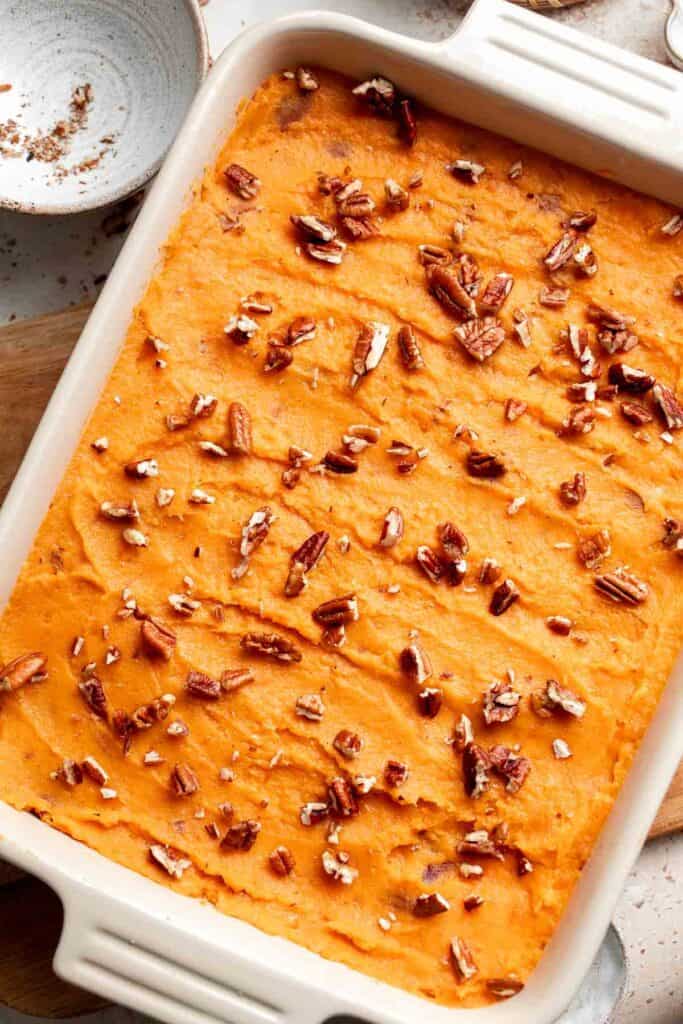
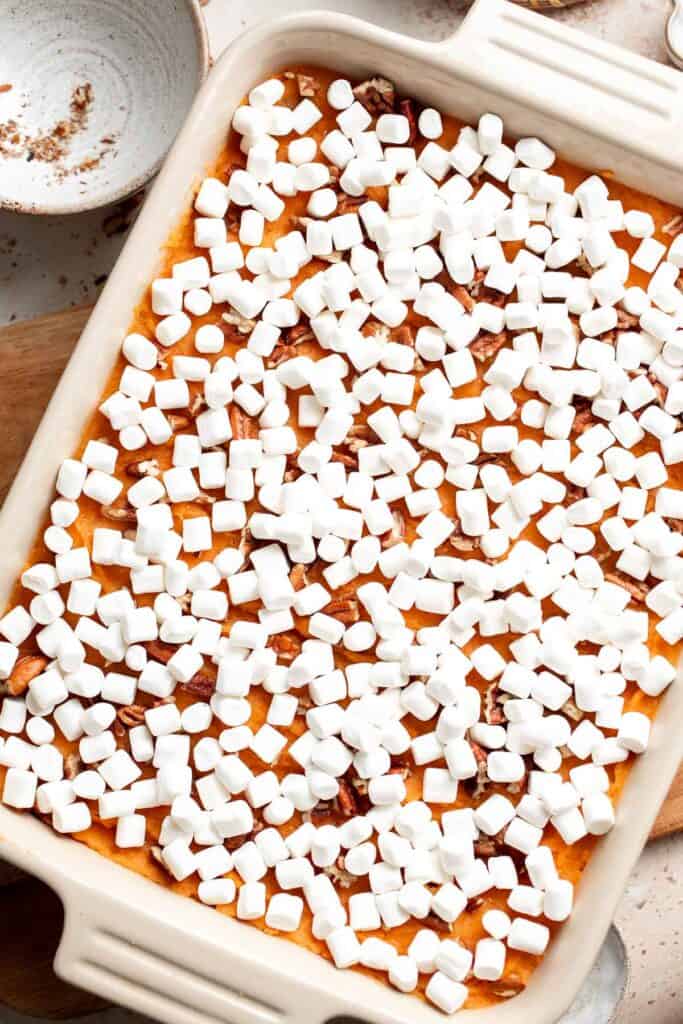
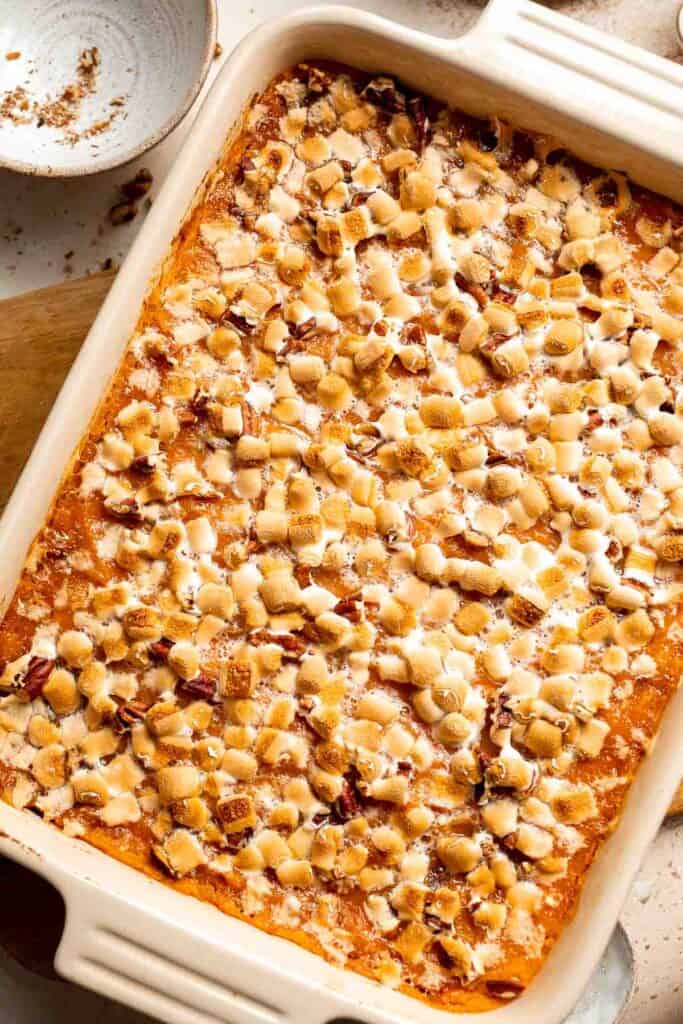
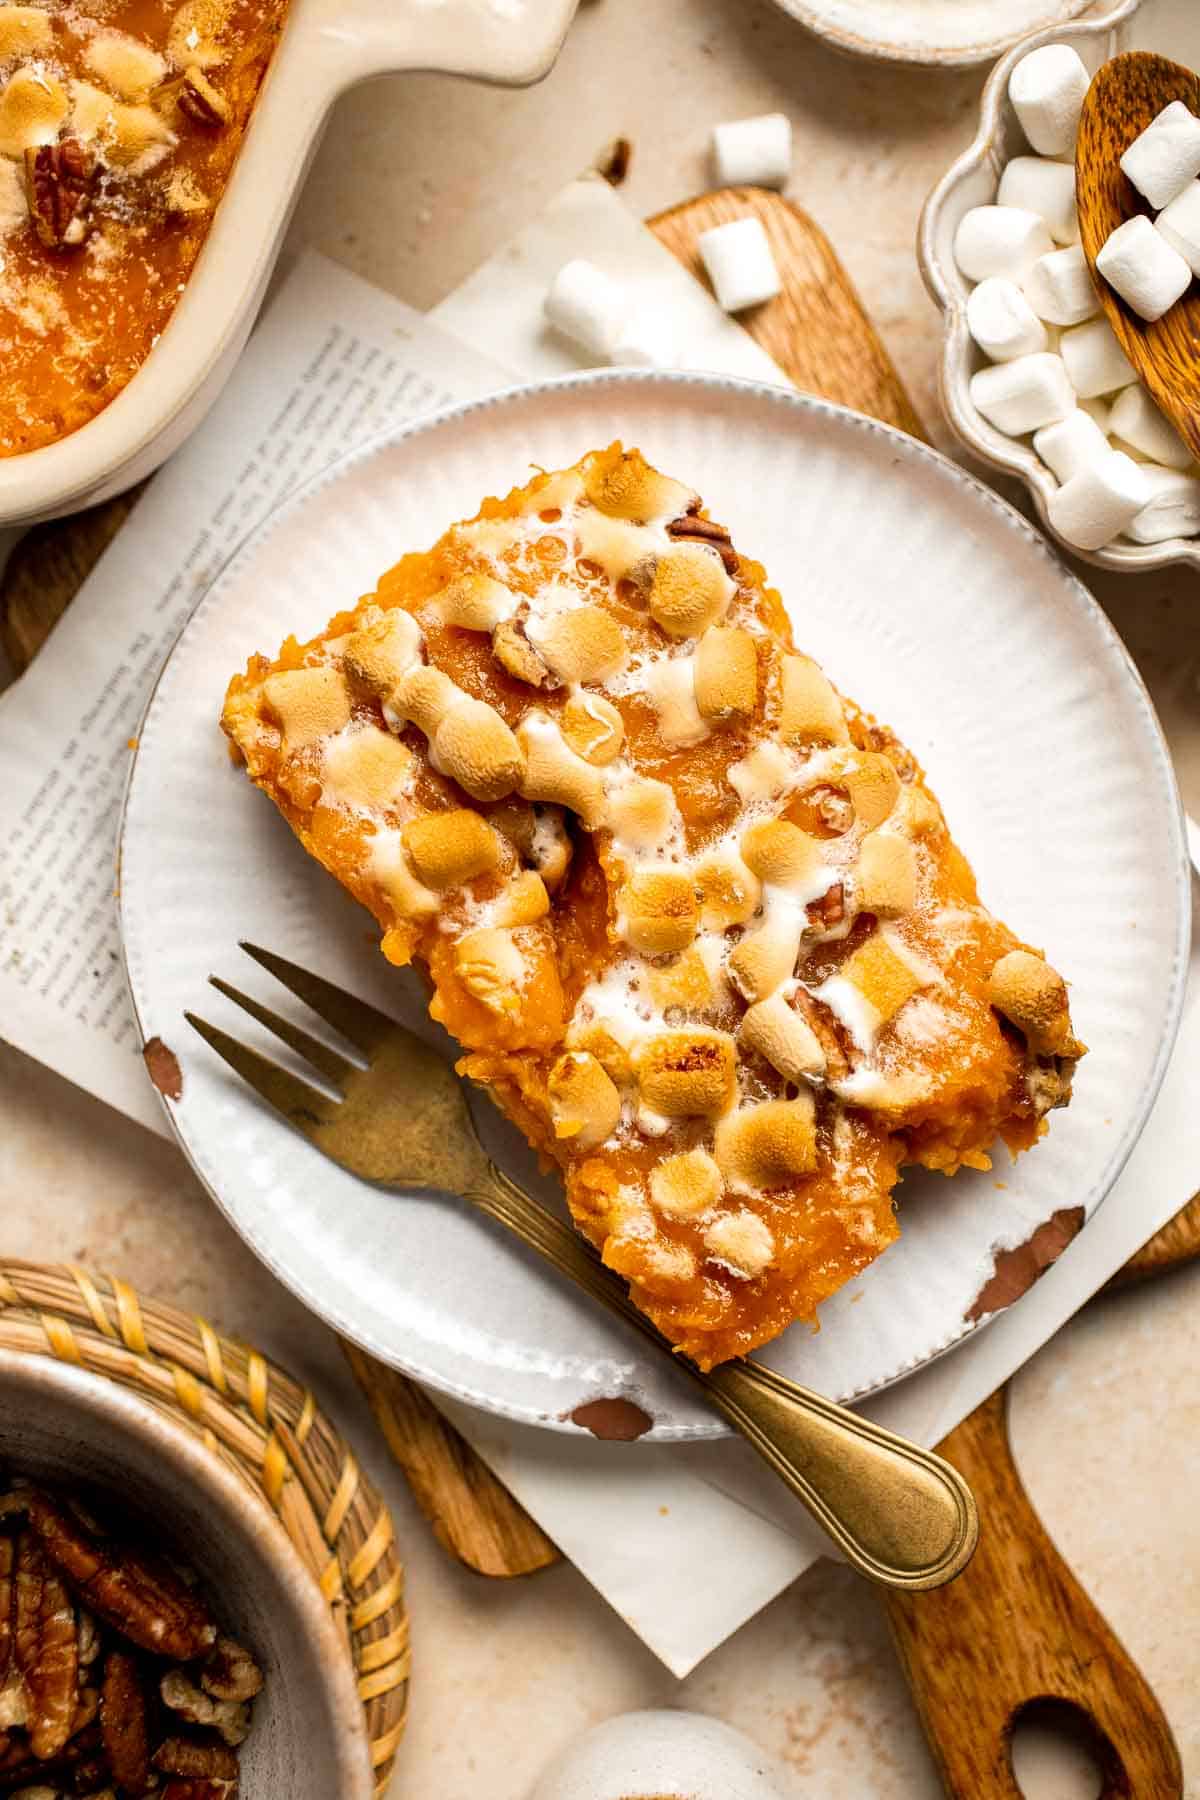
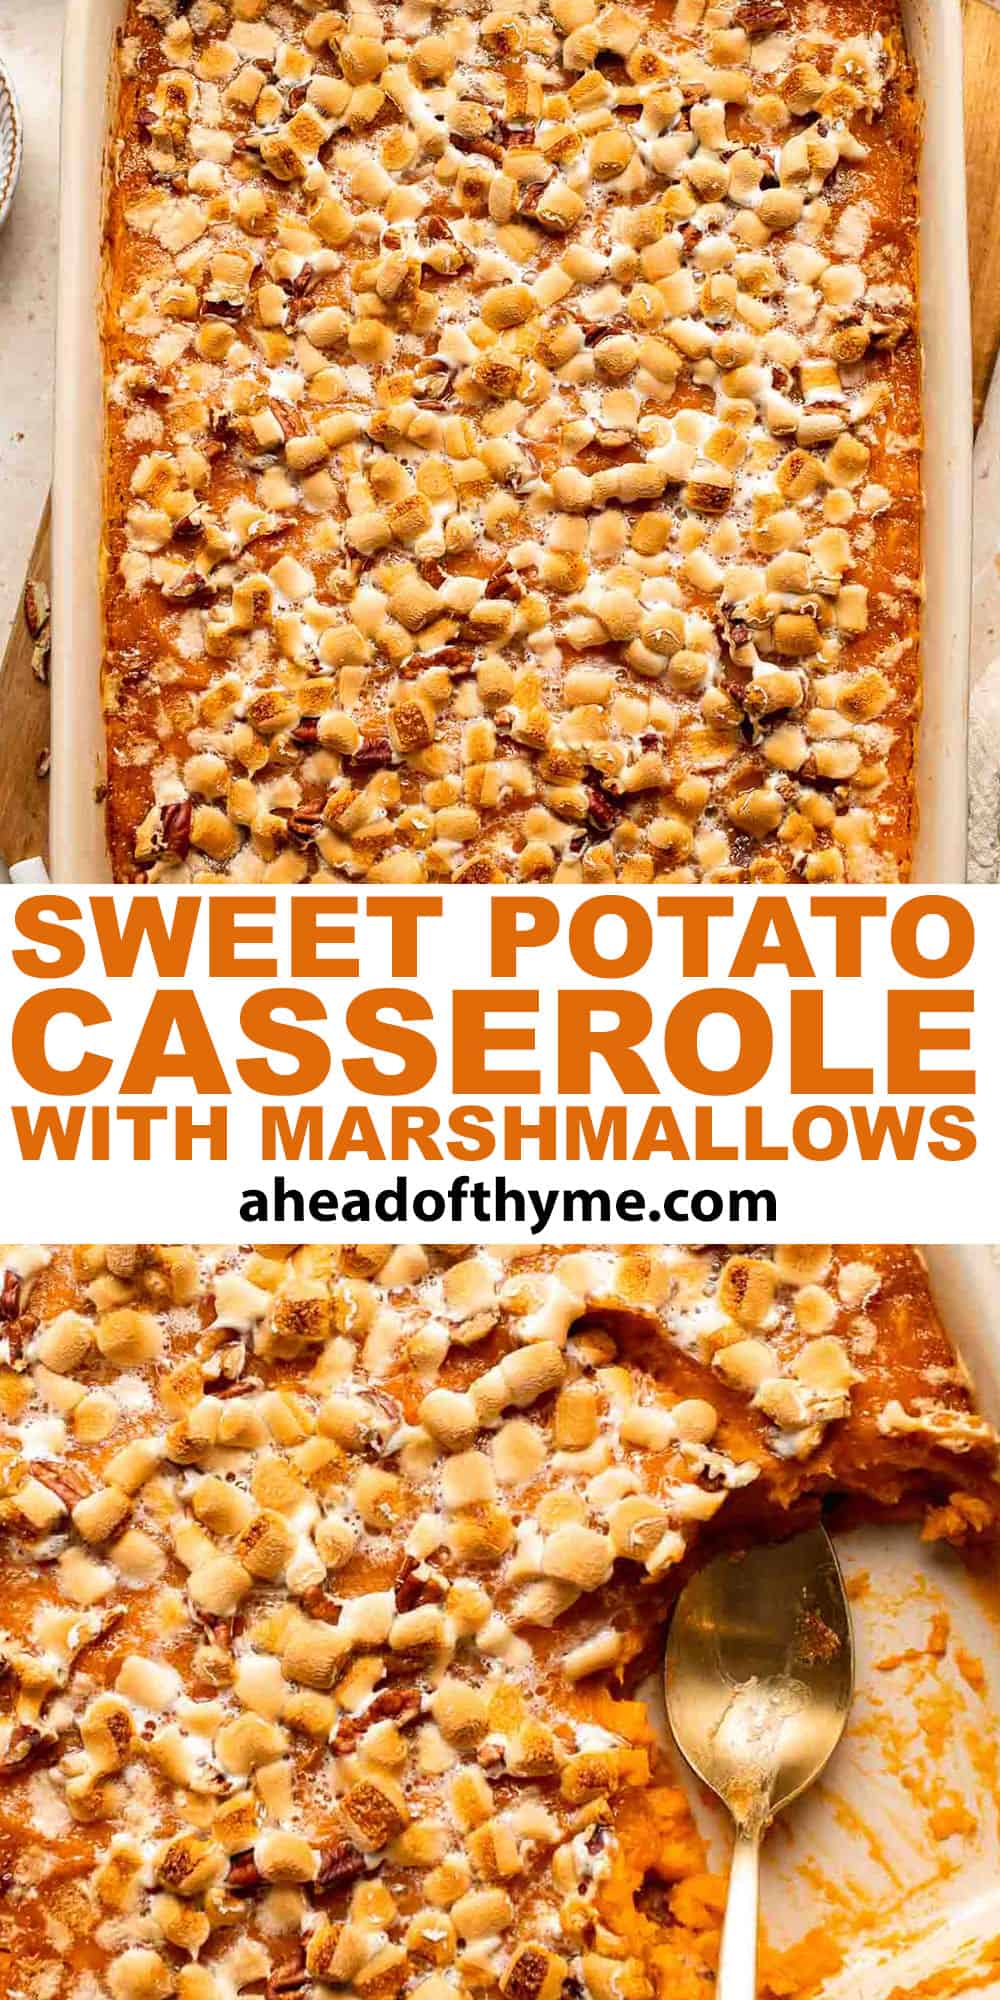
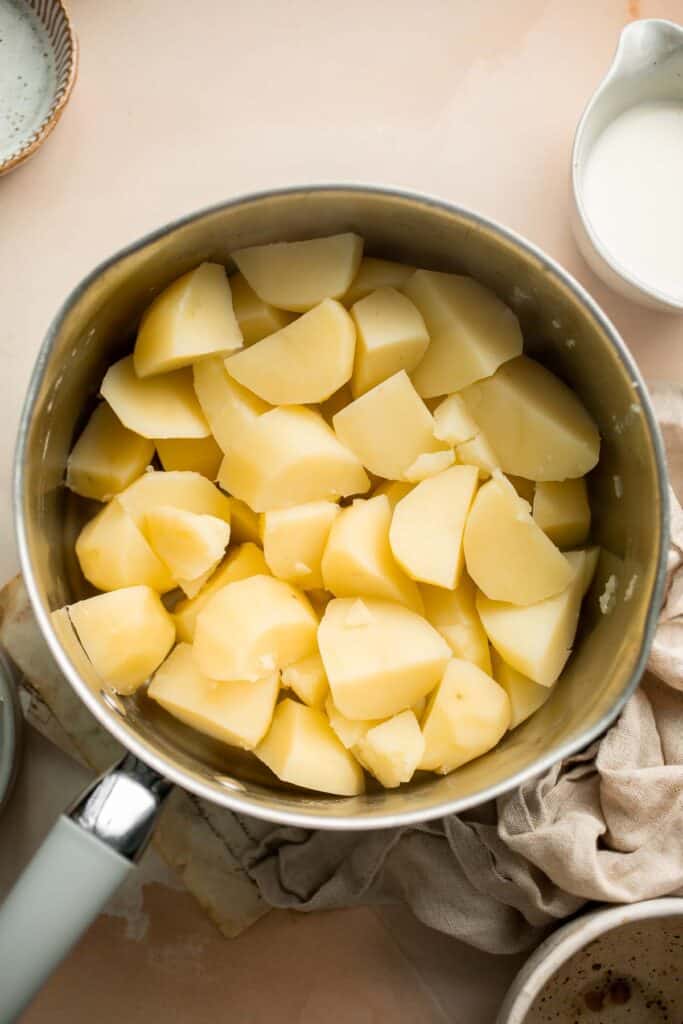
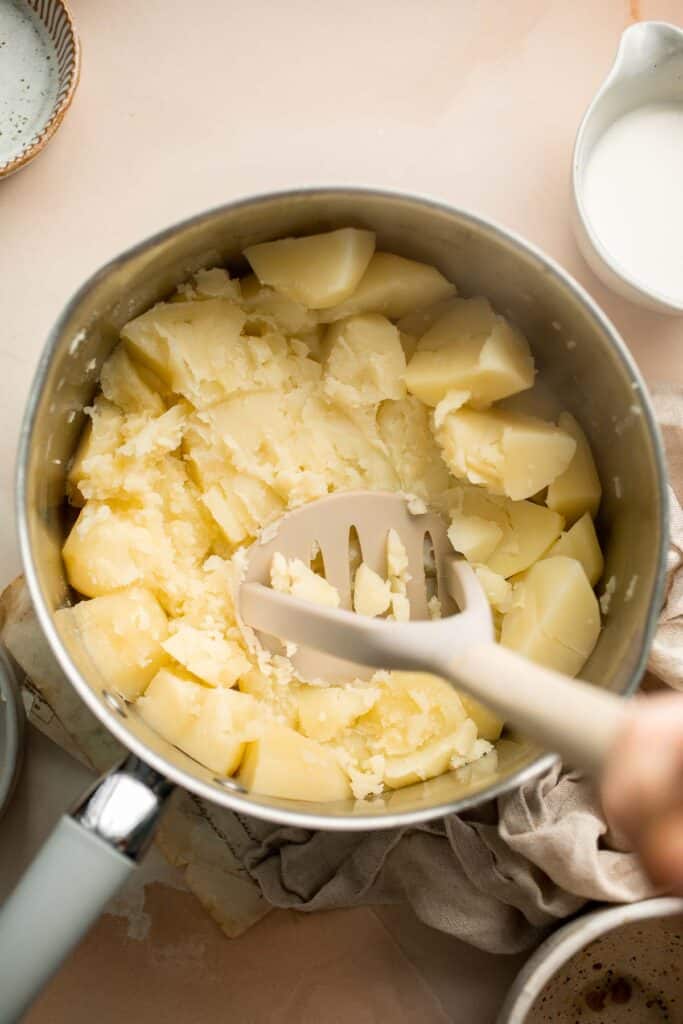
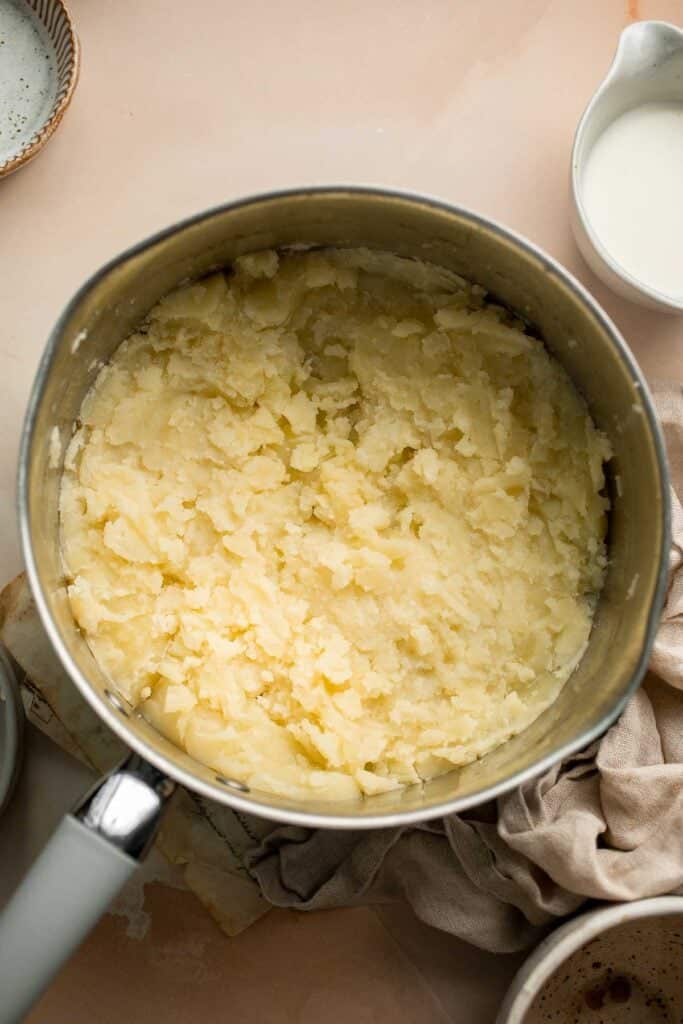
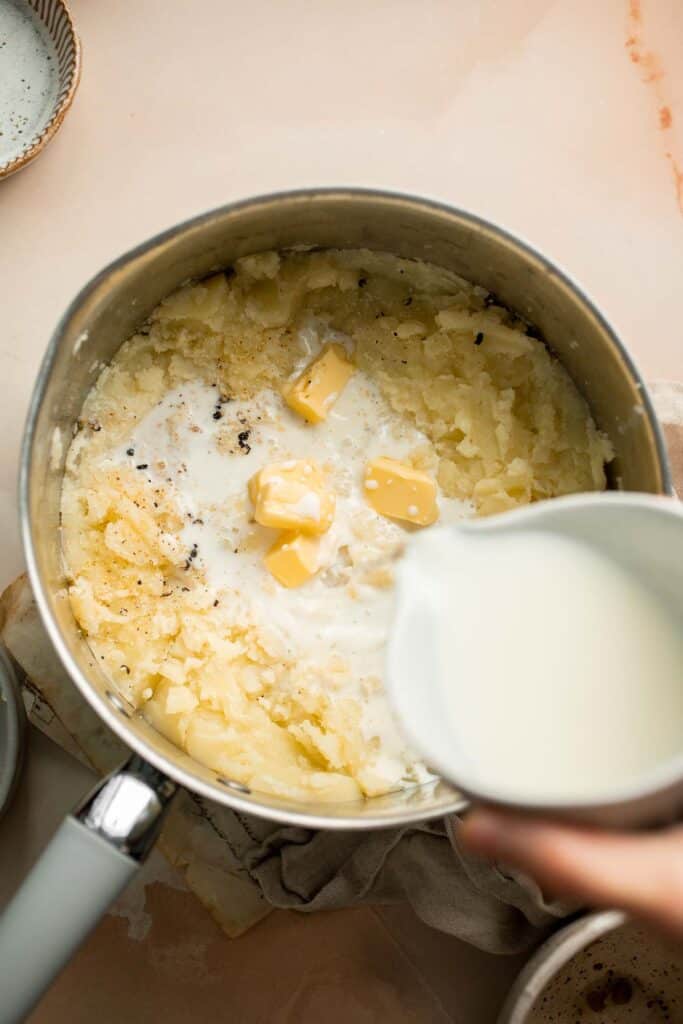
Sweet potato pie is warm and cozy, spiced with classic fall flavors, and delicious. Easy to make with cooked sweet potatoes or canned sweet potato puree.
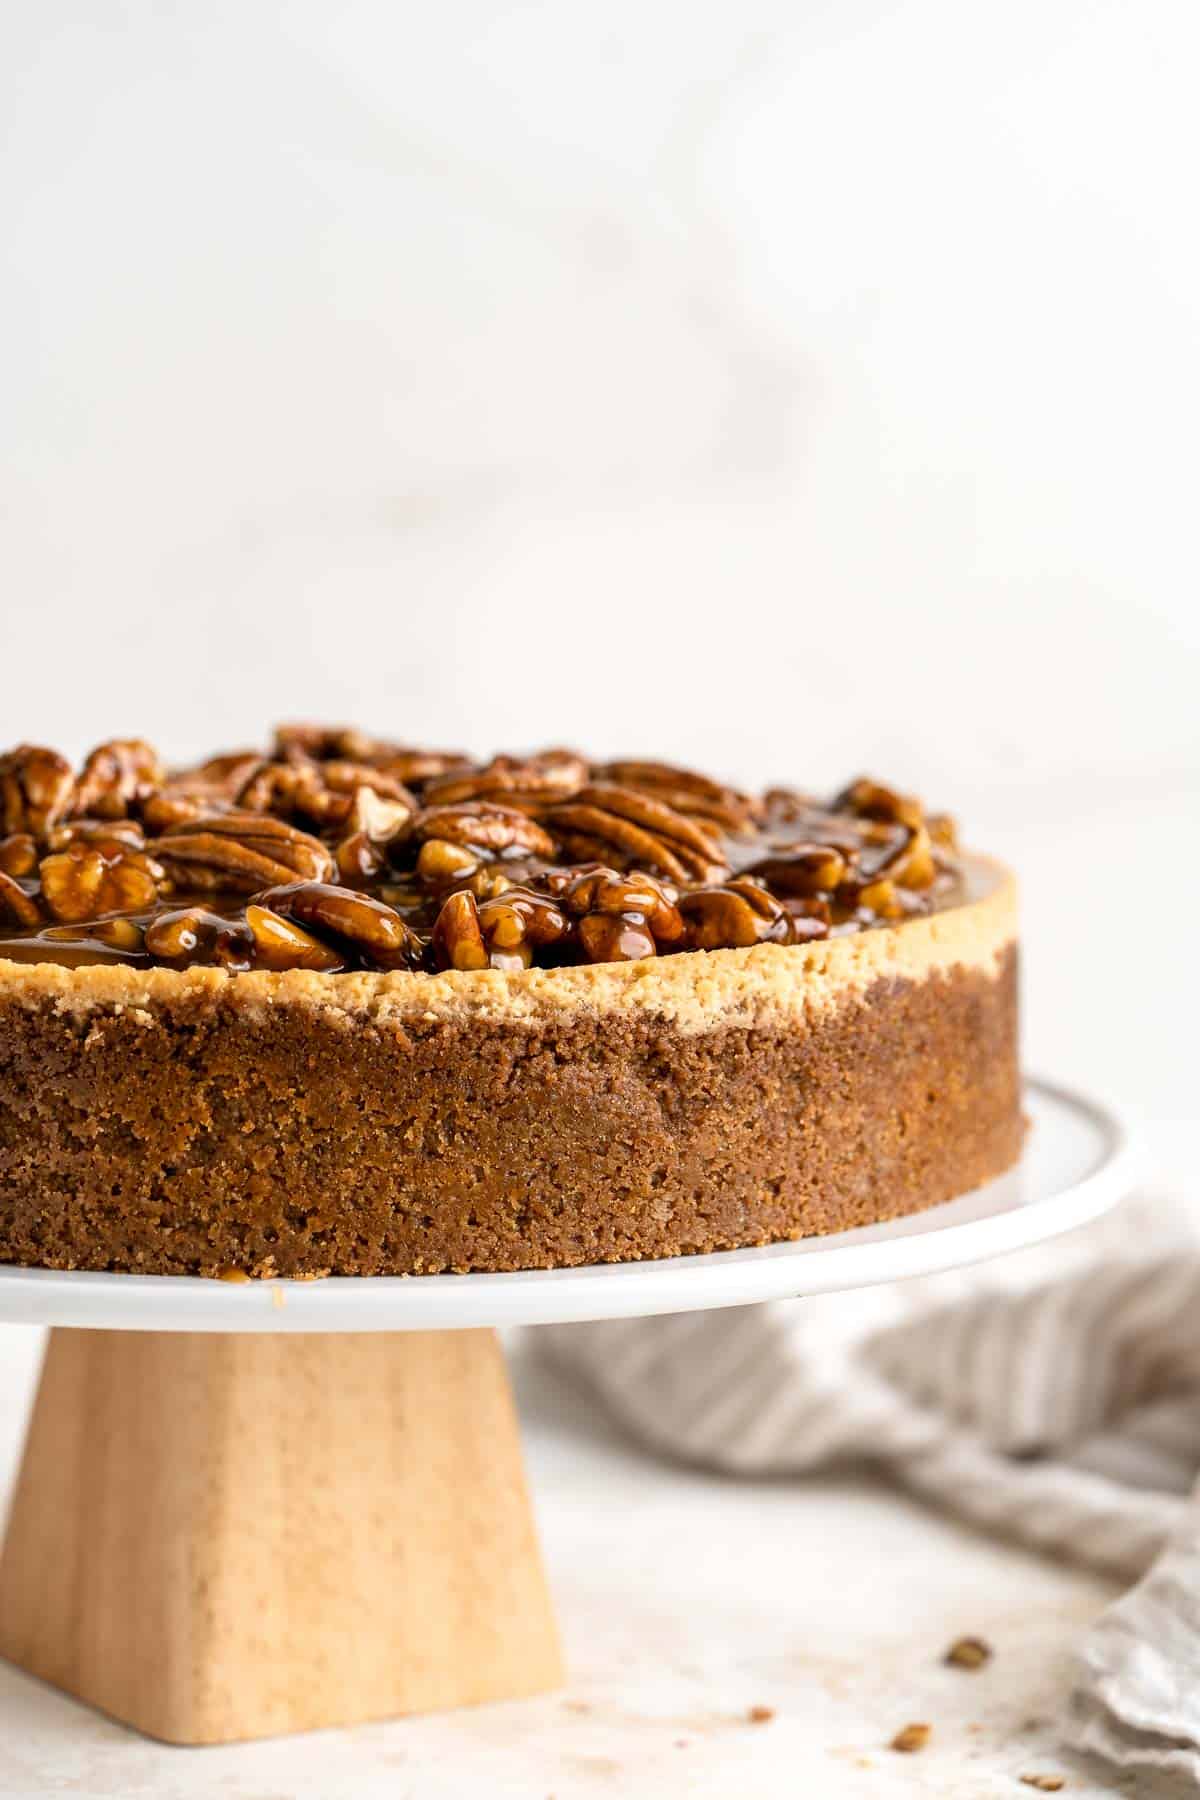
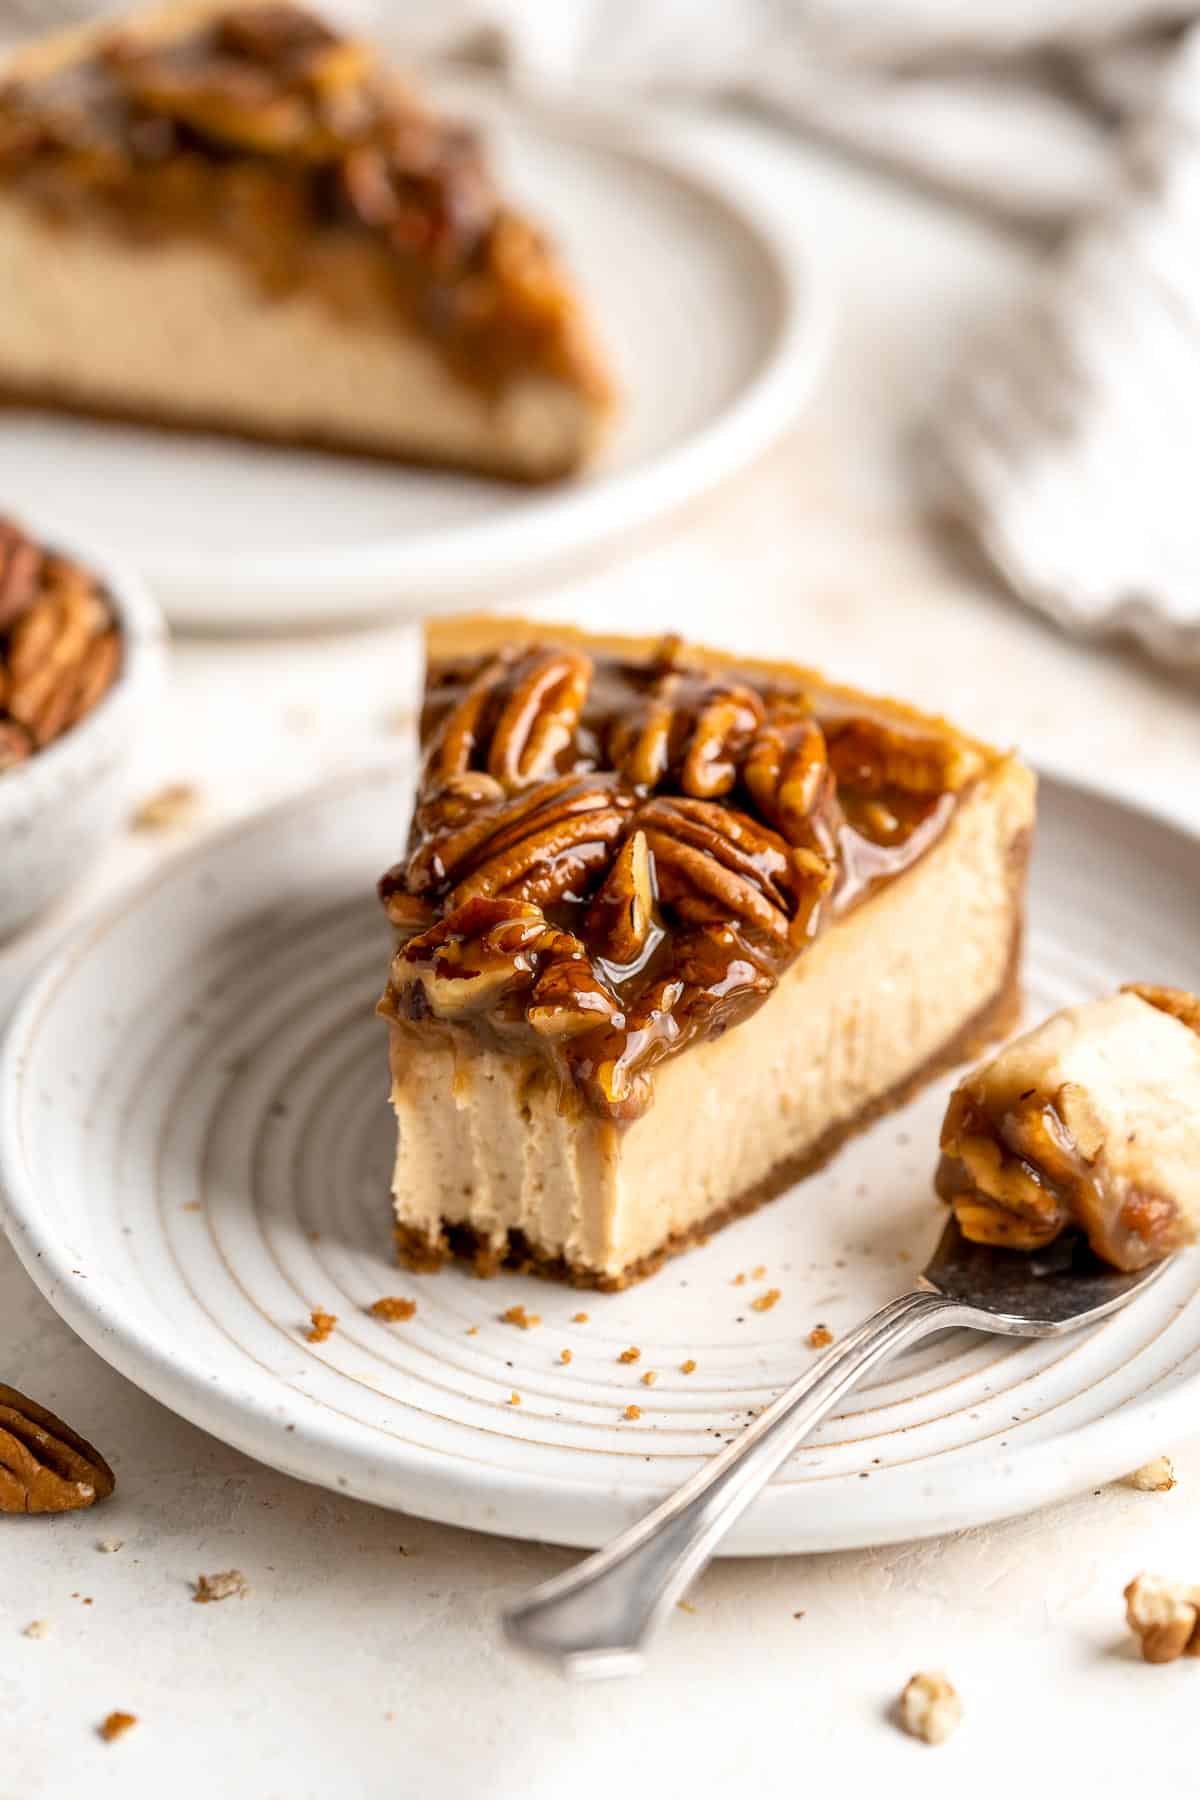
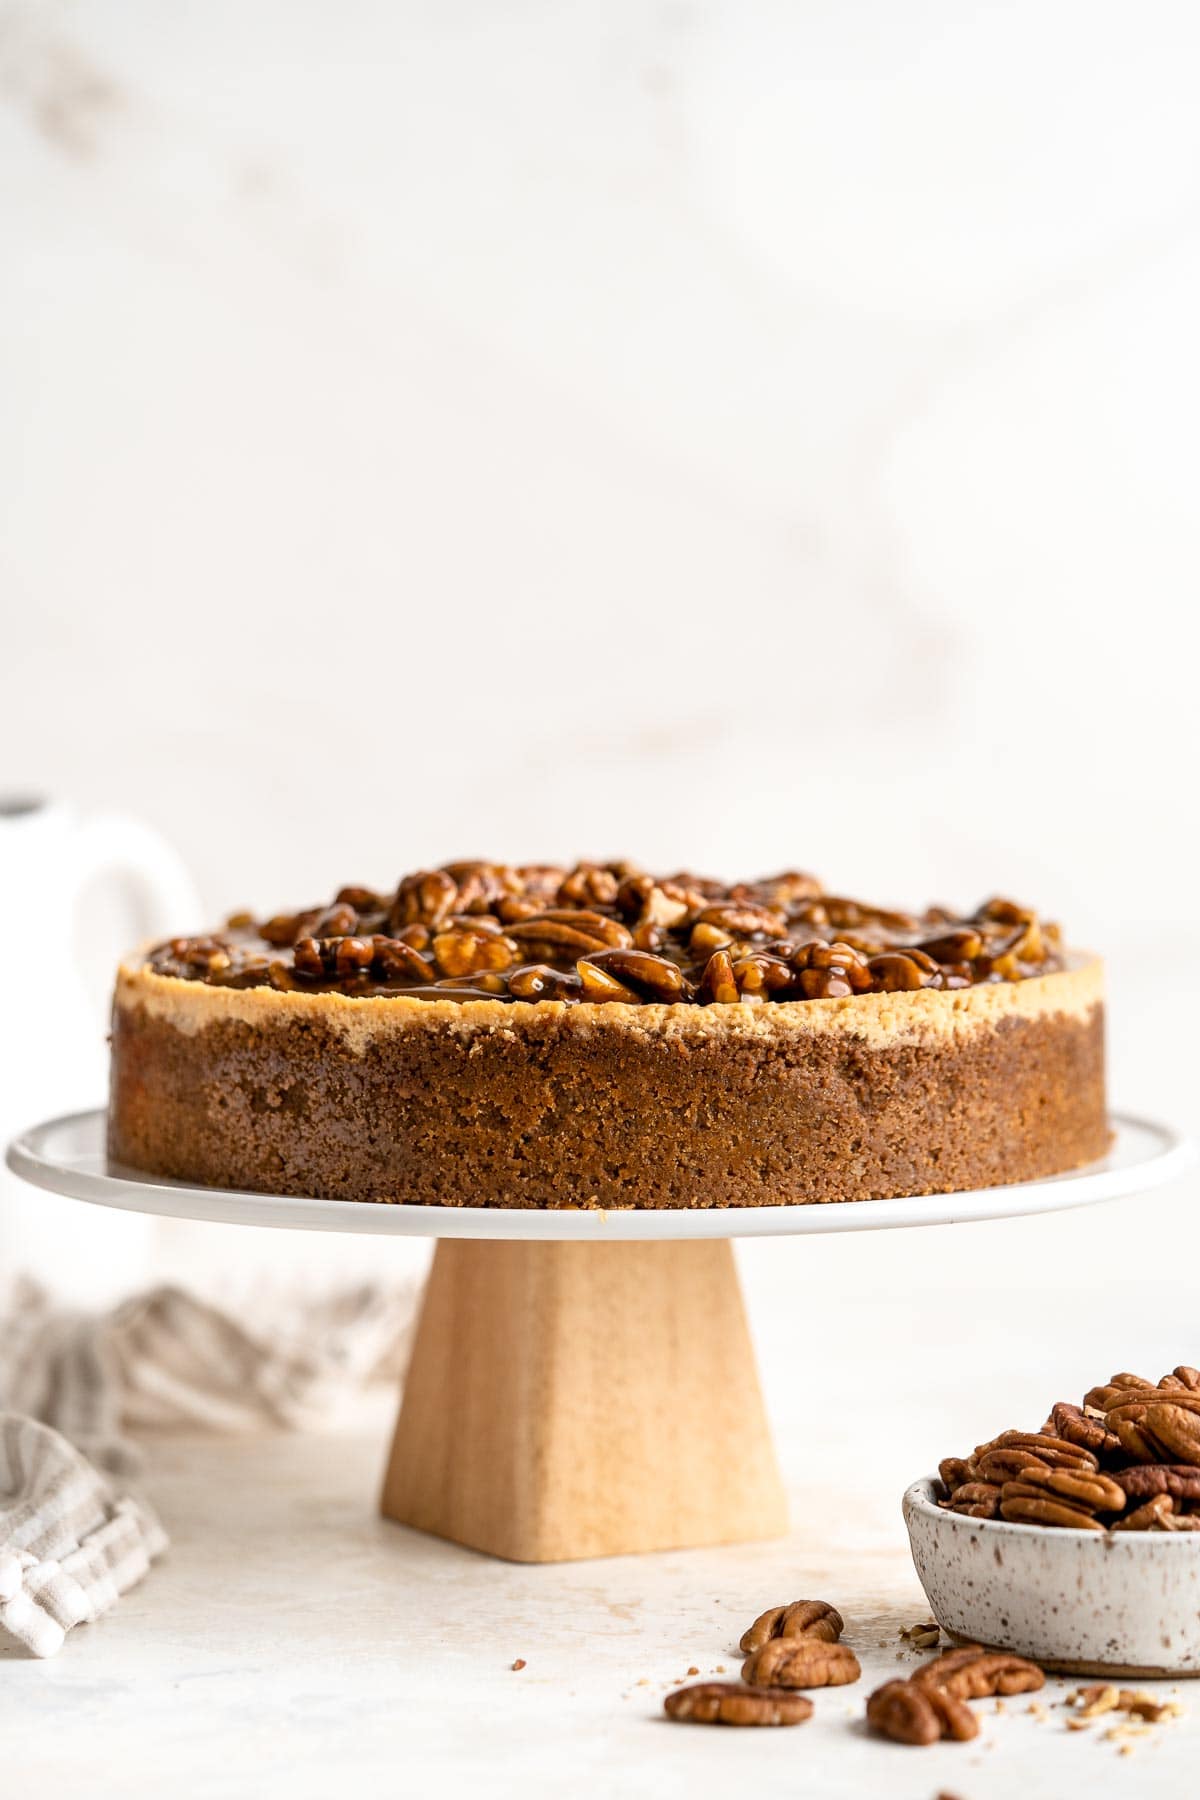
Give traditional pecan pie a twist this holiday season by using finely chopped pecans to create a smooth topping on this chopped pecan pie with a smooth custard filling. This pie is also ridiculously easy to make.
Beyond Thanksgiving Pie
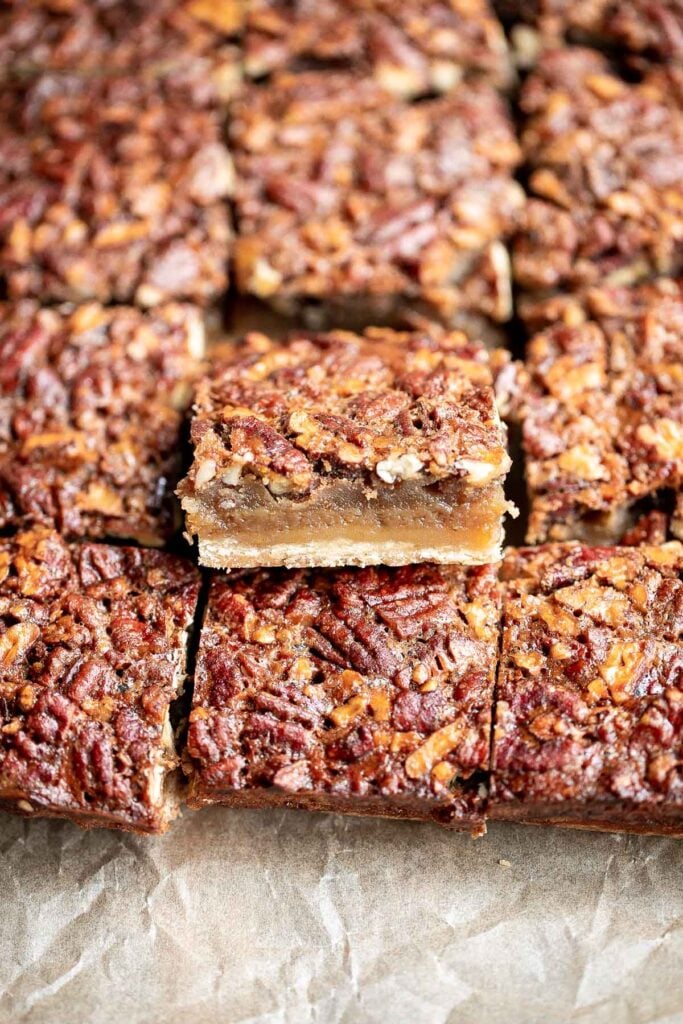
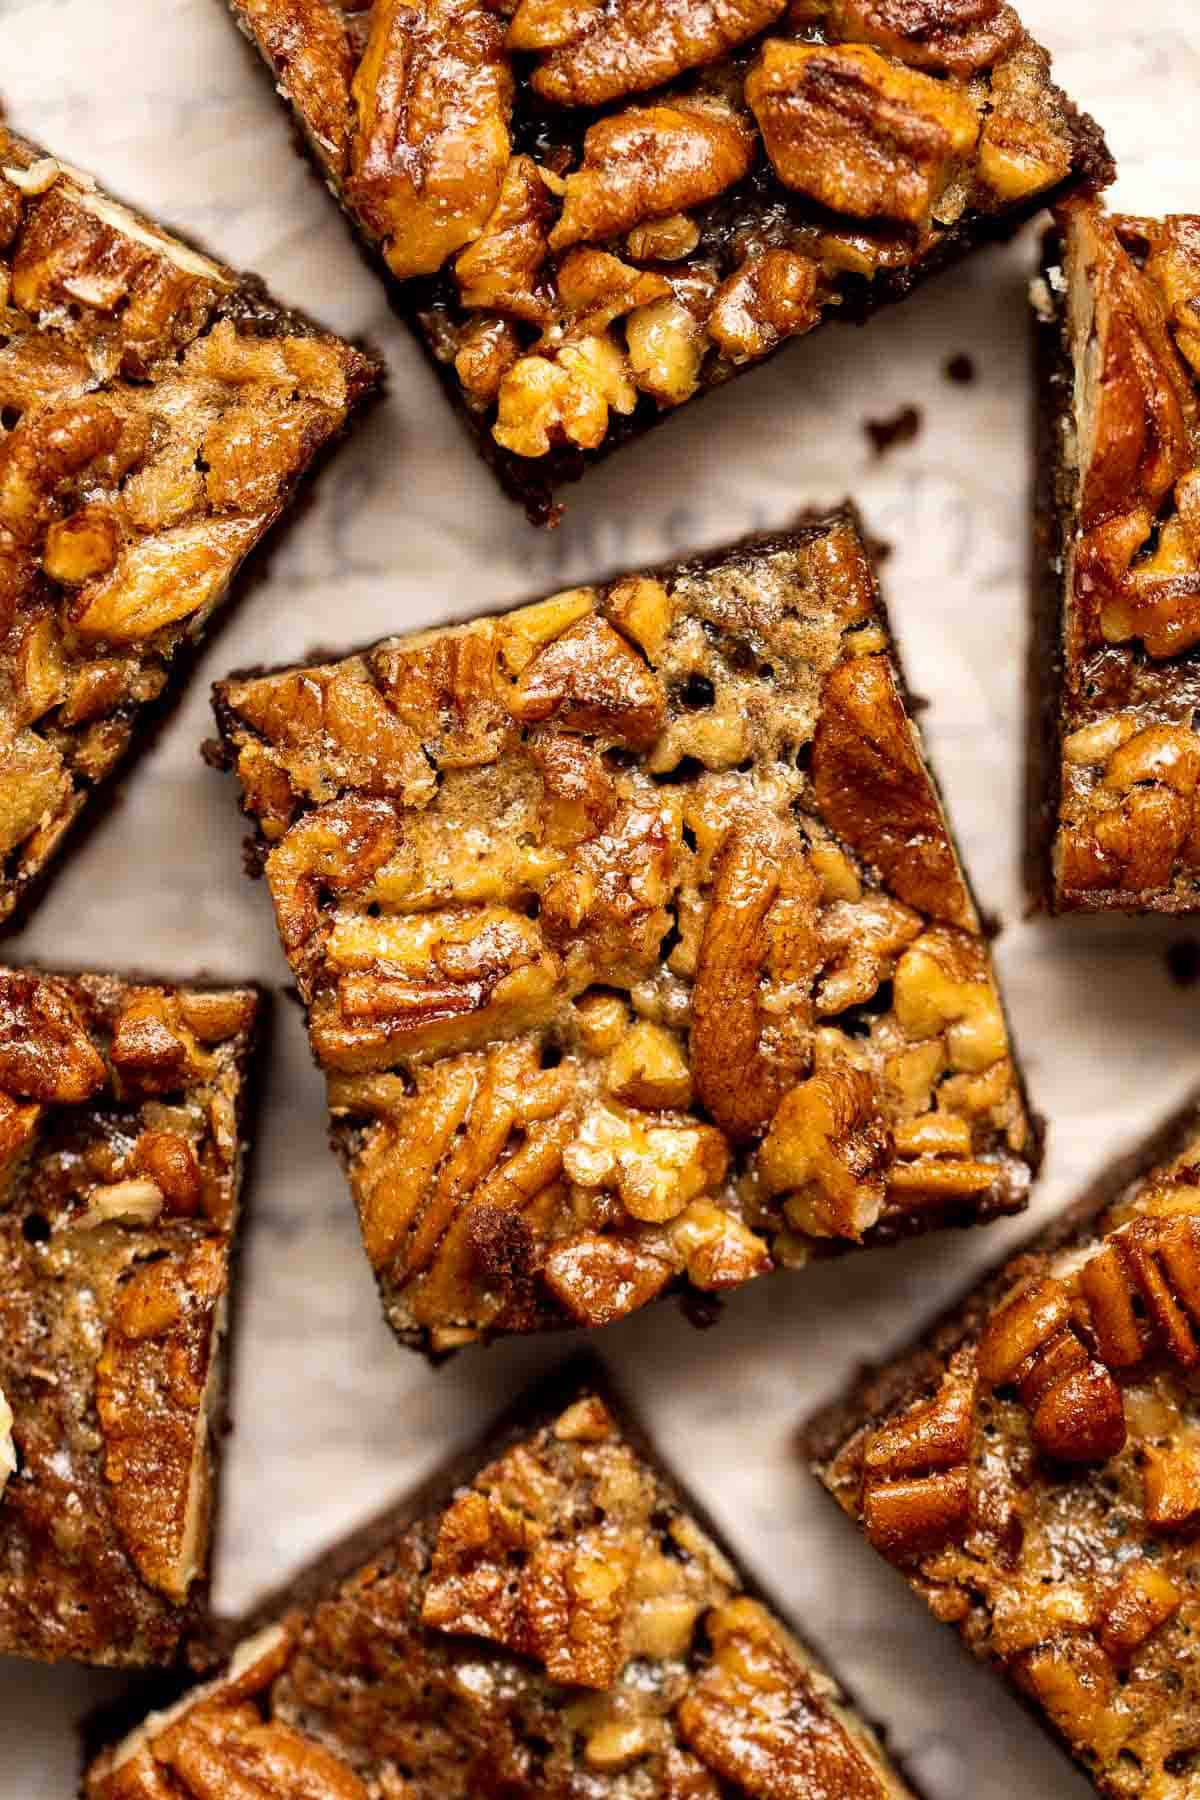
Pecan pie bars are the best and easiest way to enjoy the flavors of pecan pie but with half the effort and in a handheld bite-sized form.
Baked Apples are soft, warm, and tender, with a crunchy sweet cinnamon oat filling. This cozy and comforting fall dessert is quick easy to make too.
Individual apple crisp is a sweet tart fall dessert served in single-sized portions with all the crunchy corners of crumble. And so quick and easy to prep.
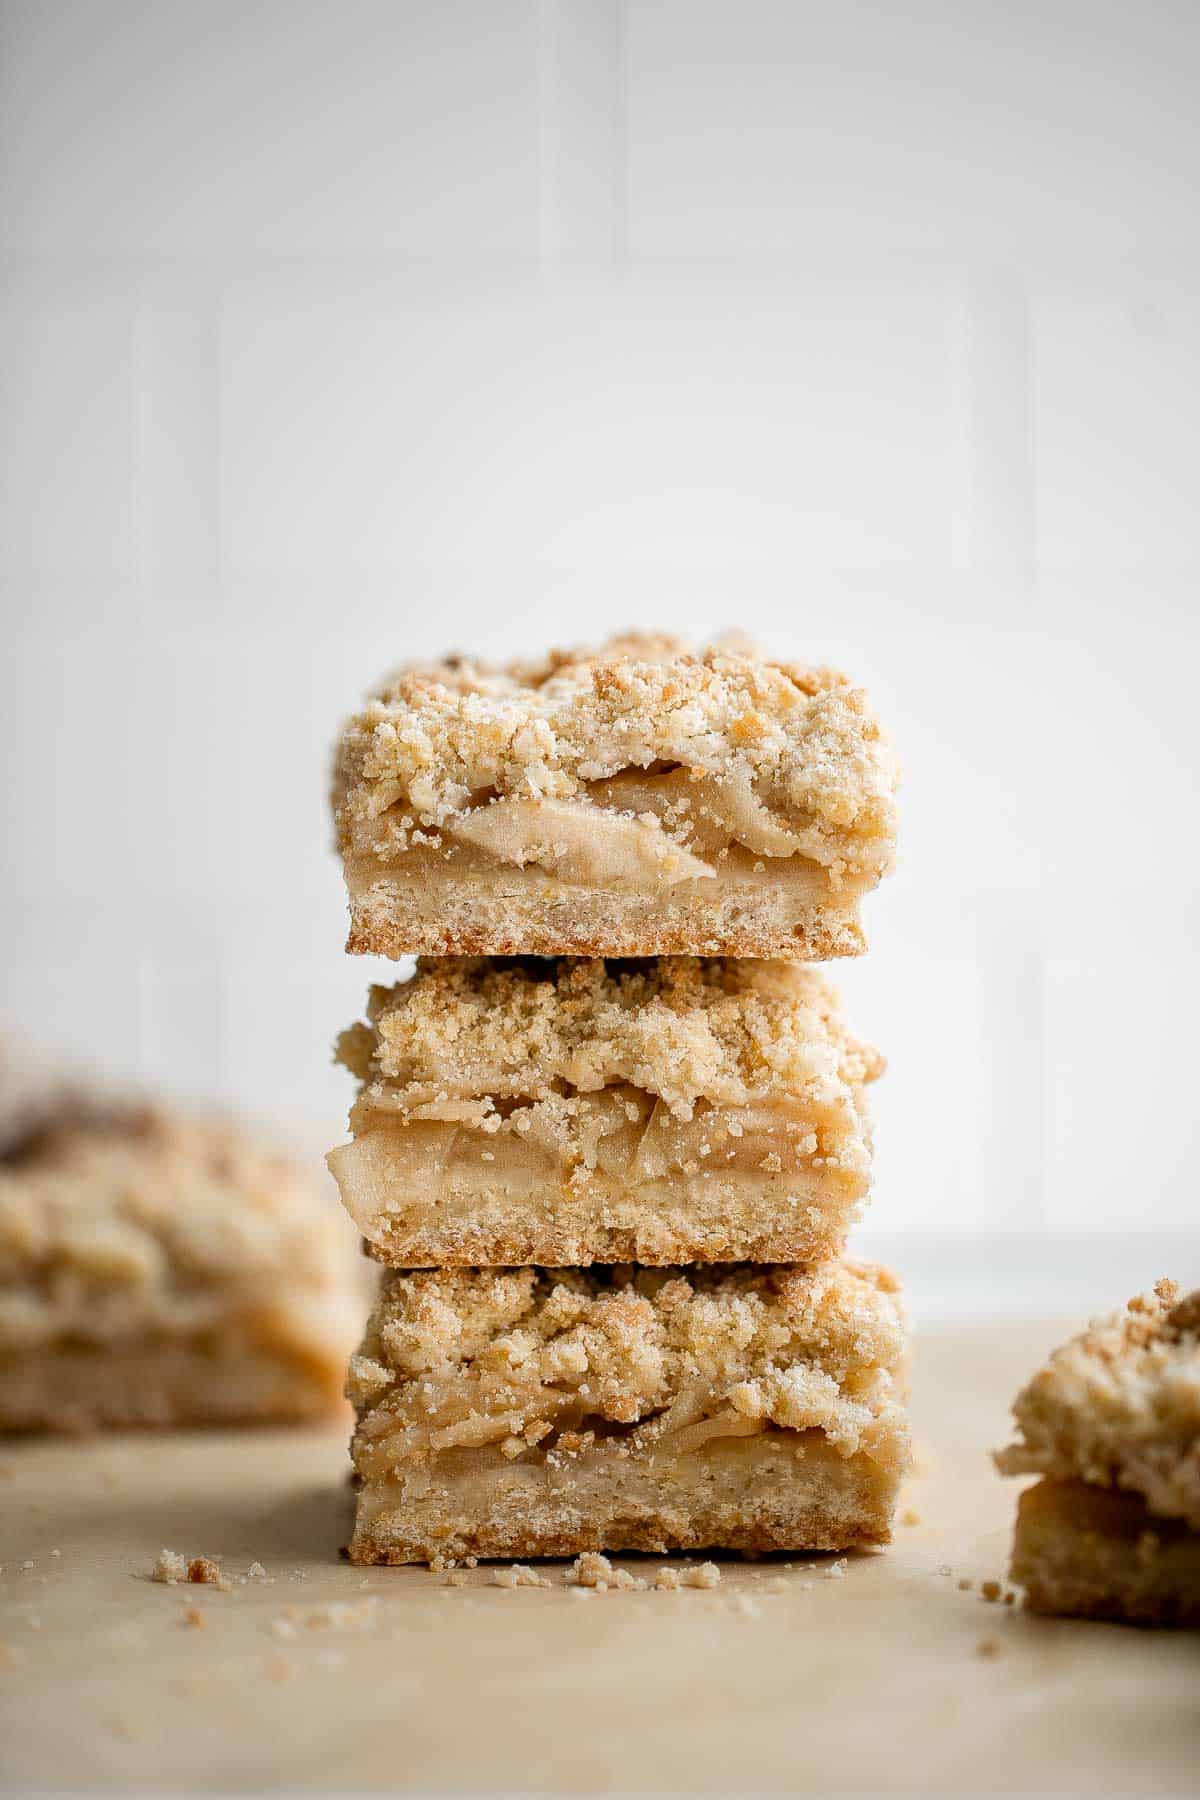
Homemade Apple Pie Bars are sweet, tart, and crumbly. With 3 delicious layers including a flaky pastry crust, cinnamon apple filling, and crumbly topping.
Why make pie or brownies when you can have them both at once? These Pecan Pie Brownies are the perfect fall treat for any occasion - rich, sweet, indulgent.
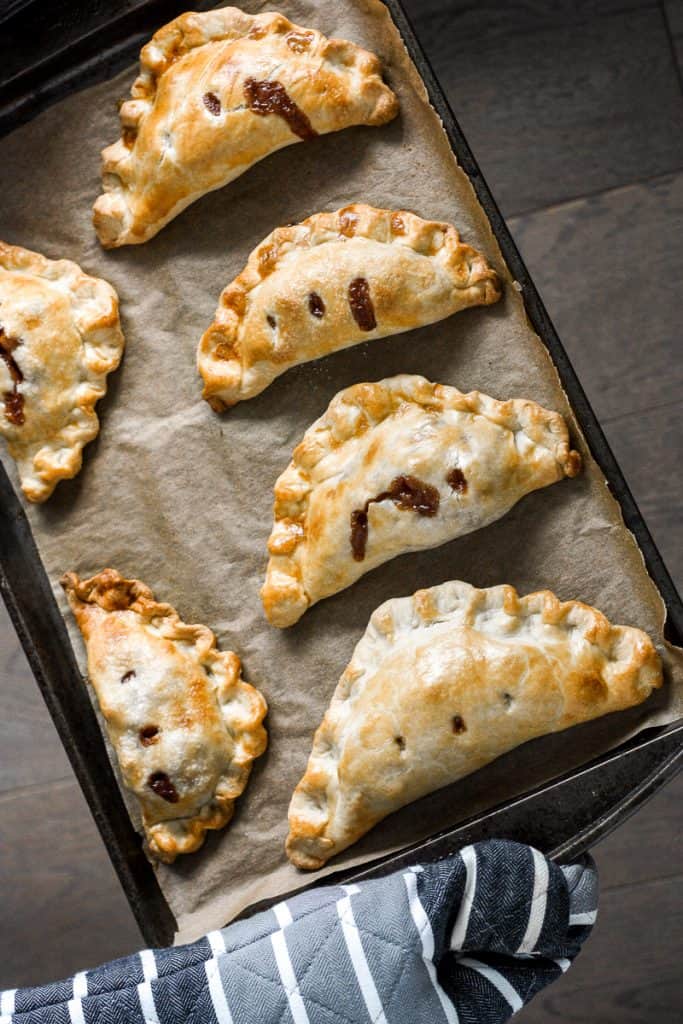
Easy homemade apple hand pies/turnovers are the perfect fall treat -- stuffed with tender apples and cinnamon and wrapped in crispy, flakey, buttery crust.
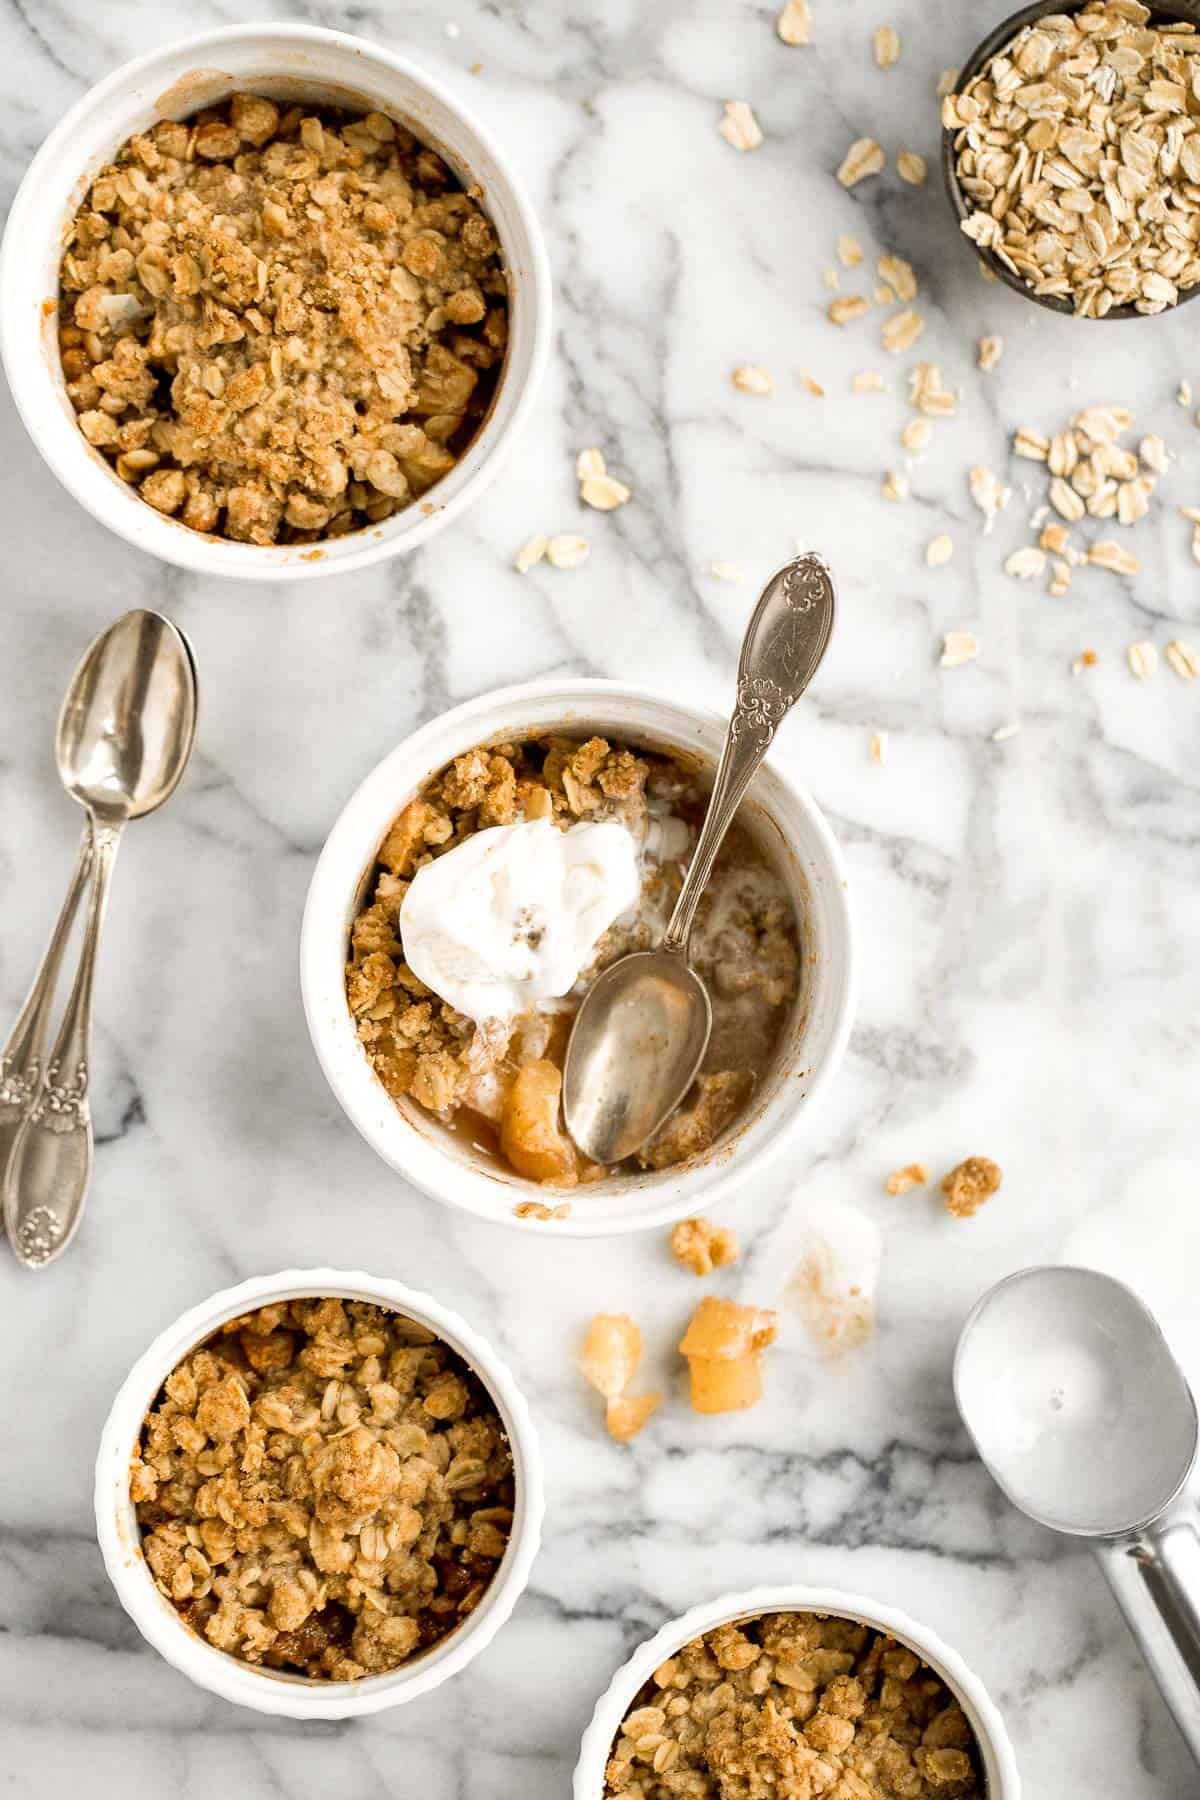
Apple crisp with tender cinnamon-sugar apples and crispy oat topping is sweet, tart, and just as delicious as an apple pie but takes a lot less effort.

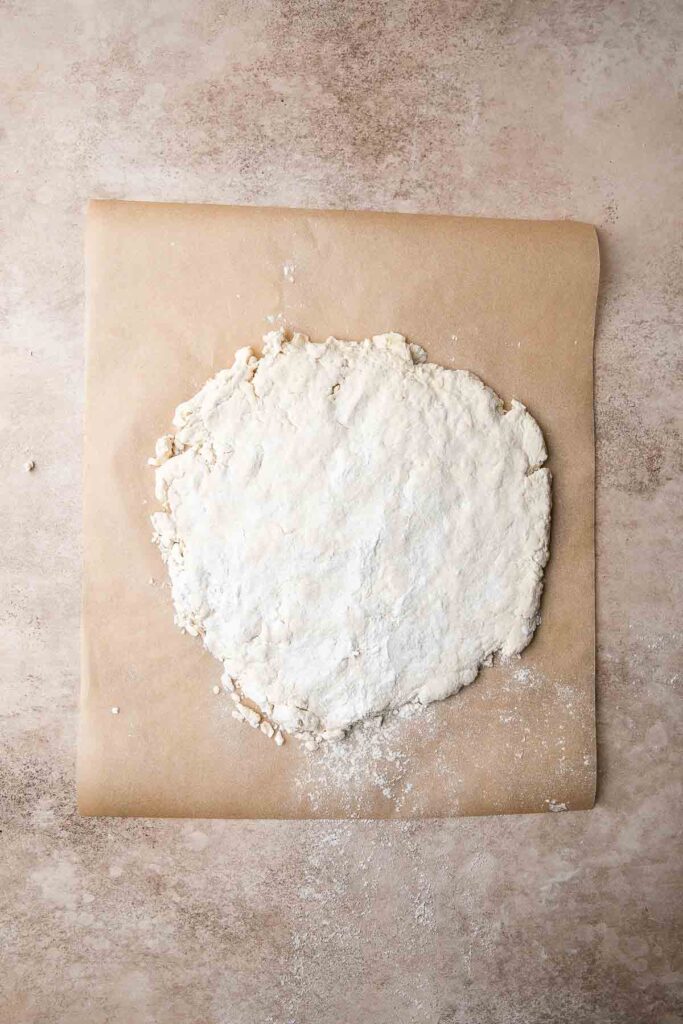
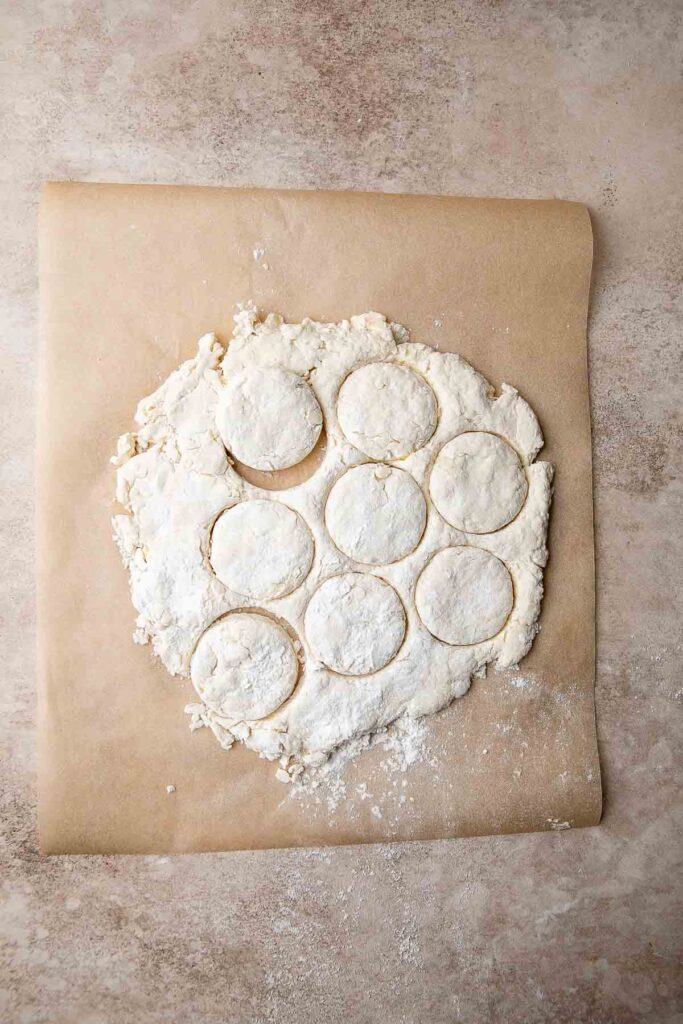
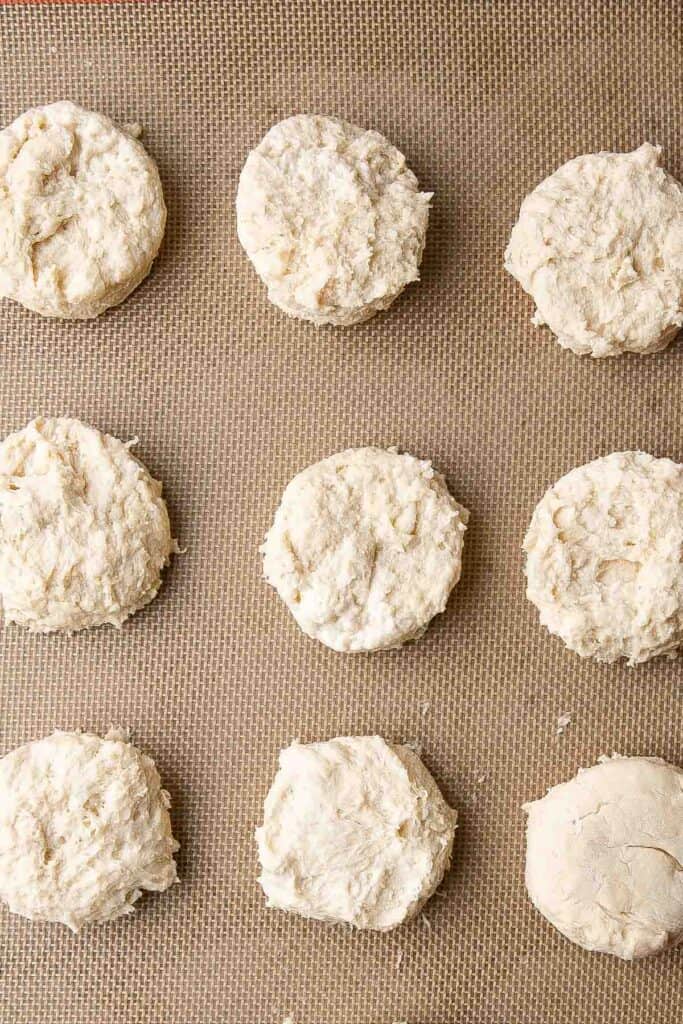
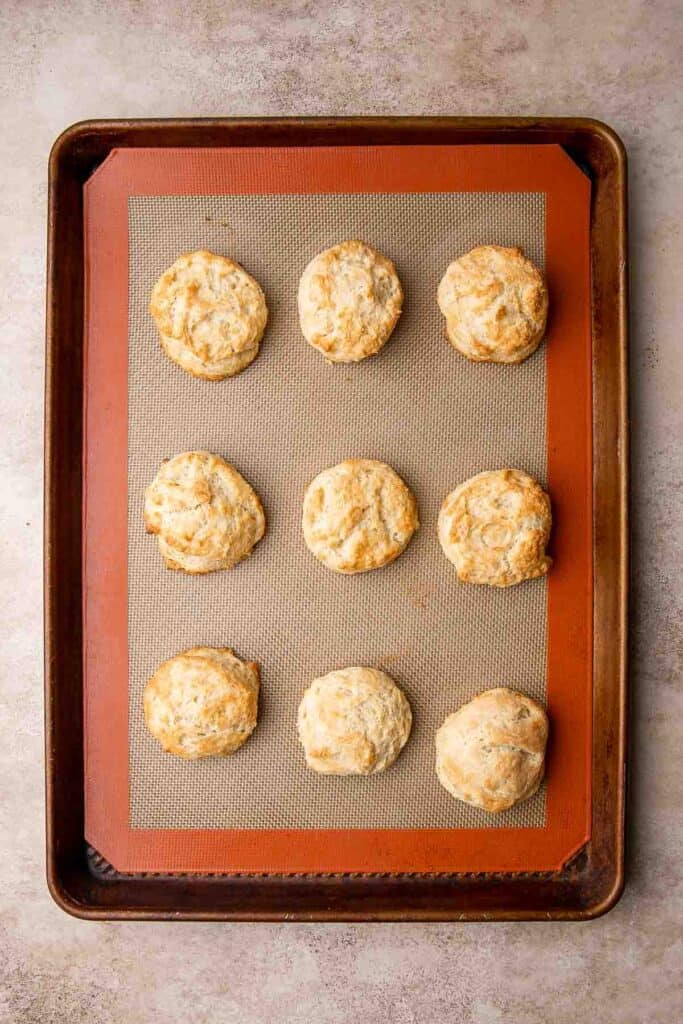
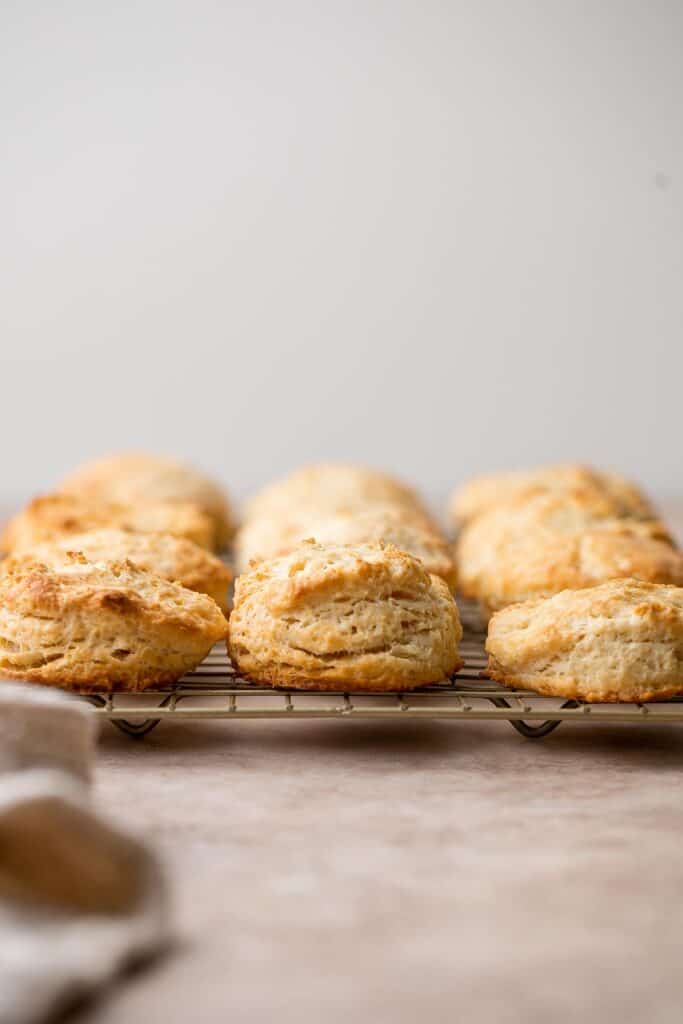
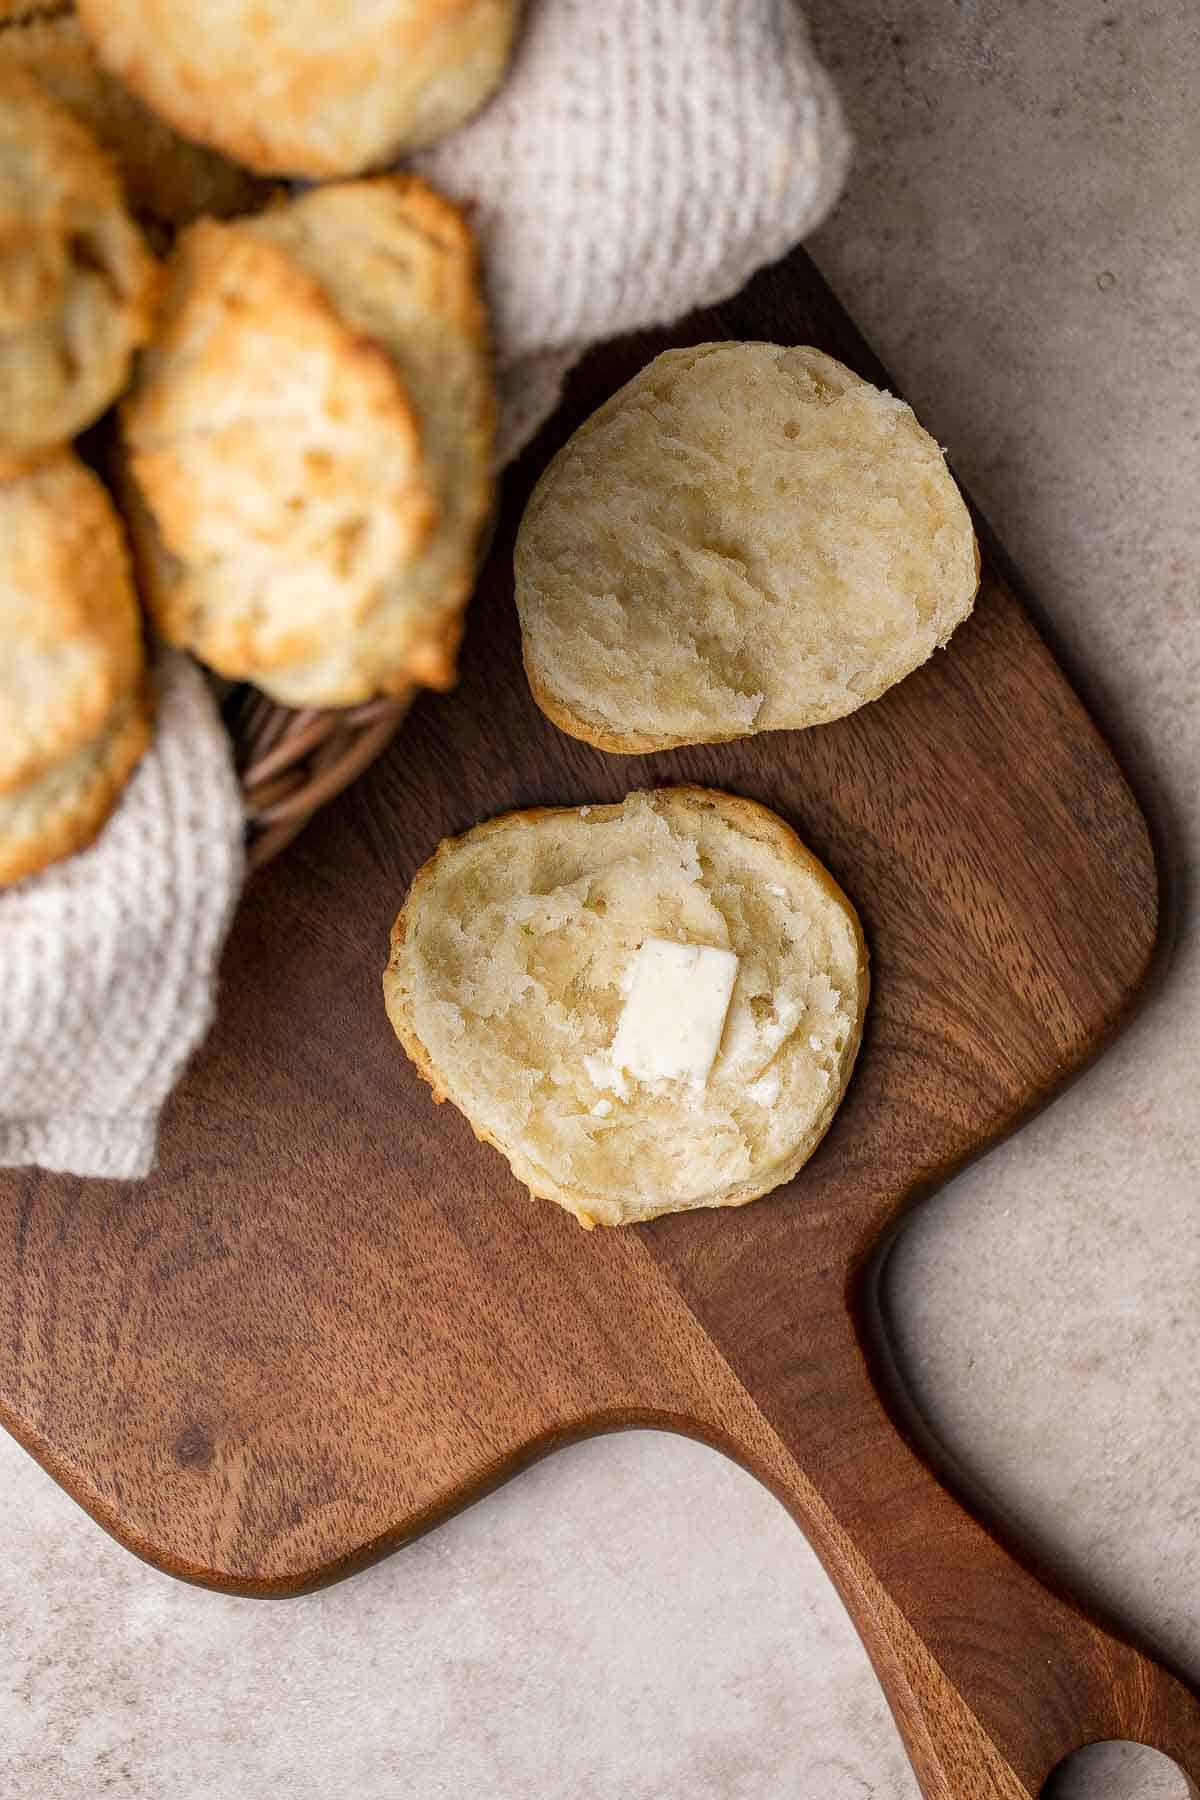
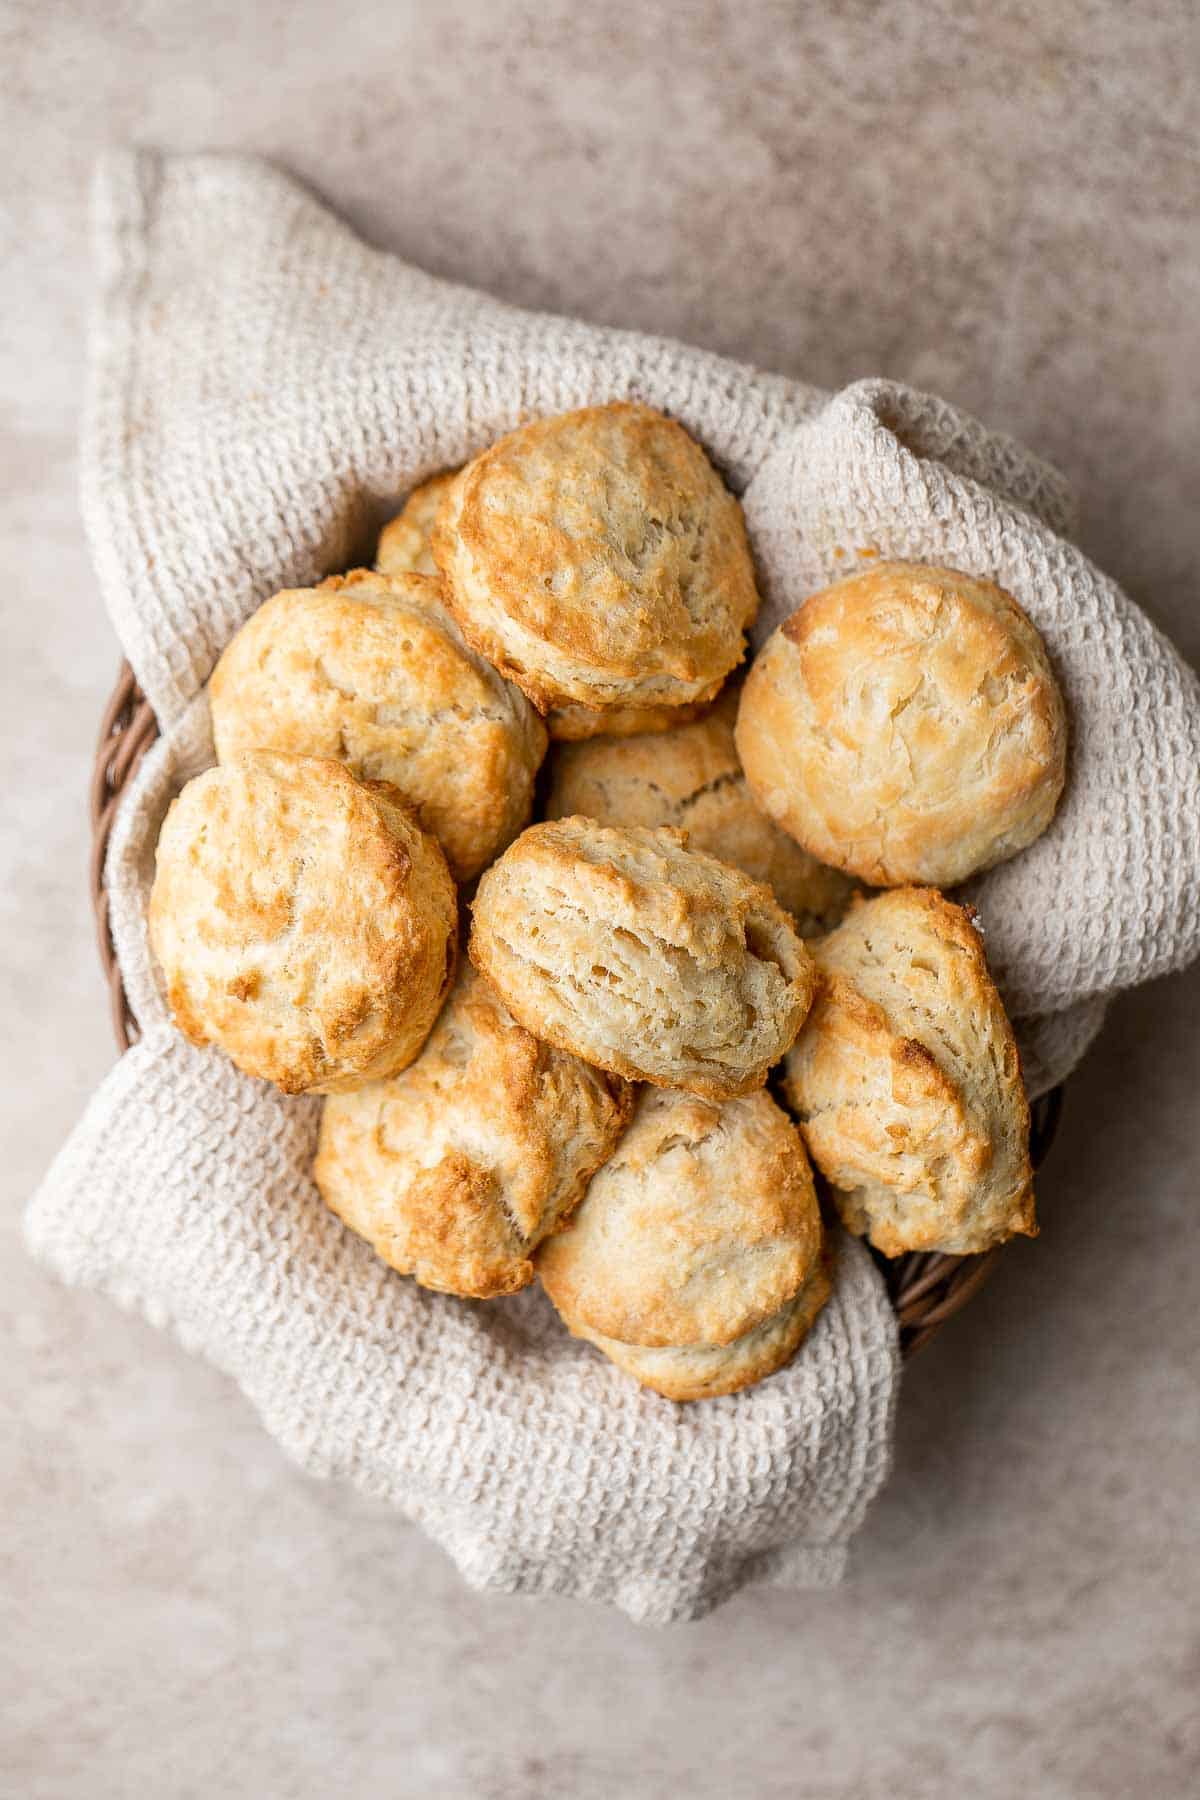
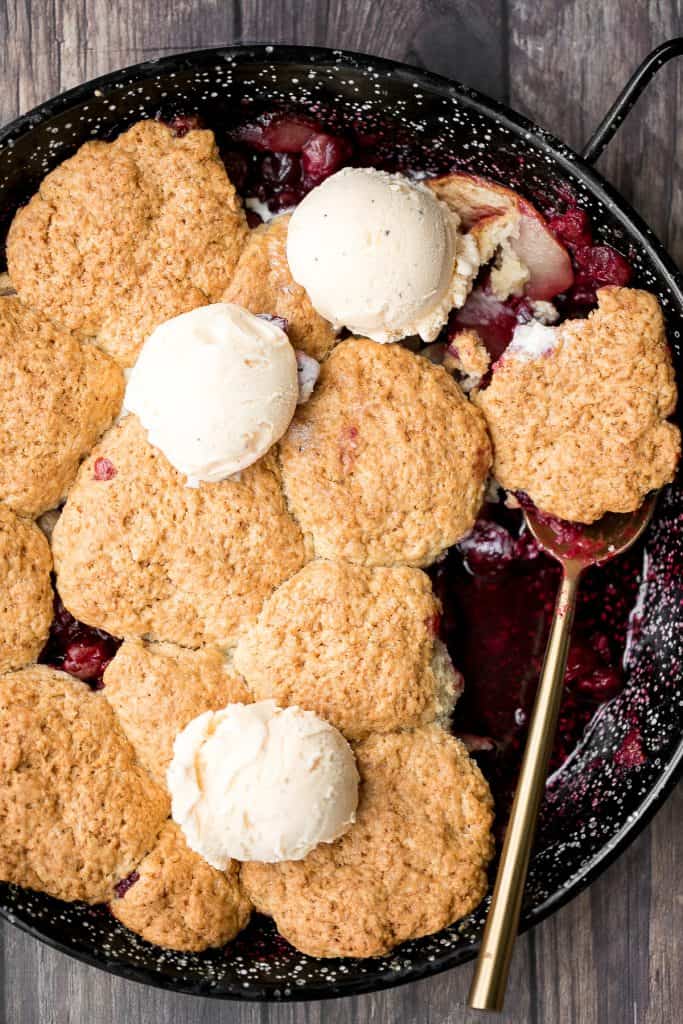
Cranberry-Apple Cobbler with Biscuits
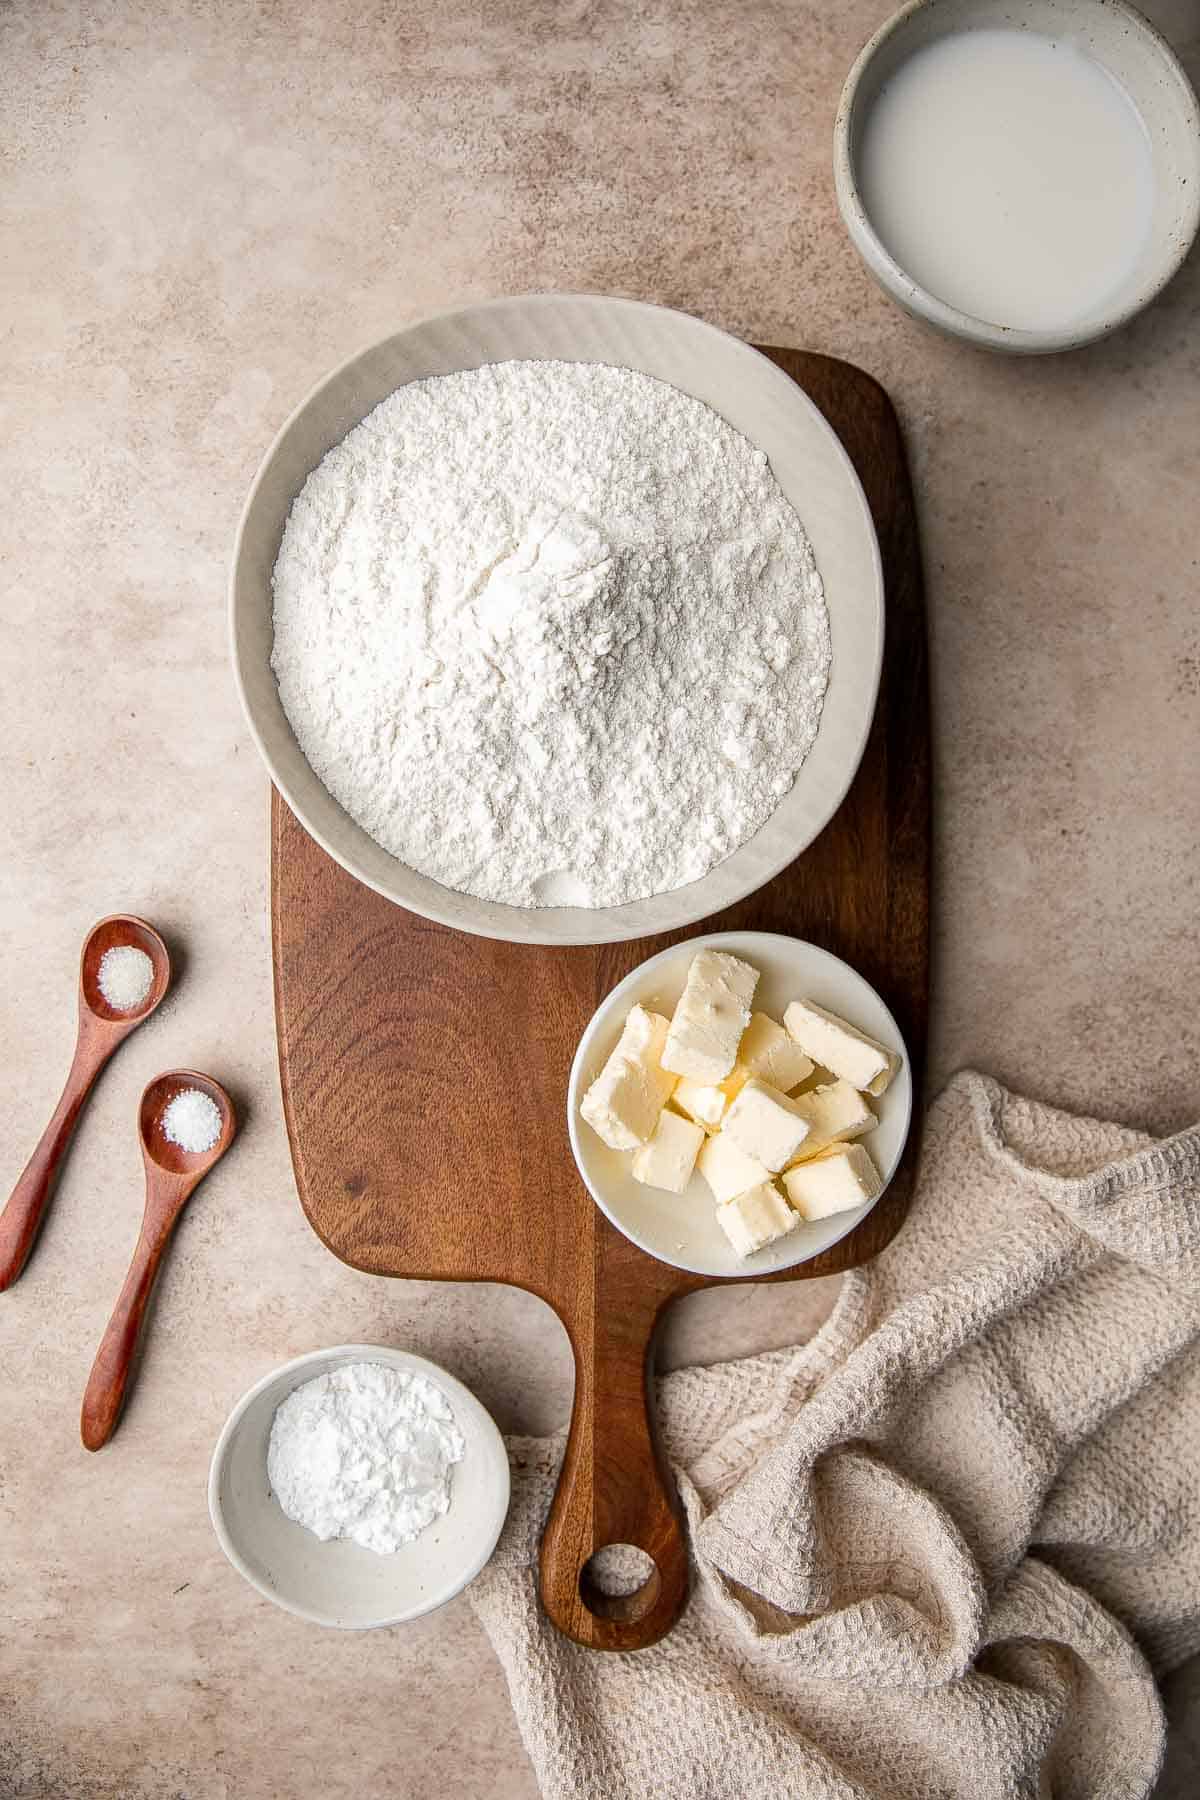
Sweet and tart cranberry-apple cobbler with biscuits is packed with fresh fruit and a buttery biscuit topping. This holiday favourite is easy to make.
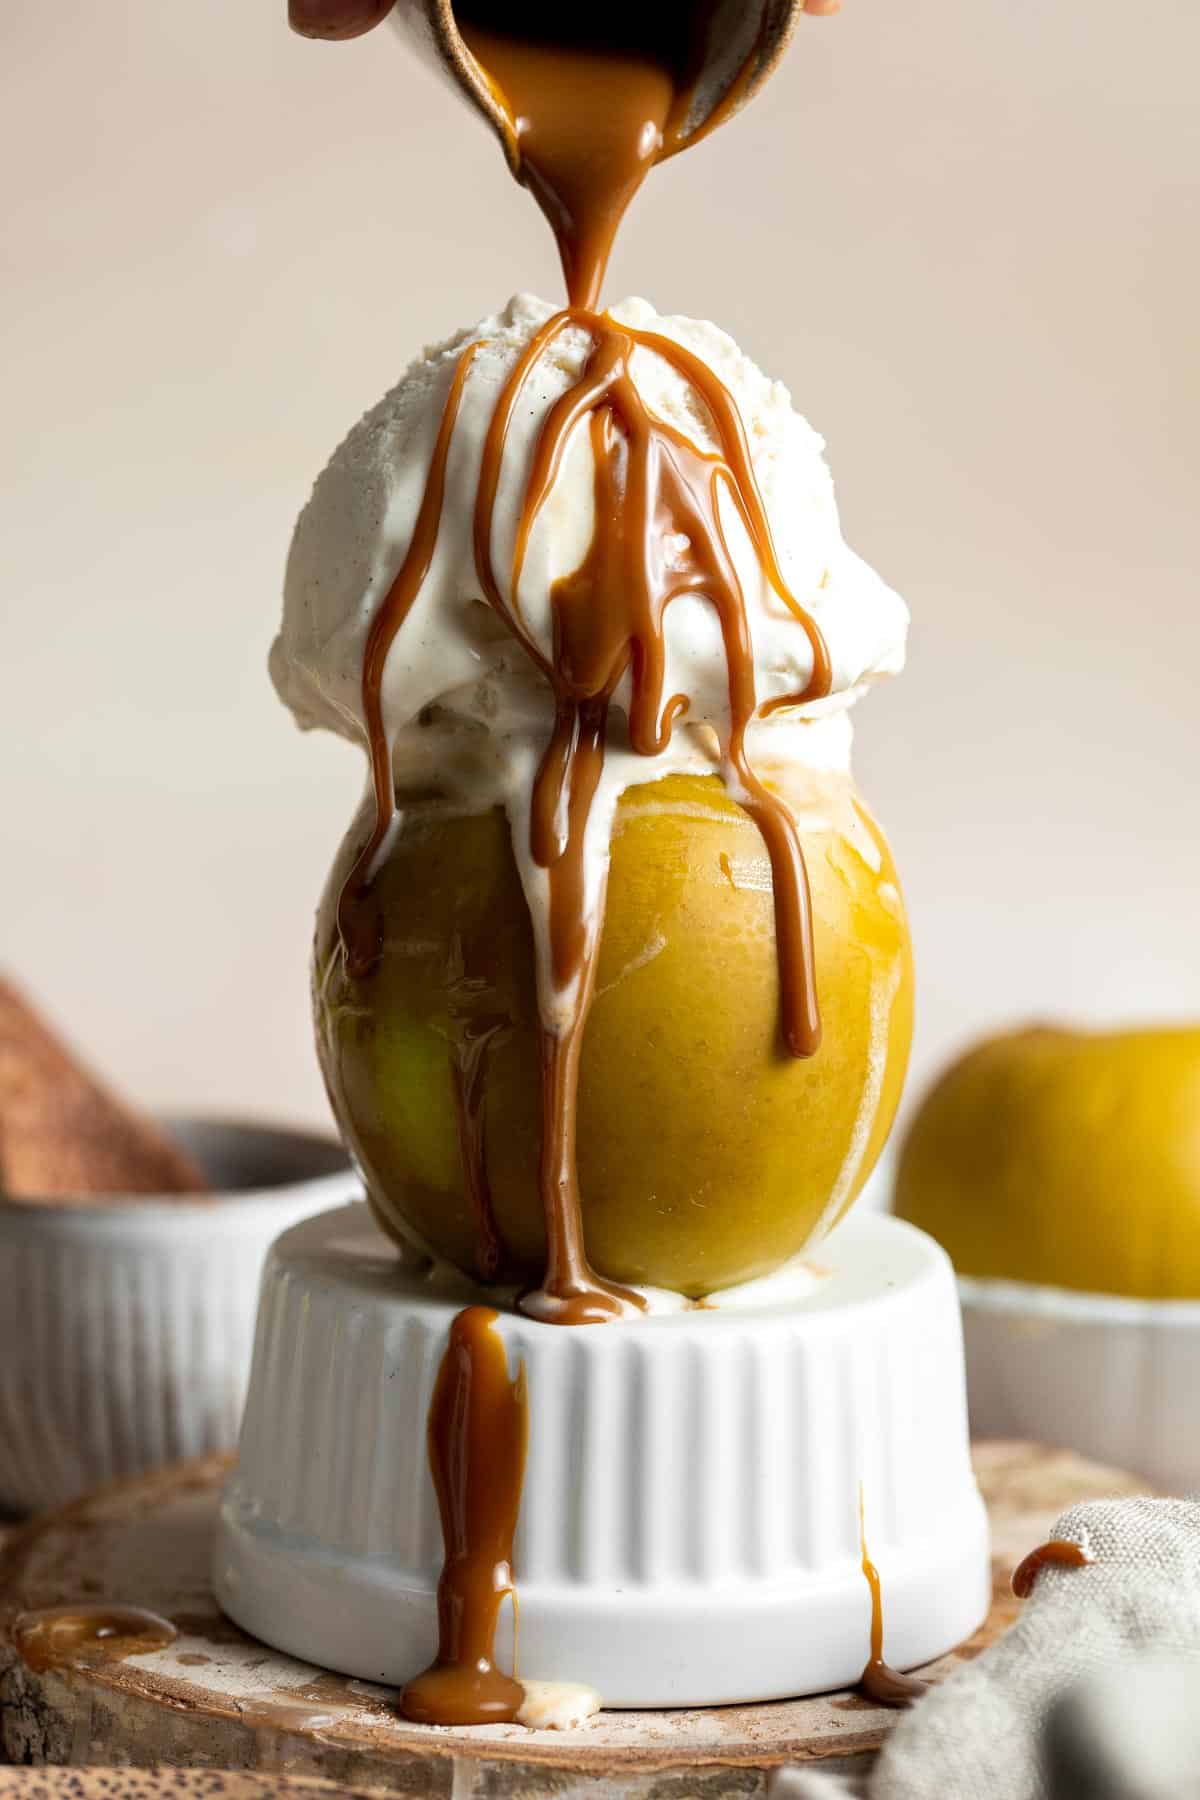
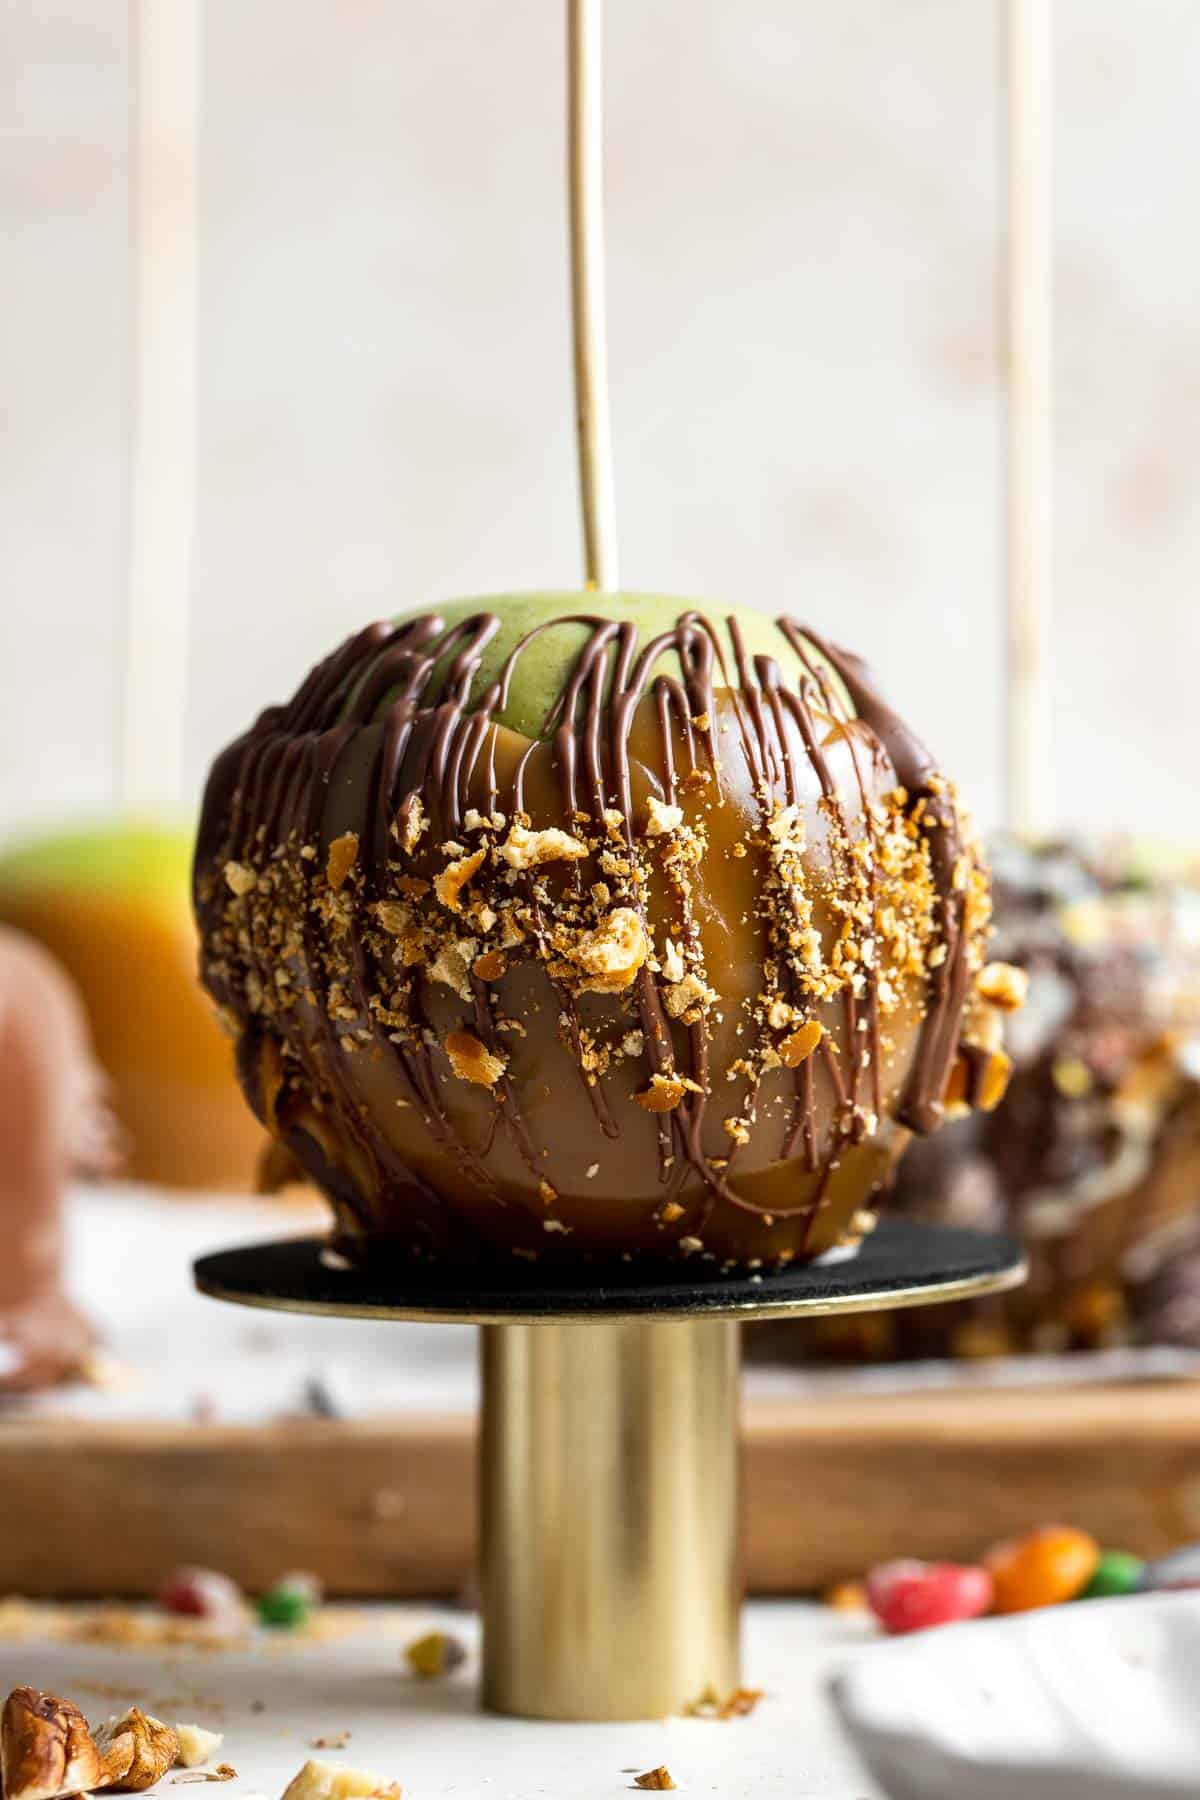
Nothing says fall better than Homemade Caramel Apples that are sweet, delicious, and fun to make. Chewy caramel made from scratch covers crisp juicy apples, topped with optional toppings.
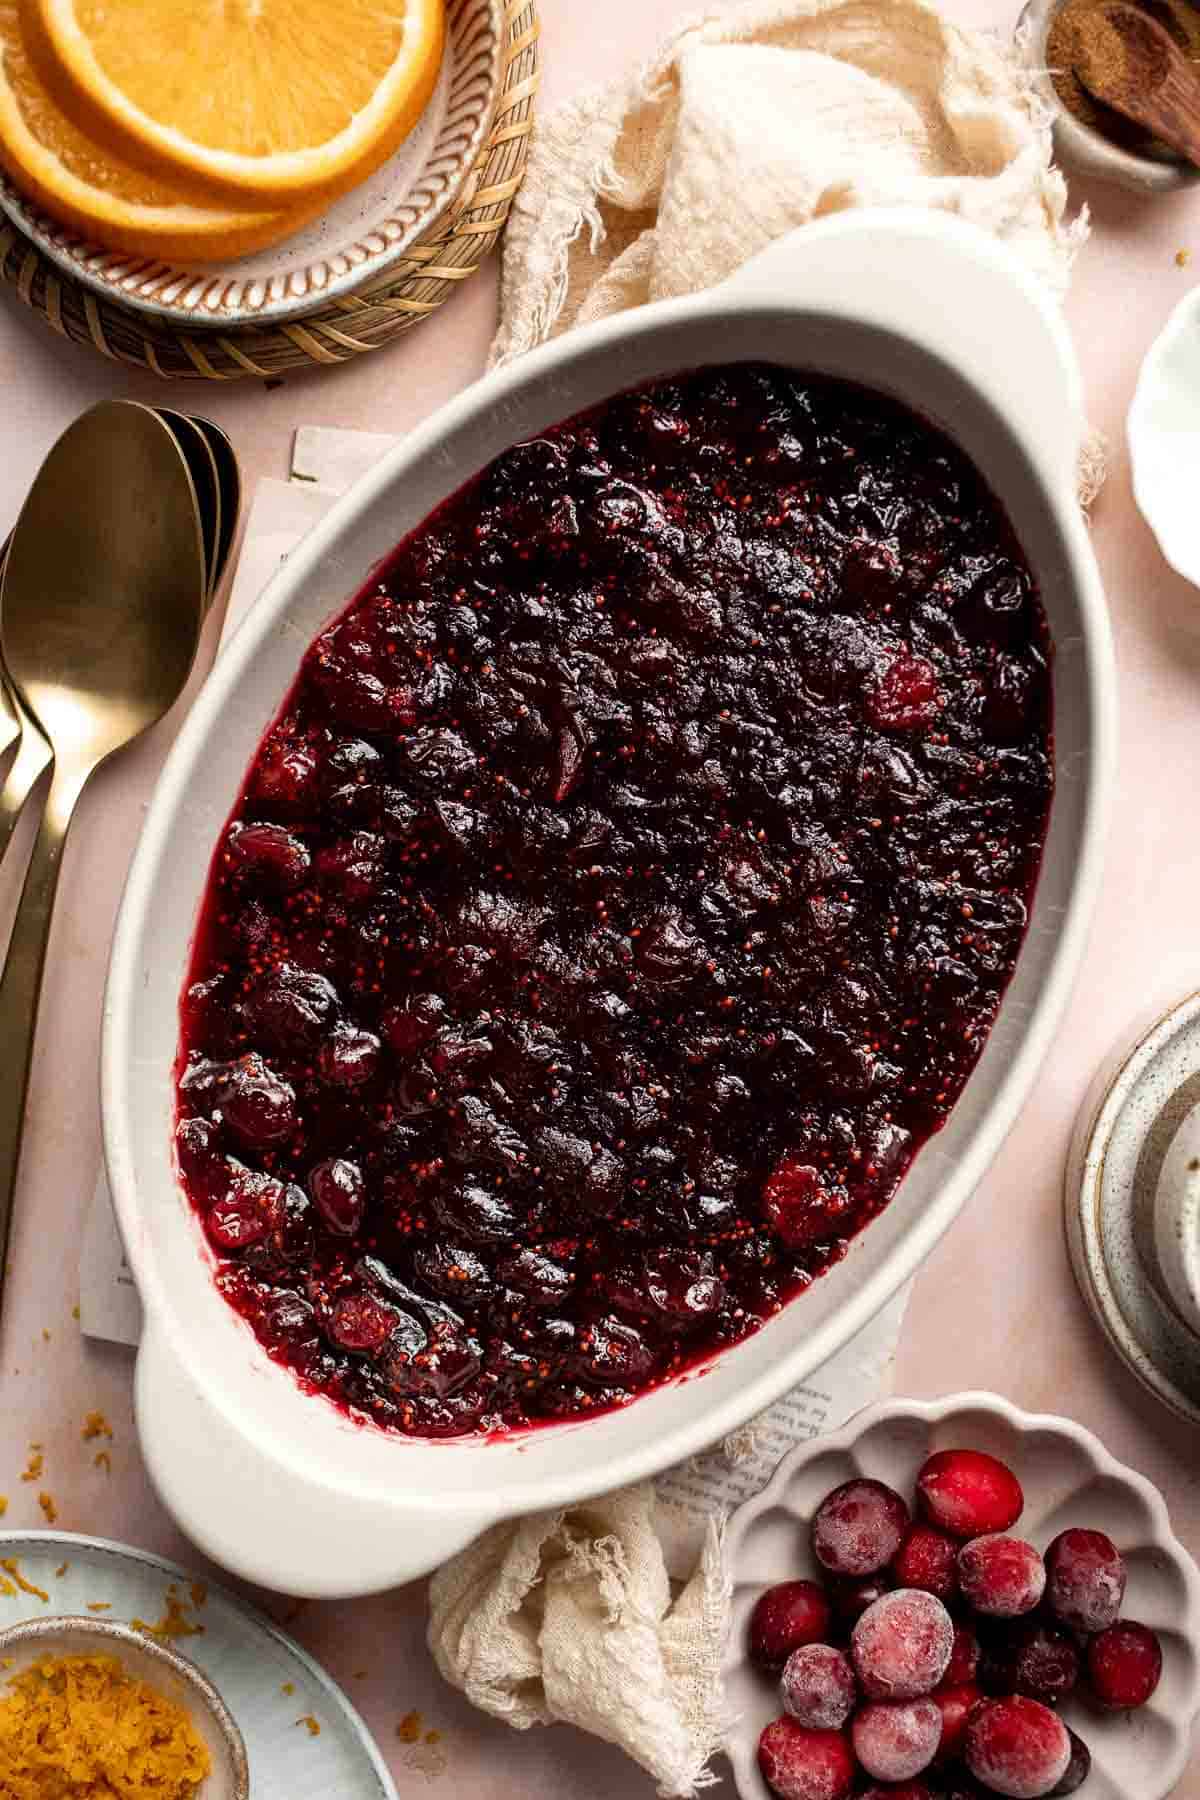
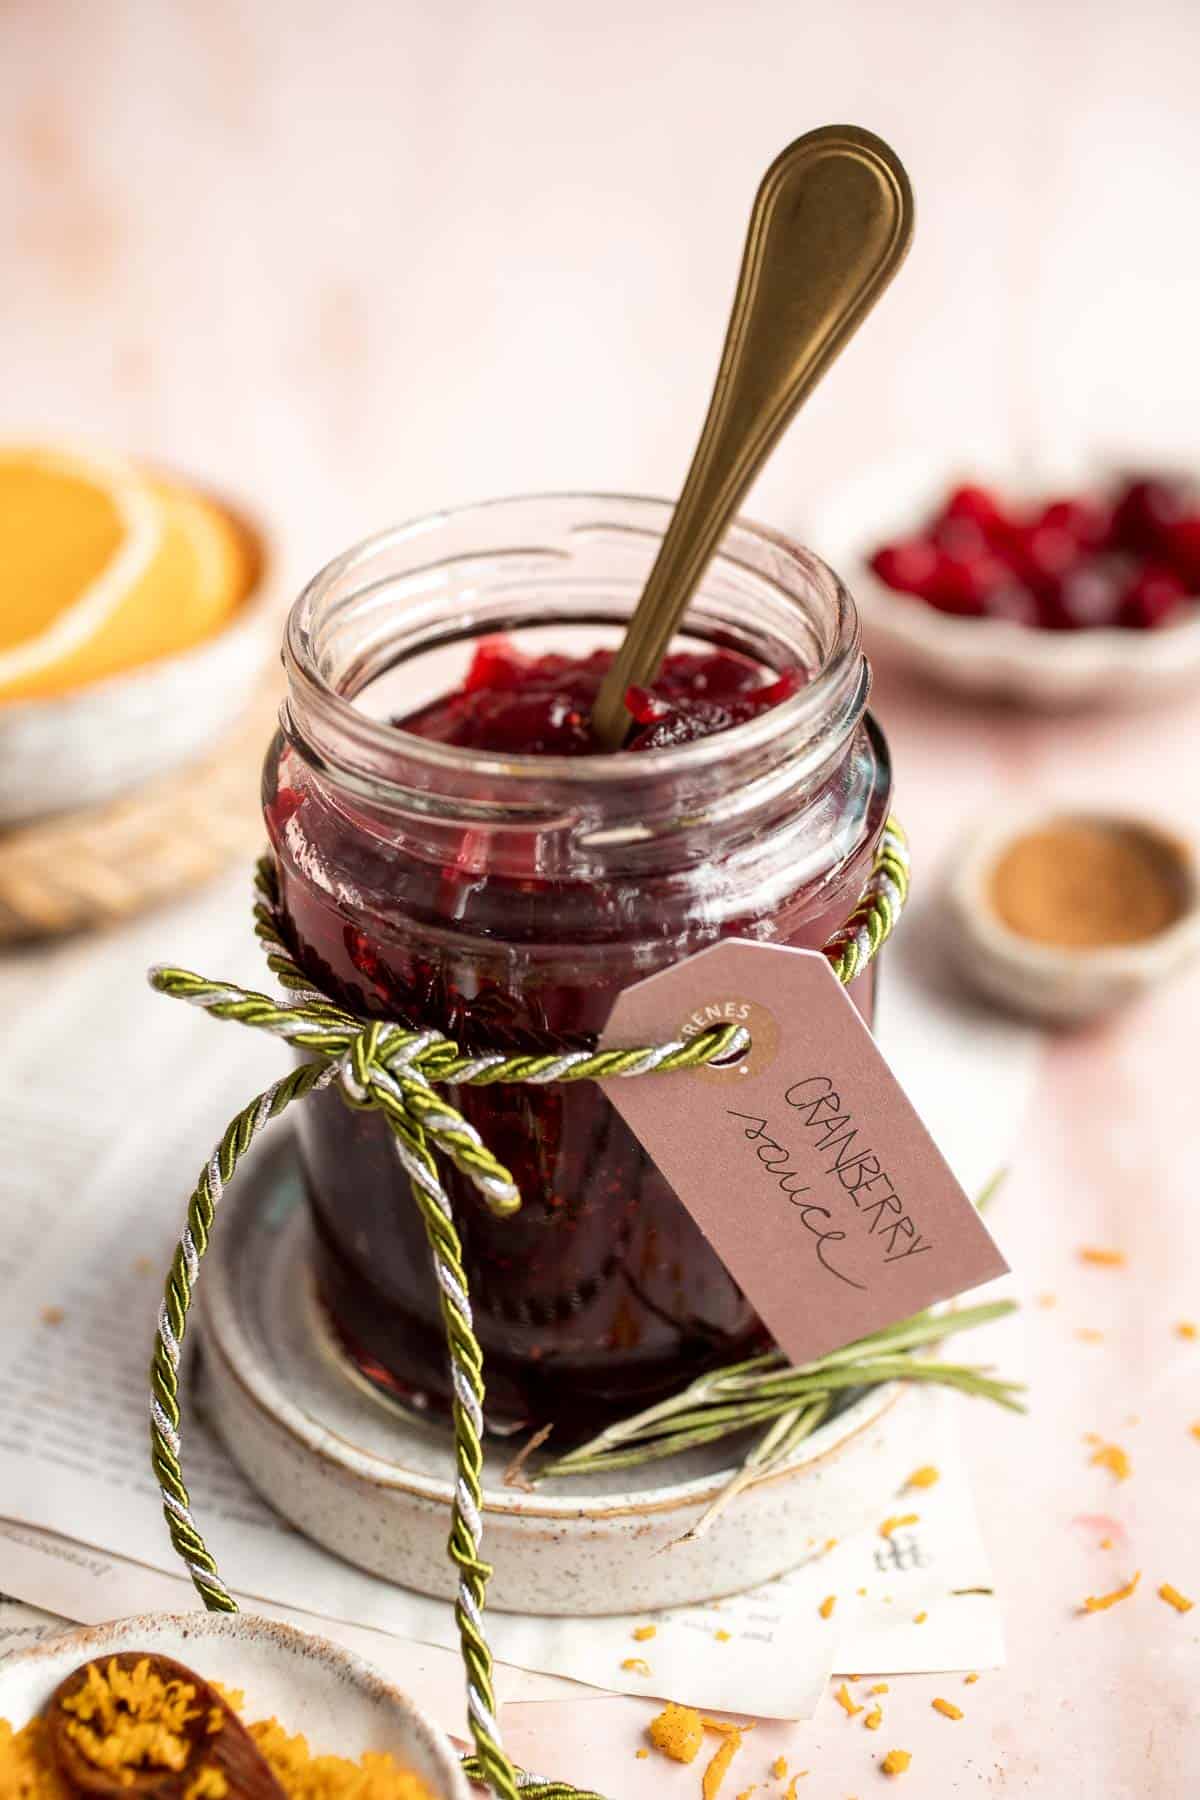
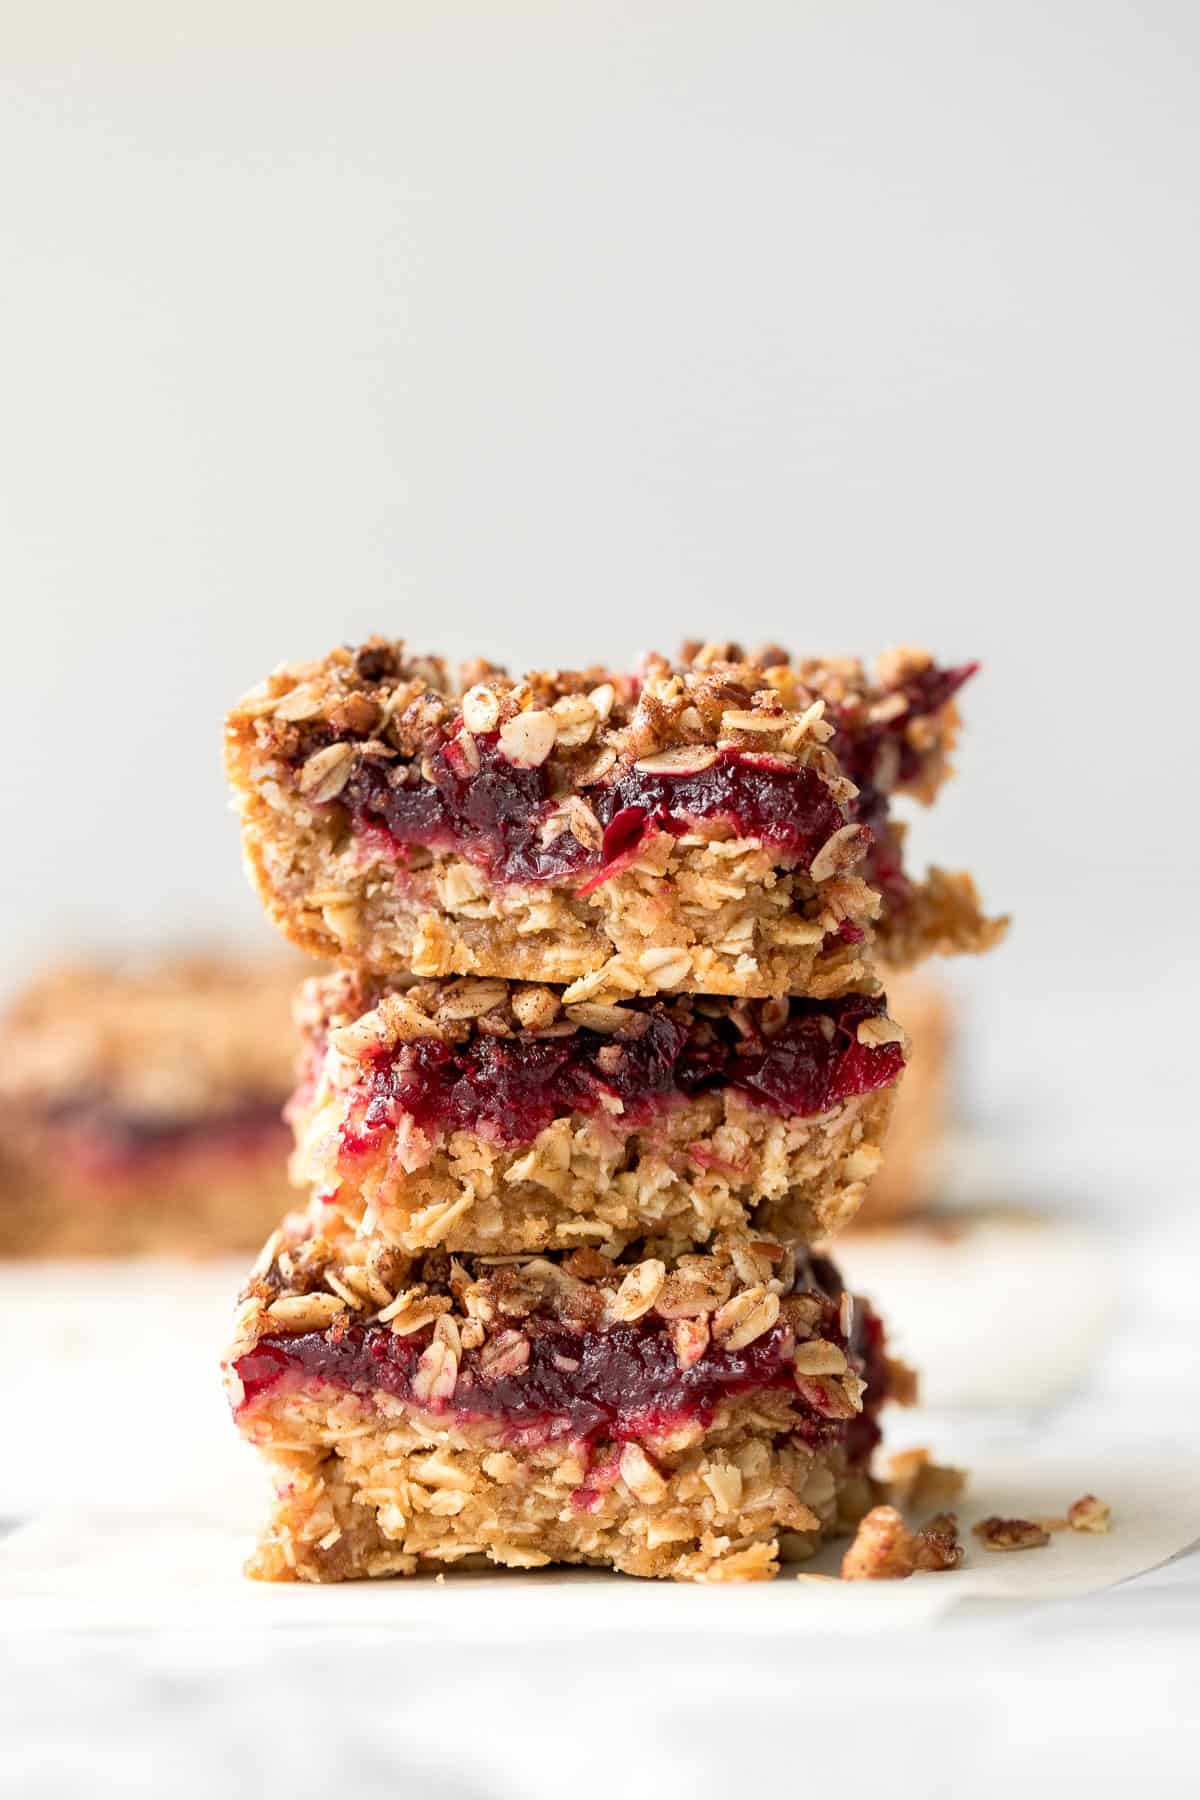
Got some leftover cranberry sauce from your holiday dinner? Revive them into delicious leftover cranberry sauce oat bars, perfect for breakfast or dessert.
Did You Make Any of These Thanksgiving Pie Recipes?
Please leave a comment and rating below, and let me know what you thought of this round up of thanksgiving pies. Be sure to snap a picture and tag me on Instagram @aheadofthyme or share it on the Pinterest pin so that I can follow along.
HUNGRY FOR MORE? Don't forget to sign up for my email newsletter so that you don't miss any recipes. You can also follow along on Instagram and Pinterest for more recipe updates.