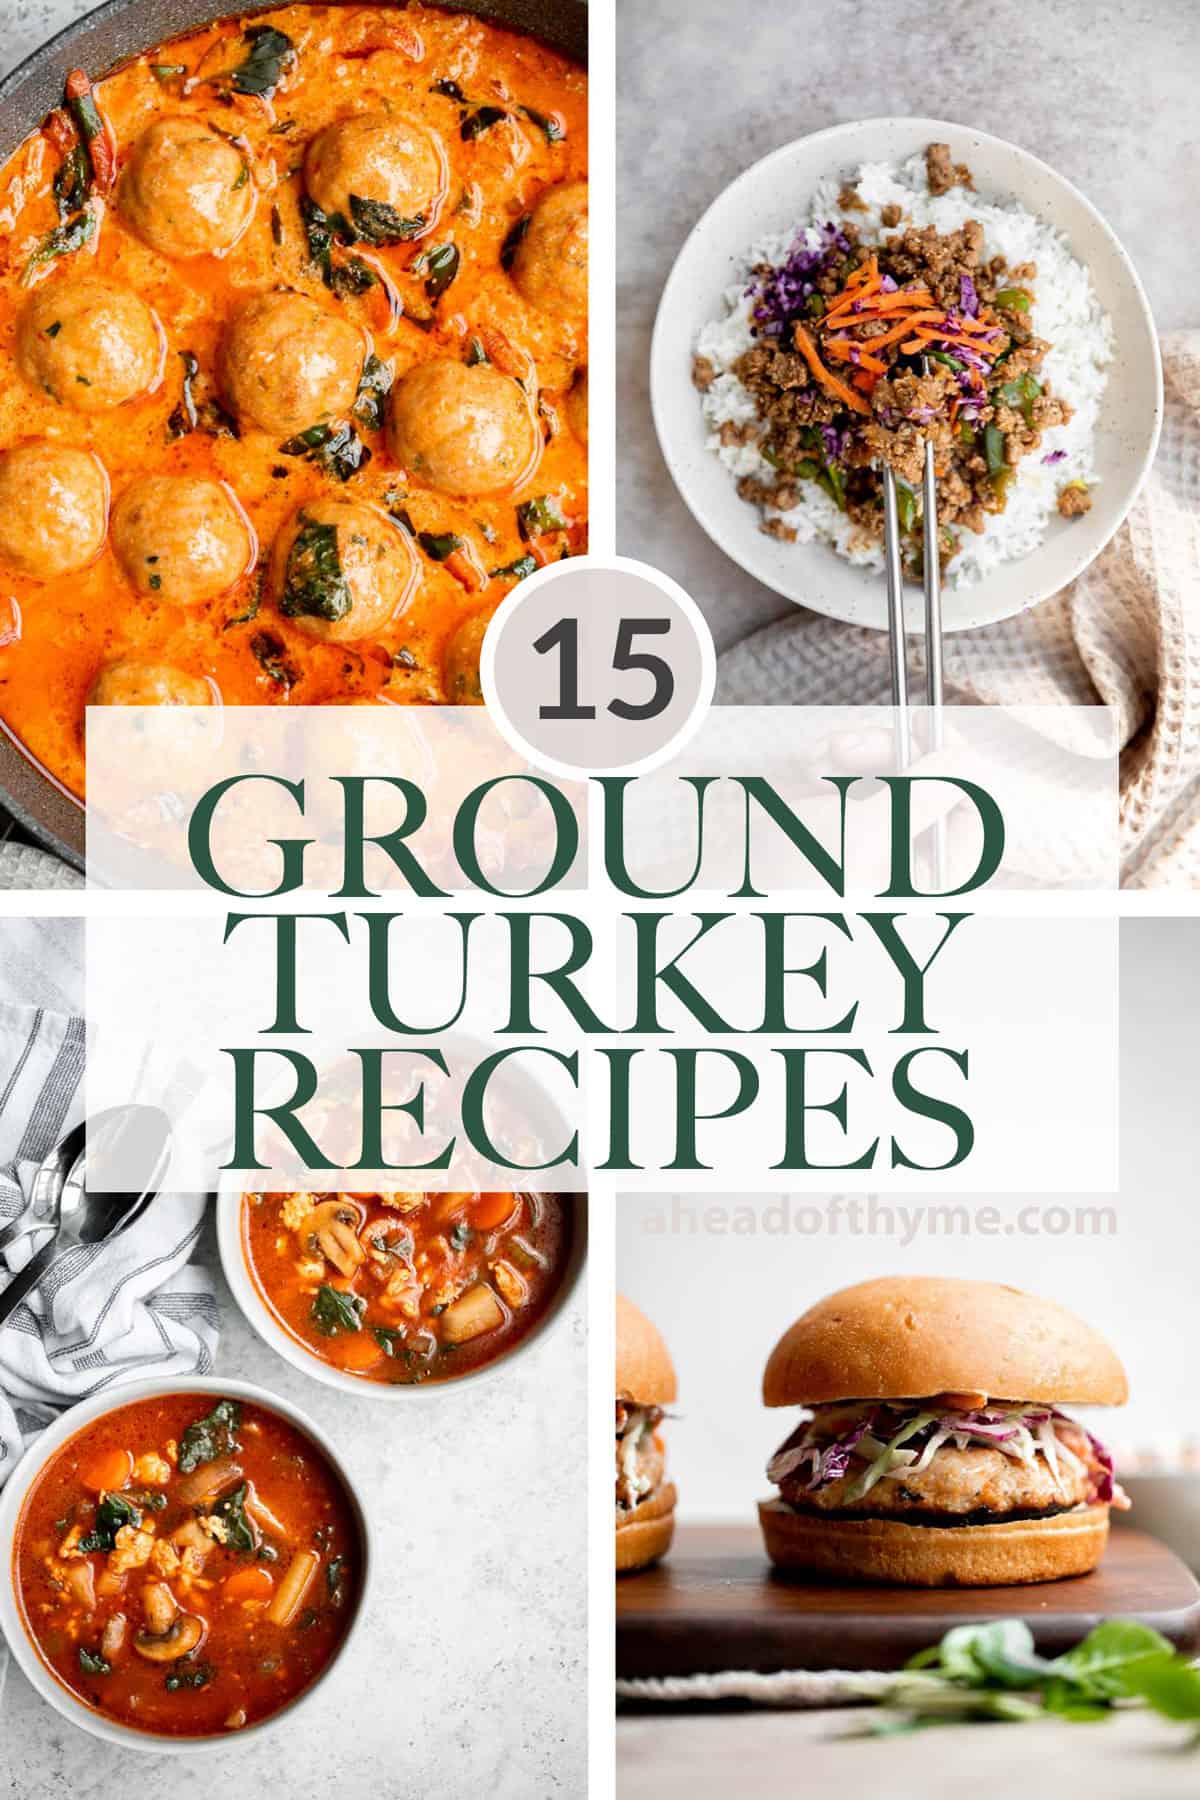
Wondering what to cook with ground turkey for dinner tonight? Ground turkey is a healthy and versatile protein that takes on flavors across different cuisines really well - which results in so many delicious recipes to make using ground turkey. We are sharing over 15 of our best ground turkey recipes including meatballs, burgers, soup, pasta, and more!
Whether you're looking for a quick and easy weeknight meal or a crowd-pleasing dish for a special occasion, we've got you covered. So, let's dive in and find a delicious ground turkey recipe for you!
Best Ground Turkey Recipes
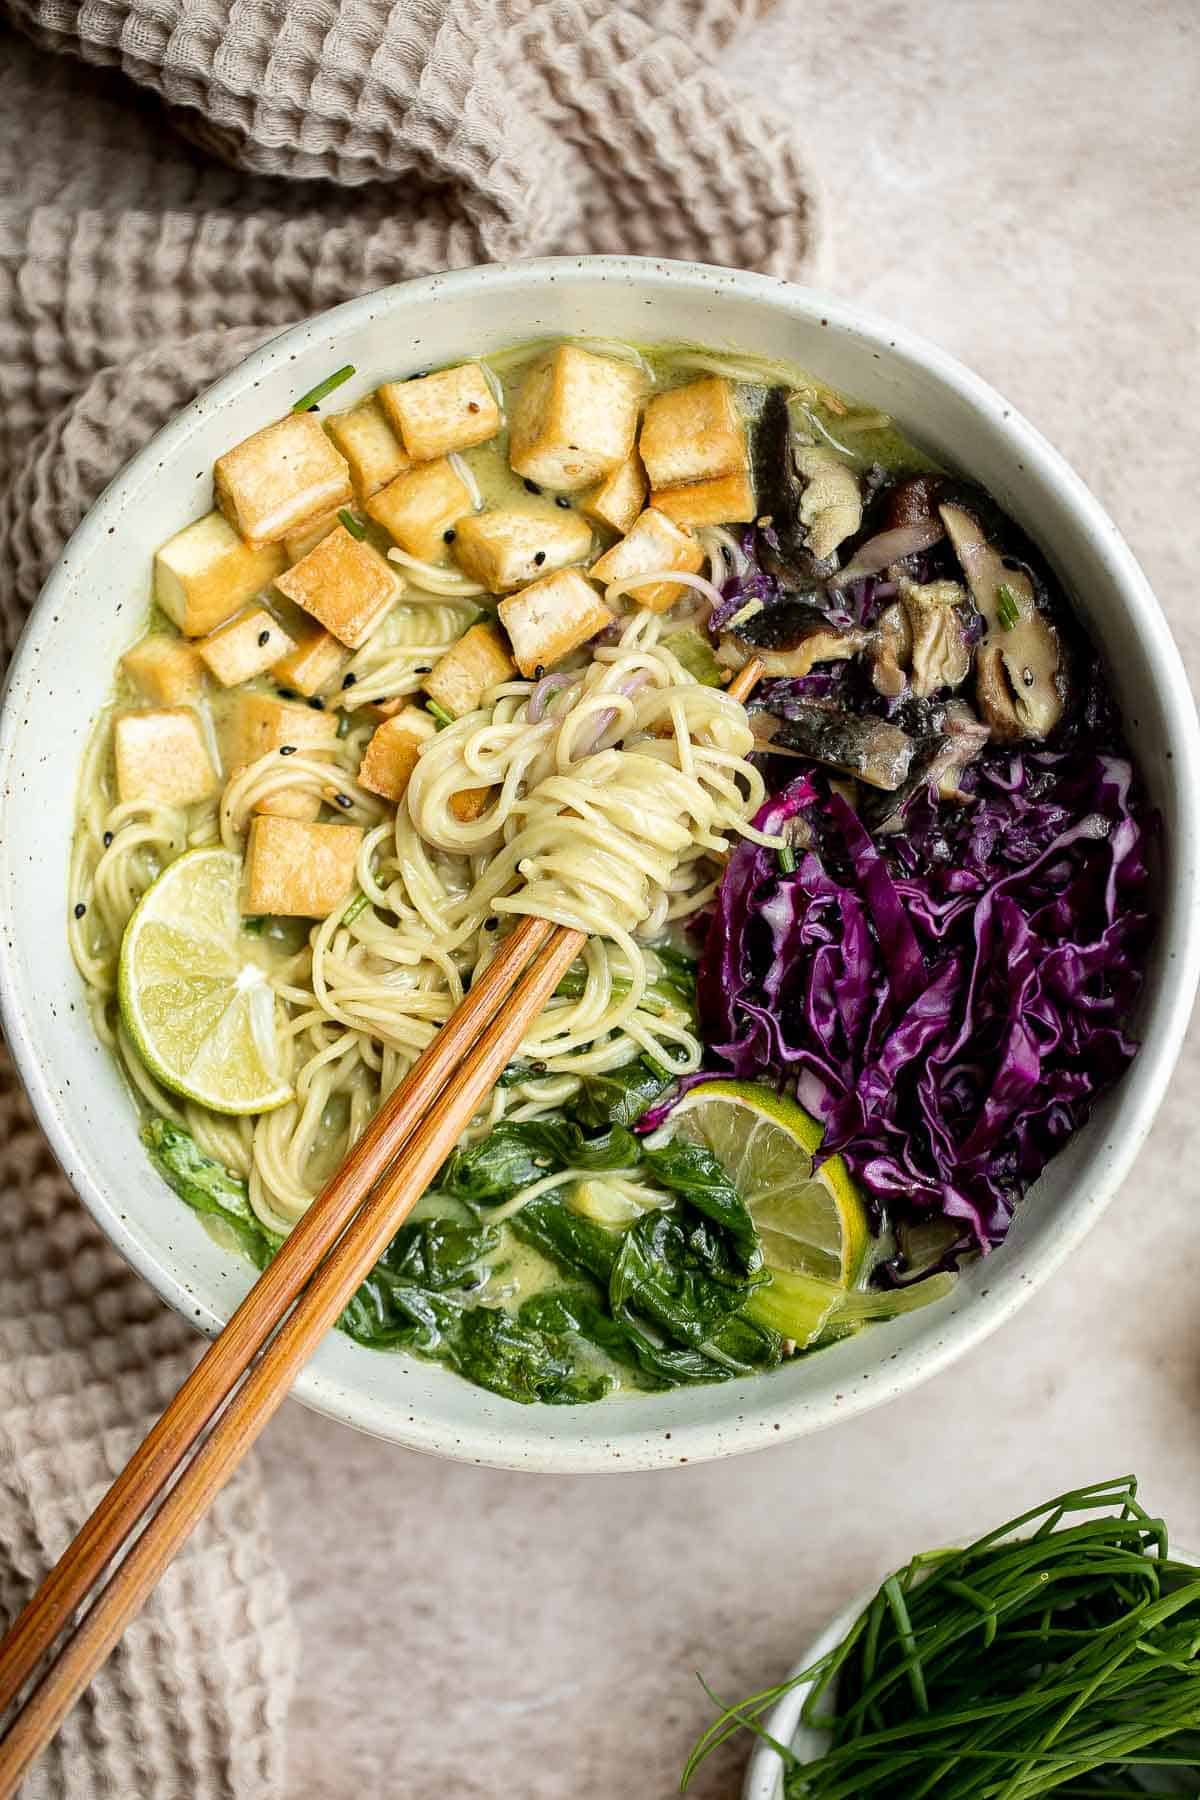
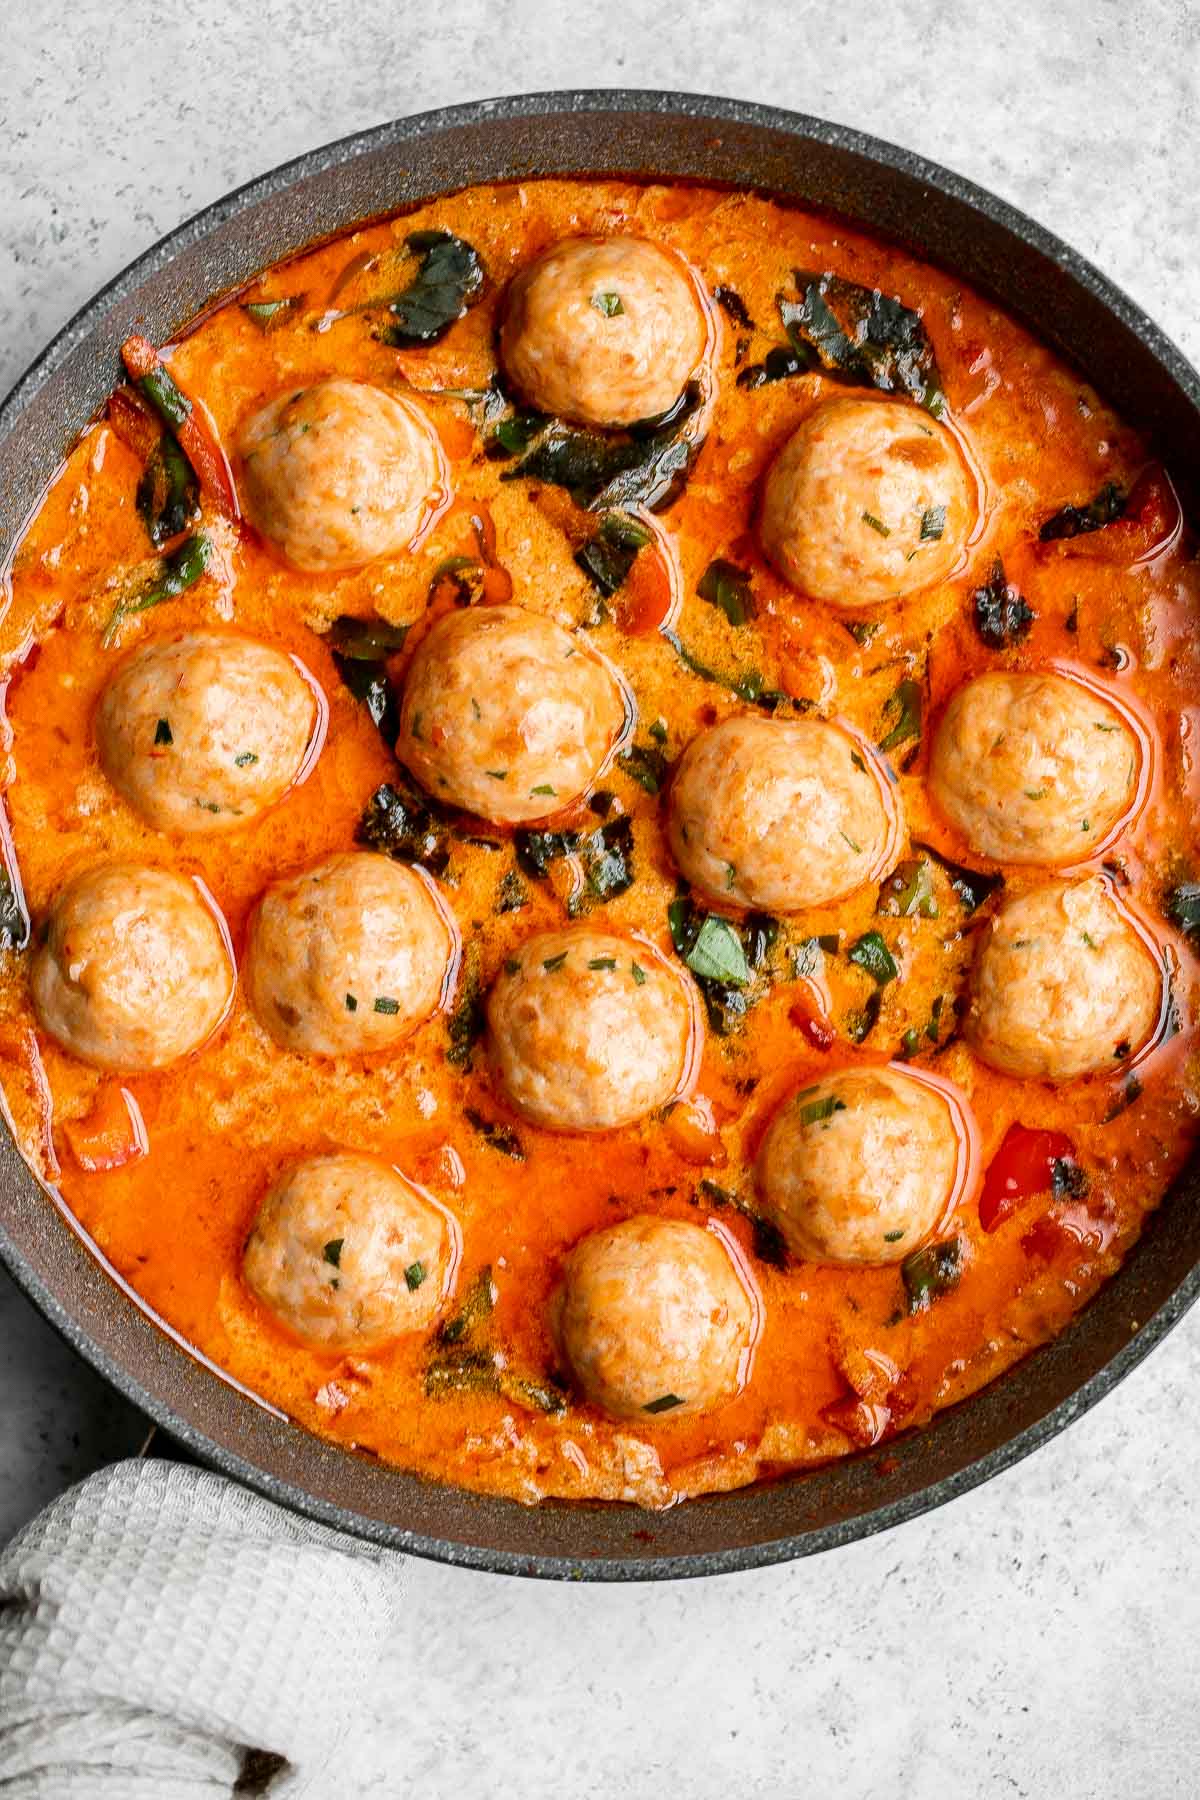
Thai Turkey Meatballs in Coconut Curry
Thai turkey meatballs in coconut curry are the perfect weeknight dinner when you want something delicious, healthy, flavorful, and satisfying.
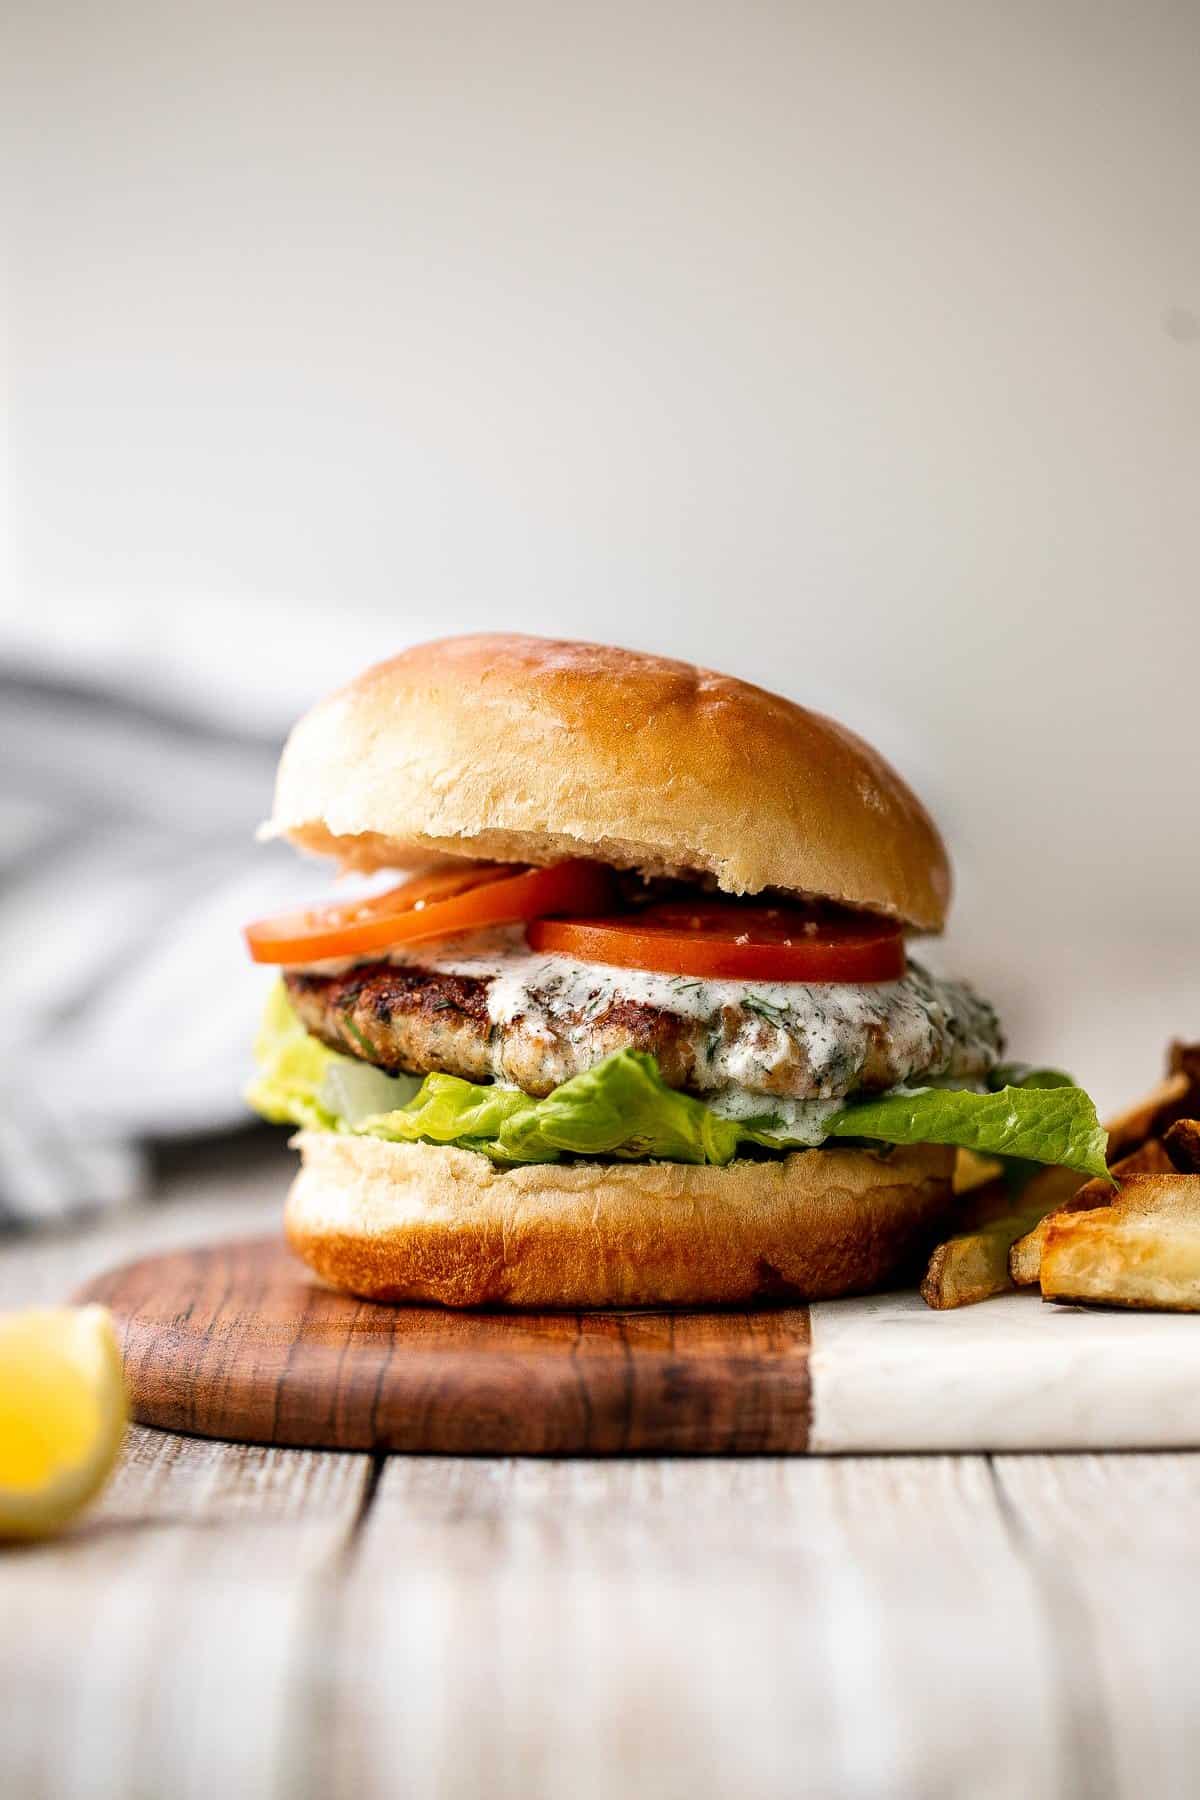
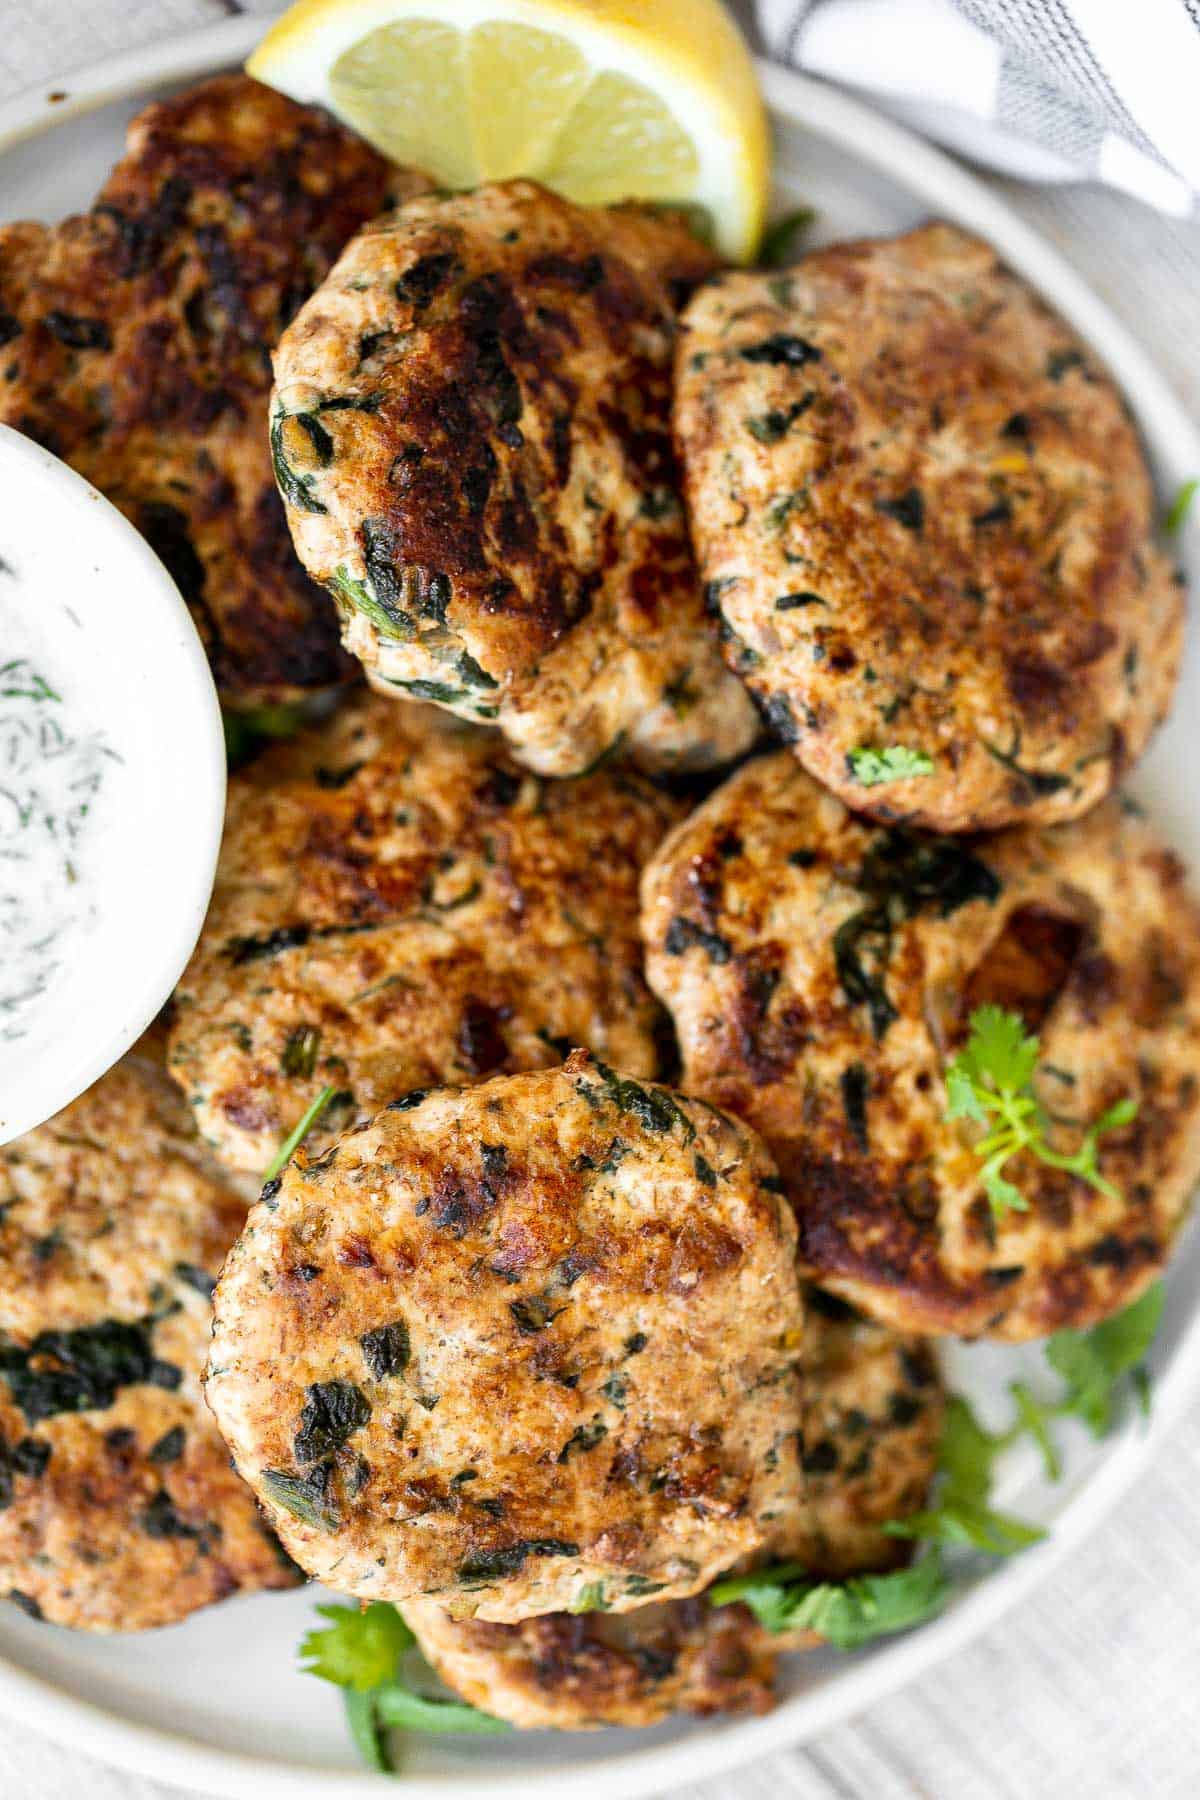
Mediterranean turkey burgers are tender, juicy, and delicious, loaded with garlic, fresh dill, and lemon juice. The perfect summer weeknight meal.
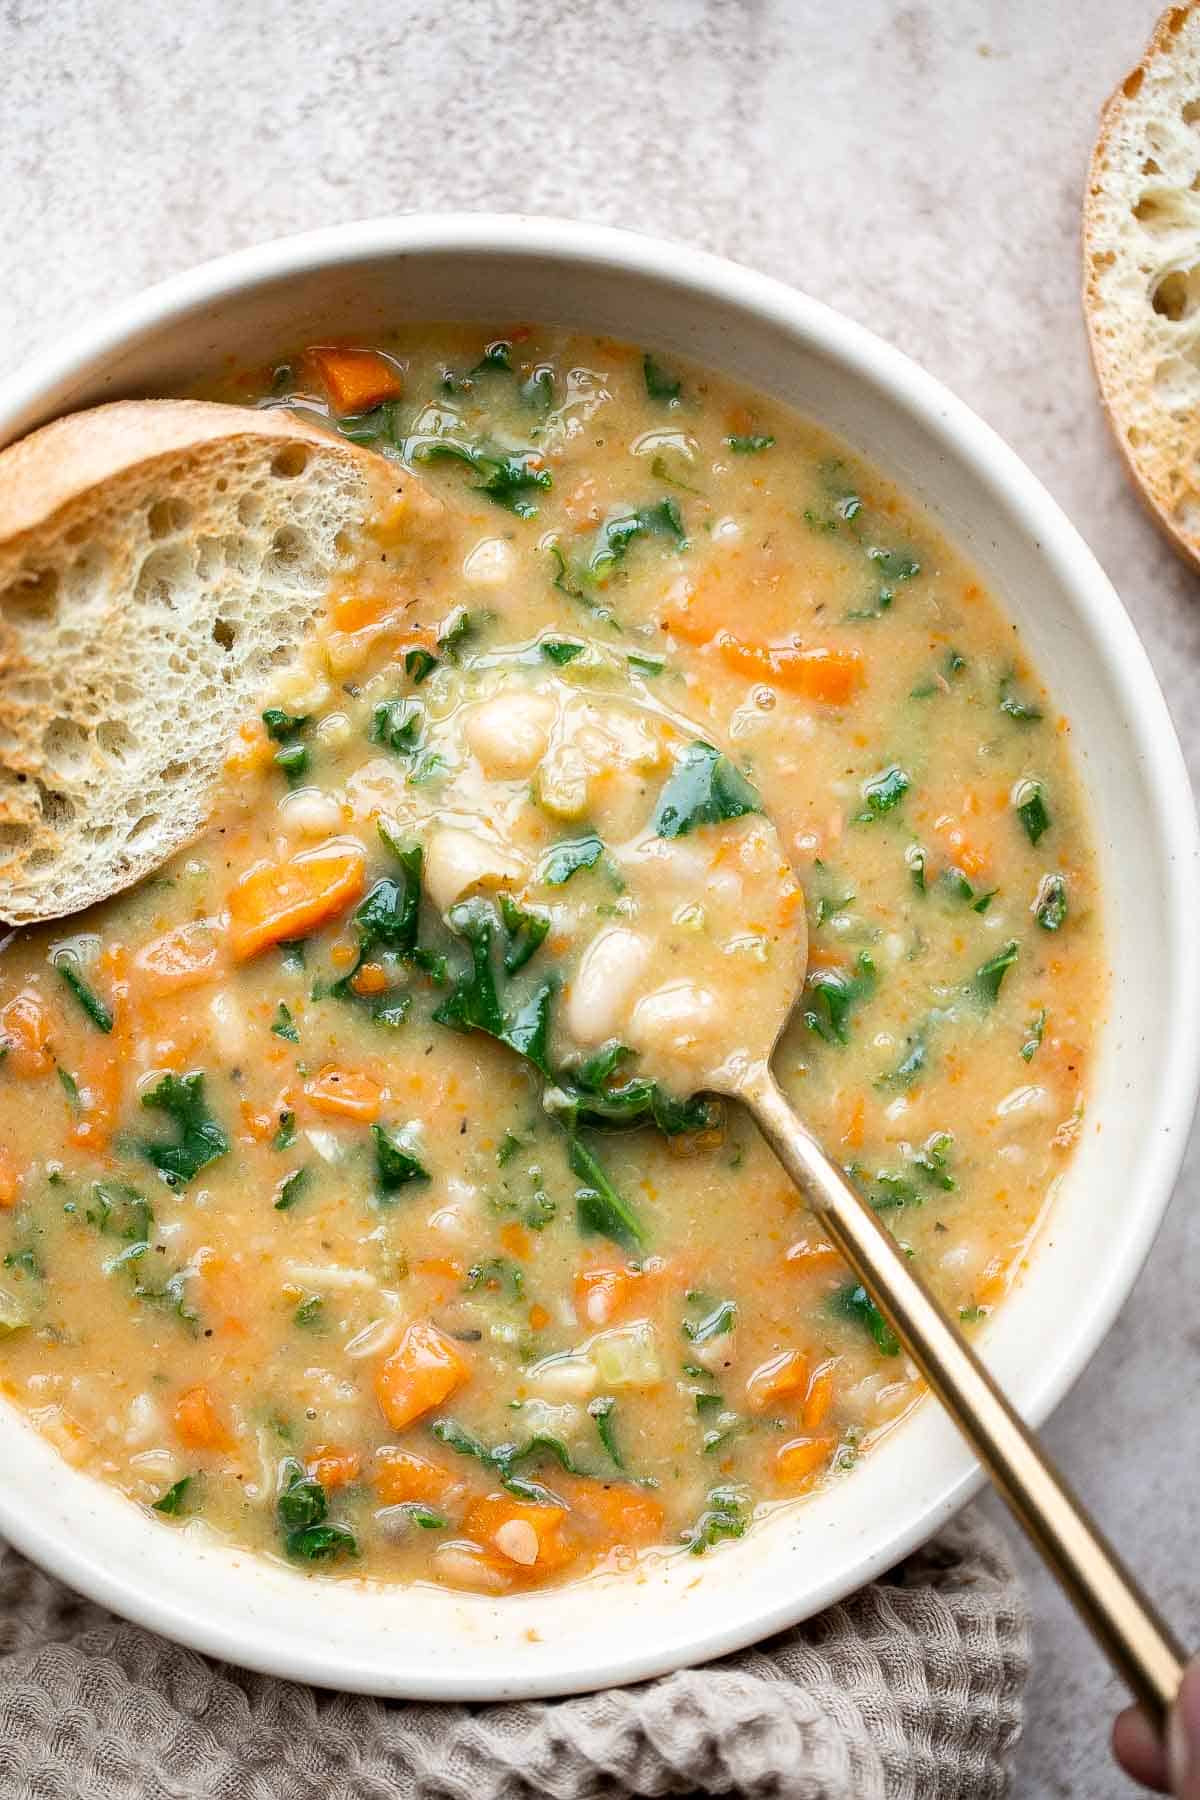
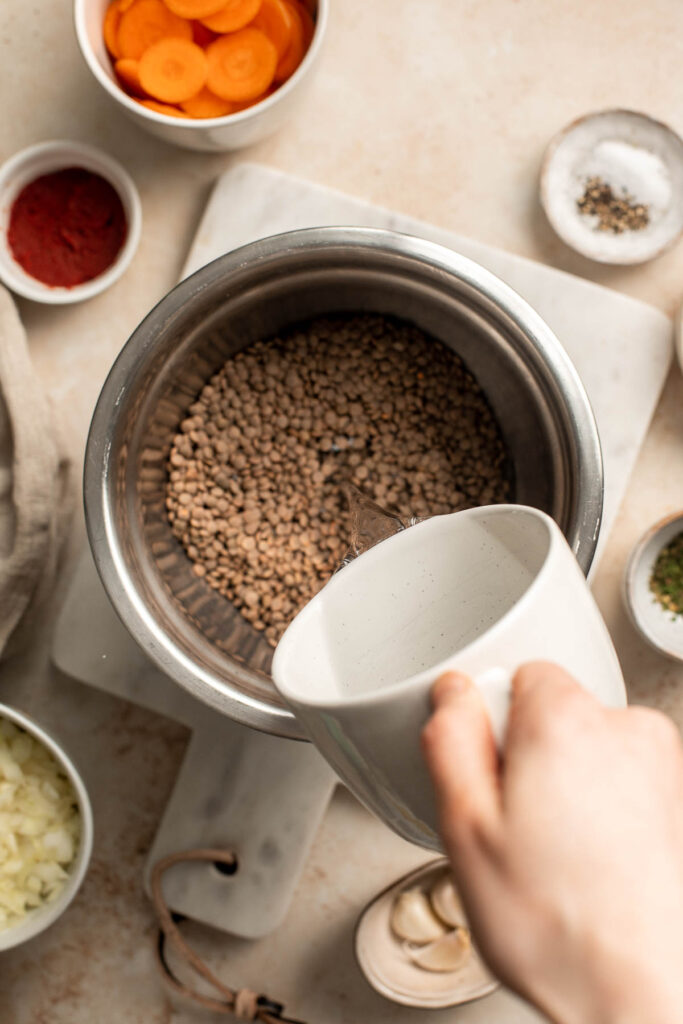
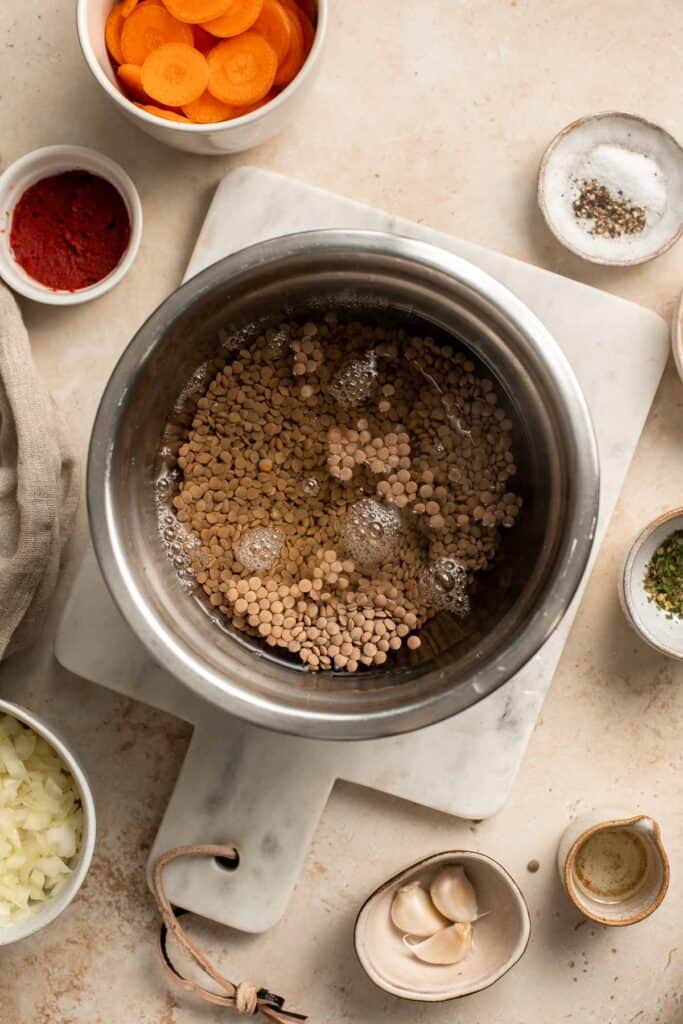
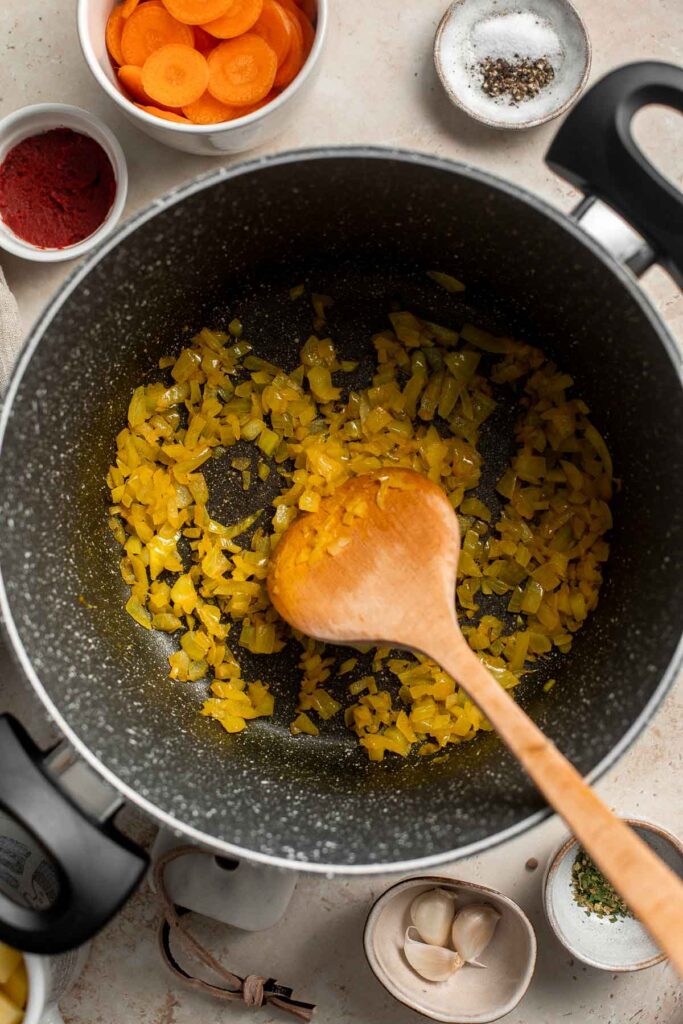
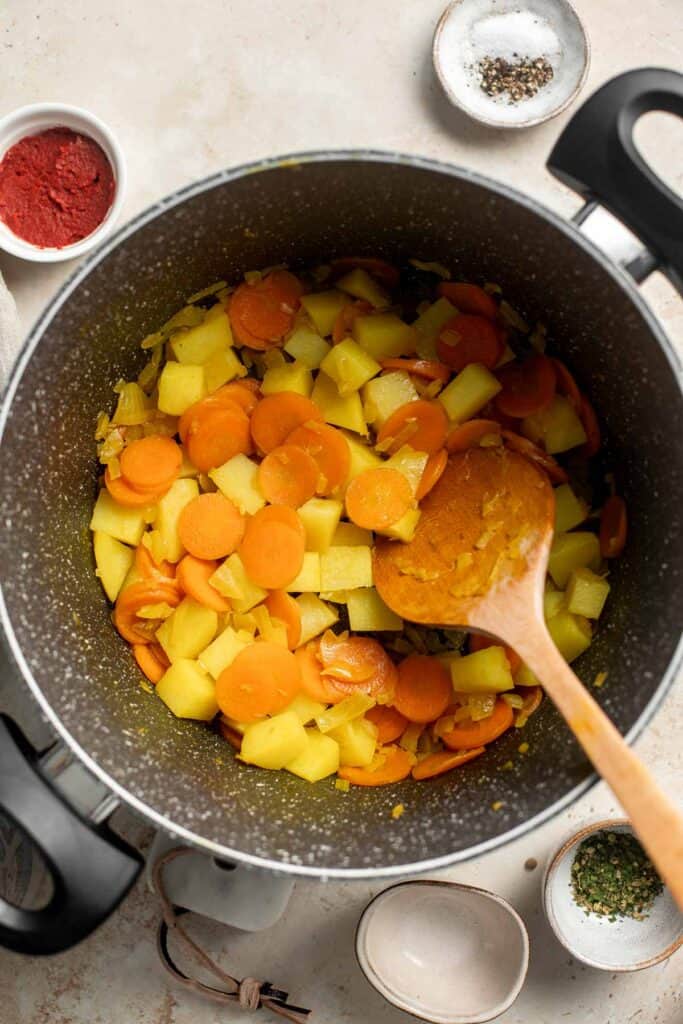
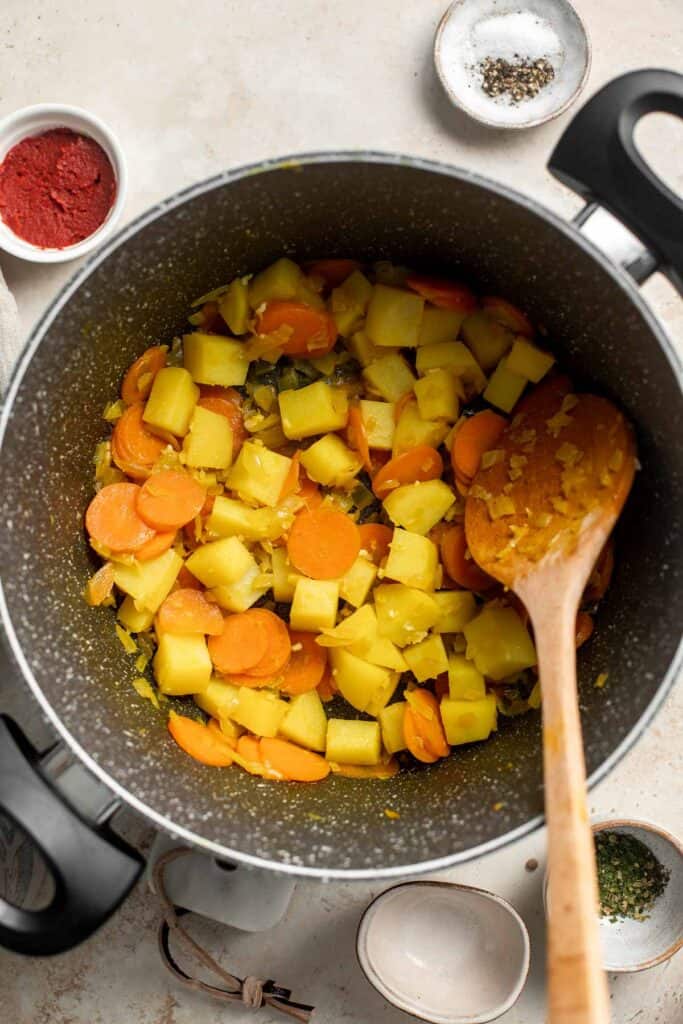
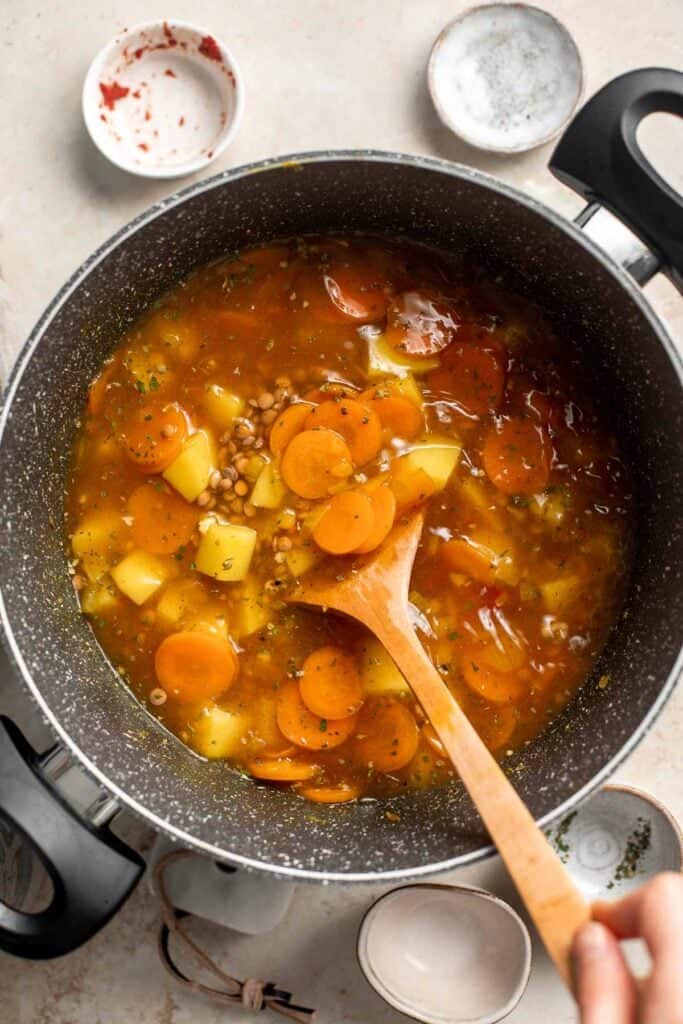
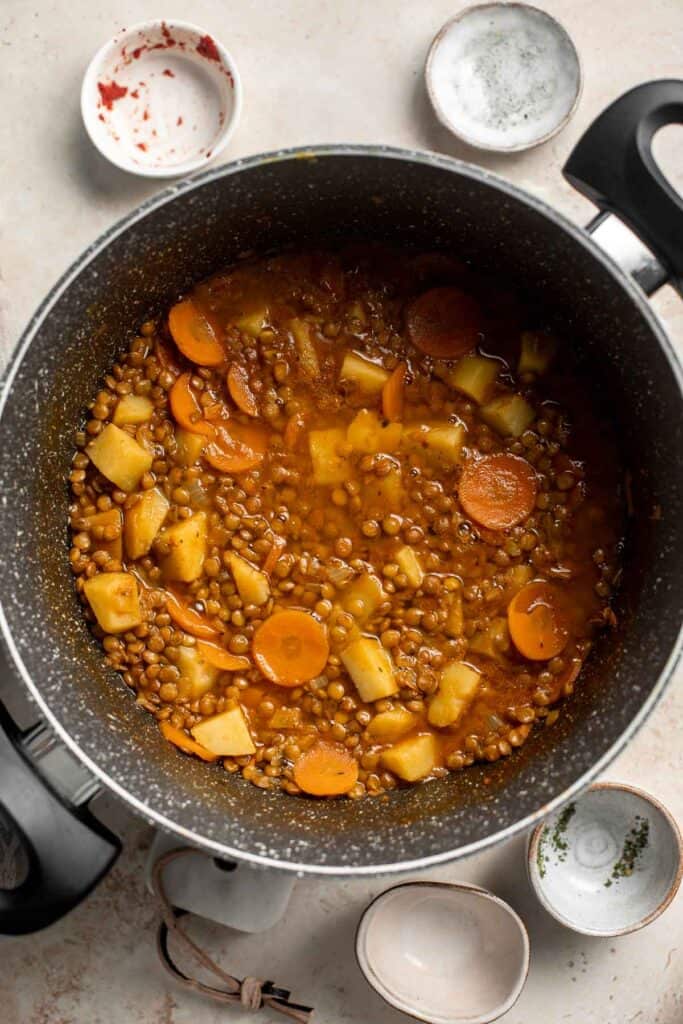
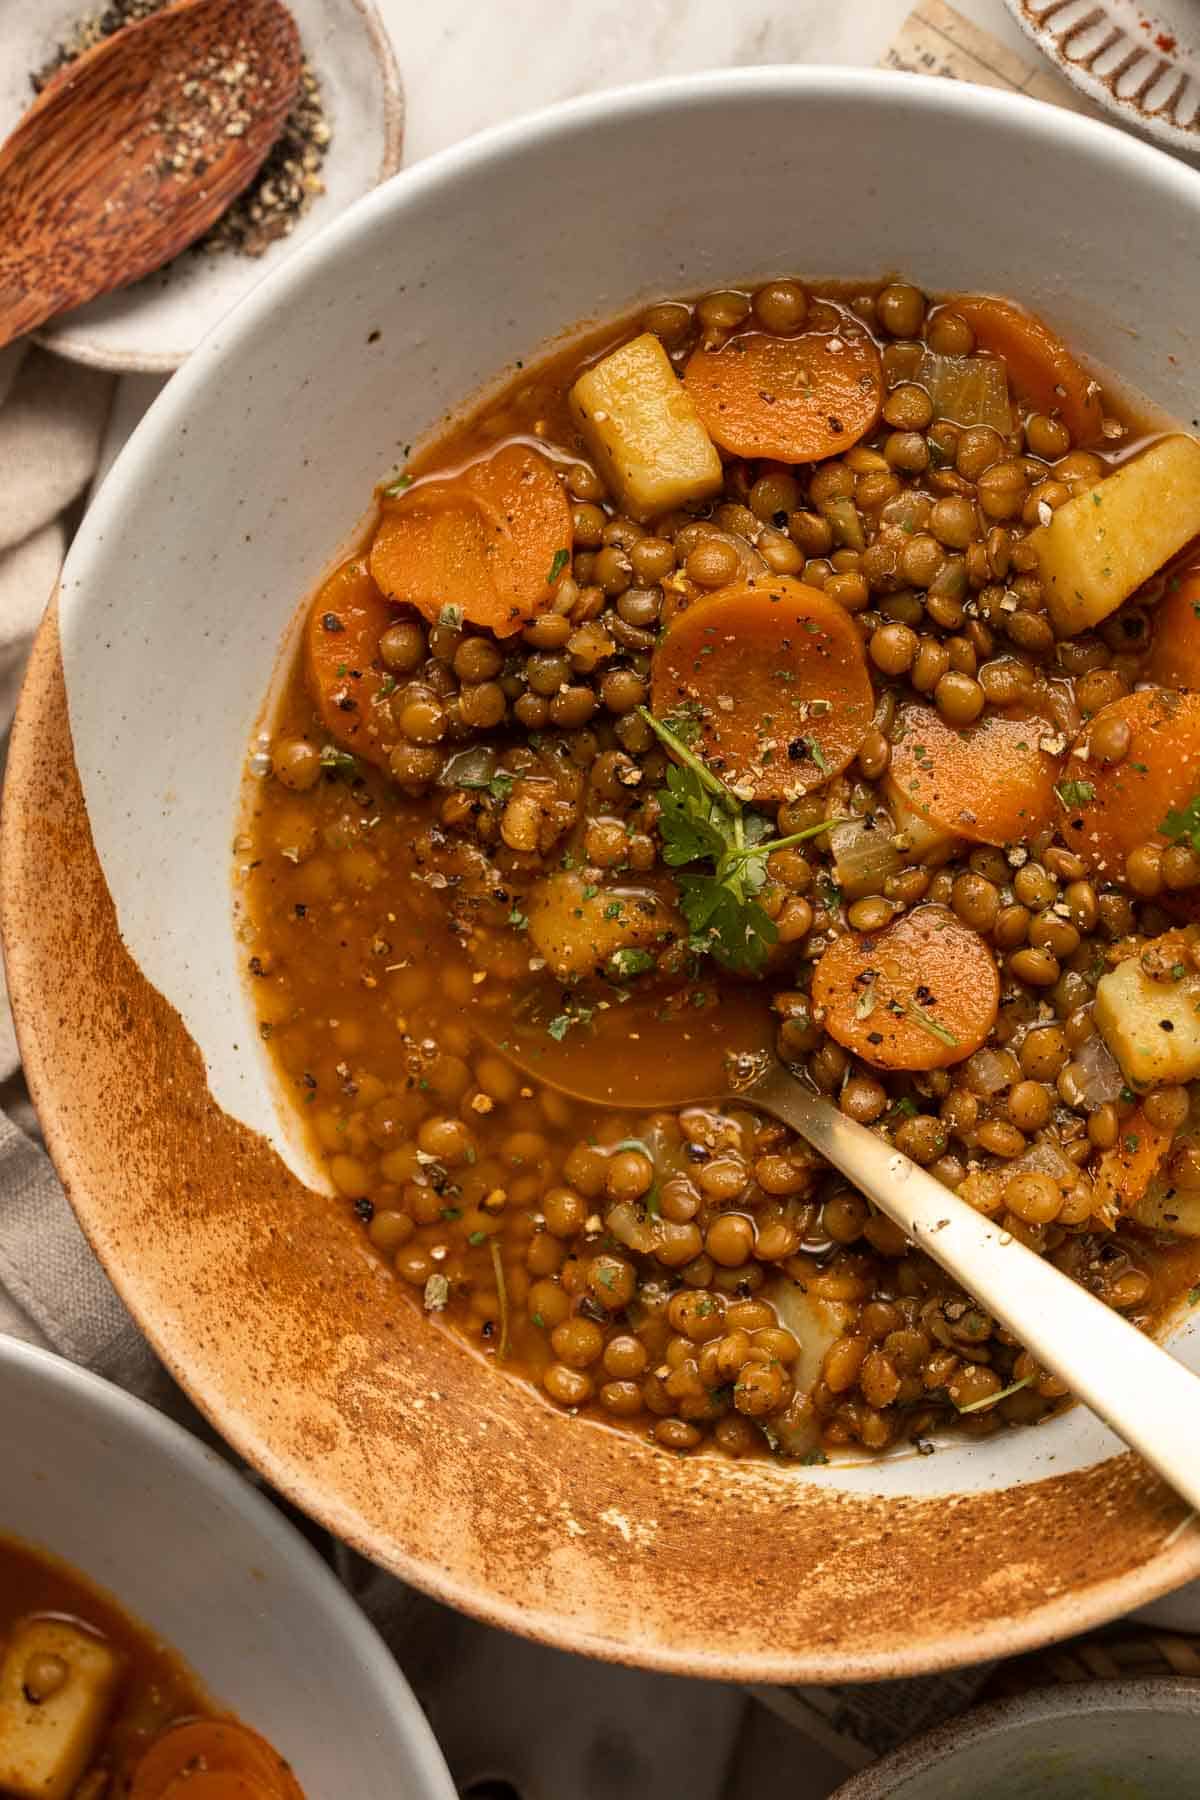
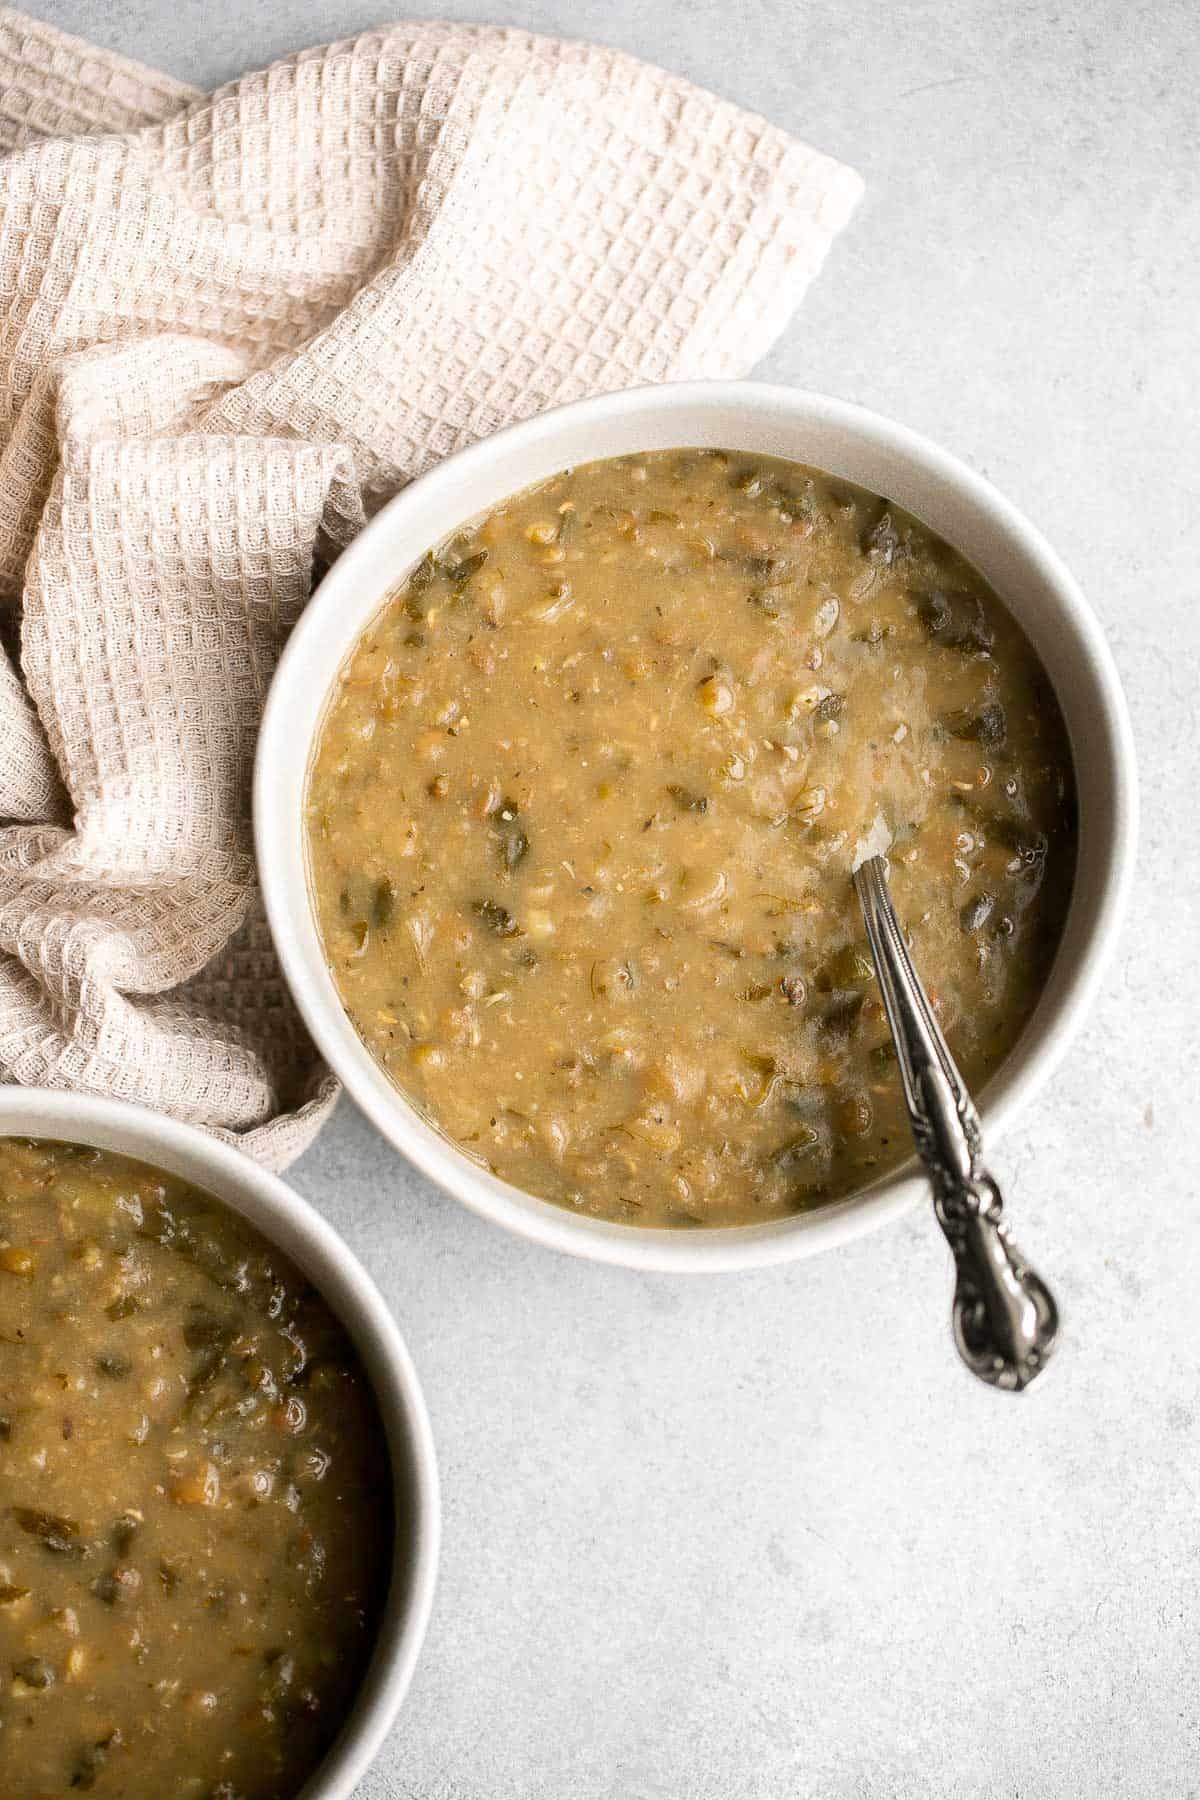
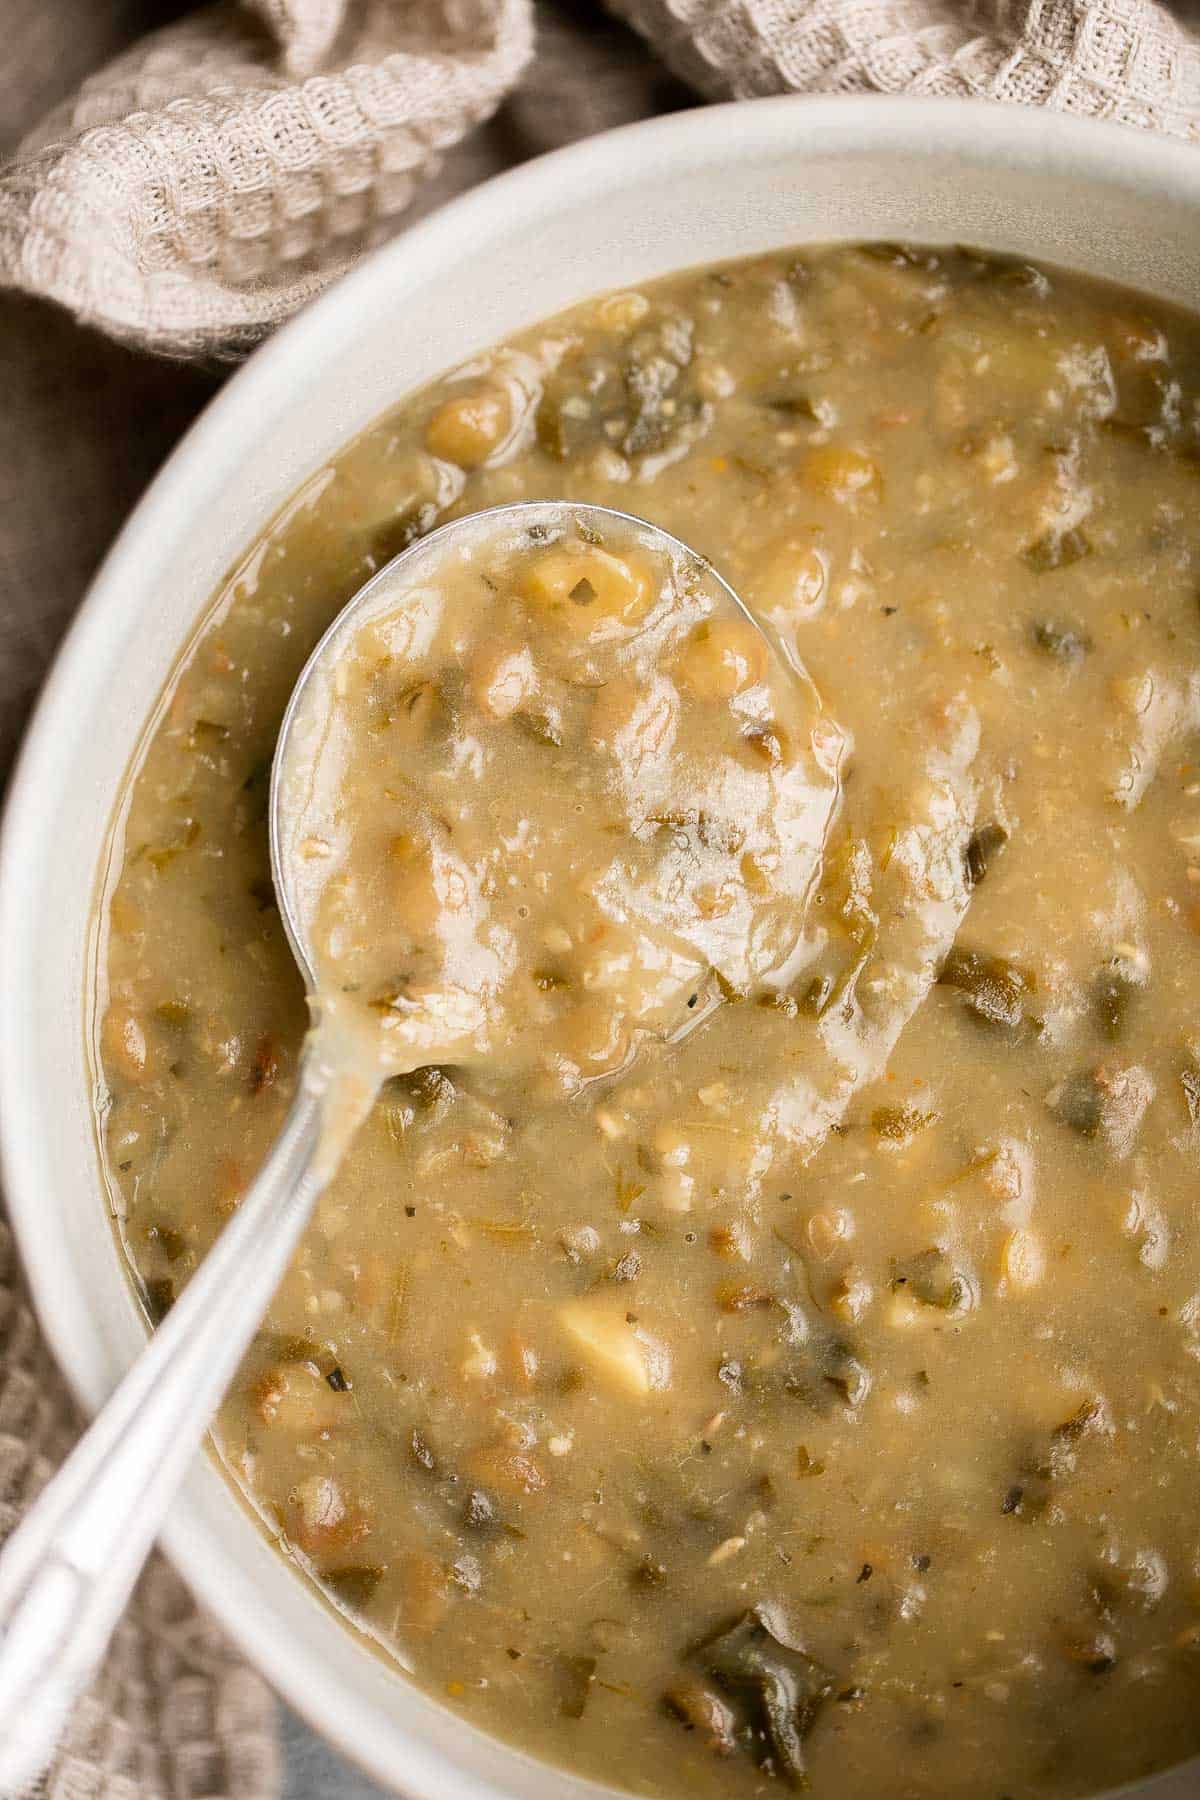
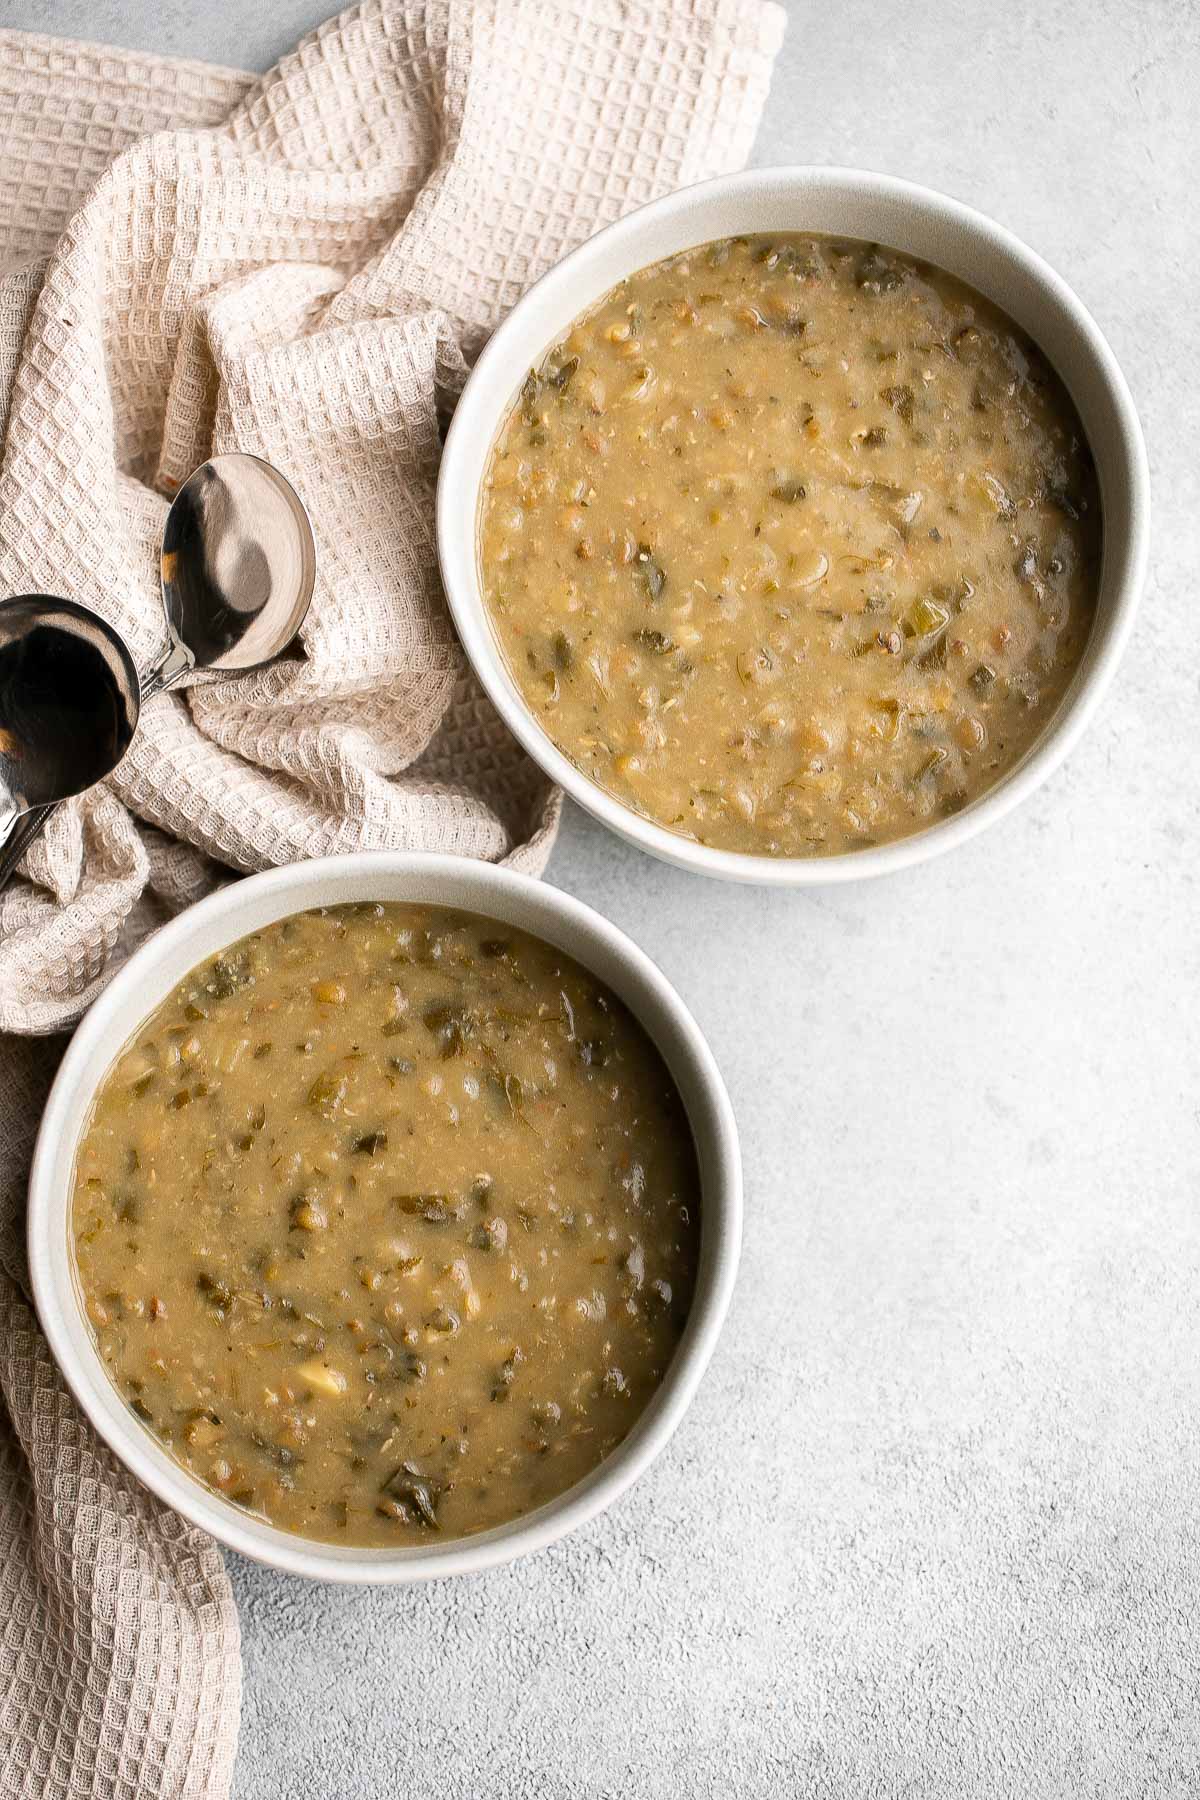
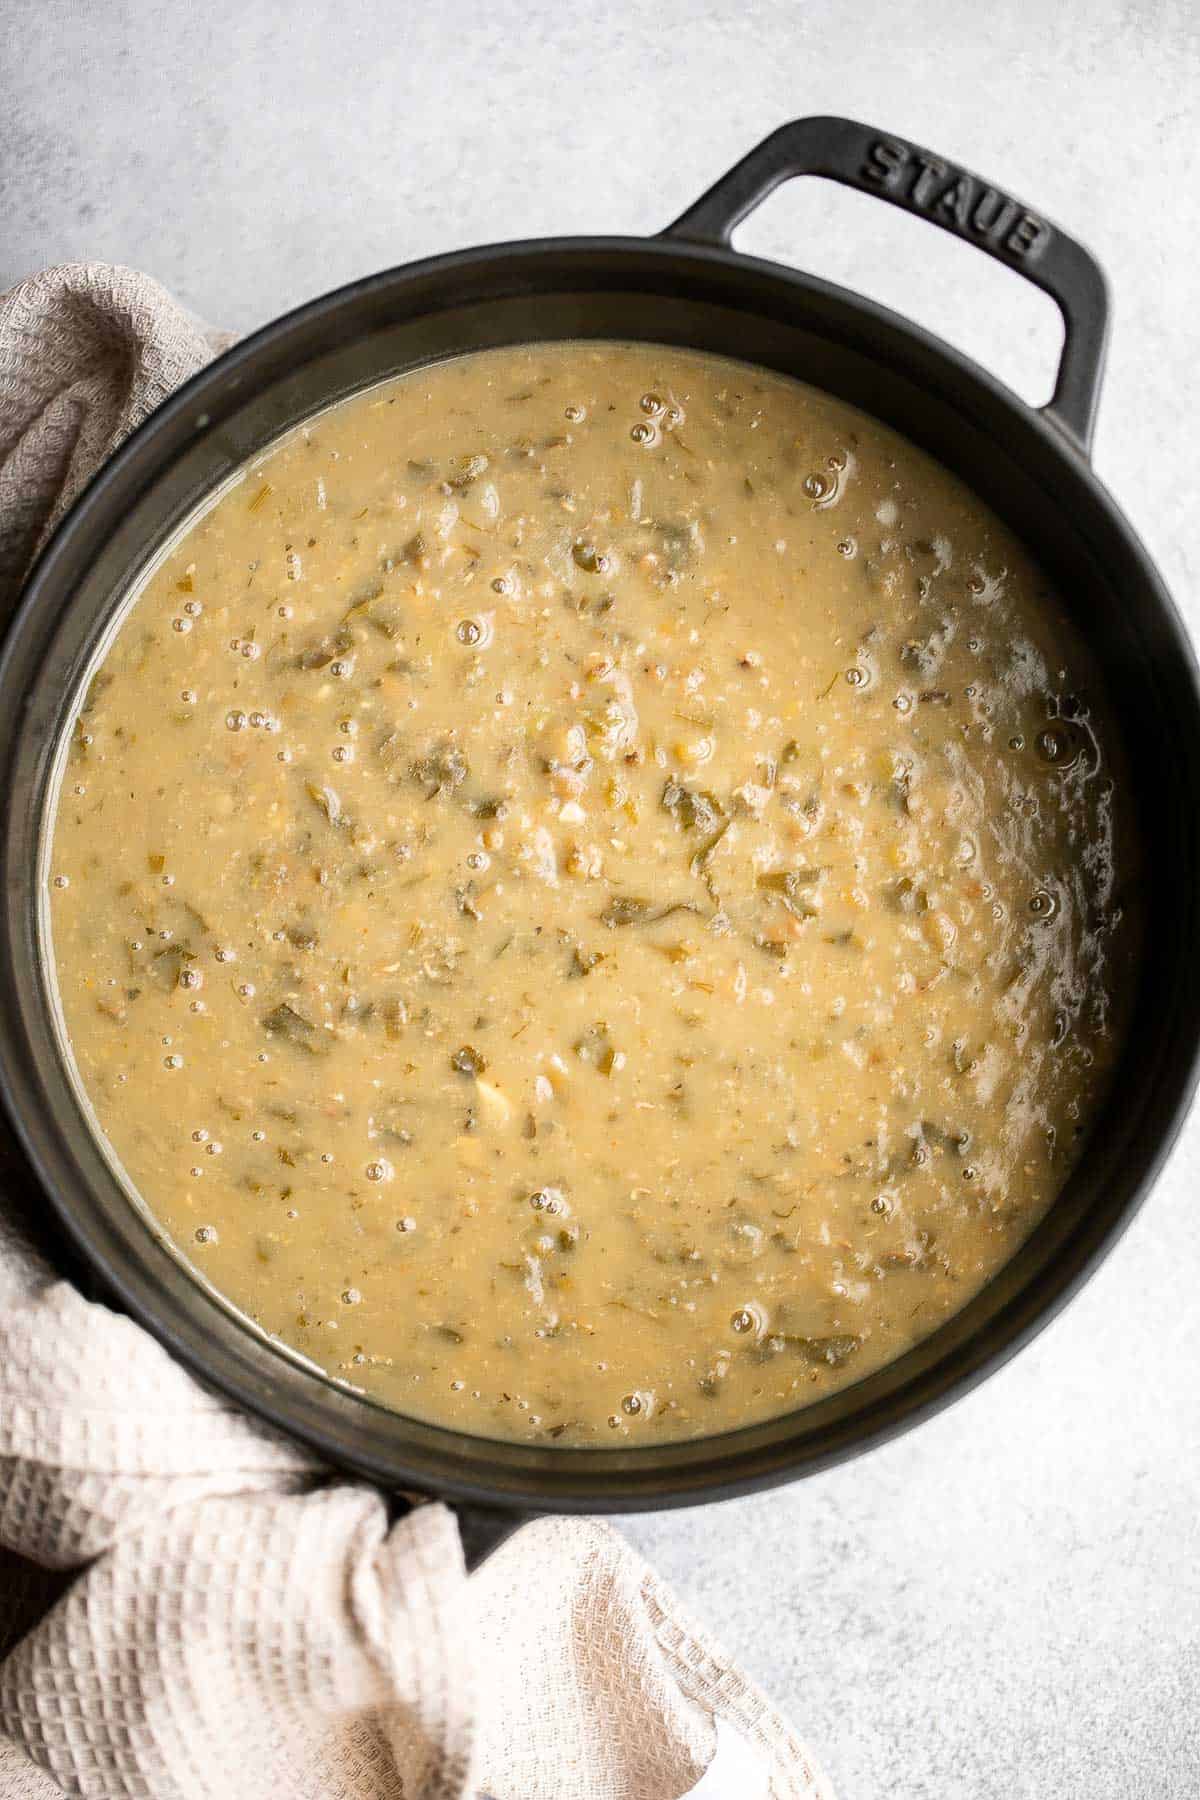
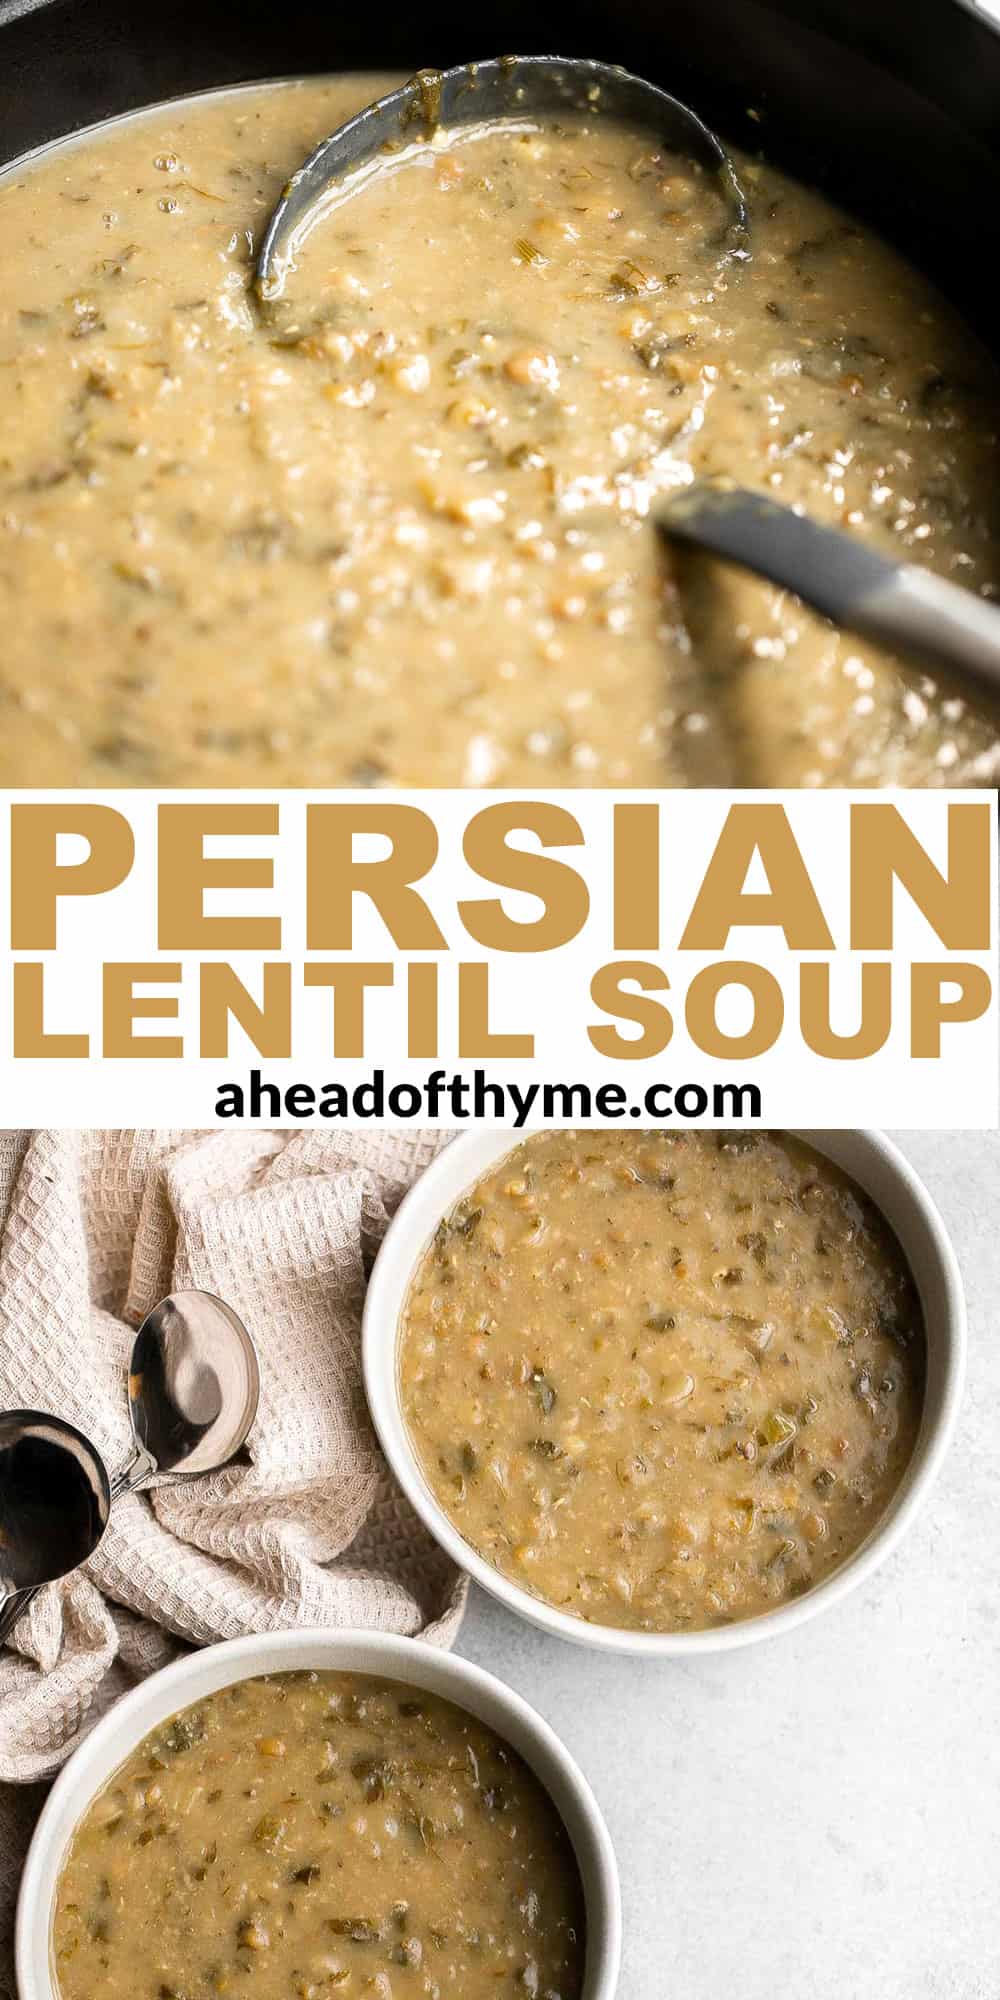
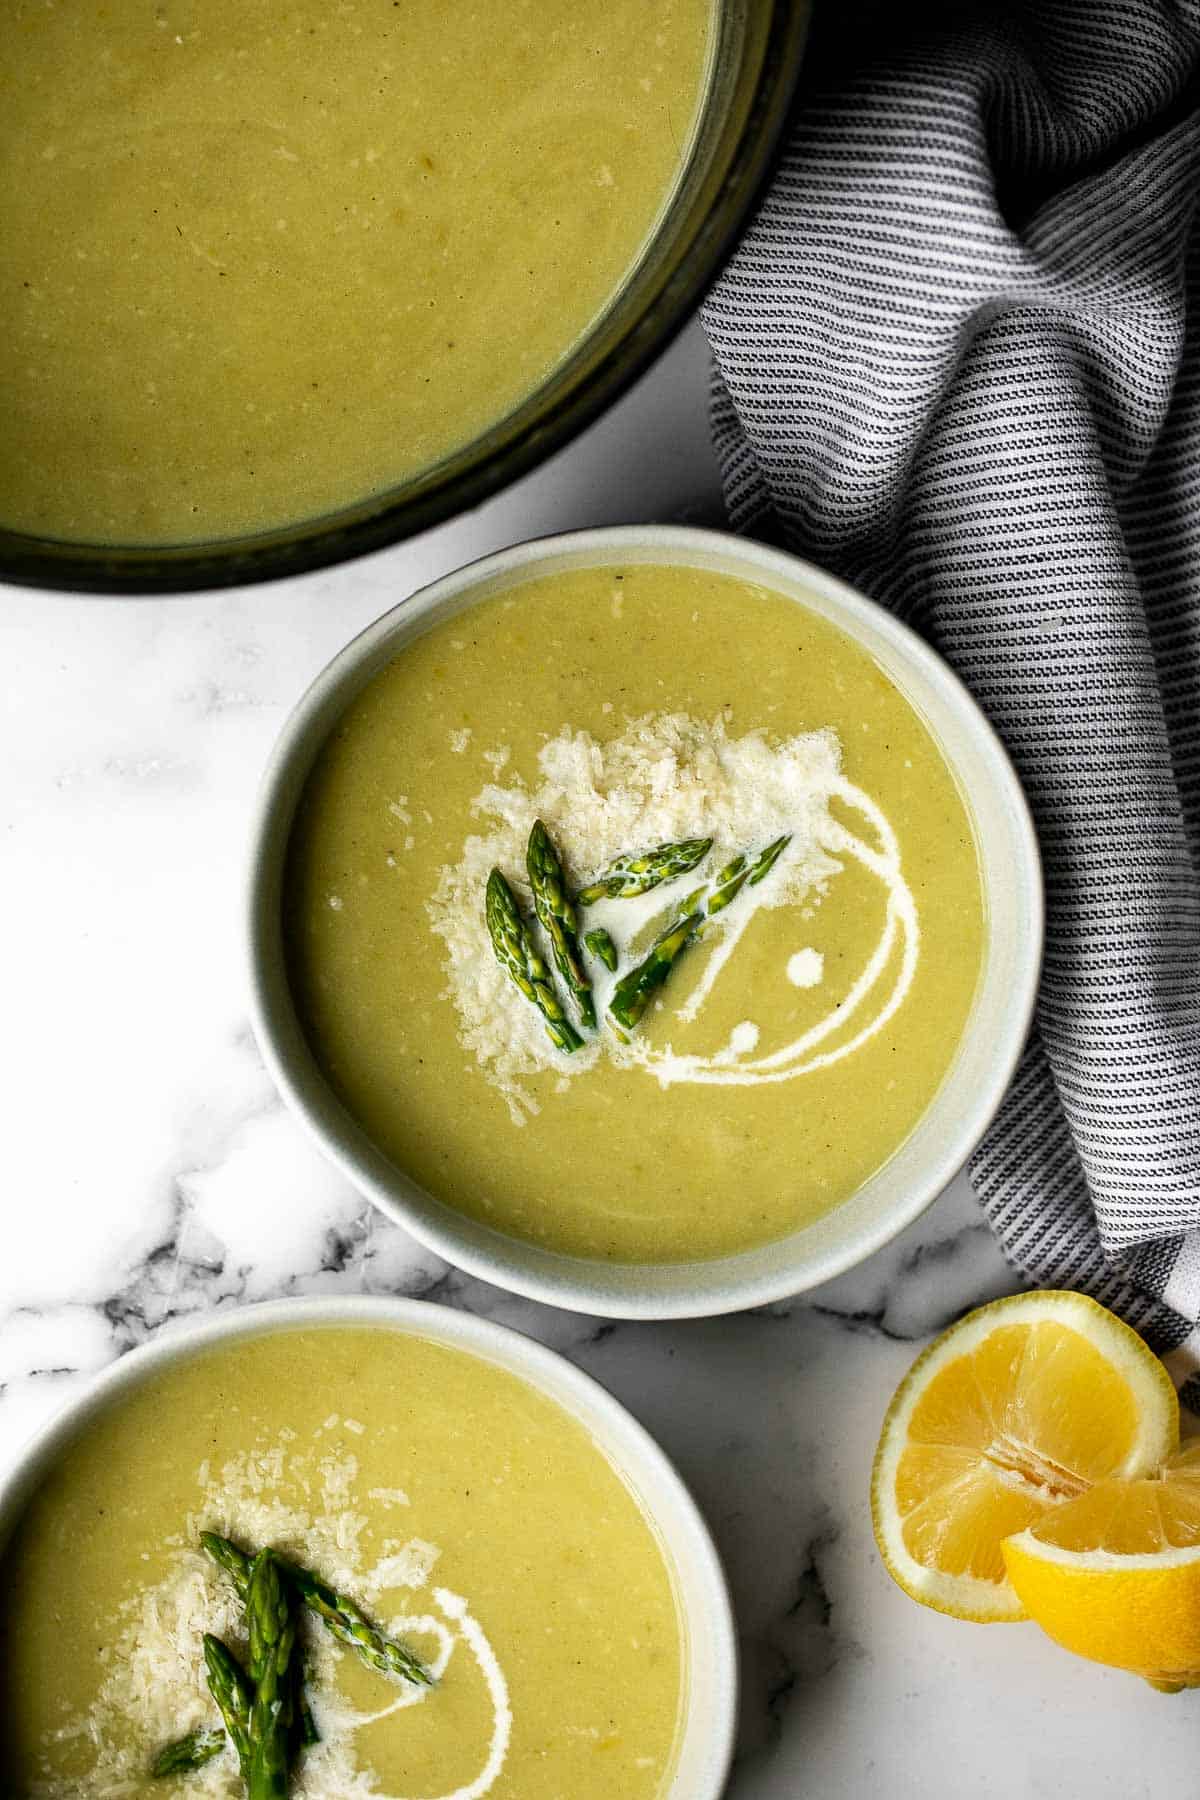
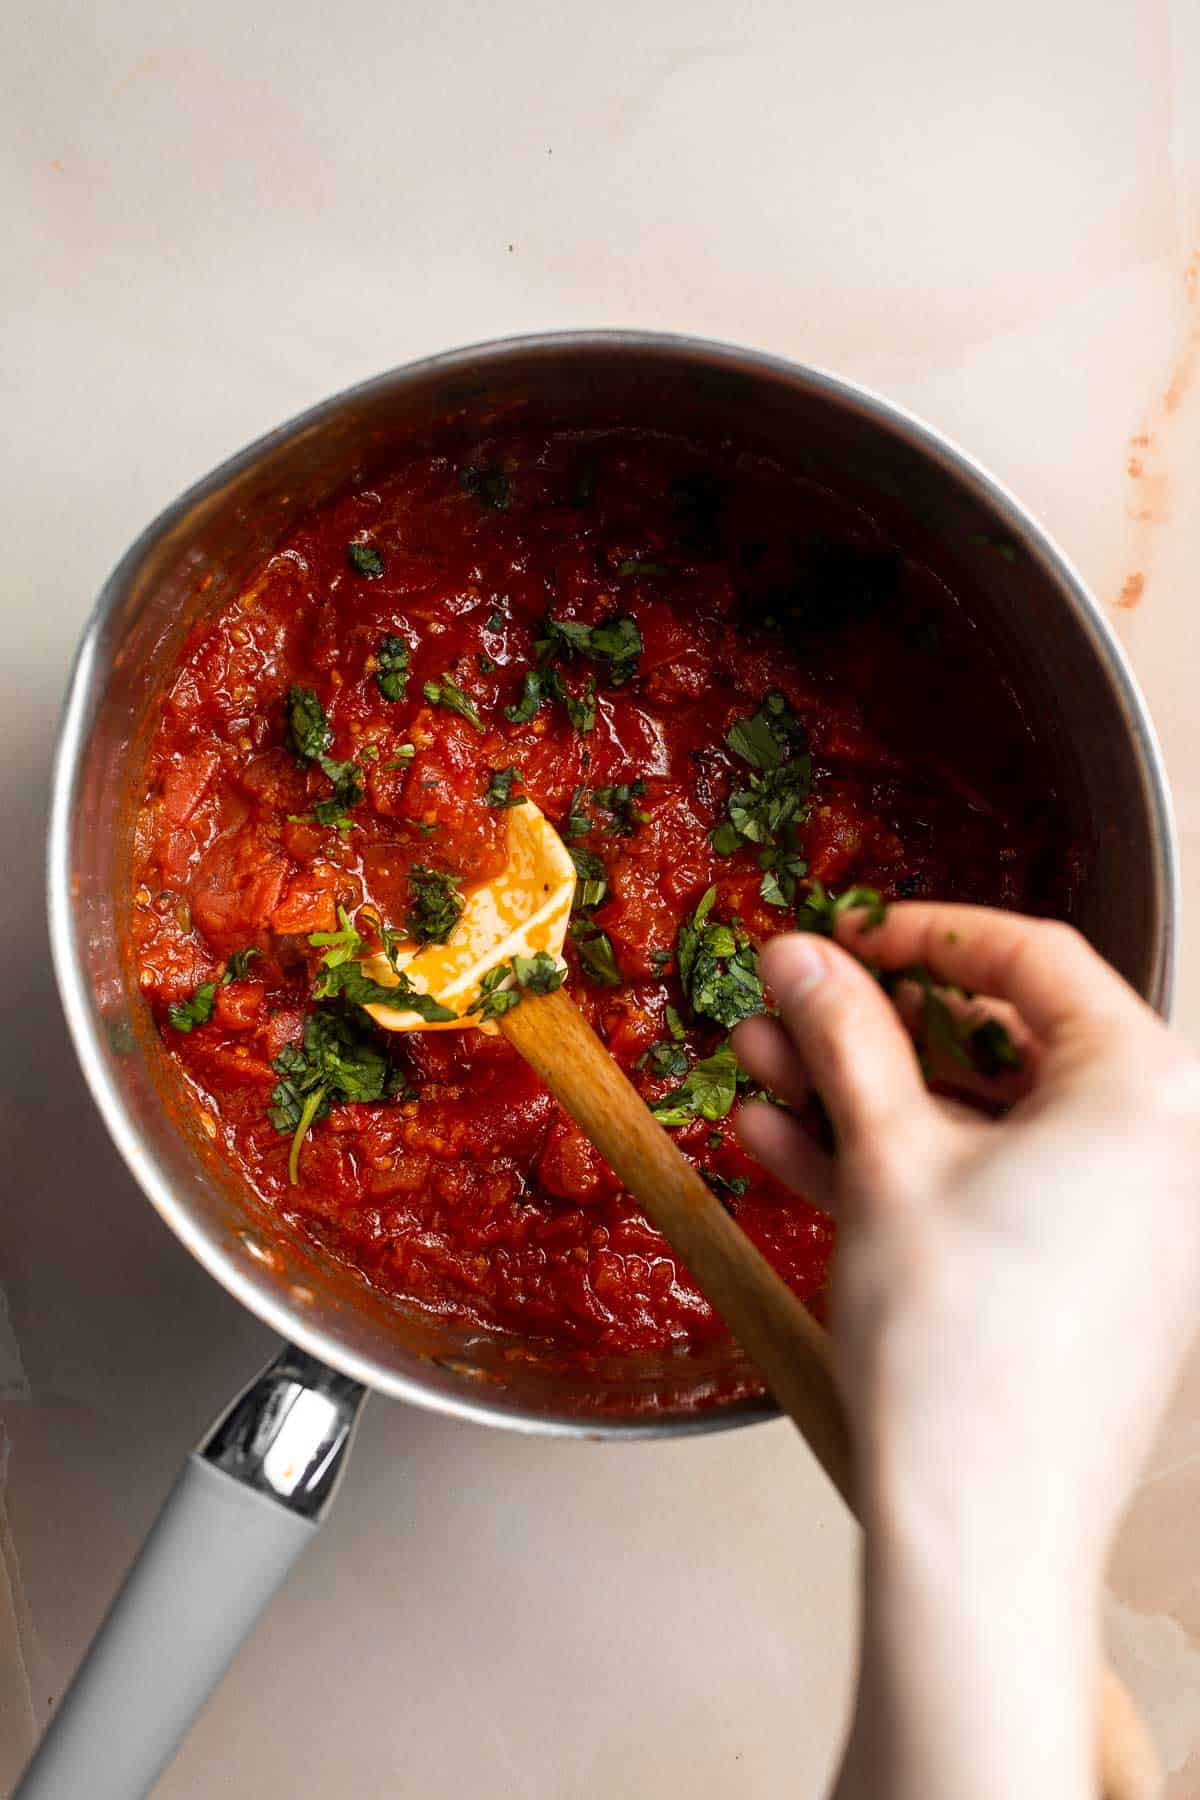
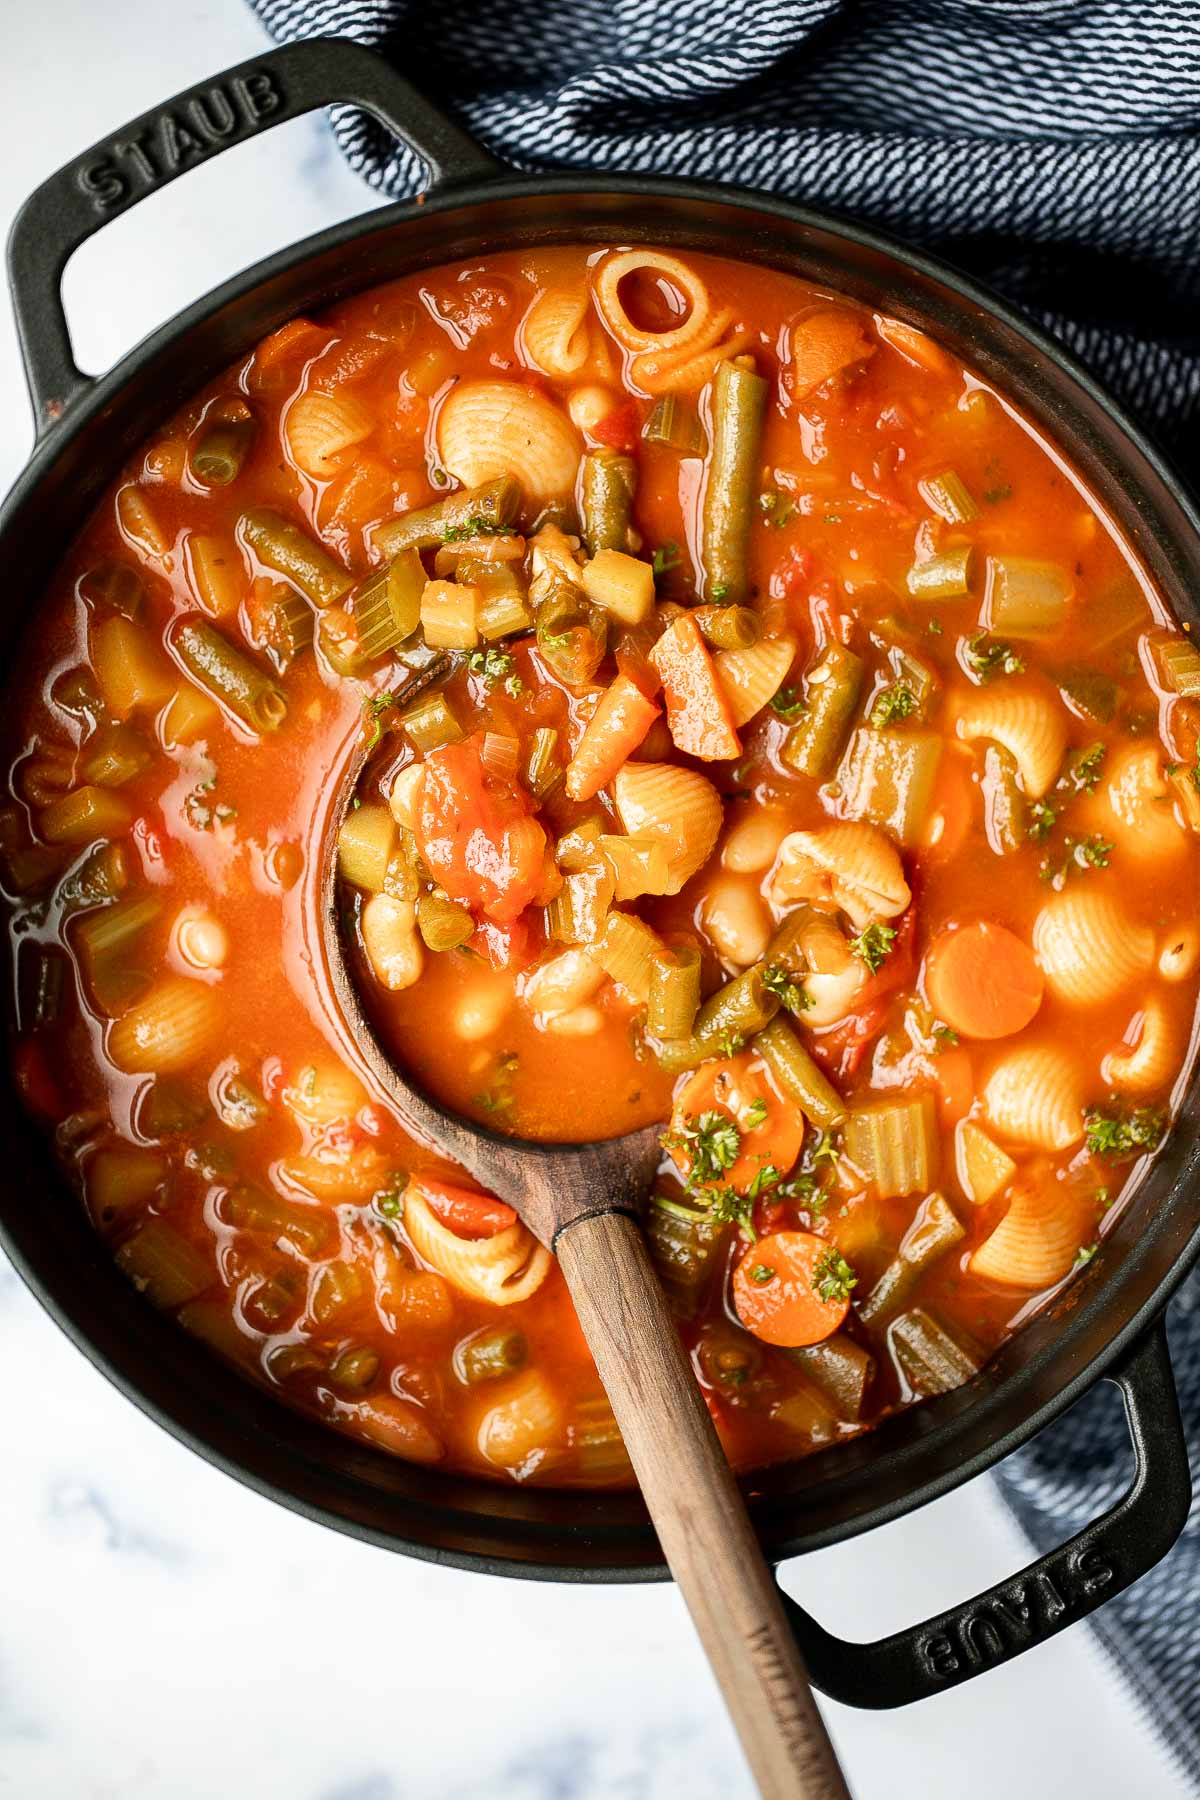
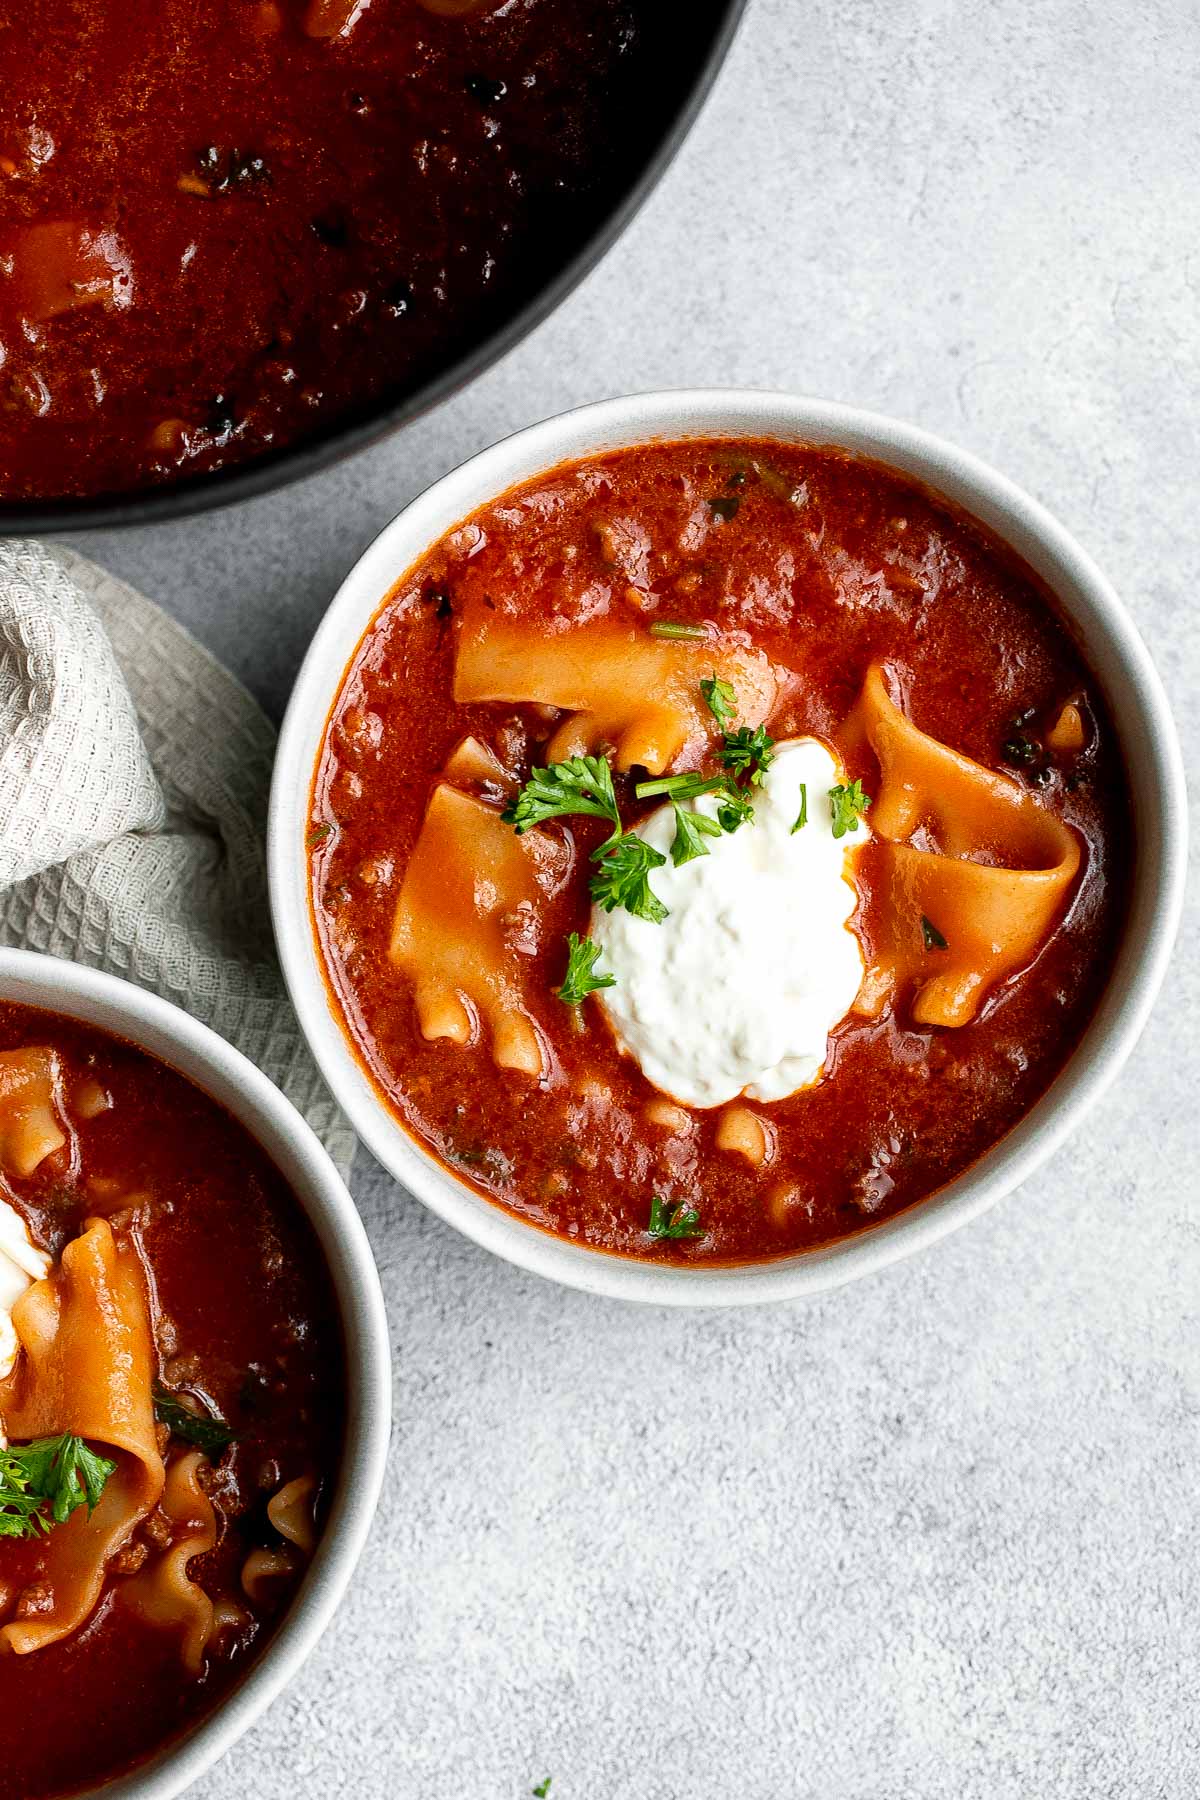
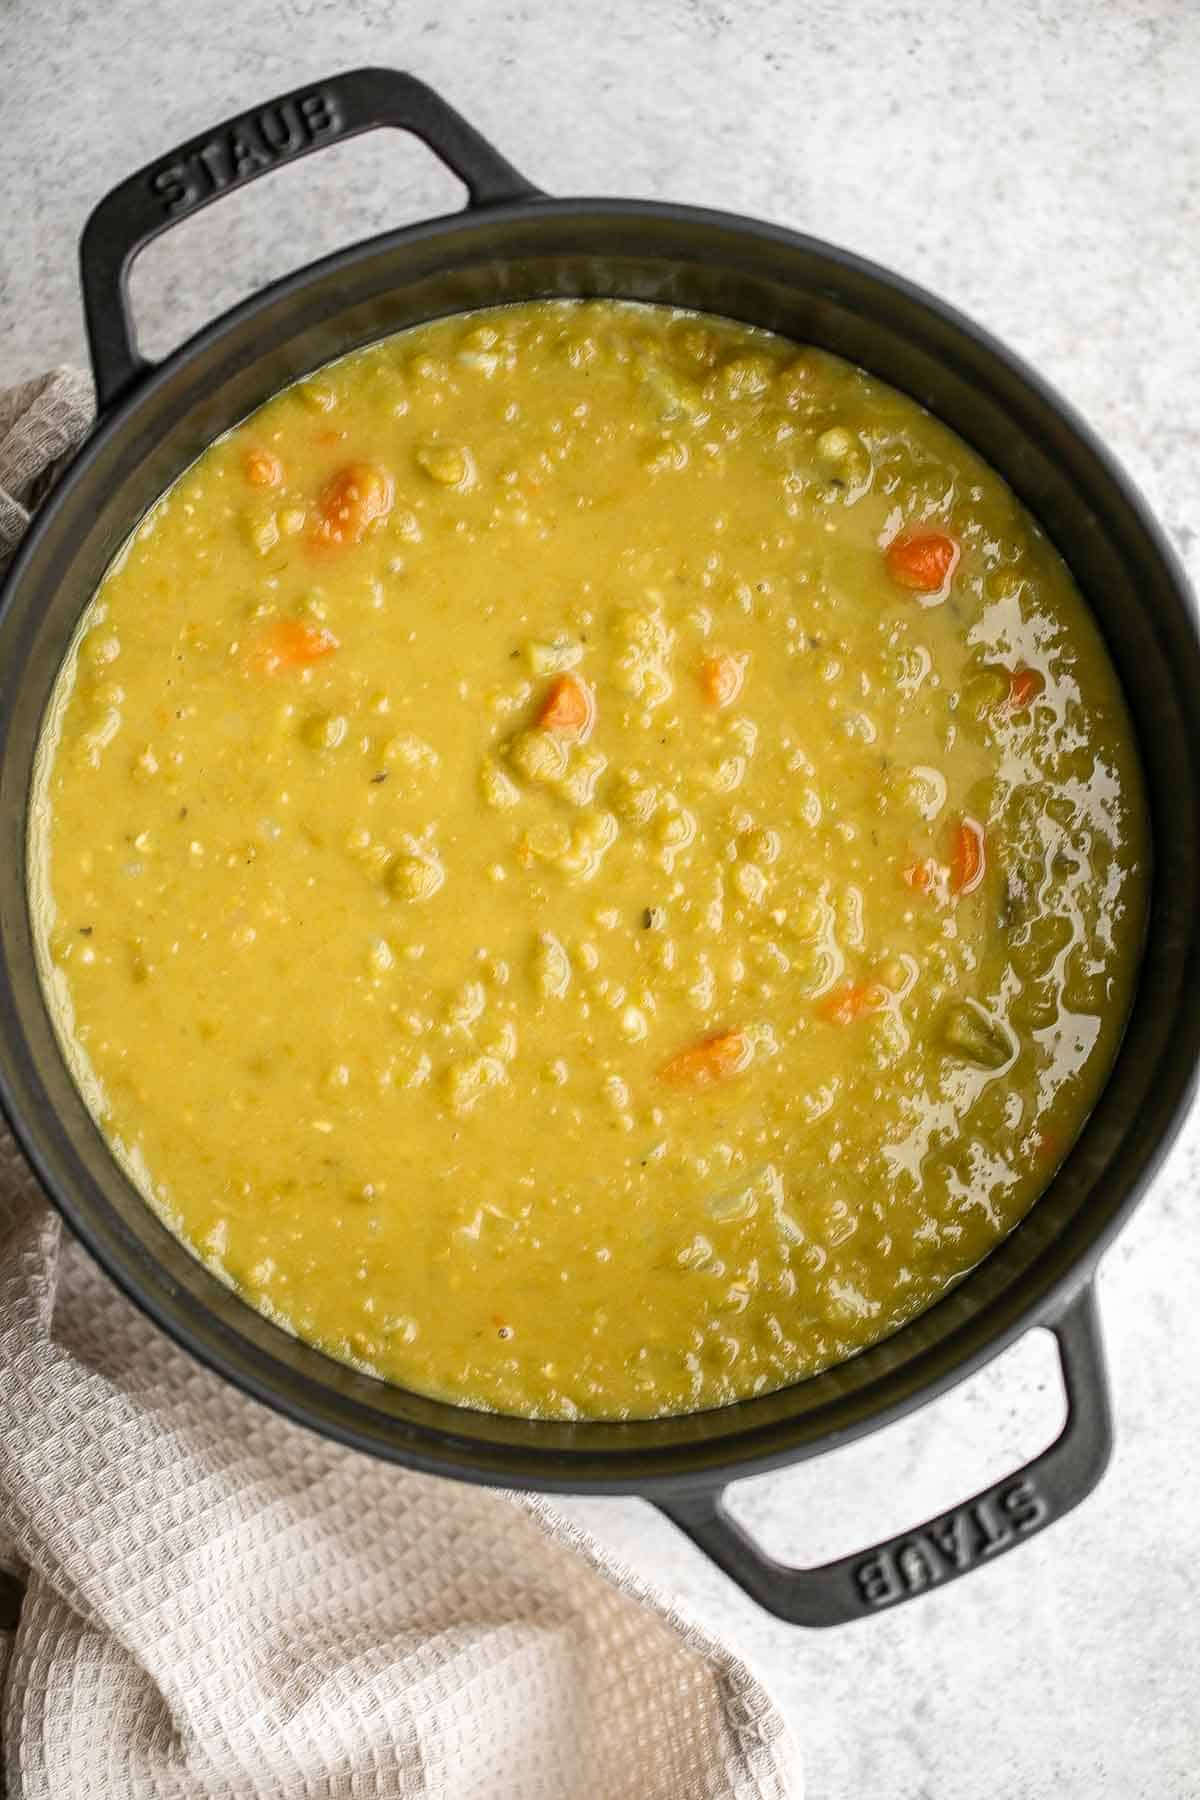
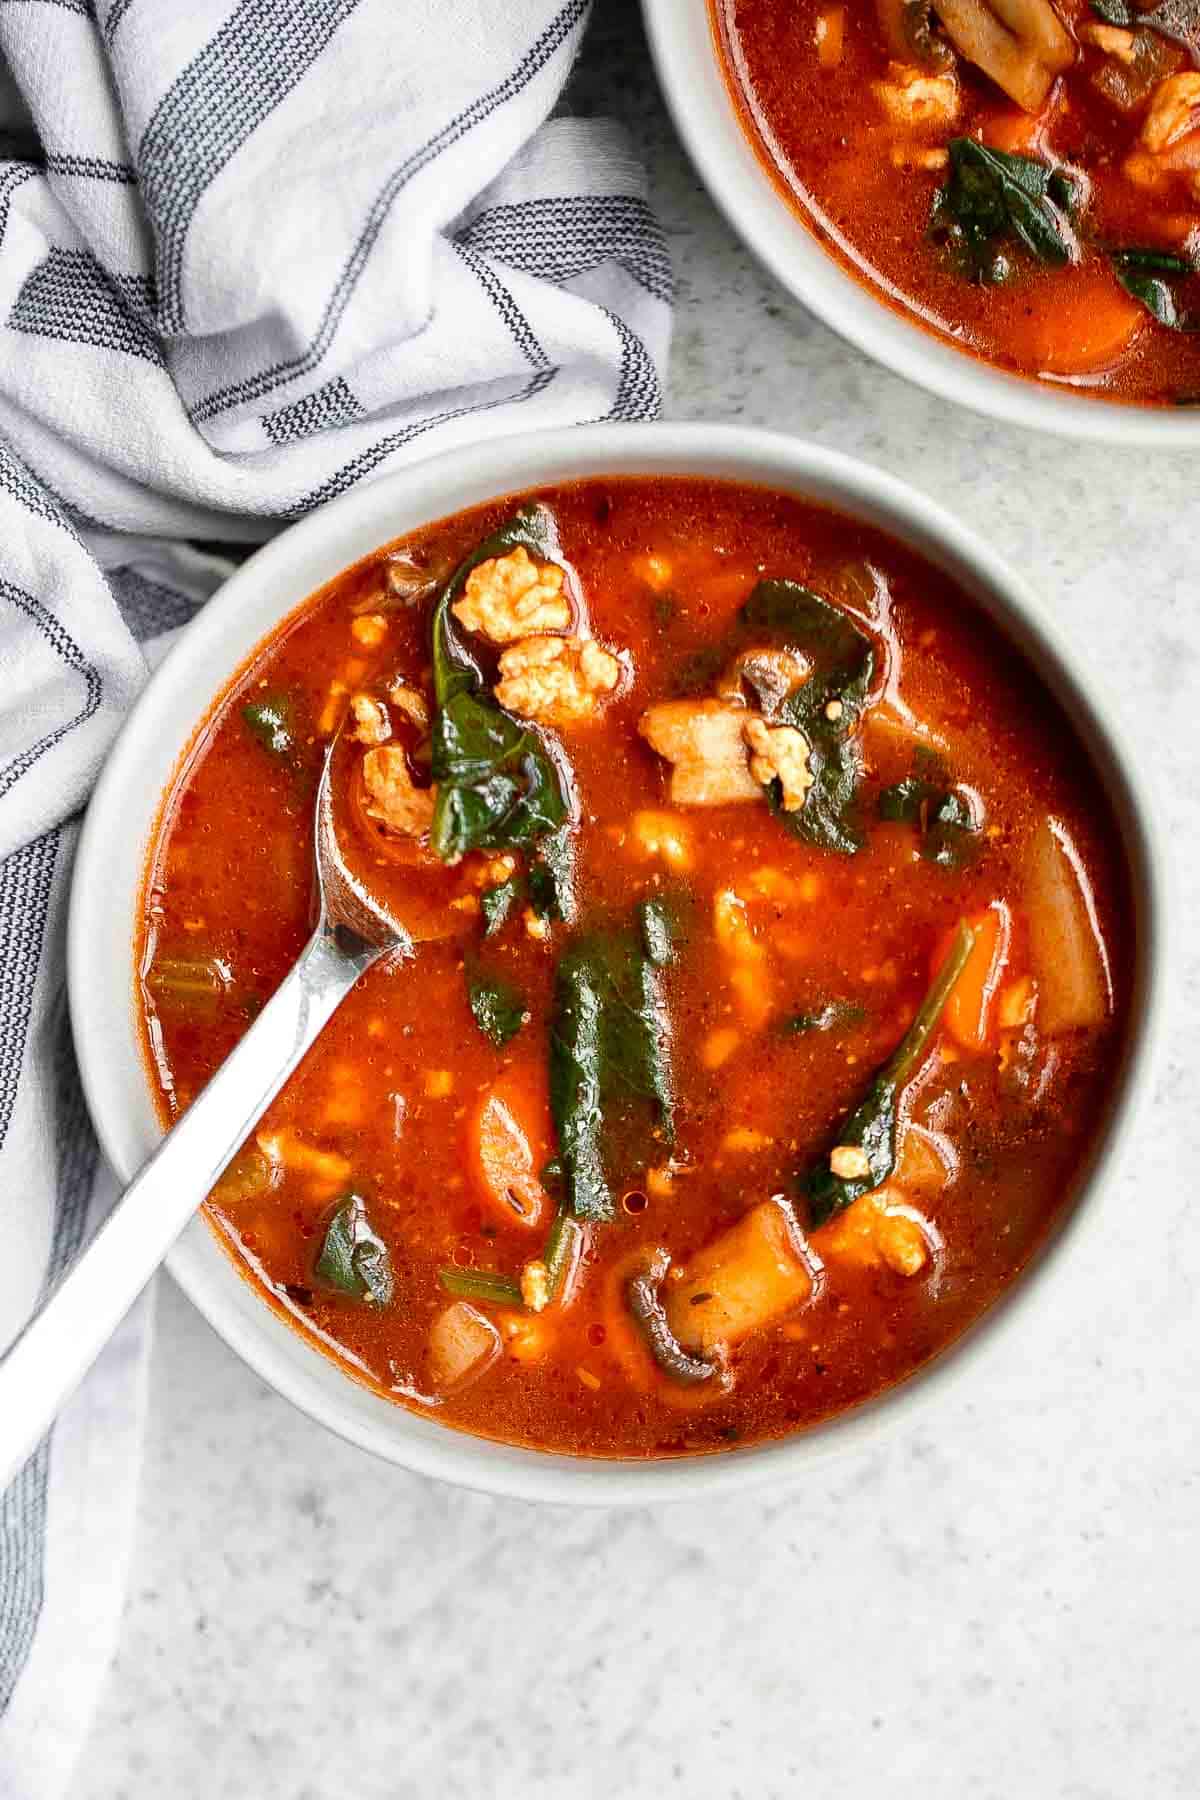
Ground Turkey Soup is hearty, nourishing, and healthy. Loaded with protein and veggies, this Italian soup is packed with flavor and is super filling.
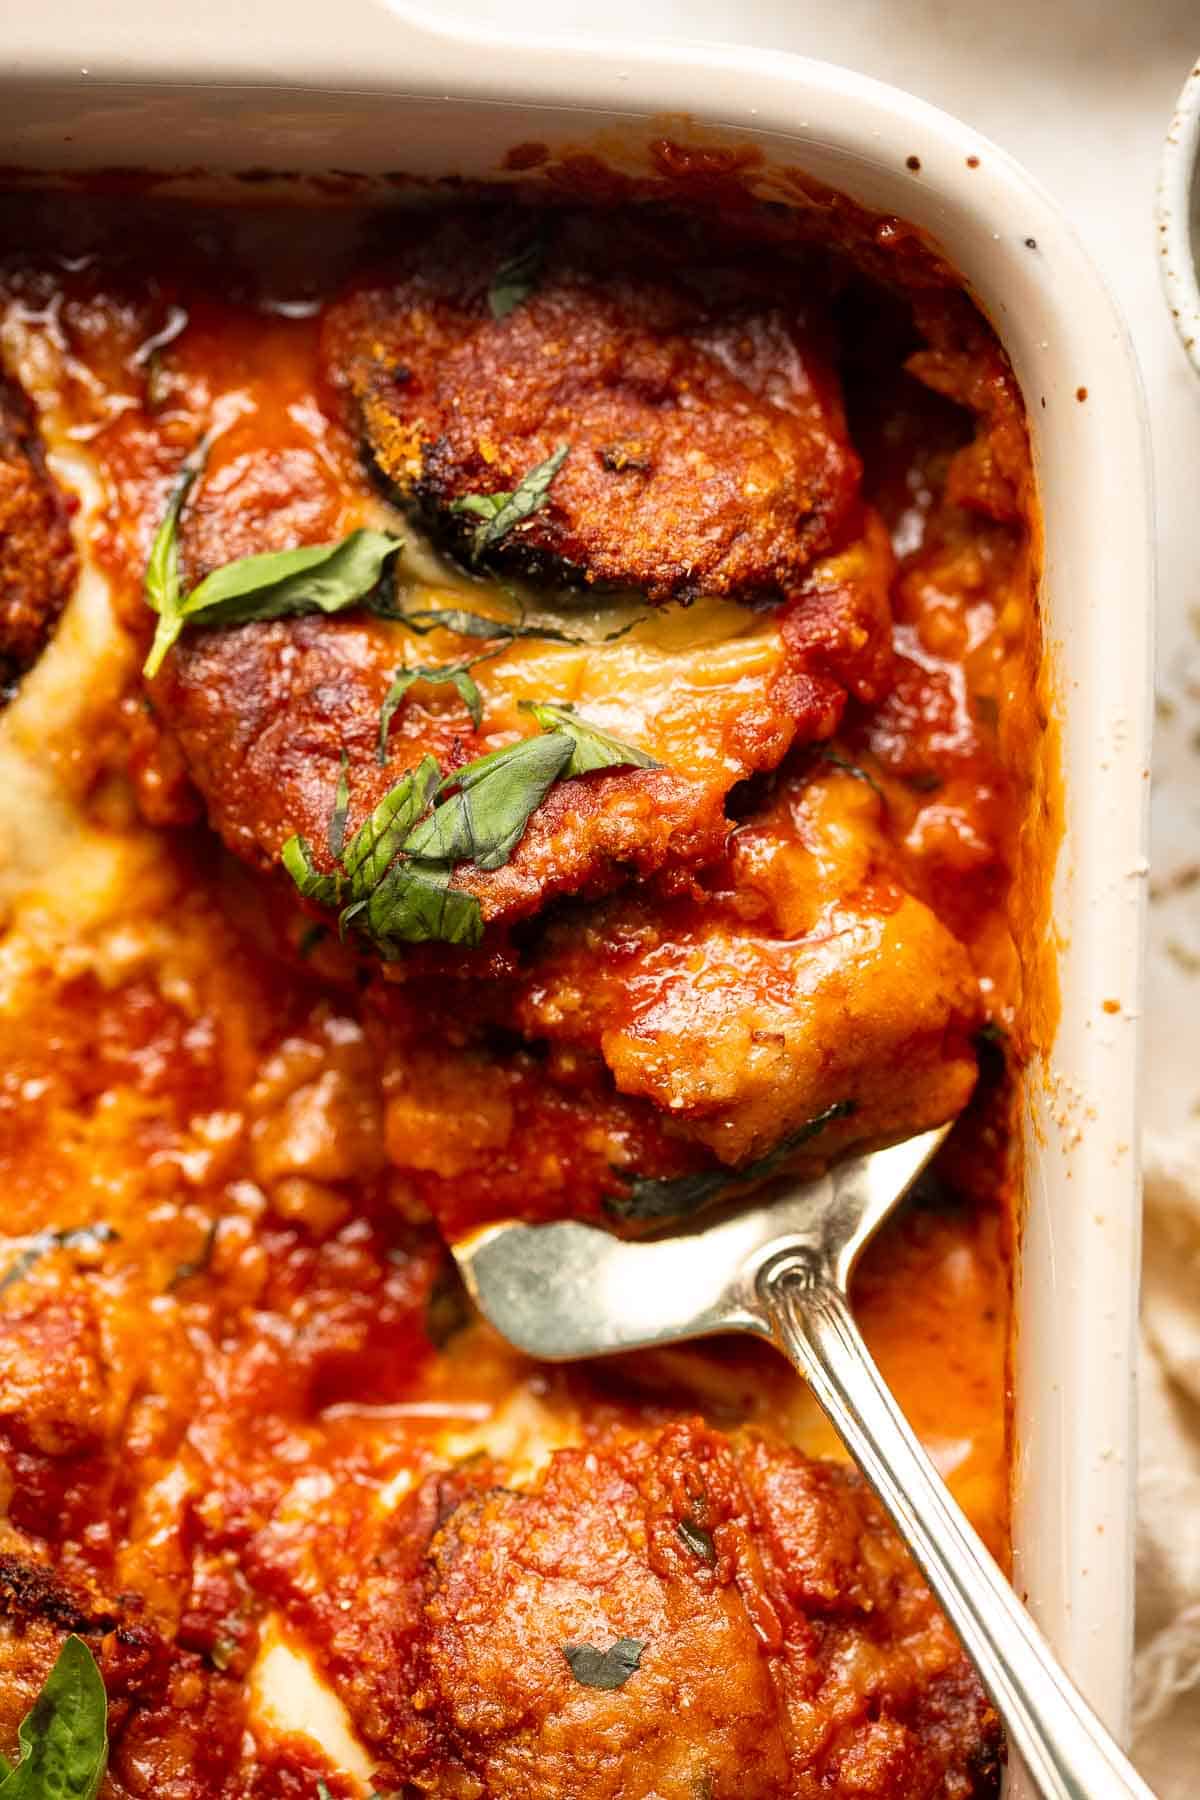
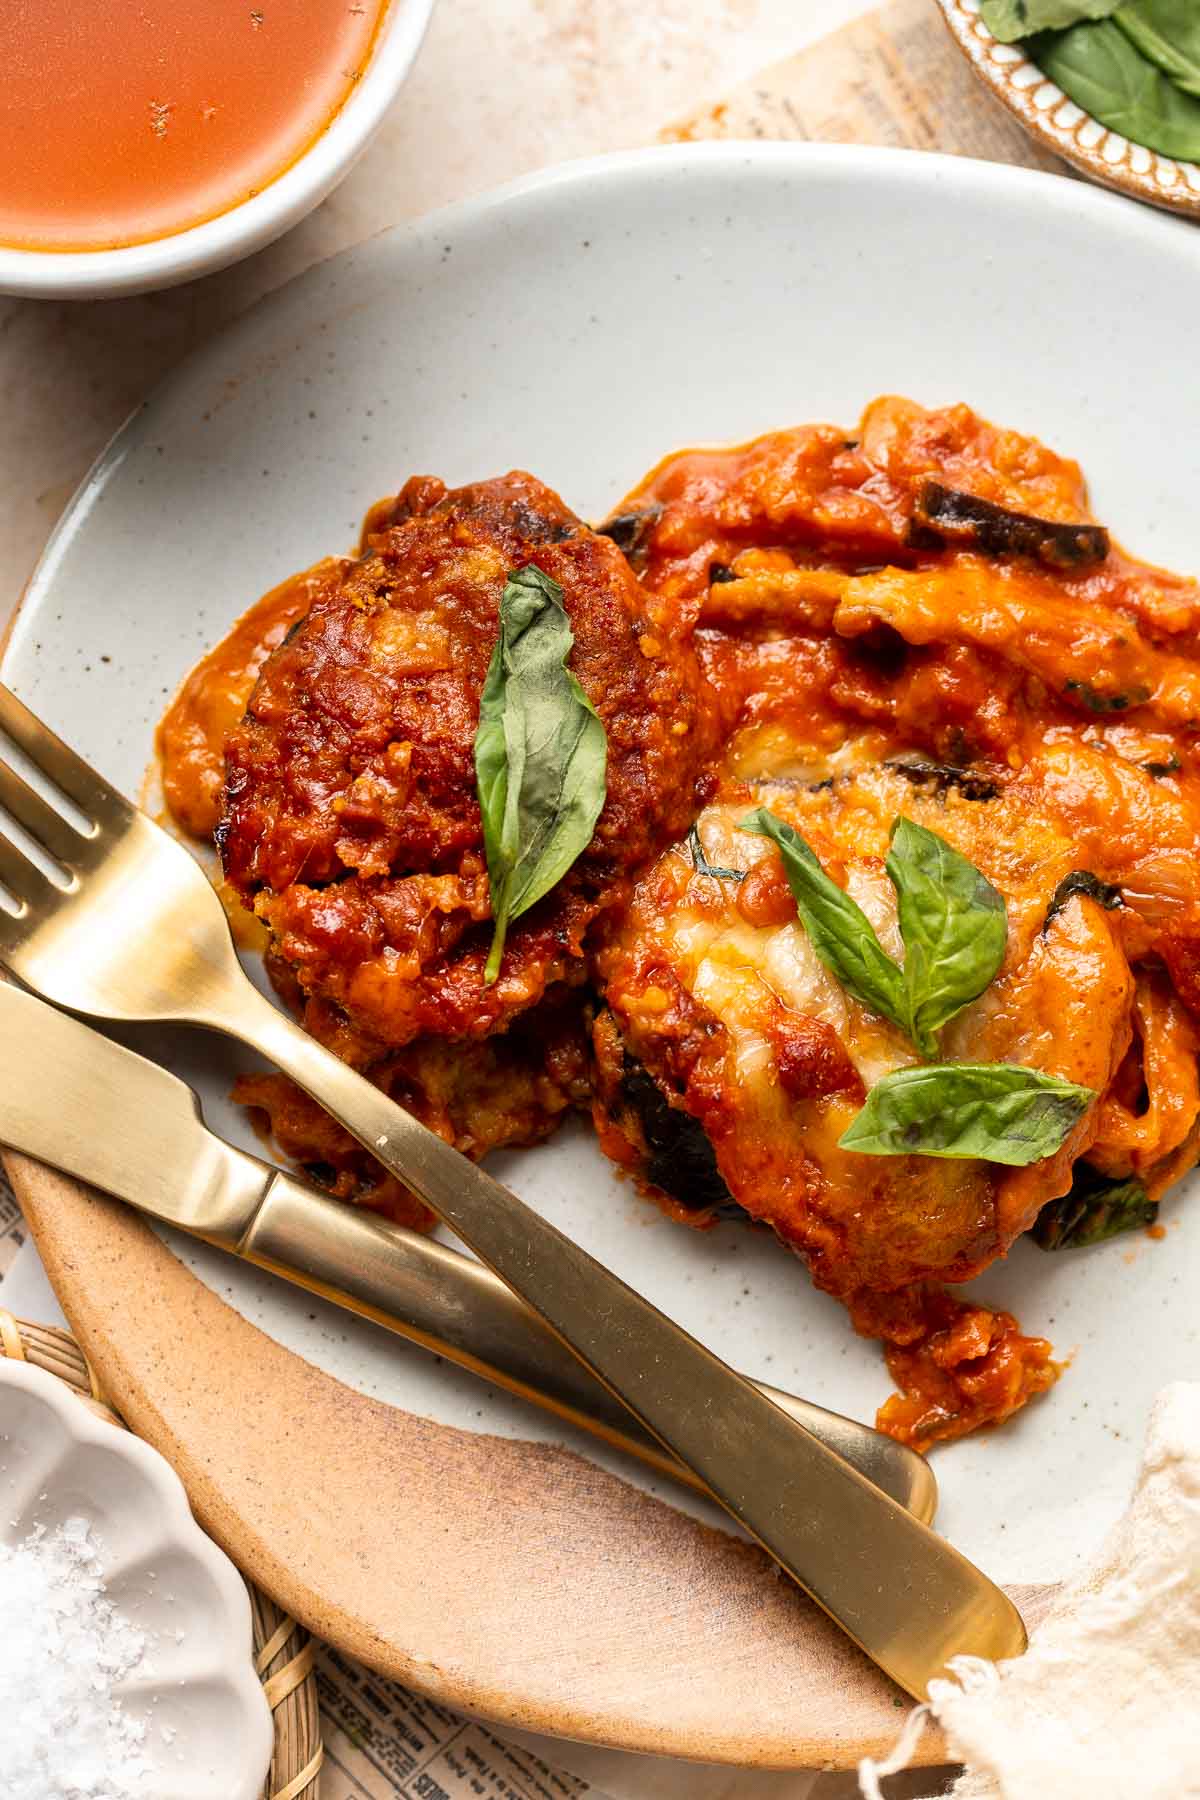
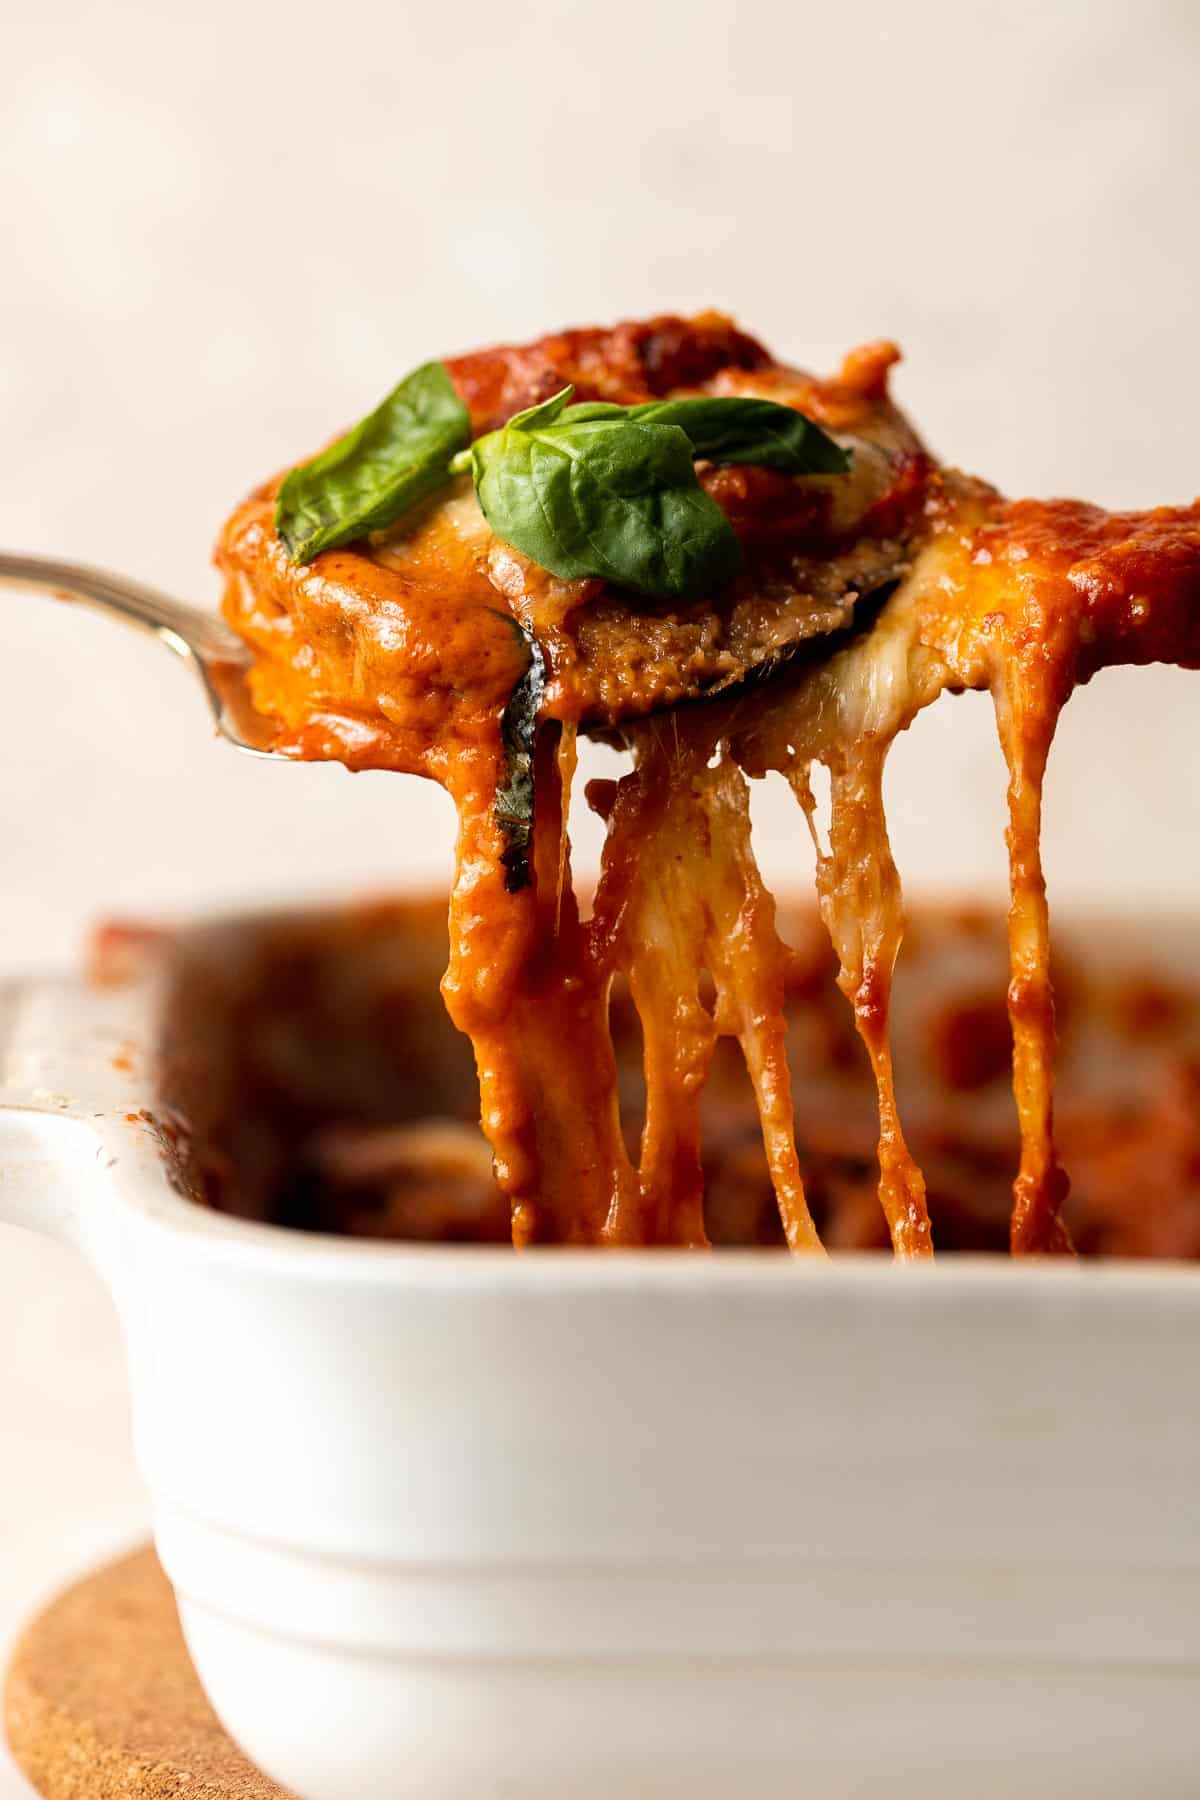
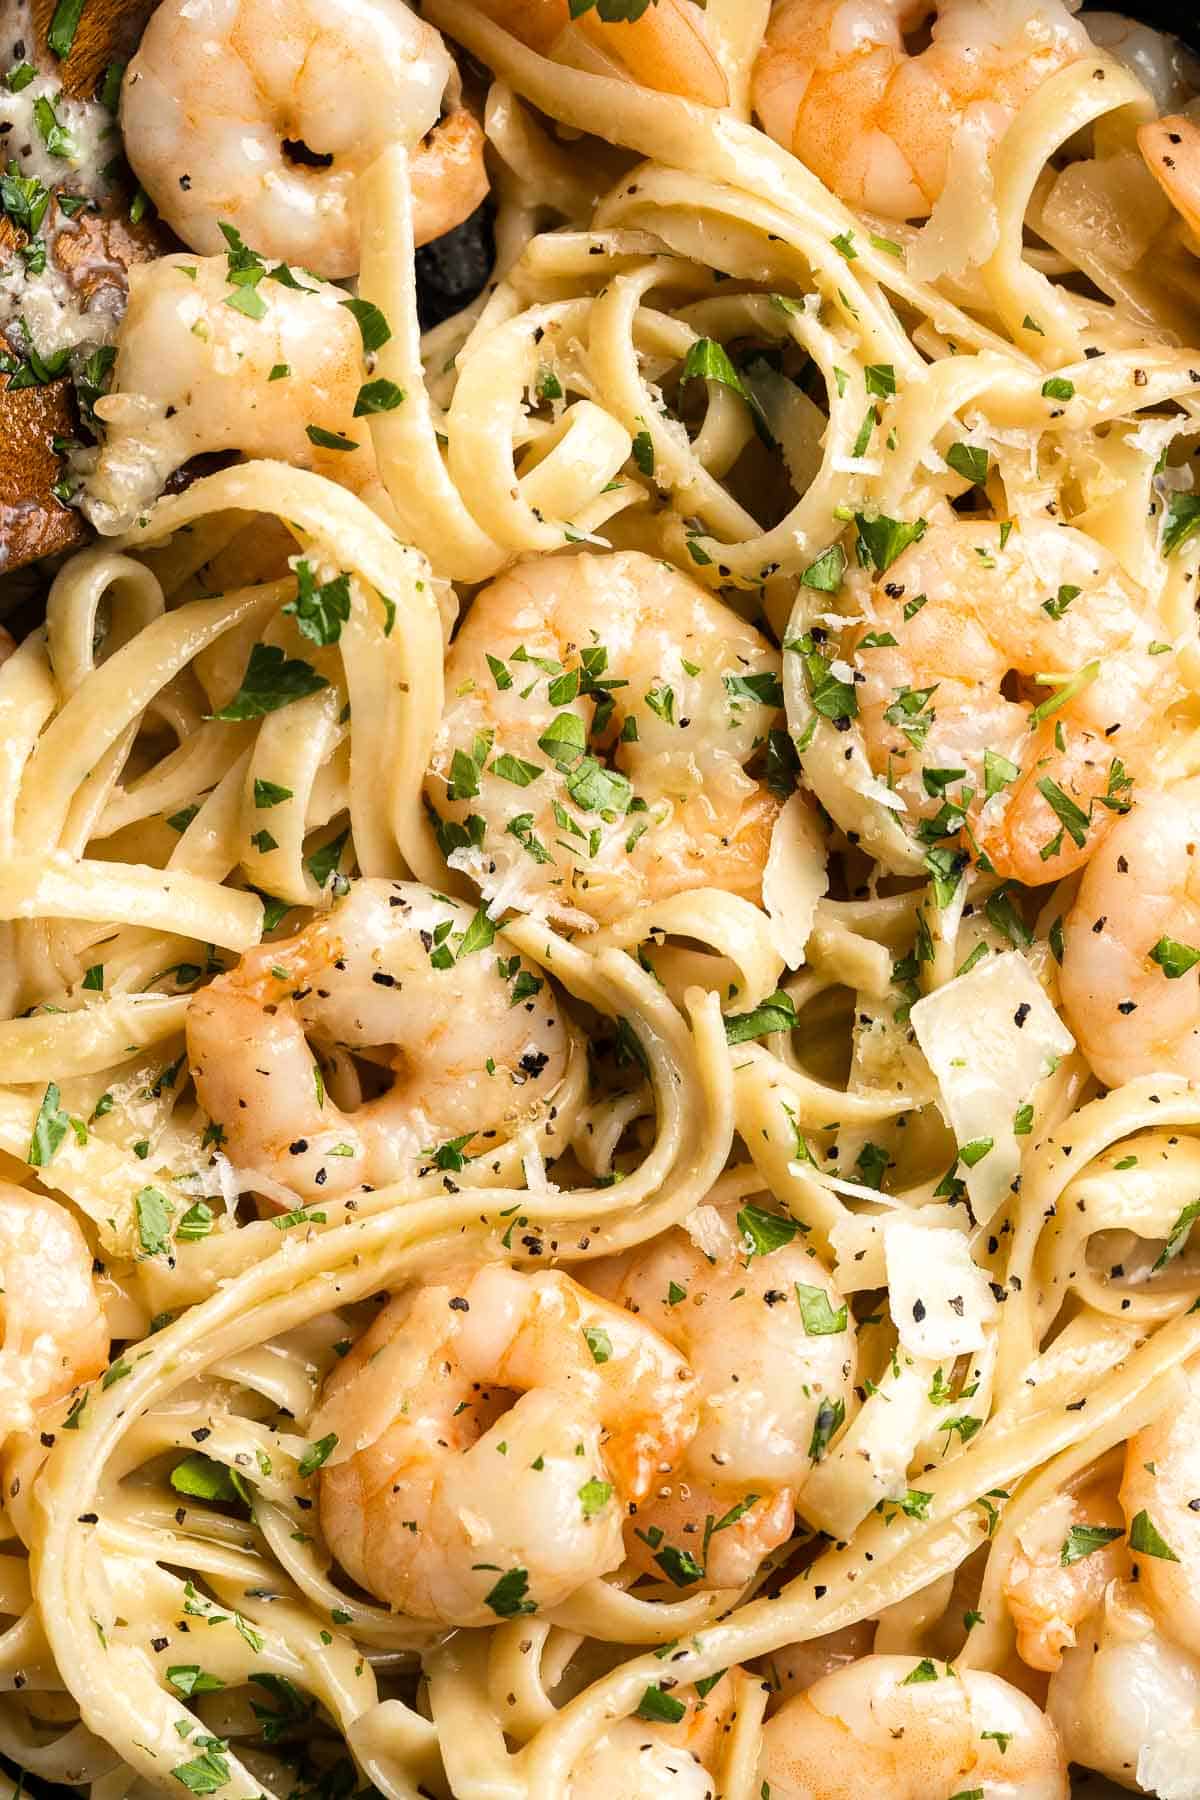
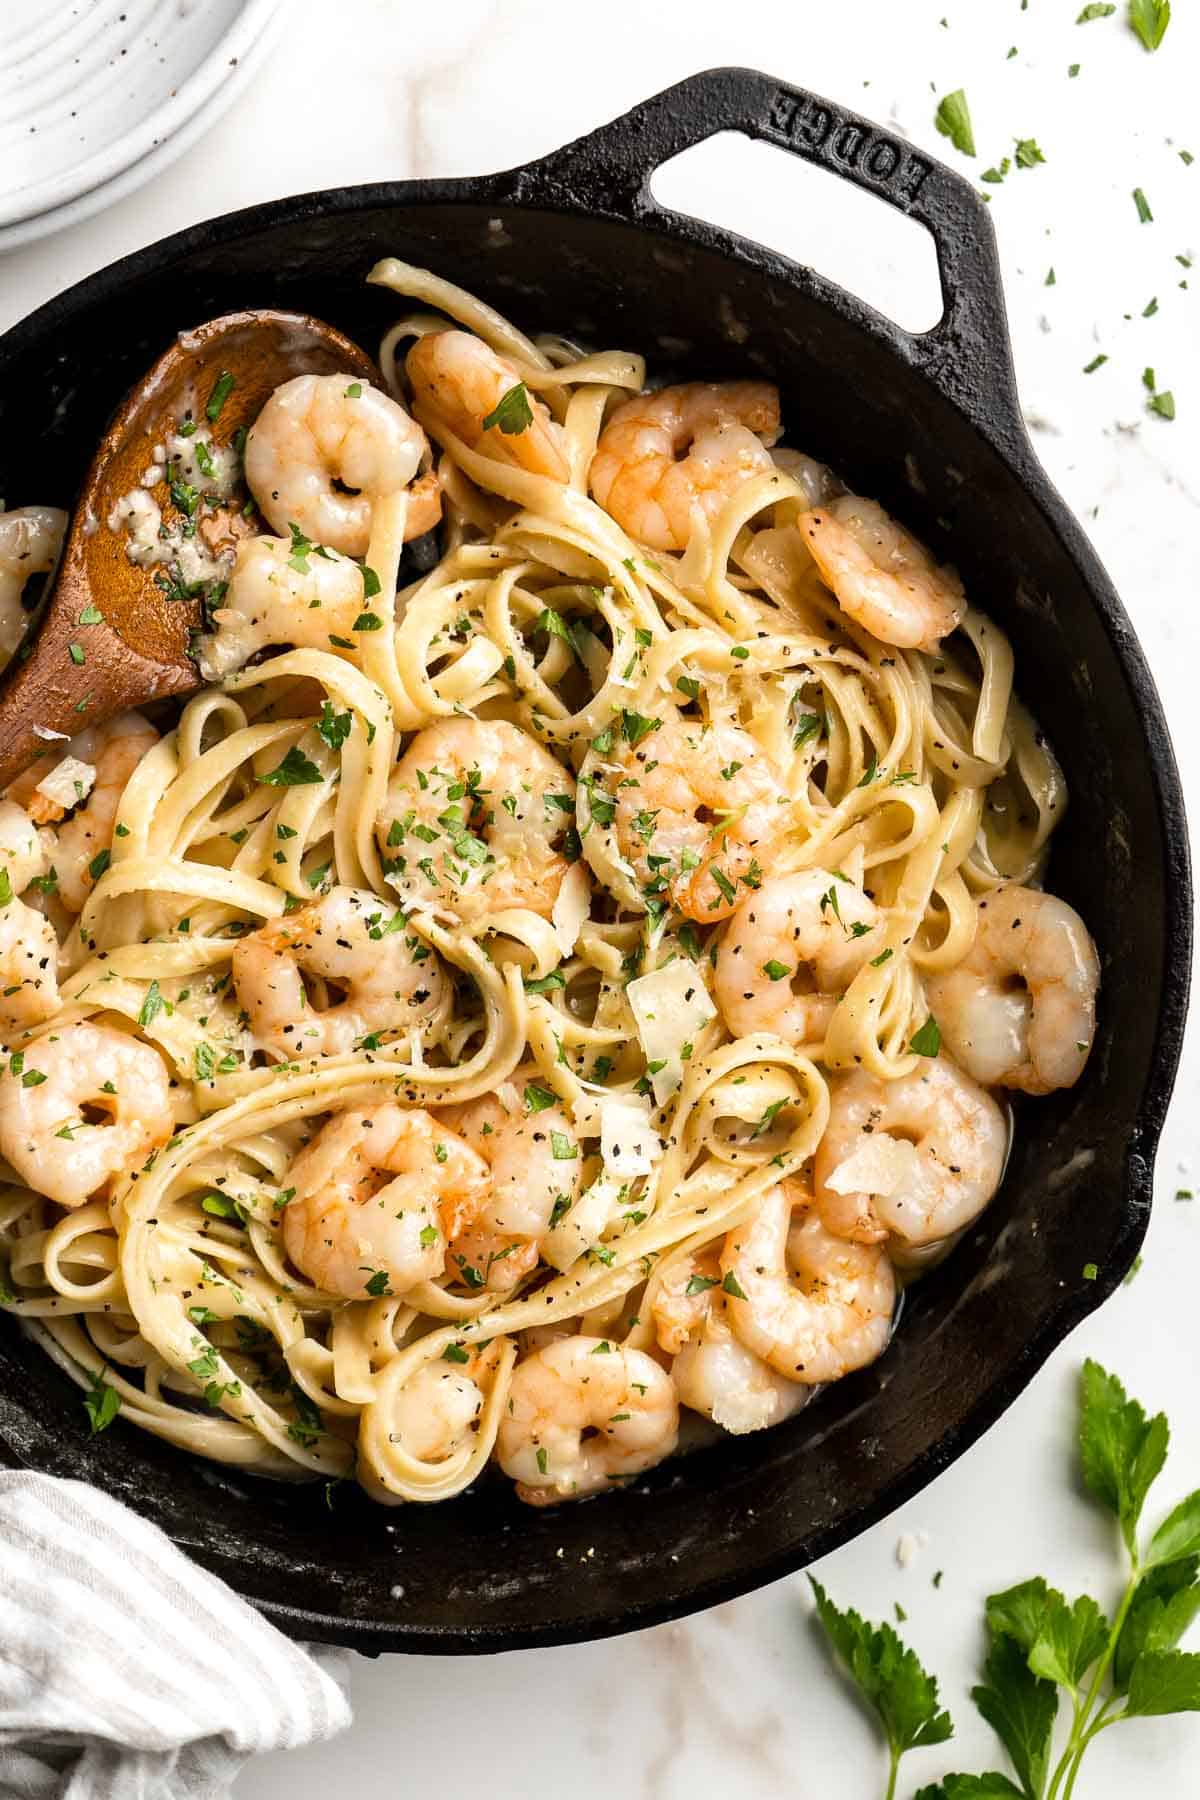
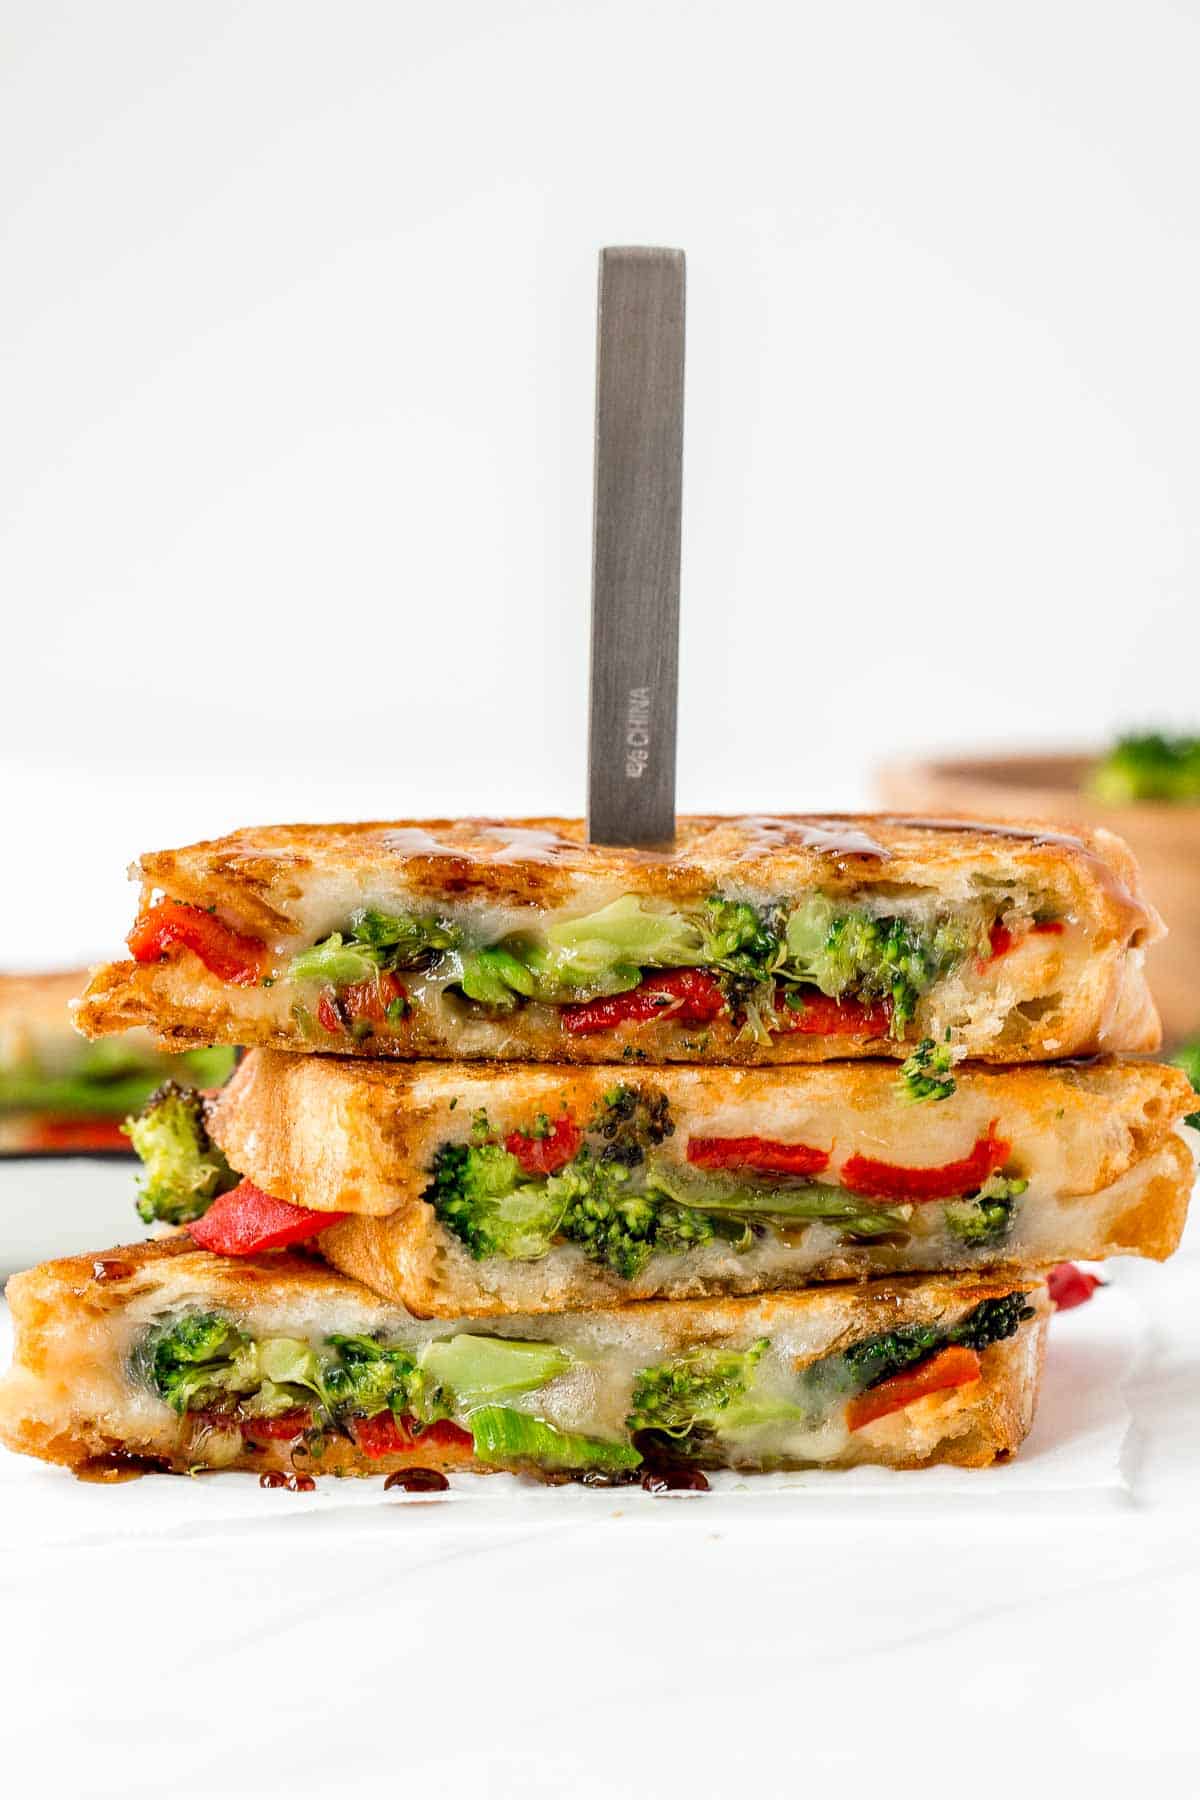
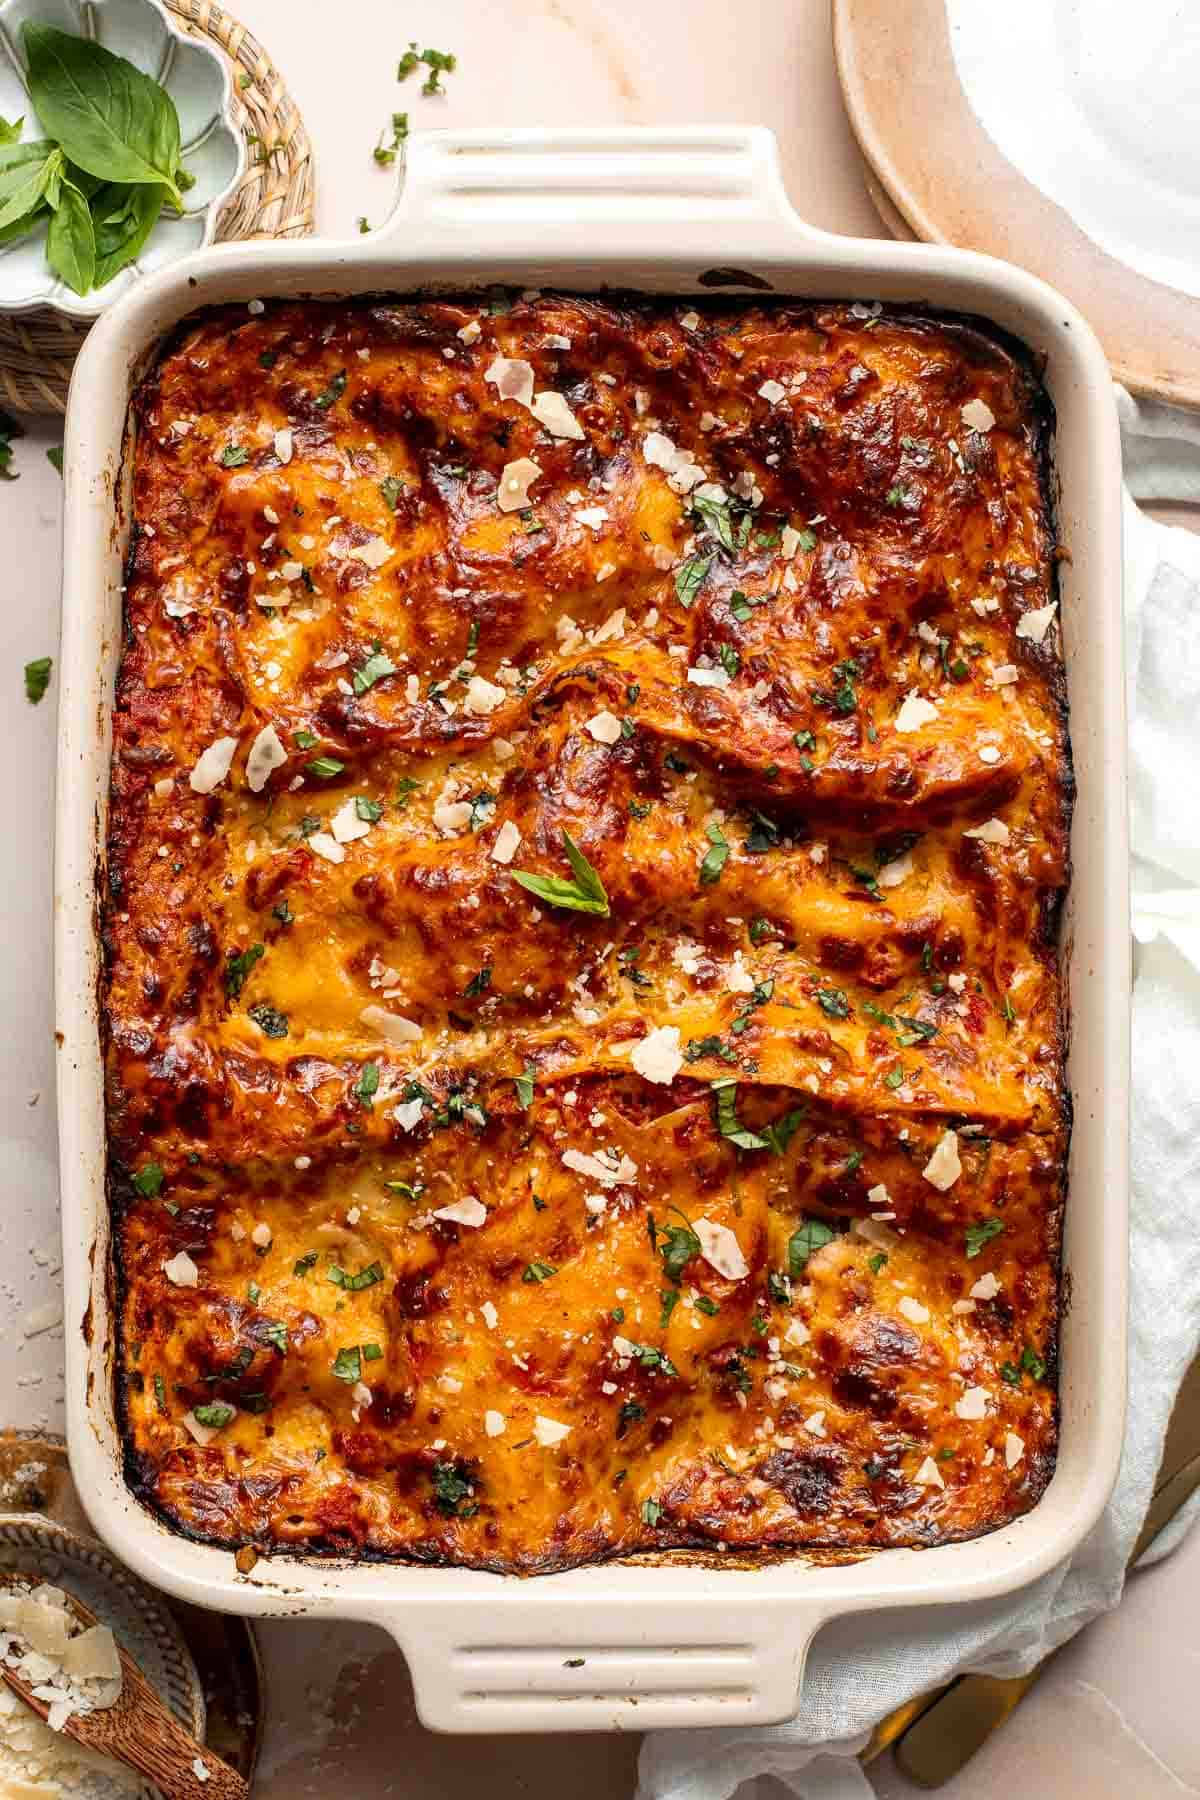
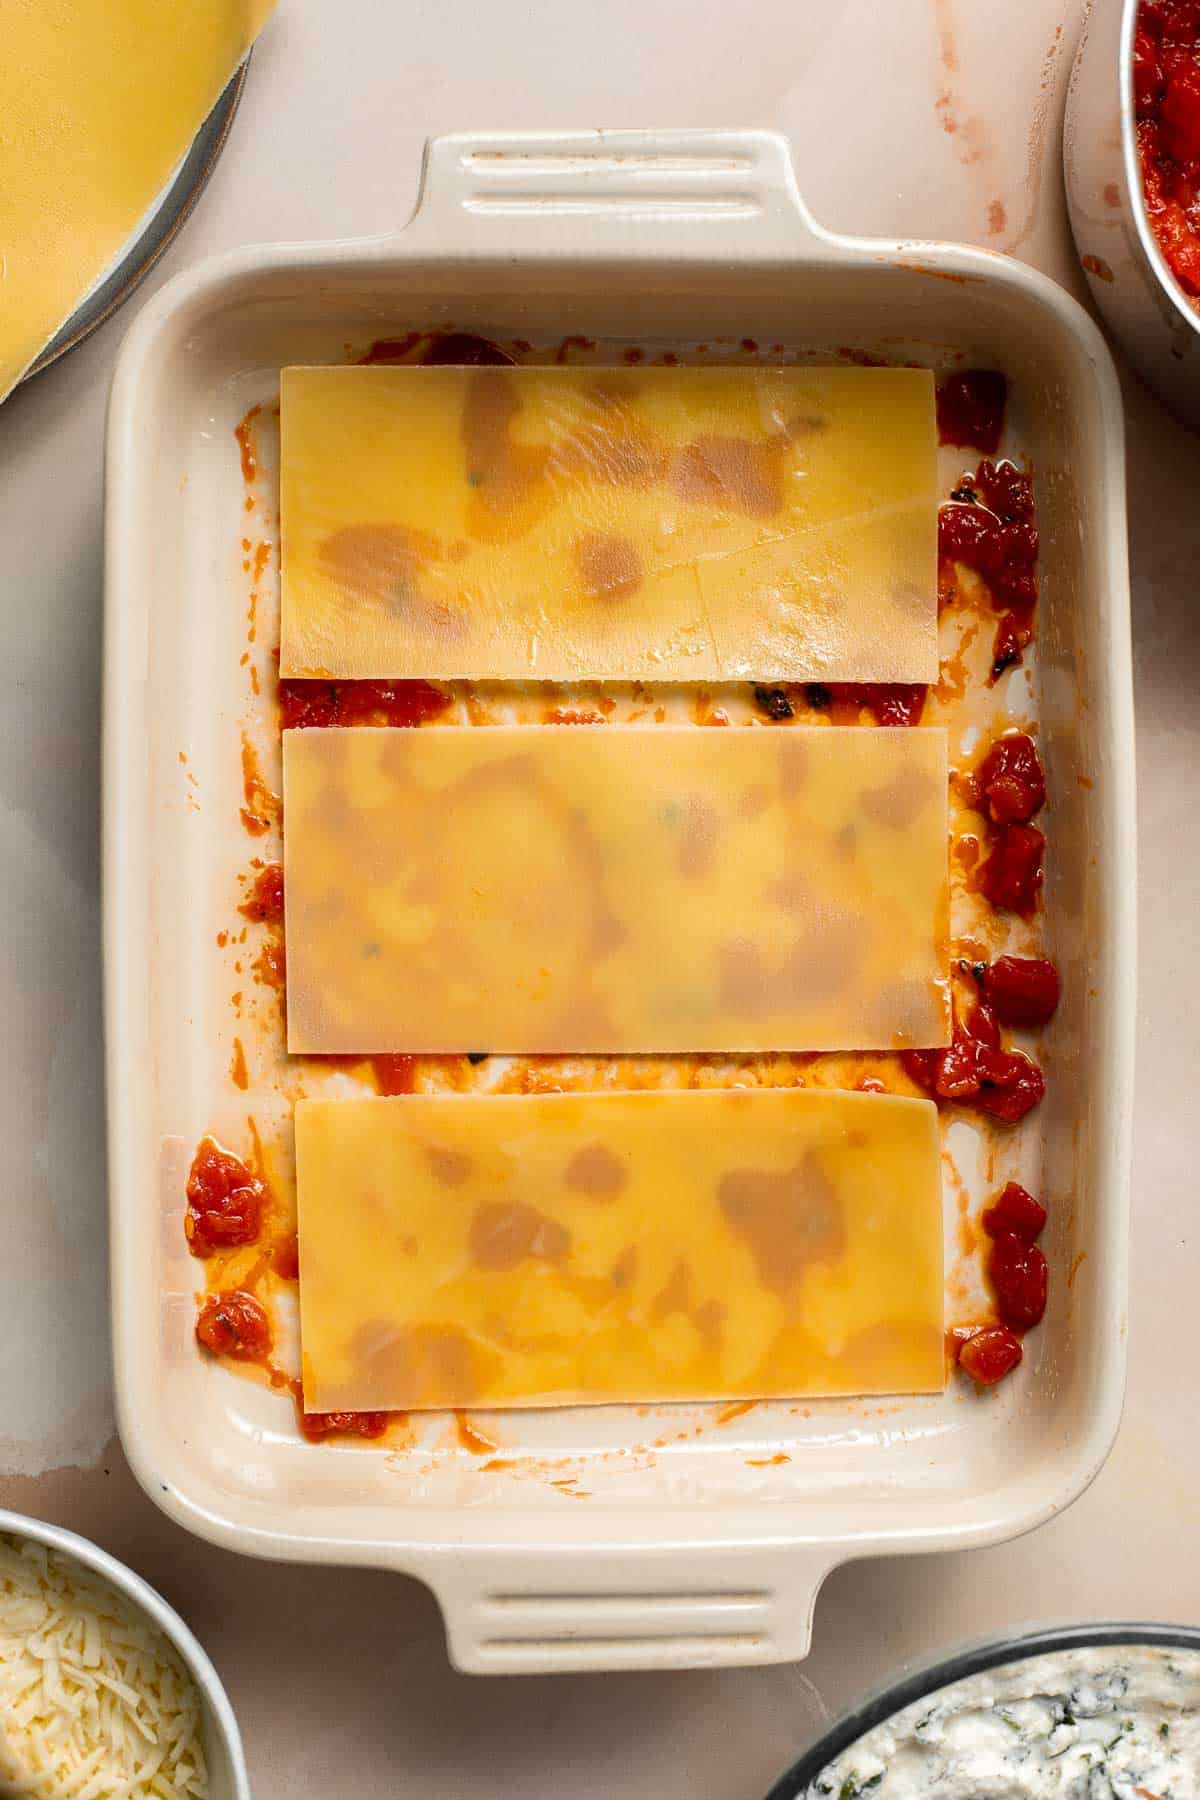
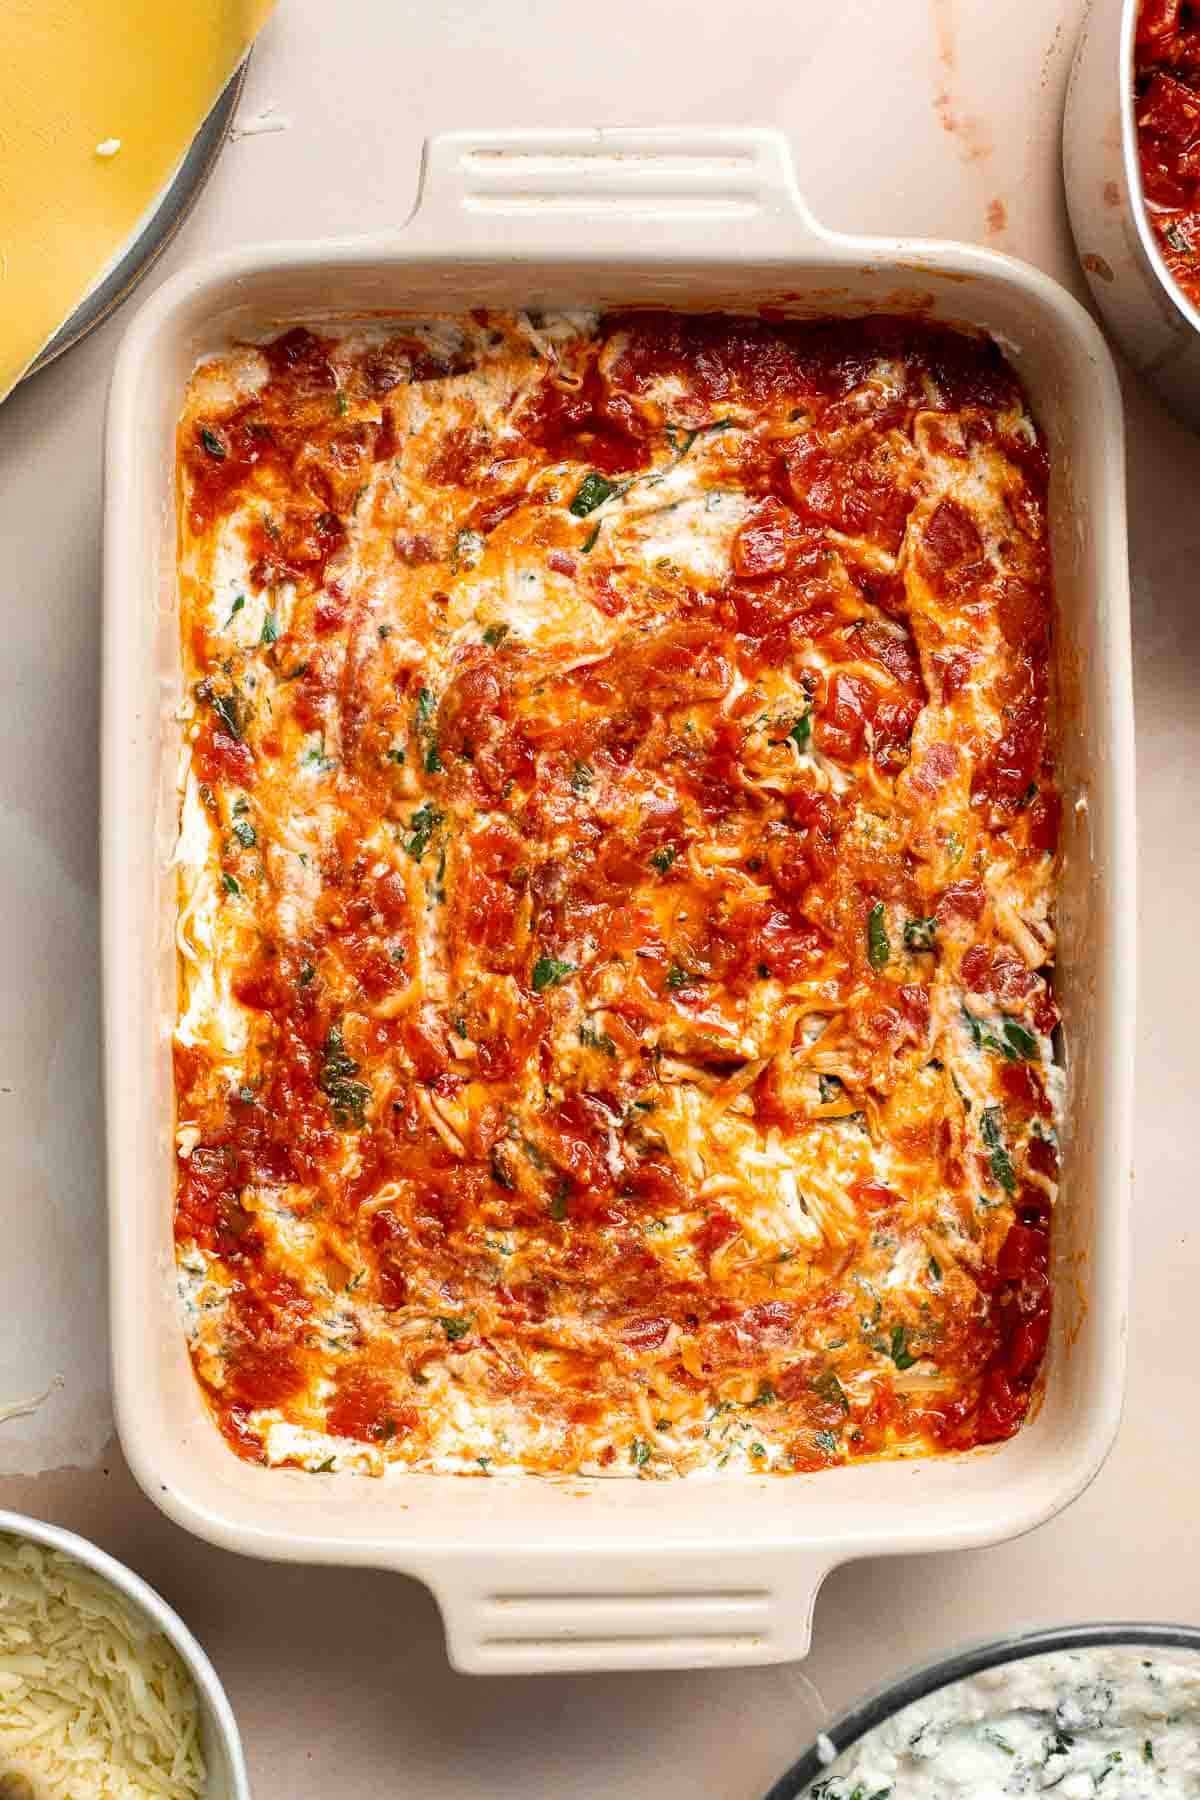
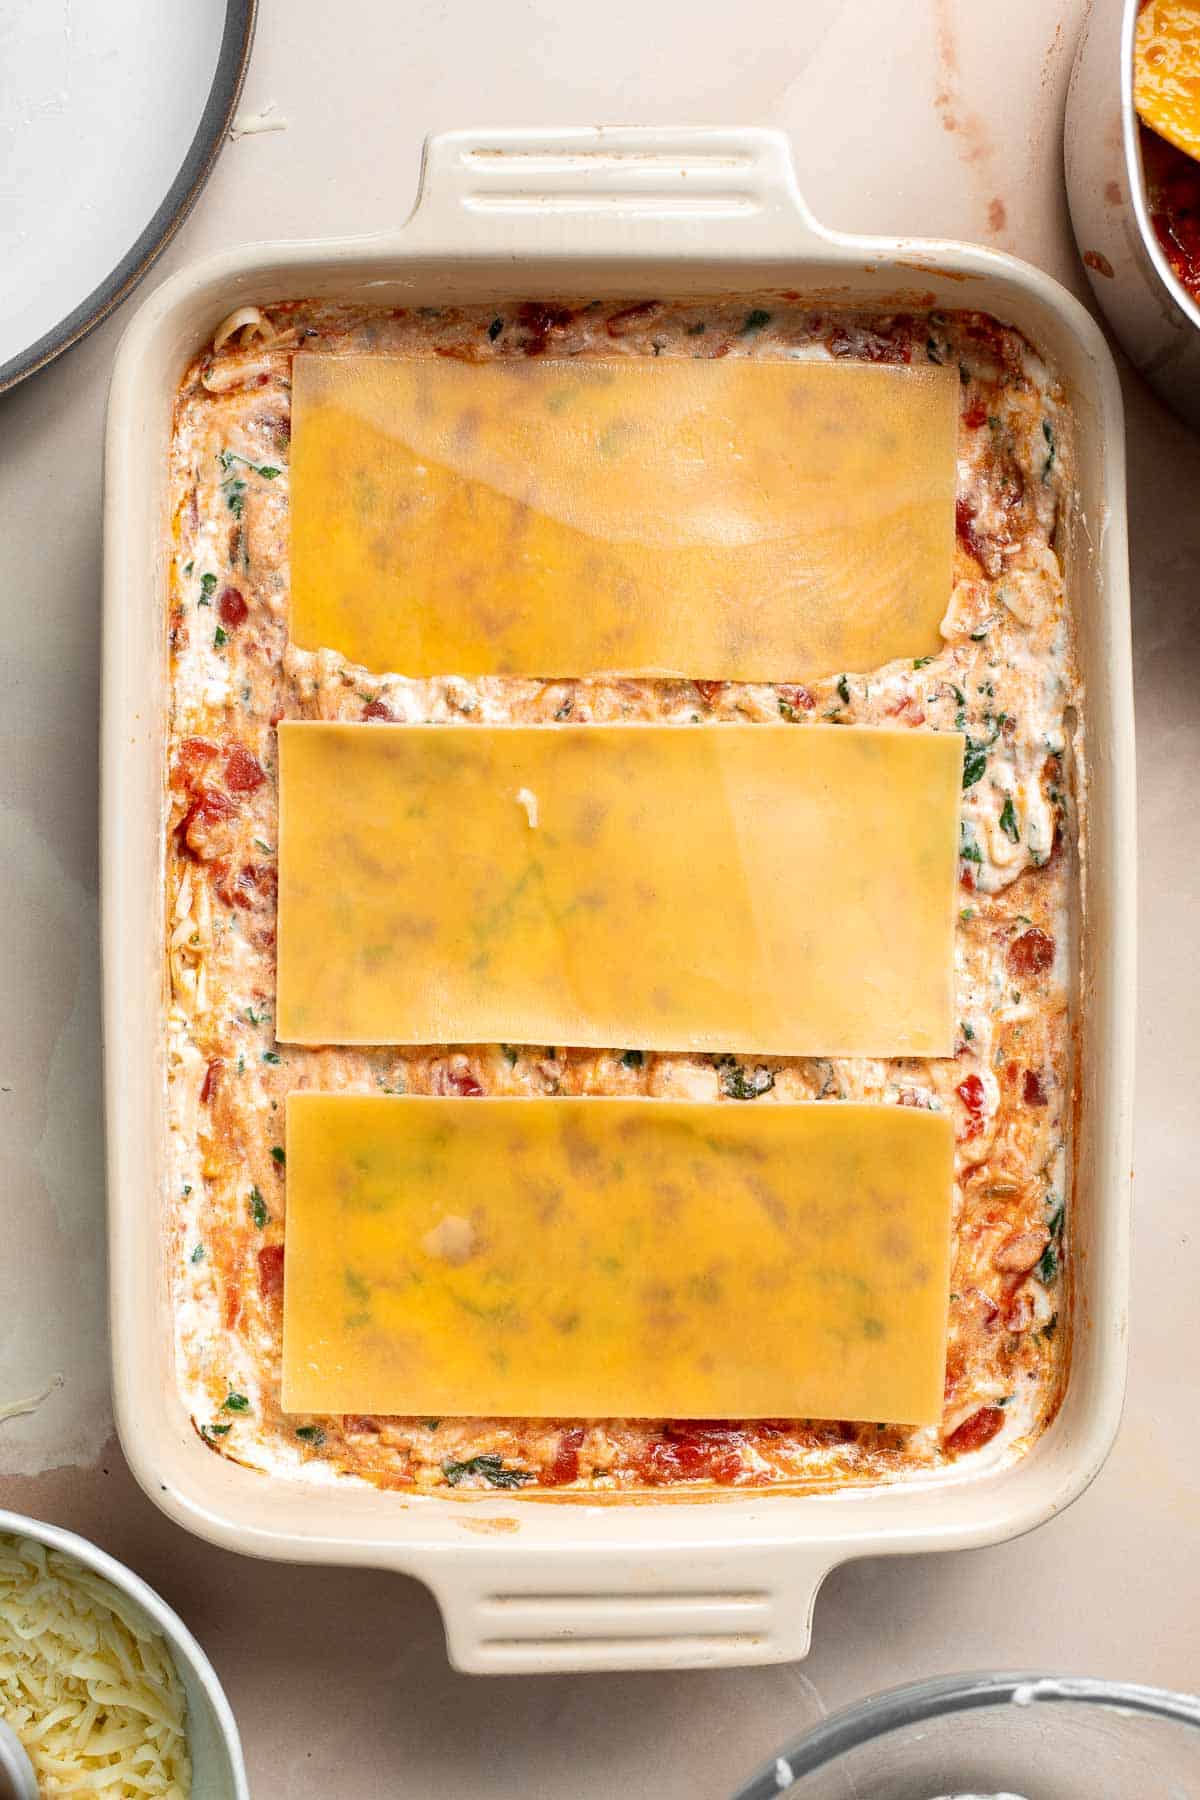
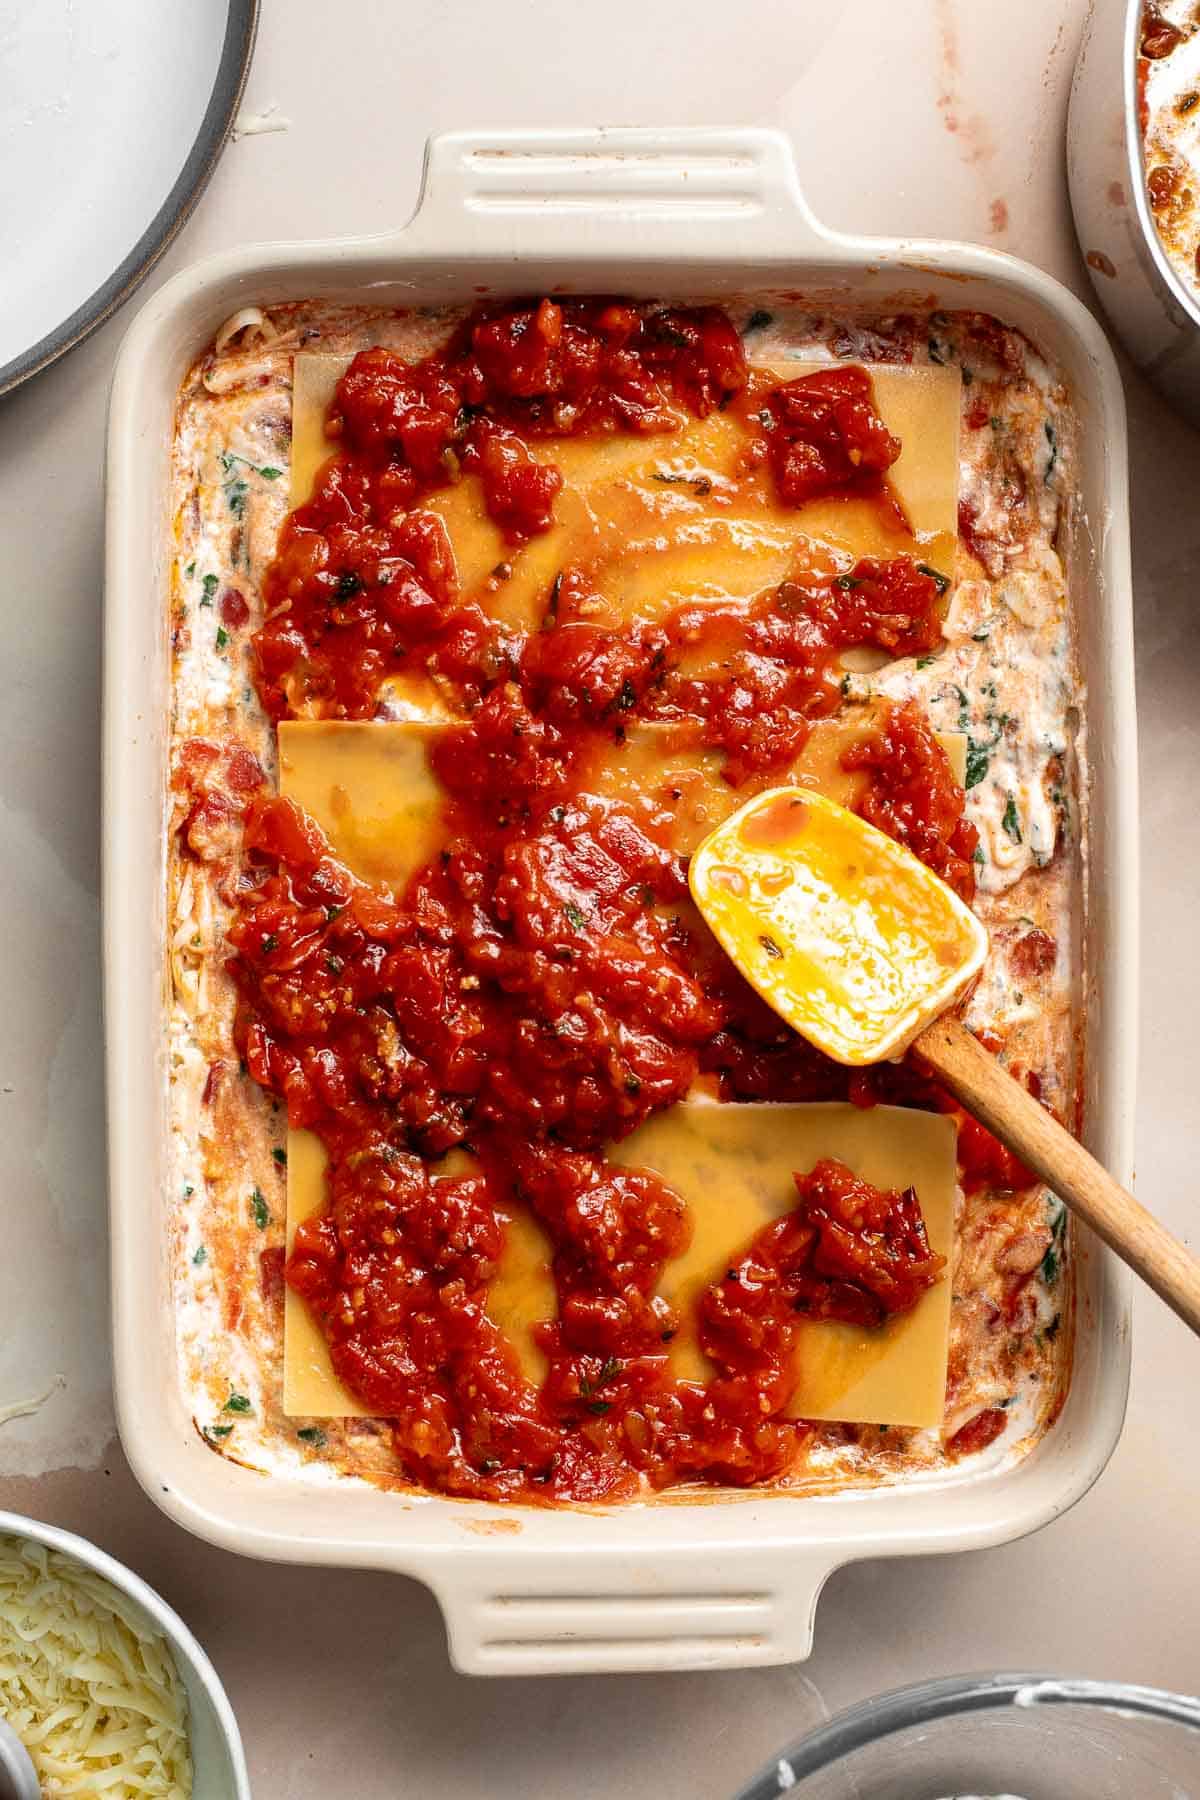
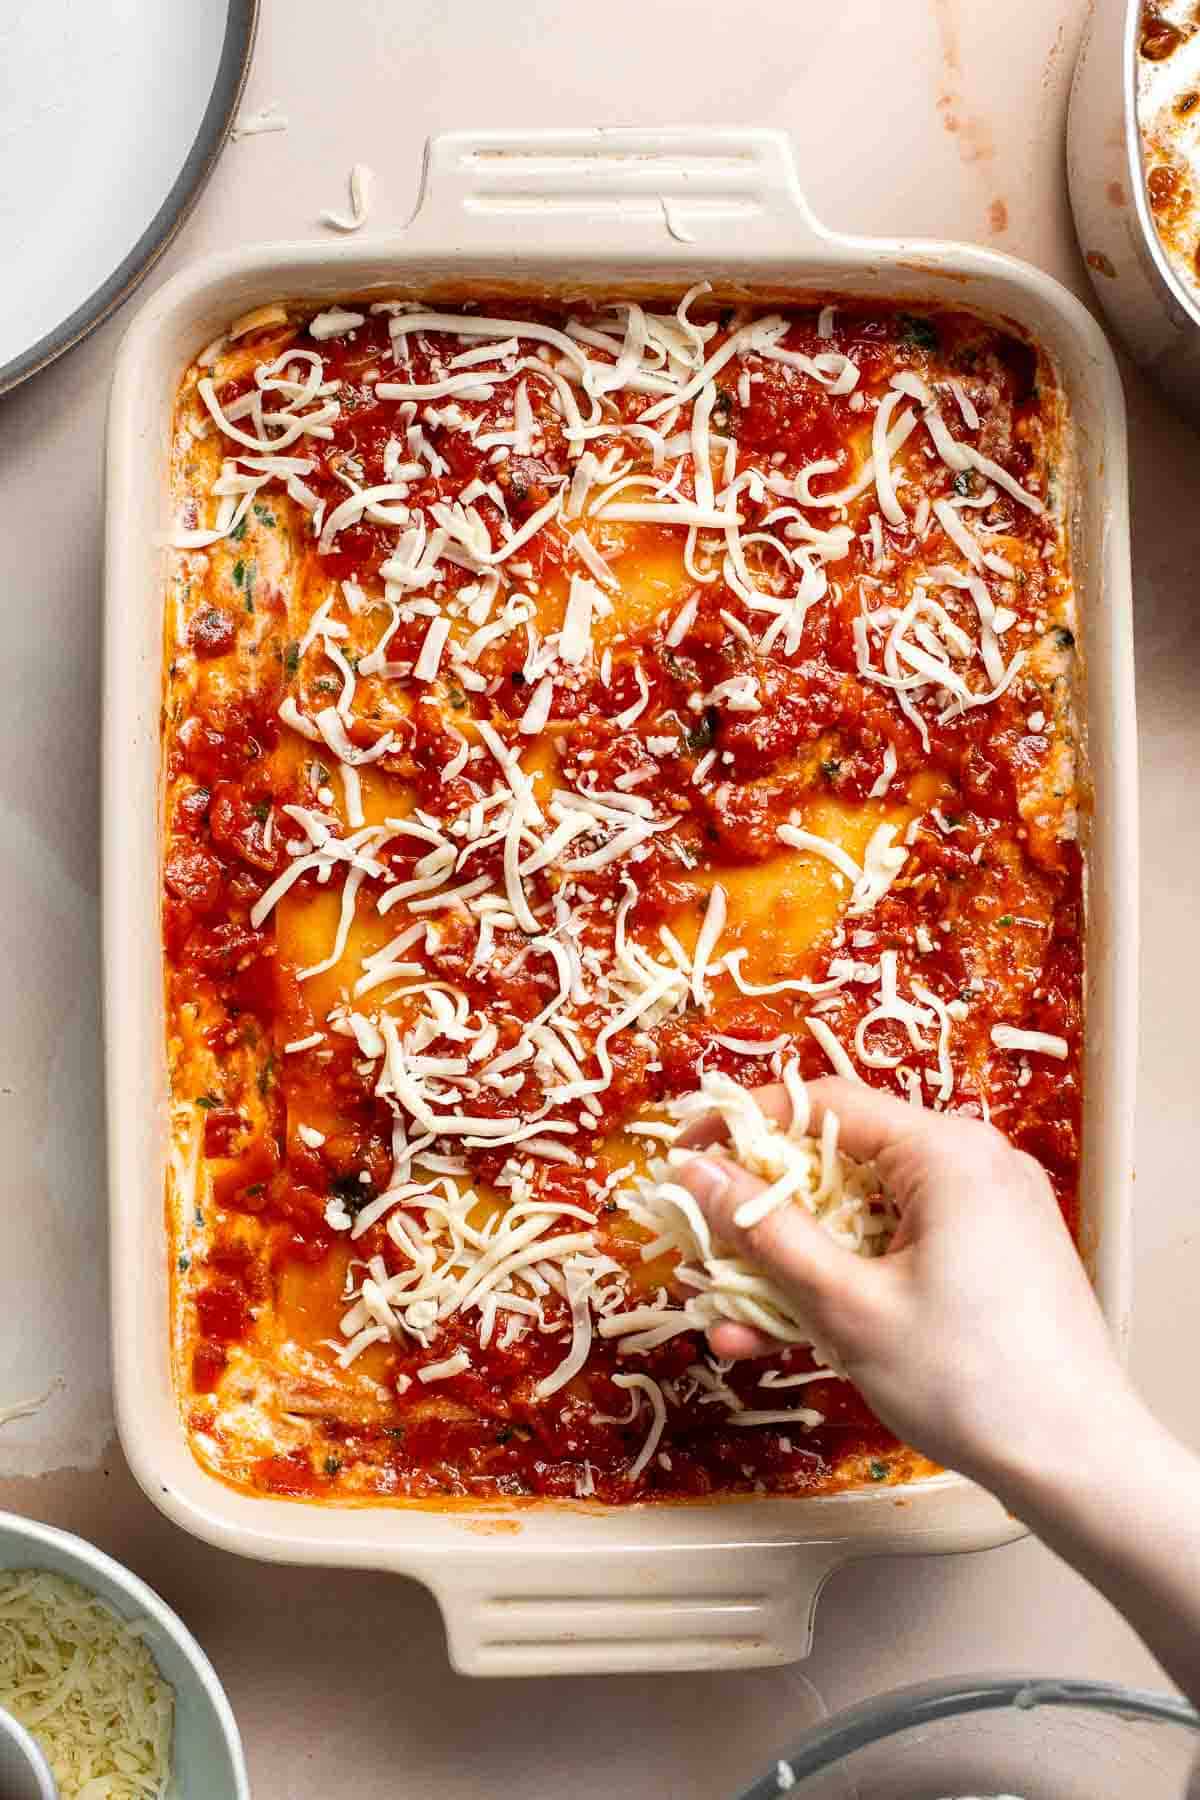
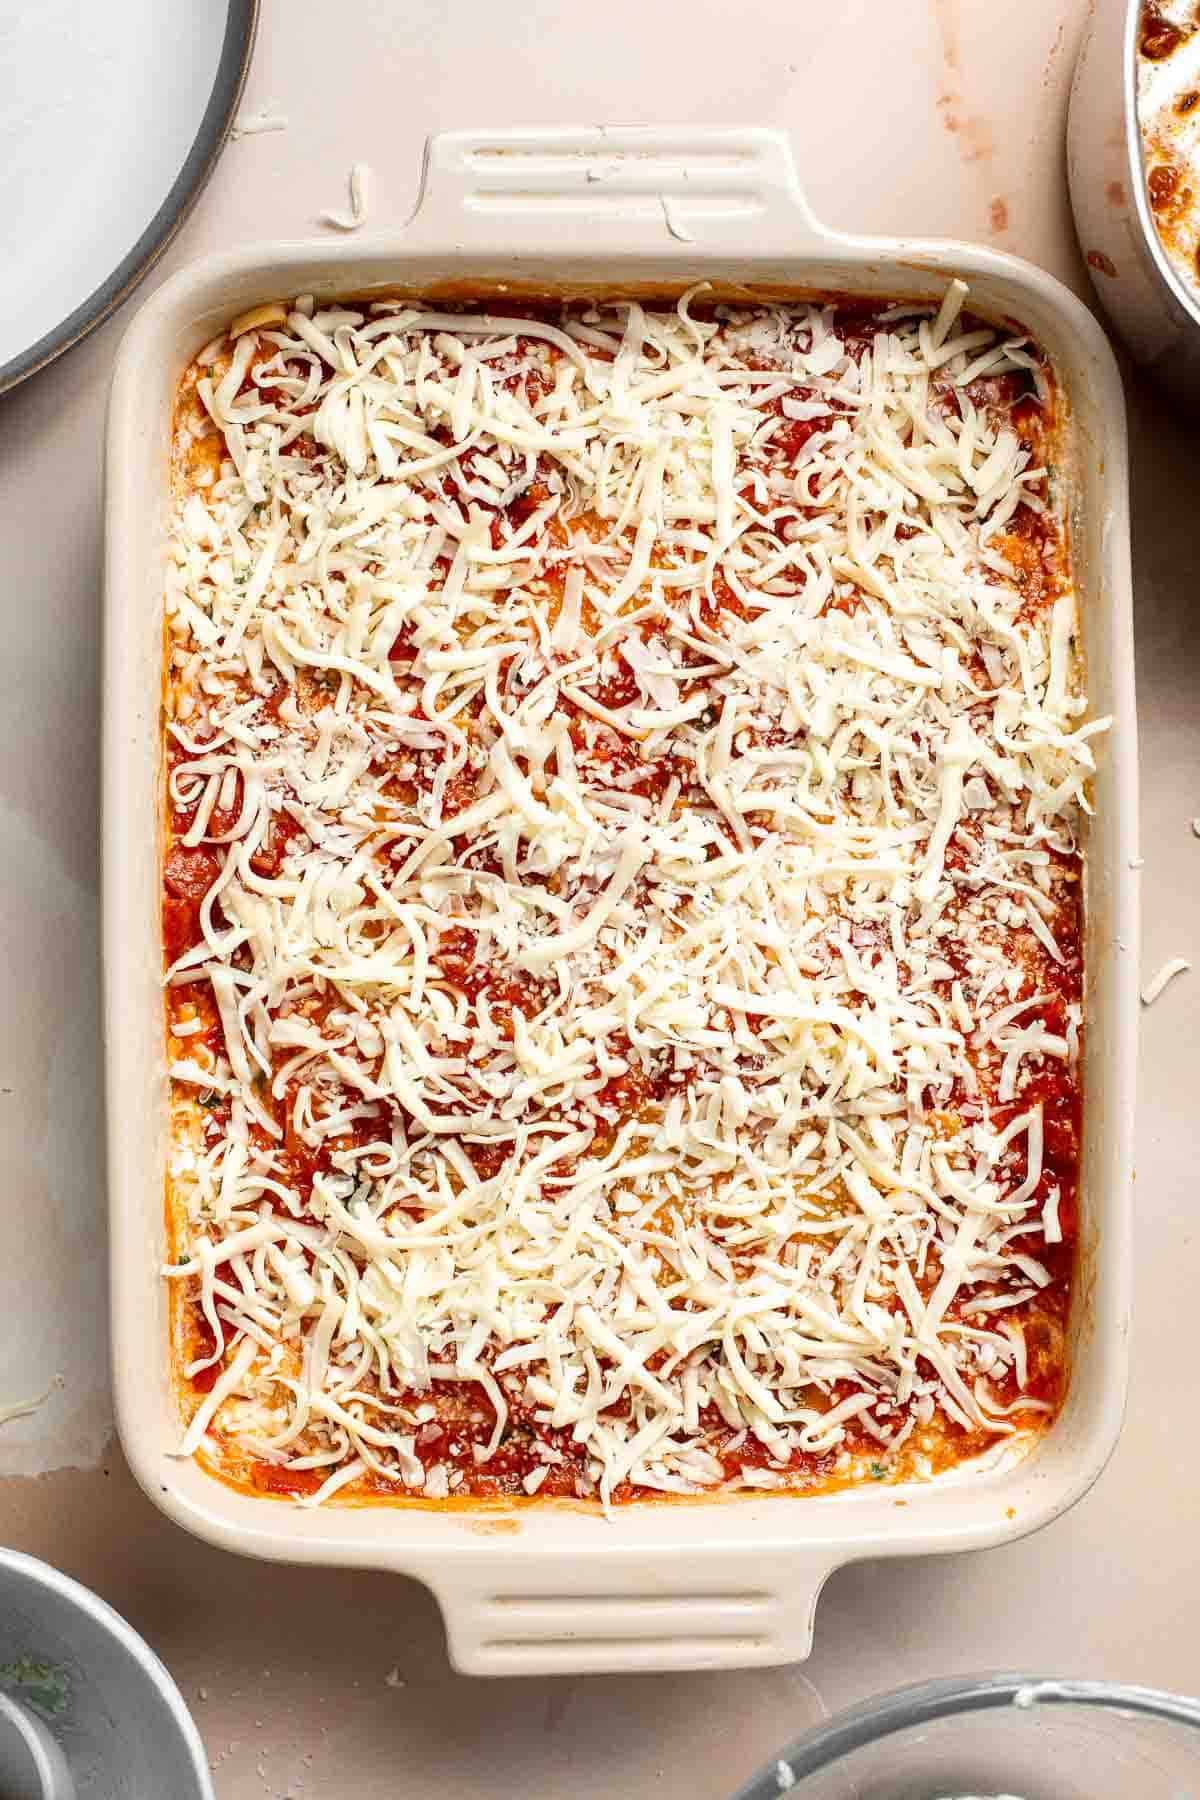
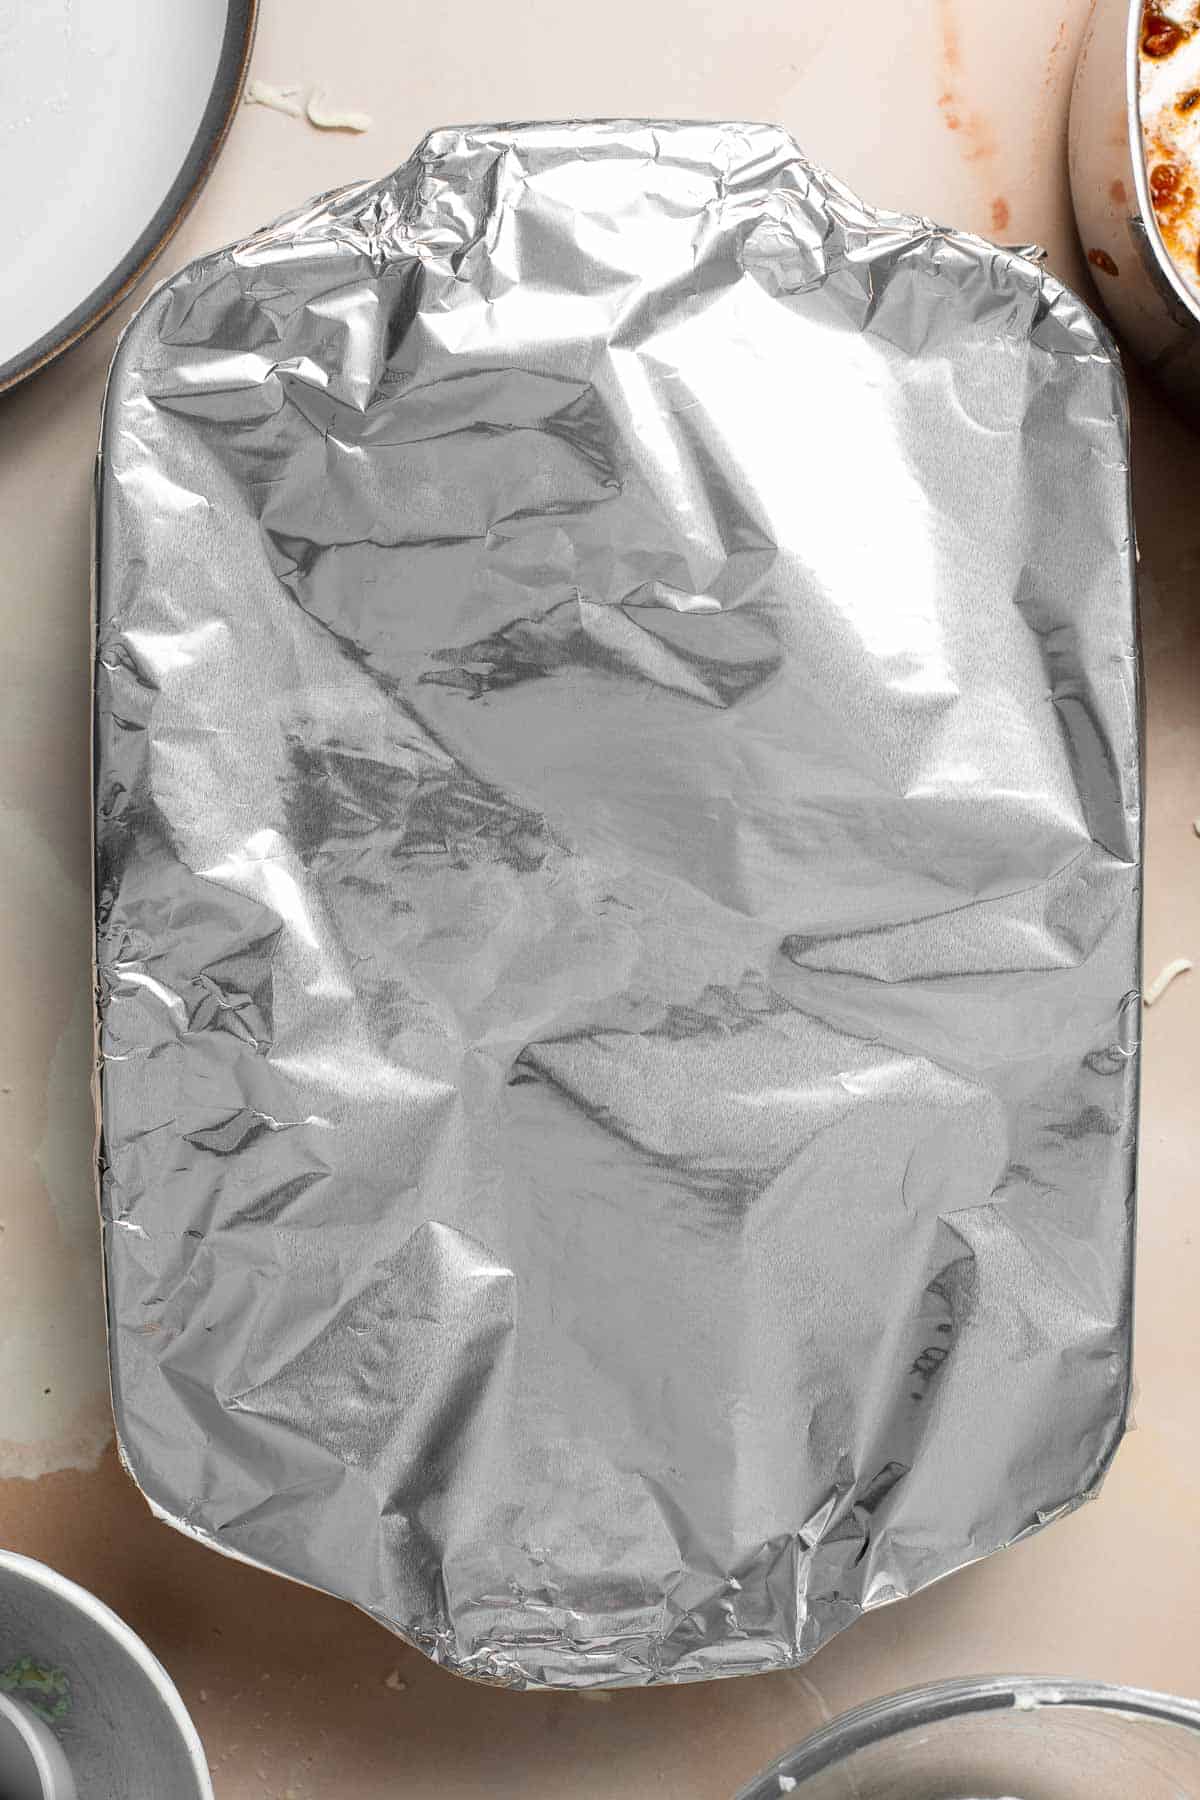
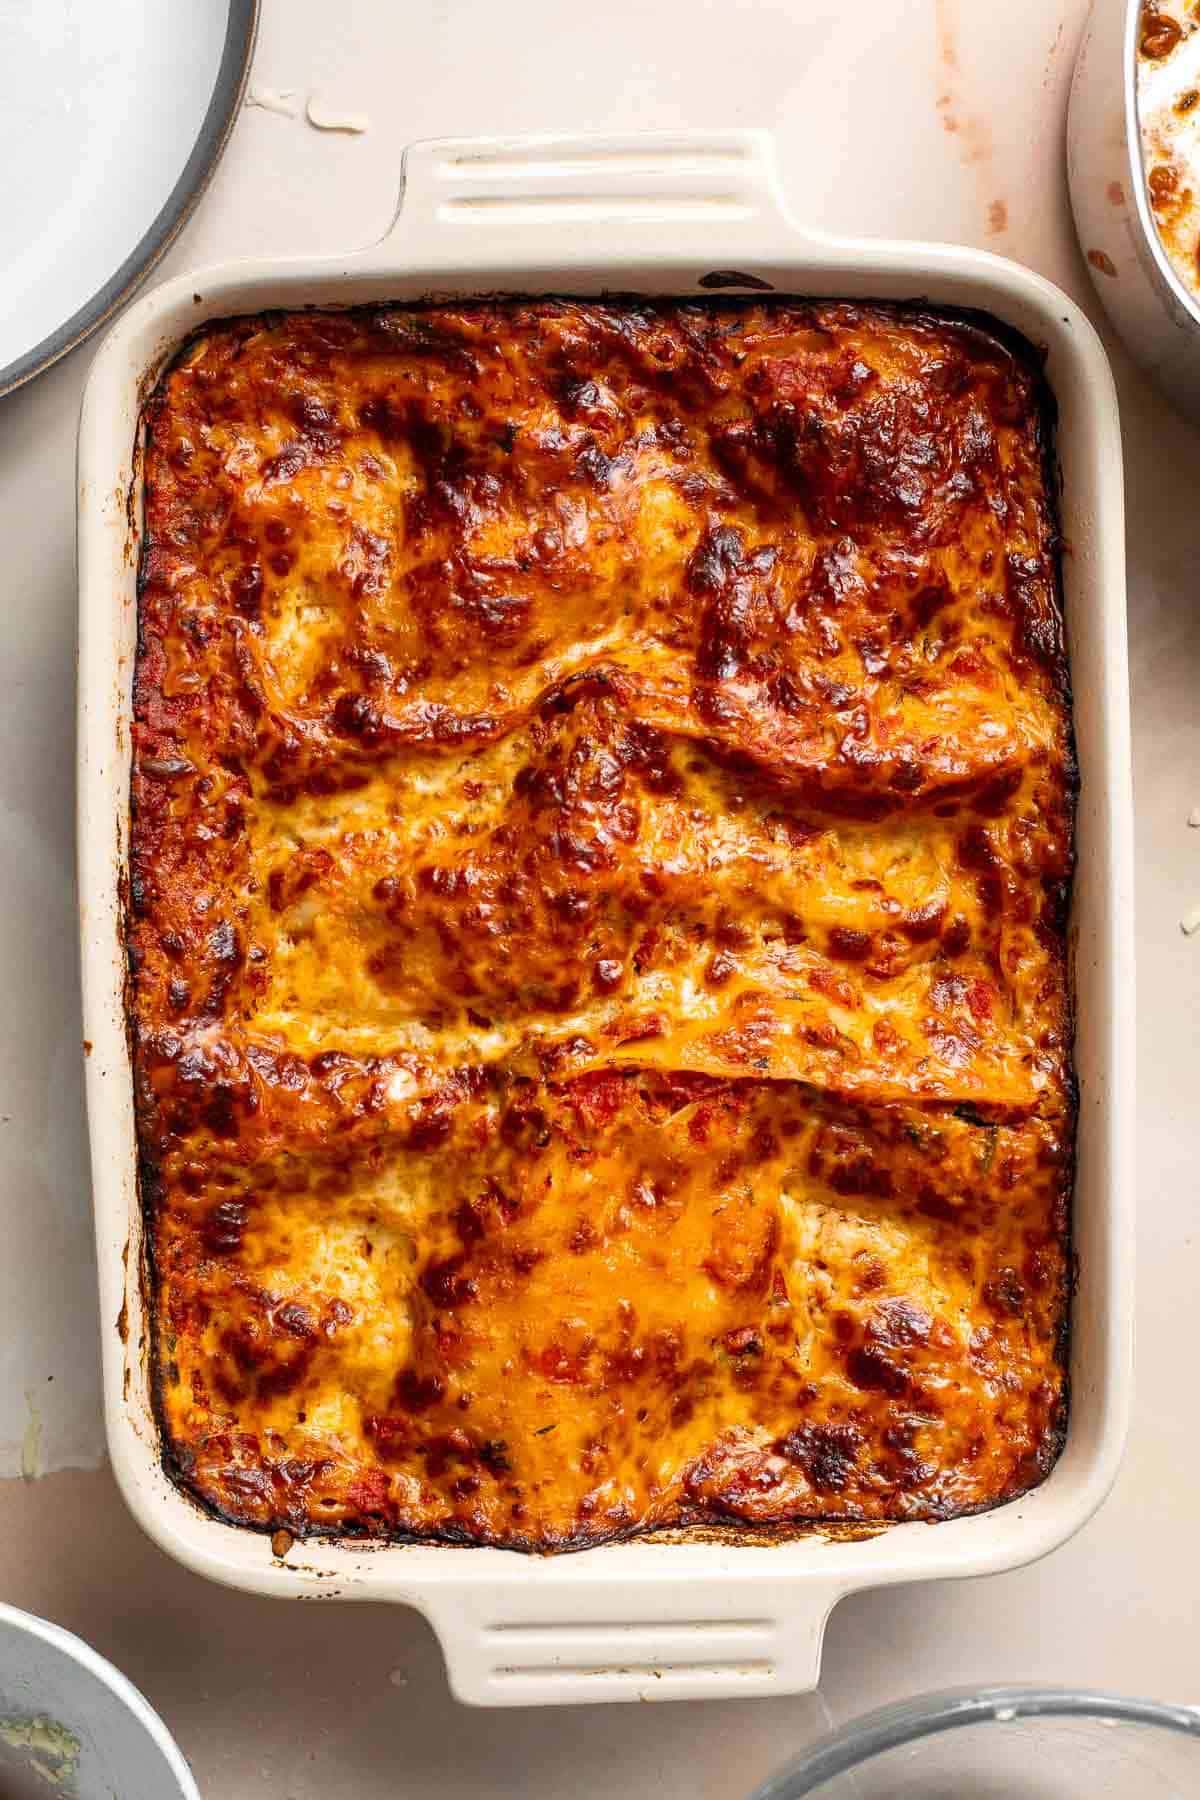
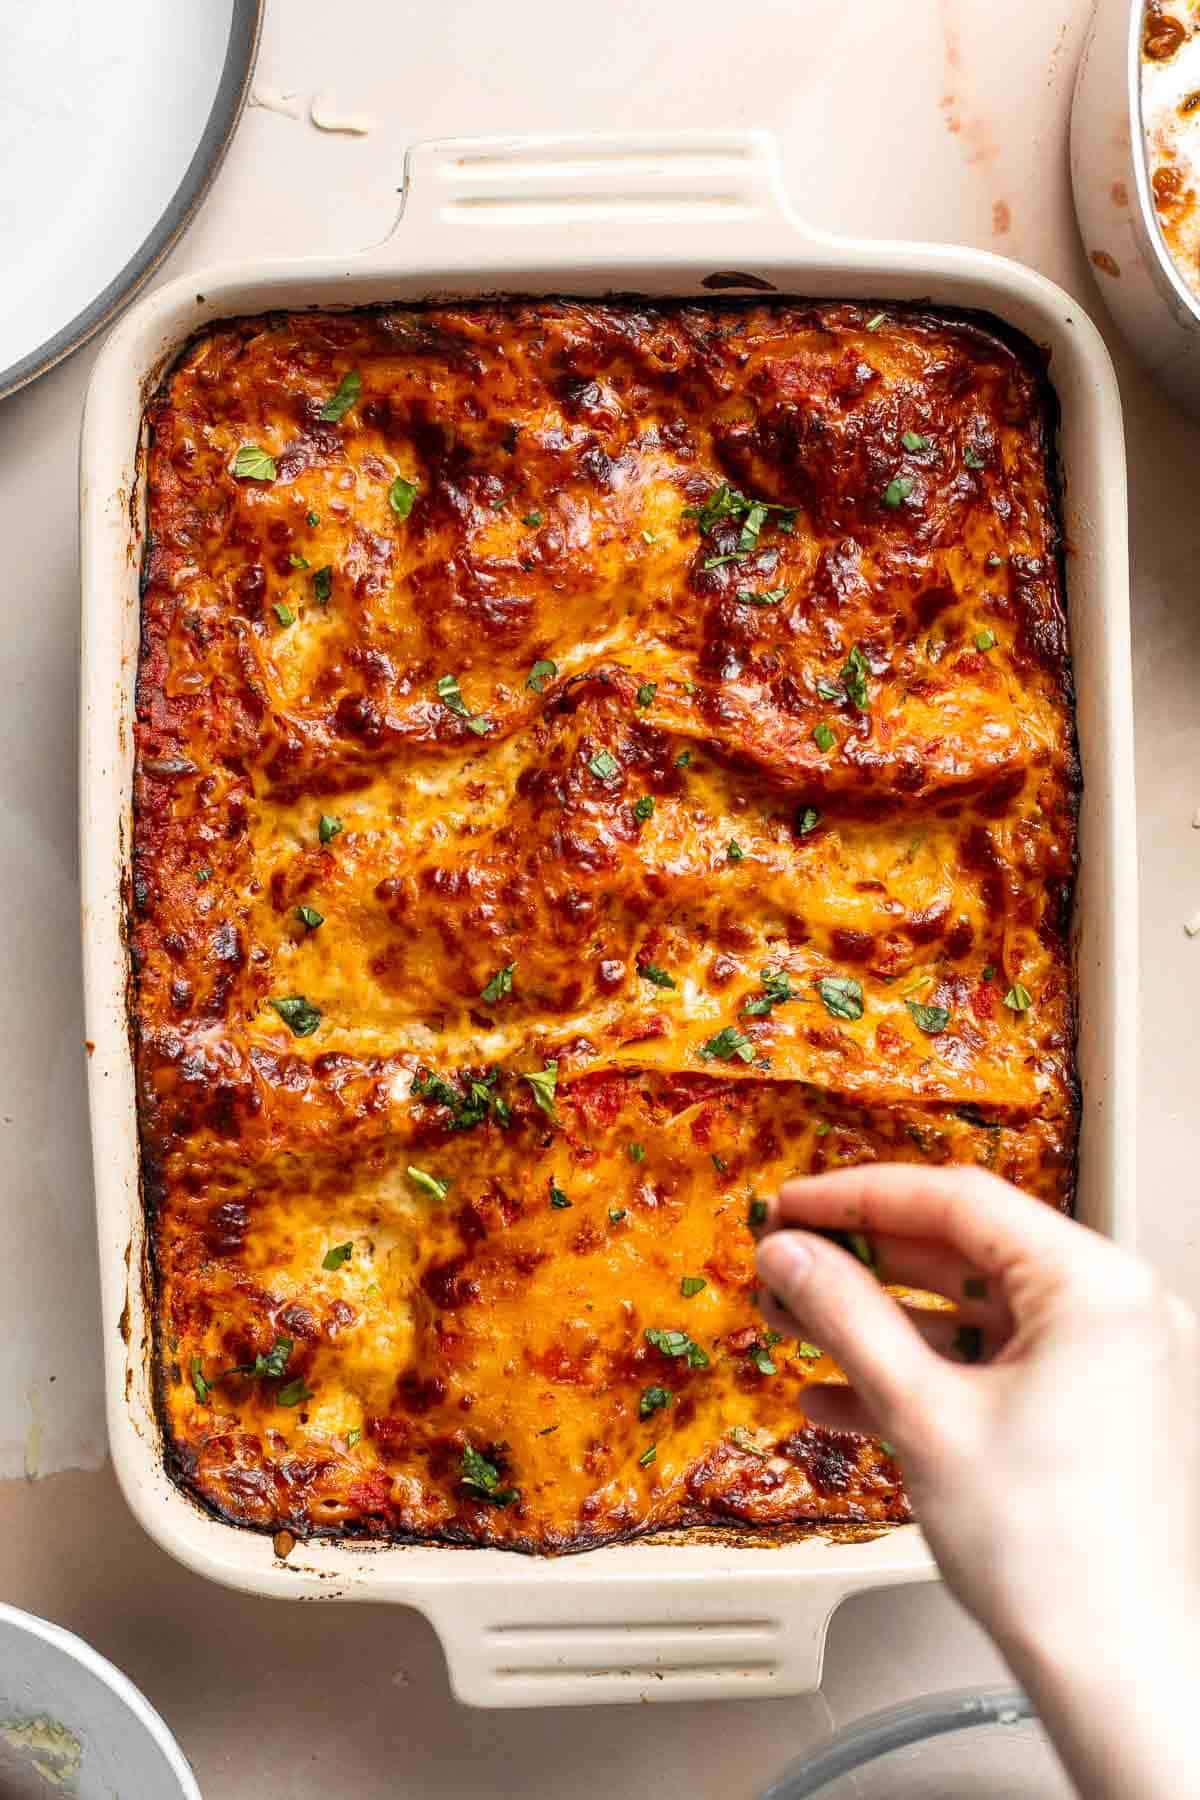
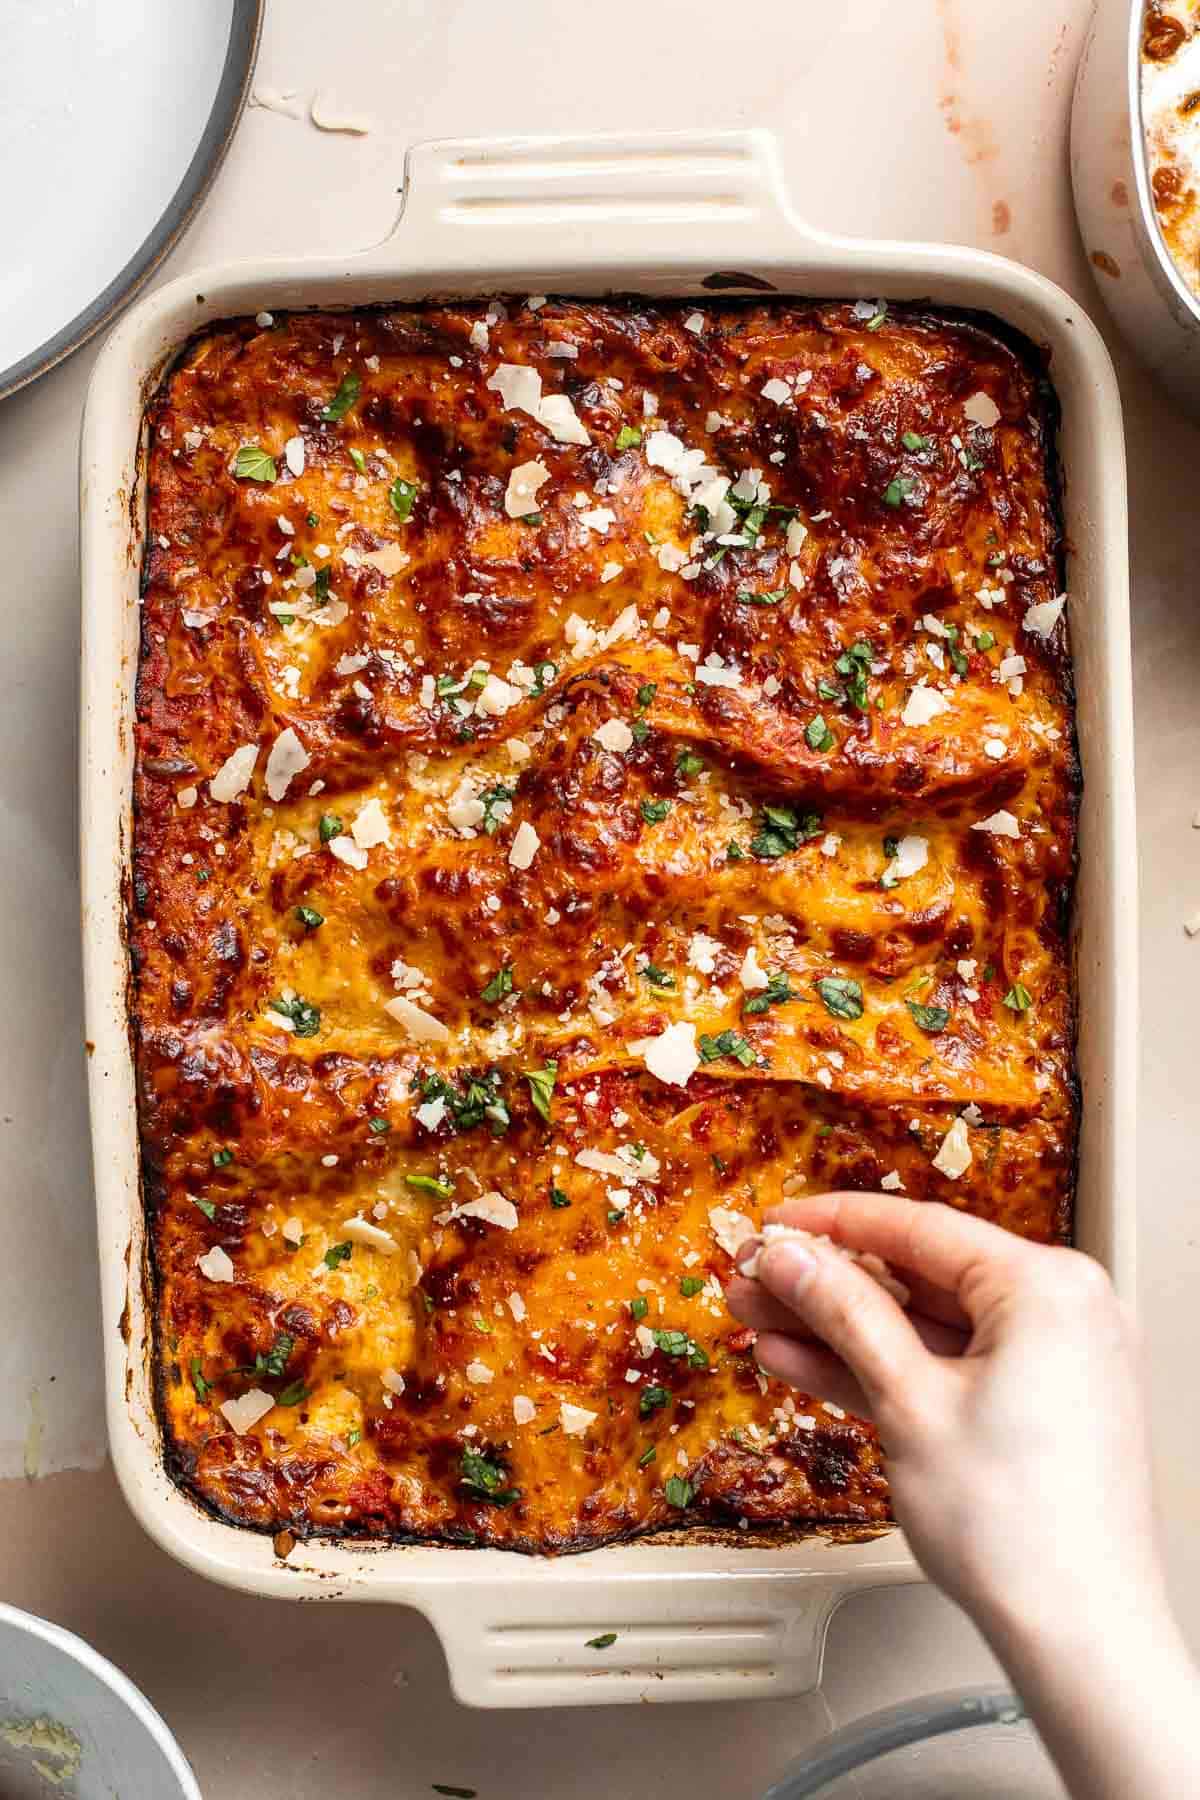
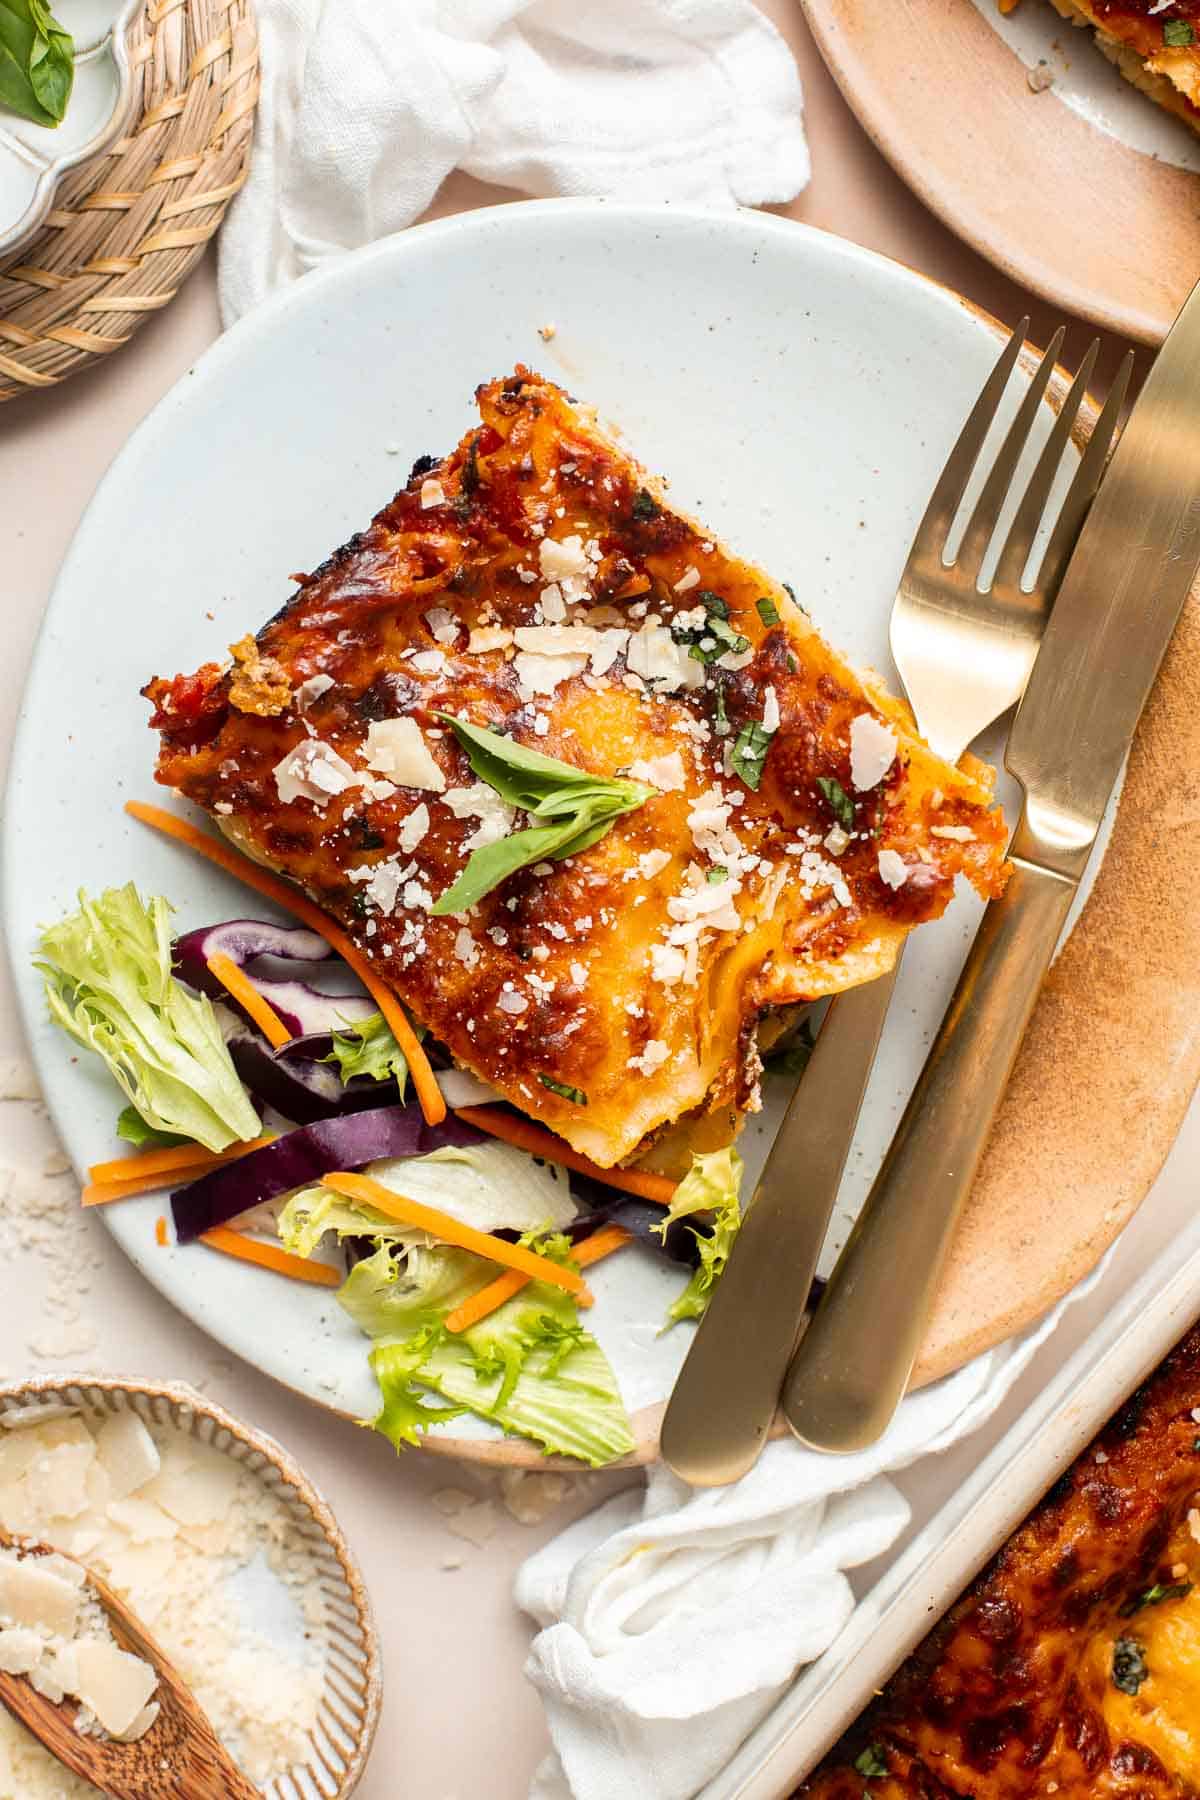
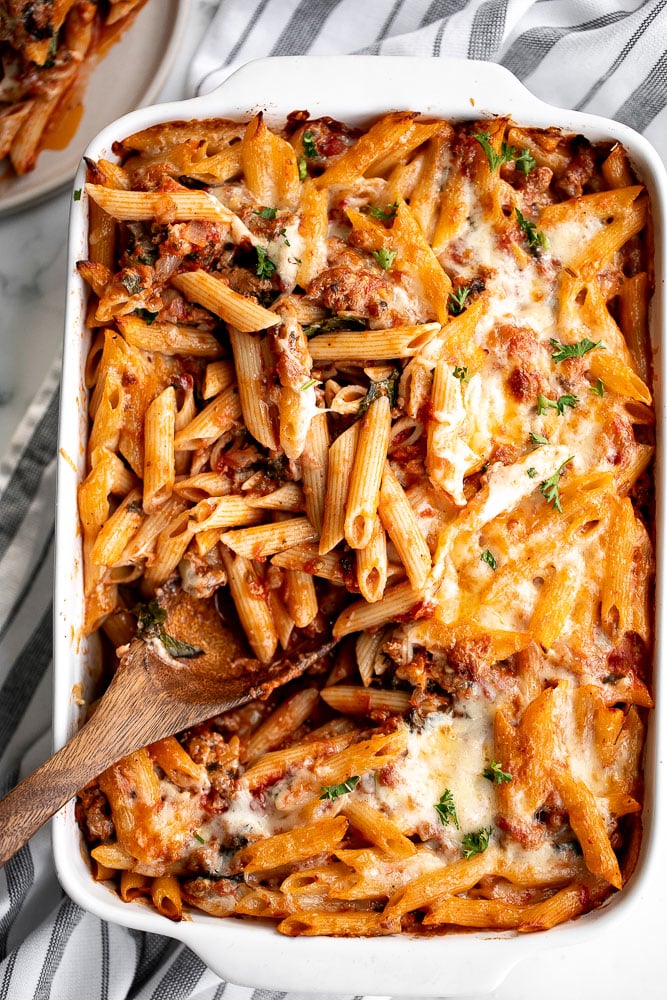
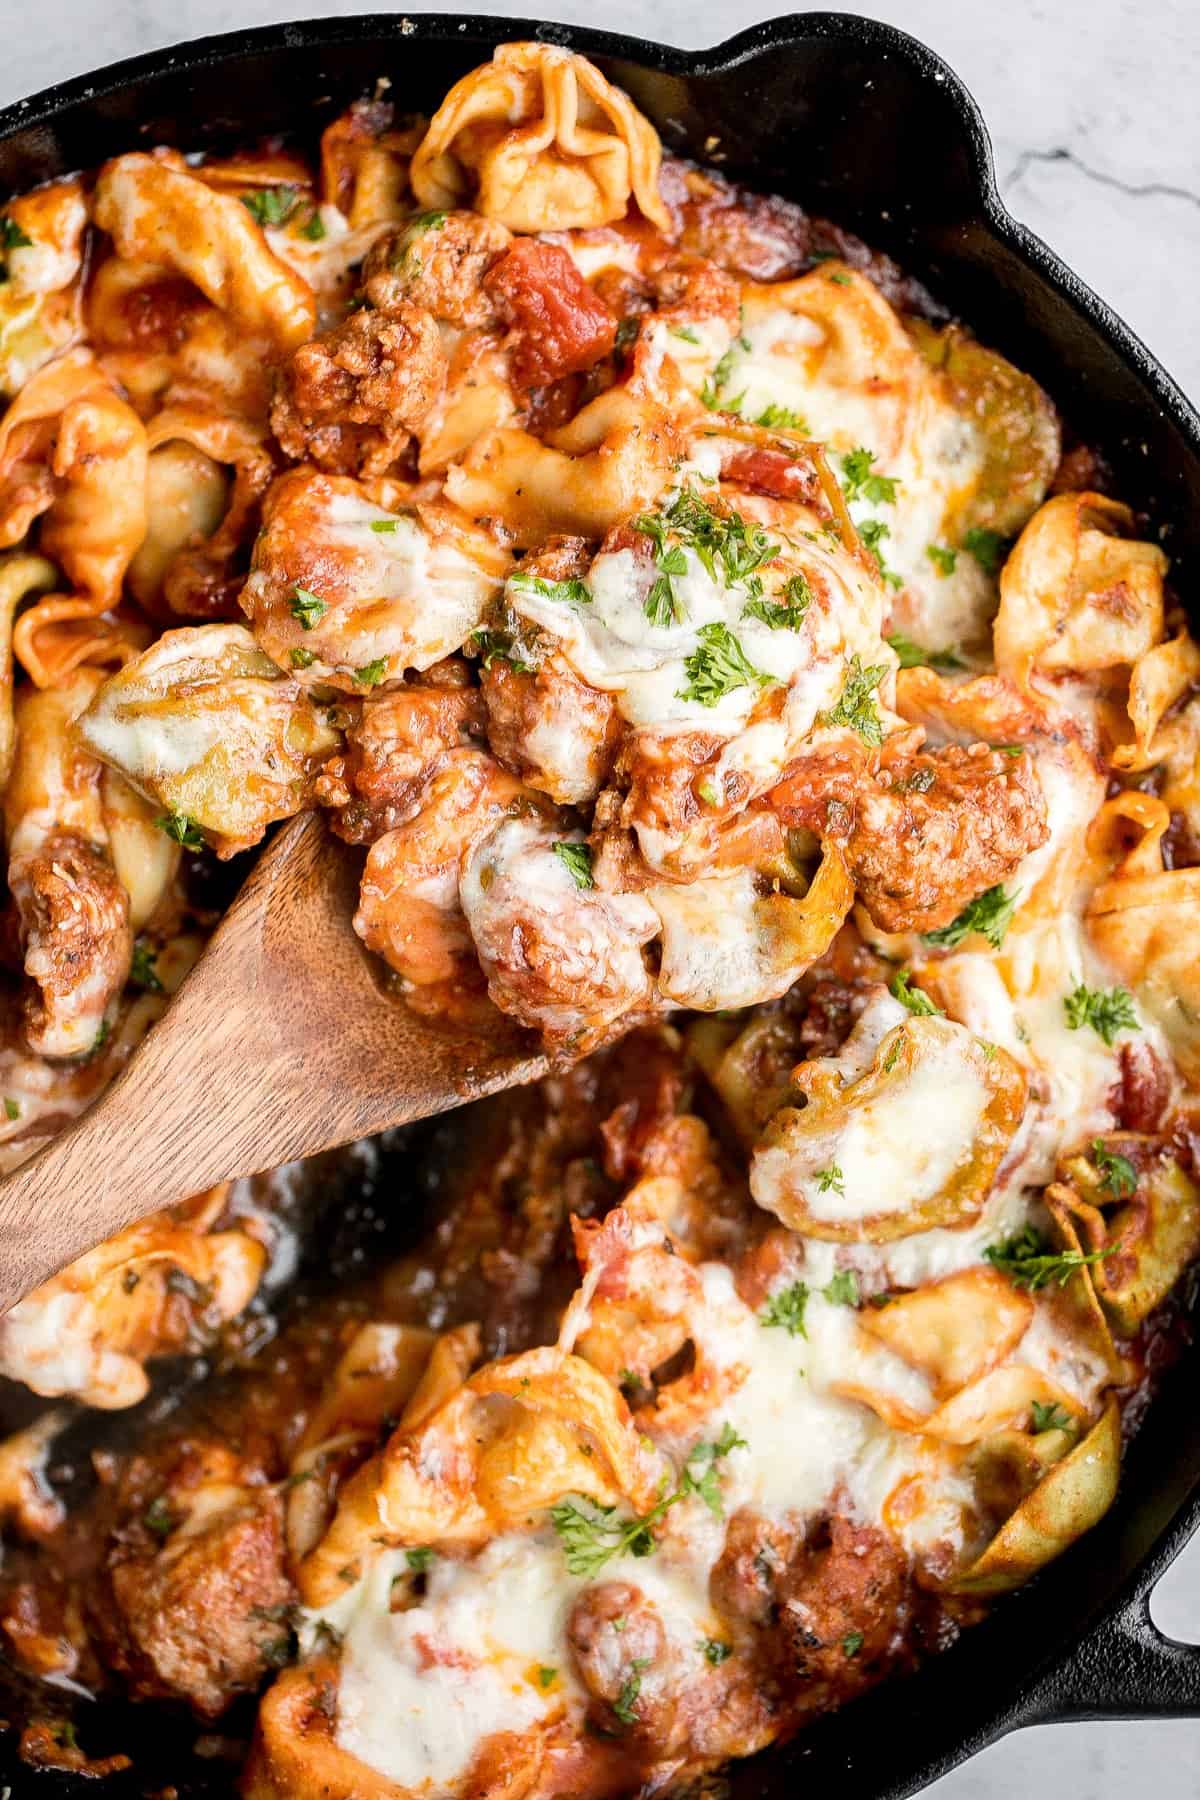
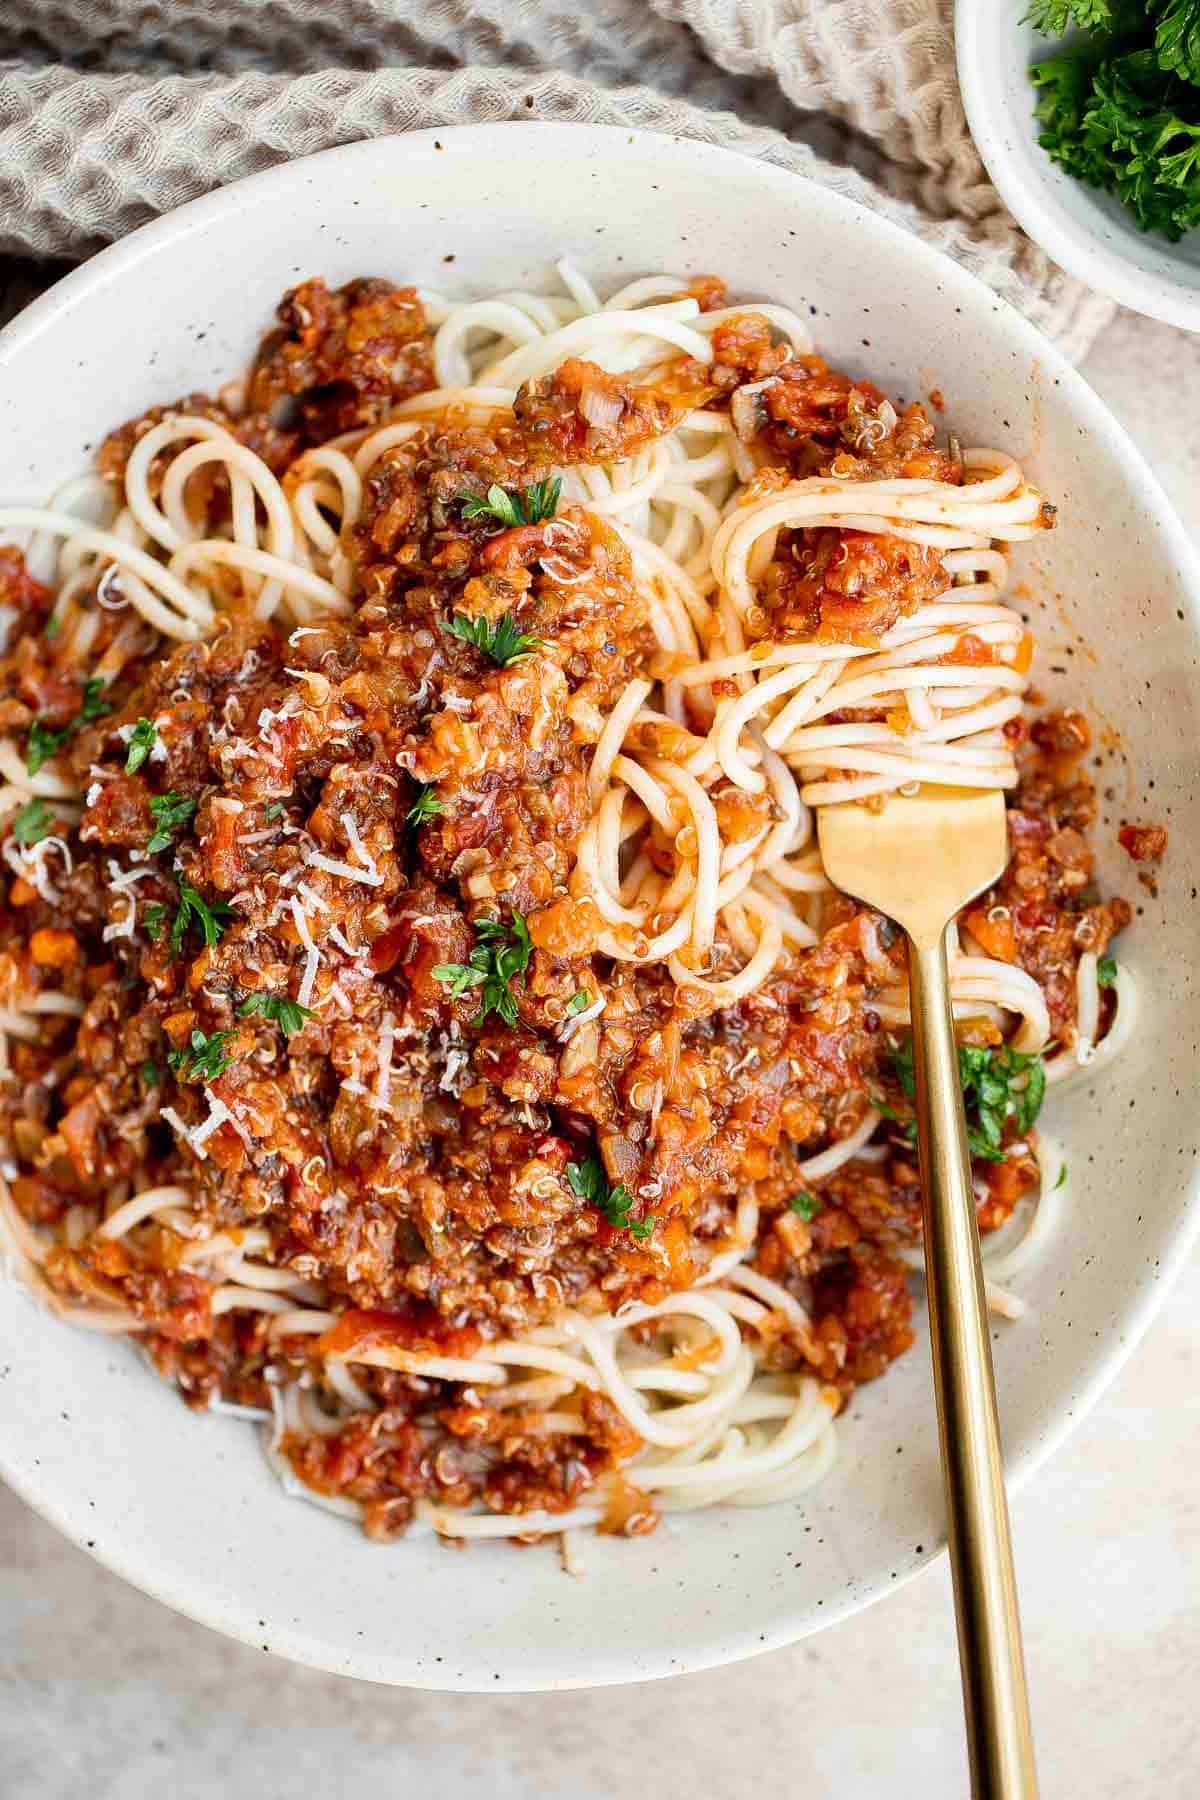
Ground turkey pasta bake is an easy yet impressive meal that is cozy, comforting, and satisfying. A family-friendly casserole dinner ready in 45 minutes.

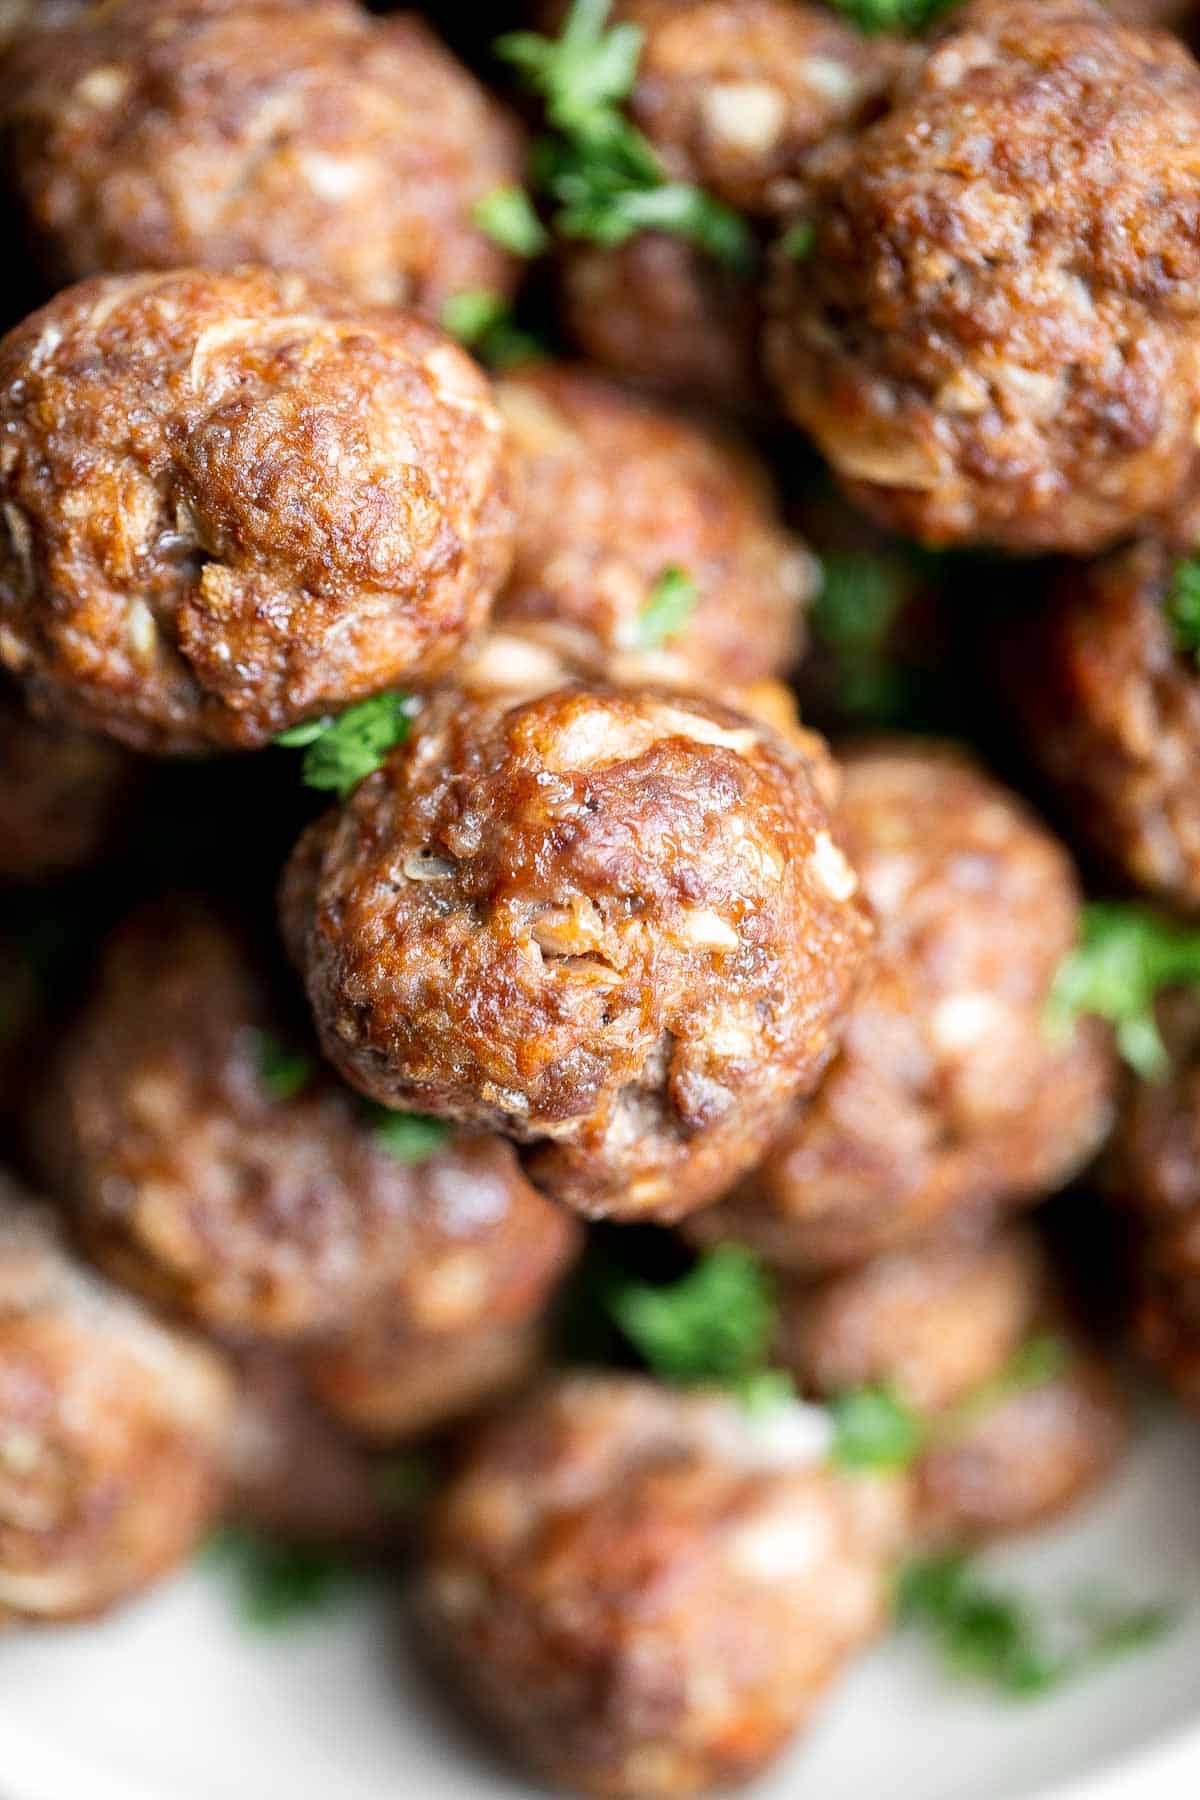
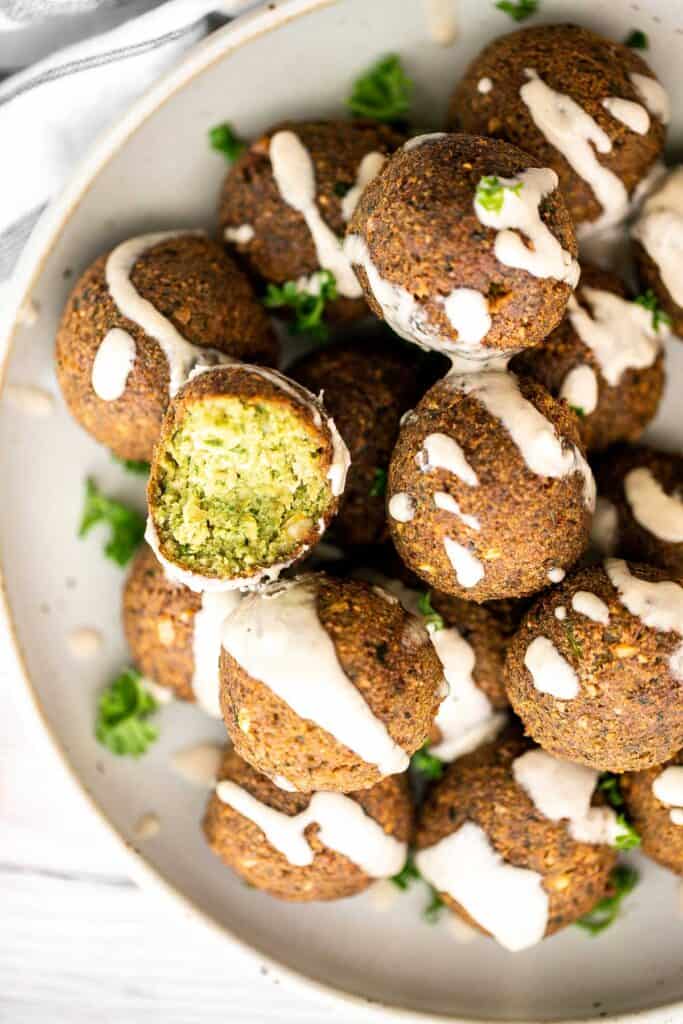
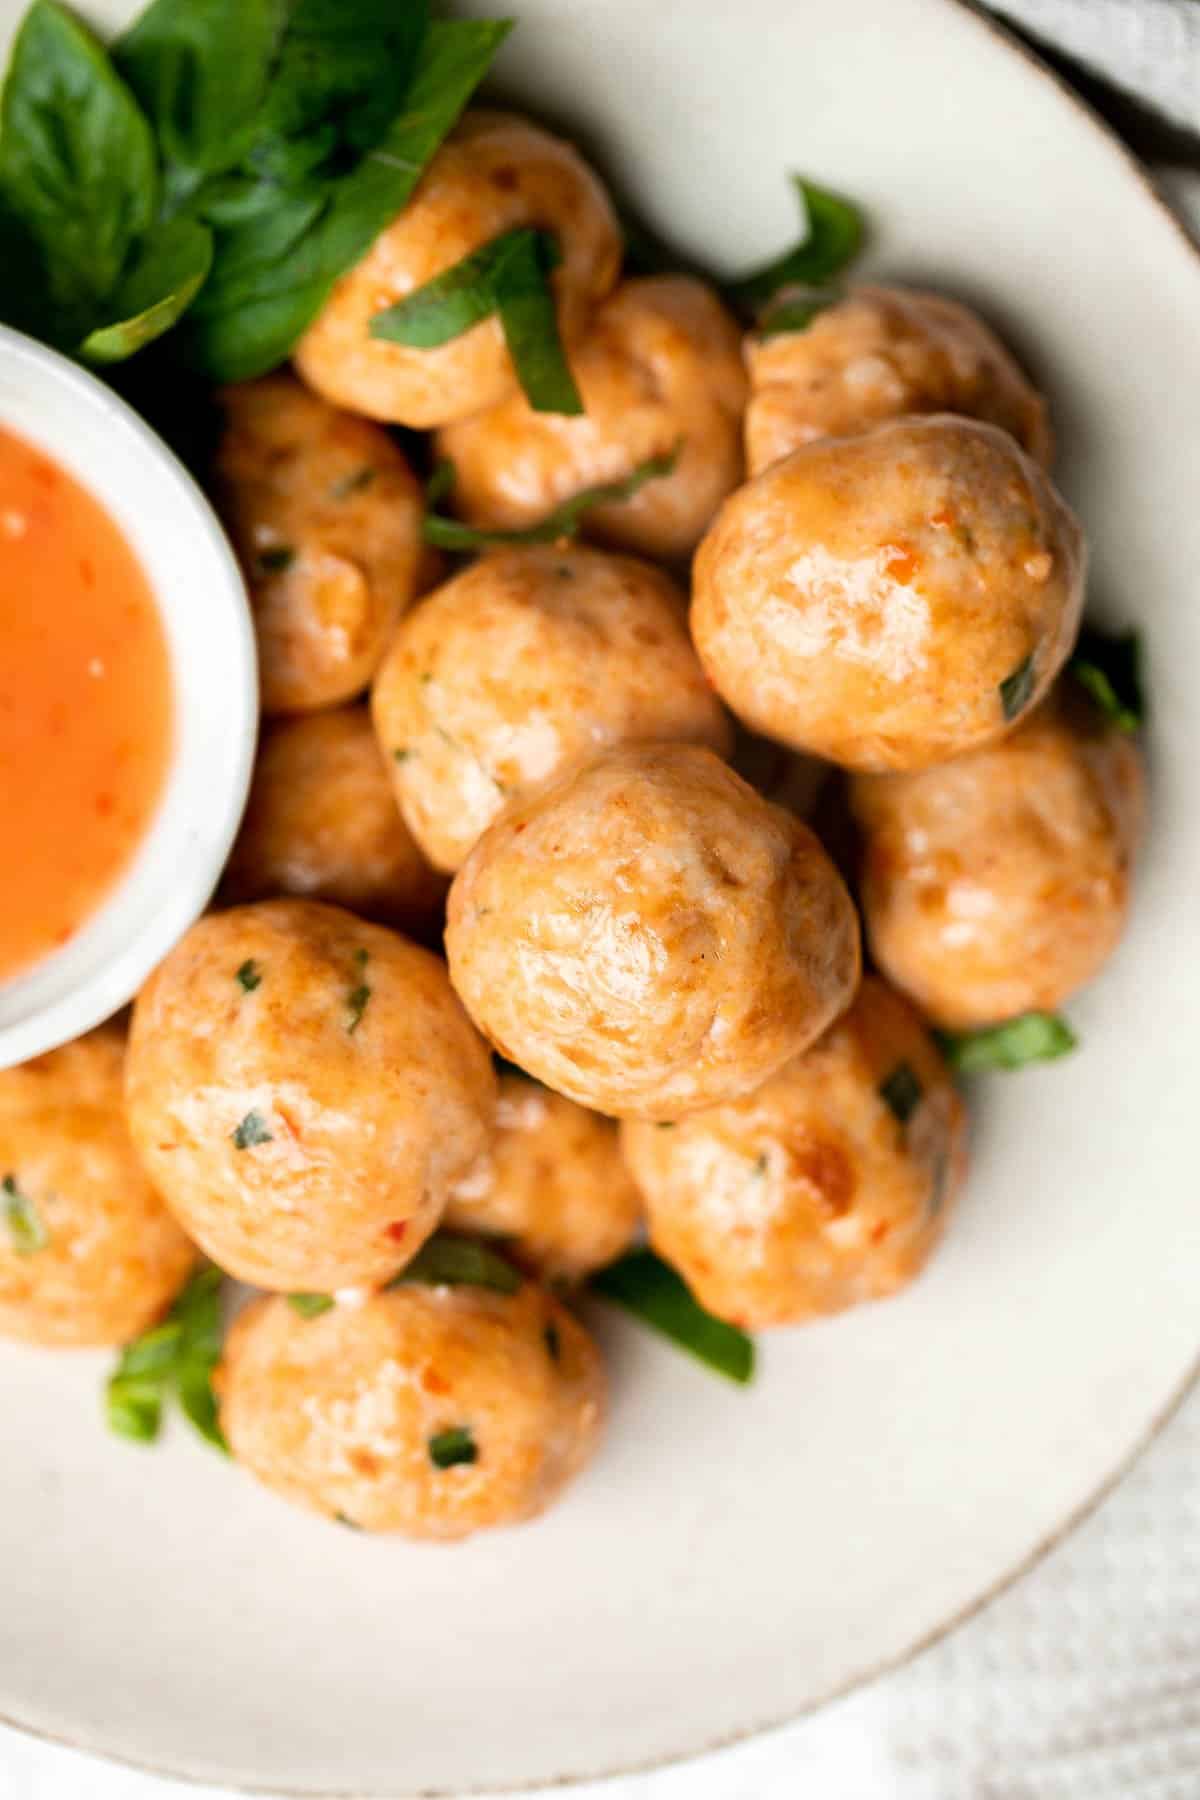
Sweet chili turkey meatballs are delicious, tender and juicy, loaded with classic Thai flavors, and quick and easy to make. Savory, sweet, and tangy.
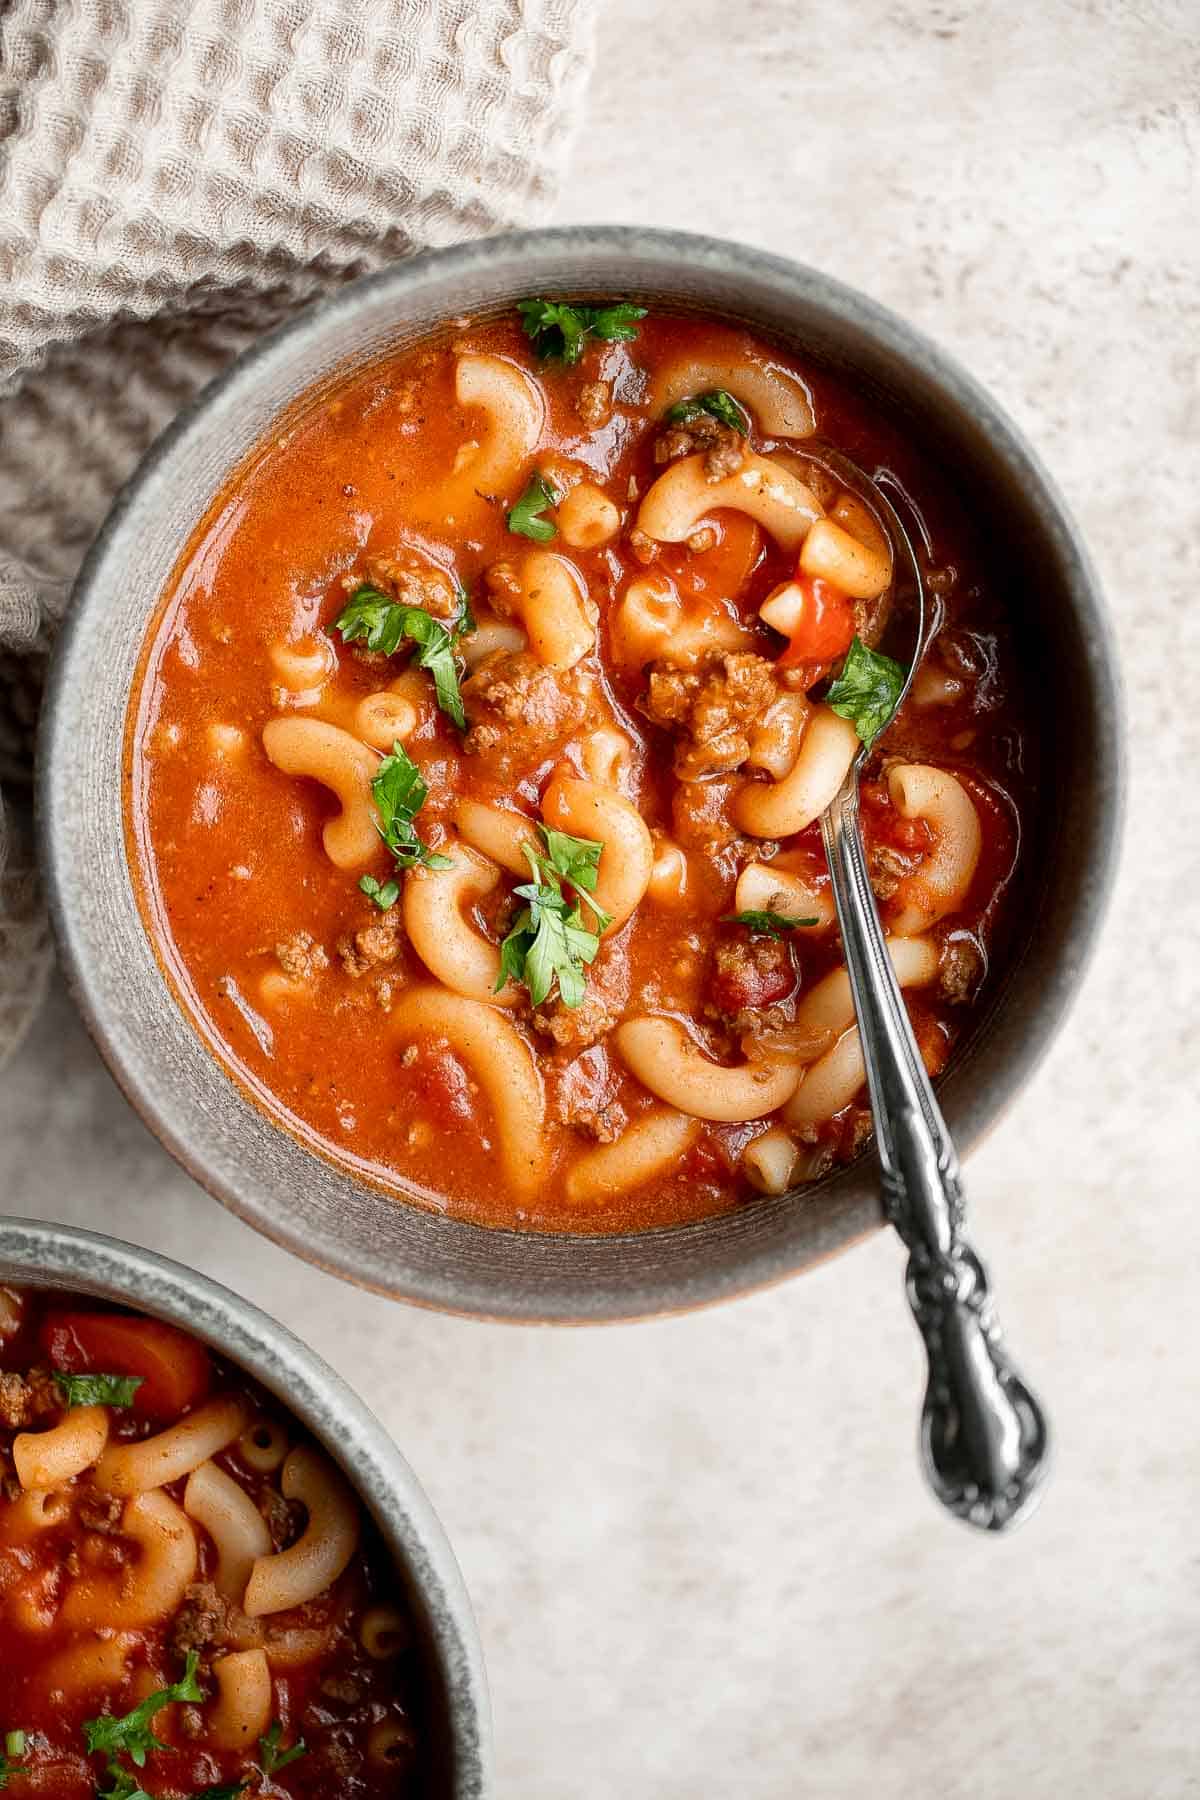
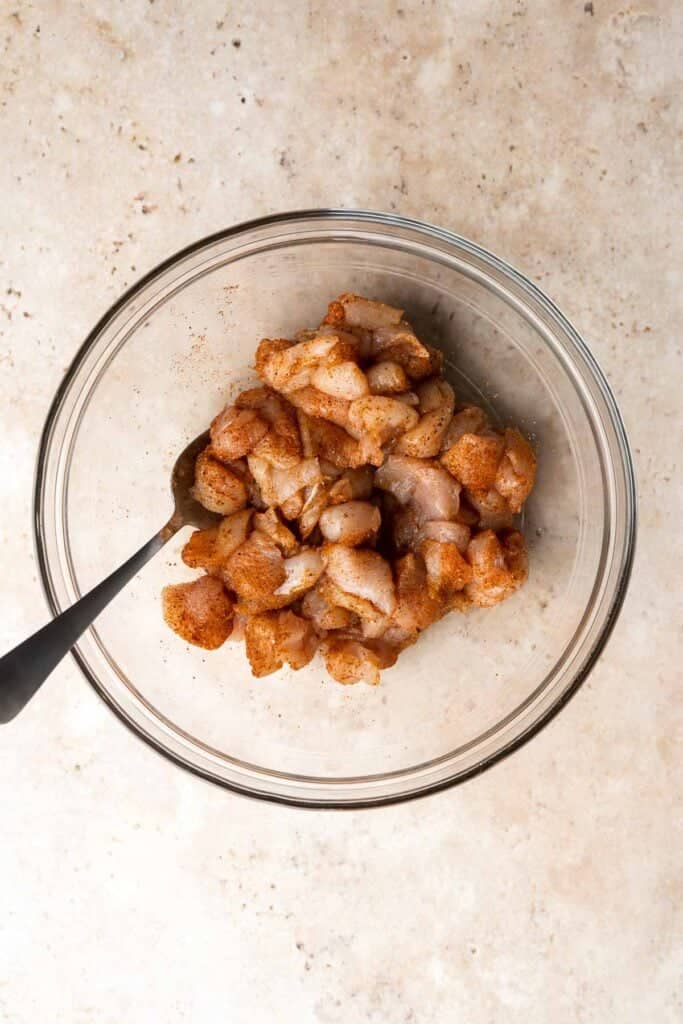
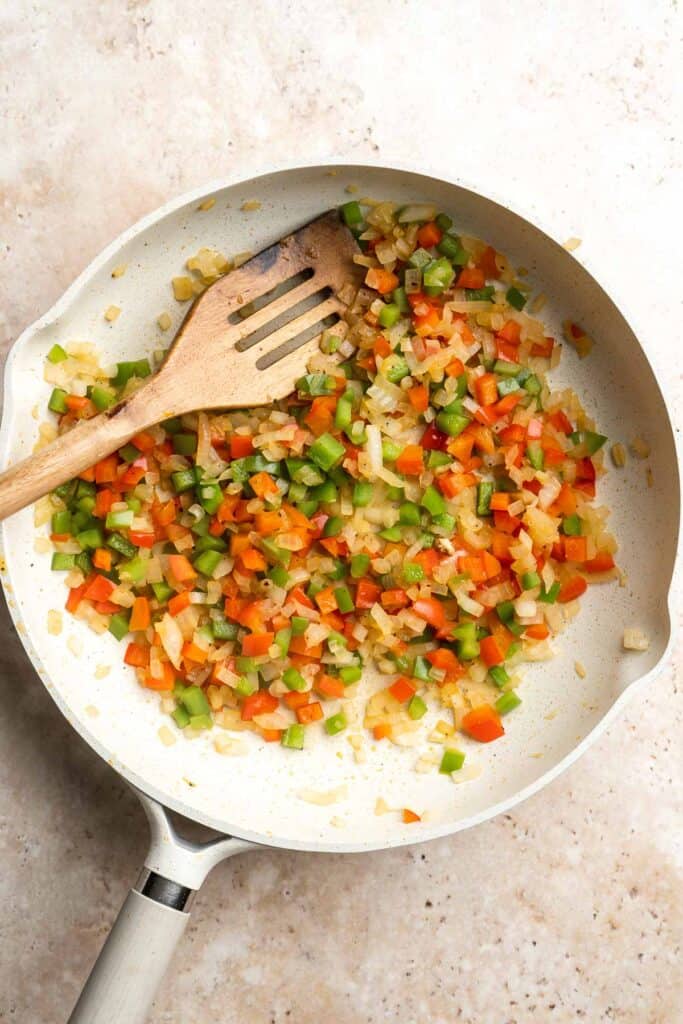
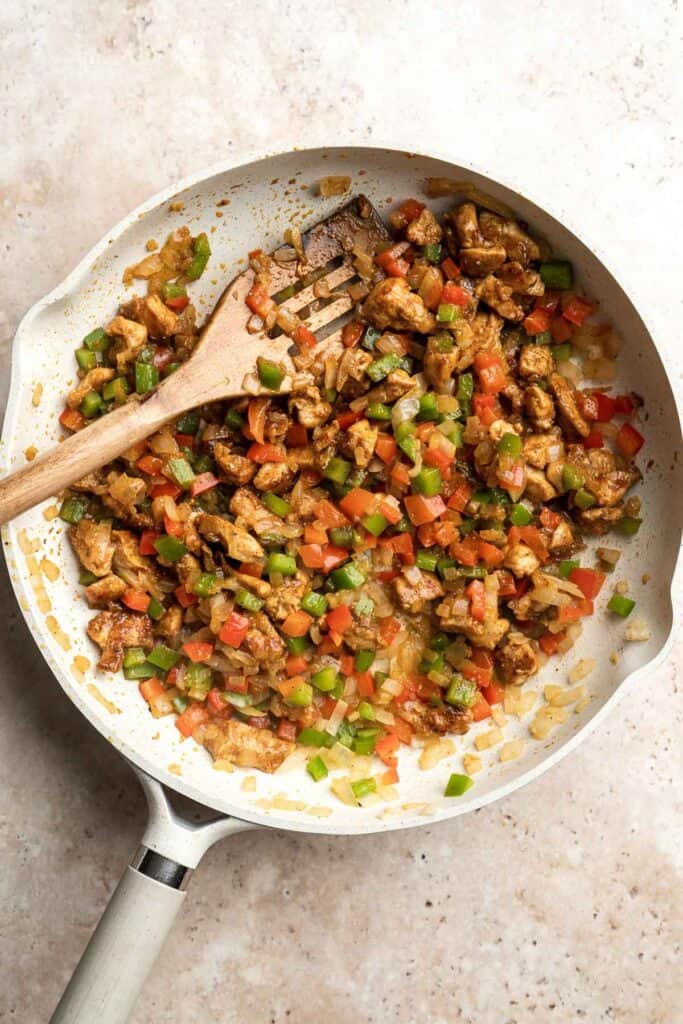
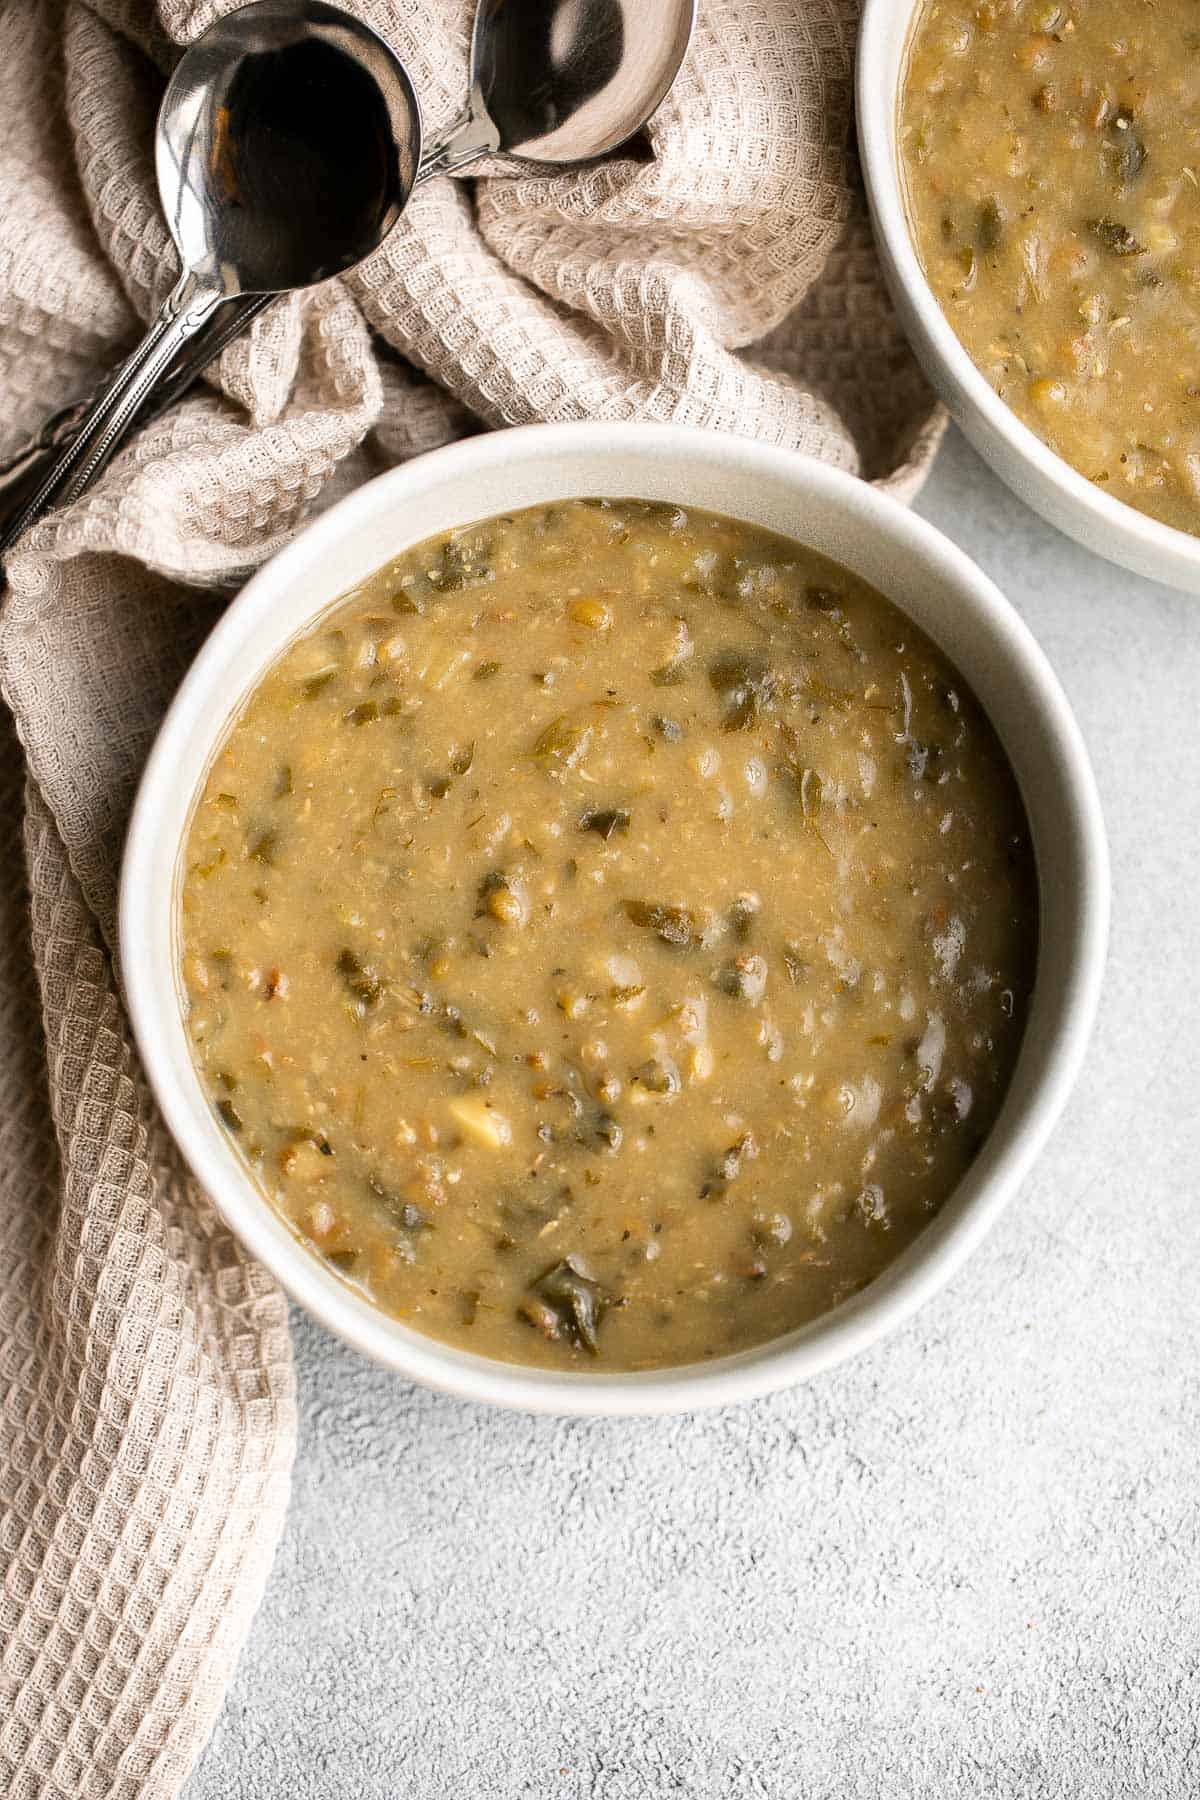
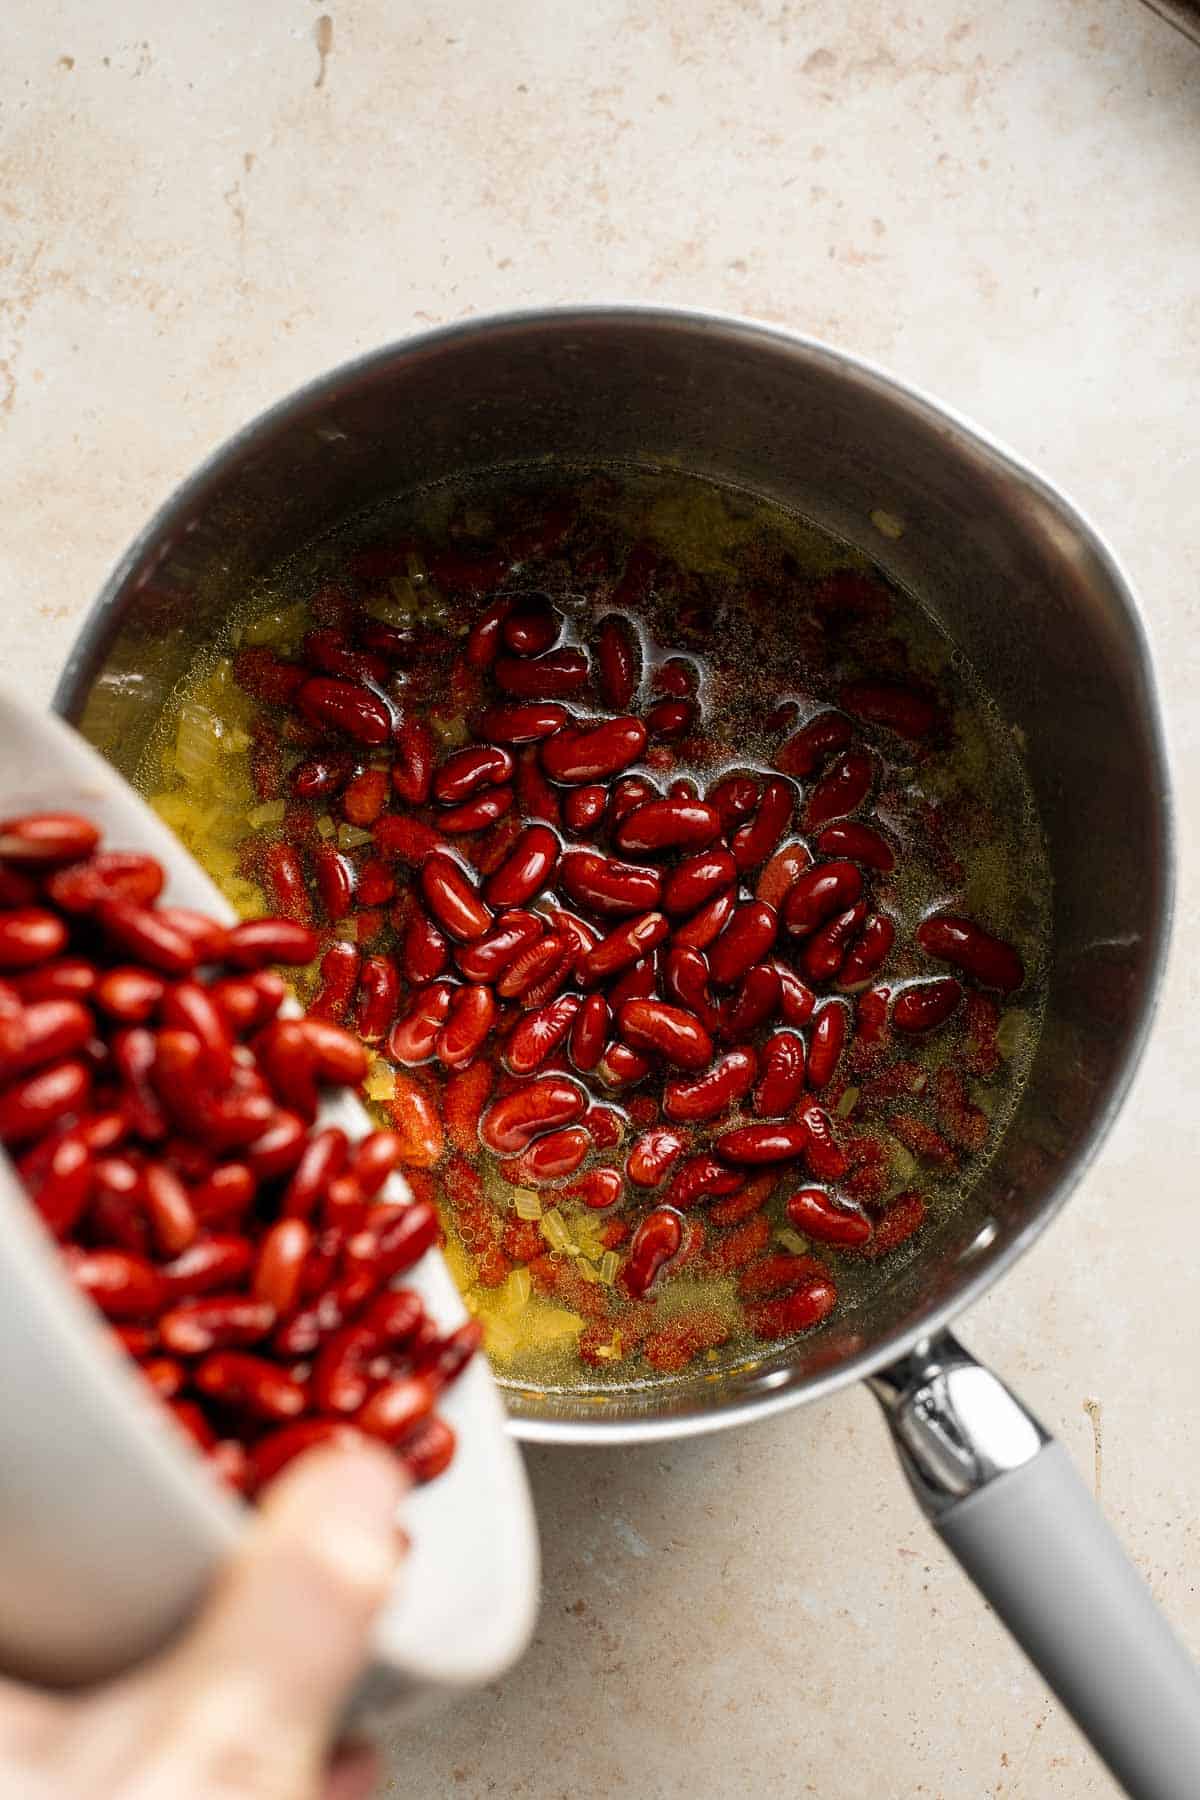
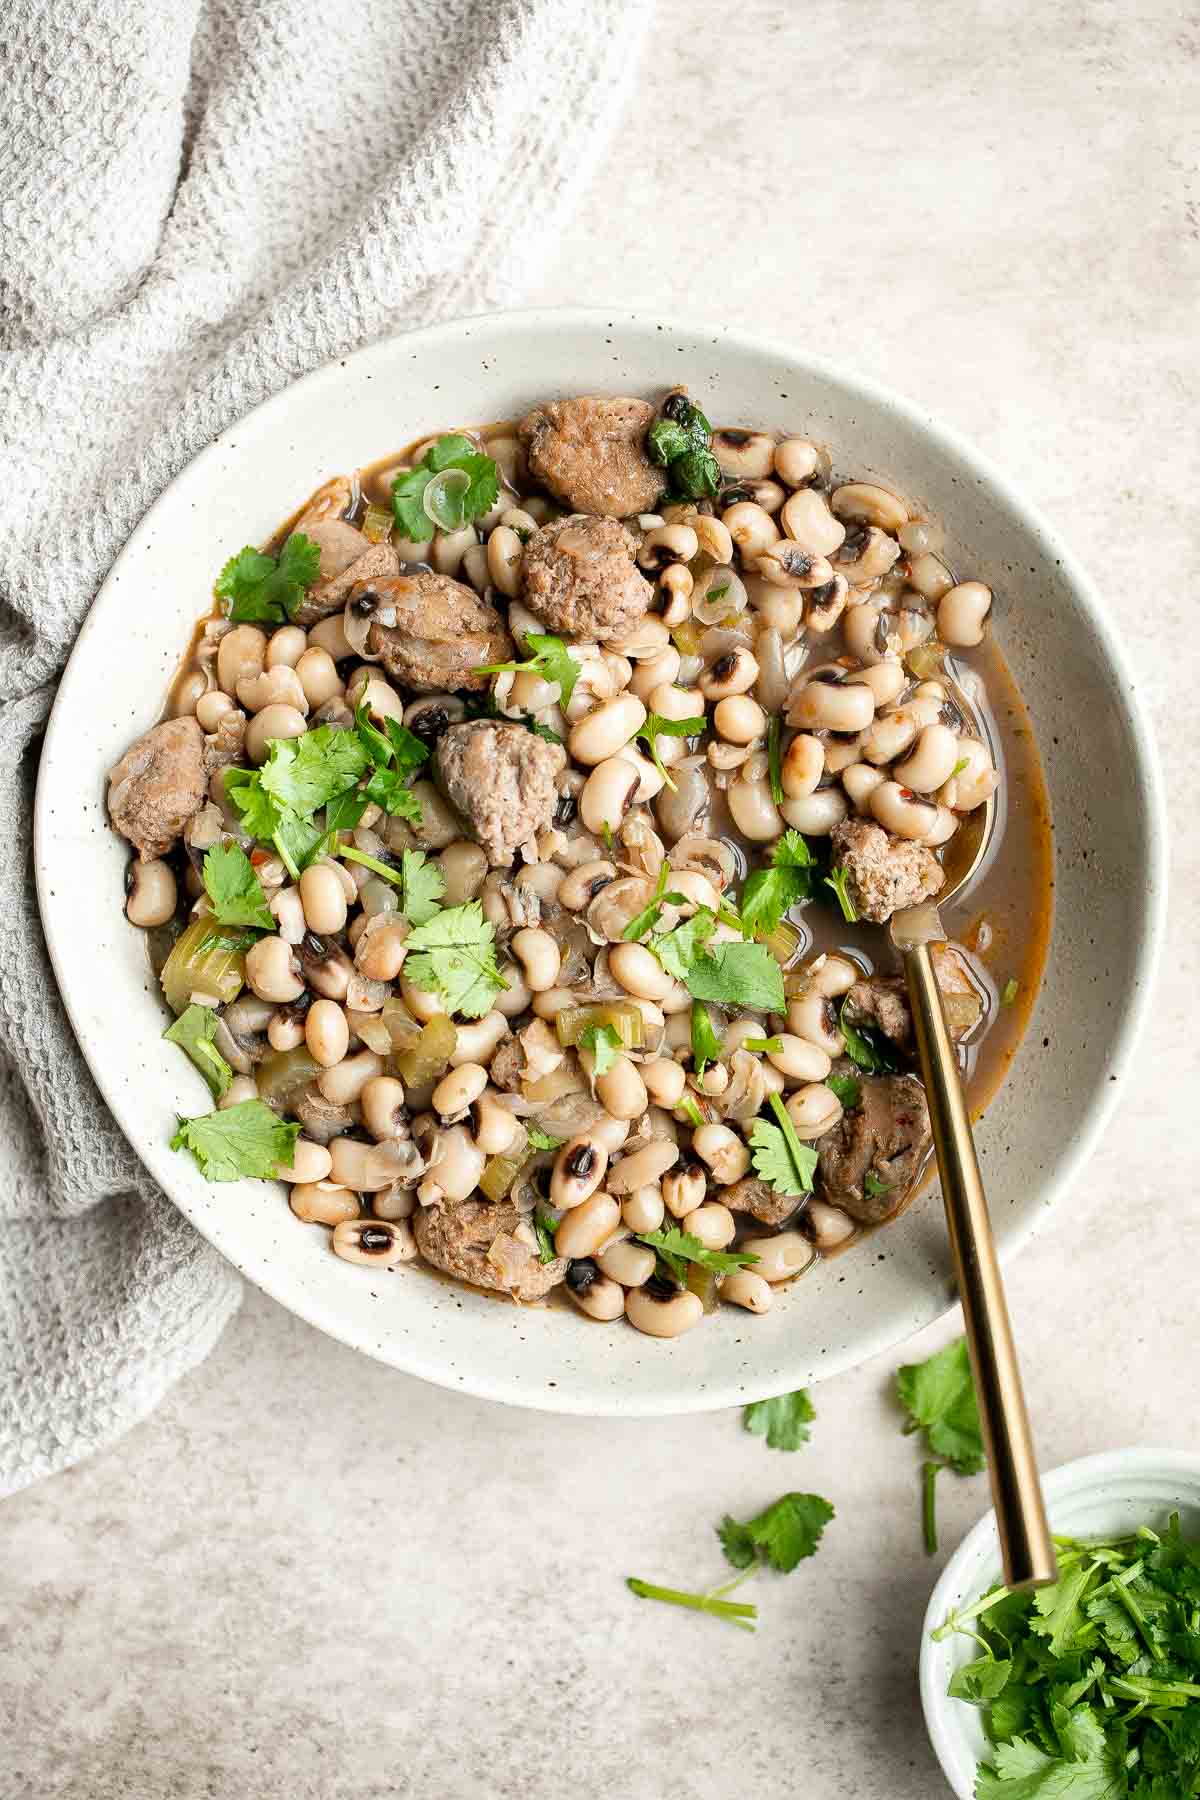
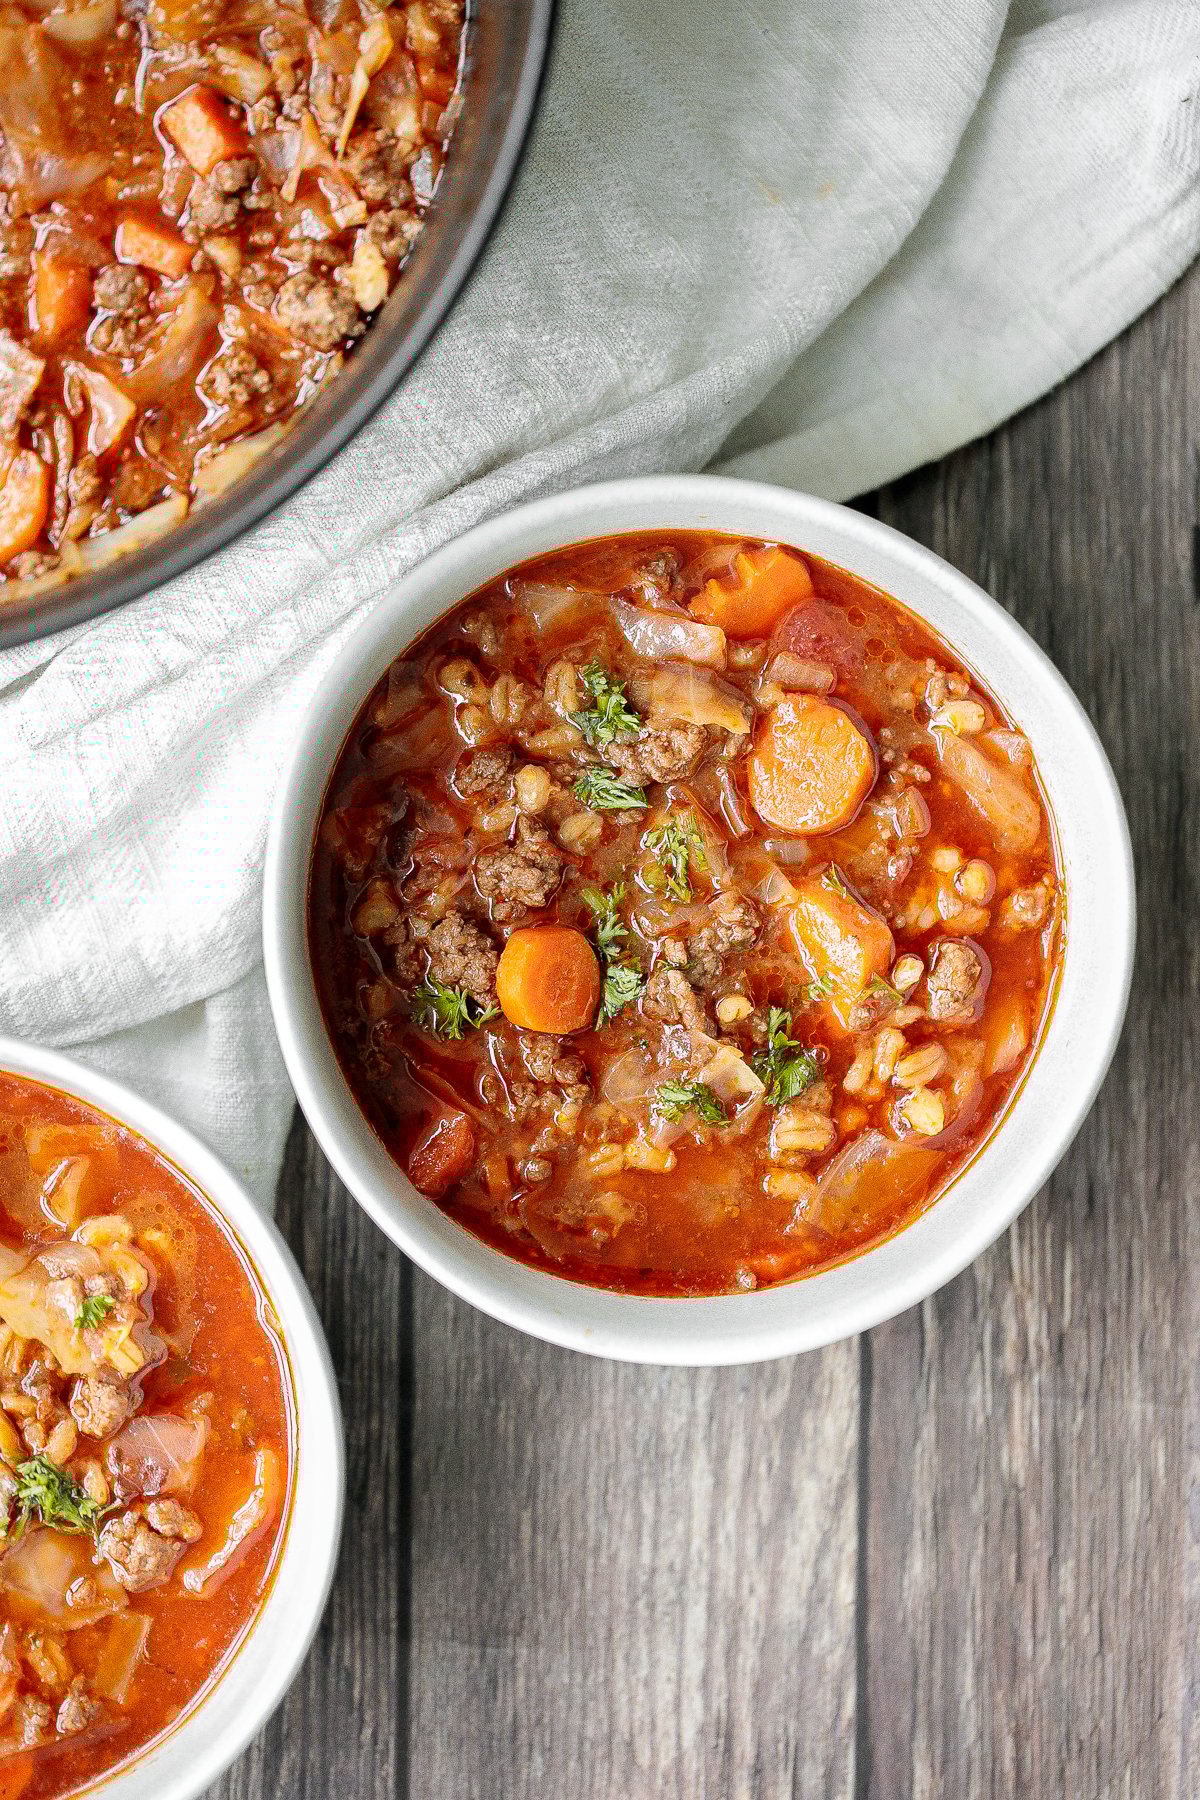
Turkey chili is hearty, filling, flavorful, and delicious. It's warm and cozy, quick and easy to make in one pot, and can be made faster in the instant pot.

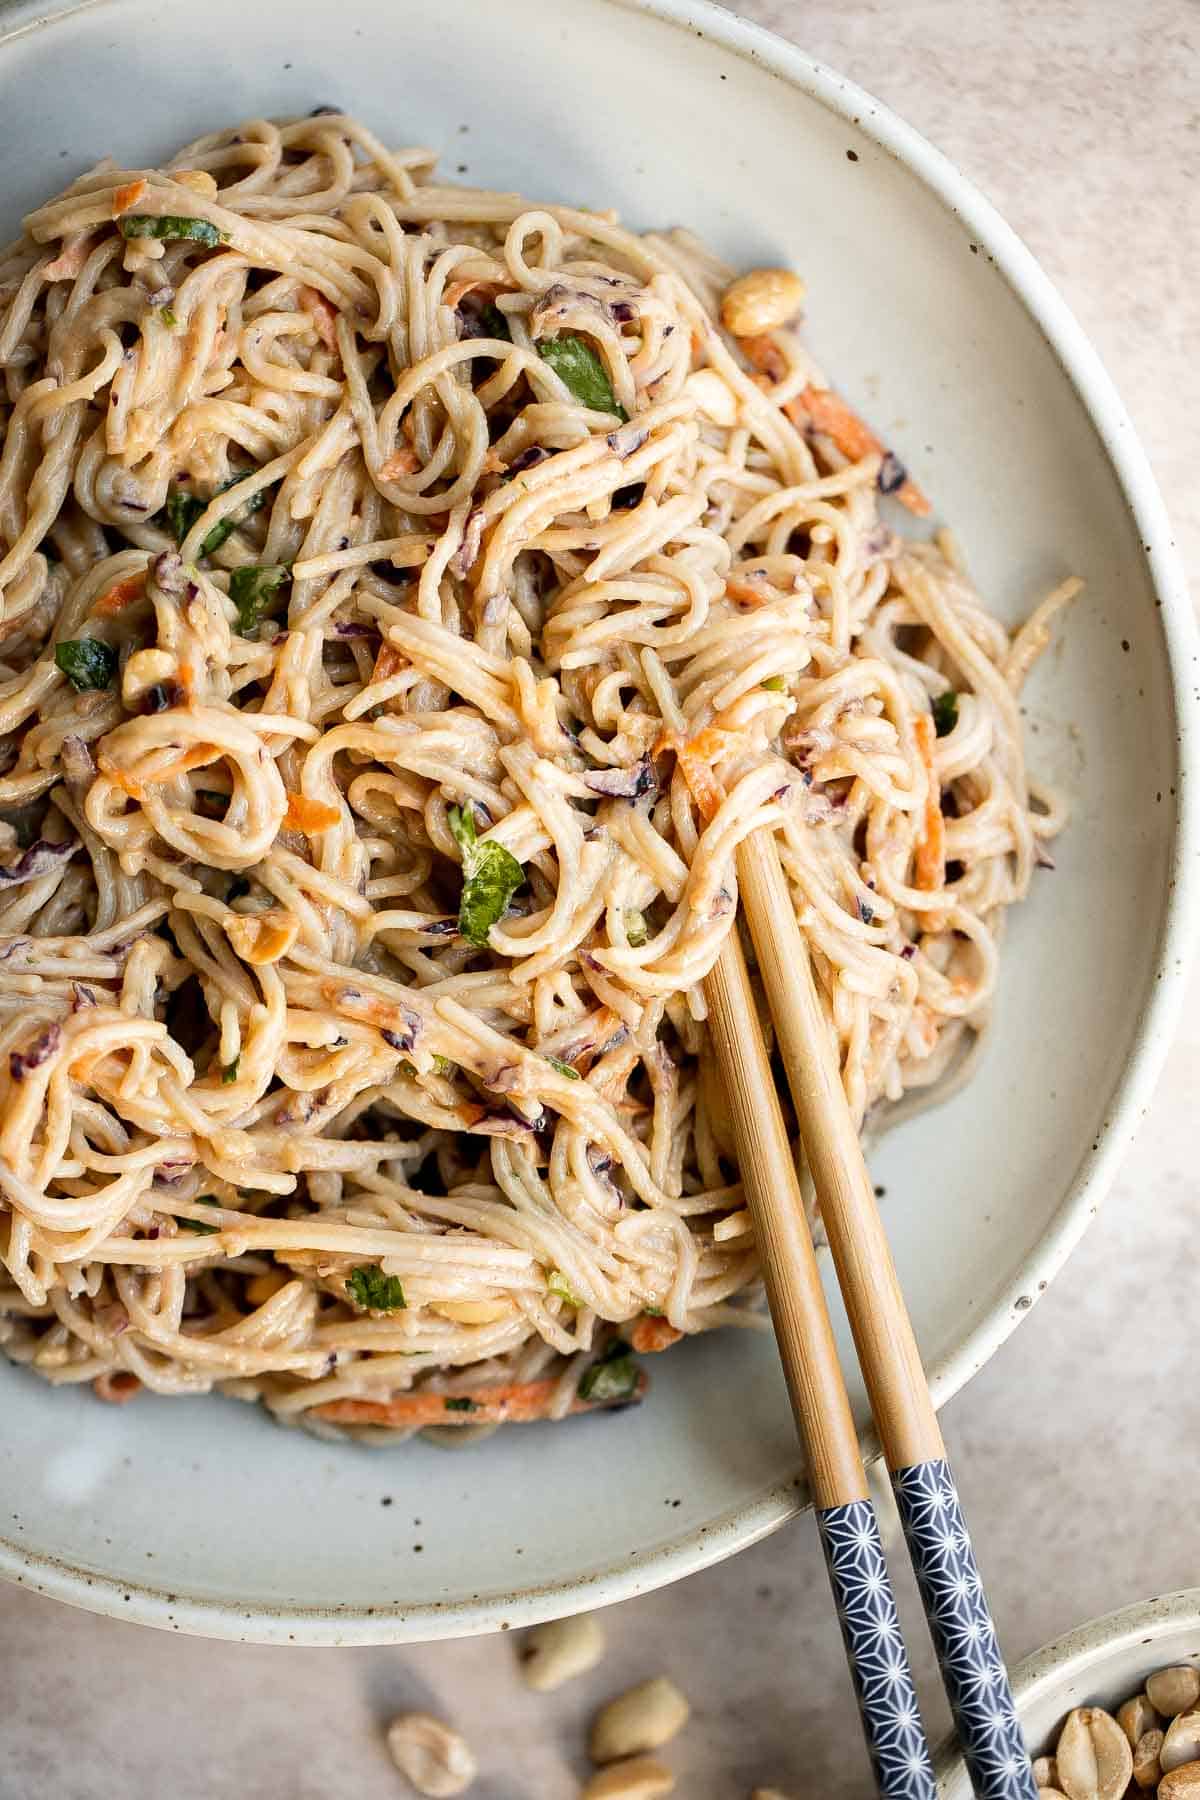
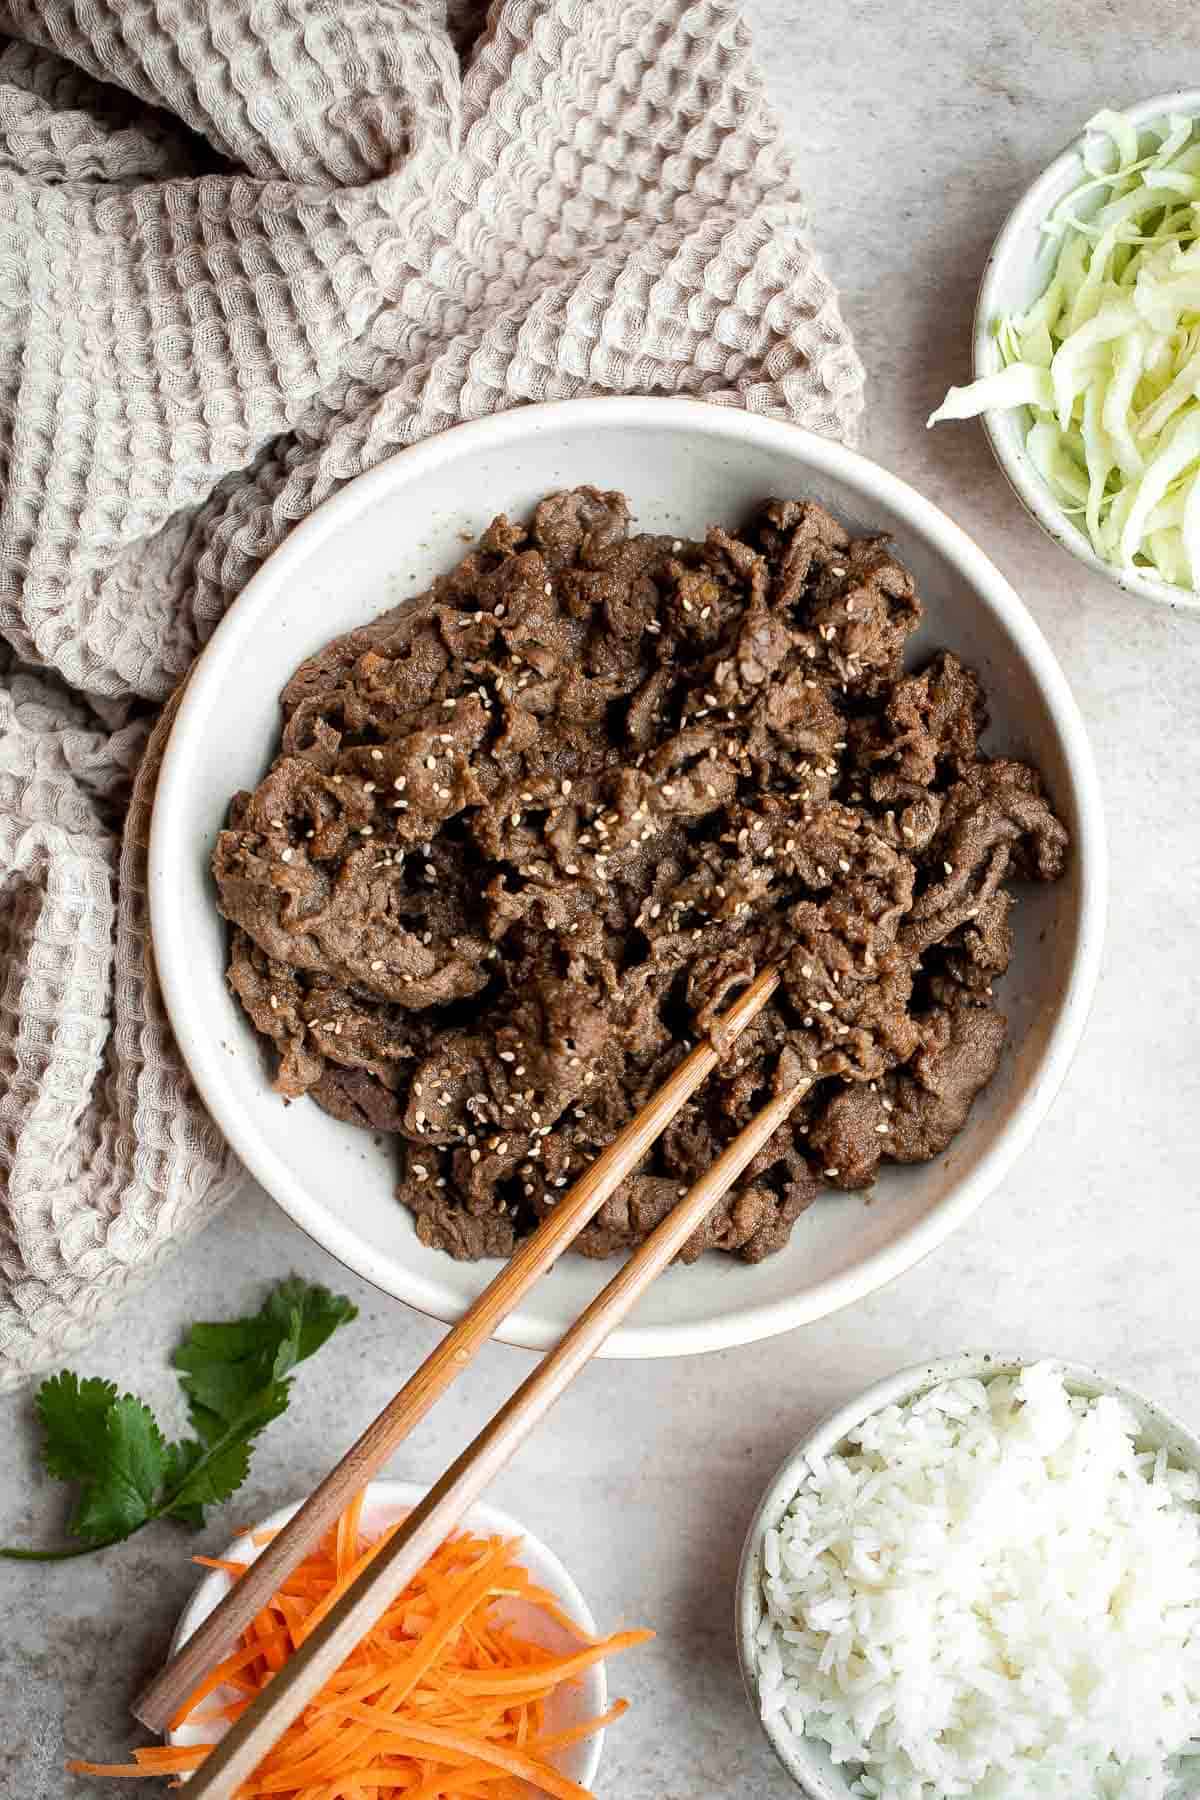
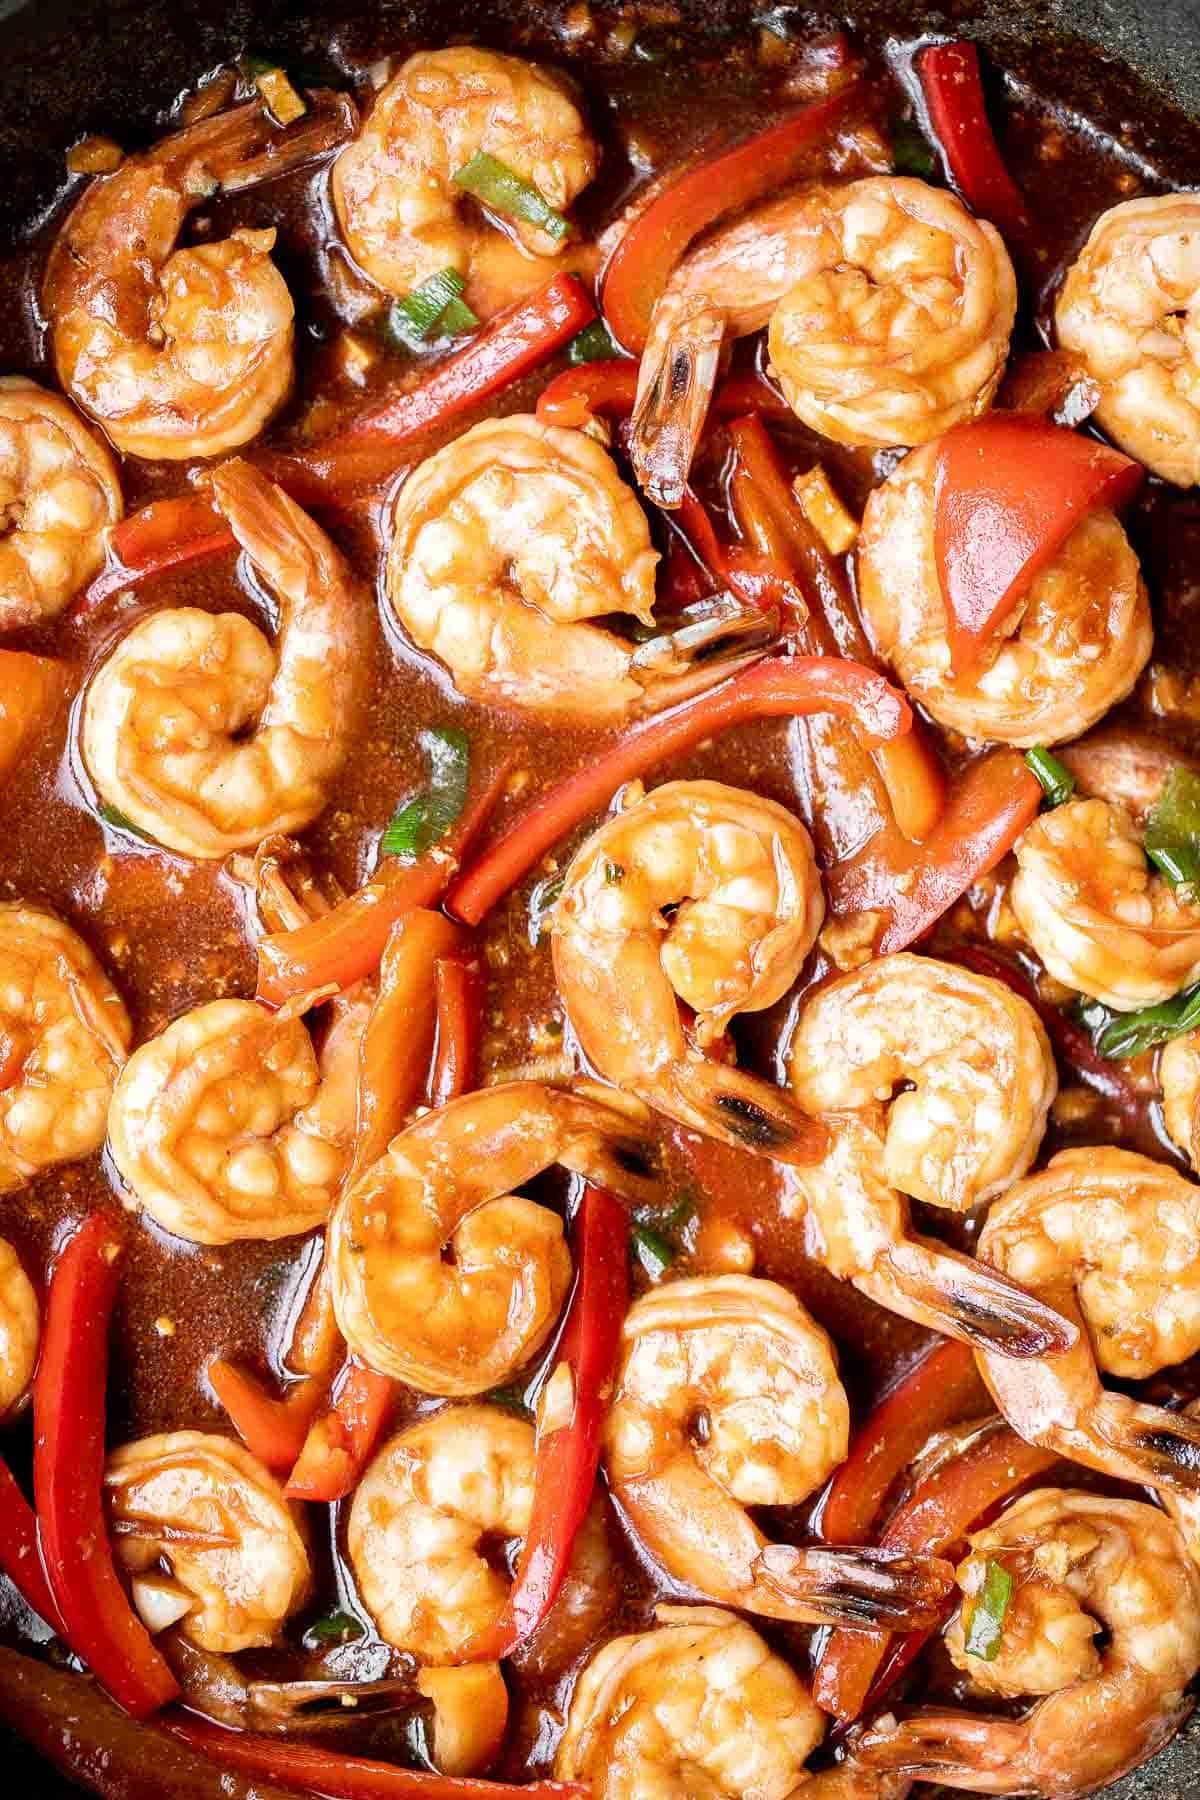
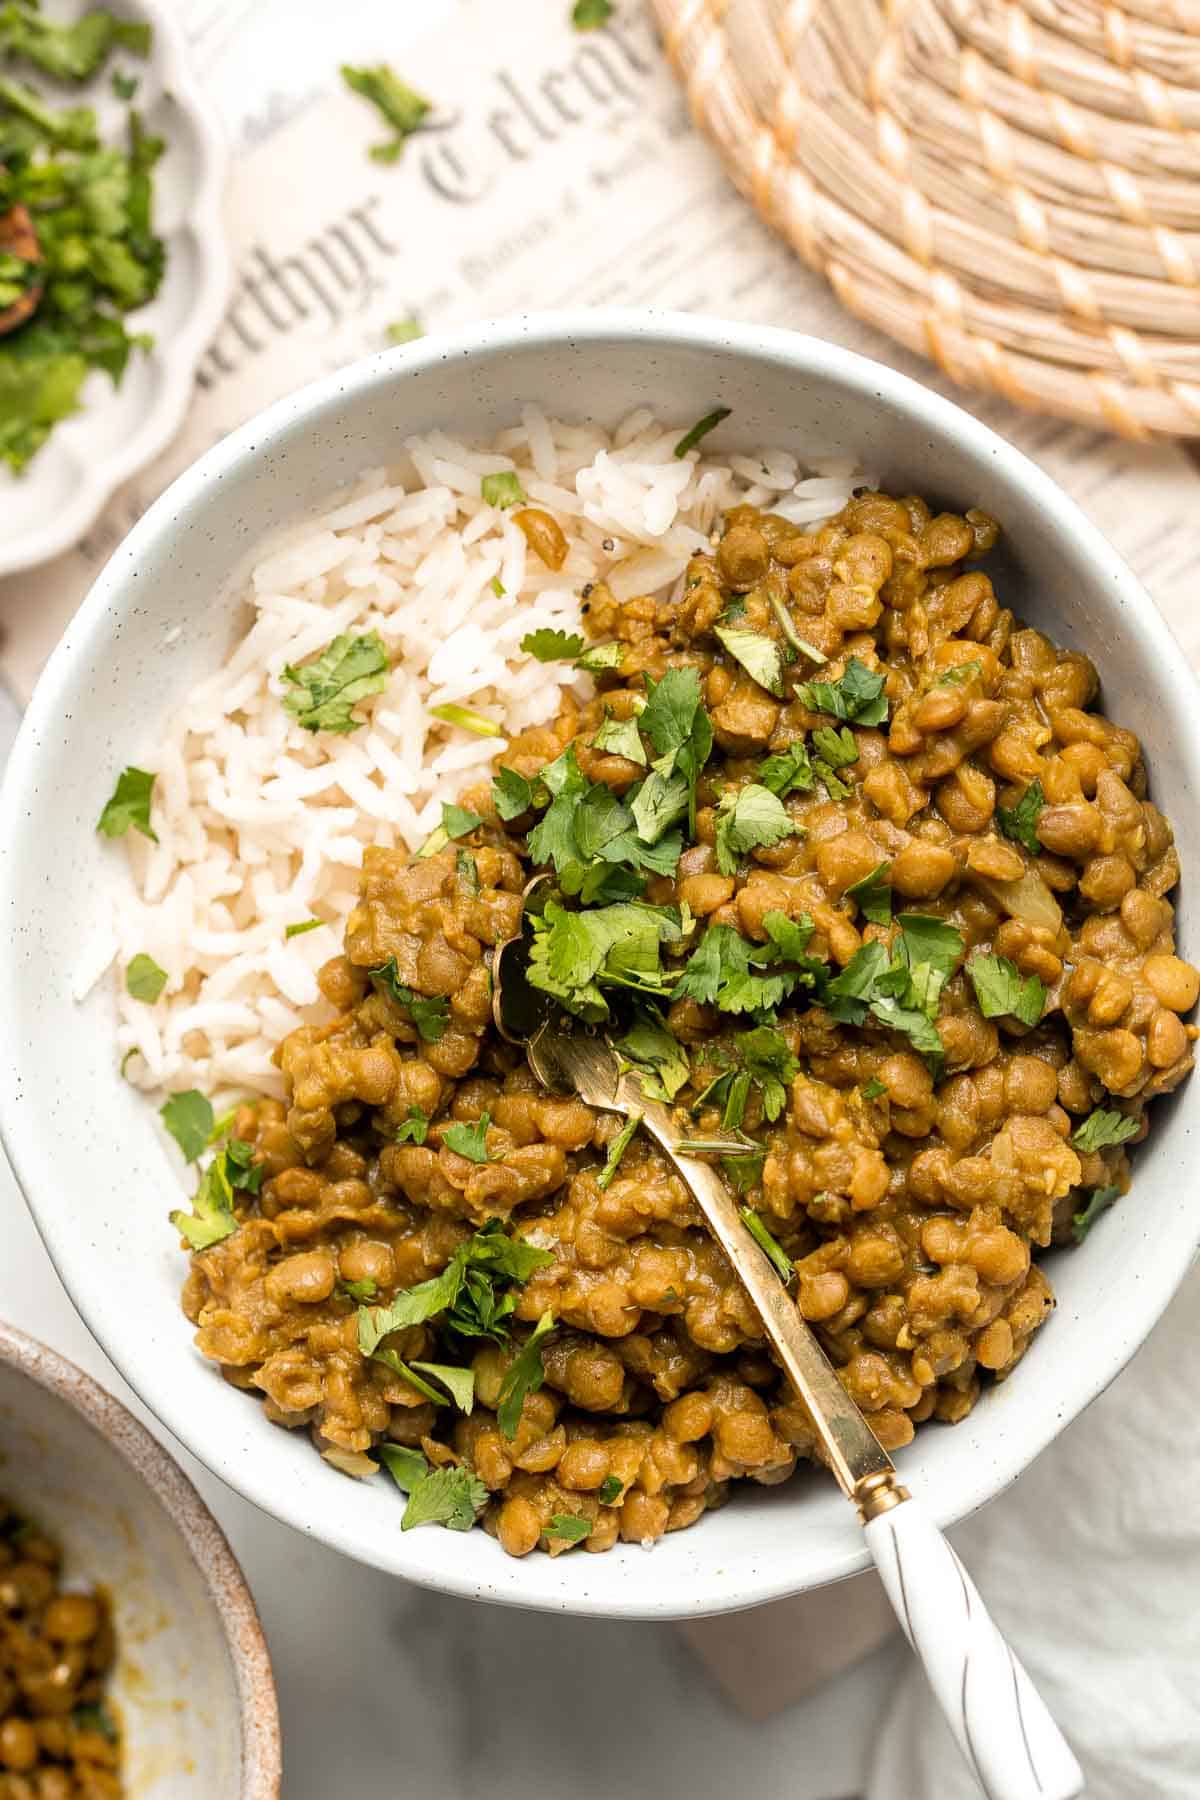
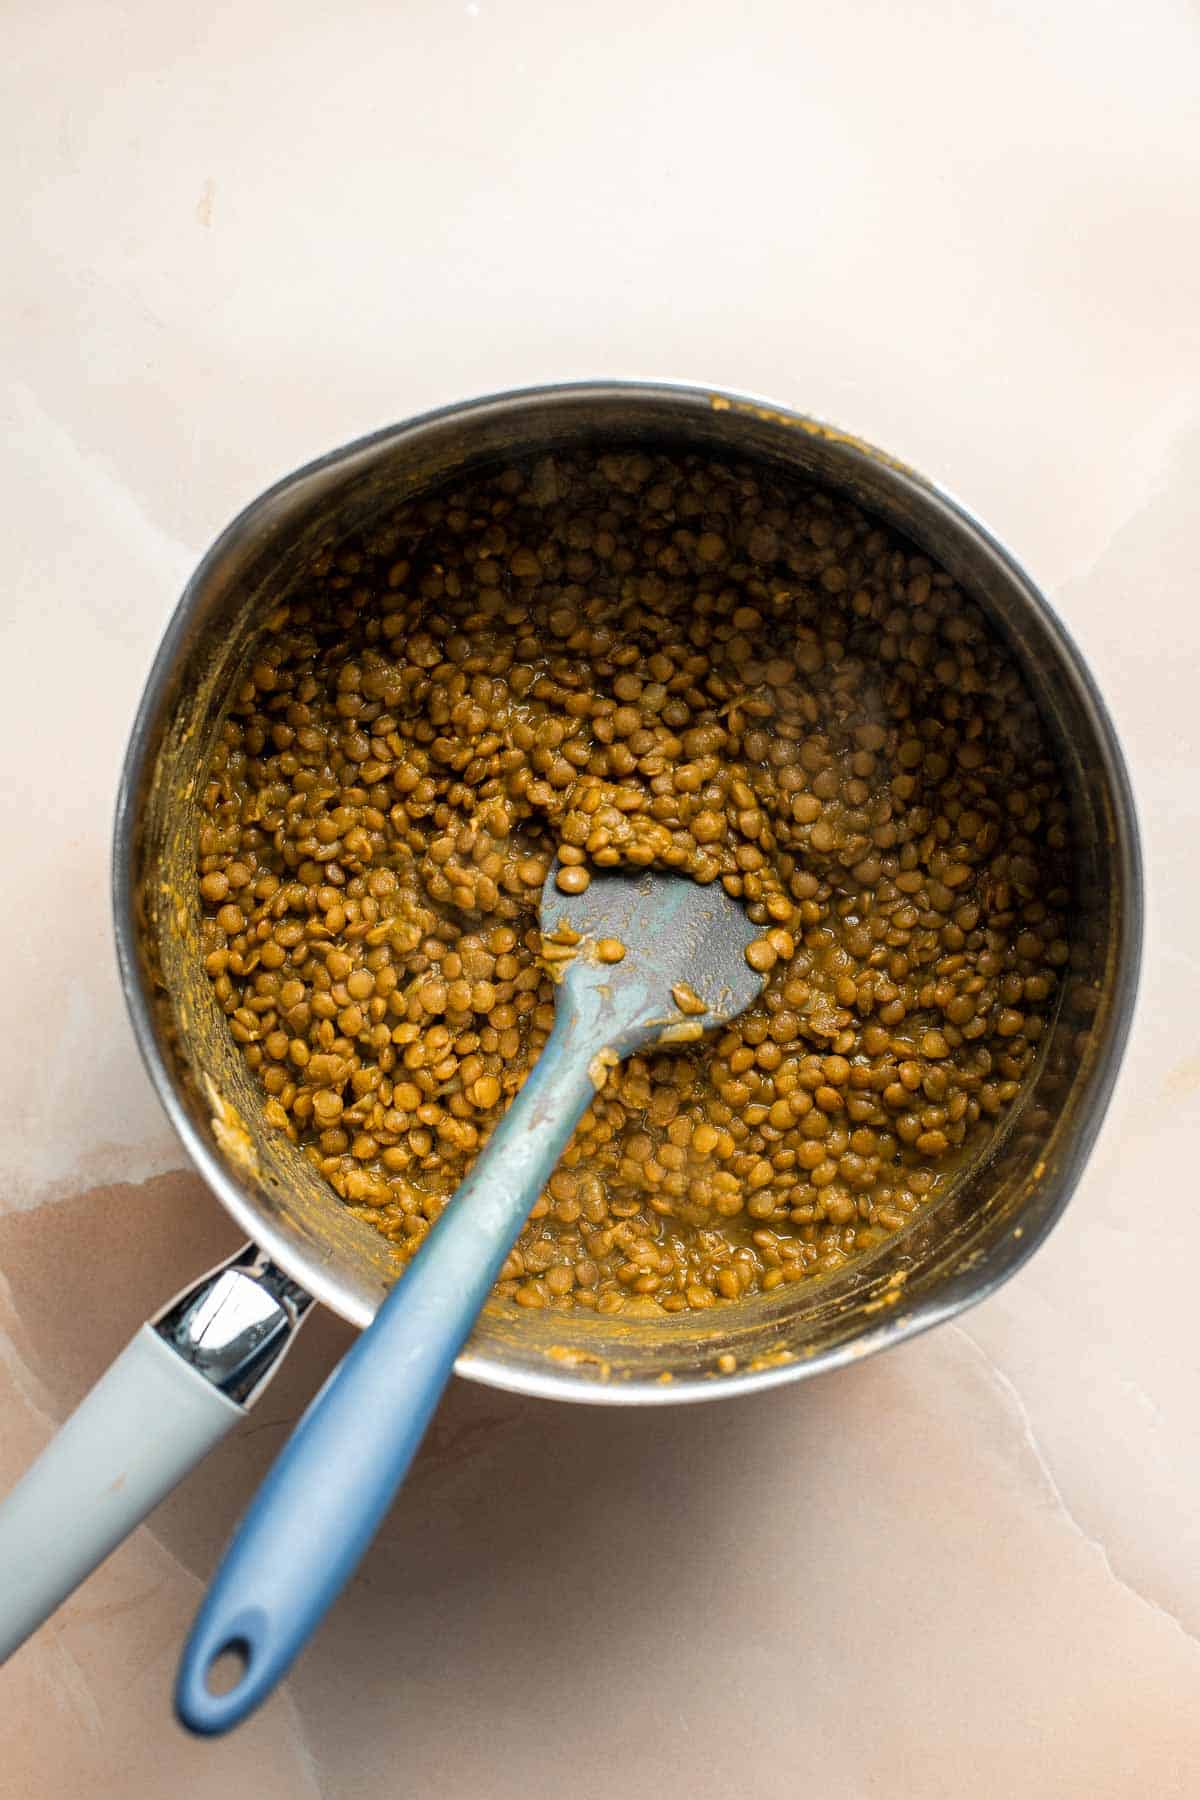
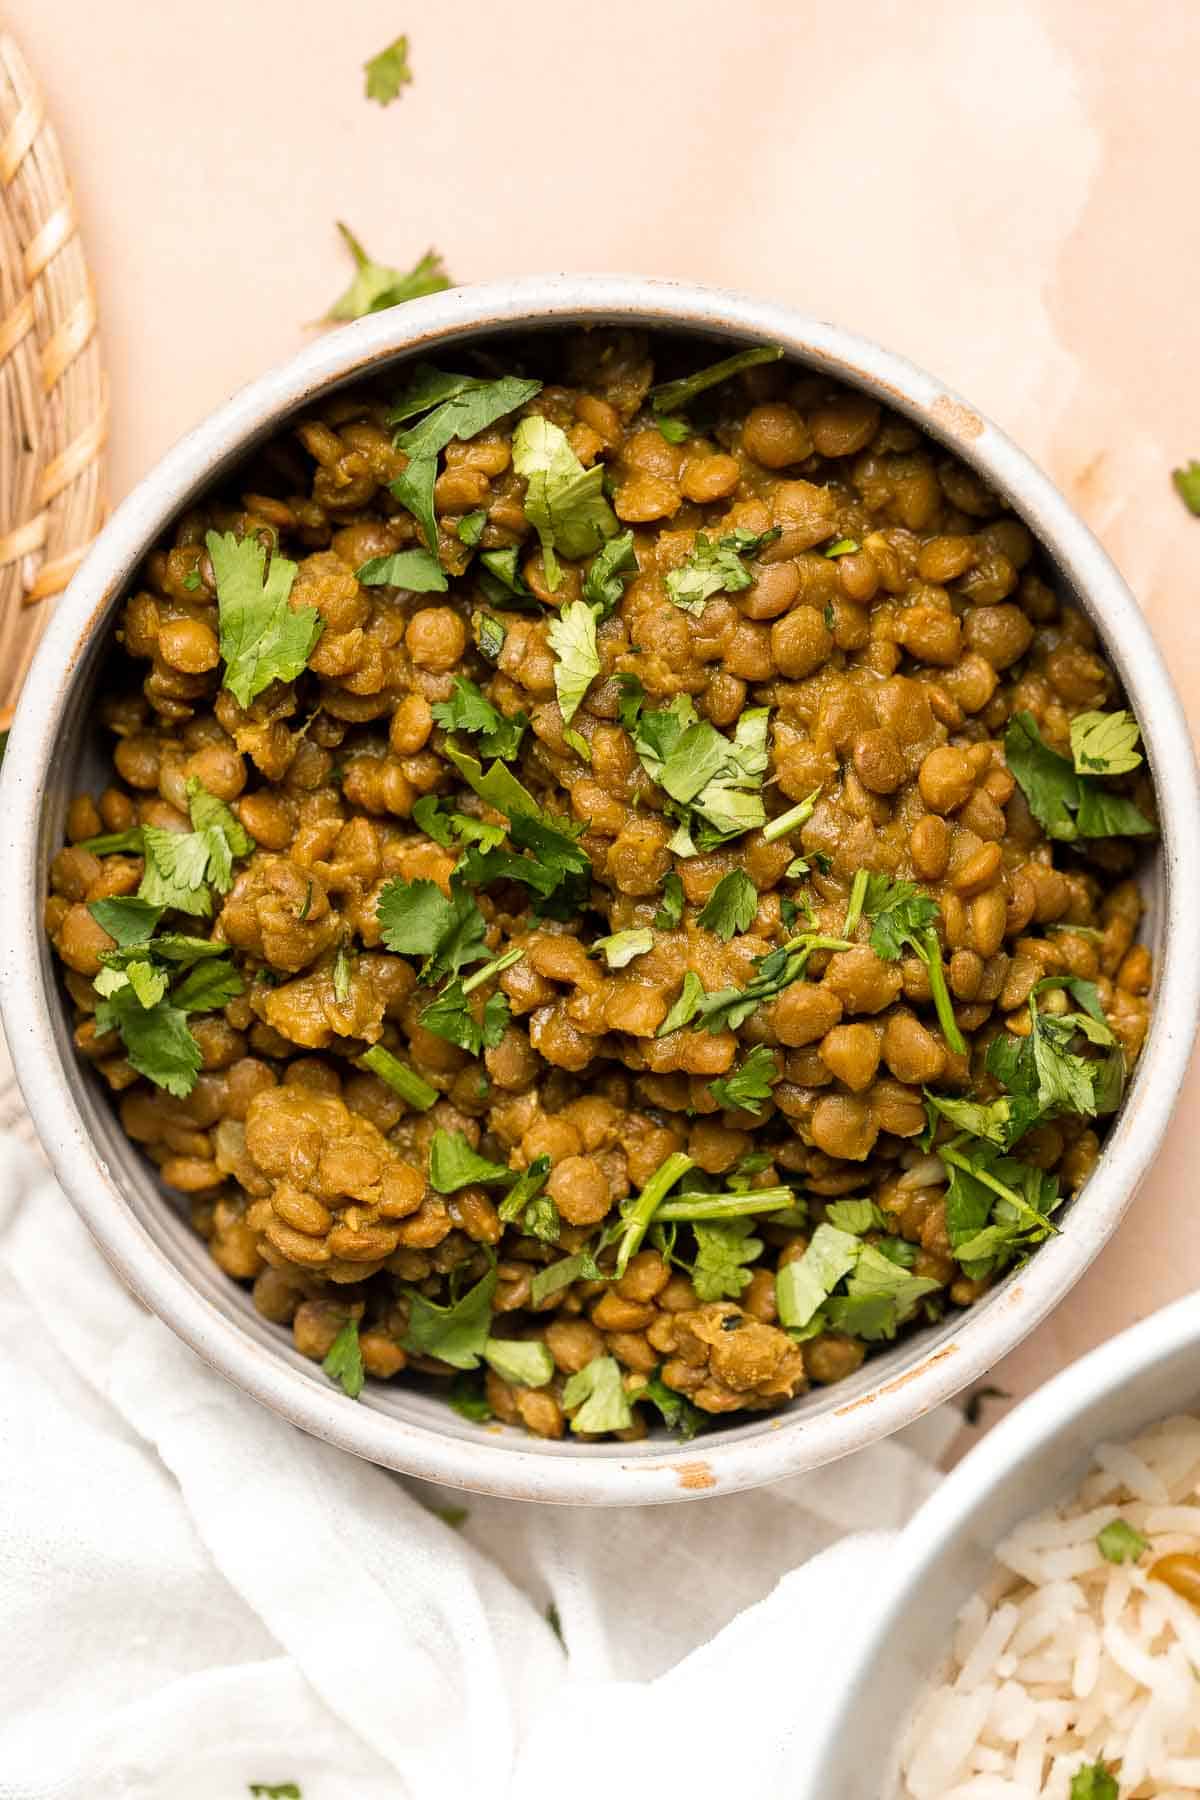
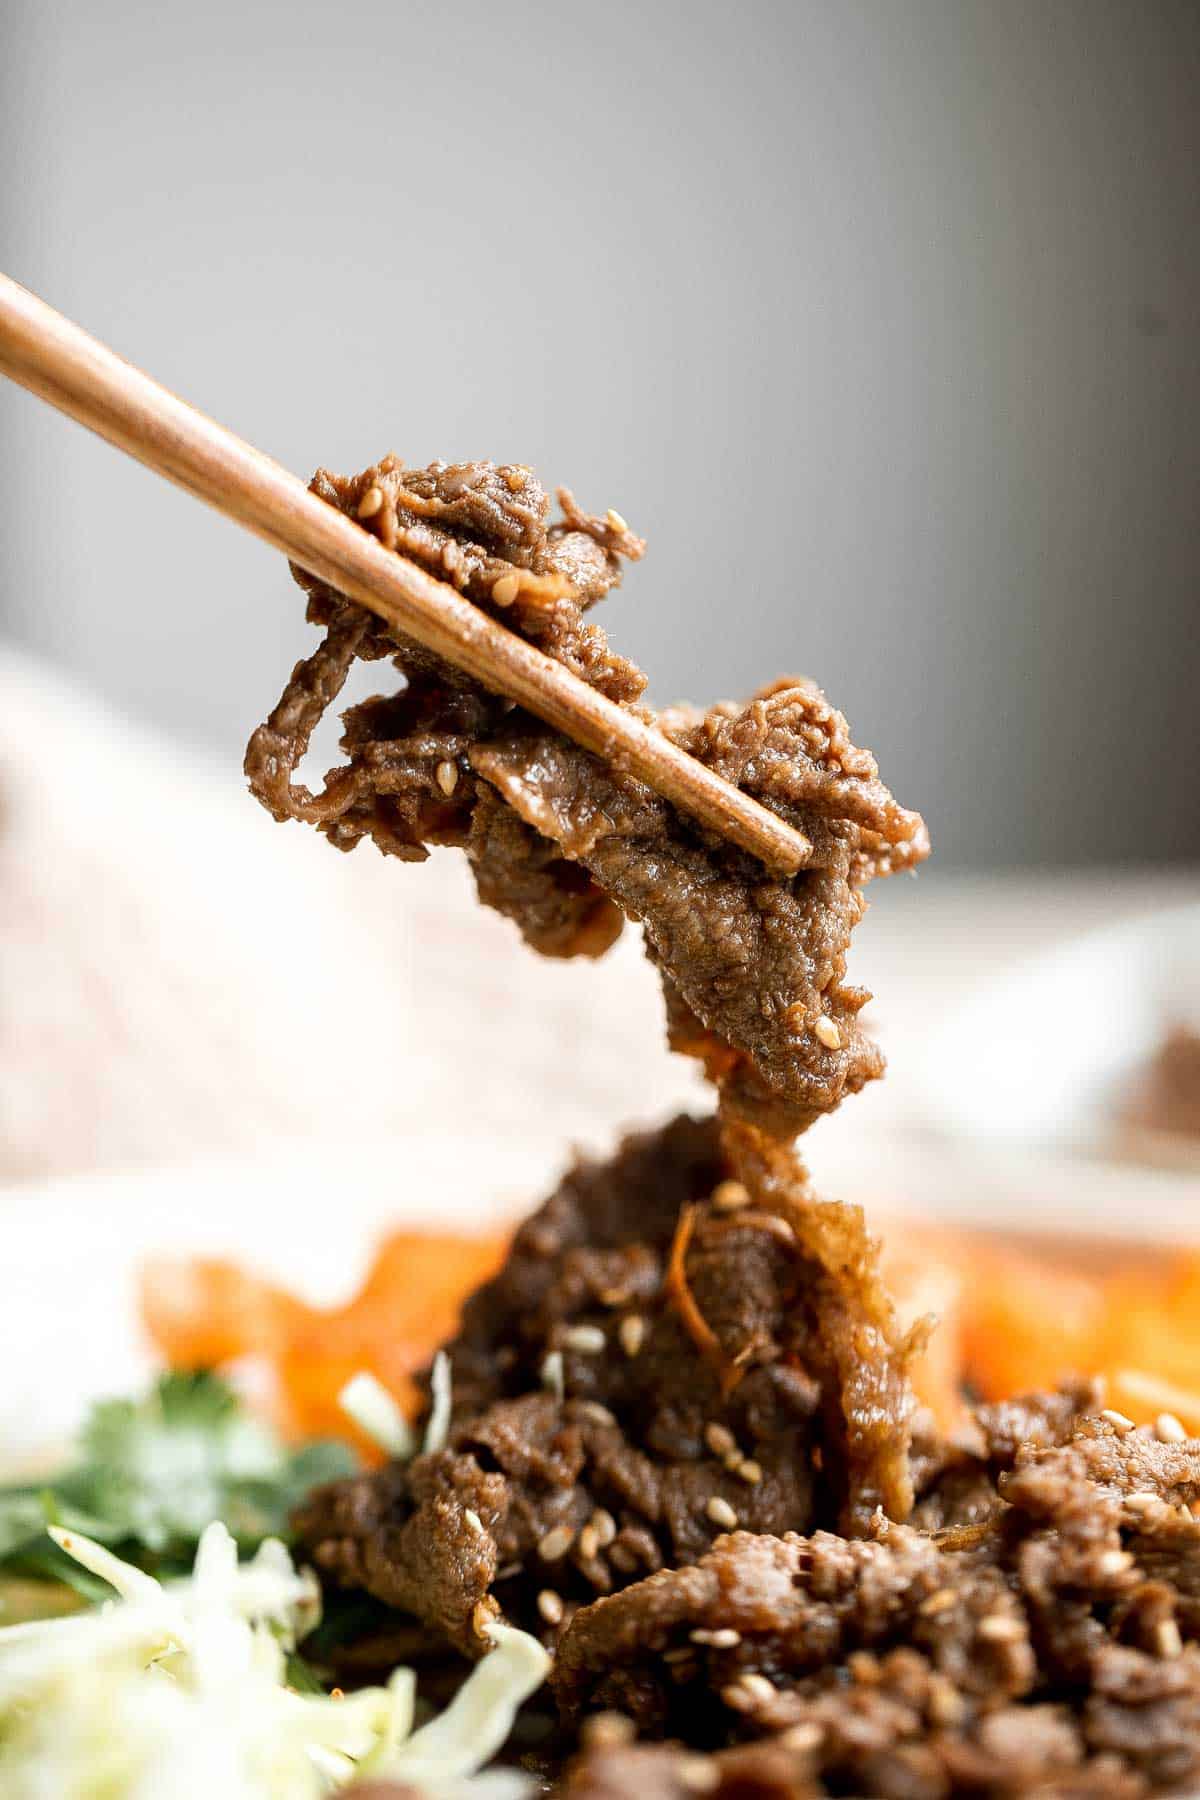
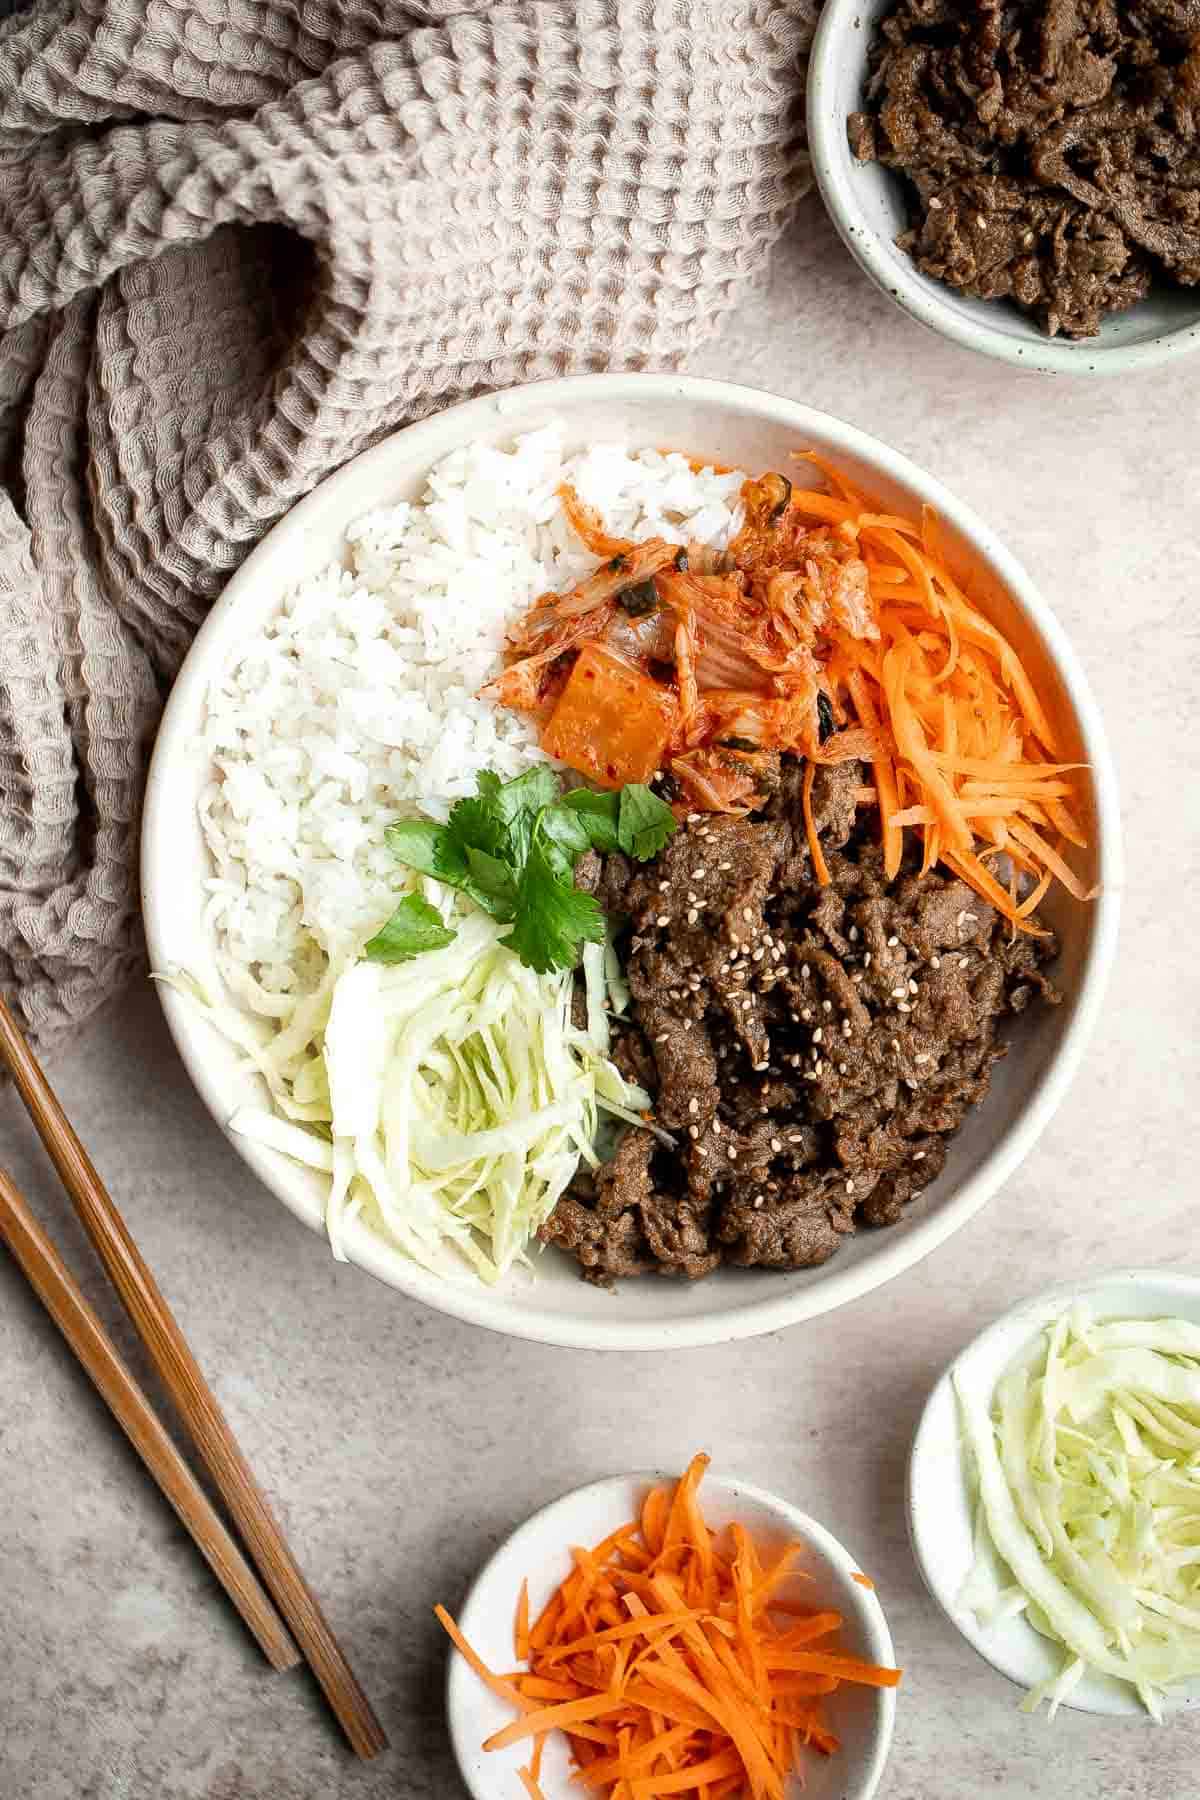
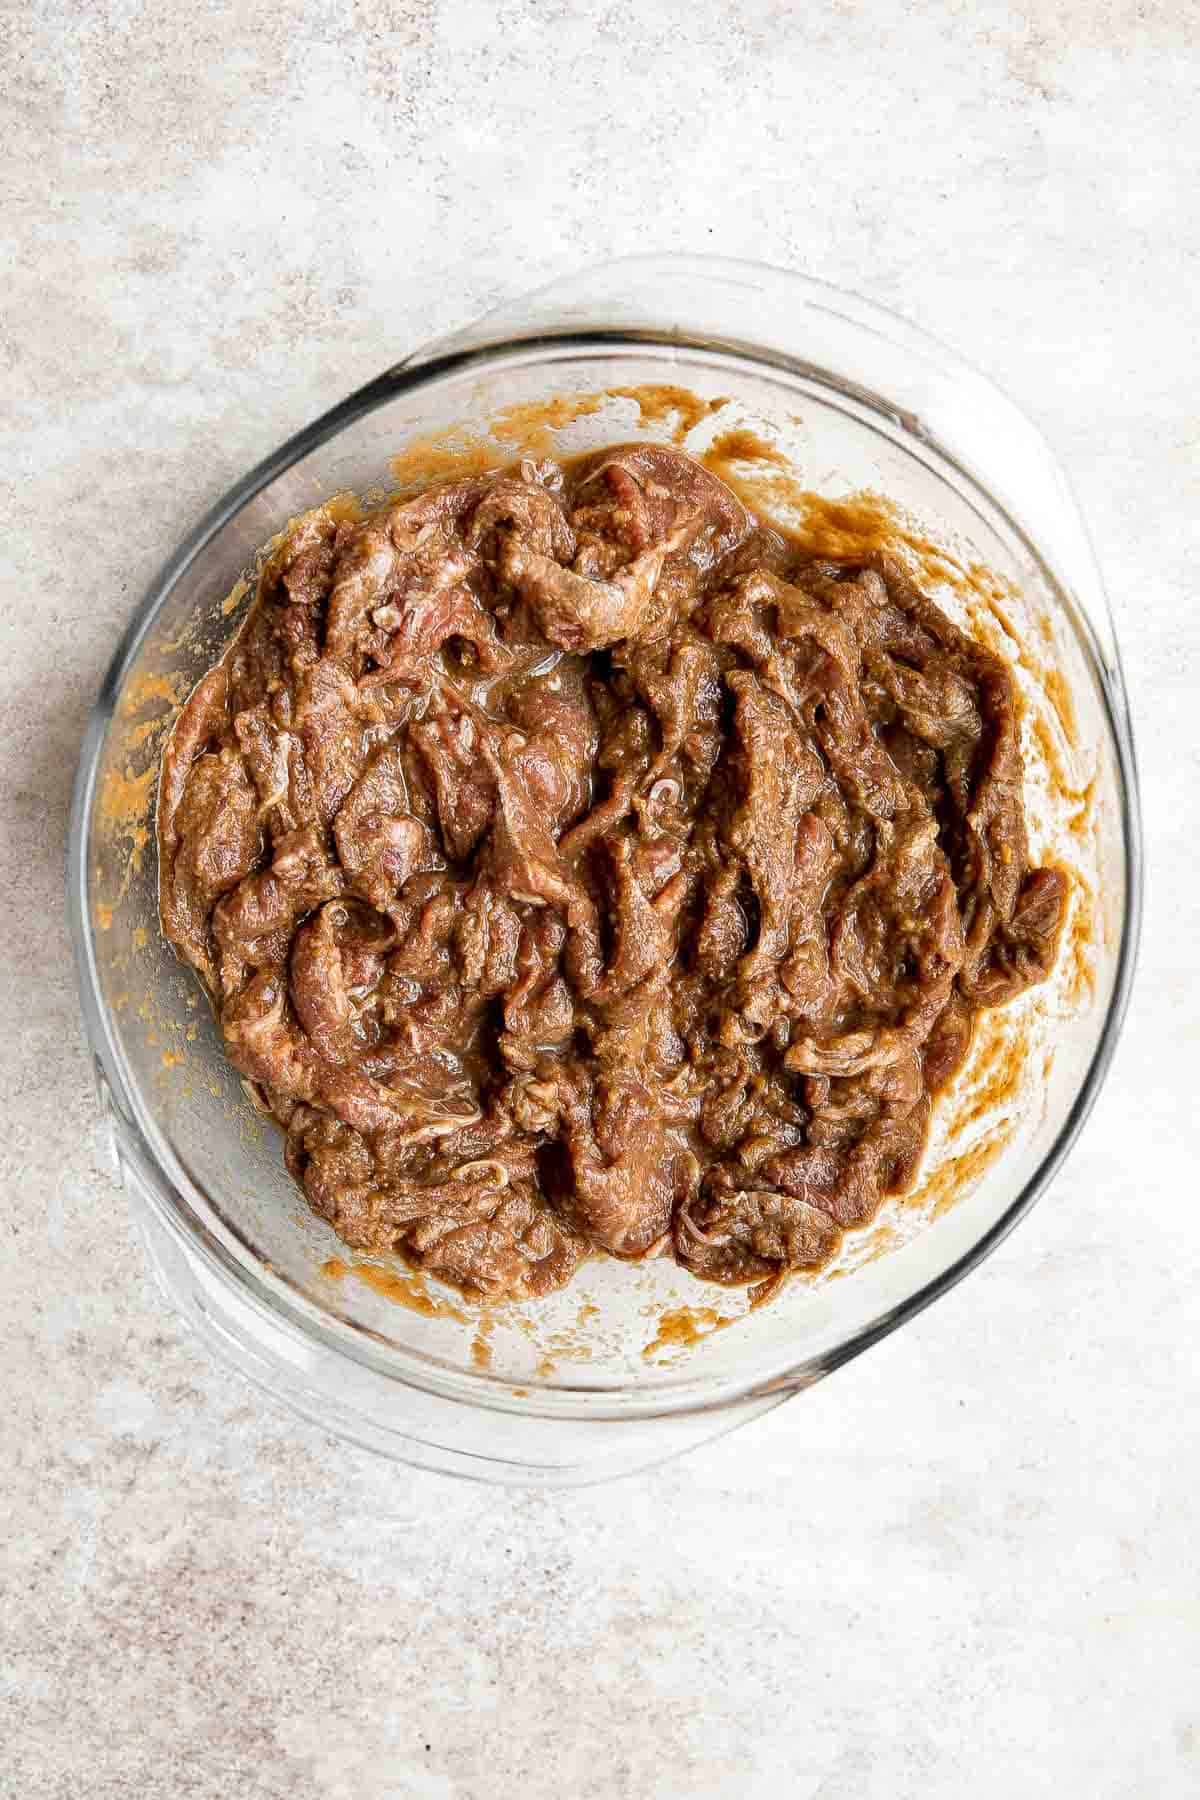
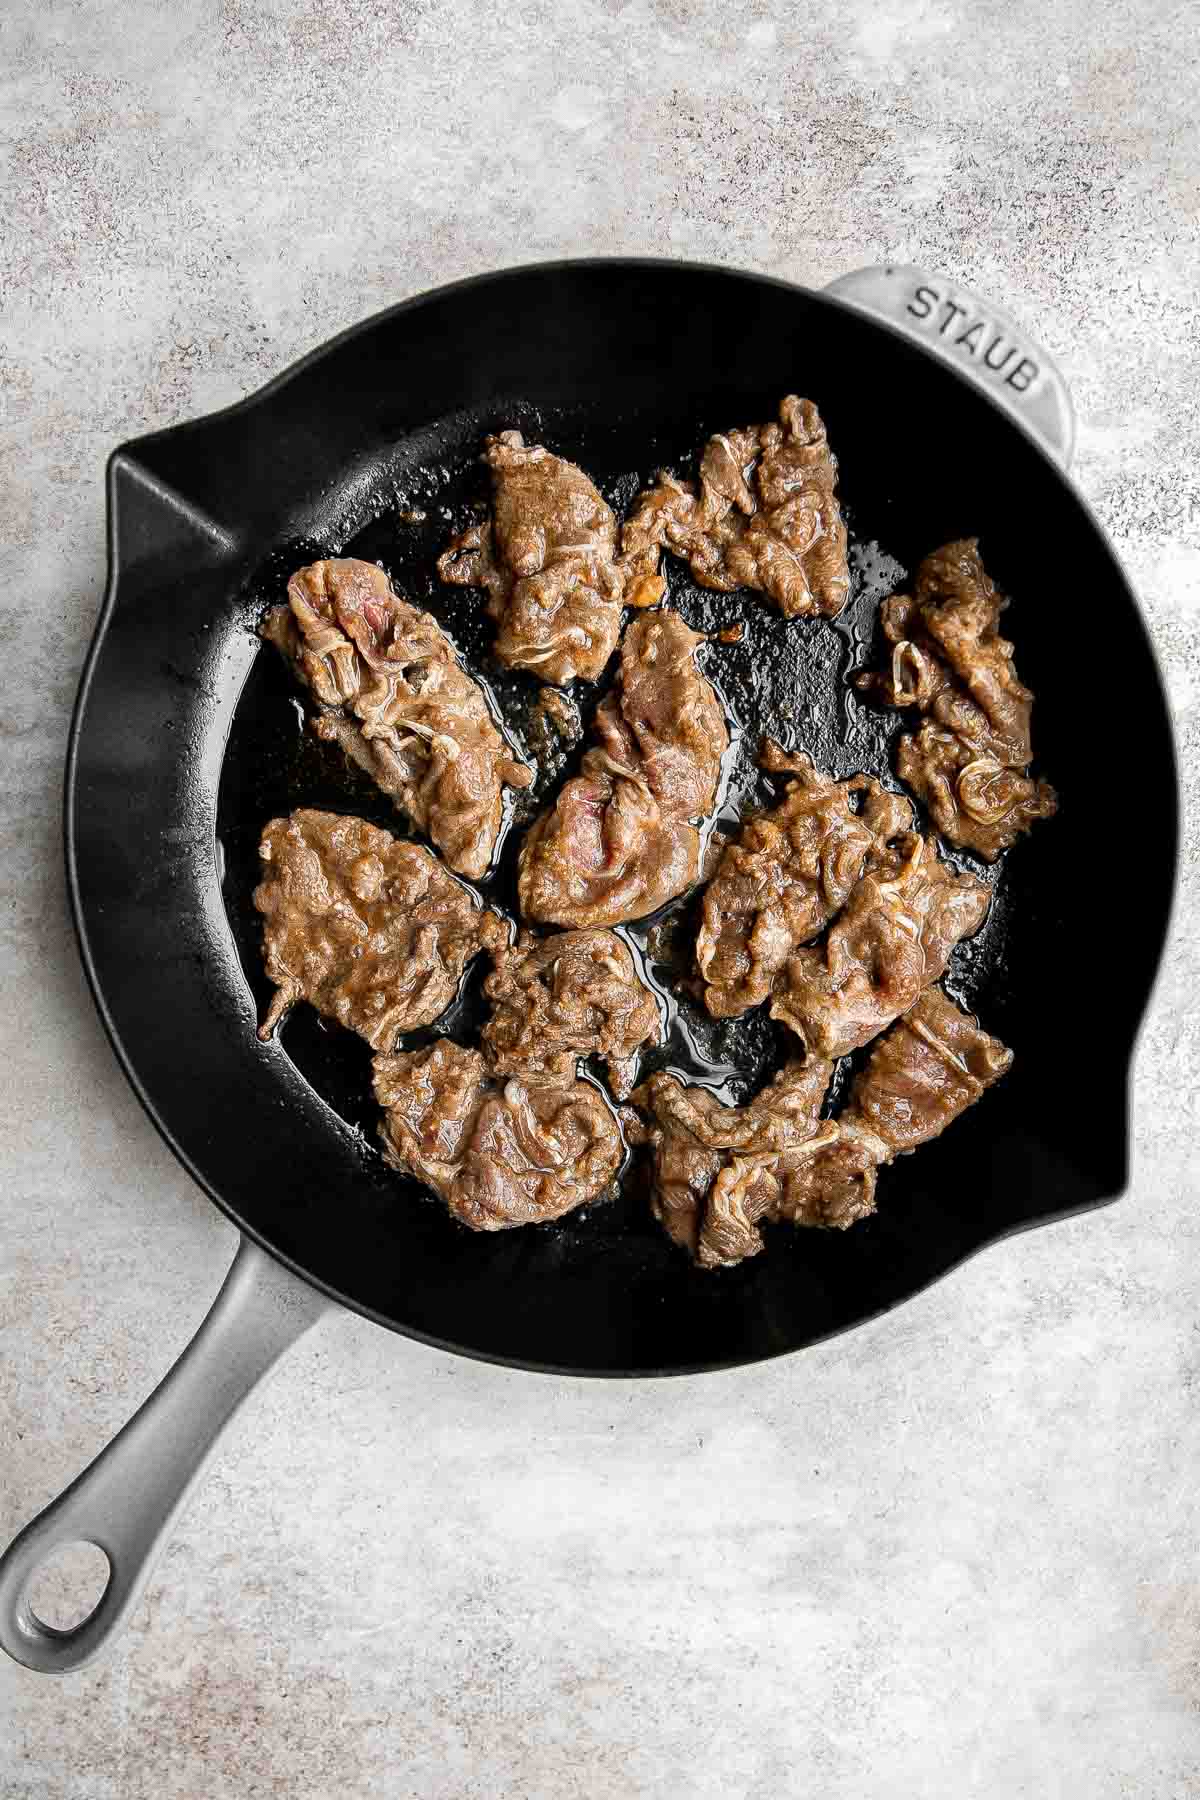
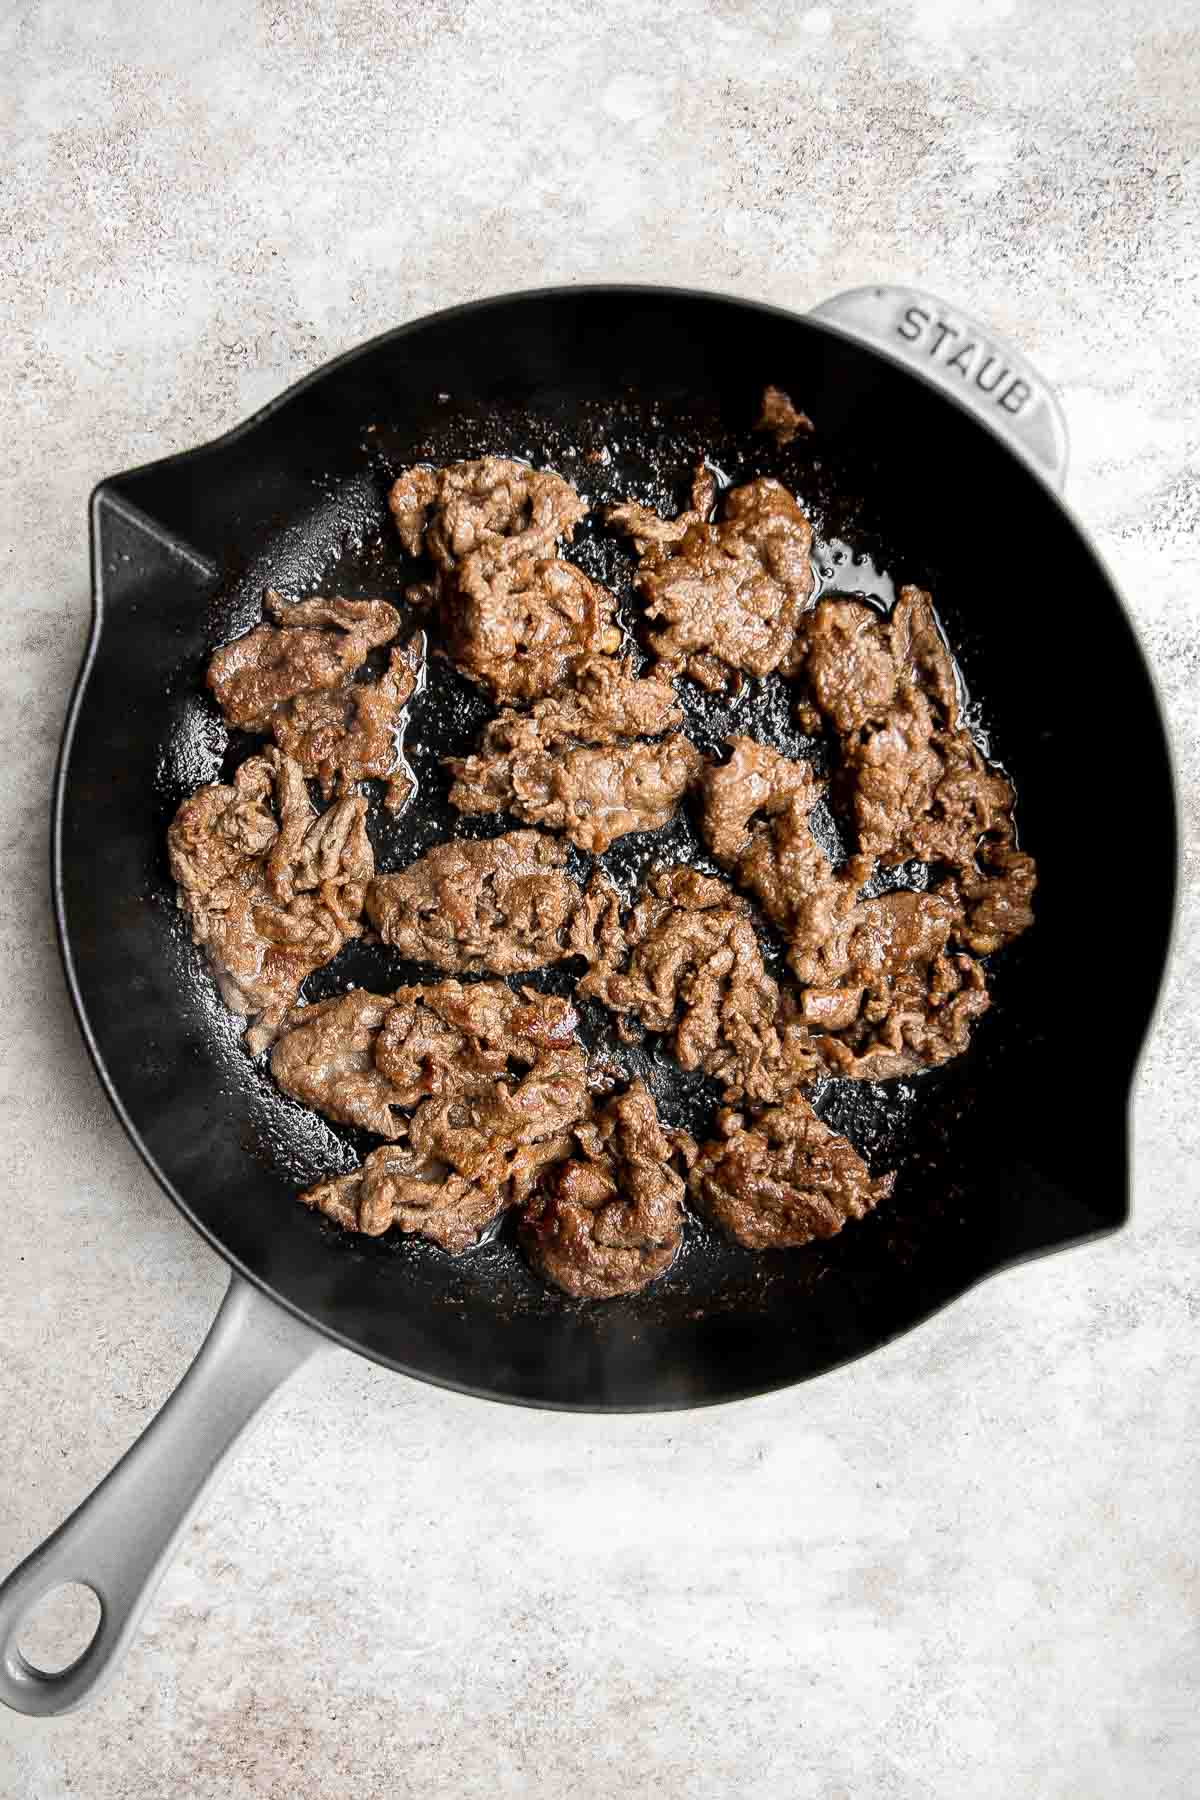
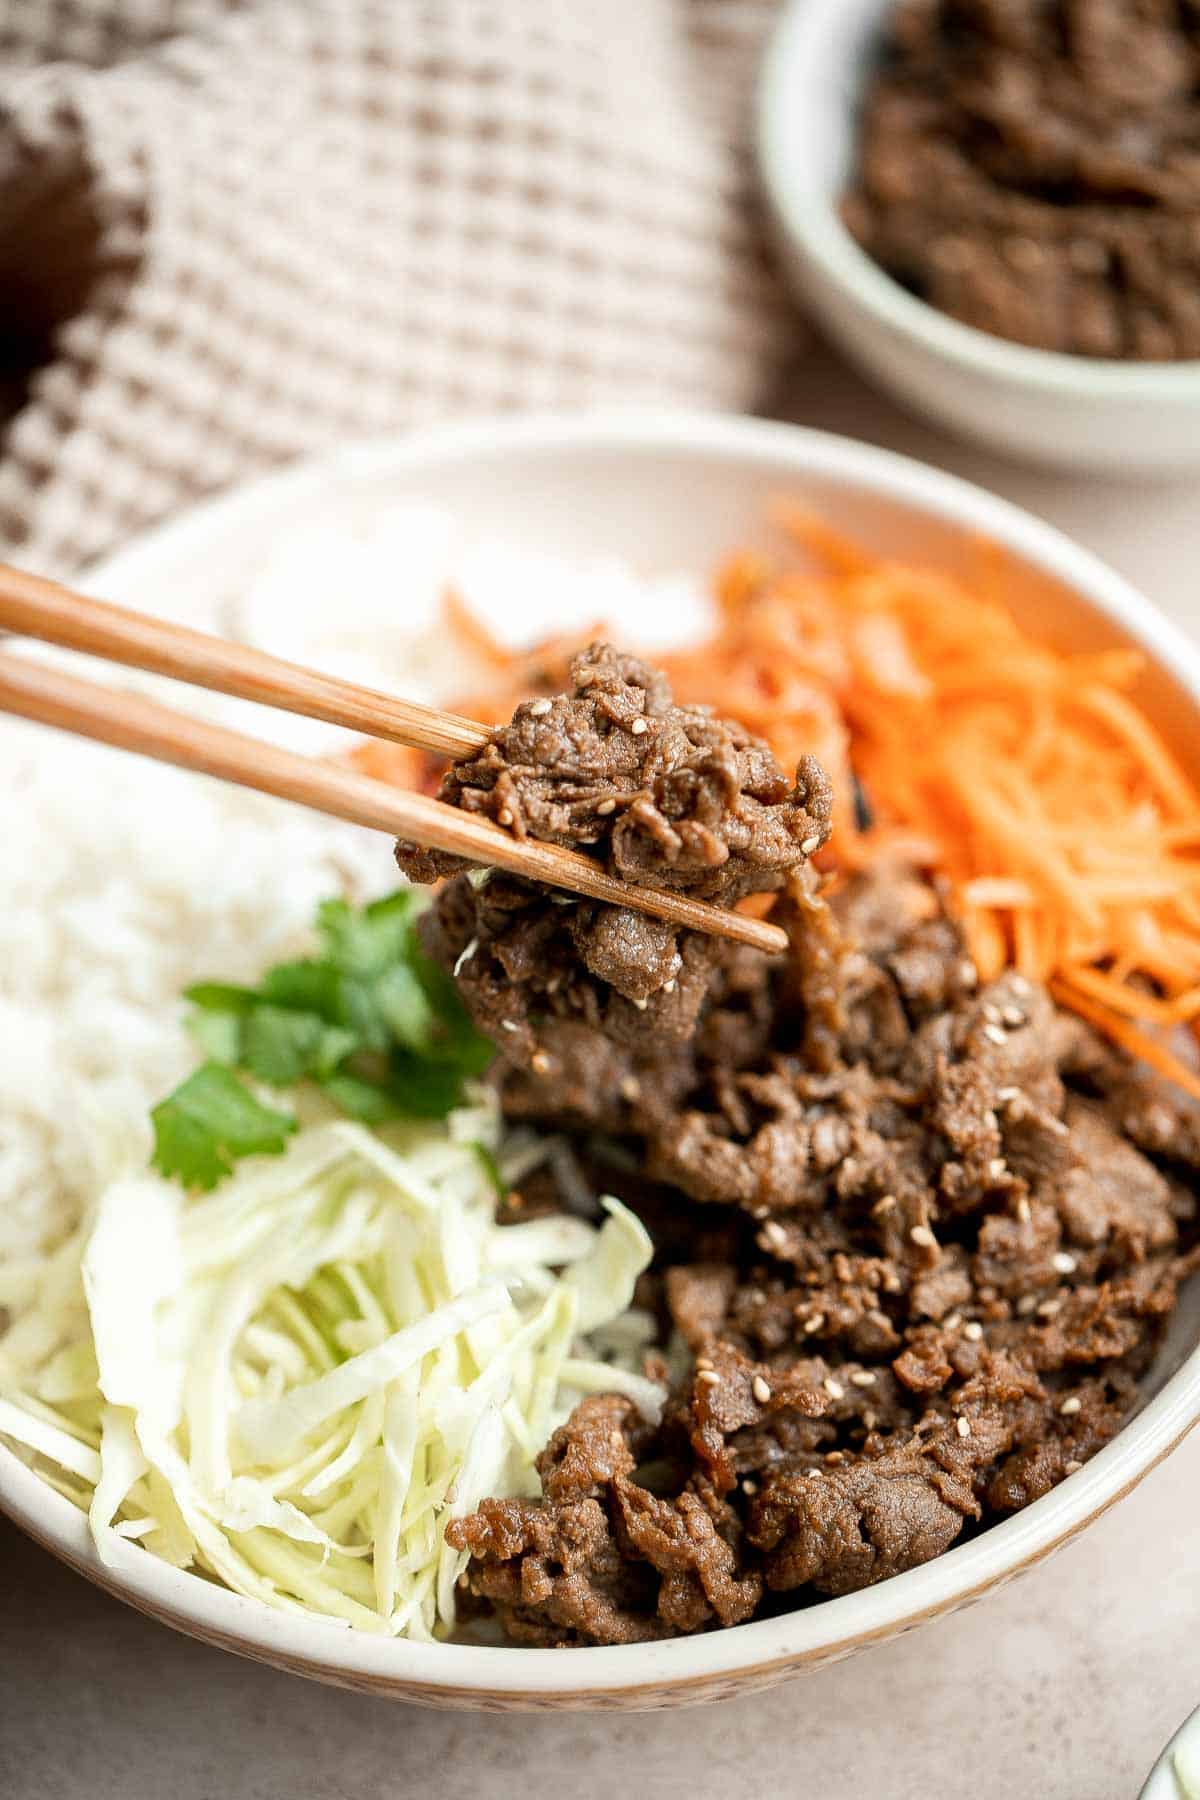
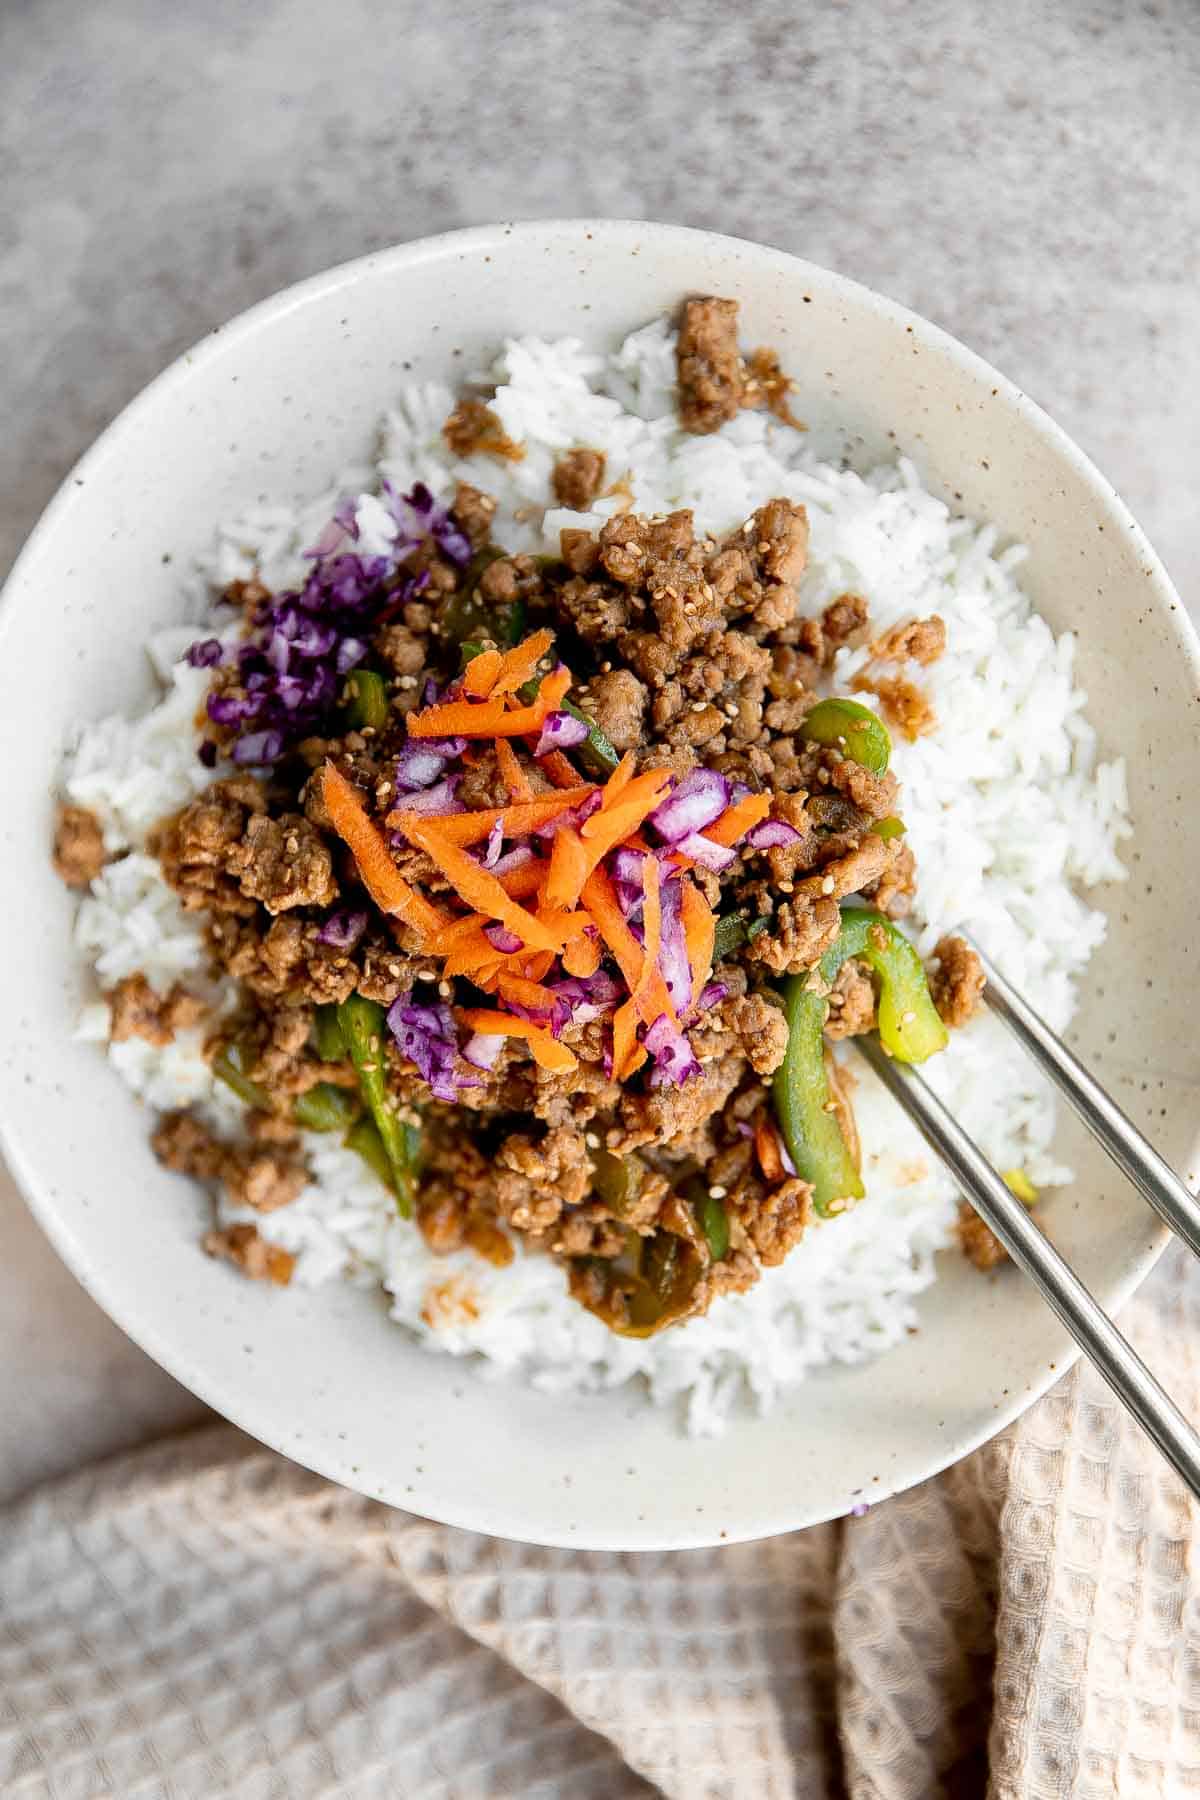
Korean ground turkey is flavorful, saucy, and delicious. It's quick and easy to make in just 20 minutes, great for meal prep and freezes well.
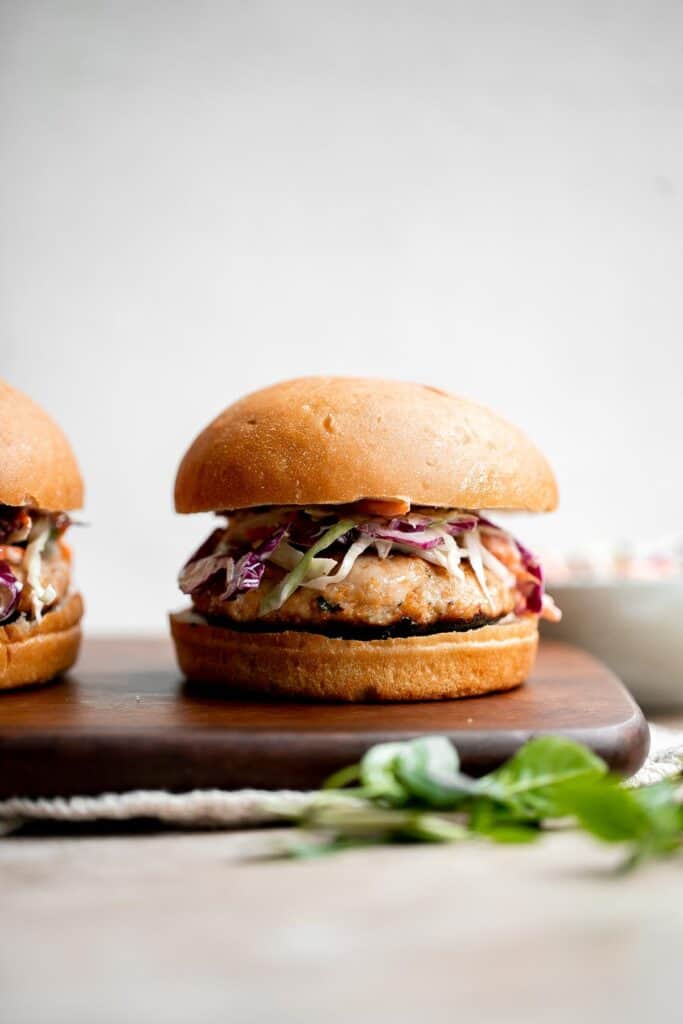
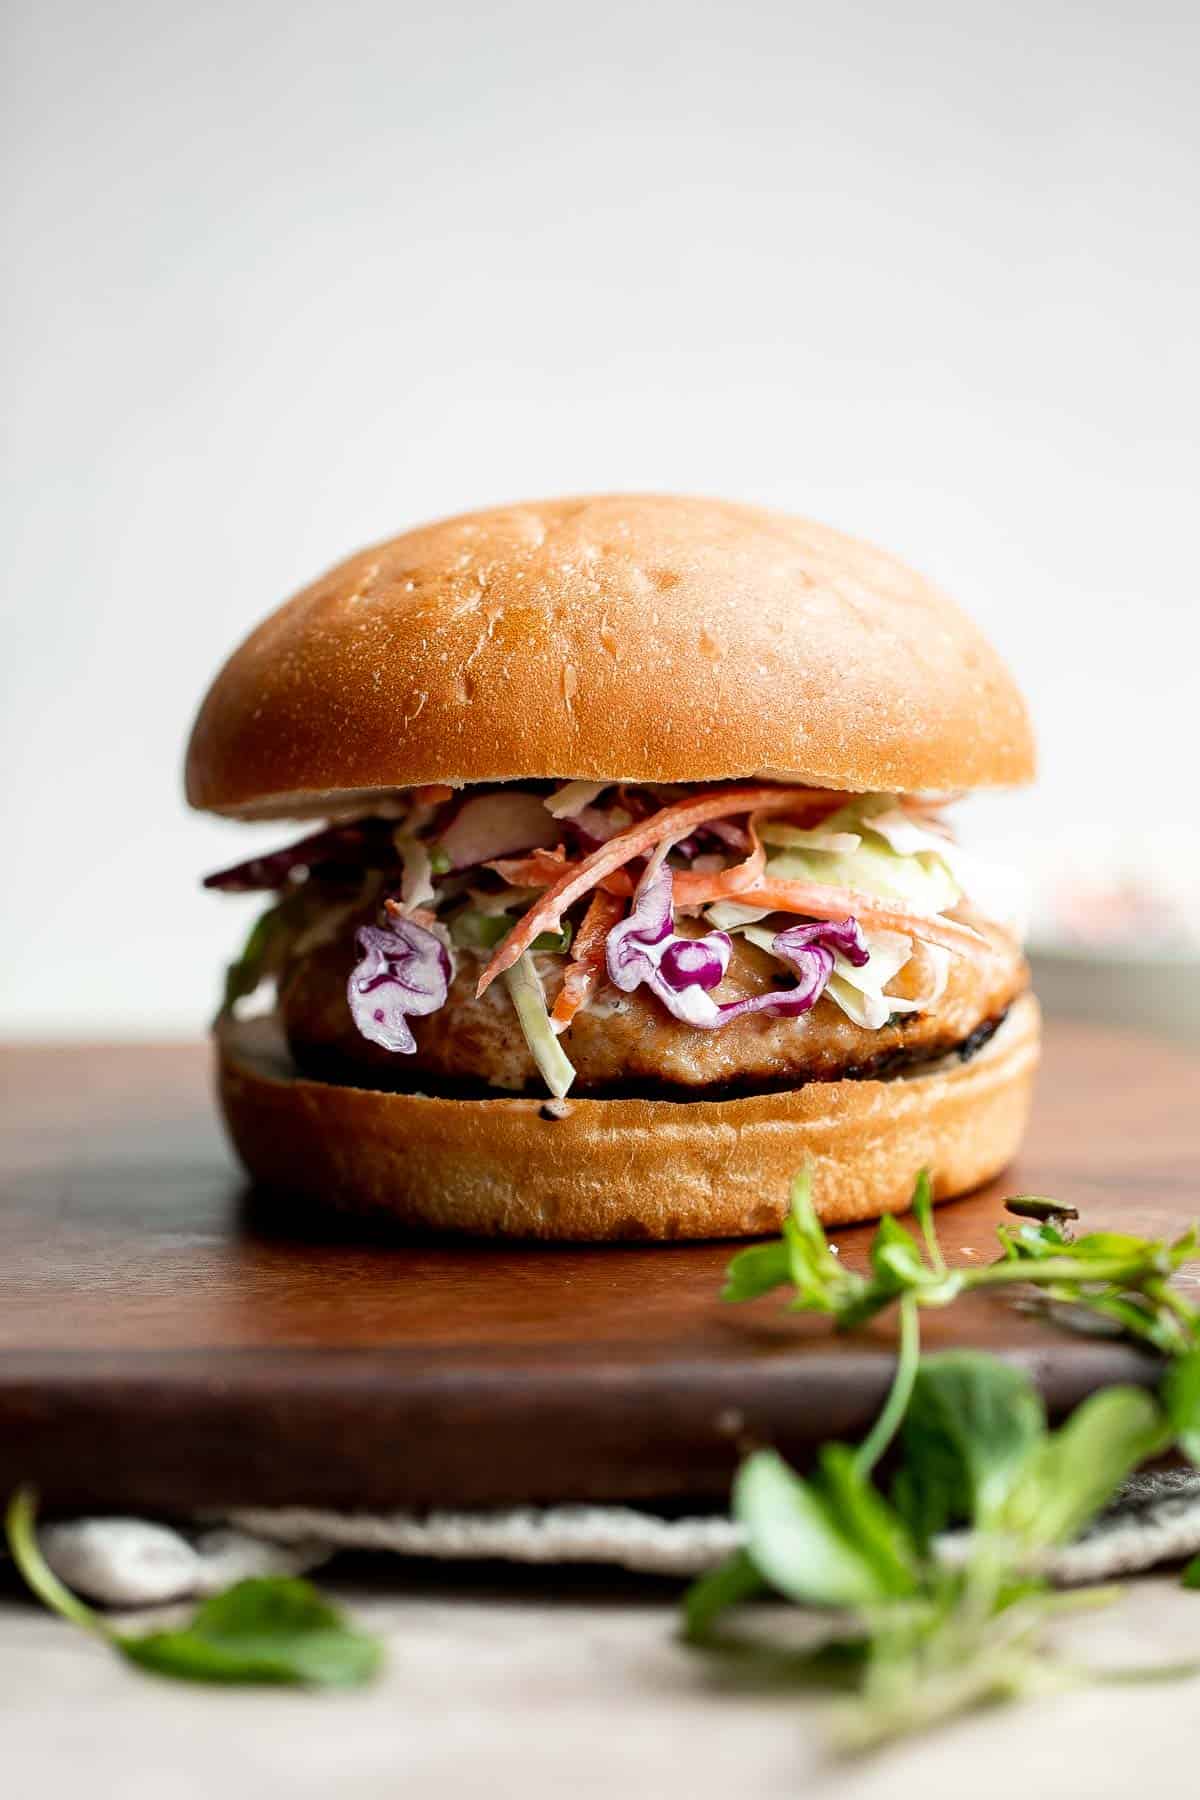
These Thai Turkey Burgers topped with a crisp and creamy slaw are loaded with fresh and bright flavors, healthy and delicious, and quick and easy to make.
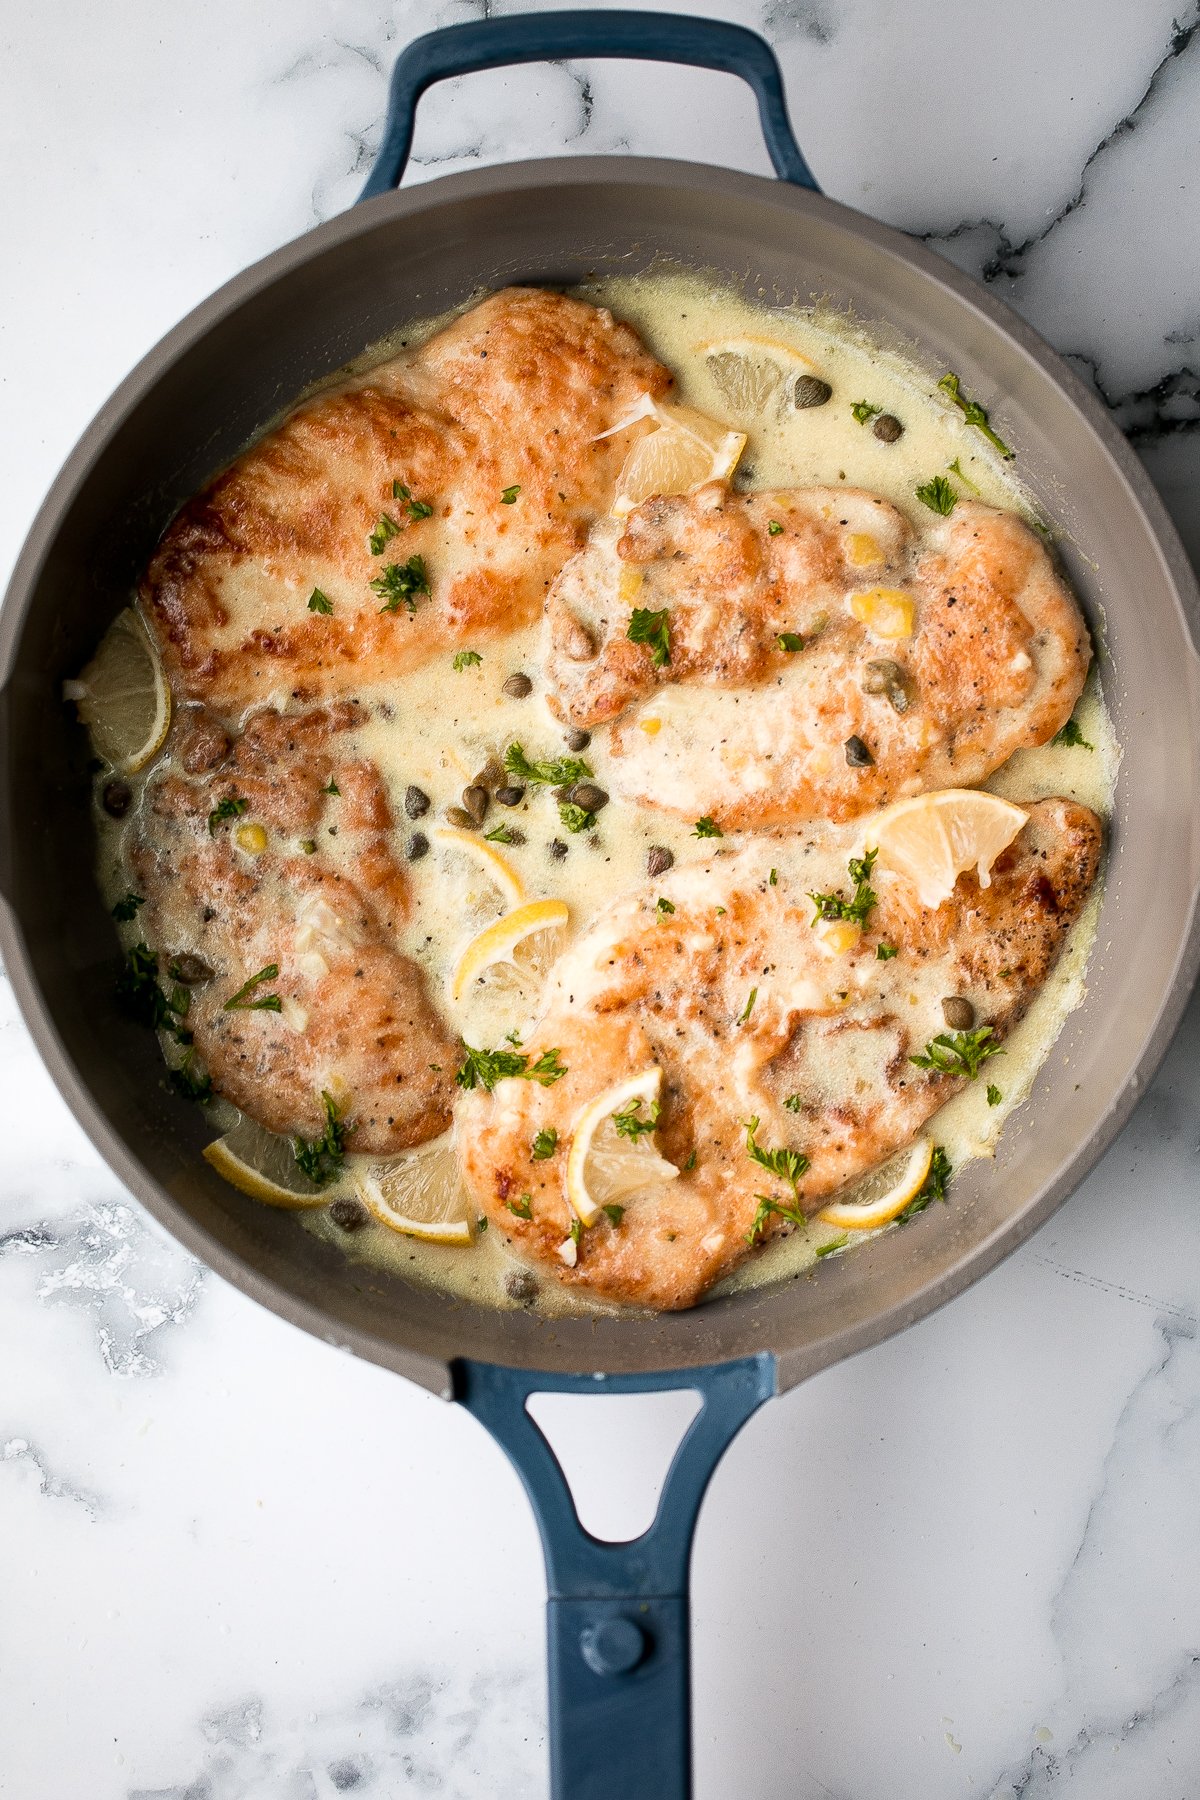
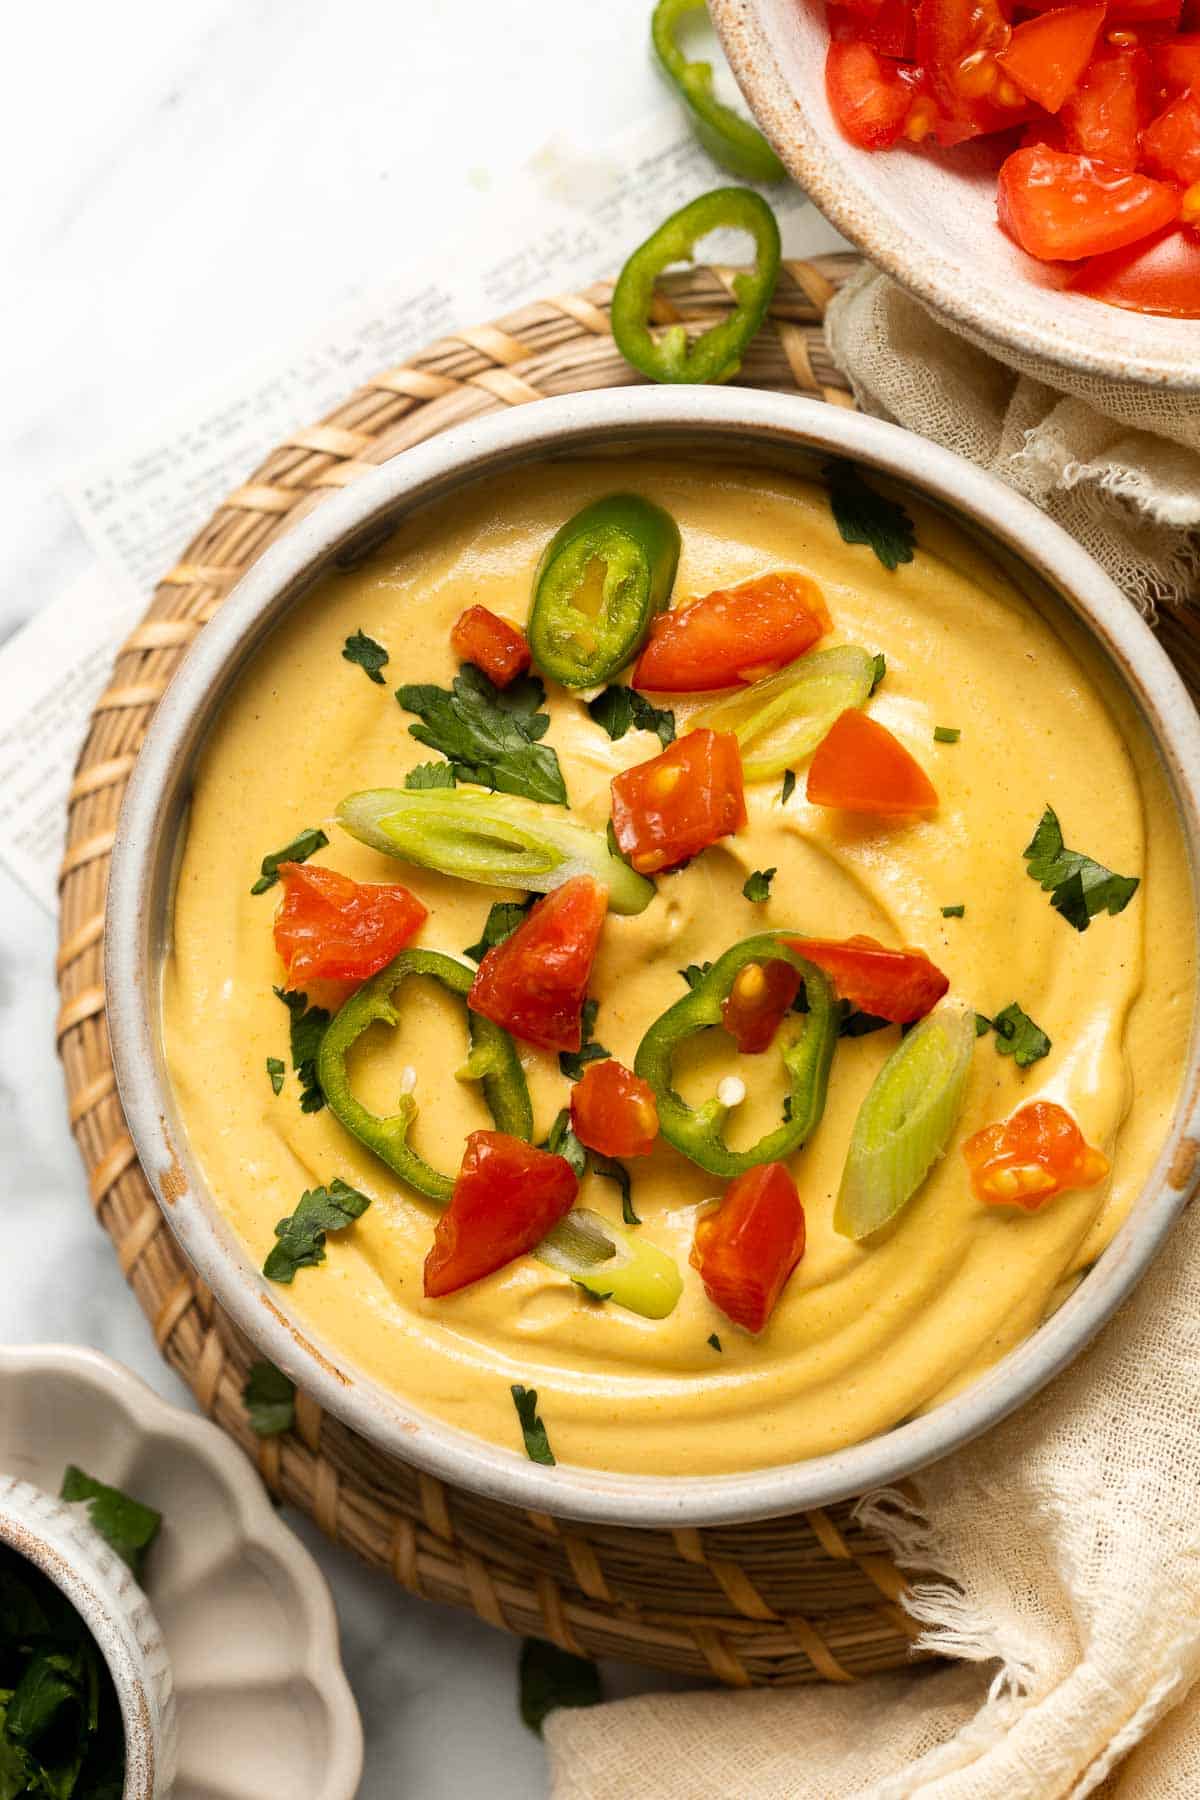
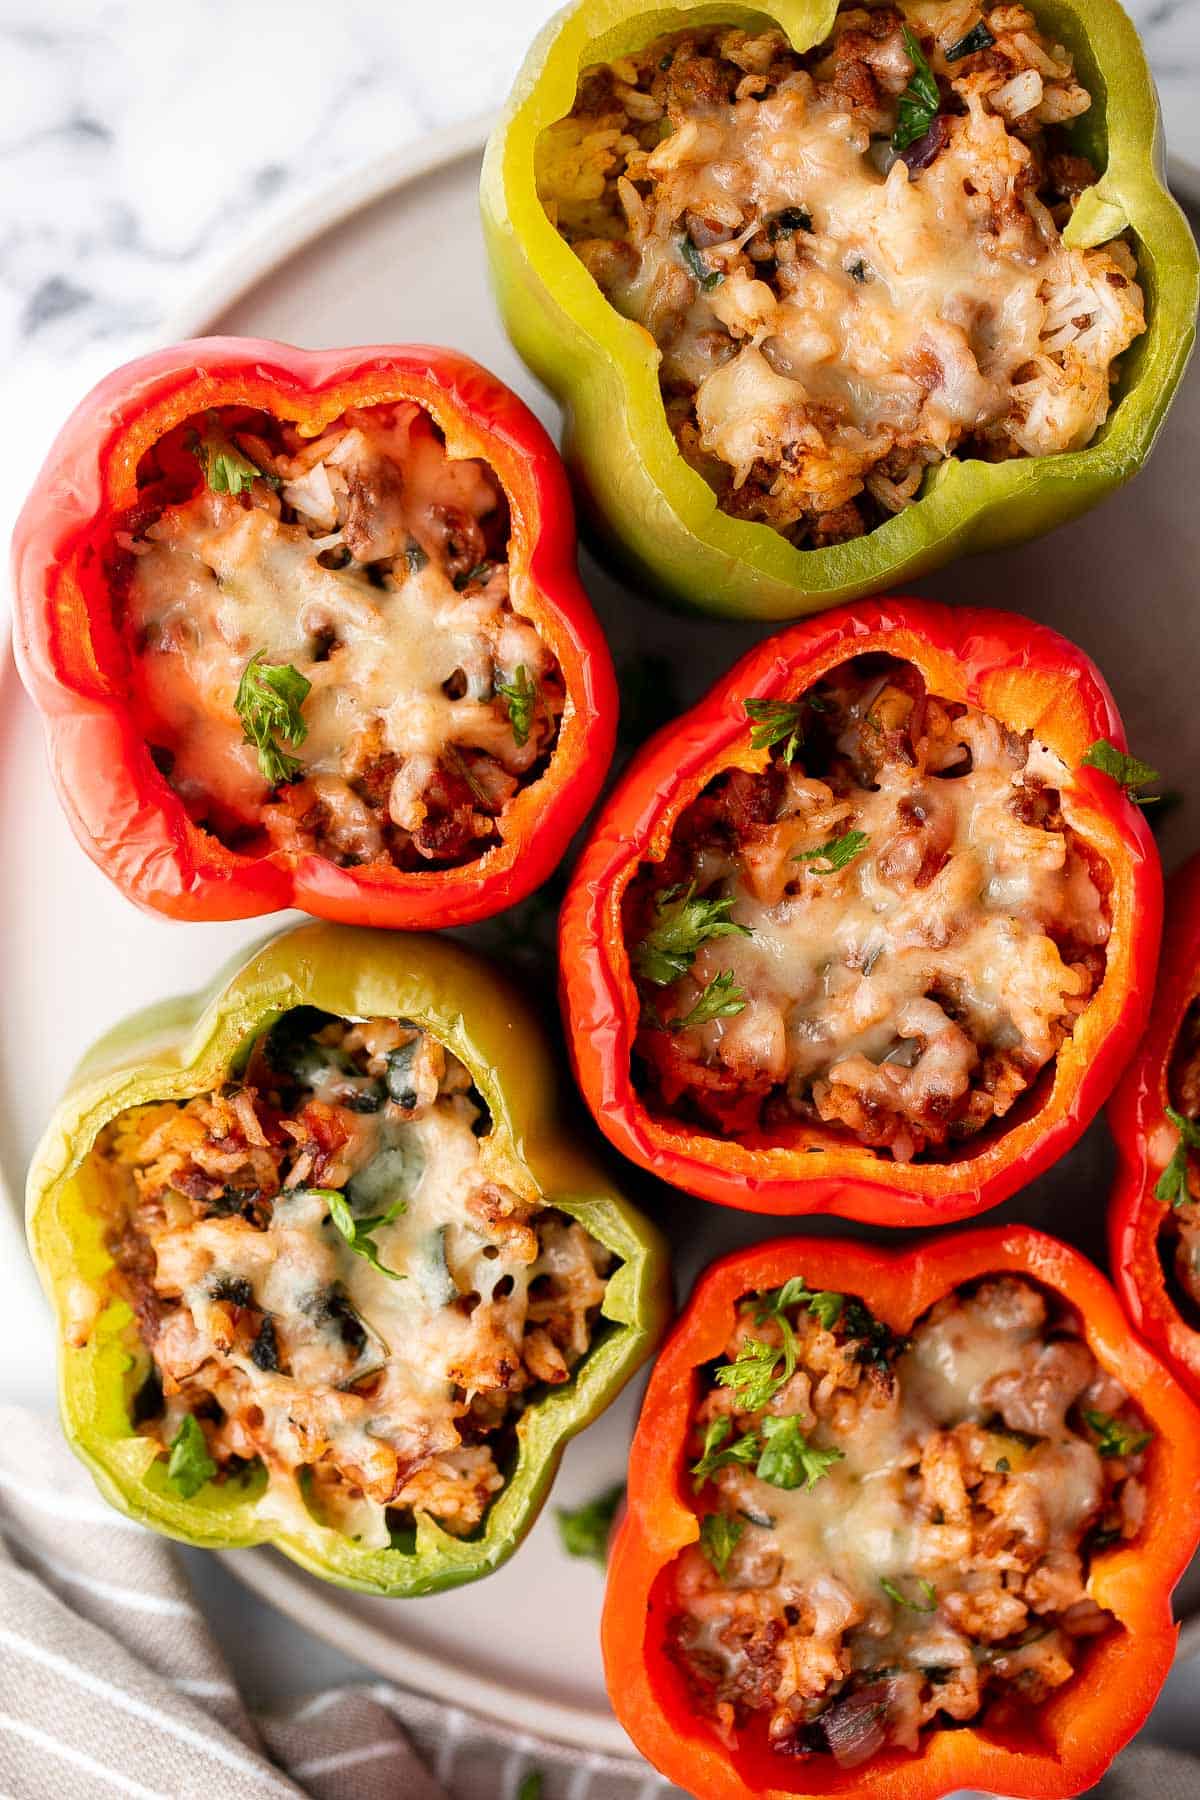
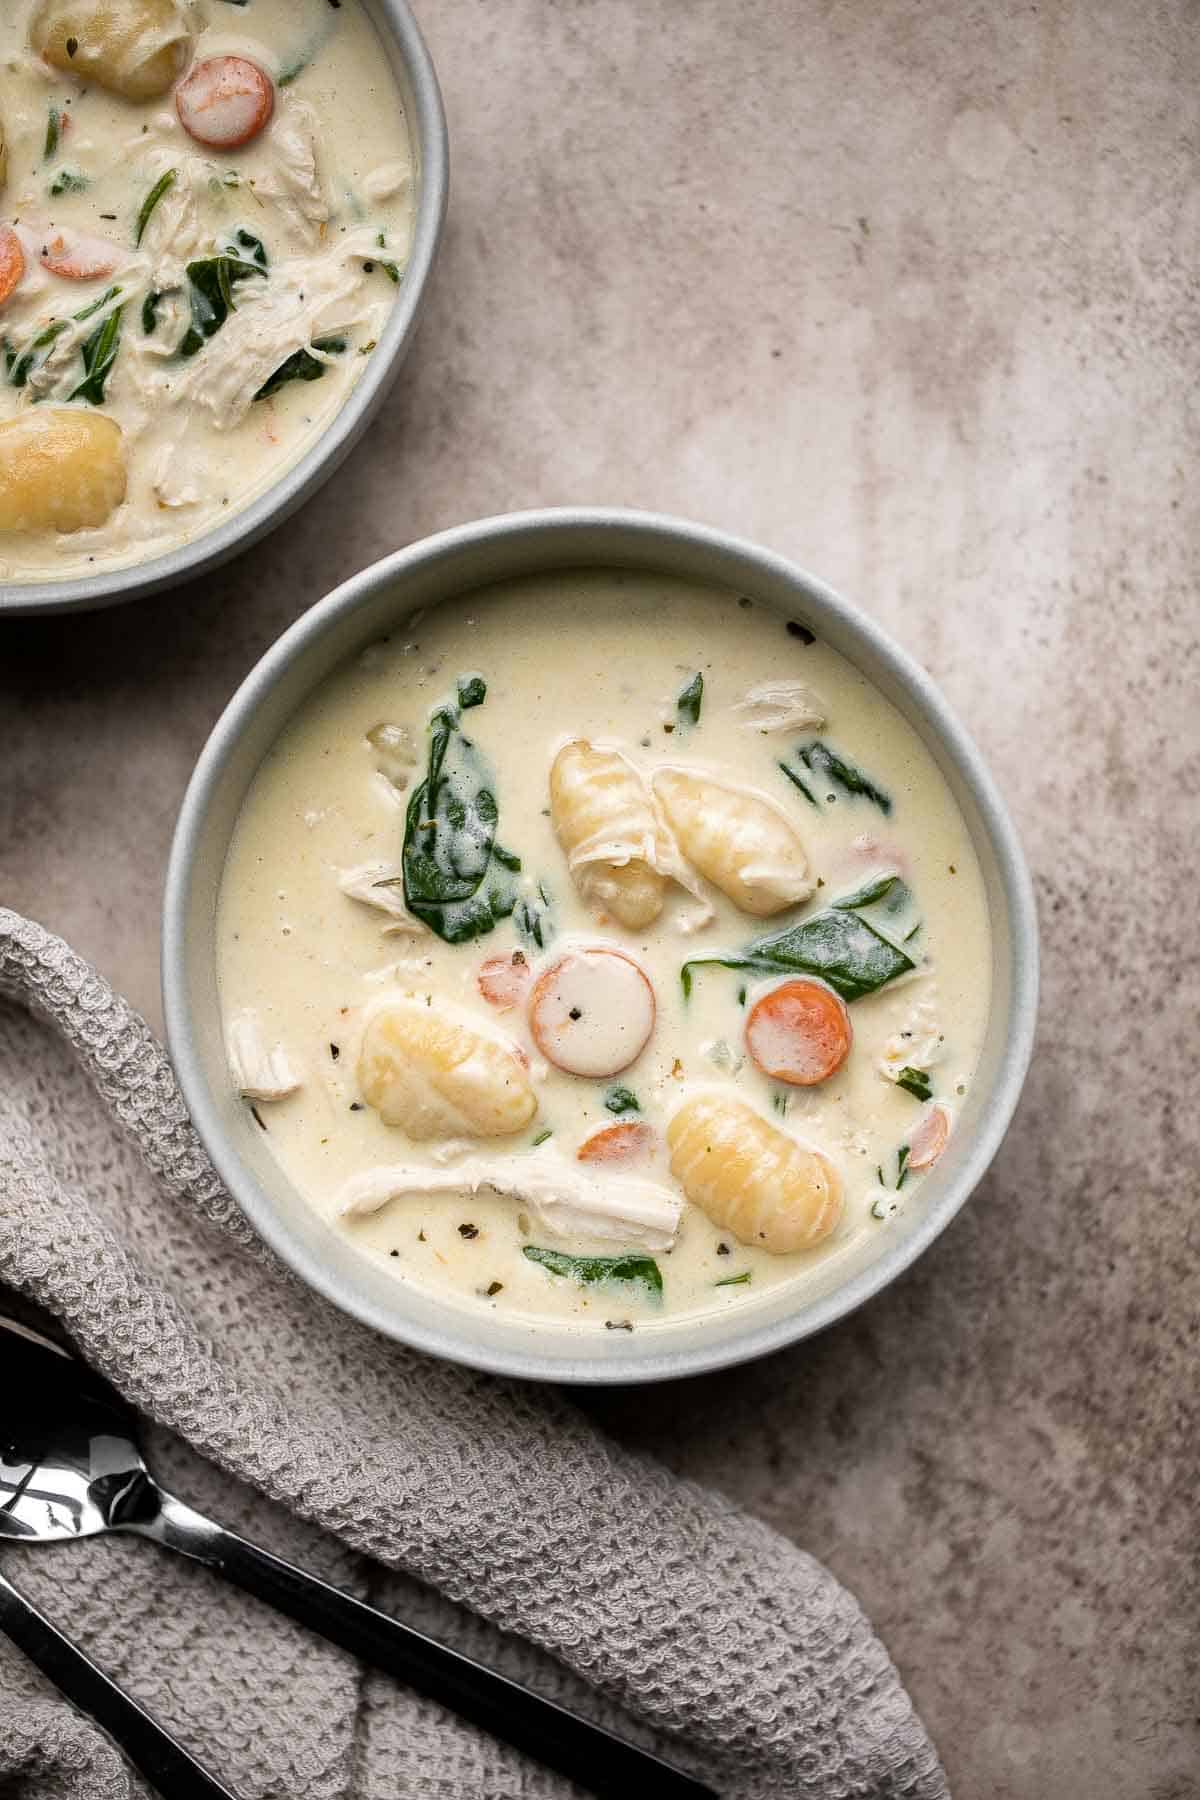
Delicious, moist and juicy Mediterranean chicken patties have everything you want in one bite: protein, veggies, herbs, and they're quick and easy to make. Made with ground chicken, but you can easily substitute with ground turkey.
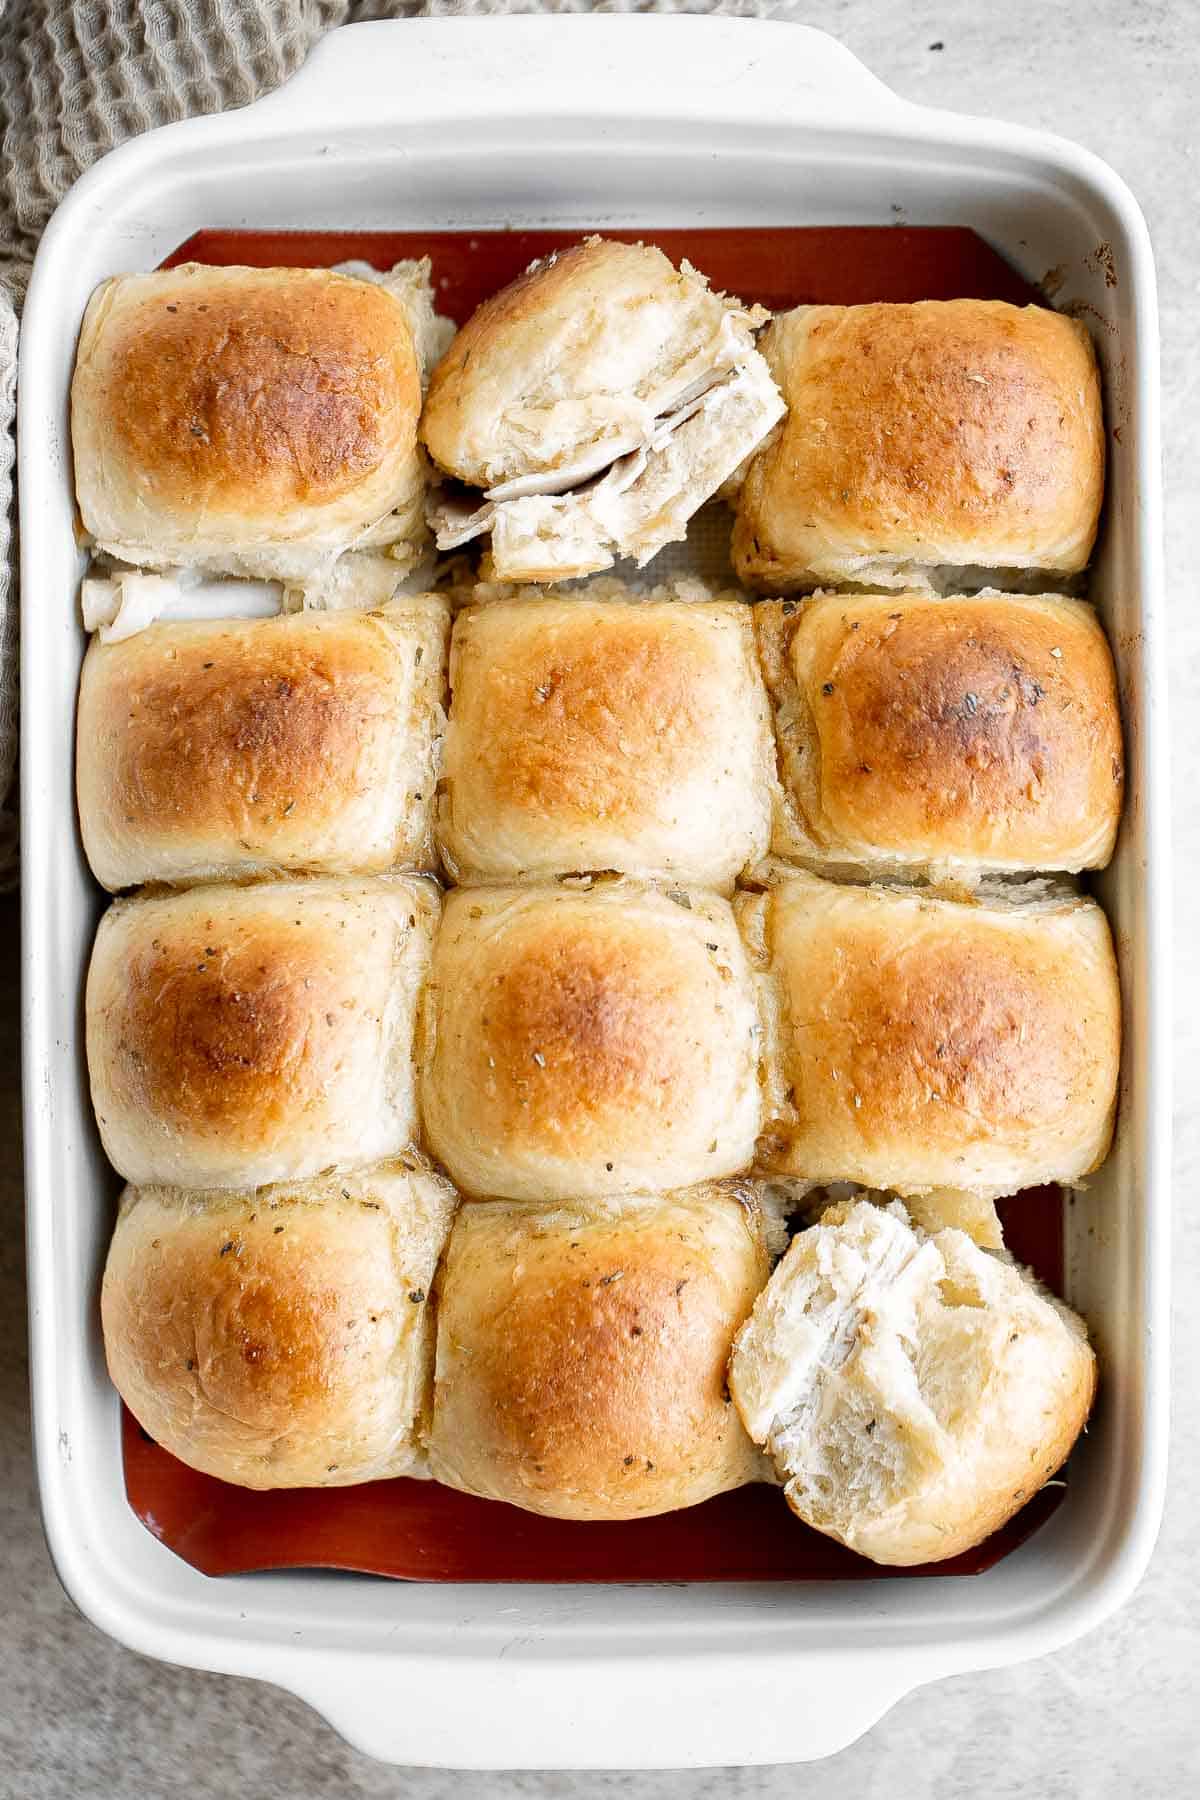
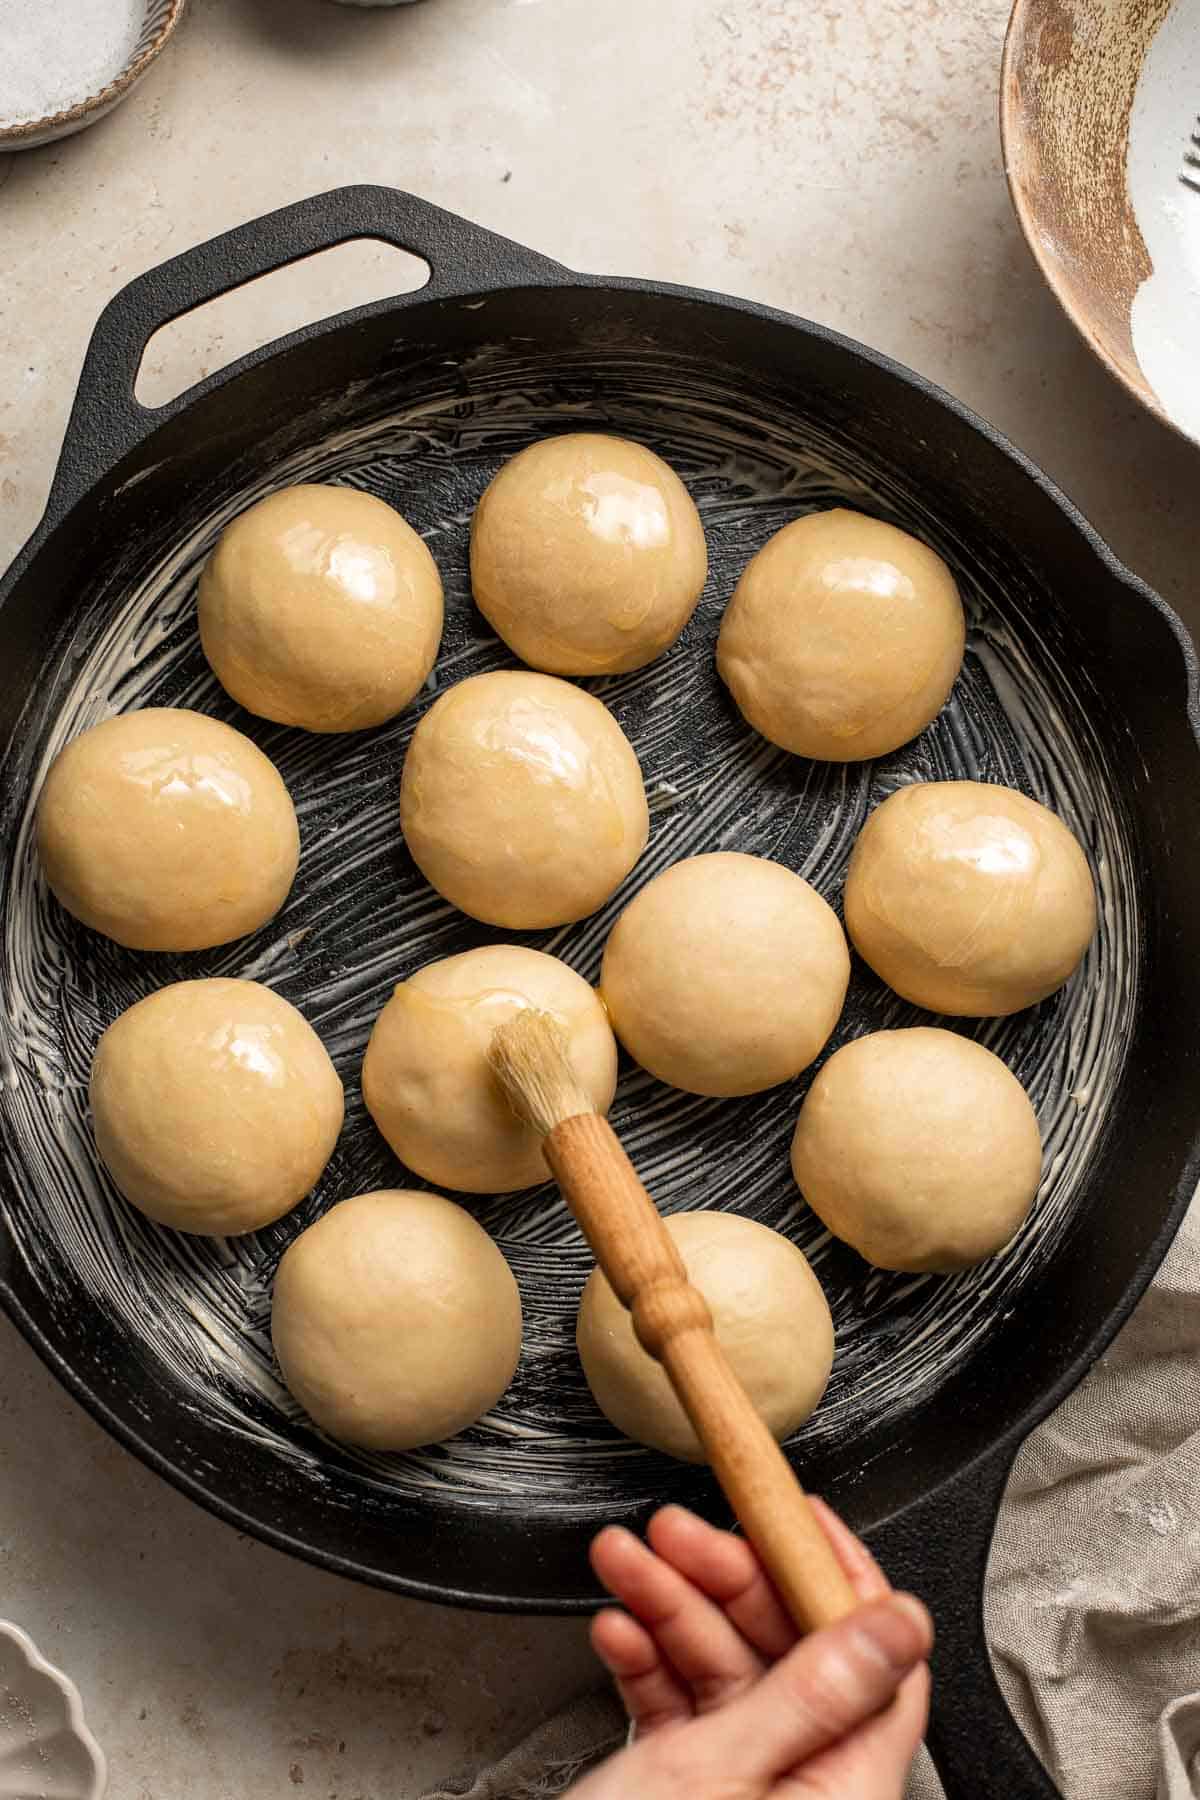
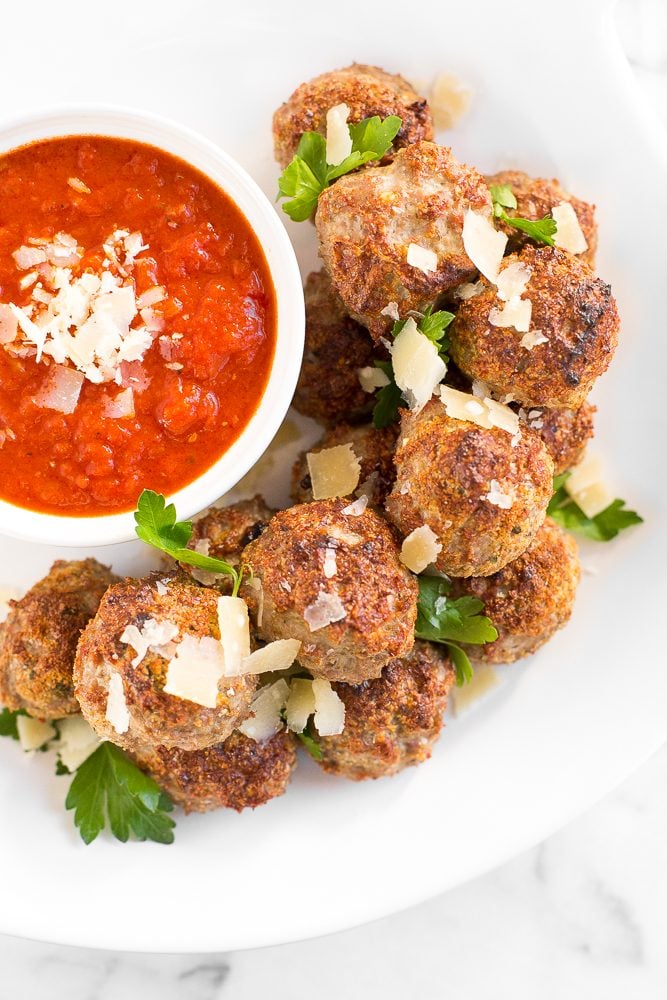
When it comes to weeknight menu planning, baked turkey meatballs reign supreme. Say hello to dinner ready in under 20 minutes from prep to table!
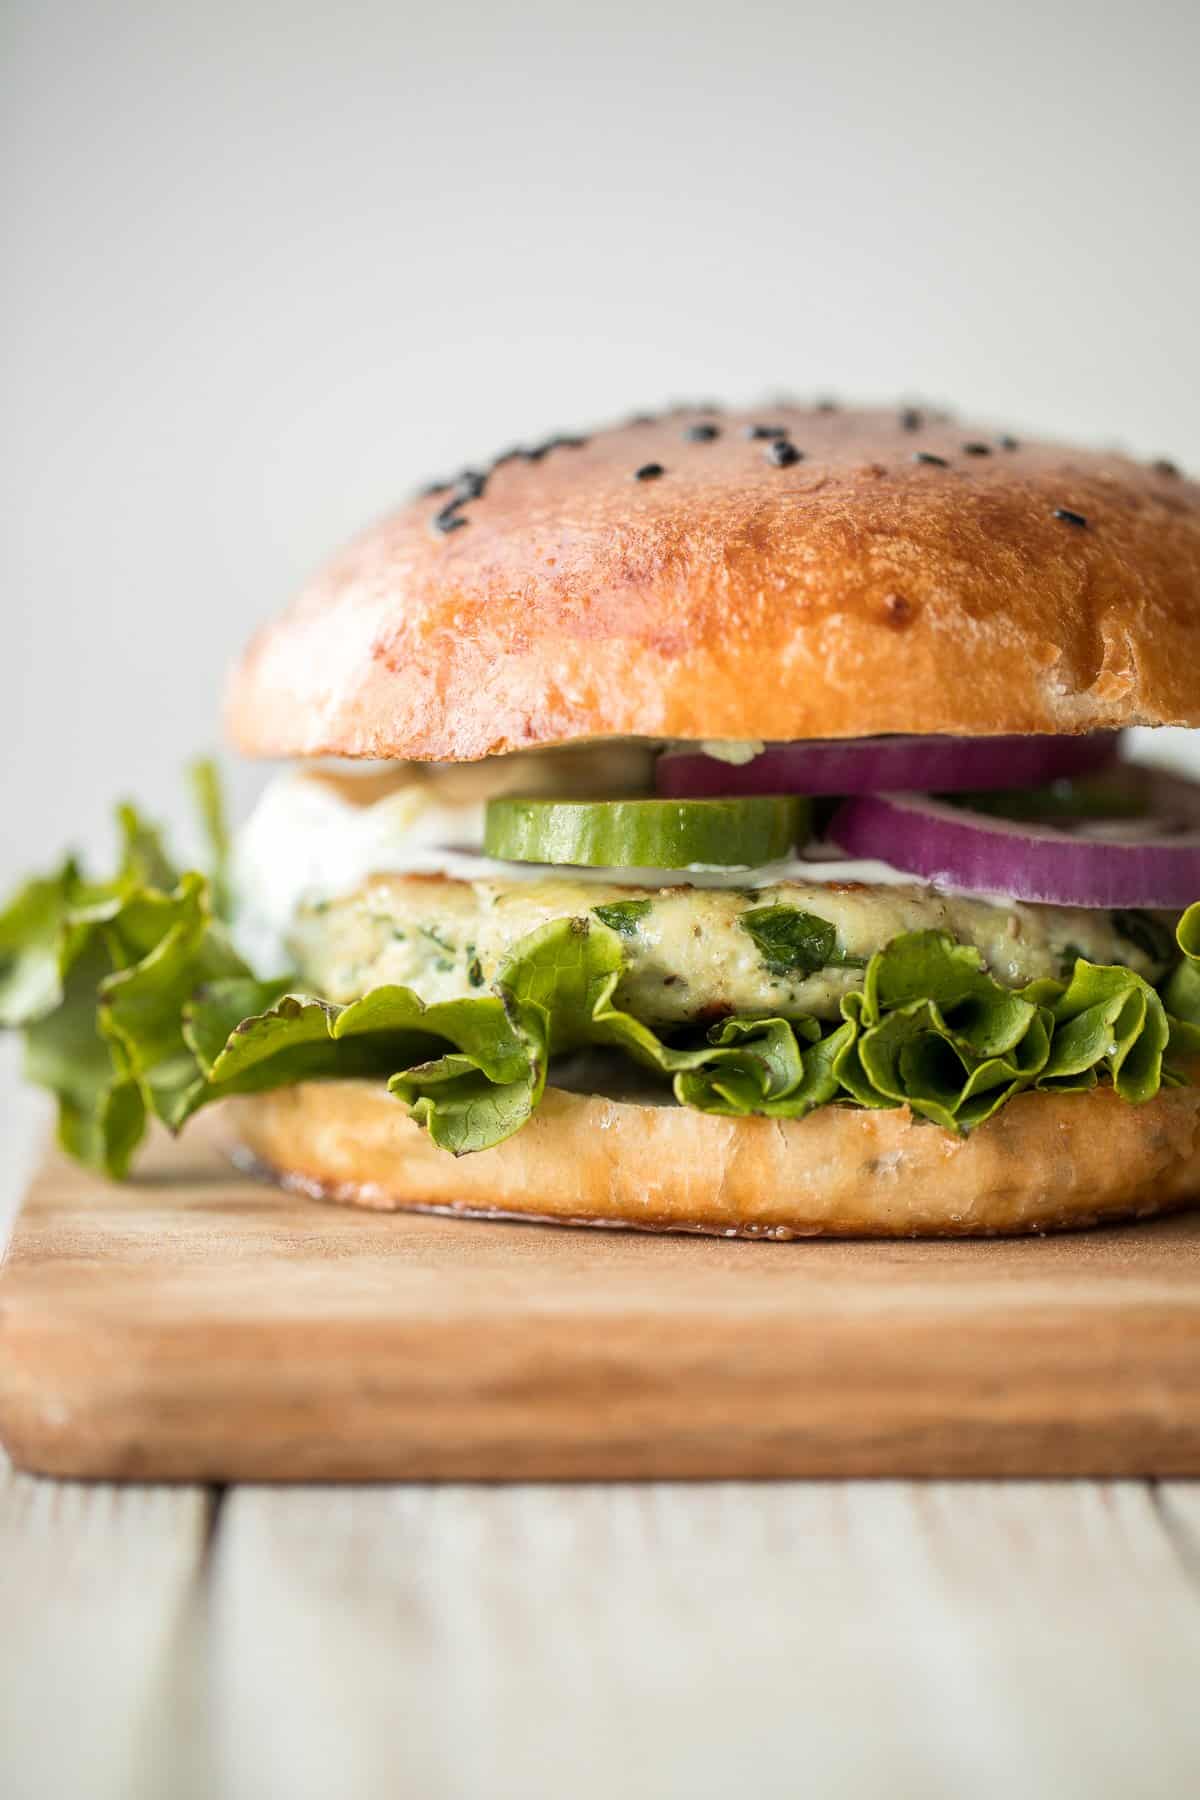
Spinach and Feta Turkey Burgers
Greek-style spinach and feta turkey burgers are tender, juicy, and flavourful, loaded with spinach, feta and fresh Mediterranean herbs + so easy to prep.
Sesame chicken meatballs are quick, easy, delicious, and loaded with Asian flavor, cooked in a homemade stir fry sauce and customizable with easy veggies! Made with ground chicken, but you can easily substitute with ground turkey.

Can you Substitute Ground Turkey for Ground Beef?
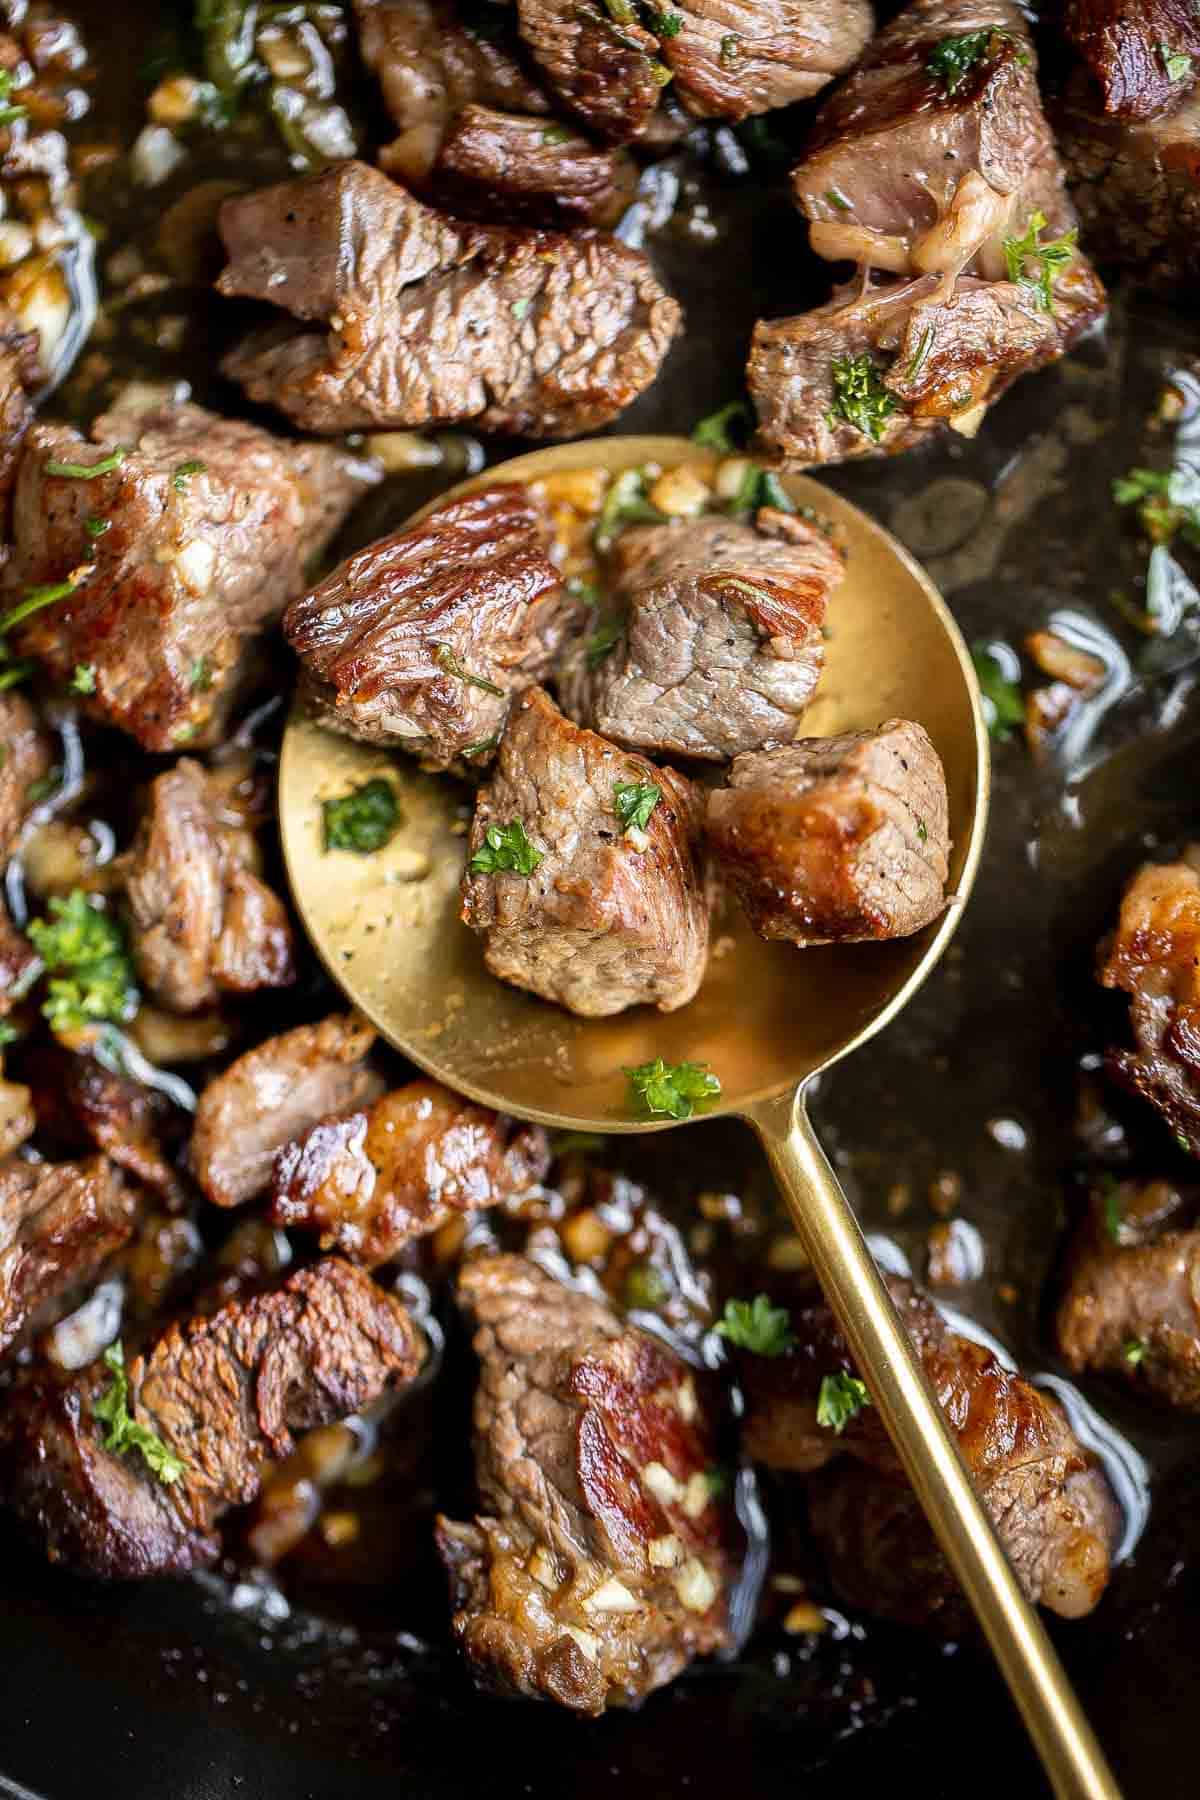
You can also substitute any ground beef recipe with ground turkey for a leaner option. The color will be paler and the flavor will vary but it will still be just as delicious. See our 25 Best Ground Beef Recipes for ideas!
How to Store Ground Turkey
Store leftover ground turkey from any of these easy ground turkey recipes in an airtight container and place in the refrigerator for up to 3 days. Most of these recipes are also freezer-friendly and can also be stored in the freezer for up to 3 months. See full storing instructions in the specific recipe that you are interested in making.
Depending on the recipe, you can reheat in the air fryer at 300F for 5-10 minutes, in the oven at 300F for 10 minutes, or on the stove over medium heat until fully warmed through. To reheat from frozen, let it thaw first overnight in the refrigerator before reheating.
Did You Make Any of These Ground Turkey Recipes?
Please leave a comment and rating below, and let me know what you thought of this round up of the best ground turkey recipes. Be sure to snap a picture and tag me on Instagram @aheadofthyme or share it on the Pinterest pin so that I can follow along.
HUNGRY FOR MORE? Don't forget to sign up for my email newsletter so that you don't miss any recipes. You can also follow along on Instagram and Pinterest for more recipe updates.