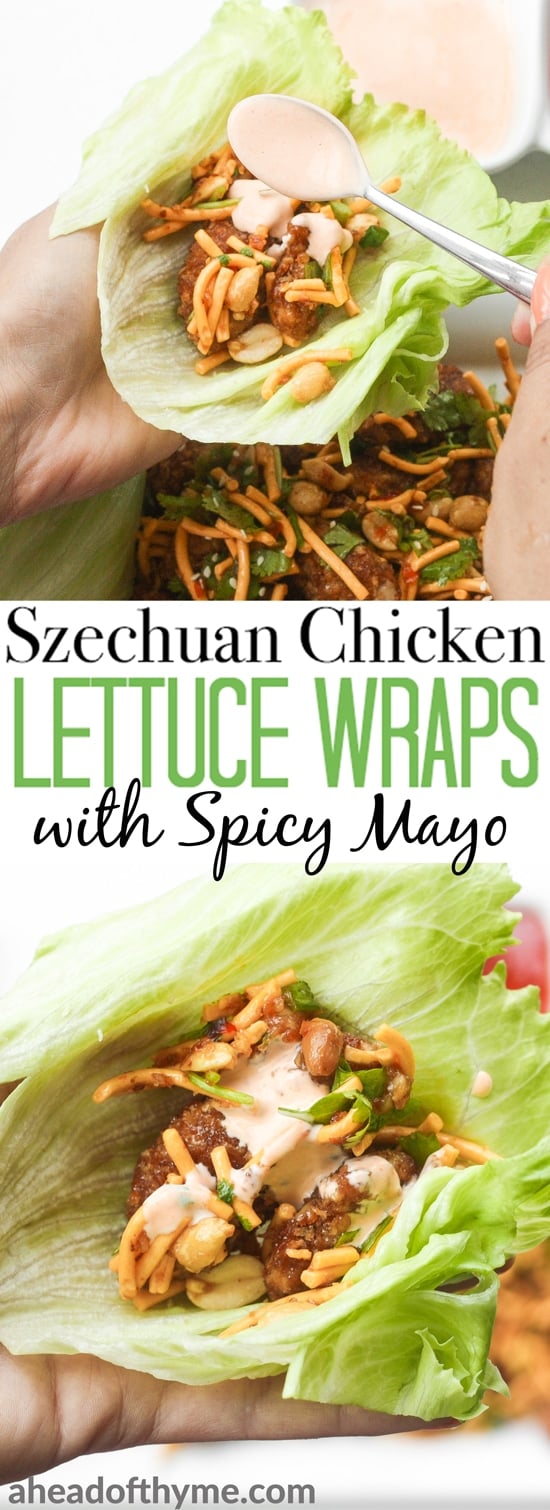
One of my favourite restaurants here in Canada is Cactus Club Cafe. And I kid you not, I order their spicy chicken lettuce wraps every time that I go there. Whether it's to share with my friends as an appetizer or to devour as my main course. This dish is always on the bill. So, I was inspired to recreate this favourite at home. I was pretty impressed with my results and now I am sharing it with you. Brace yourselves and experience Szechuan chicken lettuce wraps with spicy mayo!
Szechuan cuisine originates from southwest China in the province of Sichuan. The cuisine is comprised of bold and spicy flavours and these lettuce wraps are no exception. Each bite is bursting with bold and spicy flavours. Although this dish isn't very spicy compared to traditional Szechuan dishes, which are immersed in cups of chilli peppers. But that being said, these chicken lettuce wraps still have a little kick to them. I wouldn't recommend these for the faint-hearted.
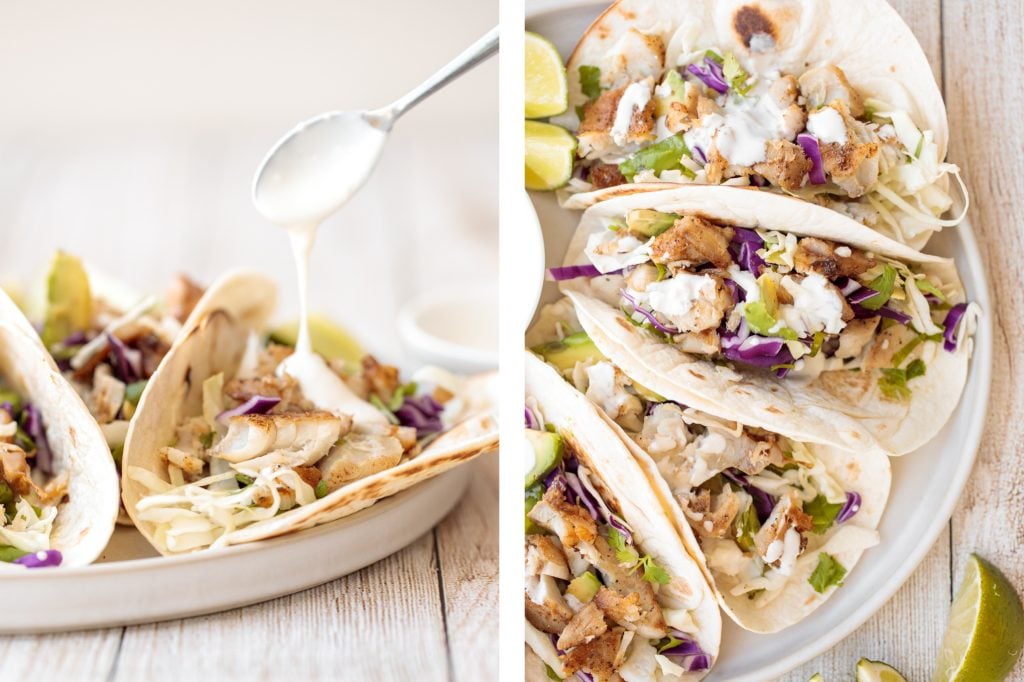
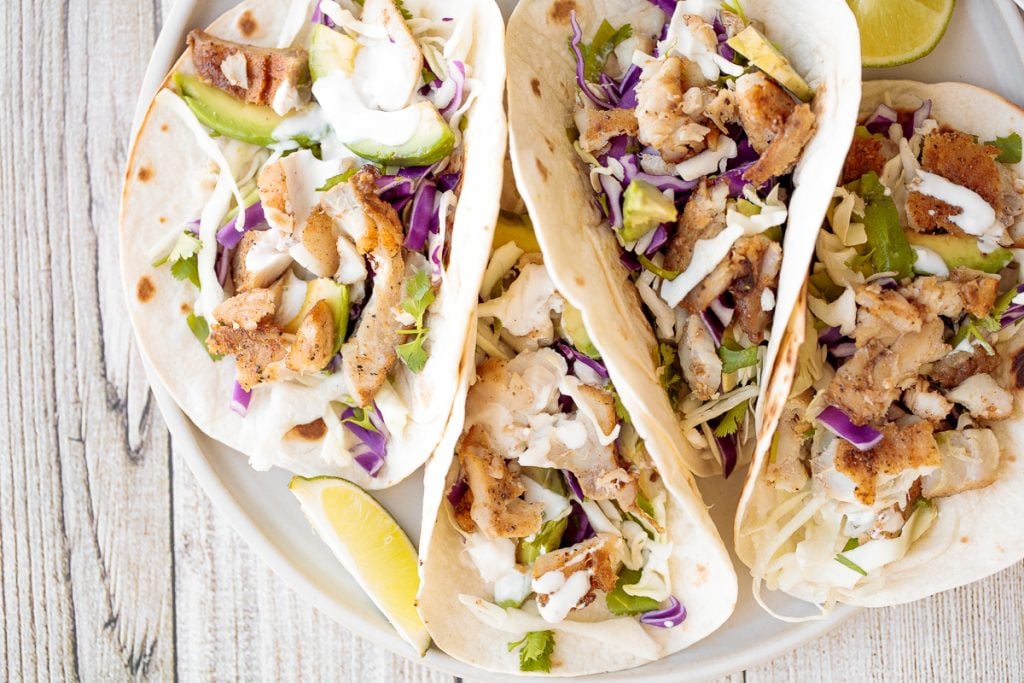
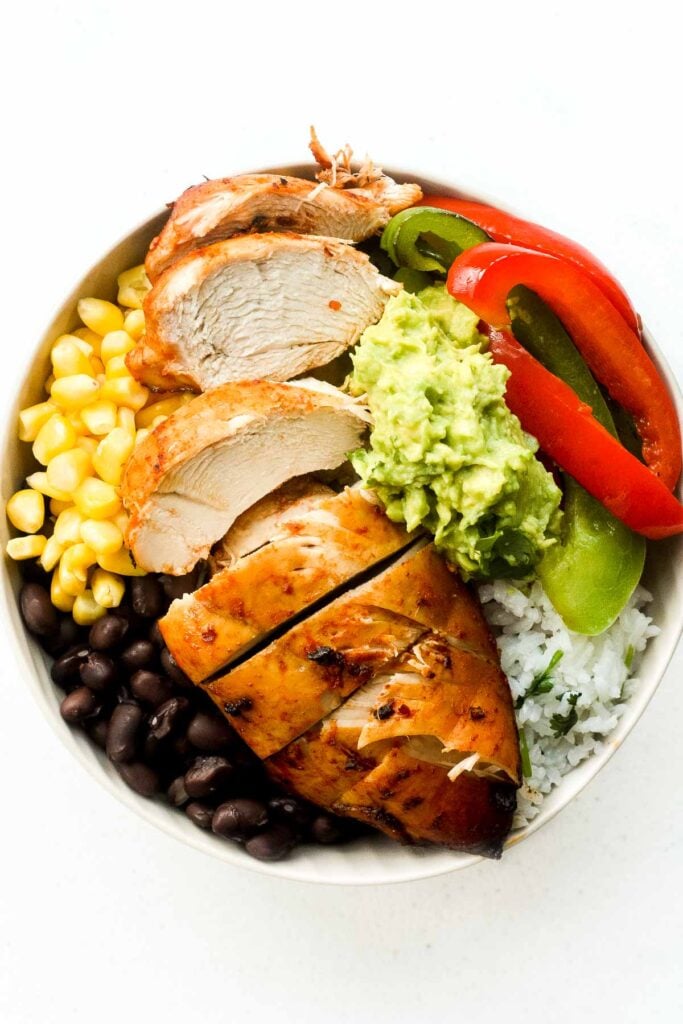
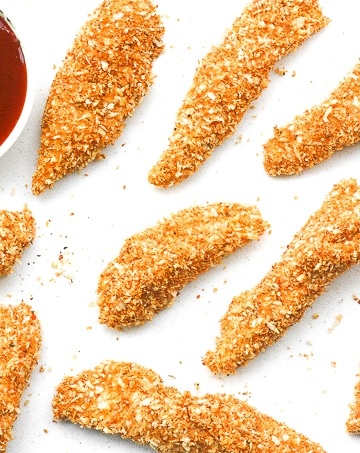
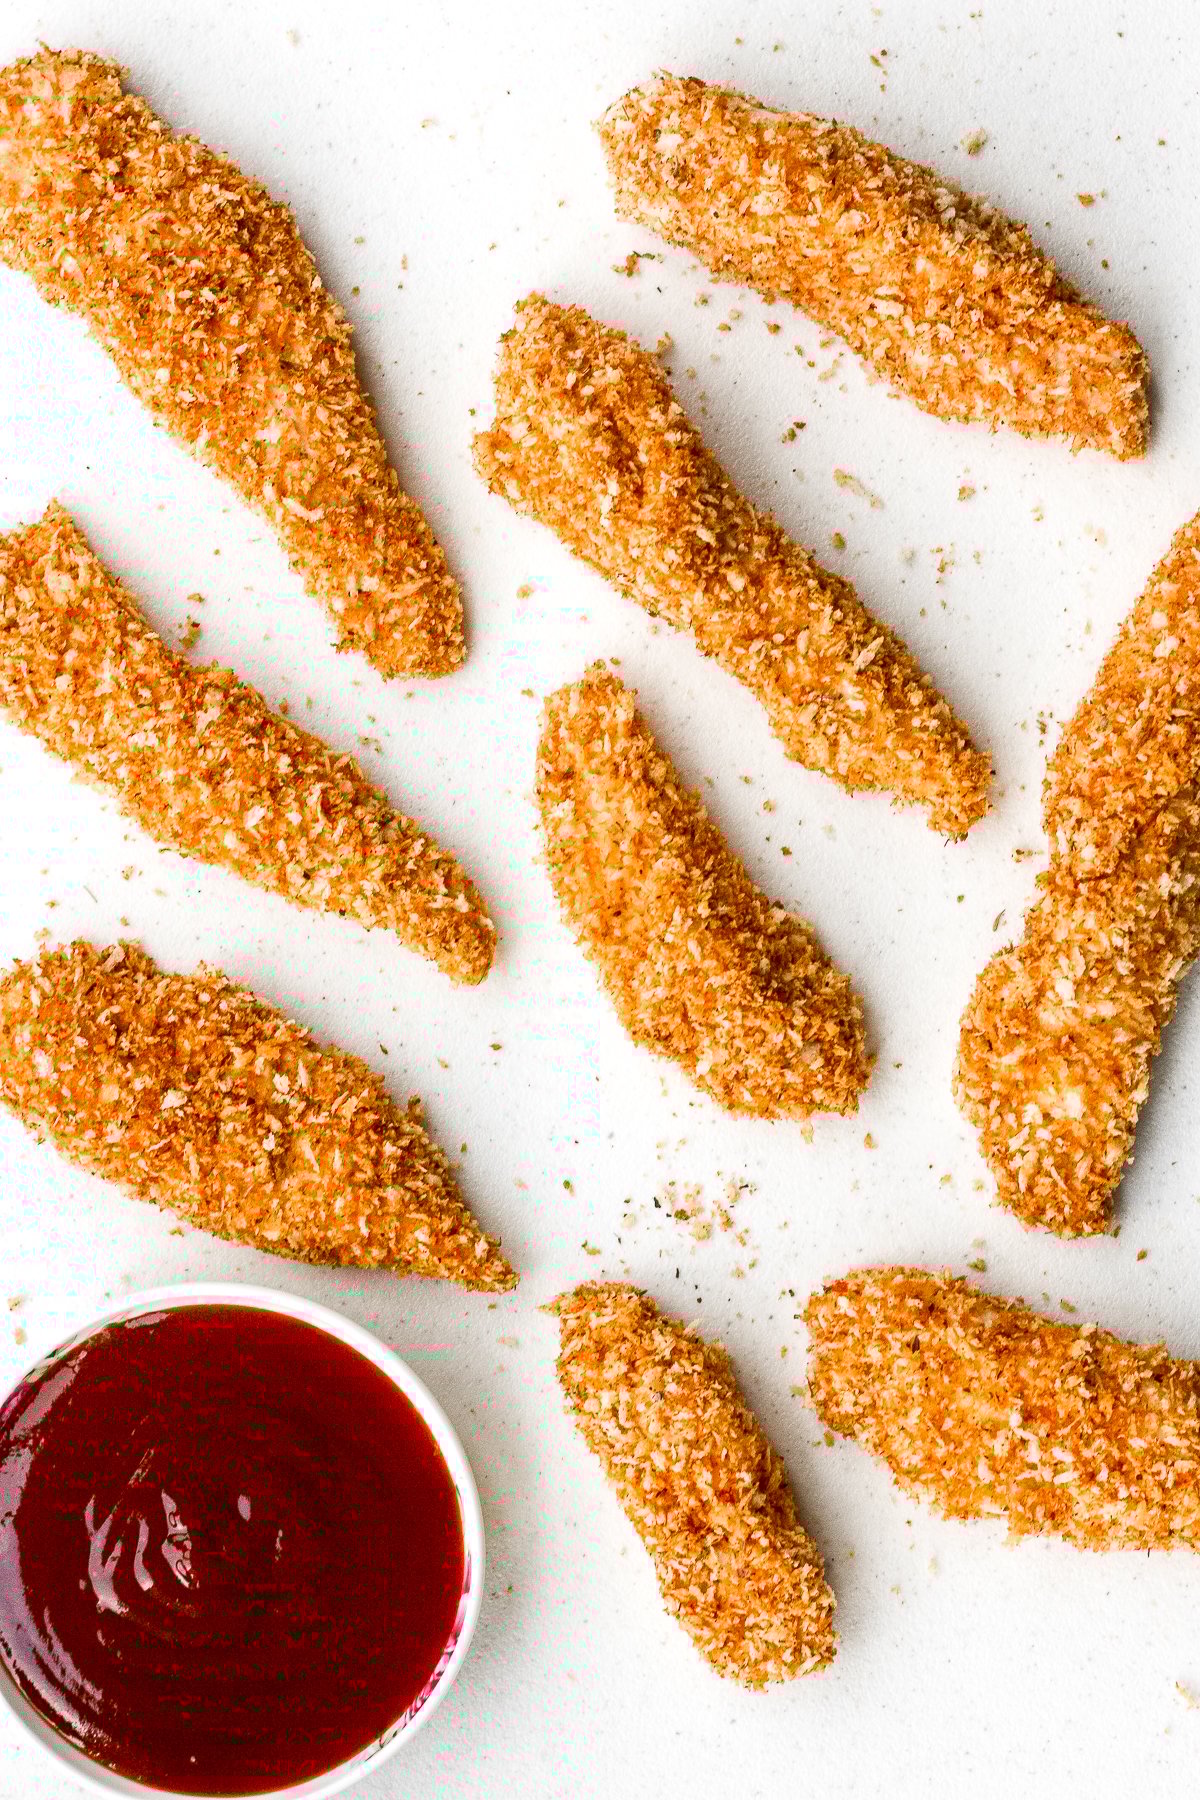
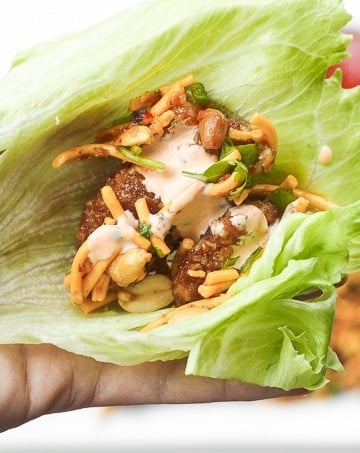
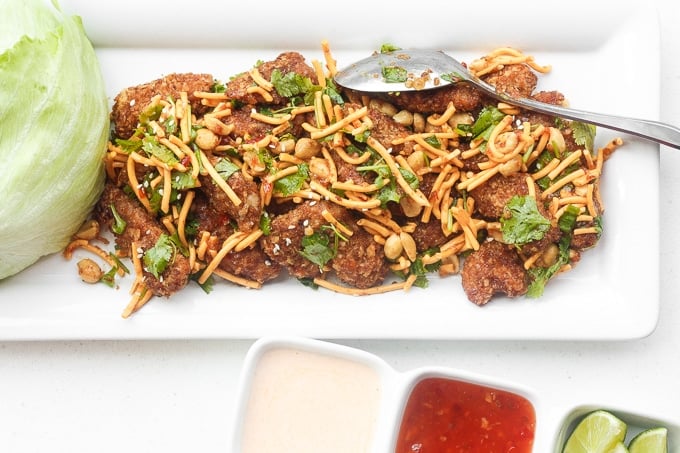
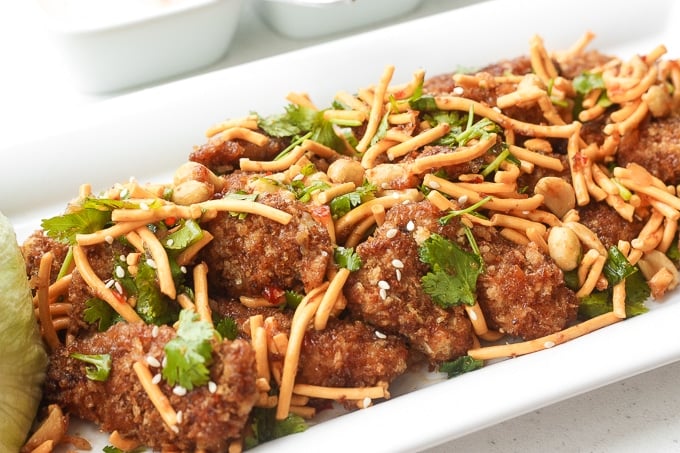
Just imagine, crispy chicken strips coated in Asian flavoured breadcrumbs, yes I am talking soy sauce, rice vinegar, and sesame oil. And it doesn't stop there. Toss the chicken in noodles, cilantro, green onions, sweet chilli sauce and sesame seeds. Wrap it all up in a piece of iceberg lettuce, dip it in homemade spicy mayo and crunch away.
How to Make Spicy Szechuan Chicken Lettuce Wraps
To make these lettuce wraps, here's exactly what you will need to do:
- Prepare the panko breadcrumb mixture. Heat sesame oil over medium heat. Add panko breadcrumbs and cook until they start to brown. Remove from heat and mix in soy sauce, rice wine vinegar, salt and pepper. Toss to combine.
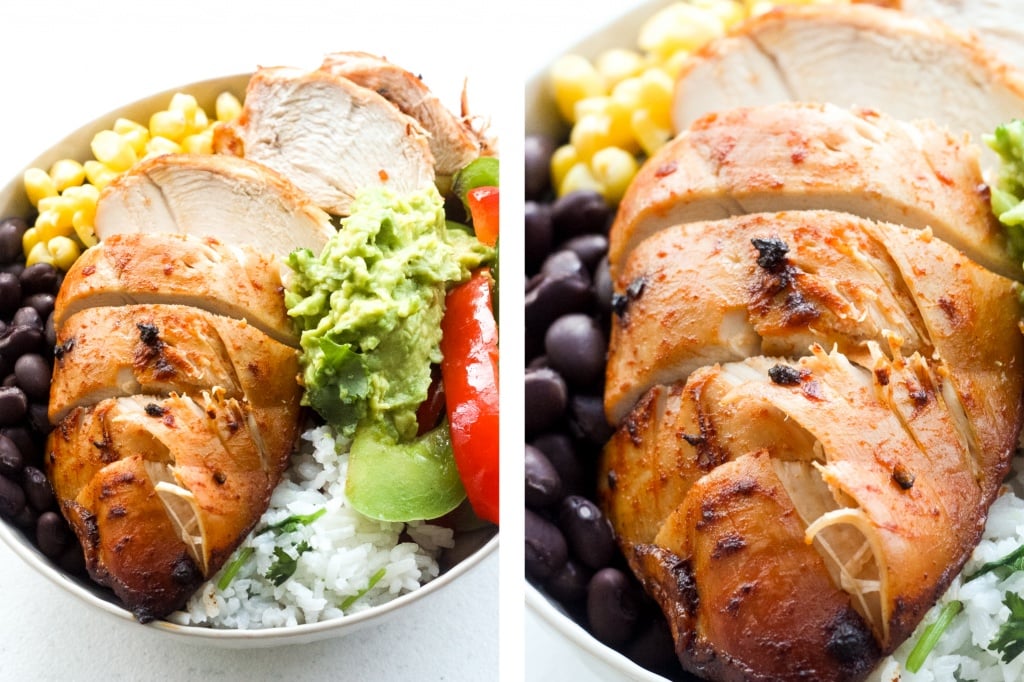
- Prepare the chicken. Fully coat each piece of chicken with flour, then dip into an egg and mayonnaise mixture, and lastly into the panko breadcrumb mixture. Place onto a lined cooking tray and bake for 20-25 minutes, until golden brown.
- Prepare lettuce wrap filling. Place chicken into a large bowl and add chow mein noodles, green onions, cilantro, peanuts, and sweet chili sauce. Toss to coat.
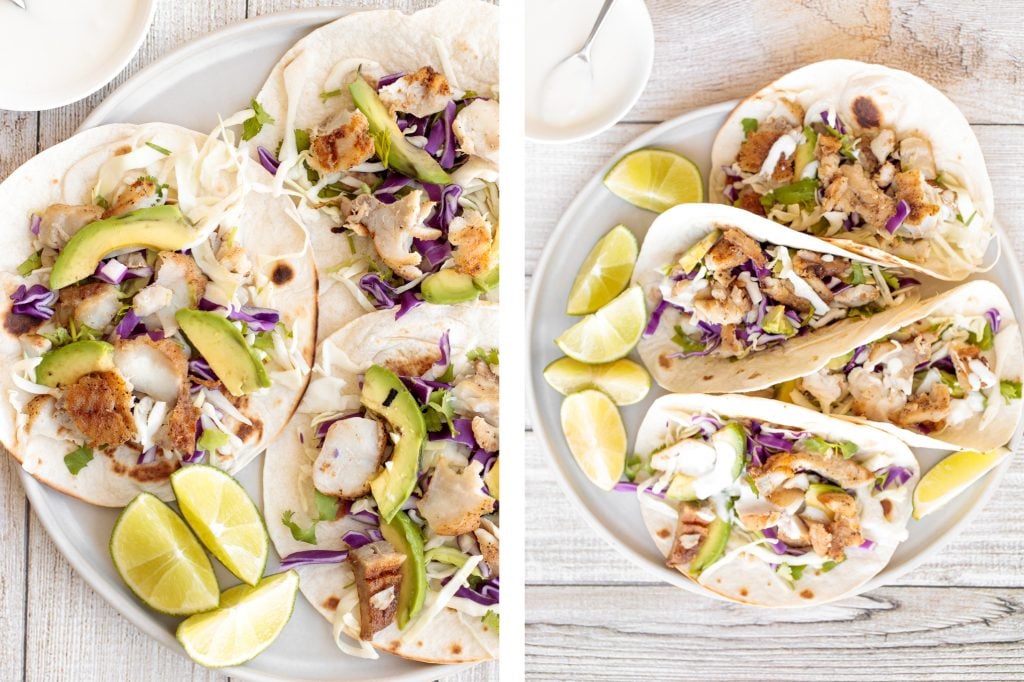
- Serve. Transfer mixture into serving dish and sprinkle sesame seeds on top and add some lime wedges. Serve with a head of iceberg lettuce, cut in half through the stem.
- Prepare spicy mayo. In a small bowl, mix mayonnaise, hot sauce, and lime juice together.
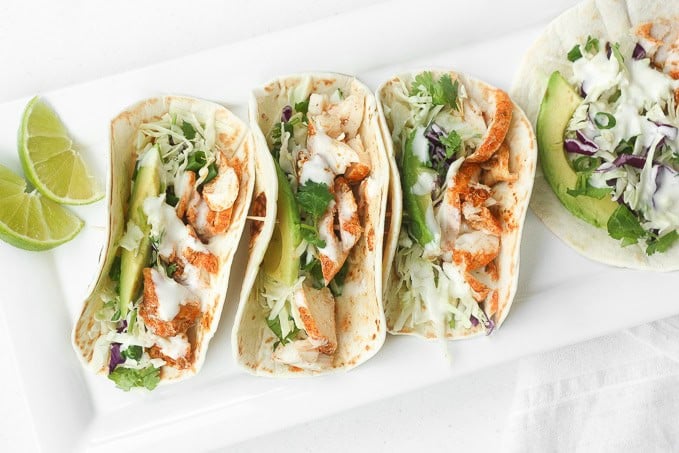
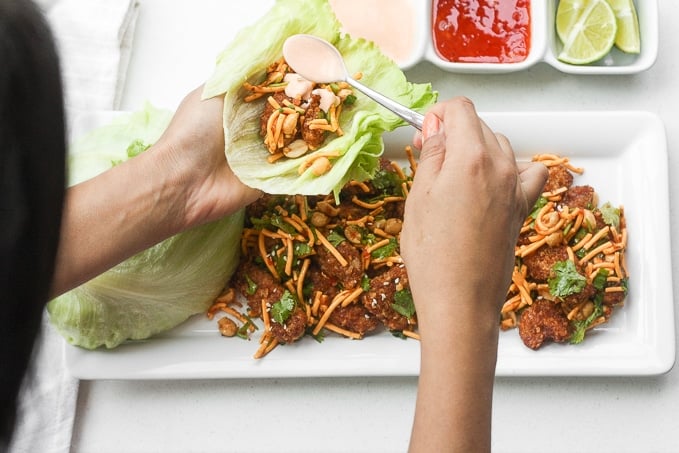
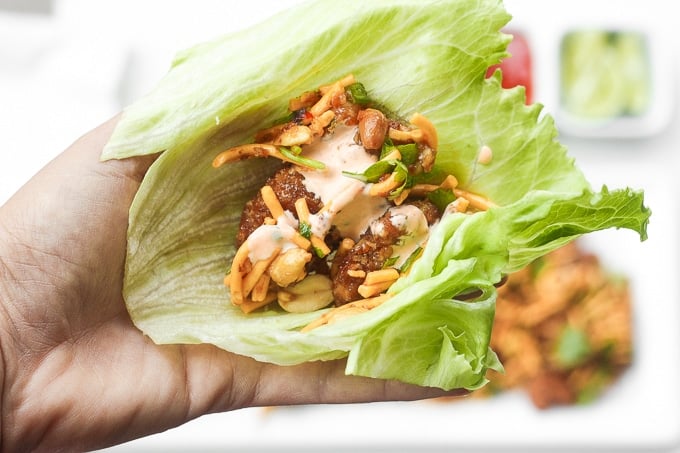
- Eat. Scoop a couple spoonfuls of the chicken mixture into a piece of iceberg lettuce, drizzle some spicy mayo on top, wrap it like a taco, and crunch away. Life does not get better than that.
And guess what? Our version is healthier because the chicken is baked and not deep-fried in a bucket of oil! Finally, a dish that you won't feel guilty about! You're welcome 🙂