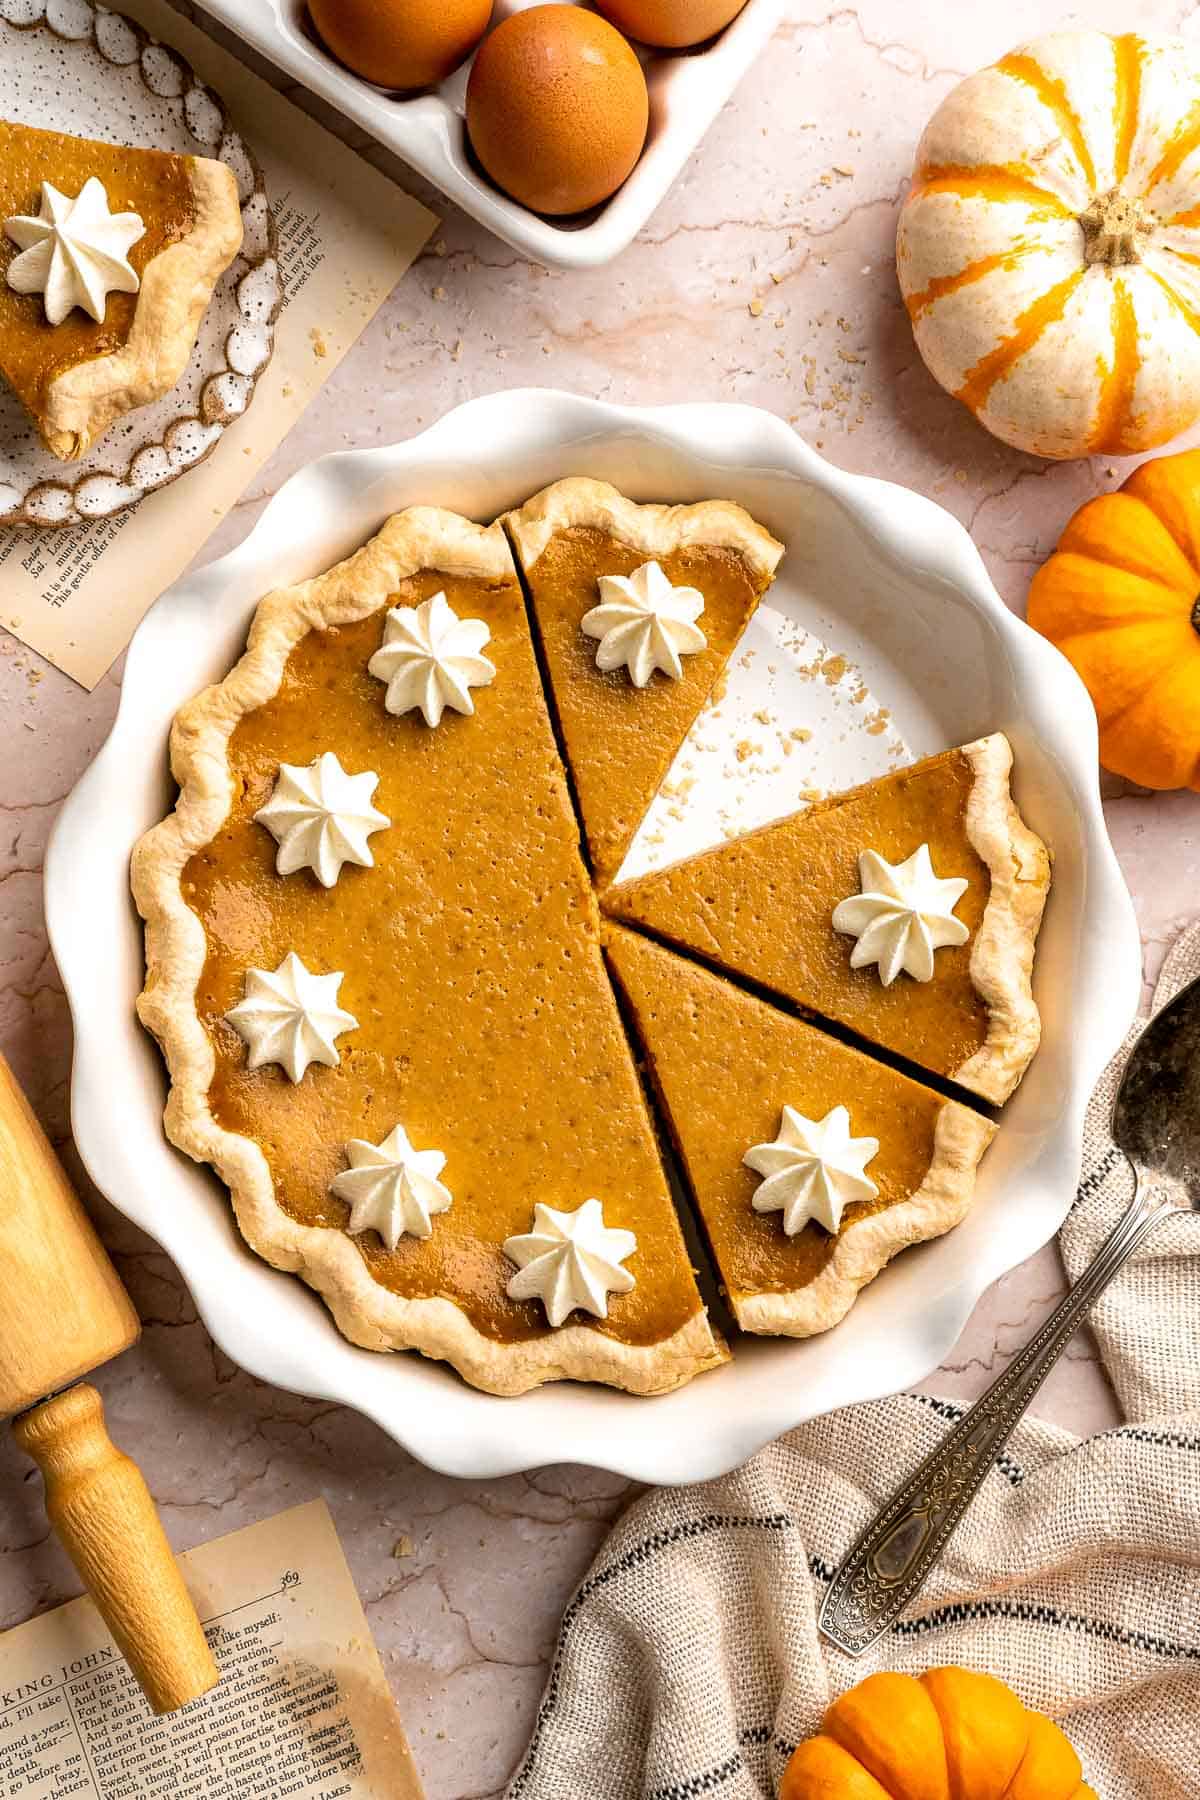
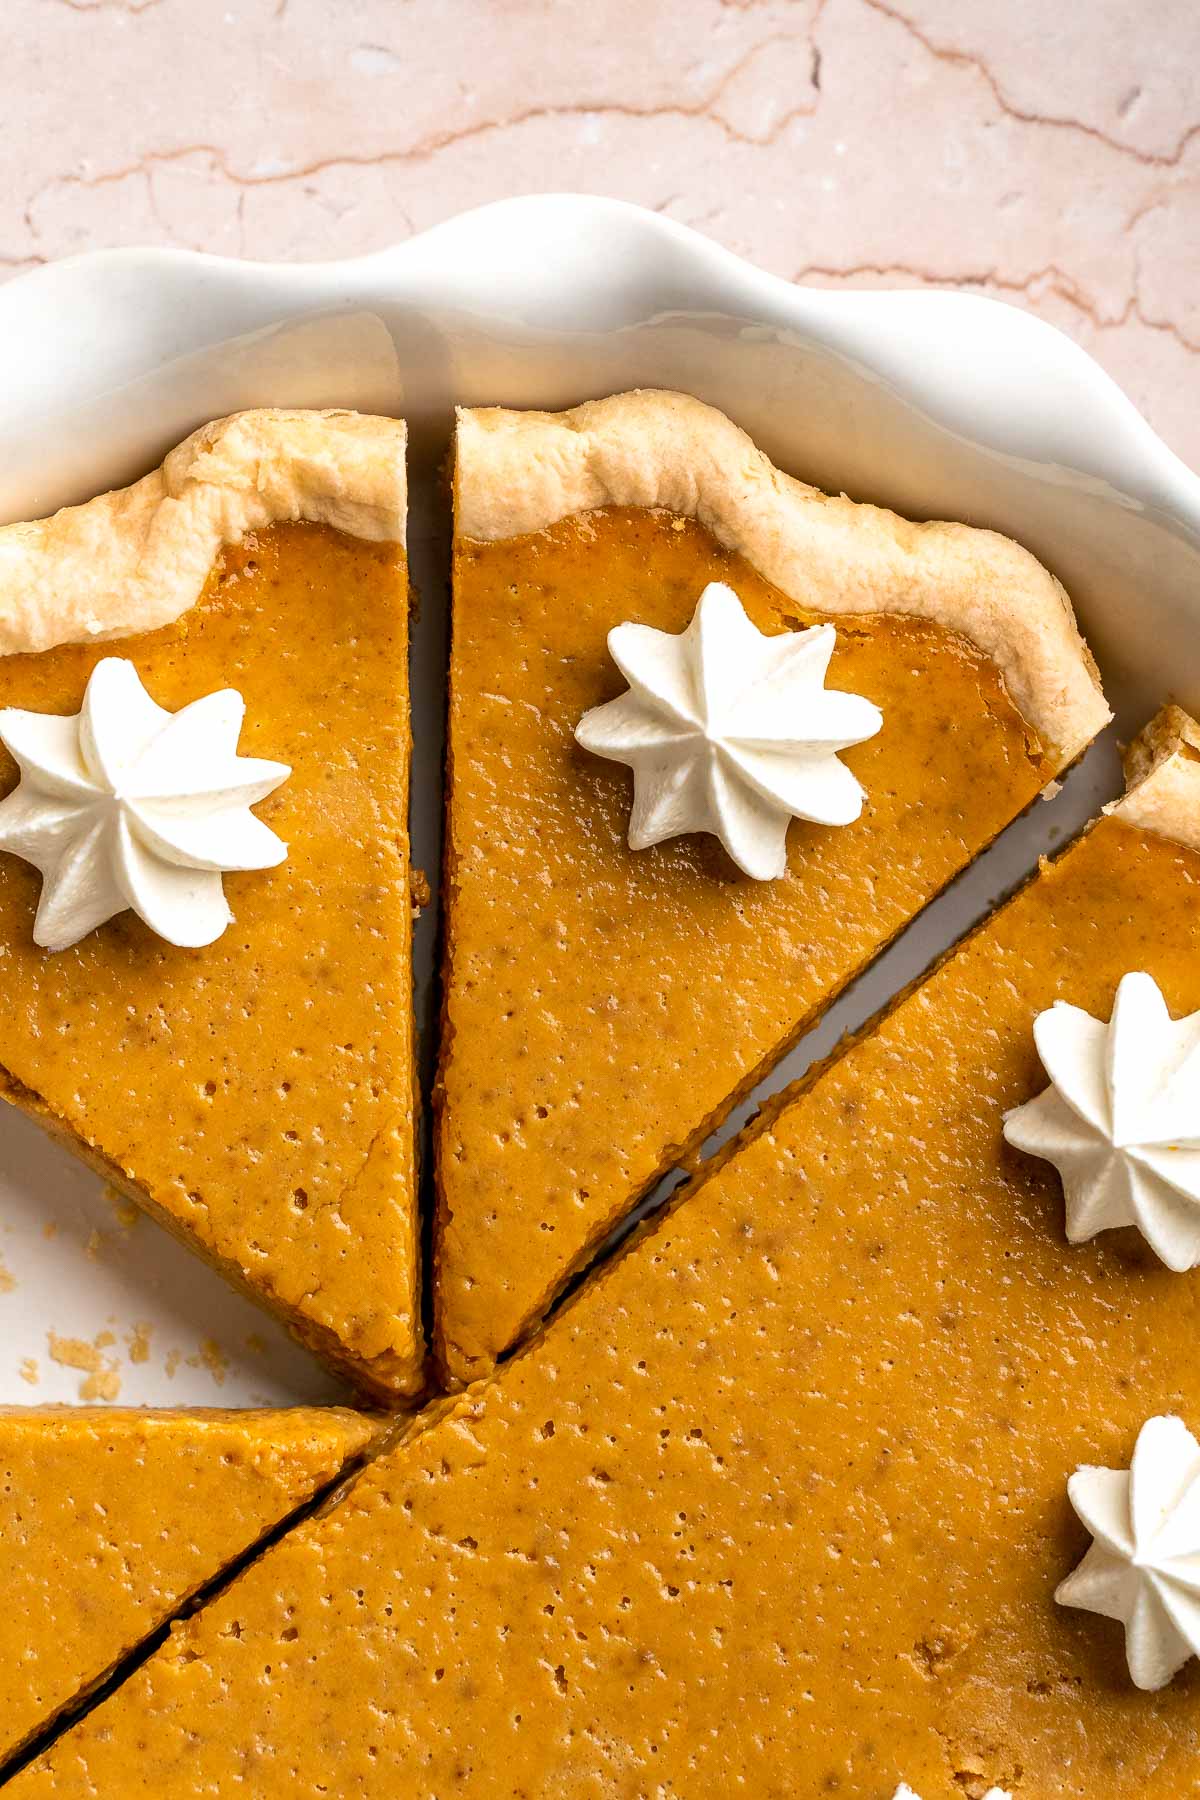
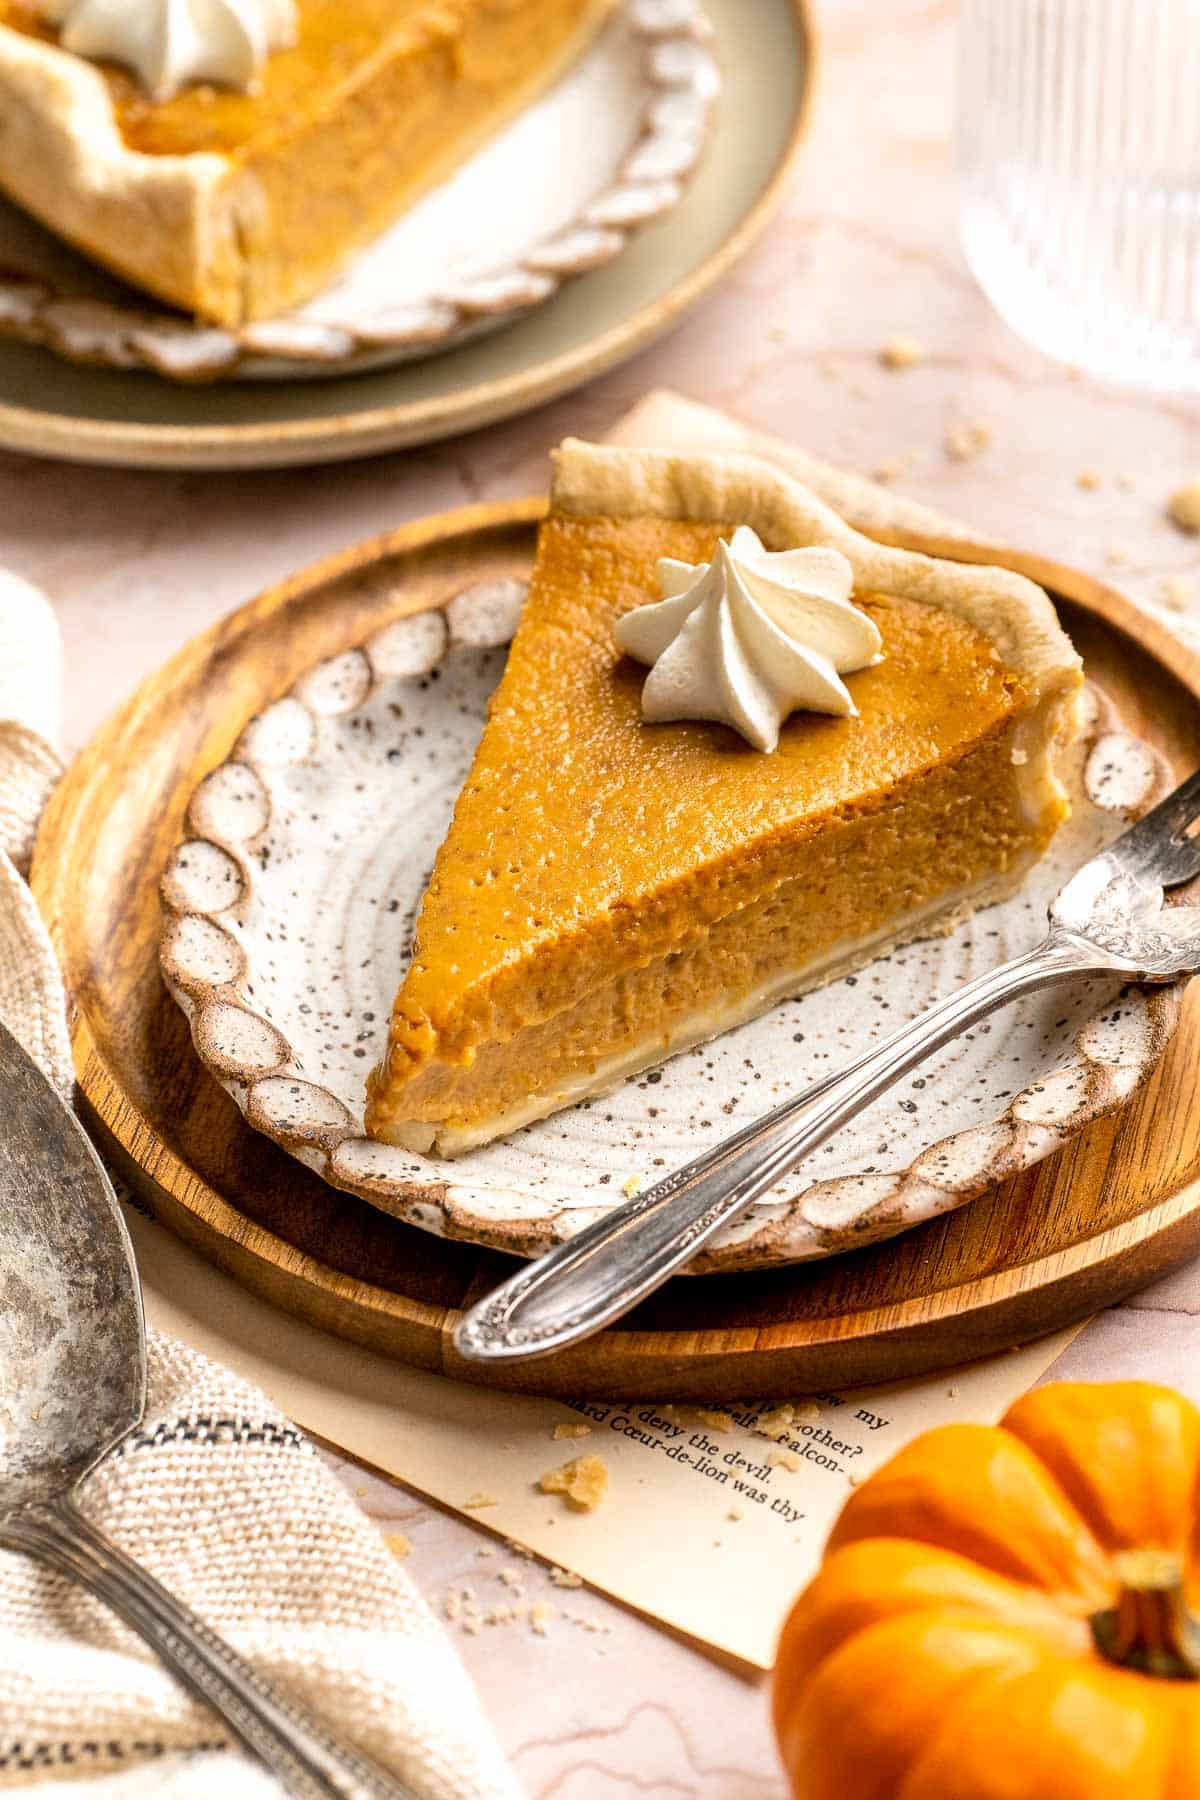
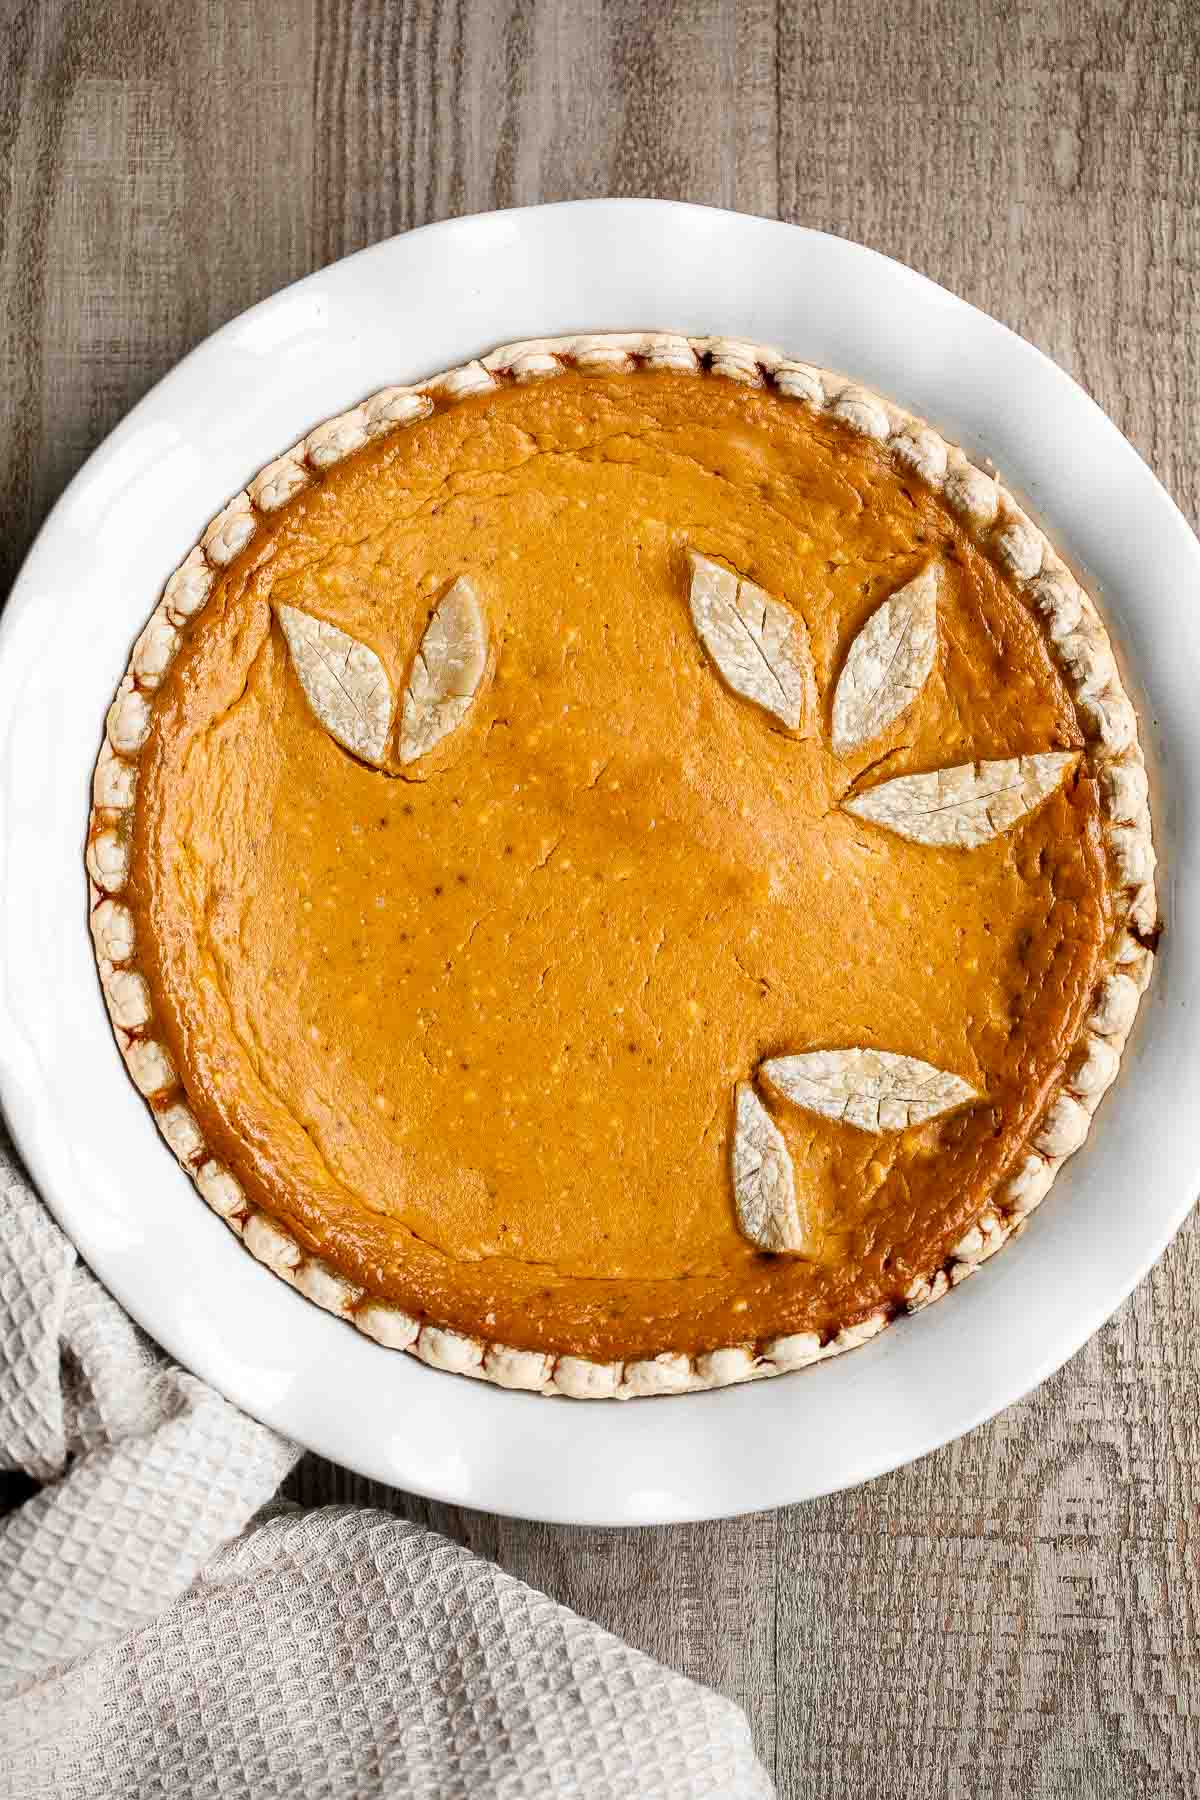
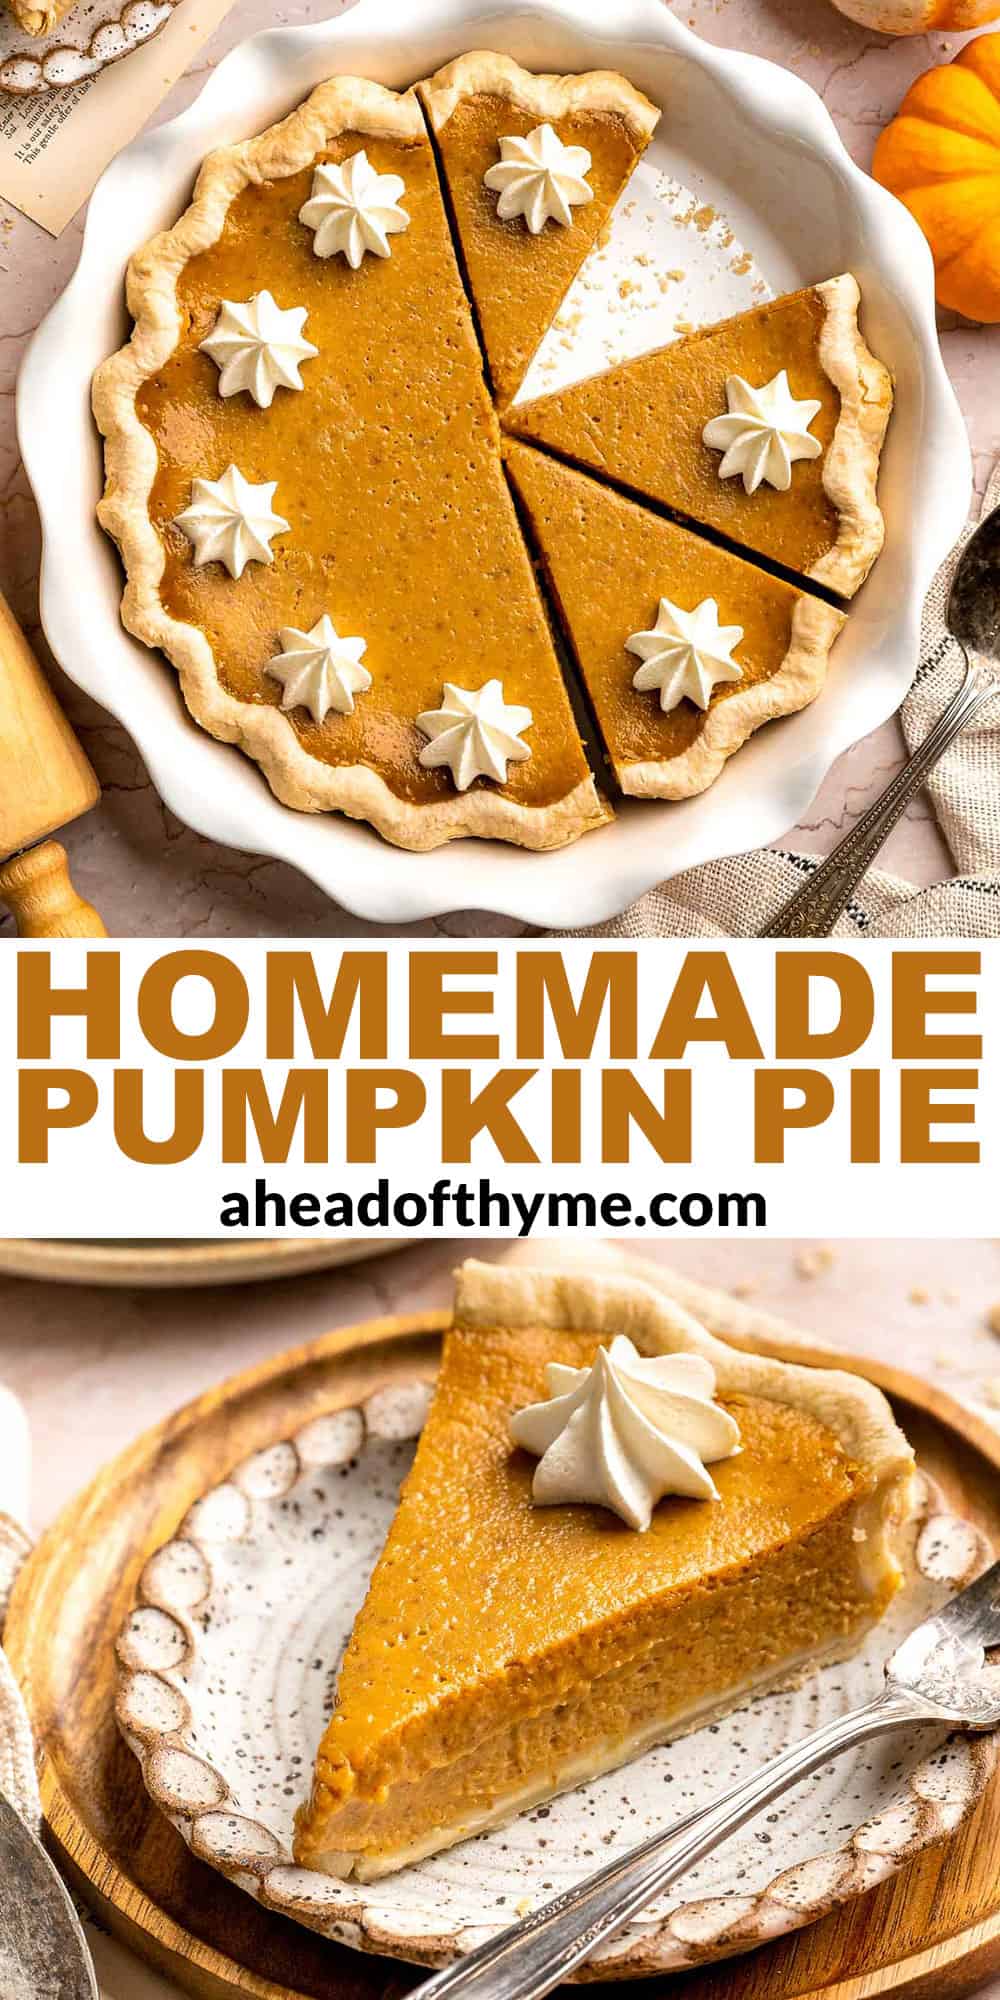
There's nothing more comforting or nostalgic than a Classic Homemade Pumpkin Pie from Scratch - creamy, spiced filling inside a flaky, buttery crust. It's the heart of every Thanksgiving table and a dessert that never goes out of style. This recipe combines a buttery homemade crust with a smooth pumpkin filling flavored with cinnamon, ginger, and cloves. It's simple, elegant, and absolutely irresistible with a dollop of whipped cream on top.
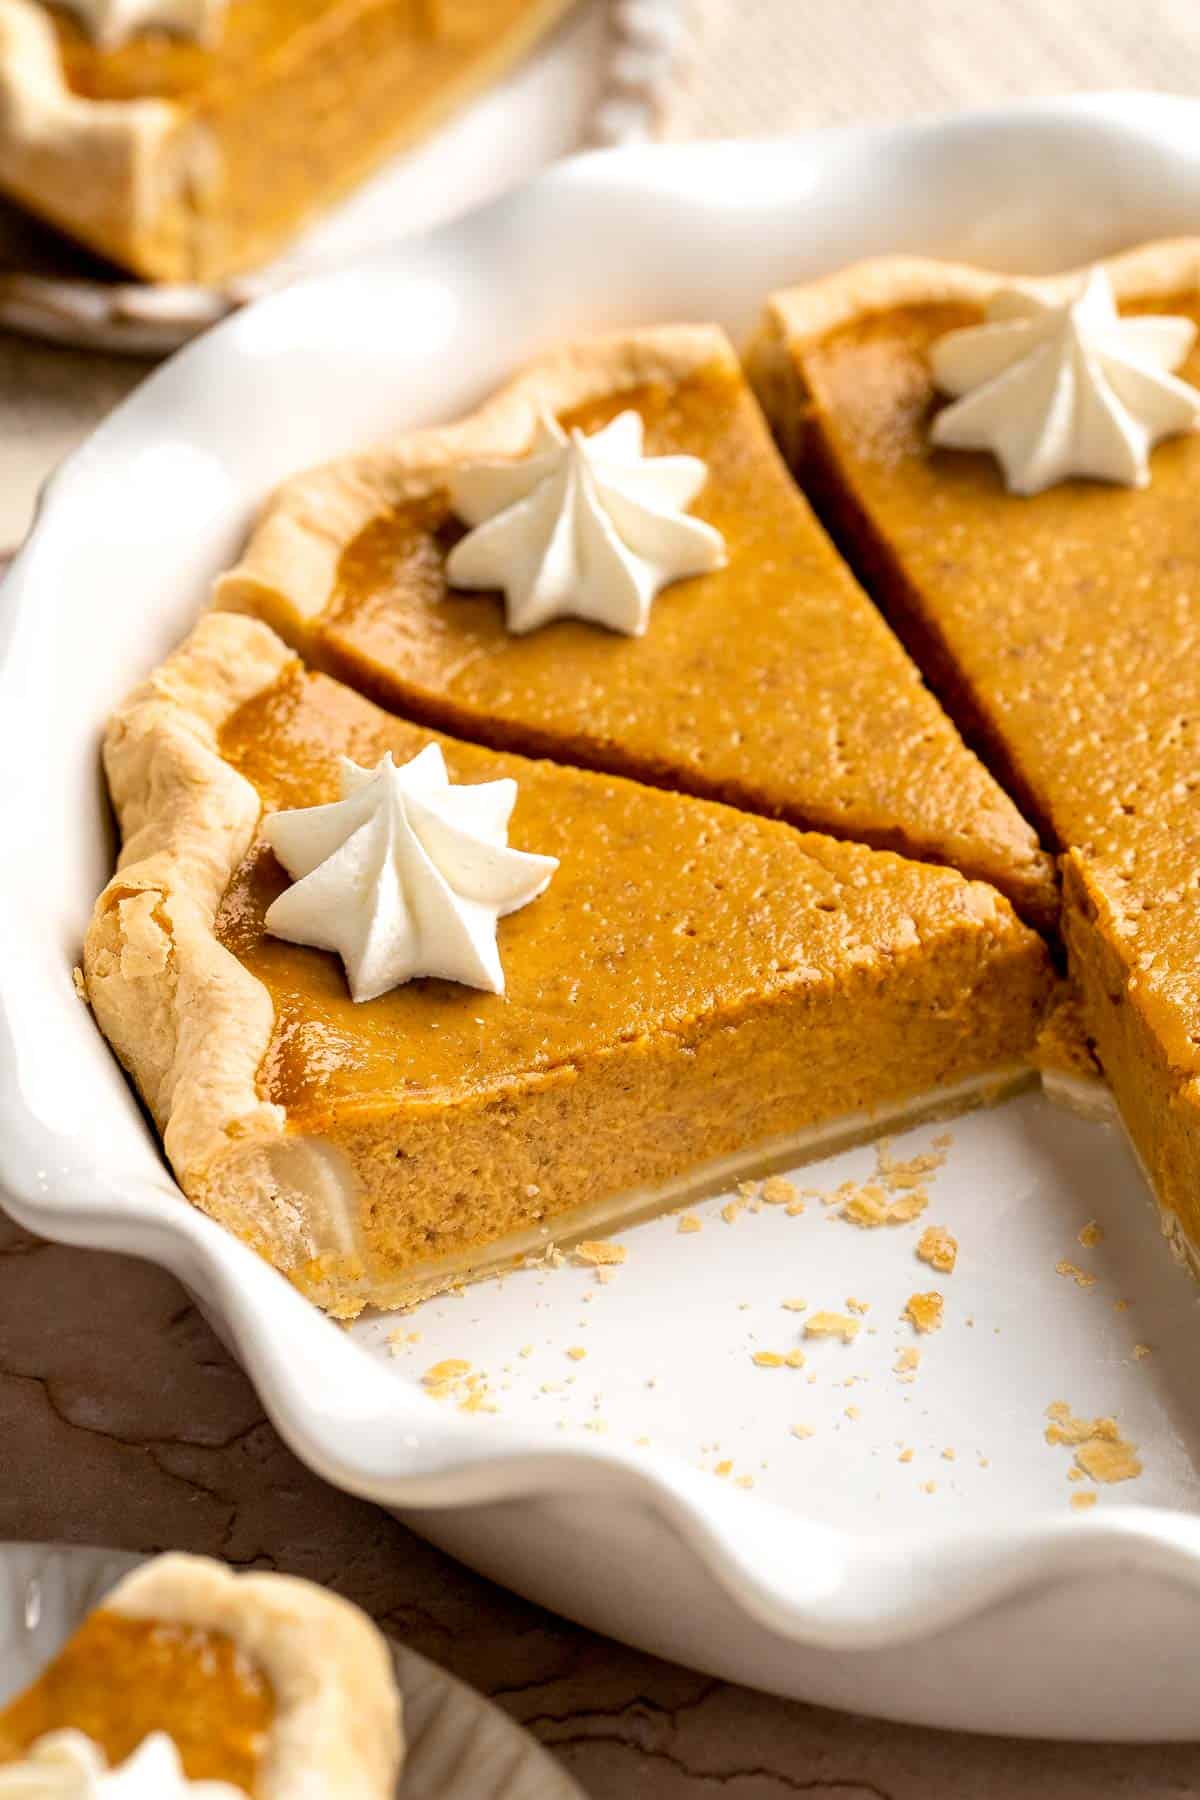
If you've only made pumpkin pie with store-bought crust or pre-mixed filling, you're in for a treat. Making it from scratch is easier than you think - and the flavor difference is incredible. The homemade crust is crisp and golden, while the silky pumpkin filling has that perfect balance of warm spice and sweetness. This pie tastes like fall and fills your kitchen with the coziest aroma imaginable.
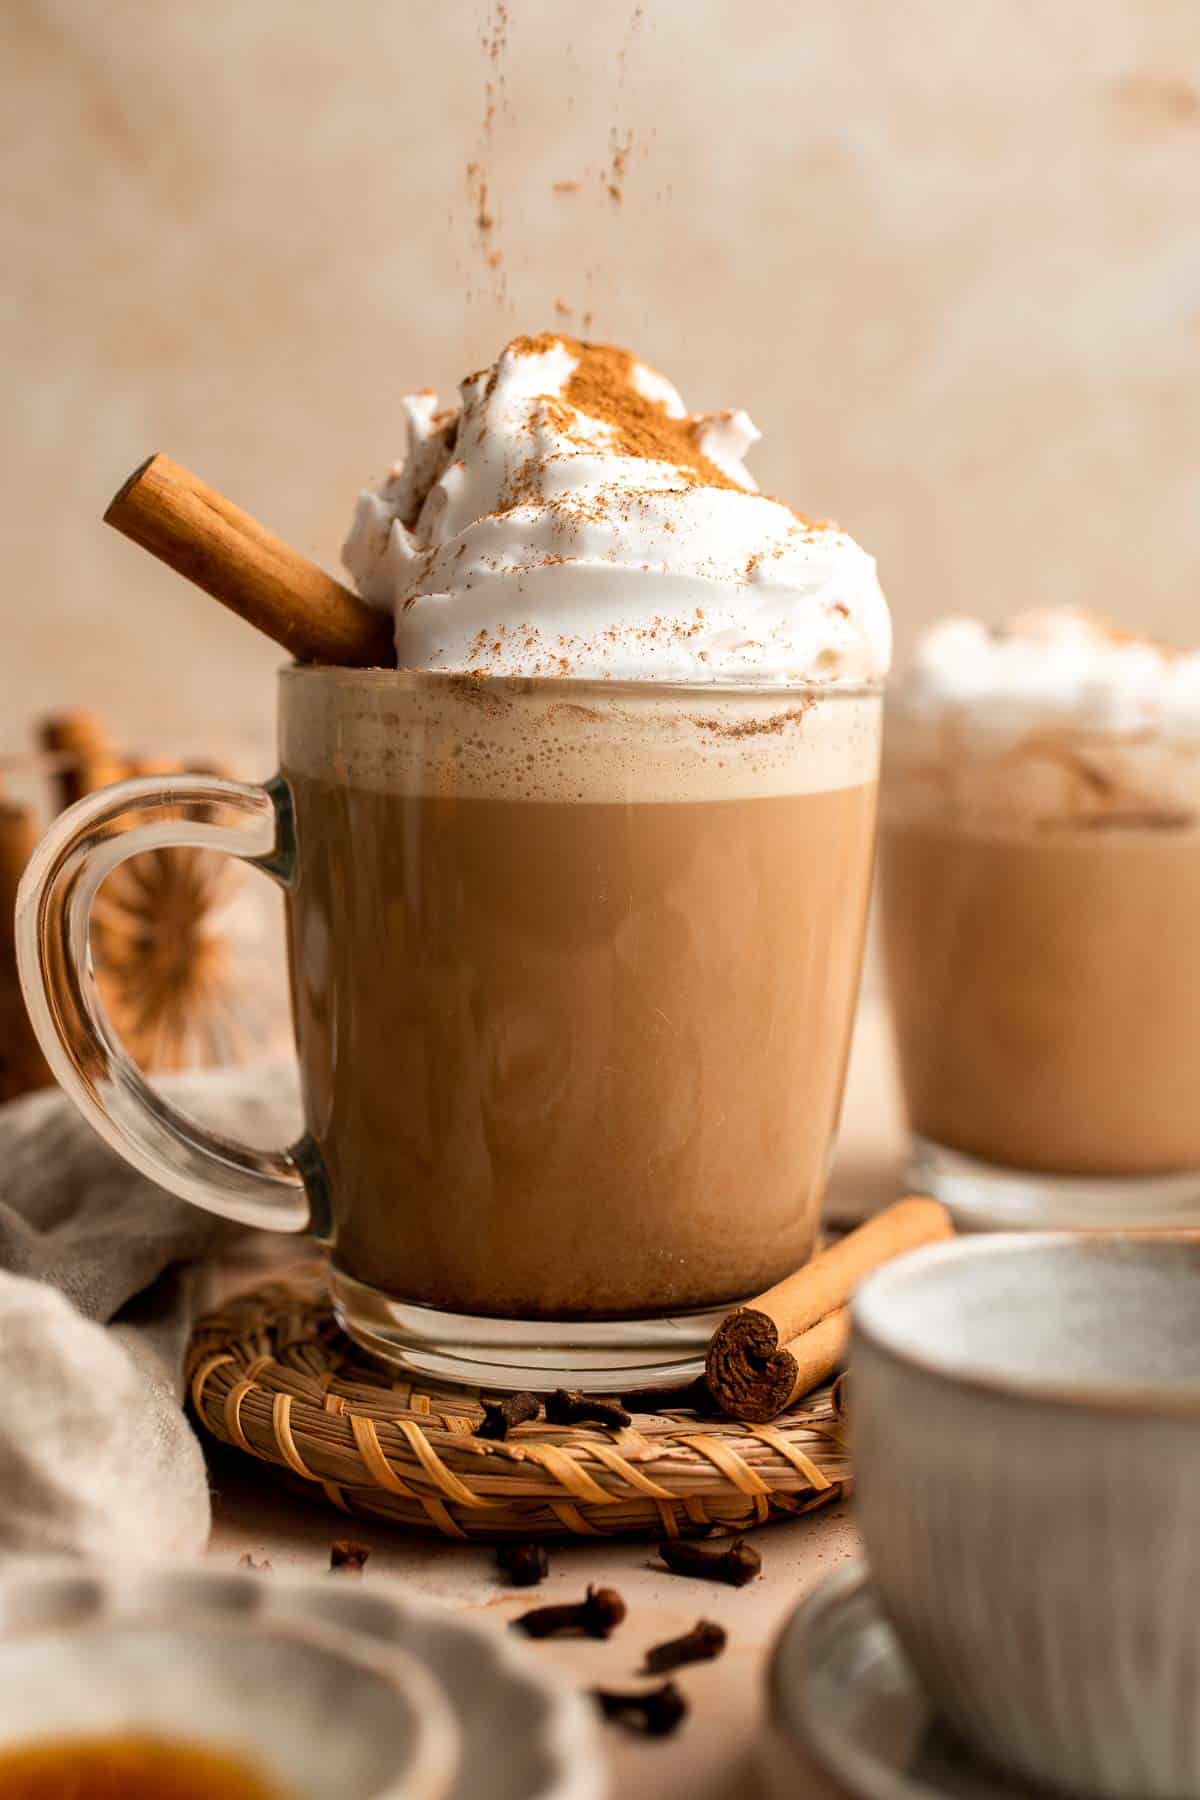
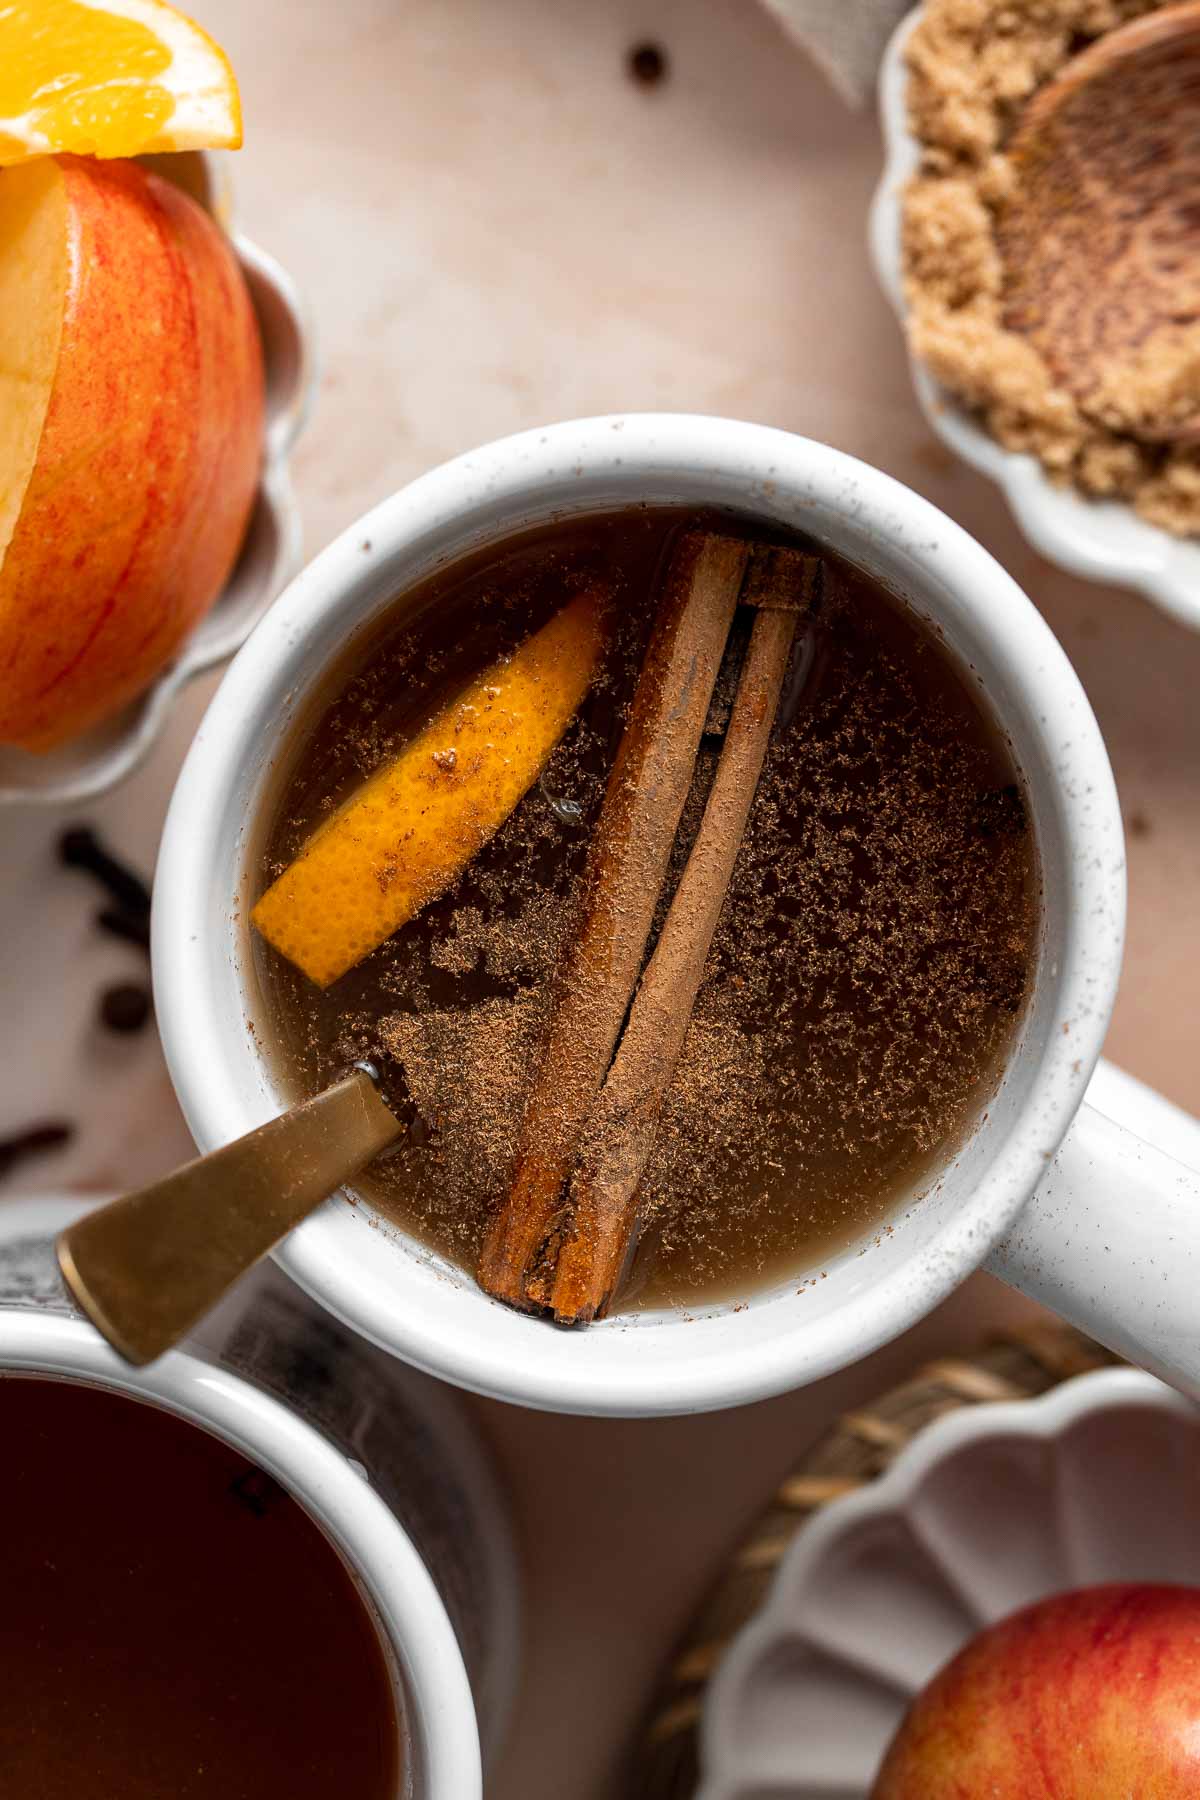
If you liked this pumpkin pie recipe, you should try our Pumpkin Pie Bars, Mini Pumpkin Pies, or Pumpkin Mascarpone Pie next. It pairs beautifully with a cup of Hot Apple Cider or a slice of Pumpkin Coffee Cake for the ultimate fall dessert spread.
Why You'll Love This Recipe
- Made completely from scratch. Both the crust and the filling are homemade, so you know exactly what's going in - no shortcuts or mystery ingredients.
- Flaky, buttery pie crust. The crust is tender yet crisp, with the perfect golden finish that complements the creamy pumpkin filling.
- Classic holiday flavor. Spiced with cinnamon, ginger, and cloves, this pie tastes like the essence of Thanksgiving. It's the best pumpkin pie ever!
- Perfectly smooth filling. Light, creamy, and never grainy, this homemade pumpkin pie bakes up beautifully every time.
- Make-ahead friendly. Pumpkin pie can be baked a day in advance, making your holiday prep a little easier.
Jump to:
Ingredients and Substitutions
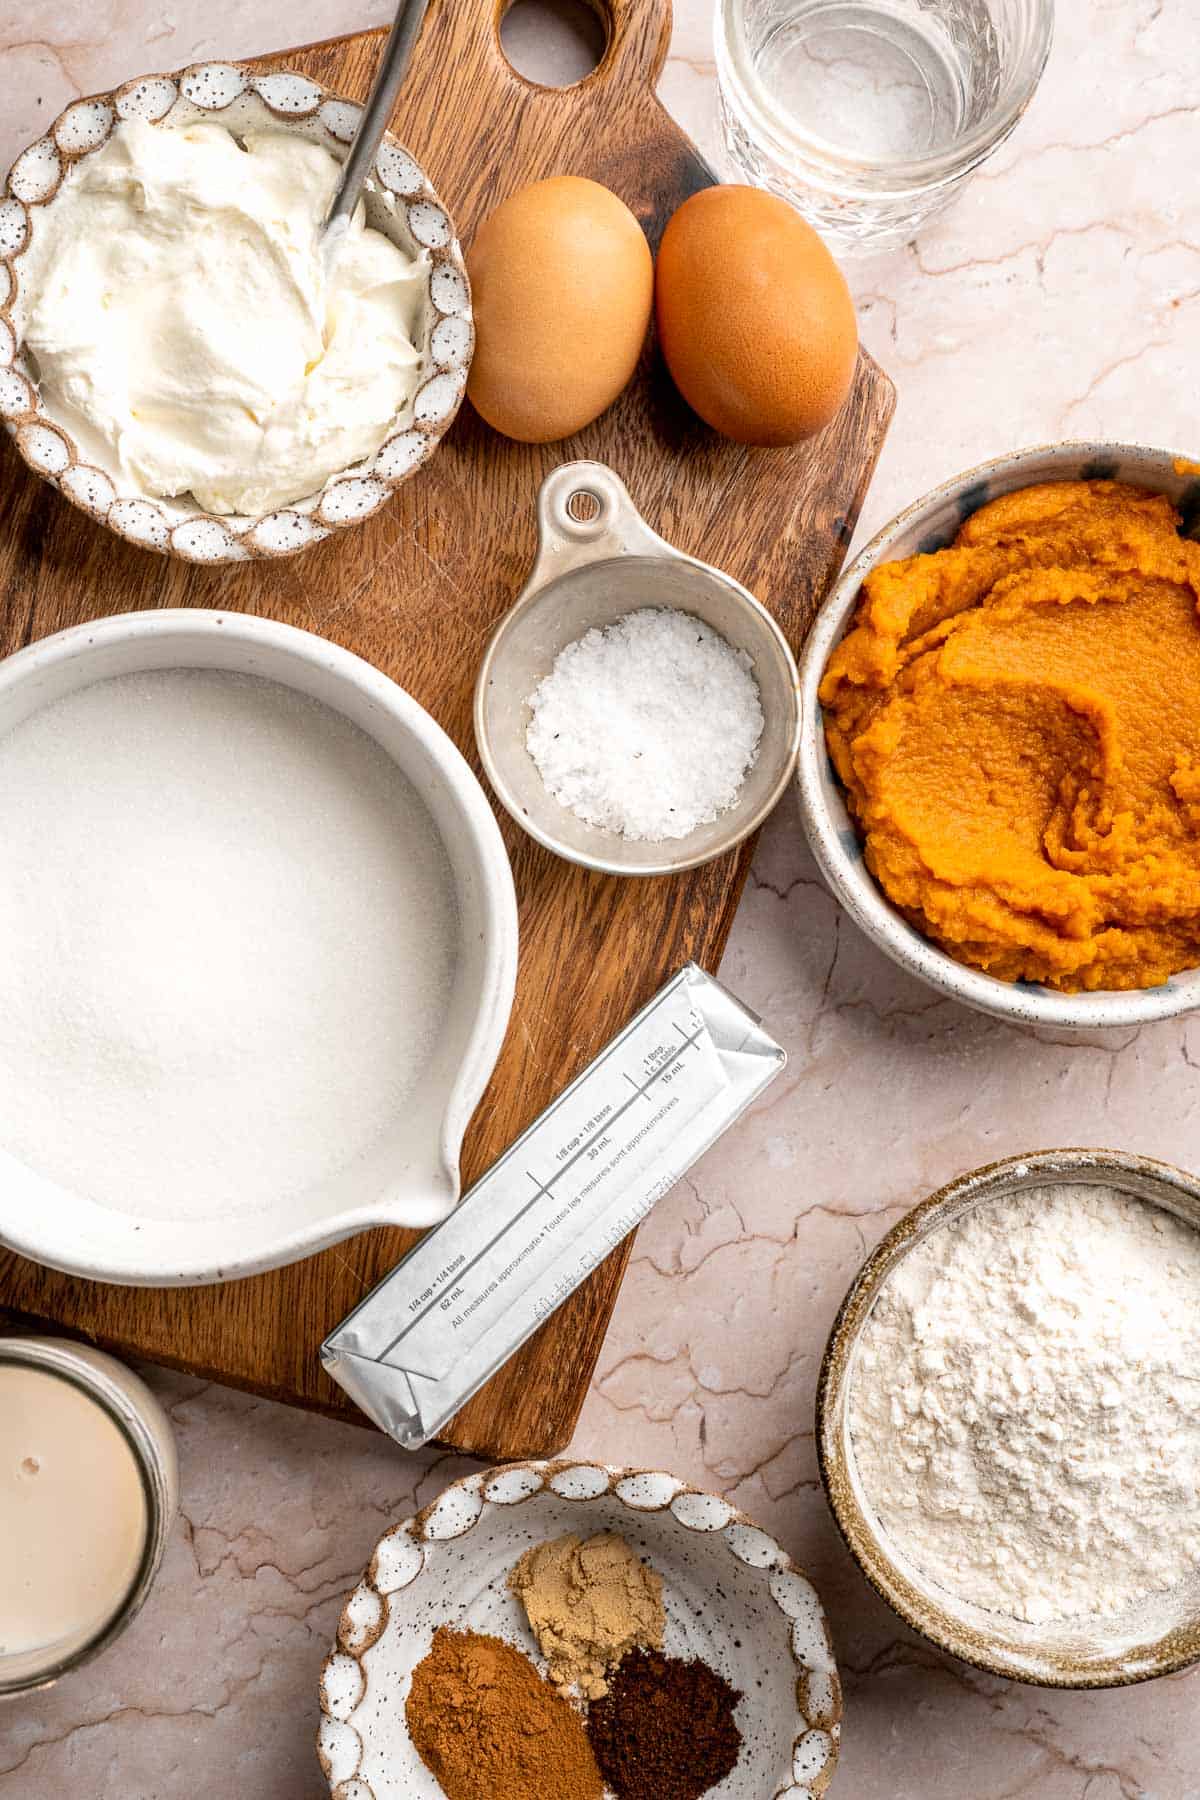
To make homemade Pumpkin Pie from scratch, you will need the following ingredients (see recipe card below for quantities):
- all-purpose flour - The foundation of the crust. For extra tenderness, measure accurately by spooning and leveling.
- unsalted butter - Cold butter creates those flaky layers. Cut it into small cubes before using.
- granulated sugar - Adds a touch of sweetness to balance the savory crust.
- salt - Enhances flavor and helps develop structure.
- ice water - Keeps the dough cool and helps it come together without becoming sticky.
- pumpkin puree - Use homemade fresh pumpkin puree or canned pumpkin, but make sure it's pure pumpkin (not pumpkin pie filling). If substituting with homemade, use 1¾ cups (about 420 grams) to replace one 15-ounce can. Since homemade puree is often thinner, strain it through a fine mesh sieve or cheesecloth for 15-20 minutes to remove excess water and moisture, and measure after draining.
- granulated sugar - Sweetens the pie just enough without overpowering the spice.
- warm spices - Cinnamon, ginger, and cloves is the classic trio that gives pumpkin pie its warm, cozy flavor. You can substitute with 1½ teaspoons pumpkin pie spice if you prefer.
- eggs - Provide structure and richness.
- evaporated milk - Gives the filling its signature silky texture. Don't substitute condensed milk as it's too sweet and thick.
- whipped cream - Optional, but highly recommended for serving.
Equipment
You'll also need measuring cups and spoons, a food processor, rolling pin, mixing bowls, a 9-inch pie dish, whisk, and a paring knife or toothpick for doneness testing.
Instructions
Step 1: Make the pie crust
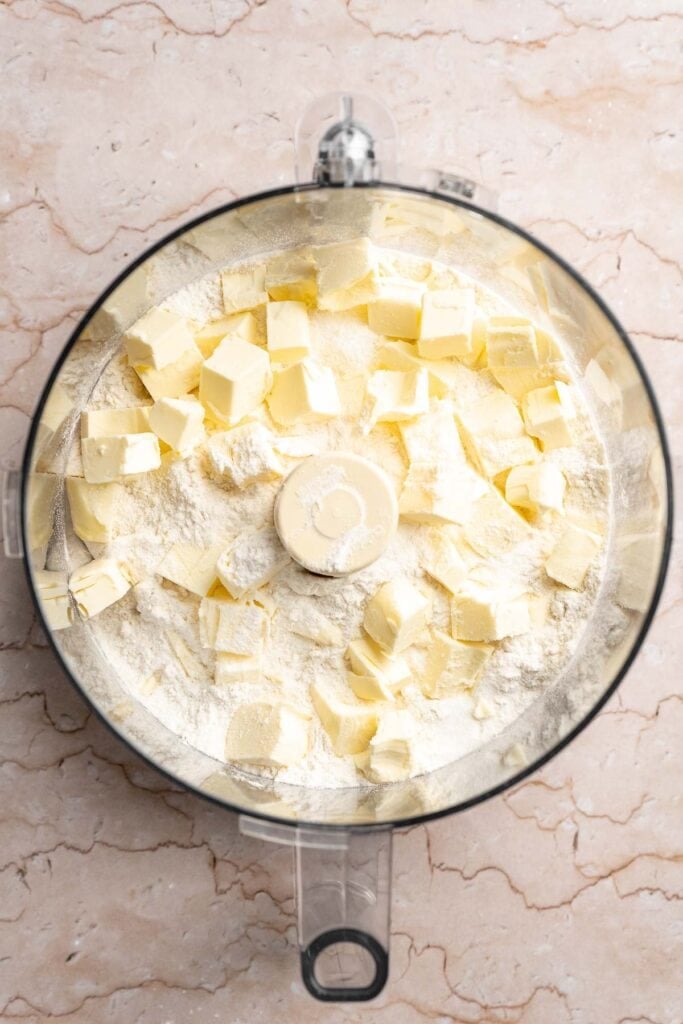
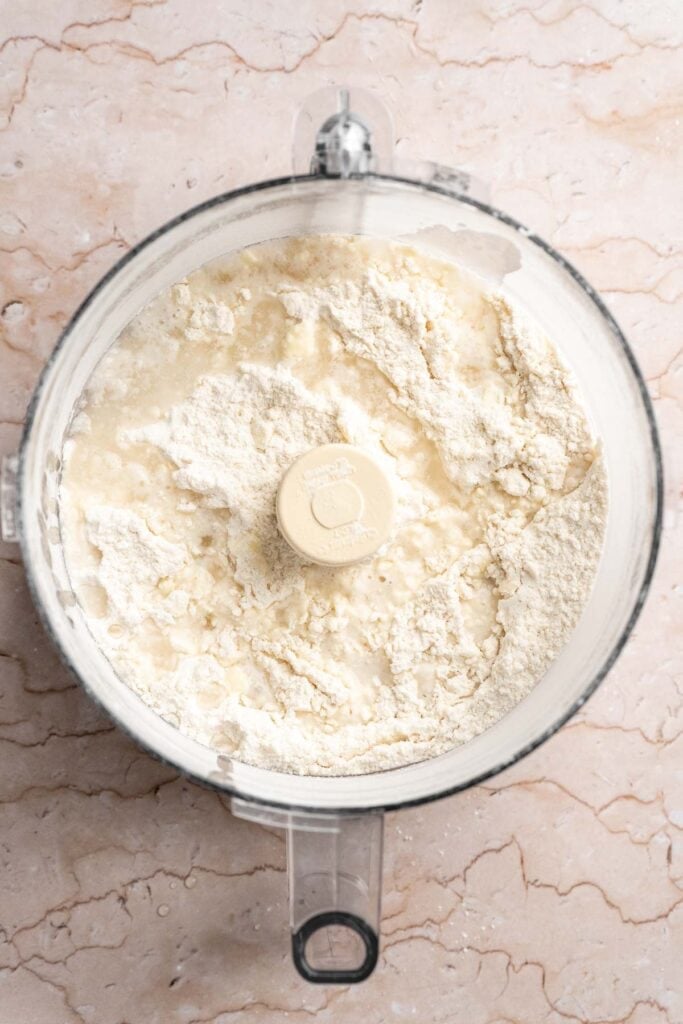
- Combine the dry ingredients. Add flour, butter, sugar, and salt into a food processor. Pulse on and off until the mixture forms small pea-sized pieces of dough, about 1 minute.

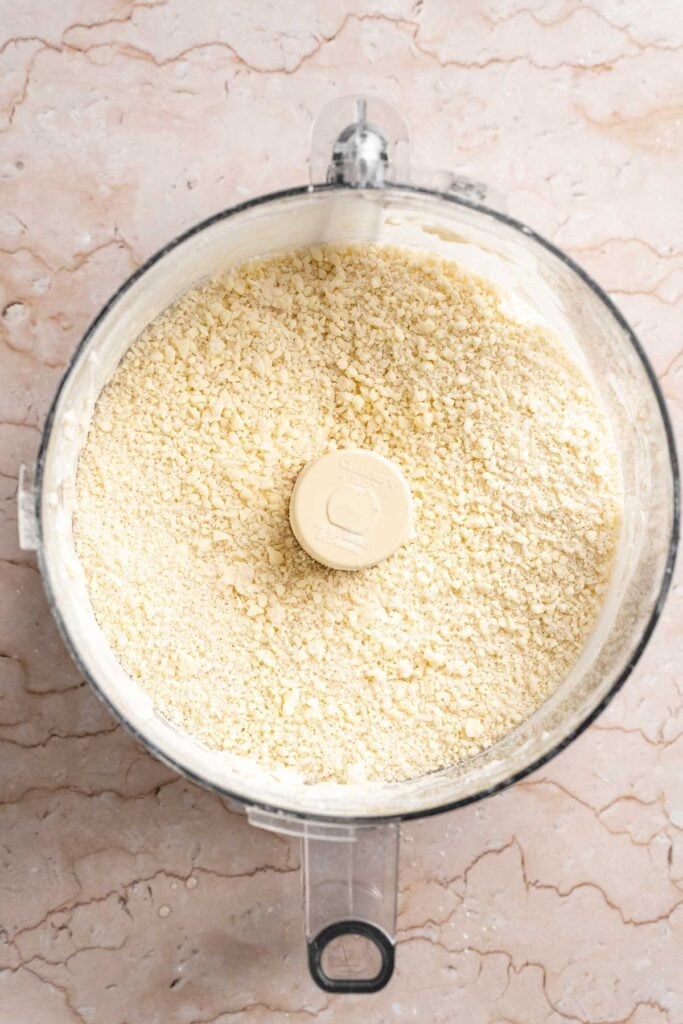
- Add ice water. Drizzle in ice water, a tablespoon at a time, while pulsing until the dough reaches a breadcrumb consistency, about another minute. Ice-cold water is essential to keep the butter from melting.
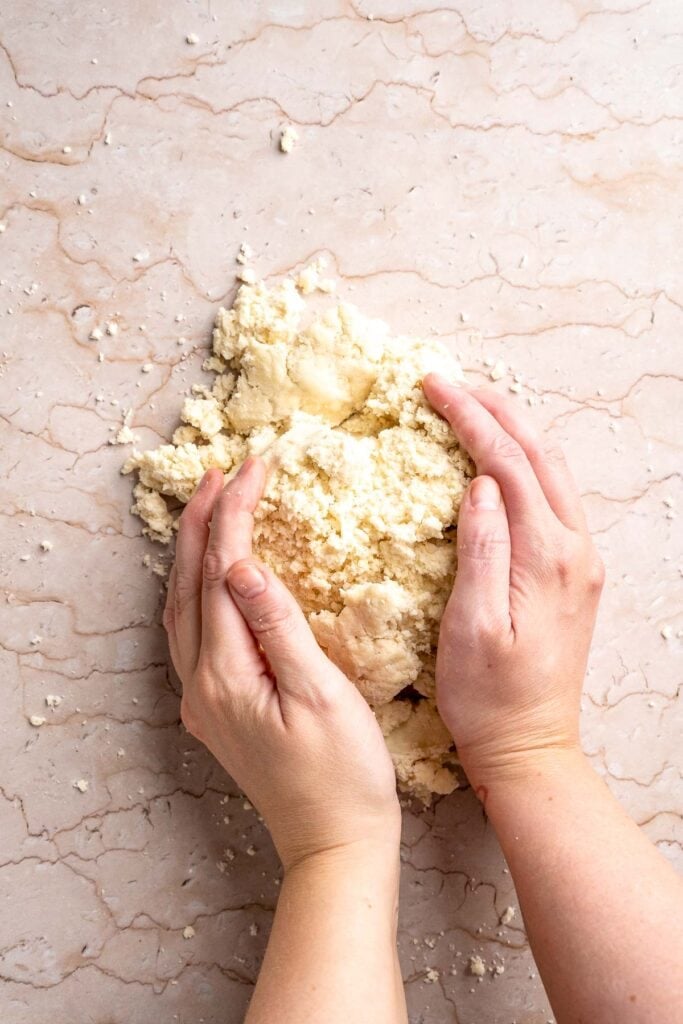
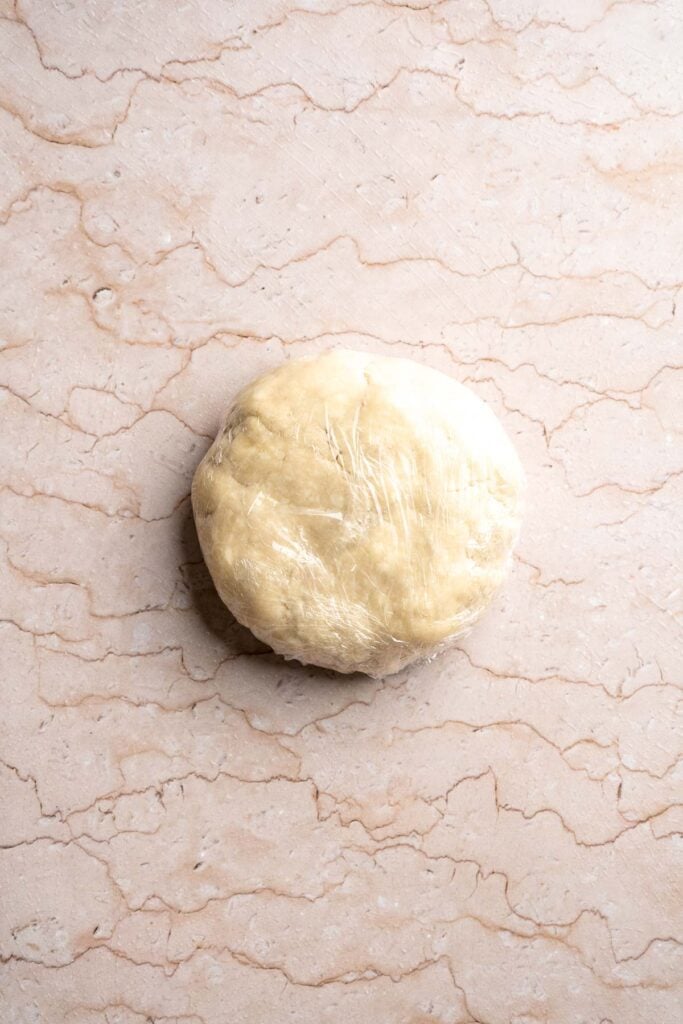
- Bring the dough together. Transfer the crumbly dough to a lightly floured surface. Use your hands to press and squeeze it together until it forms a smooth dough. Shape it into a flat disc, wrap tightly in plastic wrap, and refrigerate for 1 hour to firm up.
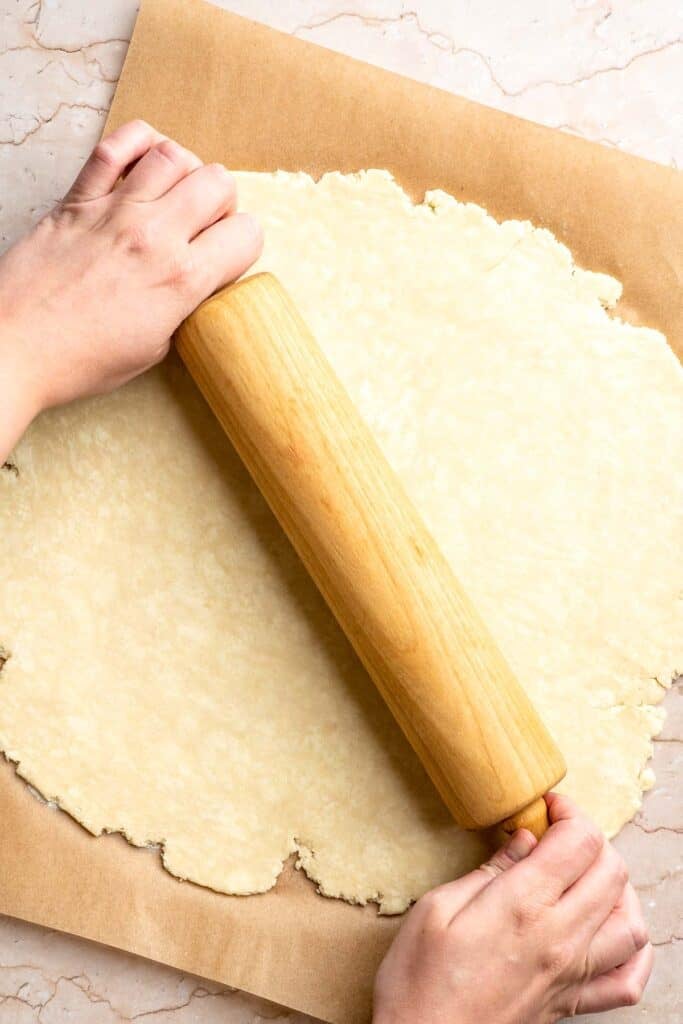
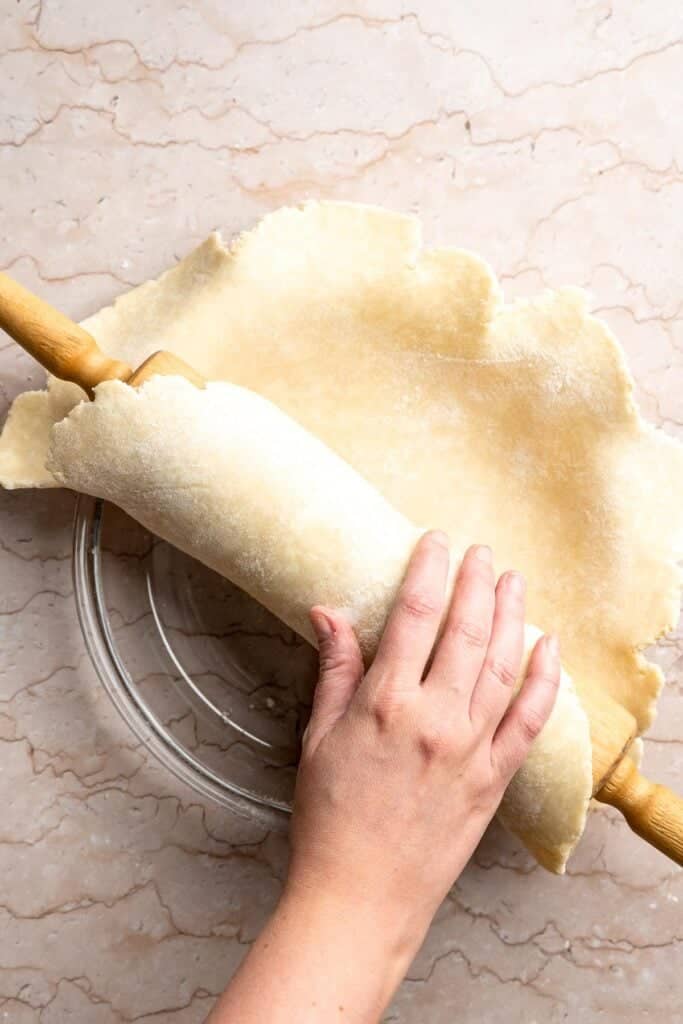
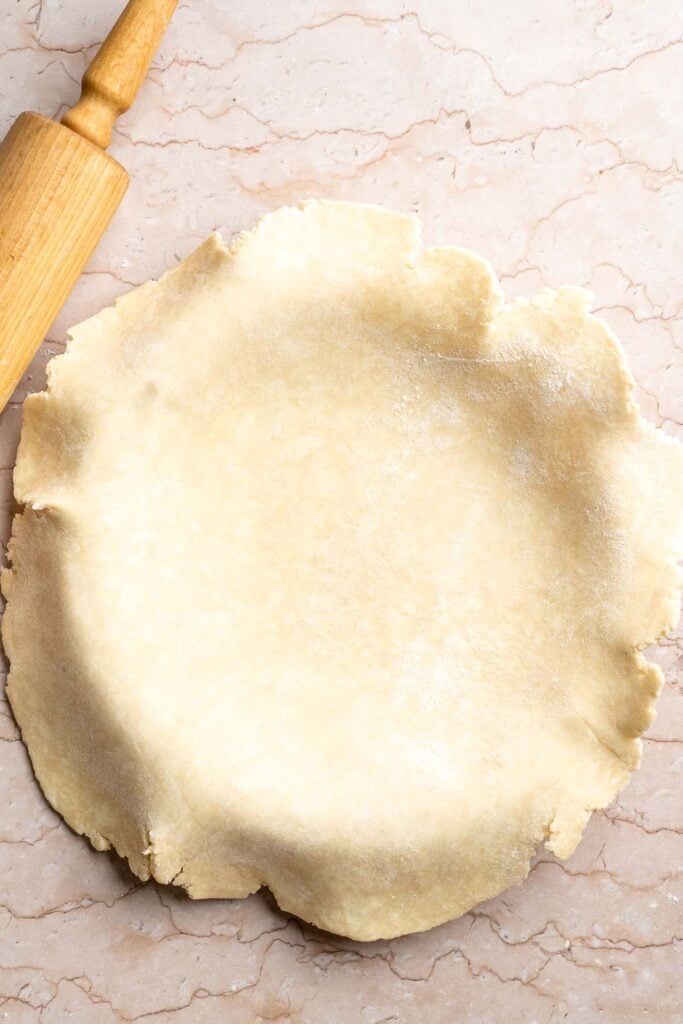
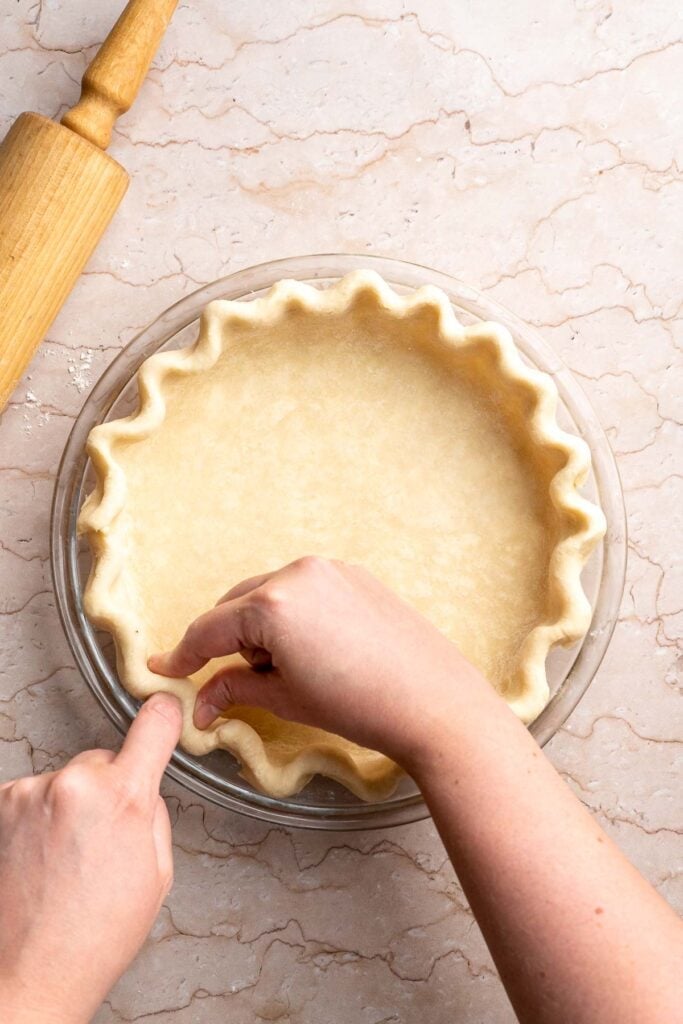
- Roll out the dough. Dust your work surface with flour and roll the chilled dough into a 14-inch circle. Carefully transfer it to a greased 9-inch pie pan.
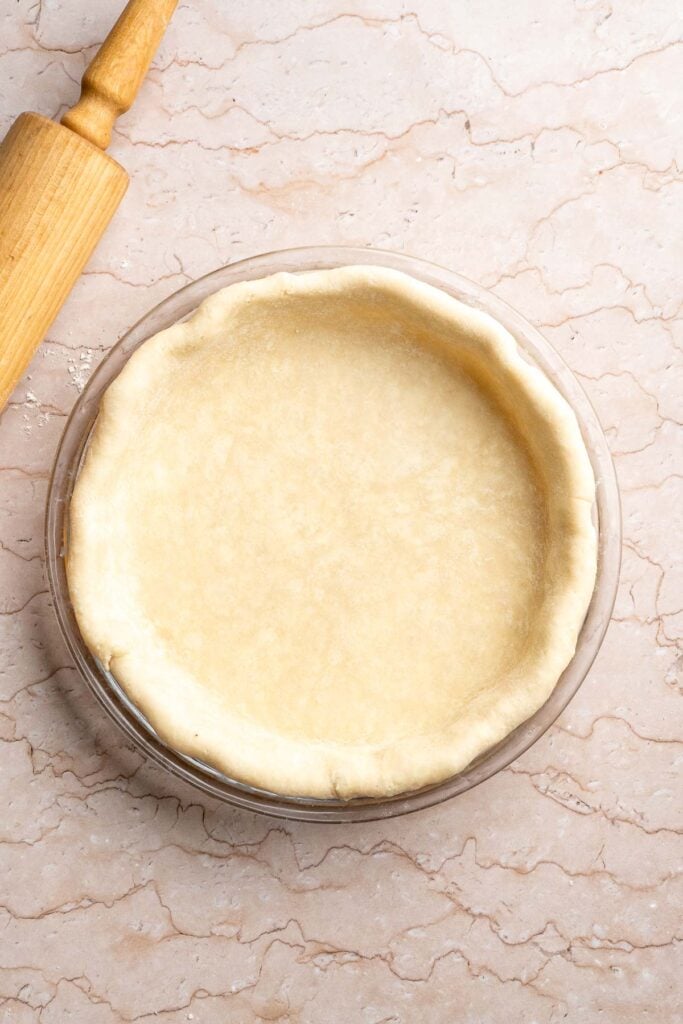
- Shape and crimp. Fold excess dough under around the rim and crimp the edges with your fingers or a fork for a decorative edge.
Step 2: Make the pie filling
- Preheat the oven. Preheat oven to 425°F (220°C) so it's ready once your filling is mixed.
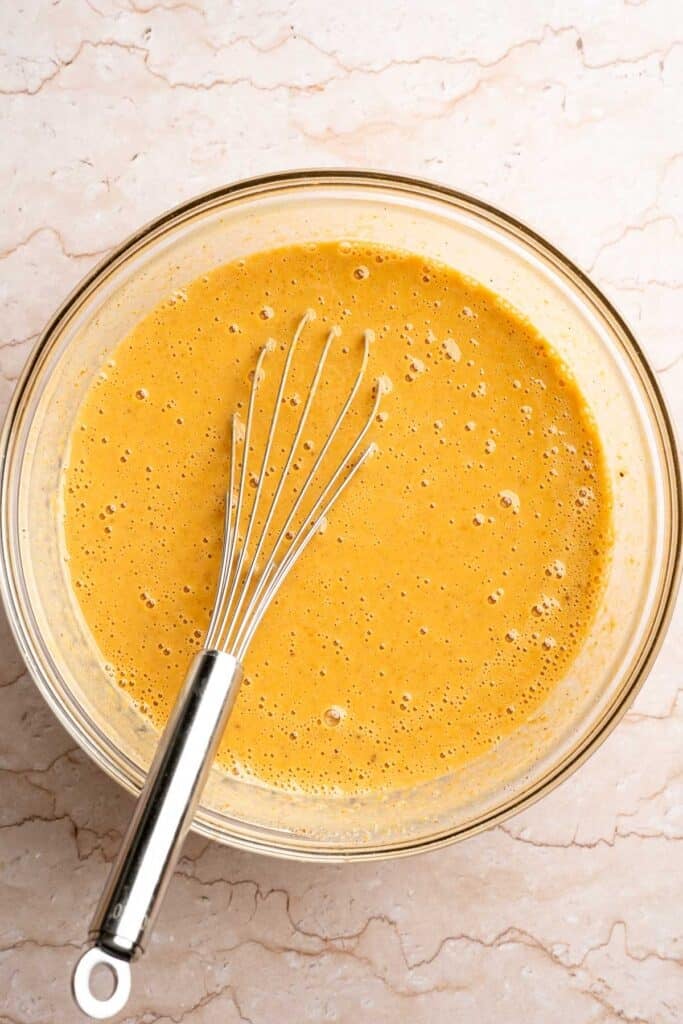
- Mix the filling. In a large bowl, whisk together pumpkin puree, sugar, cinnamon, ginger, cloves, and salt until smooth. Add eggs and beat well, then gradually whisk in evaporated milk until the mixture is silky and fully combined.
Step 3: Assemble and bake
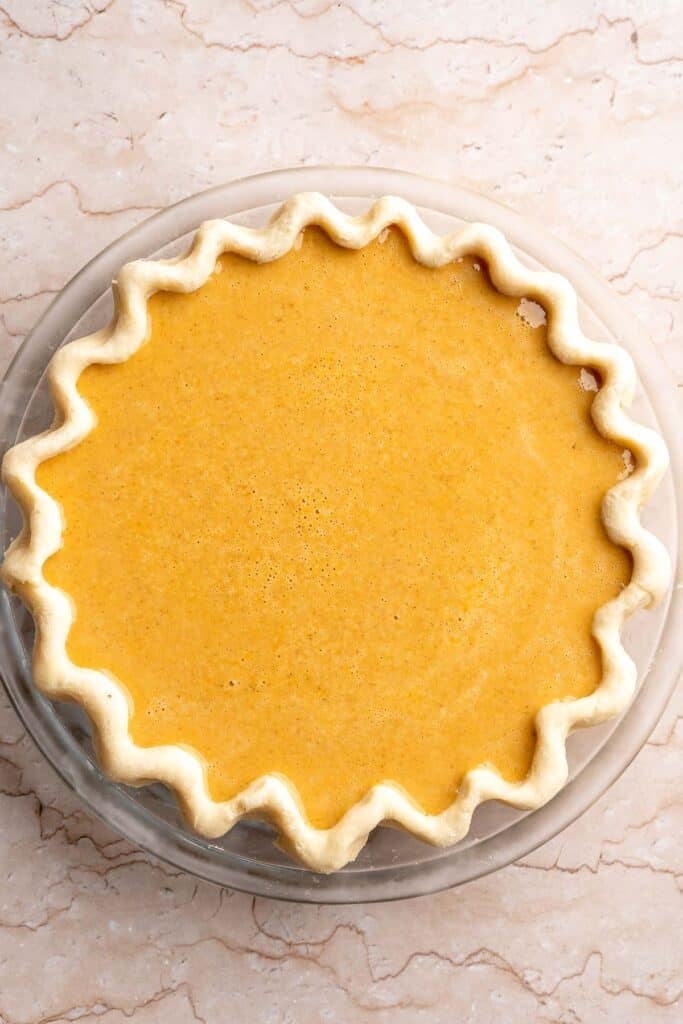
- Fill the crust. Pour the filling into your prepared pie crust and gently shake the pan to release any air bubbles. Smooth the top with a spatula if needed.
- Bake the pie. Bake at 425°F for 15 minutes, then reduce the oven temperature to 350°F (175°C) and continue baking for 40-50 minutes. The filling should be just set in the center, as it will continue to firm as it cools. To test doneness, insert a toothpick or sharp knife about 1 inch from the crust, if it comes out clean, your pie is ready. Do not overbake to avoid cracking in the middle of the pie filling.
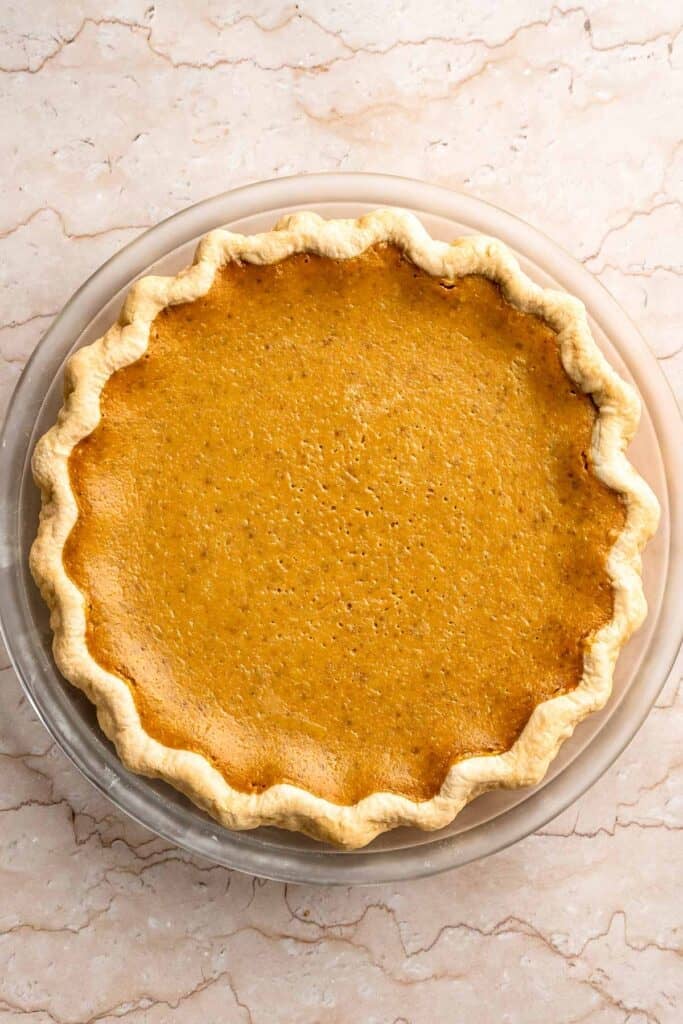
- Cool completely. Remove from oven and allow the pie to cool completely to room temperature, around 2 hours. Cooling allows the filling to set fully and prevents cracking. Once cooled, serve immediately or refrigerate until ready to serve.
- Serve. Top with a generous dollop of whipped cream and a sprinkle of cinnamon. Slice, serve, and enjoy every silky-smooth bite.
Expert Tip: Avoid Cracks in the Filling
The most common pumpkin pie issue is cracks down the center. To avoid this, don't overbake. Remove the pie when the center still jiggles slightly as it will set as it cools. Cooling slowly at room temperature also helps prevent cracking.
More Tips and Tricks
- Keep crust ingredients cold. Cold butter and ice water are key to a flaky crust. If your kitchen is warm, chill your flour and even your rolling pin before starting. Cold ingredients prevent the butter from melting too soon, which creates those tender, crisp layers once baked.
- Blind bake if you like crisp crusts. For extra texture, pre-bake your crust for 10 minutes before adding the filling.
- Use room-temperature eggs. They mix more evenly into the filling.
- Prevent soggy bottoms. Place the pie dish on a baking sheet preheated in the oven.
- Make ahead. Bake the day before serving - it's the perfect make-ahead dessert for Thanksgiving.
- Chill before slicing. For the cleanest slices, refrigerate for at least 4 hours or overnight.
Recipe Variations
- Use homemade pumpkin purée. Swap the canned pumpkin for 1¾ cups of homemade pumpkin purée for an even fresher flavor. Just strain out excess moisture before using so your filling sets perfectly.
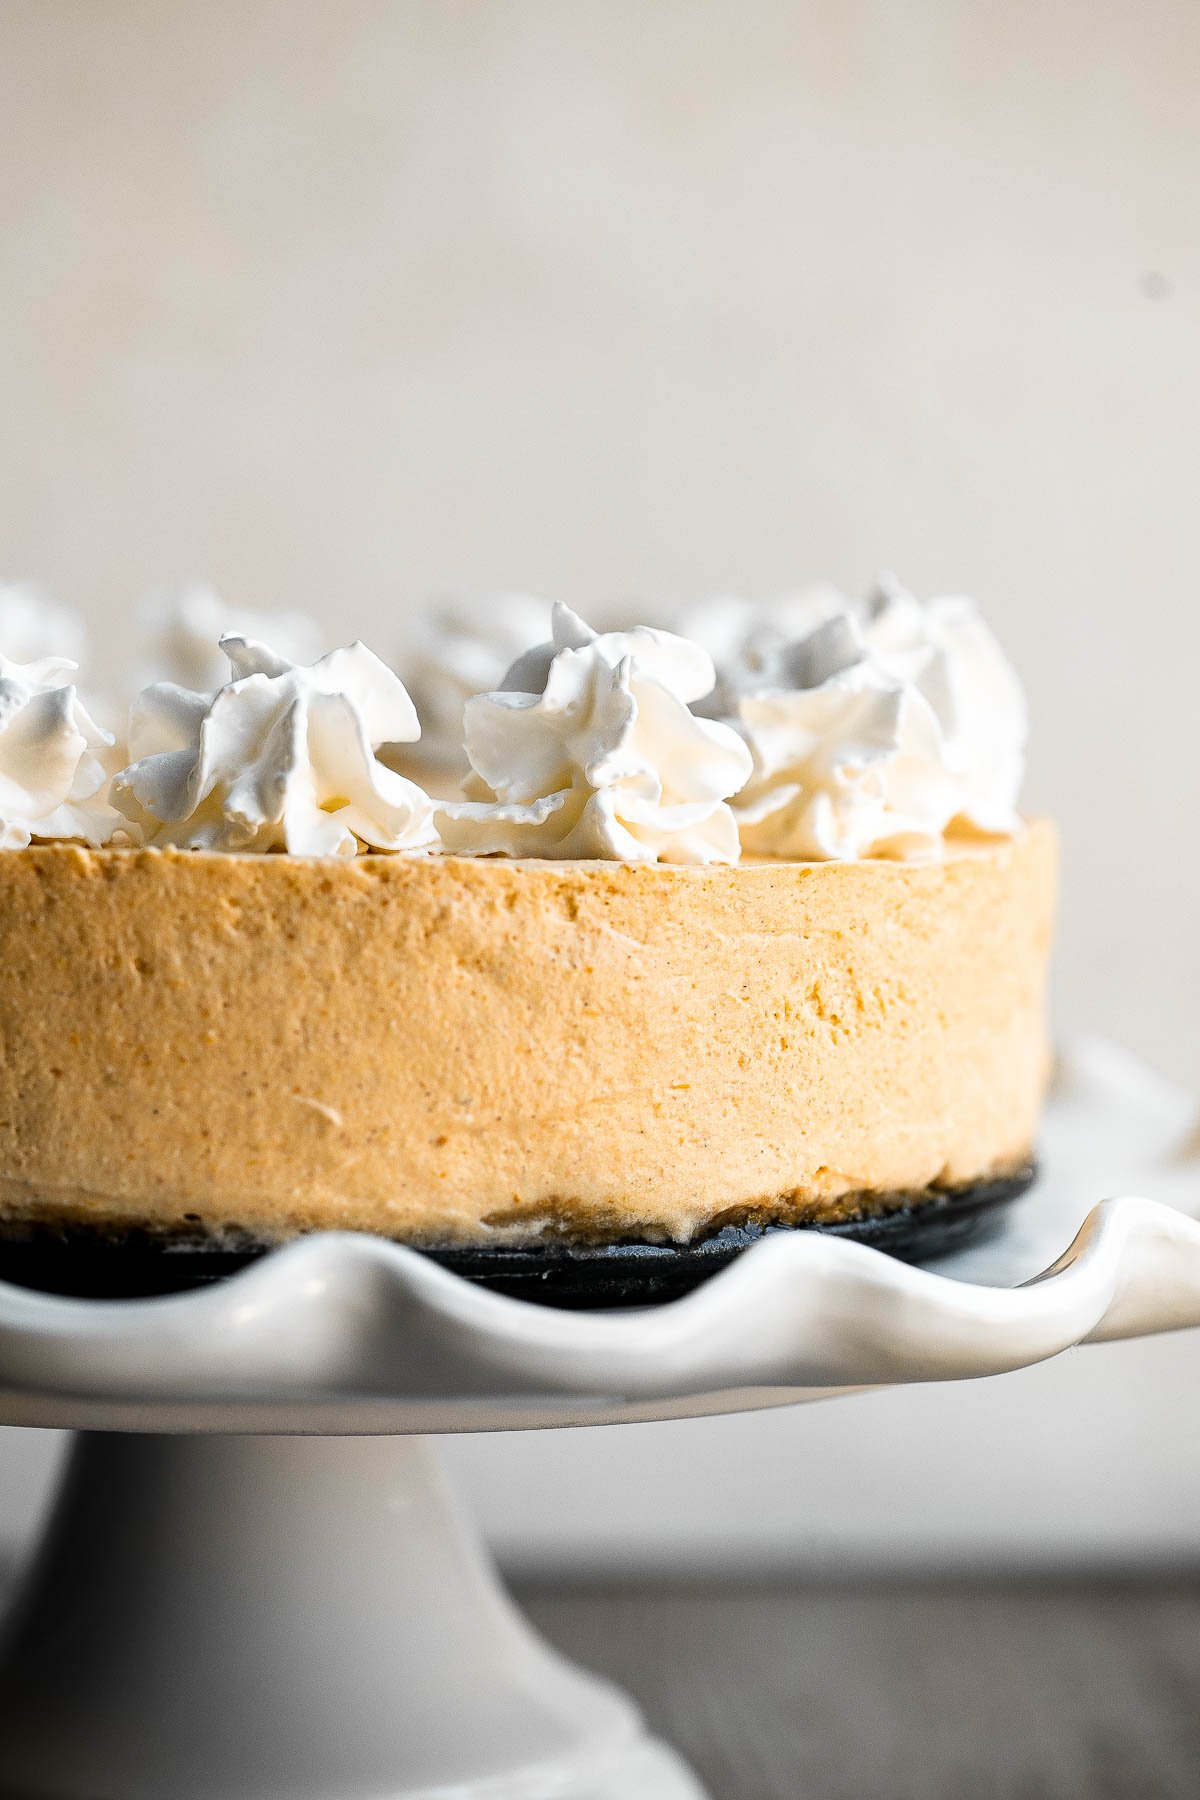
- Add a cream cheese swirl. For extra richness, beat a few tablespoons of softened cream cheese with sugar and vanilla, then swirl it into the filling before baking. It creates a marbled, cheesecake-like pie.
- Use brown sugar for a deeper flavor. Replace part or all of the granulated sugar with brown sugar for a richer, caramel-like sweetness that pairs beautifully with the warm pumpkin spices.
- Make it dairy-free. Replace the butter in the crust with cold coconut oil or vegan butter, and substitute full-fat coconut milk for the evaporated milk. The texture stays creamy with a hint of tropical flavor.
- Try a graham cracker crust. Skip the traditional pastry and press a graham cracker crust into your pie plate for a quicker, no-roll version with toasty sweetness.
- Add a nutty topping. Sprinkle chopped pecans, walnuts, or brown-sugar streusel over the pie before baking for a bit of crunch and caramelized flavor.
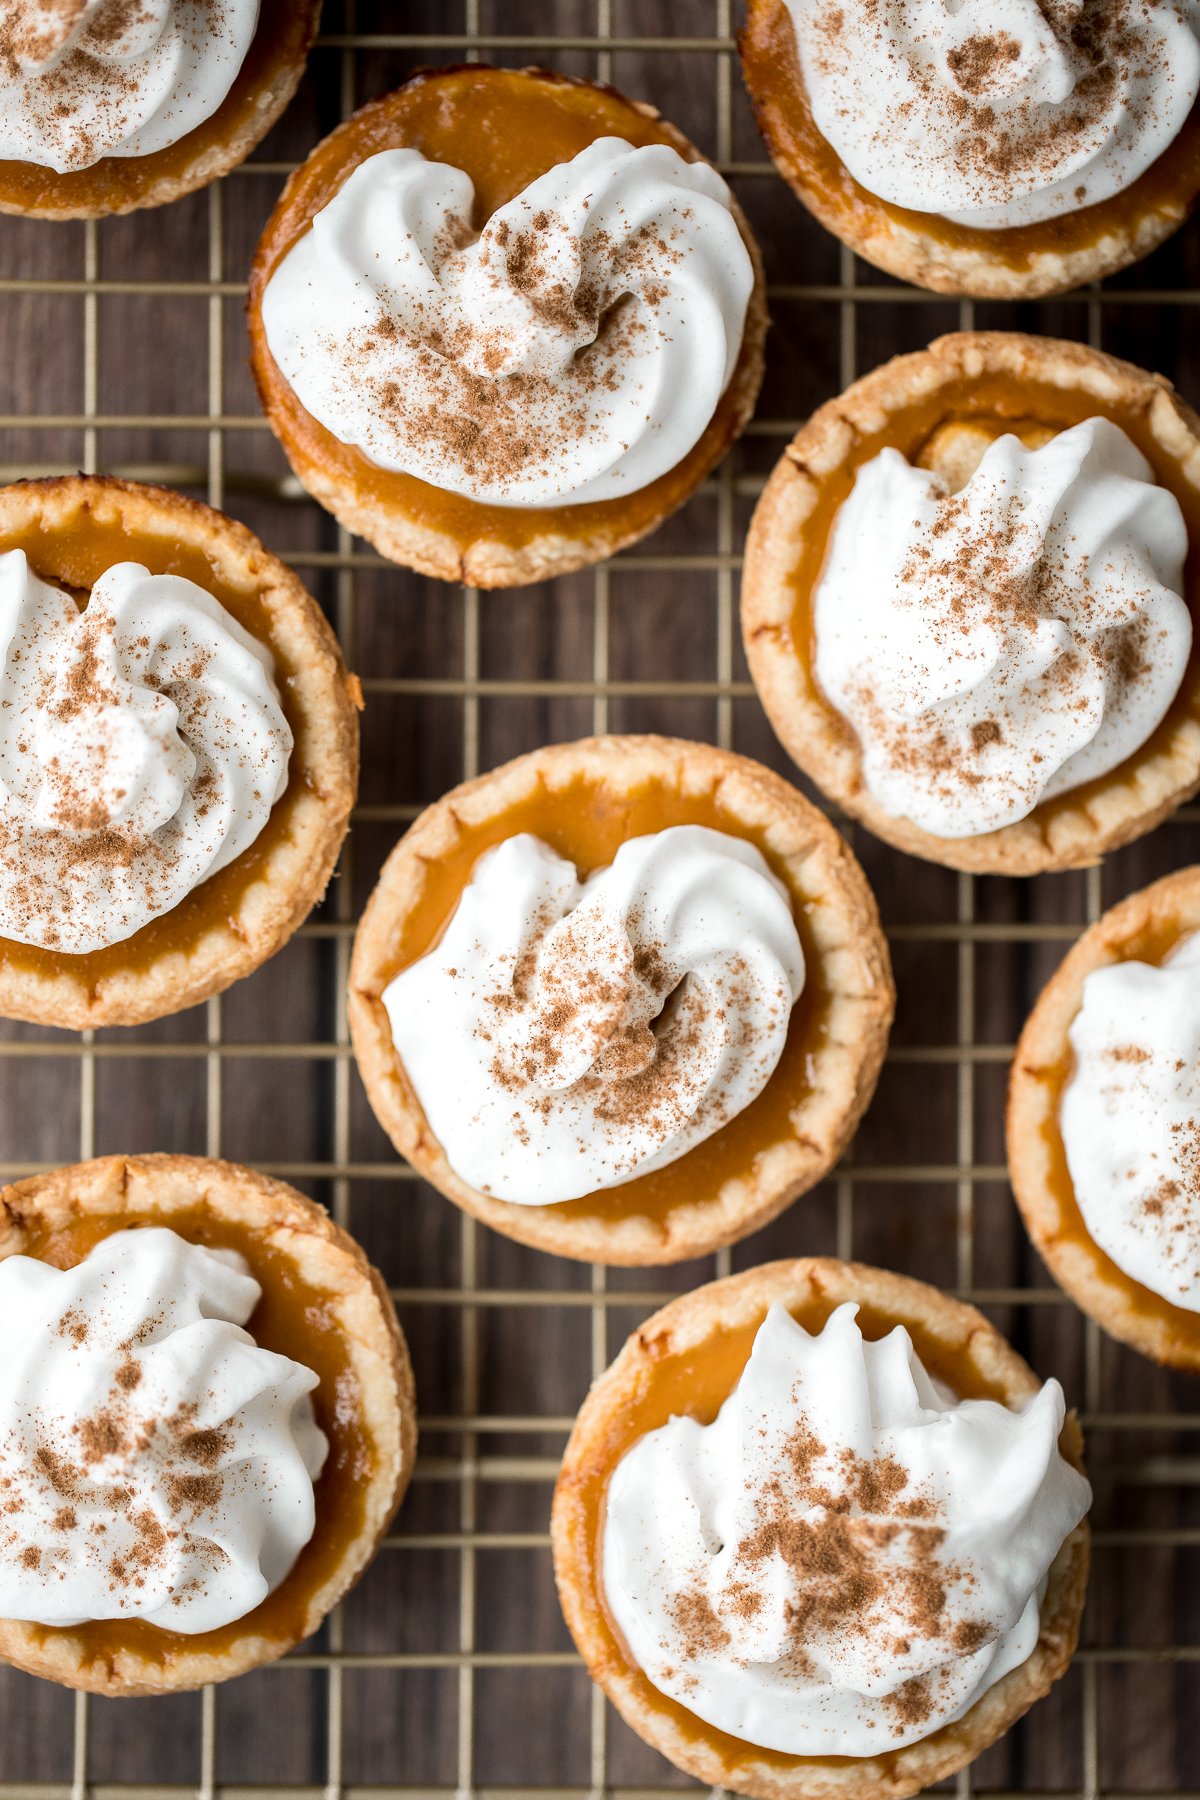
- Mini pumpkin pies. Divide the crust and filling into a muffin tin to make individual mini pies - perfect for parties or portion control. Reduce bake time to about 25 minutes.
Storage
Make Ahead
Pumpkin pie is one of the best make-ahead desserts for the holidays. Bake it the day before Thanksgiving (or any occasion), let it cool completely, then refrigerate overnight. The flavors actually deepen and improve with time, making it taste even better the next day.
How to Store
Once cooled to room temperature (about 2 hours after baking), pumpkin pie can be served immediately or stored for later. If not eating right away, loosely cover the pie with plastic wrap or aluminum foil and place it in the refrigerator. Homemade pumpkin pie will keep well for up to 3-4 days. Avoid sealing it in an airtight container, as this can trap moisture and make the crust soggy.
How to Reheat
Pumpkin pie can be enjoyed cold, at room temperature, or gently warmed. To reheat, cover slices with foil and warm in a 300°F (150°C) oven for 10-15 minutes, or microwave individual slices for about 20 seconds until just heated through.
How to Freeze
- Freezing pumpkin pie: Pumpkin pie freezes beautifully, whether whole or sliced. Allow it to cool completely first, then wrap tightly in layers of plastic wrap, followed by a layer of foil to prevent freezer burn. Label with the date and freeze for up to 3 months. For easier serving, slice the pie into individual pieces before freezing - that way, you can thaw one slice at a time. To serve, thaw in the refrigerator overnight, then serve chilled or slightly warmed.
- Freezing pumpkin pie filling: You can also freeze unbaked pumpkin pie filling for later use. Pour the mixed filling into a freezer-safe airtight container or a large freezer bag (leaving a little room at the top for expansion). Label and freeze for up to 3 months. When ready to use, thaw overnight in the refrigerator, then whisk the filling well before pouring into your pie crust and baking as directed.
How to Serve
Pumpkin pie is best served at room temperature or slightly chilled with a swirl of whipped cream on top. Sprinkle a touch of cinnamon or nutmeg for extra warmth, or drizzle with caramel sauce for a sweet twist. It's perfect on its own but also pairs beautifully with vanilla ice cream or a hot cup of coffee after a Thanksgiving feast.
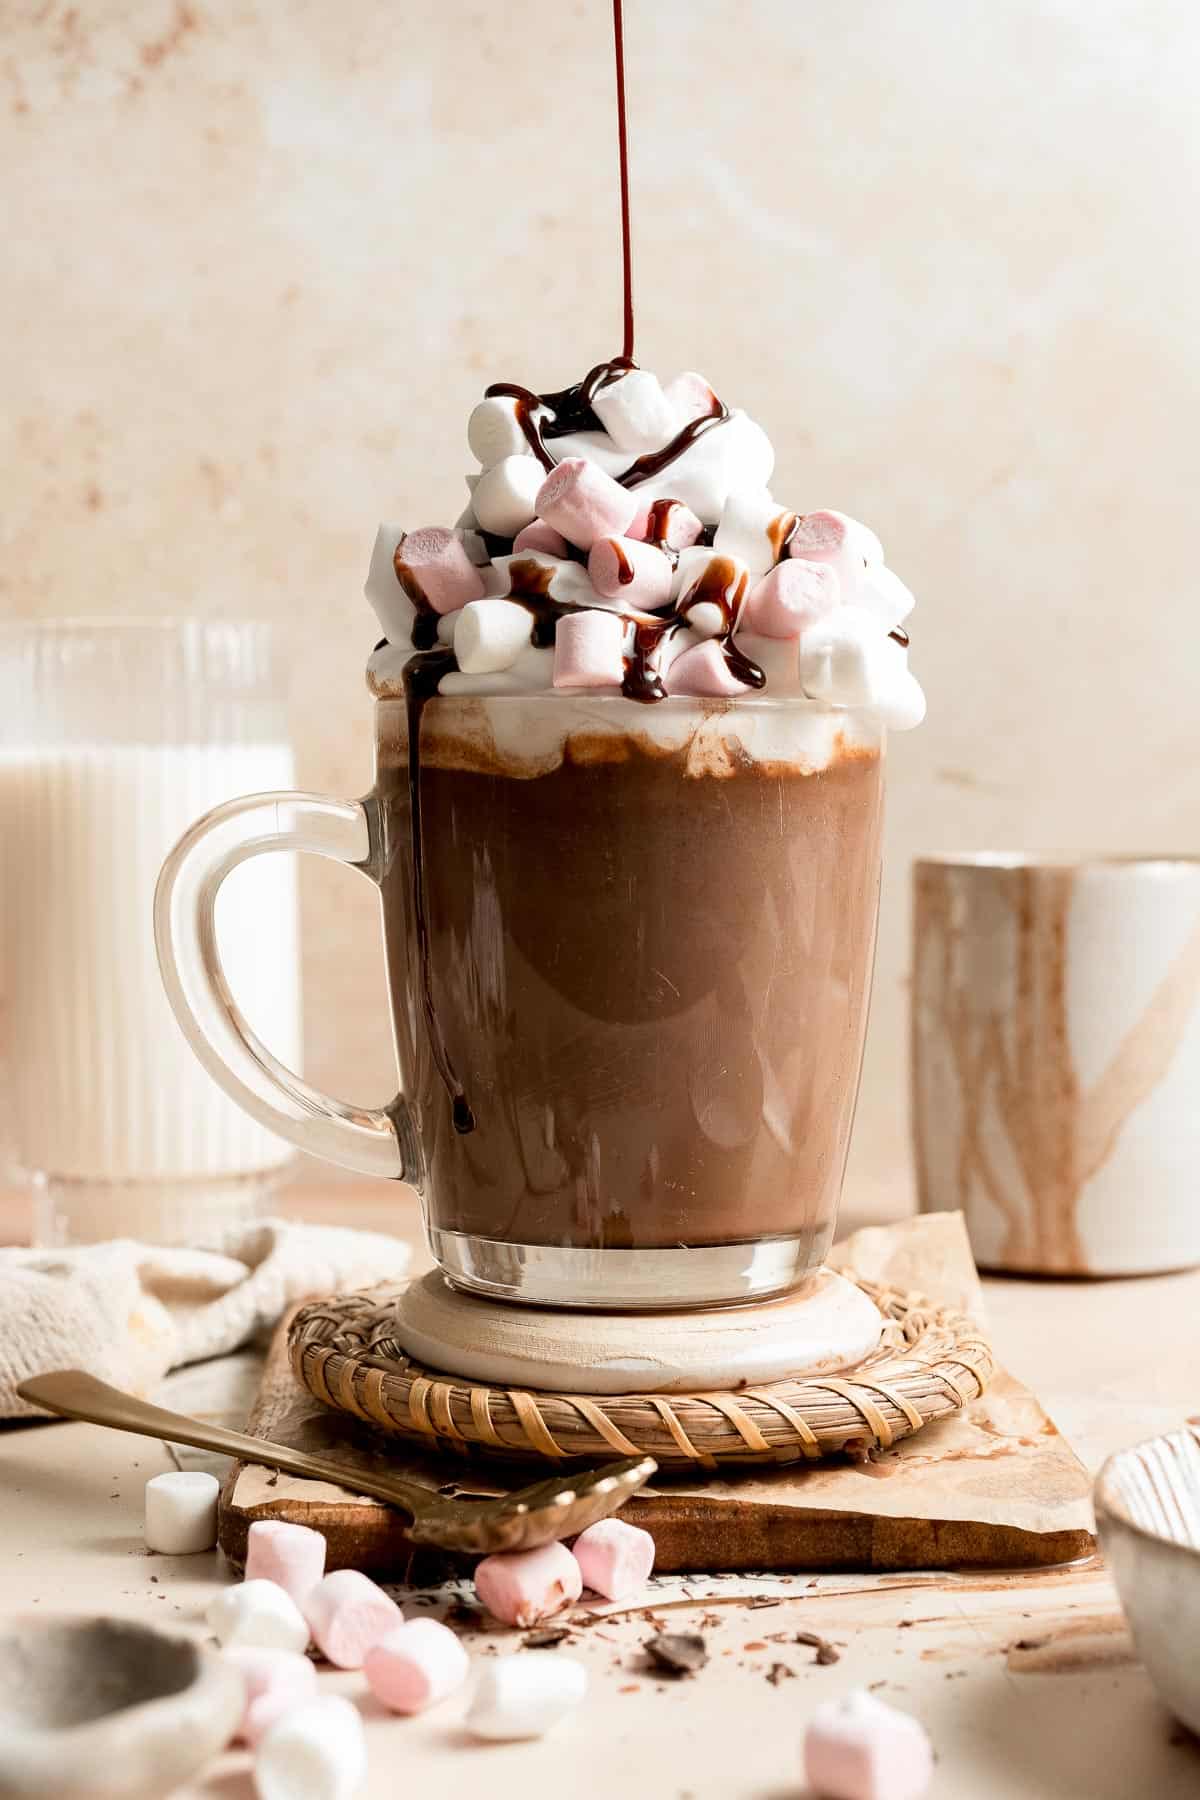
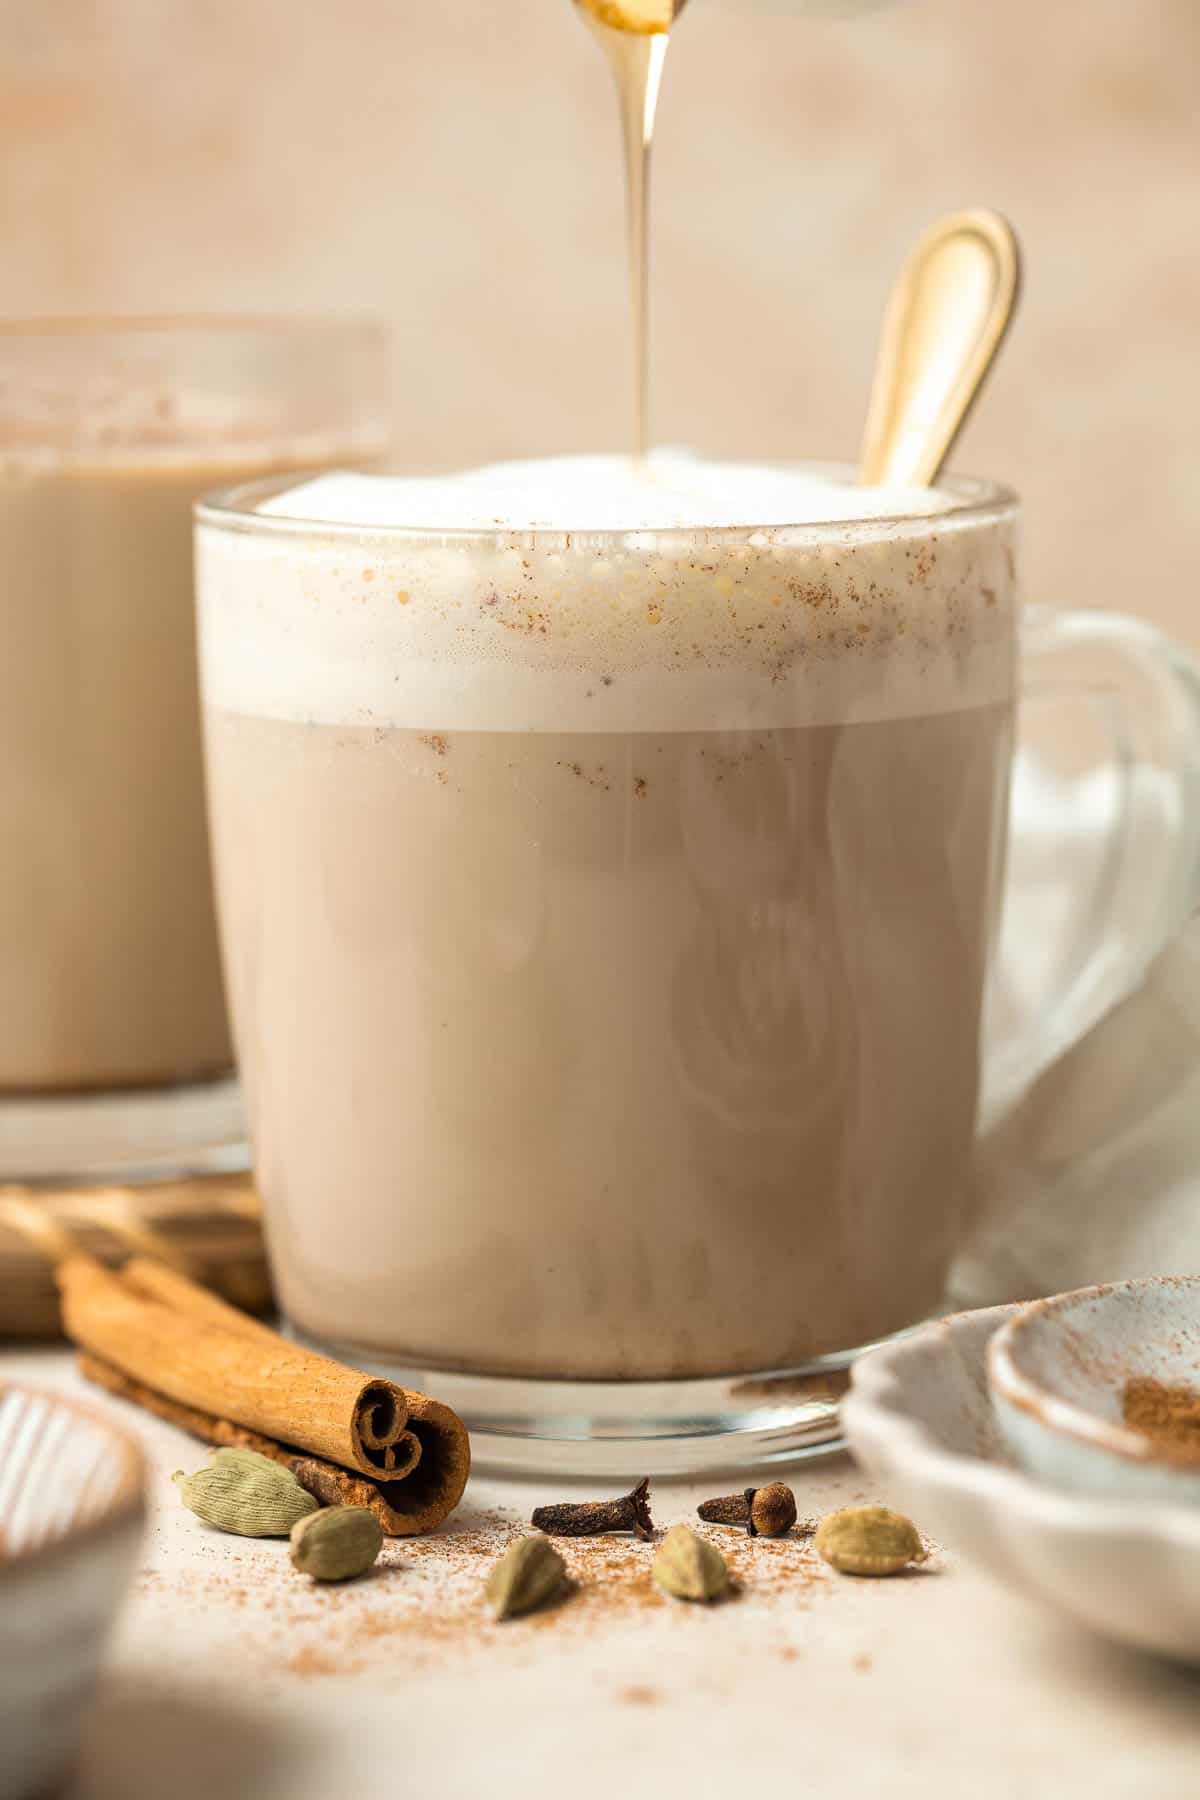
These are my favorite drinks to serve with homemade pumpkin pie:
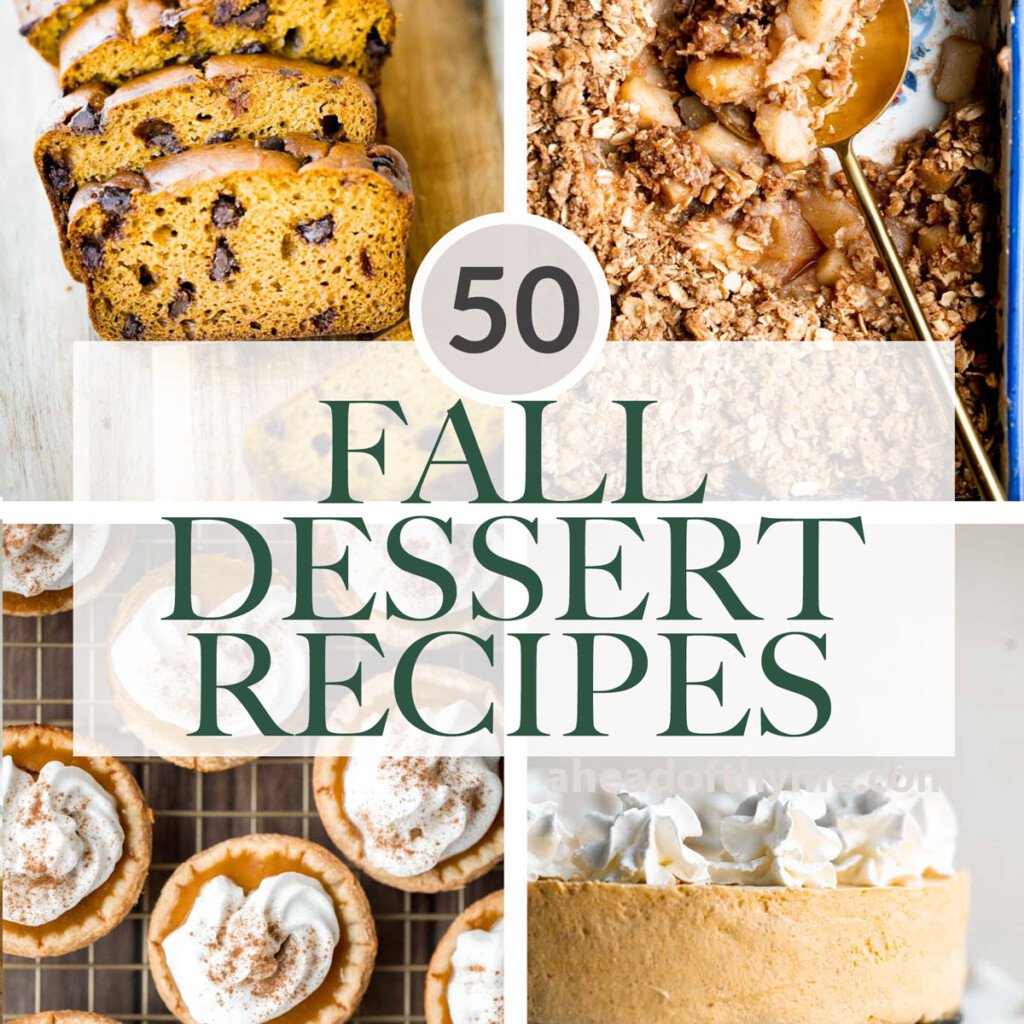
Fall Desserts
Why not create a full autumn dessert spread? Pair these with pumpkin muffins, caramel apple pie, pecan bars, or cinnamon cookies for a cozy, seasonal treat table. These desserts complement each other perfectly with warm fall flavors and a mix of soft, crunchy, and gooey textures.
FAQ
Making pumpkin pie from scratch starts with preparing a homemade buttery crust, then whisking together pumpkin puree, sugar, spices, eggs, and evaporated milk for the filling. Pour into the crust and bake until set. It's easier than it looks and yields the most delicious flavor.
About 1 hour and 25 minutes total: 25 minutes of prep and 1 hour of baking time. You'll also need cooling time before serving.
Absolutely. Homemade pumpkin pie has a flaky crust, creamy filling, and fresh spice aroma that no store-bought version can match. It's a labor of love and always impresses guests.
Pumpkin puree, sugar, warm spices (like cinnamon, ginger, and cloves), eggs, evaporated milk, and a homemade pie crust made with butter, flour, sugar, salt, and ice water.
Yes! You can make your own homemade pumpkin puree by roasting and blending fresh pumpkin. It gives a richer, slightly sweeter flavor.
You can, but sugar pumpkins (also called pie pumpkins) are best. Large carving pumpkins have more water and less flavor.
Yes, ornamental pumpkins used for decoration are not intended for eating. Always choose sugar pumpkins or other edible varieties.
Evaporated milk is ideal because it adds creaminess without extra sweetness. Condensed milk is too sweet and can make the filling heavy.
Overbaking, underbaking, or skipping the cool-down phase. Cracks form when it's baked too long or cooled too quickly. Always bake until just set and cool at room temperature.
Pumpkin pie can be part of a balanced diet. Pumpkin is rich in vitamin A and fiber, and making it from scratch lets you control the sugar and fat content.
It lasts up to 4 days in the refrigerator, tightly covered, or up to 3 months in the freezer.
If it develops an off smell, cracks excessively, or shows moisture or mold on top, it's time to discard it.
Pumpkin pie dates back to early American harvest celebrations. Pumpkins were native to North America and quickly became a symbol of abundance and gratitude, making the pie a holiday staple.
Yes! Pour the filling into a greased pie dish or ramekins and bake - you'll get a custard-style dessert that's naturally gluten-free.
Yes, freeze the baked pie whole or sliced. Wrap tightly in plastic wrap and foil, and thaw overnight in the fridge before serving.
Definitely. Store uncooked filling in an airtight container or freezer bag for up to 3 months. Thaw completely and whisk before baking.
More Pumpkin Pie Recipes
Looking for other recipes like this? Try these:

Tried this recipe?
I'd love to hear what you think! Leave a comment and rating below to share your feedback. Your reviews help others discover this recipe and help me keep creating more free recipes for you. Snap a photo and tag me on social media @aheadofthyme too.
Recipe
Homemade Pumpkin Pie from Scratch
- Total Time: 2 hours 20 minutes
- Yield: 9-inch pie 1x
- Diet: Vegetarian
Description
Classic Homemade Pumpkin Pie from Scratch features a buttery flaky crust and silky spiced filling - the perfect Thanksgiving dessert everyone loves.
Ingredients
For the pie crust:
- 2 cups all-purpose flour
- ¾ cup unsalted butter, cut into ½-inch cubes
- 1 tablespoon granulated sugar
- 1 teaspoon salt
- ⅓ cup ice water
For the pie filling:
- 1 (15 ounce or 398 mL) can pumpkin puree (or 1¾ cups homemade)
- ¾ cup granulated sugar
- 1 teaspoon ground cinnamon
- ½ teaspoon ground ginger
- ¼ teaspoon ground cloves
- ½ teaspoon fine salt
- 2 large eggs
- 1 (12 ounce or 354 mL) can evaporated milk
- whipped cream (for serving)
Instructions
Make the pie crust:
- Add flour, butter, sugar, and salt into a food processor. Pulse on and off until the mixture forms small pea-sized pieces of dough, about 1 minute.
- Drizzle in ice water, a tablespoon at a time, while pulsing until the dough reaches a breadcrumb consistency, about another minute. Ice-cold water is essential to keep the butter from melting.
- Transfer the crumbly dough to a lightly floured surface. Use your hands to press and squeeze it together until it forms a smooth dough. Shape it into a flat disc, wrap tightly in plastic wrap, and refrigerate for 1 hour to firm up.
- Dust your work surface with flour and roll the chilled dough into a 14-inch circle. Carefully transfer it to a greased 9-inch pie dish. Fold excess dough under around the rim and crimp the edges with your fingers or a fork for a decorative edge.
Make the pumpkin pie filling:
- Preheat oven to 425°F (220°C) so it's ready once your filling is mixed.
- In a large mixing bowl, whisk together pumpkin puree, sugar, cinnamon, ginger, cloves, and salt until smooth. Add eggs and beat well, then gradually whisk in evaporated milk until the mixture is silky and fully combined.
Assemble and bake the pie:
- Pour the filling into your prepared pie crust and gently shake the pan to release any air bubbles. Smooth the top with a spatula if needed.
- Bake at 425°F for 15 minutes, then reduce the oven temperature to 350°F (175°C) and continue baking for 40-50 minutes. The filling should be just set in the center, as it will continue to firm as it cools. To test doneness, insert a toothpick or paring knife about 1 inch from the crust, if it comes out clean, your pie is ready. Do not overbake to avoid cracking in the middle of the pie filling.
- Remove from oven and allow the pie to cool completely to room temperature, around 2 hours. Cooling allows the filling to set fully and prevents cracking. Once cooled, serve immediately or refrigerate until ready to serve.
- Top with a generous dollop of whipped cream and a sprinkle of cinnamon. Slice, serve, and enjoy every silky-smooth bite.
Notes
How to store: Once cooled to room temperature (about 2 hours after baking), pumpkin pie can be served immediately or stored for later. If not eating right away, loosely cover the pie with plastic wrap or aluminum foil and place it in the refrigerator. Homemade pumpkin pie will keep well for up to 3-4 days. Avoid sealing it in an airtight container, as this can trap moisture and make the crust soggy.
How to reheat: Serve chilled or warm slices gently in the microwave for 15-20 seconds.
How to freeze: Pumpkin pie freezes beautifully, whether whole or sliced. Allow it to cool completely first, then wrap tightly in plastic wrap, followed by a layer of foil to prevent freezer burn. Label with the date and freeze for up to 3 months. For easier serving, slice the pie into individual pieces before freezing - that way, you can thaw one slice at a time. To serve, thaw in the refrigerator overnight, then serve chilled or slightly warmed.
How to freeze pumpkin pie filling: You can also freeze unbaked pumpkin pie filling for later use. Pour the mixed filling into a freezer-safe airtight container or a large freezer bag (leaving a little room at the top for expansion). Label and freeze for up to 3 months. When ready to use, thaw overnight in the refrigerator, then whisk the filling well before pouring into your pie crust and baking as directed.
- Prep Time: 25 minutes
- Cook Time: 55 minutes
- Category: Pie
- Method: Bake
- Cuisine: American
This recipe was originally published in 2019. It has since been updated with new photos and content.
Jacque Hastert says
Nothing beats a simple classic pumpkin pie like this! Delicious, simple, traditional all equal pumpkin pie perfection! Can't wait to throw this in the oven.
Sam | Ahead of Thyme says
We couldn't agree more!! Let me know it turns out 🙂
Rebecca Blackwell says
I've been testing out a variety of pumpkin pie recipes over the past few weeks - you know, for research 🙂 - and just wanted to tell you that this recipe is soooooo delicious. It's so rich and creamy with just the right amount of spice. Thanks for a great recipe!
Sam | Ahead of Thyme says
Thanks Rebecca! So glad you loved the recipe 😀