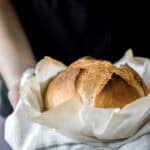
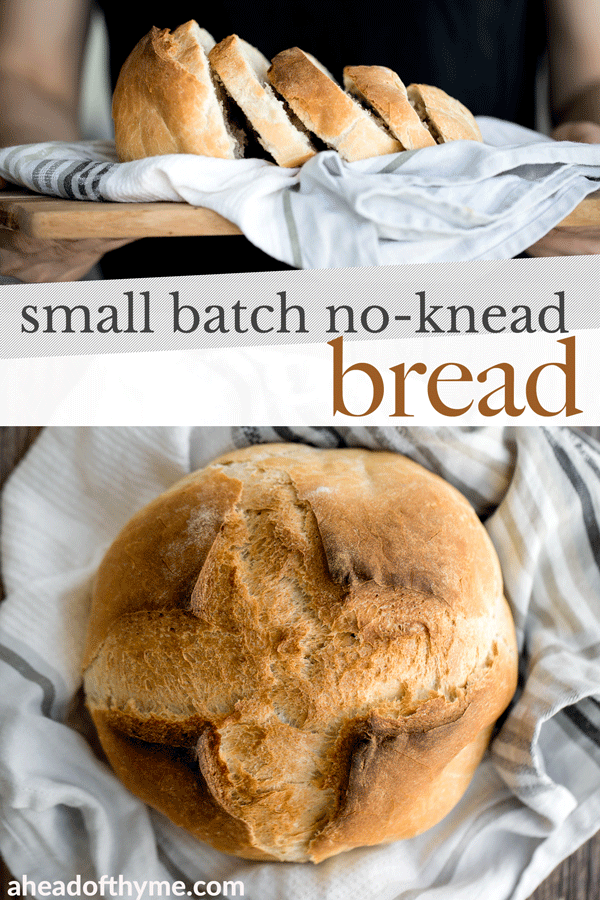
Flour and yeast has been flying off the shelves during this pandemic, so if you are one of the lucky ones who happen to have some in your pantry, why not take a shot at making homemade, fluffy and airy, small batch no-knead bread with a perfect crusty exterior.
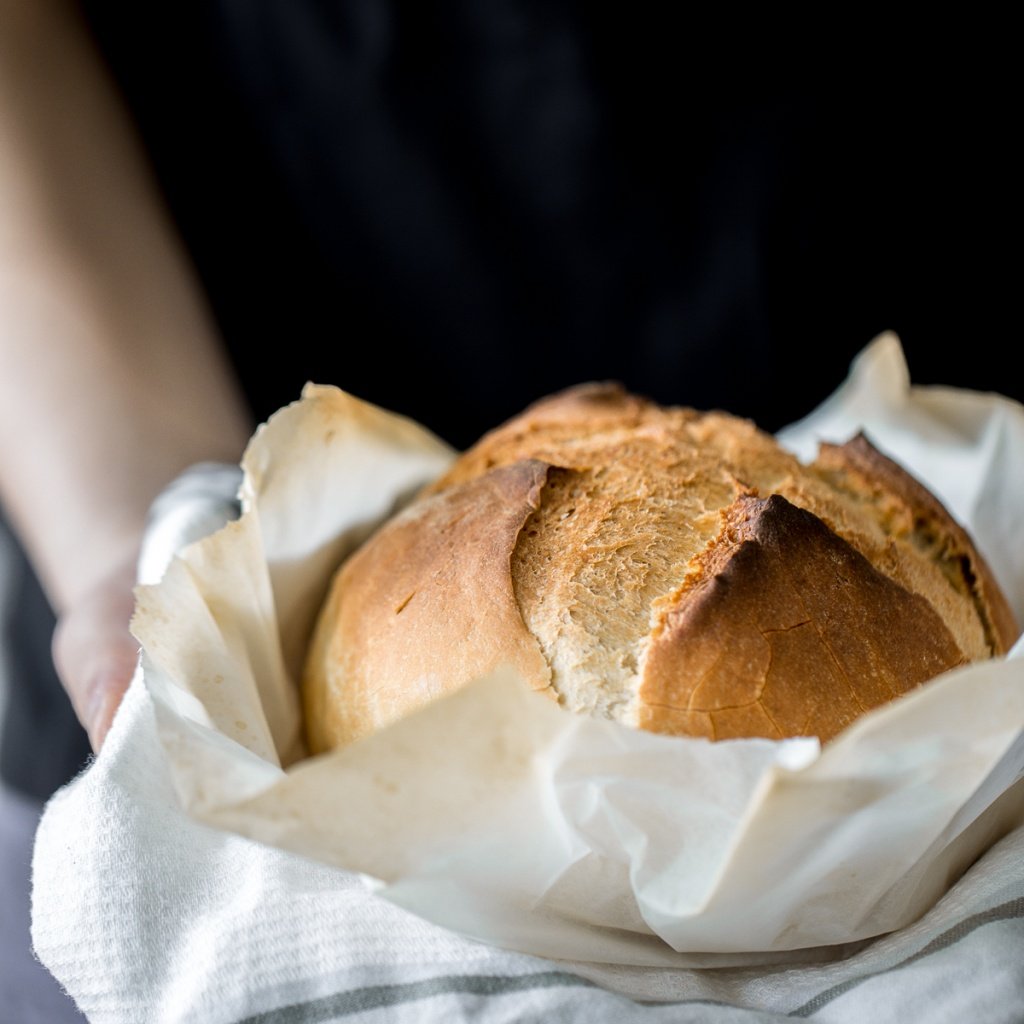
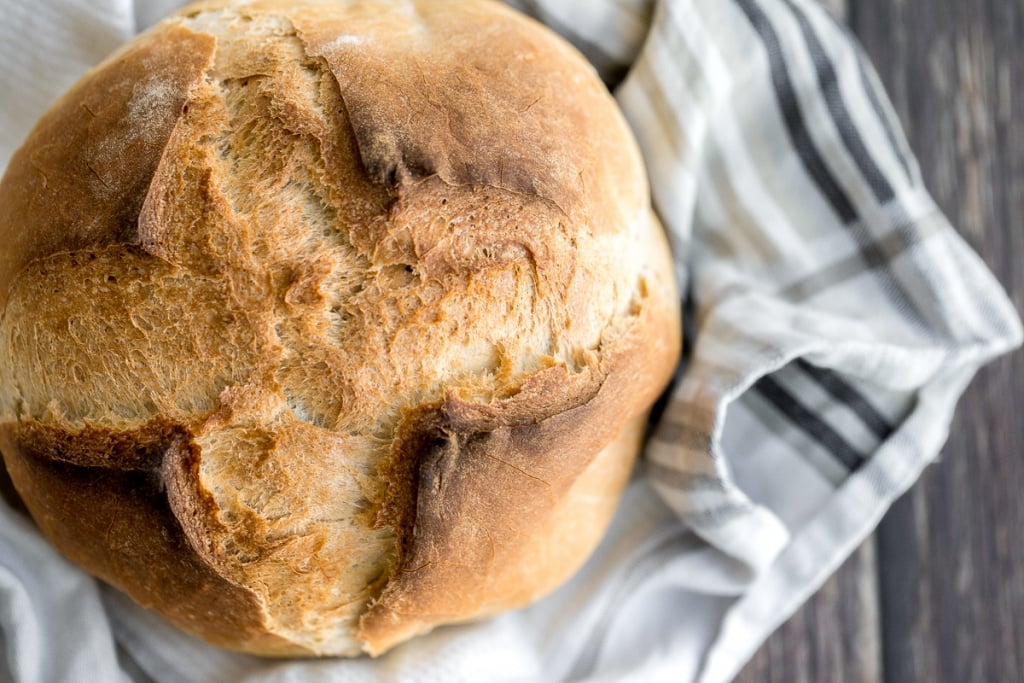
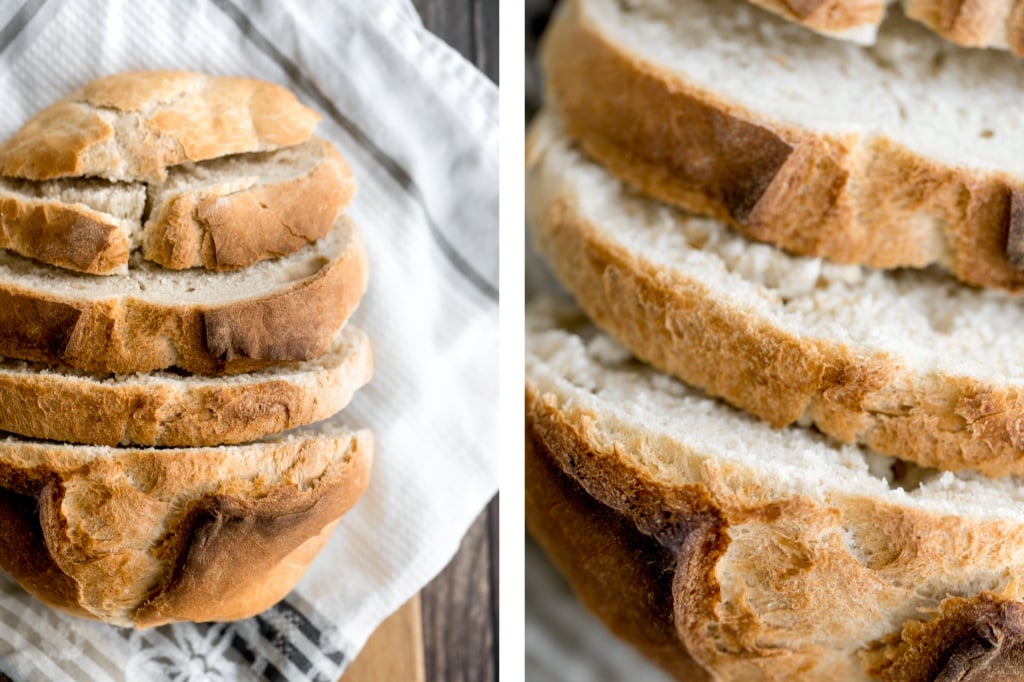
Ain't she a beauty? Small batch bread is the perfect size for a smaller household. This recipe makes a smaller loaf, measuring approximately 6 by 6-inches.
Is Making Bread Easy?
Yes! If you have never made bread before, or are hesitant to try it, no-knead bread is the perfect artisan bread for you to start with. Generally, the main reasons why some people shy away from making their own bread is because they don't want to spend half an hour kneading the bread, or maybe they think the whole process just takes too long.
Well, let me put your worries at ease.
- No-kneading required: The no-knead feature of this bread eliminates the first concern. Kneading normally creates a chewy structure and texture. However, the reason that this bread does not need to be kneaded is because we are allowing the yeast a longer time to ferment and thus develop that structure in the dough.
- Minimal prep time required: It takes 5 minutes of prep time to make this bread. 5 minutes. Sure, you have to wait around for a few hours to allow the dough rise, but you don't have to actively do anything.
What is in Homemade No-Knead Bread?
When you buy commercial bread in the store, chances are it's full of preservatives, dough conditioners and other toxic ingredients. When you make your own homemade bread, you eliminate all those fillers and use just 4 simple ingredients.
- all-purpose flour
- instant yeast
- water
- salt
You also need a small or medium-sized pot to bake the bread in. A small dutch oven works well, but you can use any regular oven-safe pot.
How to Make No-Knead Bread
There are 5 main and simple steps in making this fresh, small batch of homemade artisan no-knead bread.
- Activate yeast: Dissolve instant yeast in lukewarm water in a cup, stir until mixed together.
- Prepare dough: Combine flour and salt in a large bowl. Pour yeast liquid mixture in and whisk to combine.
- Allow dough to rise: Cover bowl with plastic wrap and let the dough sit at room temperature for 3+ hours, to rise and approximately double in size.
- Shape the dough and allow second rising: Shape the dough into a ball and let the dough rest in a covered bowl for 30 minutes.
- Bake bread: Bake dough in a preheated, covered pot for 30 minutes, in a 450° F oven. Remove lid and bake for an extra 10-15 minutes.
Tips for the Baking the Perfect No-Knead Bread
Yeast is one of the most important ingredients in baking bread. So of course all the tips on getting that perfect loaf has to do with taking care of the yeast. There are some key things to keep in mind when working with instant yeast.
- store instant yeast in a cool, dark place - If yeast is stored in a warm place, the temperature could kill the yeast even before the expiration date.
- make sure the instant yeast is in an original, unopened package - I do not recommend using a portion of a package that has already been used and saved.
- check the expiration date - instant yeast has a relatively shorter shelf life, so check the date and make sure you are within the date.
- the yeast mixture should start to bubble - when mixing the yeast in lukewarm water, the mixture should start to bubble and develop a yeasty aroma.
You also want to let the dough rise at room temperature (as opposed to a warmer area). This will allow the dough to rise slowly and it will take longer (3+ hours). The slower rise at room temperature yields a light and chewy texture, and a more pleasant flavour. This is also why sourdough bread is so trendy and popular nowadays.
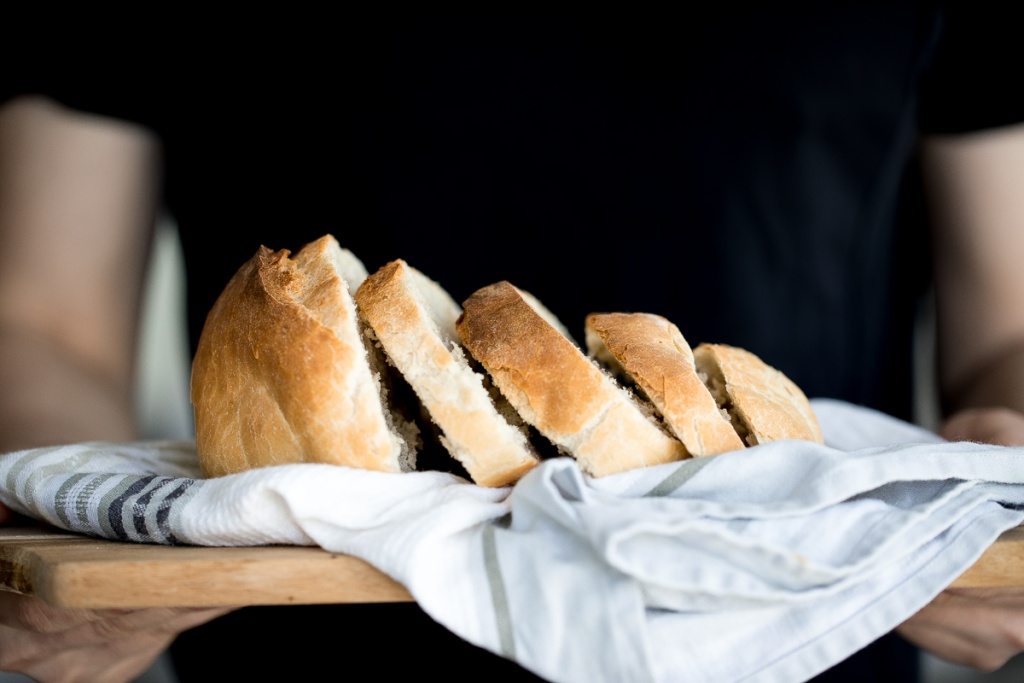
How to Serve Artisan Bread
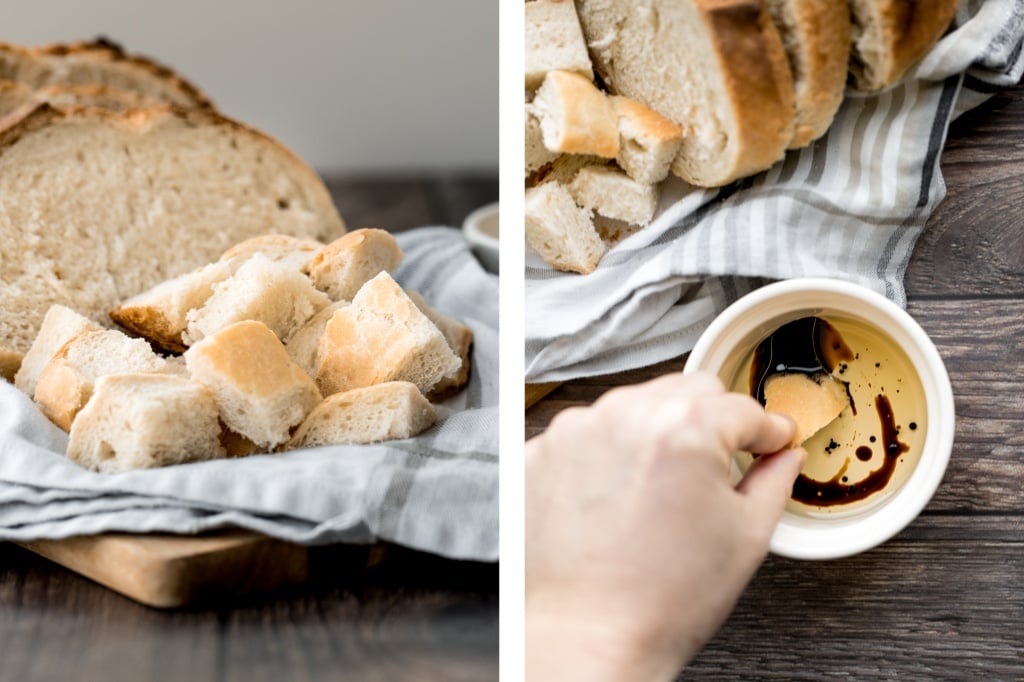
This bread is so good just on it's own, dipped in some olive oil and balsamic vinegar. It also goes so well with soup, or used to make sandwiches. Some of my favourites to make with this are:
- Roasted butternut squash soup
- Thai red curry mussels
- Coconut curry lentil soup
- Creamless cream of asparagus soup
- Easy one pot chili
Since this is a small batch of bread, it is meant to be consumed within a few days. But if you have leftovers or plan to make some extra batches, you can easily store the bread in the freezer. Just slice it up first, and reheat in the toaster under the defrost setting.
More Homemade Bread Recipes
- Homemade No Knead French Baguettes
- Easy Small Batch Ciabatta Rolls
- Sunflower Seed Bread
- Quick and Easy Skillet Dinner Rolls
- Easy Homemade Everything Bagels
Tried this recipe?
I'd love to hear what you think! Leave a comment and rating below to share your feedback. Your reviews help others discover this recipe and help me keep creating more free recipes for you. Snap a photo and tag me on social media @aheadofthyme too.
Recipe
Small Batch No-Knead Bread
- Total Time: 4 hours 15 minutes
- Yield: 1 loaf 1x
- Diet: Vegan
Description
If you have never made bread before, then homemade, fluffy and airy small batch no-knead bread with a perfect crust is the best artisan bread to start with.
Ingredients
- ½ teaspoon instant yeast
- 1 + ½ cups lukewarm water
- 375 grams all-purpose flour (approximately 3 cups)
- 1 teaspoon salt
Instructions
- In small cup, dissolve instant yeast in lukewarm water and stir to mix together (the mixture should start to bubble and develop a yeasty aroma.).
- In a large bowl, add flour and salt. Pour in yeast mixture and whisk until fully combined, scraping down the sides of the bowl (there should be no dry flour particles visible). Cover the bowl with plastic wrap and let it sit at room temperature for 3+ hours (Note that a higher room temperature will speed up the fermentation process and will cause the dough to rise faster). After 3 hours, the dough will have risen and will approximately double in size.
- Transfer dough to a floured surface. Note that the dough will be sticky and that is okay. Sprinkle dough with a little flour and shape it into a ball by folding the edges over to the centre.
- Cut out a piece of 9 x 9-inch parchment paper and place the round dough at the centre. Place the dough together with the parchment paper in a medium size bowl (approximately 6 inches in diameter) and cover with a dish towel. Let the dough rest for about 30 minutes. This is called second rising or proofing. To check if the dough is ready, touch the dough lightly with your fingertip. If the indentation remains (ie. does not bounce back immediately), then the dough is ready.
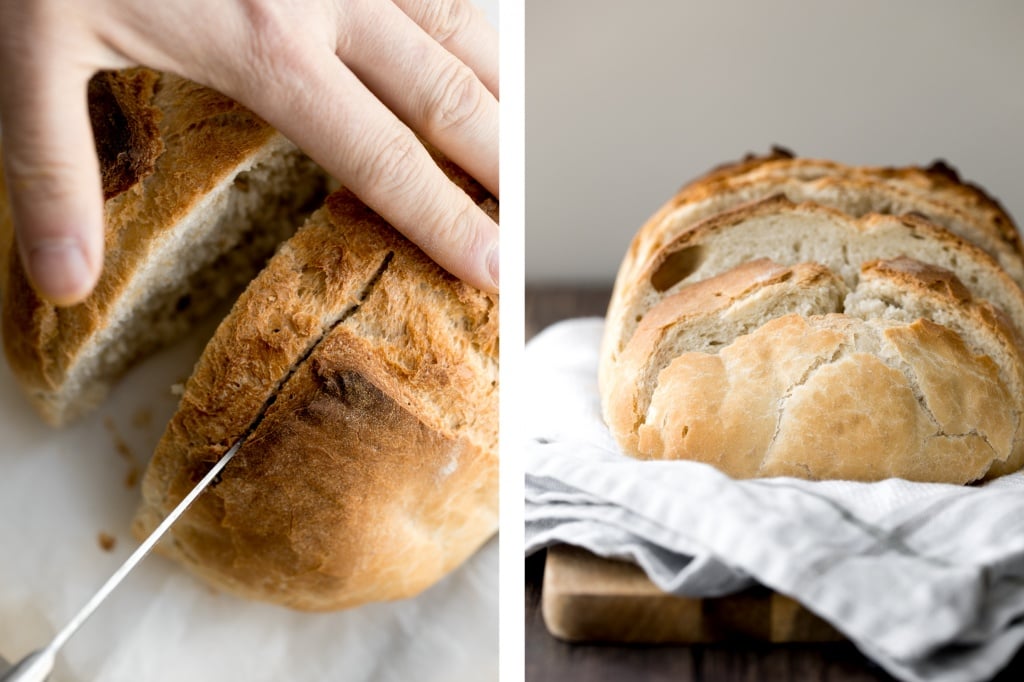
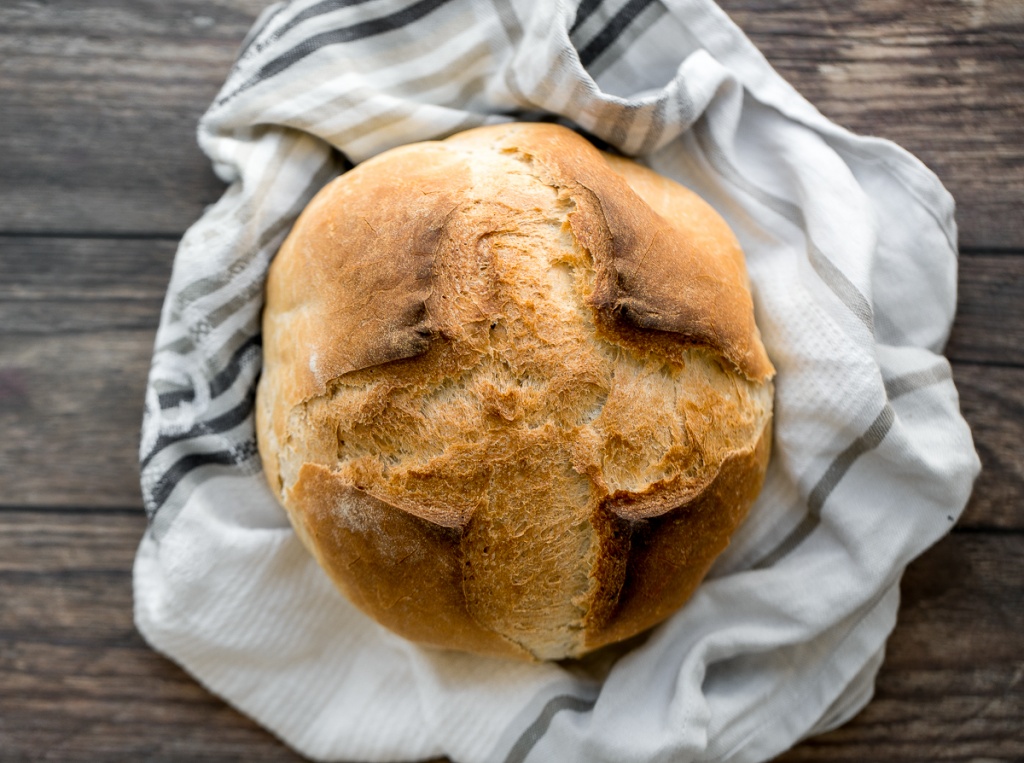
- Place a small dutch oven or cooking pot (approximately 6 inches in diameter) with a metal lid in the oven and preheat to 450° F. Gently transfer the parchment paper and dough from the bowl into the preheated pot. Use a paring knife to score an "X" on the top of the loaf. Cover the lid and bake for 30 minutes.
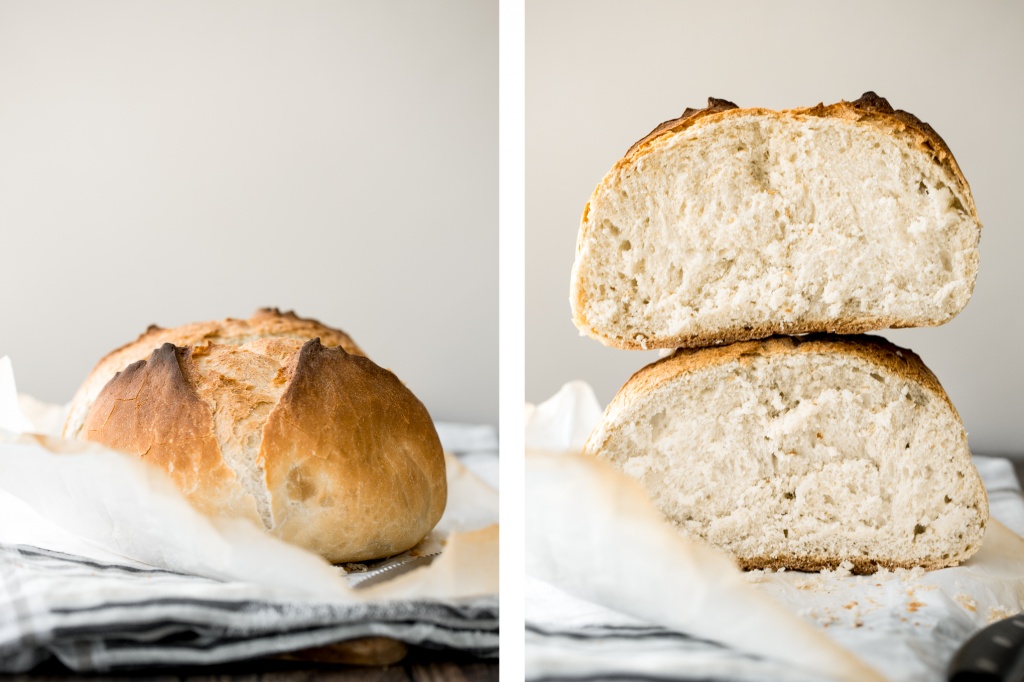
- After 30 minutes, remove the lid and continue baking the bread uncovered in oven for another 10-15 minutes. This will yield a crustier bread. Let the bread cool for 20 minutes before slicing. (To check if the bread is done, you can tap the bottom of the bread with your finger. The bread will sound hollow when it's done).
Notes
Let the dough rise at room temperature (as opposed to a warmer area of your home). This will allow the dough to rise slowly and longer (over 3 hours). The slower rise at room temperature yields a light and chewy texture, and a more pleasant flavour.
Total rise time is 3.5 to 4 hours.
- Prep Time: 5 minutes (+3.5 hours waiting time)
- Cook Time: 40 minutes
- Category: Bread
- Method: Baking
- Cuisine: American


Joy L. Allender says
Can I use my sourdough starter with your bread recipe? I cannot find a recipe for a small sourdough loaf. Thanks, Joy
Sam | Ahead of Thyme says
Hi Joy, yes you can make this recipe using 70 grams sourdough starter. However the prep will be much different, as the rise time will be at least twice as long. I usually let my sourdough rise overnight in the fridge. I will be posting a small batch sourdough recipe in the next few days. Stay tuned! You can also subscribe to my email newsletter to be the first know when the recipe is posted.
Jackie says
It seems like everyone is making bread during quarantine so I figured why not give it a try, too?! Sam's simple, 4-ingredient recipe was not only easy to follow but the end result was DELICIOUS! I decided to brush the top of the dough with herb-infused EVOO before it went into the dutch oven and then brushed it once more when the cover was removed. I even sprinkled some fresh rosemary on top. This resulted in a golden brown and aromatic bread. The texture was crunchy on the outside and light and chewy on the inside. We made sandwiches with it the first night and toasted a few pieces on the grill the next day for bruschetta. I highly recommend this tasty recipe!
Sam | Ahead of Thyme says
Thank you so much for your comment, Jackie! I am so glad you liked the recipe and found it easy to follow. The herb-infused EVOO and rosemary on top sounds absolutely amazing! I will have to try that next time. 🙂
Jenni LeBaron says
I love how simple and tasty this recipe is! What a delicious bread recipe to make right now while we're all at home looking for baking projects to keep busy with!
Sam | Ahead of Thyme says
Thank you! It's SO good. Let me know if you try it 🙂
Charity says
Gorgeous bread! I've been baking sourdough lately, but this looks delicious too! Thanks for the recipe!
Sam | Ahead of Thyme says
Thank you! You should try it, it's a lot faster 🙂 I am planning to make sourdough this week too, I have just prepared my starter, so we will see how it turns out!
Paula Montenegro says
A great recipe that I will make today! I'm tired of having bread last for weeks because I get bored lol, so I love this small-batch recipe. Perfect for one or two people households. Thanks for sharing!
Sam | Ahead of Thyme says
Totally agree with you!! Let me know how you like the bread 🙂
Kushigalu says
How gorgeous and perfect is this bread. I wil soon try your recipe
Sam | Ahead of Thyme says
Thank you so much! Let me know if you make it 🙂